


hof00
-
Posts
1,654 -
Joined
-
Last visited
Content Type
Profiles
Forums
Gallery
Events
Everything posted by hof00
-
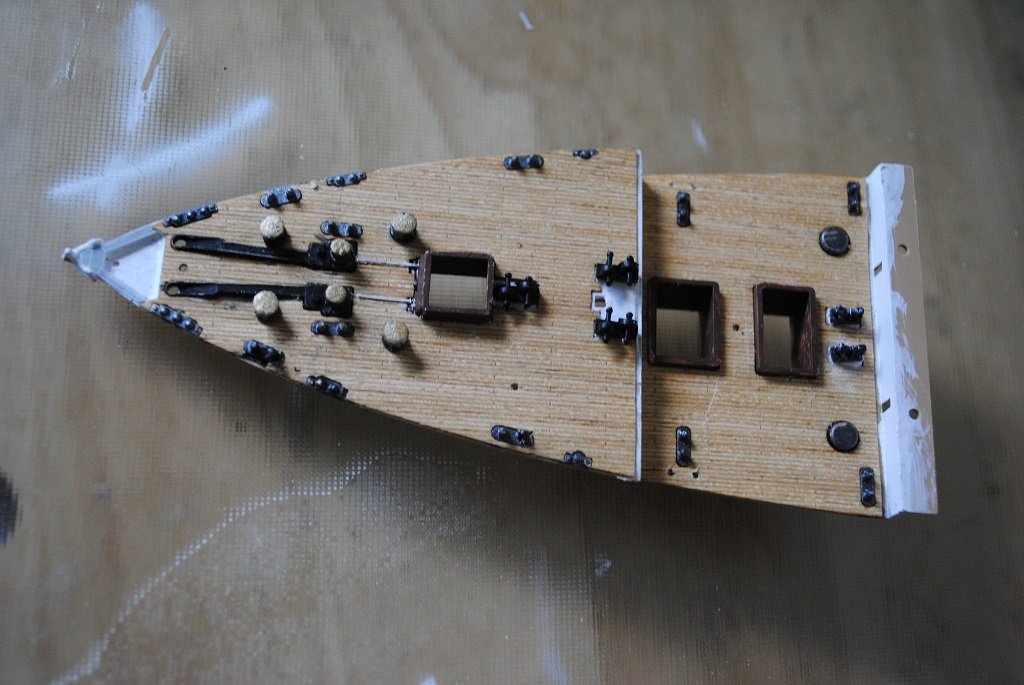
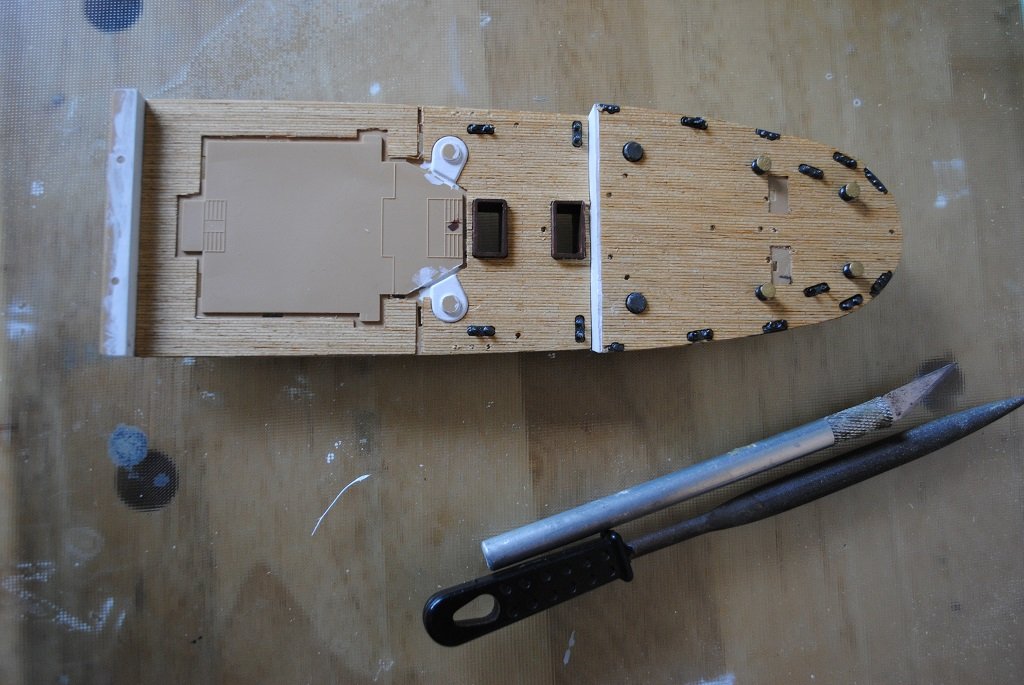
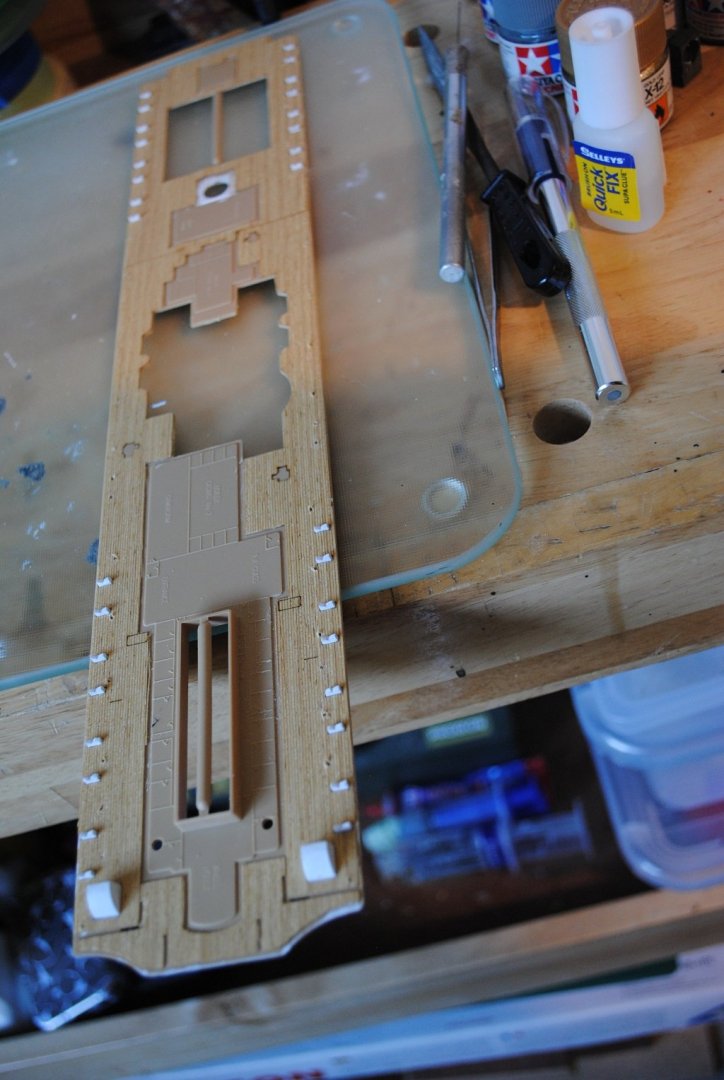
 Small update, Not very productive today, thought I'd try my luck with a piece of PE Rail around the Compass? Platform that attaches to the Poop Deck. After an hour or so, it broke, attempts to repair were not good, so discarded. (Hope the replacement PE arrives soon....) Well,, I have to be positive in the face of adversity, at least I'm learning. I also managed to beak a Davit Arm last night trying to separate from the PE fret. I think that tomorrow, I'll get the Airbrush out and get the White bits painted, there's a lot of White bits Some photos.... (There are quite a few of these builds on this site, so, you have probably seen similar before....) Cheers....HOF.


-
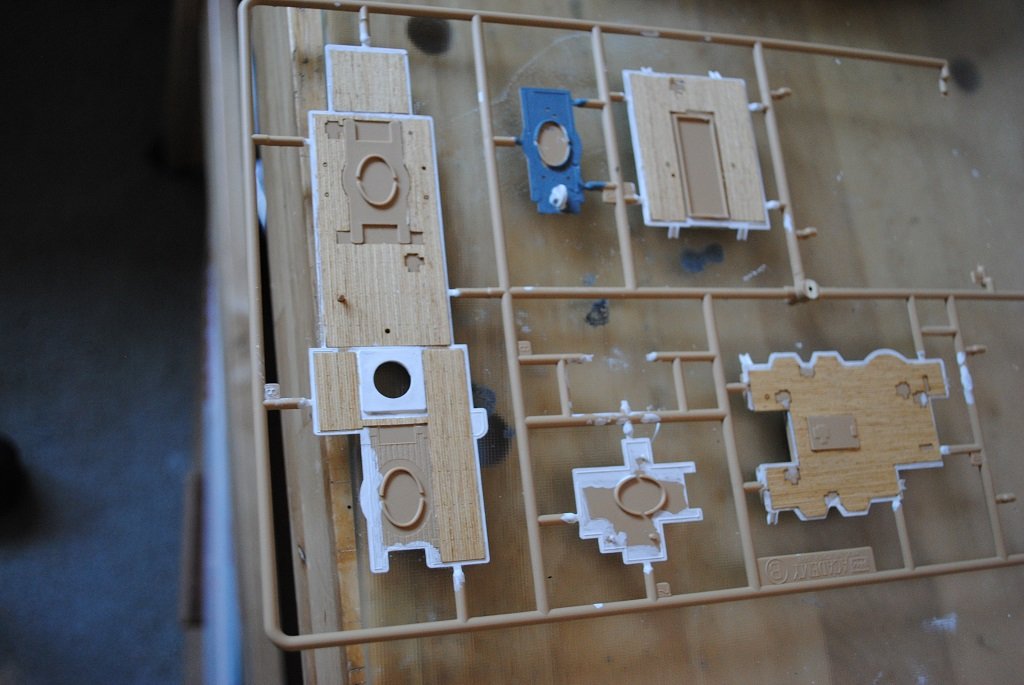
Hi All, Over the past few days, I have been dabbling with the Academy Titanic. This is the first plastic model that I have attempted in many years. (The Dark Side?) The kit comes with PE and Wooden Deck. This is also my first PE exposure. I have started on the Fore and Aft Decks, painting what is required and removing plastic, not required for the Wooden Decks. I have done the same for all three Main Decks Planking applied. (A note: Planking is not Laser Cut, just an outline, so separate components with a sharp blade....) Tried my hand at the PE, some errors, (Learning Curve), and have ordered replacement PE from Toms Model Works and Eduard. (The PE is so fragile....) Anyway, on with the build, don't know if I'll be able to use all PE, some components are way above my ability at this stage, so, some details may be the plastic variety.) Photos tomorrow. Cheers....HOF.
-
A Scupper suggestion/s.... Template to mark out and rill the corners and a scrap piece of wood on the inside of the Bulwark to prevent drill "Breakout. Finish with a flat needle file. maybe have a think and experiment on some scrap Basswood first. (Just a suggestion.) Looking good!! Cheers....HOF.
-
Hi Mark, RC for this would be interesting. It's pretty small.... I look forward to your endeavors. Cheers....HOF.
-
Nice start, looking good!! I found Mr. Earl's practicum and advice invaluable. Cheers....HOF.
-
Looking good!! Don't really notice any "Creep" in the alignment of the Deck Planking Butts. It's not a huge model, and, your correct, the Deck fittings will effectively hide any misdemeanors. Cheers....HOF.
- 20 replies
-
- 1
-

-
- artesania latina
- mare nostrum
- (and 1 more)
-
Titanic 1/400 Anniversary Edition Photo Etch
hof00 replied to hof00's topic in Metal Work, Soldering and Metal Fittings
Hi All, I guess please disregard my post. I think I've got it sorted.... Some work with the Cellphone Magnifier, some parts are stamped on the fret, difficult to see. (Maybe I'm just getting old.... 😀) Anyway, I think that I'm just about ready to take on the "Dark Side." Cheers and Regards, Harry.- 1 reply
-
- 1
-
-
Hi All, Following on from my previous Photo Etch Question.... I am soon to embark, (Pardon the pun), on the Academy Titanic 1/400 Anniversary Edition . (Plastic, described by some as "The Dark Side.") I have been reviewing the PE instructions and am able to identify some of the PE components, (Supplied in the kit), on their fret but cannot identify others. I would like to know if there is a PE Parts locator PDF or similar to assist with identification. (I have E-Mailed Academy but no response as yet.) Any advice/assistance would be greatly appreciated. Cheers and Regards, Harry.
-
Hi All, Is there a tuorial somewhere that describes Bending/Application of Photo Etch parts? (Ladders/Handrails/Etc/Etc) Any advice would be very much appreciated. Cheers and Regards, Harry.
-
One word, NICE!! Watch out for that dog of yours.... (I have three Abyssinian cats who like to assist.... 🙂) Cheers....HOF.
- 49 replies
-
- 4
-
-
- Lusitania
- Gunze Sangyo
- (and 2 more)
-
Hi All, Just wondering what became of Steve Priske.... I was following his Flying Cloud video posts hoping there was more. Anyone in the know? Cheers....HOF.
-
Small update: (Time to "Dip my oar in" with Sanson builds....) So, needed to know if the Masthead LED's still functioned. wiring o.k. and LED's o.k. Next challenge is to figure out hoe to transport the wiring up the Mast. I had one ready and tapered but ended in a bit of a disaster..... My next thought is to construct a "Sacrificial" V grove sled, place a dowel in it, cut in half using my Proxxon saw. Once done, I can hold the ends/middle together to taper. Remove wood from the center of the (Dowel) Mast, (Needle File), install wiring/LED's. I thought the plan was my only option after a bit of thought. Comments? Cheers....HOF.
-
Nice!! Decking looking great. I guess I have a much older kit, no Laser Cut Window/Door Frames. Is the Ships wheel/Bench/Cabinet also supplied? I scratched a Binnacle and used a Billings Wheel. Awesome progress Sir. Cheers....HOF.
-
Hi Chap, Nice start!! I'll be in to my version tomorrow.... (Ensure that the forward superstructure is "Beveled" to accommodate the Plywood sides. (This was where mine initially came to grief.... (Too much of a hurry.)) With the re-build, I have to think carefully about the sequence, esp. masking/painting. Are you planning on Lighting? Cheers....HOF.
-
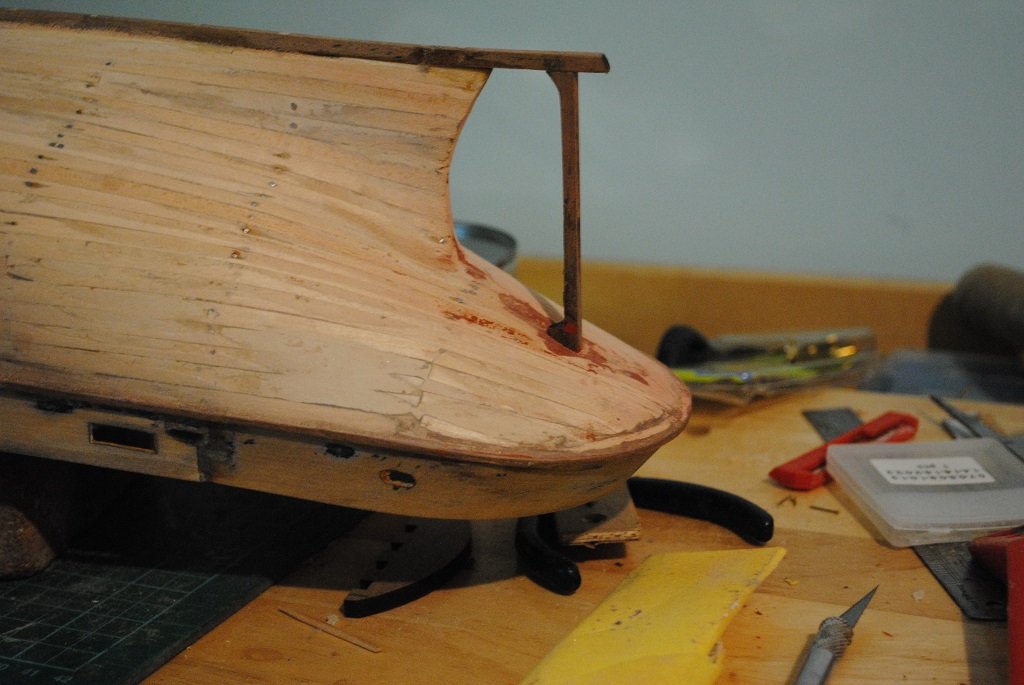
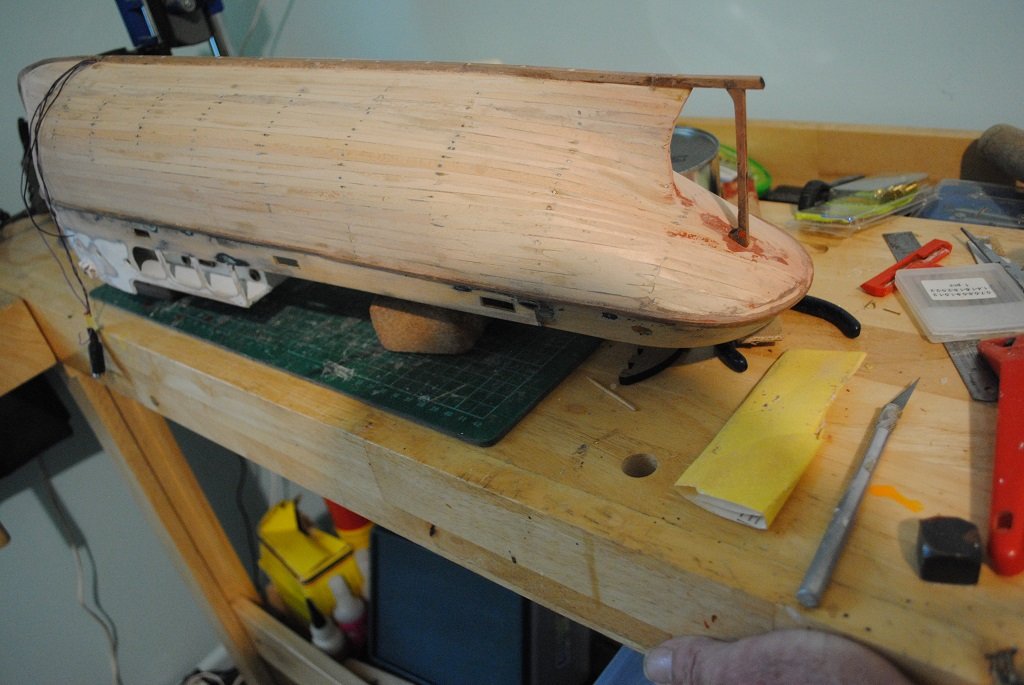
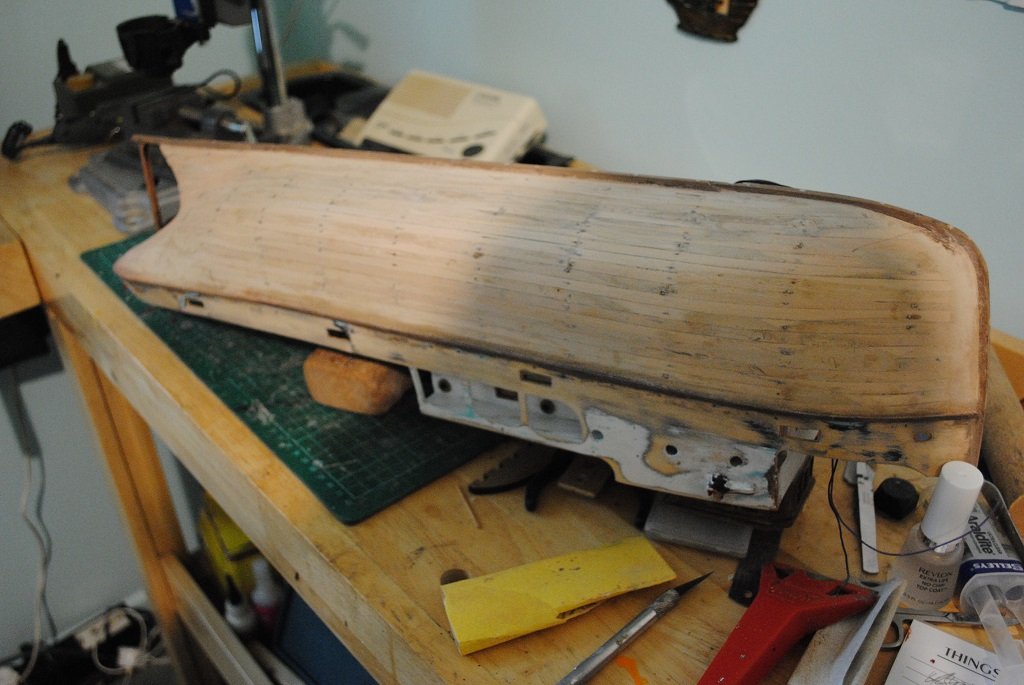
Small update.... Sanded Hull First Cover, (Lime) Pretty happy with the Hull thus far. I think that I'll do the Walnut second Planking prior to completing/painting the Superstructure. So, the Walnut Planking takes about 1.5 strakes per run, it's a long Hull. I took some photos, Stern Post and Plan/Sheer view. If I take the "Plan" view as opposed to the actual Keel dimensions, (Keel already attached), I will not have to rewove 8 - 10mm from the height of the Stern Post/Rudder. (Have a look and give me your opinion!!) I guess this is an A/L thing.... (Plan Error?) I plan to remove a small rebate, Bow/Keel, to accommodate the 0.5mm second cover at these junctures. (Sharp Chisel) I also plan to complete the Superstructure post second planking, so much dross/dust needs to be removed first.... Cheers and Regards, HOF. Photos:

- 118 replies
-
- 4
-
-
- sanson
- artesania latina
- (and 1 more)
-
Hi Chap, How's the Build coming along? Cheers....HOF.
-
A "Tender" re-start.... I initially thought the Stern Post was too long, wrong, I needed to look at the length of the Keel, not the plans..... So, after "Gouging" the initial, (First), planking to make things fit, I have filled in the "Errors" and I'll continue tomorrow once fillers are cured. I am unsure if I can "Articulate" the Rudder at this stage, it would be nice.... Anyhow, tomorrow's another day.... (Clark Gable - Gone With The Wind....😀) Cheers....HOF.
-
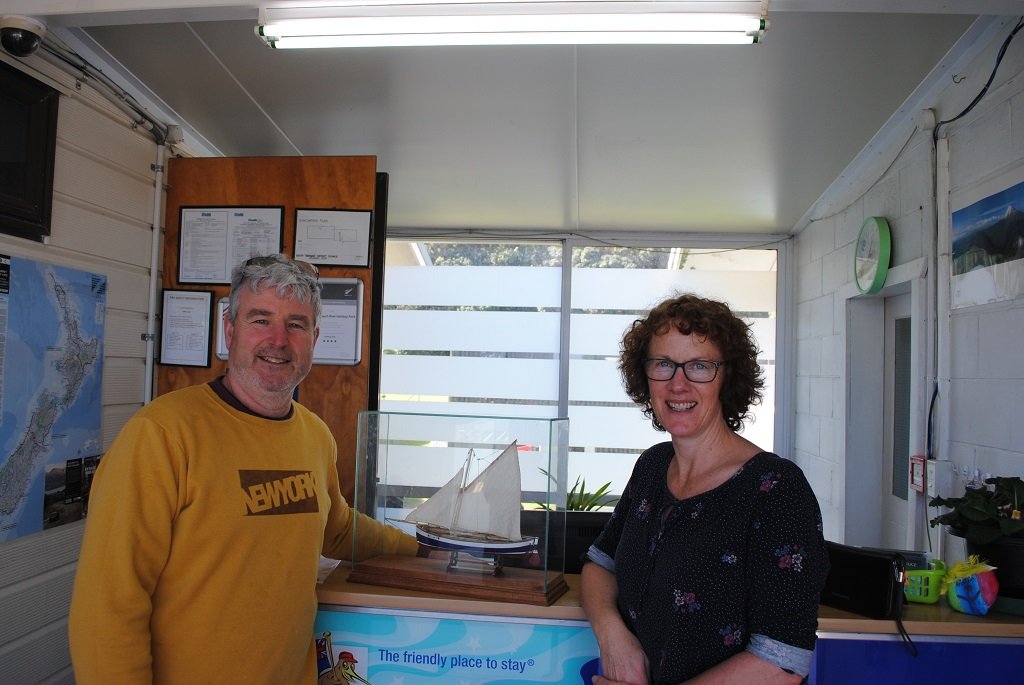
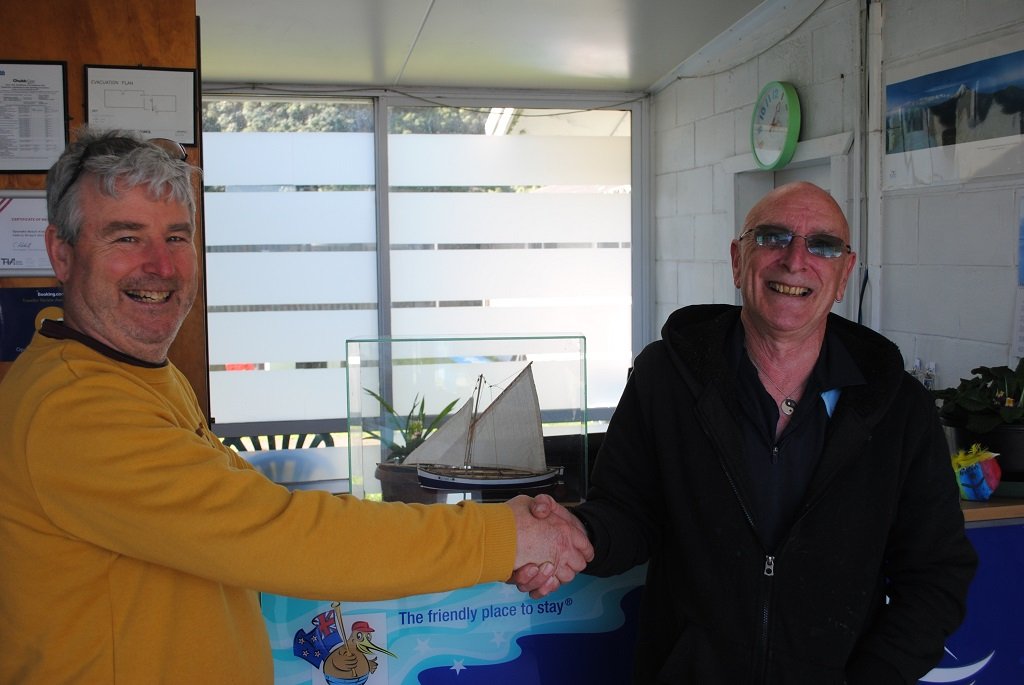
O.K. Fulgaro is finally complete, Nice to give this to the recipients!! Glas case, Rimu Base, am I happy with it? I guess so. There are always aspects, in hindsight, that could have been better but never mind.... (HOF is the Chap with no hair....😀) Photos....
- 29 replies
-
- 2
-
-
- maltese fishing boat
- fulgaro
- (and 2 more)
-
I'm pleased that the "Business" never happened.... Phew!! 🙂 (Model looks awesome!!) Cheers....HOF.
-
Hi All, Seems like Ebony is a "Bridge to far." From what has been discussed it it seems almost impossible to obtain, impossible price, (Cost prohibitive), maybe embargoed, (CITES?) and almost impossible to work with even if you can get the material.... 🙂 Maybe "Antique" or Second Hand shops in NZ? I'll keep my eyes open. Cheers and Regards, Harry.
-
Thank you.... It's good to know the LED N/W is still functional.... (I must have done something right. 🙂) The Mast LED's are going to be interesting. I think I'll taper the Mast first then rebate for the wires.)Should be o.k. (I hope....) Cheers....HOF.
-
'Hi Chap, Yup the move to Manaia, South Taranaki went well, Cats assimilated and Ships moved without any incident. Been here a tad over 4 months, its quiet but I like that. Just finished A/L Fulgaro as a gift for some very accommodating owners of Opunake Holiday Park who provided some discounted accommodation before taking possession of this property. So, Sanson is back on the agenda, I sort of need to this before attempting anything else, even though I am sorely tempted by the Flying Cloud. (Yup, the "Lady" on the bench is Sanson as per yesterdays photos. 🙂) Cheers and Regards, Harry.
-
Awesome!! Thank you all for your sage advice.... I'll have a think about things and perhaps revert to the supplied timber and paint/stain.) I had a link to "Guzzman.com Flying Cloud build but cannot locate any longer. (This inspired me in the use of Ebony.) Cheers and Regards, Harry.
-
Thanks Chap.
