hof00
-
Posts
1,654 -
Joined
-
Last visited
Content Type
Profiles
Forums
Gallery
Events
Everything posted by hof00
-
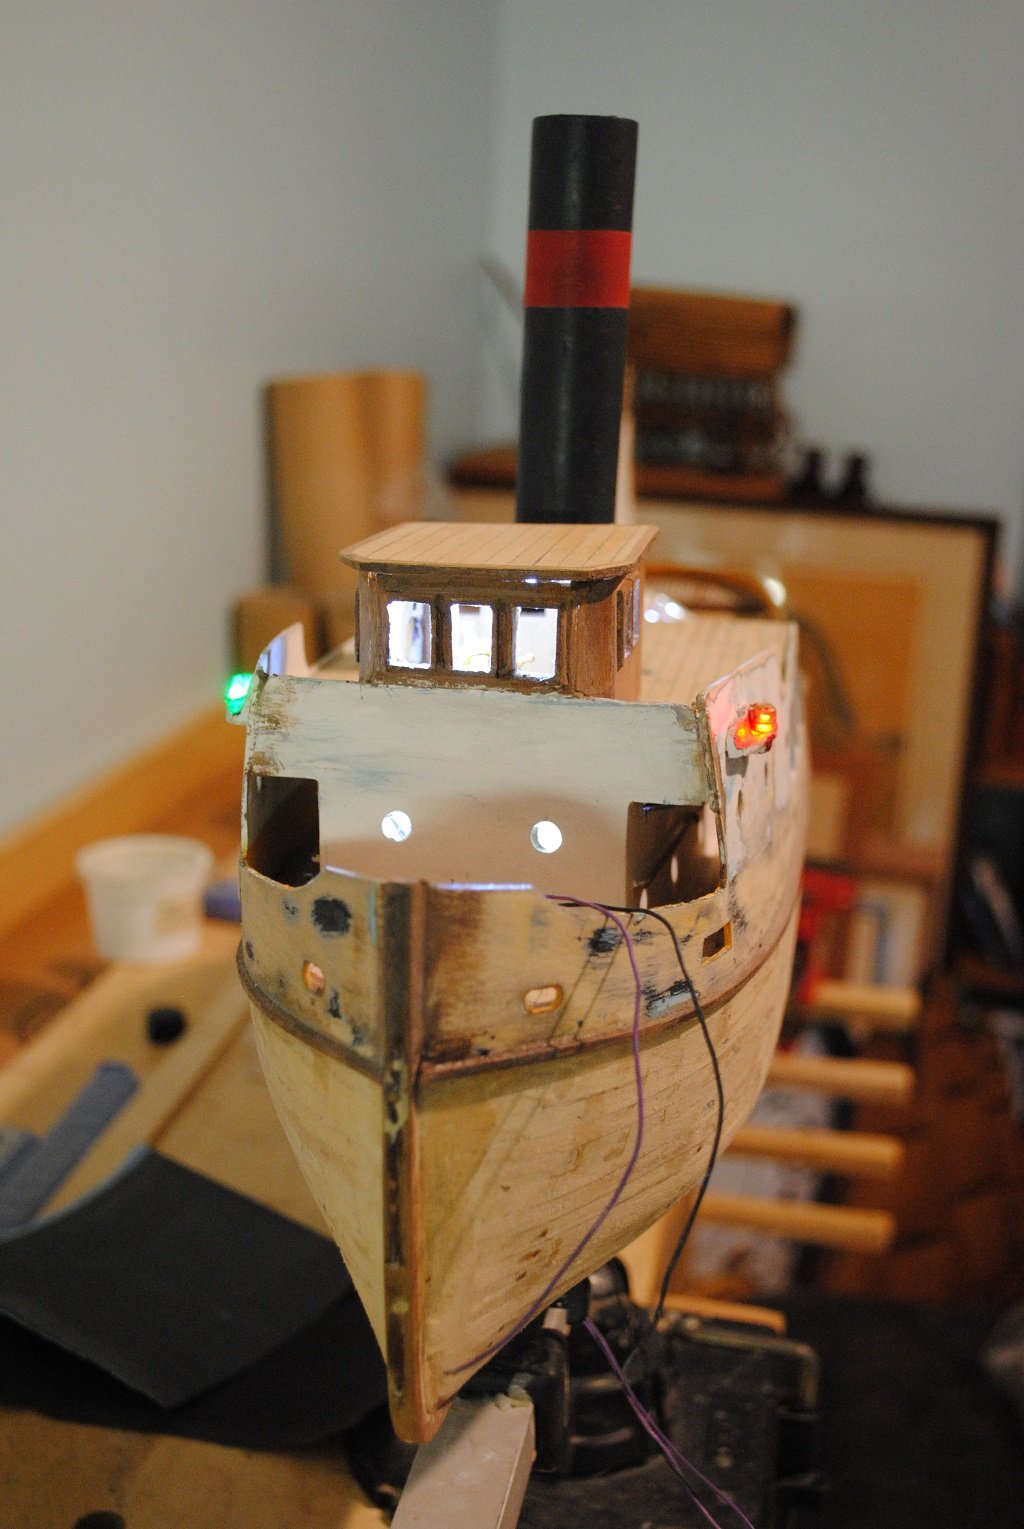
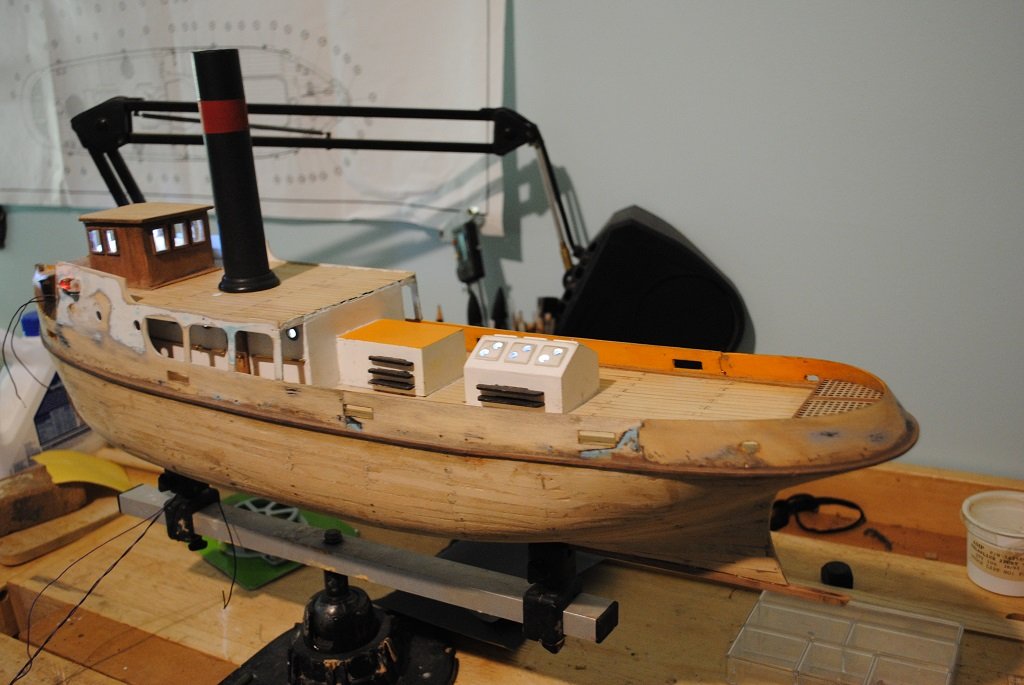
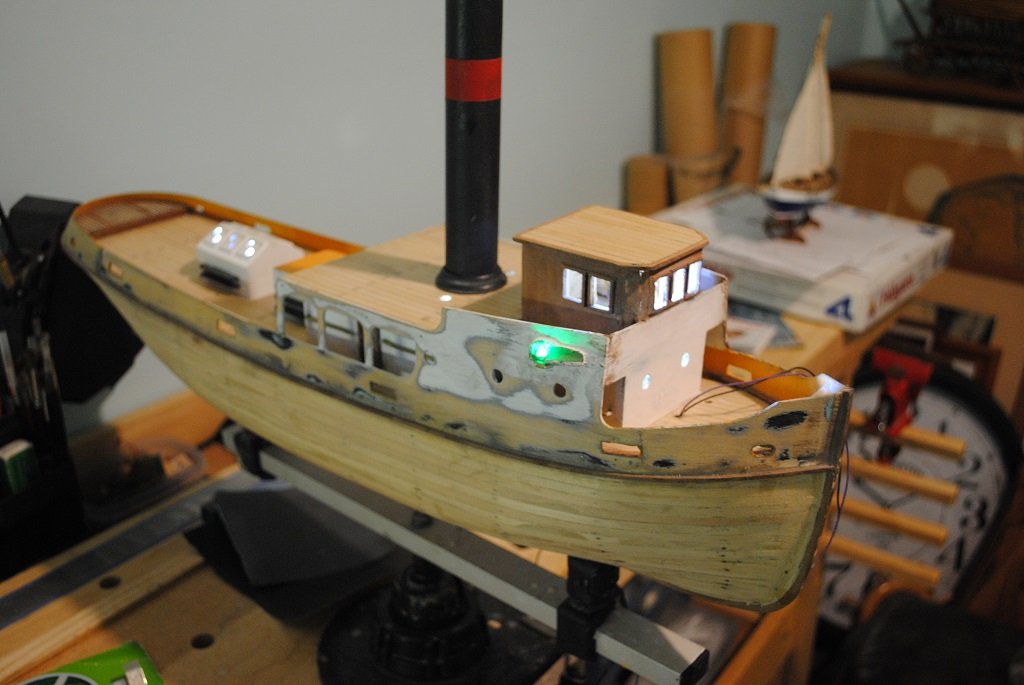
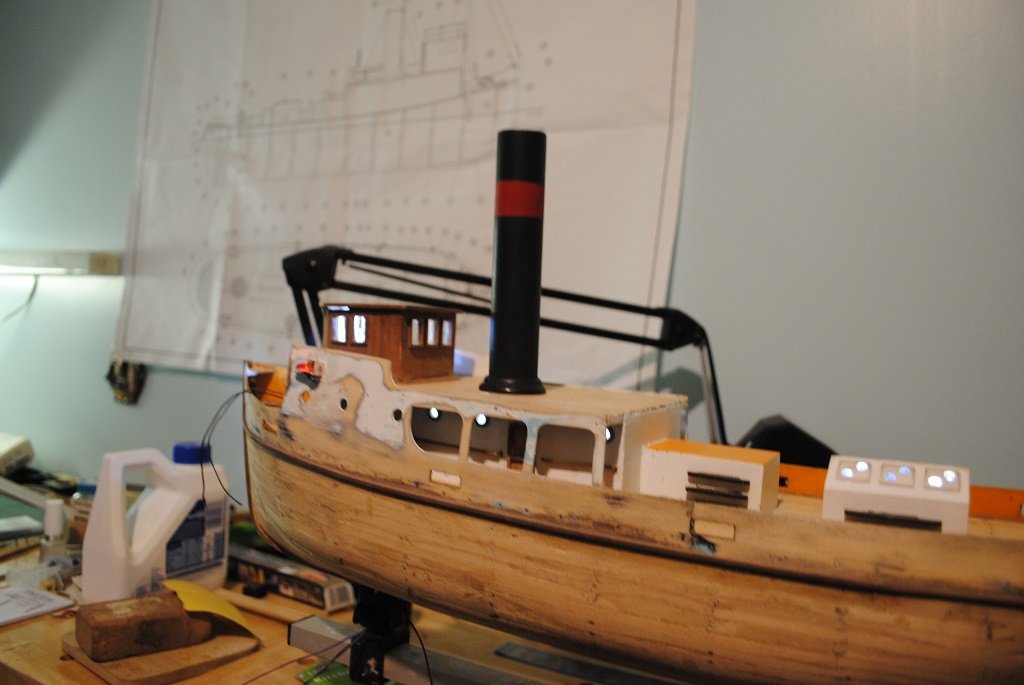
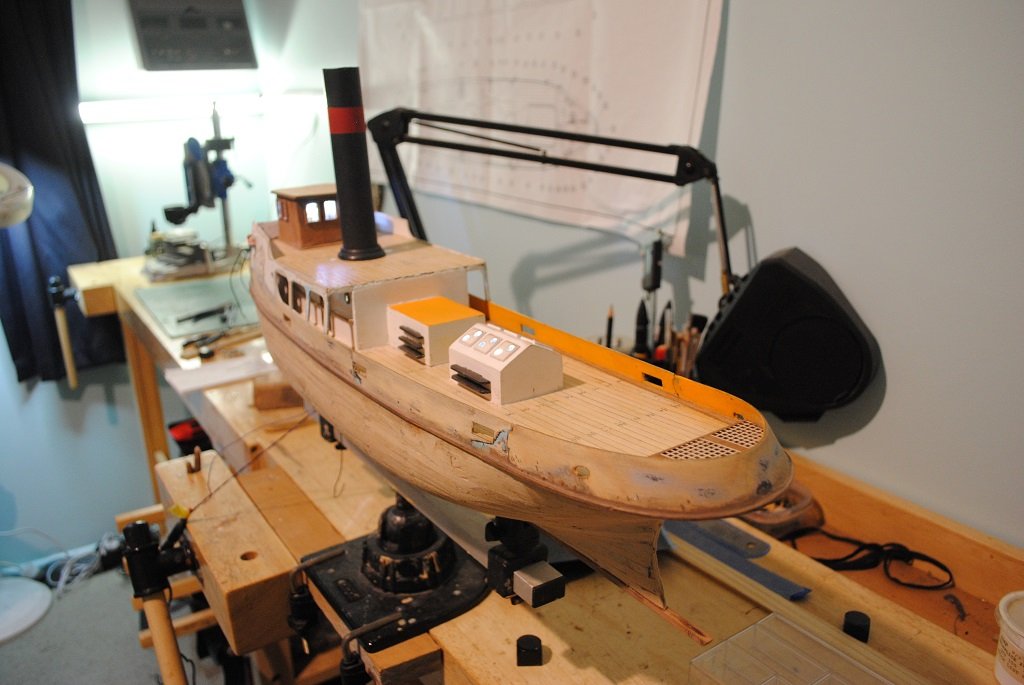
 Hi All, It's been a while since I posted for my sadly forgotten build.... I have sort of reconciled myself to continuing this.... There's not a whole lot of stuff left to do, really.... More a Planking an Painting exercise. (Masking is a pain but I'm getting more patient with it.) There are some things that need attention before painting, touch ups on superstructure, etc. Second Hull Cover should be o.k. Anyway, a few pictures as the build is from ten minutes ago. (Any comments/criticism most welcome. (Please remember this is pretty much a Tear Down/Re-Build.)) (At least it's not too much of a wreck!! 😊) Cheers....HOF.
- 118 replies
-
- 3
-

-
- sanson
- artesania latina
- (and 1 more)
-
Hi All, Does anyone know where I can obtain Ebony Strip Wood for second Planking? (I guess 0.5mm thick.) I'm toying with the idea of starting the Mamoli Flying Cloud. I have also read that Ebony is very difficult to work with. Is there an alternative to Ebony which has a similar look? Any advice on procurement/cost of Ebony and working with it would be very much appreciated. Cheers....HOF.
-
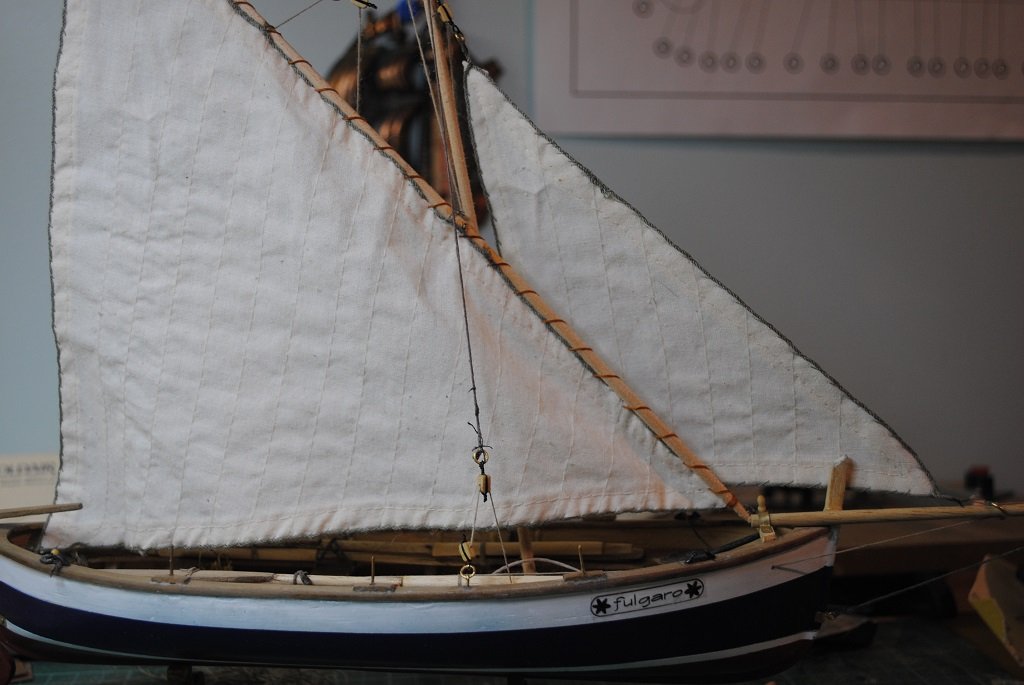
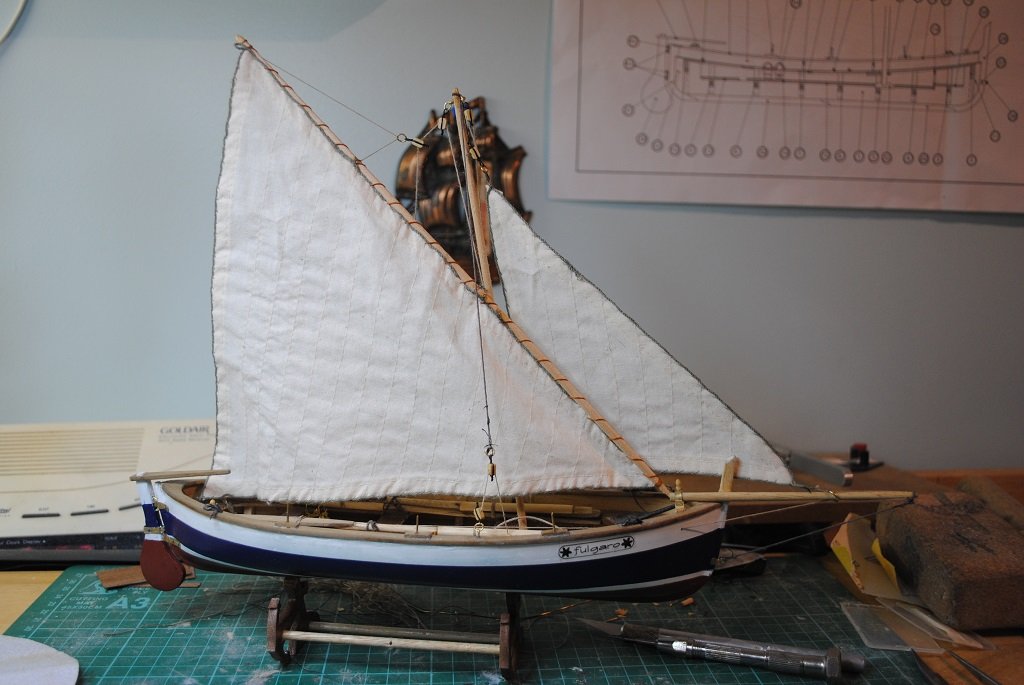
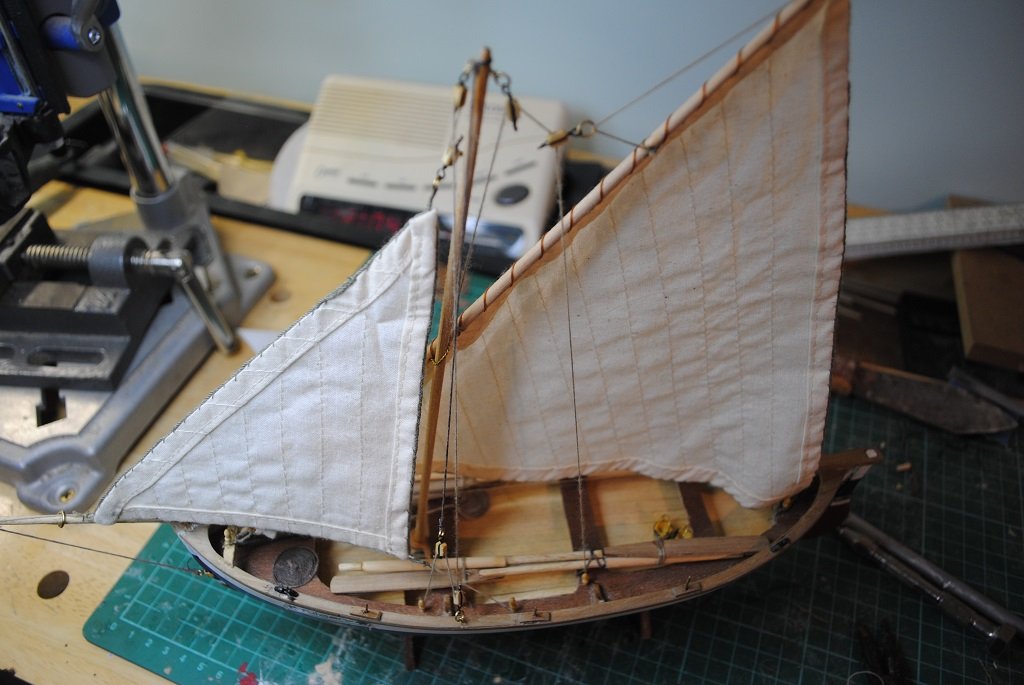
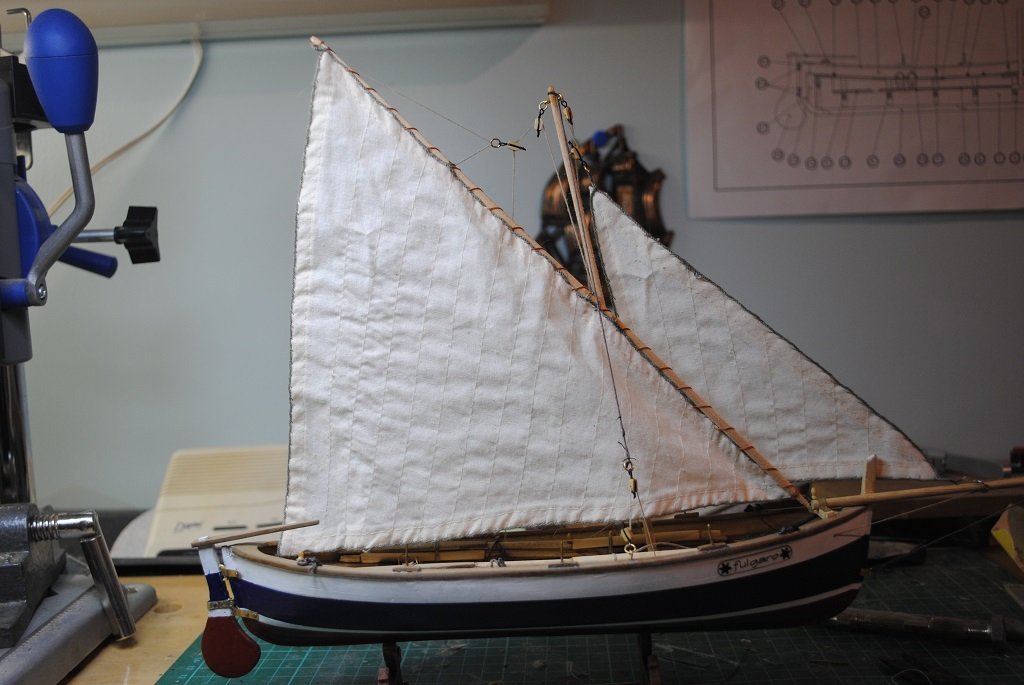
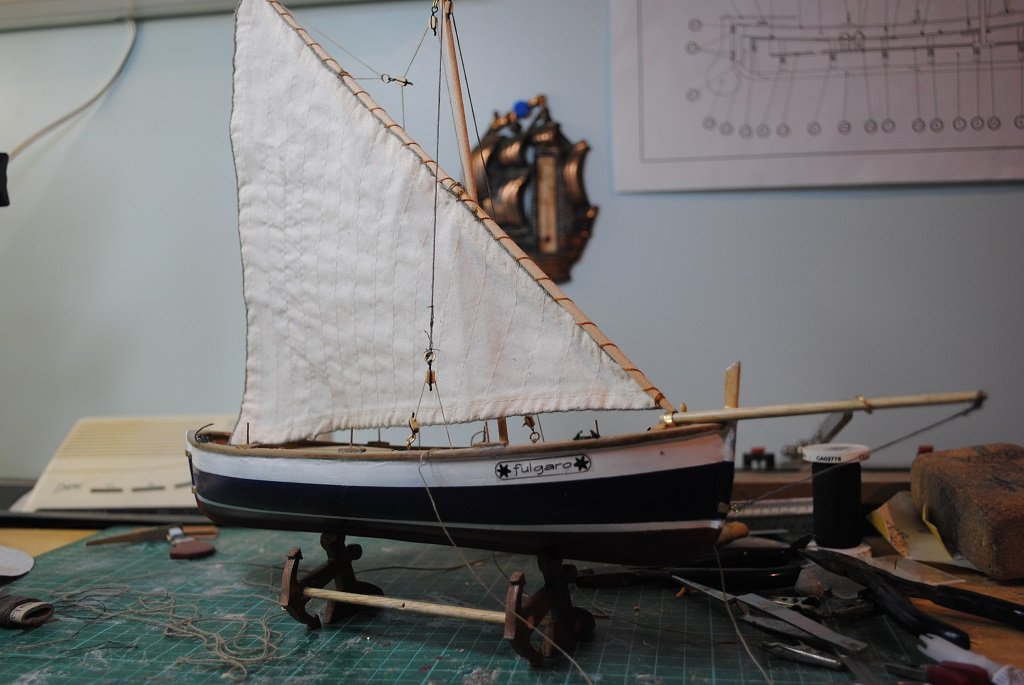
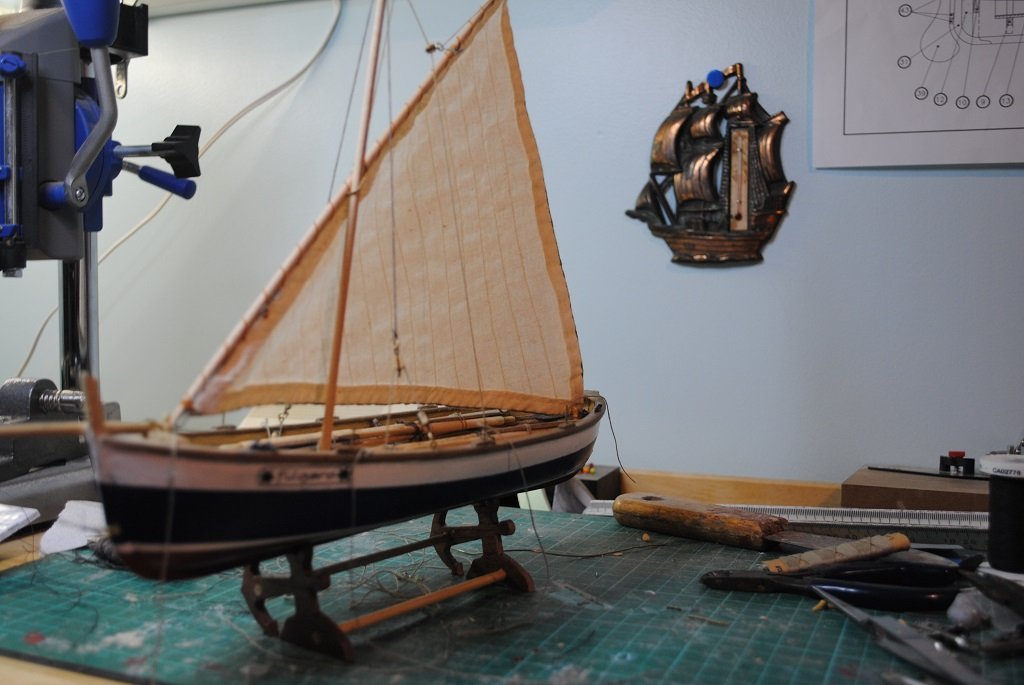
Hi All, Update.... I'm going to call this "Finished." Jib installed and Rigging tidied up. My first "Boat" apart from very small Life Boats on the Cutty Sark. An interesting build and pleased I got to construct before the kit got any older. I should have used a few Double Blocks in places but "Cest La Vie...." (Nice to have something squared away after such a long hiatus. (Life gets in the way.... 🙂) Unsure what's next, I'm really tempted by the, Mamoli Flying Cloud, (I love Clippers), certainly an investment and commitment in time but also seeing Paul Jarmns's start on his Sanson has got me thinking maybe to finish an unfinished project.... I'll put a couple more posts once the model is on a Plinth, Cabinet and Presentation soonish. Cheers....HOF.
- 29 replies
-
- 3
-
-
- maltese fishing boat
- fulgaro
- (and 2 more)
-
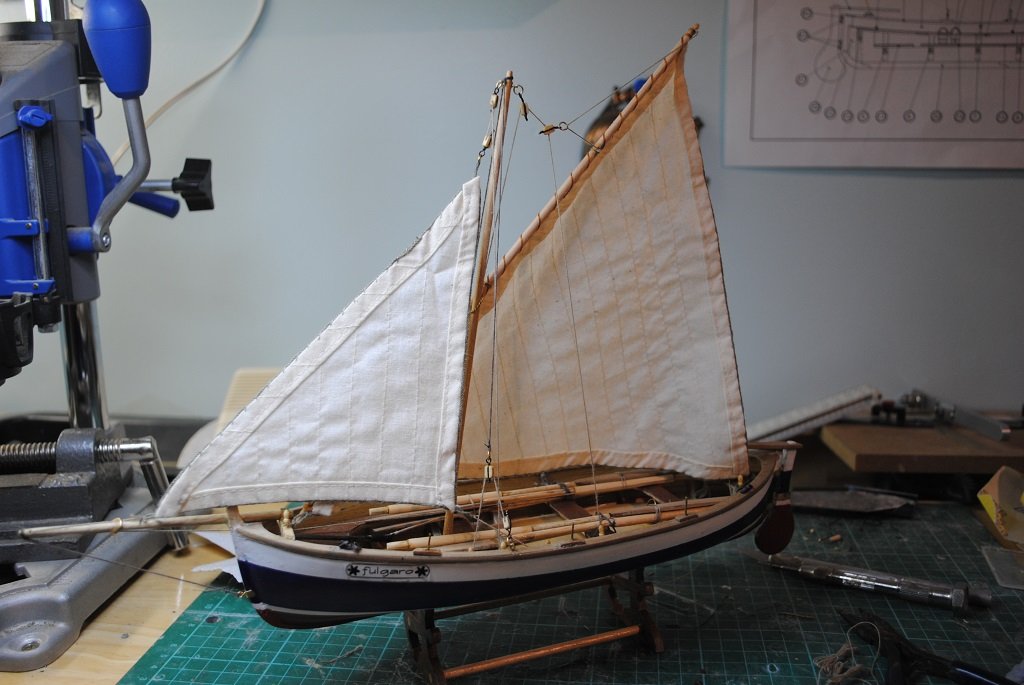
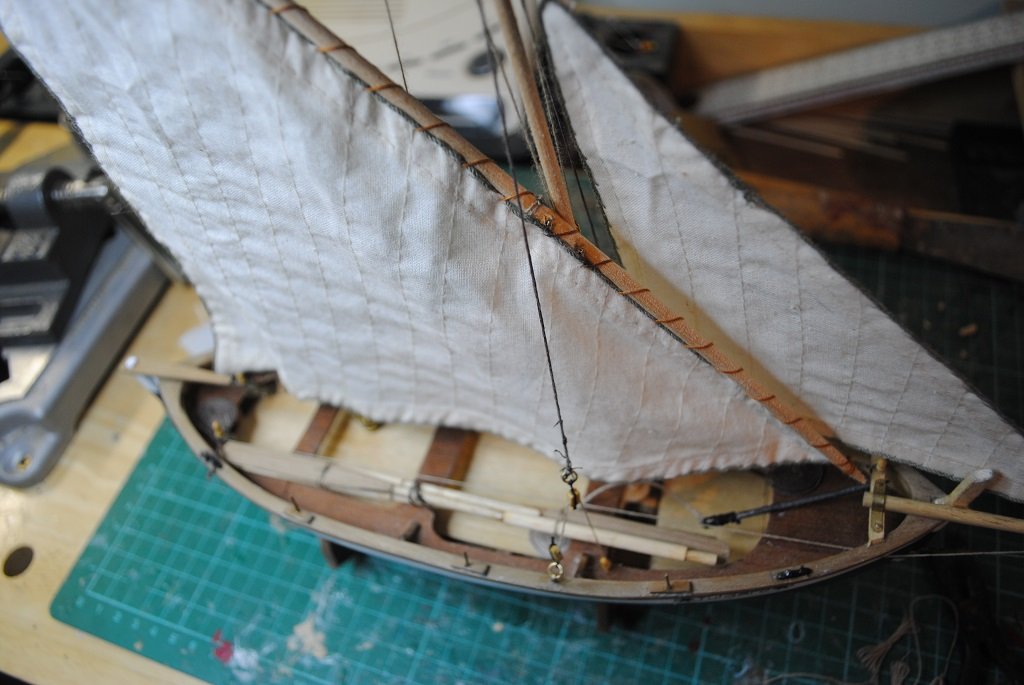
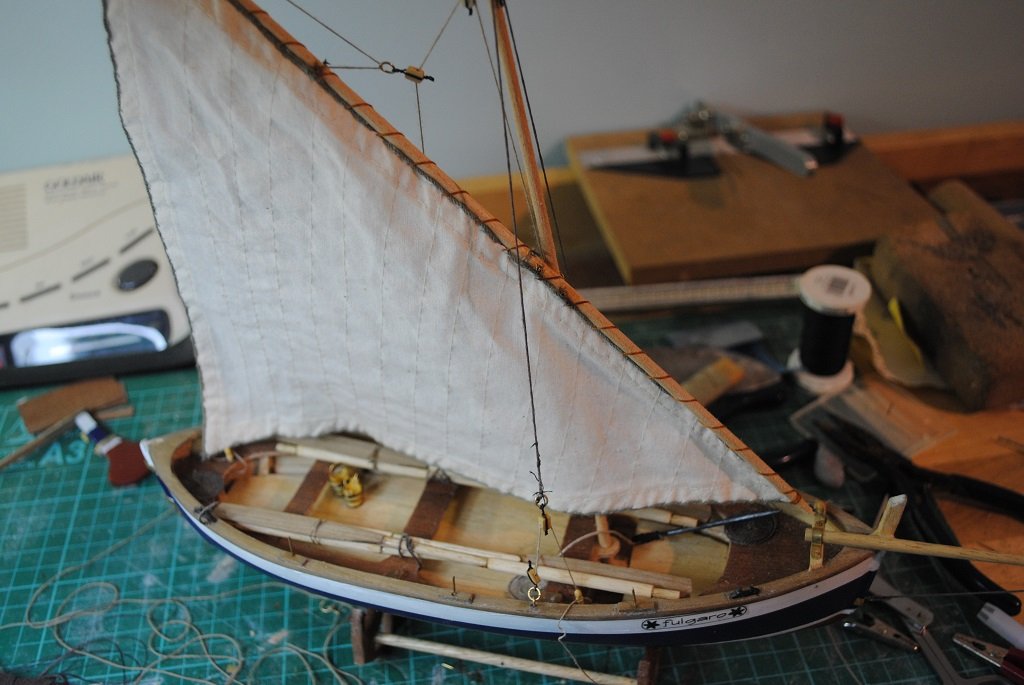
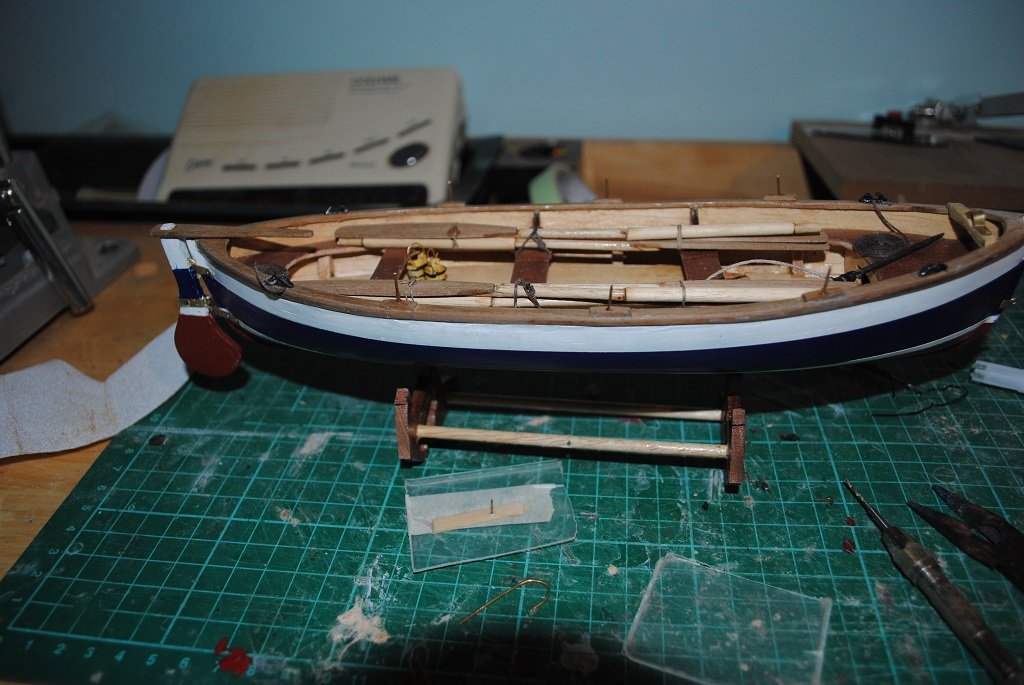
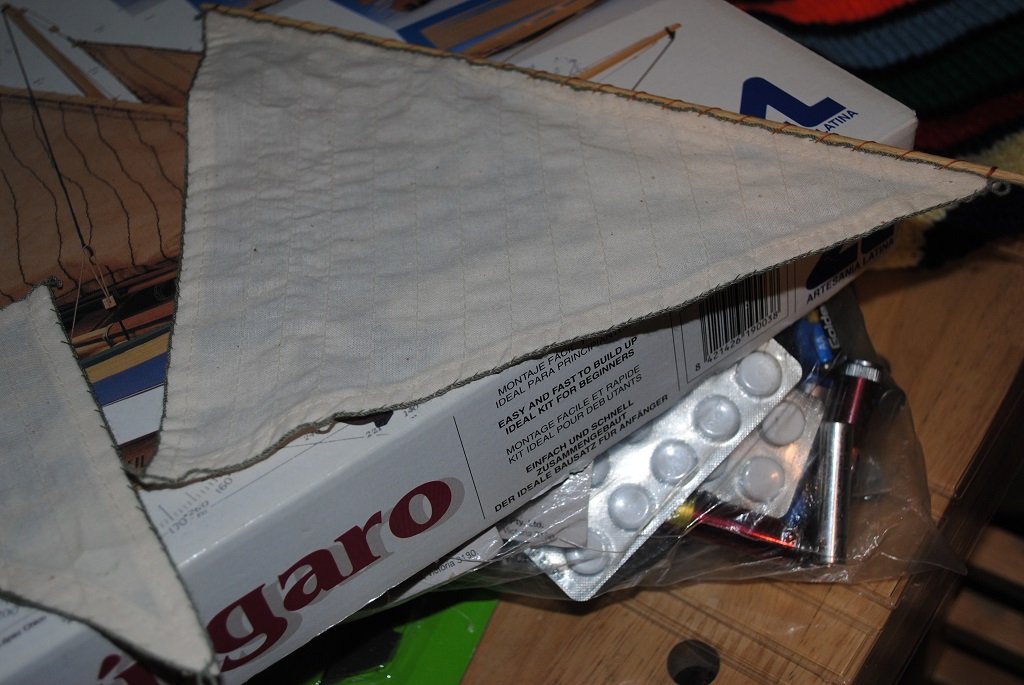
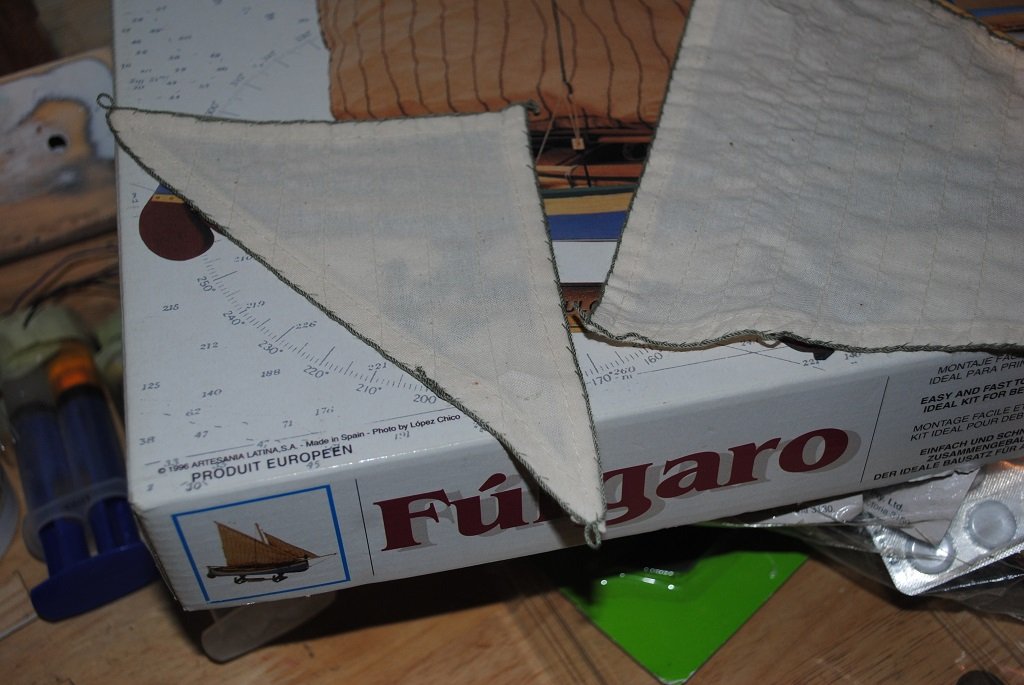
Hi All, An update of sorts.... Mainsail in place, Rigging complete, sort of.... Fulgaro Trail Board name "Stickers" were so, so fragile, I had one shot and think I got away with the application. Unsure if I'm 100% happy with the rudimentary Shrouds o.k. but OOB, Single Blocks. (I'll live with it, Not for me, I don't think the recipients will notice/care.) So, flying pretty much blind with the Running Rigging, a fairly basic Rigging plan provided, the Box is helpful. (Hopefully, it's a reasonable facsimile.) Jib Sail is the task tomorrow, tidy up the loose ends/Touch-ups, Get fixed onto the stand, Plinth, (Rimu), Glass cabinet, presentation and I think I'm done!! 🙂 Cheers....HOF.

- 29 replies
-
- 1
-
-
- maltese fishing boat
- fulgaro
- (and 2 more)
-
Thanks Paul, It's not so much of a log thus far.... I'll get some up to date photos posted soonish. Cheers....HOF.
-
Nice to see Paul. I'll watch with interest. My Sanson is about 1/2 complete, I was initially not very happy with my efforts, so stripped most of it back and re-built. (I'll have another look at this after I complete my Fulgaro build.) Cheers....HOF.
-
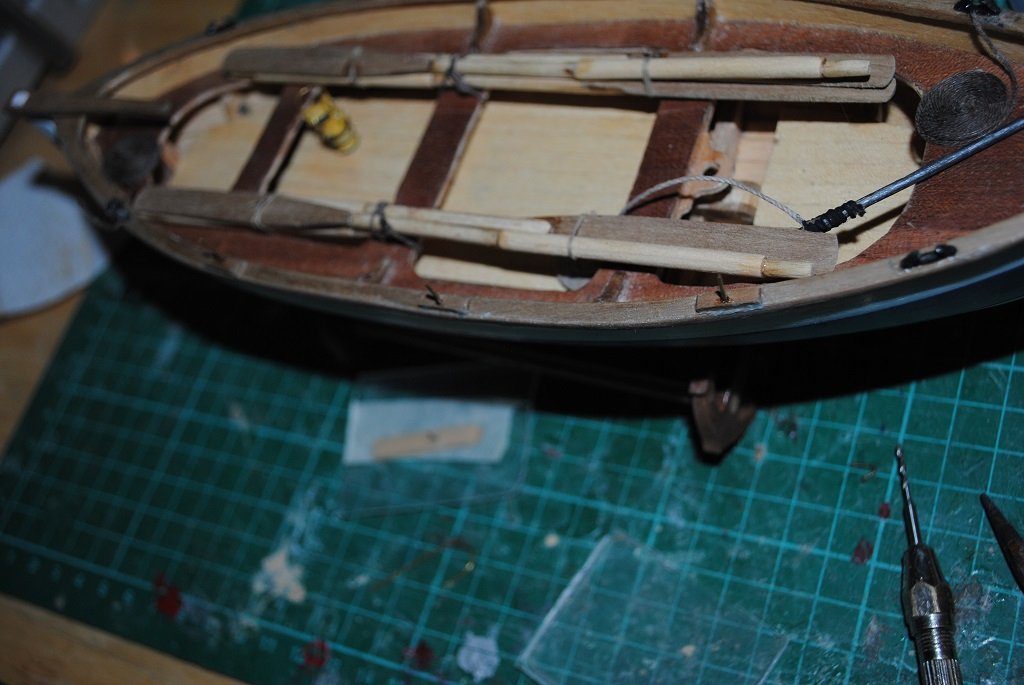
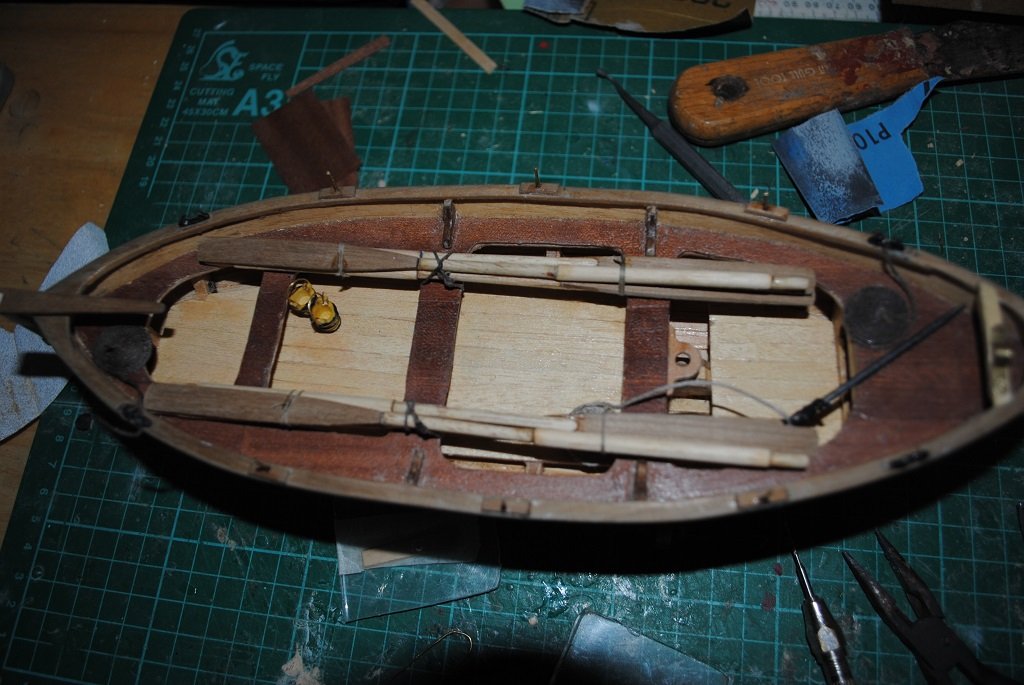
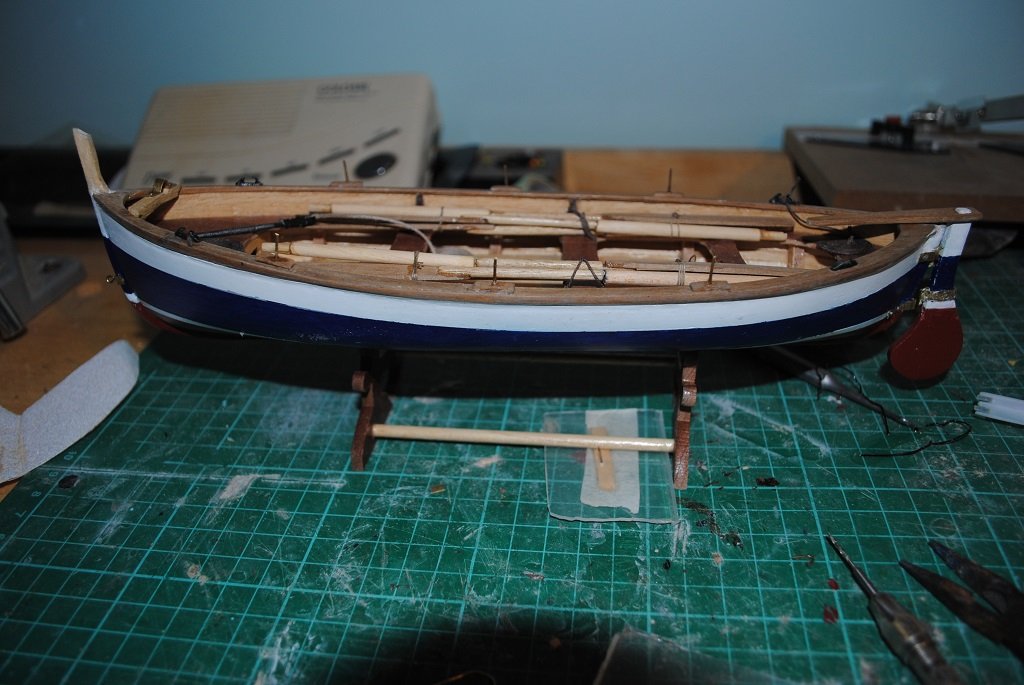
Small Update.... Pretty much finished the Hull and Deck stuff. Bundled and fixed Oars Thole Pins New Harpoon (Gunmetal Toothpick) Rope Coils, Harpoon/Painter? Blocks Stropped Managed to break the Lateen Yard but fabricated a new one, new Mast.... So, hopefully, I'll be rigging tomorrow once my Lady re-stiches the Sail for me.... 🙂 Constructive criticism always Welcomed.
- 29 replies
-
- 2
-
-
- maltese fishing boat
- fulgaro
- (and 2 more)
-
Thanks Chap, I was thinking a much larger conflagration!! Cheers....HOF.
-
Hi All, Thought I'd share a very recent experience.... In my Ship Room, I have a Nylon Type Carpet protecting the Carpet under. I bumped the CA bottle off the workbench, a small pool spilled on the Nylon Carpet and it started to heat up, hissed, bubbled and started to give off fumes.... (Something like the Acid in Alien movies.) It didn't last for too long but enough to give me concern. I guess ensure you are careful.... Cheers....HOF.
-
I'll need to make a new Mast.... The original broke about 30mm from the top. I had CA'd this and seems o.k. but discretion is the better part of valor... Thole Pins are the only thing that need adding to the Hull, Blocks are "Stropped." A couple of Photos....

- 29 replies
-
- 2
-
-
- maltese fishing boat
- fulgaro
- (and 2 more)
-
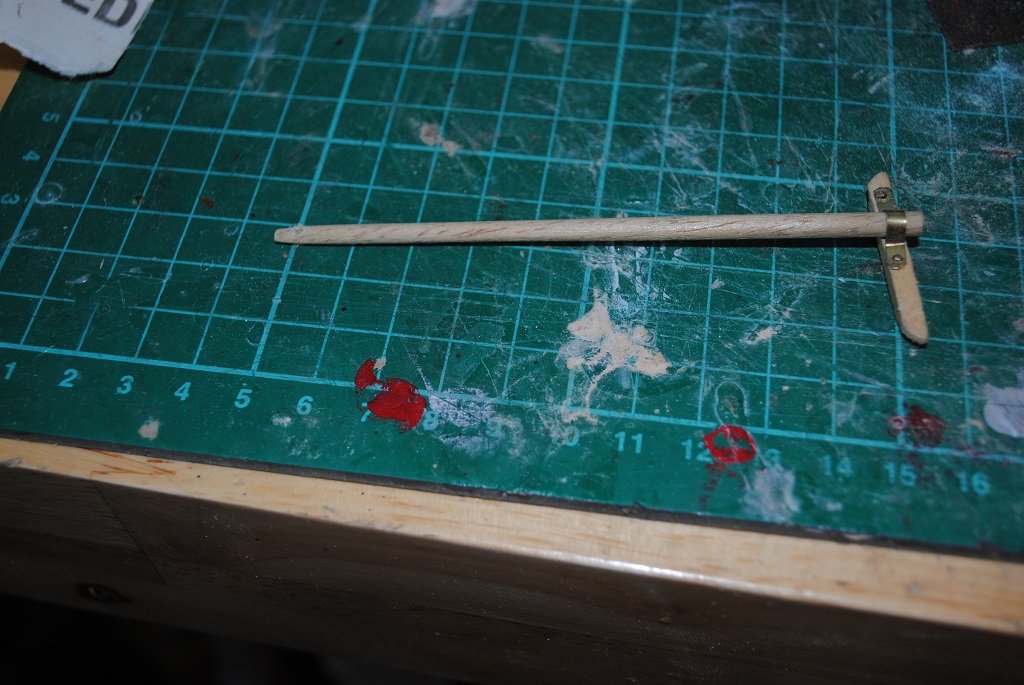
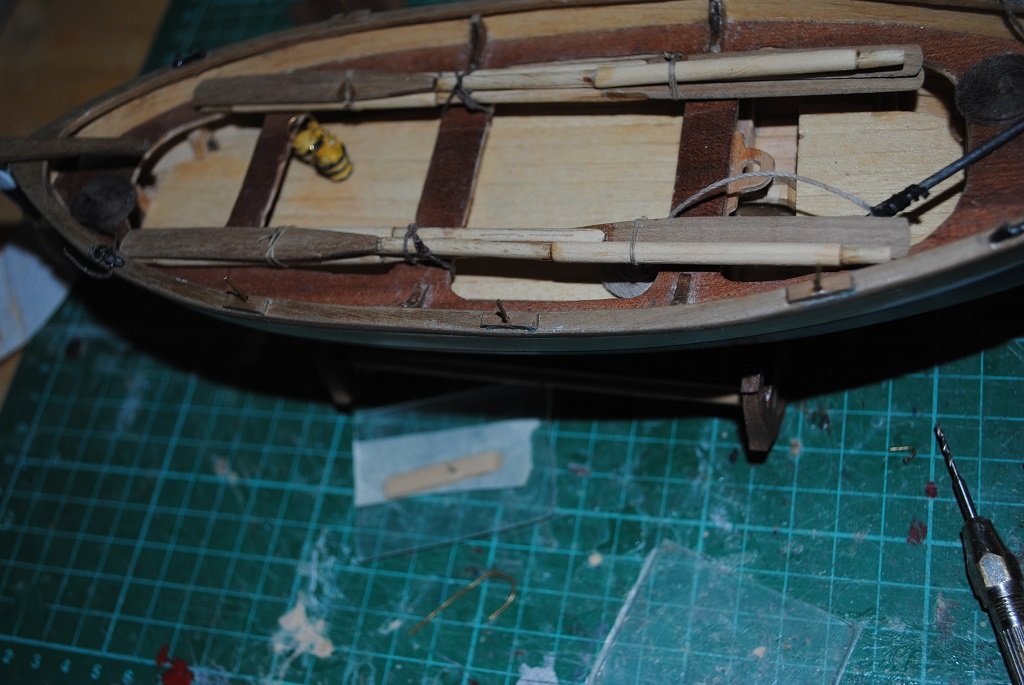
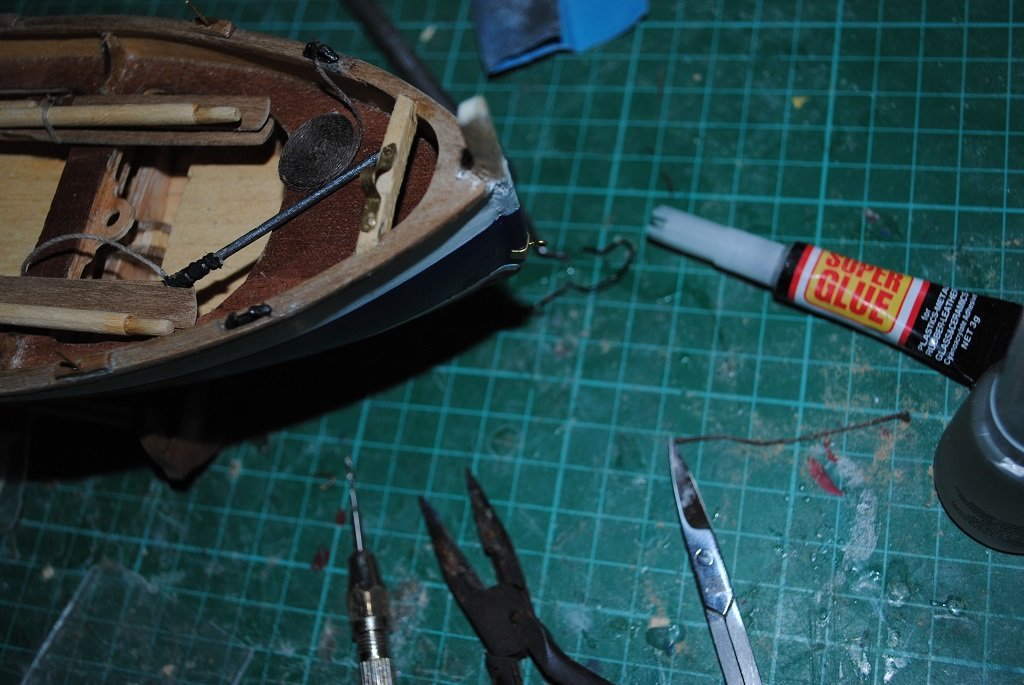
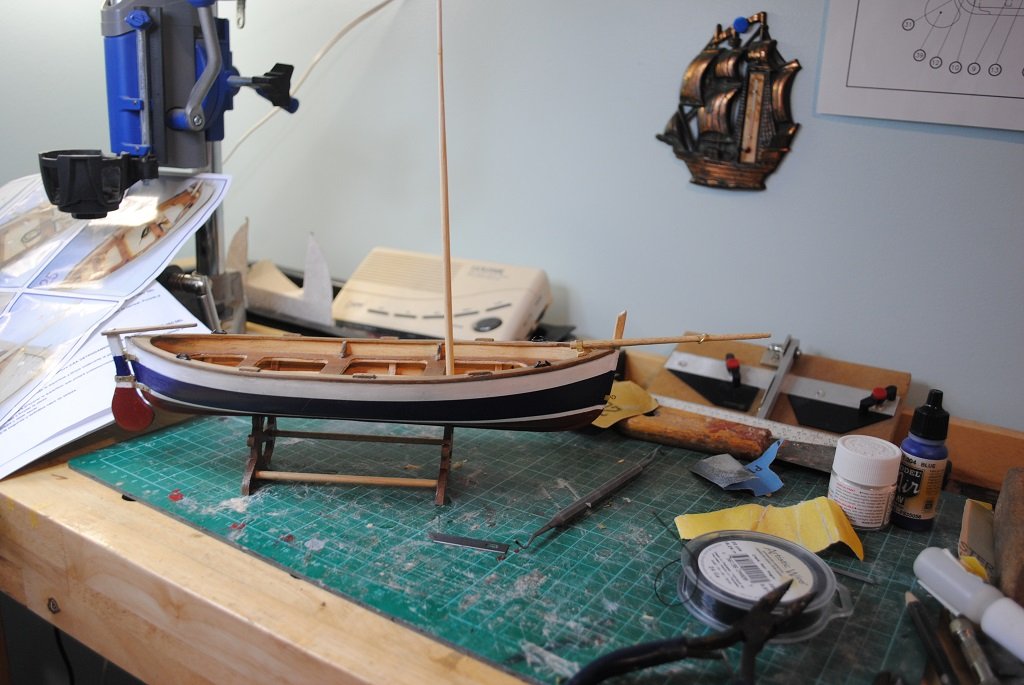
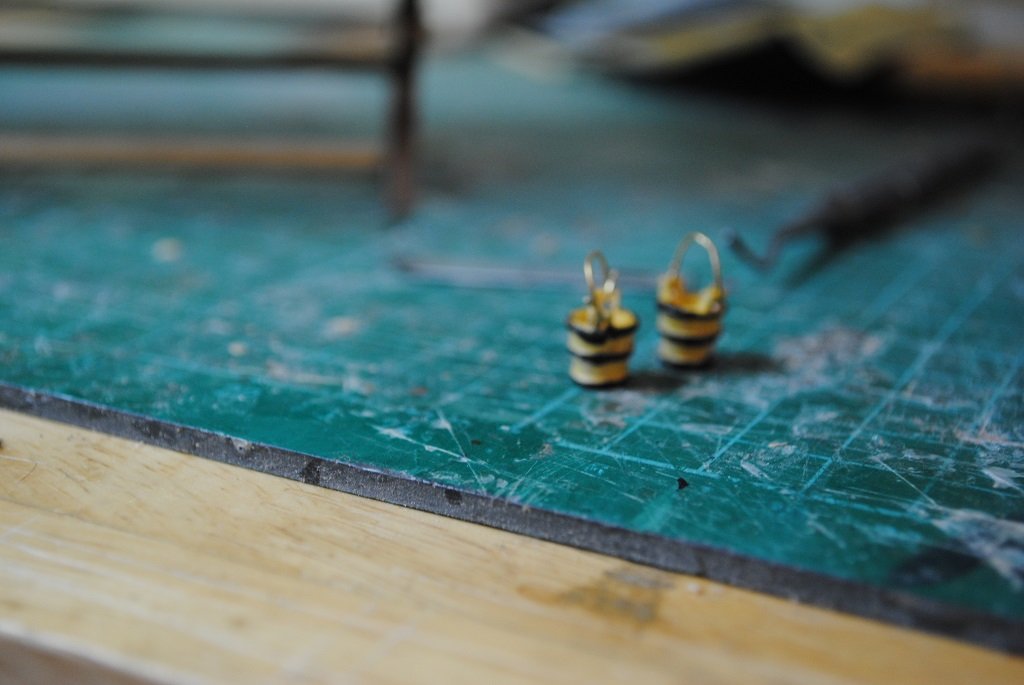
Small update: I thought I was going to leave things alone for a few hours.... Couldn't resist.... So, fabricated the Bowsprit Stay and fitted, Fitted the Rudder Gudgeons/Pintles Rudder fitted and "Articulated." (Bottom Rudder Hinge was 2.0mm to high but I'm not going to move it.... It is what it is.) Buckets have Brass Handles fitted and Hoops painted black. The "Harpoon,_" (Muntz Metal) fell apart while sanding, I'll fabricate another from Brass tomorrow. The Hull is pretty much done, just a few minor touch-ups. On to the Masting/Rigging.... (I'm flying a little blind but things should be o.k as long as I can work out where the Single/Double Blocks are located. Photos tomorrow. Cheers....HOF.
- 29 replies
-
- 1
-
-
- maltese fishing boat
- fulgaro
- (and 2 more)
-
Hi Chap, Any photos of the error? Cheers....HOF.
-
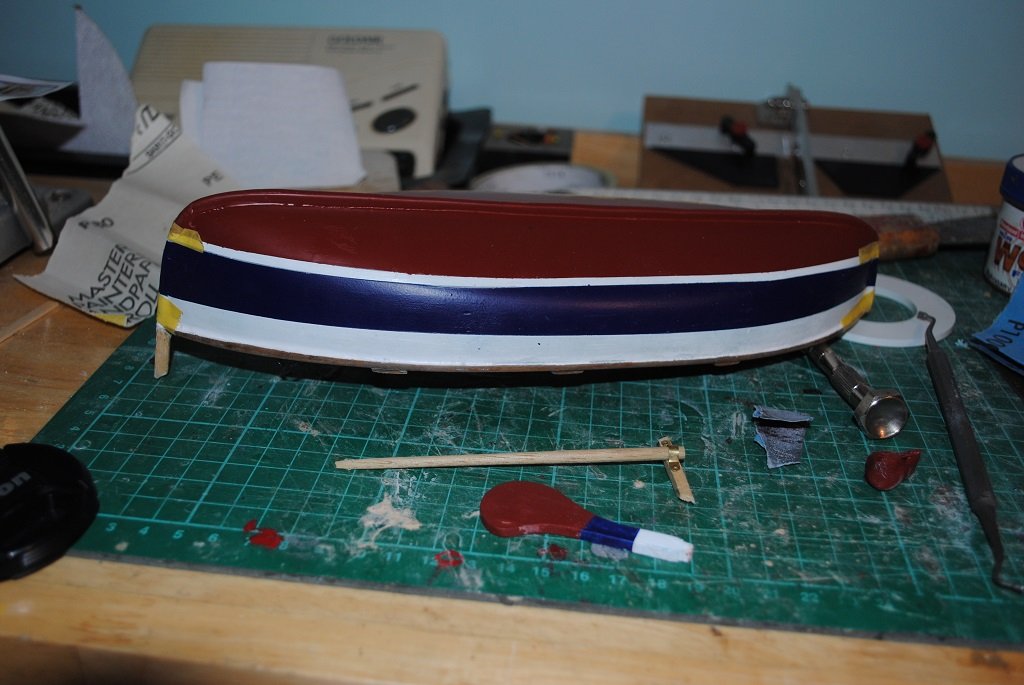
Thanks Chap, I decided to "Brush" paint. A couple of reasons: The Vallejo is quite forgiving and a nice Satin finish (After 3 reasonably light coats) Any discrepancy will be on the "Off" viewing side ( I can't see any discrepancy and I'm pretty fussy.... 🙂) I didn't want any more damage due to masking operations The finish is pretty good, just a couple of touch-ups on the W/L I'm reasonably happy and I'm sure the recipients won't notice.... I'll give the Hull a good 48 hours for the paint to harden properly, I can then fit the Rudder Hinges/Pintles. In the interim, I can prep the Mast/Yard/Bowsprit and a few other details "Off" boat. Cheers....HOF.
- 29 replies
-
- 1
-
-
- maltese fishing boat
- fulgaro
- (and 2 more)
-
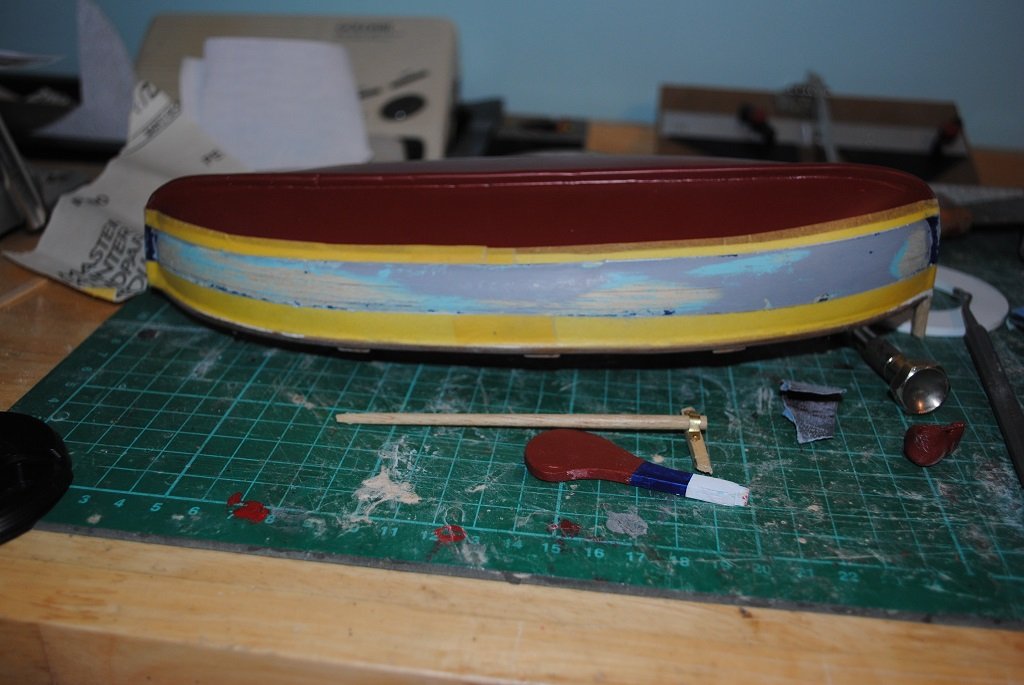
Update of sorts.... Painted the Hull, Masking on the Port side removed some Vallejo Blue.... Unsure why this happened on one side only and low tack Tamiya tape, maybe the Hull wads too smooth? Not keyed enough? Not 100% happy but scraped and sanded the offending paint away, only one side, so, not too bad. I was thinking about Brush Painting but this, I think would be lazy.... Need to get the compressor out. (My Iawata Airbrush is not working due to the fact that I think the Siphon feed has crapped out, the bottle and cap have seen better days.) I have a couple of different airbrushes so should be o.k. (Paint tomorrow.....) My Partner stitched the Lateen Sail onto the Yard and pressed the Sail material, nice result!! Photos....

- 29 replies
-
- 1
-
-
- maltese fishing boat
- fulgaro
- (and 2 more)
-
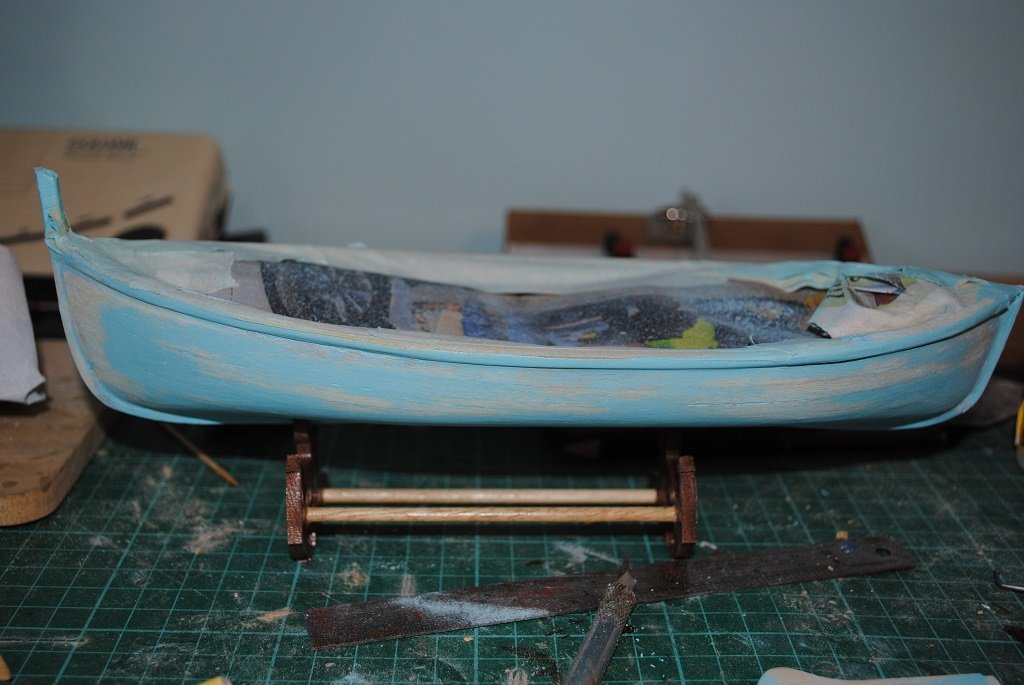
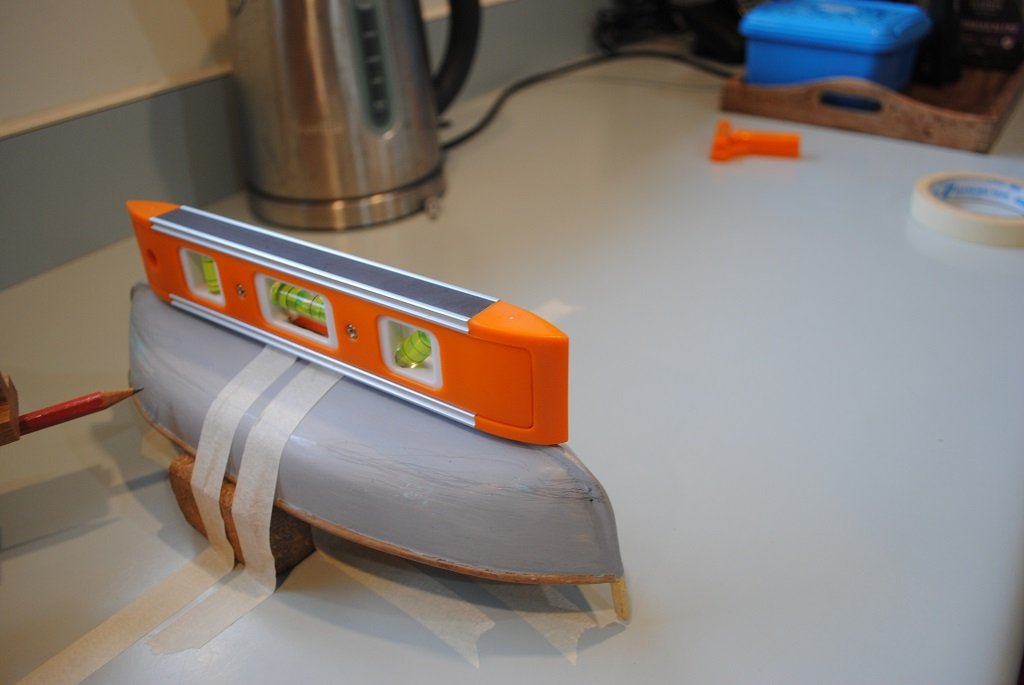
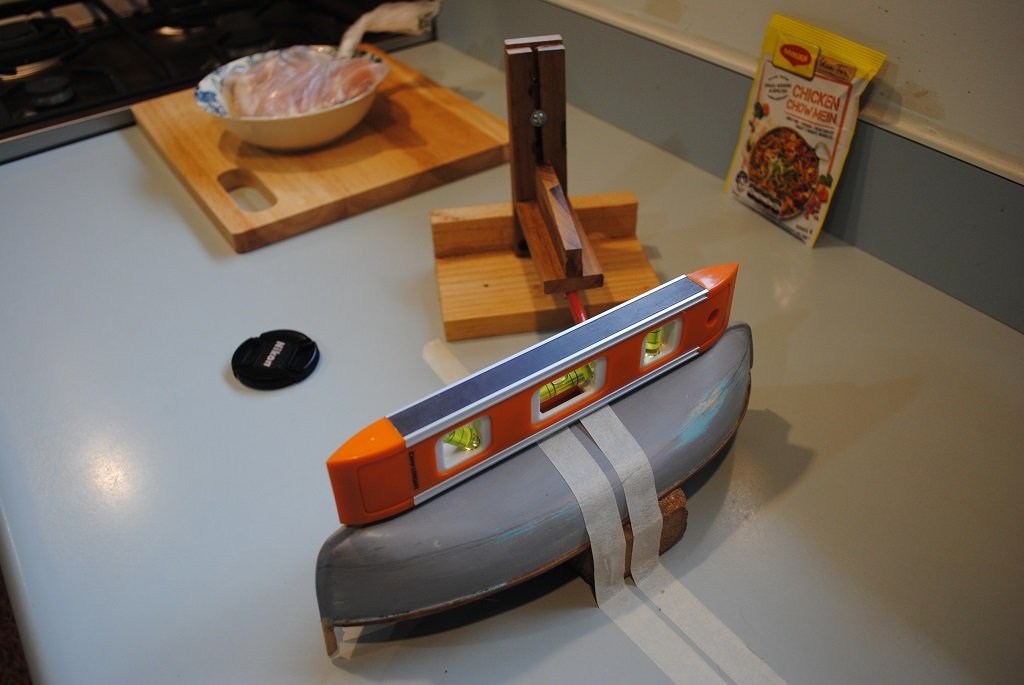
Same Chap.... Update: Primed the Hull, went over the Hull with 1000 Grit, not sure why, I guess I want things as perfect as possible.... Anyway, removed the Masking, Topsides, even the Tamiya Tape degrades after a couple of days. Had a bash at mounting the Hull in it's stand to mark the W/L, not good so decided to turn the Hull upside down, levelled and marked, much better result. (It's not a Clipper, got to keep that in mind as well as the depth of the Hull.) I guess that I'll be starting to Airbrush the Beastie tomorrow at some stage.... (The first attempt at an open Boat, interesting, but similar to other ship models.... (The only other open Boats that I have attempted are those of the Cutty Sark Lifeboats.)) First time for everything.... 🙂

- 29 replies
-
- 1
-
-
- maltese fishing boat
- fulgaro
- (and 2 more)
-
Cheers Ears!! (That's an antipodean, (NZ), saying, no offence intended.... 🙂) Yup, moving along, did the Primer thing, waiting for this to go off before 1000 Grit and 000 Steel Wool. Top coats will follow. (BTW the Spray Putty gave me an awesome finish on the Pen Duick Hull.) I won't attach the Rudder/Hardware until the Hull painting is complete. I am aiming for a good quality Model for the recipients. HOF.
-
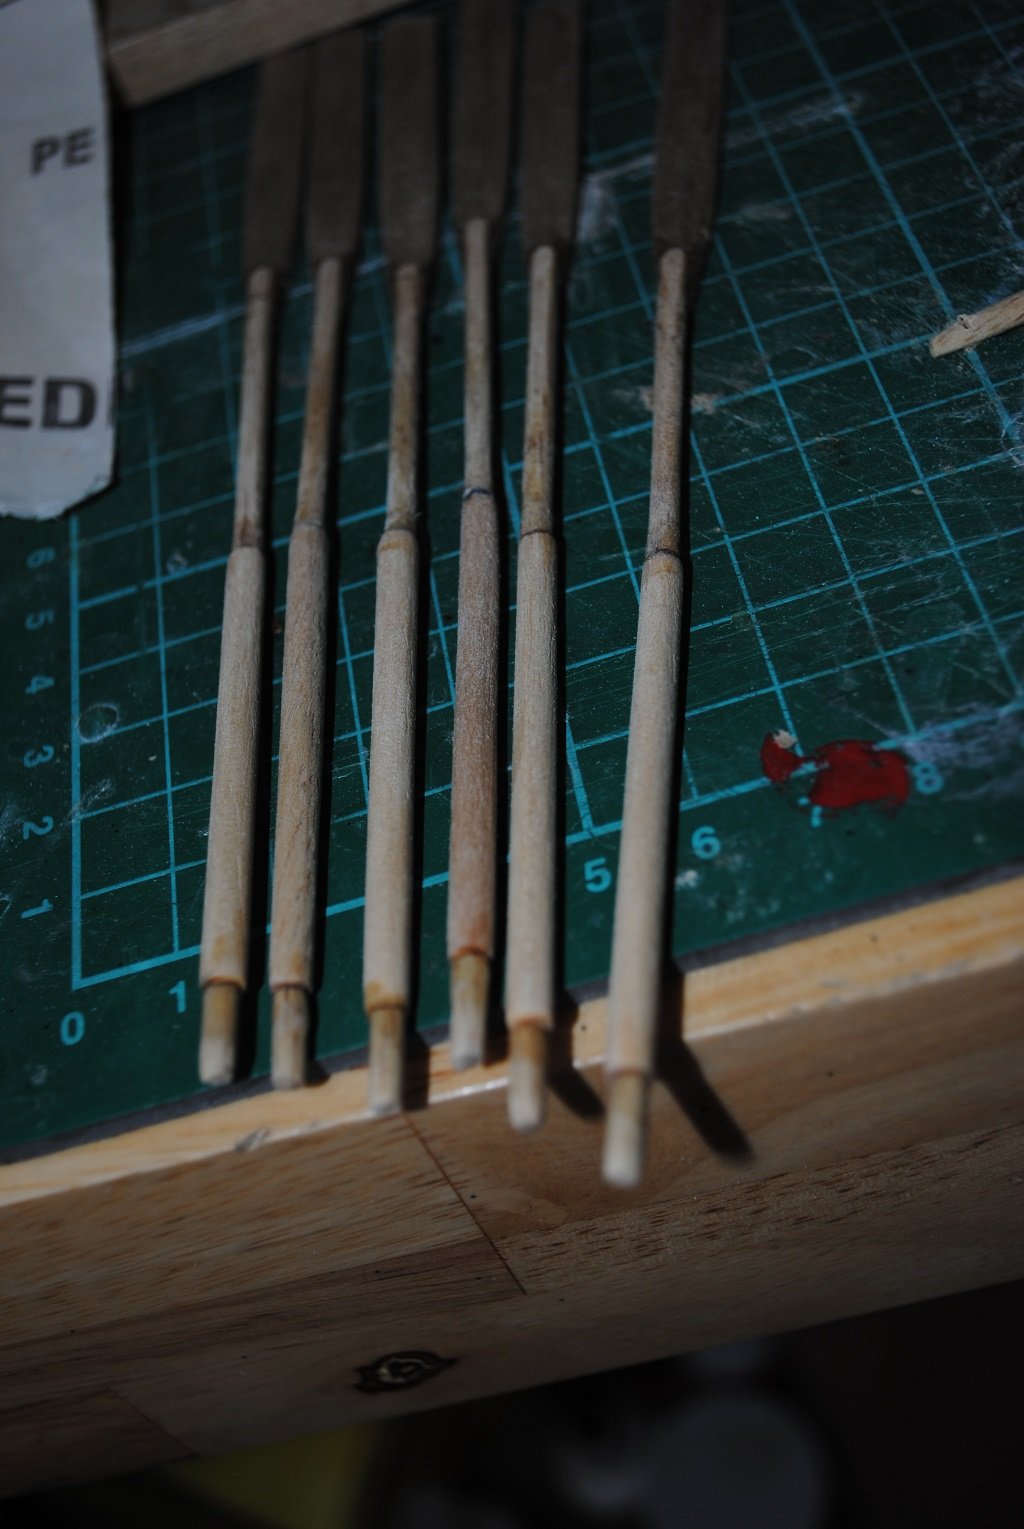
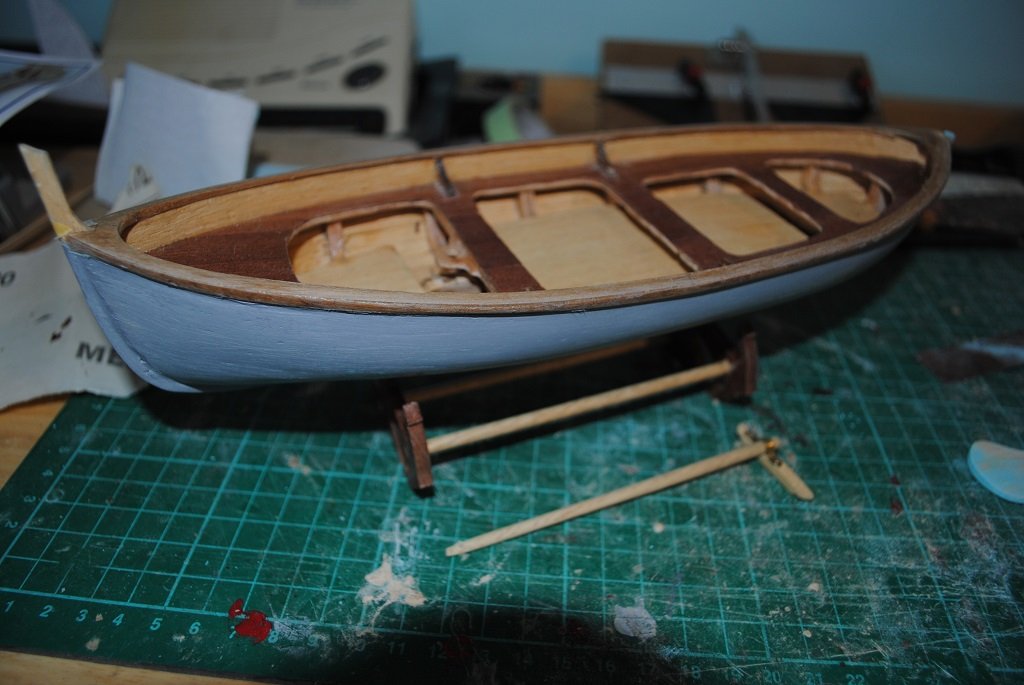
Small update.... Oars assembled, (X6), Blades thinned.... These were a bit like Ice Block Sticks to begin with. Oar Shafts were eventually assembled from 3 different pieces of Dowel, 3.0mm and 4.0mm diameter, pinned them together. Tapered Mast, Yard and Bowsprit. Hull given the Spray Putty treatment, fills the Grain and any otherwise imperceptible gaps/dents, sands beautifully with 400 Grit. I'll maybe give it a very light coat today before Primer. Once I'm satisfied with the Hull, I'll pin to the stand and mark the Waterline, etc. (I have some ideas for the color scheme.) Photos a little later today. Cheers....HOF.
- 29 replies
-
- 1
-
-
- maltese fishing boat
- fulgaro
- (and 2 more)
-
Thanks Chap.
-
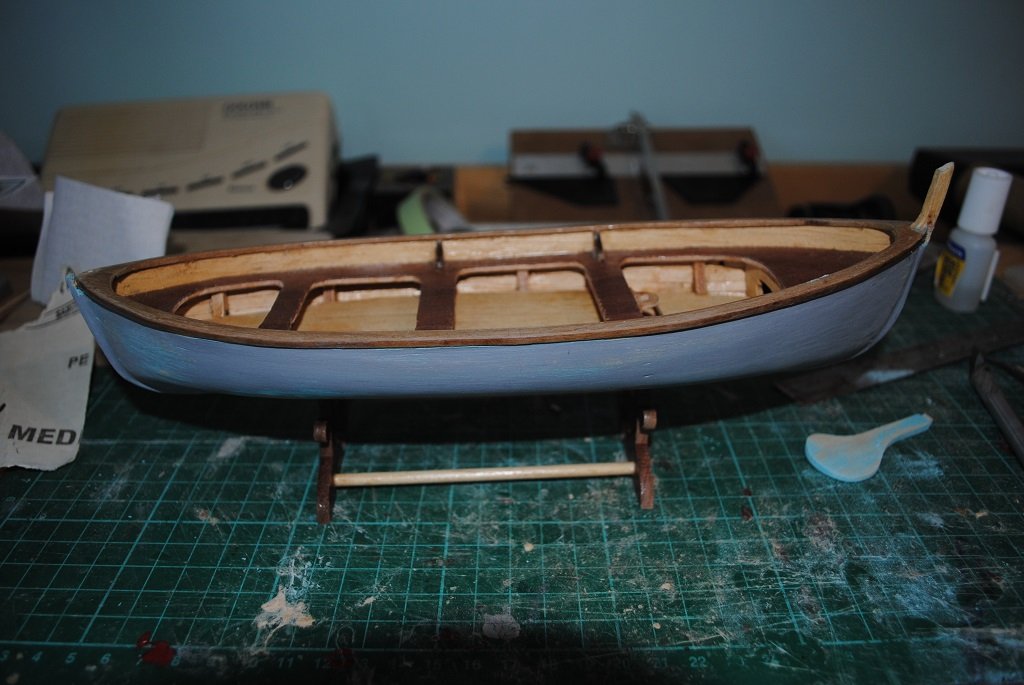
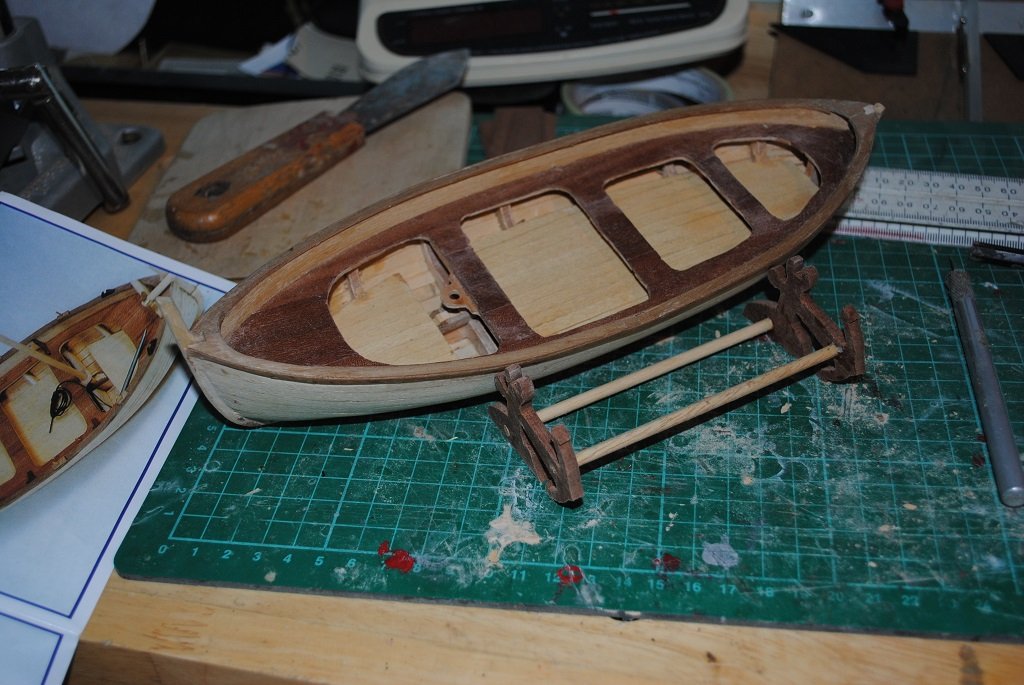
Hi All, Small update.... Affixed Gunwale Rails, there were issues with the length and width of these, length just shy of 3.0mm at the center join, filled with scrap Walnut. Inside and outside of these, used some 0.5mm Walnut to make good. Stand done, a bit "Kitsch" but will be o.k. Stern Post was sanded back and affixed 1.5 Lime to get the profile correct. Mast/Bowsprit/Yard/Oar Shafts cut to length. (Looking forward to getting the Oars assembled Blades shaped, decking finished, etc,etc. So, that's about it for the mo..... Photos....
- 29 replies
-
- 2
-
-
- maltese fishing boat
- fulgaro
- (and 2 more)
-
Hi Chap, Just found your Build Log again.... Your Cutty is looking superb!! Very nice rigging and awesome attention to detail. (I esp. like the Hermaphrodite Spars attached to the Deck.) I moved out of Wellington to Manaia, South Taranaki about 3 Months ago, couldn't do anything as all my modelling stuff was in storage for one month prior to gaining possession of the house. I got the Cutty Crated along with the Pen Duick and hoped for the best with the others.... I did expect some damage, but none, awesome Movers.... 😀 Anyway, looking forward to further progress on the Cutty. (Have you thought about what you might build next or is it too early to ask?) Cheers....HOF.
-
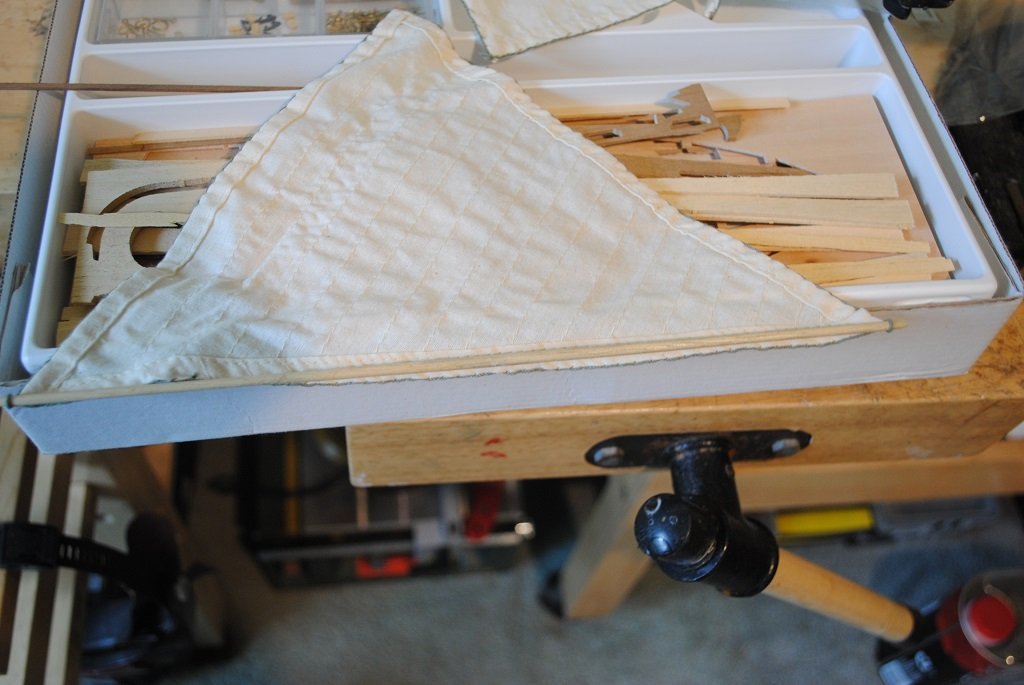
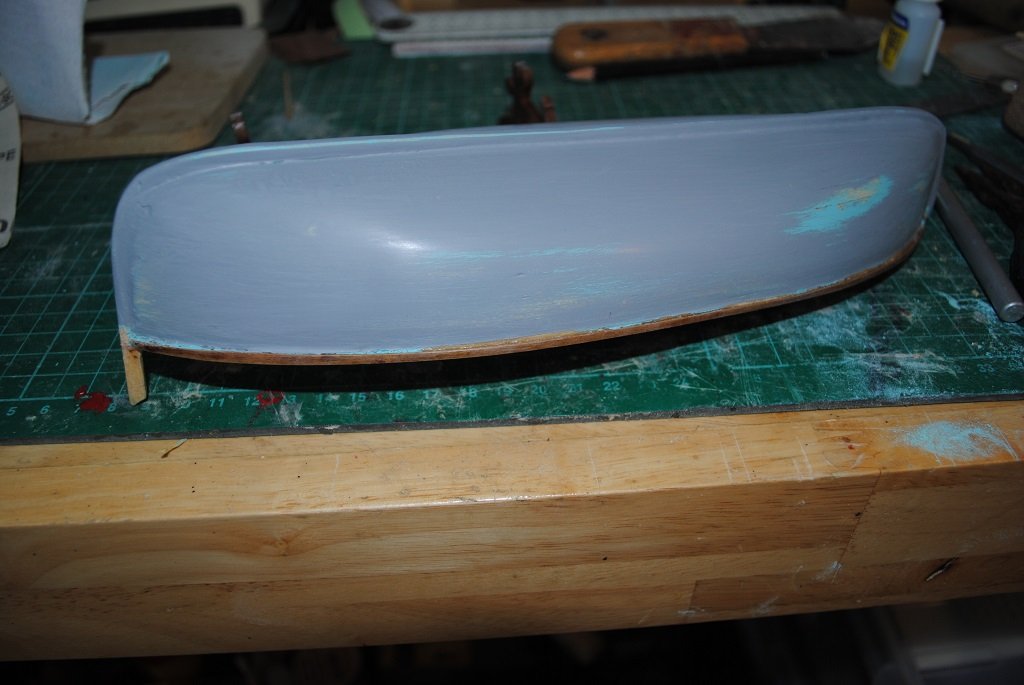
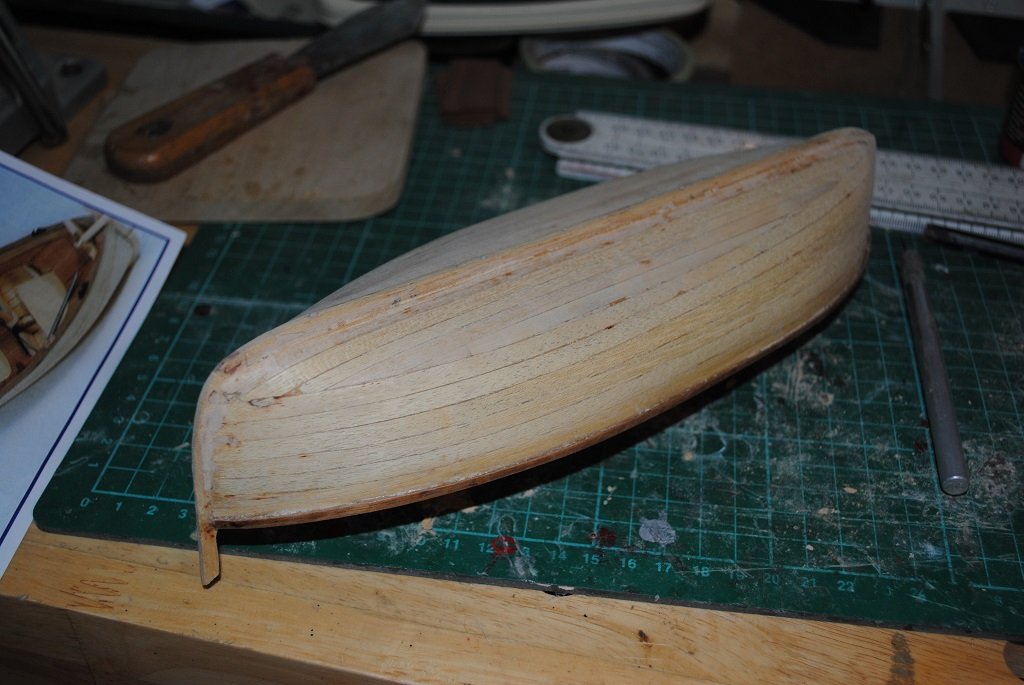
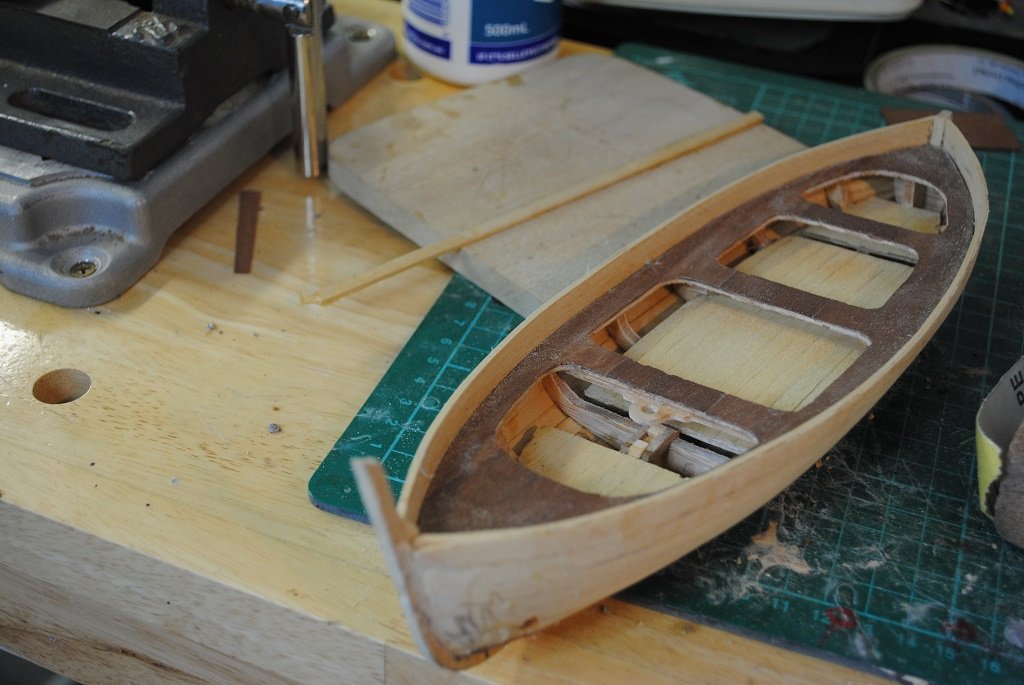
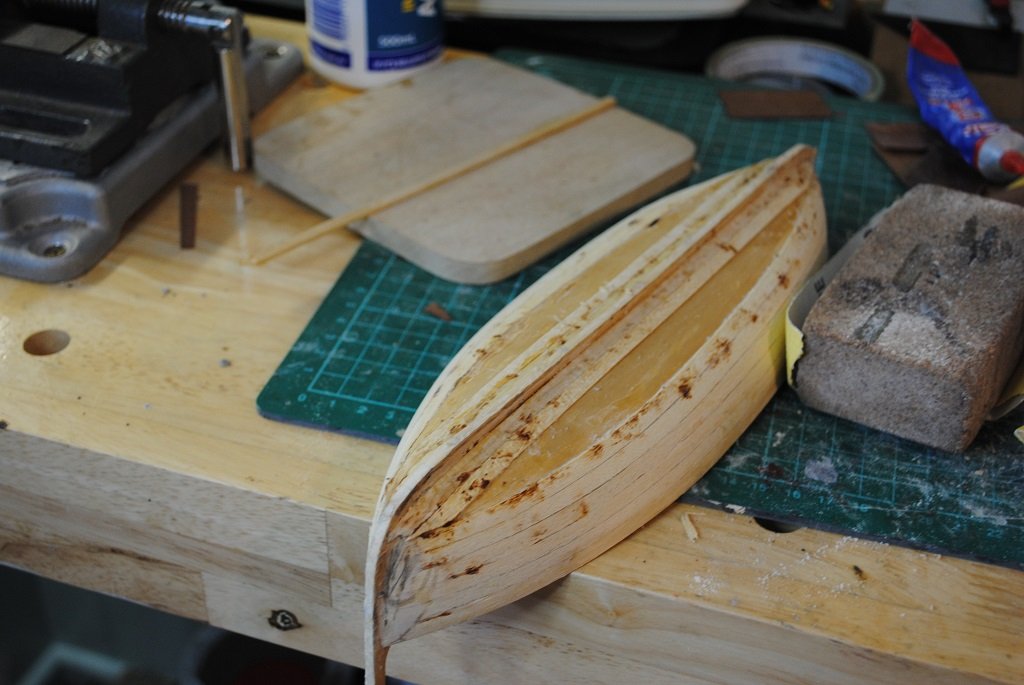
Hi All, Small update.... After Planking the Hull, HOF was a little "Over Zealous" with the filler sanding, the Hull was paper thin in places, not good, so what to do? Sanding Sealer to harden the Planking, second cover, 0.5mm Ramin. You can see scorch marks on the Hull caused by my Soldering Iron Planking attachment. These sand out o.k. but what is not completely removed will be covered with Spray Putty/Paint. Die Cut parts removed from the frets and will continue on tomorrow. Cheers....HOF.

- 29 replies
-
- 1
-
-
- maltese fishing boat
- fulgaro
- (and 2 more)
-
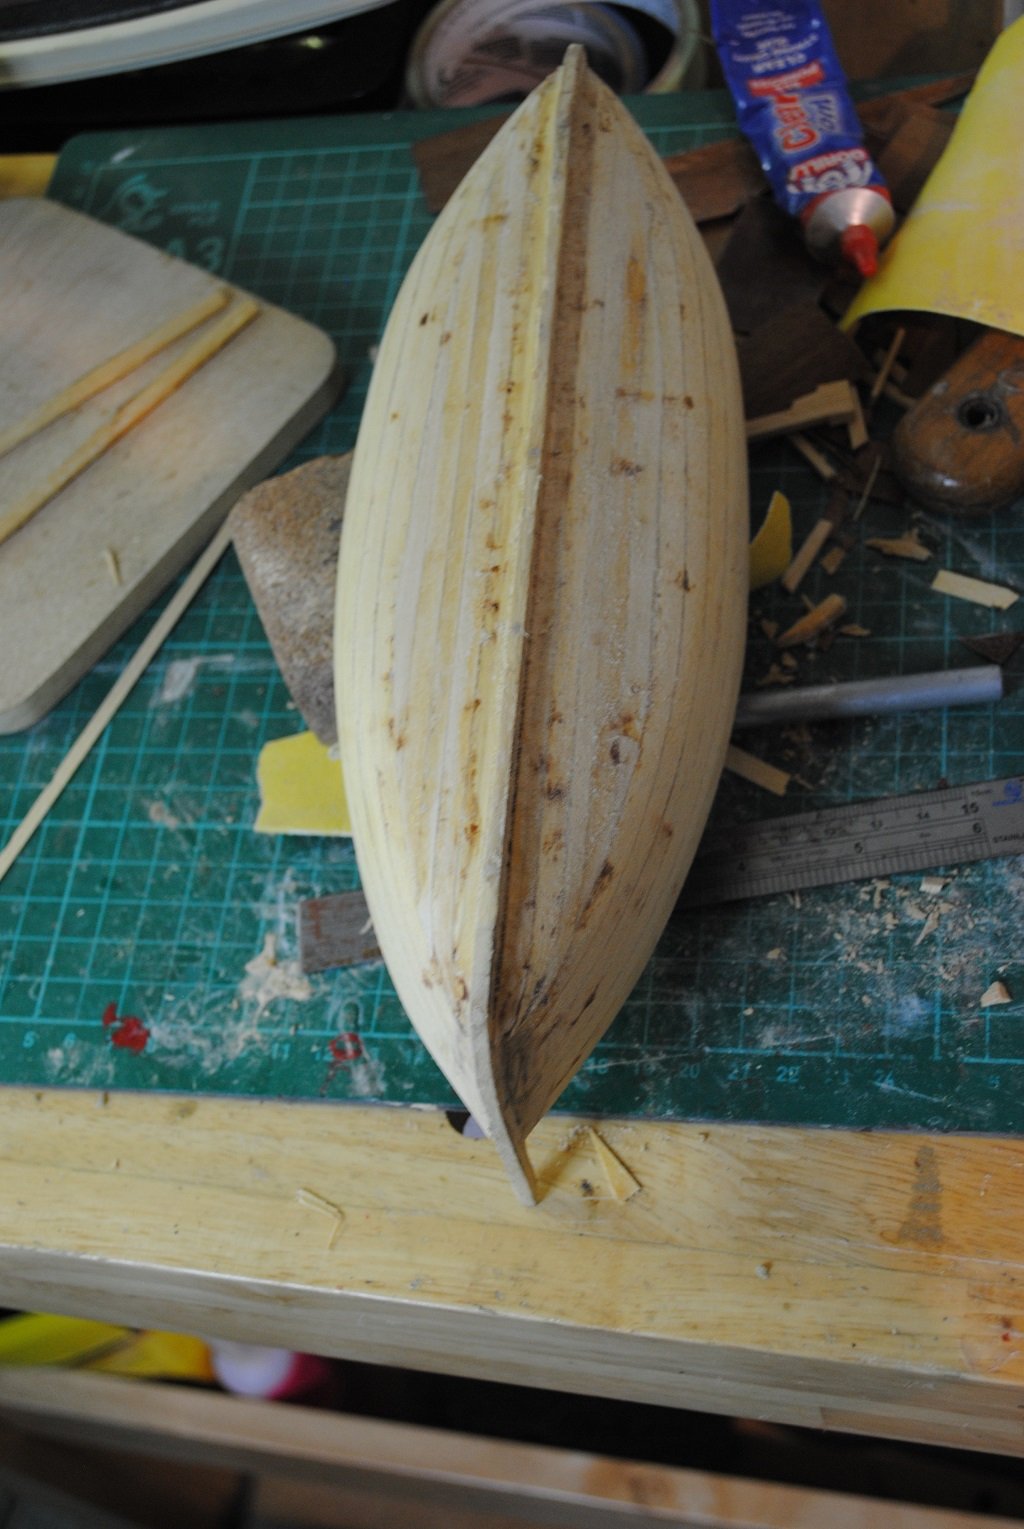
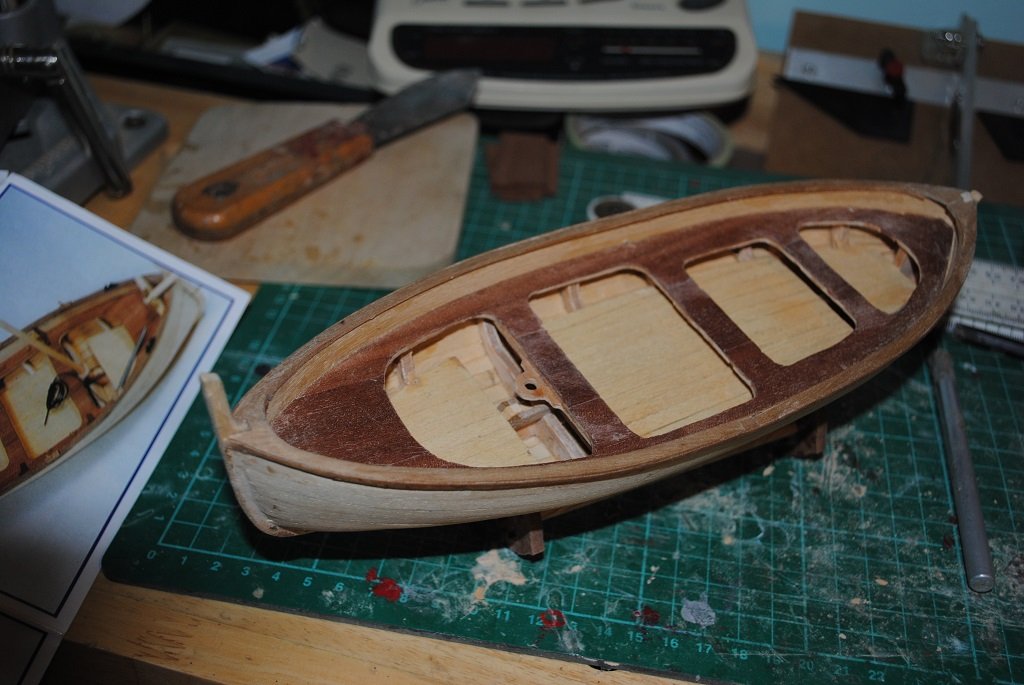
Small update.... I decided to install the first Hull Strake, not the A/L tapered ones that came with the kit, but a full 5.0mm width. I have started to taper my own planks for the rest of the Beastie and the second one went on just fine. The Gunwales will be fitted after the Hull is fully planked, the reasoning for this is that with the surface area so small to affix these, they would be prime candidates for breakage/re-attachment while the Hull is handled/planked. That's the theory anyway.... 😀 I'll post some more photos in the coming couple of days. Cheers....HOF.
- 29 replies
-
- 1
-
-
- maltese fishing boat
- fulgaro
- (and 2 more)
-
Thank you Sir. Sanson is left a little "Wanting" at the mo. I have some more photos to post soonish. Cheers....HOF.