


Dilbert55
-
Posts
170 -
Joined
-
Last visited
Content Type
Profiles
Forums
Gallery
Events
Posts posted by Dilbert55
-
-
-
Maybe it's due to 3D rendering and the paint job but with not much wood visible it looks a bit plastic, is this intentional?
-
-
As you already coppered the hull on your first build you should buy some nice hardwood strips and put a fine layer of wood on top of the scrap they provide in the kit. Your wife will like it better that way I think.
-
You are a braver man than I am. Still finding it hard to complete my own Hermoine and one of the reasons is that when I first purchased the AL kit I was expecting the pre-modern replica version, was surprised by what I recieved. Should have returned it but it was a gift and I was eager to start building just about anything. Did you try to find an old version of the kit?
-
Beautiful work Messis. You did an excellent job on you first tries on both coppering the hull and filling the sails. It has been a great pleasure sharing this build with you. The Summer here was so terribly hot and humid I had to close down my own shipyard. It's just changed this week to being more seasonable so hopefully the better weather and your fine example of a finished ship will spur me back into action.
-
-
Try not to be too hard on yourself. This type of modeling requires lots of experience to get the kind of results we can be 100% content with. Even the best tutorials and instructions can't replace actually building a ship. Think if you tried stripping the planking totally off it could cause bigger problems than just plowing ahead. Believe there are places where you can order more planks if needed. Expect somebody with better knowledge of where to do this will give you some guidance.
-
-
Install the new row without forcing anything, leave whatever gap there is, then fill it with a small piece. As you are going to paint the hull it shouldn't matter or be noticable.
-
-
You have found the best place in the known universe to be if you enjoy model making, working with wood and the fellowship of like minded people. There are lots of "starter" level kits you can try your hand at to get a taste. Explore this site and you'll find lots of ideas.
-
Have you decided to paint the hull, entirely as the kit calls for or partially?
-
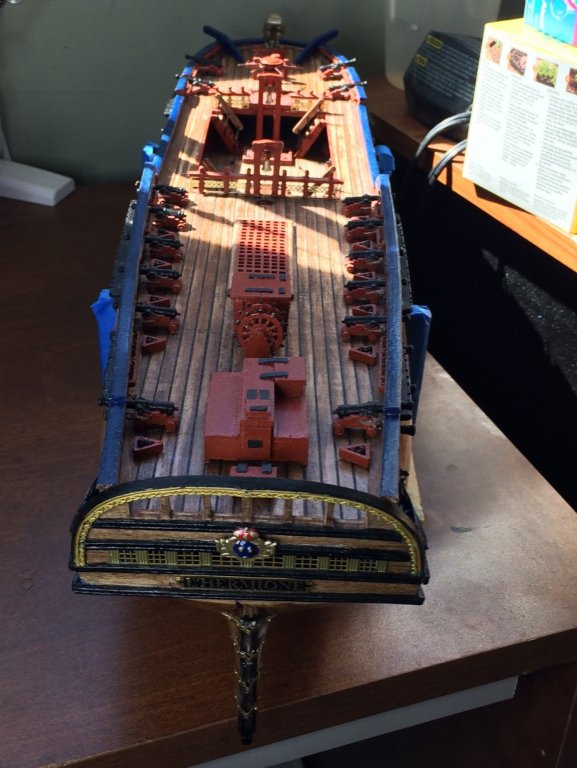
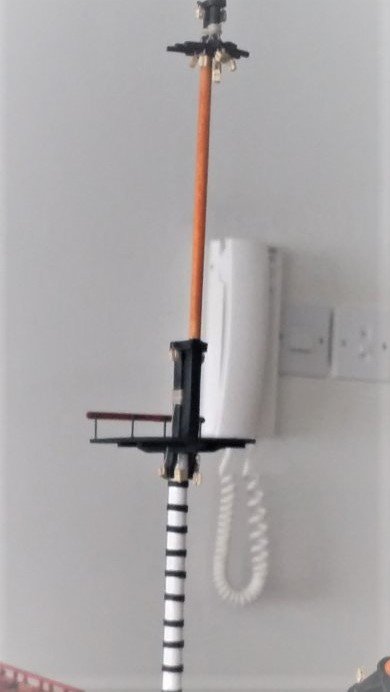
Looking very nice, have you got a large figure to place at the capstan?
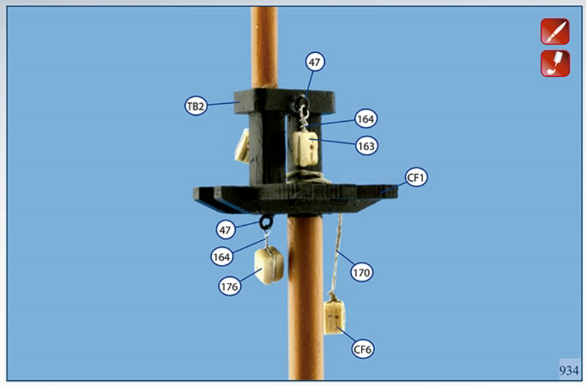
 Will try my idea with the chainplates and let you know how it works out. I'm not as confident about the Artesania instructions, have found the Rigging section contains quite a few errors and lack of clarity and I'm only at the Mizzen mast. For example, on the upper mizzen it calls for a "CF6" block but CF6 is a crowsnest platform??? looks like a #176 block.
-
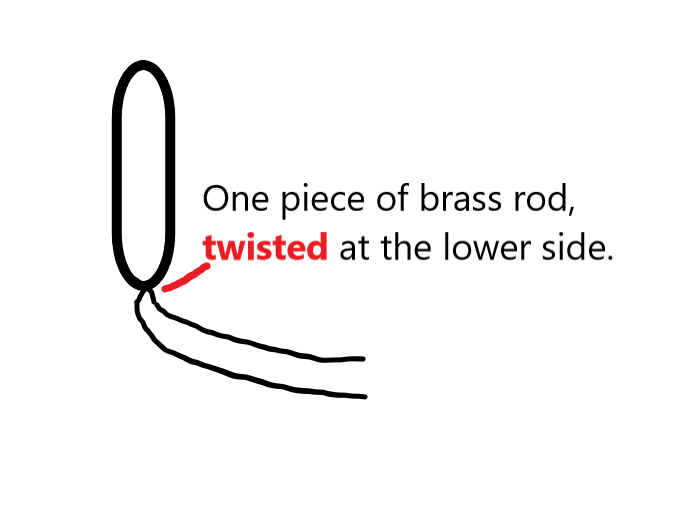
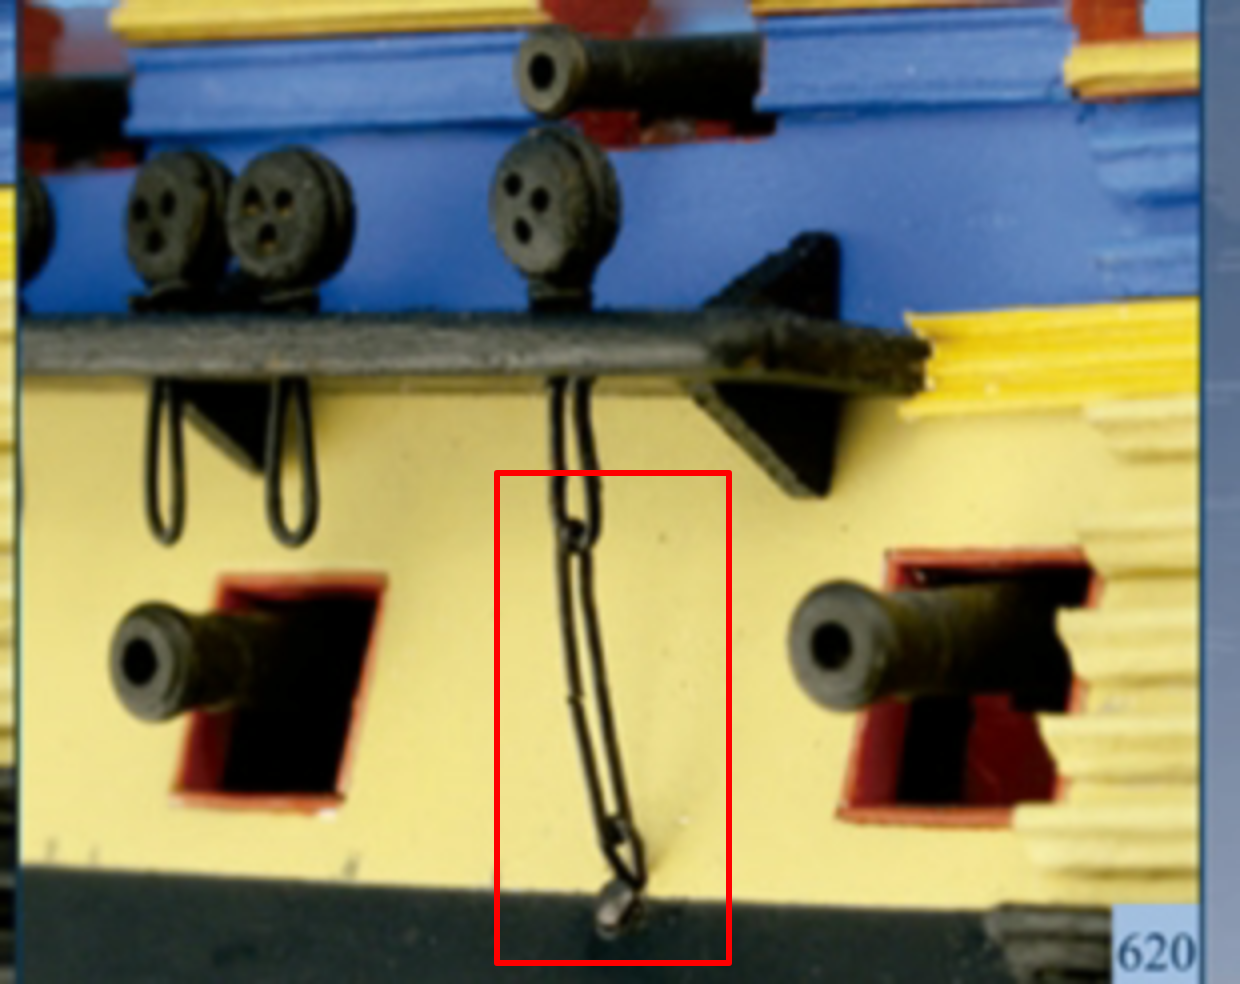
The two lower parts of what the english instructions refer to as "chainplates". Was thinking about trying to make this as one piece, leaving bottom side untwisted during blackening, twisting after joining to upper part, then drilling the hole in the hull last to line up.

- Ryland Craze and Dutchman
-
 2
2
-
How did installing the chainplates go? I'm installing the details on my masts today so will be trying this myself soon. Any tips or tricks would be appreciated. Was wondering if I could us one (1) piece for the lower chains instead of two (2) pieces.
-
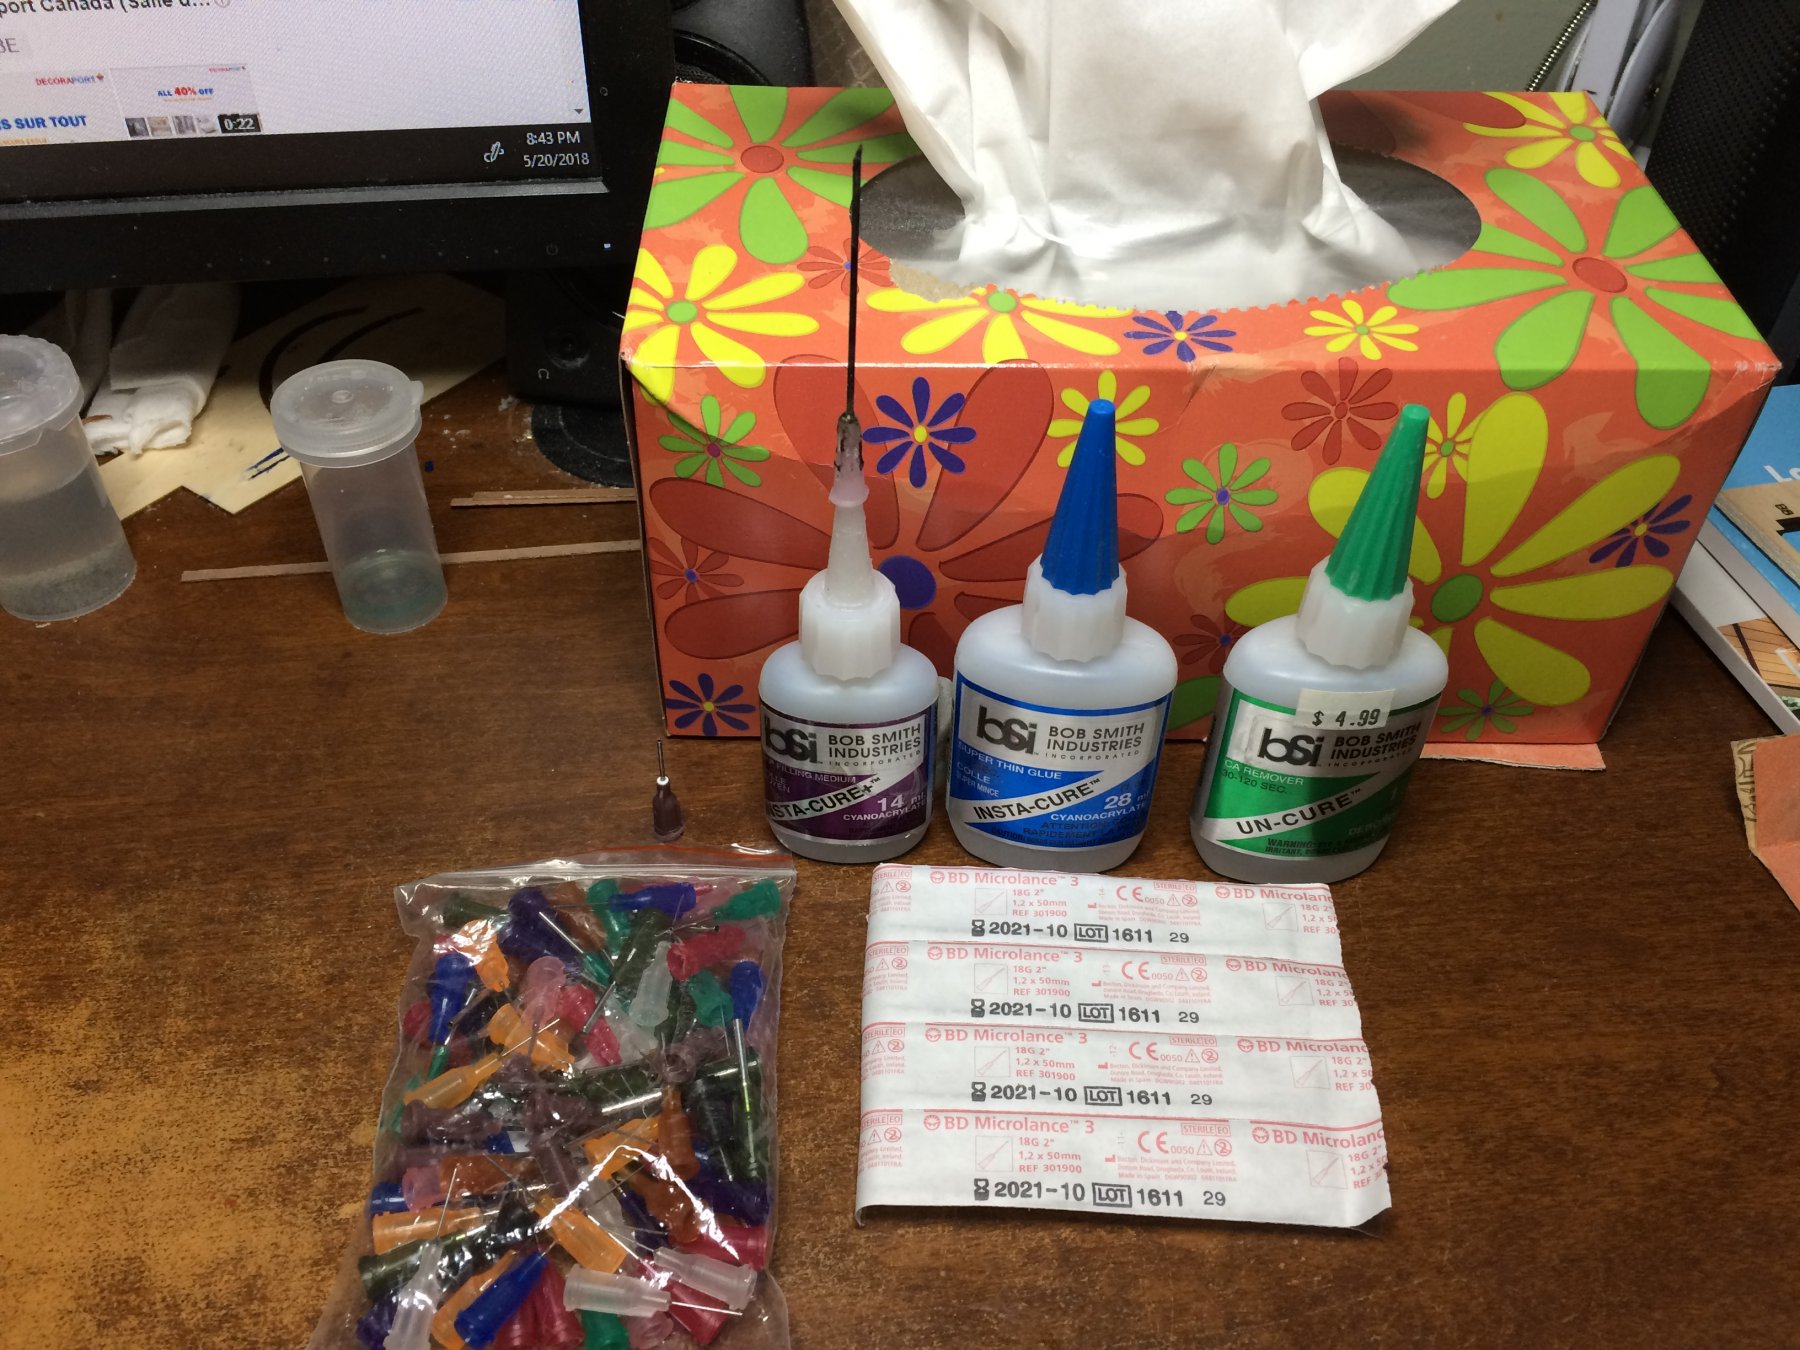
Use the medium variety of Bob Smith CA with a #3 medical needle for pretty much everything. Thanks to this forum and Ken335 for the needle idea and type. Had to order the large needles from the UK as the type they sell in Canada are not compatible with the CA nozzle. The large needle looks a bit scary but I'm so use to it now would not think of not using it. This gives great application control. If it gets clogged, a quick bit of flame from a lighter cleans it off. One needle can last for a long while.
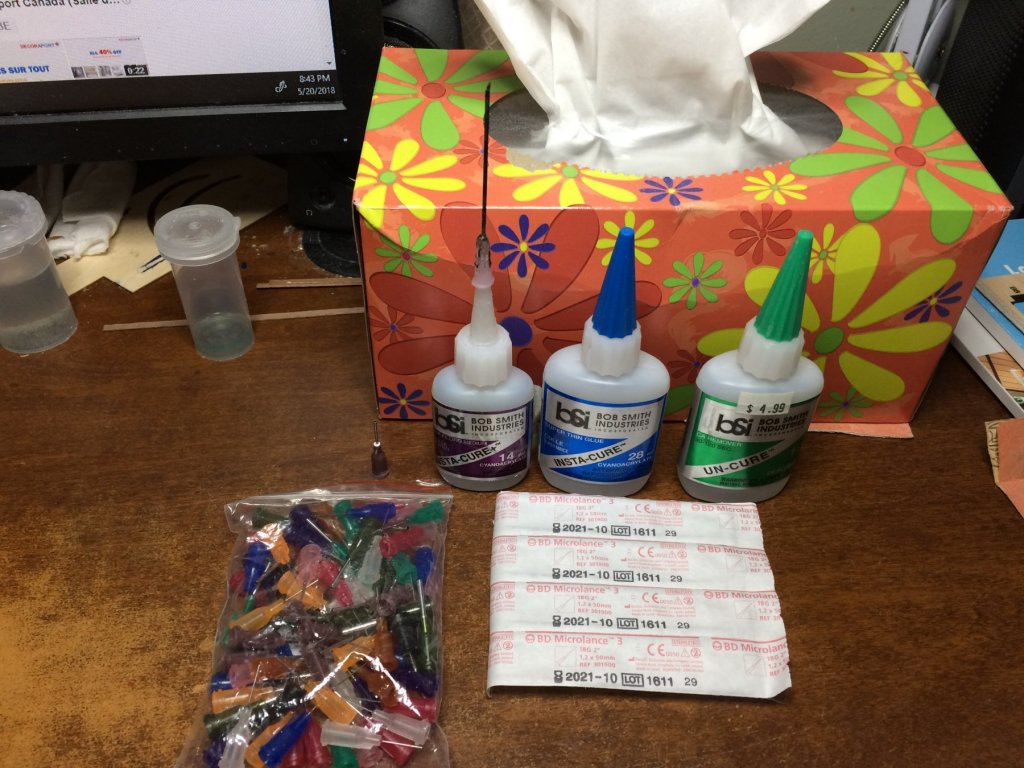 entirely. Also have smaller "needles" specifically designed for glue application that come in various needle dia. but find the larger medical style better.
-
-
This is one of the poor instructions and/or poorly designed parts. If these metal bits were properly designed to fit flush with the hull on the forward edge, that edge would be sharp on the metal part, but it isn't, at least mine were not and it looks like yours are the same. You need to cut the planks to end at the fwd edge of the parts so they can fit flush with the hull. eg: these metal bit fit into the hull not on top of it. I only found this out very late in the build and had to cut into my finished hull. Needless to say I could not achieve a perfect fit at this point.
-
-
-
-
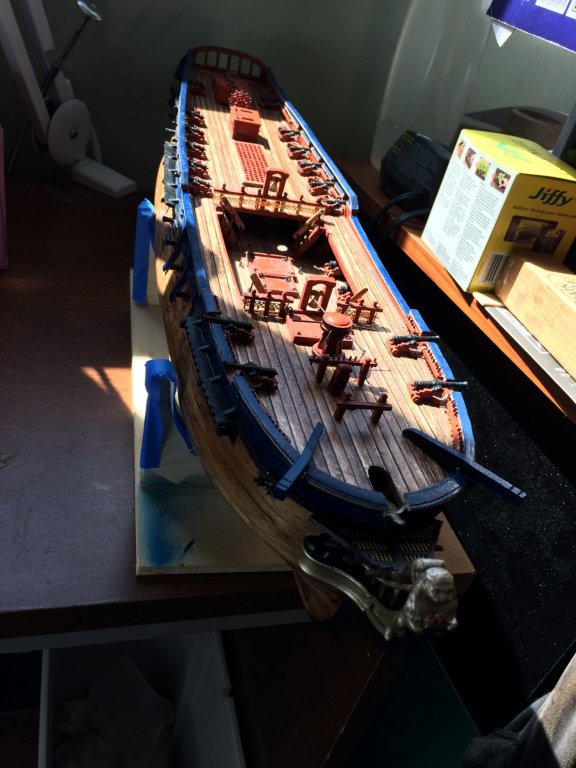
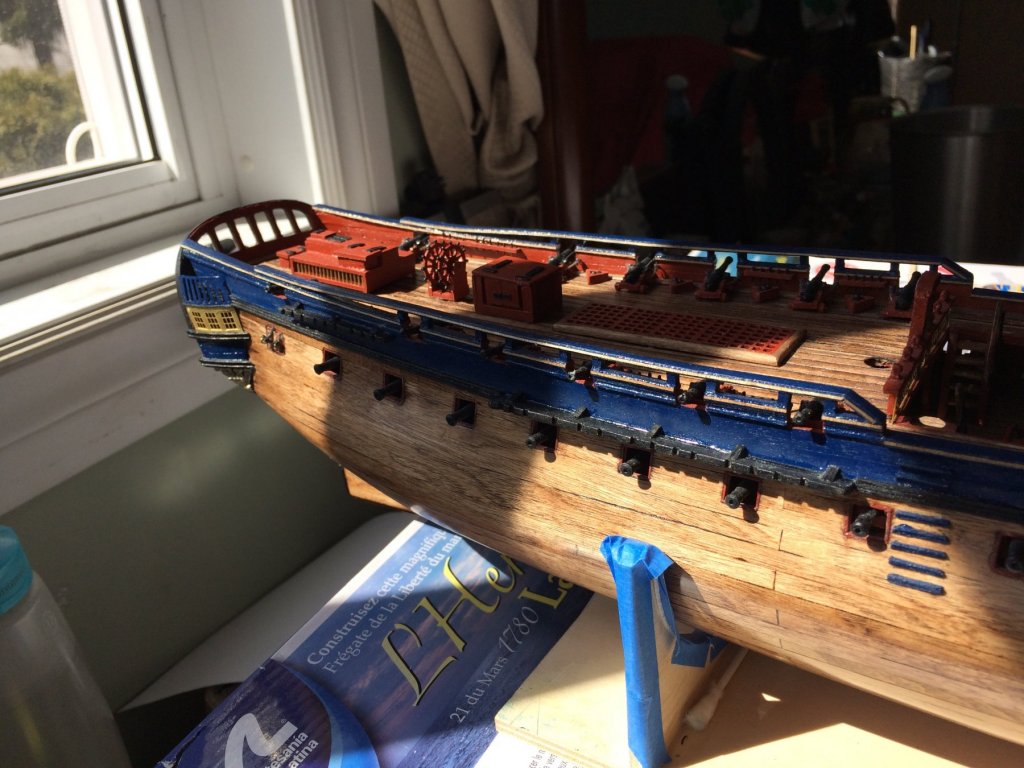
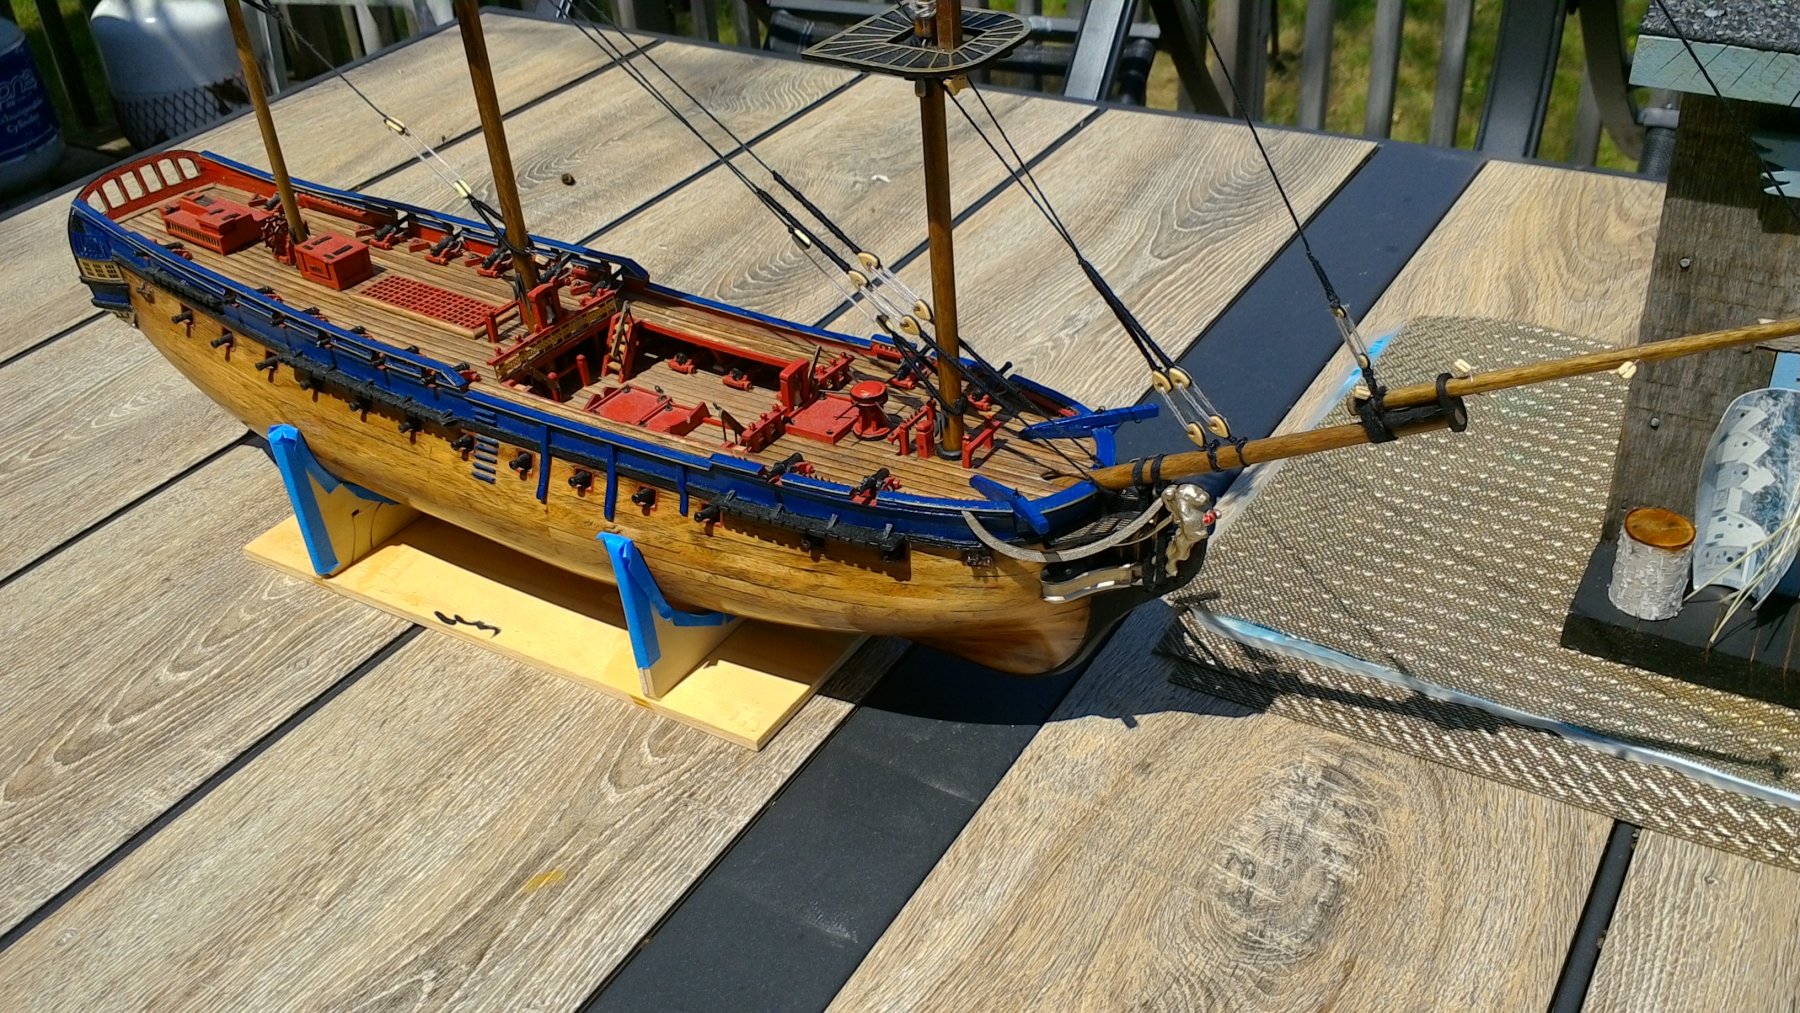
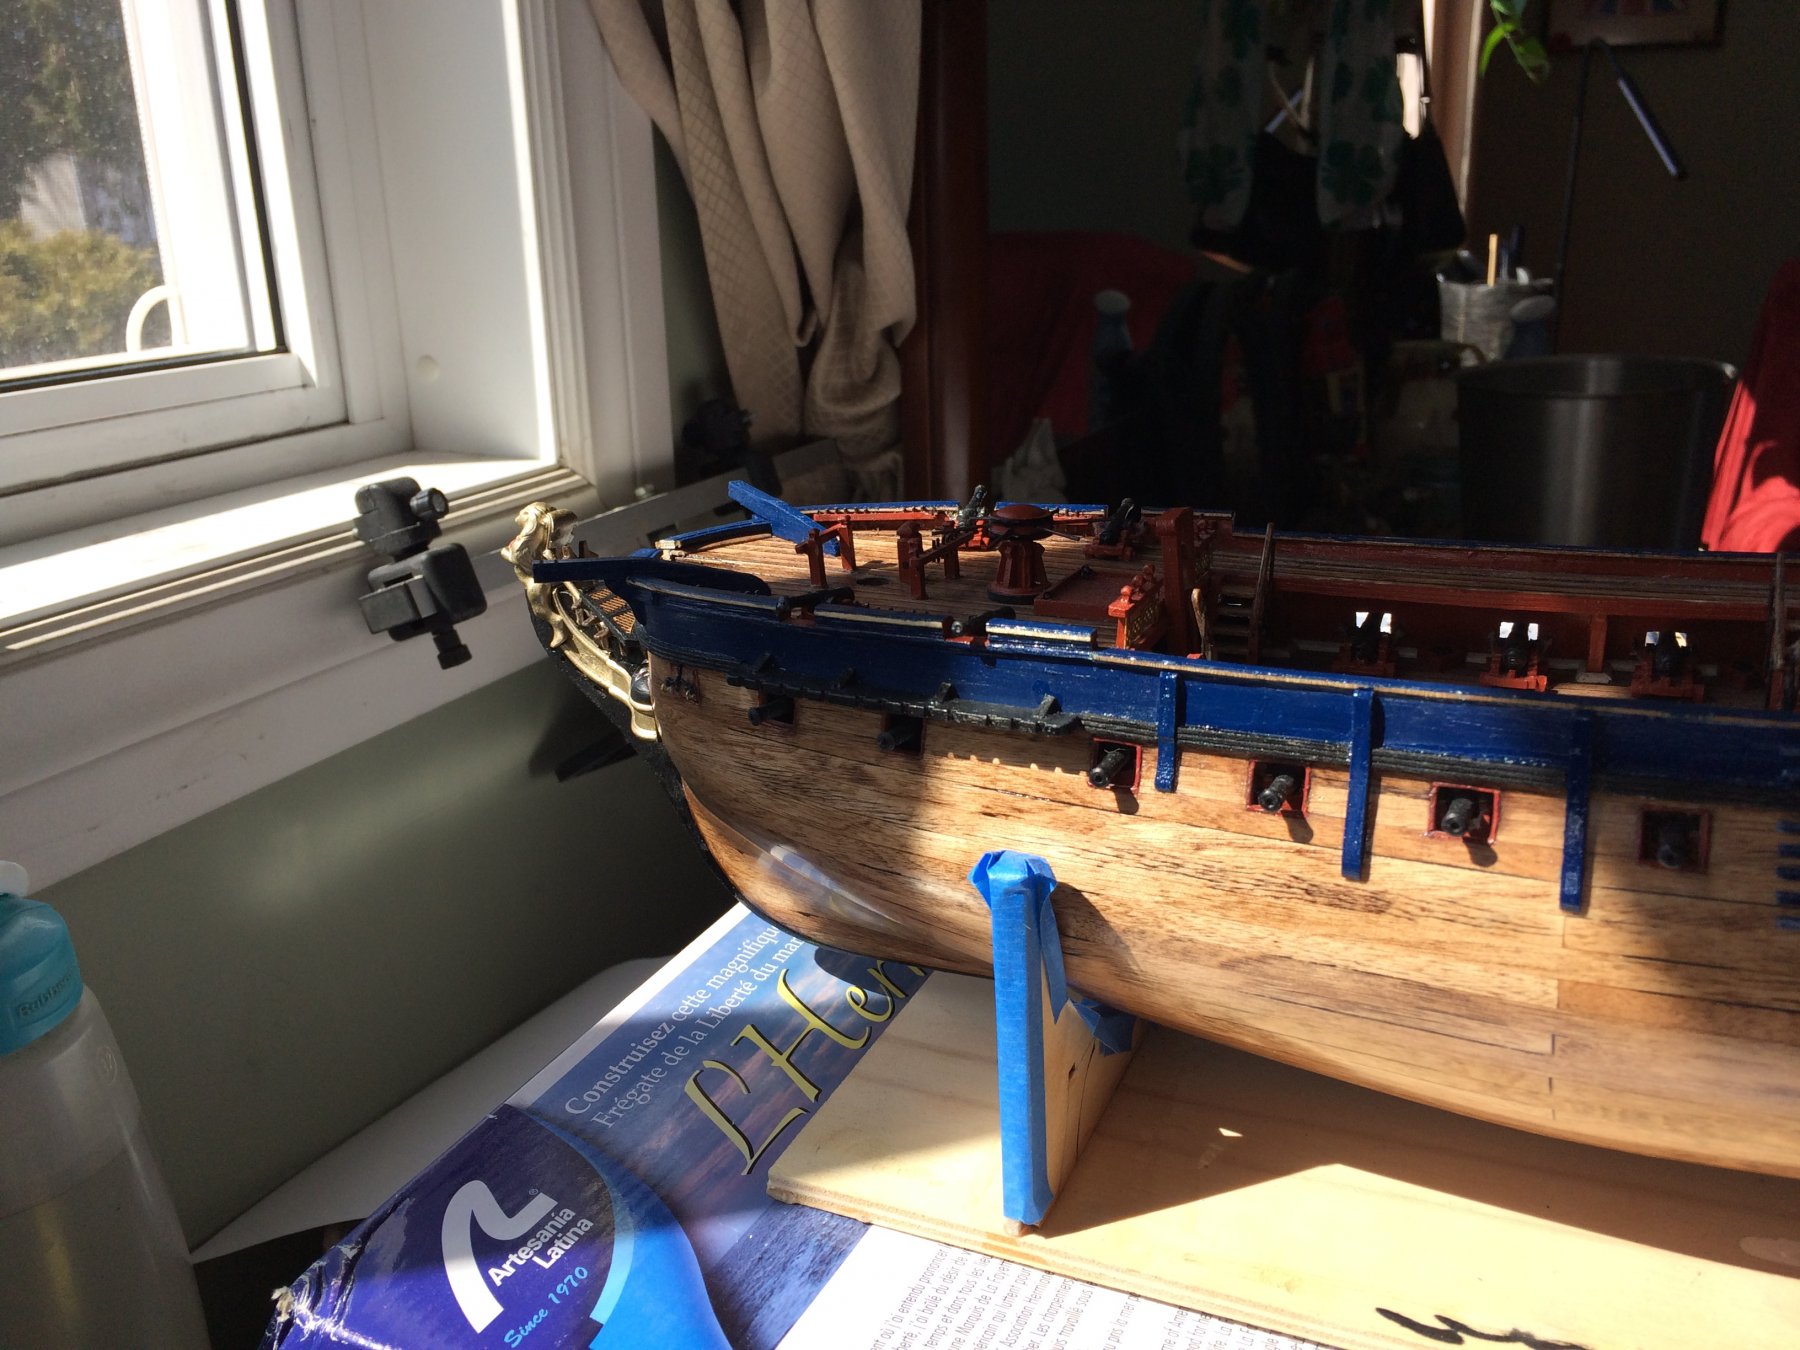
Finally some sunshine to take a few pictures. Have made some progress during the rainy, cloudy and cold past few weeks.
While working on the stern I broke the bond on one of the net railing fence pieces. Removed the fence entirely thinking it would be best to clean off a little of the glue before reattaching. Once removed decided I like the look better without these fences so removed them all. Then decided I preferred a very clean top rail and took off all the bits as well.

-


_LI.jpg.1d17394242df5d0fb9d388865f45335f.jpg)


Amerigo Vespucci by ken3335 - Panart - 1/84 scale
in - Kit build logs for subjects built from 1901 - Present Day
Posted
Taking a break?