Kevin Kenny
-
Posts
1,491 -
Joined
-
Last visited
Content Type
Profiles
Forums
Gallery
Events
Everything posted by Kevin Kenny
-
 All the trouble is always worth it. Congratulations, she looks wonderful
 -
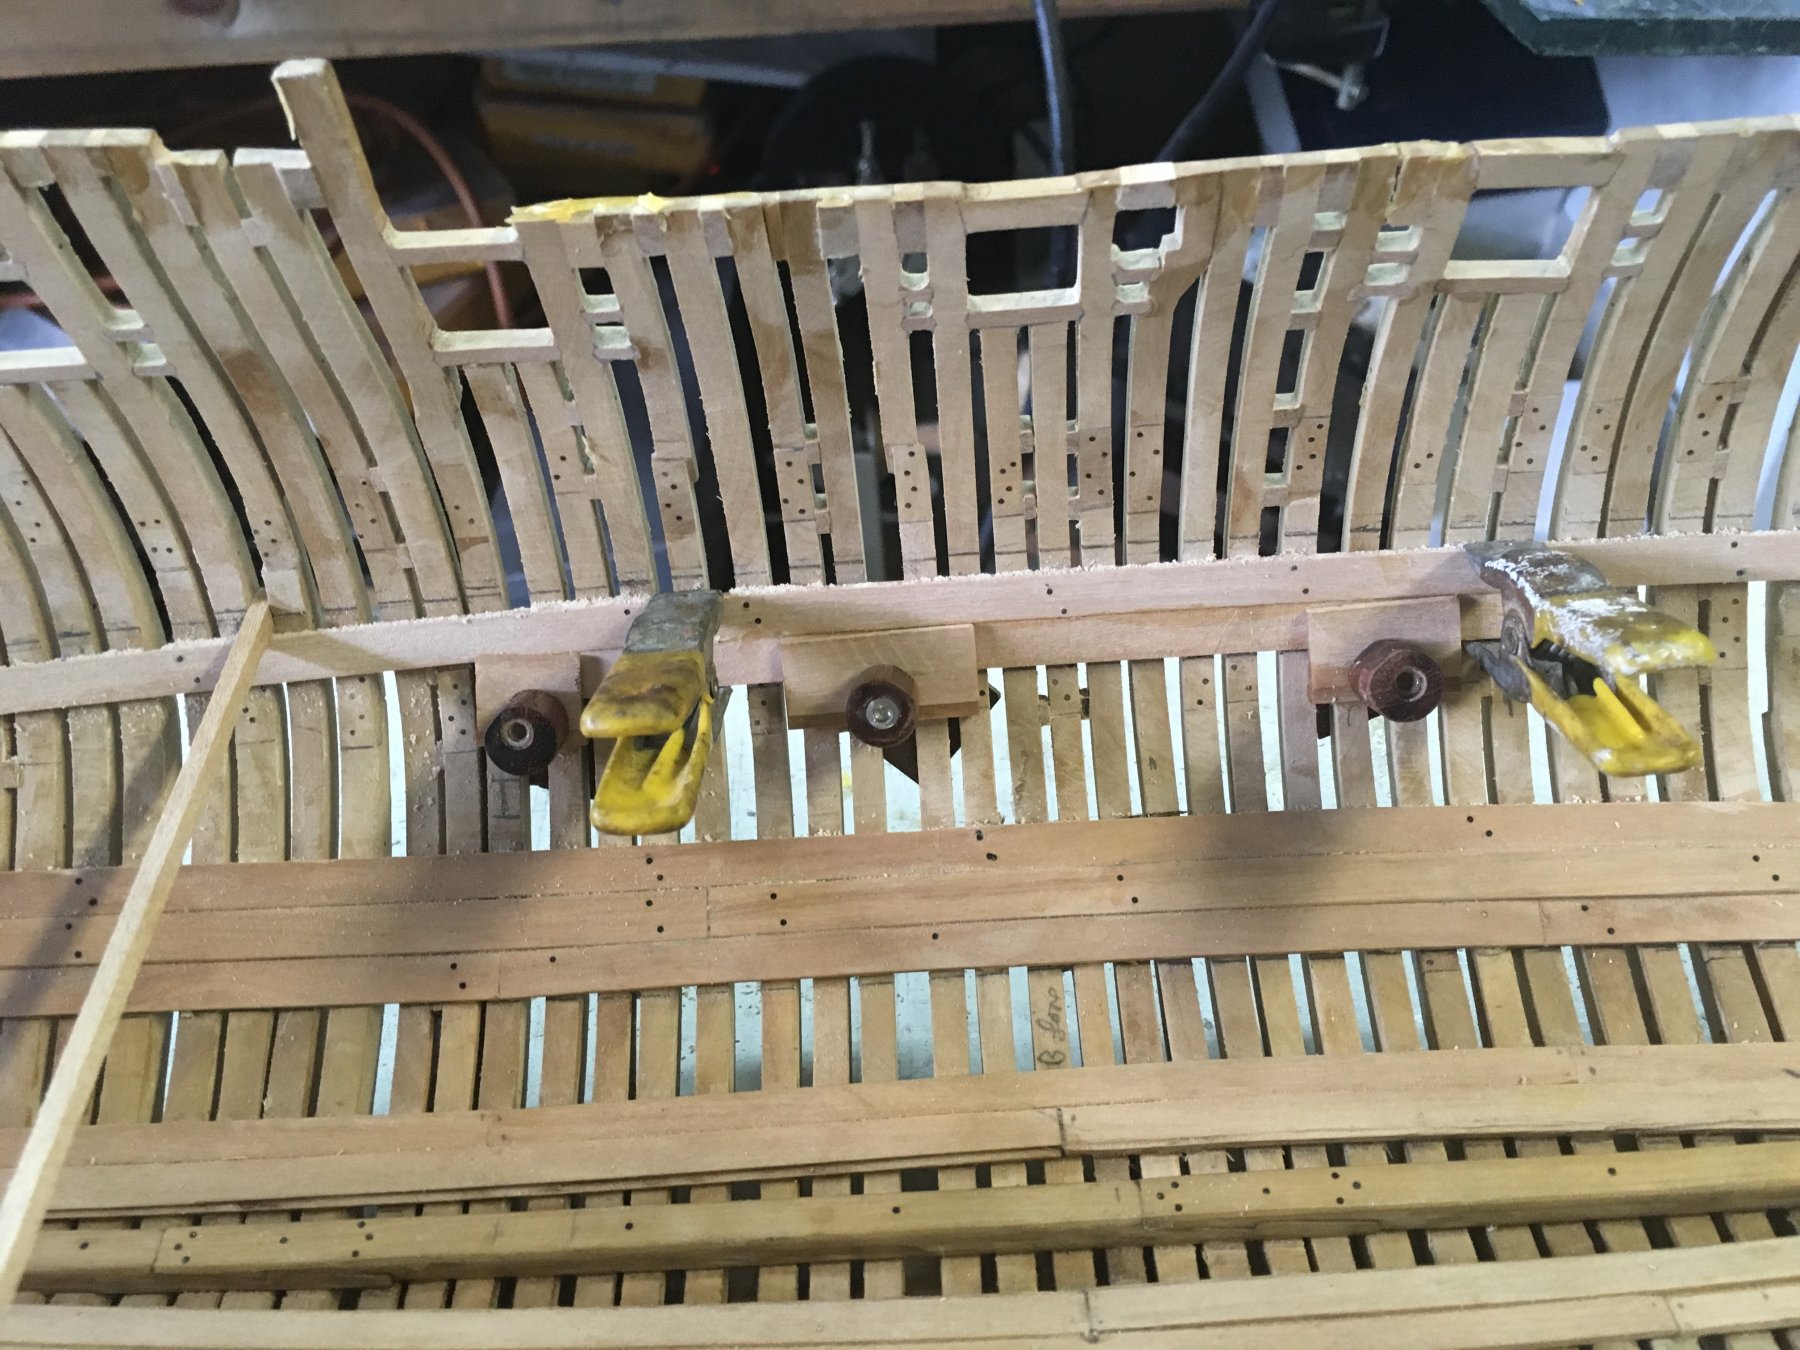
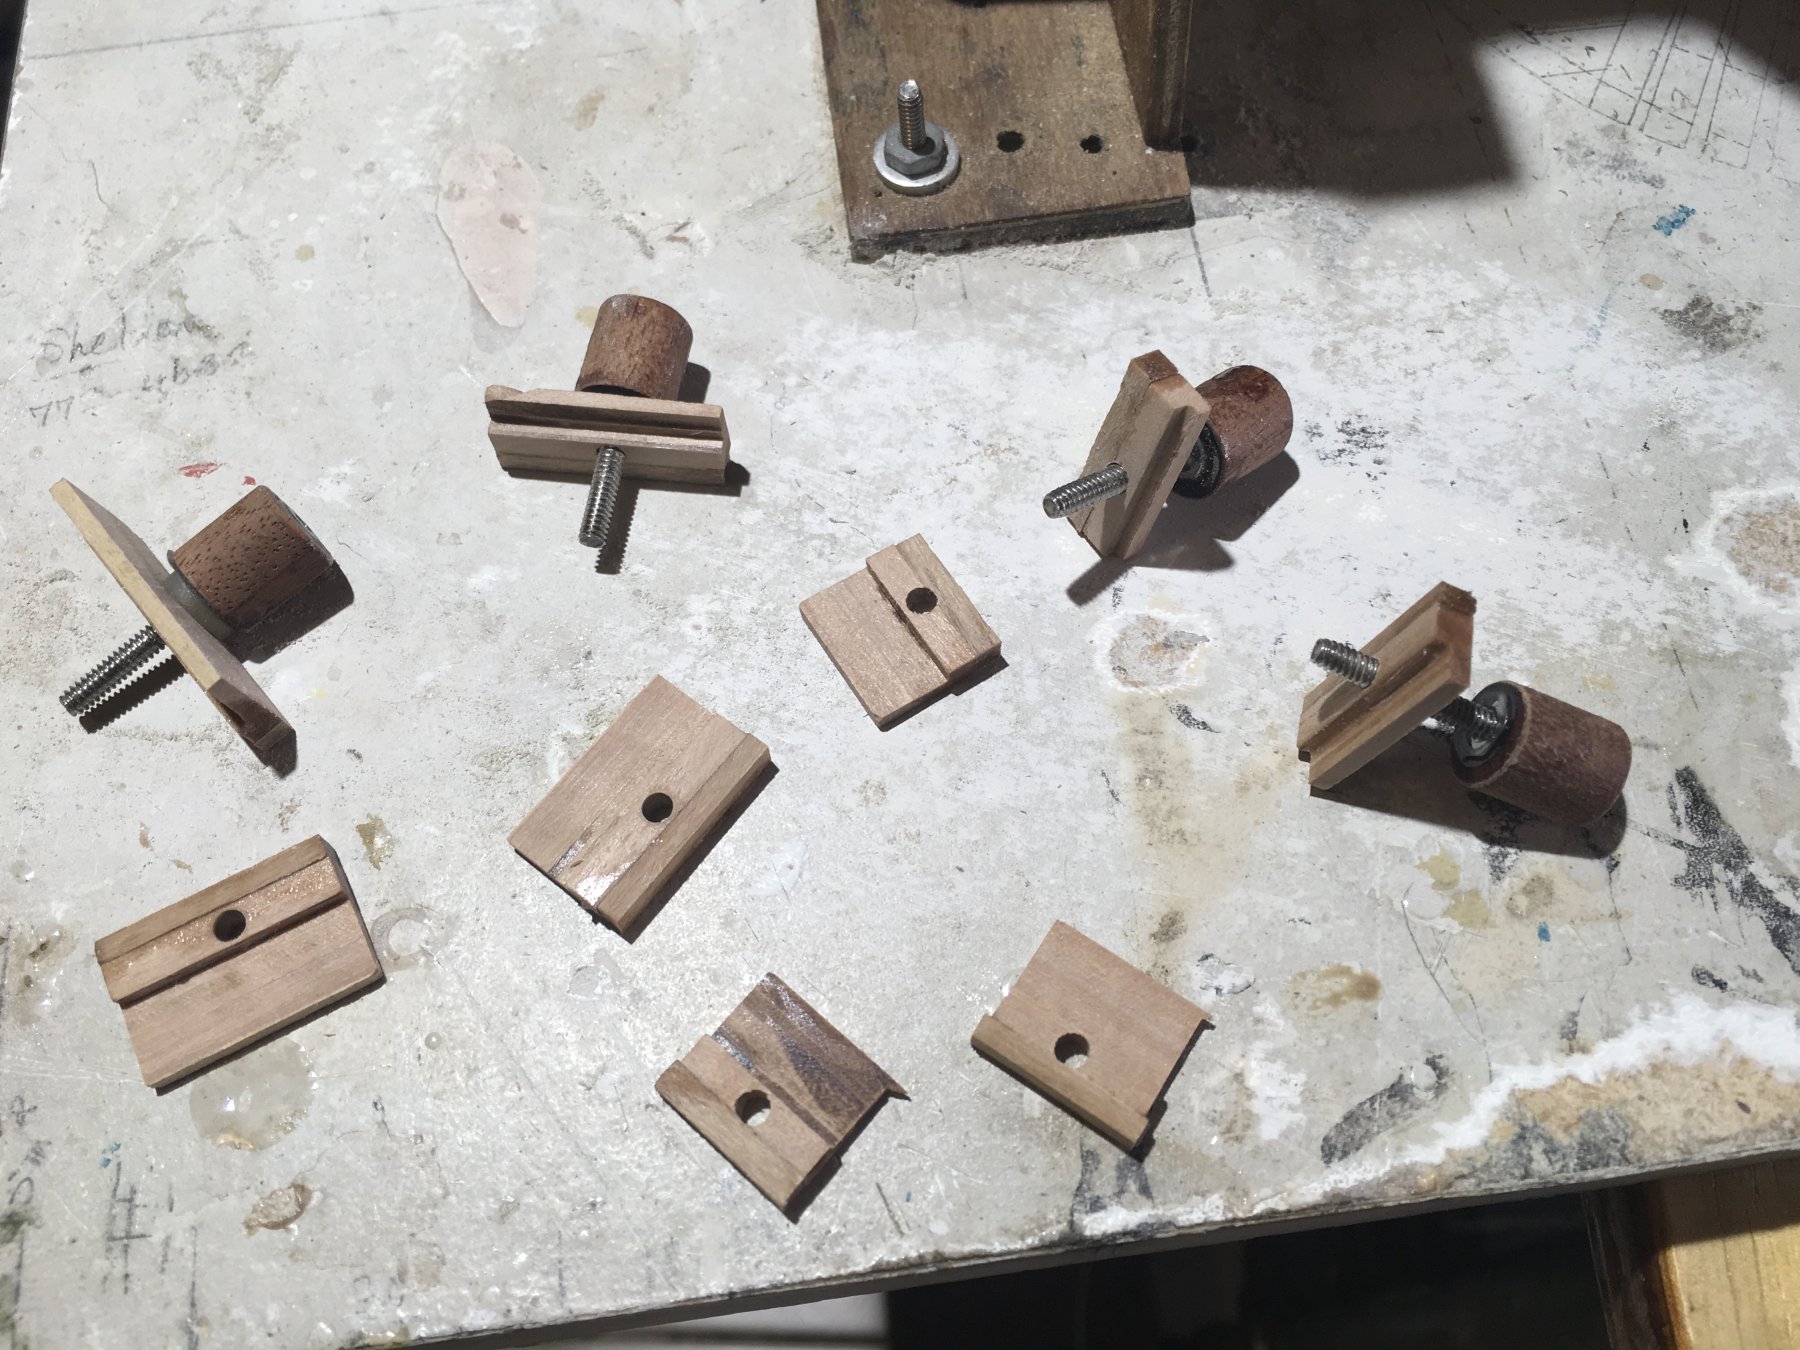
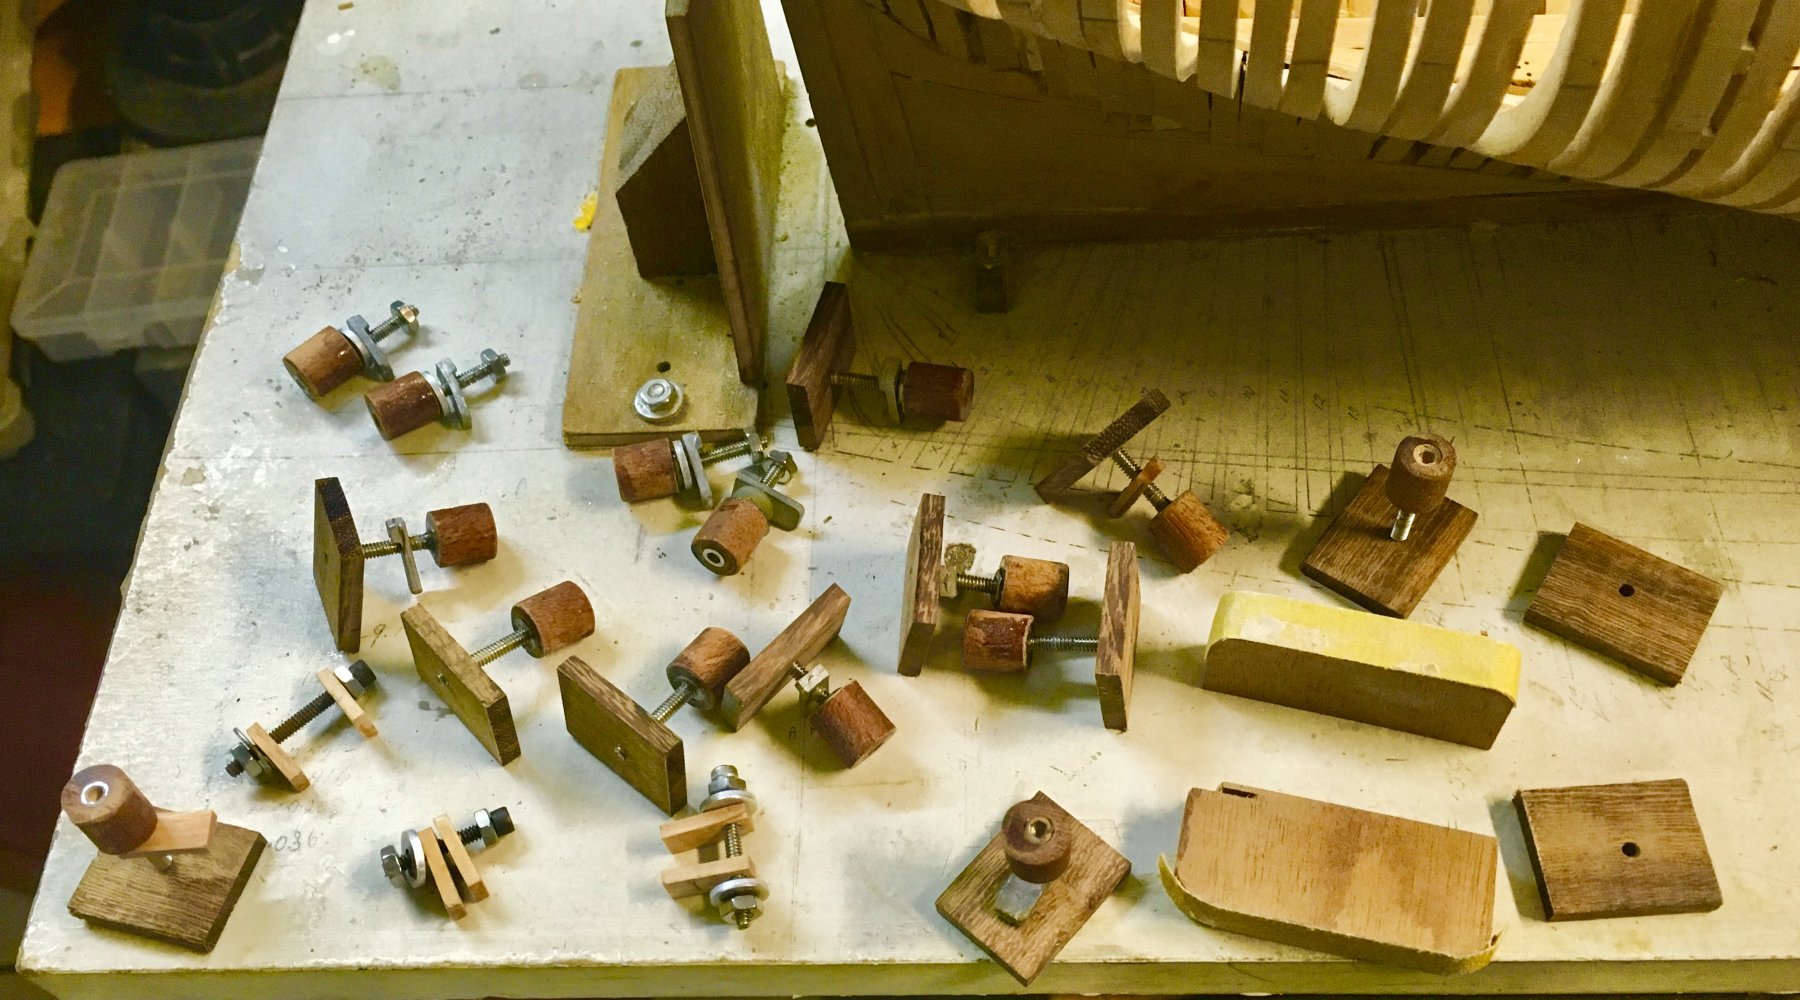
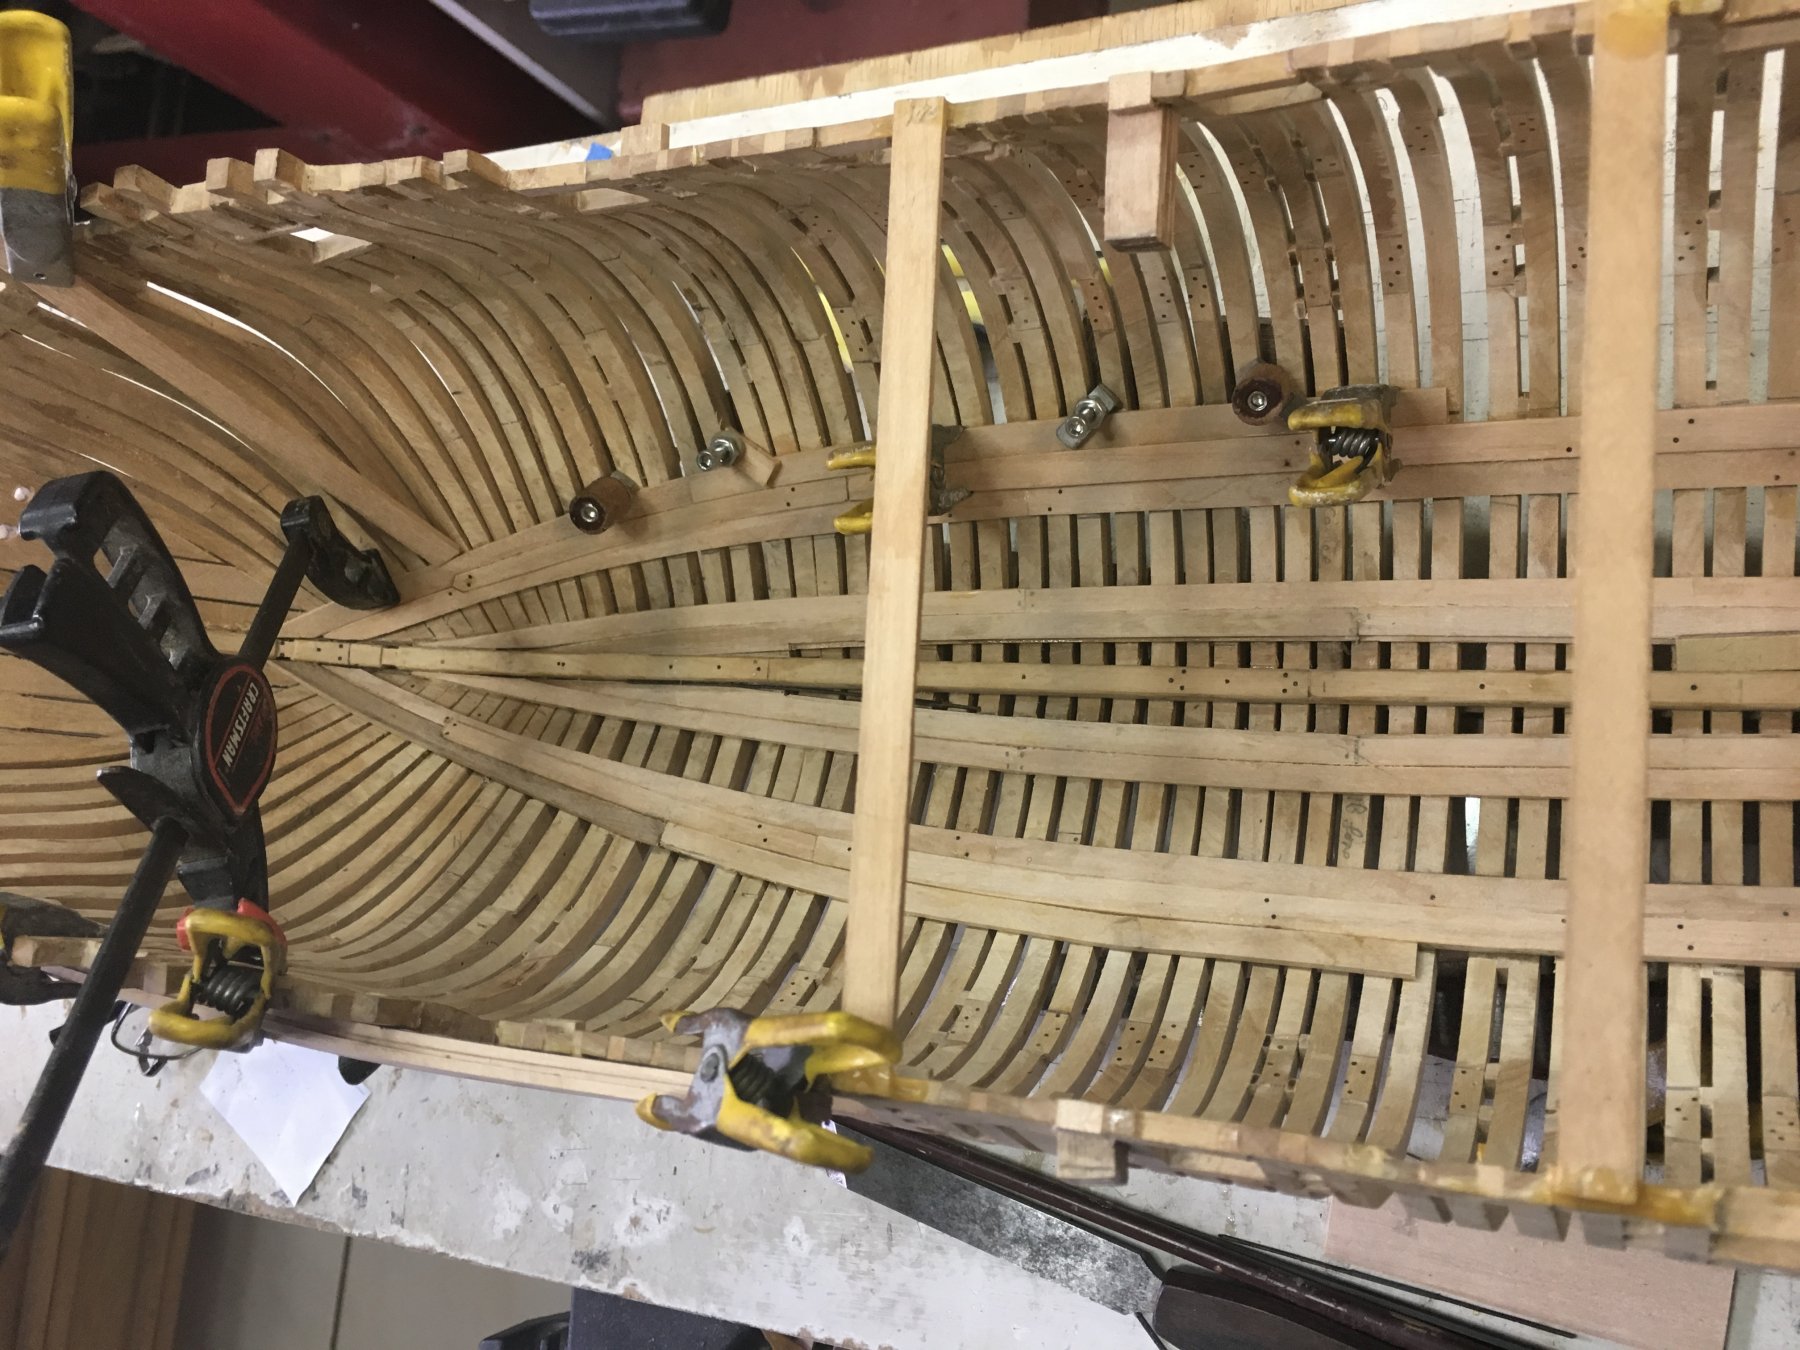
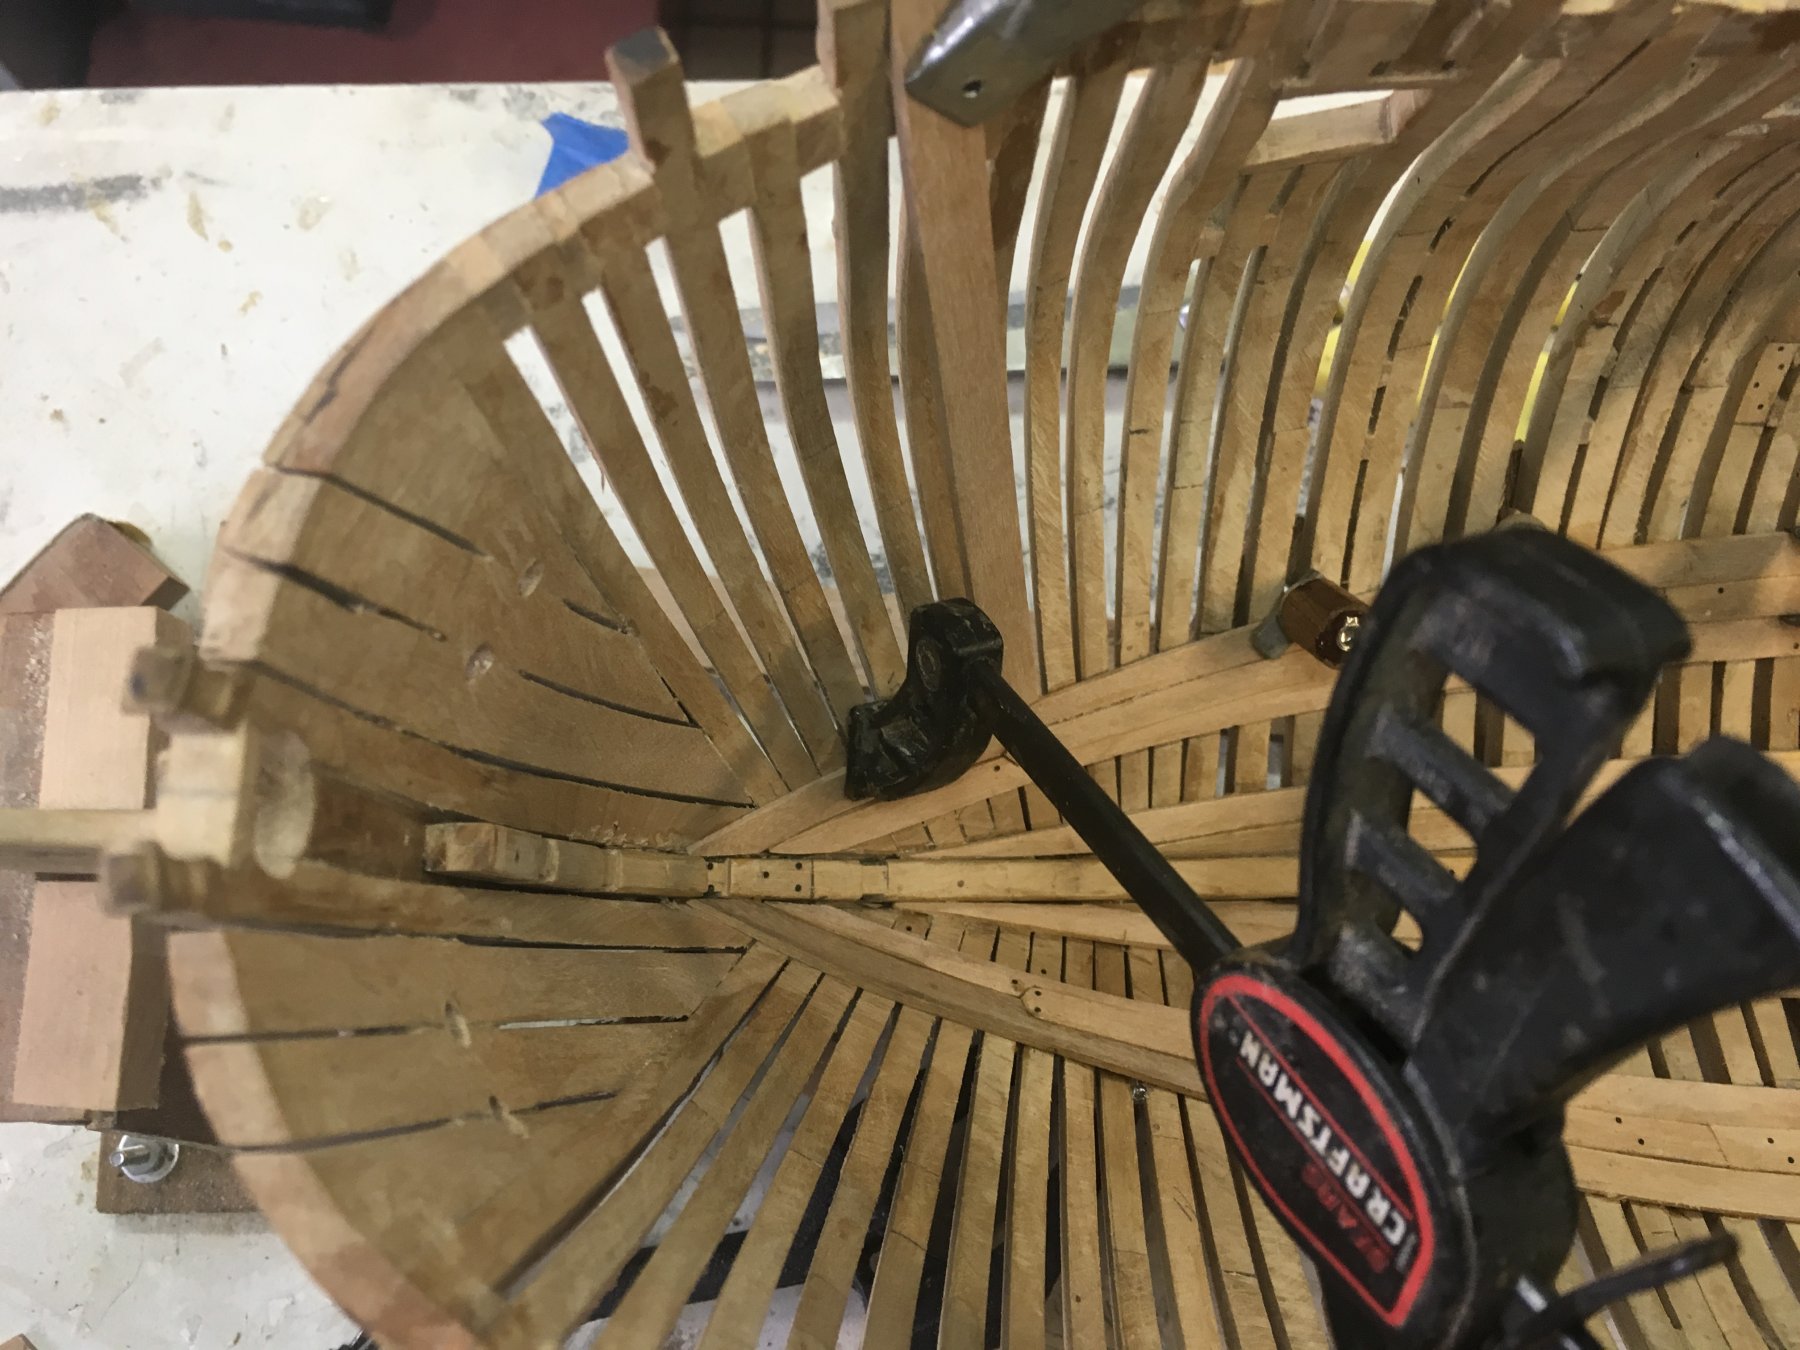
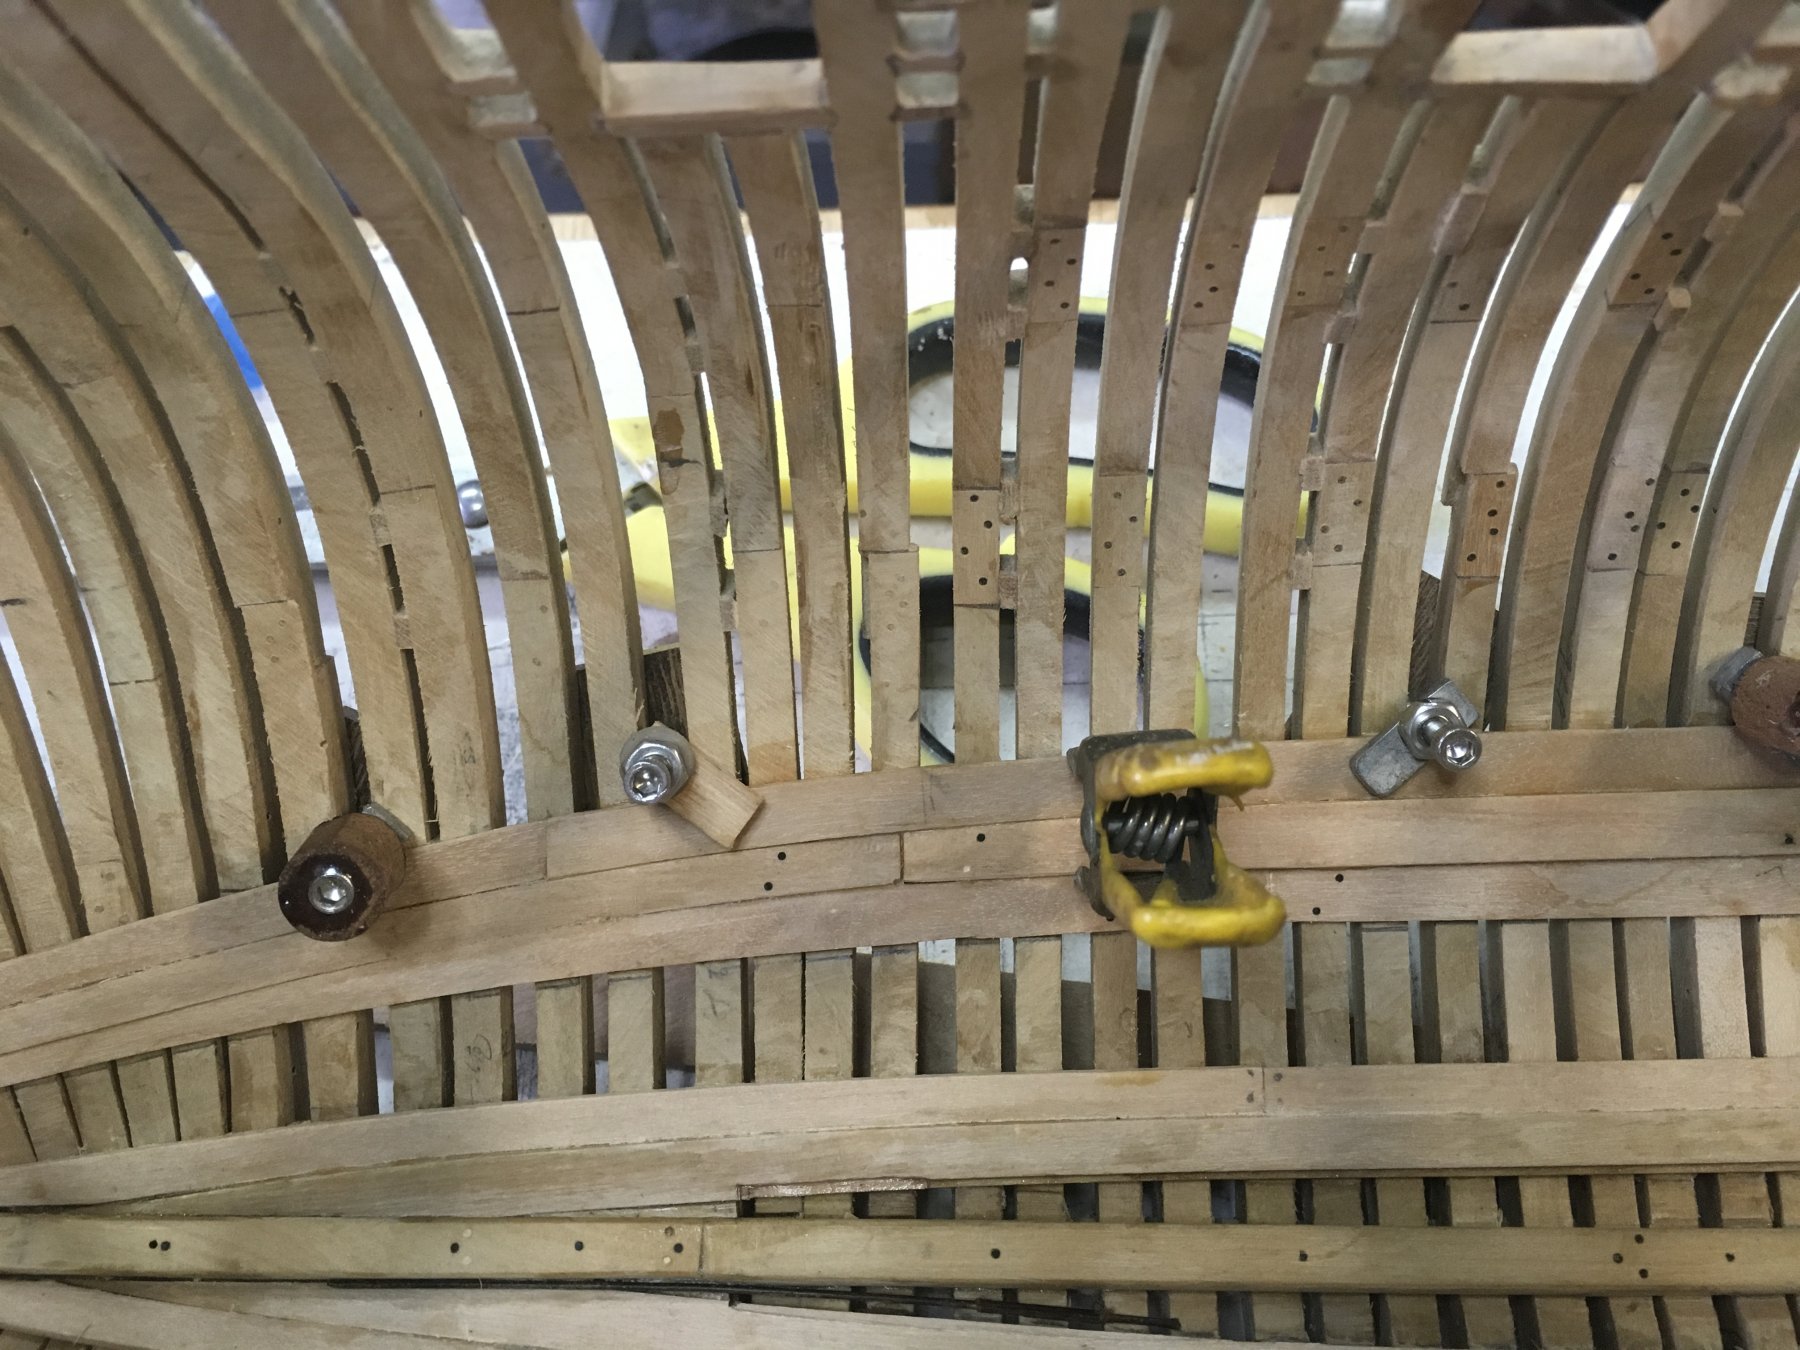
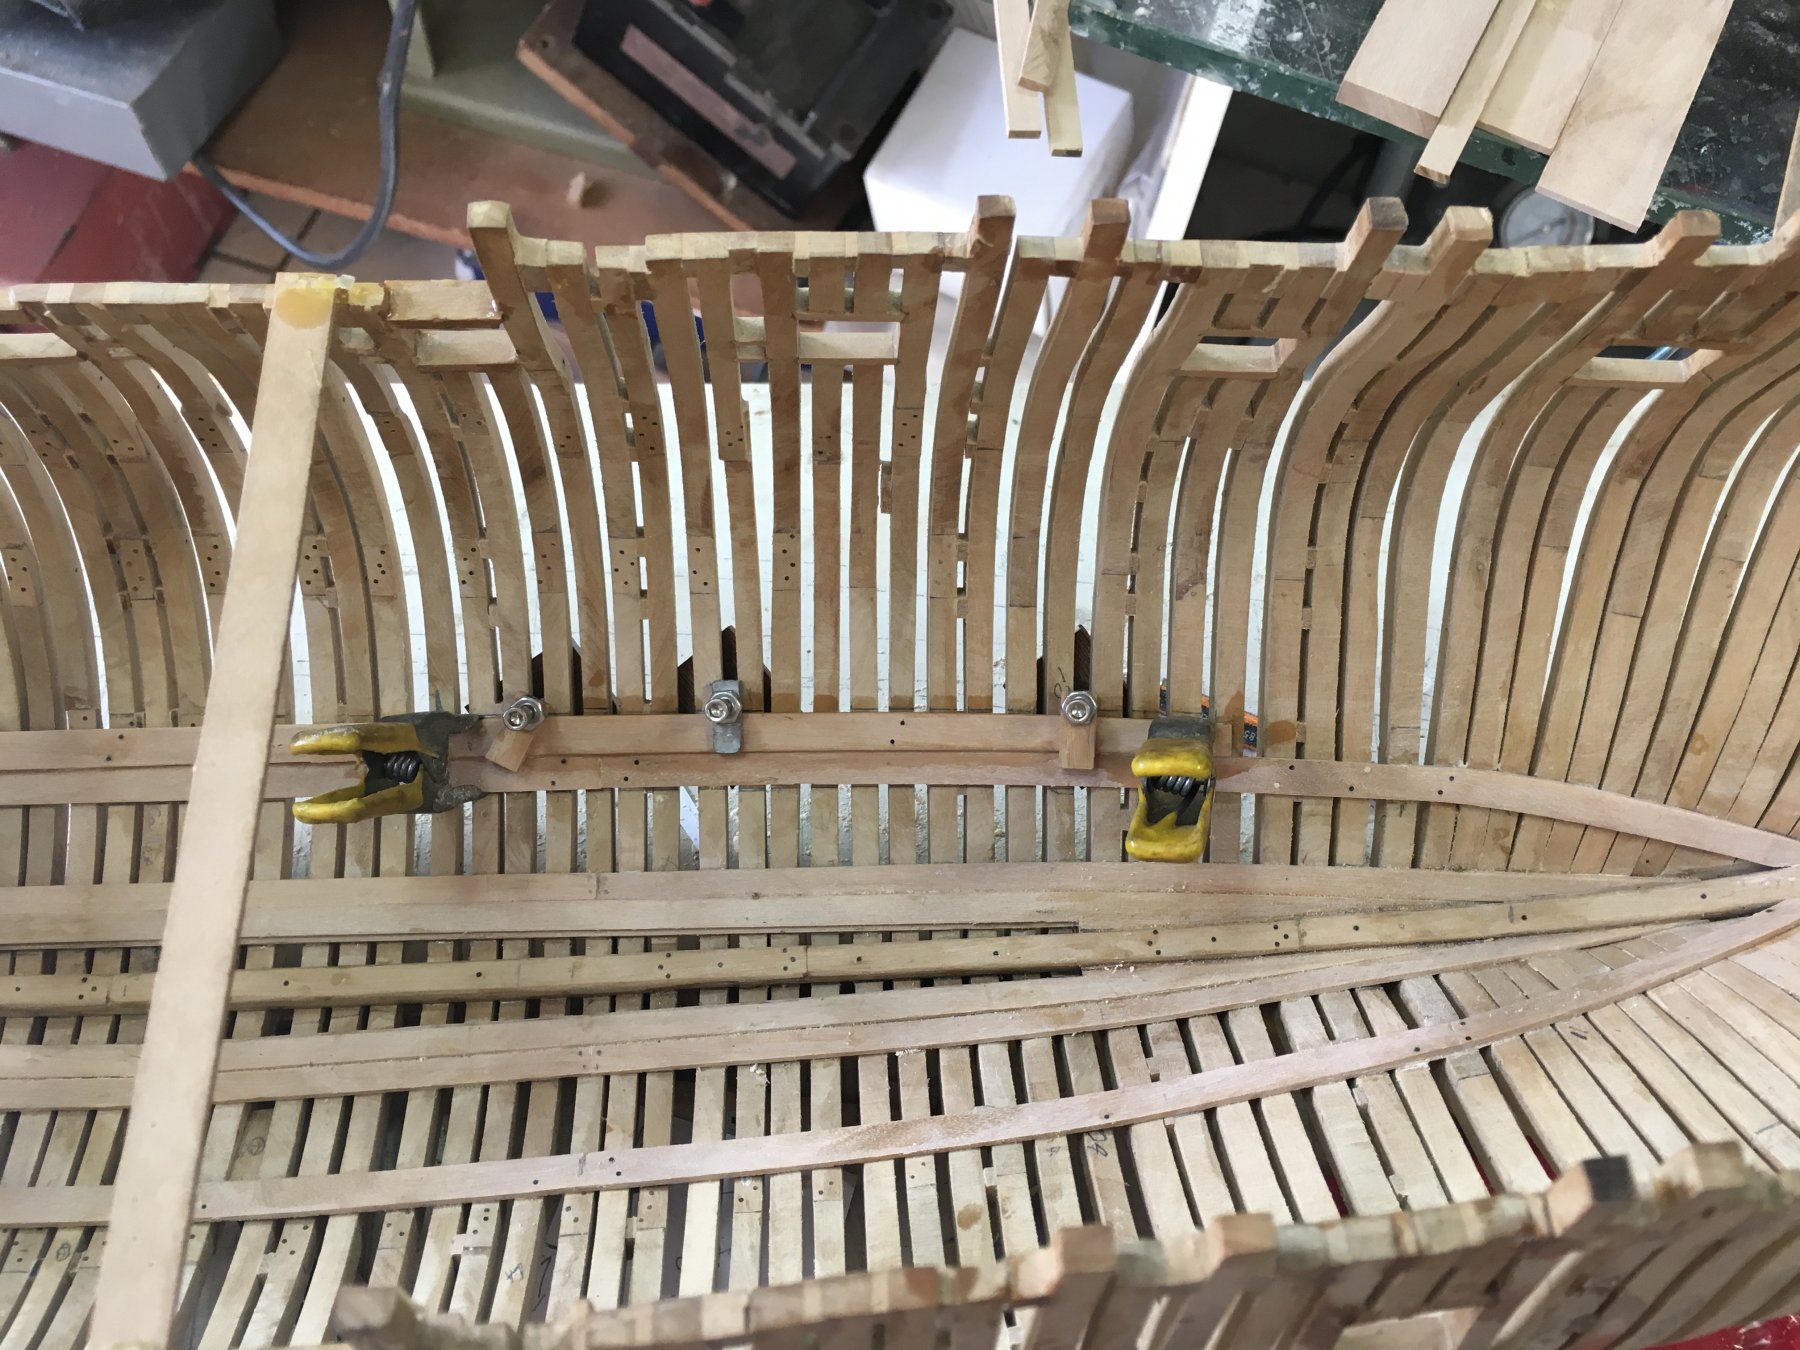
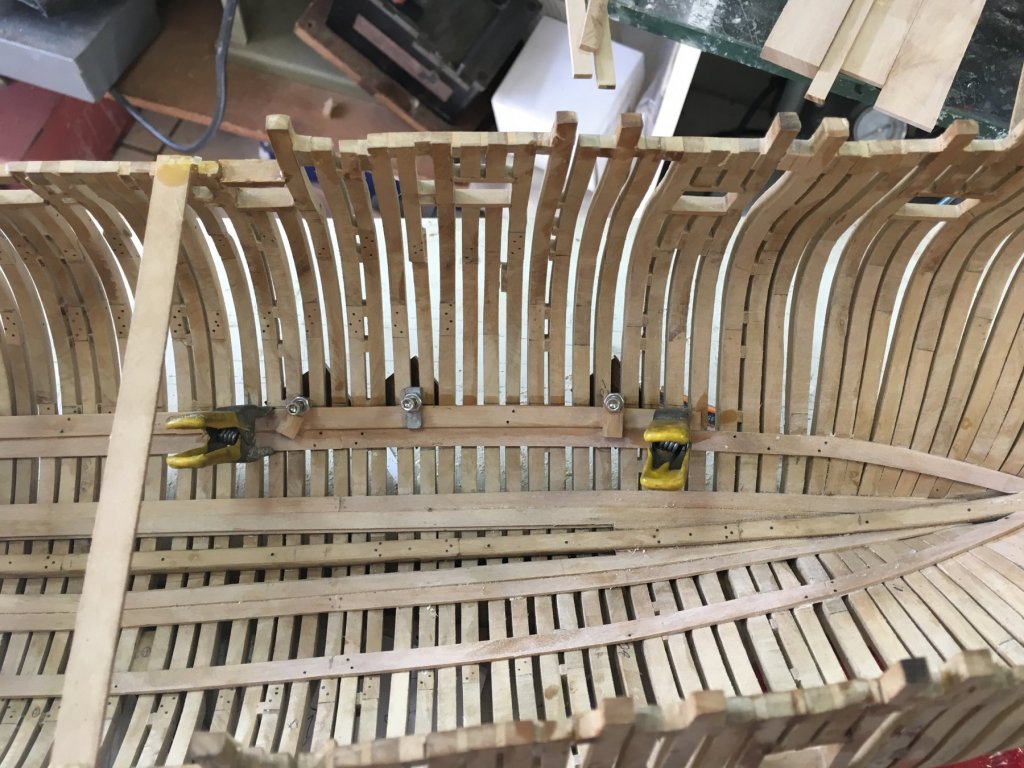
Since modified the clamps to make them wider and shorter. The added length prevents them from spinning and the shorter depth allow me to draw lines above or below the clamp. It also just pulls the edge of the plank down against the frame instead of the whole plank. This is useful sometimes when you just want the edge pulled down

-
Already did this. Thanks K
-
Toni you have left a good path for us to follow. I am always referencing your work and it has been very instrumental in my build of the Thorn. Congratulations on a fantastic build. Best regards kevin
-
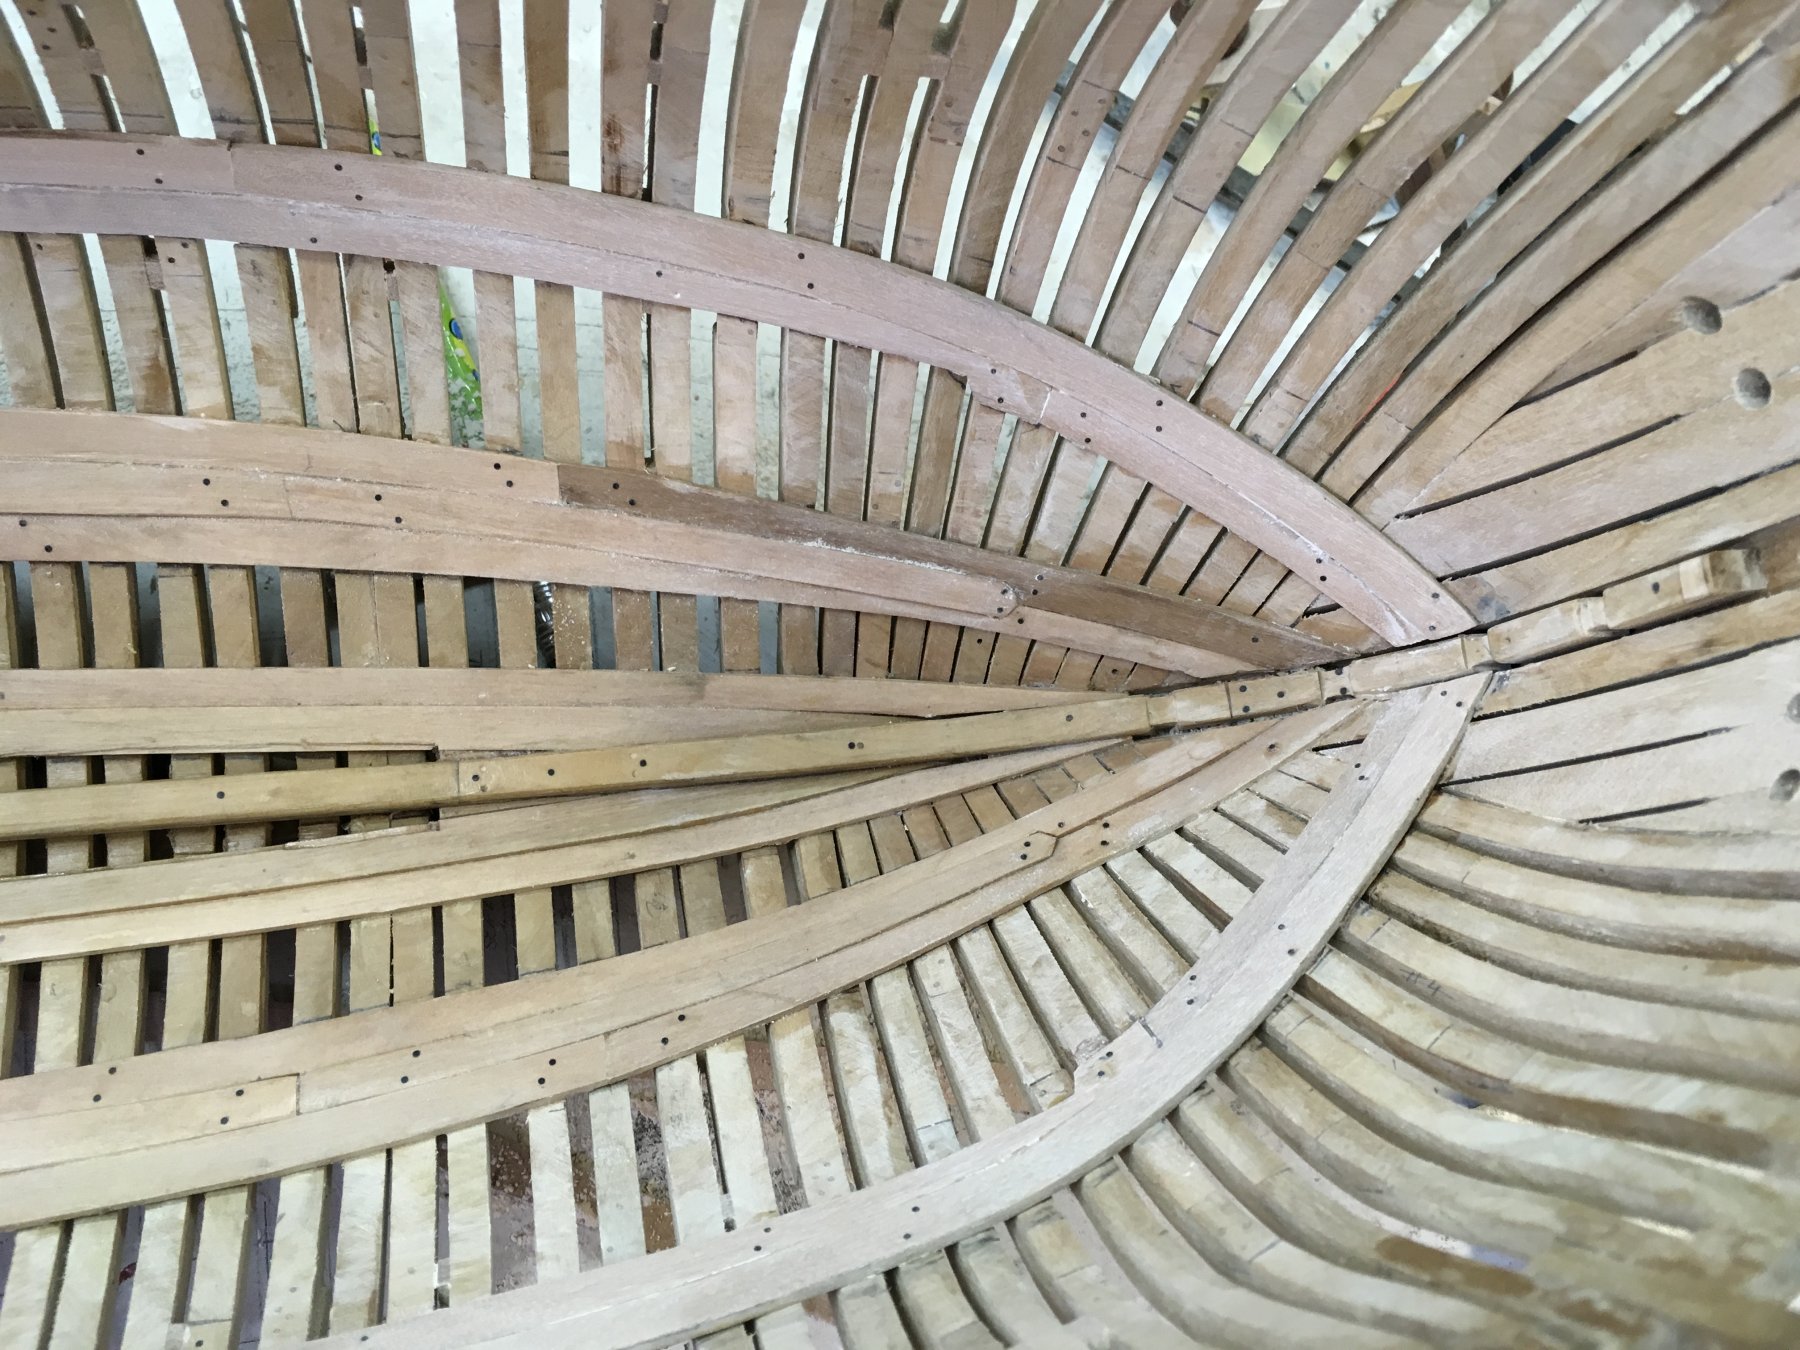
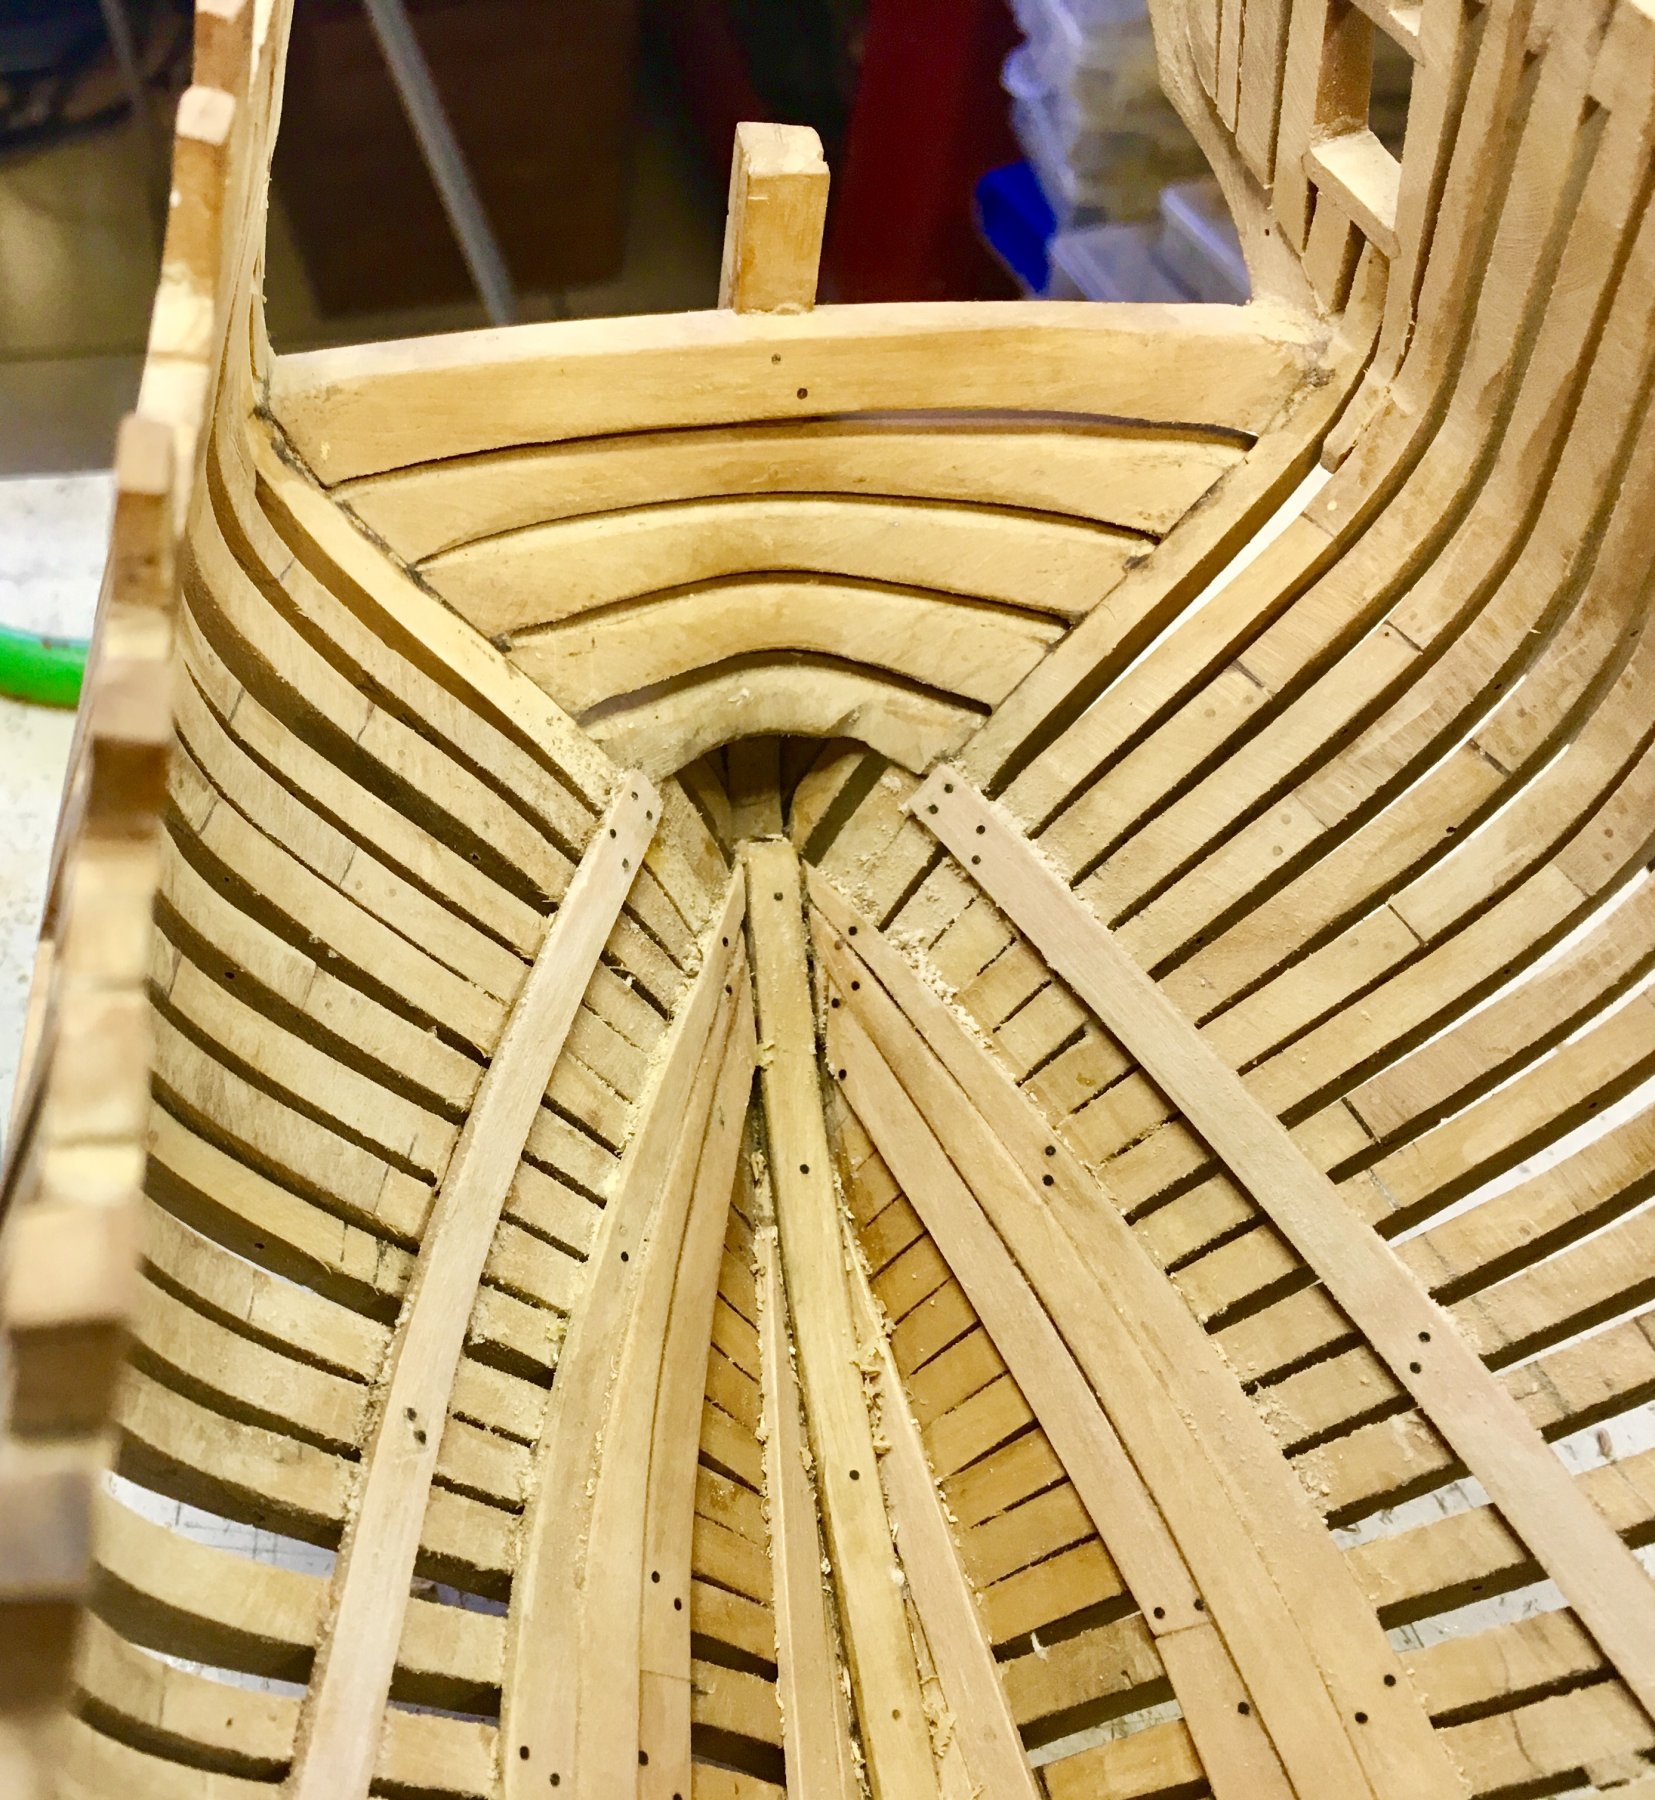
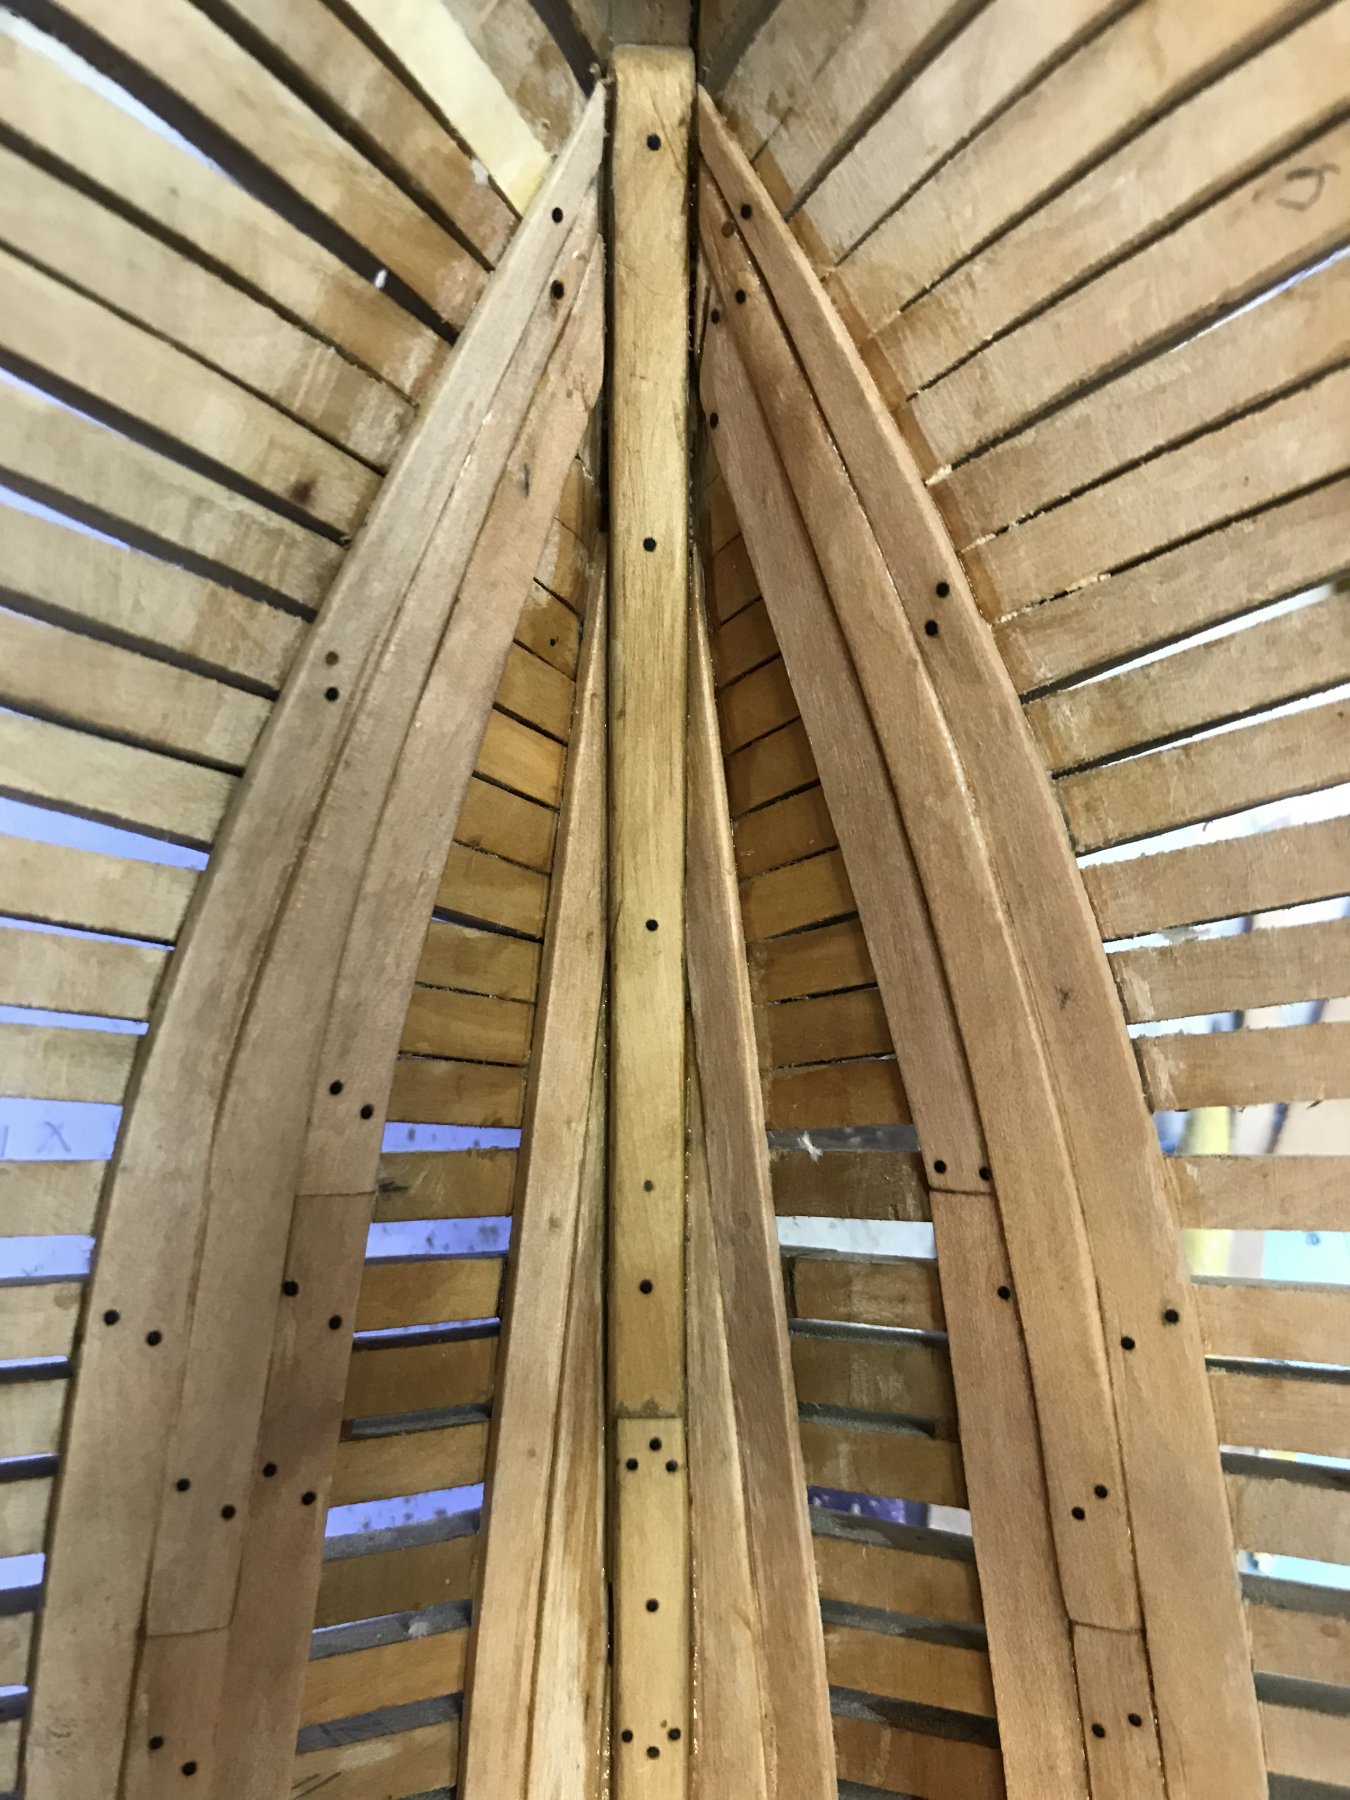
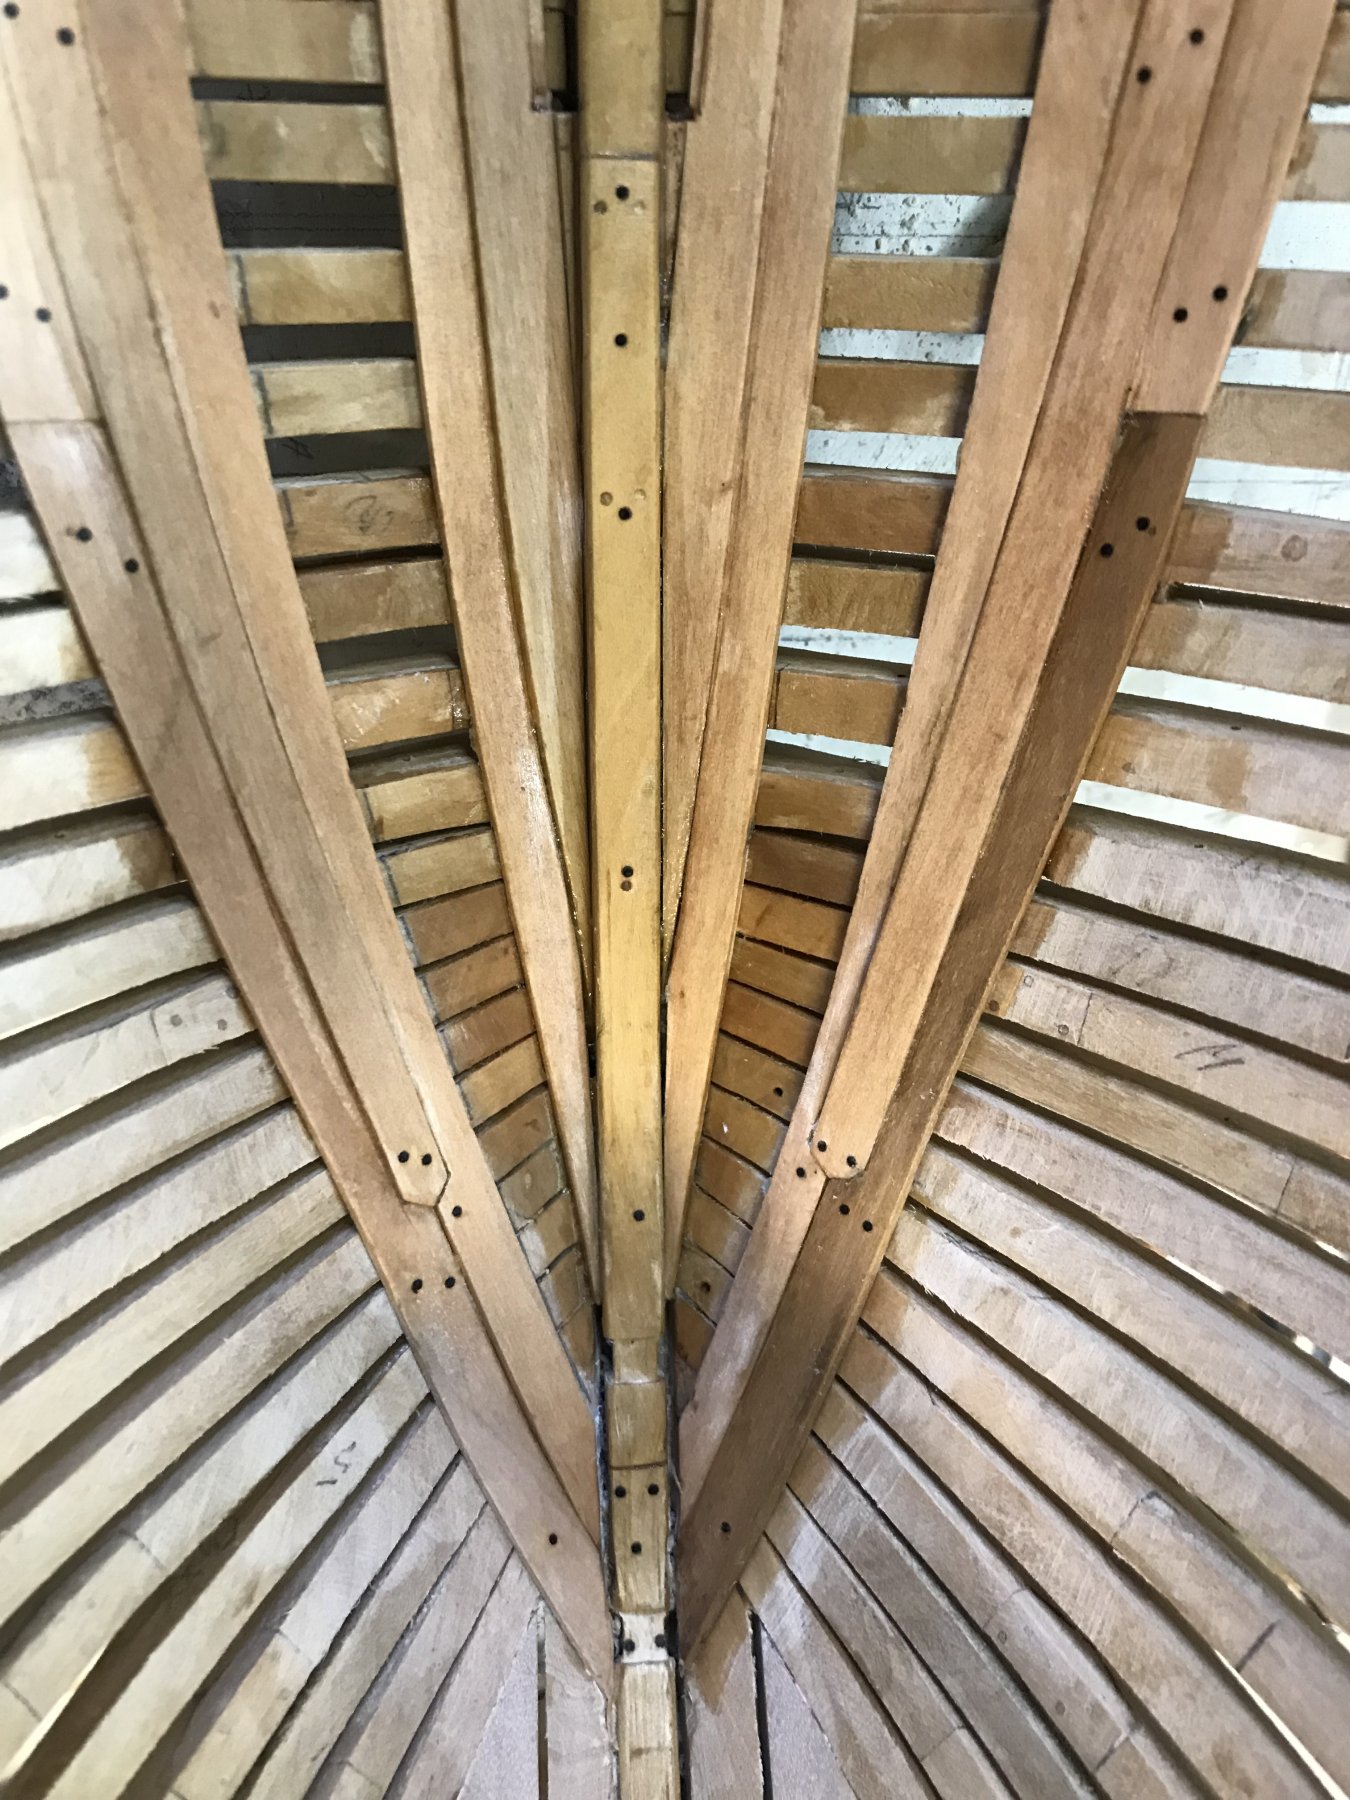
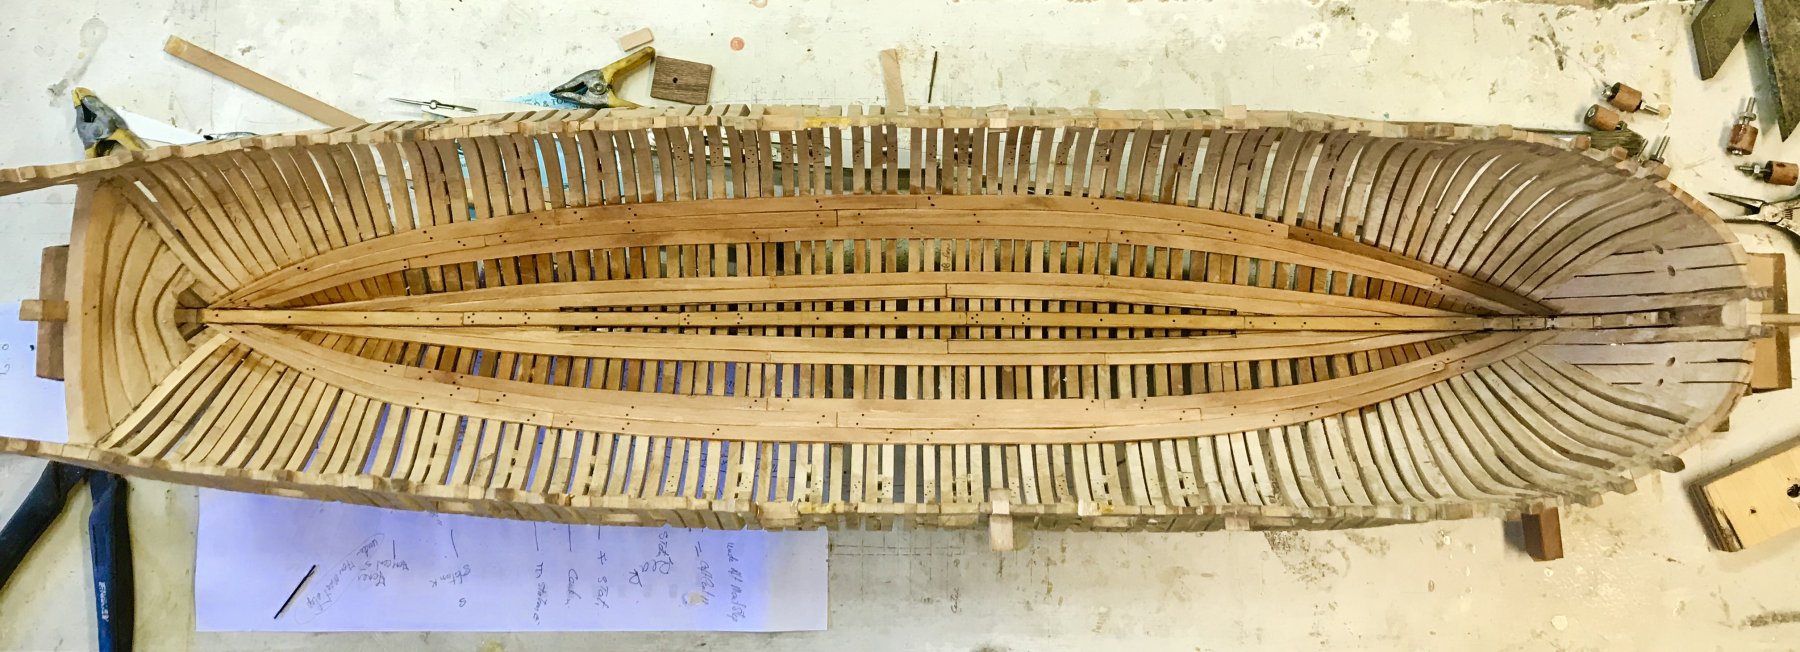
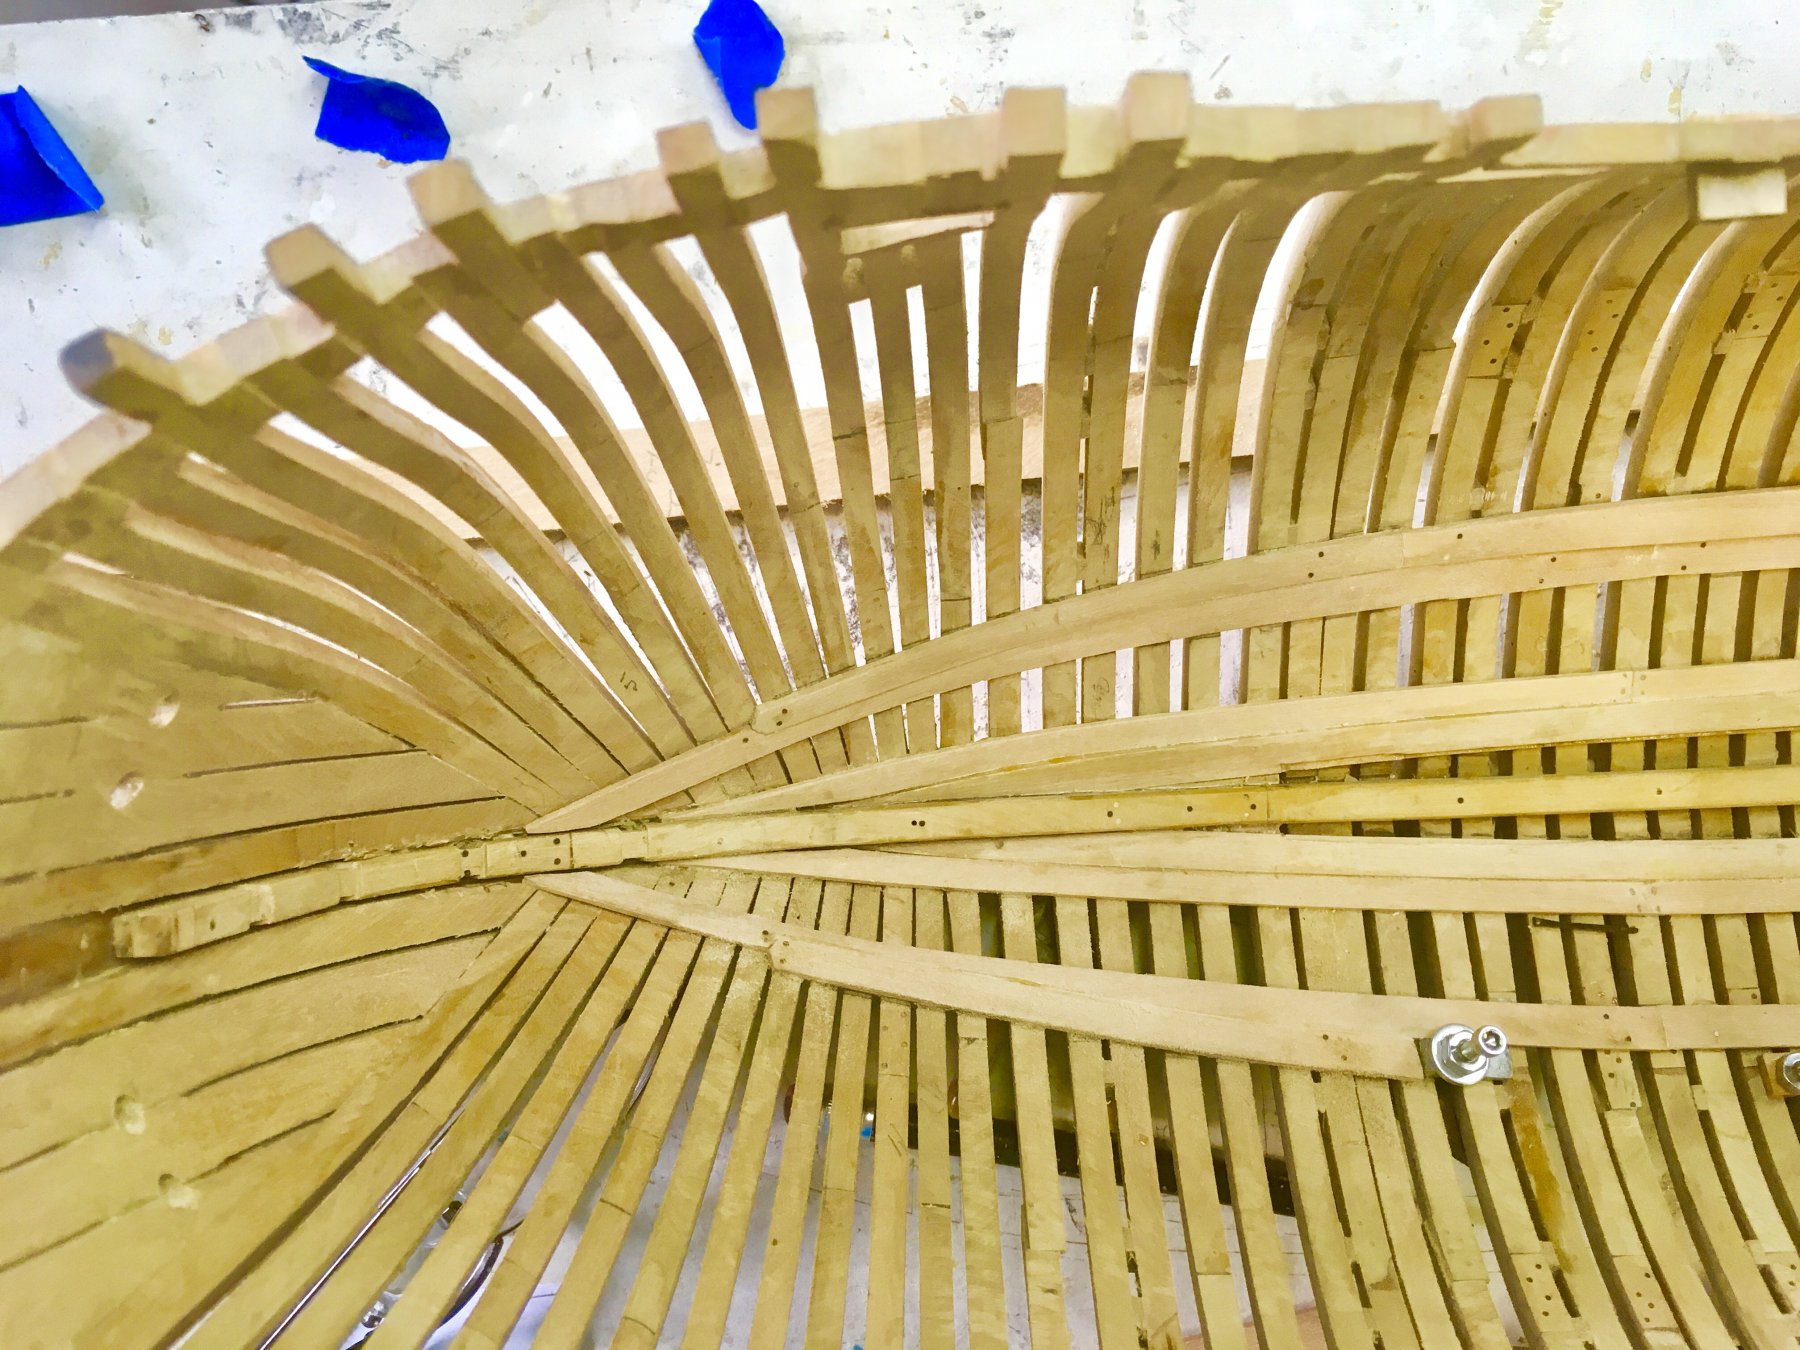
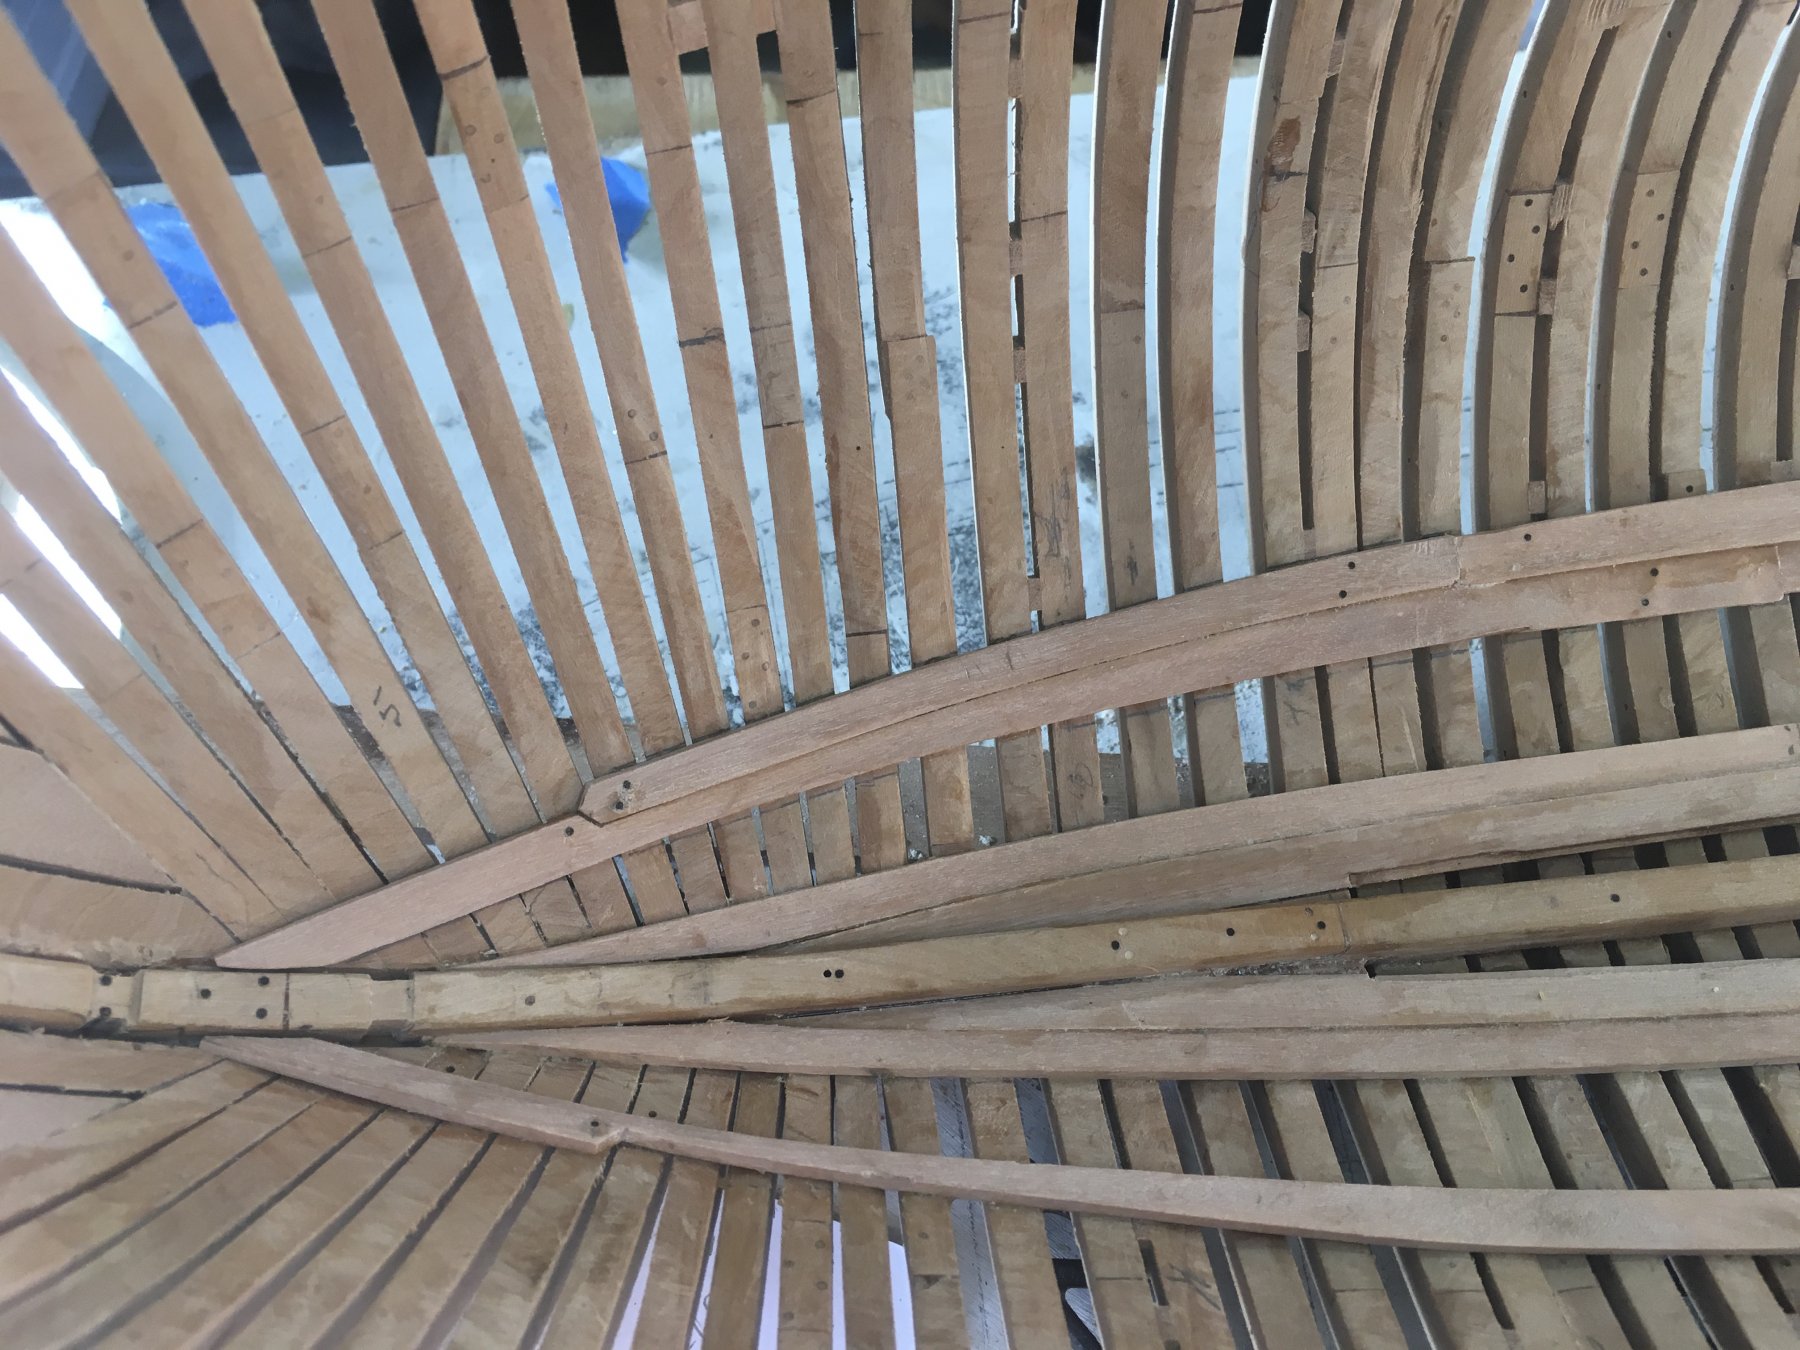
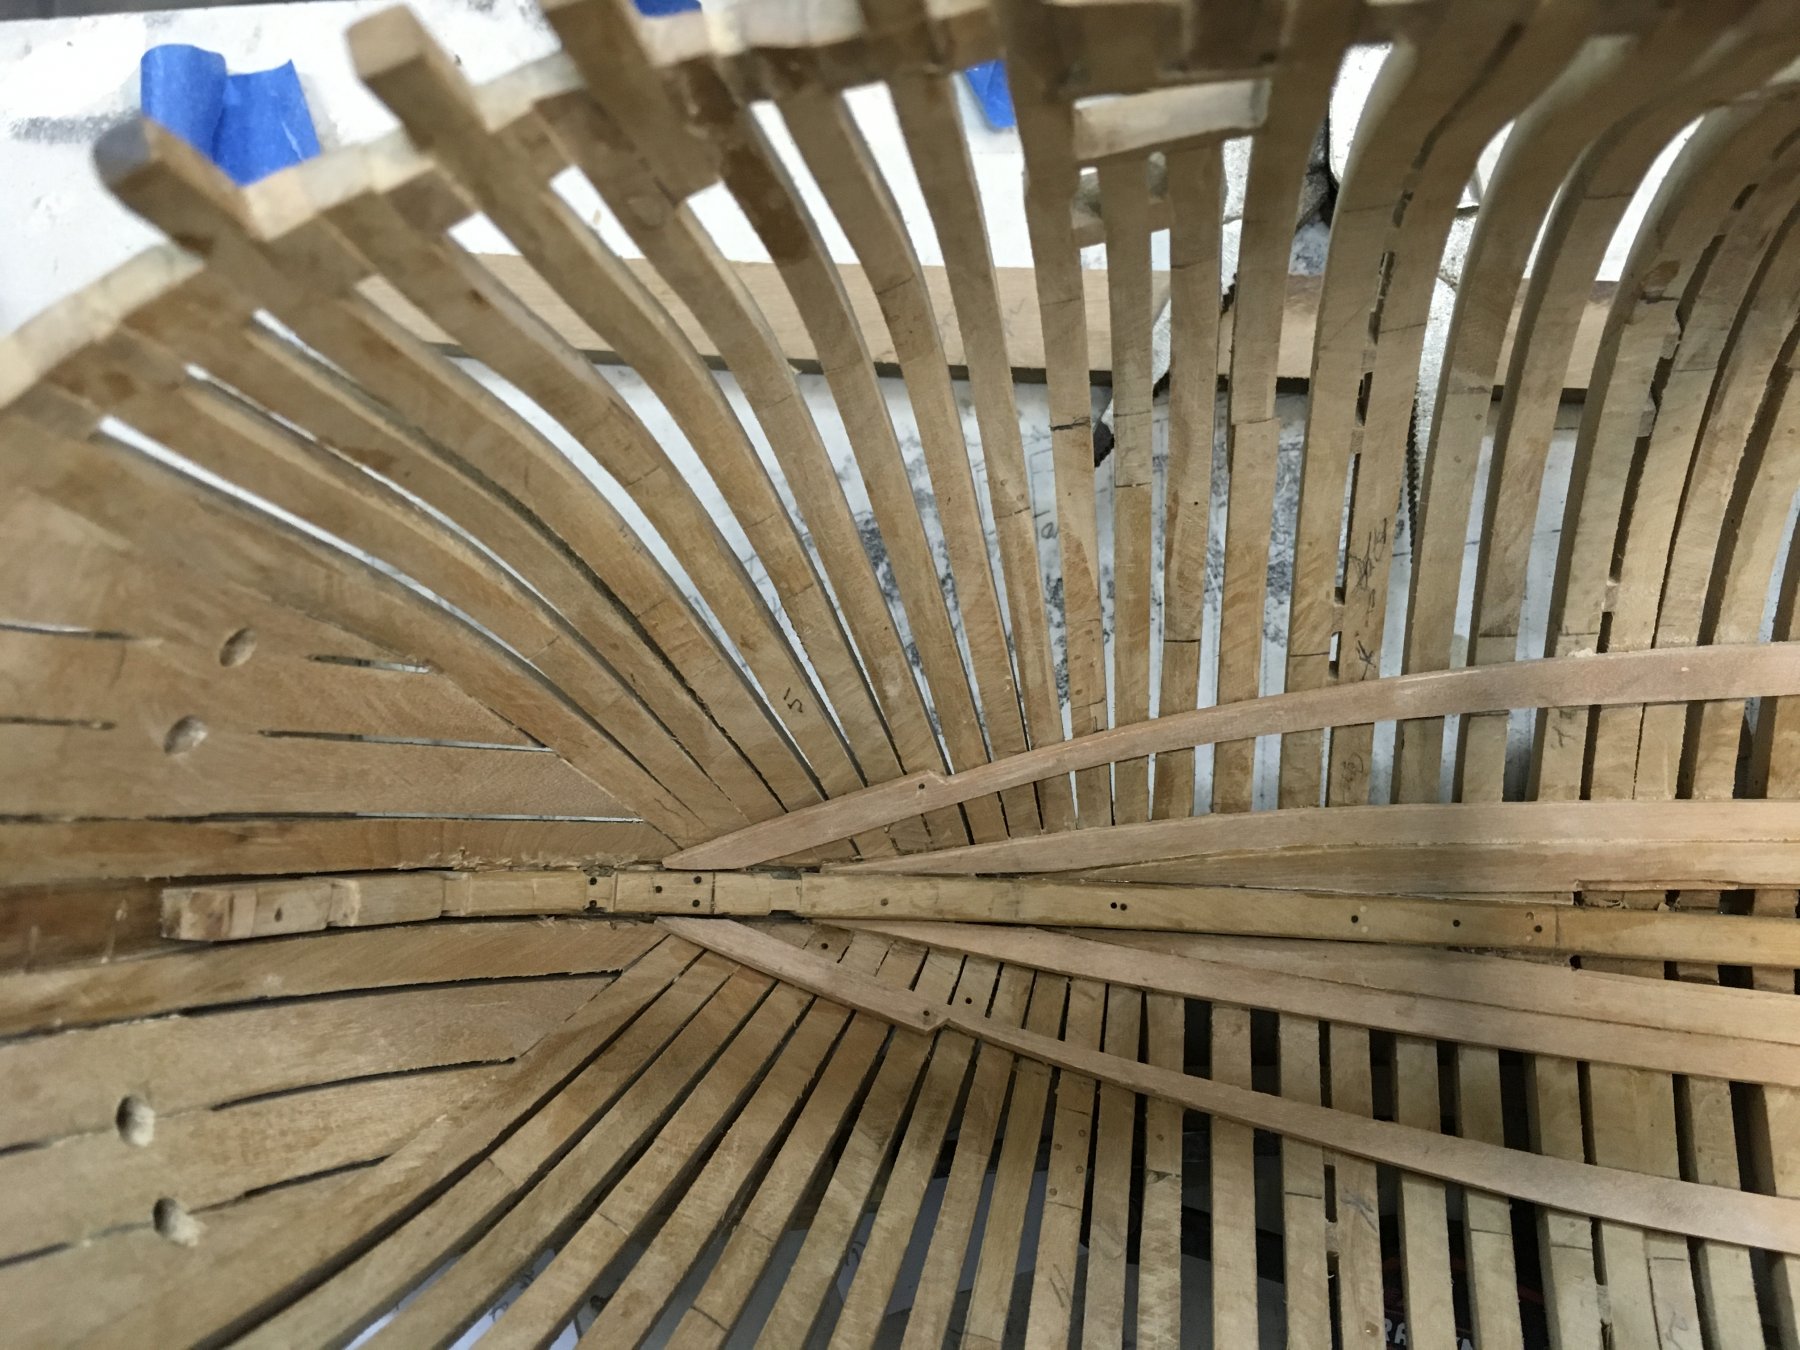
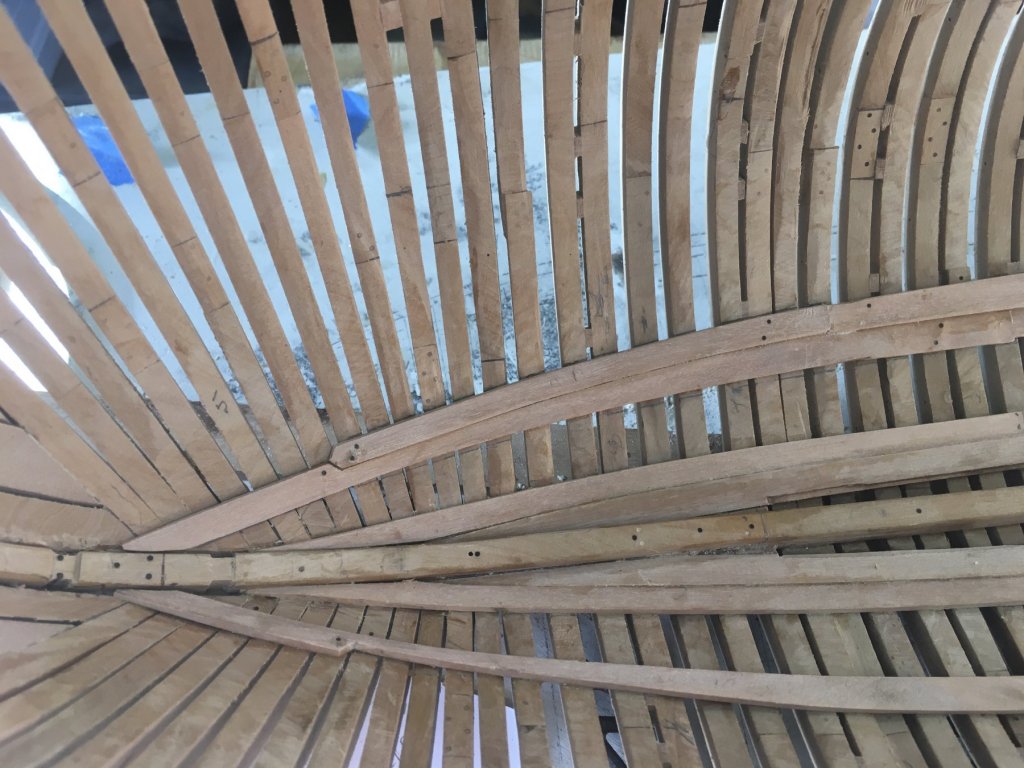
I have decided to reduce the end at the stern on strake 7 to 5” instead of 10.5” so that i end below the top of stern keelson. I have noticed in one of the builds that the end was also reduced to two strakes treated similarly to the front of the stemson. Maybe i should have curved #6 more at the stern end!
-
Very well done. I know how difficult this was to do as i too made a set for my America build.
- 162 replies
-
- 1
-

-
- america
- BlueJacket Shipcrafters
- (and 1 more)
-
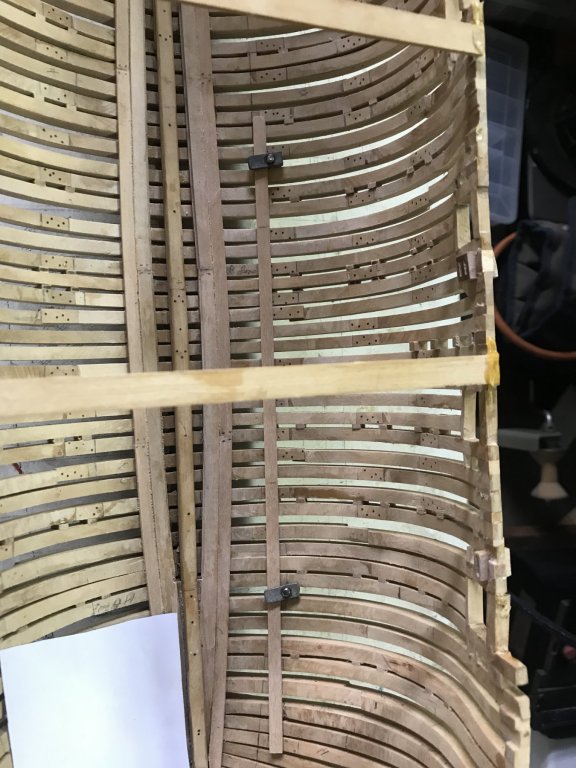
I am developing a clamp that will go between the frames to hold the internal planks. This is my first attempt that i will refine over time

-
Hi Hal the dowel tool comes from Vander lay Industries . Here is the link http://vanda-layindustries.com/html/treenail_instructions.html