HOLIDAY DONATION DRIVE - SUPPORT MSW - DO YOUR PART TO KEEP THIS GREAT FORUM GOING! (Only 36 donations so far out of 49,000 members - C'mon guys!)
×


jdbradford
-
Posts
214 -
Joined
-
Last visited
Content Type
Profiles
Forums
Gallery
Events
Everything posted by jdbradford
-
 Looks really nice Dave, I hope when I start the sails and rigging, it looks as good as yours. Jeff
 -
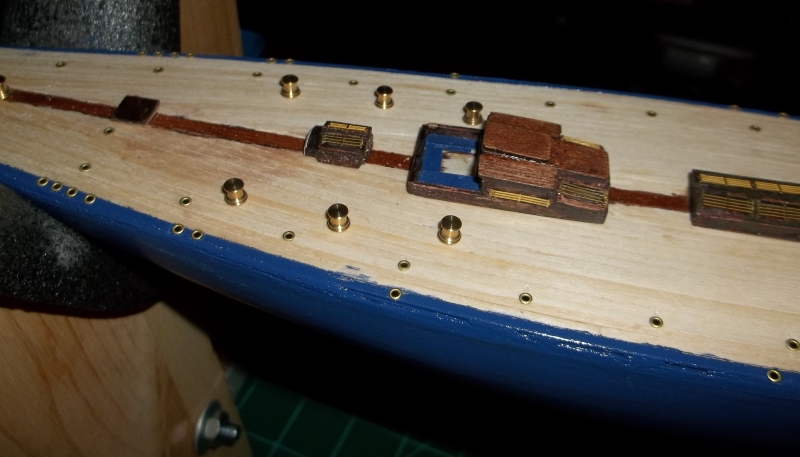
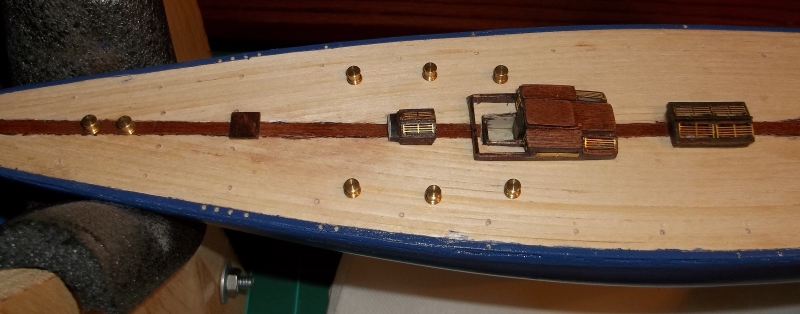
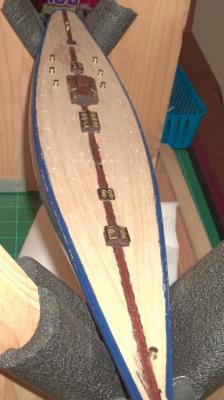
I just found that I am short of the 1 x 1 darker wood strips that are used at the bow near the cleats and then along the 2nd plank around most of the deck. shown in figure 63 and 68. I am not sure where I can get some to replace the missing pieces. Jeff
-
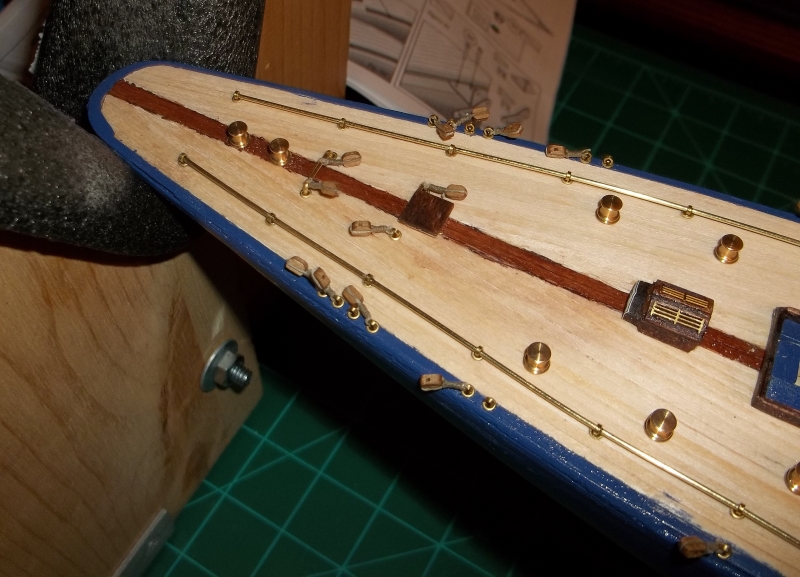
That would have worked. I wish I thought of it. LOL Man, I hate painting the cleats. If they are supposed to be wood cleats, then that is what should be in the kit, not this crappy lead blob, with flashing all over and misshapen. The brass handles on the pump are a pain as well. Maybe I will have lots of spare parts when I get older.
-
David, Did you paint your Binnacle? It is way small. LOL What about the brass ring at the bottom? Jeff
-
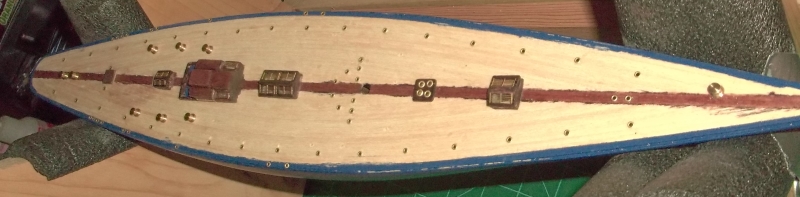
My camera was acting up so I had to wait until today to get more pics uploaded. I have painted the hull and finished the deck furniture. I had to learn how to strop the rigging blocks, but got them done as well. A few construction accidents at the shipyard and I will have to touch up the boat some. I am finishing painting of the mast and boom today and will start rigging later. Jeff


-
Yeah, but remember we know it's there. I can see the crew drinking my rum and rolling the bones through one of the skylights.
-
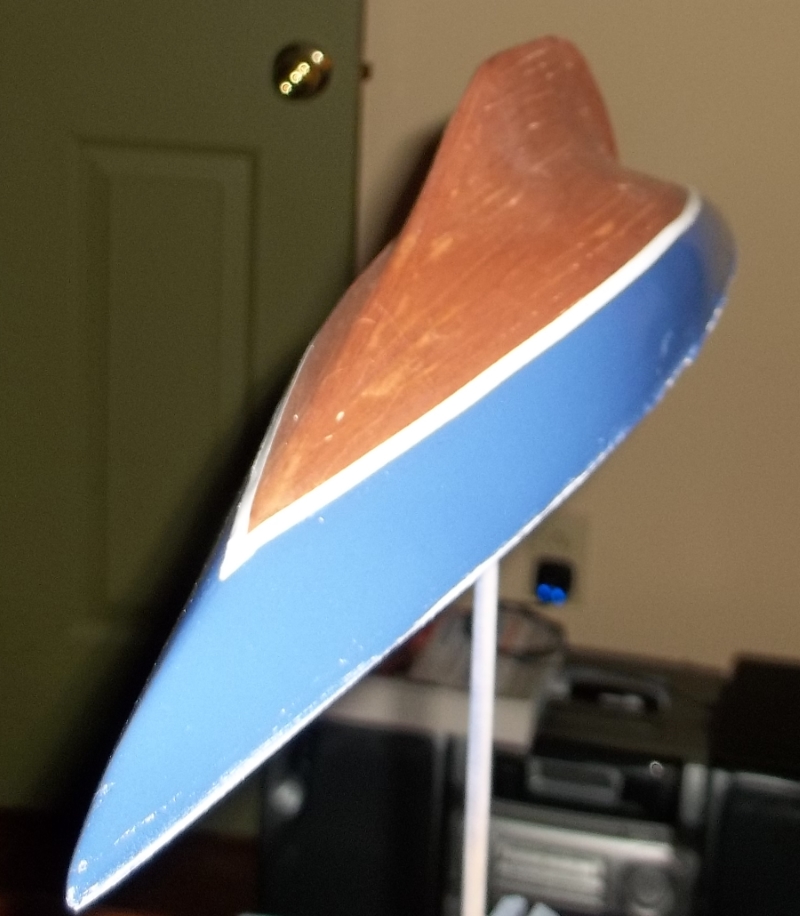
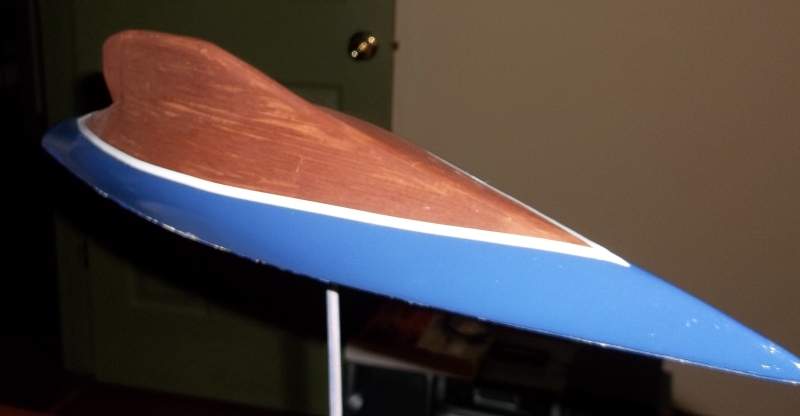
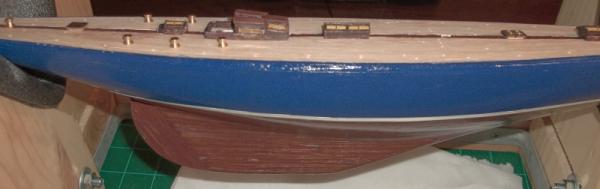
I did almost the exact same on my build. I did stain the two center deck planks, but the stain bled under the tape. I should have primed it. Also, my mahogany 2nd hull planking did not turn out as well as I would have liked. Near the widest part of the hull, the planks wanted to bend and rise up on one side. I clearly had not faired the bulk-heads correctly. After some filler, sanding, priming and re-staining, the build looked a bit better. I masked off the deck and bottom of the hull and painted a really cool blue. After a few coats, I applied a white water line stripe (1/8" wide at O'Reilly Auto parts) and then sealed the whole hull. I was so frustrated building the deck-house. The instructions are out of order and I wish I had read more of the other's build first. Trying to place the acetate after gluing up the deck-house is wrong, and then trying to keep the brass window covers in place was initially a nightmare. I dread trying to put windows in the deck portholes. LOL I am now working on stropping blocks. After reading online and seeing many pictures, I think I finally figured it out. Jeff
- 54 replies
-
- 1
-

-
- americas cup
- endeavour
- (and 3 more)
-
Hey Henry, just found your build. Dave, Floyd and I are all working on this model, Floyd's is 1:35 I think. I will look at your pics now as I am trying to finish up the deck furniture and start rigging here shortly. Jeff
-
Here is a link that I found. I too am trying to learn how to do this correctly. http://www.modelboatyard.com/stropping.html
-
I am at that Floyd. Jeff
-
I myself have not tried the de-bonder. But I do still have an older tube of super glue remover and it works well for me.
-
What did you use to make up the blocks so they can attach to the eye bolts in the deck? It shows to use the tan thread, but it looks like you used some type of brass wire?
-
Zap and other companies make a product called debonder or super glue remover. If your fingers are stuck together, your can squirt a bit on the bond and working it down, will allow you to pull your fingers apart without the skin coming off. Rubbing it over super glue encrusted fingers will remove most if not all of the glue and you can then use soap and water. Works the same with a product called liquid skin or liquid band-aid. They are even using a super glue variant in surgery instead of sewing or staples. Jeff
-
General Scroll Saw use
jdbradford replied to jdbradford's topic in Modeling tools and Workshop Equipment
Sorry, I forgot to thank you Kurt for the plexi-glass idea. thanks! -
General Scroll Saw use
jdbradford replied to jdbradford's topic in Modeling tools and Workshop Equipment
Very nice, thanks Mark. -
General Scroll Saw use
jdbradford replied to jdbradford's topic in Modeling tools and Workshop Equipment
Thank you for the ideas. I will try to build a new top for the saw and let you know how well it is working for me. -
Well, you'll never guess... The Admiral decided to pick up a bit since I am working in my office on the deck-houses and she threw them in the trash. But, she was good enough to go through and find them for me. I think I'll keep her.
-
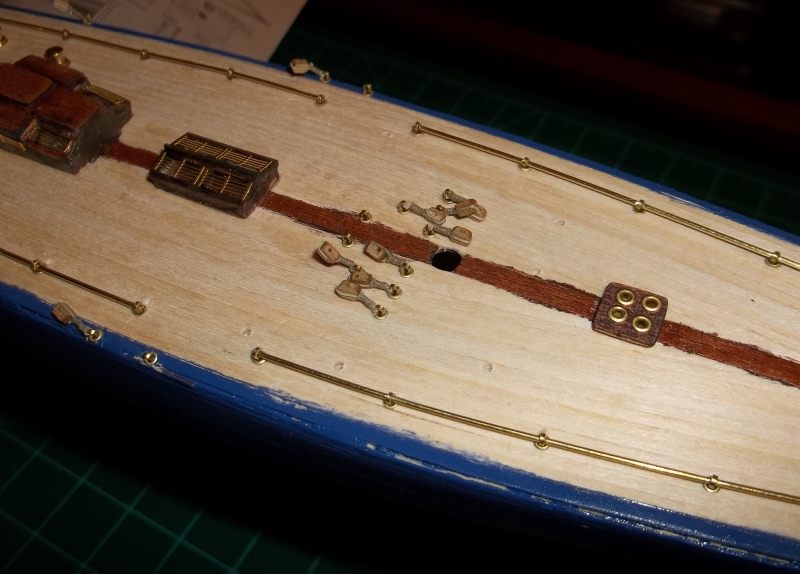
Hey guys, any idea where I can get some of the replacement brass sheet pieces? Somehow I have lost some of the brass shutters that go over the skylights.
-
I bought some cutters like that from Amazon, for sprue or brass sheet, I don't think it is made for wood, unless it is balsa.
- 1,756 replies
-
- 1
-
-
- constitution
- constructo
- (and 1 more)
-
forget the salmon, good luck with the bear. I know this is late, but so funny.
- 1,756 replies
-
- 1
-
-
- constitution
- constructo
- (and 1 more)
-
Welcome to the group. I have only used primer when I plan to paint the model. If I am staining then I don't use primer.
-
I saw where one of our members got a steal on a Dewalt. I too looked at a new one, but it was $400 - 500 and did not want to spend that much. I also went to the Wood Crafters store locally, but theirs were also too expensive for my budget. I browsed the Internet some more and found a Craftsman for $120 and after checking the specifications, thought it would work well for model ship building. The main problem I have with the saw is the hole in the table where the blade passes is too big to work with parts made for smaller ships. I was able to rig a piece of wood with a small hole that the blade can pass through and that helped a little. I am wondering about the Dewalt and other scroll saws: Do they have smaller holes in the table, and are they able to handle smaller pieces? Thanks
-
Dave, on the deck-house again, I do not seem to have the small thin pieces that run the length and between the sky lights. Did you have to use a piece of strip?
-
Amati New Revenge kit- What scale will it be?
jdbradford replied to bear's topic in Wood ship model kits
He says 1:48 http://modelshipworld.com/index.php/topic/985-amati-and-chris-watton/page-36#entry205170