HOLIDAY DONATION DRIVE - SUPPORT MSW - DO YOUR PART TO KEEP THIS GREAT FORUM GOING! (Only 75 donations so far out of 49,000 members - C'mon guys!)
×


jdbradford
-
Posts
214 -
Joined
-
Last visited
Content Type
Profiles
Forums
Gallery
Events
Everything posted by jdbradford
-
 I am adding some filler, sanding and cleaning up these last few planks and will then attempt to finish the lower hull planking. I also ordered some additional help for my shipyard. I have a Grizzly 1" belt/5" disk sander. I ordered some small machinist angle plates, machinist's squares, some medium diamond files, 30/0 paint brushes, an additional knife holder. I also have Bob Hunt's POF Armed Virginia Sloop POF, Chris Watton's newest design from Amati, the HMS Revenge, and I have a shaft driven Dremel tool coming sometime next week. I will try to post some pictures in our thread about what you received then. Jeff
 -
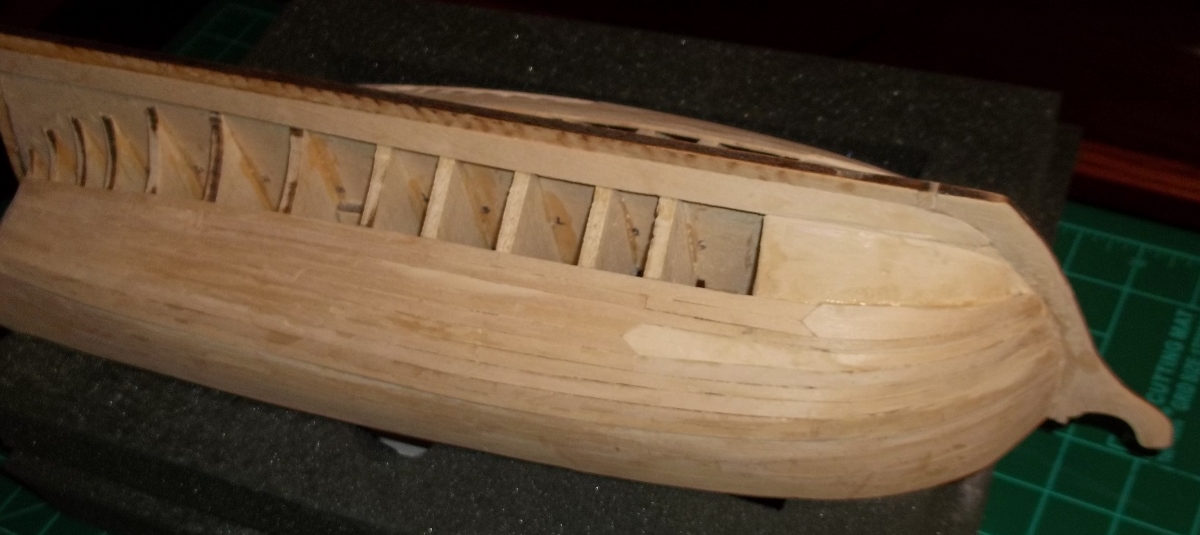
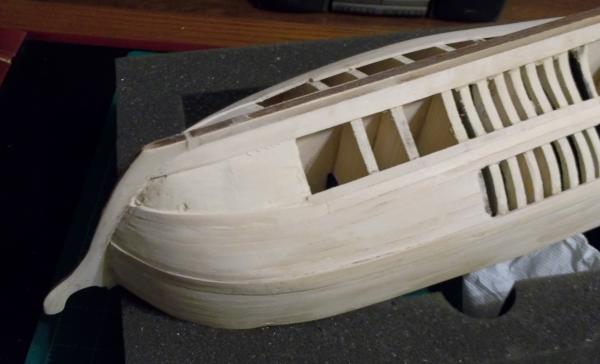
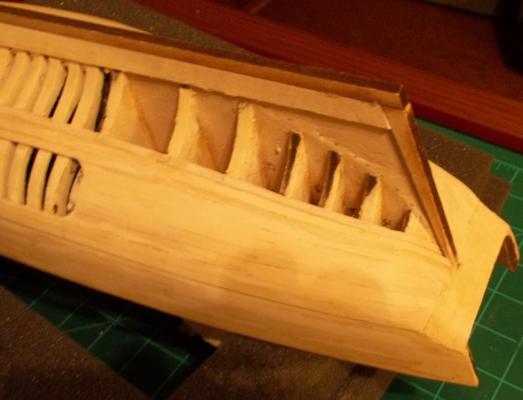
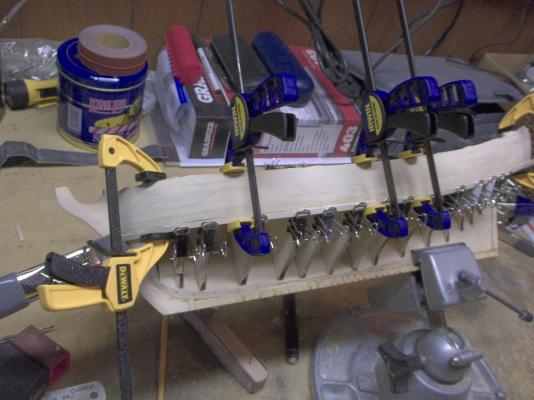
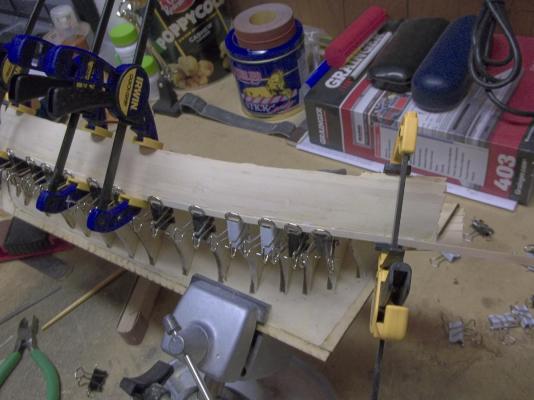
I then added a few more rows of planking as I approached the Garboard.


-
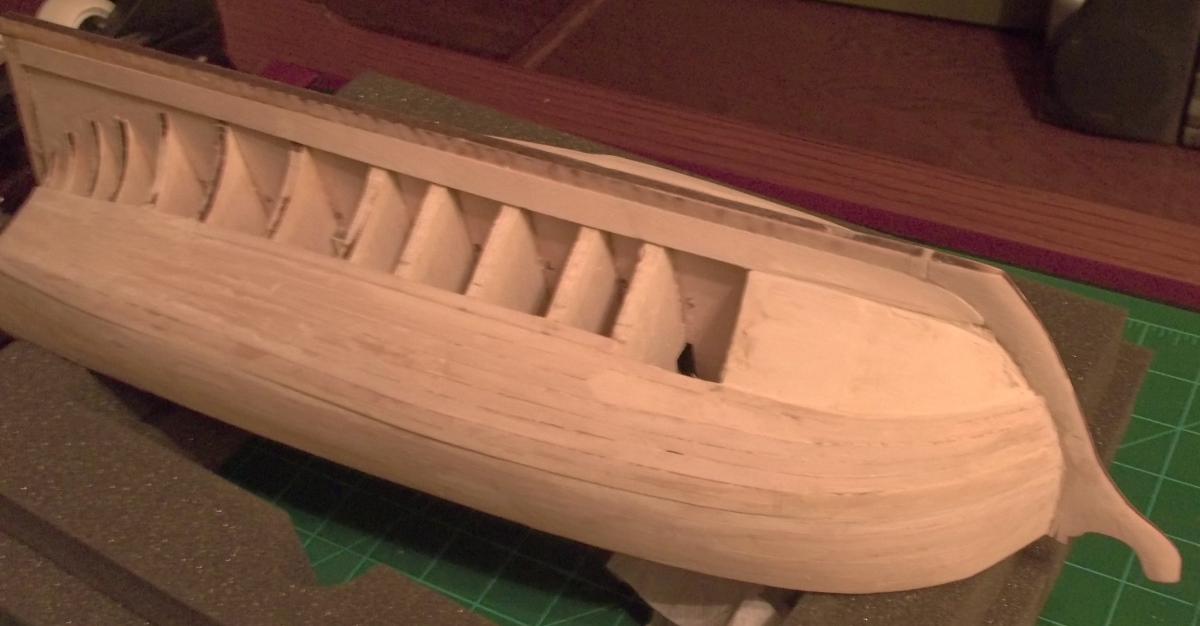
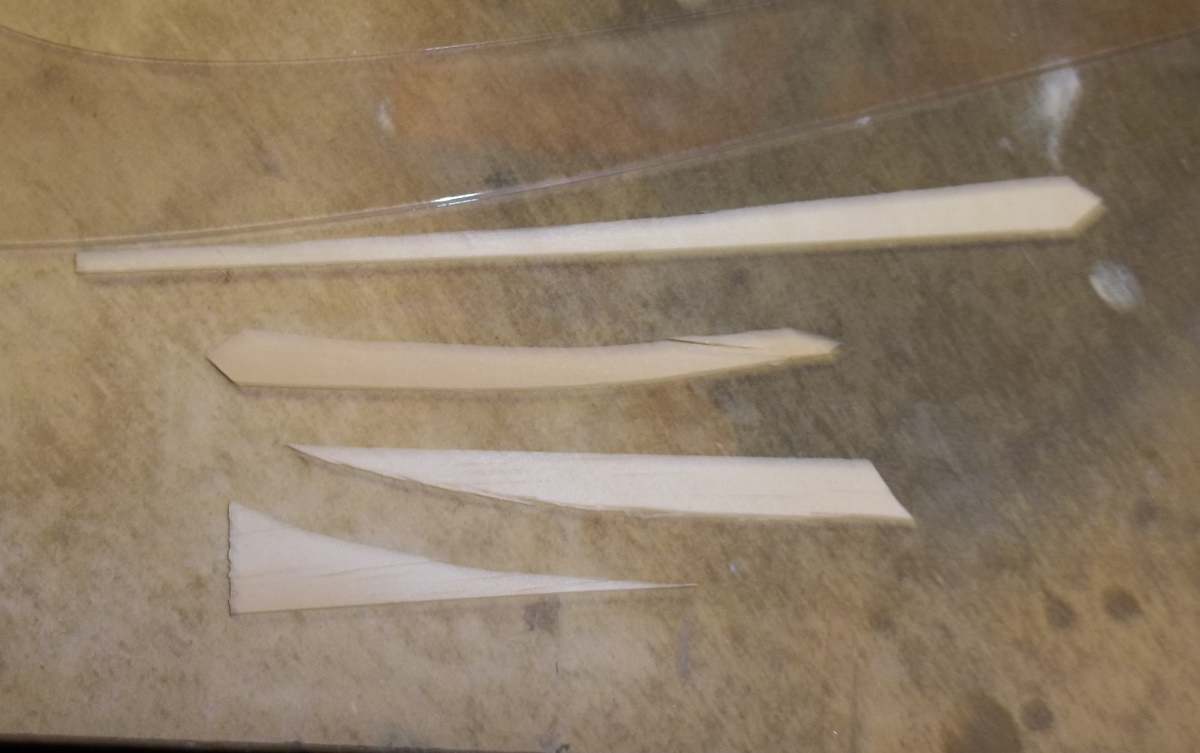
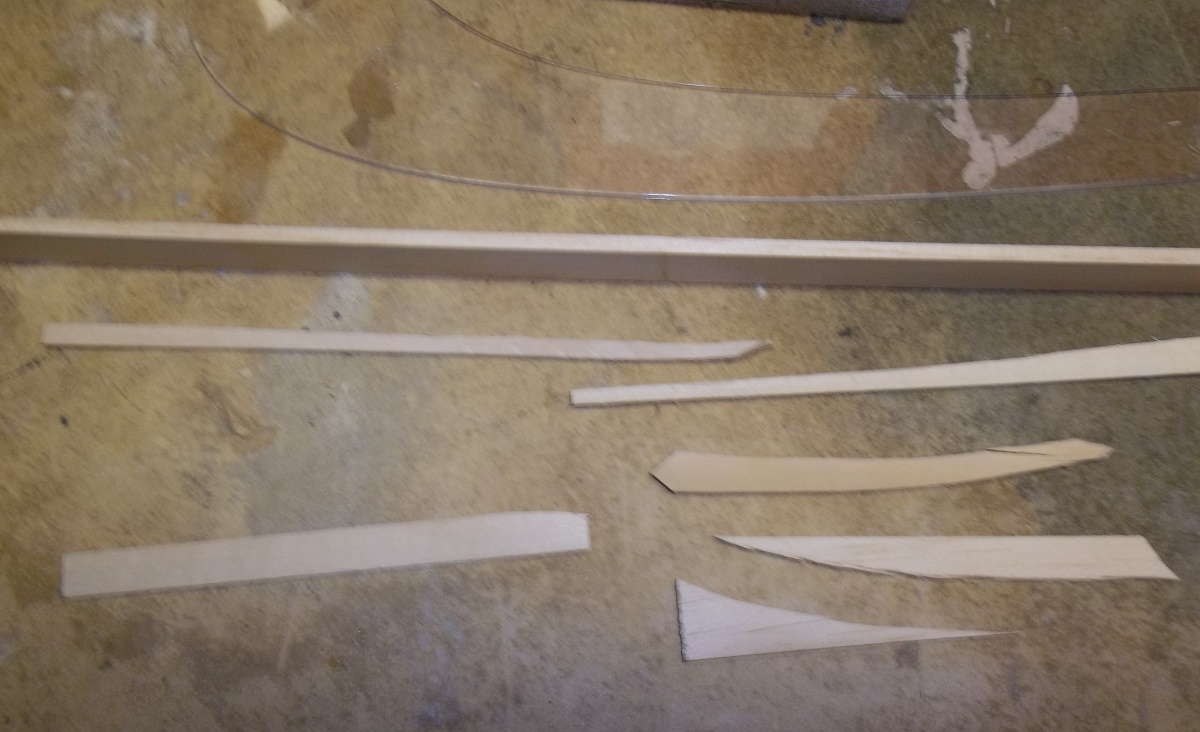
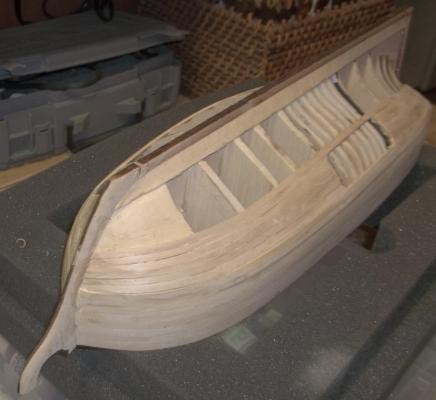
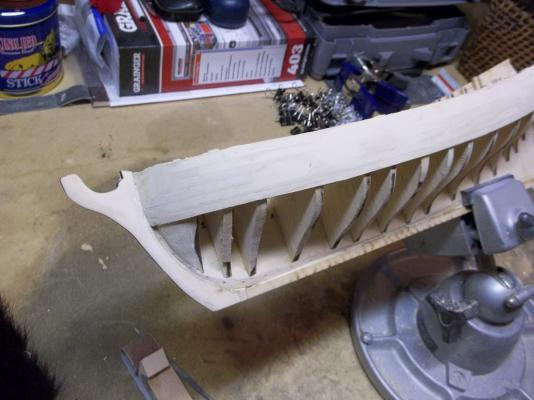
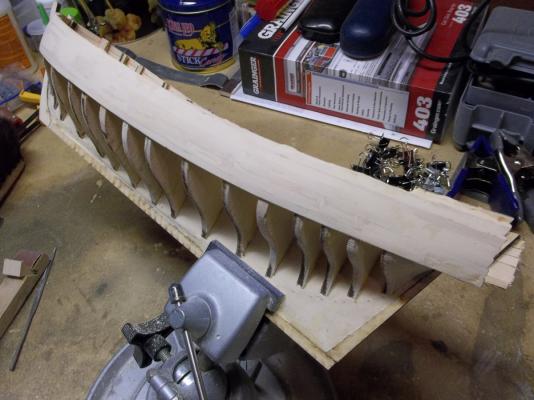
I did not work on this model much during June as I started a new job, which is exciting enough for me. LOL I am ready to get after it again and have done some of the lower hull planking below the wales. I had a bit of trouble near the bow and tried to use what a master model ship builder called a joggle plank. My first few tries failed as you can see here. and here: I finally got a few pieces that seemed to work and continued planking of the lower hull


-
Hey Chuck, nice to see you over here too. Any further progress? I got my kit on Monday, but have one currently in the shipyard with 2 ahead of it. I may have to bribe the yardmaster to get a bump on the schedule. LOL Jeff
-
I don't think the practicum is required. The instructions with the kit are pretty straight forward. I just wanted to try some of the kit bash modifications. I will try to take some pictures of the drawings that I have and post them here. Jeff
-
I had the same issue on my first planking attempt. Since I was going to be painting the hull, I was able to salvage it by using wood filler, sanding, filling again, sanding some more. Until I was able to get a smooth surface, then I primed and painted the hull. It looked pretty decent. I am learning more about drop planks, spiling and joggle planks on my current build. The forums here and the folks assisted greatly in this. Jeff
-
Joggle plank
jdbradford replied to jdbradford's topic in Building, Framing, Planking and plating a ships hull and deck
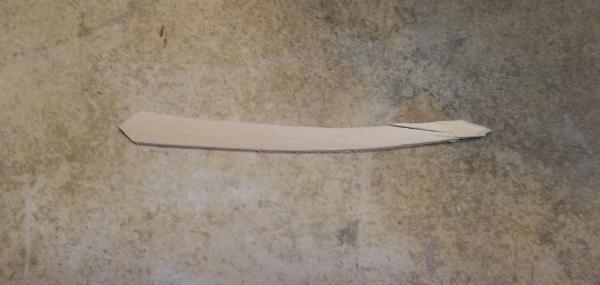
Thank you for your reply. Each attempted try(piece of wood) is not laying in the same direction(bow to stern), so maybe that confused even me. LOL One of the things I tried, I had seen in one of the documents off this site. It showed laying out a tracing of the mating plank and transferring that to a wider piece of wood, then they sort of ran a parallel line to create a curved plank. I think my issue is a combination of poor fairing of the bulkheads and carving of the plank. I think it is getting better as I have added some additional planking since my last pictures. Jeff -
Joggle plank
jdbradford replied to jdbradford's topic in Building, Framing, Planking and plating a ships hull and deck
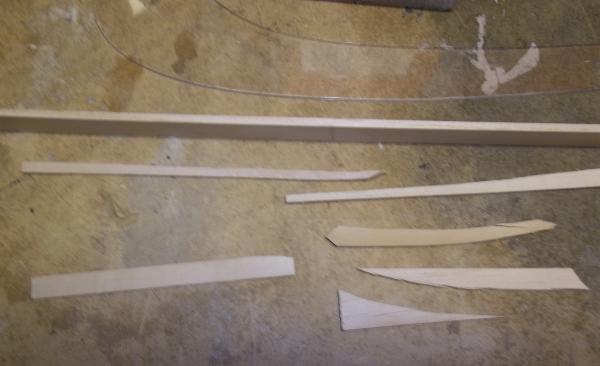
Attached are some shots of the current state of the build, along with my attempt at creating a joggle plank.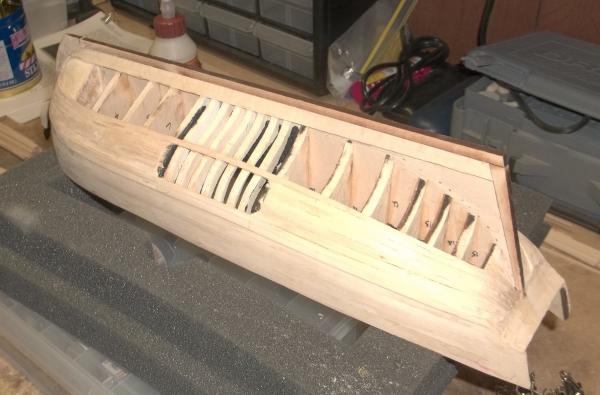


-
Joggle plank
jdbradford replied to jdbradford's topic in Building, Framing, Planking and plating a ships hull and deck
I went through them all and printed them out. I need to study them some more. I know sort of what I want, just not how to create the plank. Jeff -
I am putting the hull planking on my Fair American and have gotten to a point where I may need to place a joggle plank. I have gone through 3-4 pieces of wood trying to make this piece, but am failing. Are there any tips or suggestions? Jeff
-
Would it be possible to get a higher resolution image of your planking layout? It looks great as this is what I am trying to learn how to do at them moment. Thanks, Jeff
- 659 replies
-
- 1
-

-
- syren
- model shipways
- (and 1 more)
-
Planking at the counter IMG_1123.JPG IMG_1125.JPG Garboard and first two planks in place IMG_1127.JPG Port side with simulated butt ends of planking on wales to get an idea of how the second layer of wales should look. IMG_1131.JPG ===================================================== Sal, I am just getting a look at your build. I have not built this one...yet I am working on my planking for the MS Fair American and really like the way your planking looks. I may have missed it in the thread, but how did you simulate the butts of the planking and the caulking? Thanks, Jeff
- 659 replies
-
- 2
-
-
- syren
- model shipways
- (and 1 more)
-
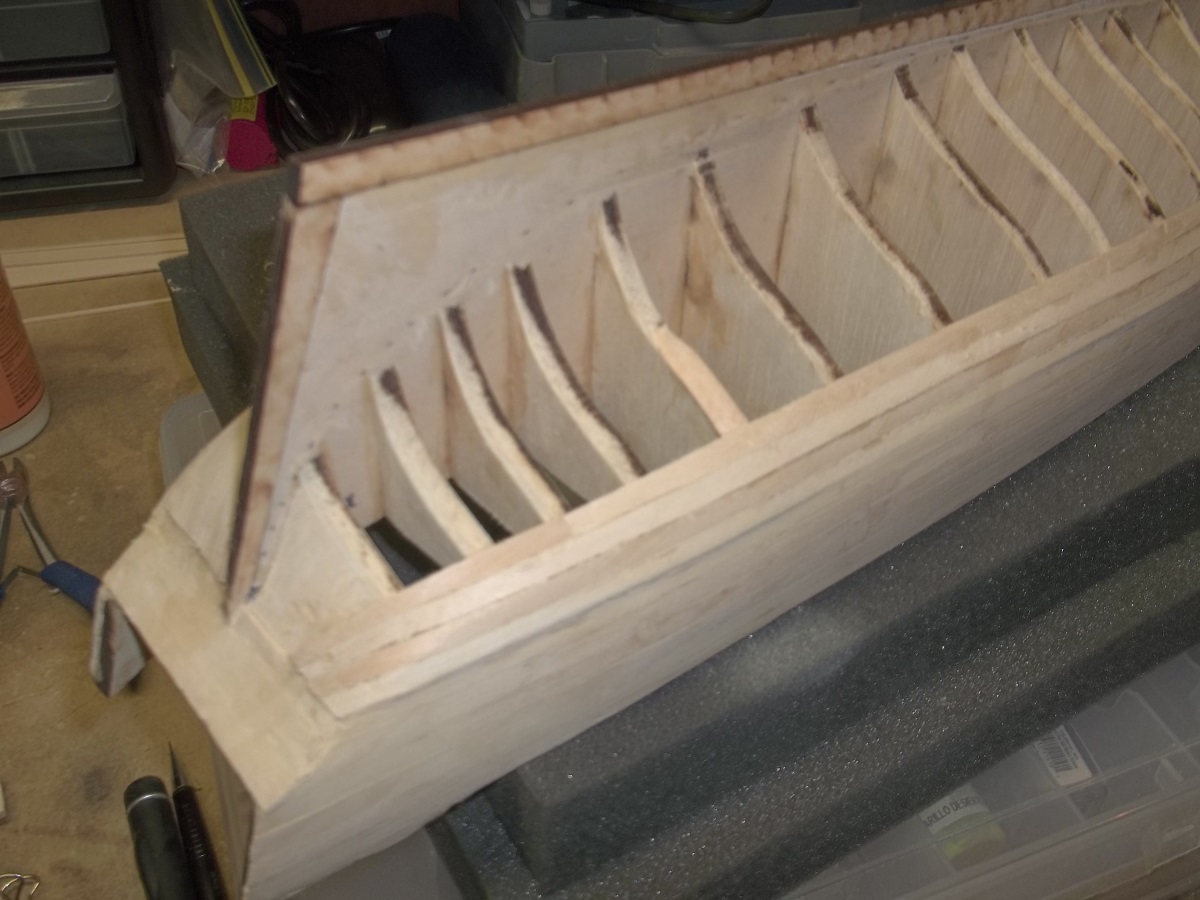
I have come in way late on this build, but you have done excellent work. I ended up doing much of the same with my bulkhead work on the MS Fair American. It has been a real pain trying to hull plank this model, but after inserting many balsa blocks between the offending bulkheads, I believe I will be able to fair up the hull to continue my planking. Thanks for all your support. Jeff
-
I saw a build from another member somewhere on this site where he had hand built his transom windows and they looked excellent. I am sure it takes more talent than I have, but I may try that sometime. I think you are doing a great job on yours Jerry. I only hope mine turns out as well. Jeff
-
After the wales, I am now trying to lay the planking that will most likely require tapering. I am totally lost on this part. I have read many of the builds and the planking tutorials on the site, but my first attempt at trimming a board to fit was a total failure. I will keep trying, but would love some advice from you folks. Jeff
-
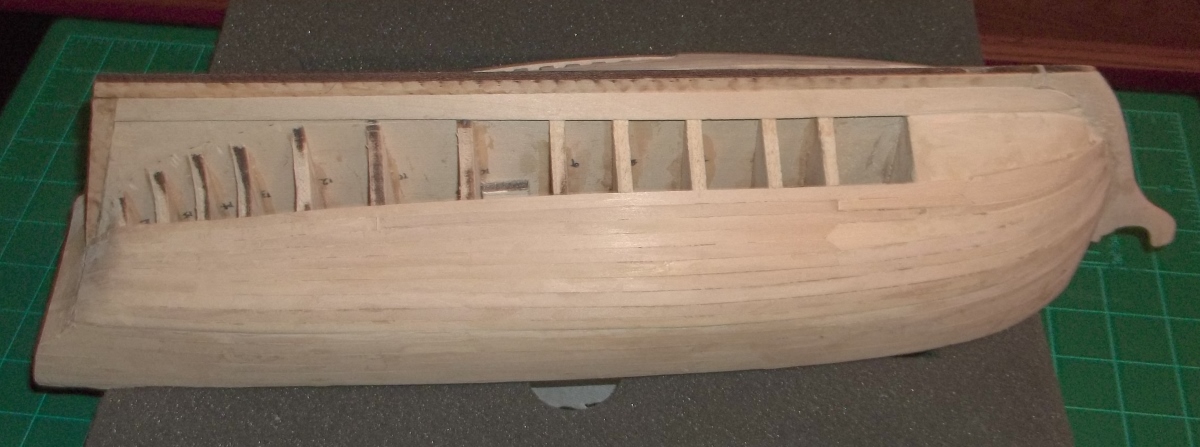
After completing the bulwark planks on each side, I sanded, filled in the gaps and scratches and sanded some more. I then added the black strake to each side. The 2 wales have been attached to the port side and looking at the pictures, I can live with my error.
-
The kit has: Basswood strips 1) 36 - 1/16" x 3/16" x 24" for hull planking, cap rail, fancy cap rail 2) 4 - 1/16" x 3/8 x 24" for Garboard and 1st broad strake 3) 4 - 3/32" x 5/32" x 24" for Main Wales 4) 2 - 1/16" x 5/32" x 24" for Black Strakes 5) 2 - 1/32" x 3/16" x 24" for Transom plank outboard, counter plank 6) 3 - 1/32" x 5/32" x 24" for Topsides plank 7) 10 - 1/32" x 1/8" x 24" for bulwark plank, quick work*** So this is where the mistake was made in the practicum. The 1st 5 planks along the top of the bulwarks on each side, should have been 1/8" wide. So I live and I learn. I should have enough to complete the model. Jeff
-
I think this was built for the Dwarves or maybe Hobbits. I can just see Thorin Oakenshield at the wheel. Jeff
-
I just started this model myself about 3 weeks ago. The bottom piece of the keel is short and many folks have the same kit with the same issue. I just put in a small piece from the billet, added a little filler and sanded it down smooth. You will never notice it. I too am a bit nervous about the hull planking. The strip provided with the kit is not of an accurate width when it comes to the "black strake" and the wales. I am just going to make do this time as I do not have the tools yet to make my own strip. I am going to follow your build for ideas. Jeff
-
I wonder if something like this could work for cannon balls? Jeff

- 1,350 replies
-
- 1
-
-
- constitution
- model shipways
- (and 1 more)
-
I still have a bunch of boxes left over for future expansion and since they are not folded yet they are easy to store too. I thought about gluing the boxes up into trays, but have left them as individual boxes as it is very easy to pull a single box from the bottom of the pile like a draw. I think this rack will work out nicely for me. When I was finished i was reminded of the wand shop in the Harry Potter movies. I just hope these boxes don't start flying off the shelf by themselves. ===================================================================================== The strip chooses the ship! Jeff
- 1,350 replies
-
- 1
-
-
- constitution
- model shipways
- (and 1 more)
-
You mean a fair start to the Fair American LOL Jeff
- 1,350 replies
-
- 1
-
-
- constitution
- model shipways
- (and 1 more)
-
DSC_0015-007.JPG DSC_0016-006.JPG I turned the hull around and started adding the two remaining planks between the gun ports and the wales on this side. It took me over a month to get the port side where it is from this point, but hopefully I will have more time to work the starboard side so it won't take as long. We will see... ================================================================== Are you butt joining the planking or using overlap? Jeff
- 1,350 replies
-
- 1
-
-
- constitution
- model shipways
- (and 1 more)
-
My concern is that the pictures and from what I have read on many other models, the wales are wider. We shall see how this one turns out. Jeff
-
Those clips to hold the batten in place are exactly what I was trying to design to clamp my planking while the glue was setting up. I will need to disassemble some binder clips to make them. Thanks, Jeff
- 1,350 replies
-
- 1
-
-
- constitution
- model shipways
- (and 1 more)