-
Posts
679 -
Joined
Content Type
Profiles
Forums
Gallery
Events
Everything posted by David Lester
-
Hi Tom, Yes, I have pictures; I posted a new build log yesterday which you should be able to find. I'm not making changes, just following the build in the usual way. I'm using the Bob Hunt practicum. As I'm fairly new to this (this is my second model - Armed Virginia Sloop was first) I'd be lost without it. I've found two big benefits to it - the first is it lays out a sequence. While the included instructions with this kit are nearly useless, all the information you need is actually right there on the plans but it's not evident to me what's the best approach. The practicum suggests a logical order and helps me interpret the plans. The other benefit I found is that it has boosted my confidence and I imagine that after I have a couple of builds under my belt I should be able to approach a set of plans and figure out how to proceed on my own. David
- 1,350 replies
-
- constitution
- model shipways
-
(and 1 more)
Tagged with:
-
Hi Don, Yes, I started my build log up again today. You should find it under USS Constitution. David
- 653 replies
-
- trabakul
- marisstella
-
(and 1 more)
Tagged with:
-
Hi Ken, Your model is looking beautiful. I'm just about to start coppering on mine and am approaching it with trepidation. I'm curious about how to handle the bottom of the keel. How are you going to handle it? Will you simply apply plates to the bottom and wrap their edges up over the first course? I'm using the Bob Hunt practicum and in it he suggested that I would be likely to run out of copper tape, so I bought an additional roll ahead of time, but I guess that's still no guarantee of a colour match. I might work from both rolls at the same time and mix the plates to minimize an discrepancies. David
-
Hello, I'm enjoying your build log. It appears that you are about at the same place as I am with mine, only you've opted to apply the copper plates before the bow and stern details, whereas I'm just finishing my bow and stern details and am about to launch into the copper plating. How are you handling the bottom of the keel? It looks as though you started the sides at the bottom edge; are you going to plate the bottom and simply wrap the edges of the plates up and slightly overlap the bottom edge of the first course? David
-
Hi Tom, I've been following your build log and really enjoying it. It looks like you're just a little bit ahead of me with my project, so I'll be watching with interest. It's looking great. David
- 1,350 replies
-
- constitution
- model shipways
-
(and 1 more)
Tagged with:
-
Hi Don, Well this certainly looks like an interesting model. I'm looking forward to following along. David
- 653 replies
-
- trabakul
- marisstella
-
(and 1 more)
Tagged with:
-
Hi Dave, It took me a while to get back in the swing of things, posting on forums etc. but I think I'm ready now to jump back in. I'll be following your new build with great interest; it's a new model to me. Have you built a AL model before? I'm always curious what it's like working with the different manufacturers. I'm sure you'll make me envious of your woodworking skills yet again. David
-
Hi, I have been following your build log with interest; I built this model last year. I found an effective way to make Flemish coils. It's not my own idea, in fact I read it in a build log somewhere and it works like this: place double sided tape down on the deck, then find a small round object, such as a vial cap or something like that (I used the cap from the tube that small drill bits come in). Press the cap down on the tape where you want the coil to be and make one loop around the cap, pressing the line down onto the tape. Then remove the cap and continue making loops working from the outside in, pressing the line down as you go. It isn't hard to get a nice coil. When it's finished, you paint it with diluted glue. Once it's dry, you can peal the tape off the deck, then gently peal the coil off the tape and then replace it on the deck an glue it down. I made my coils in place on the deck where I wanted them using the line directly from the gun rigging. I guess you could also make the coils on the bench, leaving one end of line long and glue it to the rigging block when you placed the coil on the deck. I also replaced my rigging line. I had decided not to upgrade all the parts in the kit as many do, but I did think that nylon line was going to be difficult to work with and opted to replace it. The Syren line seemed very expensive to me, so I searched high and low for decent line at an affordable price. I found some at Blue Jacket. They have both cotton and linen in a wide variety of sizes. I ordered their cotton line and it worked beautifully. Where I couldn't match the size exactly, I opted for the closest size smaller. I also read with great interest your posting today in which you attributed a spirit to your model (a feisty one at that!) and likened it to a cat. The timing seemed amazing to me because I had just moments before finished hearing an interview on CBC with Marie Kondo, the Japanese expert on de-cluttering who subscribes to the idea that inanimate objects actually have souls and that we relate to them. It's not something we think about very much, but here in one afternoon I heard about it in theory and read about it in practice! I'm looking forward to watching your continued progress. David
- 164 replies
-
- model shipways
- armed virginia sloop
-
(and 2 more)
Tagged with:
-
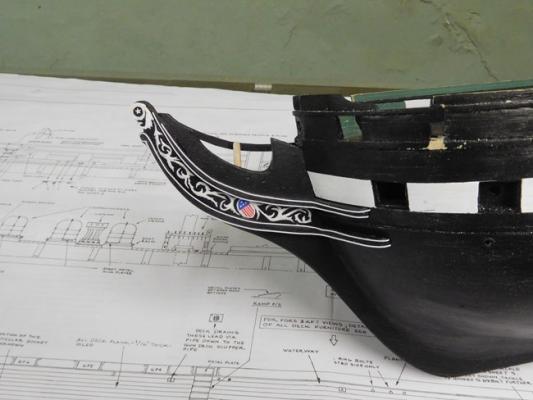
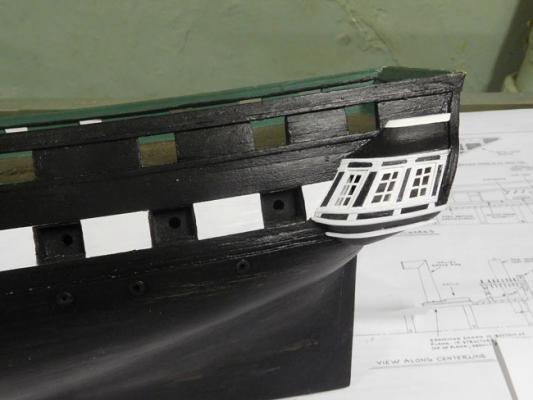
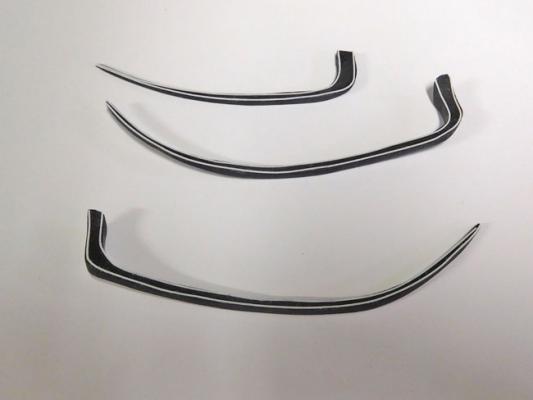
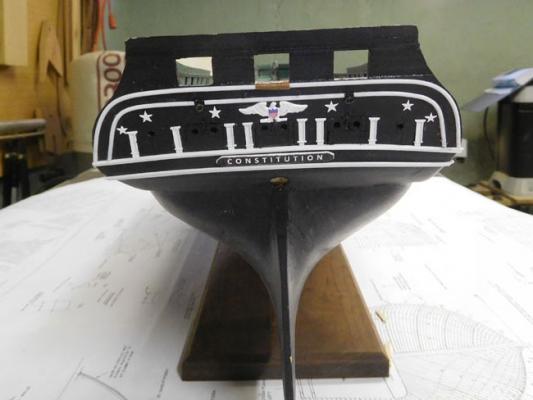
Hello Again, Over the past couple of weeks, I have been working on the stern and bow details. As many of you know the practicum suggests using Evergreen styrene for much of the details. While it's quite effective, it really isn't very much fun to work with. It's difficult to do without getting CA glue all over the place and it doesn't set up as quickly as I would like. Also, the "memory" in the strips causes them to not want to stay in place around curves. I found it helped to wrap the trip around a cylinder for a day or se before using it. One minor change I made from the practicum was the size of the stripe on the rails. For some reason it's suggested to use .040 half round on the cheek rails and then switch to .010 x .020 for the headrails. Once I added the smaller stuff to the headrails, I noticed how much better it looked than the hearvier on the cheek rails, so I redid it, using the smaller scale. I'm not sure if it's more authentic to use the two different sizes or not, but I'm sure happier with the smaller size throughout. The headrails are interesting to make. Most of them were not actually too difficult, but that middle rail is of the devil's own design. It's a series of compound curves and the practicum suggests making it ahead of attaching any of the rails to the model. The problem with this is that you're flying blind. The timbers connect the top curved rail with the top cheek rail. The middle rail goes between and I believe it is supposed to make contact with the timbers. My middle rail, which looked quite good off the model, didn't even come close to reaching the three middle timbers. It didn't seem to curve far enough toward the centre throughout it's horizontal run. I didn't have the heart to start over, as these rails were the result of several failed attempts, so my solution was to modify them. I laminated planking material to the inside surface of the rails where they were to meet the three timbers, then I sanded them to the necessary contour. Once I was satisfied, I then sanded the outside surface down to create the right width throughout its length. This effectively reshaped the piece. For anyone else using the practicum, I would suggest installing the other rails and timbers first, and only then making the middle rail to fit. On the gallery, I know my work here isn't especially beautiful, but it's the result of several failed attempts and if there's one thing I've learned it's to know my limitations and when to cut my loses, so this is what it's going to be. The nameplate looked like it was going to be a bit of a challenge. The laser cut plate provided required painting and I knew I'd never get a satisfactory job. The trailboard isn't so difficult as all the curving detail allows a fair bit of margin for error, but the lettering is another story altogether. The practicum suggests using dry transfer lettering. I ordered some, but it is very difficult to hold it in place correctly and to get a straight string of letters. Also, often despite rubbing the letter, only a portion of it actually comes off which leaves quite a mess. In the end I turned to Microsoft Word. I created the lettering in a Word document, approximating it as closely as I could. I cut it out, glued it to a piece of wood and then sealed it with polyurethane. It seems to work ok. So that pretty much brings my build log up to date. David
- 117 replies
-
- constitution
- model shipways
-
(and 1 more)
Tagged with:
-
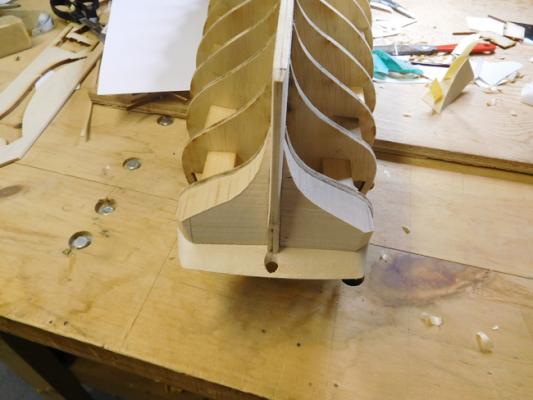
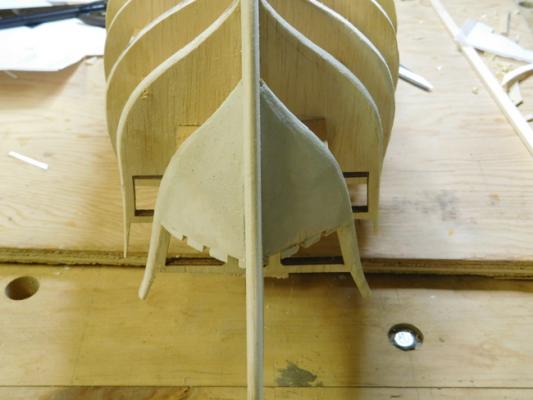
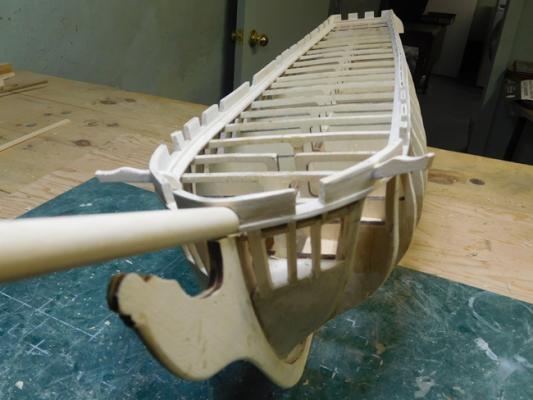
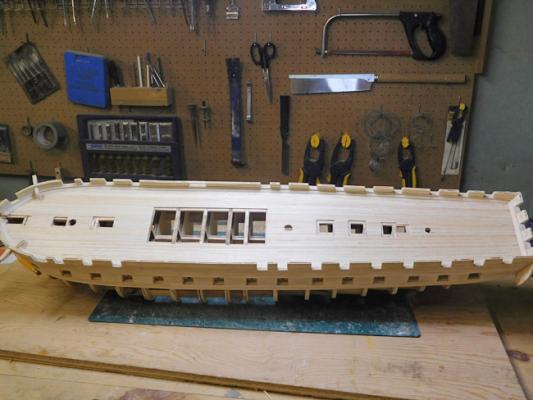
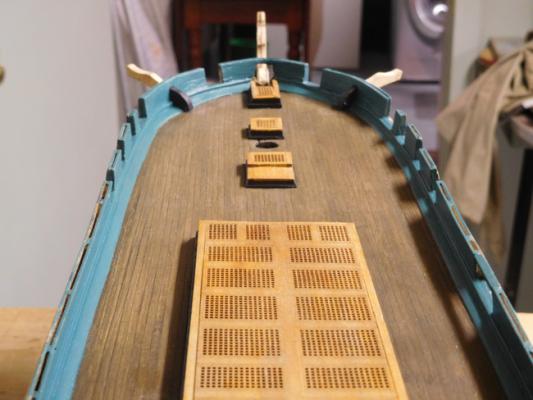
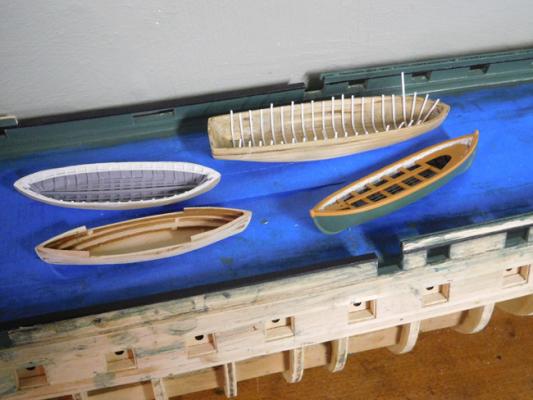
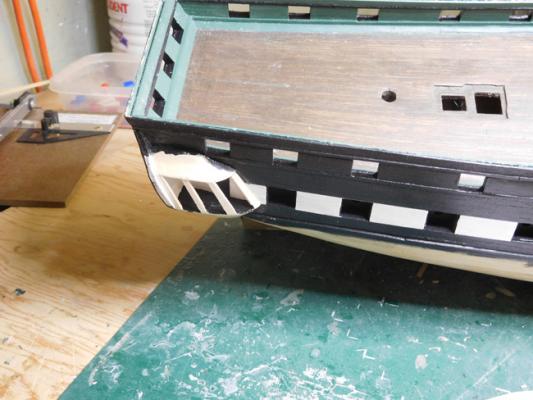
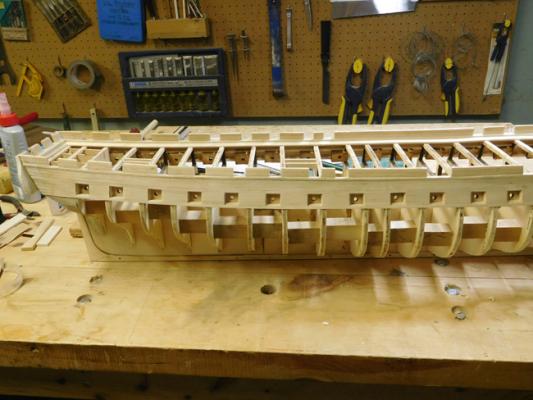
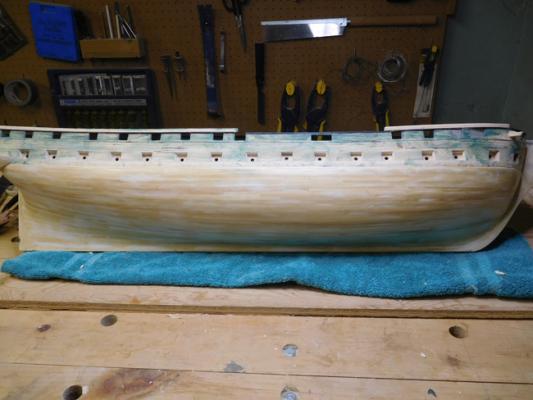
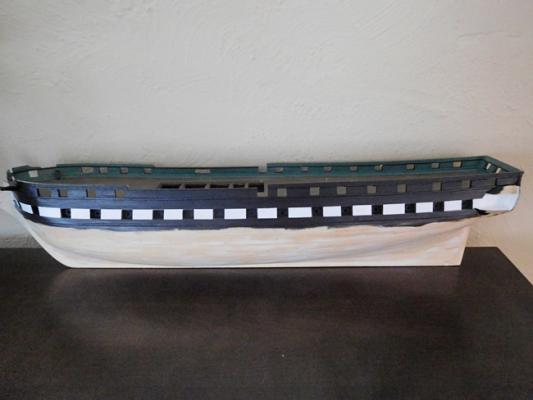
Good Morning Everyone, This is my first posting for my build log of the USS Constitution. I'm using the Bob Hunt practicum and started the model in September of last year and until recently was posting regularly on the LSS forum. At the time I left that forum, I was just about ready to begin the stern and bow details. So, this first posting will serve as a sort of recap of my progress to that point. My next posting will show what I've been working on over the past couple of weeks. I'm really enjoying how much material there is to be found on this forum (especially Constitution builds) and look forward to following them all. David Here are the "recap" photos:
- 117 replies
-
- constitution
- model shipways
-
(and 1 more)
Tagged with:
About us
Modelshipworld - Advancing Ship Modeling through Research
SSL Secured
Your security is important for us so this Website is SSL-Secured
NRG Mailing Address
Nautical Research Guild
237 South Lincoln Street
Westmont IL, 60559-1917
Model Ship World ® and the MSW logo are Registered Trademarks, and belong to the Nautical Research Guild (United States Patent and Trademark Office: No. 6,929,264 & No. 6,929,274, registered Dec. 20, 2022)
Helpful Links
About the NRG
If you enjoy building ship models that are historically accurate as well as beautiful, then The Nautical Research Guild (NRG) is just right for you.
The Guild is a non-profit educational organization whose mission is to “Advance Ship Modeling Through Research”. We provide support to our members in their efforts to raise the quality of their model ships.
The Nautical Research Guild has published our world-renowned quarterly magazine, The Nautical Research Journal, since 1955. The pages of the Journal are full of articles by accomplished ship modelers who show you how they create those exquisite details on their models, and by maritime historians who show you the correct details to build. The Journal is available in both print and digital editions. Go to the NRG web site (www.thenrg.org) to download a complimentary digital copy of the Journal. The NRG also publishes plan sets, books and compilations of back issues of the Journal and the former Ships in Scale and Model Ship Builder magazines.


