


Ronald-V
-
Posts
1,578 -
Joined
-
Last visited
Content Type
Profiles
Forums
Gallery
Events
Posts posted by Ronald-V
-
-
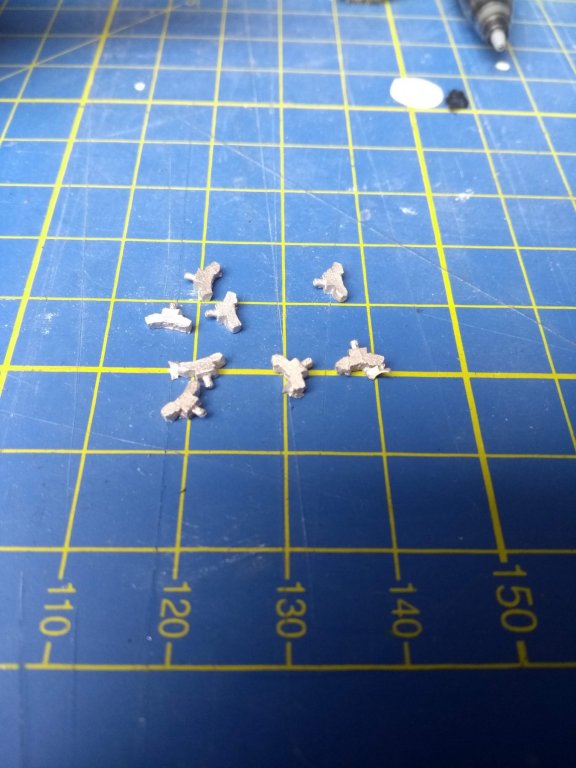
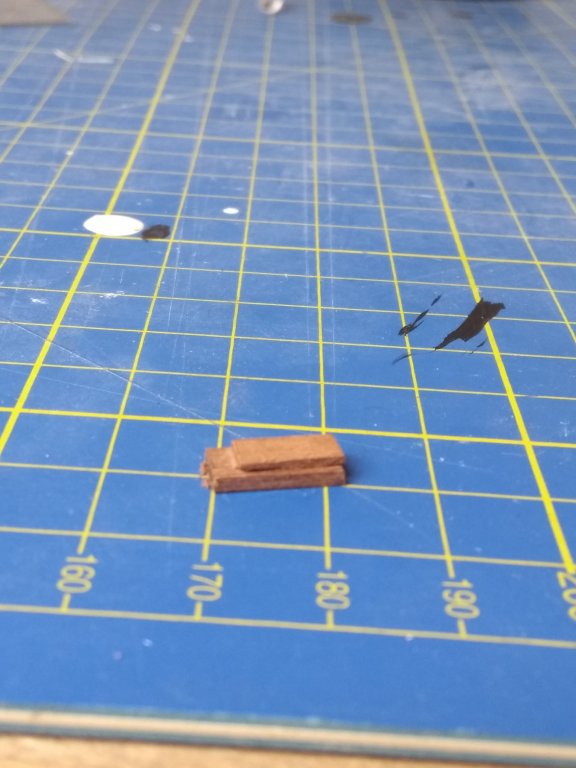
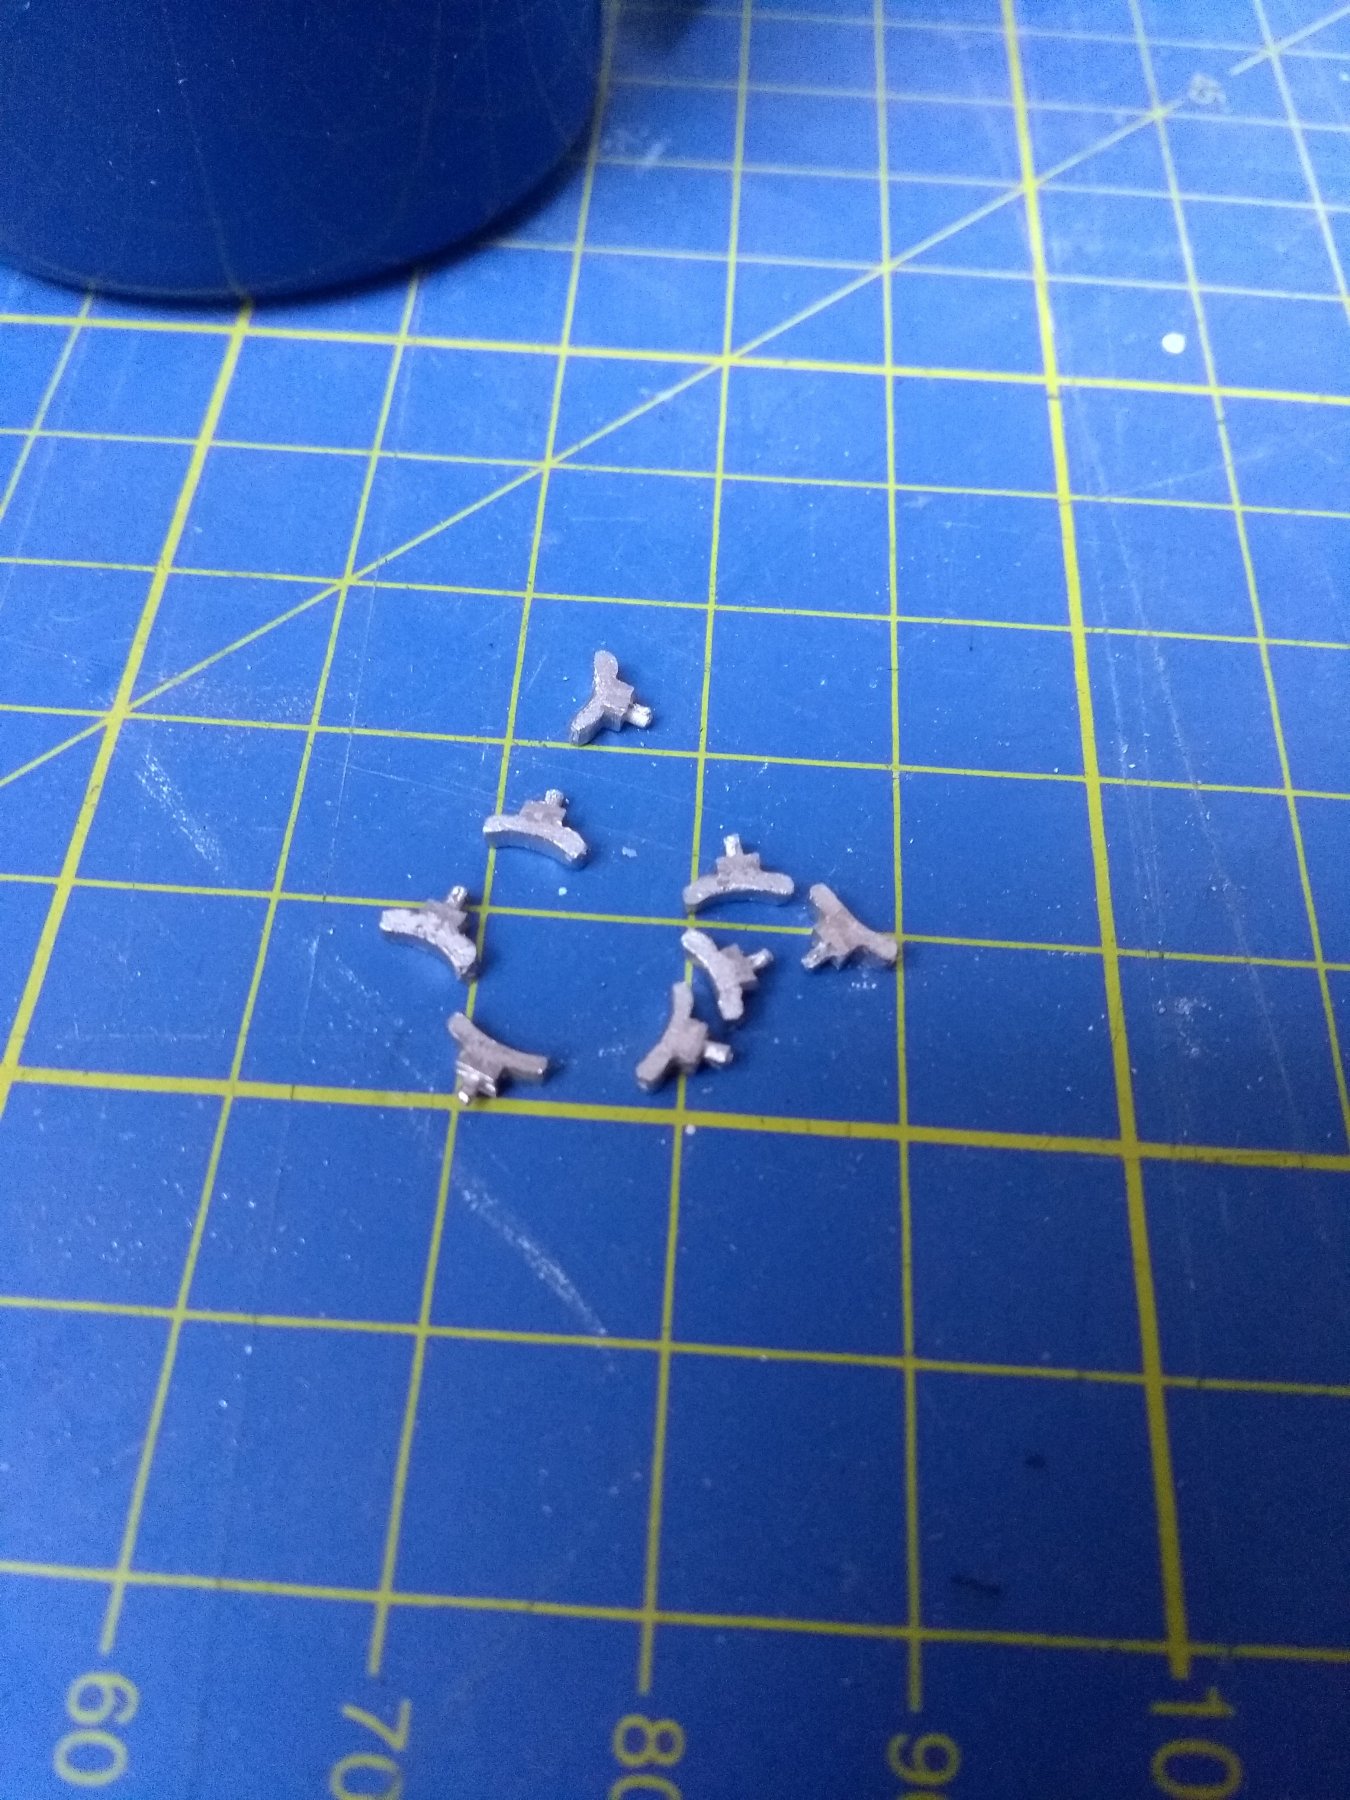
The hull is ready so i can start with the inner bulwark fittings. First i will fresh up the cleats, they are pretty rough casts.

- GrandpaPhil and bruce d
-
 2
2
-
Great build! You are doing a amazing job on the Sherbourne, very inspiring!
-
I enjoy the build a lot! In the past i was a person that gave up on things pretty fast because i encountered to many problems, but this hobby
is teaching me patience and selfesteem. Wonderful! 🎇
I'm so happy that i rediscovered the hobby again. I think that i wasn't ready for it a few years ago. Now it's time to move on with it, and to enjoy
the process it's given me.
Little personal sidenote
")
- GrandpaPhil, bruce d, Dubz and 2 others
-
5
-
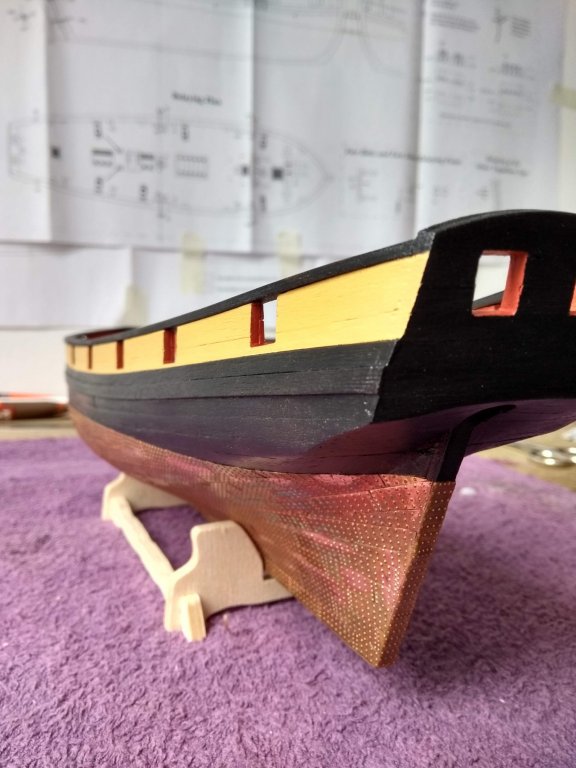
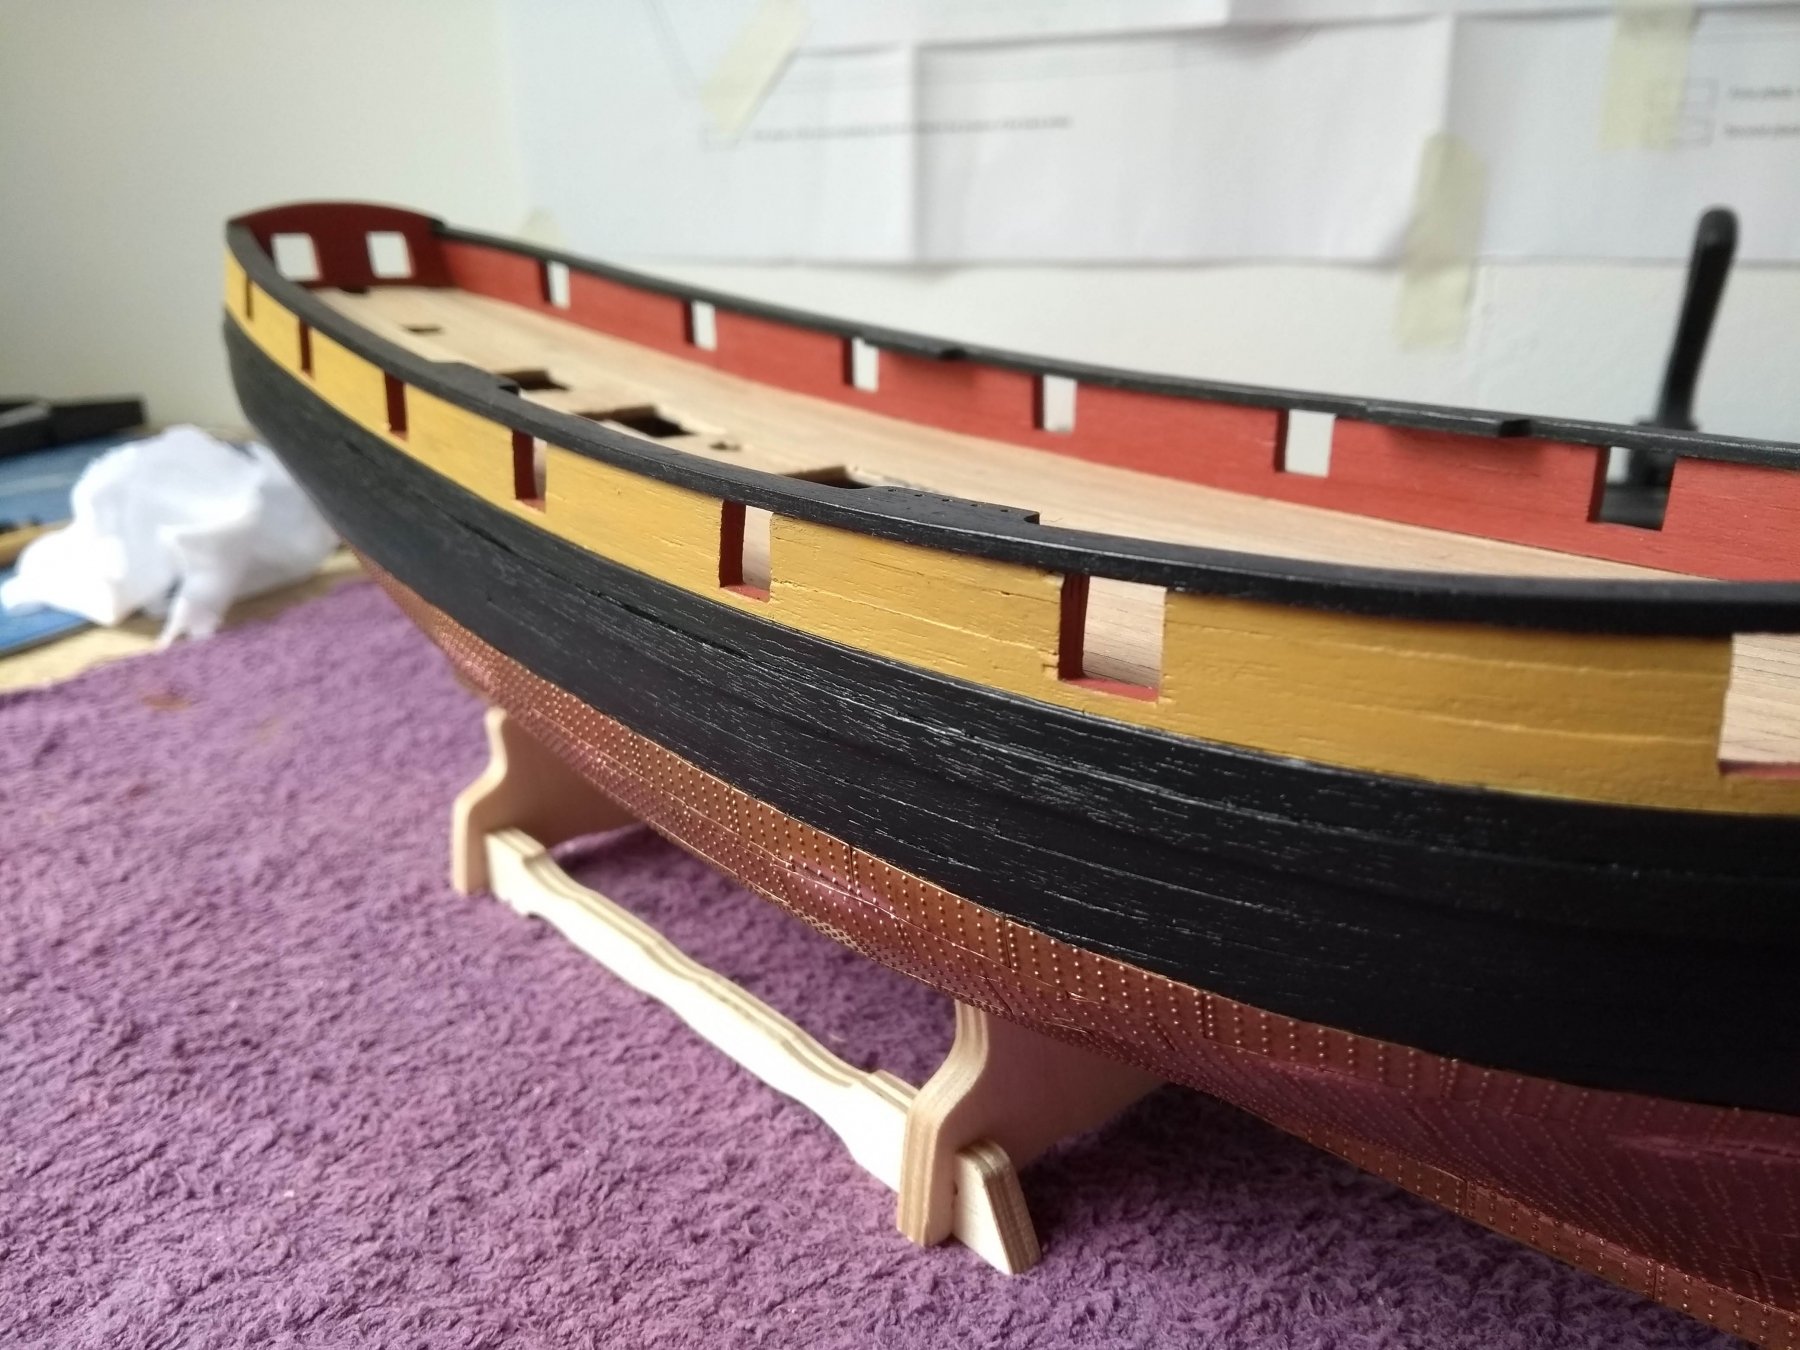
I used some steel wol and sandpaper to rough the paint a bit up. I don't like the clean look of a freshly painted ship.
It's needs to be a bit old and scruffy ;). The pictures don't capture it just right. In real life it looks much better.
I need to borrow the camera of a friend of mine so i can photograph the details better.
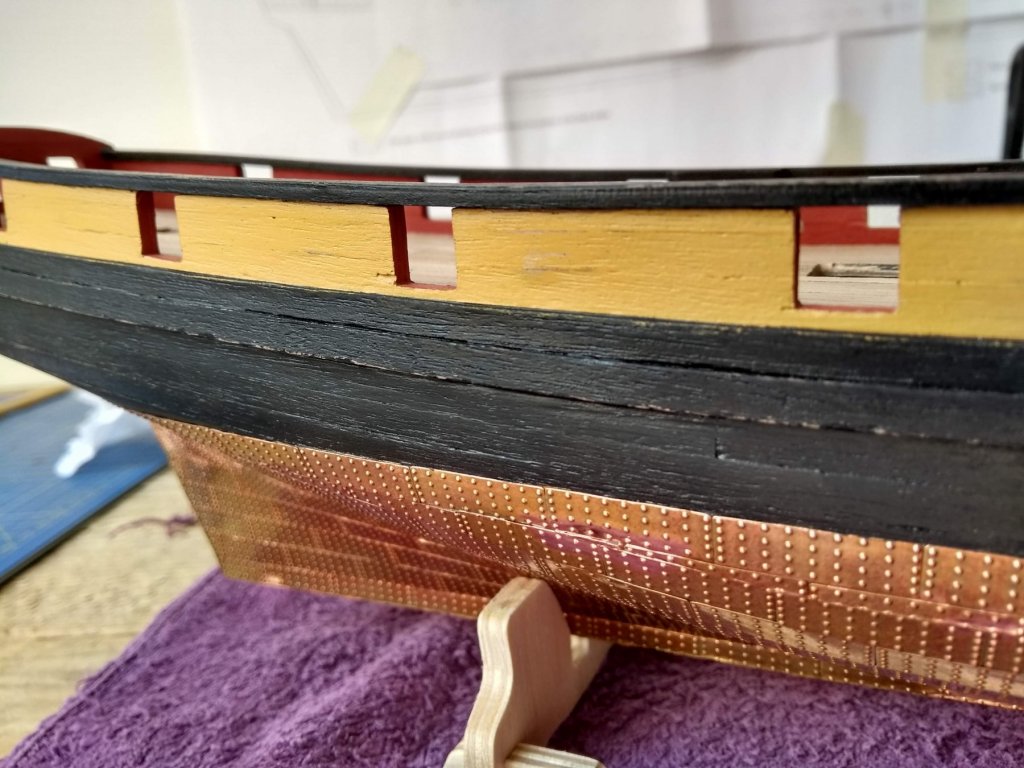
- BenD, egkb, FrankWouts and 4 others
-
7
-
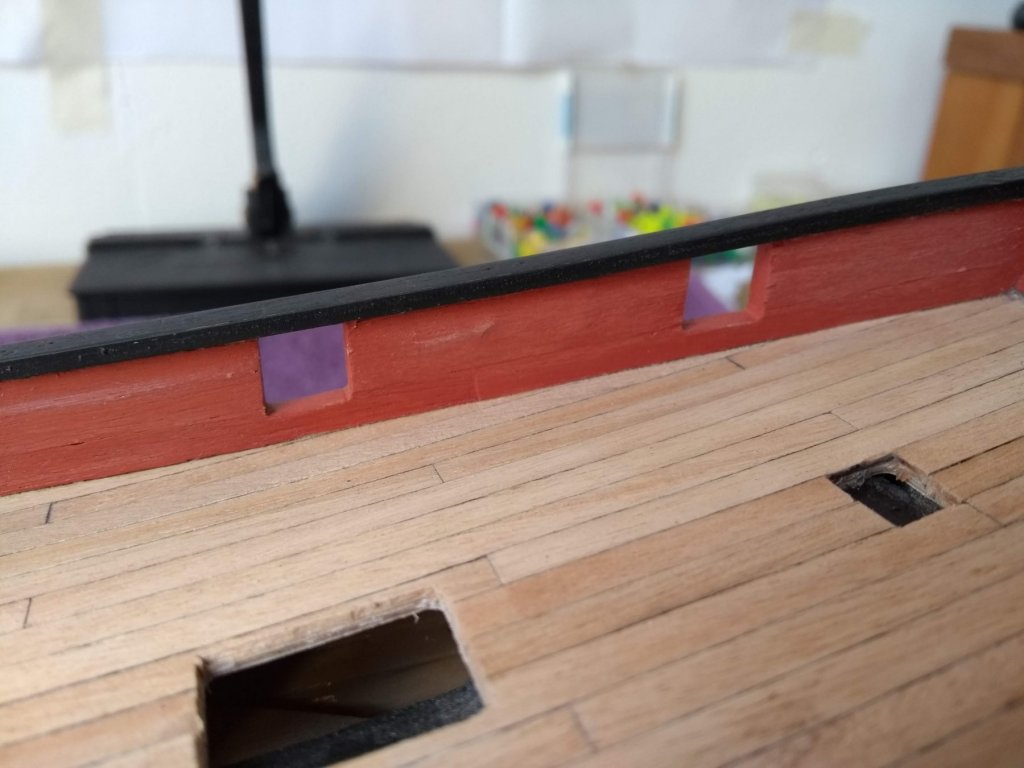
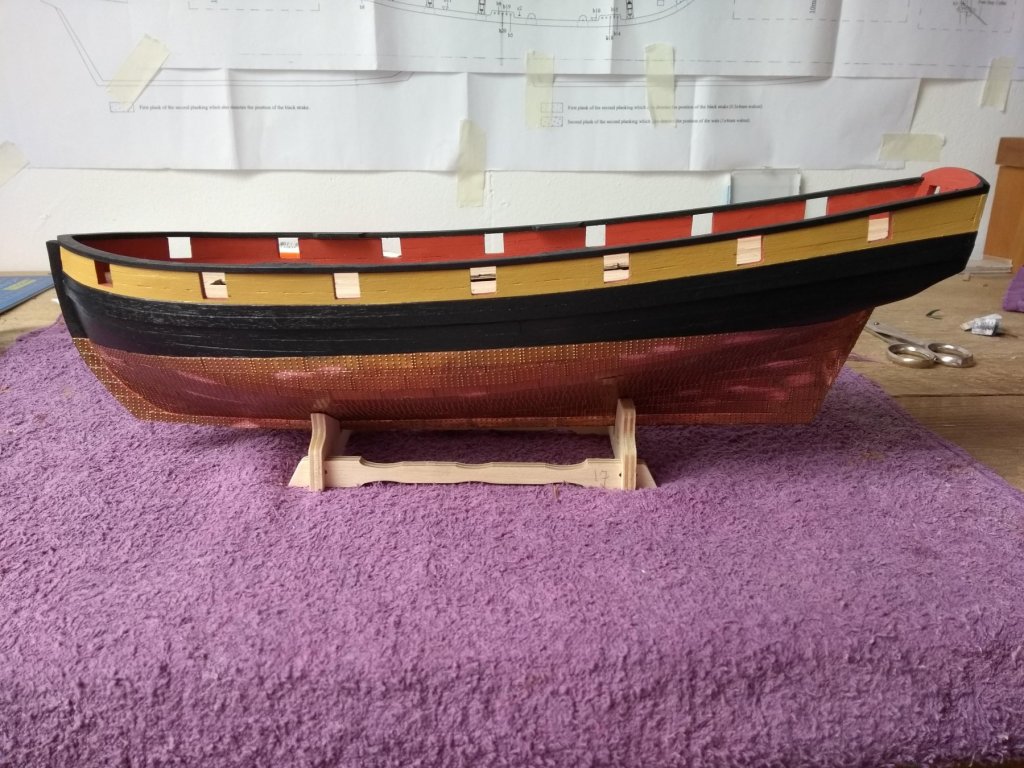
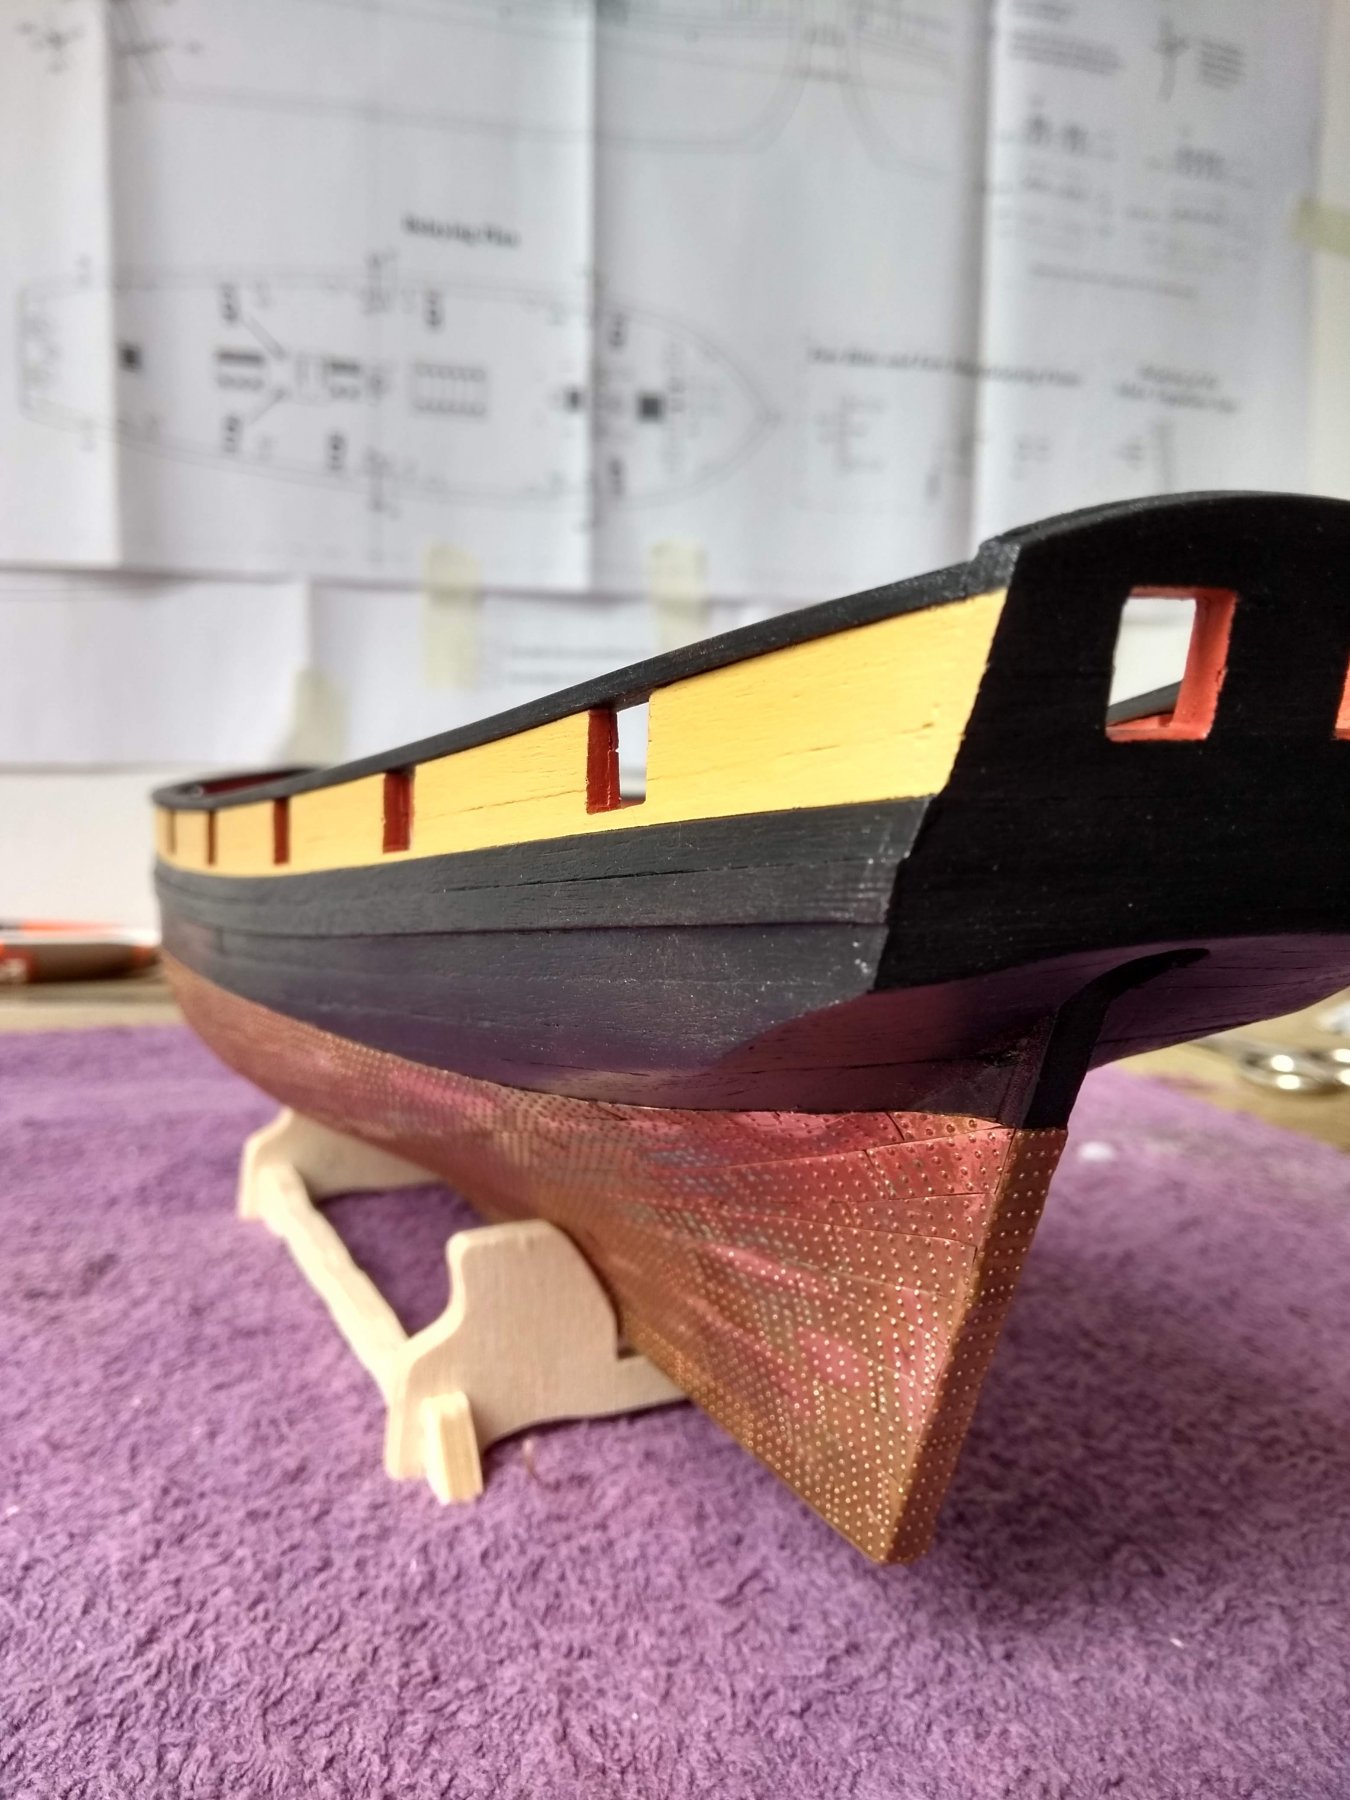
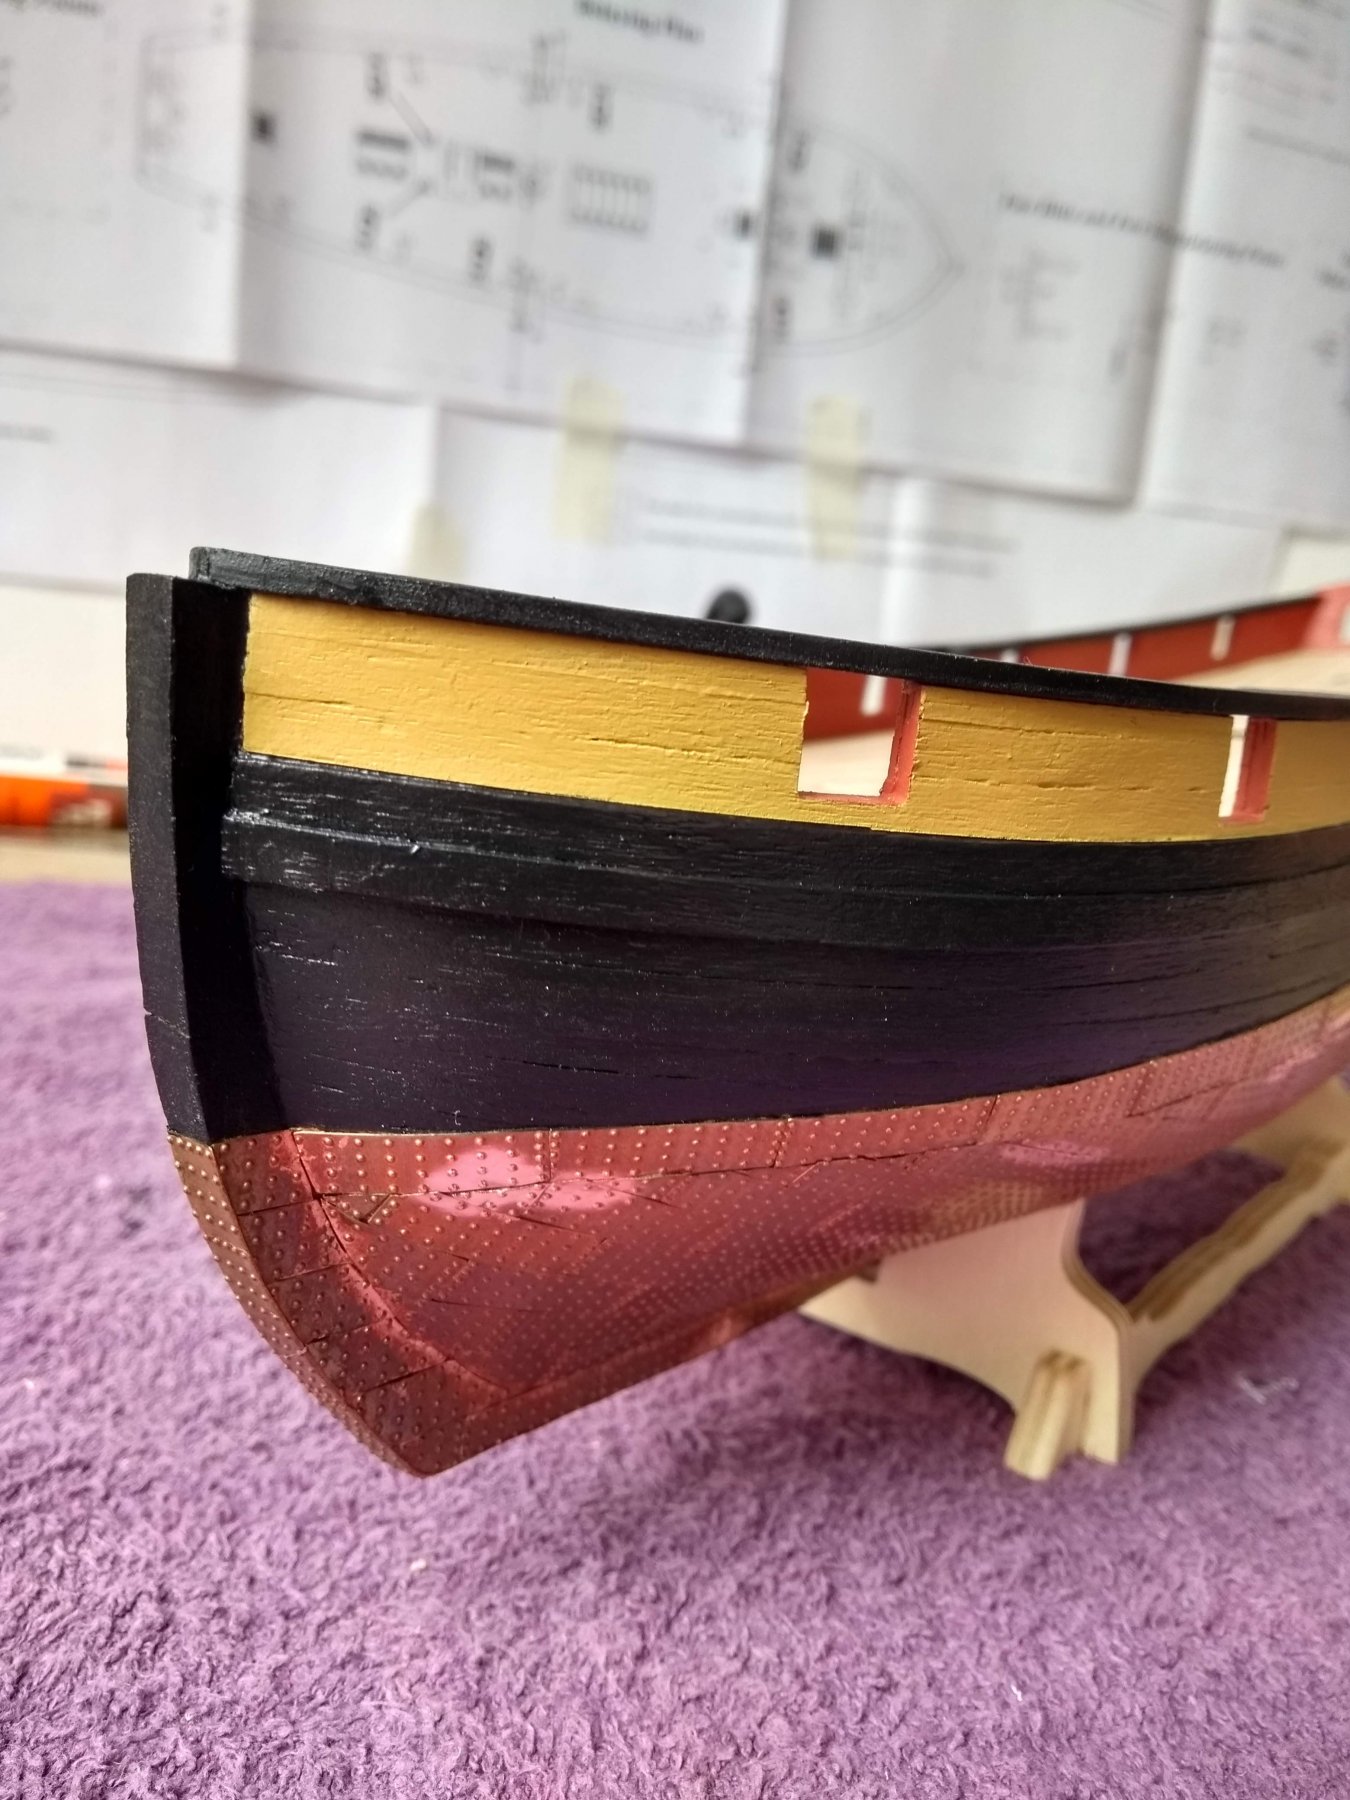
Finished al the painting of the hull! That's a nice milestone for now
")
Especially the bottom of the yellow strip was difficult for me. I didn't get it perfect in my eyes with just the hand.
So i used masking tape and that made a lot of difference. Now it's okay to me.
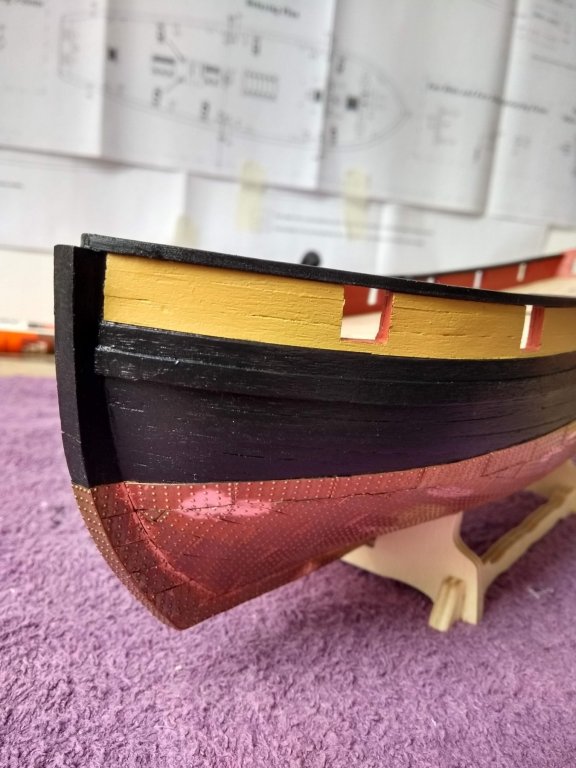
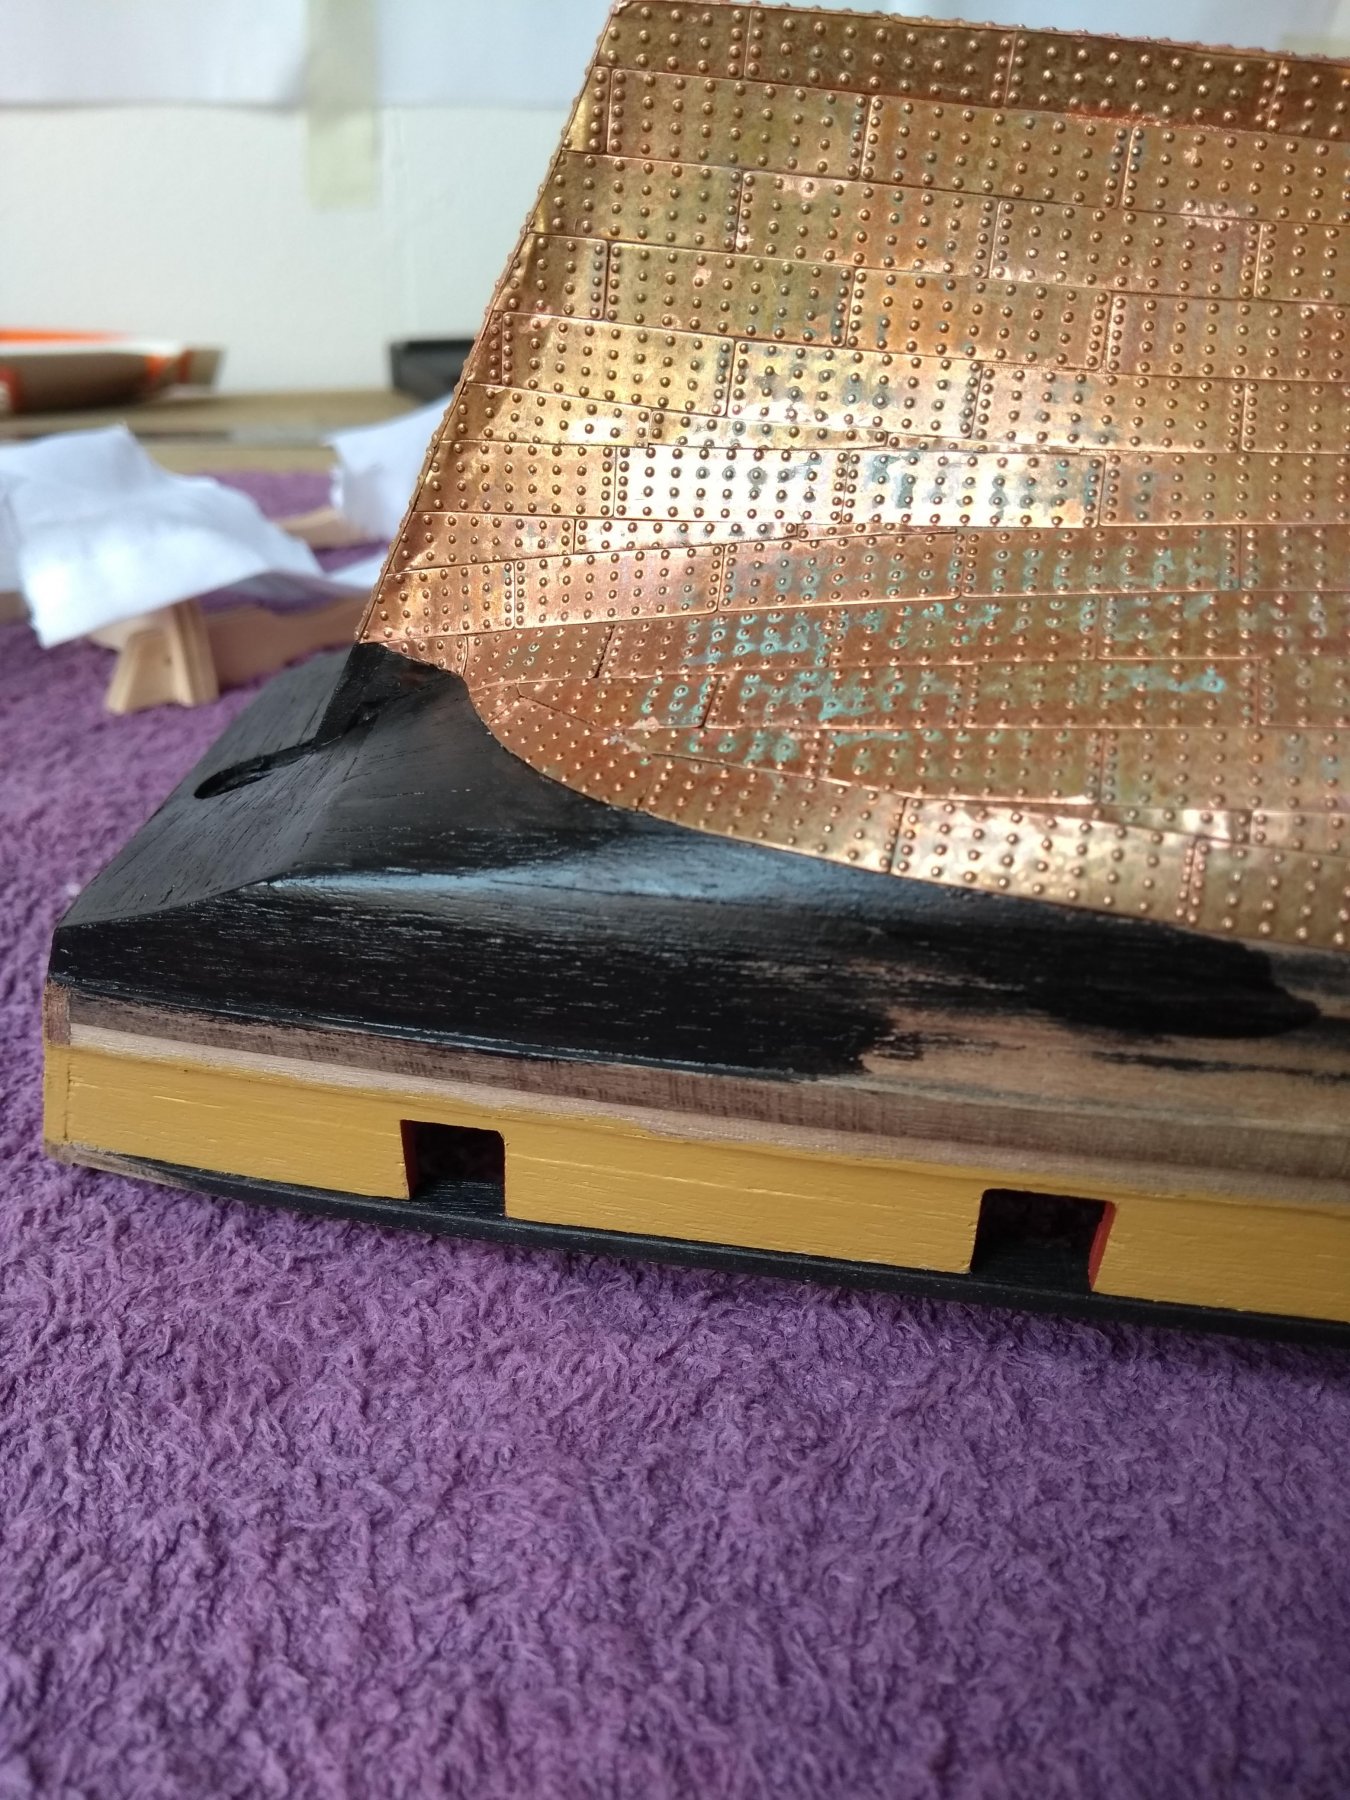
The flashy spots on the copper plates are from the dremel. I have to clean the plates once more so everything can age simultaneously.

- GrandpaPhil, sferoida, BenD and 5 others
-
8
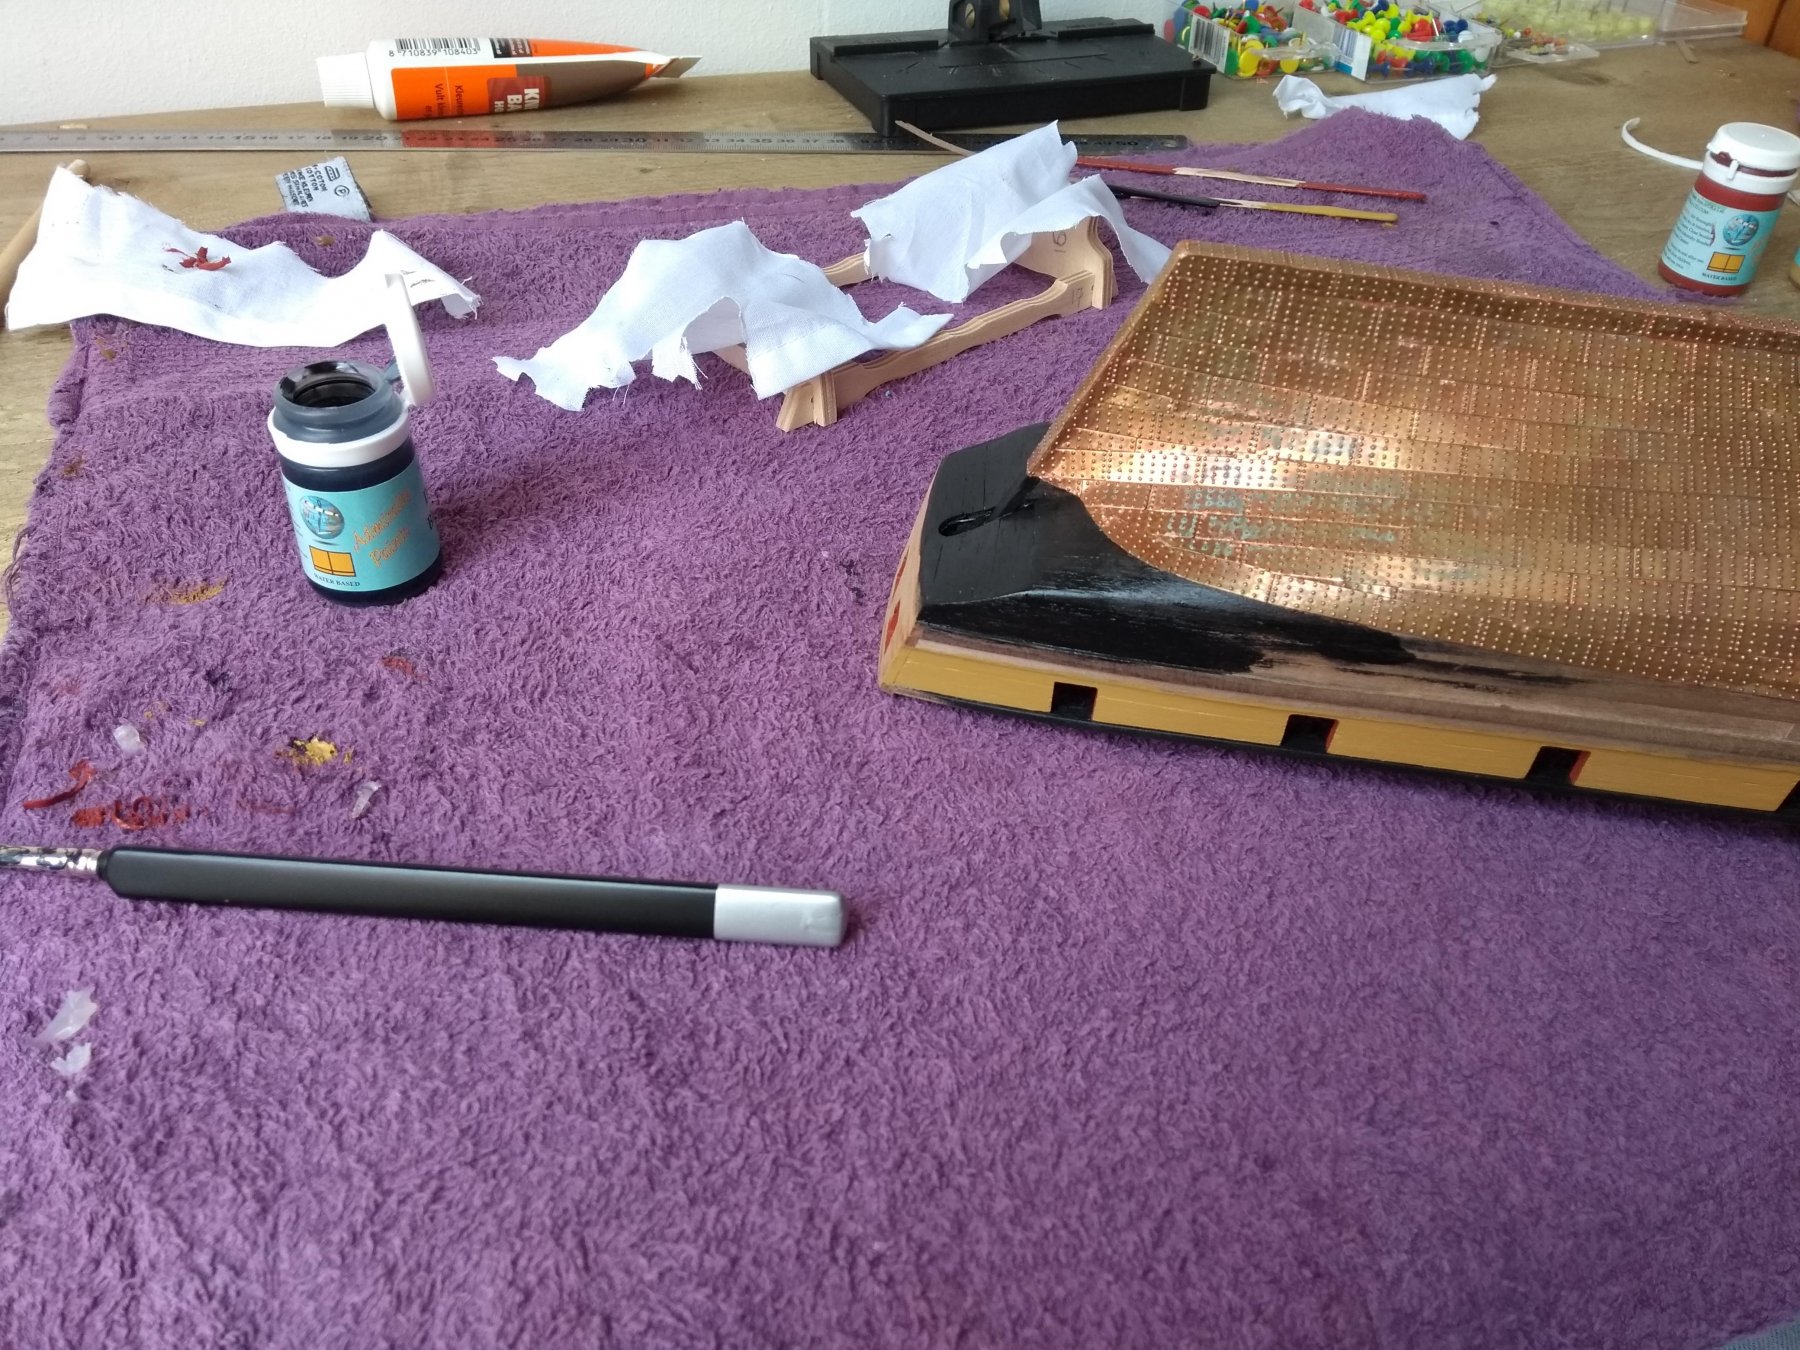
-
The copper plates still need some work...there are some spots of glue residue. It's not the most fun work, so i do it in little steps
- FrankWouts and egkb
-
2
-
-
with the Dremel just flatted the pins. I filled the dents...that came along with my Dremel work with some wood filler

- FrankWouts, Edwardkenway, Javlin and 2 others
-
5
-
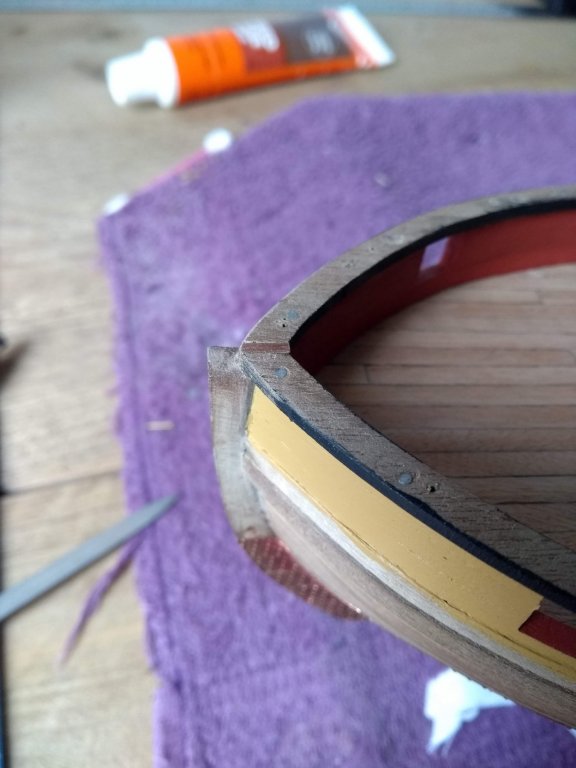
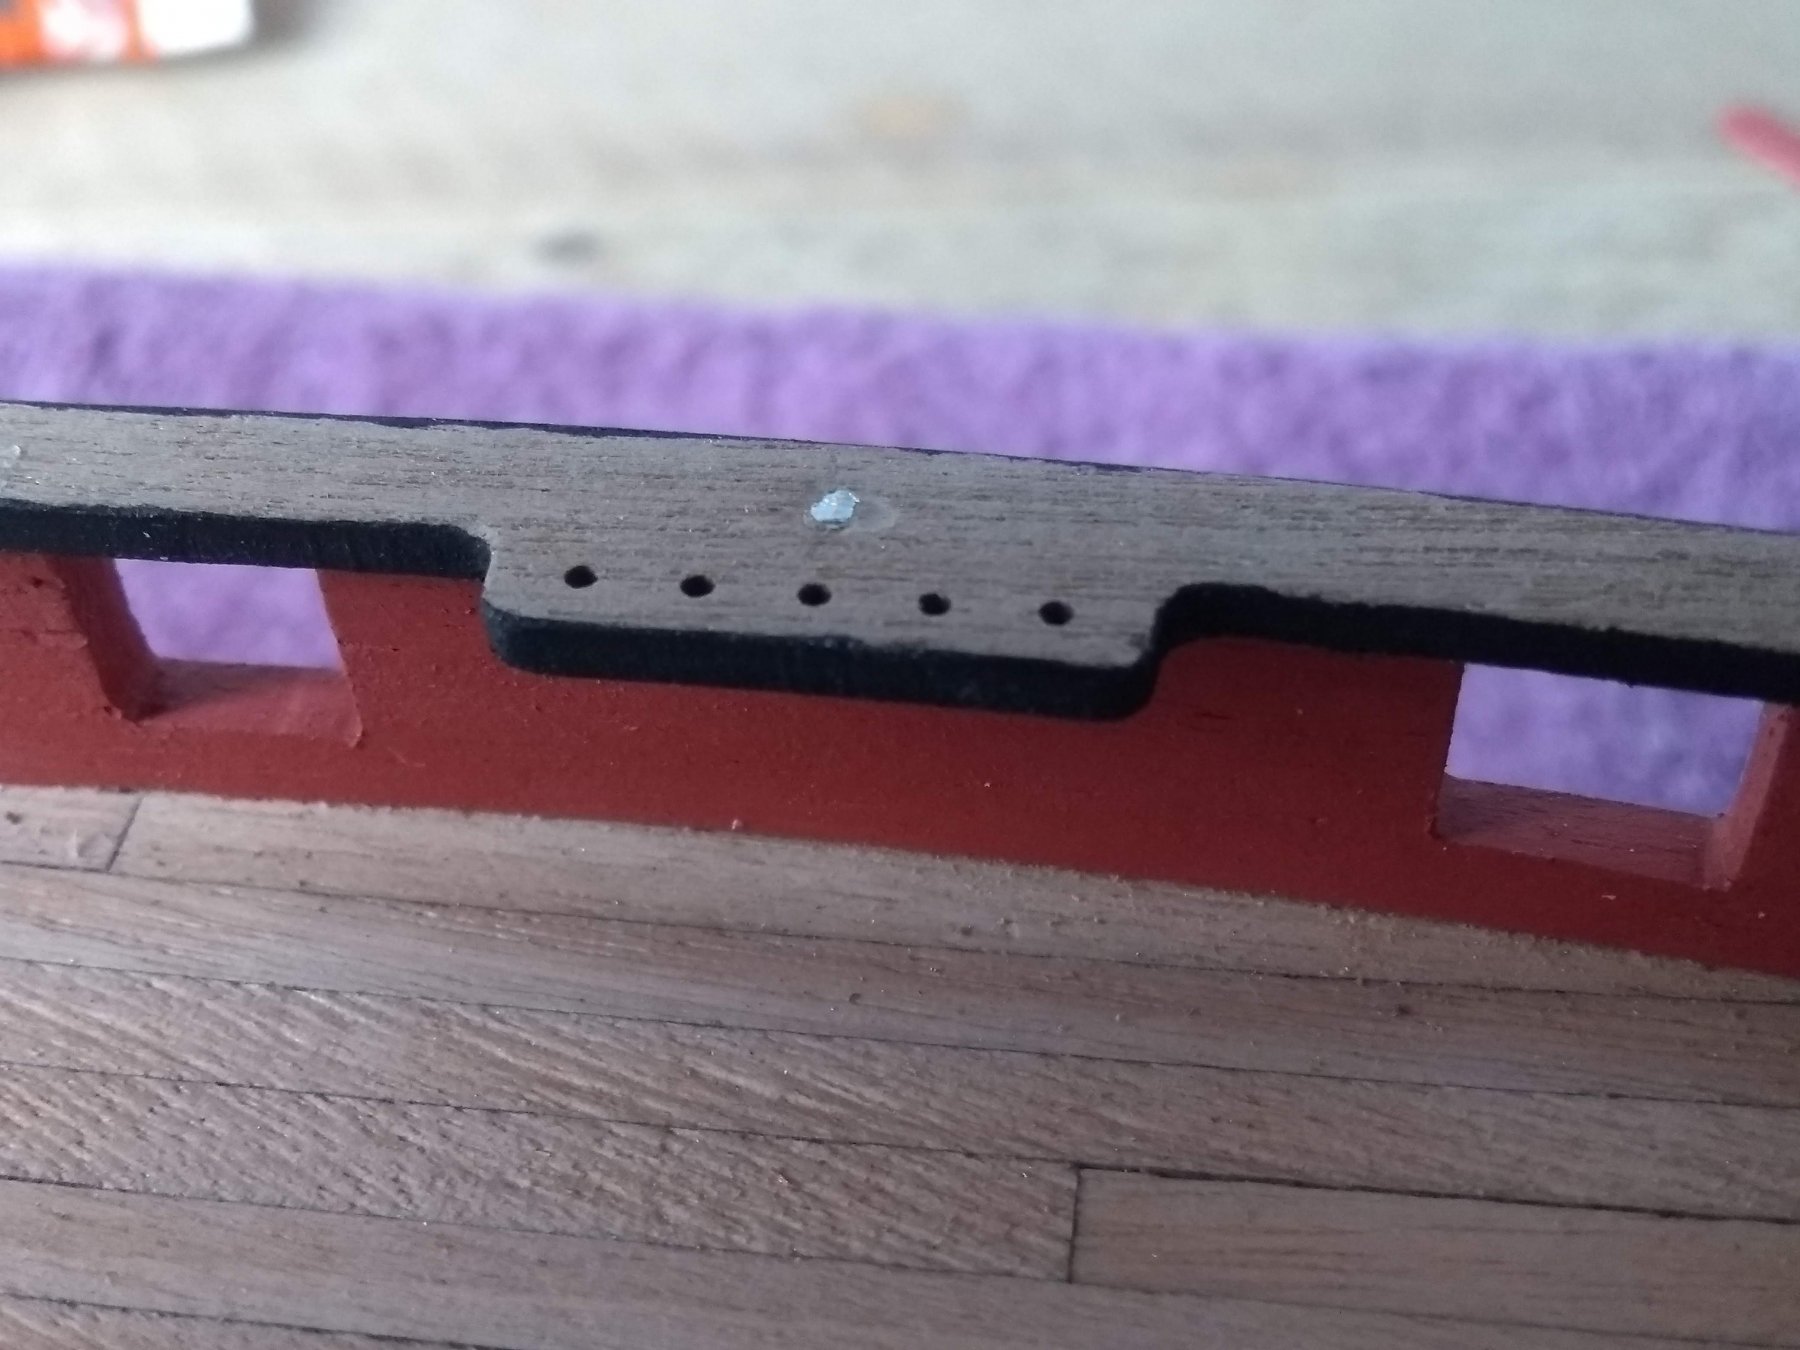
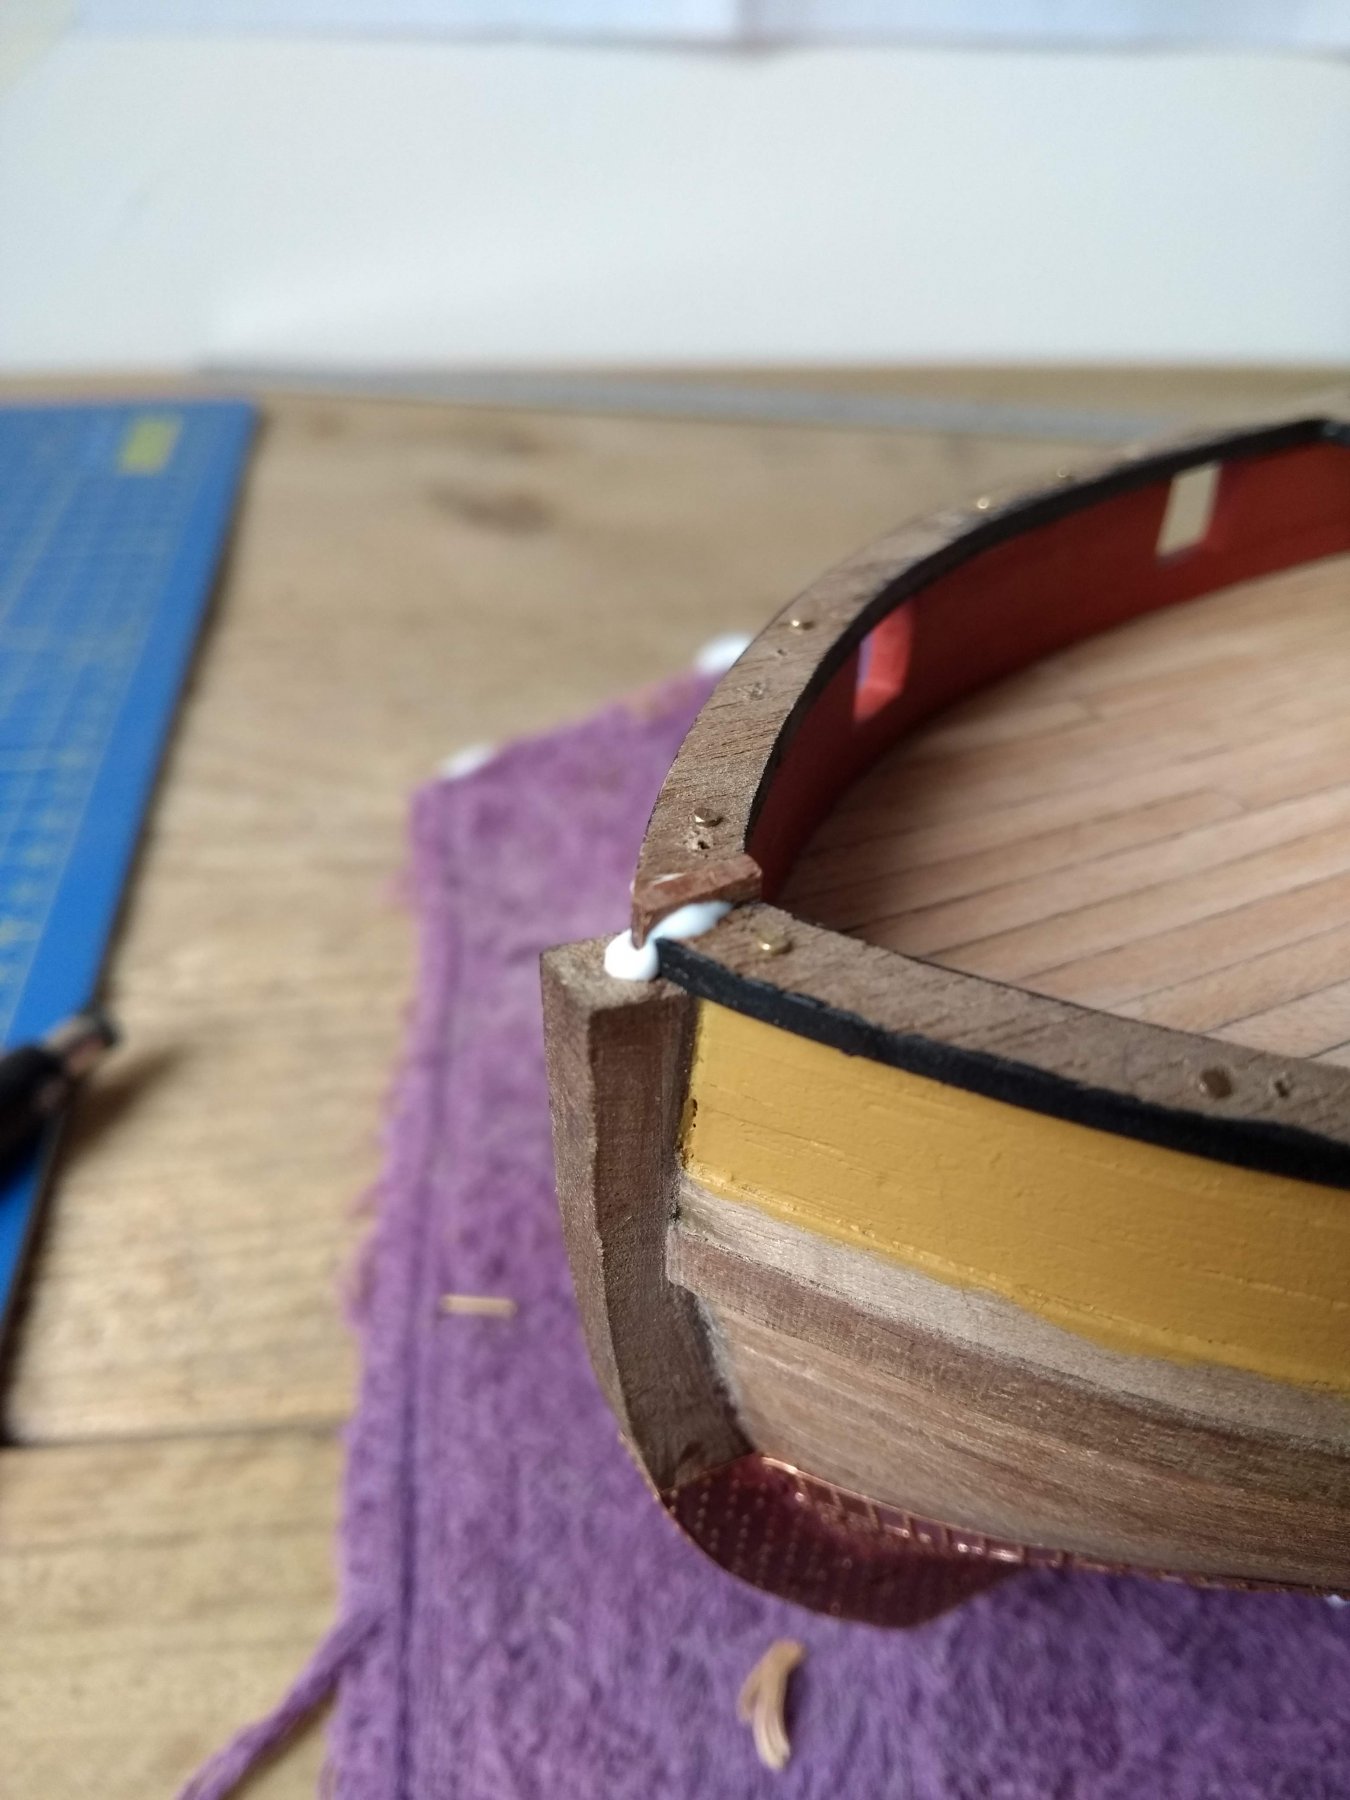
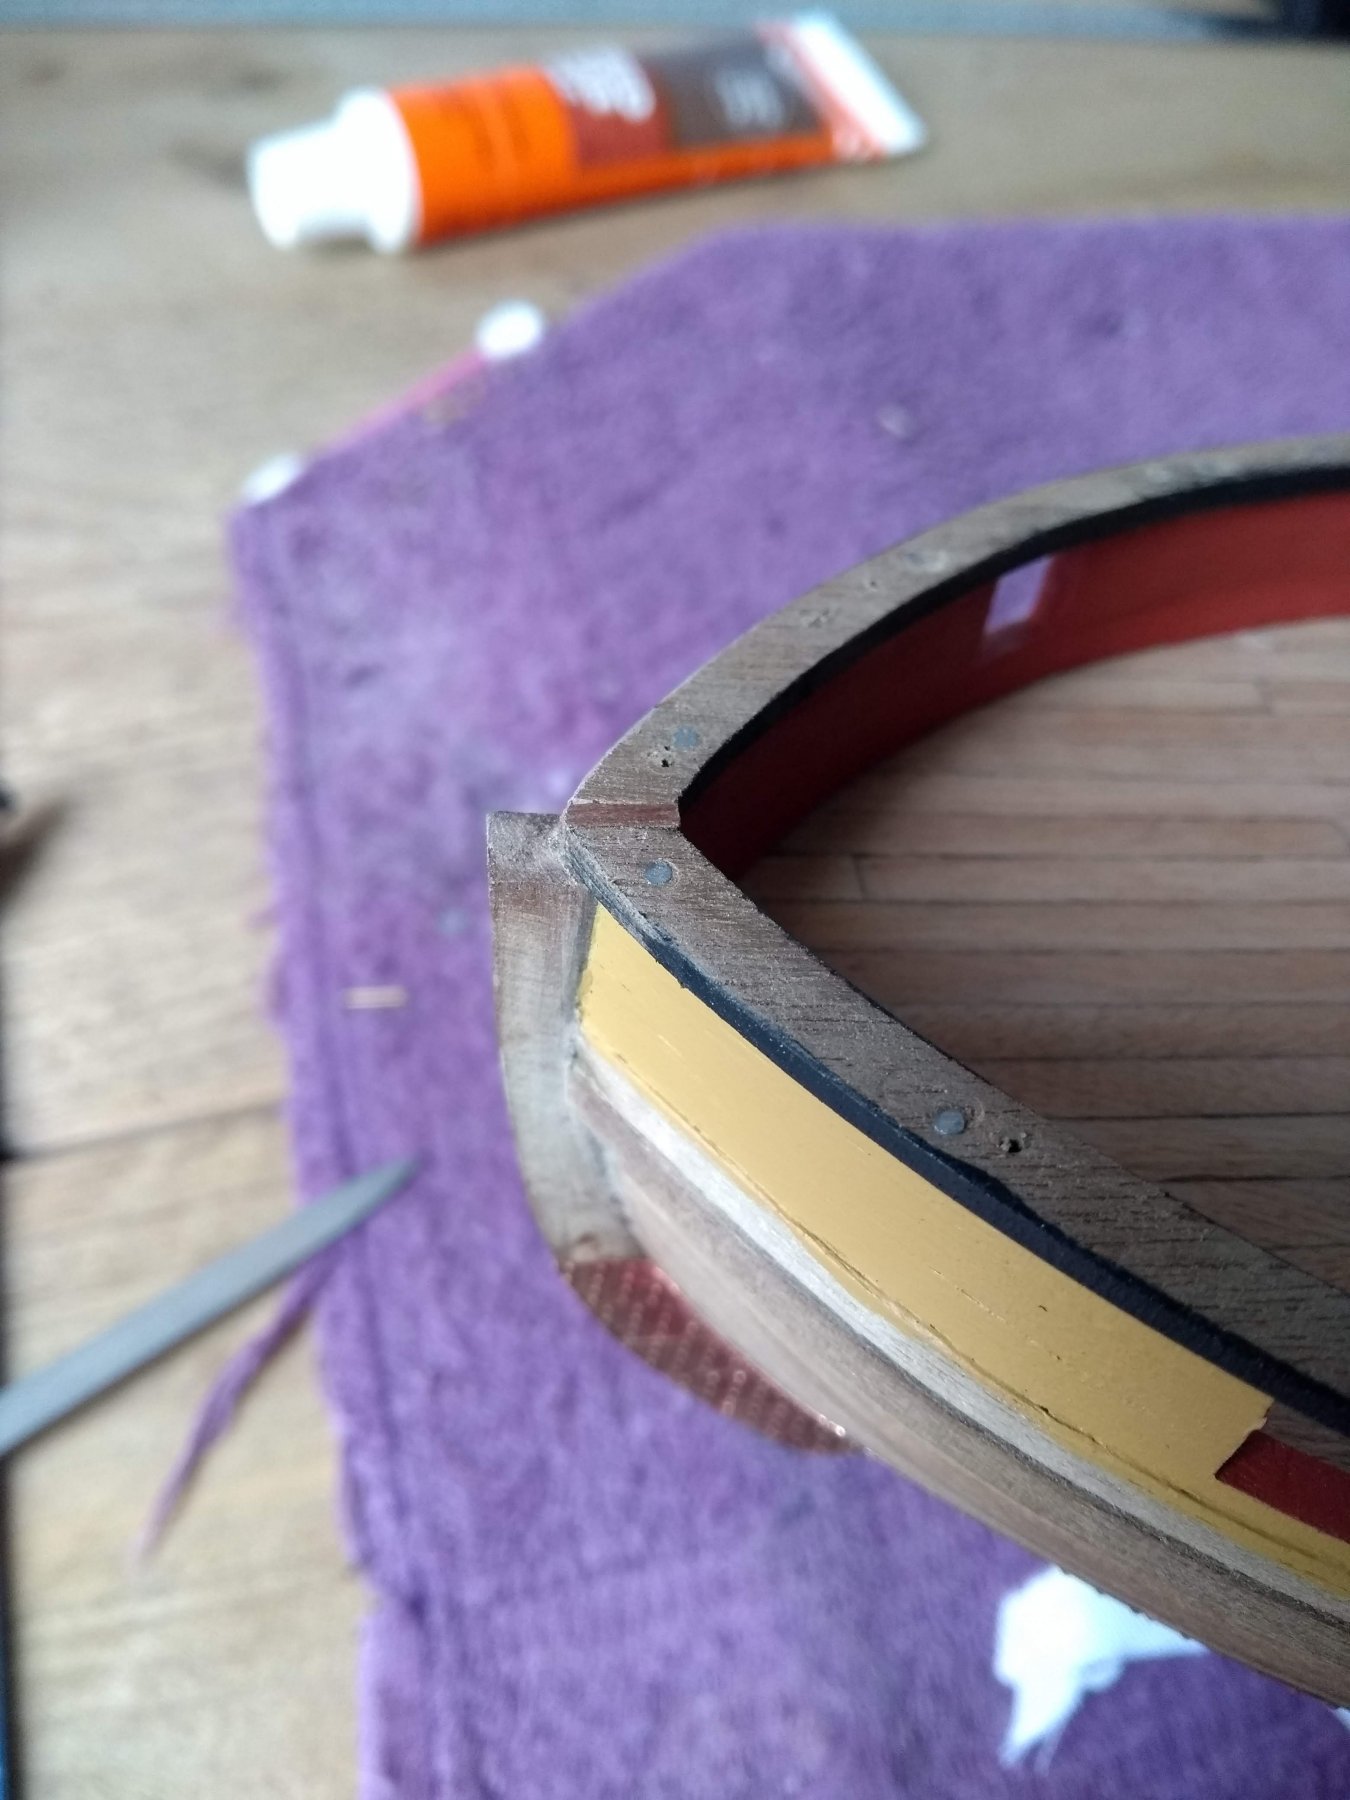
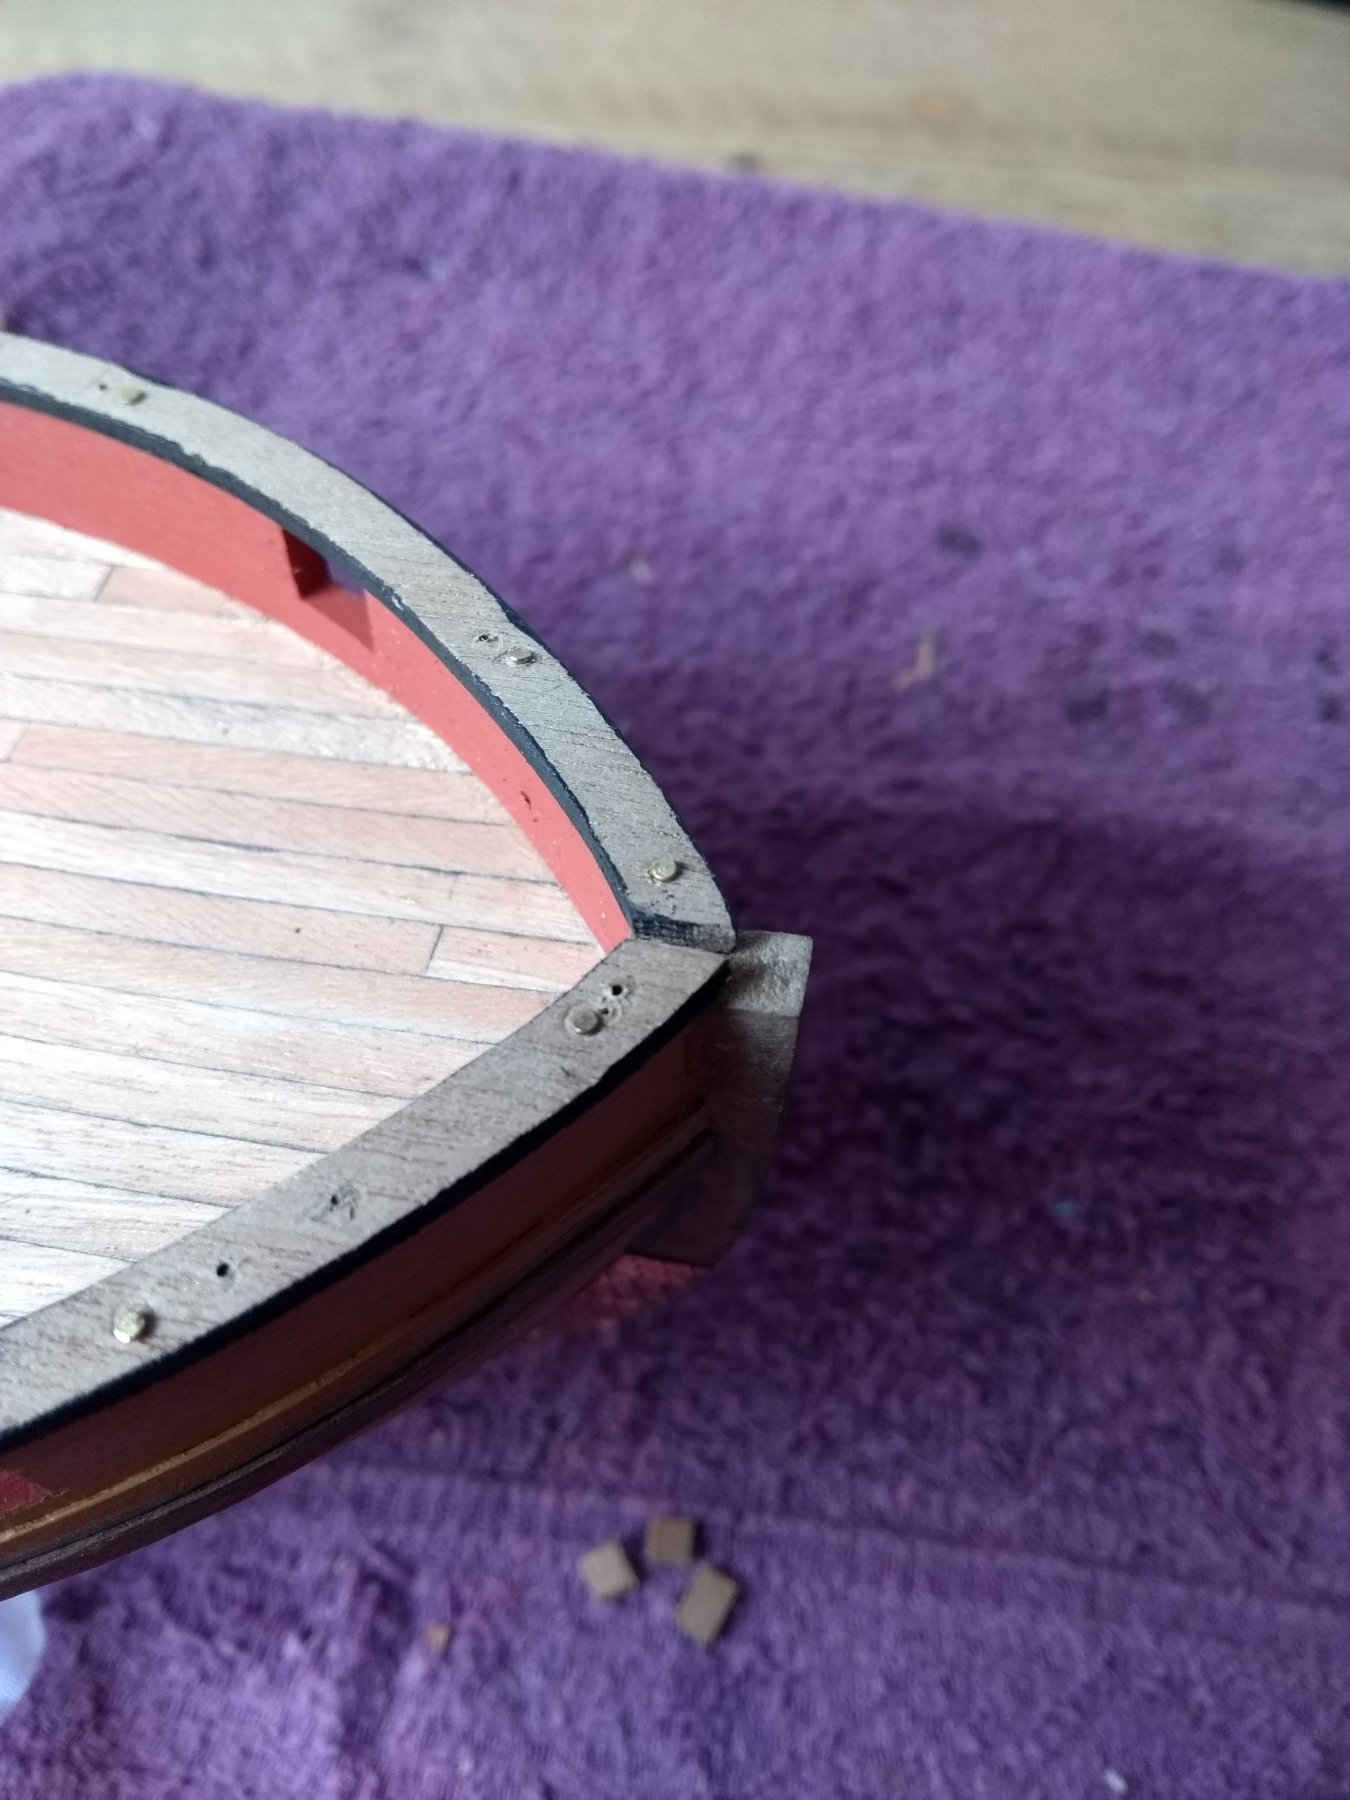
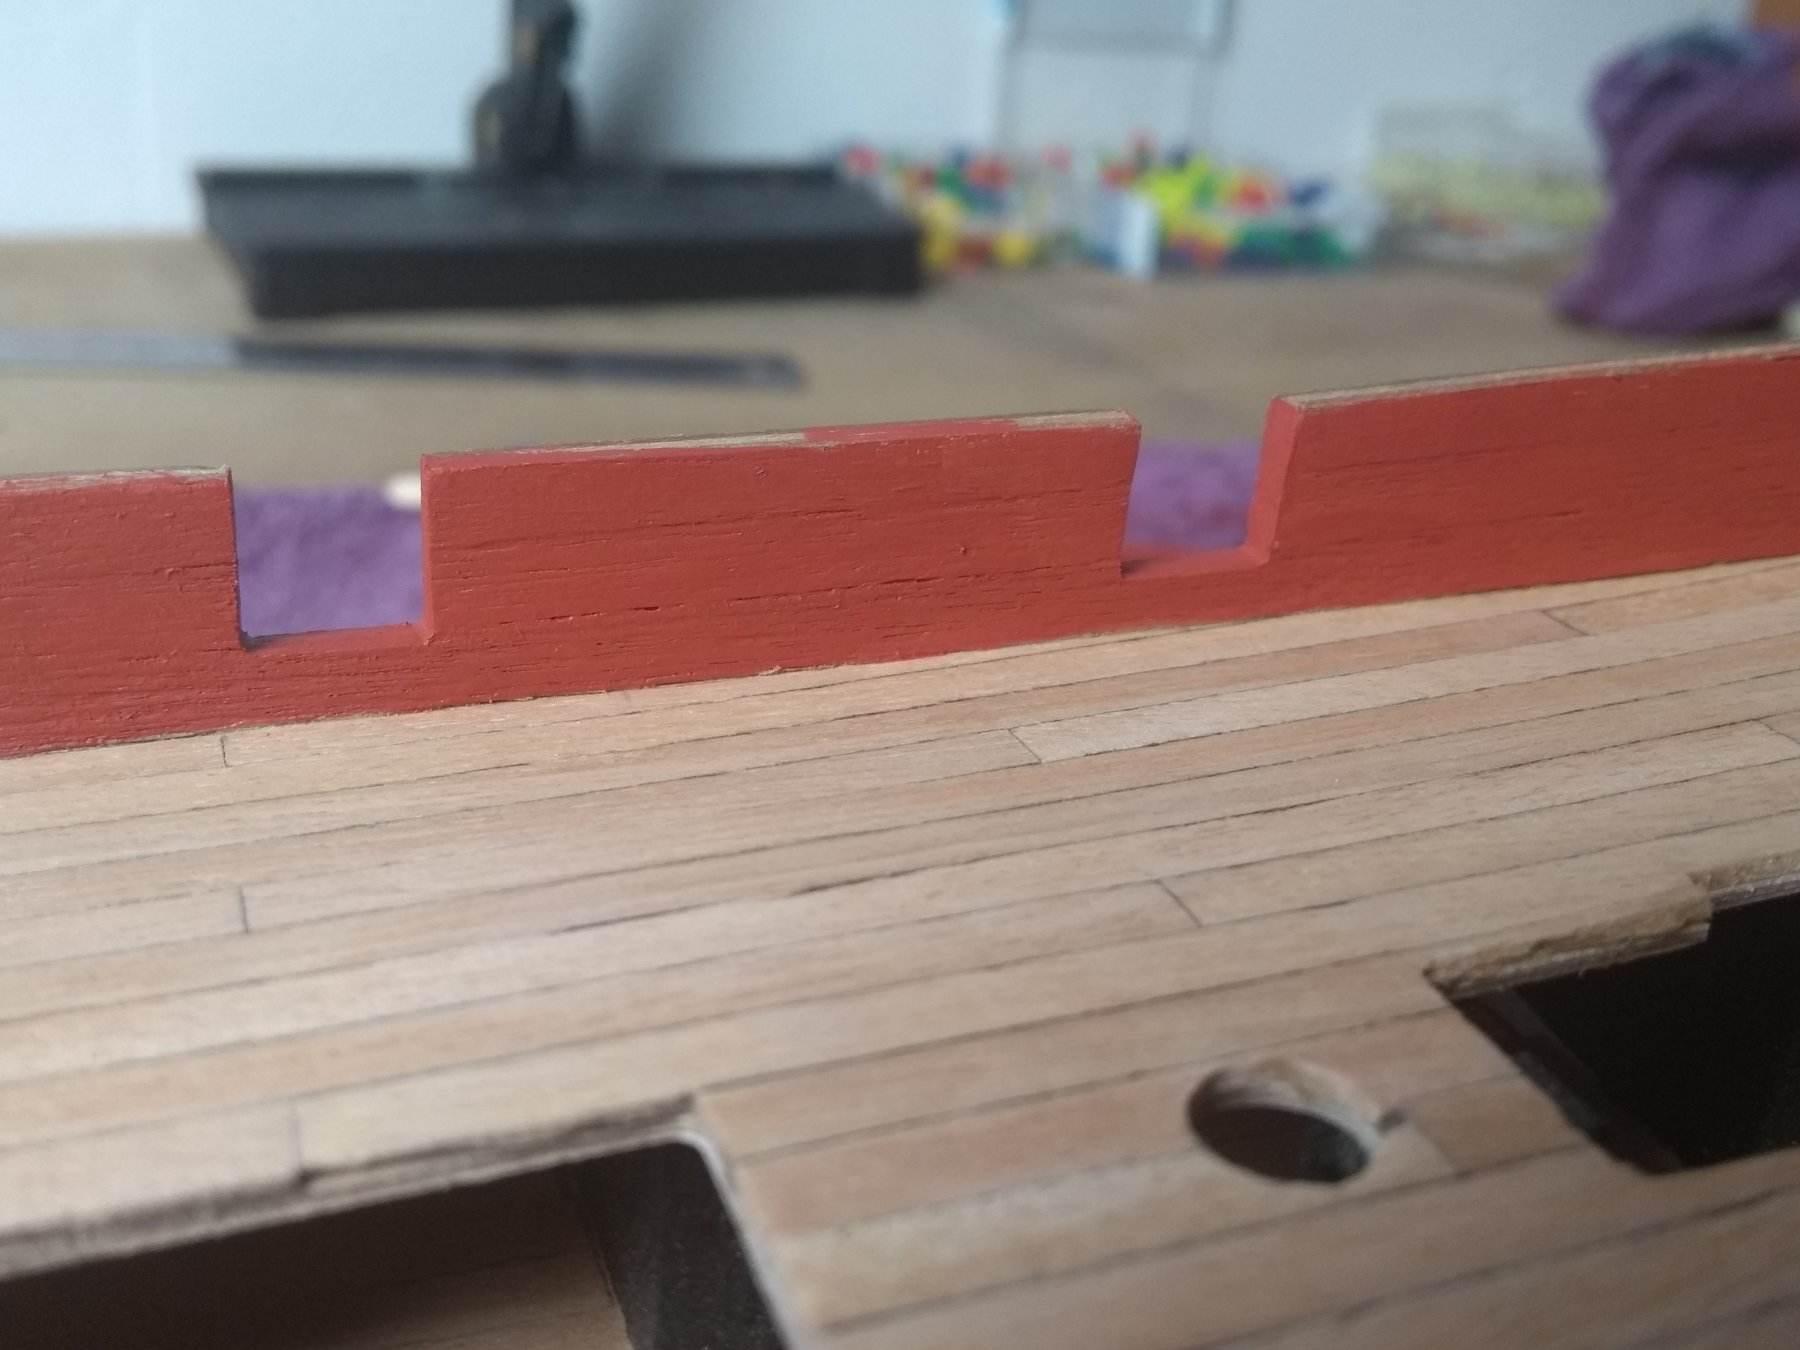
filled the gap between the capping rails with a piece of scrapwood, and cleant it up afterwards.

-
Ah tnx! It's a lot clearer now! That with the elastic bands does sound a lot easier now. I just misunderstood it wrong in the first place. Well, that's useful in a lot of ways indeed. Thanks for al the help👍
That lego seems also very handy, so i need some of that

-
Thank you a lot! I will look for finer pins. These ones have a thickness of 0.7 mm
-
Getting more and more respect for the people who make the ships 'naturel' regarding the colors! I can correct a lot of mistakes with some filler and paint, so that's handy for now😂
- FrankWouts and egkb
-
2
-
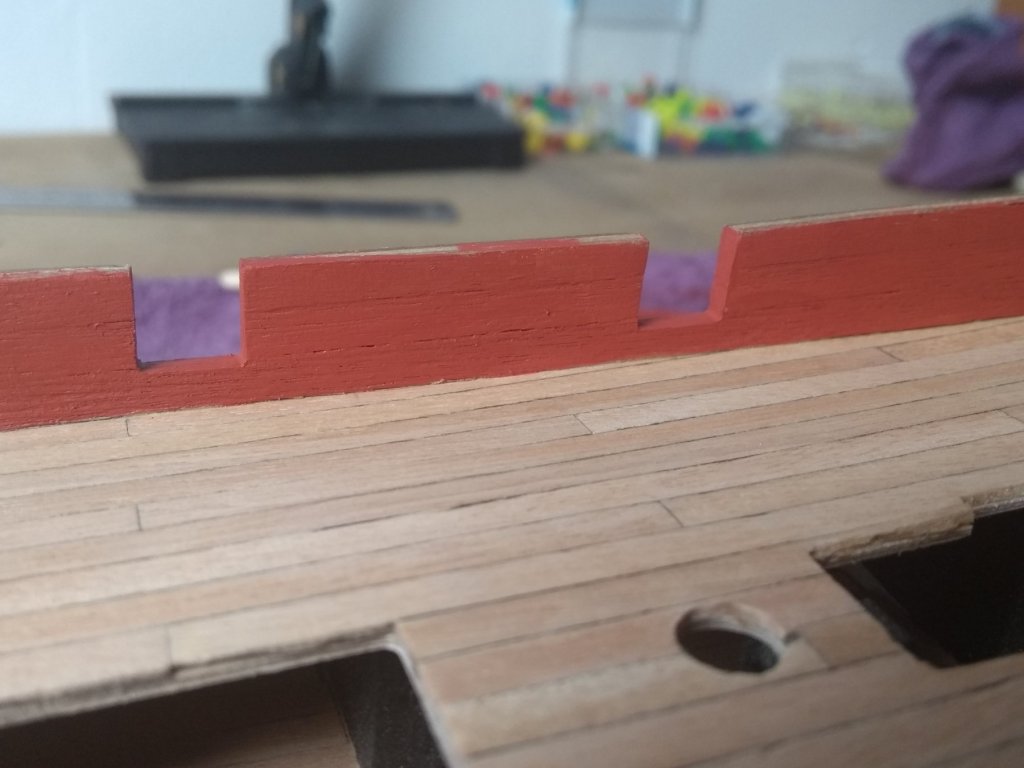
Needs some filling here

- bruce d, FrankWouts and GrandpaPhil
-
3
-
Okay...tested the method with the elastic bands, but couldn't get it just right. But the scrap pieces did help! I used the scrap pieces with clamps against the bulwarks, so it was easier to align the capping rails. But still used pins to nail the rails at the bulwarks. This worked pretty okay. Still needs lot's of touching up afterwards 😁😉
I found that the montage of the capping rails one of the most difficult parts of the build was for now, but really satisfying when it's done 😊👍


- GrandpaPhil, Dubz, bruce d and 3 others
-
6
-
Great tips! Thank you both!
I have now first soaked the capping rails and dry fitted them with nails really careful, drilled the rails and the bulwarks. I'm letting this set for two days (going on a trip tommorow😁)
Then i hope the rails have the nice bend already in them when i'm gonna glue them with the elastic bands👍.
Sounds like great tips guys. I tried the bands but they pusht them inside the bulwarks, but the trick with the pieces of scrapwood sounds really clever👍
-
Does anyone has some tips about how to install the capping rails? It's a tricky situation.
I tried with wood glue and nails, but it's not really accurate. The nails are splitting the bulwarks.
I only drilled holes in the capping rails (a bit smaller then the nails itself). Maybe also in the bulwarks?
It's to difficult to clamp it somehow.
-
Interesting build! I like the ship to and considering it for a second build. The wood choice is difficult tho!
-
-
Beautiful ship and something that i want to build in the future! The walnut looks really good indeed. The wood supplied in the kit of the Pickle was of a much less quality. Tanganyika looks the same 😉
Horrible 😁
-
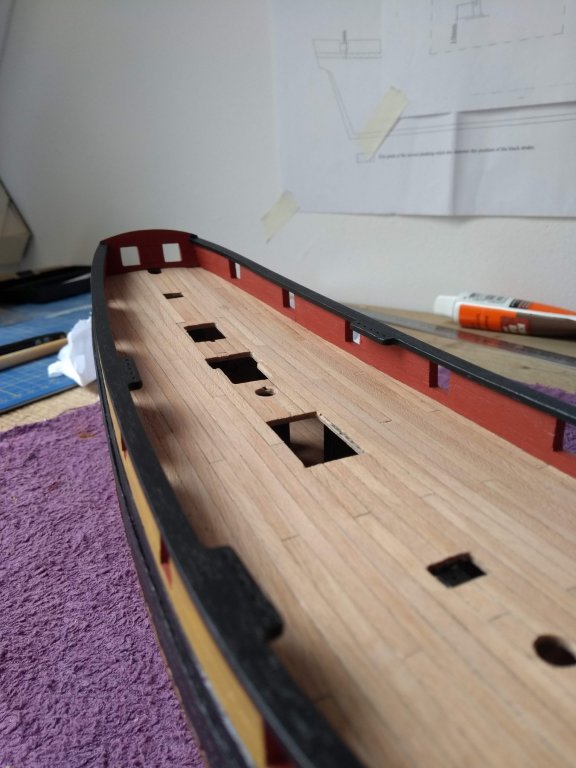
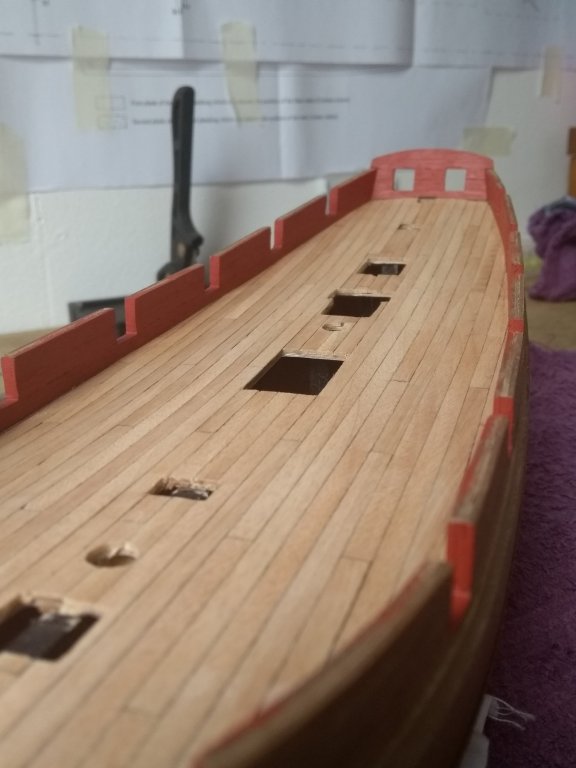
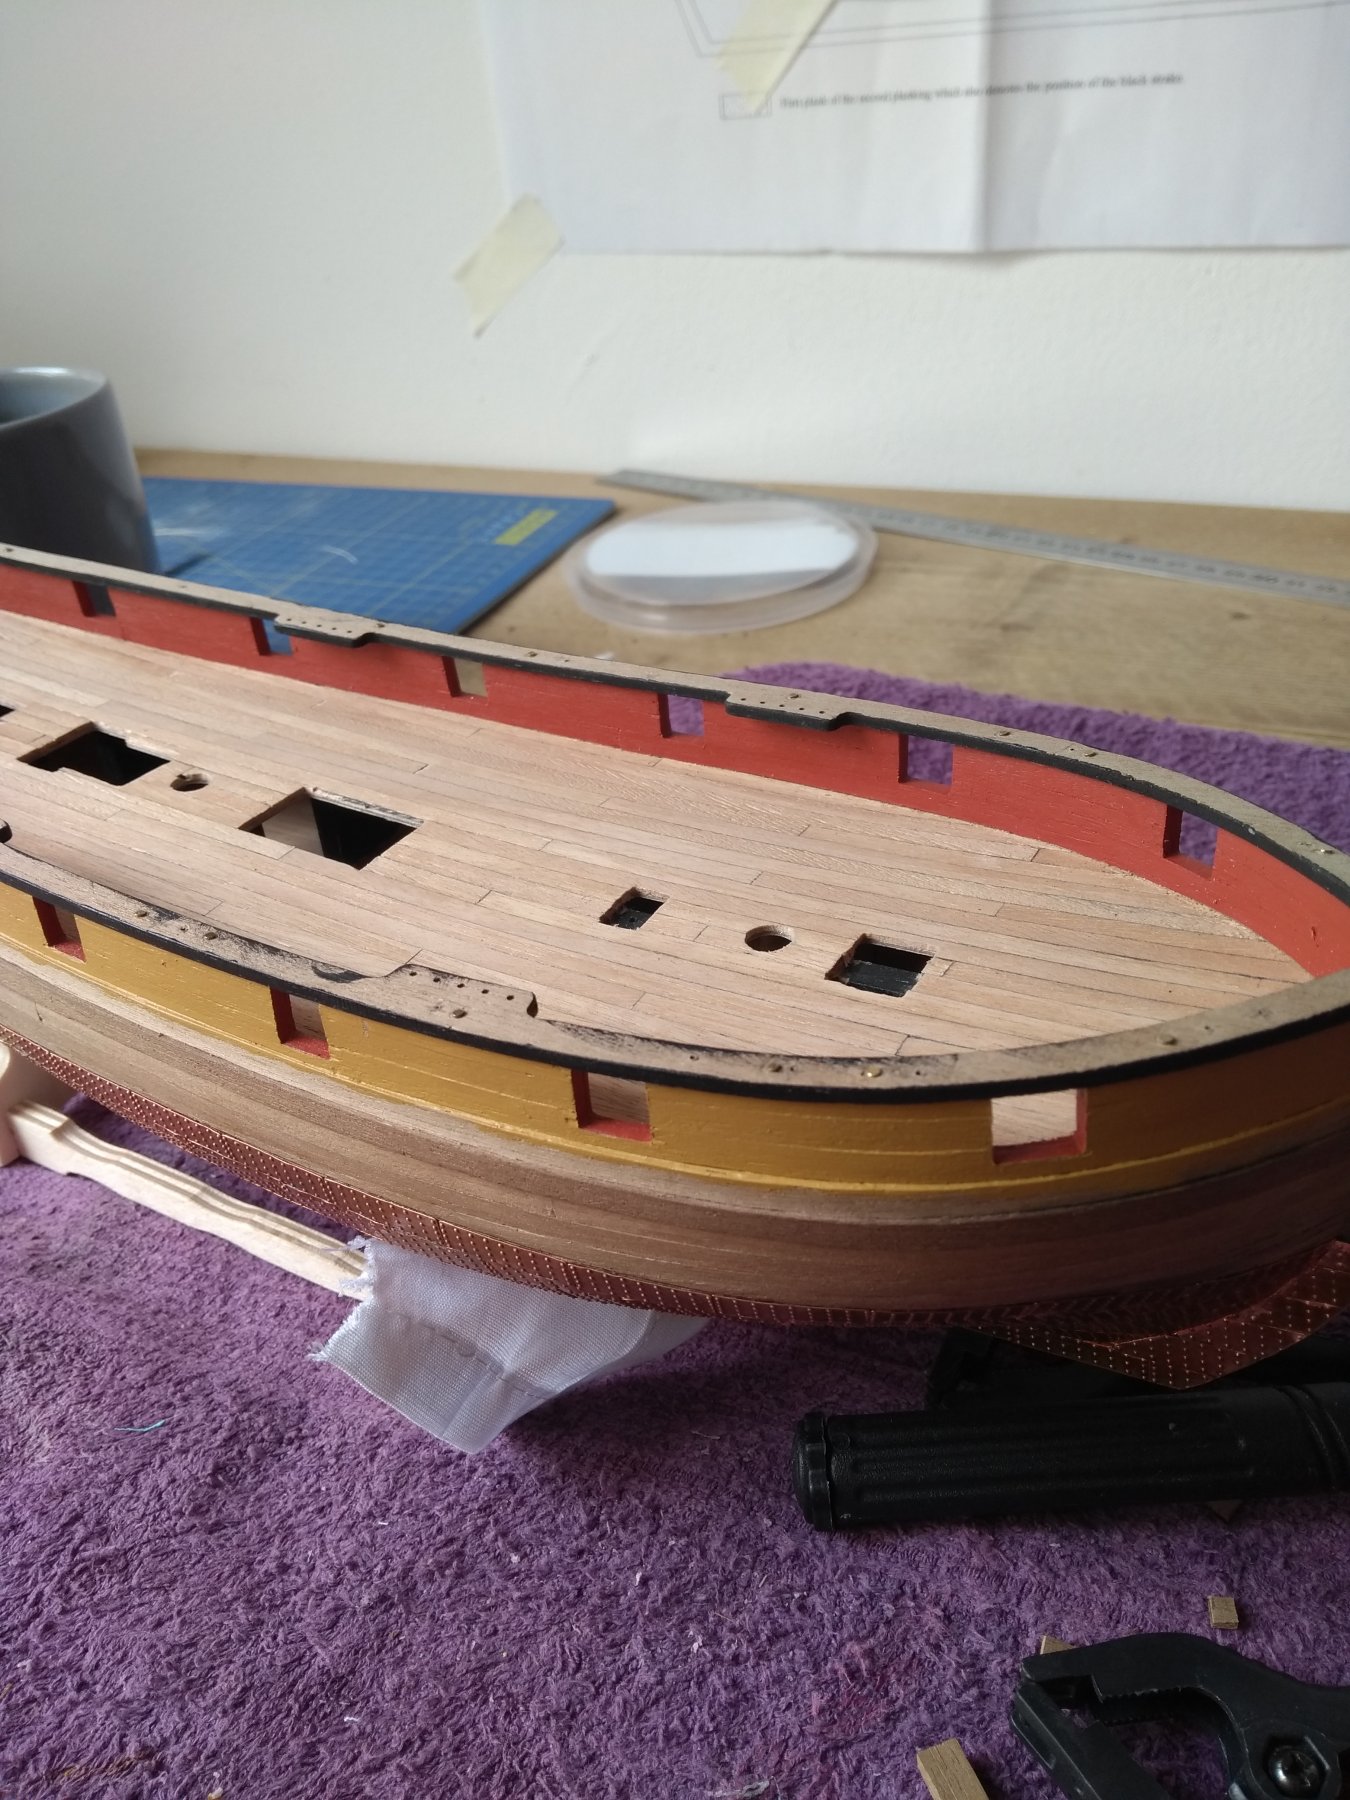
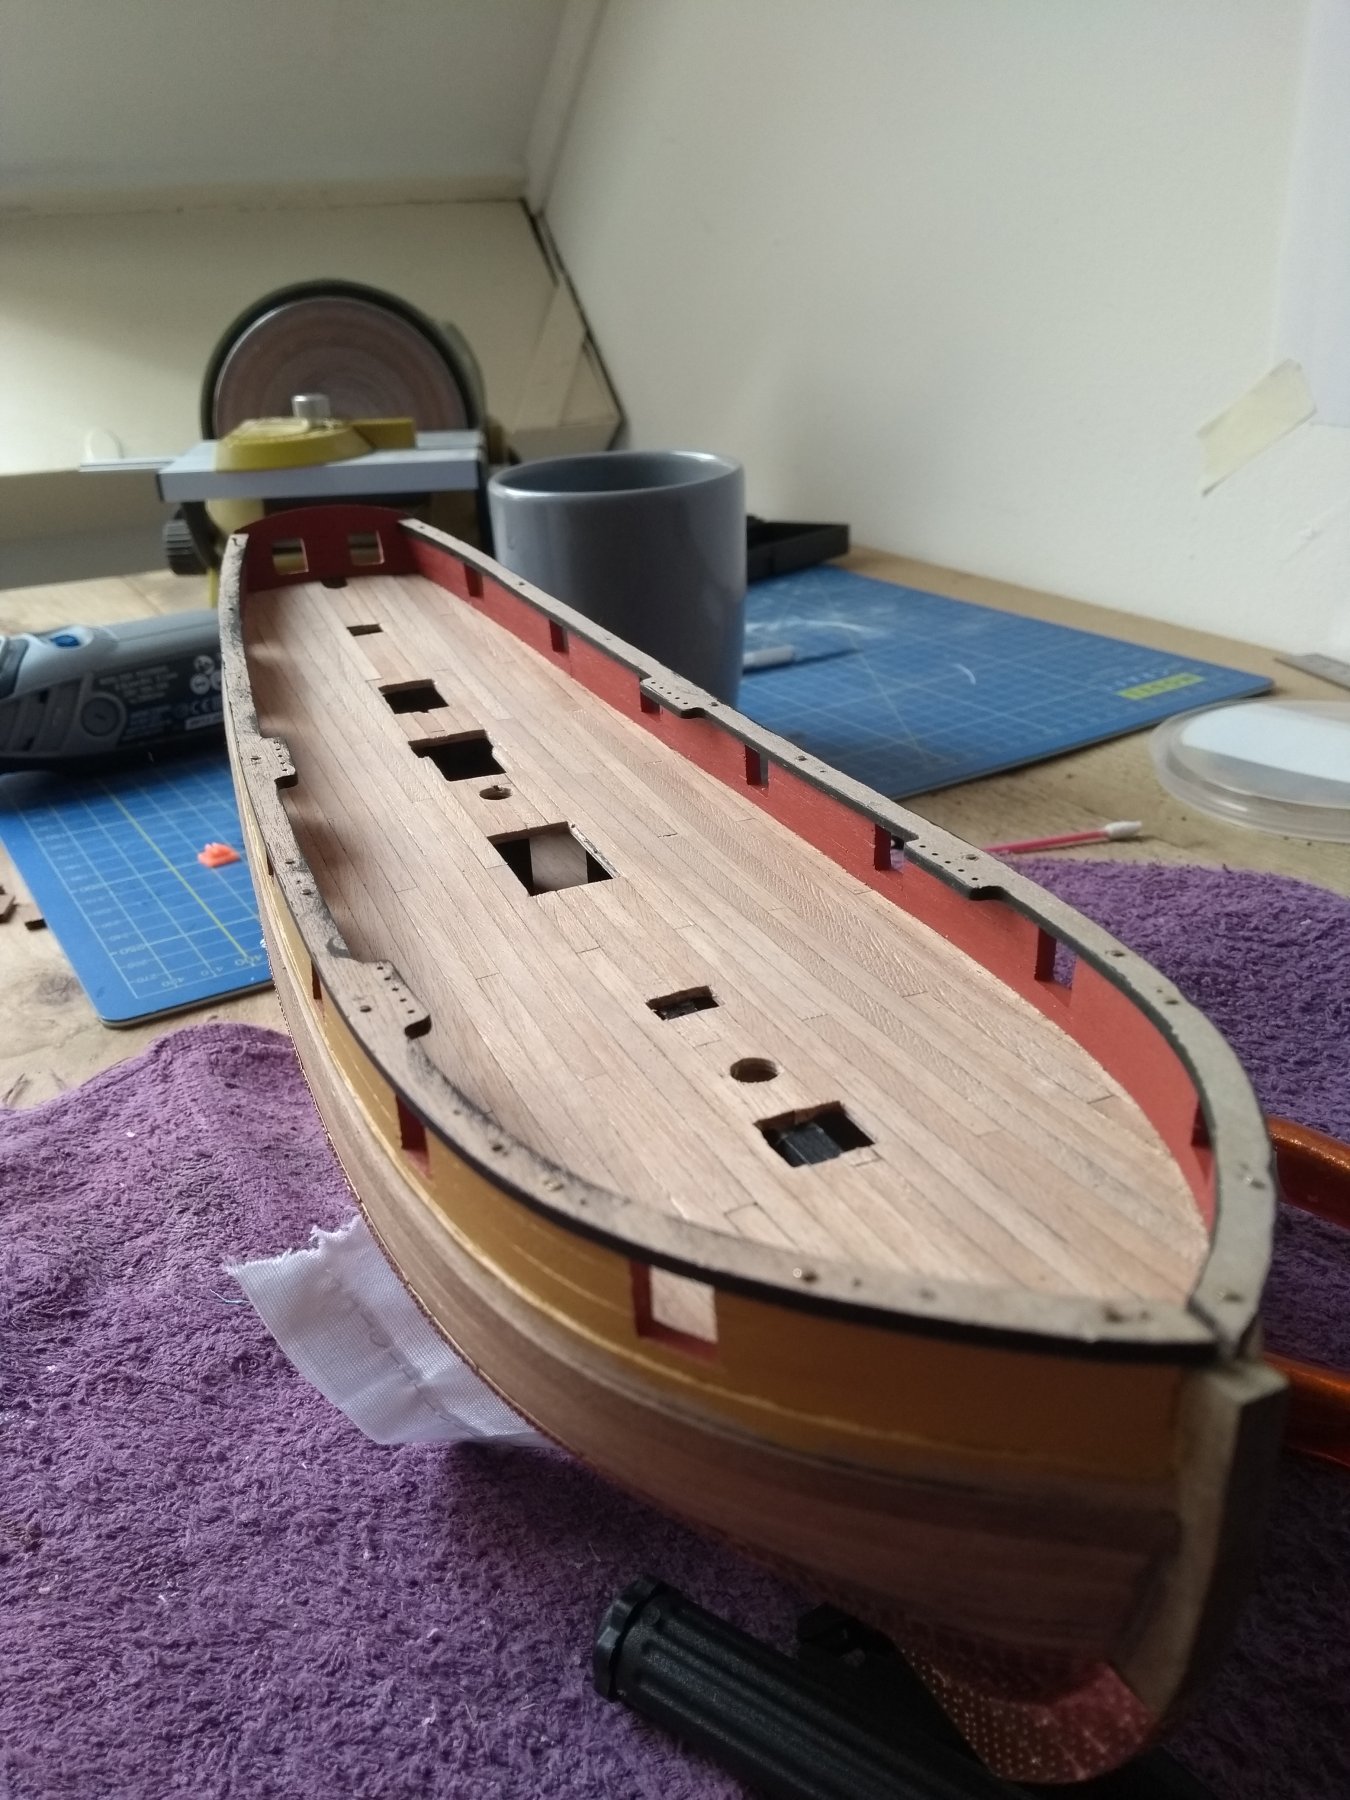
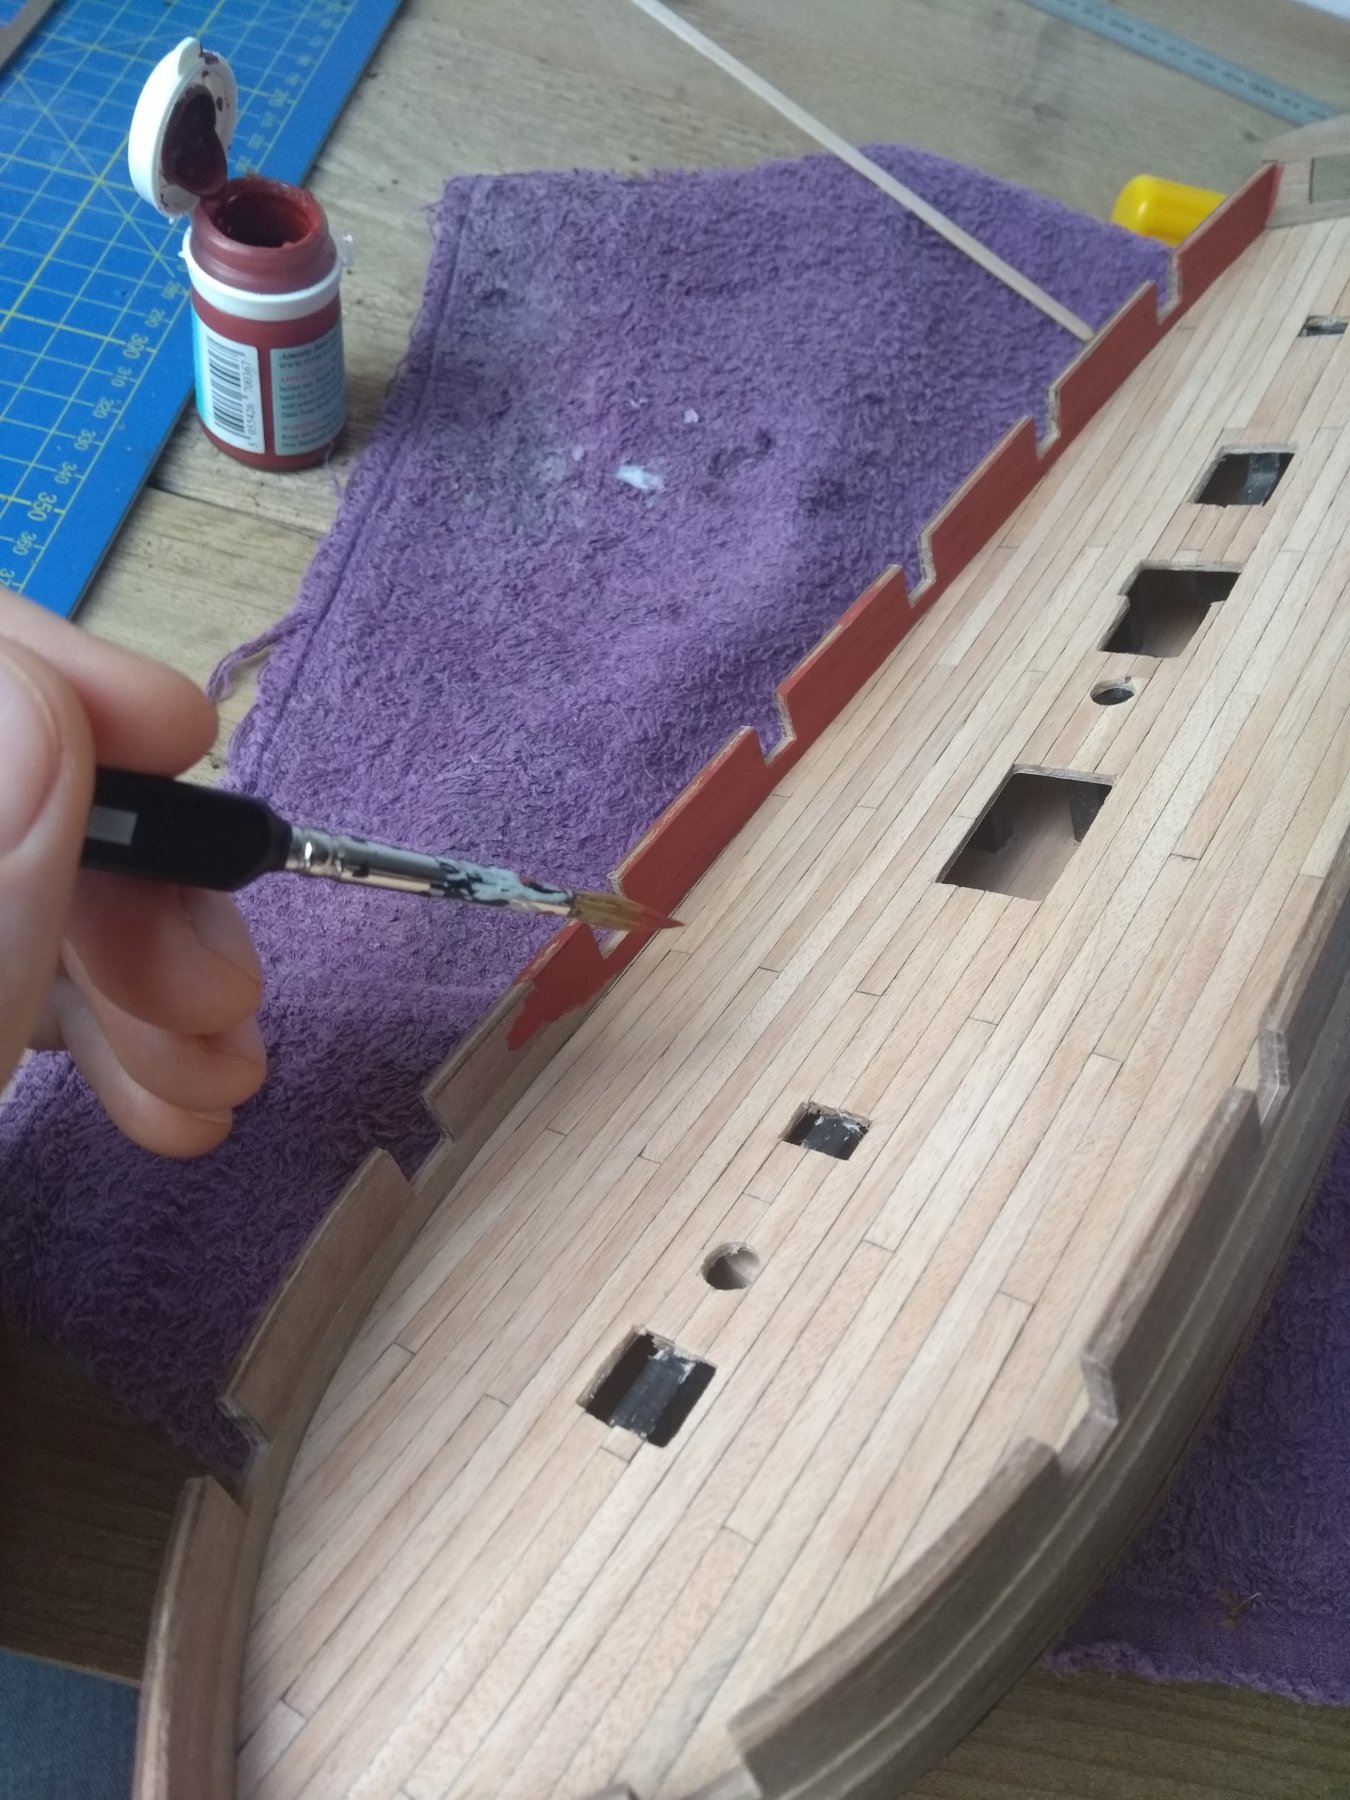
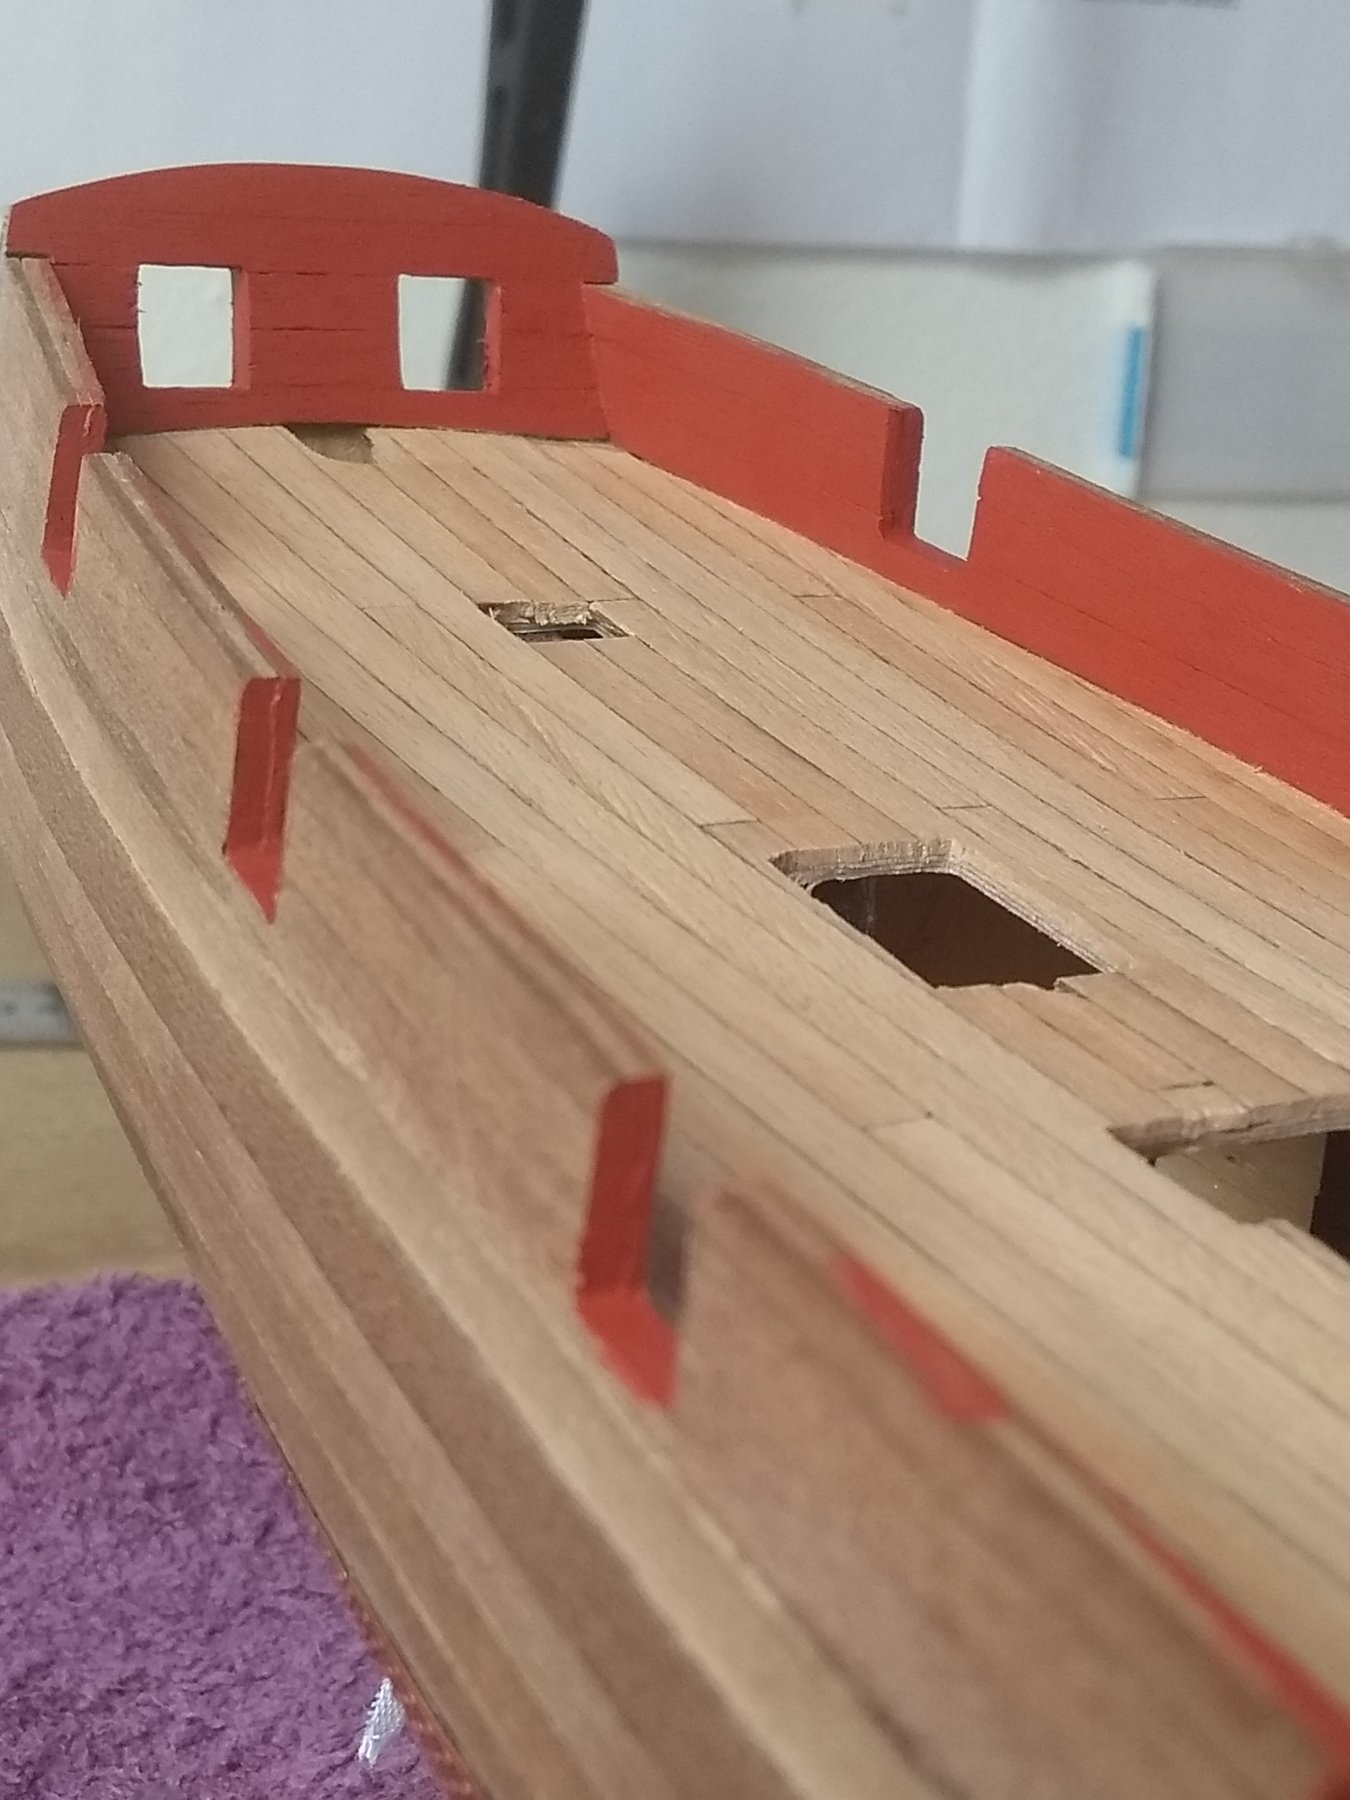
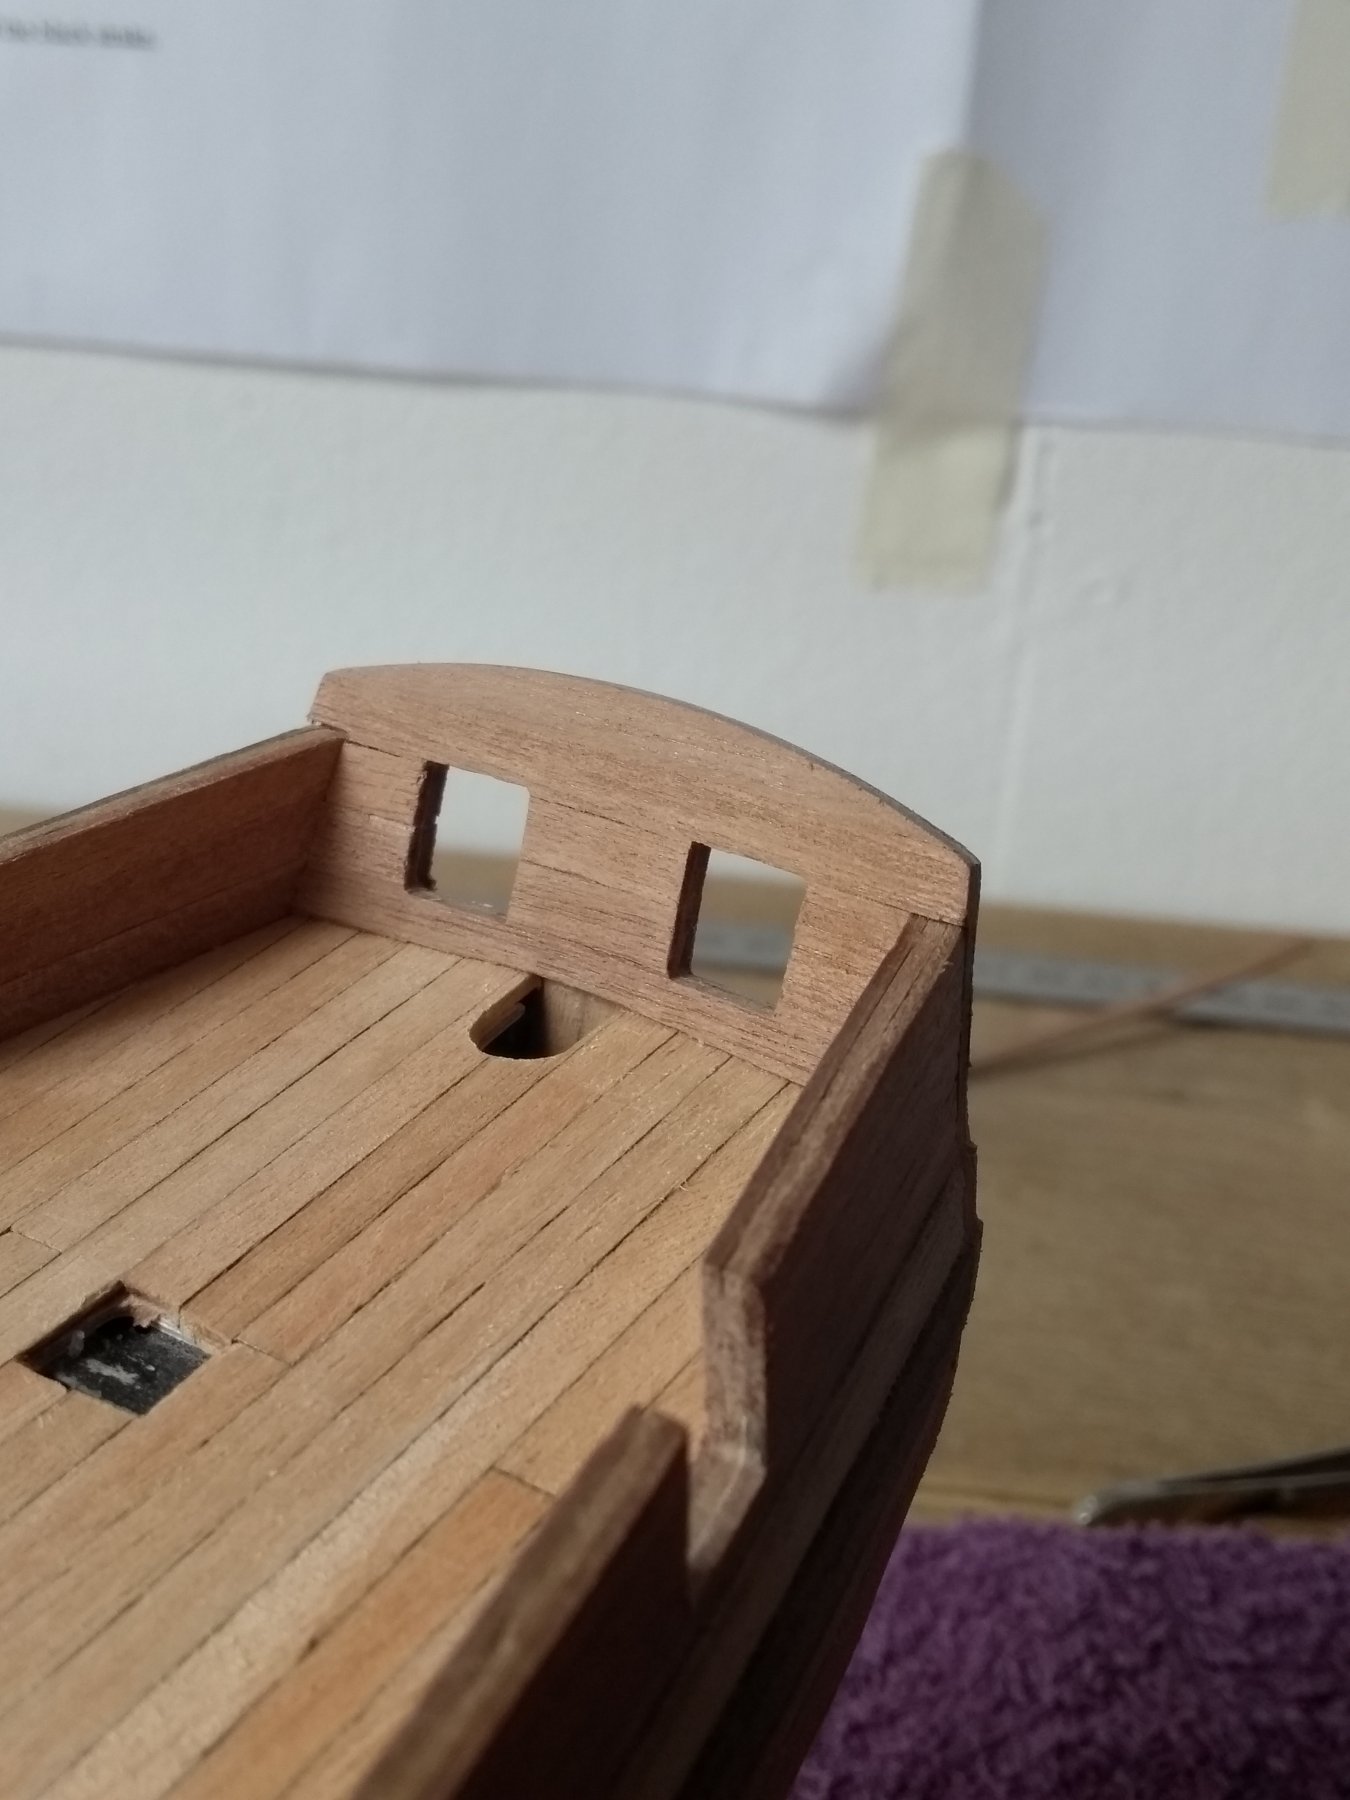
Just painted the inner bulwarks ochre red. Fun to do! I like painting the ship, because i can channel my pursuit of perfection into it 😂😁


-
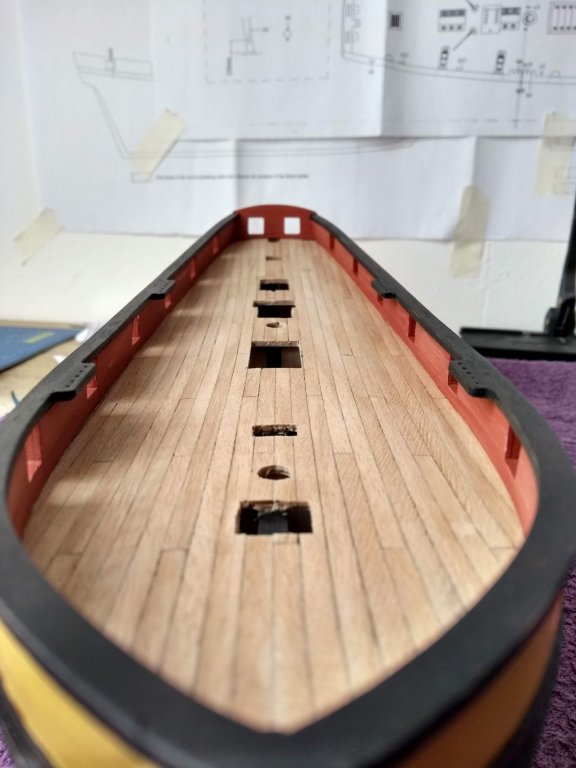
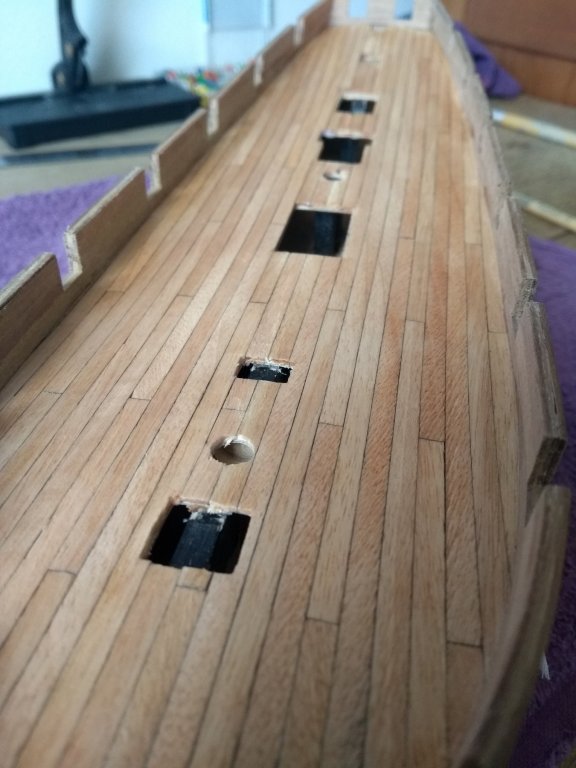
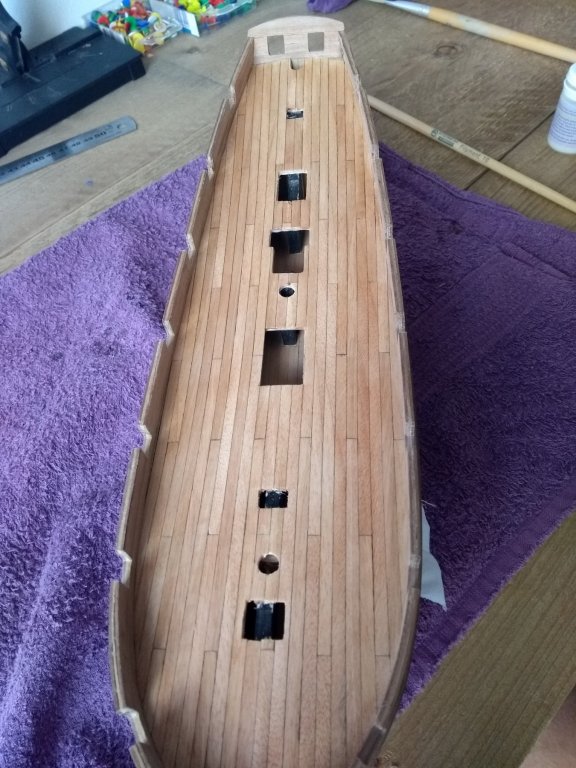
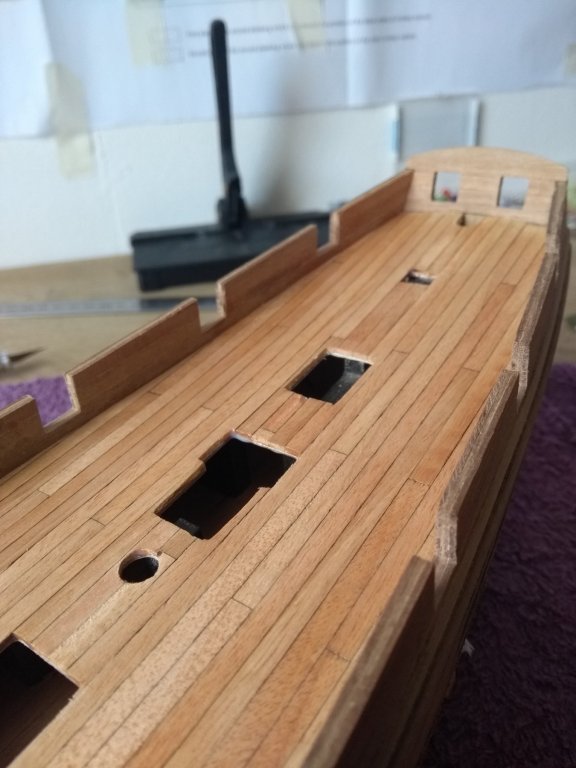
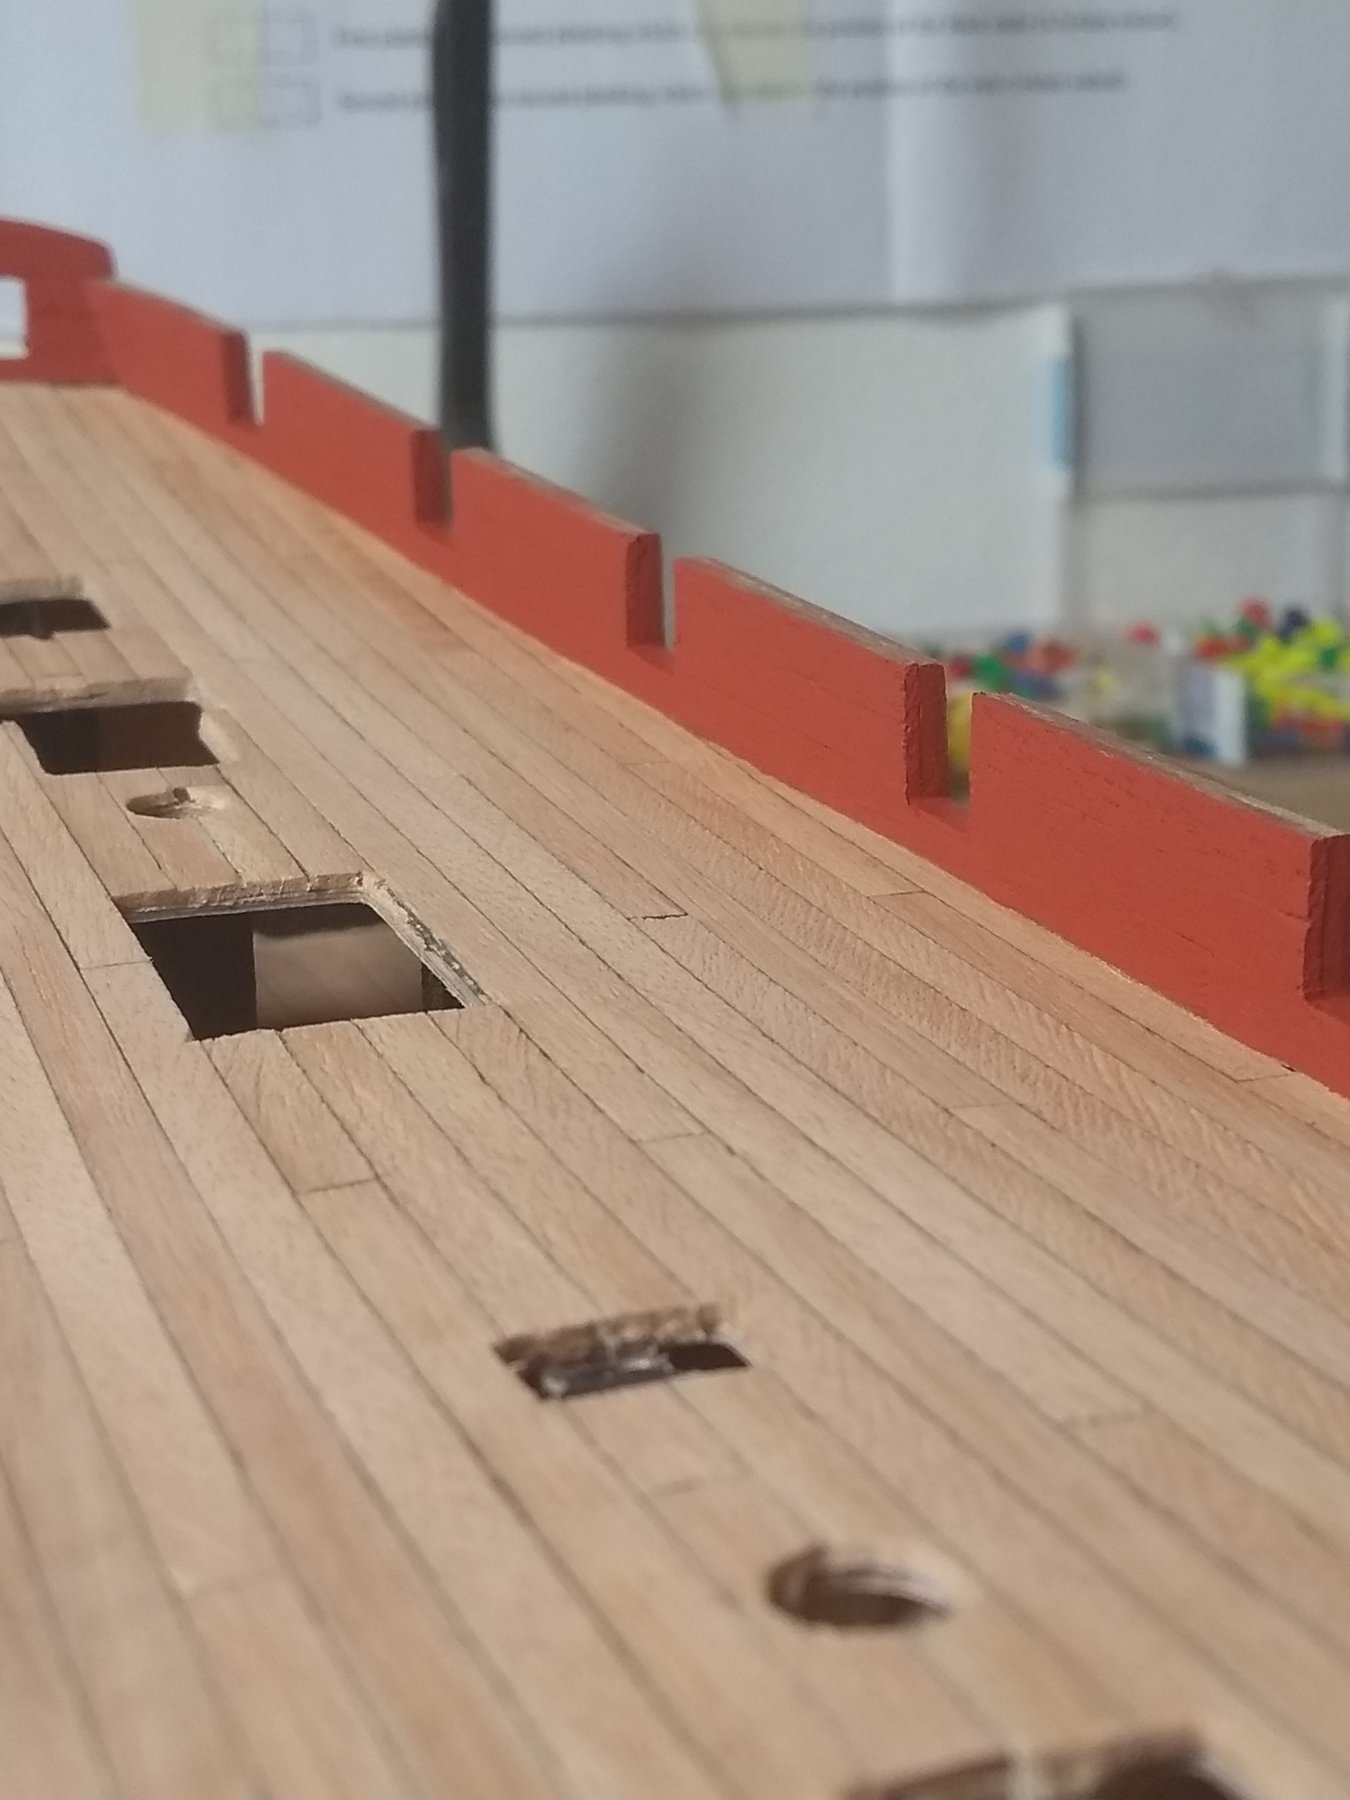
Just varnished the deck. I really like it how it let pop the color of the planks! The result is beautiful in my opinion.
How much layers of varnish do you guys put on the deck? One or two?
- Edwardkenway, tarbrush, FrankWouts and 7 others
-
10
-
-
-
Also planked the outside of the stern with some scrapwood that i found.
It's not mentioned in the manual, but the large piece of walnut didn't looked accurate. It looked to me a bit weird that they had such large pieces of wood in that period 😁

- FrankWouts, GrandpaPhil and bruce d
-
3


HMS Pickle by mugje - FINISHED - Caldercraft - 1:64 - first build
in - Kit build logs for subjects built from 1751 - 1800
Posted · Edited by mugje
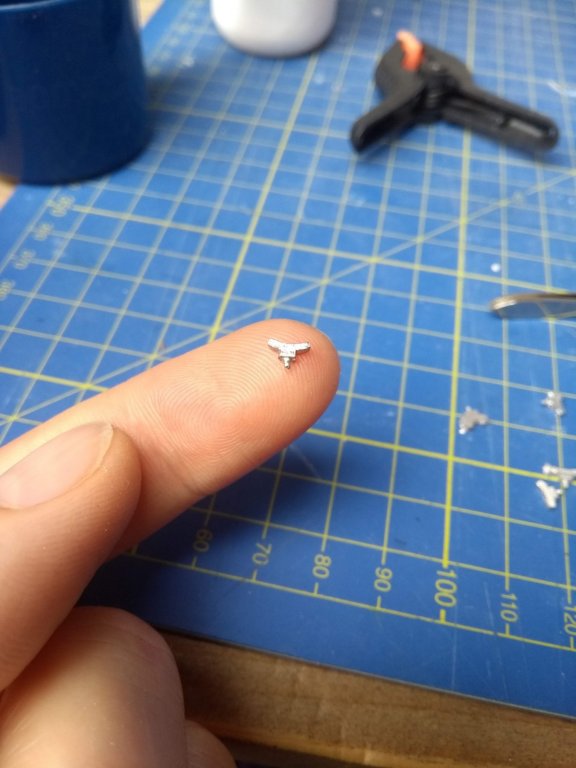
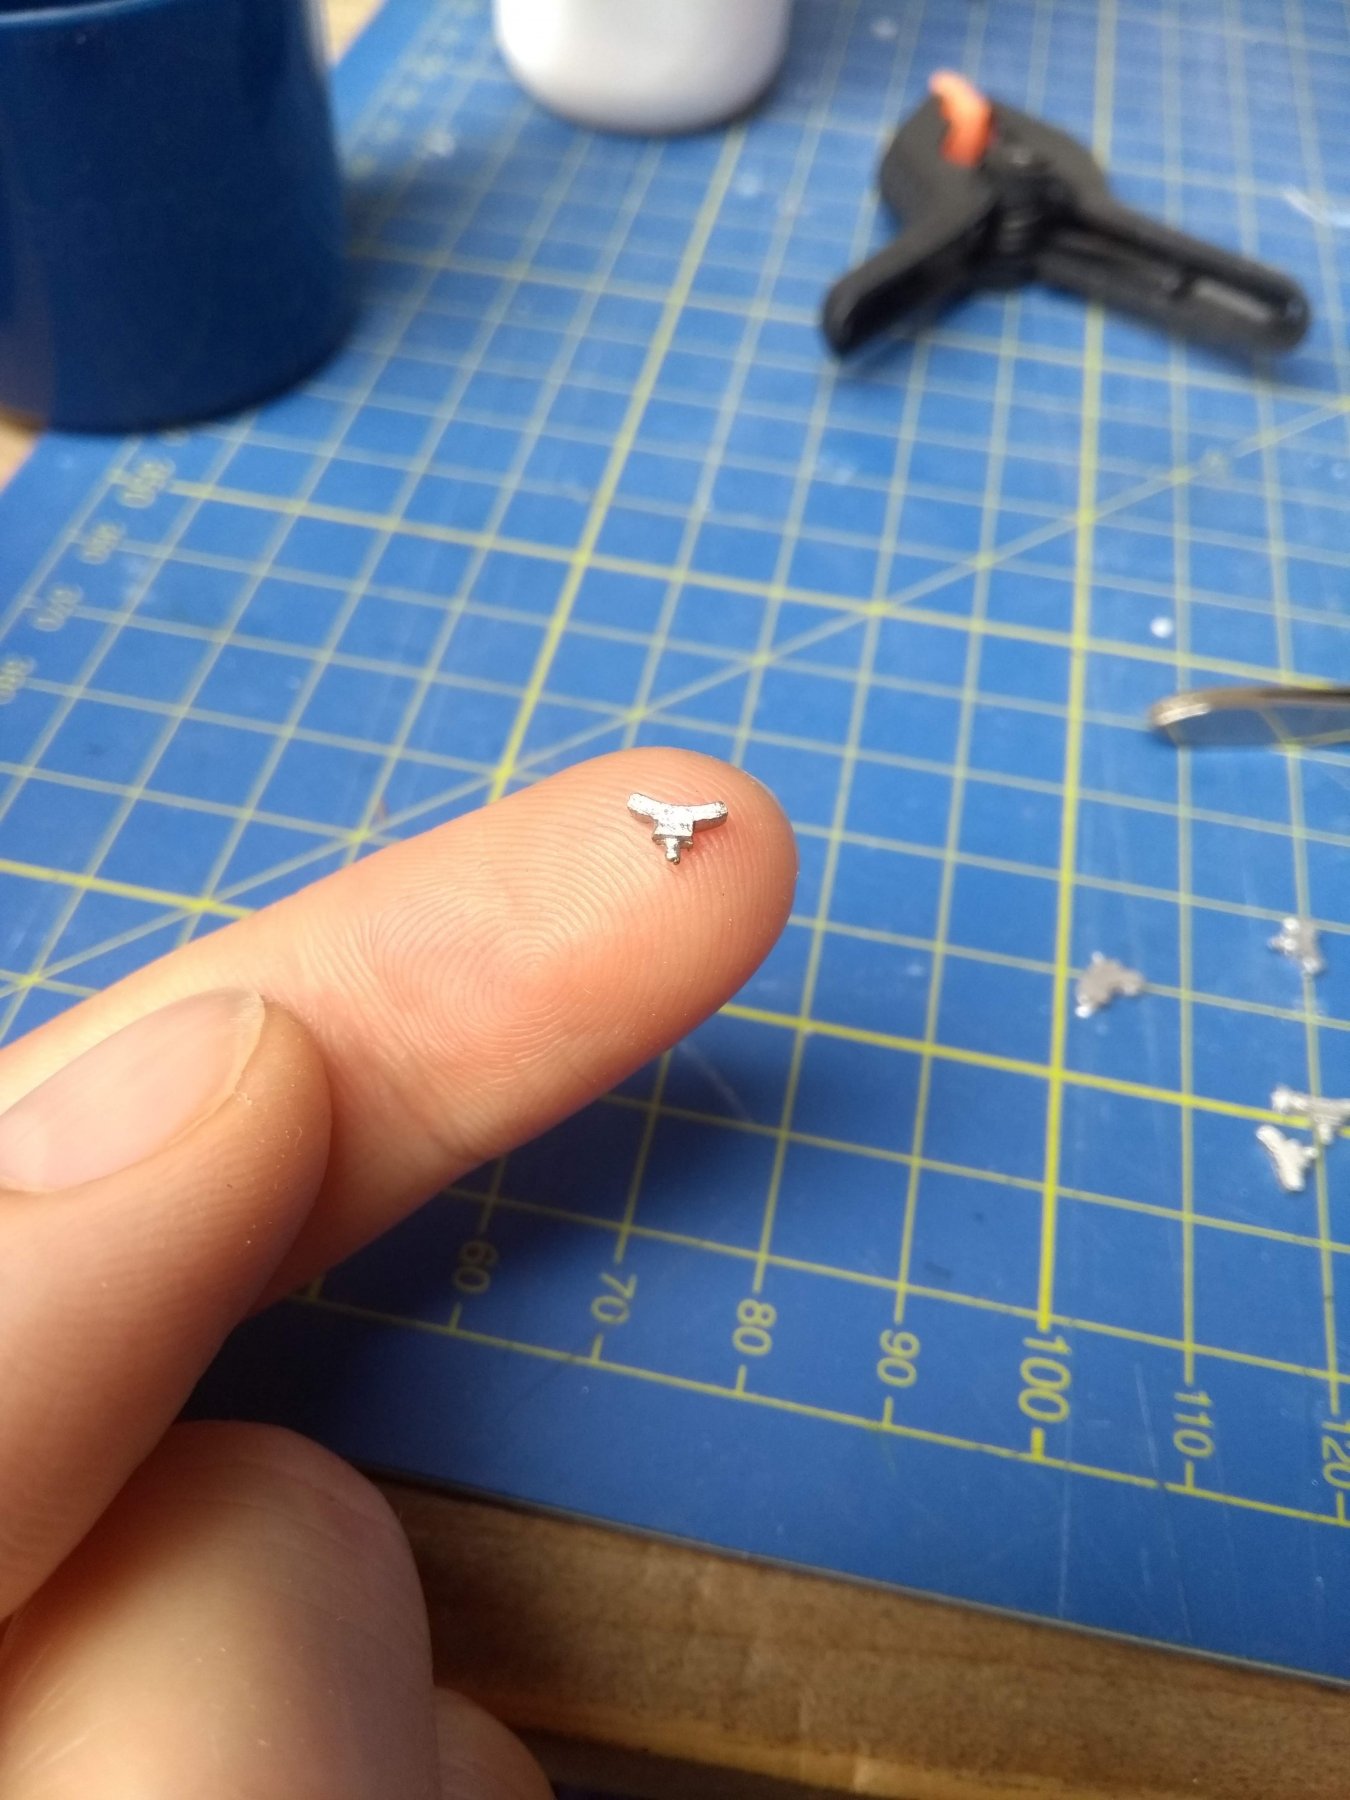
then I painted the etched brass eyelets and cleats with first a metal primer and then 'mat metal black' from Admiralty paints.
It's really small haha! I have to get used to it...to handle such small items")