Grimber
-
Posts
225 -
Joined
-
Last visited
Content Type
Profiles
Forums
Gallery
Events
Everything posted by Grimber
-
 nice build so far. I got the 1/100 scale model when I went to korea this summer ( have not started on it yet). price for the 1/65 and the 1/100 in a Korean hobby shop is about the same as you find on ebay. one of the places I went to is Namhae Island (southern coast) to admiral Yi museum and also to see one of the real working reproduction turtle ship in the harbor near Noryang but you can find others throughout the island
- 96 replies
-
- 3
-

-
- Turtle Ship;
- Korean Turtle War Ship
- (and 1 more)
-
Have not done anything on my Swift since my last post last December. Have been drawn away from it with many real world things. My daughter got married, have had 2 short term construction jobs ( rough carpentry framing and concrete work), brother ended up in the hospital with some rare bone issue and had to have hip replacement surgery, took a trip to South Korea to visit in-laws and a bit of sight seeing (more on that in a later post as I got a chance to go to Admiral Yi's museum), and I made arrangements' to go back to collage this coming spring semester. I intend to get back to work on my Swift in the next week or two after I finish yard work and winterizing the house and clean up my work area as it has become a dumping ground for all sorts of stuff.
-
one extra tip, especially for large/long areas. you want to keep your brush strokes the same length through out your painting work. when you hit the 'long' stretches people tend to take longer brush strokes to cover those areas faster, but you end up with an uneven coat (thick on the ends and thin in the middle).
-
mini drill chuck for those small drill bits
Grimber replied to AON's topic in Modeling tools and Workshop Equipment
actually it was a cheap one from hong kong off ebay. little patience I got it for $2.00 http://www.ebay.com/itm/New-21pc-Micro-Drill-Bit-Set-Index-61-80-w-Swivel-Head-Pin-Vise-US-SHIPPER-/201039587229?pt=LH_DefaultDomain_0&hash=item2ecee4a79d made of aluminum and the swivel head keeps binding up as it is only held in place by very badly twisted ring, but i found it works great in a drill as long as you leave the 2nd vice in the handle shaft to keep the chuck from crushing handle. but I have been looking at just getting a small electric motor ( like used in RC vehicles) and put on the mini pin vice chuck Mini Small 2.3MM Electric Motor Shaft Clamp Fixture Chuck for 0.7MM-3.2MM Drill or getting one of those already made and just make a drill press type mount it http://www.ebay.com/itm/Small-PCB-Motor-Electric-Drill-Circuit-Board-Press-Drilling-0-5-2-5mm-21PCS-12V-/151295626753?pt=LH_DefaultDomain_0&hash=item2339ec0e01 -
mini drill chuck for those small drill bits
Grimber replied to AON's topic in Modeling tools and Workshop Equipment
Hi, didn't mean to just use the vice, but the whole front half of the pin vice. my mistake in typing. but if you got a cheapy china made one you may not want to do that. mine I think is made of alluminum, but I have 2 so I did it with one just for use in a drill, and my other for using by hand.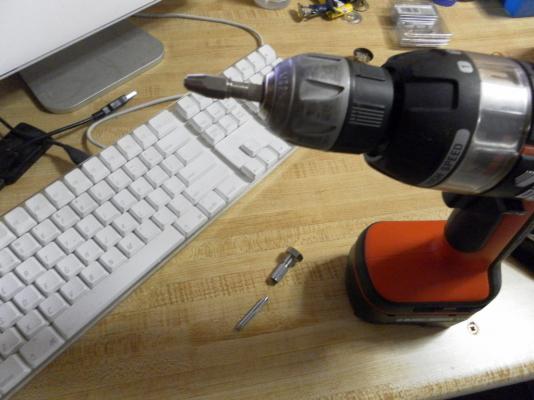
-
mini drill chuck for those small drill bits
Grimber replied to AON's topic in Modeling tools and Workshop Equipment
many pin vices I've seen unscrew on the back half to store the extra sizes of vice. can just try removing the back half of your pin vice and stick it in your drill/drill press. -
there is a trick with plastic parts like yards. same thing they do with eye glasses to shape the plastic frames to fit a persons face. They put the plastic in a container of hot sand which makes it pliable. I've done this LONG ago but you either need one of those warmer pots they use or make your own. have to keep the sand around 140-160 degrees if I recall right. hot tap water usually isn't enough and boiling water is too hot. could maybe do it if you have a food/candy thermometer handy and keep the water around the 140-160 range.
-
there is something going on with Latinia past few months. Their online ordering is broken ( after several emails all I have gotten is an 'we know..." answer) and several on line hobby stores are listing not only out of stock on Latinia products but even have removed prices and just placed notes like "call for availability and changes in price"
-
can you fit a emory board or a fingernail file into the rabbet? may be all you need to opene it up enough to side the plank in.
-
thanks, I been skipping the instructions lately though. But be sure you check out themadchemist (Keith) log as he knows allot more about this than I do. also do a search on the forums for other swift builds, took me a while but i read them all very early on. lots of information there. I'm only half ways though Keith's log being it's at 104 pages now I've made plenty of mistakes in my build and things haven't gone so well with the paint job. Right now I'm working on the scuttle, bucket, bildge pump, anchors plus a side project I need to finish before starting rigging.
-
i like how the warspite is shooting at the ship in the distant background image. was very worth watching the progress on your work
-
I kept having the same problems of beating up my paint job. Mindful of the tape too, I put some on to cover it, did some work went to take the tape off and because of handling i think I pressed that tape down good in spots and so the paint peeled up with the tape.
-
I didn't even see the paint comment, had to go back and re read. Yes, I wouldn't toss a model due to paint. I've many times stripped models completely down to just parts and redone them. paint can come off with various removers but many times you can also fix a paint job vs starting it over. Nice thing on military vehicles is you can even take a bad spot in a paint job and with some work turn it into some battle damage.
-
that high shine defiantly makes it pop.
-
happened to me with the revel plastic constitution. got the rigging on and the tension would slack after a while. was a combination of the line stretching ( i think it was mostly nylon which stretches allot), the plastic masts bending to the tension and glue not holding the lines as well as they should. I replaced the lines with a combination of cotton line and thin wires ( little enamel paint to recolor after the rigging is done) and fixed the sages.
-
did you use string or wire for the rigging? I know it would have been cables, what you could try instead is get some very flexable wire ( like the wire you get out of the wire for a pair of headphones/earbuds), the first you run the rigging that supports the towers (forward first then aft) the wire would be helpful as it can take more tension and it can be wrapped by hand to hold itself until you get it glued and trimmed. if the current rigging is glued, it can be unglued. many methods of undoing dried glue. so I don't think its a loss, just needs fixing.
-
yes, the walnut is great. on the stern have you tried letting your plank go long ( trim for width fit but not cut it off) then you can use the extra length to help when bending around the curvature, like clamping further up near the transom or just for more leverage when bending. once it holds the curvature then trim off and glue. or something along that lines.
-
Just found your log ( from another thread) I like the work on your boat, the mix of the planking, how you rounded out the wood into the deck area and the gloss finish of the entire ship. Any photos of the finished hull from the bottom side?
-
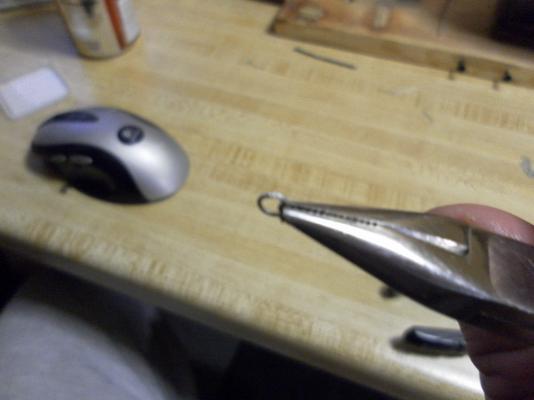
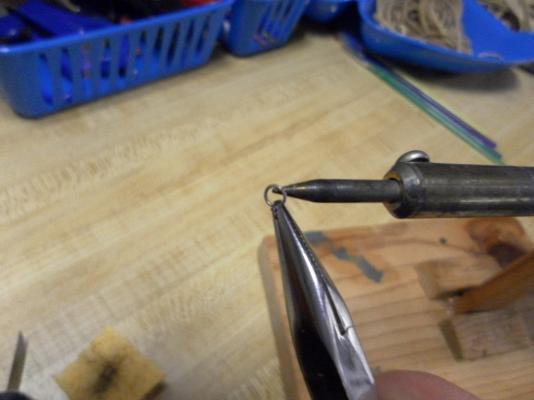
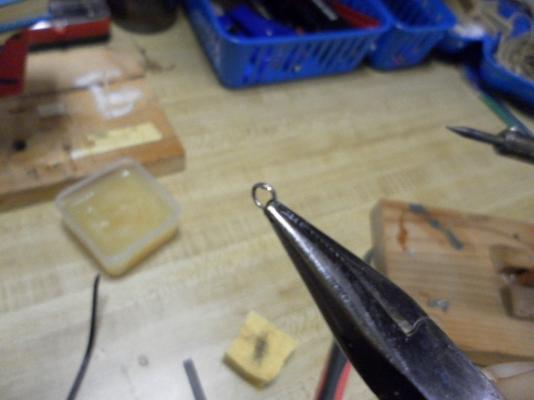
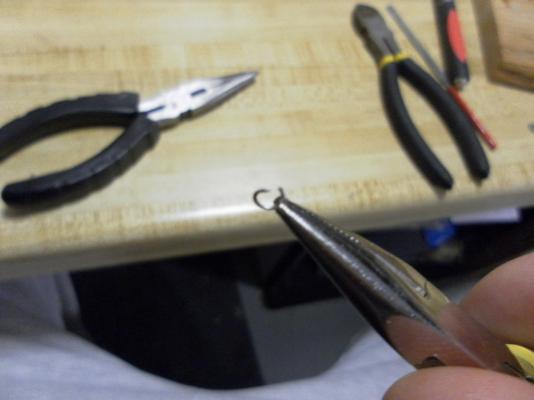
I remember doing that with masts on the revel constitution plastic kit I did years ago, now that you mention it. I like the idea of the canvas too, I'll have to see if it will work once i get that far. Also to this point in the build I'm finding, as Keith said, the instructions are a big problem with this kit, especially in this last section. It really looks like they did it in a rush just to hurry up and finish it. First two parts were more step by step and now its like 10+ steps under each heading. Wonder if they had a page limit with the printers for the instruction sheets. .............. Image hosting site is working again. Just easy to upload there, auto resize and pick the images in the order I want to post them. Everything today is little bits of work here and there. Masts were dried so removed the angle jig and tossed it back in my scrape wood pile. Put the knights head together. Like allot of parts none of these matched size wise so had to do allot of filing and sanding to get similar widths, lengths etc. nor were the pre cut notches done very well and had to do allot of filing them out. Tacked it down to a craft stick for painting. This blue paint is about had it and ready for the trash. Opened the can this morning and it had a big, well...., 'poo' sized glob of mold growing on the top of the paint. Even with the mold it has a nice color to it though. Glued the knightshead in place along with the cabins. Cabins needed some extra clamping. once knightshead was set up glued in the bowsprit I'll do some reinforcement glueing on all this tomorrow after this dries. Mean time the main mast boom was bent all out of shape. it had 3 major bends in it it looked bad so I soaked it 3 hours in ho water and clamped it down into a aluminum angle iron piece ( thanks to keith again for recommending these). have to see how it turns out tomorrow. hope it works or gets me close so another soak and clamp gets it straight as I rather use this piece vs replacing it, I like how this wood looks after finishing. Also started on the anchors. Another example of poor instructions as there is almost none for the anchors assembly or installation. All I could find was one sentence in the last paragraph of the instructions. So i glue the 'top' pieces to the anchor body with some JB weld. After dried I cleaned up all the molding seams with a hobby knife and files, glued on a ring on the top of each for tying the line to also with JB weld and then put some brown paint on the 'wood' parts of the top piece cross members. After the glue dries I'll straighten the rings out and finish painting these, so more to come on the anchors. Has to wait until the cabins dry as I used my black paint bottles to hold down the cabins
- 114 replies
-
- 1
-
-
- swift
- artesania latina
- (and 1 more)
-
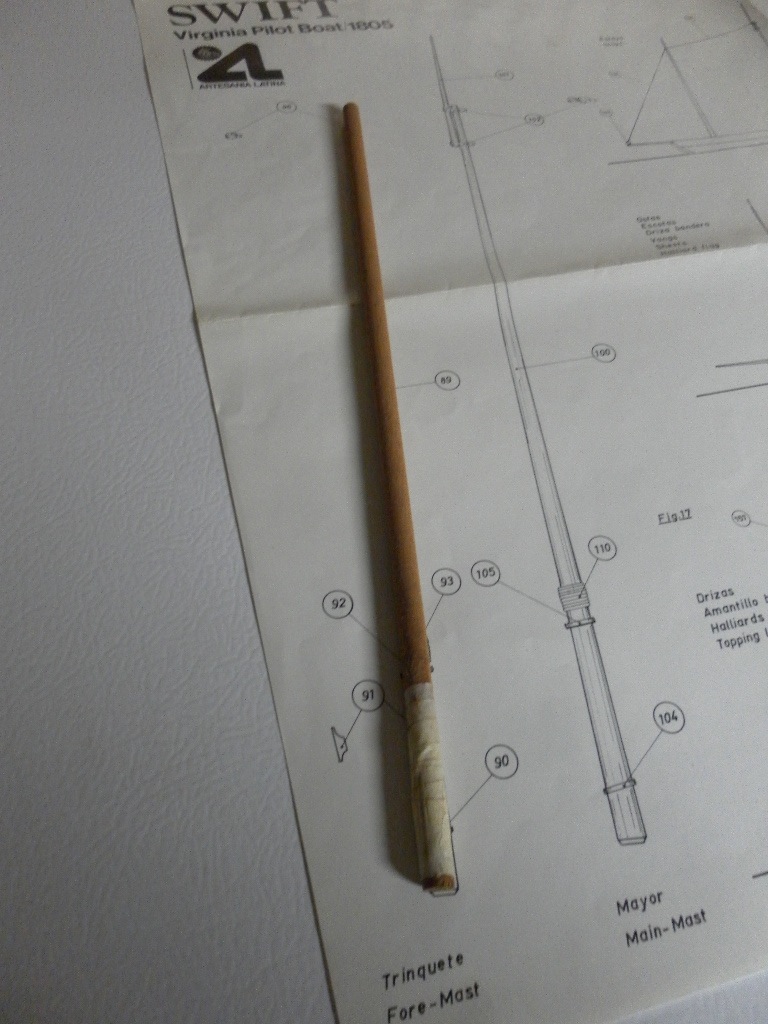
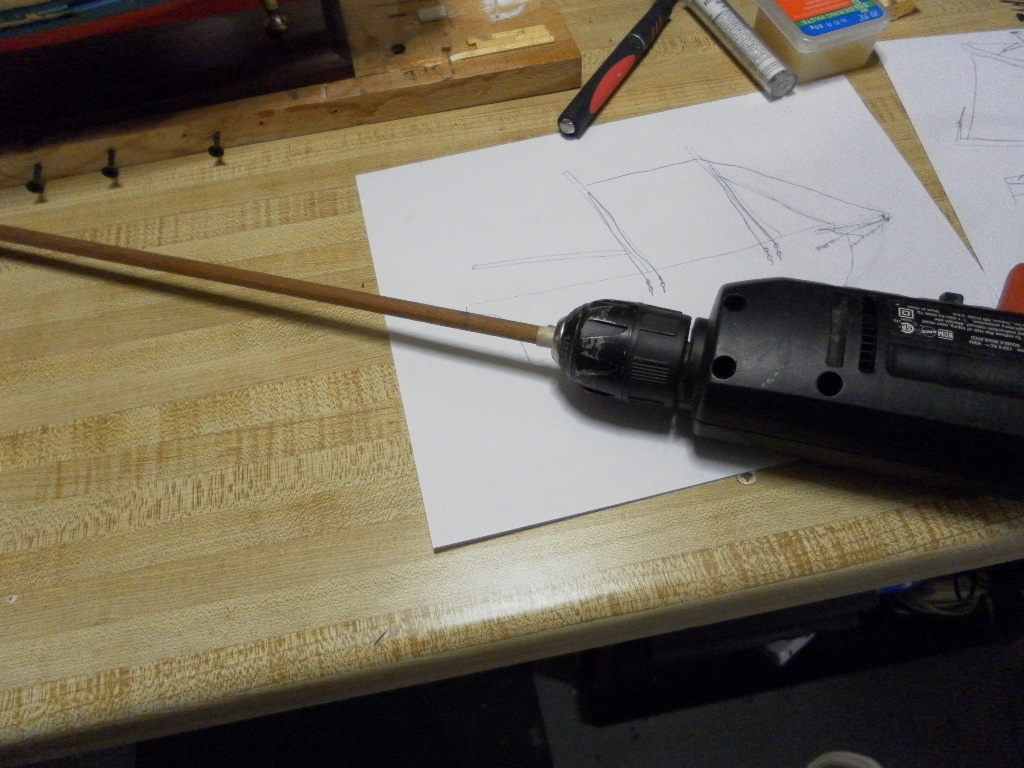
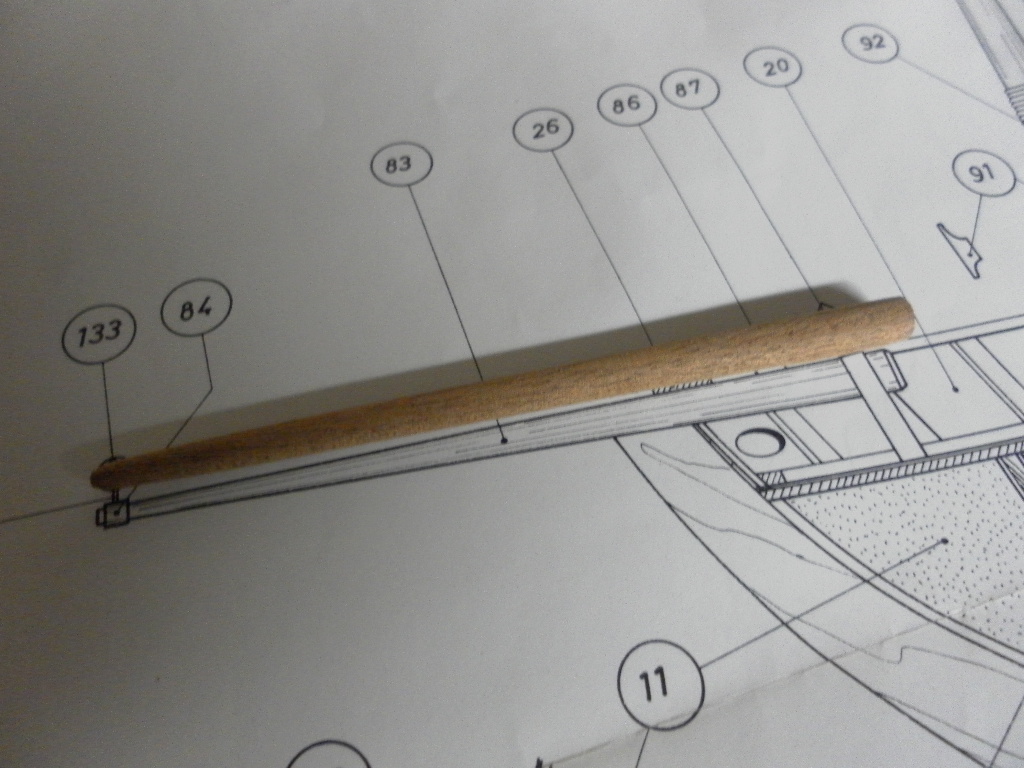
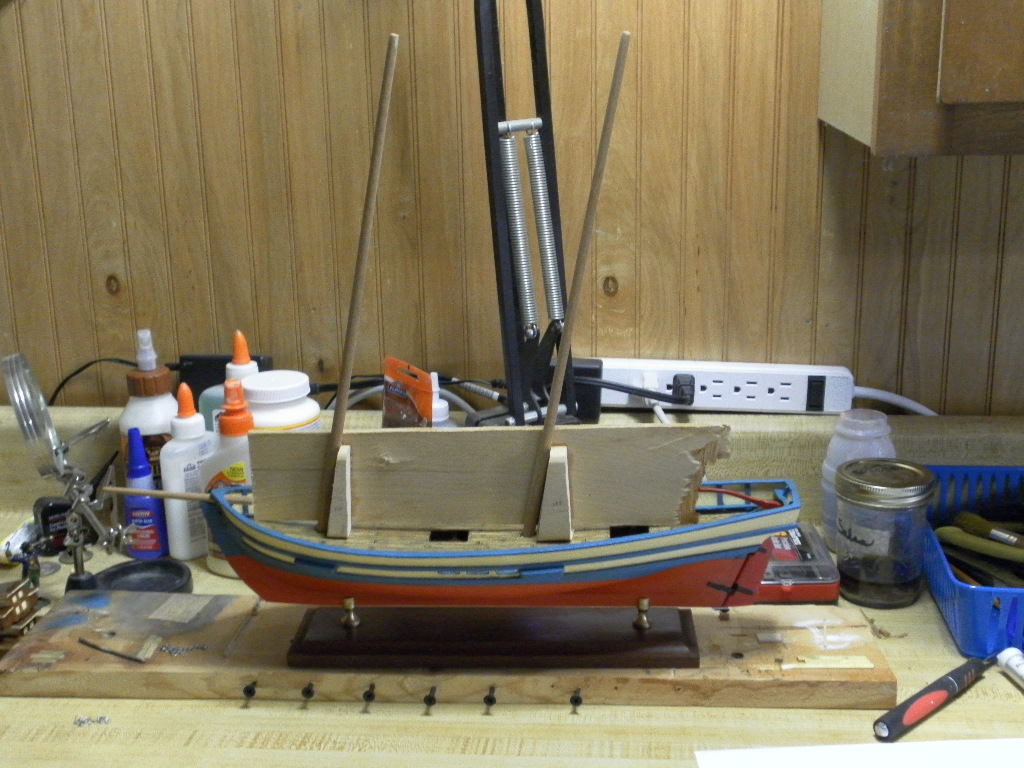
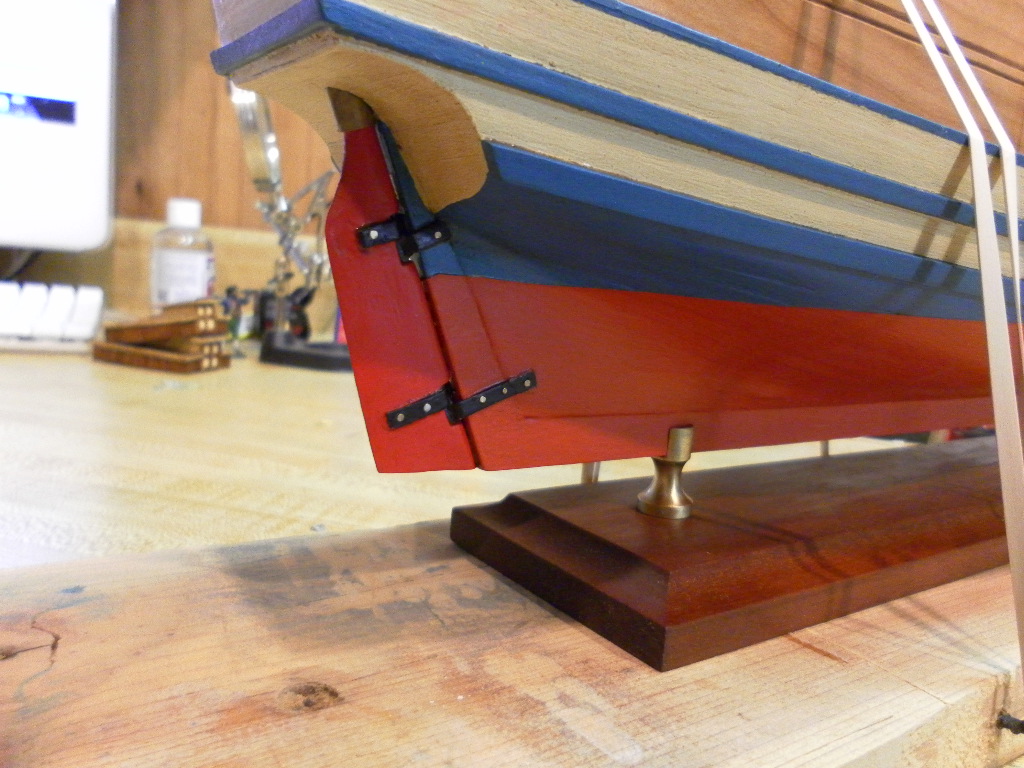
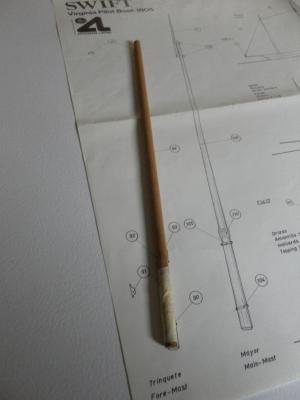
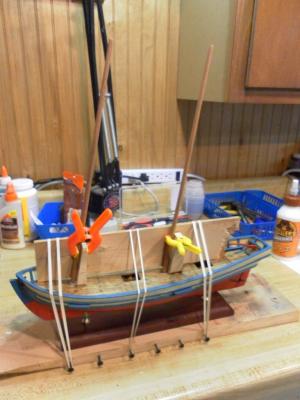
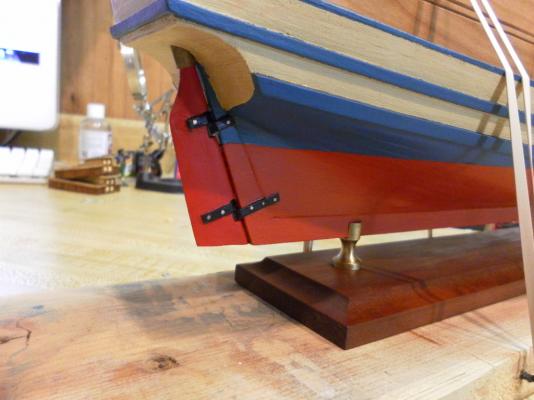
Last post and this post the image hosting site I have been using has been down. So I am uploading my pictures to the forum. If people are having a problem seeing pictures in the old posts let me know and I'll re upload them here. ---------------------- Worked on the pin nail heads for the rudder hinges. Little bit challenging to work with only the top 1/16th or so of a tiny nail But it makes the hinges look nice. So worth the work. Getting a good layout plan for my rigging hammered out so I can go ahead and move on to installing the masts. I'm not going to use the flared out stops as show on the plans for the masts, instead I'll make some cheeks and bolsters. I will taper it with a household drill since a lathe isn't in my tool set yet. I mark the start point where the mast will start to taper and I sand to the tip, then start sanding another pass an inch down the length of the mast from the previous point I started to the tip again. keep progressing down the mast this way gives a nice start to shaping the taper. Occasionally checking the mast vs the illustrations so I stay on track. Once I get close I switch to a finer sand paper to finish it off. Repeat the same steps for the main mast and the bowsprit gave them a test fit on the ship Strapped down the angle jig and glued and clamped in the fore and main masts. Bowsprit will go in later after I build the knightshead and the aft end of the bowsprit needs to be squared off yet.


- 114 replies
-
- 1
-
-
- swift
- artesania latina
- (and 1 more)
-
very nice job with the paint. and I agree the black looks good, think if you went blue it would distract with the black, ochre, blue then what ever you go with on the hull.
-
What i've found, so far, that helps me is when working with wood and I'm worried the ends may split or fray, shred or some such I would hit that end of the wood with some glue and let it dry completely to strengthen it first. just like you would do with string to keep it from unraveling.
-
looks nice, I like the modified cloths pins. for the split ends I would remove the nails, glue and clamp them to fix the splitting then do some pre drilled holes to put the nails through.
-
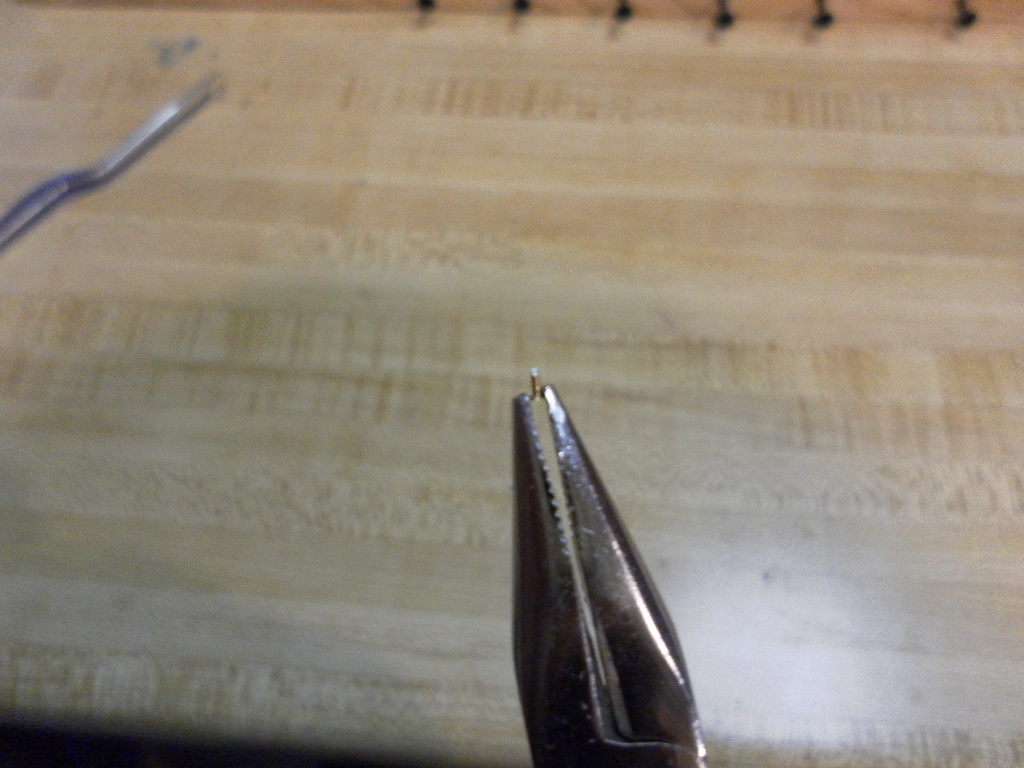
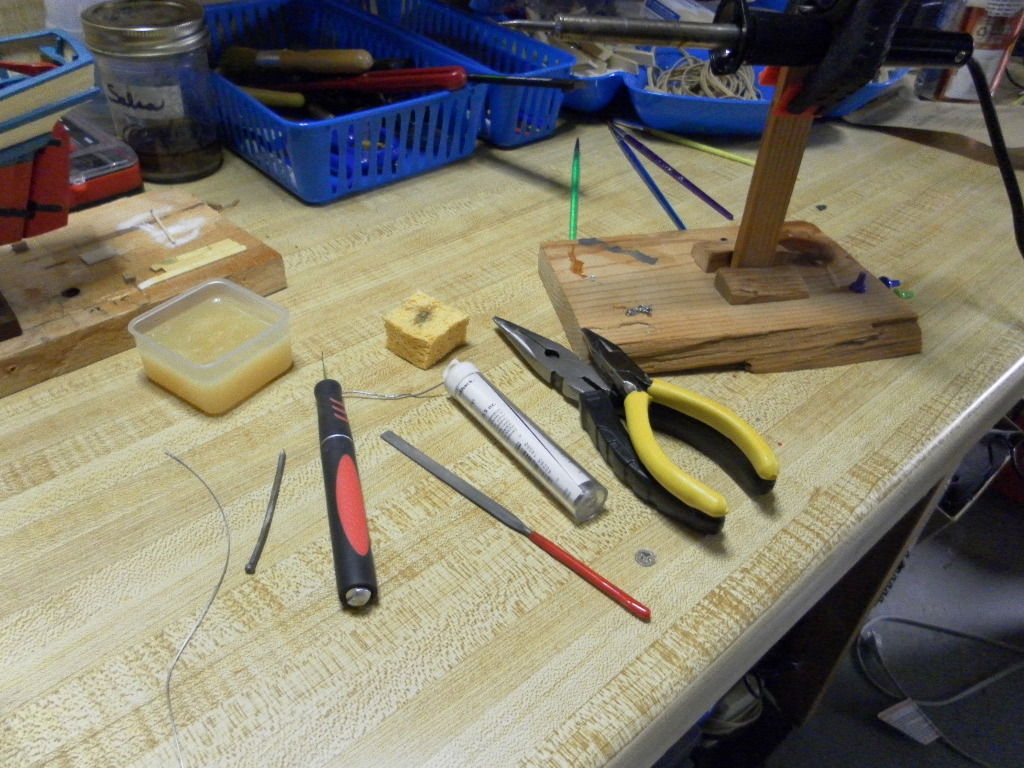
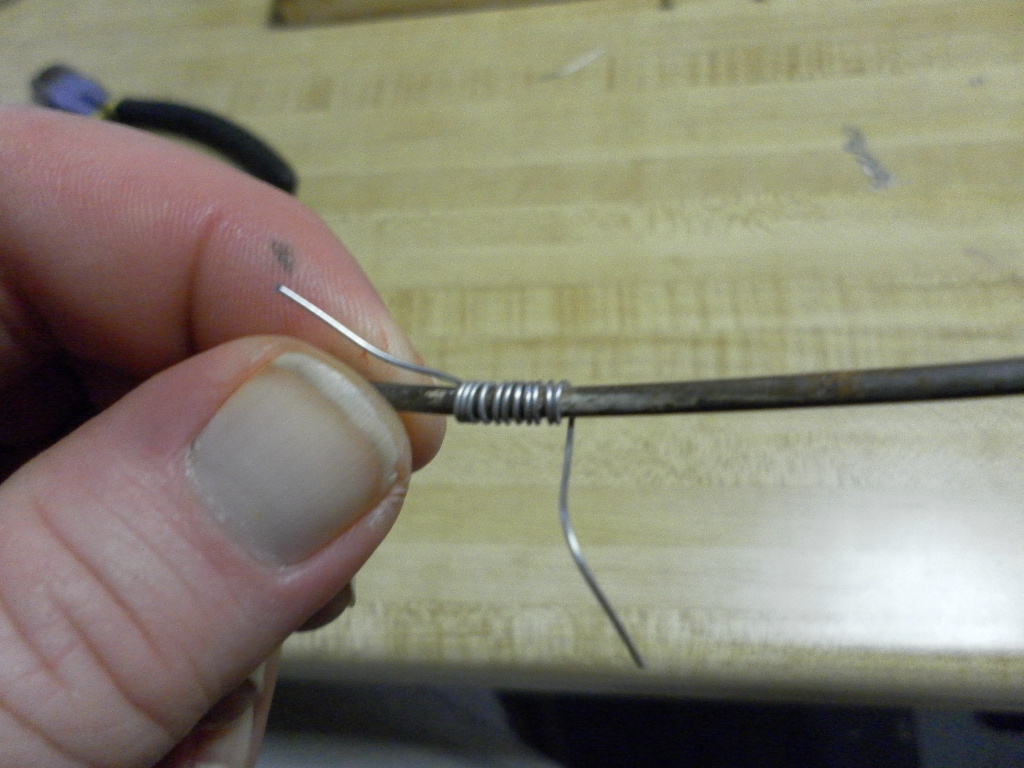
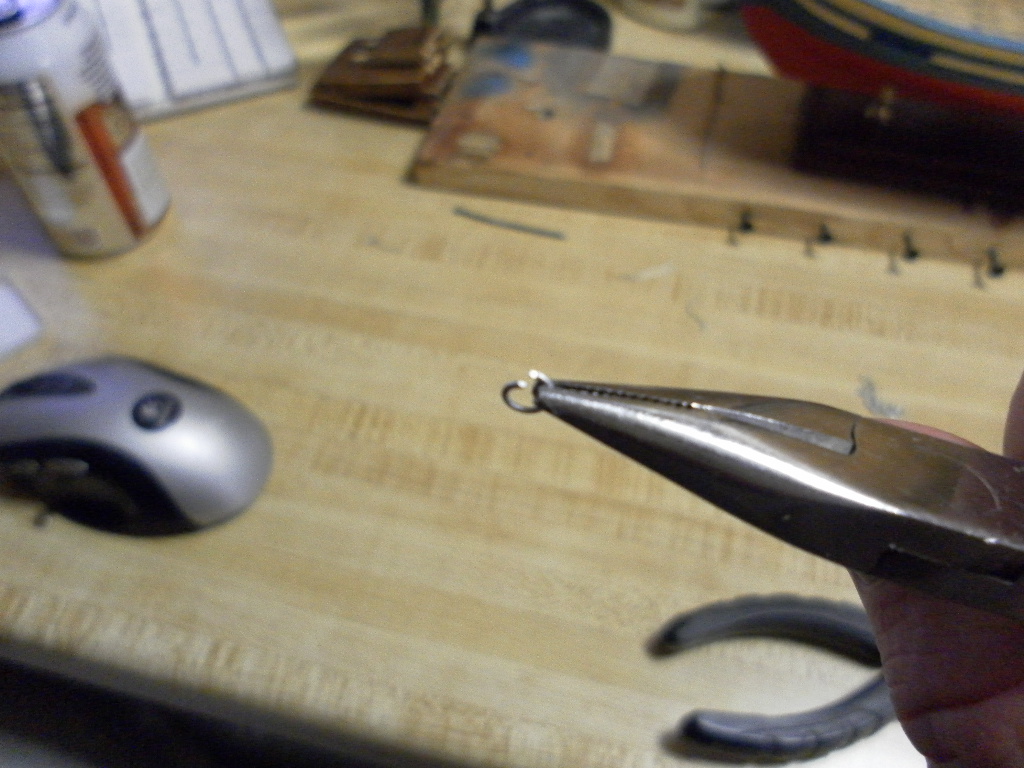
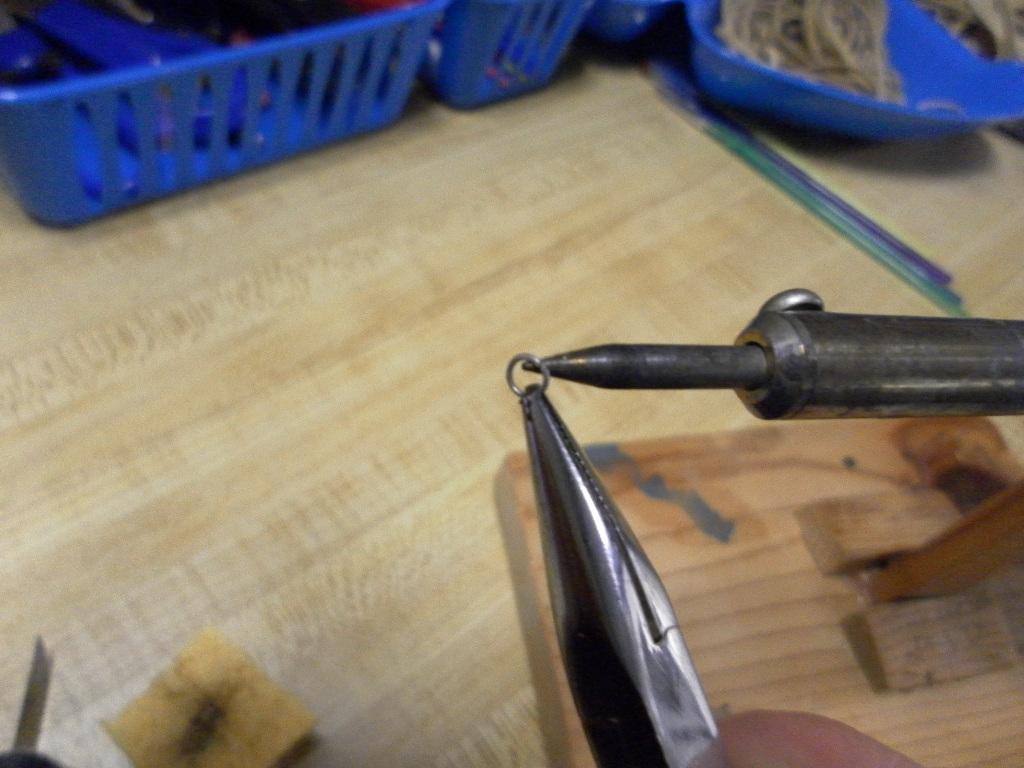
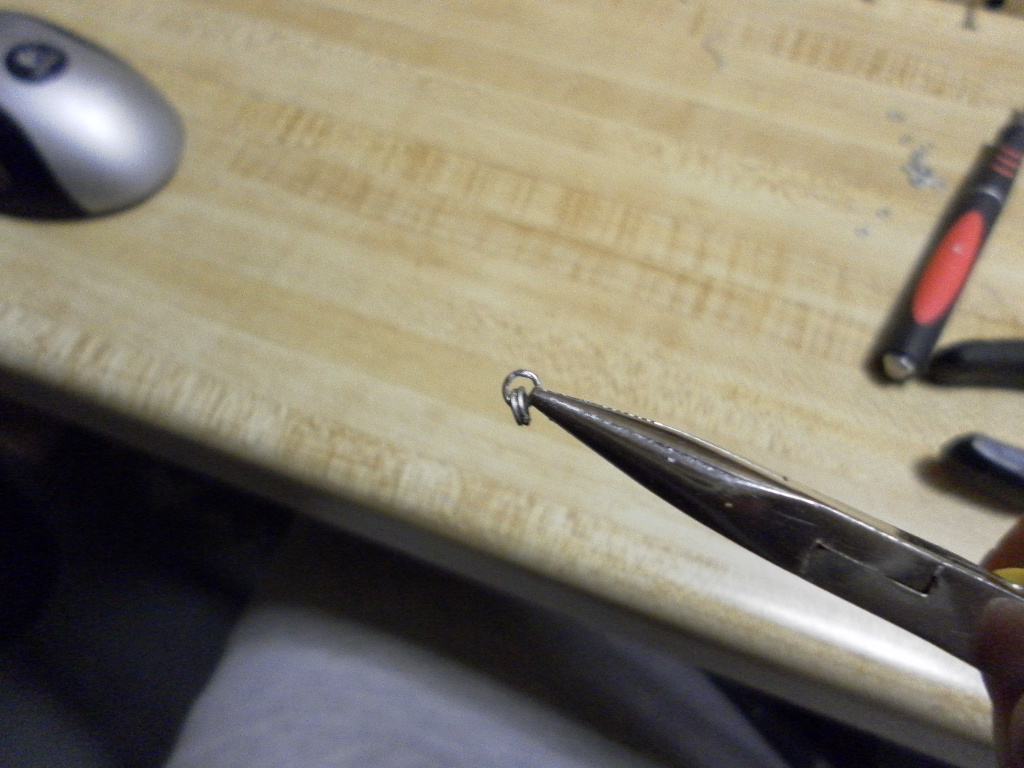
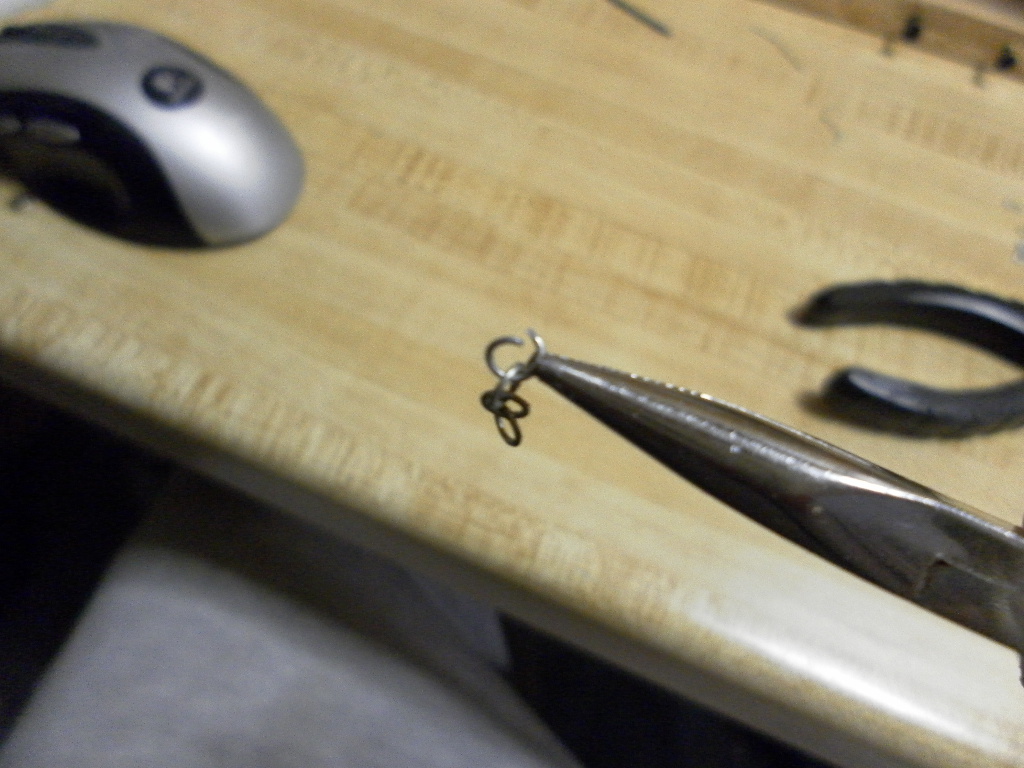
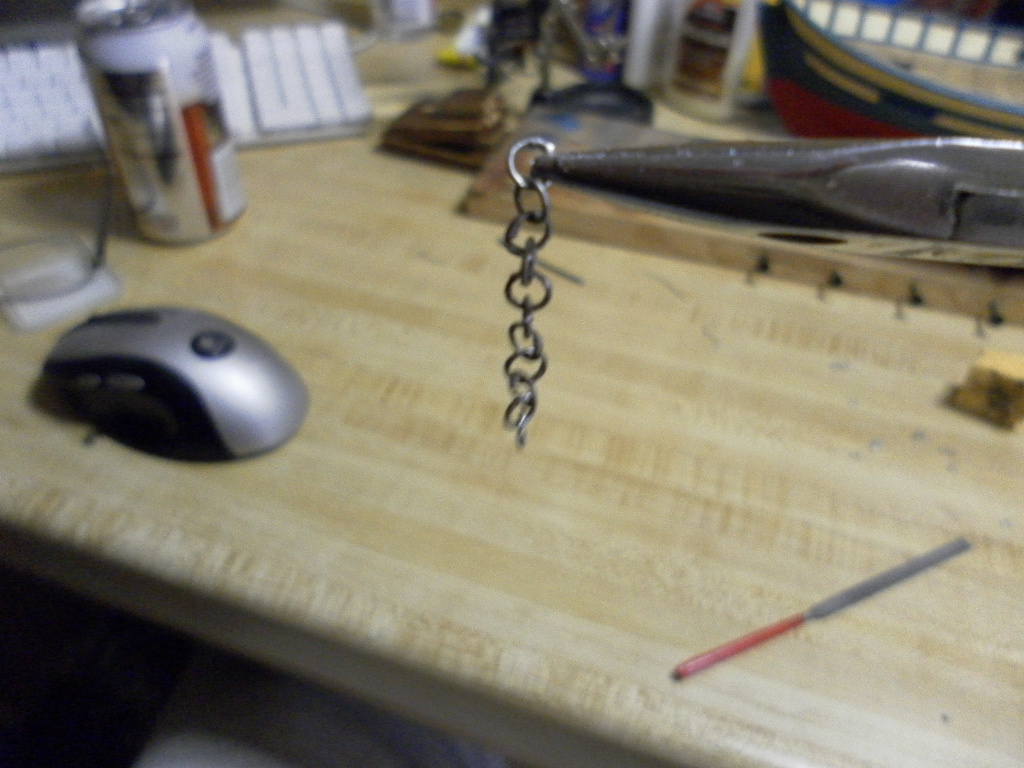
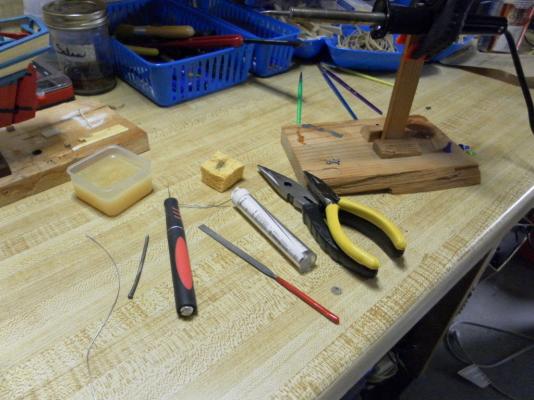
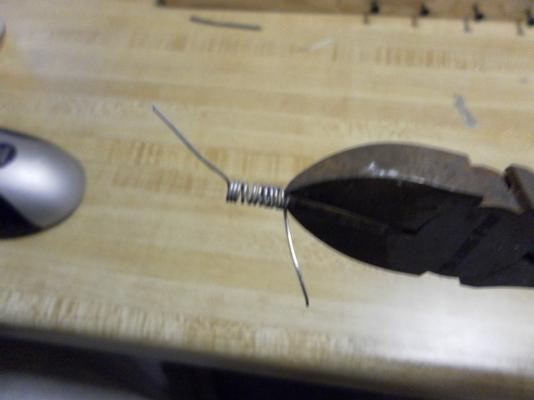
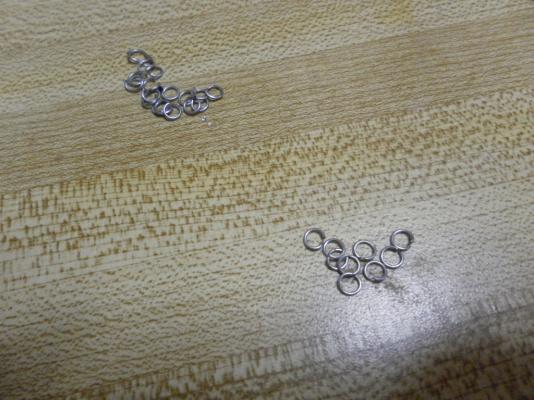
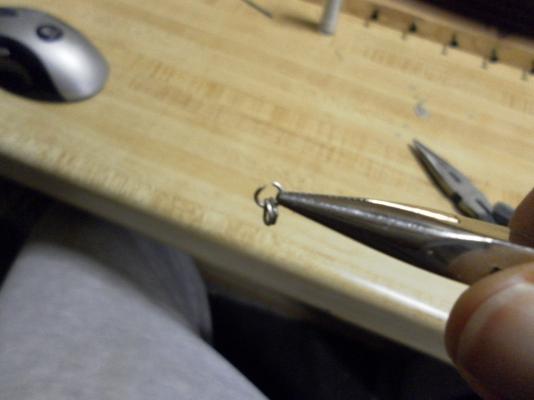
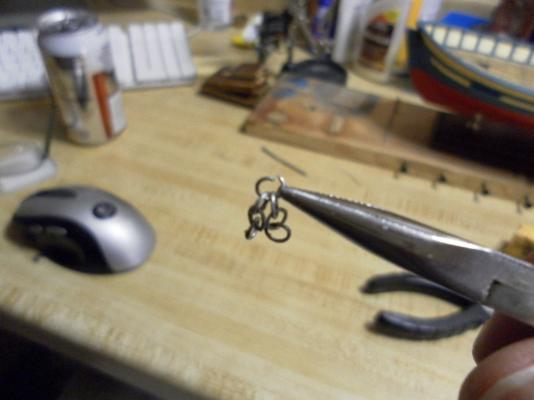
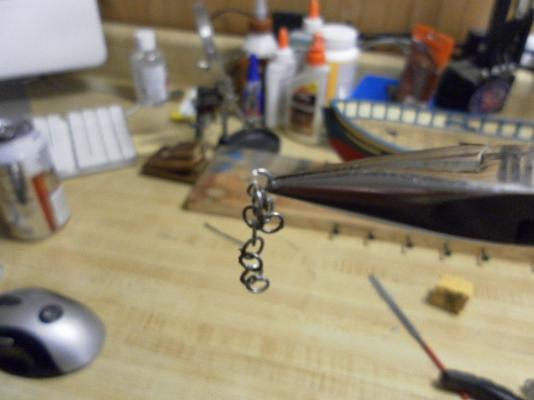
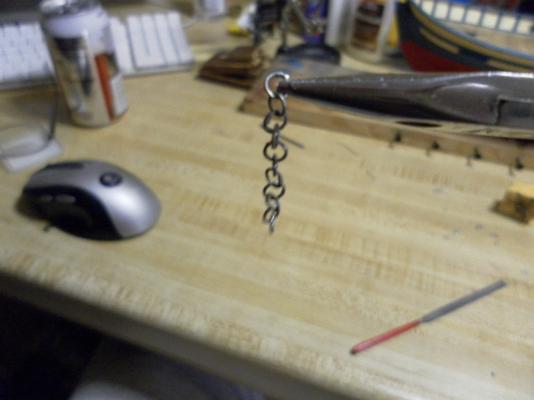
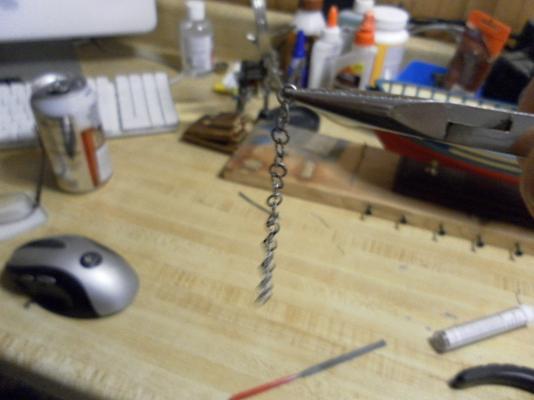
While I am still doing some research on rigging one thing I do know I want is a Bobstay. It is a chain that runs from the prow and attached (directly or by tackle) to the end of the bowsprit. Instead of buying a chain I'm going to make one. This may not be to scale but I think it will be close enough. Making chain is pretty easy, I was a member of the Society for Creative Anachronism SCA (they put on the medieval and renaissance fairs world wide) and I made chain armor. The principle is the same when making pieces for armor. Things you will need. Soldering iron Solder and flux paste or liquid ( not plumber solder or flux) damp piece of sponge 2 needle nose pliers wire cutter file hobby knife wire to a gauge your satisfied with for the chain. preferably something with a bit of stiffness to it something hard and round or oval ( depending on the shape you want the chain links) that has an inside diameter you want for your chain links. finally something to clamp your iron to to hold it steady to leave your hands free. while your iron is heating up, take your wire and make wraps around the form for your chain links. I'm using a nail here. slide your wrapped wire off the form and then you will use a wire cutter to nip off each wrap of the wire. try and stay in a straight line when cutting them all off so they stay uniform. once cut I separate my pile of links setting aside 1/3 of them. using the 2 needle nose pliers I then take rings from the smaller 1/3 pile and close the cut opening to make a completed ring making sure my iron is hot, cleaned and tined, i then lay the joint of the ring against my iron to heat it up keep touching the end of the solder to the join, NOT the iron until the solder melts and flows into the joint. might have to put a tiny bit of flux on it to help it flow once the solder will melt. You want the solder to be a shinny silver, not a dull silver. If it is dull, a little flux and then touch to the heat to re-melt it typically does the trick. shinny silver good solder joint, dull silver its a bad joint and won't hold. I repeat the process with the rest of the links in the small pile. Once done I take my file and clean up any burrs on the finished links once they have cooled. I take a link from the other pile now and open it up wide enough so I can slip 2 closed links on it. Then close that link. I then solder that link closed. Repeat the process until you have used up all your closed links. If your one short, just make one. File any burrs down on the cooled links. Taking another link from the pile, I will open this one, pick up one 3 ring cluster, grab a link on an end and slip it onto the open link. Add a second 3 ring set close and solder that link and file if needed. Open a new link, take the end of that chain put it on the link and add another 3 ring set. Solder and file. repeat. Now your chain is started. I continue on repeating the whole process and build another short chain piece then I just use an open link and join the short sections together. basics for chain armor its the same begging steps, just weld the rings vs solder and once you have many chains made you would then 'knit' the chains together to make panels that would be then be knitted together to make, what ever your making.


- 114 replies
-
- 2
-
-
- swift
- artesania latina
- (and 1 more)
-
Converting a kit to a different scale...
Grimber replied to CharlieZardoz's topic in Wood ship model kits
as I see it, and read about scratch building, kits just take some of the pre work out of it for you. scale plans, precut parts and finding pre made manufactured parts already made to that scale and putting it all together in a box. so your steps would be to rescale the plans, transfer those scaled up (or down) plans to cut new scaled parts ( false keel, bulk heads, false deck and so forth) and figure out new scale sizes of manufactured parts like dead eyes, blocks, cannons, rigging lines , planks and so on and buy or make those. Basically then, you have just made your own kit to the scale you want.