ccoyle
-
Posts
10,594 -
Joined
-
Last visited
Content Type
Profiles
Forums
Gallery
Events
Everything posted by ccoyle
-
 Already back at work on USS England (link in signature).
 -
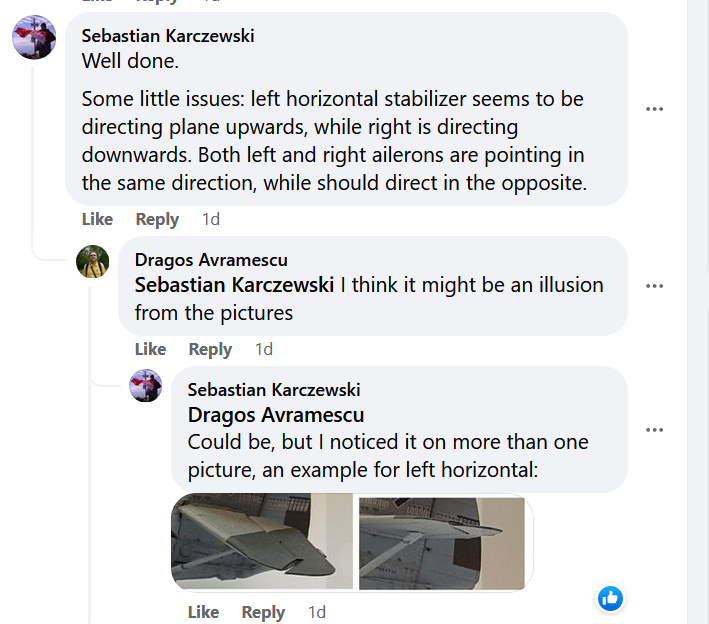
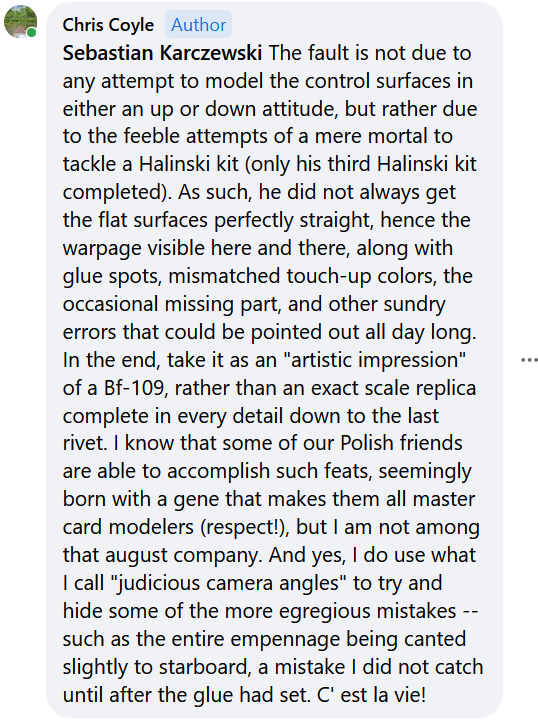
Thought you all might enjoy this little exchange that took place in a Facebook group after I shared some pictures there. Every group of modelers has "that guy" who is nit-picky to the nth degree: The best way to respond to such a character is to beat him to the punch. Here's my reply to him: In case anyone wonders, Mr. Karczewski's comments were the only negative ones posted, and no, I'm not bothered by them -- mainly just amused. 😉
- 165 replies
-
- 15
-

-

-
On Hold - Nakajima Type KO 3 by CDW - Answer - 1:33 Scale - CARD
ccoyle replied to CDW's topic in Non-ship/categorised builds
http://www.answer.pl/en/laser-cut-components-for-aircraft/1955-nakajima-type-ko-3-laser-cut-frames.html?search_query=ko-3&results=255 Most publishers use some variation of the following code for laminating parts: ** = 1.0 mm card * = 0.5 mm card + = plain card stock (i.e. the part gets doubled) You can verify the thickness of your laminated parts by using calipers and comparing that measurement to the width of any slots that the parts must fit into. -
These are quite beautiful, Michele!
-
On Hold - Nakajima Type KO 3 by CDW - Answer - 1:33 Scale - CARD
ccoyle replied to CDW's topic in Non-ship/categorised builds
Yep, matte clear. One or two light coats. -
Technically, the word "FINISHED" (all caps) should be added to the build log title right after the subject name and builder's username, set off by <space>hyphen<space>. Titles can only be edited from post #1 in the build log. Here's an example: HMS Pinafore 1878 by Gilbert O'Sullivan - FINISHED - Opera Comique Models - 1/571 scale The word "Finished" (capitalized) should also be added as a tag. You can do this yourself if you feel up to the challenge, or have me do it for you. Cheers!
-
On Hold - Nakajima Type KO 3 by CDW - Answer - 1:33 Scale - CARD
ccoyle replied to CDW's topic in Non-ship/categorised builds
Yeah, card model instructions tend not to be much more than "glue part a to part b, etc., etc." -
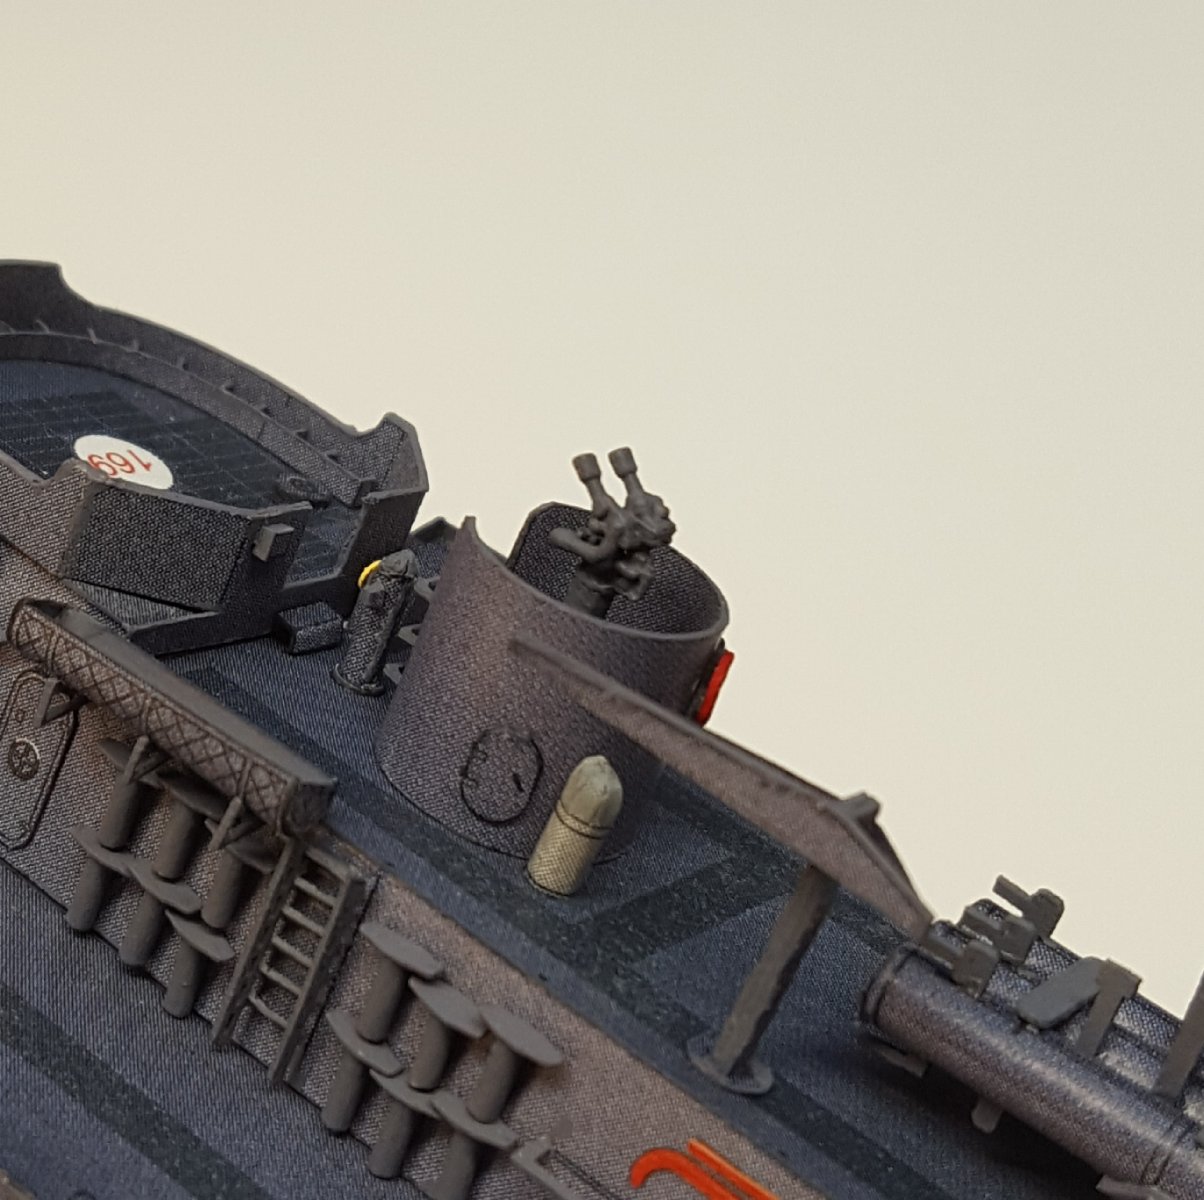
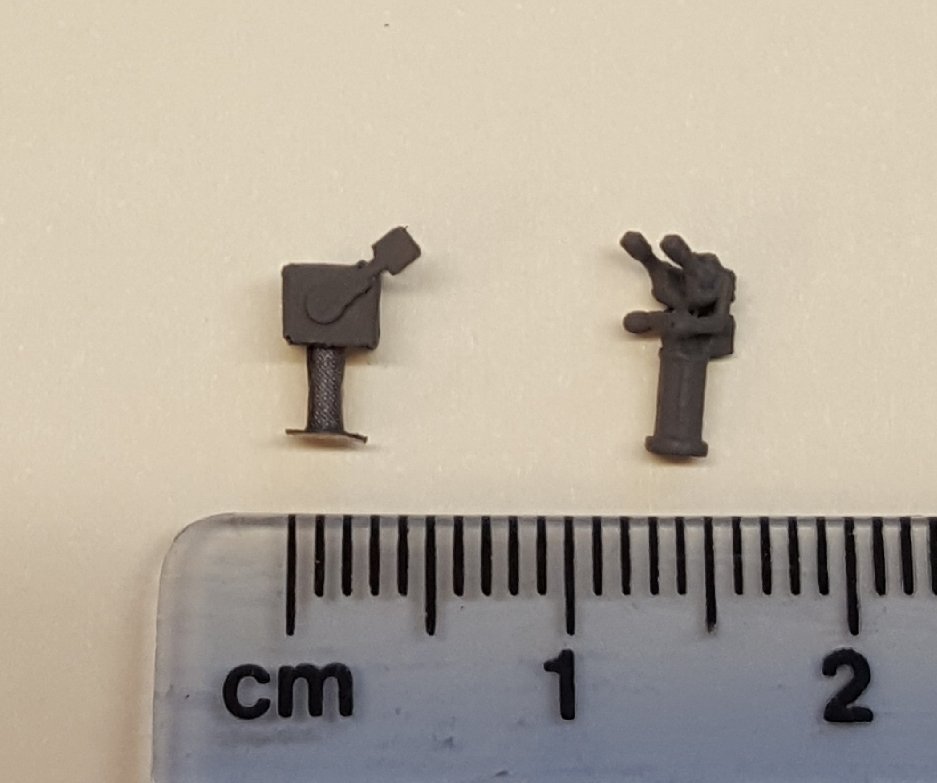
Okay, the Messerschmitt is done, so it's back to USS England. As you know, I bought some after-market resin parts from Darius Lipinski. Some of these are parts whose card counterparts are already on the model; some would probably be too difficult to remove from the model without damaging it and, in exchange, their resin replacements would probably not be a noticeable upgrade. Other parts are definitely worth an attempt at replacement. The gun directors are one such part. Here's the card director, after careful removal from the model, and its resin counterpart after painting: And the new part in place: More cosmetic surgery to follow . . .

- 331 replies
-
- 22
-
-
Now you're doomed -- you're just gonna have to get Oregon to go along with it.
- 166 replies
-
- 6
-
-
-
- Maine
- BlueJacket Shipcrafters
- (and 1 more)
-
I've had parts fall into folds of clothing. This past weekend, my tweezers did the "ping fling" thing and sent a finished pitot tube through the portal between dimensions. 🙄
-
On Hold - Nakajima Type KO 3 by CDW - Answer - 1:33 Scale - CARD
ccoyle replied to CDW's topic in Non-ship/categorised builds
Good luck, Craig! I'll be following along with interest. -
More like a "journeyman class," but I appreciate the accolade! I think one of the biggest take-aways from this build for me personally is that I now feel less intimidated by Halinski kits, having completed three of them. I have to qualify that statement with the observation that Halinski kits tended to get even more complex after the 2007 publication date of this kit. Some of the newer ones that I have in my stash (e.g. Fw-190D-9, Ki-61) make this one look rather tame. And Card Army, whose chief artist, Marcin Dworzecki, did the artwork on many of the Halinski kits, has ratcheted up the detail on card kits to an even higher degree, if you can believe it. When I look at the Card Army kits and coolly assess my skills against what would be required to build one of them, I have to realistically conclude that they are really only suitable for a very tiny minority of modelers.
-
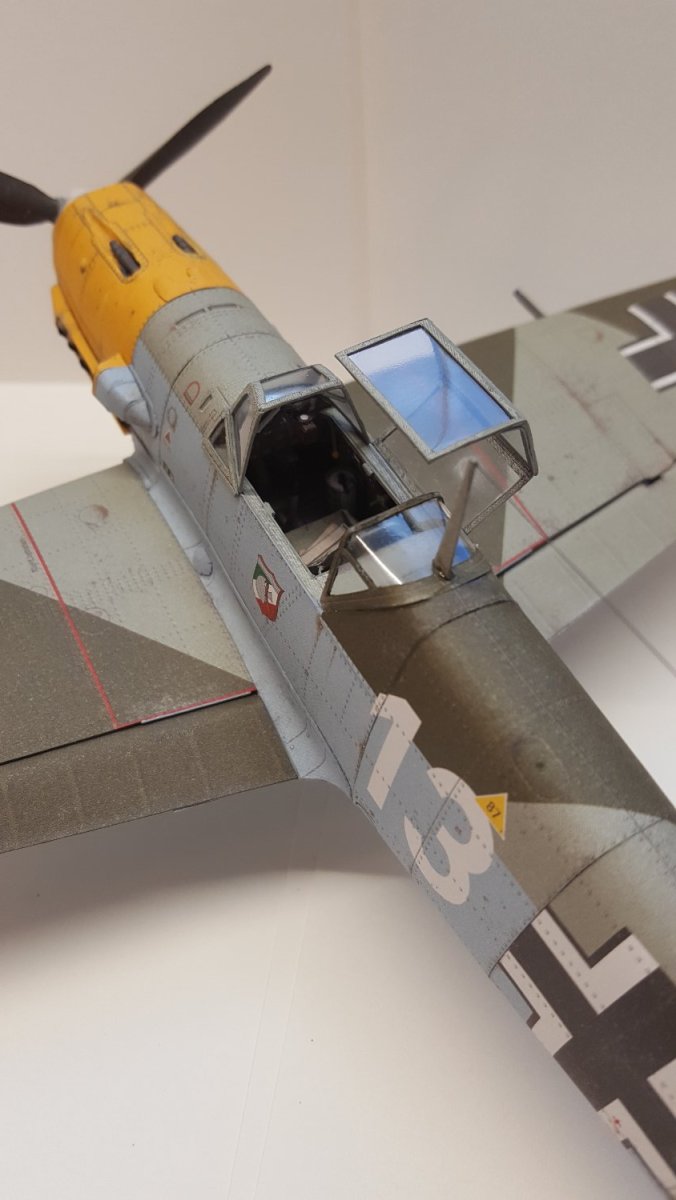
The kits come with templates for cutting the glazing from the modeler's choice of material. In this instance, I used a molded after-market canopy. Such canopies are usually kit-specific, meaning that a canopy for one kit may not fit a kit from another publisher, even if it's the same subject. However, in my experience, even the fit with the intended kit (i.e. a Halinski canopy with a Halinski kit) can be problematic and depends greatly on the skill of the builder in getting the cockpit dimensions just right; get the dimensions off a millimeter here and there and all sorts of fit trouble follows. I have had to 'fudge' the fits on more than one molded canopy.
- 165 replies
-
- 10
-
-
MRAP ATV by CDW - FINISHED - Rye Field - 1:35 Scale
ccoyle replied to CDW's topic in Non-ship/categorised builds
Very interesting piece -- well done! -
I think that it's safe to say that a model of a U-boot or other submarine, having a relative paucity of structure compared to a surface combatant, really depends on the painting and weathering skills of a modeler in order to bring it to life. This you have done in spades, Greg!
-
Yep, beneath the grating is definitely not correct, as the beam would largely block the open grate and thus defeat the purpose of placing a grate there in the first place.
-
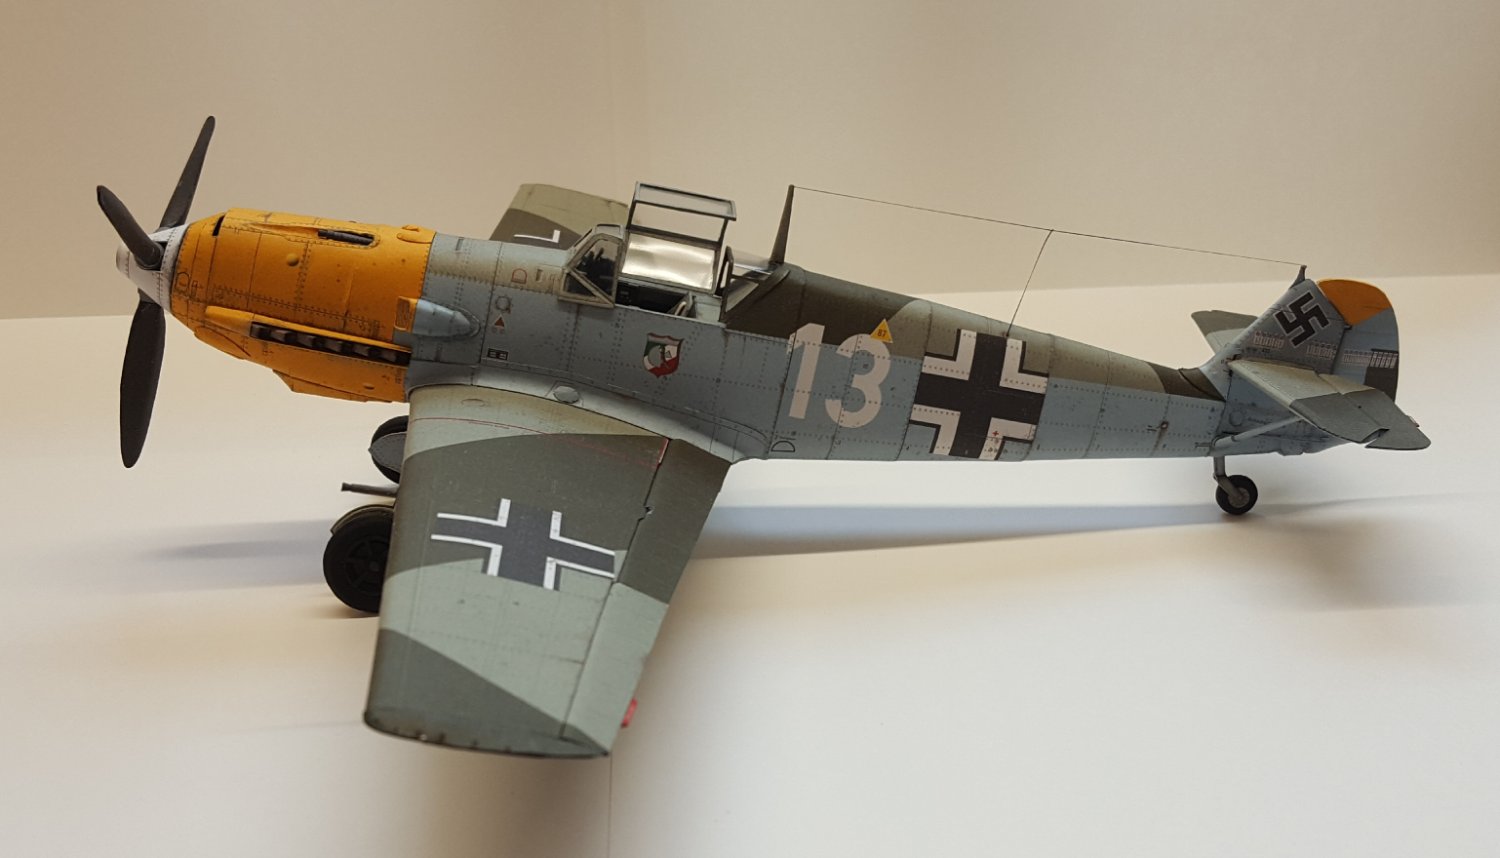
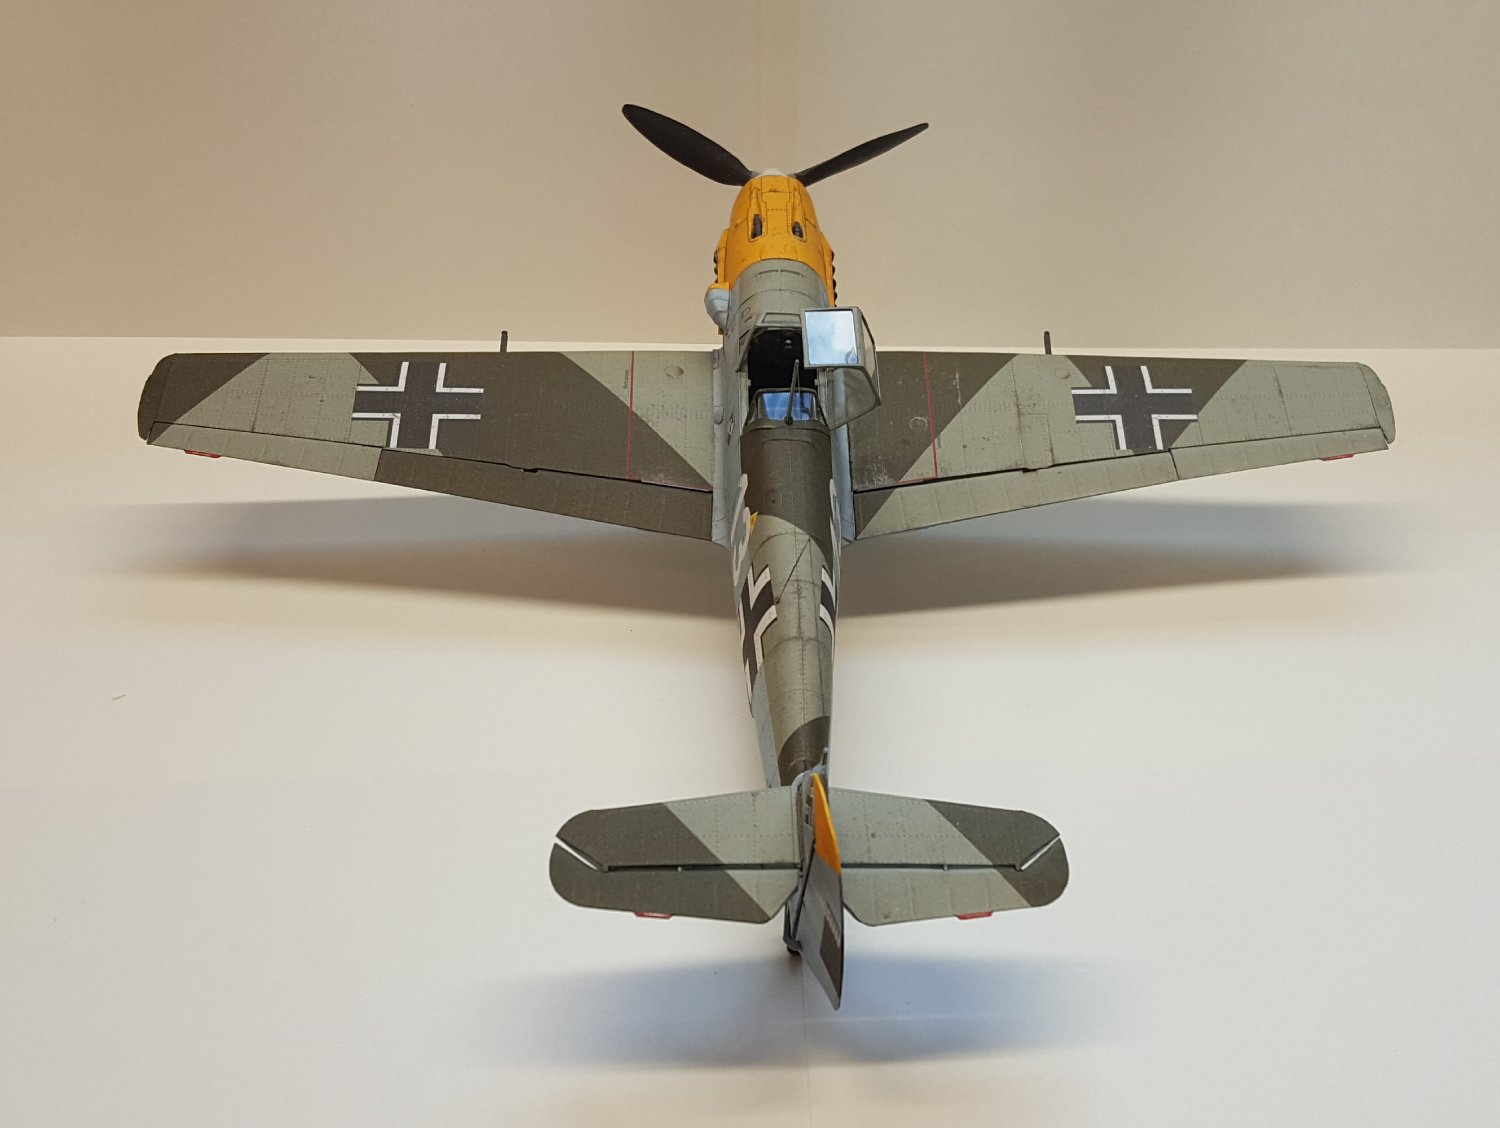
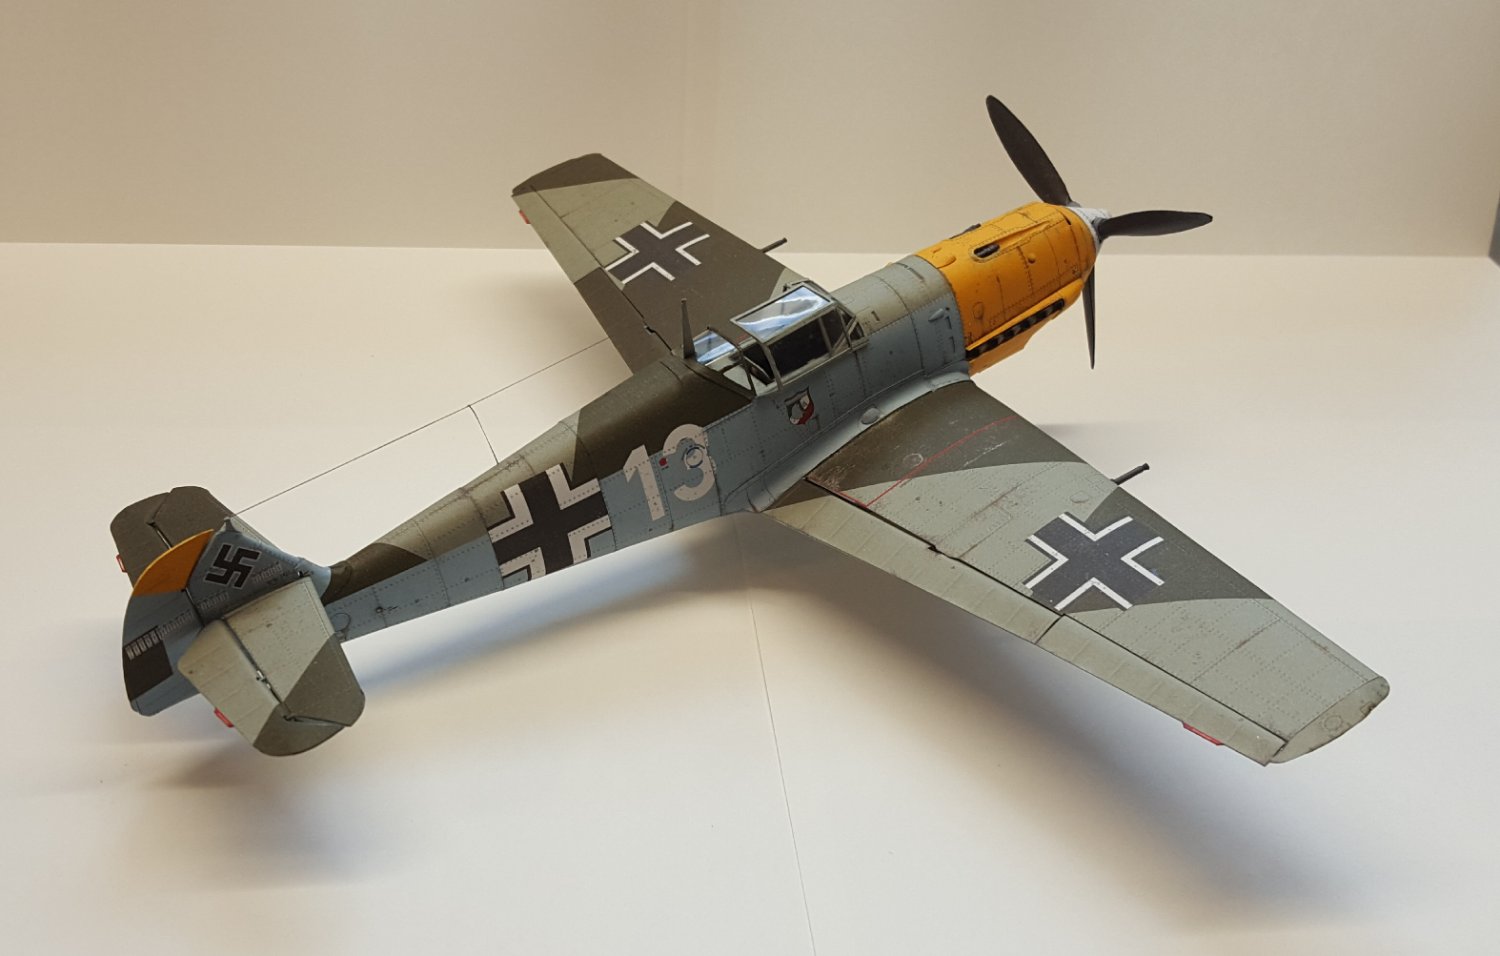
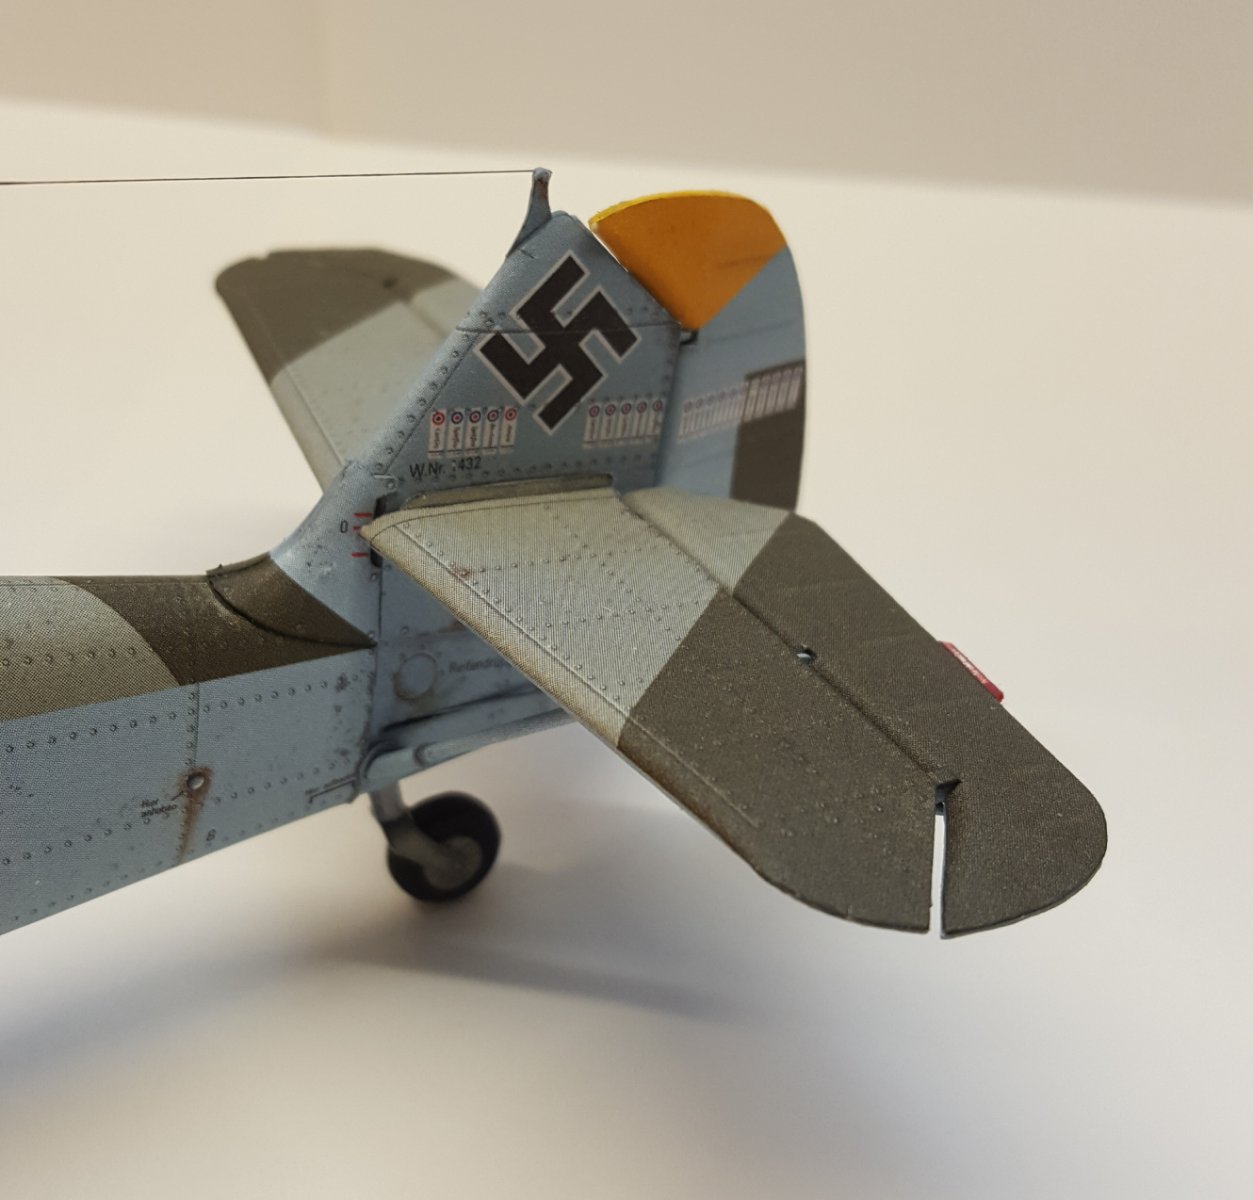
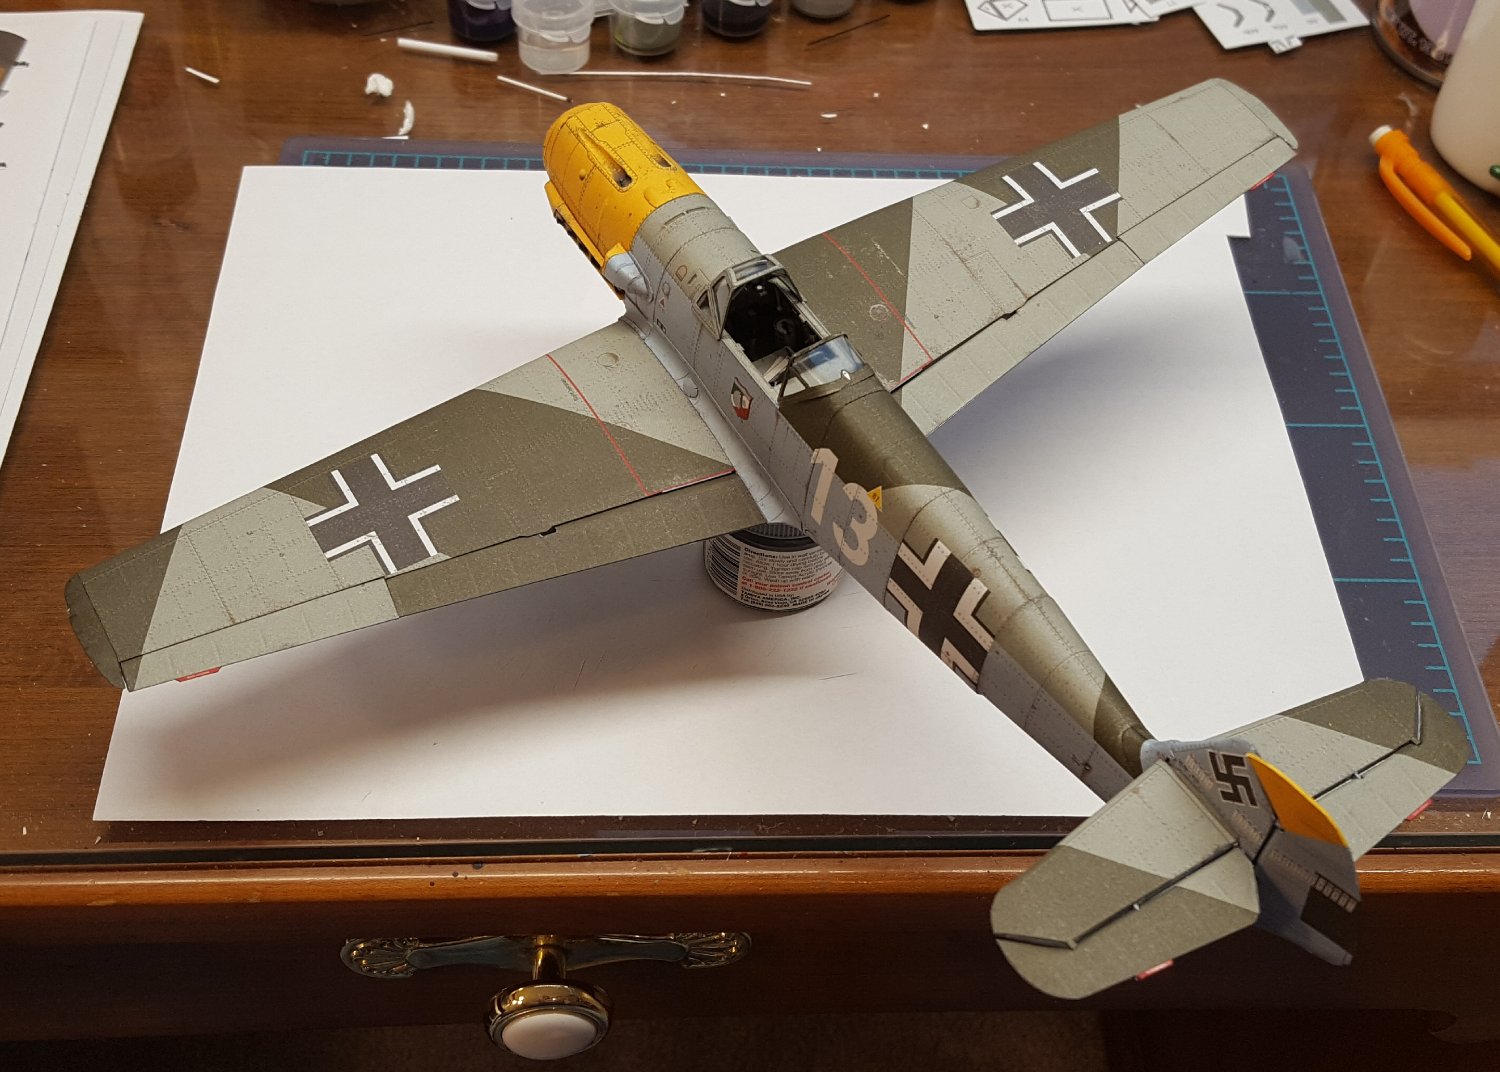
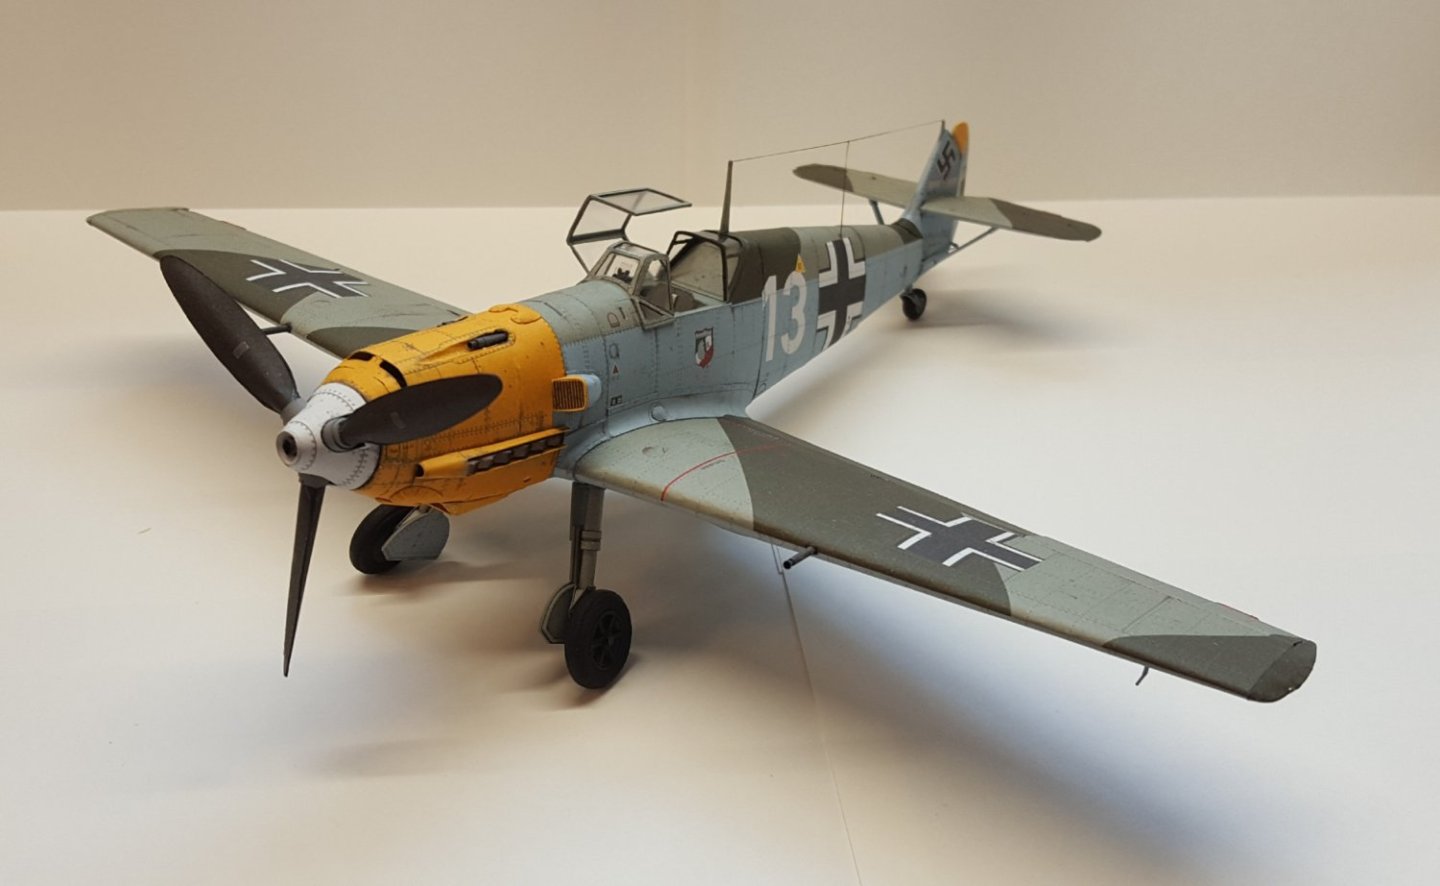
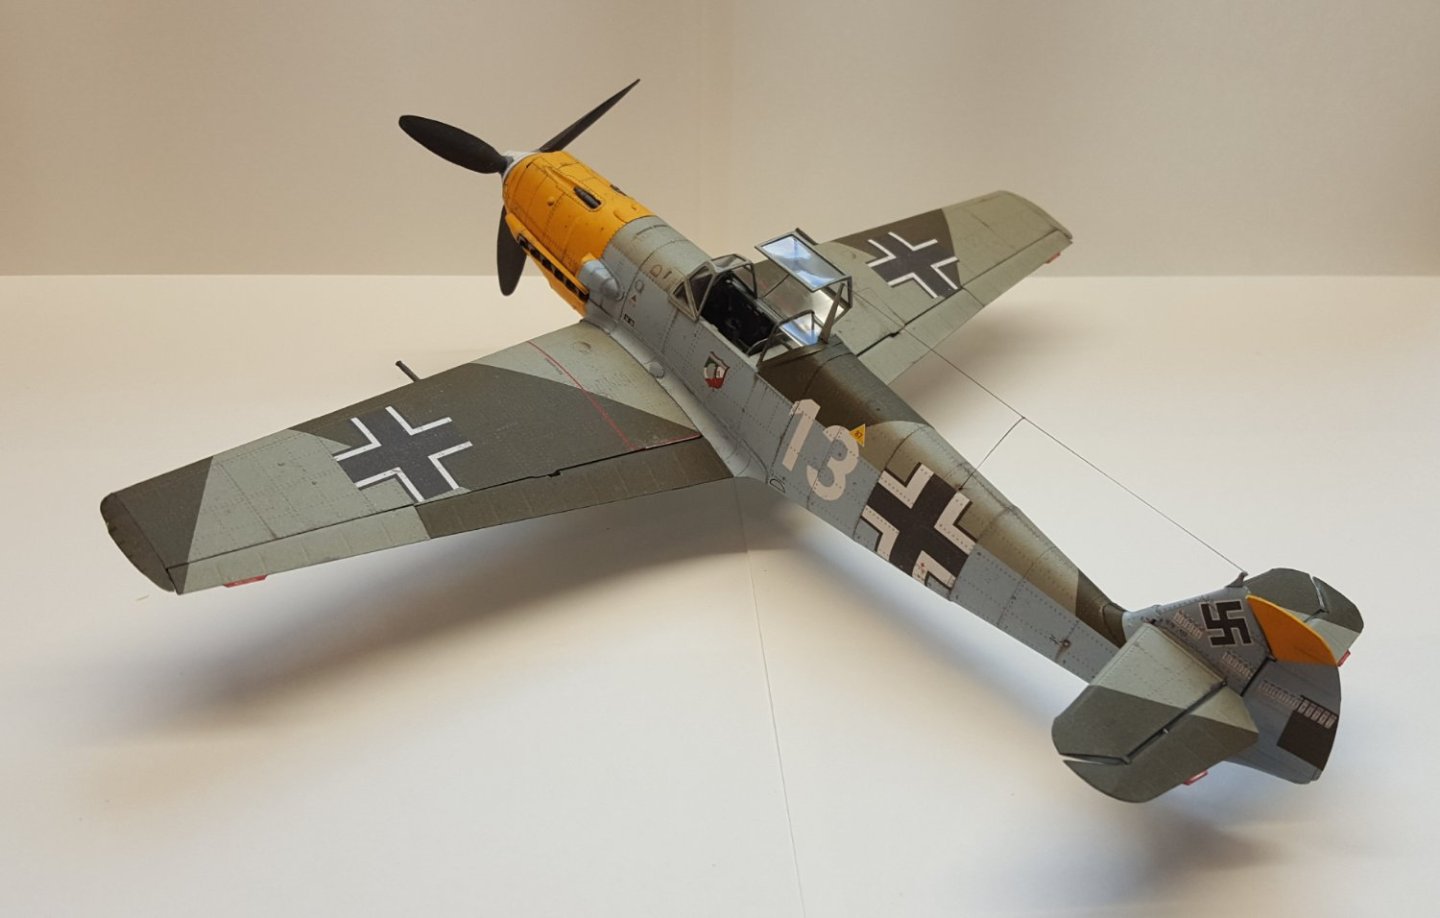
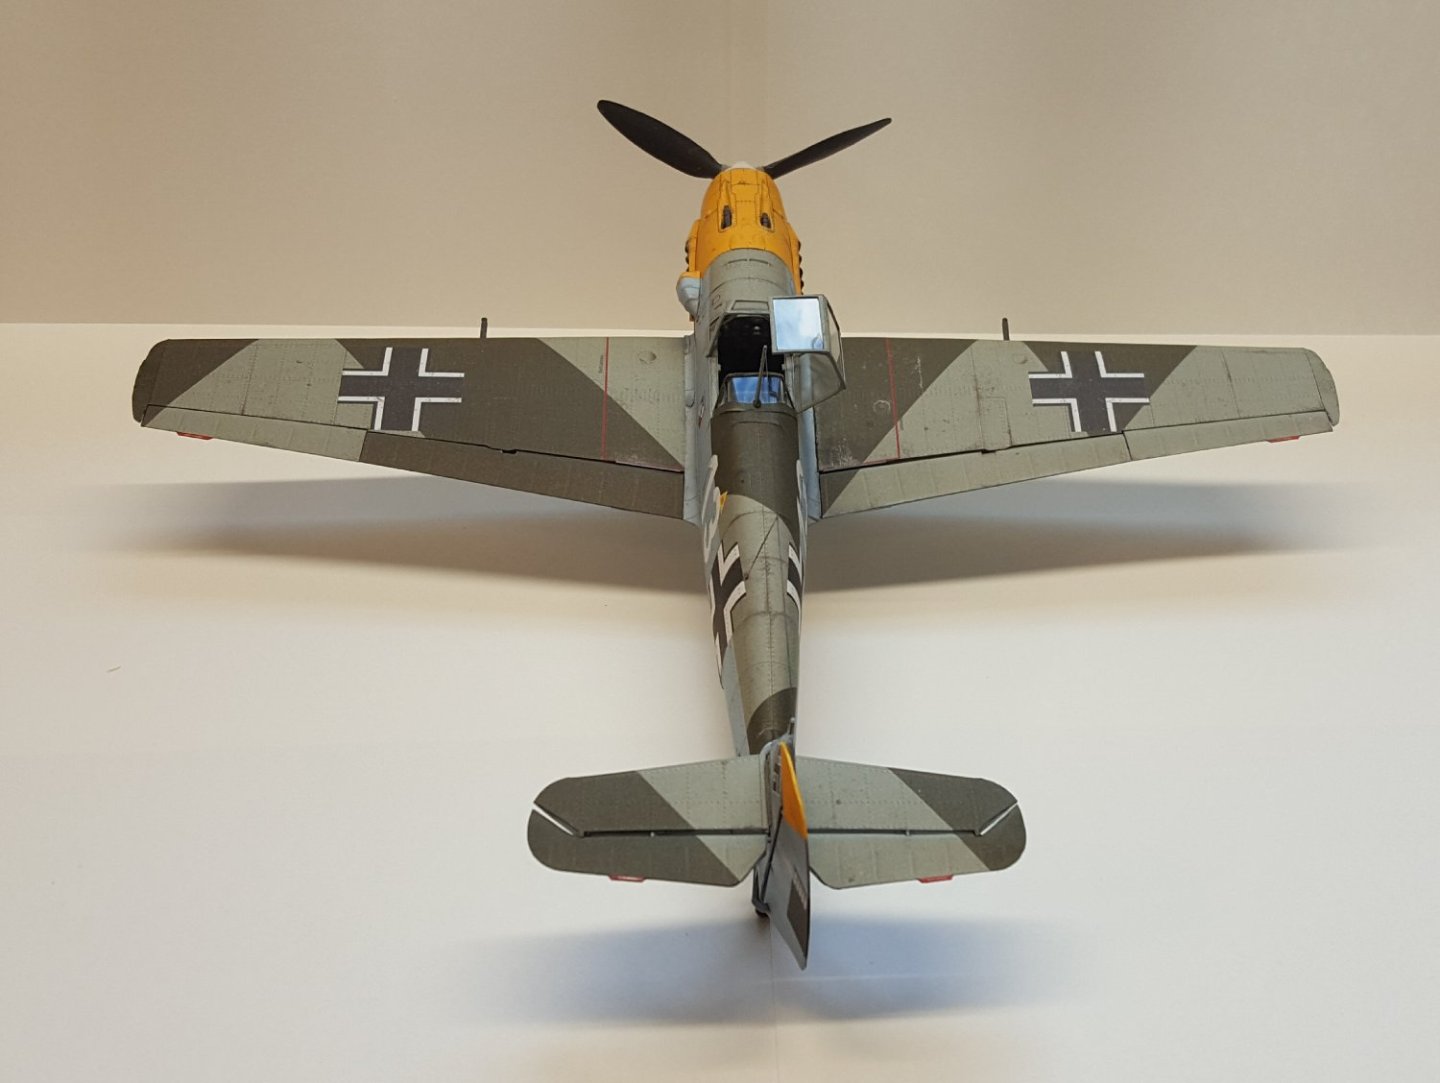
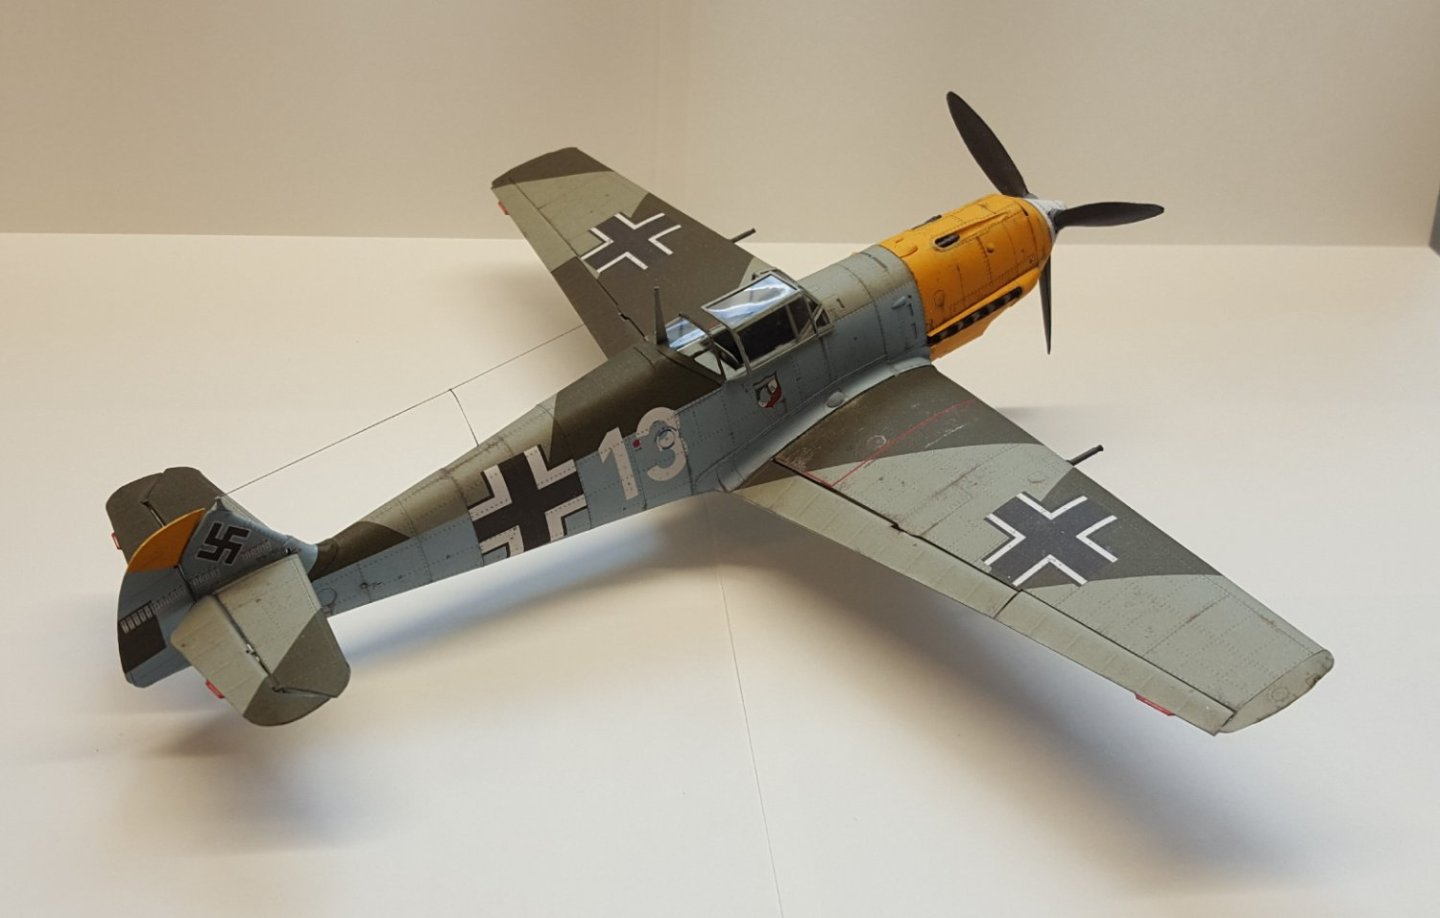
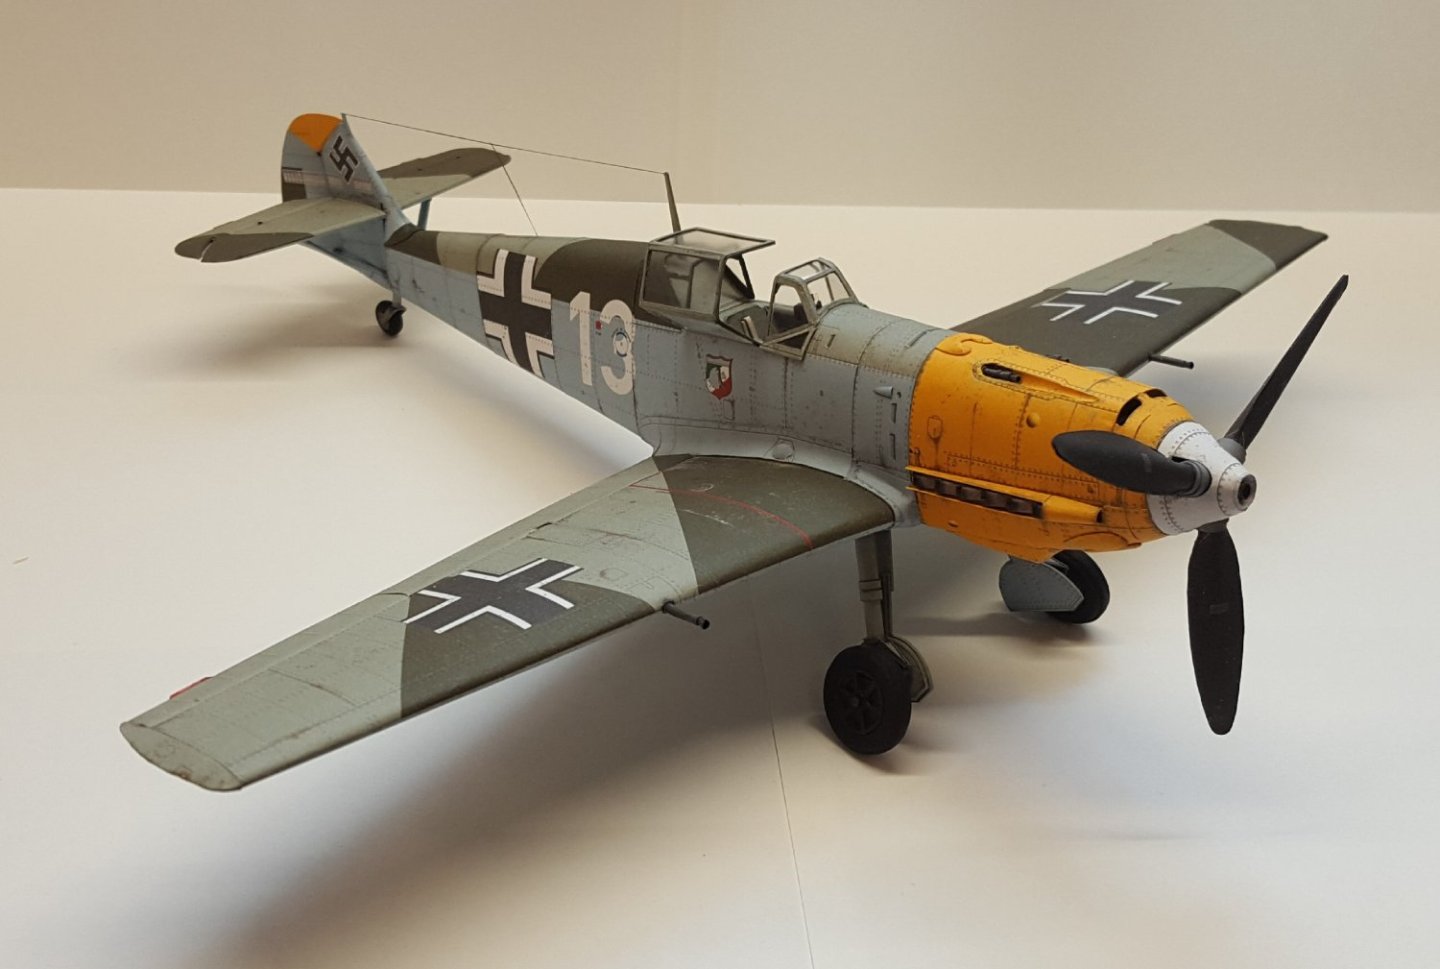
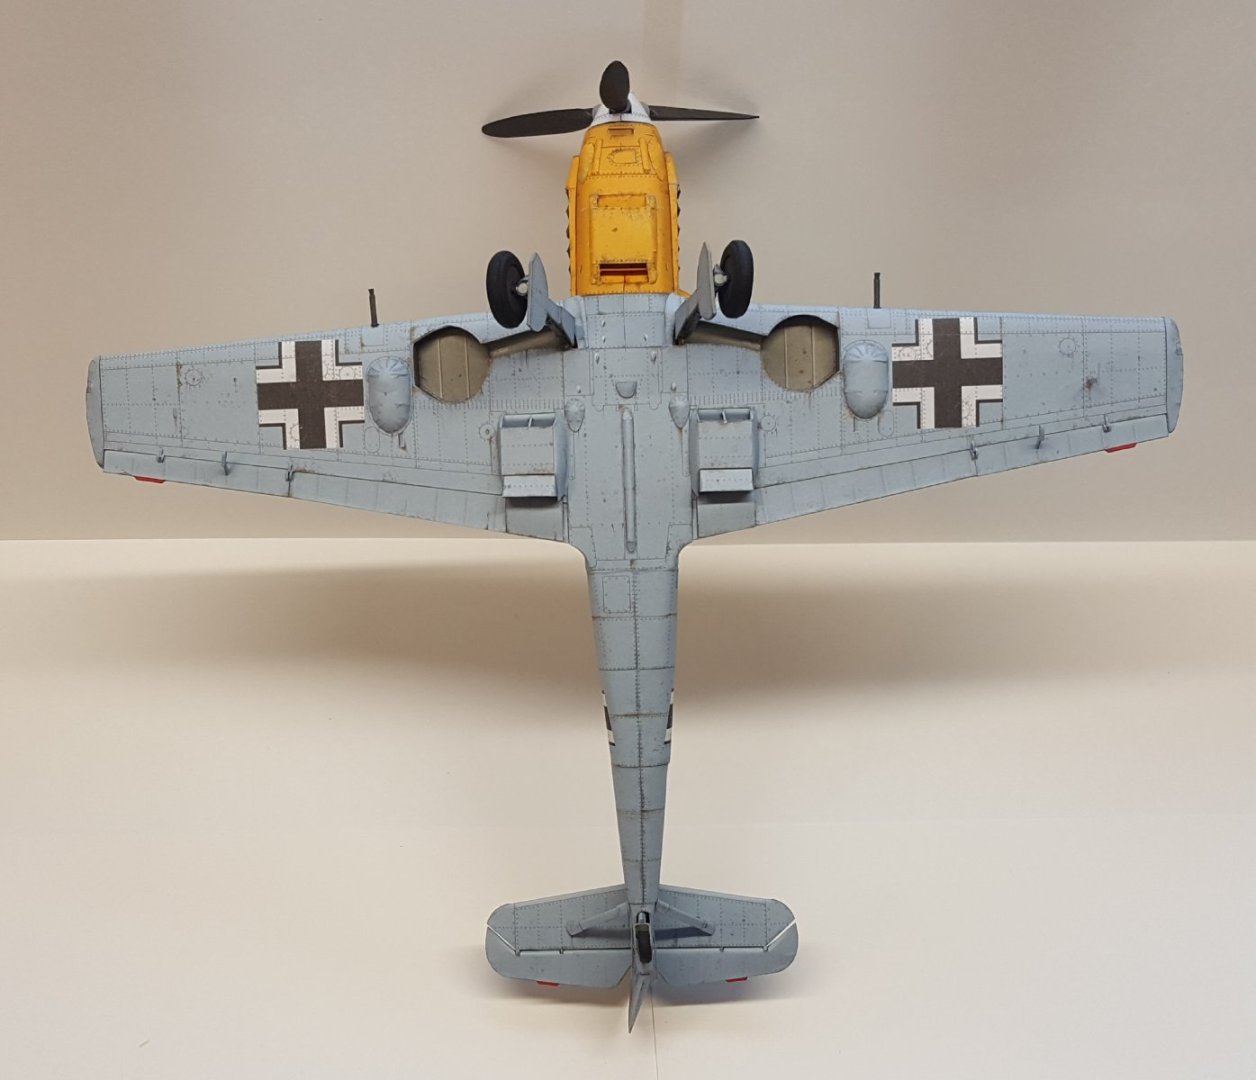
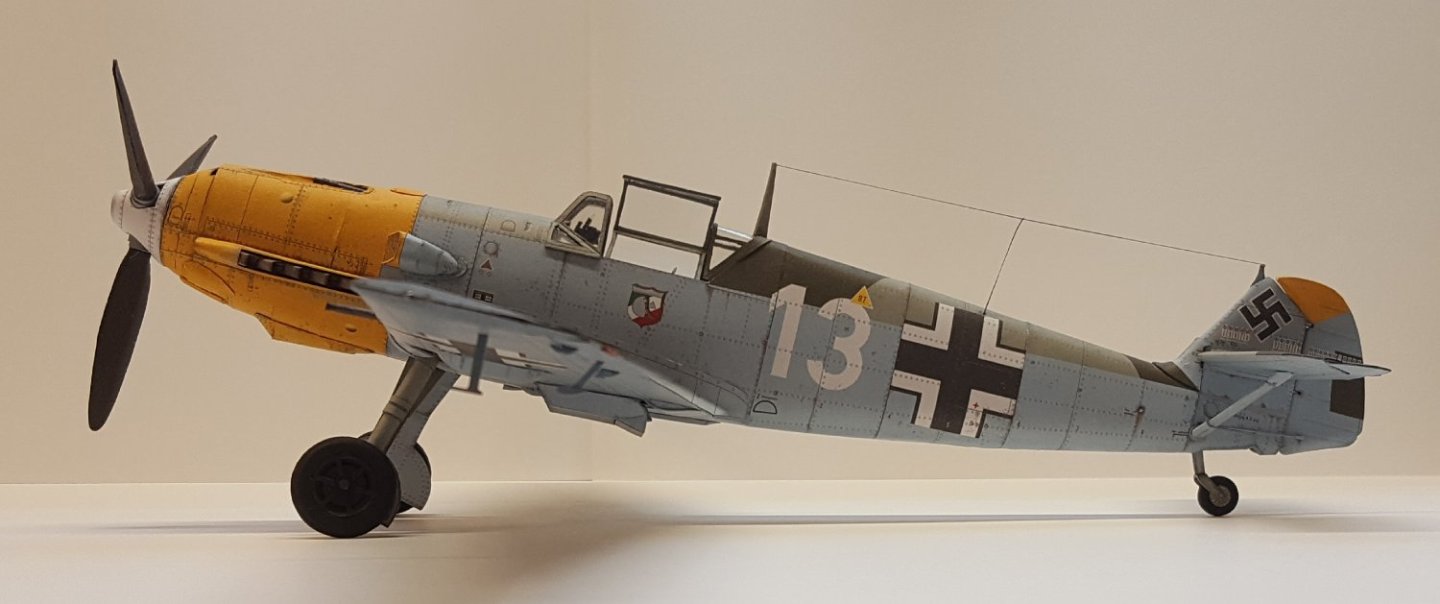
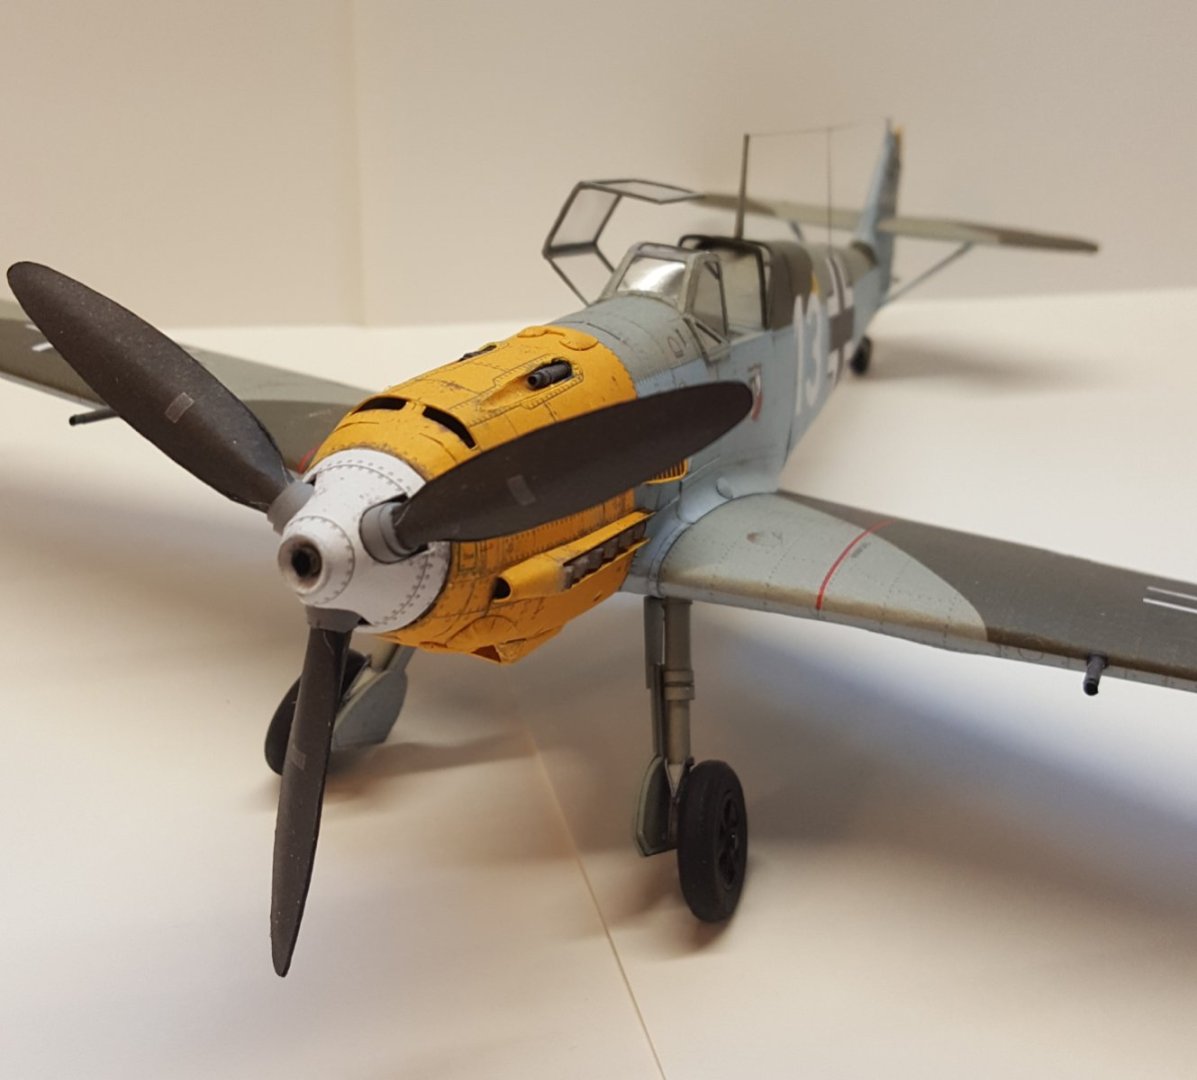
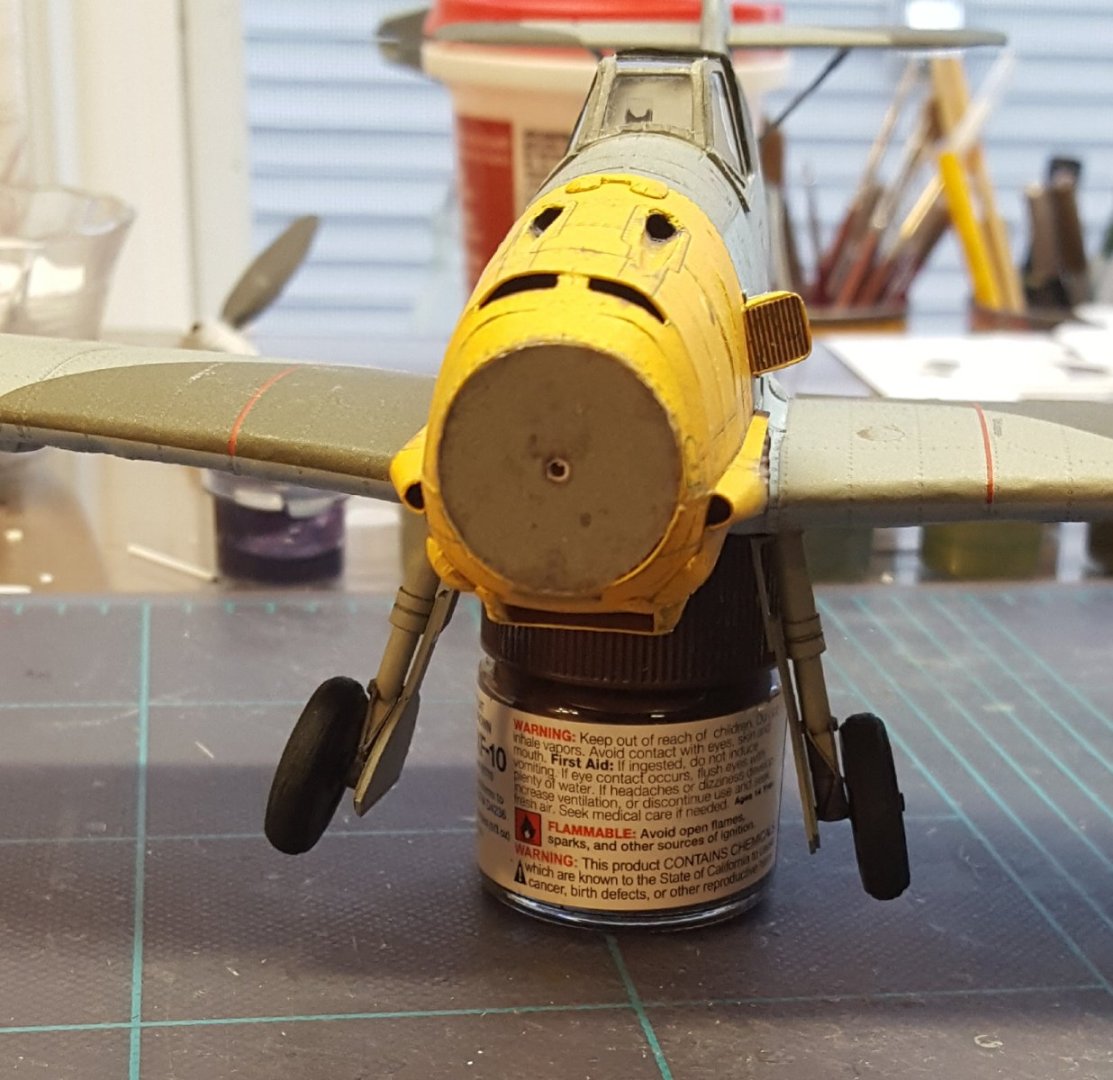
The Big Reveal! So, one day shy of two months from the beginning of construction on this project (though it felt like longer), the Bf-109E-4 is complete. The final bits of construction consisted of small parts that needed to wait until the final stage in order to avoid getting knocked off repeatedly: tail wheel, antenna masts, gun barrels, aileron counterweights, pitot tube, and canopy. All in all, a challenging project without too many issues, though I did find some post facto construction errors and did wind up with a few tiny "mystery parts" left over. Enjoy the pictures!


- 165 replies
-
- 27
-

-
-

-
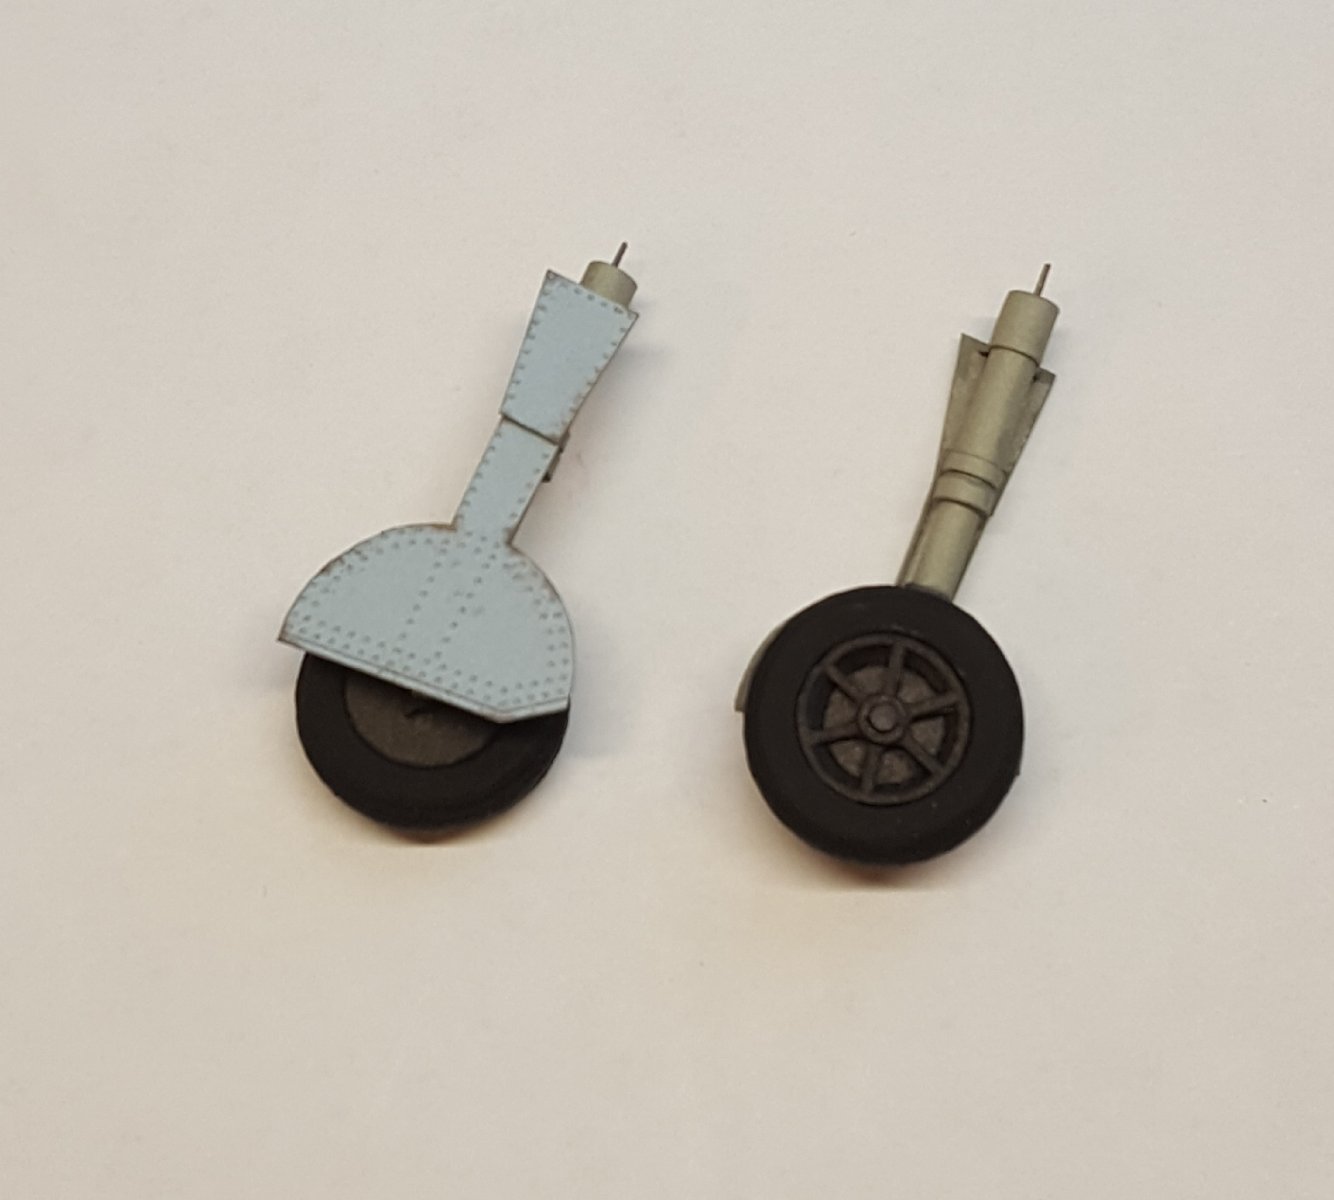
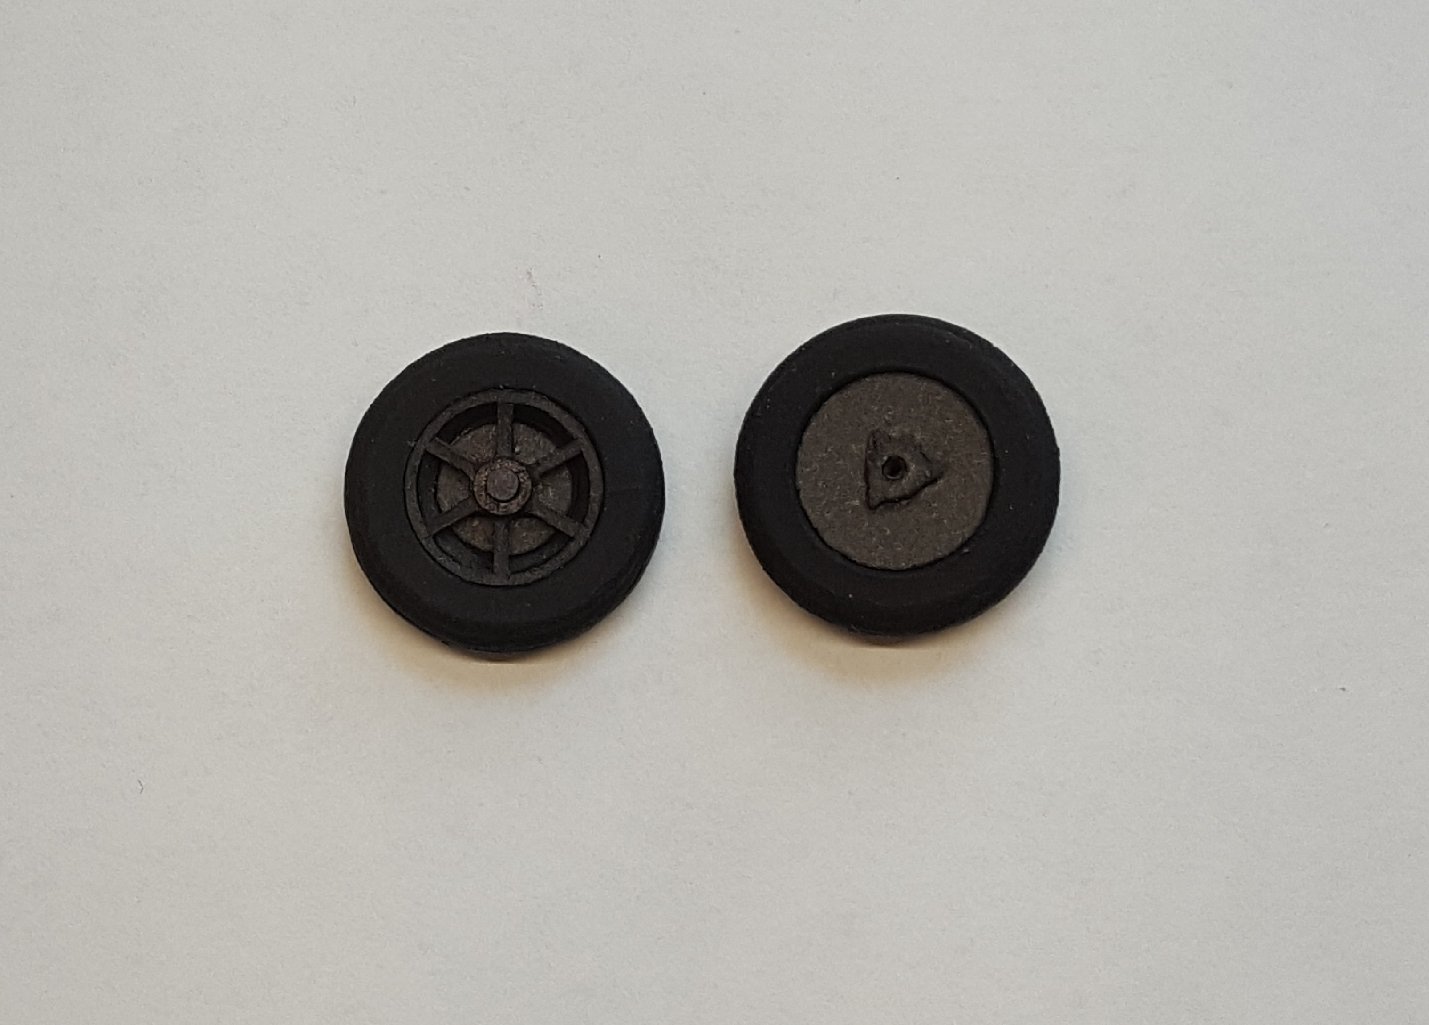
Landing gear under construction. First are the main wheels -- 20 parts each. Wheels mounted to struts and gear doors. And finally main gear mounted to fuselage. My goal is to finish this by the 4th, to make it an even two months since the start of construction.

- 165 replies
-
- 16
-
-
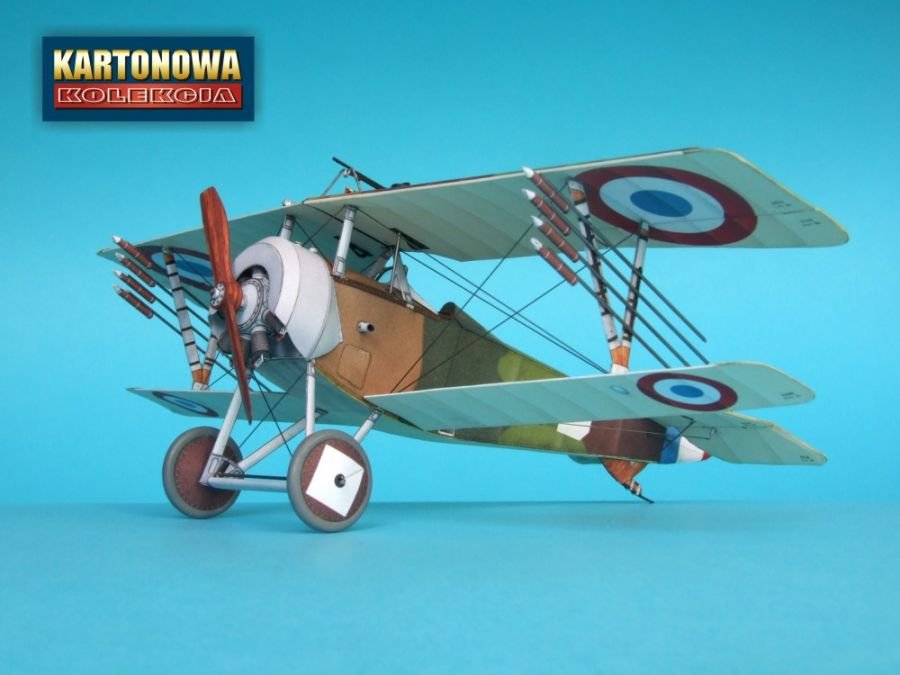
So, I recently decided to suffer the injustice of high postage costs from Poland and ordered a batch of kits. The VERY NEXT DAY I learned that Kartonowa Kolekcja, my favorite publisher, just published a new kit. It's a Nieuport 16c.1, complete with Le Prieur rockets. The Nieuport 16 was an updated Nieuport 11, so this kit amounts to a repaint and slight modification of the older release. I was hoping that the next kit might be a SPAD, Albatros, Swordfish, or Fokker DVII repaint, but no joy. Still, this kit is a nice addition to the KK catalog

- 98 replies
-
- 11
-
-
Getting the rigging done on these is a combination of getting a general idea of how biplanes are rigged (comes through practice), learning to read and interpret rigging diagrams (also comes with practice), and scouting images on the internet (yep -- practice . . . nah, just kidding on that one).
- 93 replies
-
- 10
-
-
-
Welcome, Zac! I actually think a well-motivated beginner might be able to pull off the Endurance. Having no guns and being square-rigged on only one mast, it lacks some of the elements that can make a first build particularly difficult. The photo-based instructions should also be very helpful. Be sure to create a build log when you get started, and you should be able to get lots of advice along the way. Cheers!
-
Not really. These days I'm using mainly Evergreen Canopy Glue, but I have used lots of others over the years. I still use CA (thin & medium), Aleen's Clear Tacky Glue, and contact cement for various tasks.
- 165 replies
-
- 10
-
-
Great! I'd be interested to see pictures of that kit when it arrives. The only photos I've seen of the printed parts were taken it what appeared to be poor lighting. I went ahead and pulled the trigger on the two Answer kits I spoke of earlier, the Nimrod and the Nieuport 28 -- they're both incredibly nice-looking biplanes -- I couldn't resist (don't tell the missus)! I also added a Stearman PT-17 Kaydet to the order and laser-cut frames for all three kits, plus resin wheels for the Nimrod and some frames for a Fiat G.50 Freccia I have in the stash (the desert camo on that kit matches the livery of my CR.42 Falco).
- 165 replies
-
- 11
-