HOLIDAY DONATION DRIVE - SUPPORT MSW - DO YOUR PART TO KEEP THIS GREAT FORUM GOING! (Only 13 donations so far - C'mon guys!)
×


russ
-
Posts
3,086 -
Joined
-
Last visited
Content Type
Profiles
Forums
Gallery
Events
Everything posted by russ
-
Carl: Thanks. That will be the final design, but I will probably make a new set when the time comes. Russ
- 420 replies
-
- 2
-

-
- captain roy
- lugger
- (and 2 more)
-
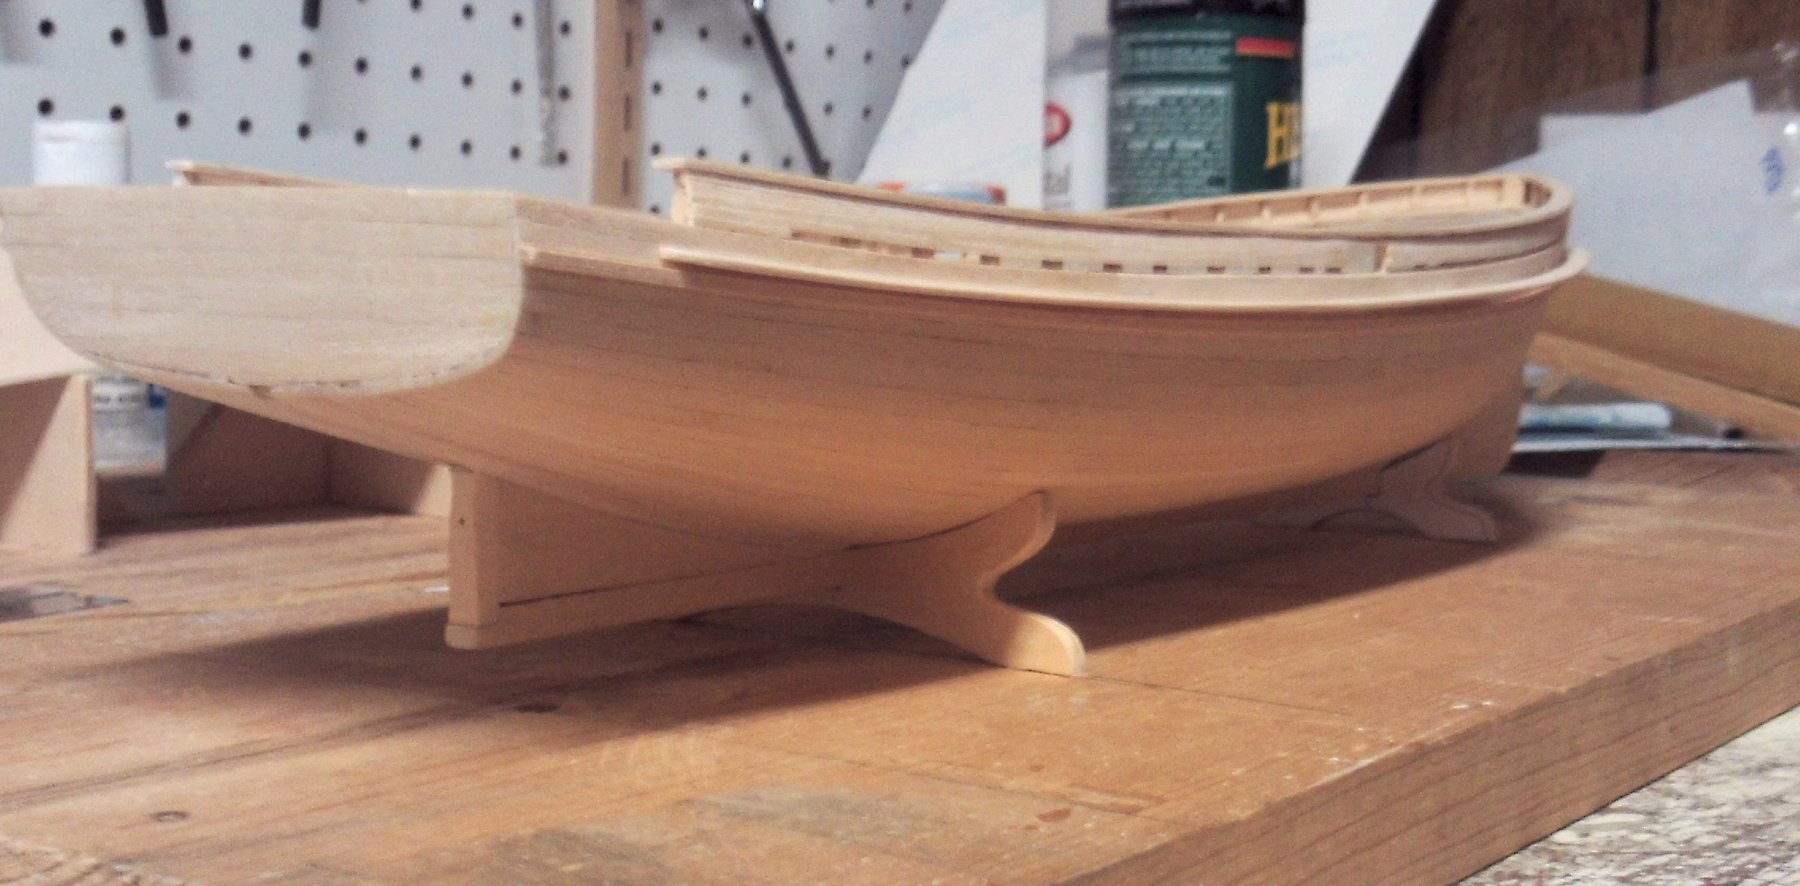
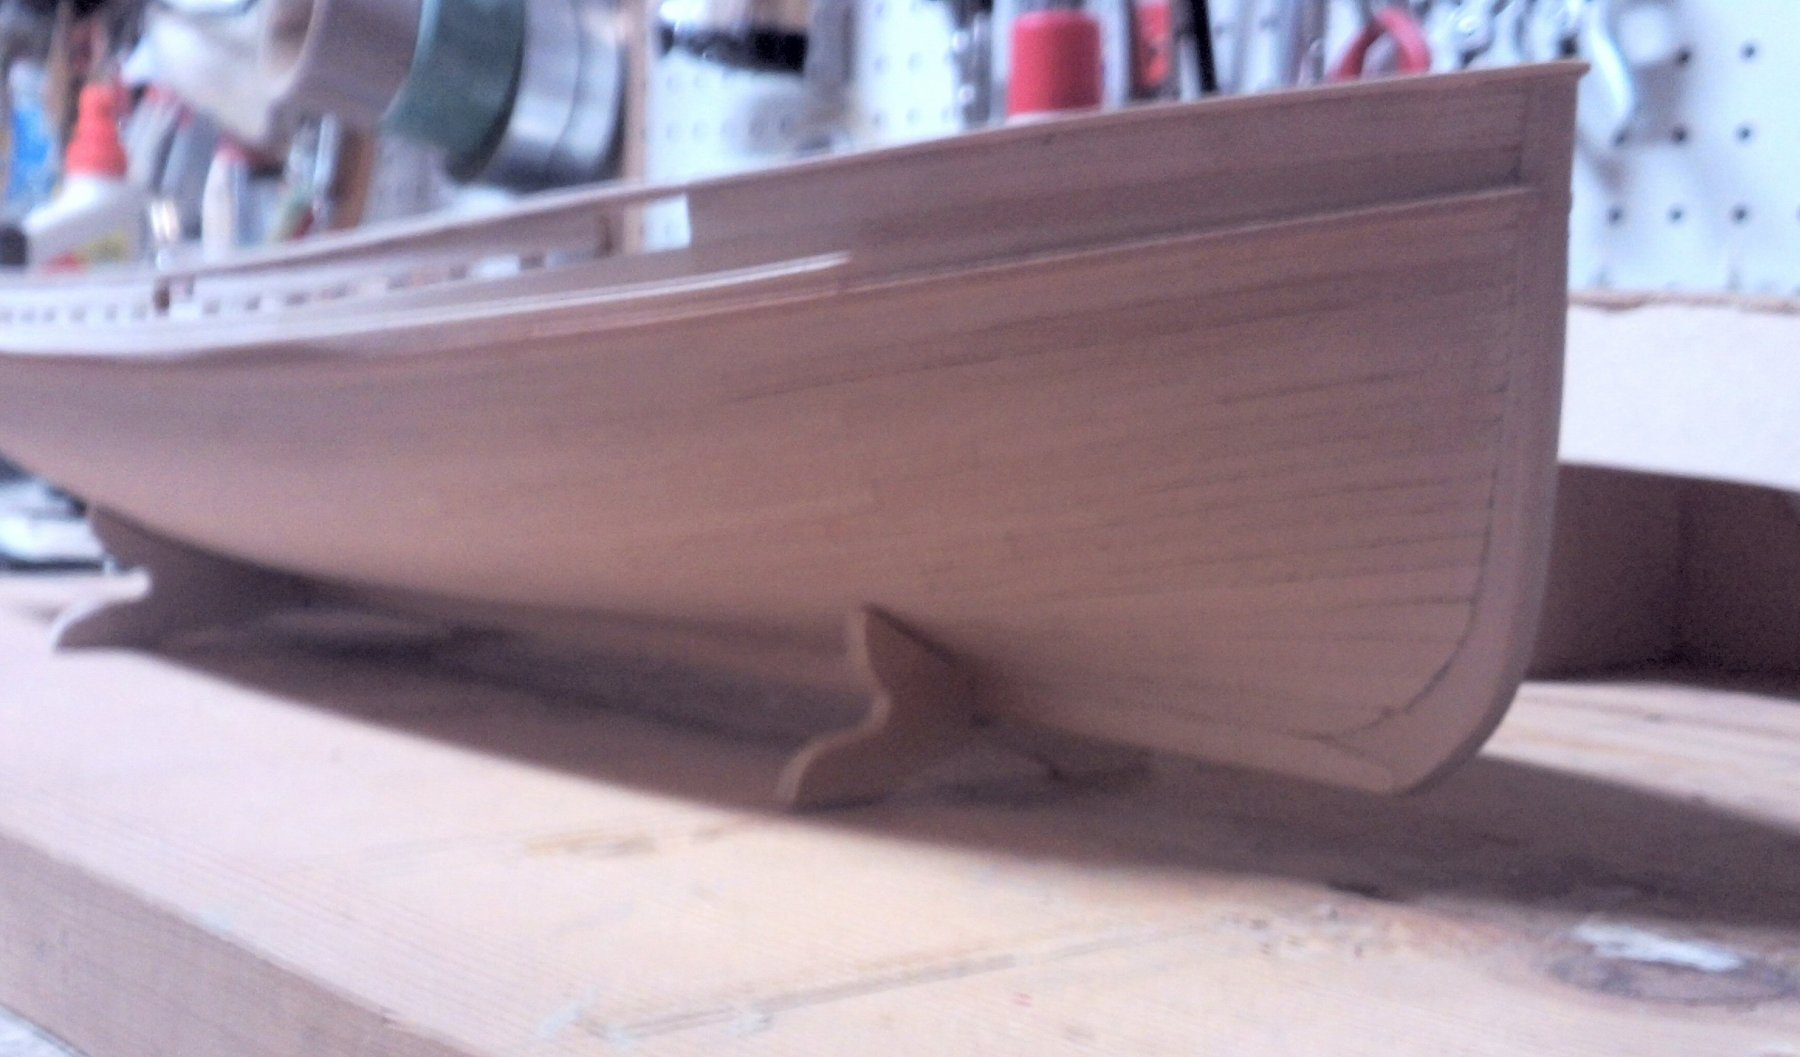
Lest ye believe I have given up, here is some small progress. Life got in the way for a while, but hopefully, I can manage some more progress now. Here are some temporary cradles I made for the model now that it is planked. I am also working on the pilot house. More later. Russ


- 420 replies
-
- 10
-
-
- captain roy
- lugger
- (and 2 more)
-
Ken: Well done. This is a beautiful model. Congratulations. Russ
- 481 replies
-
- 2
-
-
- rattlesnake
- model shipways
- (and 1 more)
-
Ken: I would not have noticed the rework if you had not pointed it out. Very nicely done. Russ
- 481 replies
-
- 1
-
-
- rattlesnake
- model shipways
- (and 1 more)
-
This is one thing I cannot bring myself to do. My lugger will not have any paint on the deck even though the boats always had a painted deck. I just cannot bear to cover up the deck planking with paint. I should, but I will not. Russ
-
John: The shrimpers with whom In have spoken just called it a rub rail. It may be that some of them are not old enough to recall its exact purpose. I have seen many photos with the tire slung over the side. That may be the answer to Carl's question. This boat worked for Biloxi Canning so it would have been docked out front. You might be thinking of Cruso's which was around back near the old bridge. Thanks for the kind words. Russ
- 420 replies
-
- 4
-
-
- captain roy
- lugger
- (and 2 more)
-
This may represent a transition period between the use of the two rub rails. I have seen these wider rub rails on other vessels from other parts of the US and you can sometimes see them used as a foot hold as they move along the side of the boat at sea. Maybe they kept it on for that purpose. I will continue to ask around to see if there is an answer. Russ
- 420 replies
-
- 3
-
-
- captain roy
- lugger
- (and 2 more)
-
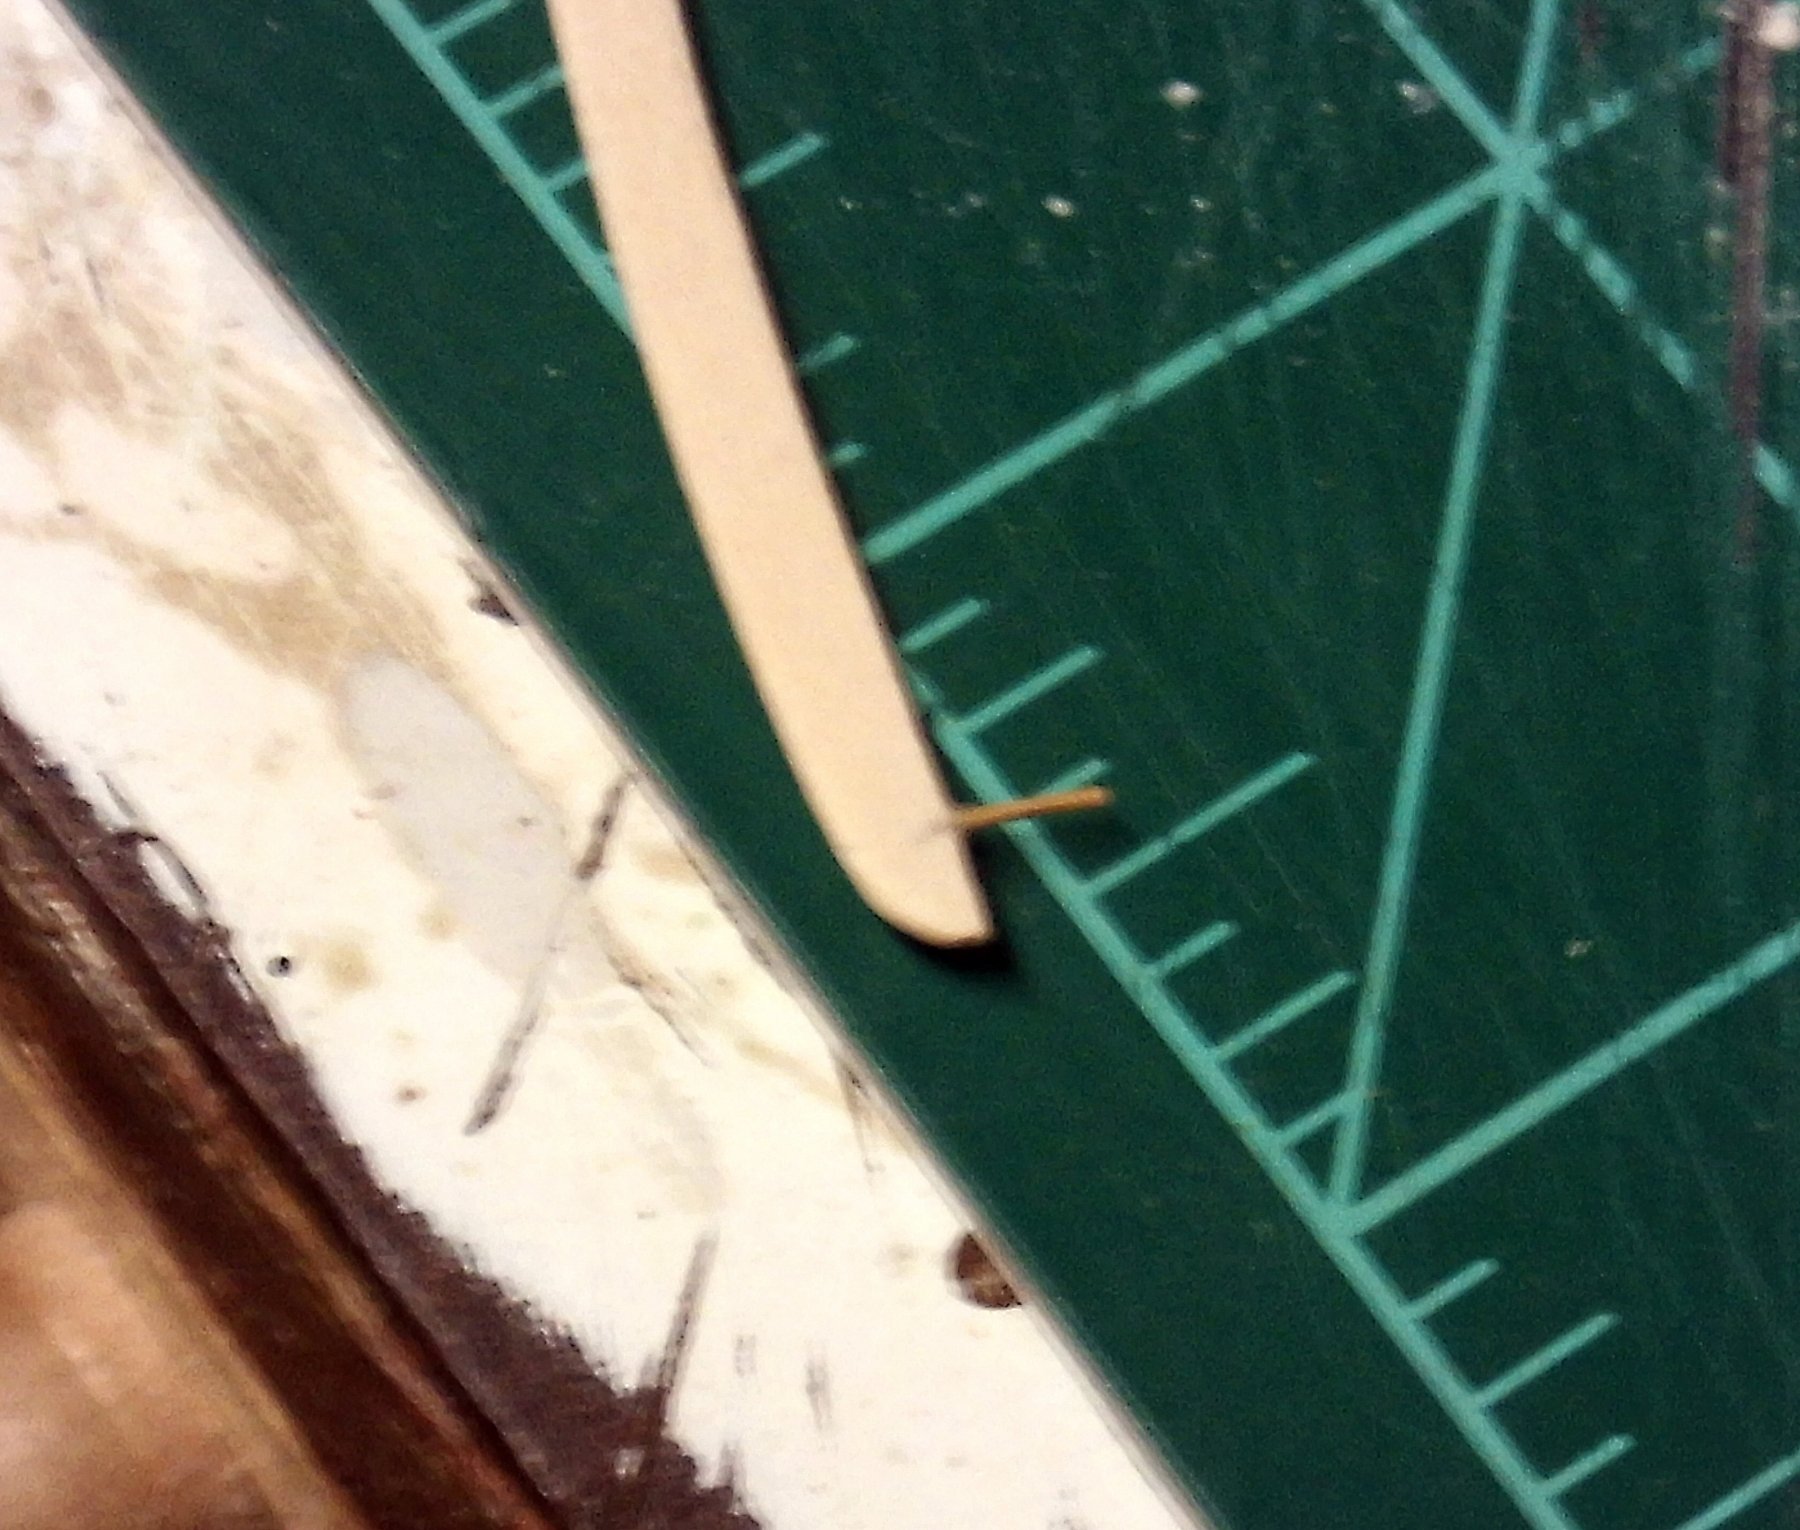
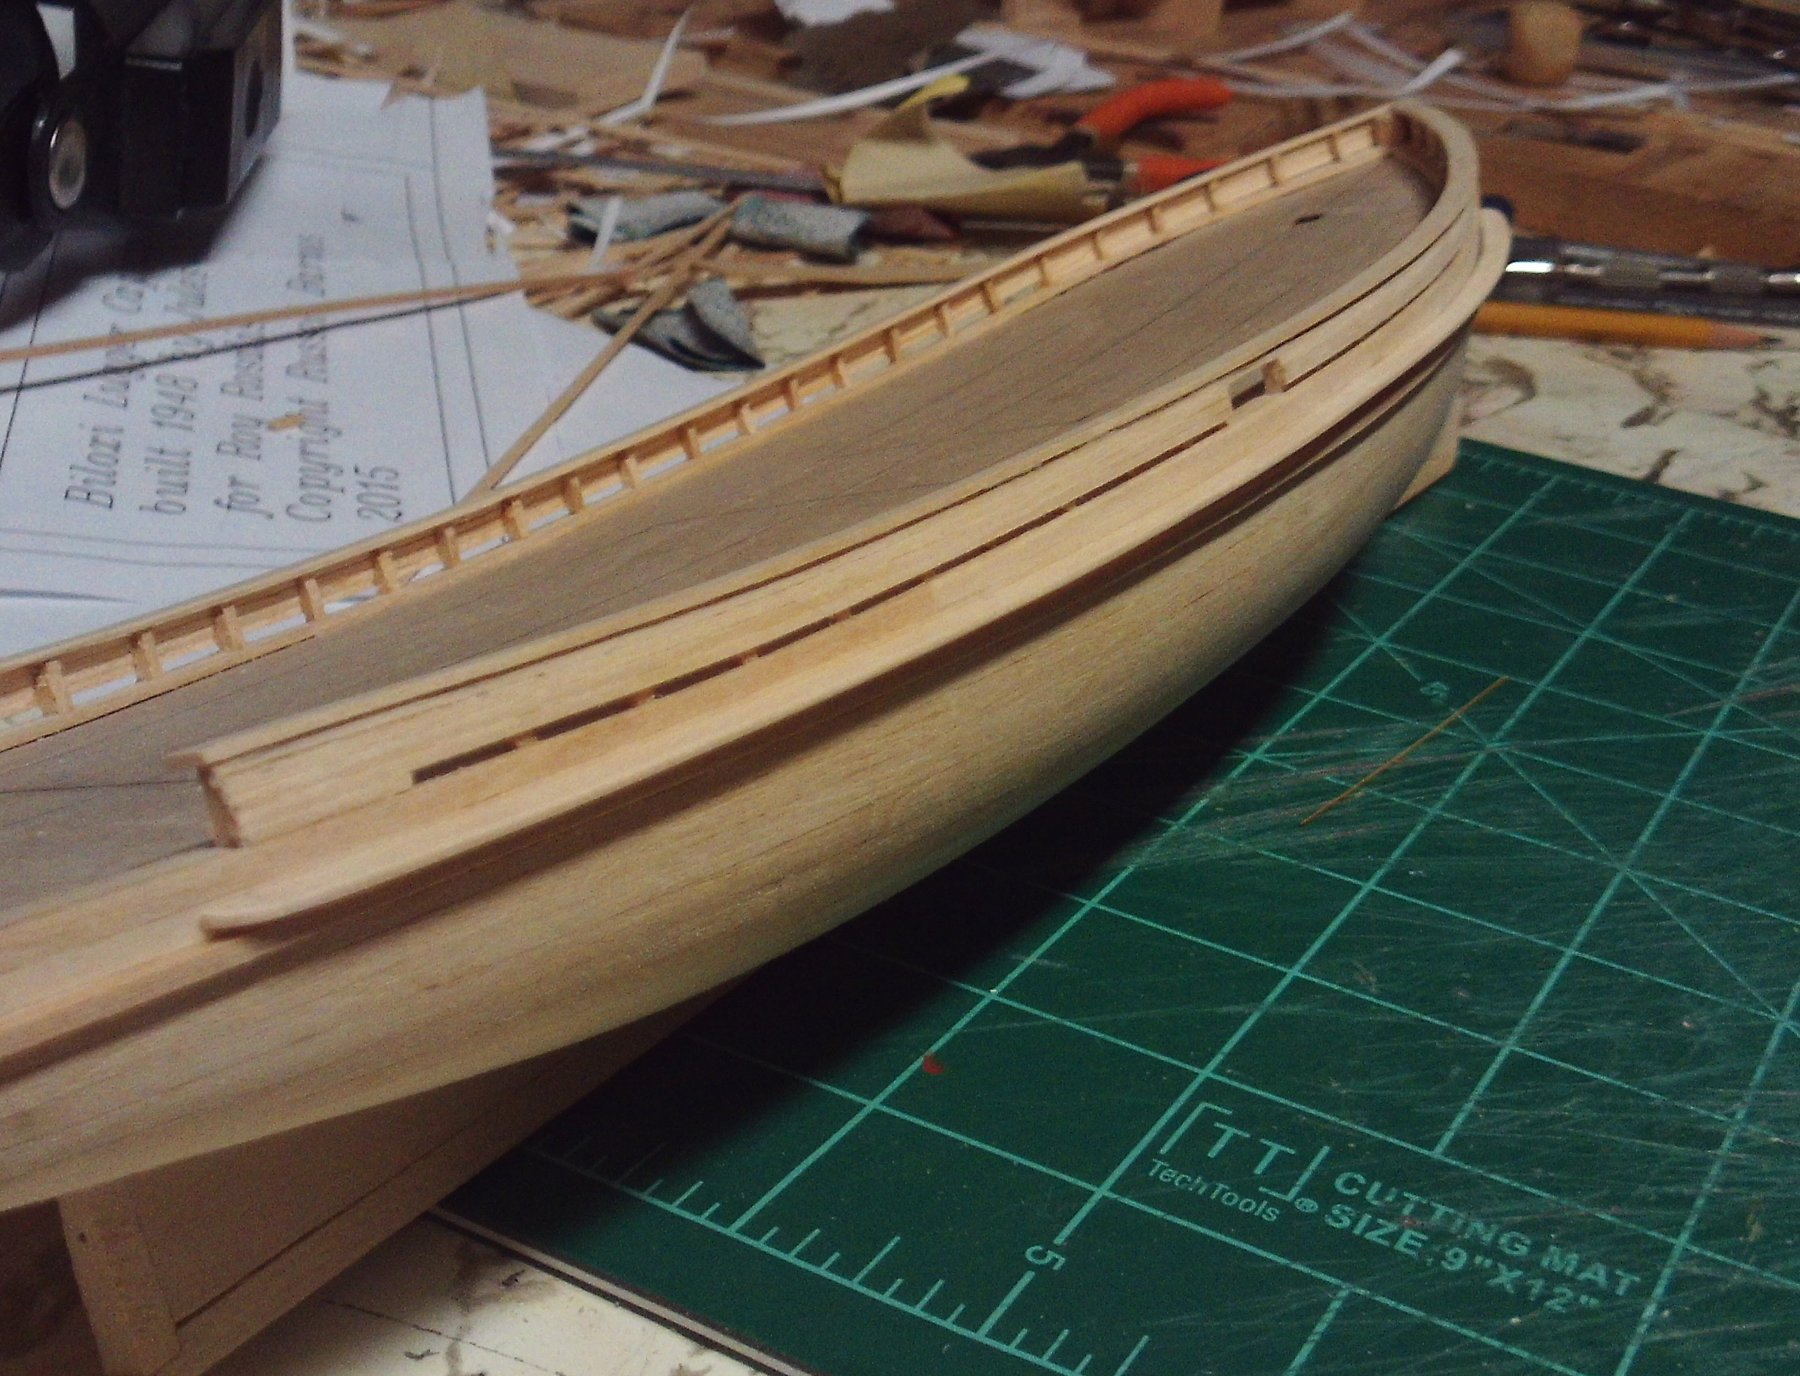
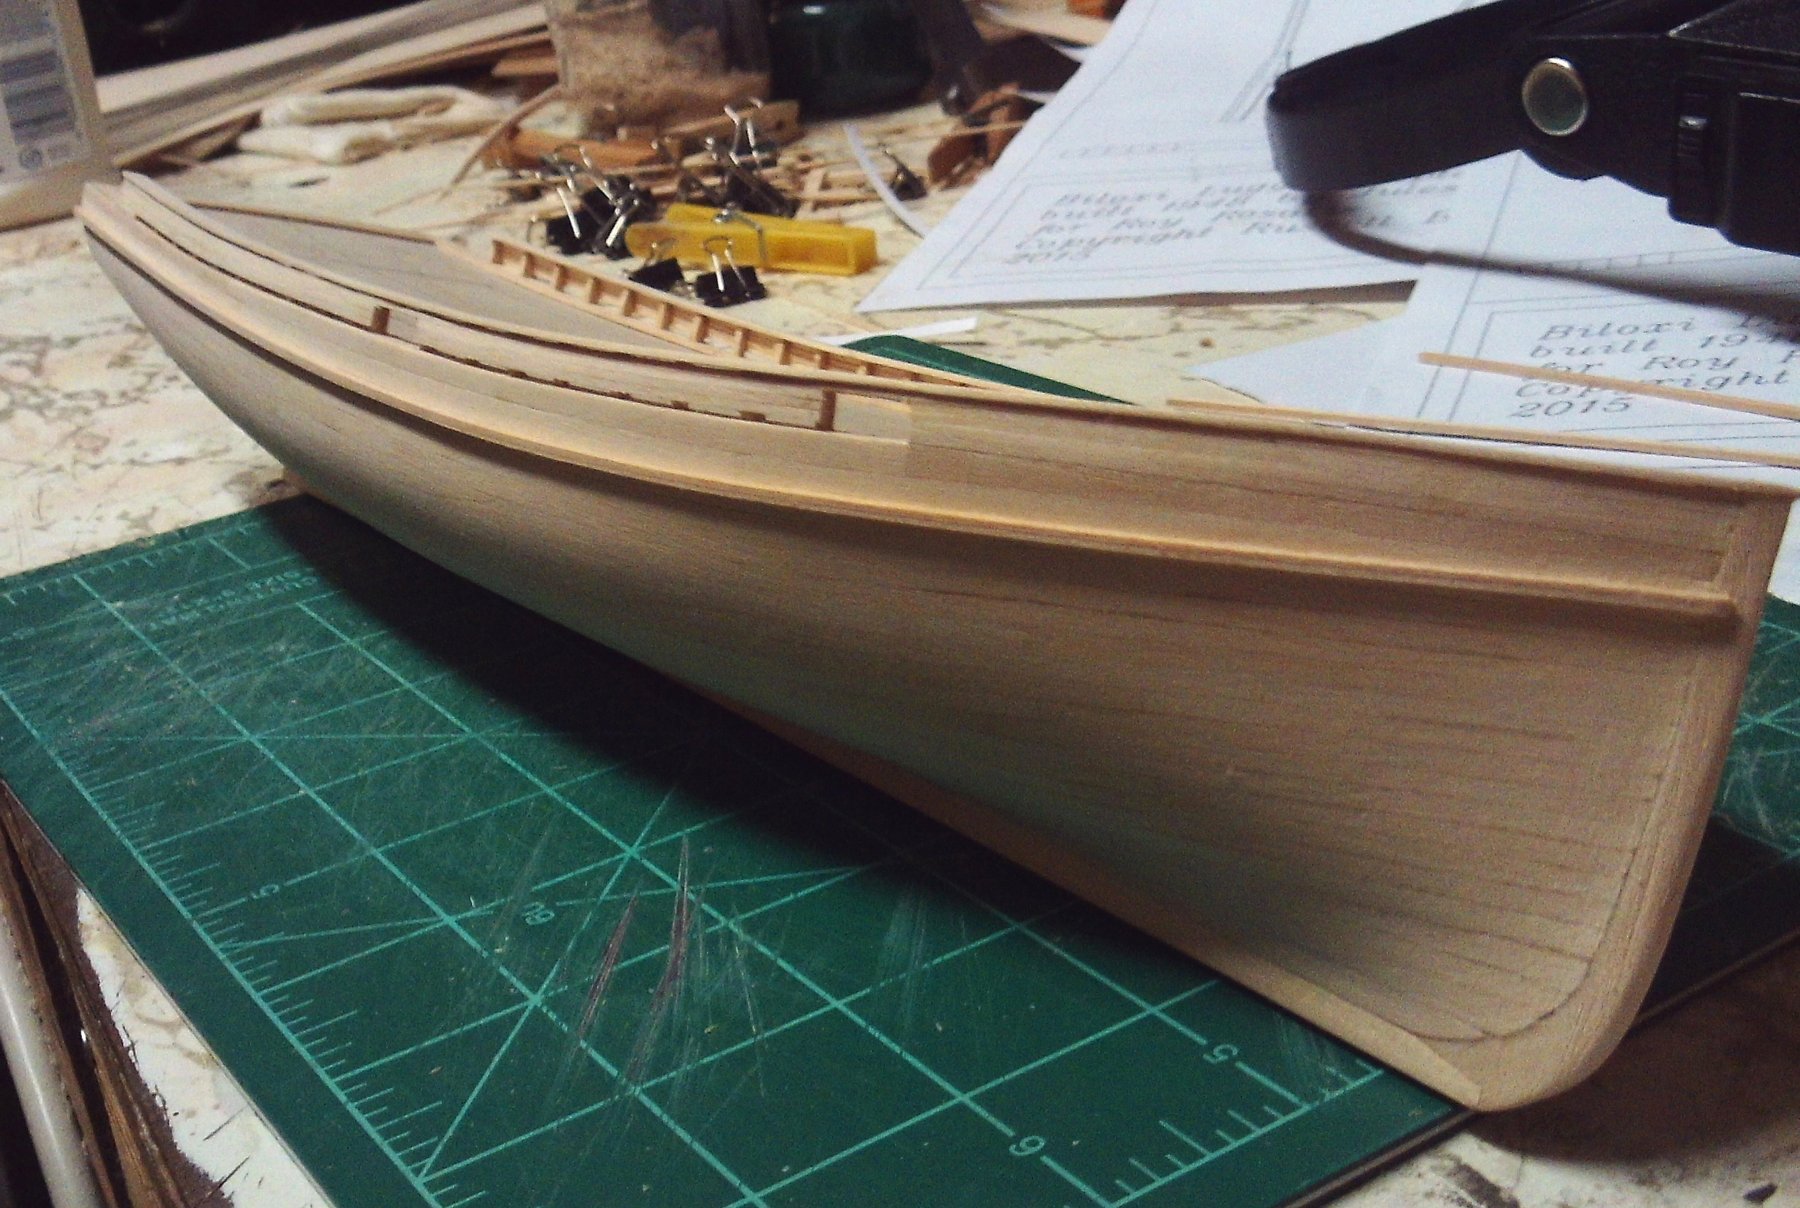
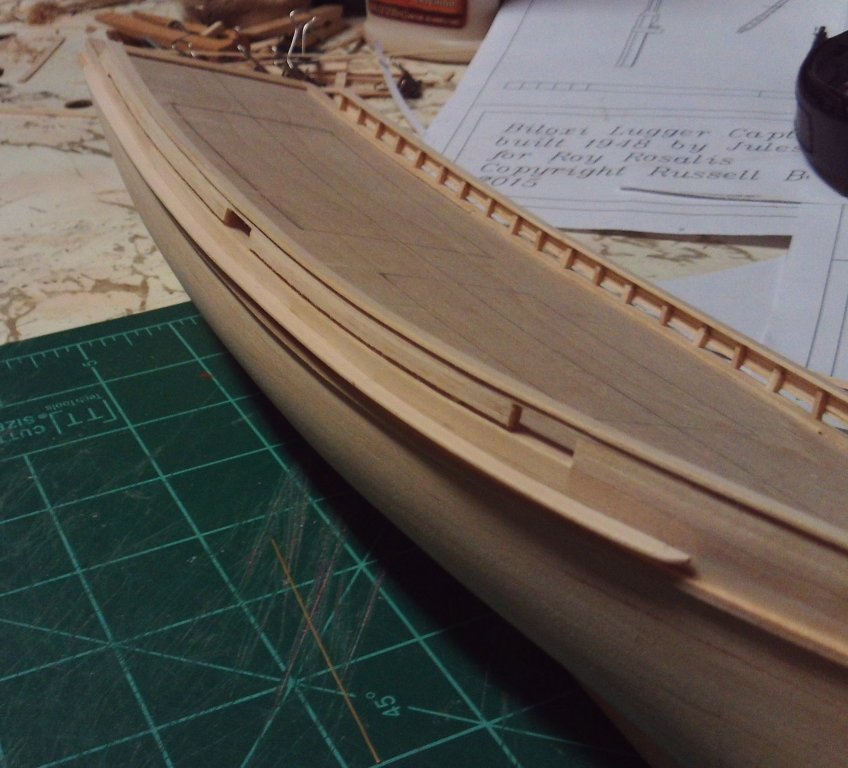
There has been a little more progress. This boat has two rub rails. I am told that the earlier boats had a single rub rail that was much wider than the hull planking. Later boats have done away with the wide rub rail and often have the thinner rub rail that is a bit thicker than the hull plank. This boat happens to have both of them. The thinner rub rail runs from bow to stern and was gotten out of a piece of square stock. The wider piece had to be cut to the curve of the hull and was a bit trickier, both to cut and to fit. I needed to install hidden pins along its inner edge to be able to attach it to the hull. Here are some pics. In the old photo you can see both rub rails. The rub rail is dry fitted on the model photos. I might yet thin its width slightly, just for scale appearance. Russ


- 420 replies
-
- 10
-
-
- captain roy
- lugger
- (and 2 more)
-
Your model is coming along nicely. The pin rails look good. My only worry is that they would come loose during rigging. I like to dowel or pin those to the side whenever possible. Gives extra strength where it is needed. Are you going to paint or tone the pins? Bluejacket has a brass brown toner that works well. Russ
-
Very nice work on the eagle. You have done a great job working it into the scale of the model. Well done. Russ
-
Are they brass? If so, you can anneal them to make them more pliable. Then you can "spring" them around the deadeye and squeeze them gently to hold the deadeye snugly. Russ
-
This is a beautiful model. Congratulations on a fine piece of work. Well done. Russ
-
Your rigging is coming along. These square riggers always had a lot of rigging. Each sail had as many as a dozen lines. Russ
- 140 replies
-
- 4
-
-
- jolly roger
- lindberg
- (and 1 more)
-
Thanks for your kind words. I appreciate it. I always hope that something I can offer will help another modeler some day. Russ
- 420 replies
-
- 1
-
-
- captain roy
- lugger
- (and 2 more)
-
Thanks. I appreciate it. Russ
-
Carl: The model's length on deck is just shy of 14 inches. The scale is 1/48 or 1/4"=1'. Thanks for the kind words about the model. It is just store bought basswood. It needs careful handling. Russ
- 420 replies
-
- 1
-
-
- captain roy
- lugger
- (and 2 more)
-
Pat: Thanks. I agree. There is a much better sense now about how the bulwarks look with the rail on. Russ
- 420 replies
-
- 1
-
-
- captain roy
- lugger
- (and 2 more)
-
This evening was good for working in the shop. Got the rubrails on without too much trouble. They are made from a single piece of 1/16" square stock on each side. Russ


- 420 replies
-
- 11
-
-
- captain roy
- lugger
- (and 2 more)
-
Mike: Thanks. I am very fortunate to have access not only to documentation for these vessels, but a lot of local knowledge from men who actually work on these vessels. Russ
- 420 replies
-
- 2
-
-
- captain roy
- lugger
- (and 2 more)
-
John: Thanks. The port side went on this evening with no problems. It looks a bit more shipshape now. Russ
- 420 replies
-
- 1
-
-
- captain roy
- lugger
- (and 2 more)