


ca.shipwright
-
Posts
483 -
Joined
-
Last visited
Content Type
Profiles
Forums
Gallery
Events
Posts posted by ca.shipwright
-
-
-
-
See my ad in sellers forum if you want immediate delivery.
-
Hello Ryland
Good to see you here with the model I finished years ago. It brings back fond memories. Your model is coming out very well. Continue to enjoy the build.
Regards
- Ryland Craze and Jack12477
-
 2
2
-
LSM,
Since the gunports are all equally spaced, you can glue up the planks for the inner bulworks, cut them to size, make a marking/drilling jig and get the exact same rivet patterns on every piece. Then install the rivets while the panels are off the ship. Then glue the completed panel to the inner bulworks. Try one panel with each size rivet to get a true sense of the scaling involved.
Hope this helps
-
Greeetings,
I am up to rigging of my HMB Endeavour and see that this is going to be a lot of very tedious close work (URL in my signiture block below). I am going to start another kit and work on it going back and forth to use some macro skills while I rig the Endeavour. I have both the Niagara and Syren from MS and have followed the build logs for both here on MSW. I see both have rows of carronades. Are there any other major differences worth noting other than moderator Chuck Pisarro's fantastic Syren design and instruction manual?
Thanks
- Canute, mtaylor and thibaultron
-
3
-
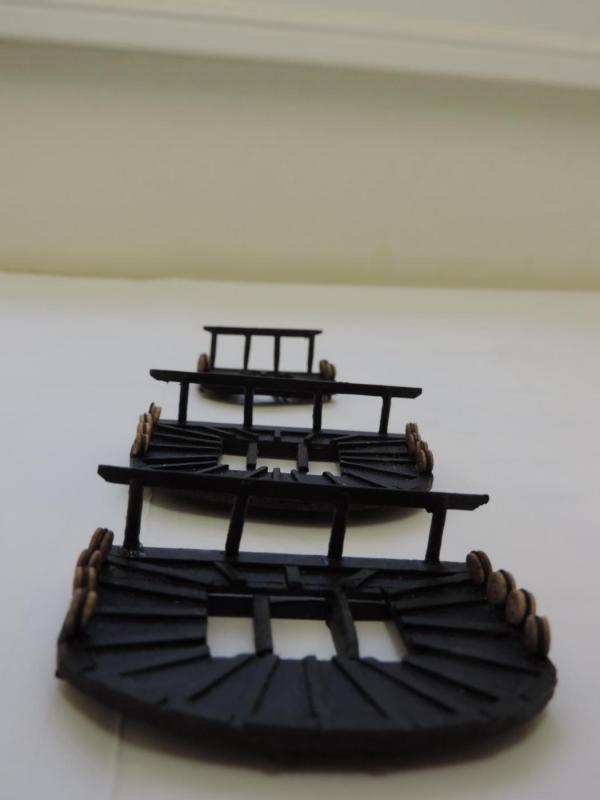
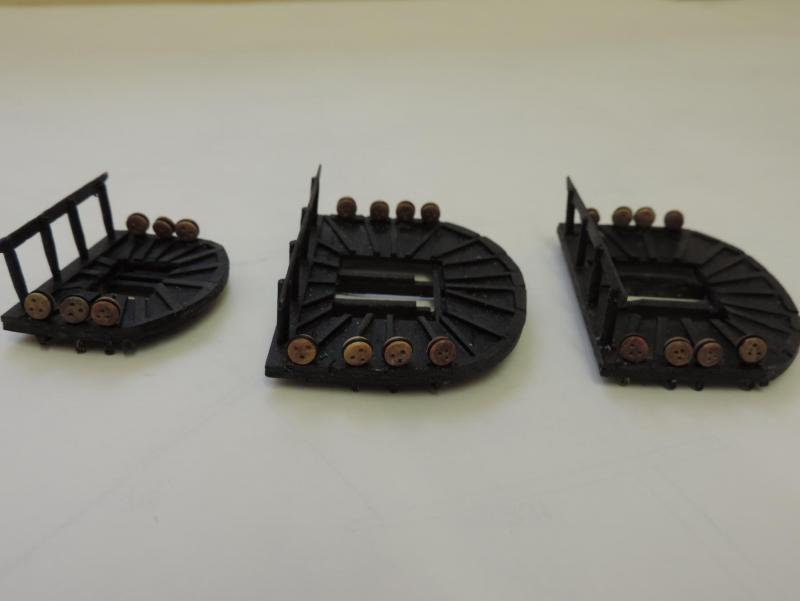
Greetings,
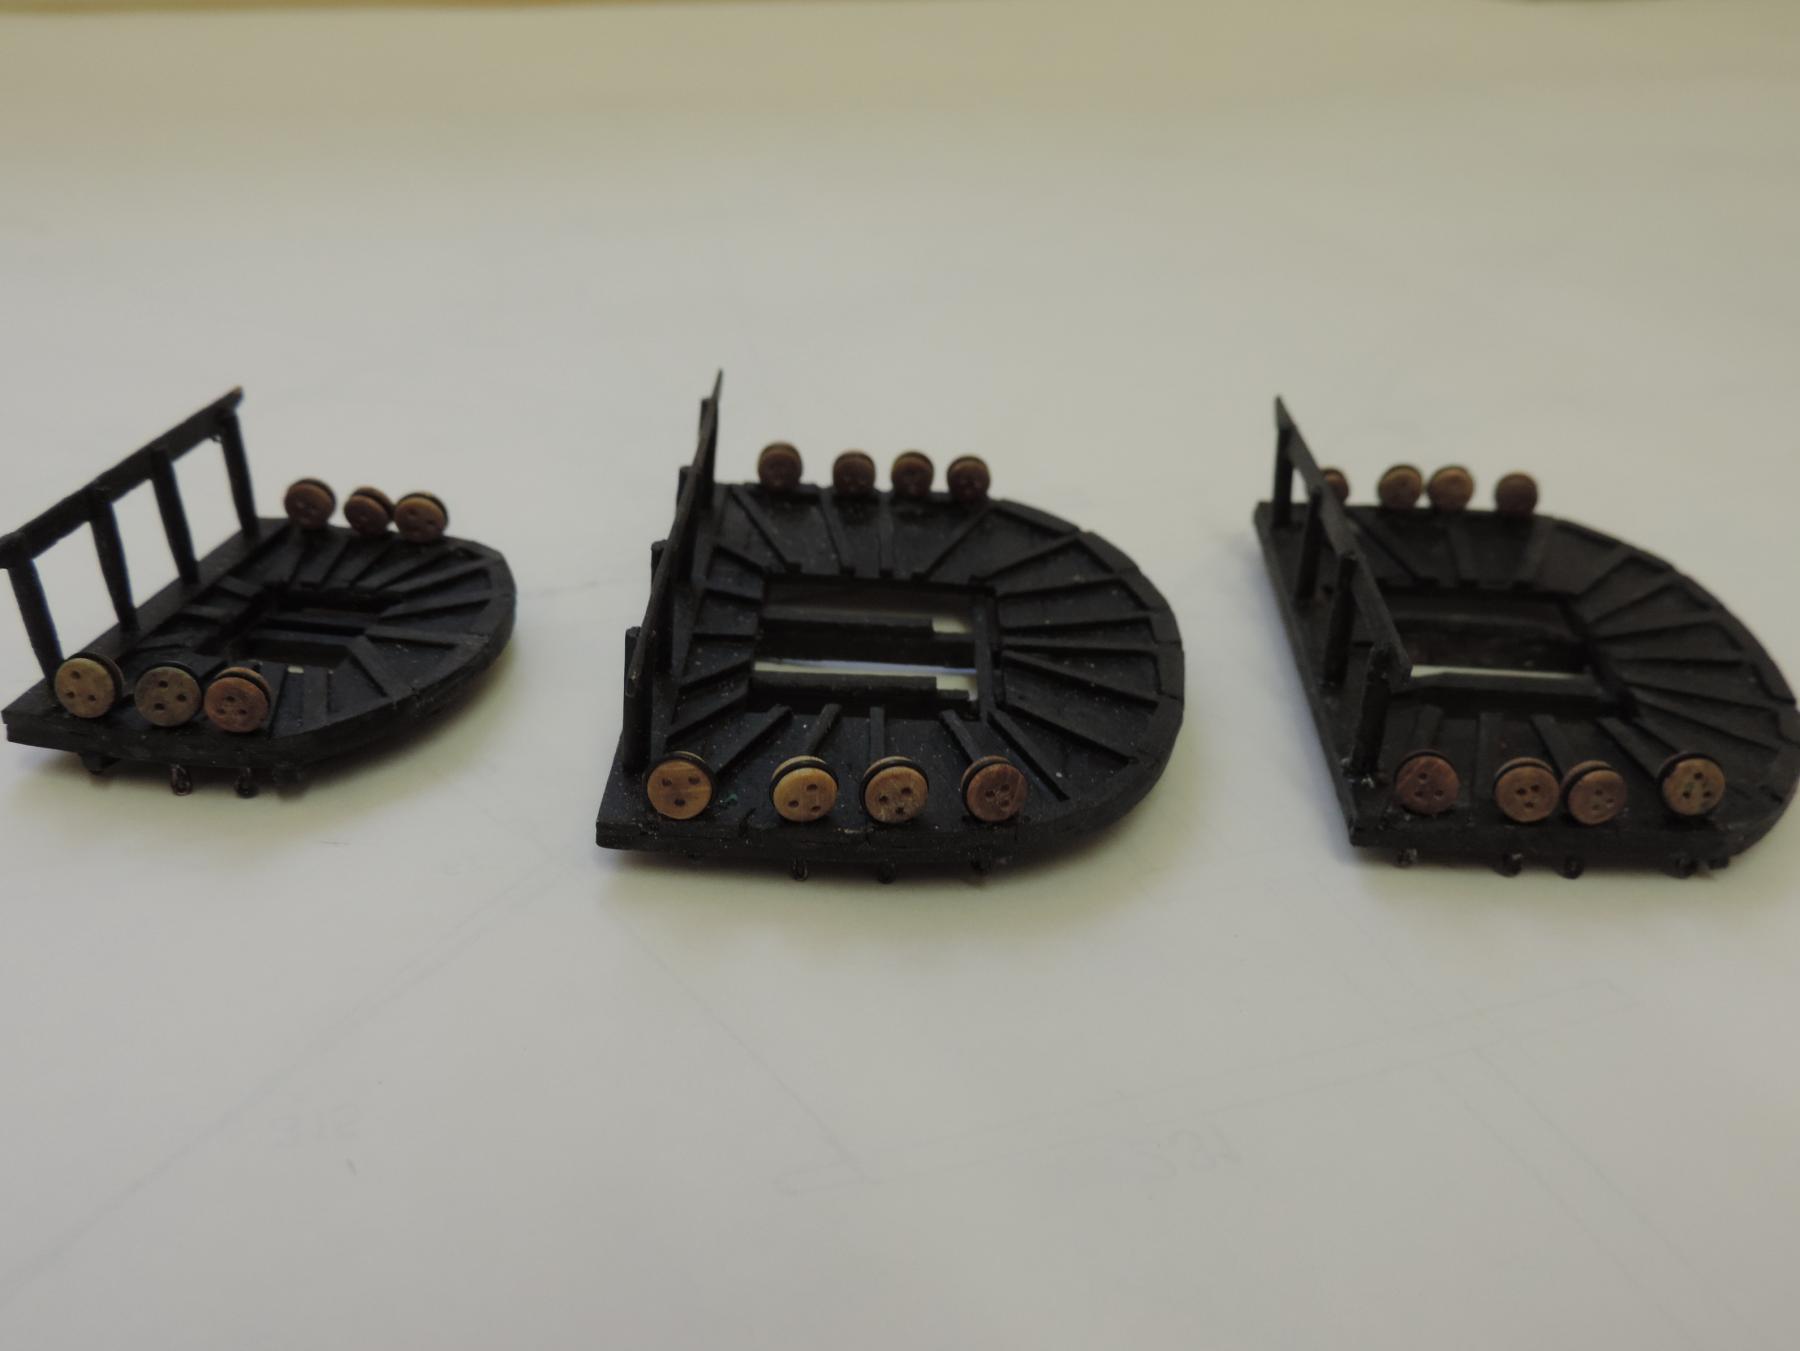
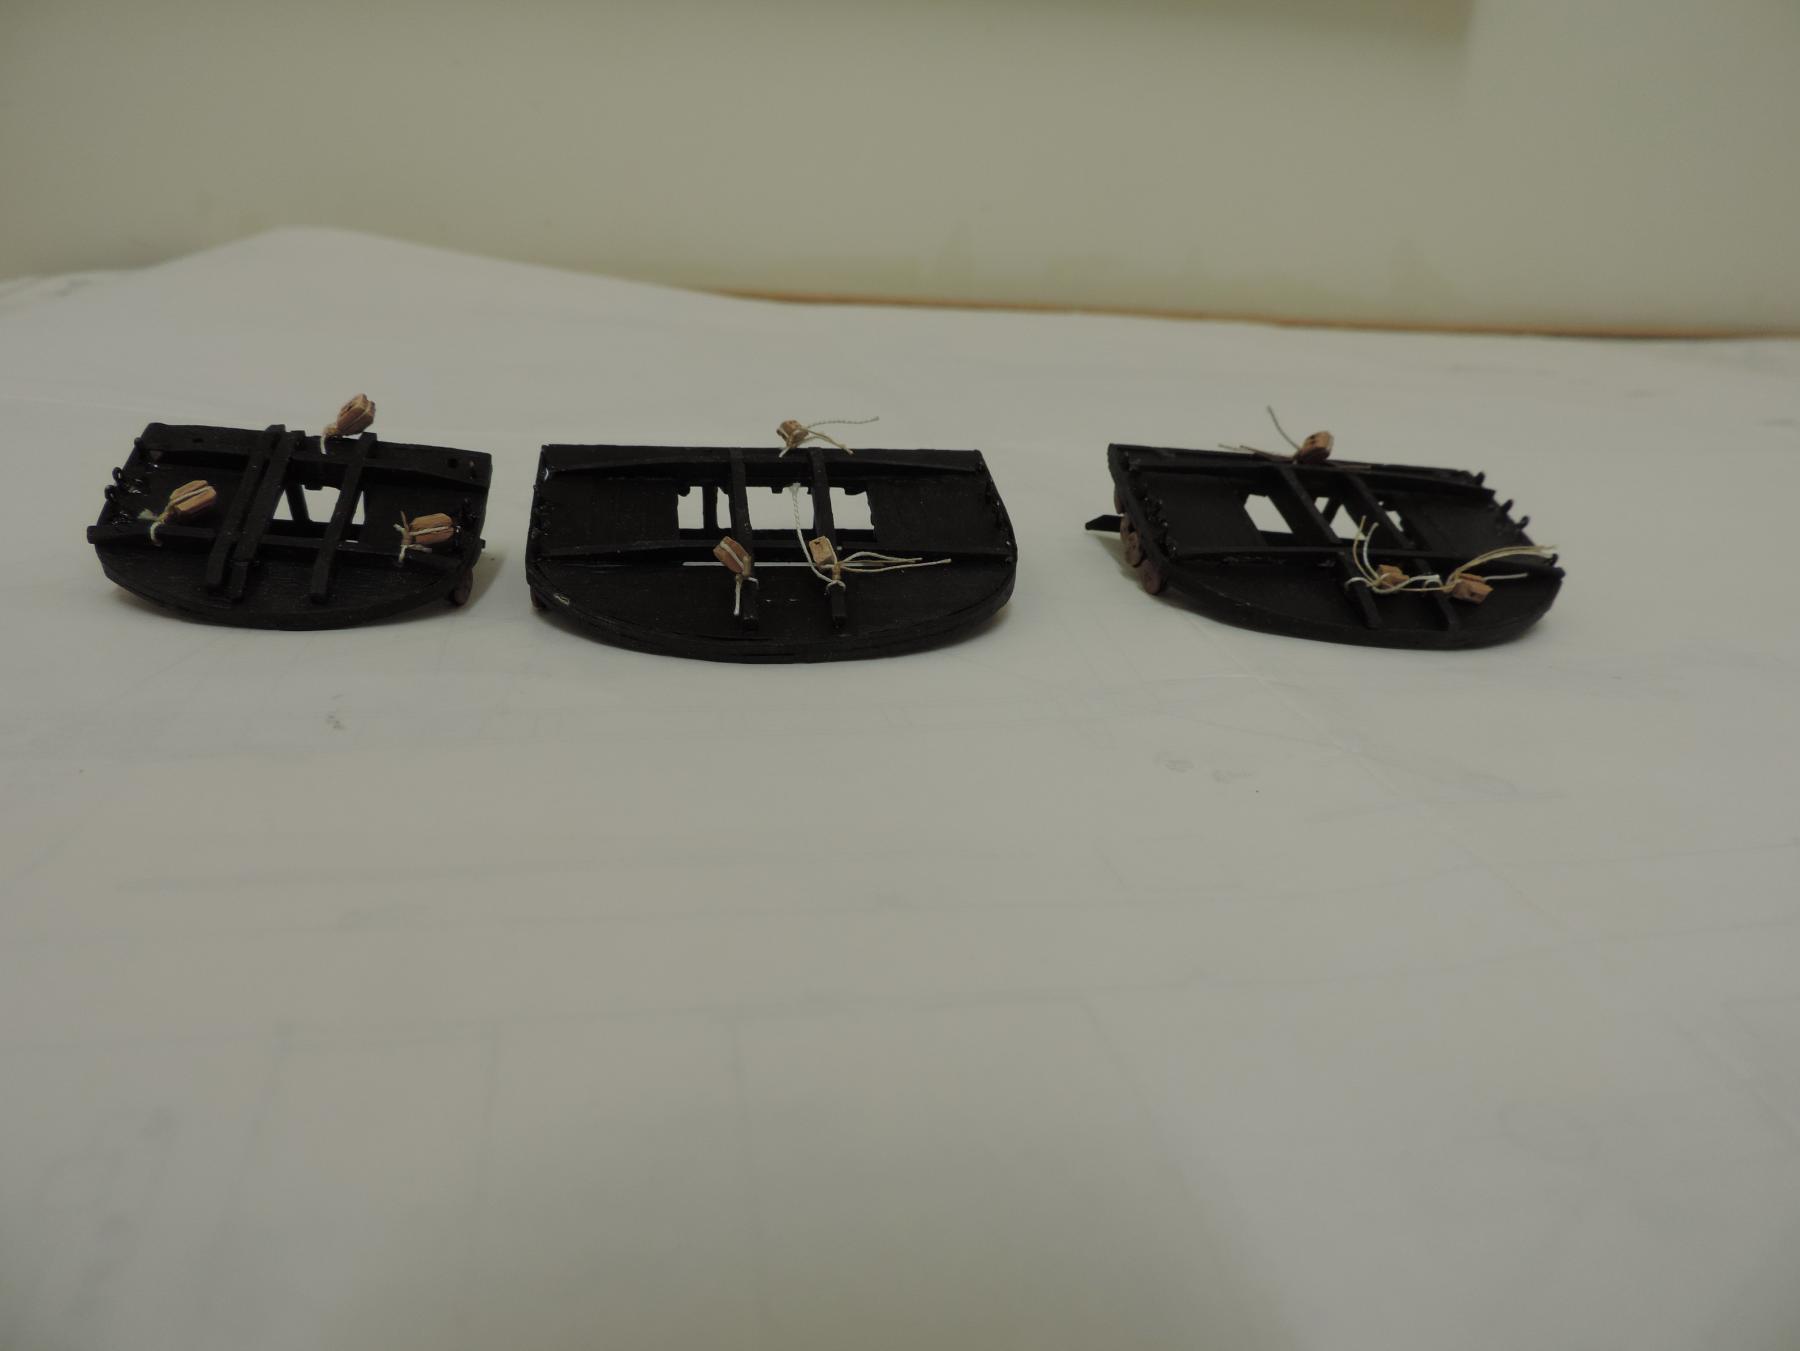
Finally something to write about. Completed all the mast components, installed the deadeyes on the tops and rigged the blocks on the top bottoms.
I made the deadeyes using Dave Rowe's method. It never ceases to amaze me how the first one of anything always takes forever and last one takes no time at all. It shows what repetition can do. Now for some final clean up, finish painting the black on the masts and start the rope work.
I will install all rigging I can on each component before assembling the masts and yards.
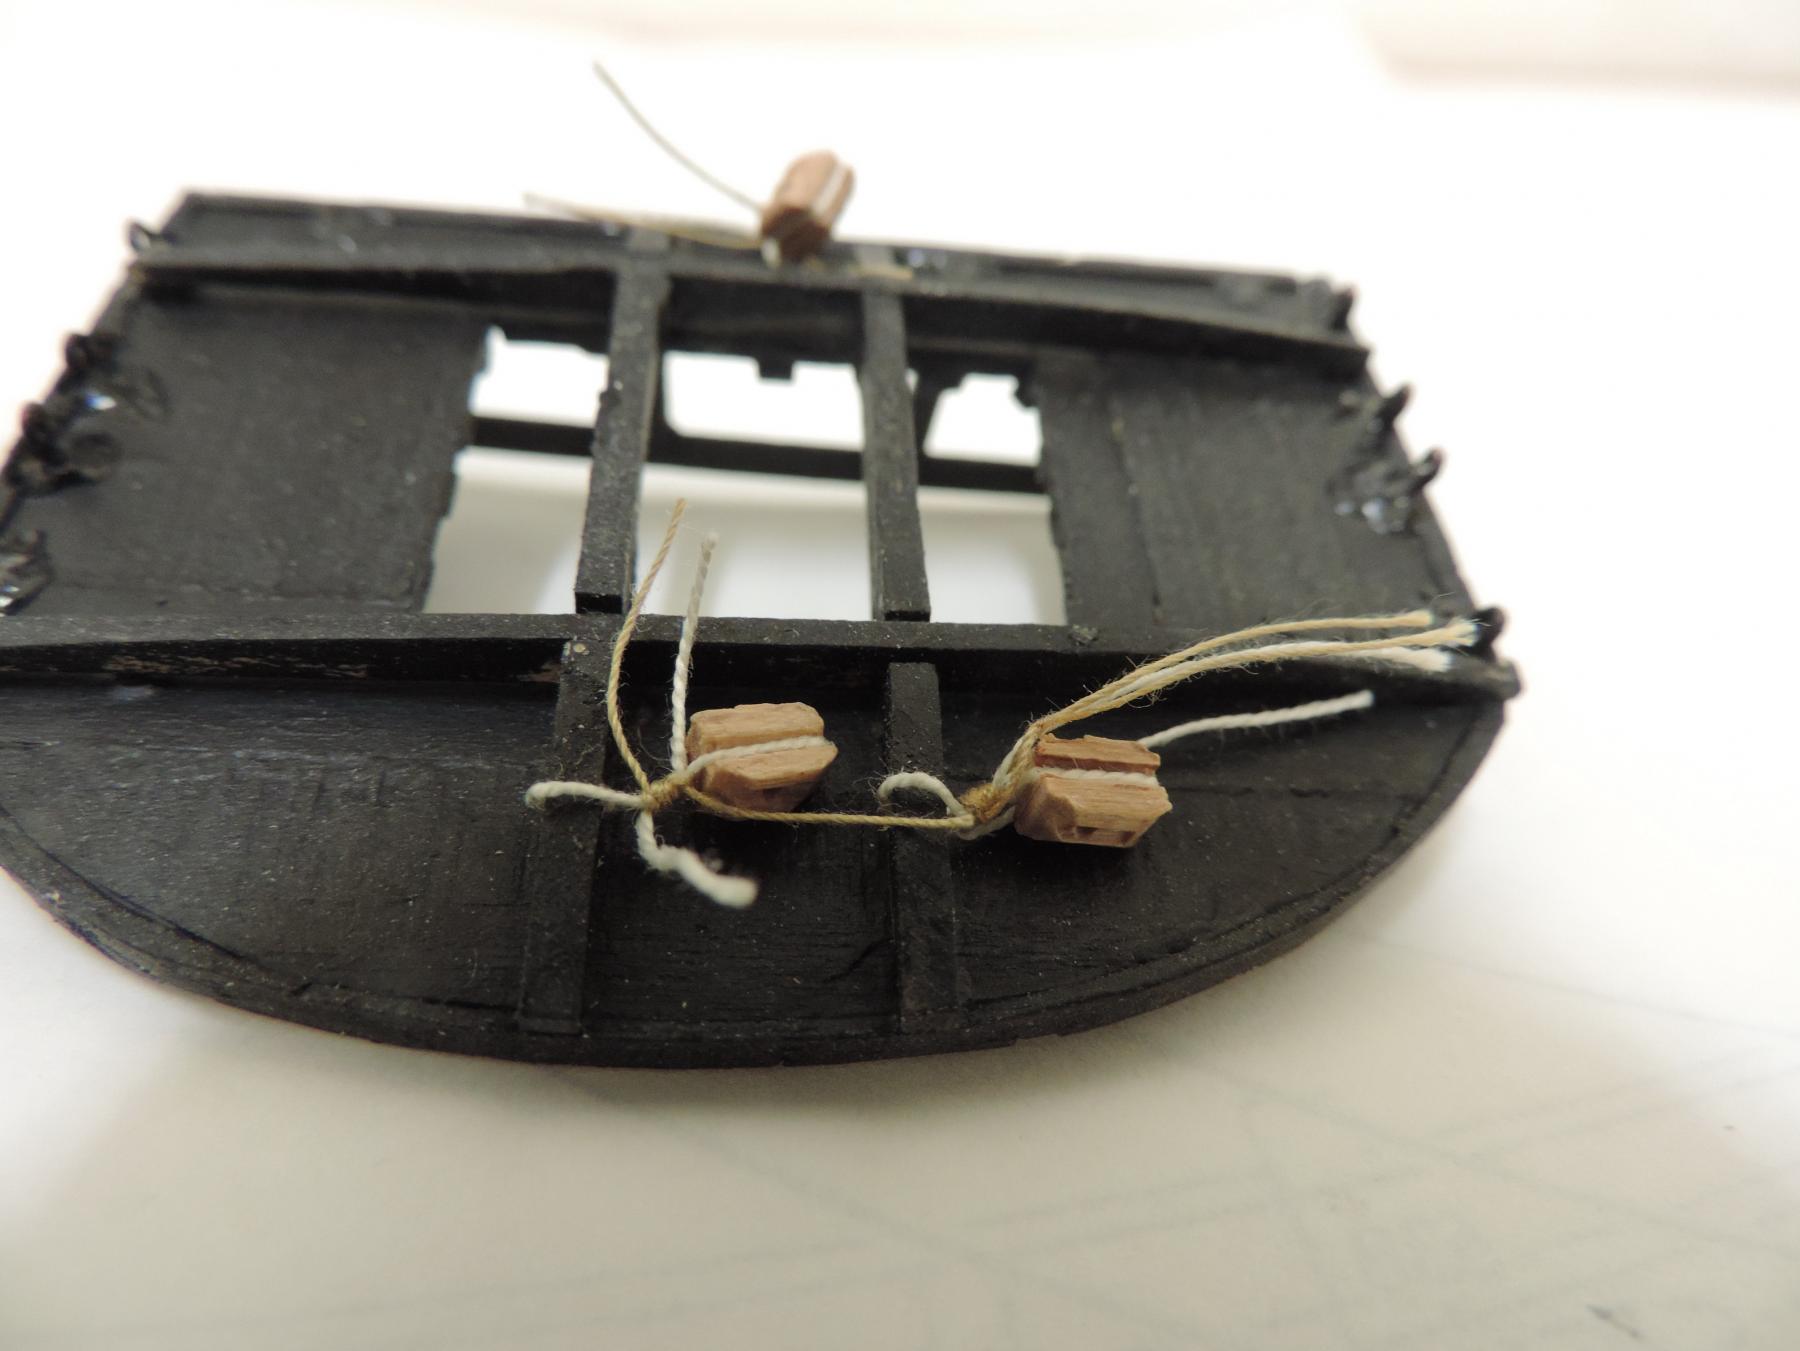
I made the rigging stations that someone was kind enough to post. Works very well. I never realized how much better the helping hand work when they are screwed down. Also, covering the alligator clip ends with some tacky tubing really helps. The blocks no longer jump out of the clips nor does any work piece get marred.
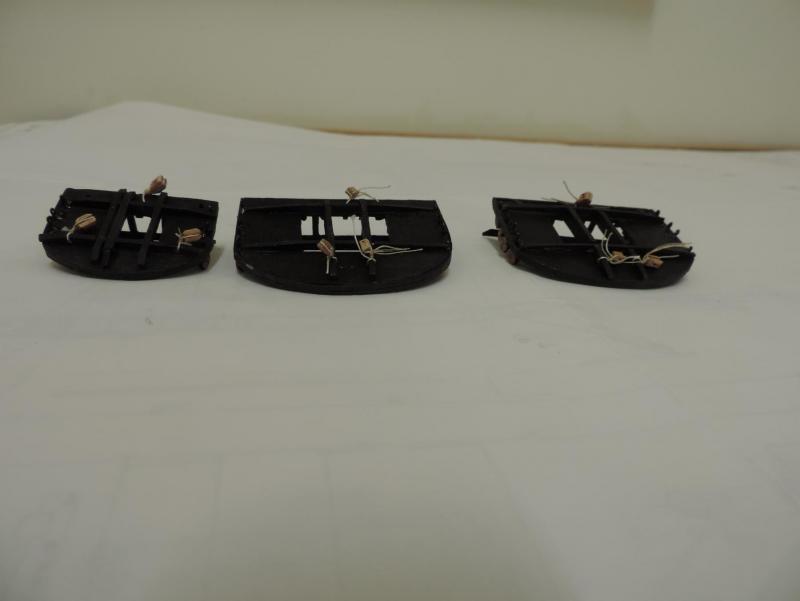
I have a big decision to make- to serve or not to serve that is the question. Since this is not going to be a historically correct model as I have made to many mistakes/changes running back and forth between the Corel plans and the AOS and back again this is a huge lesson learned. I wonder if the effort will be worth it.
If I do decide to serve, I will try to make an add-on to the rigging station. This should not require too much engineering. And I am a jig lover.
Any way, here are some photos.
To those in the US, Happy Thanksgiving. To those Down Under and the Kiwis, hoist a pint and celebrate something.
Regards


- EJ_L, DaveRow, Ryland Craze and 7 others
-
10
-
-
Pat,
Is the Endeavour a one off? Or, is there another build in the pipeline to which we can look for?
Regards
-
-
-
-
-
David,
I was looking at you mast tops and noticed that your deadeye strop was metal. Did you make those yourself or did they come with your Corel kit? I had enough for the lower hull dead eyes but can't seem to locate the material for the upper ones. If you did fabricate them yourself, I'm sure it's in your log somewhere. Could you direct me to the post.
Thanks
-
I think that is common to all fully rigged ship kits. The only thing I ever saw that maybe made this a little easier is to yellow highlight each line on the plan when you work on it. You can also highlight in another color all those lines you are not going to rig. Another way to simplify the plans is to use whiteout tape to cover all lines, blocks, etc you are not going to rig. What's left should be fairly easy to interpret.
Regards
-
-
-
-
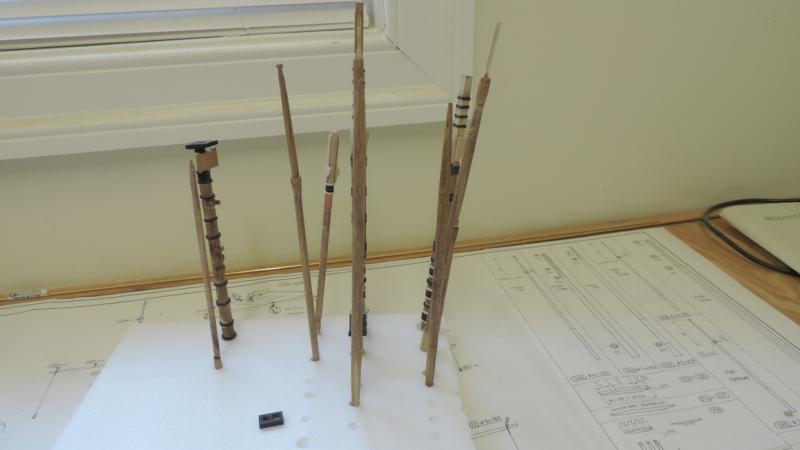
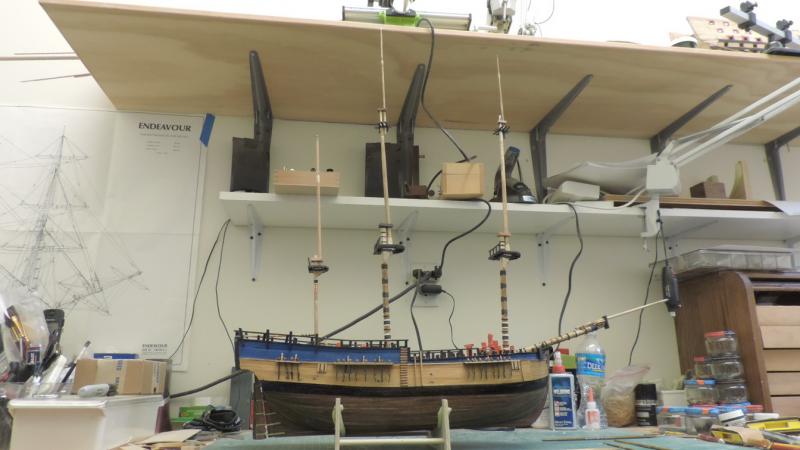
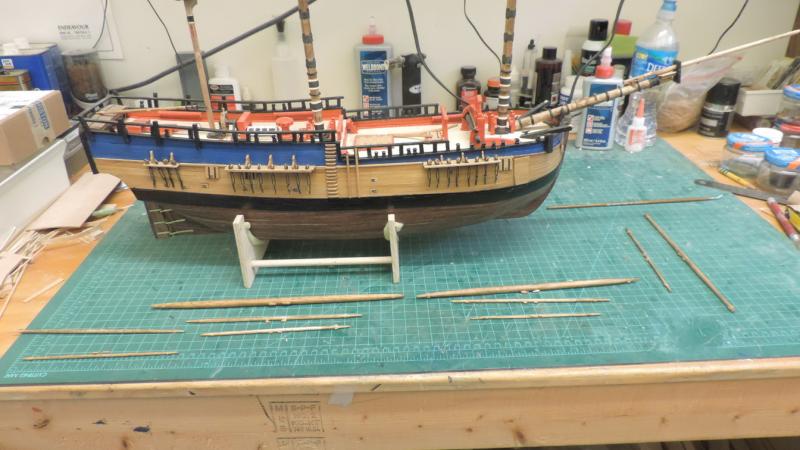
Greetings Again.
I can't believe that it's been 54 weeks since I started Endeavour and first posted in this log. Time really flies when you are having fun.
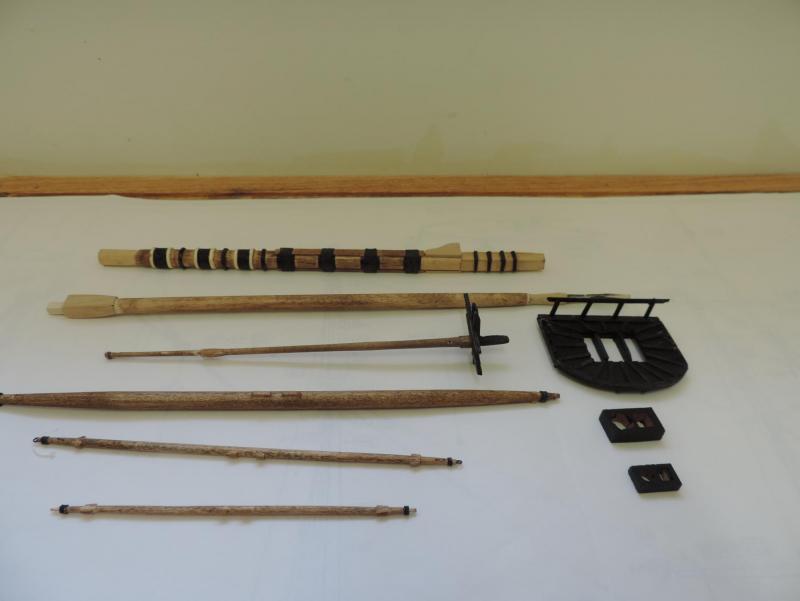
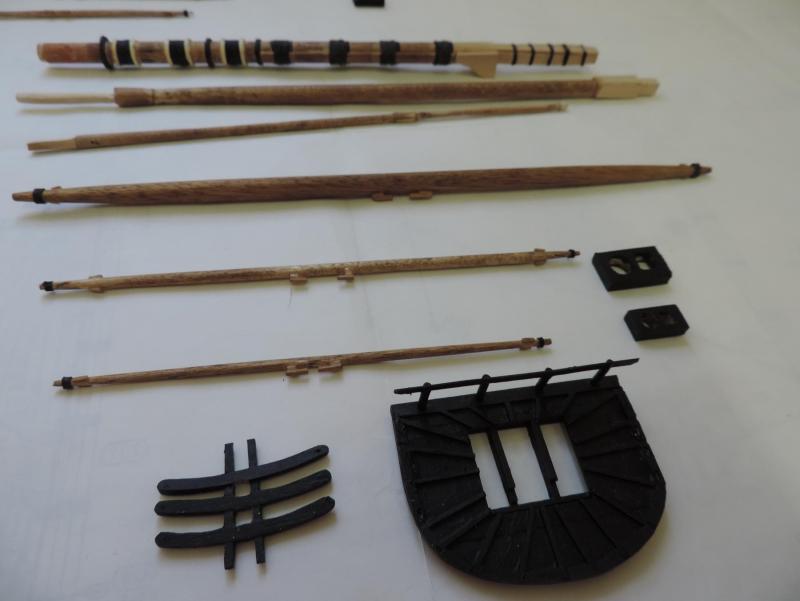
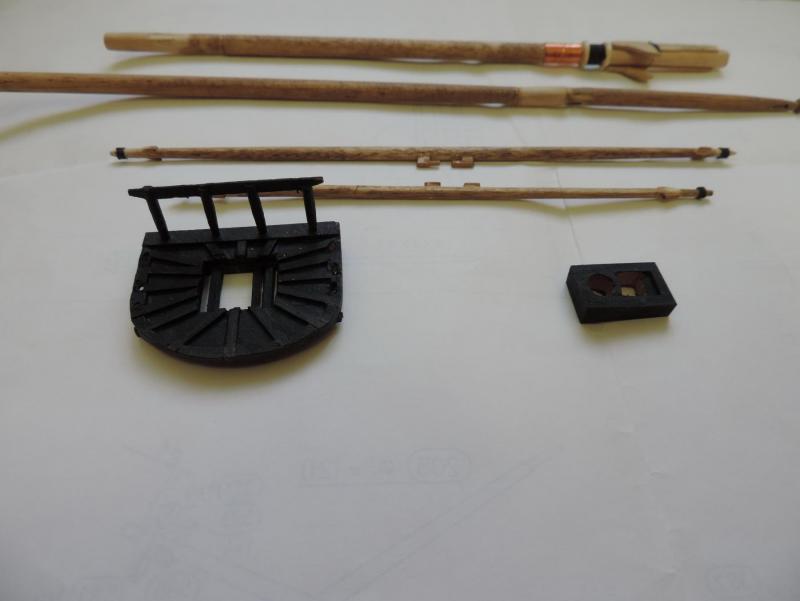
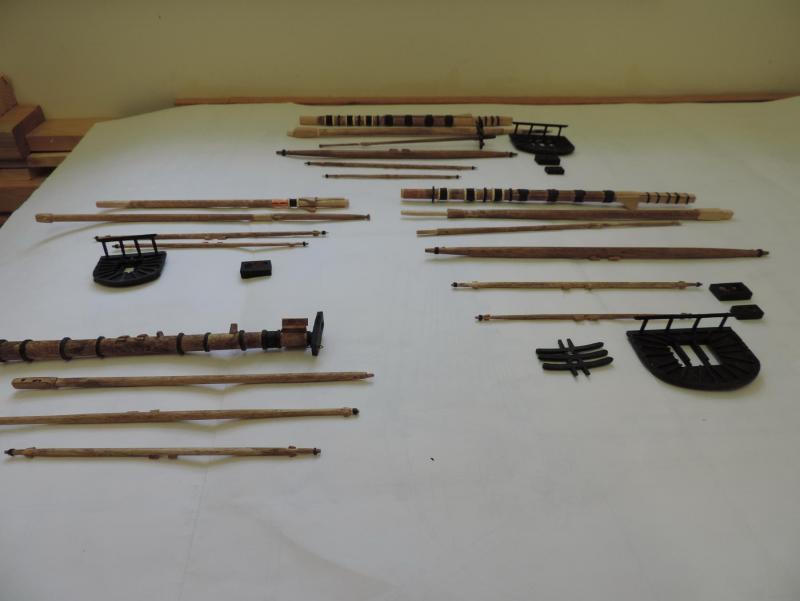
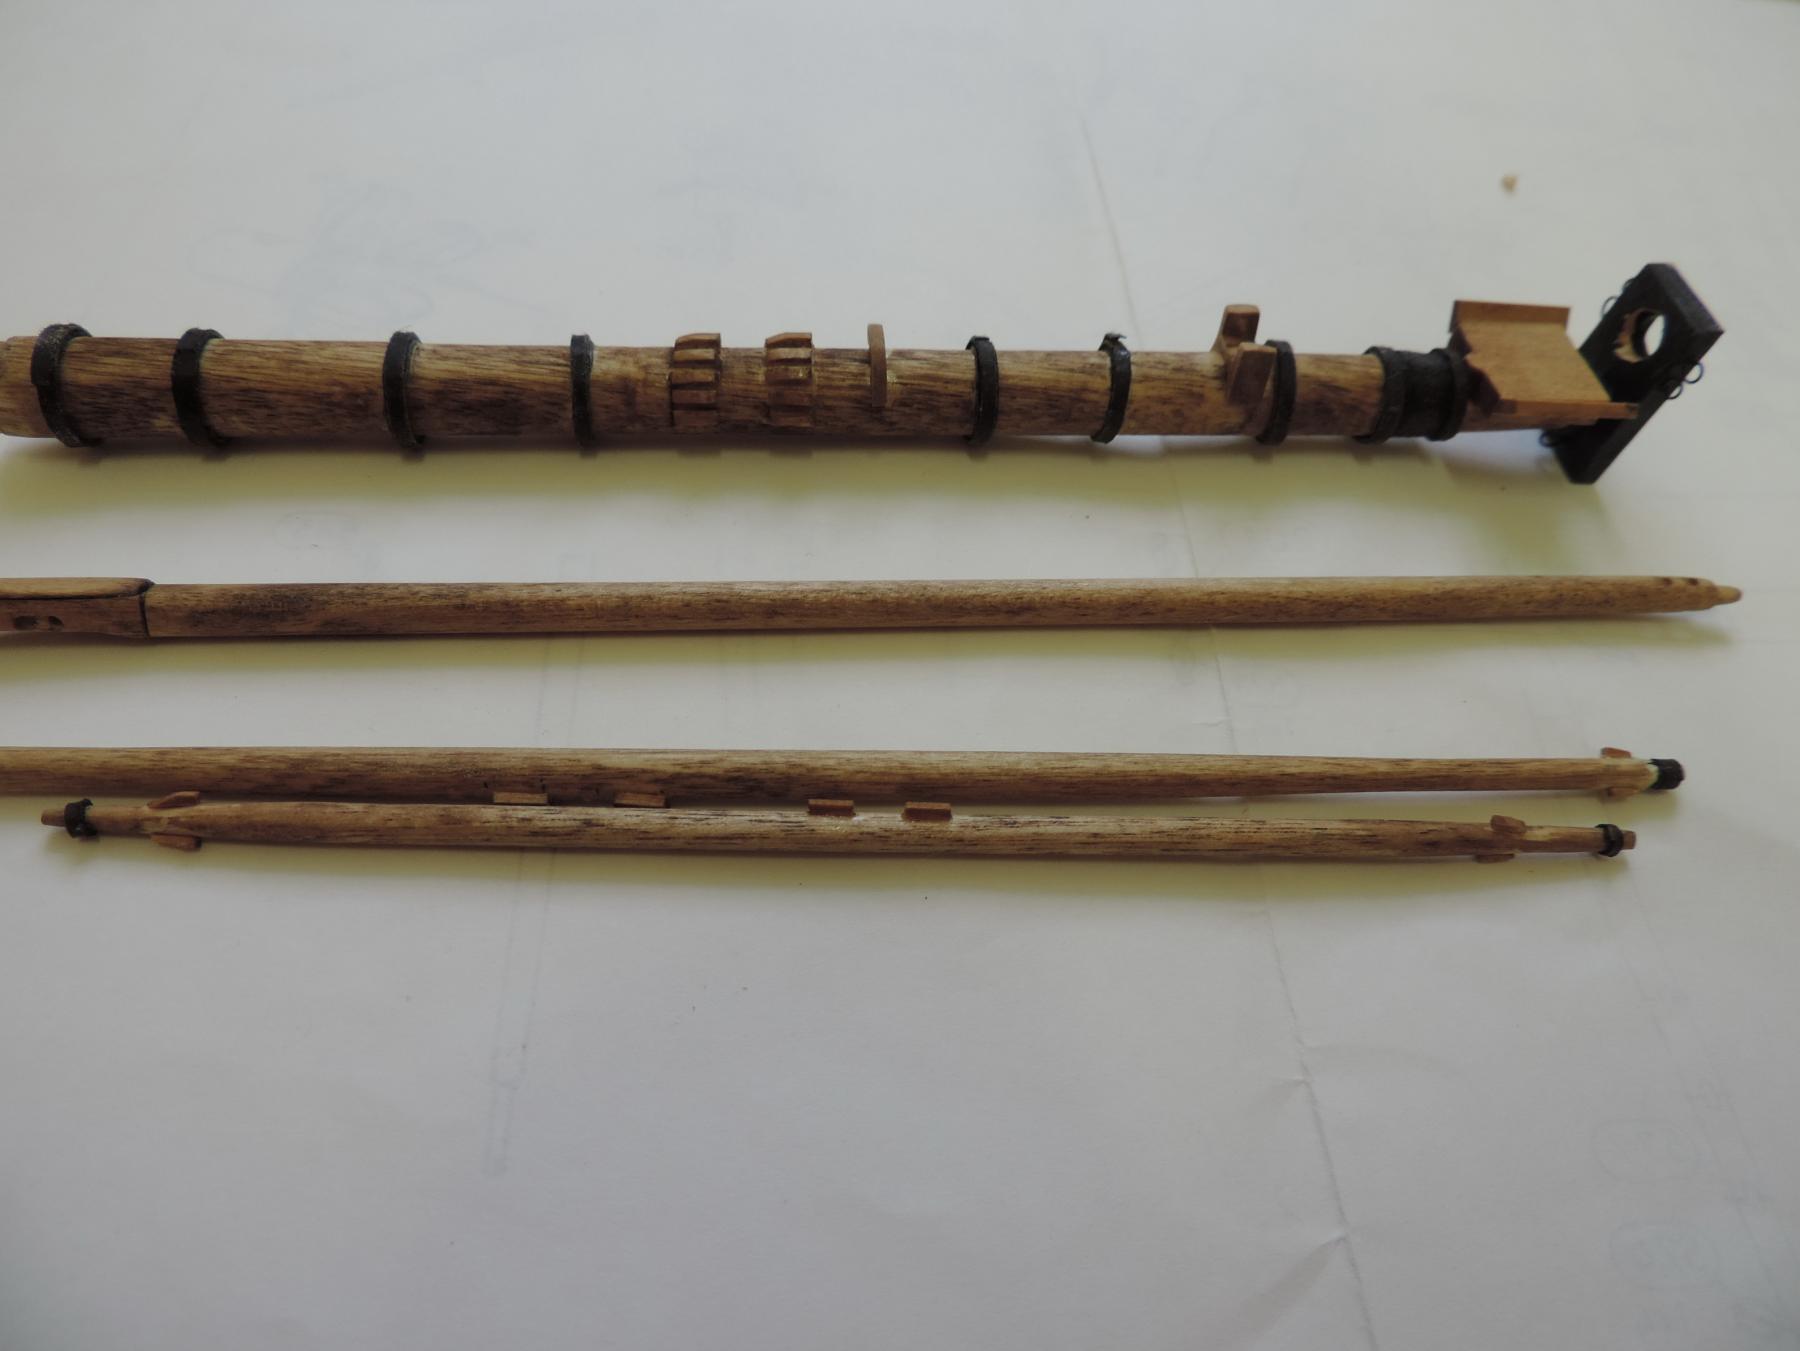
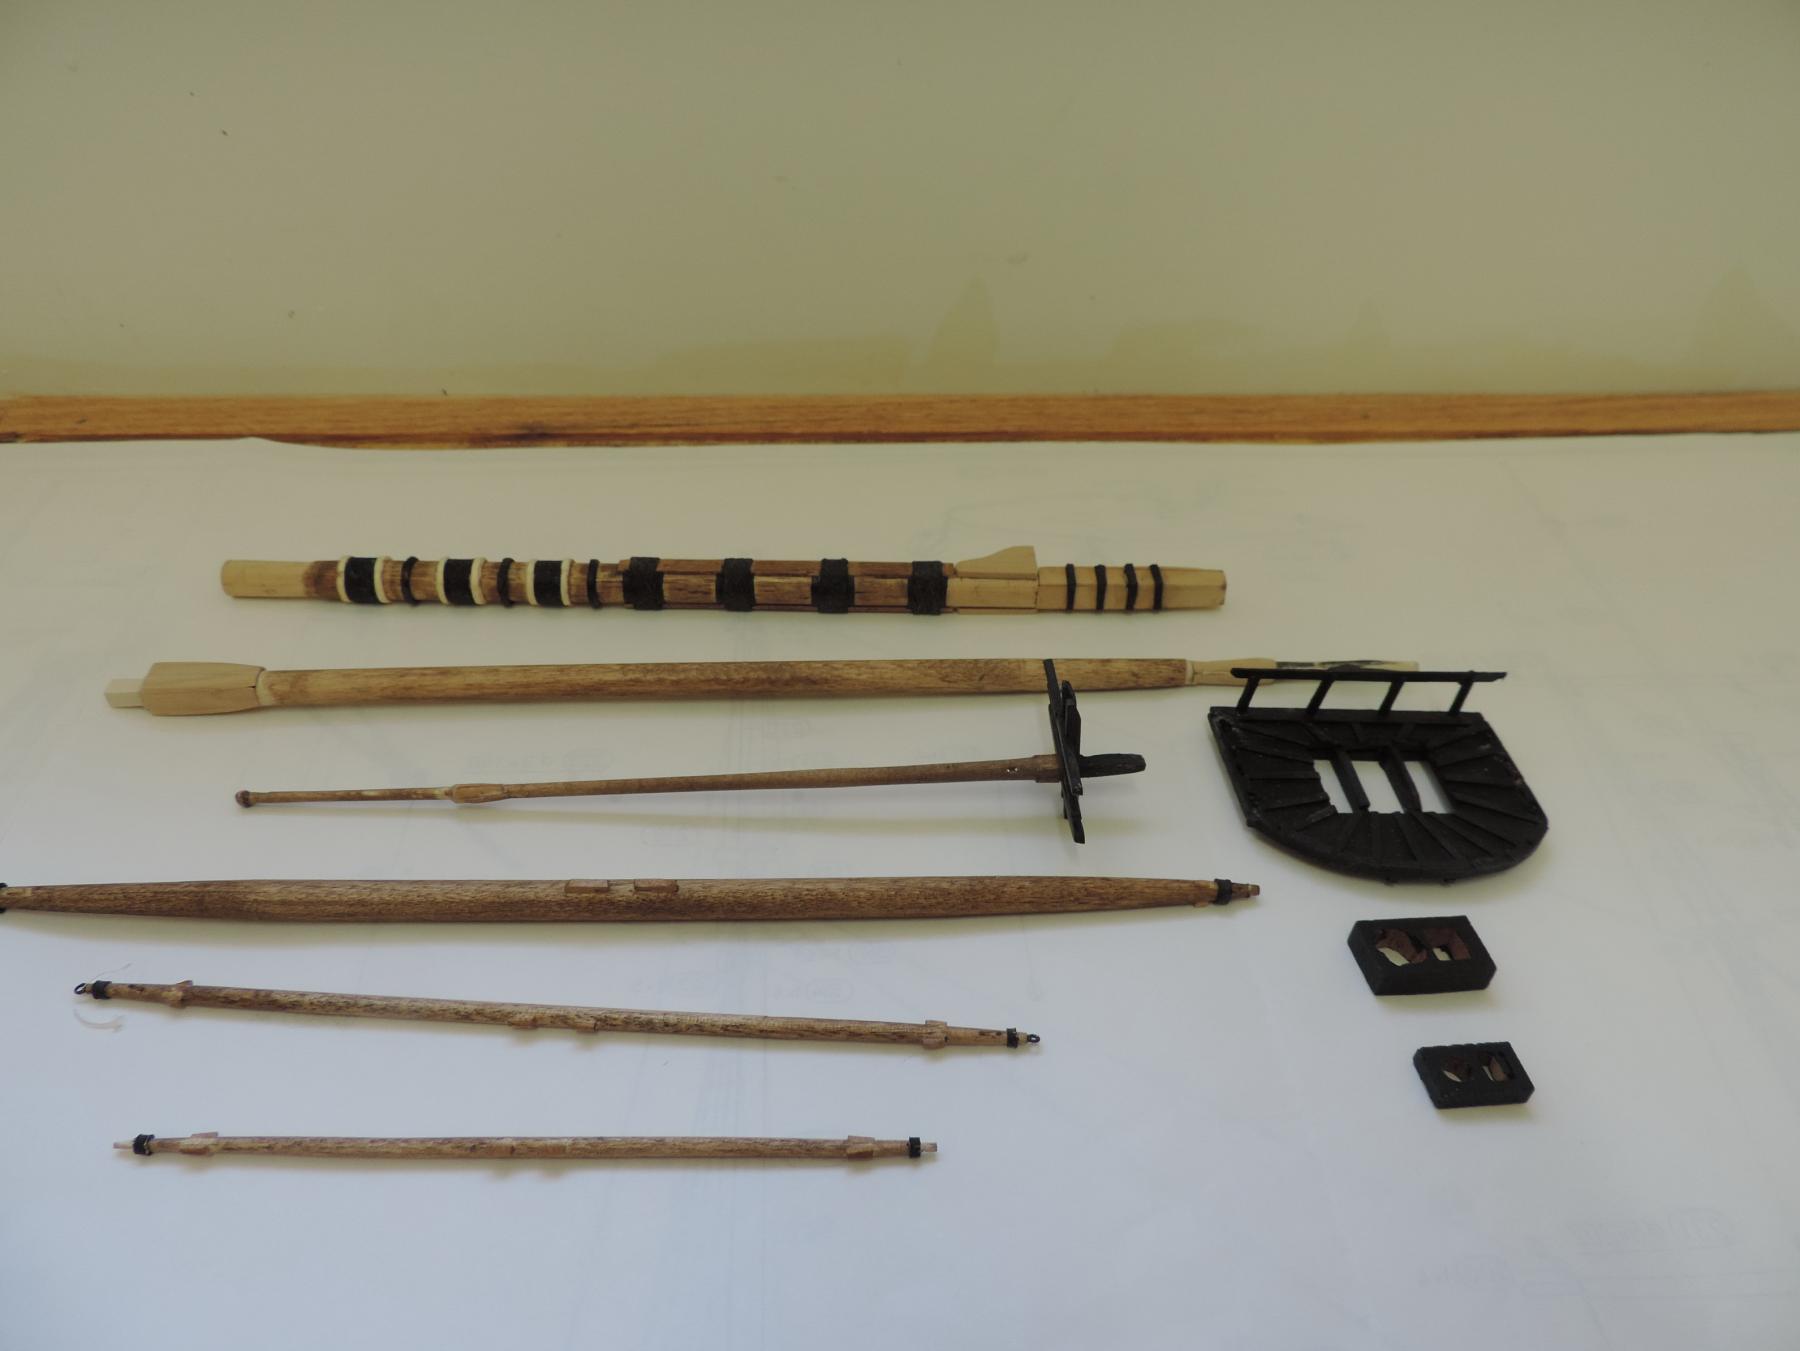
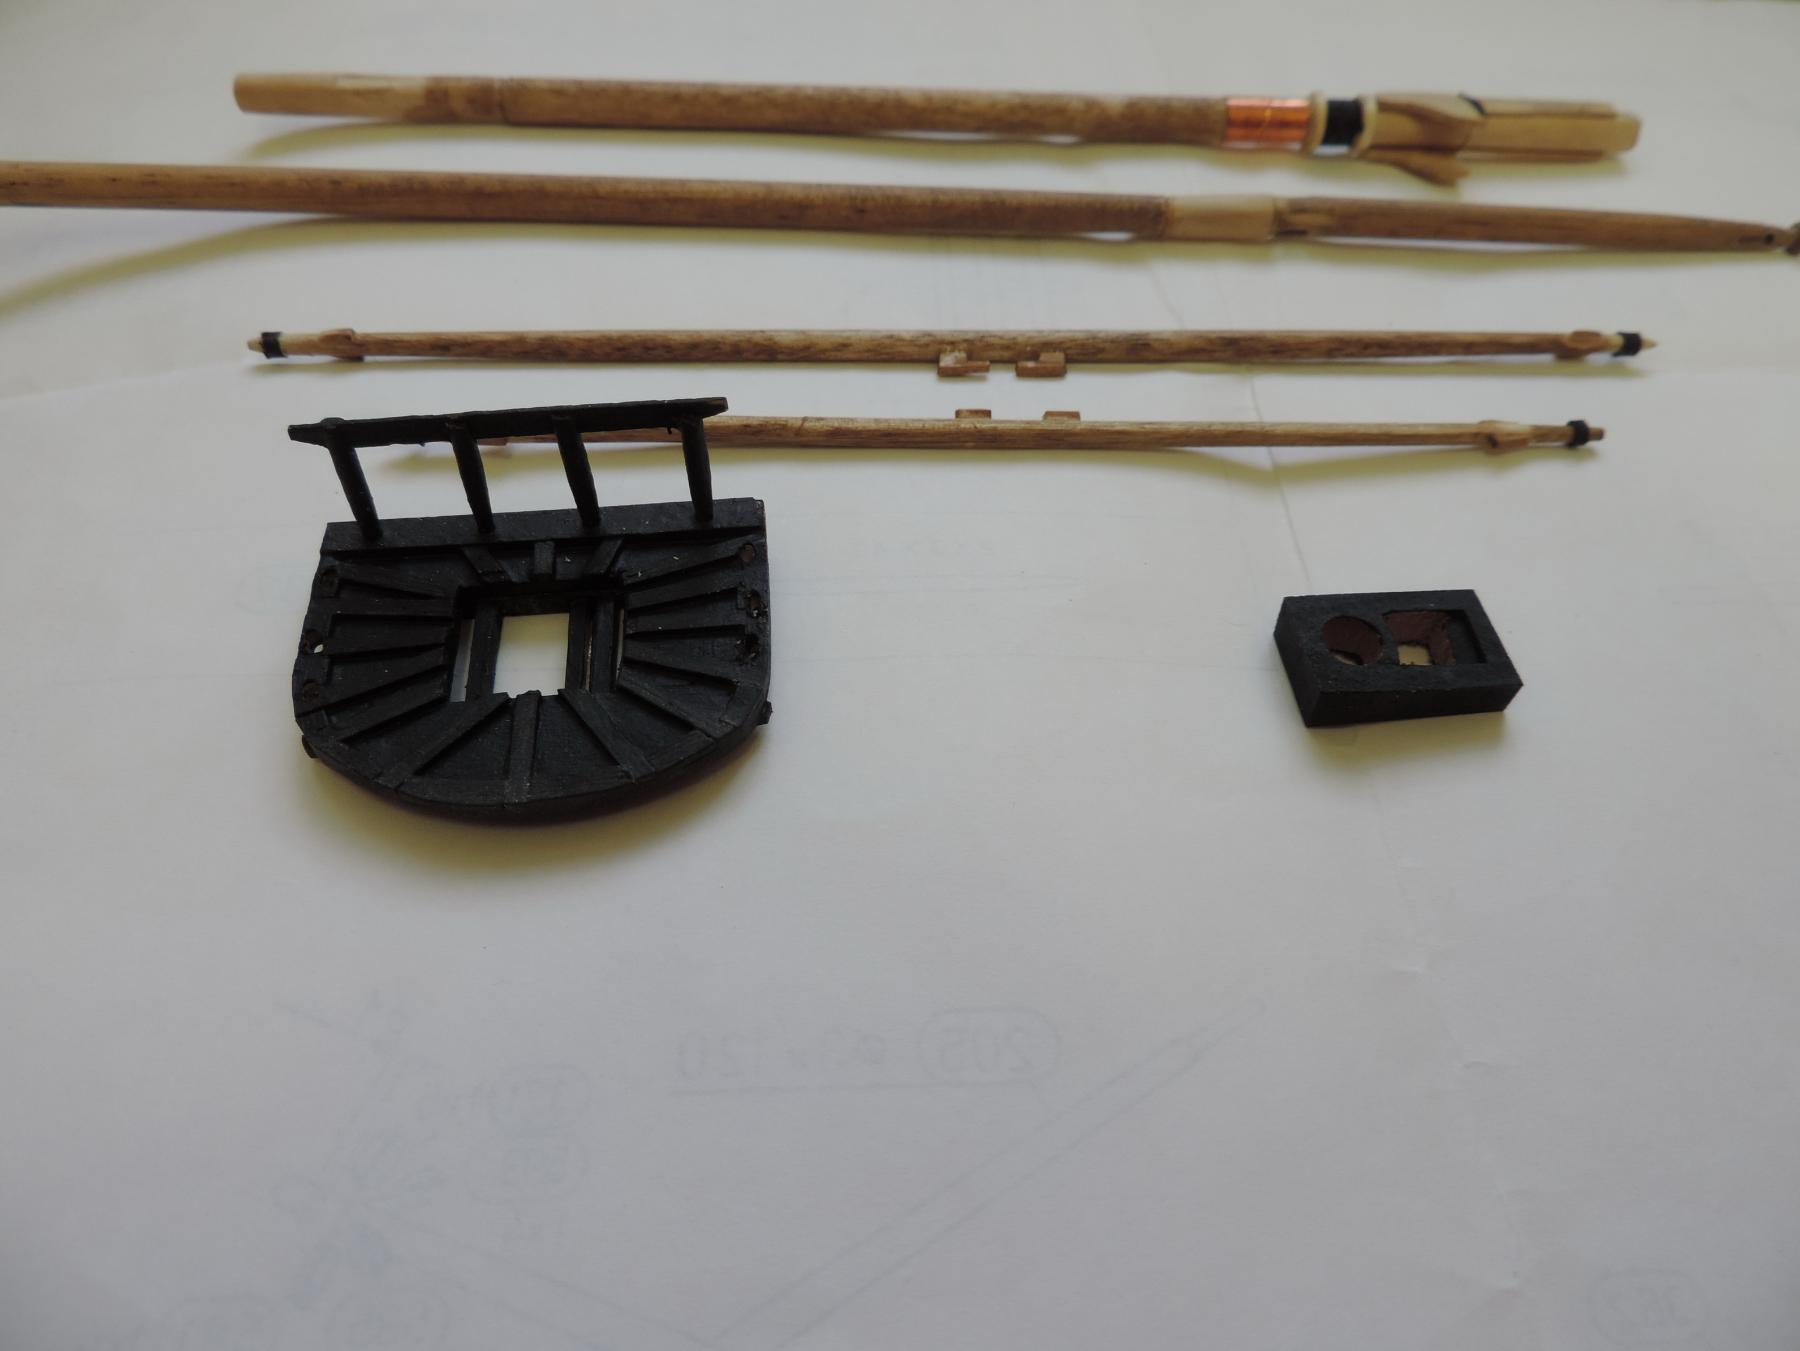
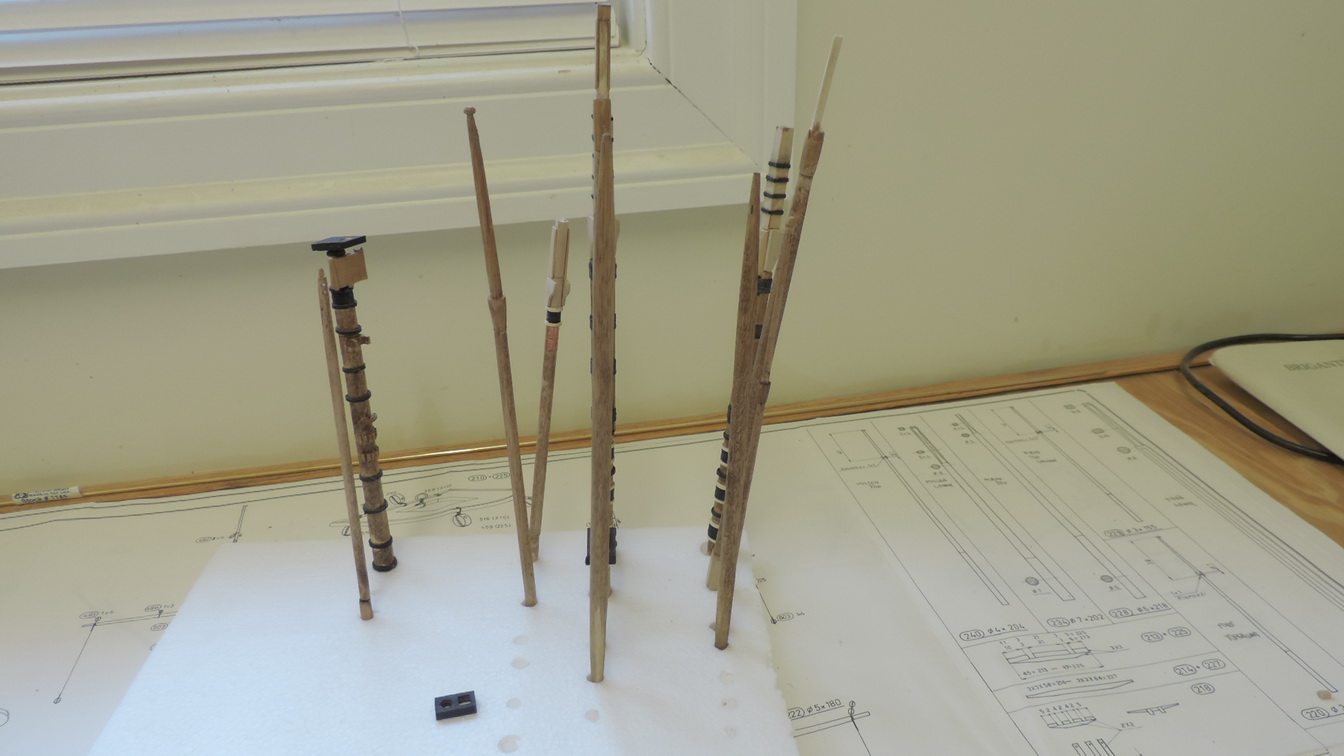
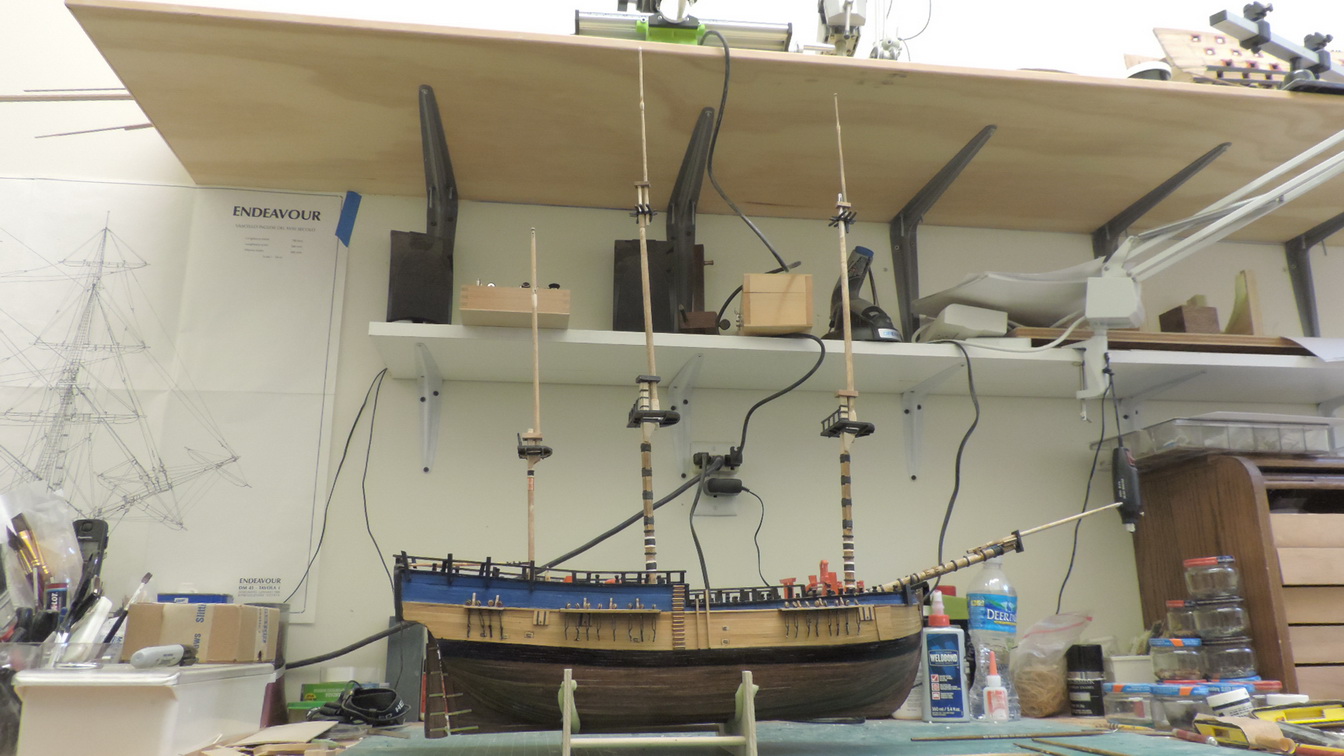
I reached what I consider to be a milestone on the build. All of the masts, spars and tops, mast caps and bow spirt have been fabricated.
I dry fitted all of the components and they seem to fit fairly well. Some, well maybe more than some, touch up will be required. Then its on to mounting the eye bolts and all the rest of the goodies that should be done before stepping the masts. Finally the painting will be completed. I won't admit to how many dowels it took to get this far.
I tried to do the hexagonal center for the main yards on a piece of scrap. This did not go well and I have decided to omit this. I can see where starting with square stock for the spars is definately the way to go. Next time.
We'll take a break. Clean up the shop. And, maybe work on my solid hull Sultana for a bit.
Regards
Photos to follow
- DaveRow, shipcarpenter, hervie and 7 others
-
10
-
Greetings,
And now the progress slows. I am now building the masts and tops. This is more difficult than I thought it would be. Had several do-overs to deal with. Hopefully, it will all fit together when all the parts are done. I will get some pictures over the weekend.
Regards to all
-
-
-
-


La Couronne by EJ_L - FINISHED - Corel - 1:100 - 1637 Version
in - Kit build logs for subjects built from 1501 - 1750
Posted
Good for you EJ. Always good to have projects at different stages to keep the skills fresh.