vossy
-
Posts
600 -
Joined
-
Last visited
Content Type
Profiles
Forums
Gallery
Events
Everything posted by vossy
-
 very nice, clean, and crisp david. the red really sets it off well. do you have any sort of sheen level on her? or just keeping it matt? cheers chris
- 126 replies
-
- 2
-

-
- fly
- victory models
- (and 1 more)
-
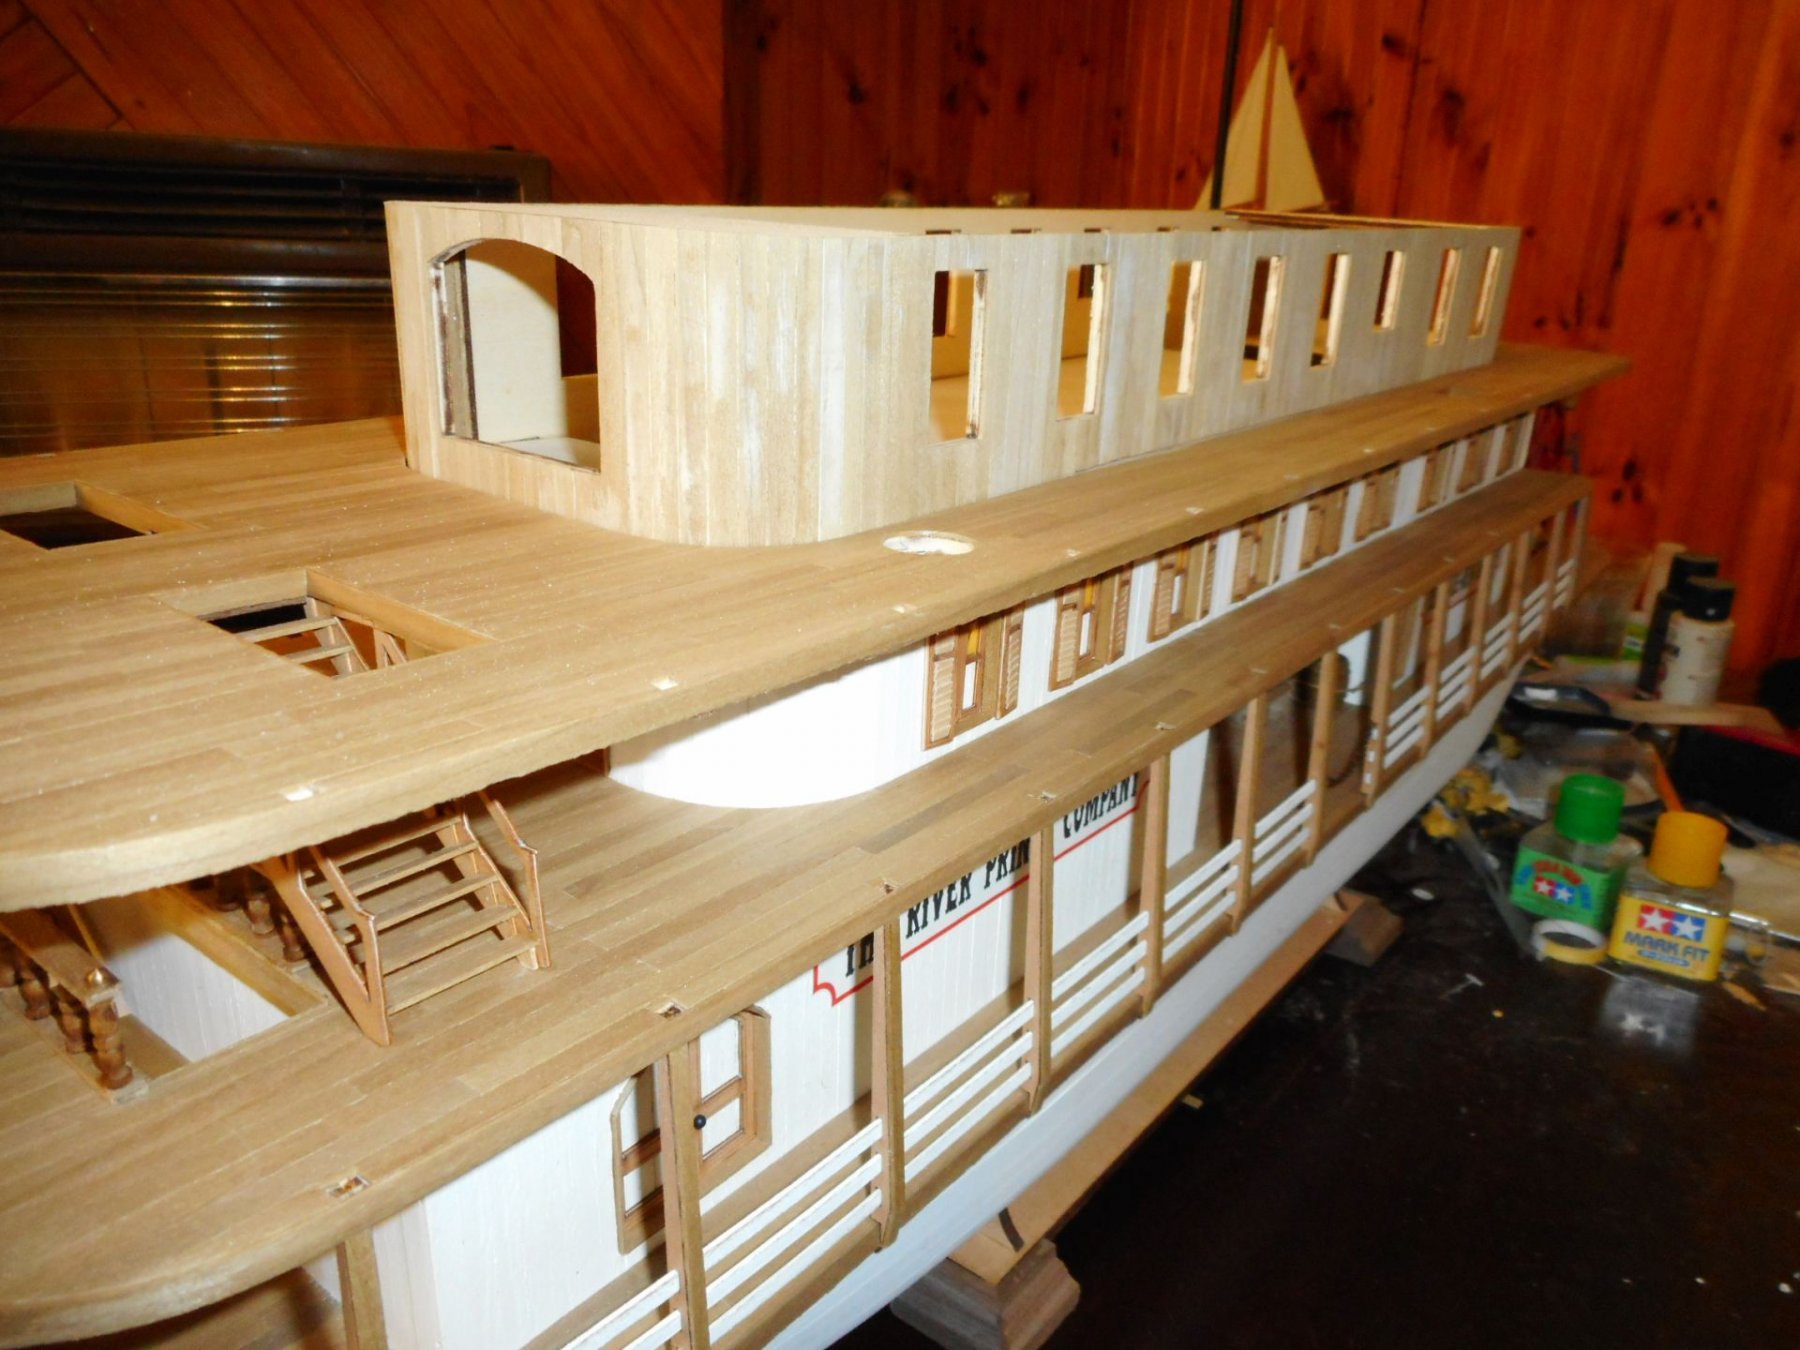
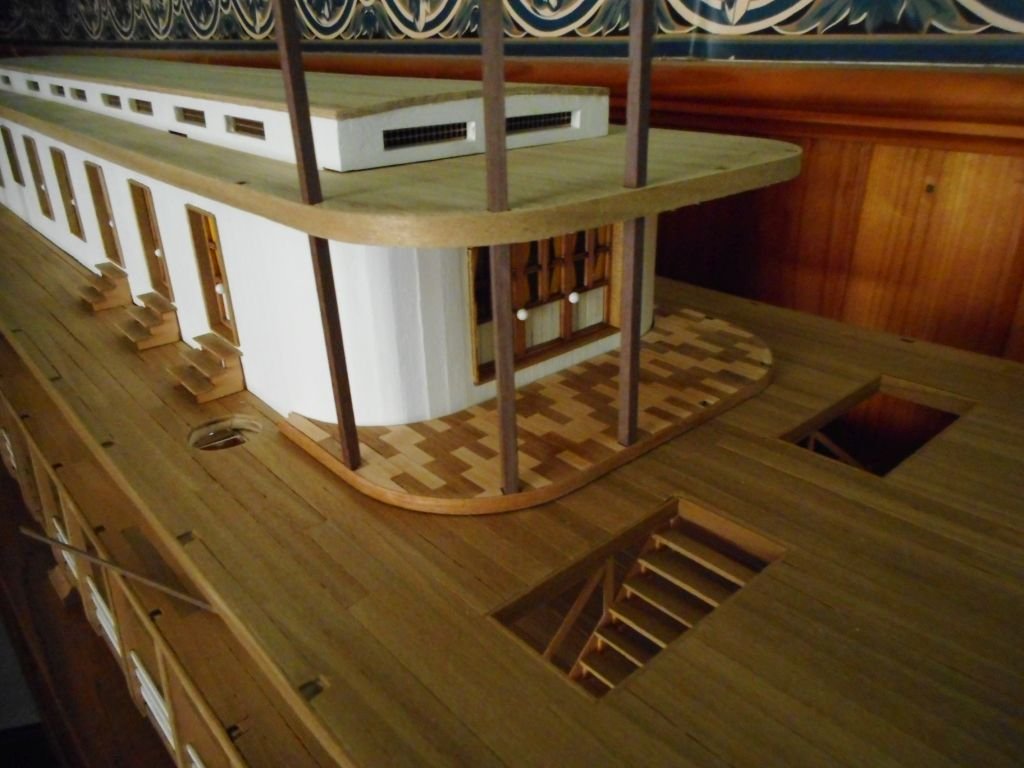
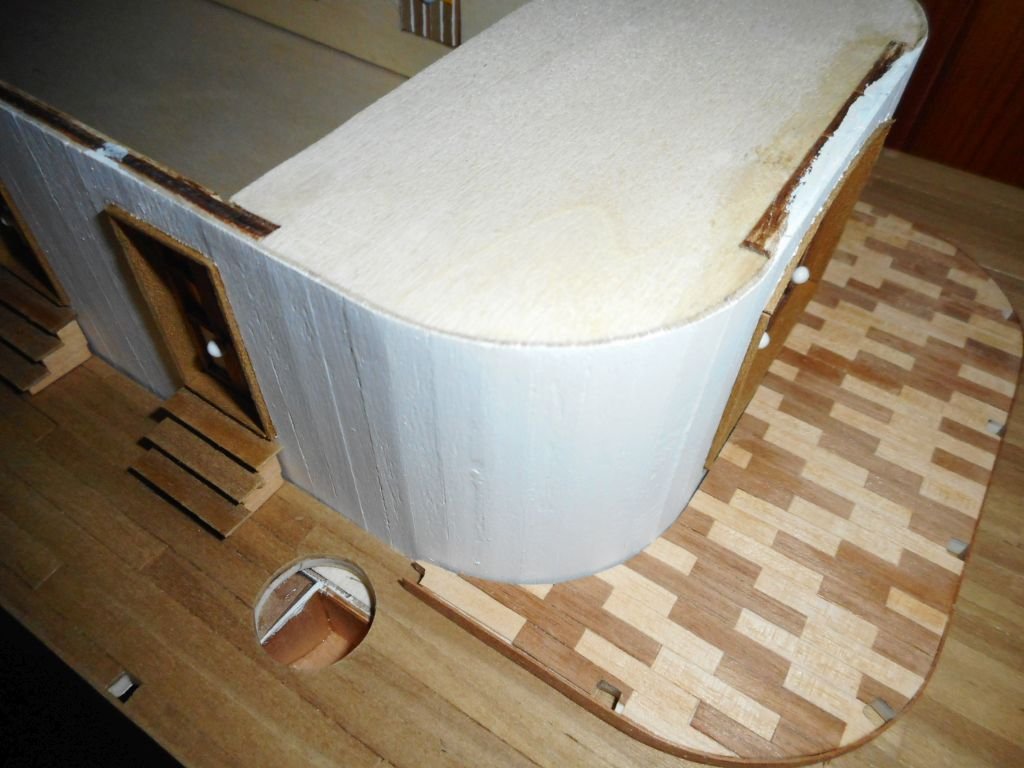
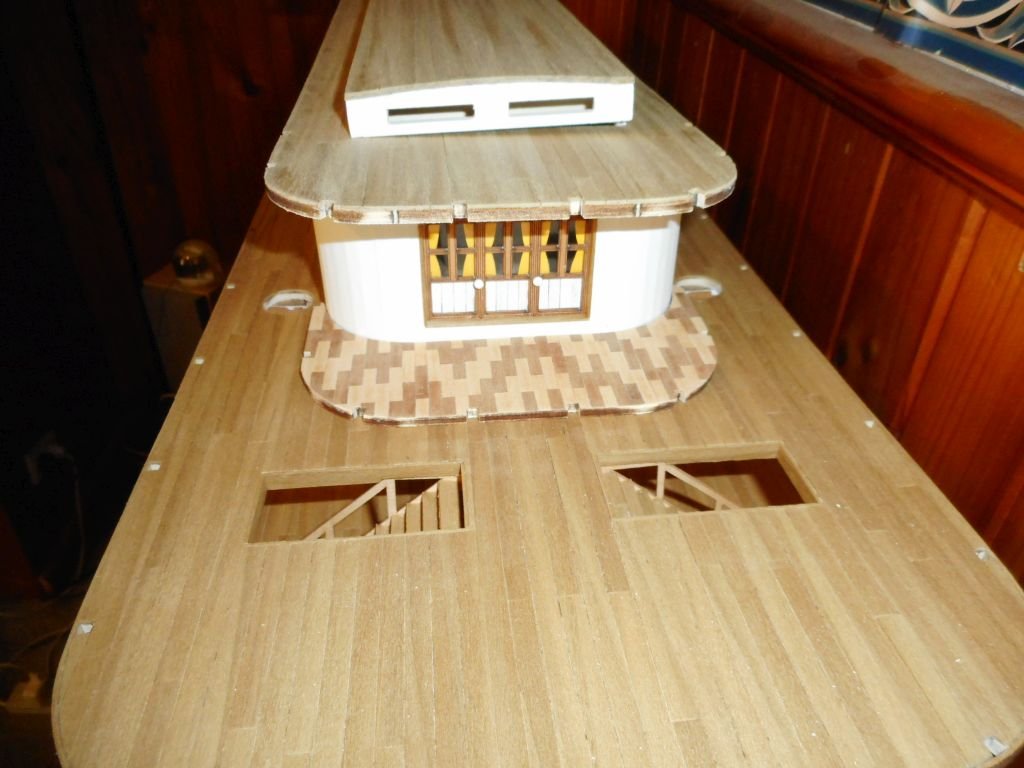
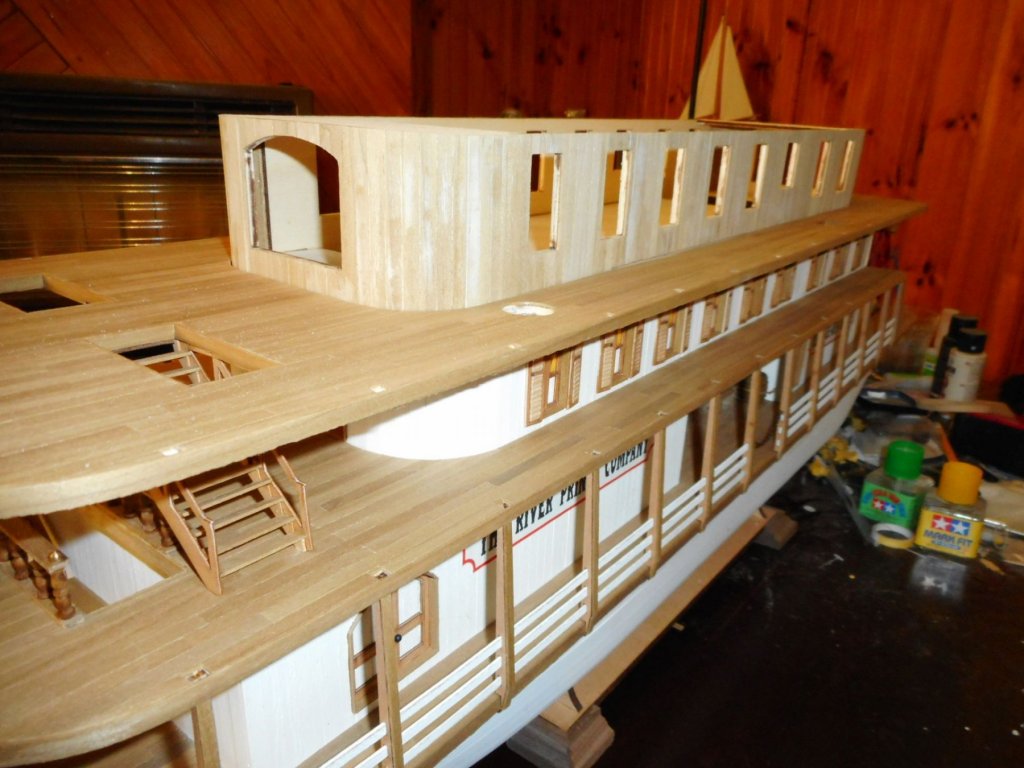
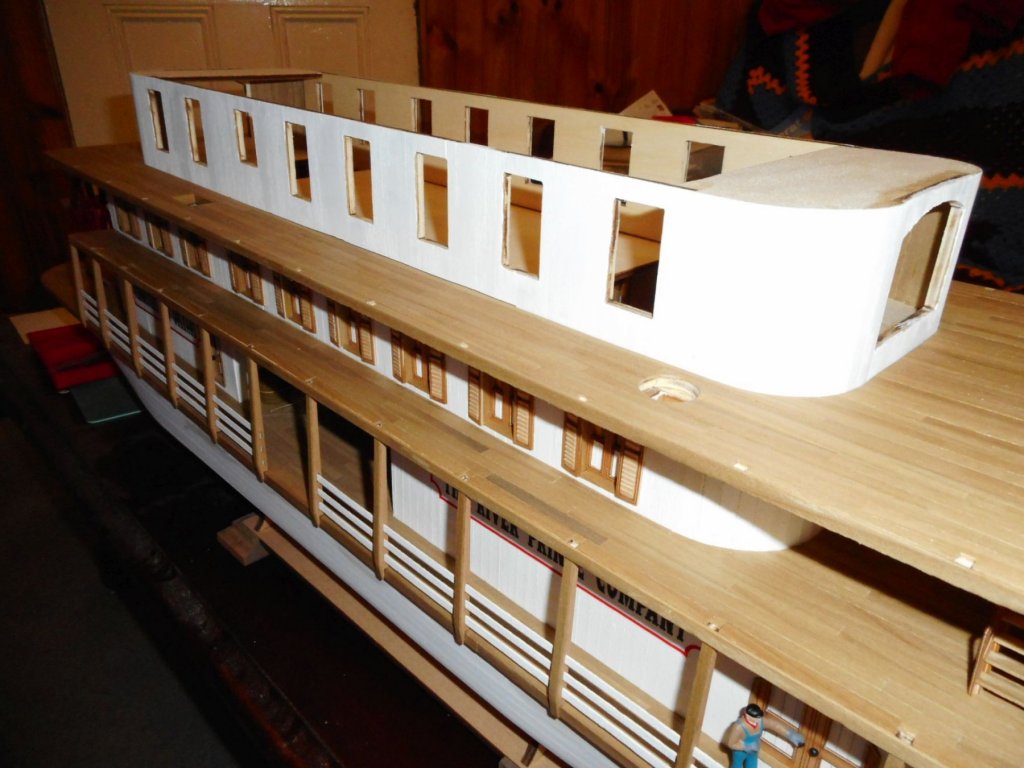
Dry fitting of upper vent structure and posts to make sure they align up properly. Cheers Chris

-
Hey mate, I have been going through your build log. I thought you did a great job. To me, no manufacturer could possibly be any worse than Mamoli. Also, it appears you got a pretty old kit version. I would be hoping that maybe they have upgraded a bit and fixed a few errors. I emailed the owner of an Australian distributer here and he said that the kits were double planked. not sure if this is true or not, but if it is, it represents an upgrade from your single planked hull version. Cheers Chris
-
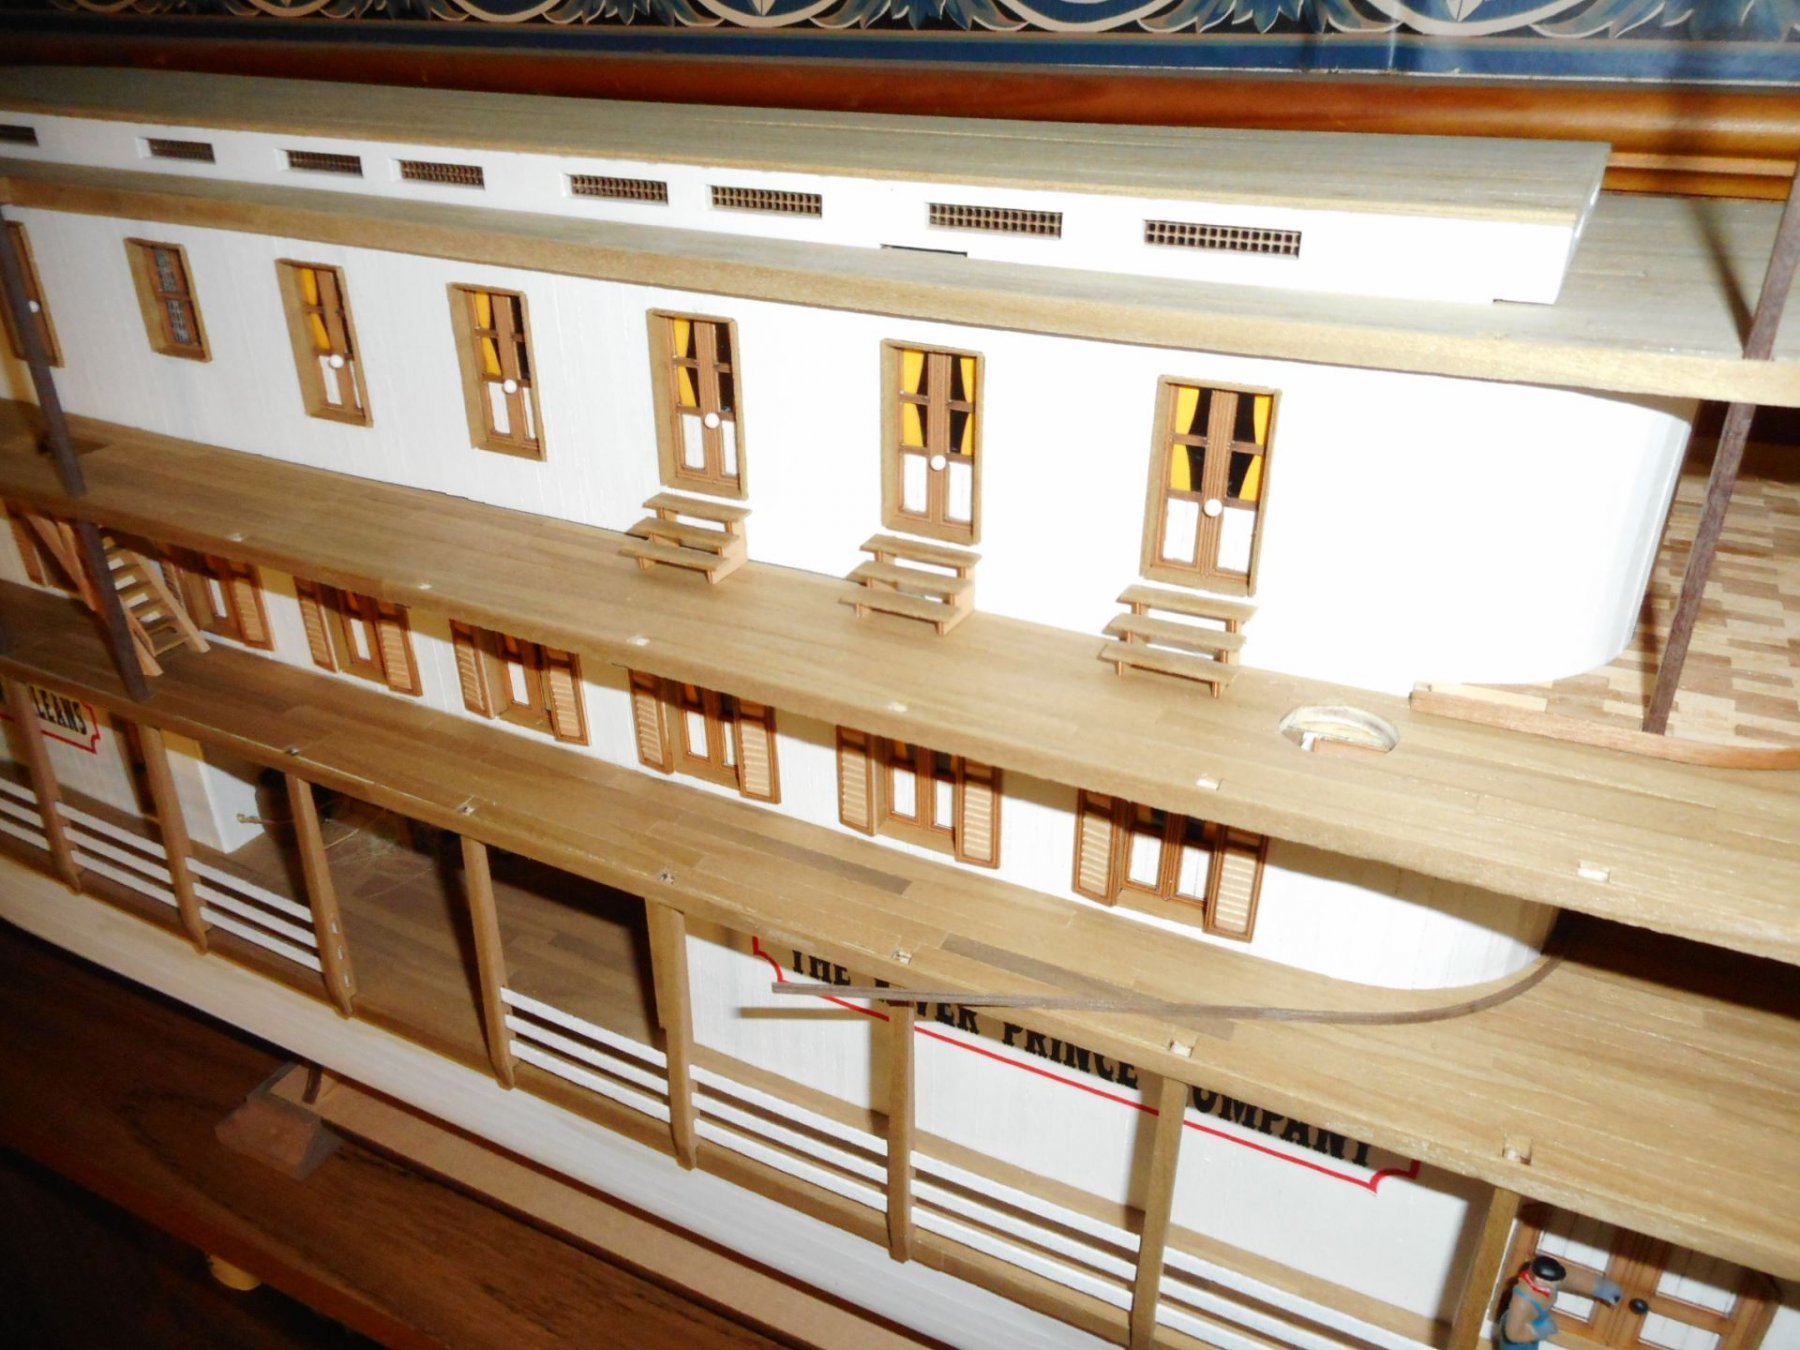
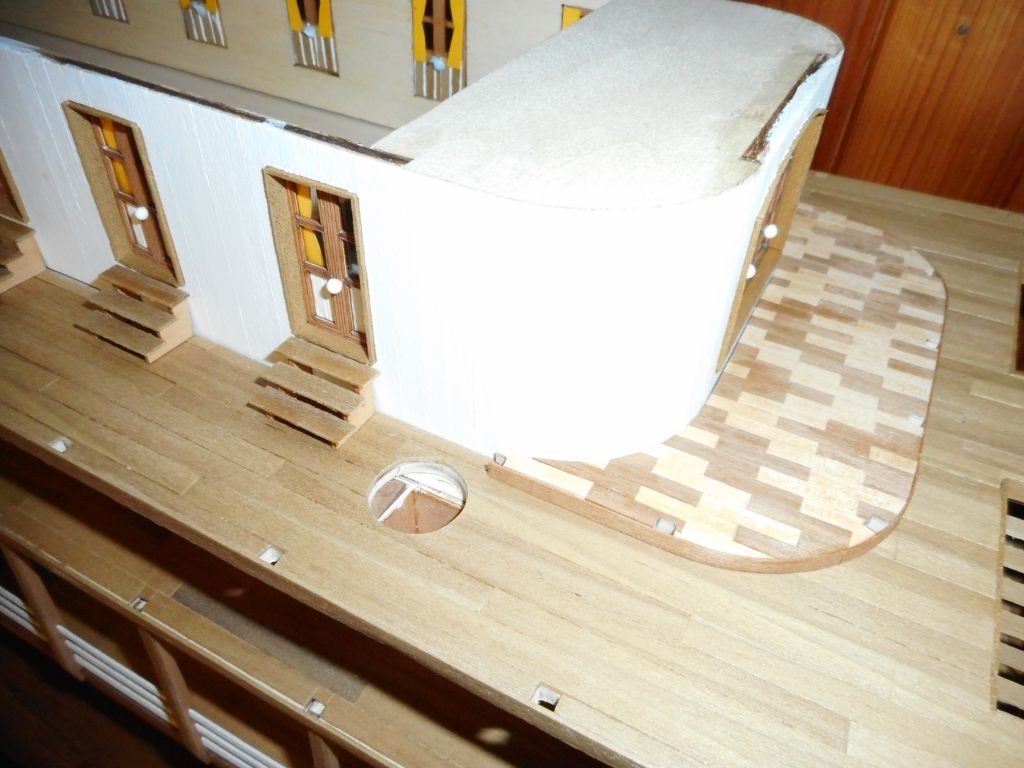
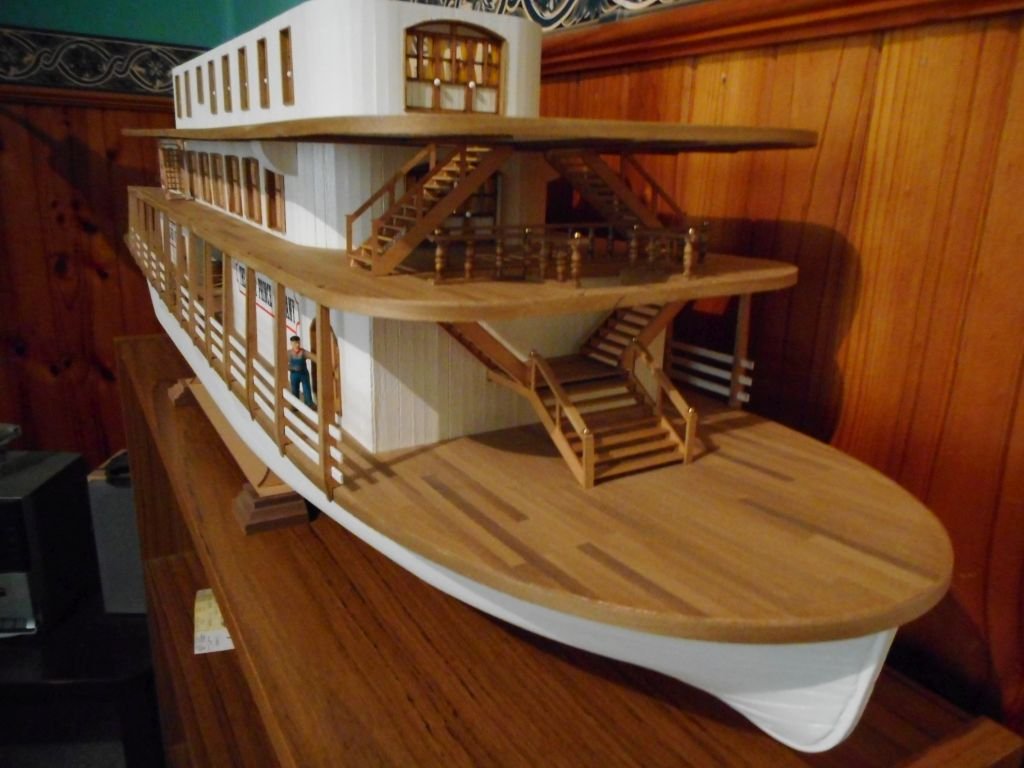
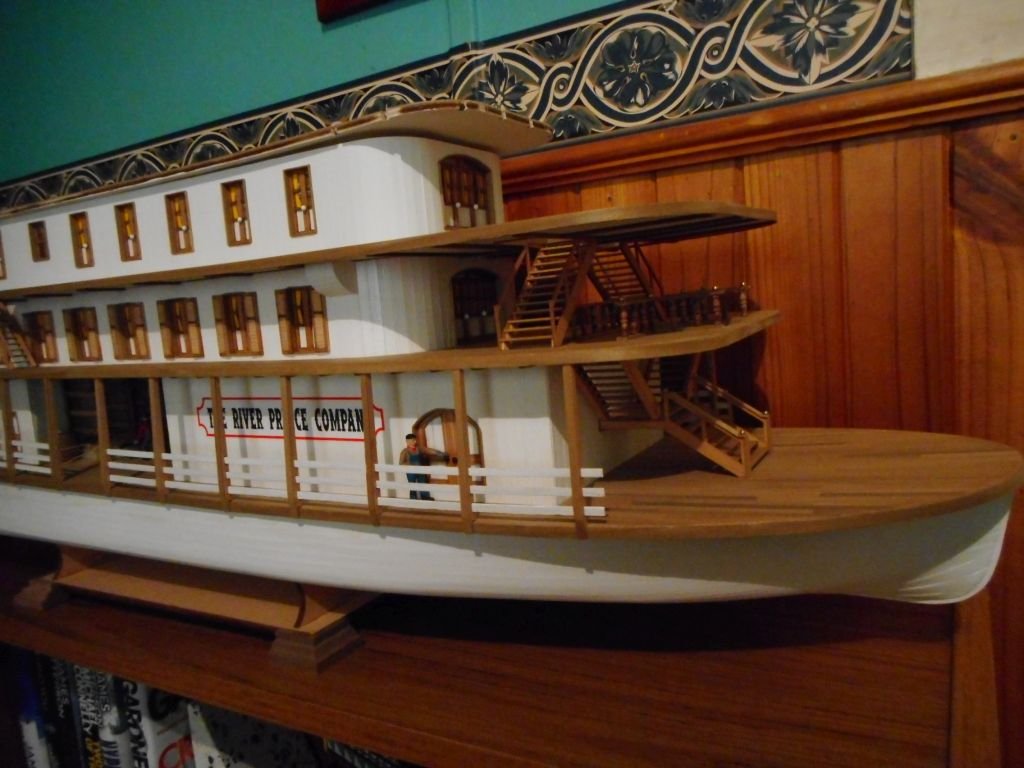
Begun the steps and put edging on the fancy flooring. Behind the scenes, the building of the shutters continue! Cheers Chris
-
thanks for that. guess I should have looked in the kit log section first! oh well, good to see some have built her already and by the looks of it my questions about quality etc. have been answered. I really like the Mariefred. cheers chris
-
hey, yeah I have seen both of those pages when I did a search as well. really want to find out more about quality etc. though. cheers chris
-
Has anyone had any experience with this company (Nordic Class Model Ships)? There models look really interesting to me but I would like to know a lot more about the construction and quality before forking out on them. Are they double planked etc? What is the quality/quantity of the timbers used? Is there any plastic (hope not). What about metal/PE parts? How does the overall quality stack up against some of the more well known reputed brands; Amati, Caldercraft Sergal etc? Here is a link to a company in Australia that has just begun to stock them. A quick search online finds many other reputable companies overseas stocking even more vessels from this manufacturer. https://www.modelerscentral.com/model-ship-kits/nordic-class-boats/?mc_cid=fdf68ef080&mc_eid=b2e1744581 I have emailed Modellers Central about the product but am yet to receive a reply. Cheers Chris
-
Thanks David. The external flooring outside the doors just calls for it to be planked the same as the deck. I just wanted to jazz things up a bit for my high class passengers. I think it will look heaps better when the edging goes on as well as the fancy handrails. Cheers Chris
-
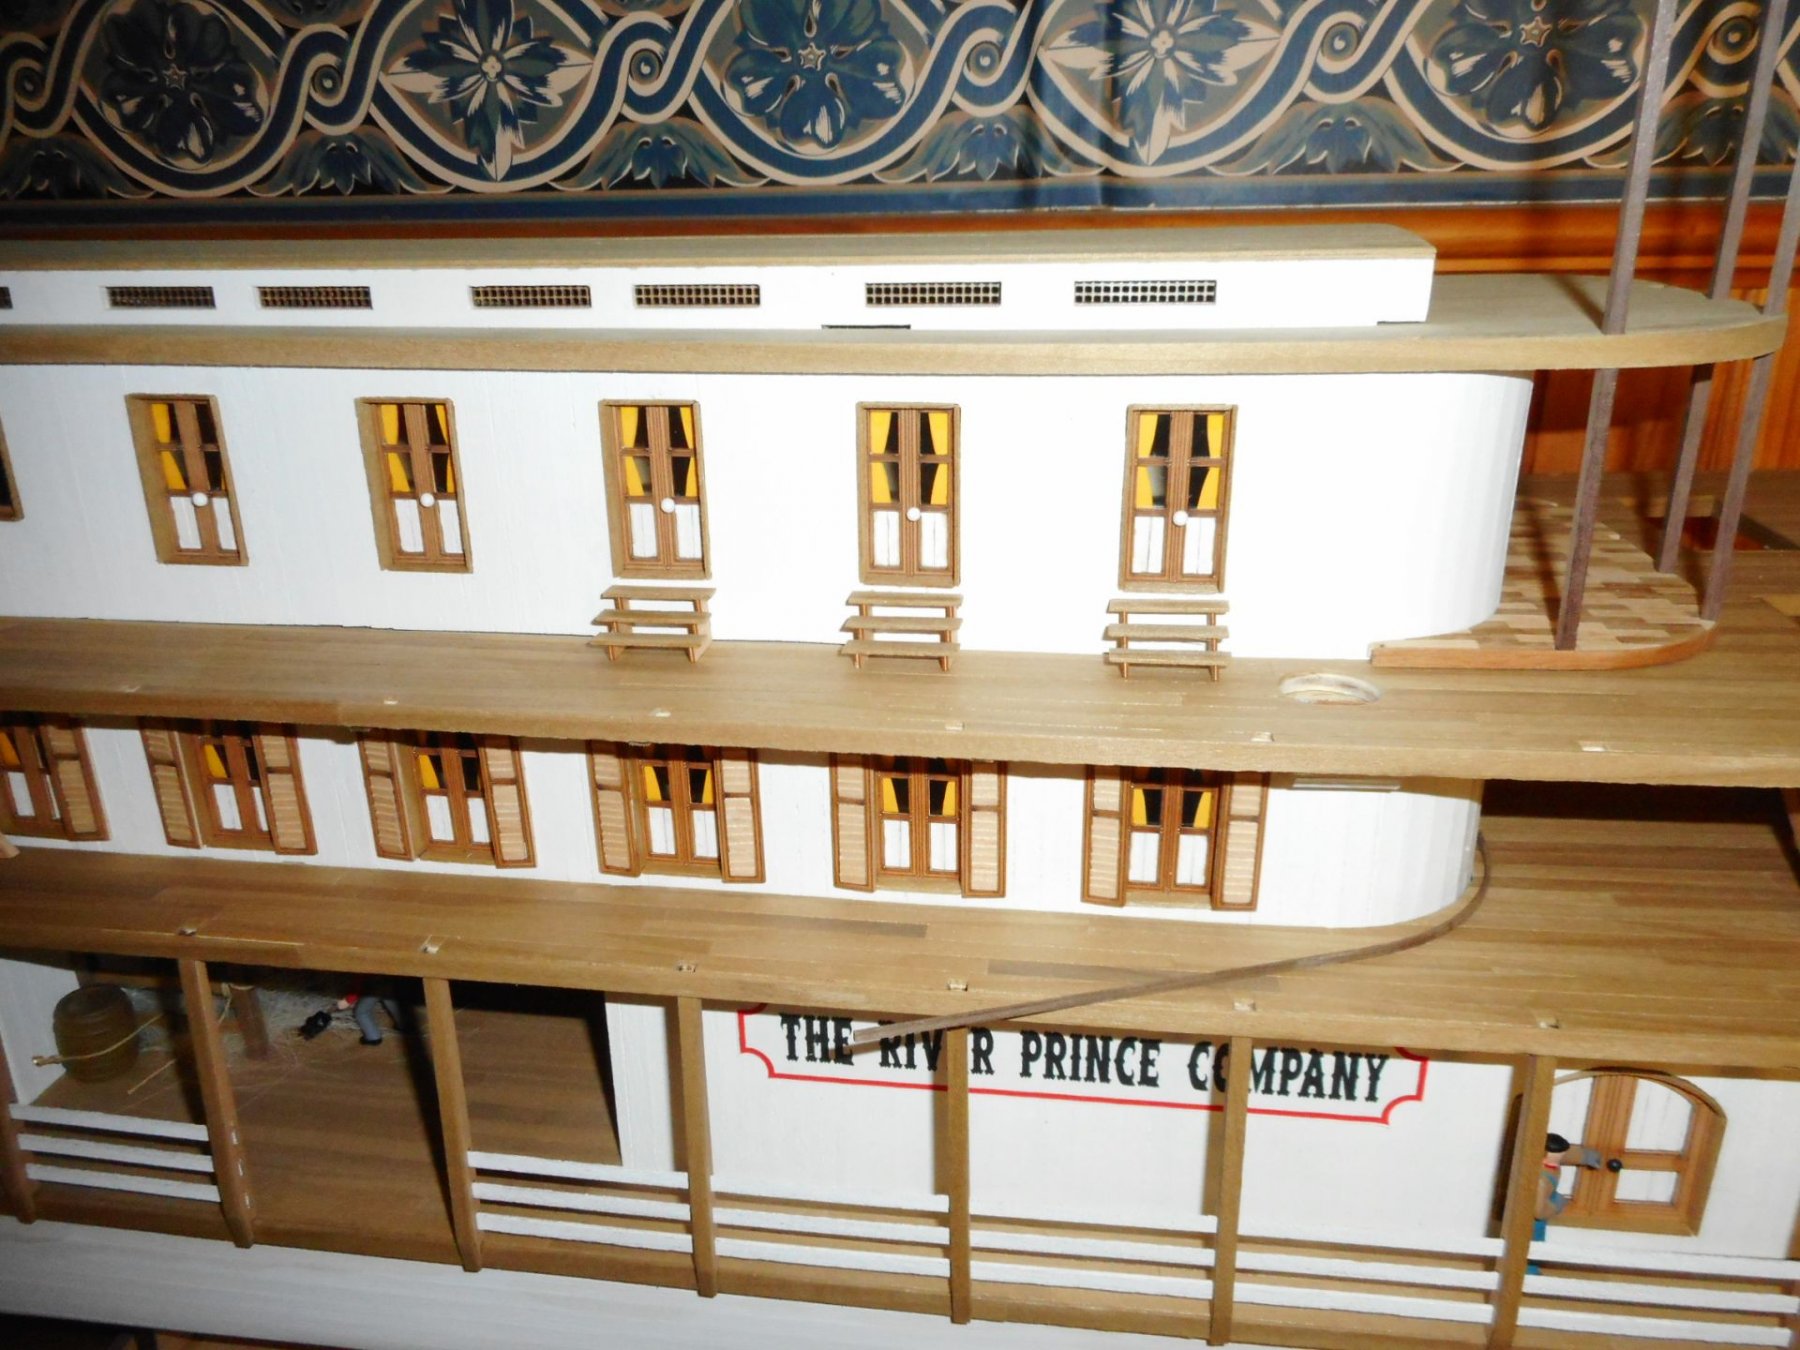
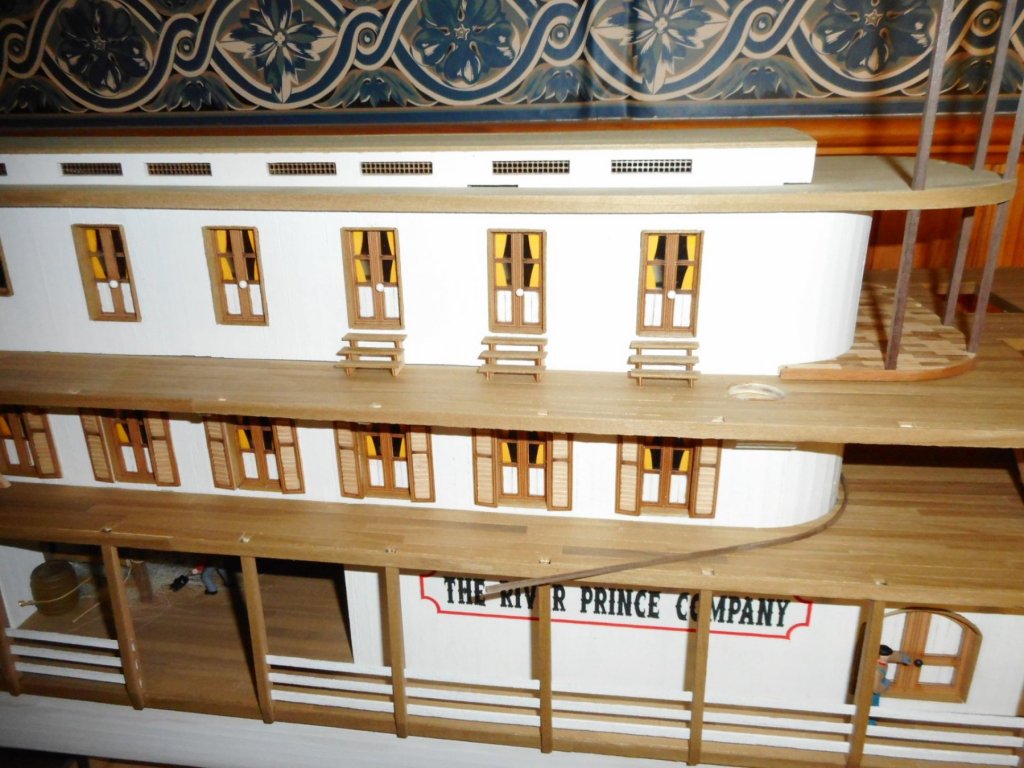
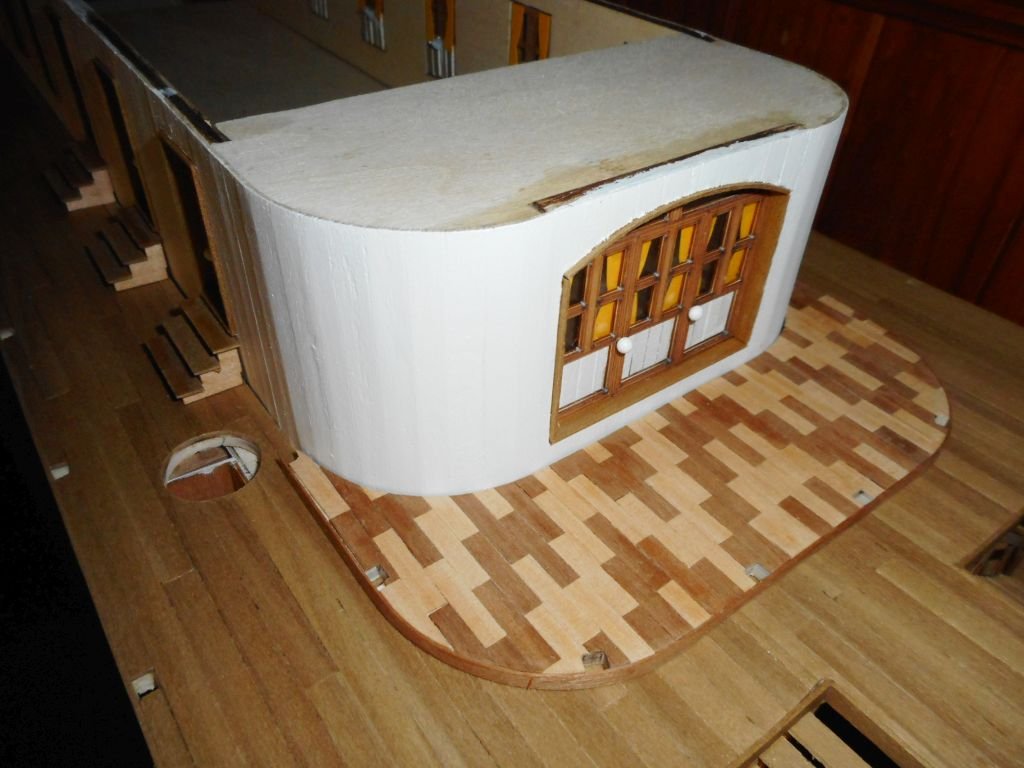
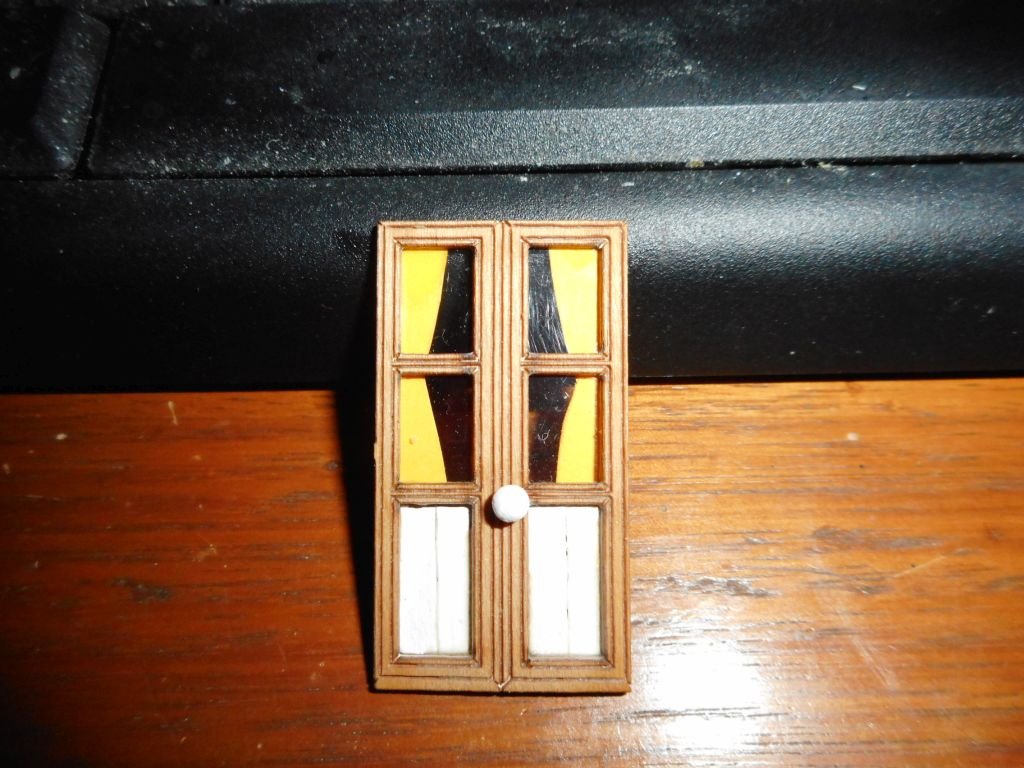
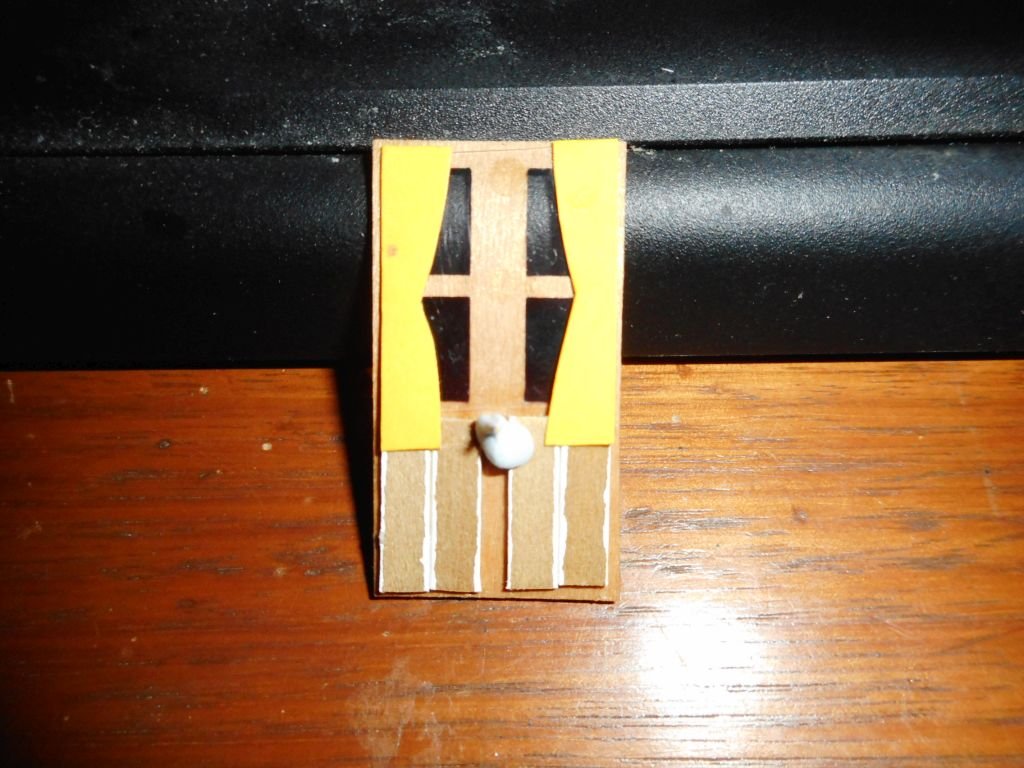
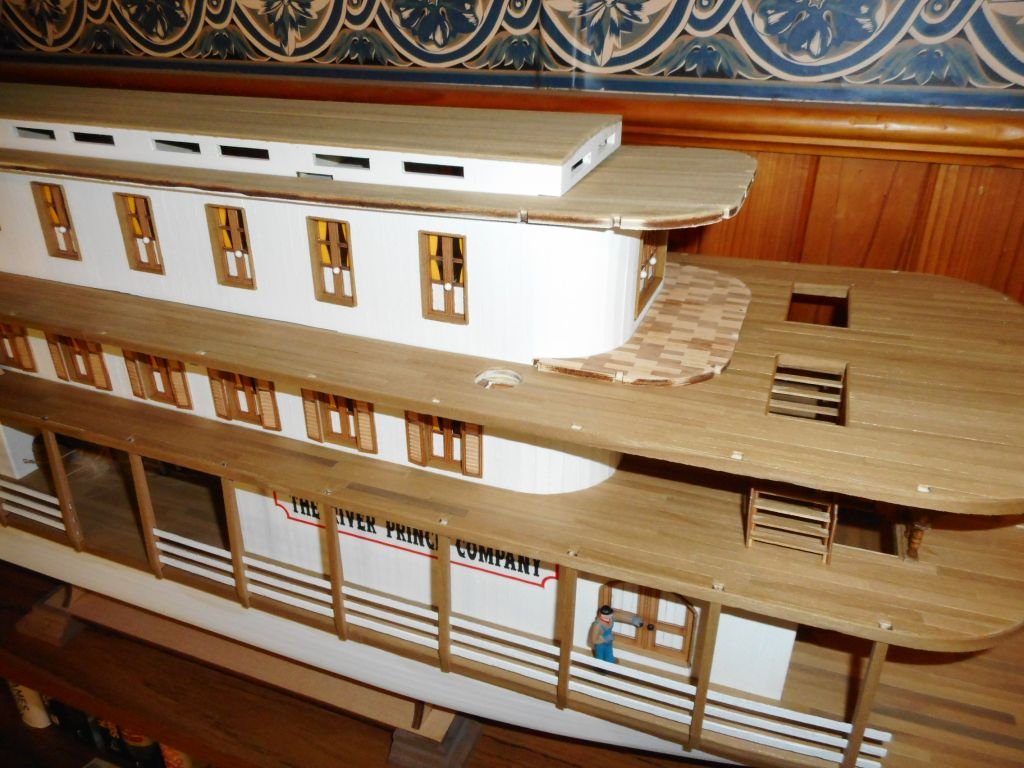
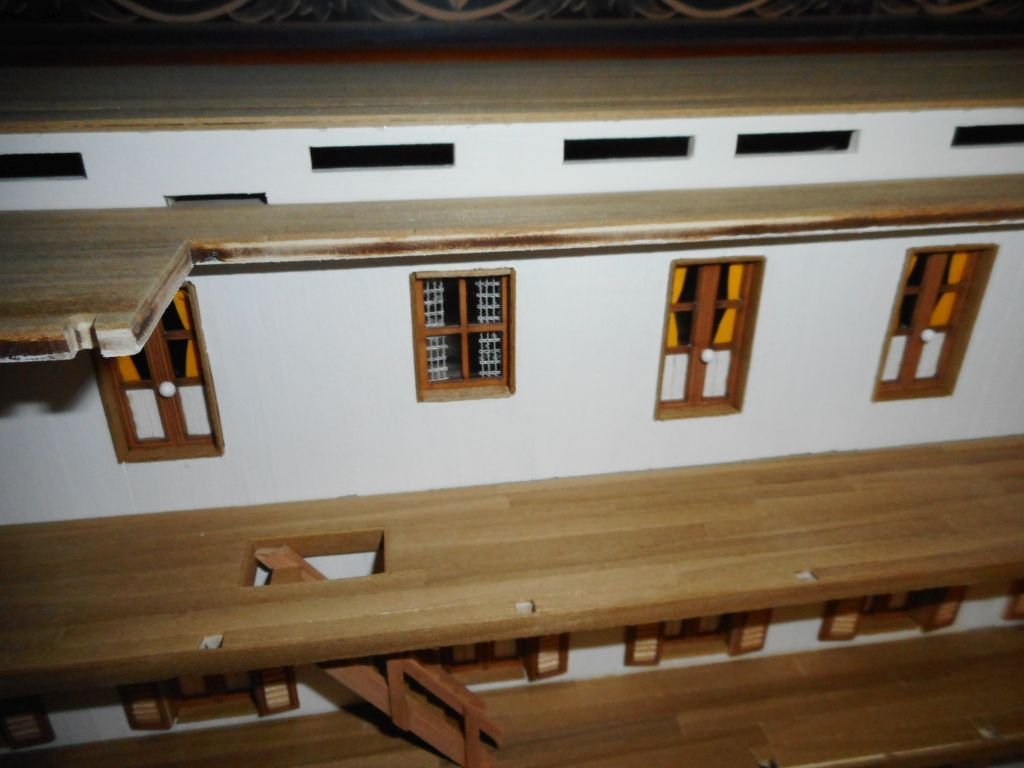
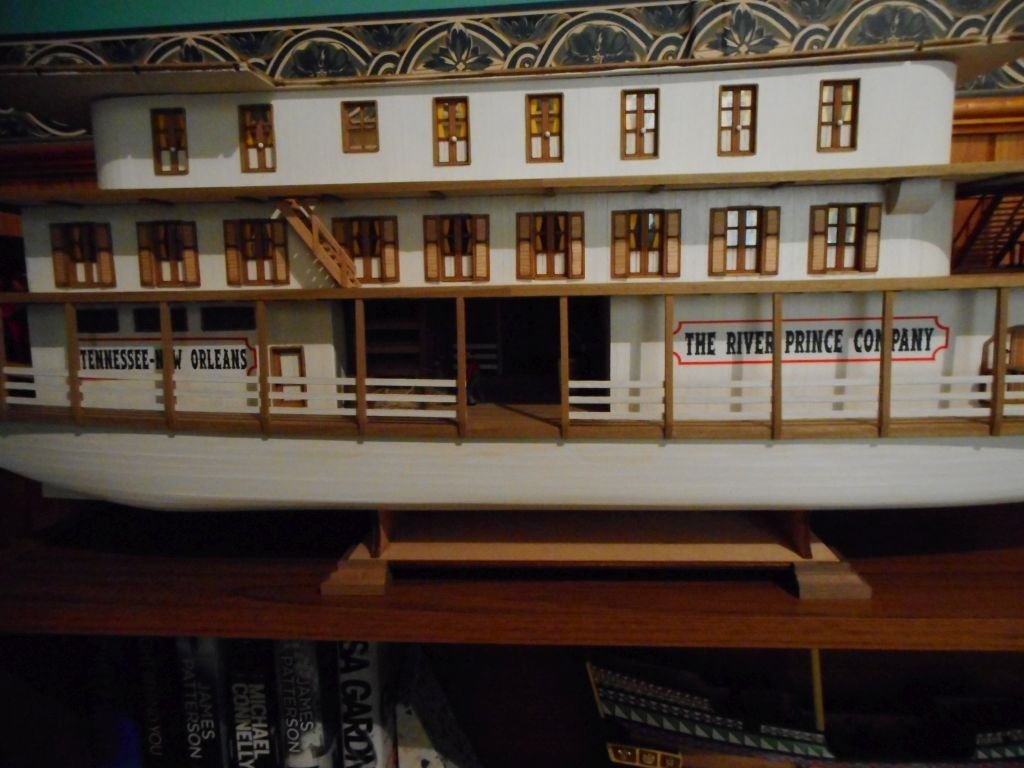
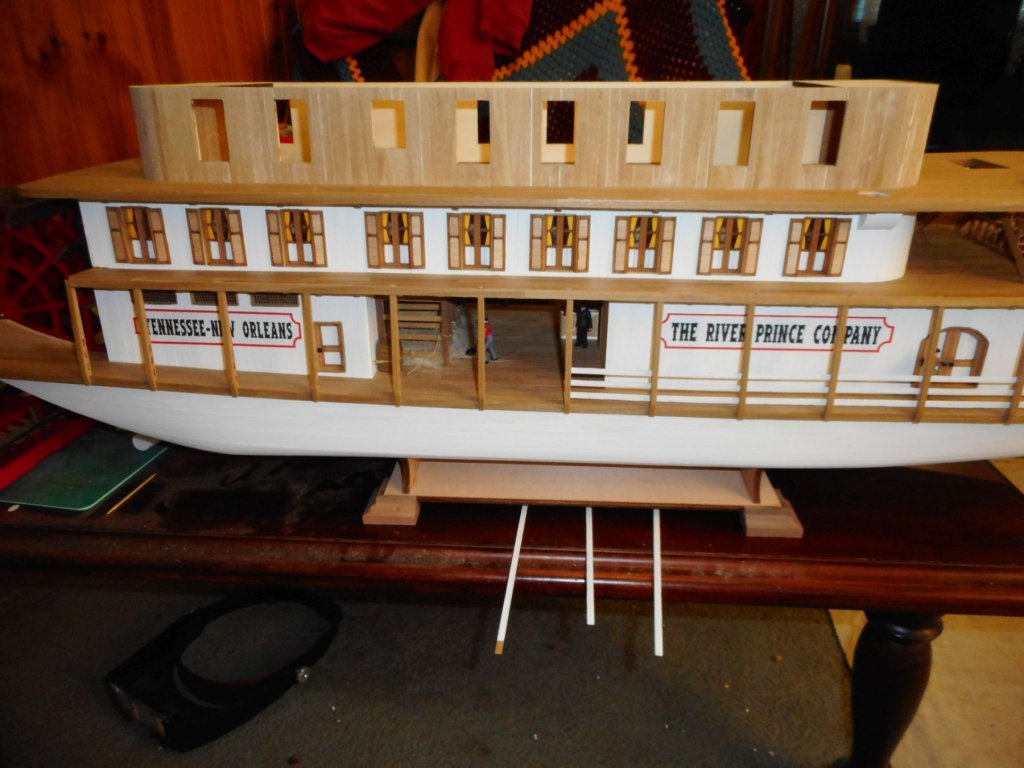
Small update. Front and rear of doors before fitting. A small blob of Blu-Tack stops the door handle from ever slipping out. Drapes are simply cut out of stiffish yellow cardboard. For the small window in the structure I decided to have curtains instead of fancy drapes. Perhaps a bit out of scale but it looks pretty good irl. At the front of this structure there is a overhanging veranda which has fancy posts and rails around it. It is also slightly raised from the deck itself. I decided to plank this bit a little bit fancier for the comfort of my passengers. All structures at this level are only placed and not glued as yet. Cheers Chris
-
Hey Dave, with these metal carriages can you still mount eyelets to fully rig them to the ship. Also, did/have you painted it the red color in the picture? Cheers Chris
- 126 replies
-
- 2
-
-
- fly
- victory models
- (and 1 more)
-
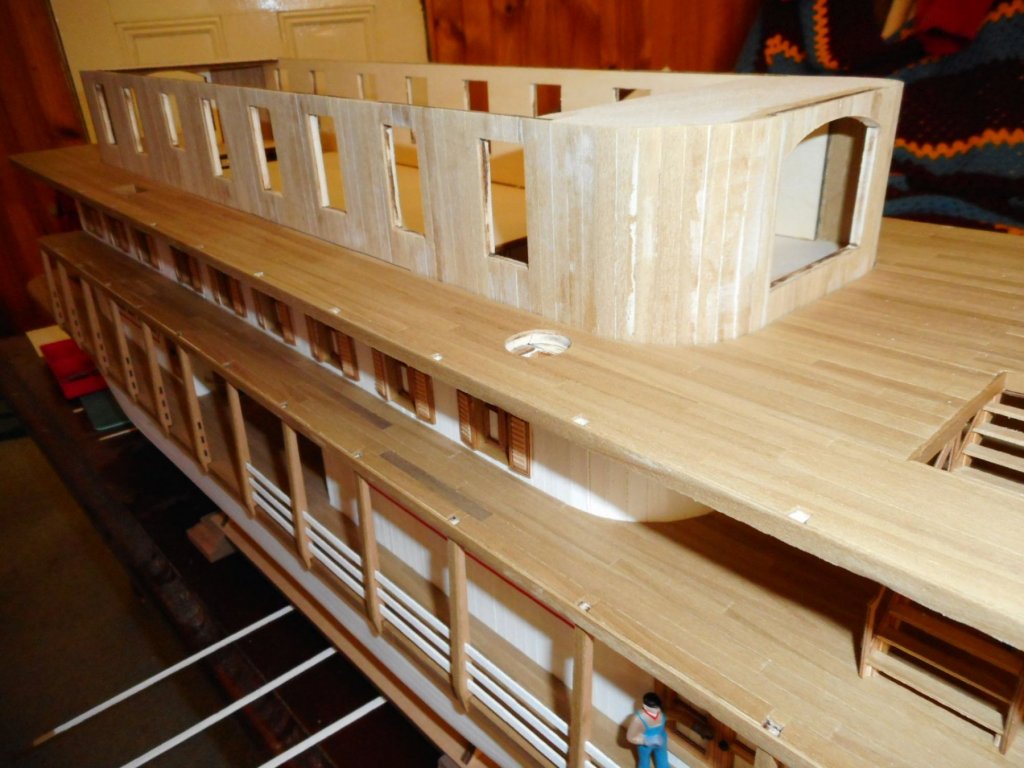
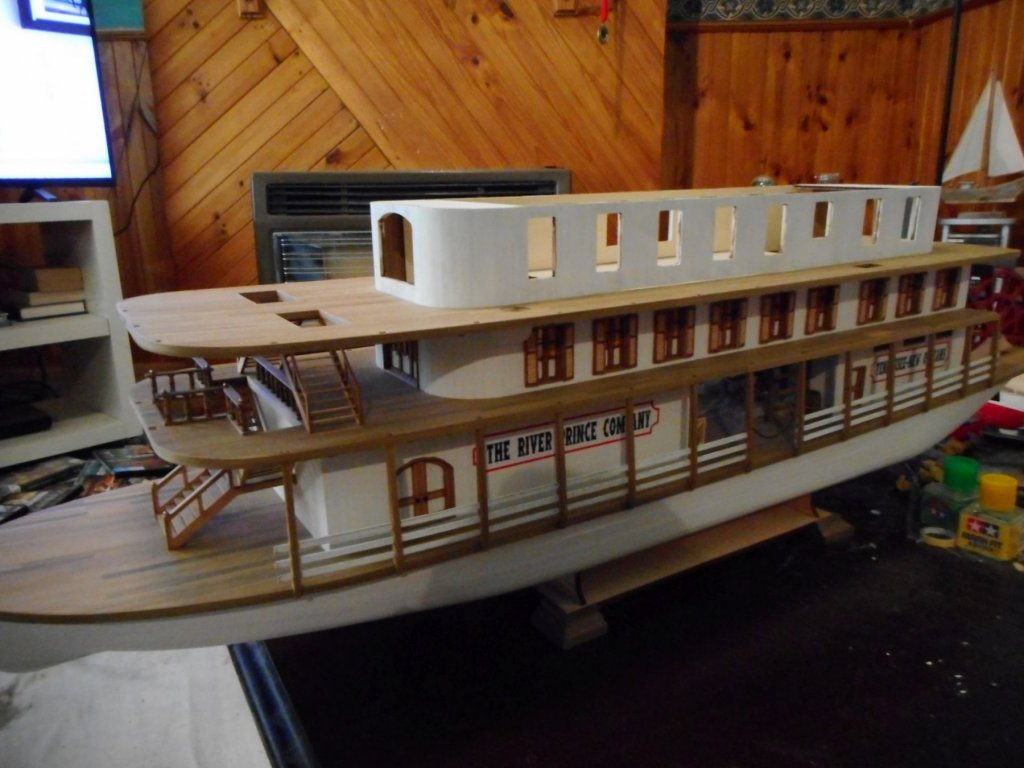
Hey Dave, thanks for the comments. I have a small (about 1.5cm high) skylight structure, then the pilot house to go on top of this latest cabin structure. So getting there! Cheers Chris
-
Hey Dave, no way would I be painting over that planking job either. It looks fantastic! Love the way you alternated the different colours of the wood. They contrast so well against the stark black wales.. You are working very fast on her too. Cheers Chris
- 126 replies
-
- 2
-
-
- fly
- victory models
- (and 1 more)
-
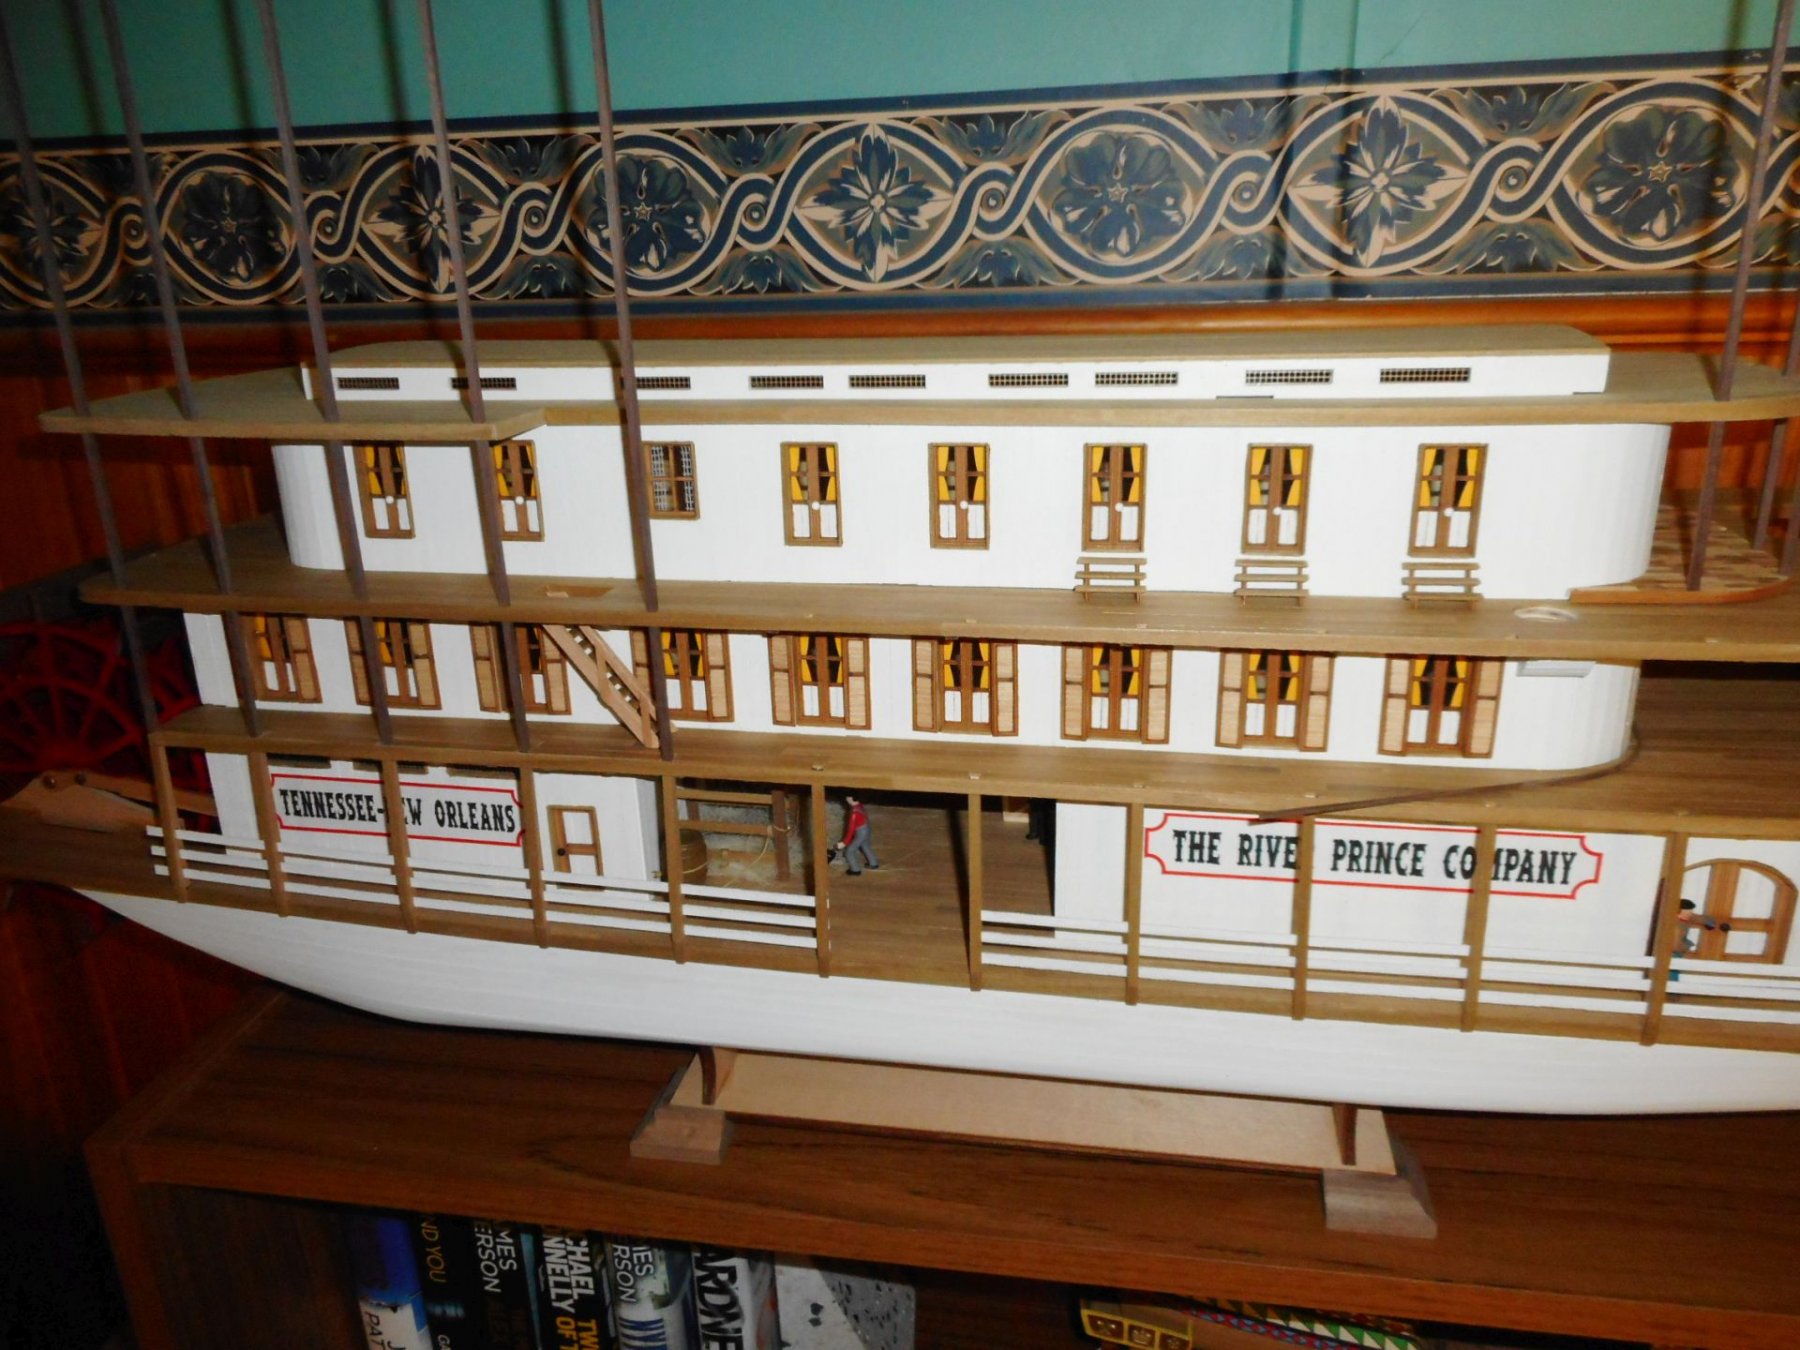
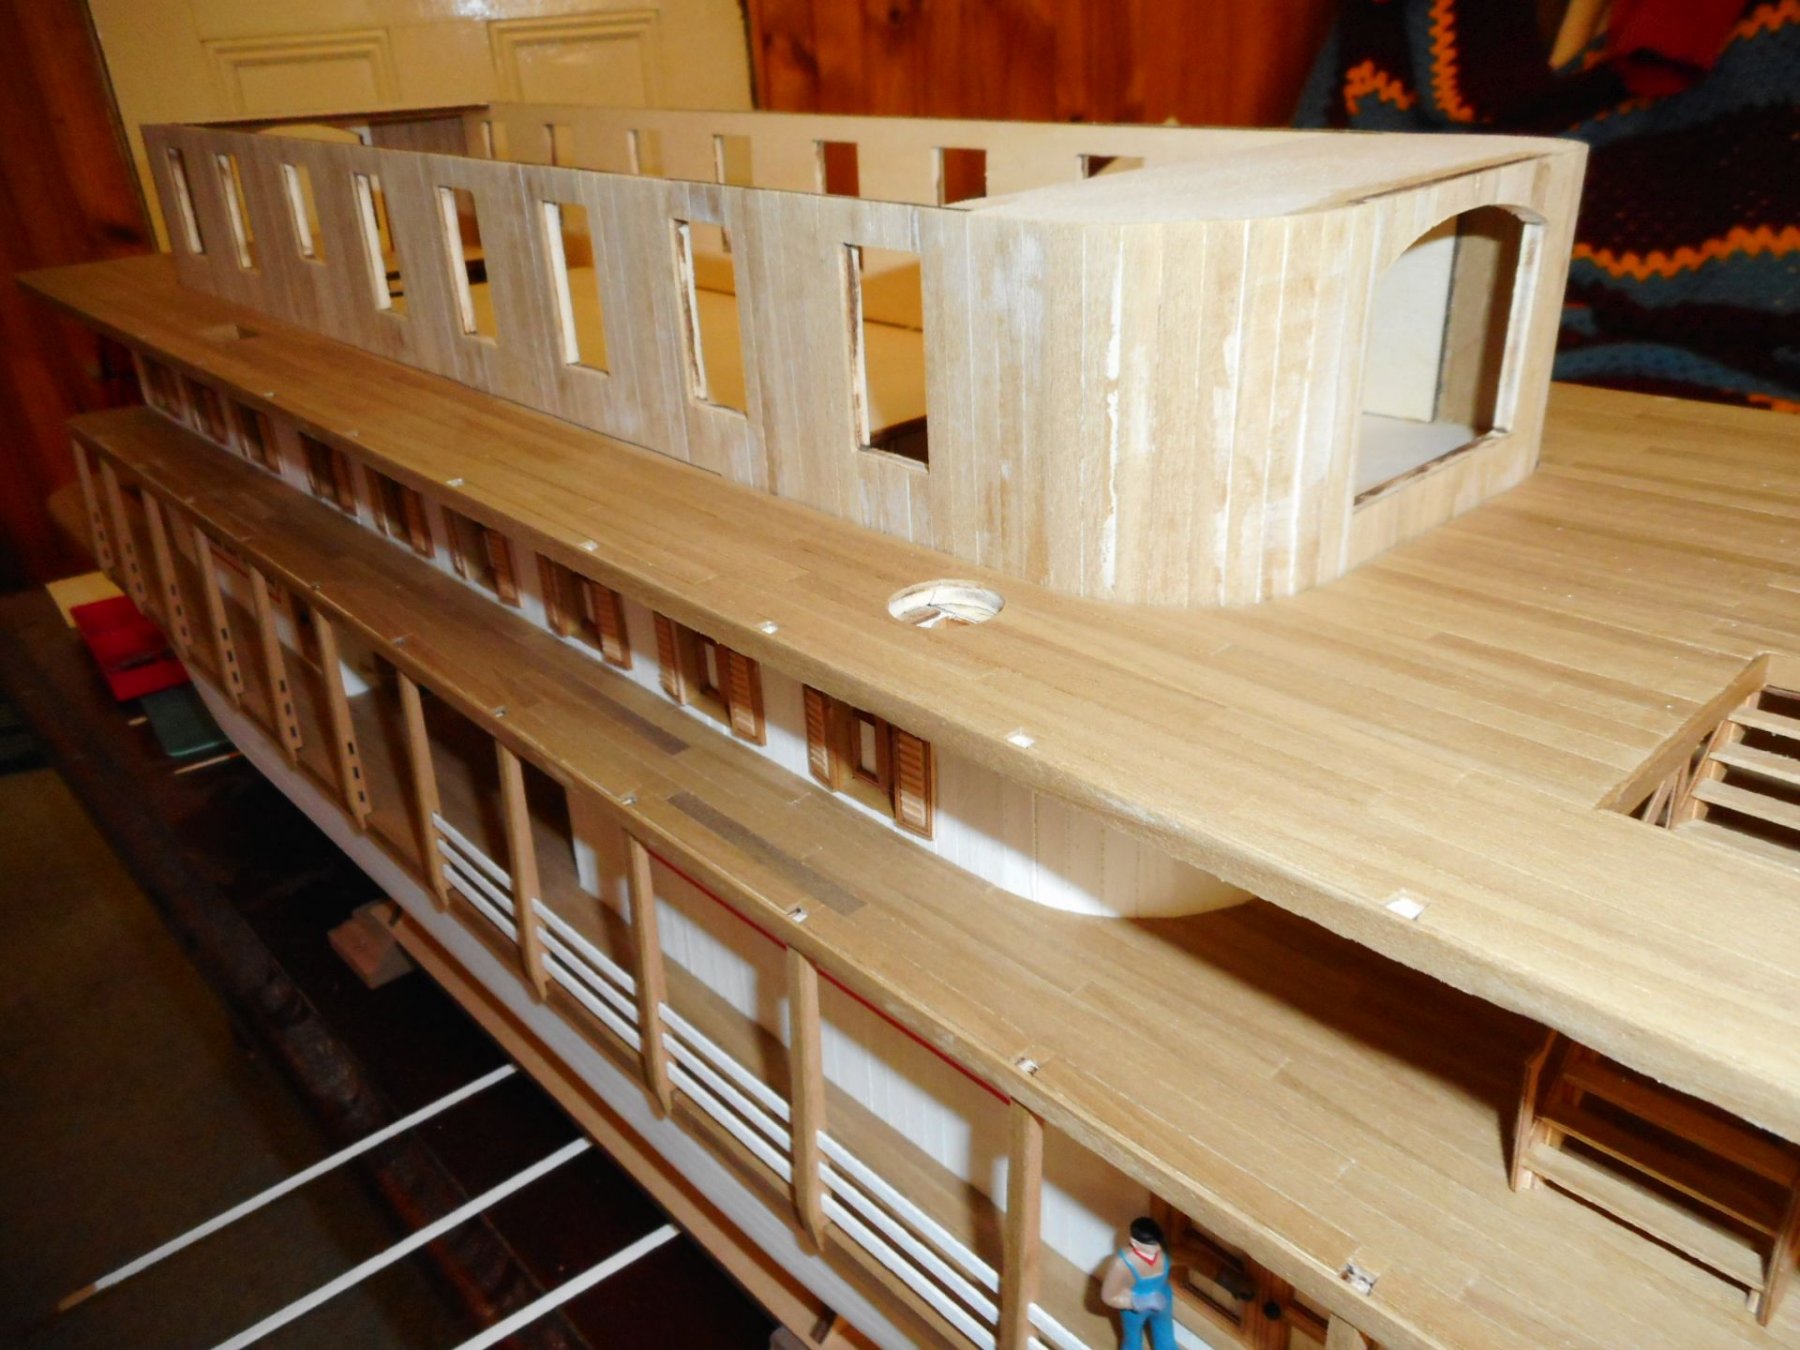
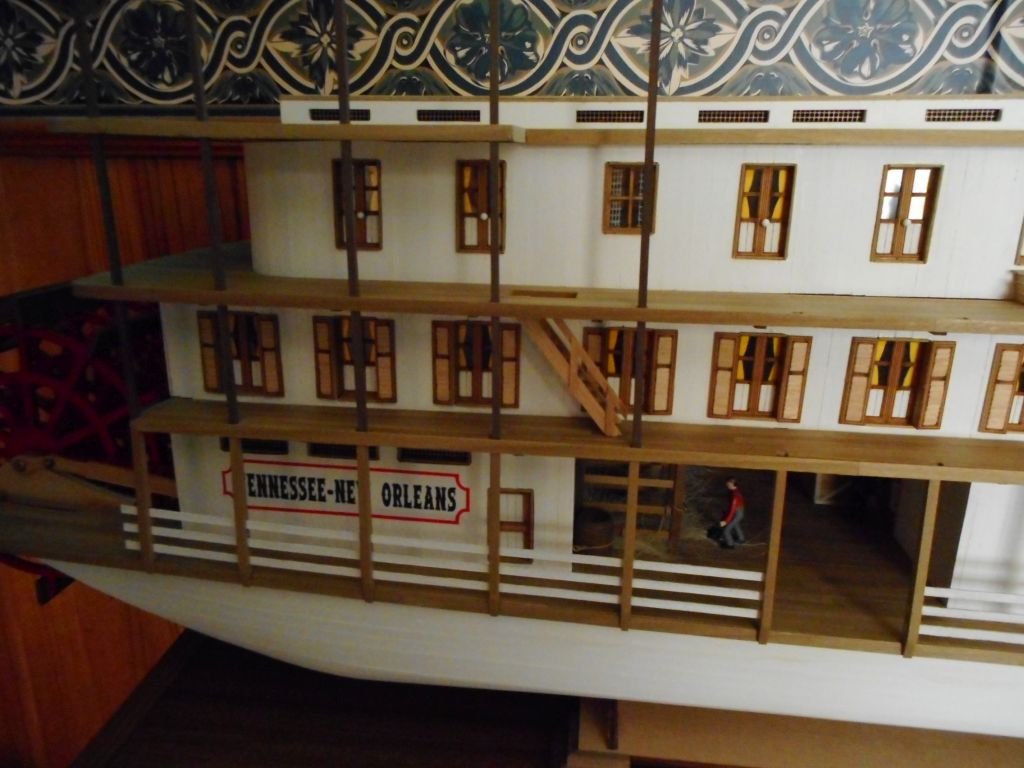
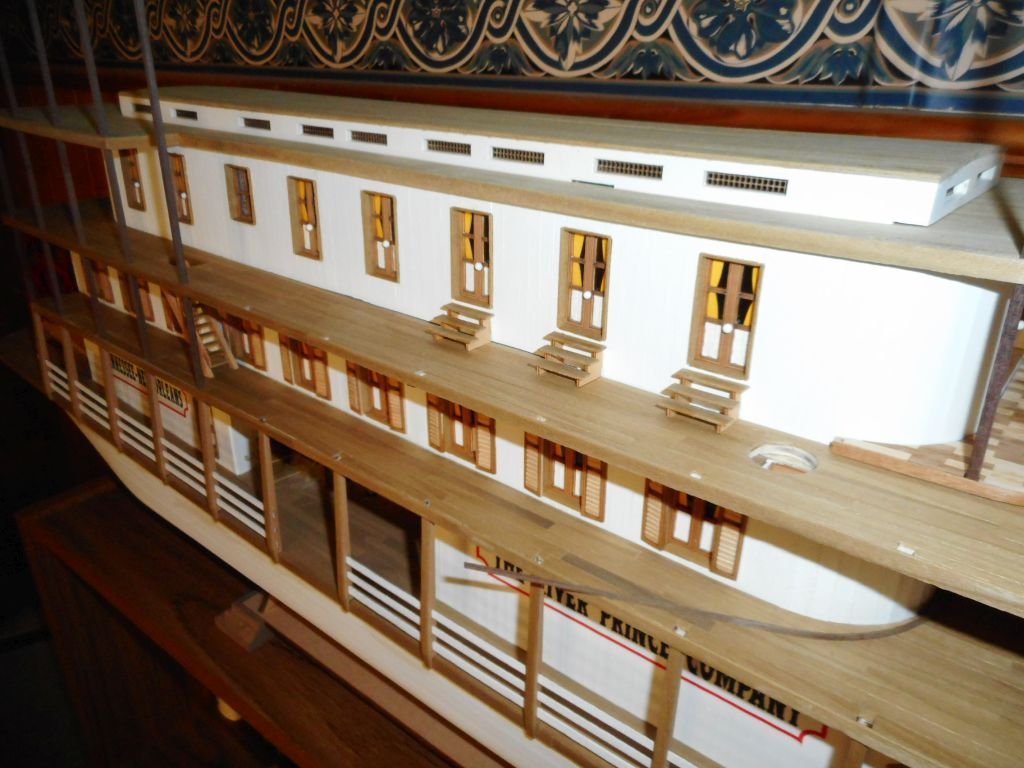
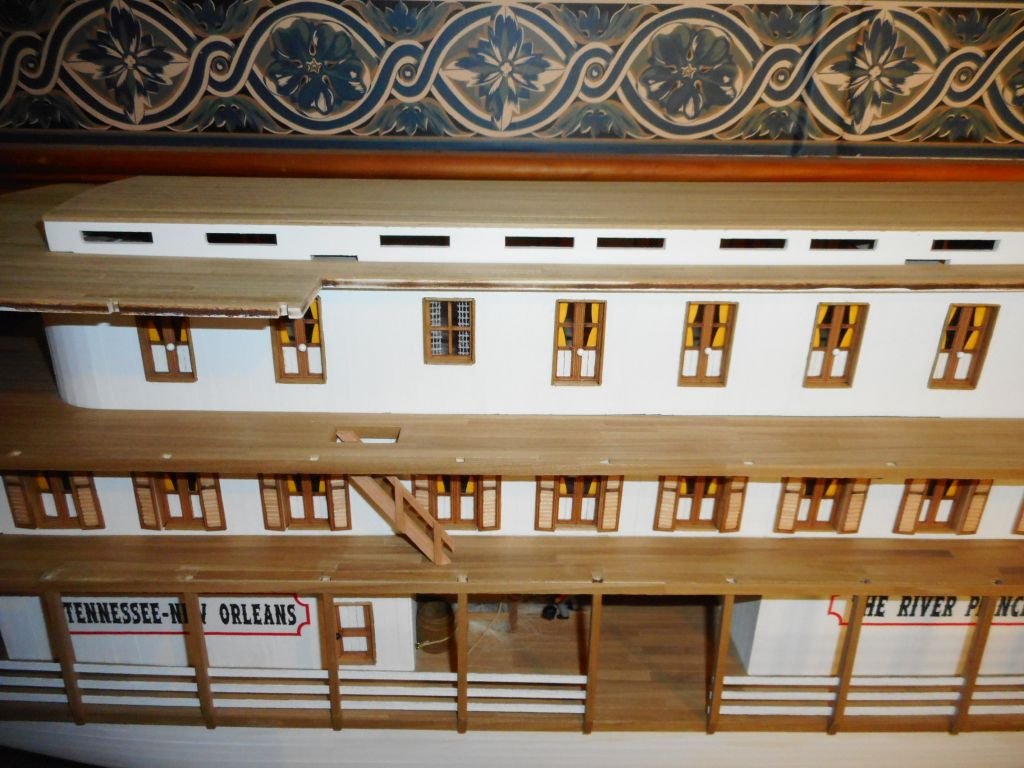
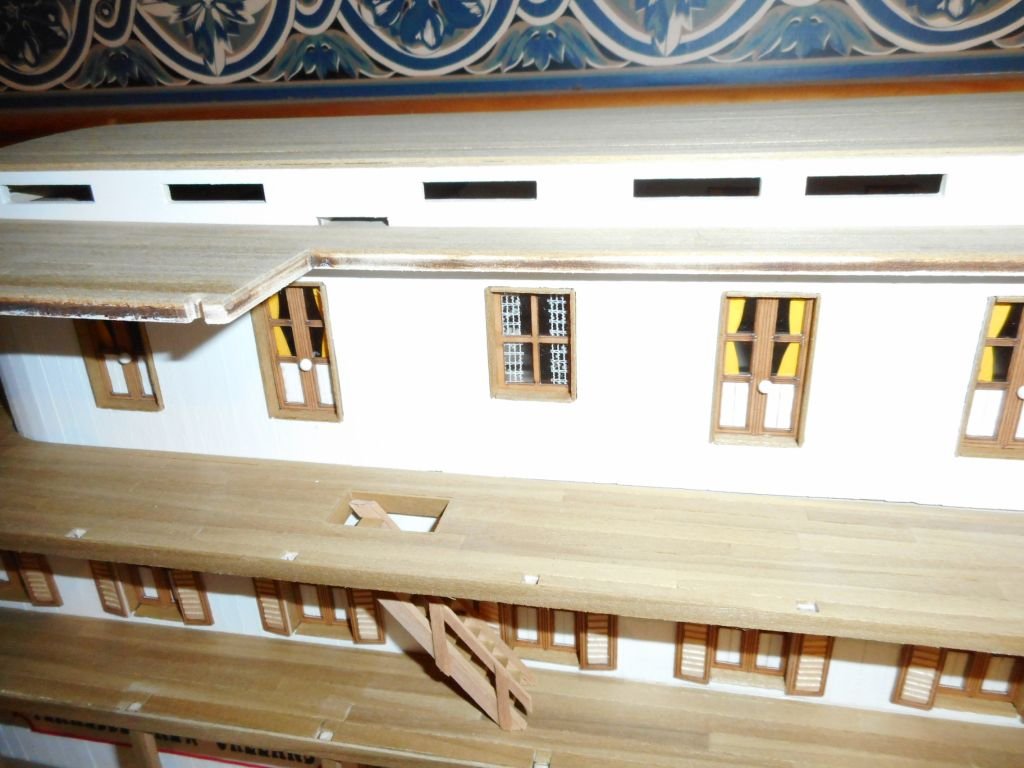
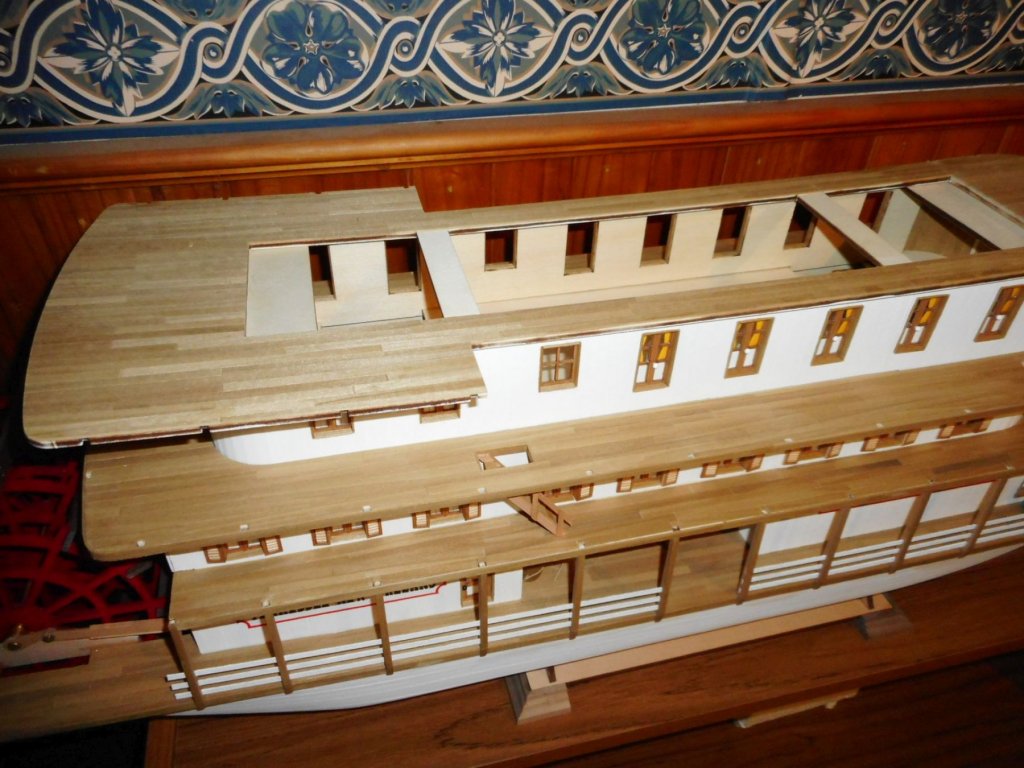
Hi all, have done and placed the doors in the upper cabin structure. Decided to go with the same color curtains as the lower deck. Still need to do the shutters for each doorway now. Currently the structure is just sitting there. Have also planked (bar the outer edge) the next deck level. Again this is just sitting on top. No glue. Cheers Chris


-
Hi Dave, the planking on the Revenge looks super! However I detect a bit of fixing required to the forward gunport hatch. Anyway, I don't know if you are on facebook or not, but I follow the Amati page on there and on it they have a really good build log of the HMS Fly (same Amati version as yours), if you are interested. https://www.facebook.com/hmsfly/?hc_ref=ARQQSYW8yRjvno0miJ6CdiOyco_Ka0UQ250A0KGlMe6SpAOI4IZIhAiGIlJ4XJsc76U They also have many good tips and tricks related to modelling in general. Cheers Chris
- 126 replies
-
- 1
-
-
- fly
- victory models
- (and 1 more)
-
Hey Chuck, thanks very much for your reply. Actually I am building the Amati Bounty 1:60. I am a long way off placing and rigging the cannons but it comes with pretty average metal ones which I really want to replace when the time comes. Cheers Chris
-
no-one can convert these?
-
hi all, can someone please tell me the scale of the laser cut gun carriages on Syren Shipmodelling. The measurements listed mean nothing to me i'm afraid. Can they be converted to 1:60 etc. cheers chris
-
if you have a look at david's build log of the same boat (drobinson02199) you will find he had the same spiral staircase problem. he describes how he overcame it in there. seems to me you are at the stage whereby you haven't gone too far as to make fixing it an insurmountable problem. either way, looks like the jury has spoken and we all want to see a spiral staircase! lol cheers chris
-
Looking good Dave, how come the coat of varnish? Chris
- 126 replies
-
- 2
-
-
- fly
- victory models
- (and 1 more)
-
This looks really good Dave. I will be rapt if I can ever get my Bounty to this stage! Chris
- 126 replies
-
- 3
-
-
- fly
- victory models
- (and 1 more)
-
I would definitely go with the spiral staircase if you can manage it; and i'm certain you can! chris
-
Gotta love cut out gun ports! Now you can get stuck into hours of self satisfying hull planking! lol Cheers Chris.
- 126 replies
-
- 1
-
-
- fly
- victory models
- (and 1 more)
-
That's very clever to use the old fret as a bending form. Its for this reason I never throw any offcuts etc. out. Also really like the herringbone deck. If I ever do this model I may go down that route if you don't mind? Cheers Chris
-
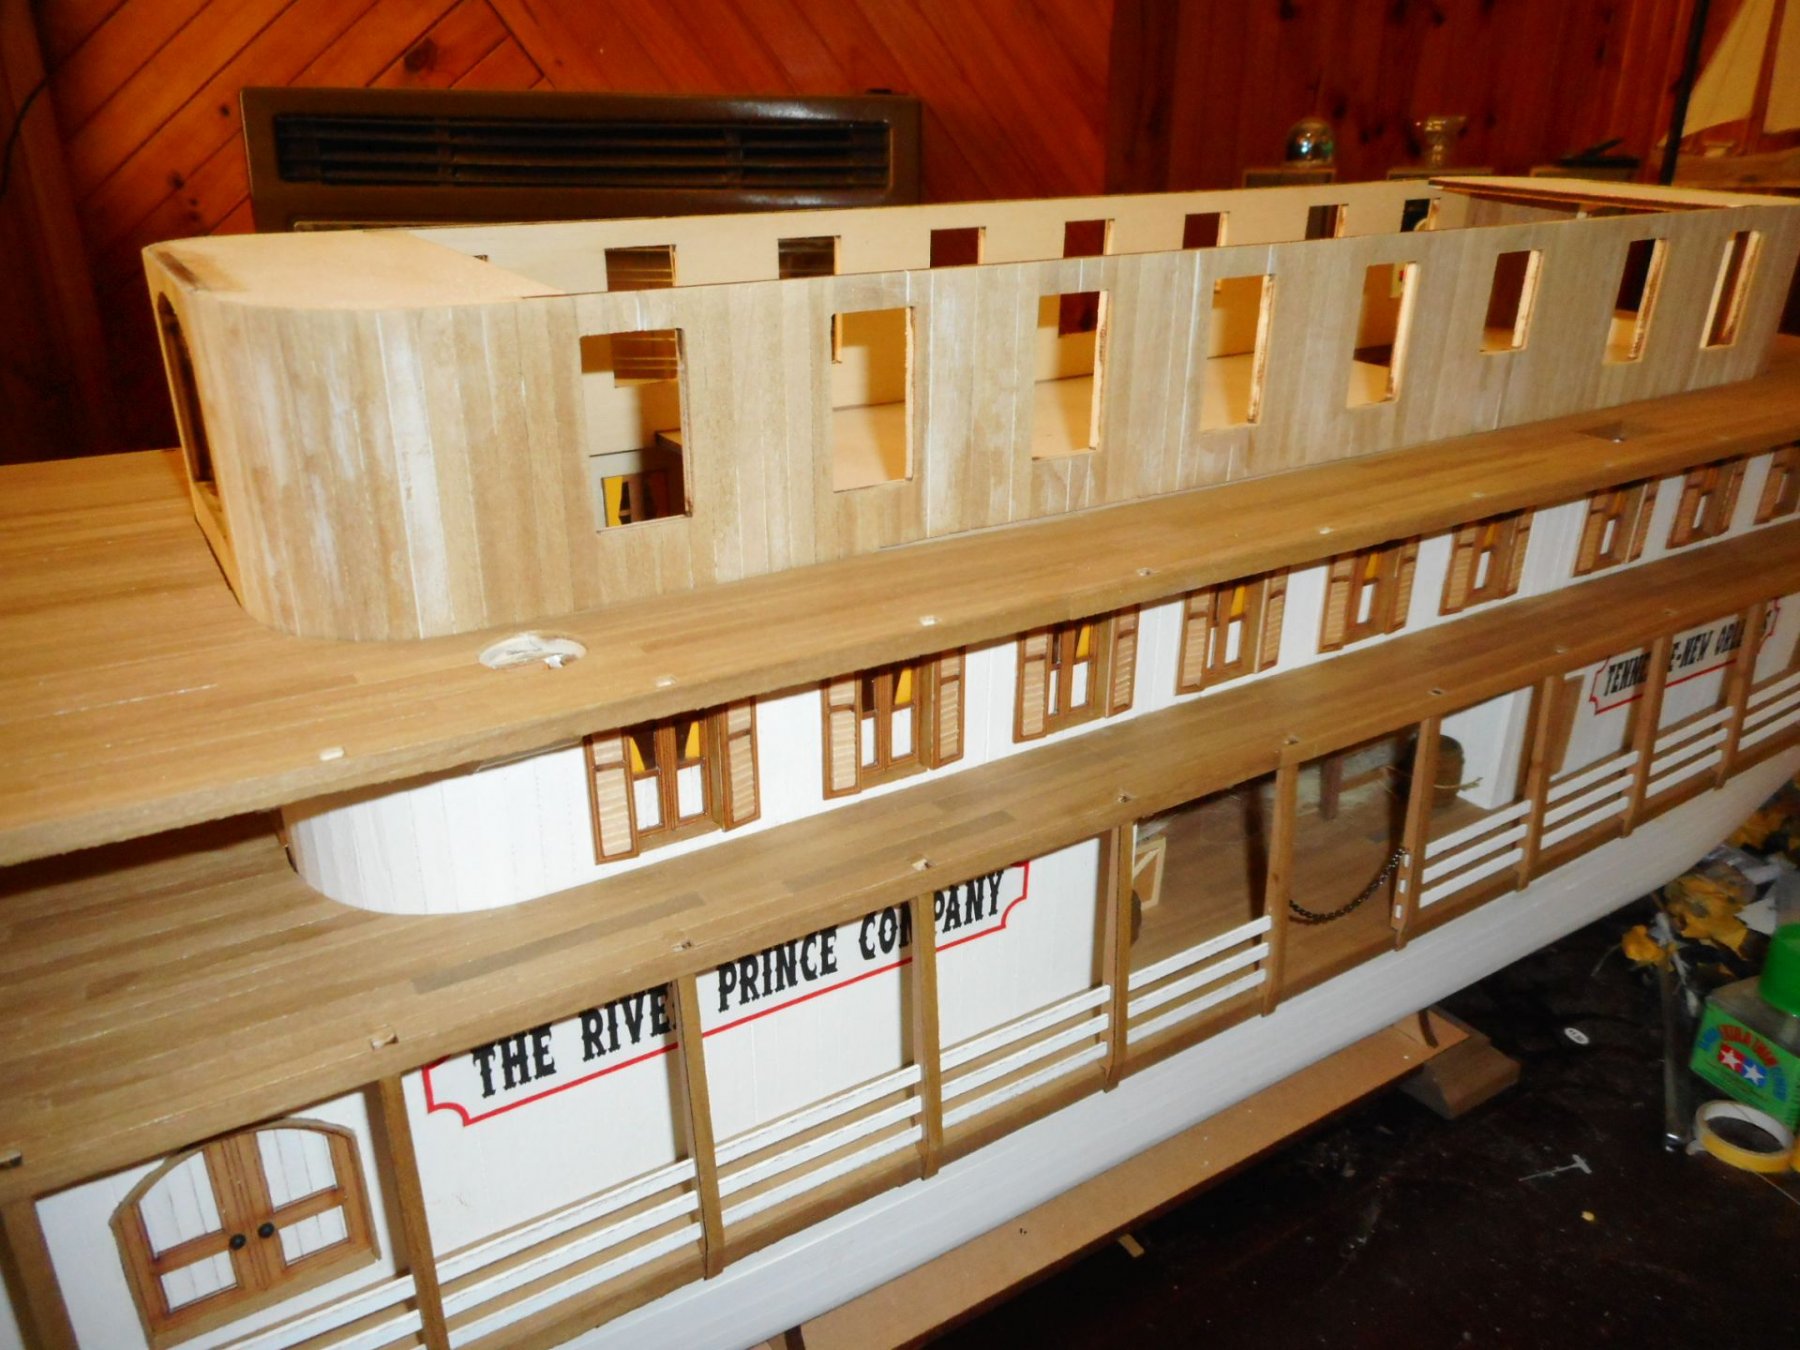
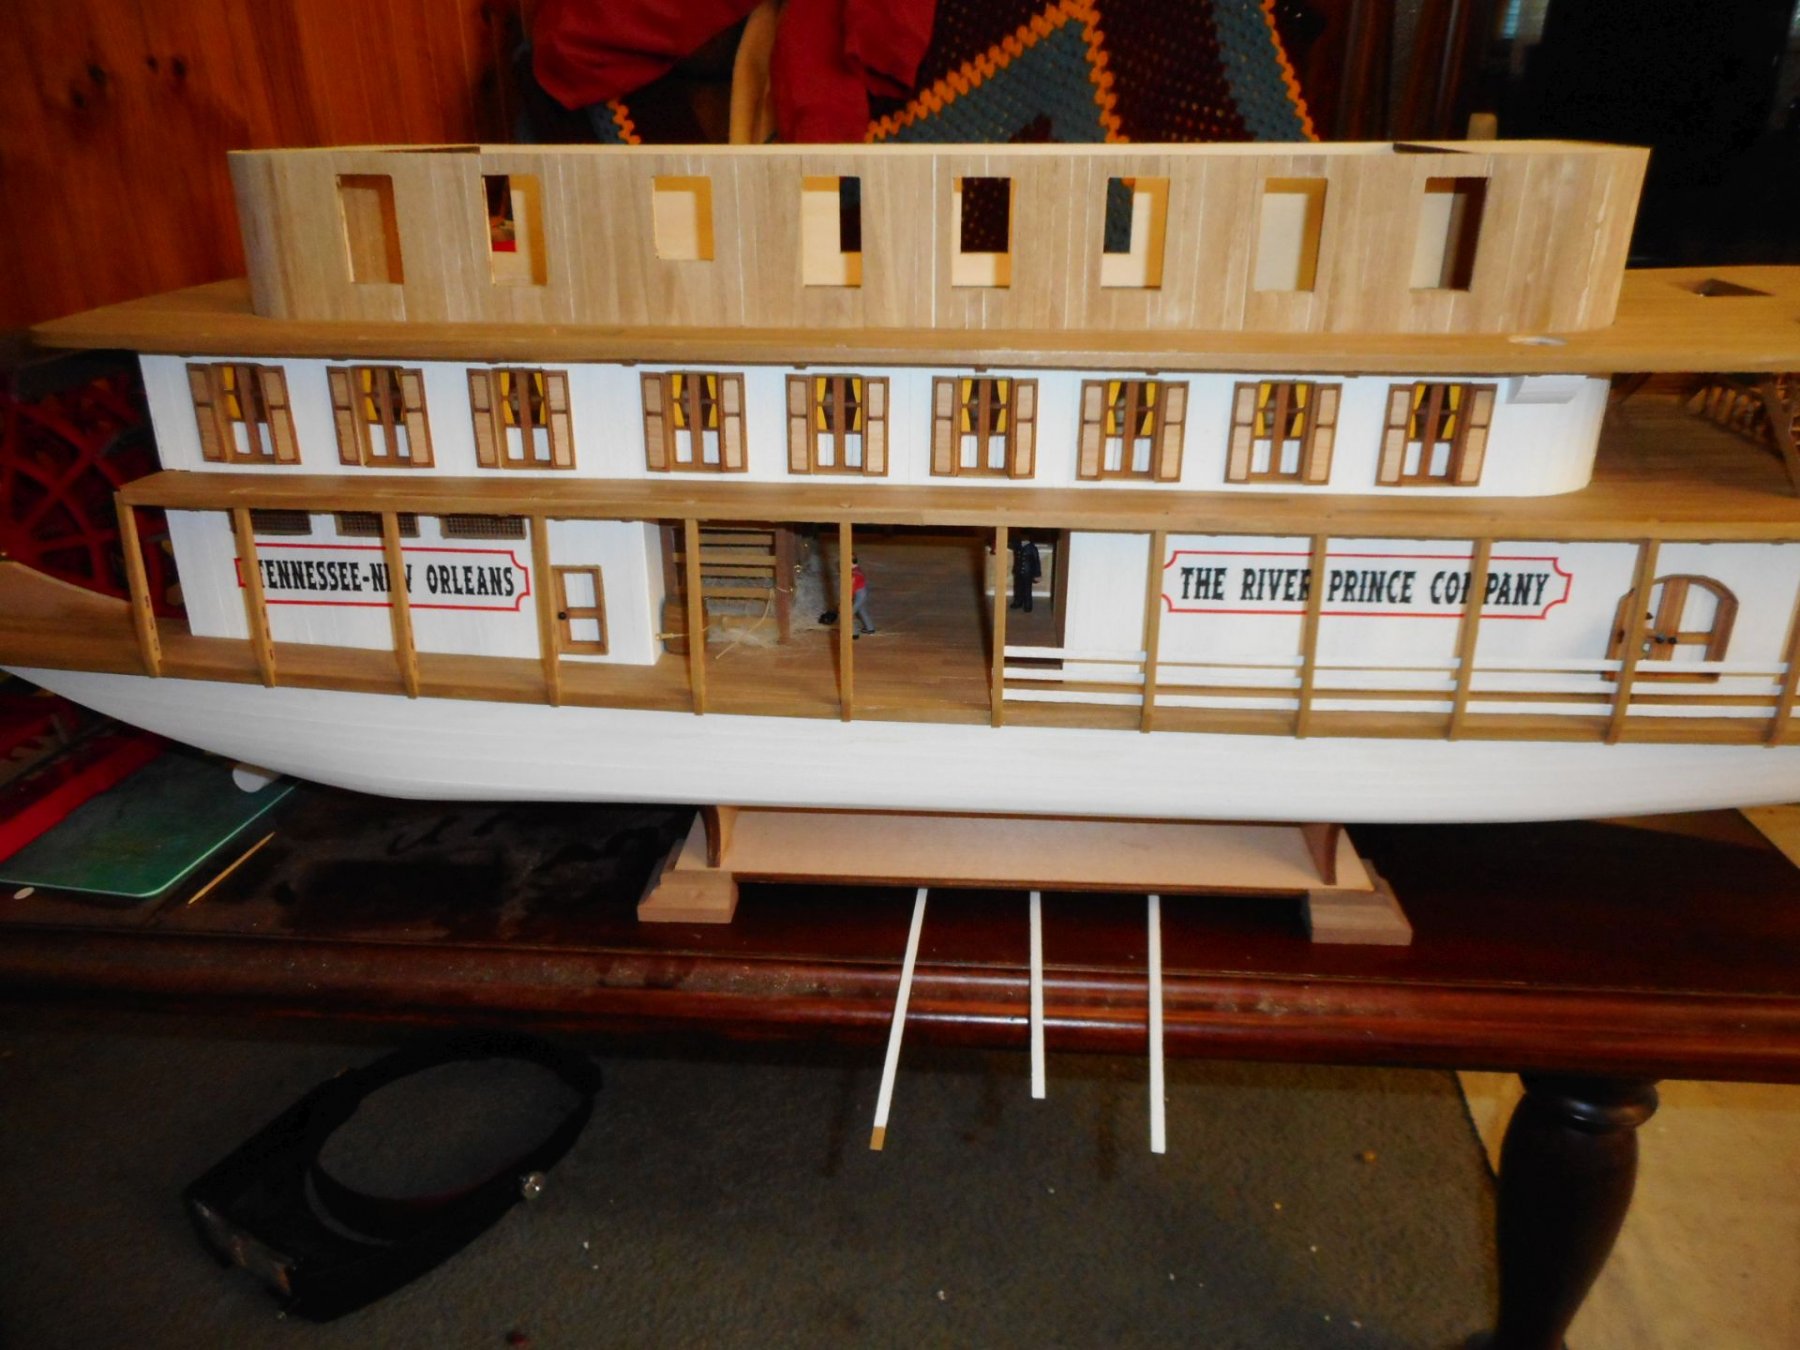
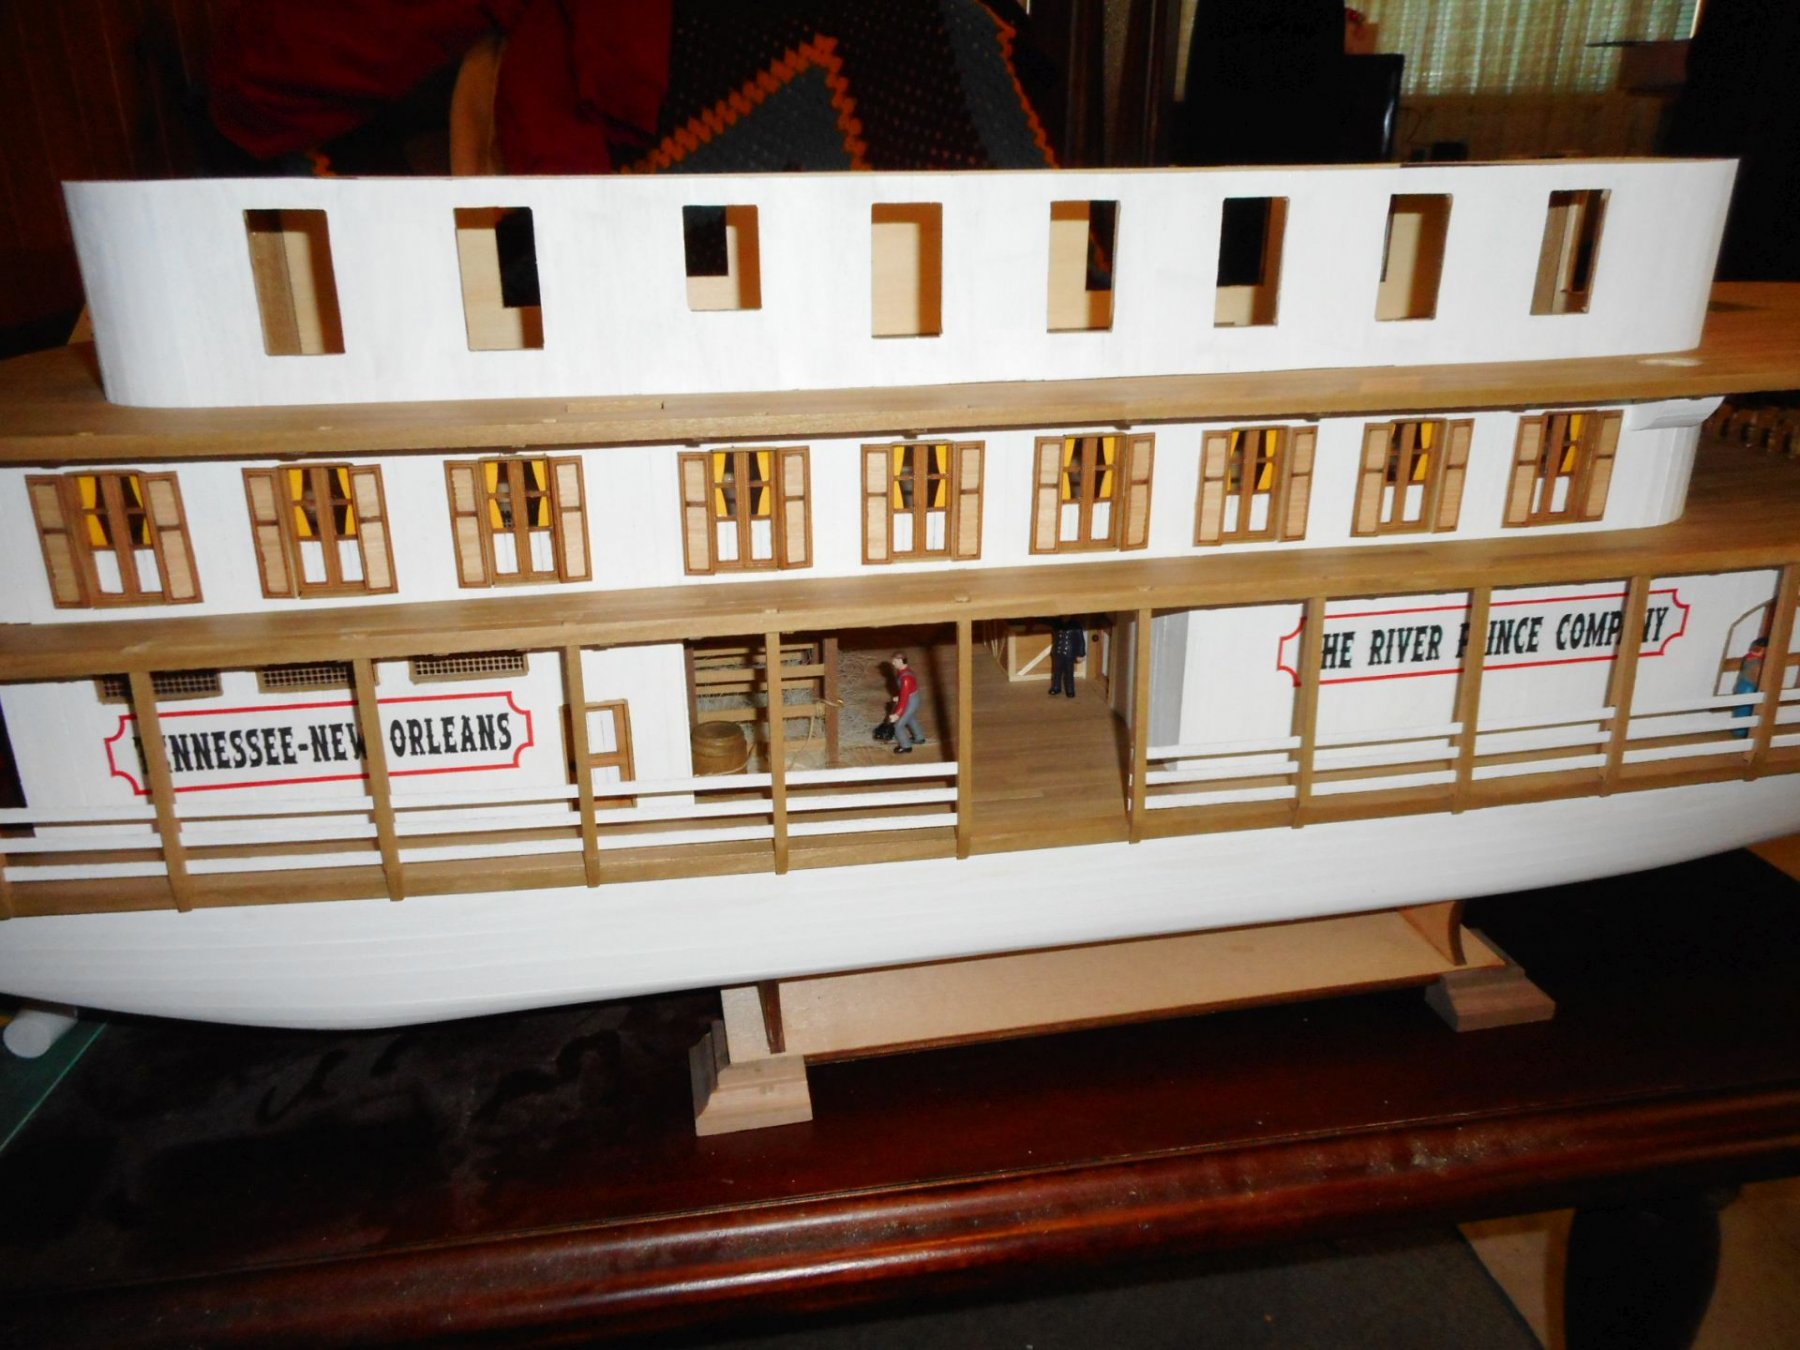
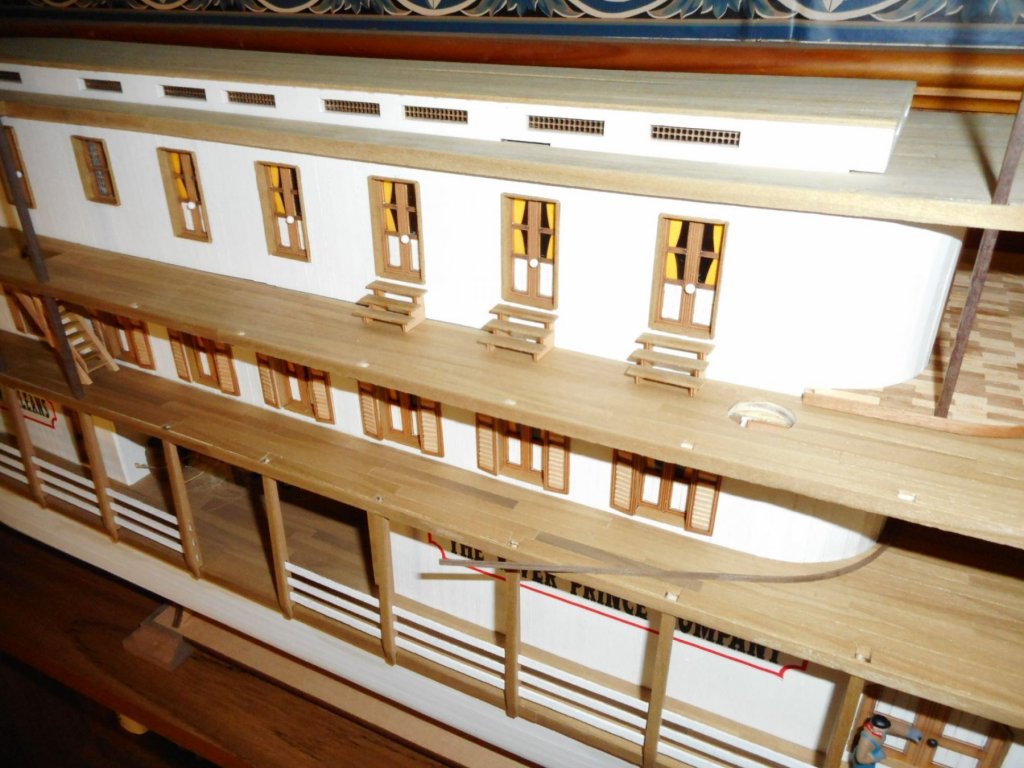
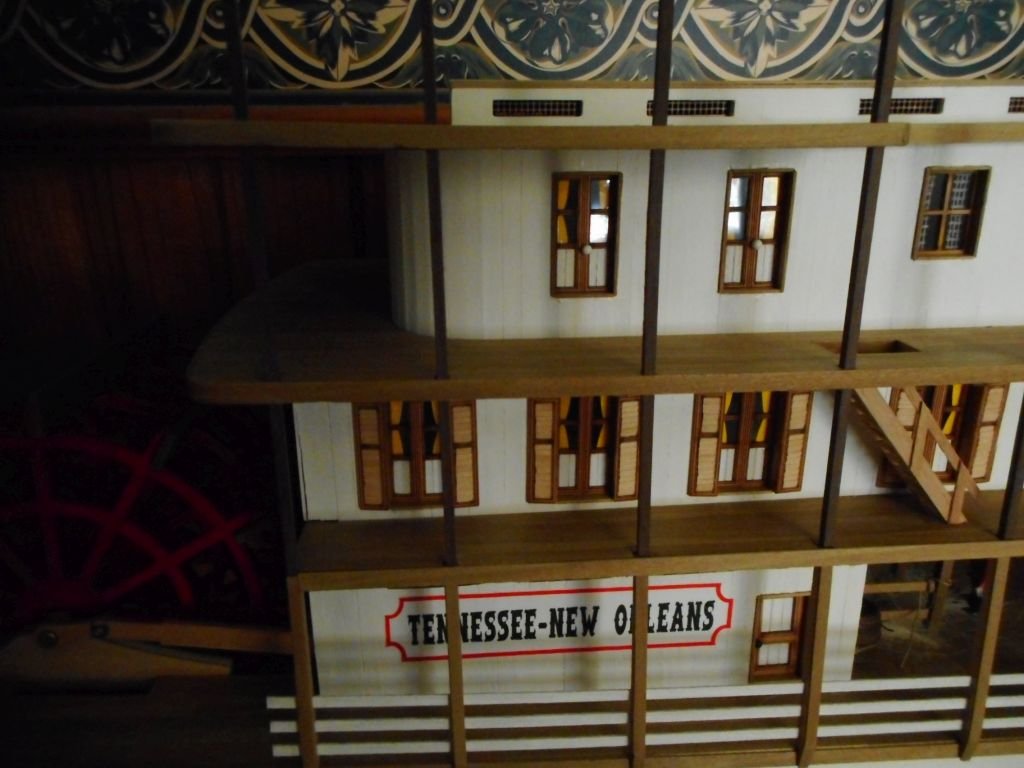
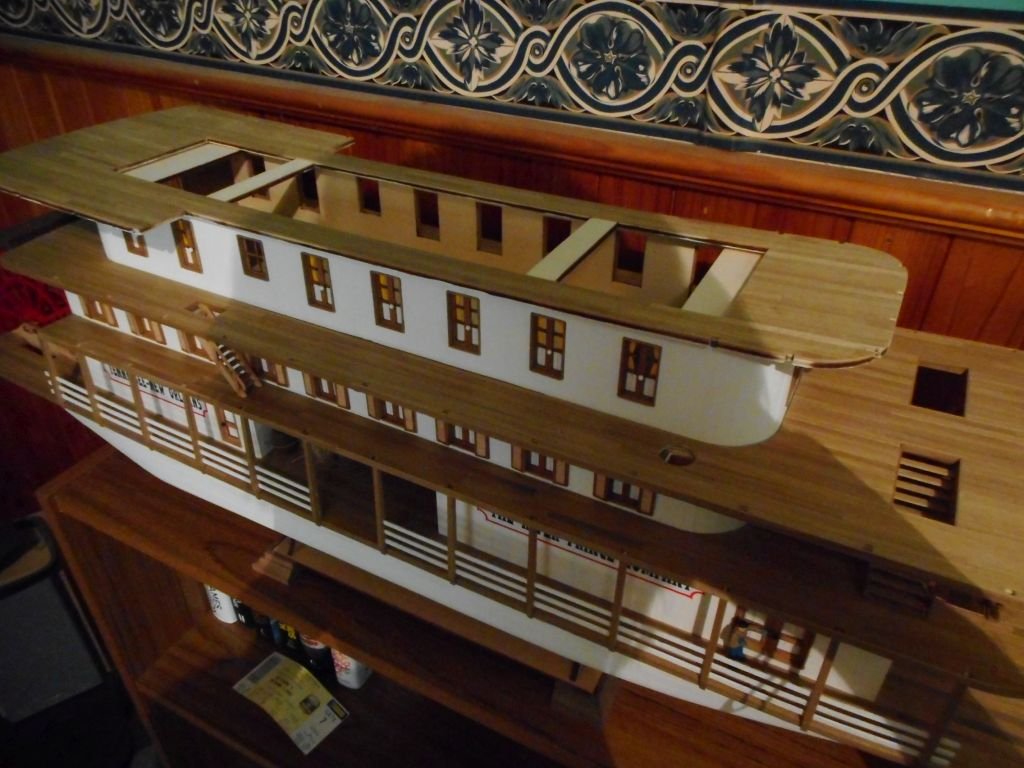
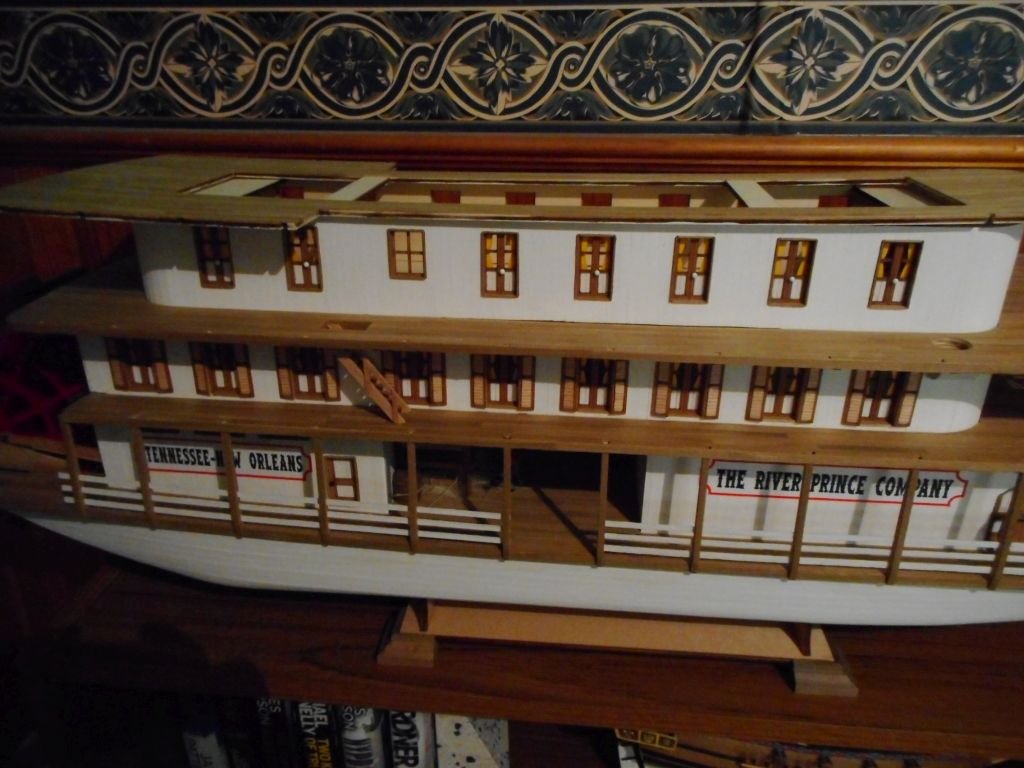
Moving upward. Some shots of the next level cabins planked, filled, sanded, and with doors and windows cut out. And now some with the first coat of white paint. The structure is just sitting in place at the moment. Cheers Chris.


-
Looking great David. As for the dodgy instructions, I reckon this is half the challenge! Seriously, I reckon I spend more time reading/studying the instructions both before and during the build than actually touching any wood. The instructions/drawings on my current build are horrendous! I reckon maybe 25% of the build just isn't mentioned or shown at all. Still having said that, this is by far the best kit I have seen for quantity of wood. I will end up with a great stash of all sorts of lengths and sizes to maybe help out on other builds. Cheers Chris.
- 126 replies
-
- 2
-
-
- fly
- victory models
- (and 1 more)