HOLIDAY DONATION DRIVE - SUPPORT MSW - DO YOUR PART TO KEEP THIS GREAT FORUM GOING! (Only 13 donations so far - C'mon guys!)
×


vossy
-
Posts
600 -
Joined
-
Last visited
Content Type
Profiles
Forums
Gallery
Events
Everything posted by vossy
-
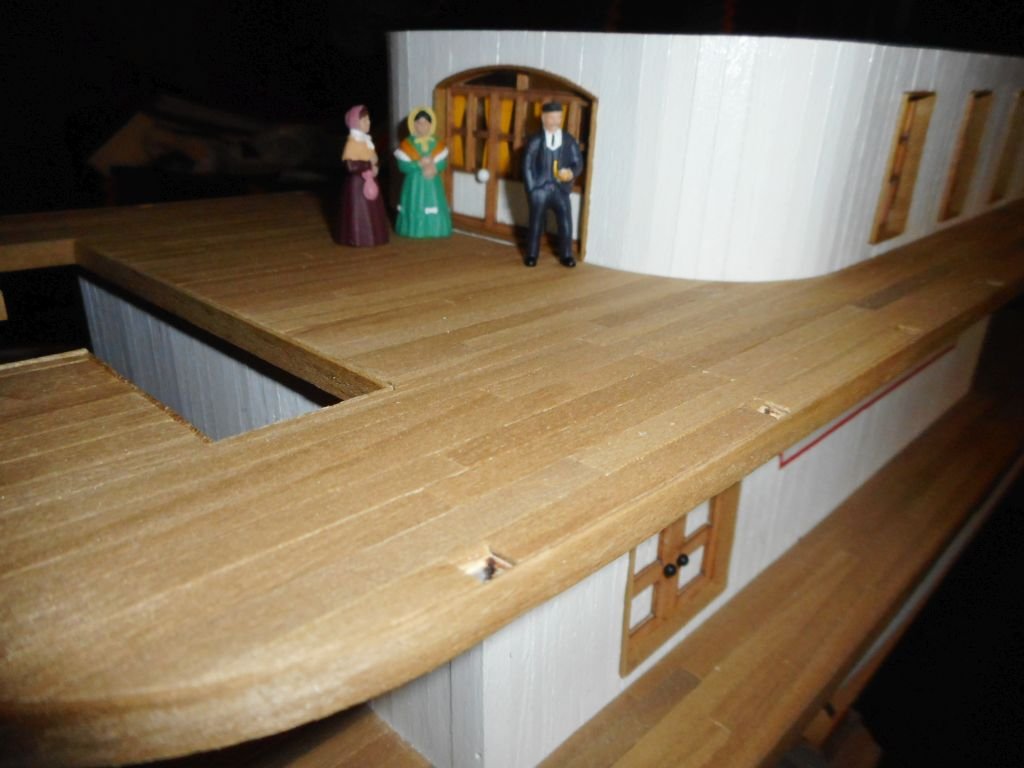
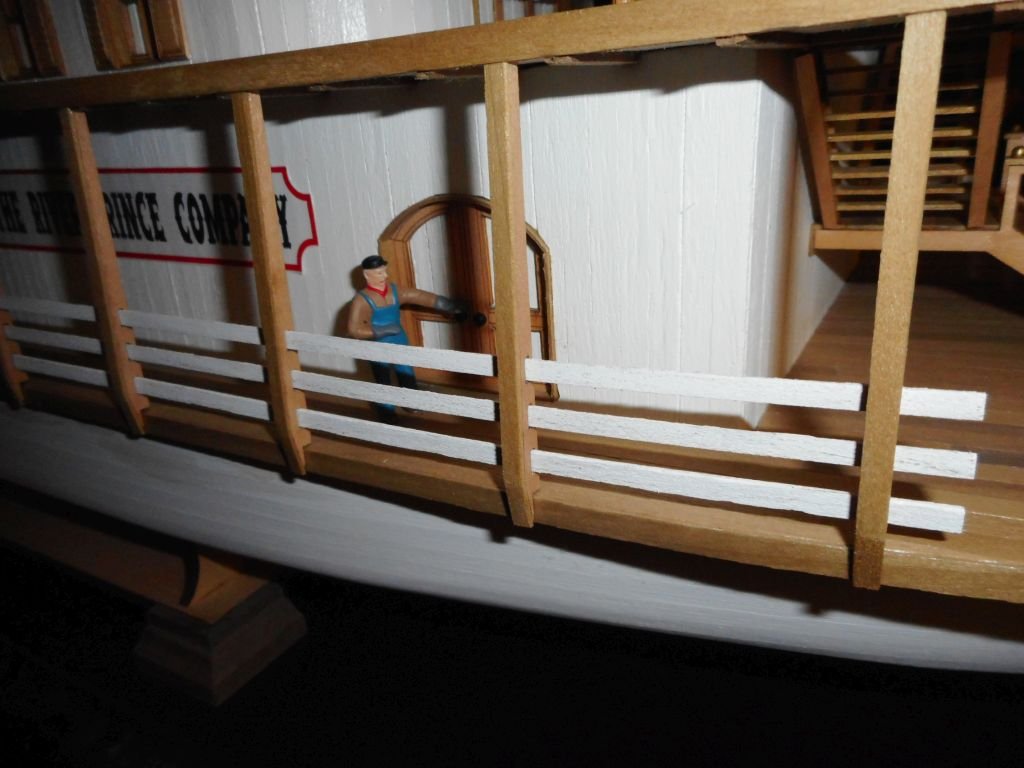
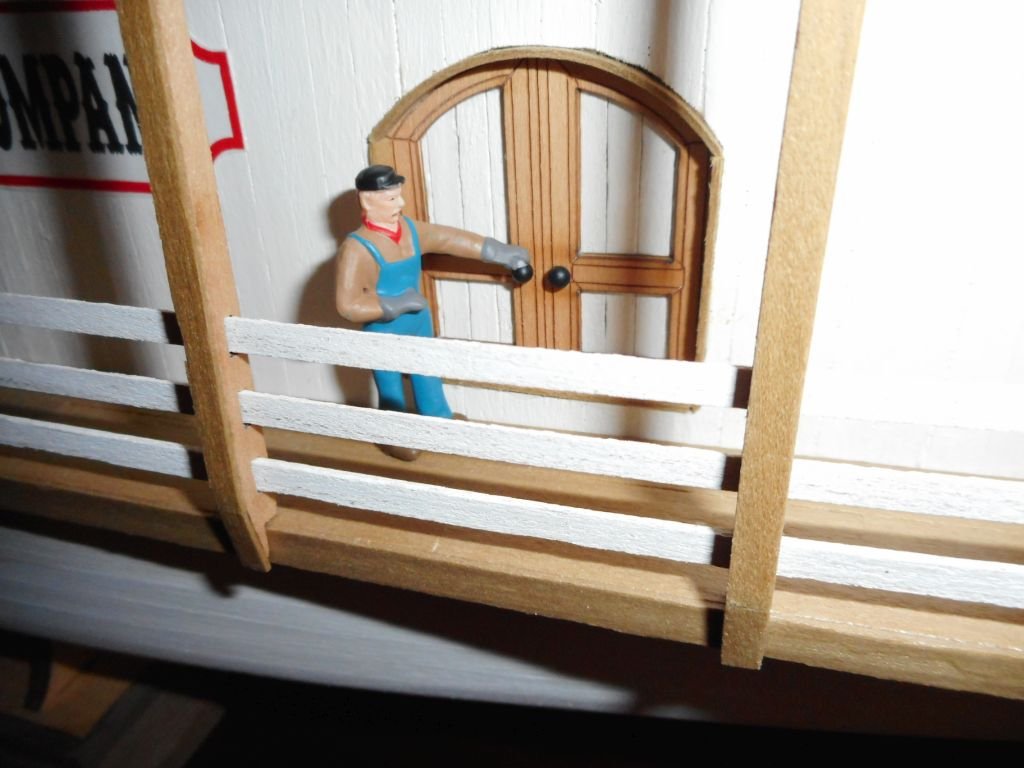
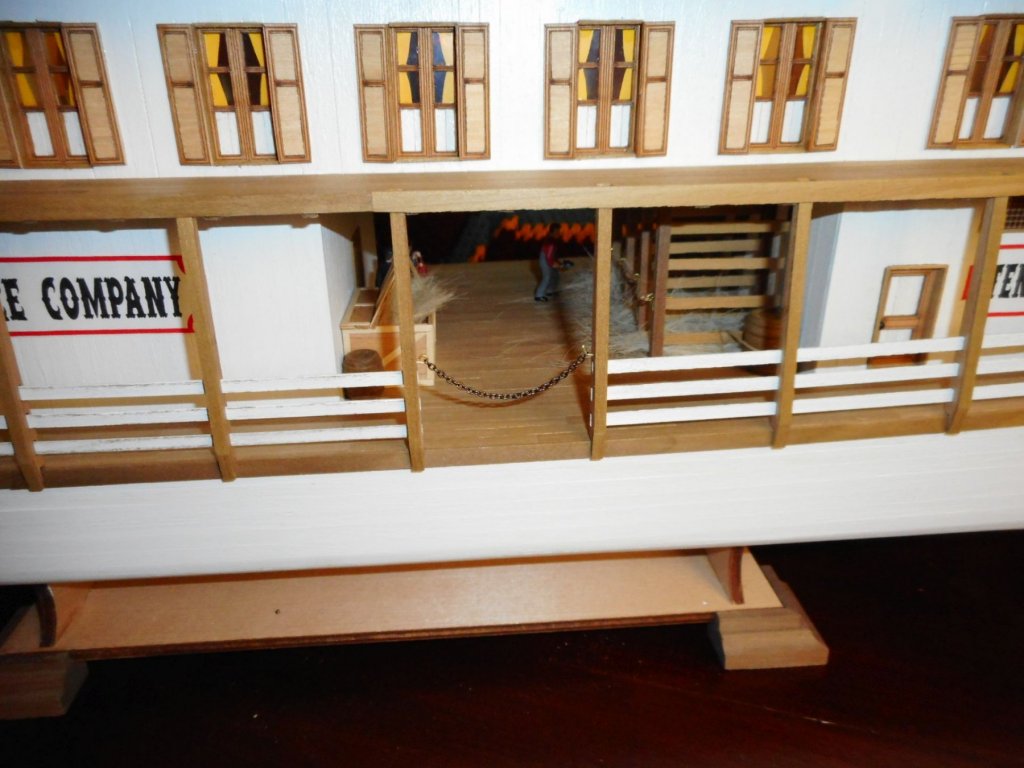
 Dave, yeah even though these guys are actually steam era railway figures, I reckon they don't look out of place here. Carl, thanks for the nice comments, good to have you aboard. Chris
 -
Welcome aboard a new crew member! Chris
-
Do you have an approx. finish date in mind Dave? I reckon this one will take longer than the Grand Banks. Chris
-
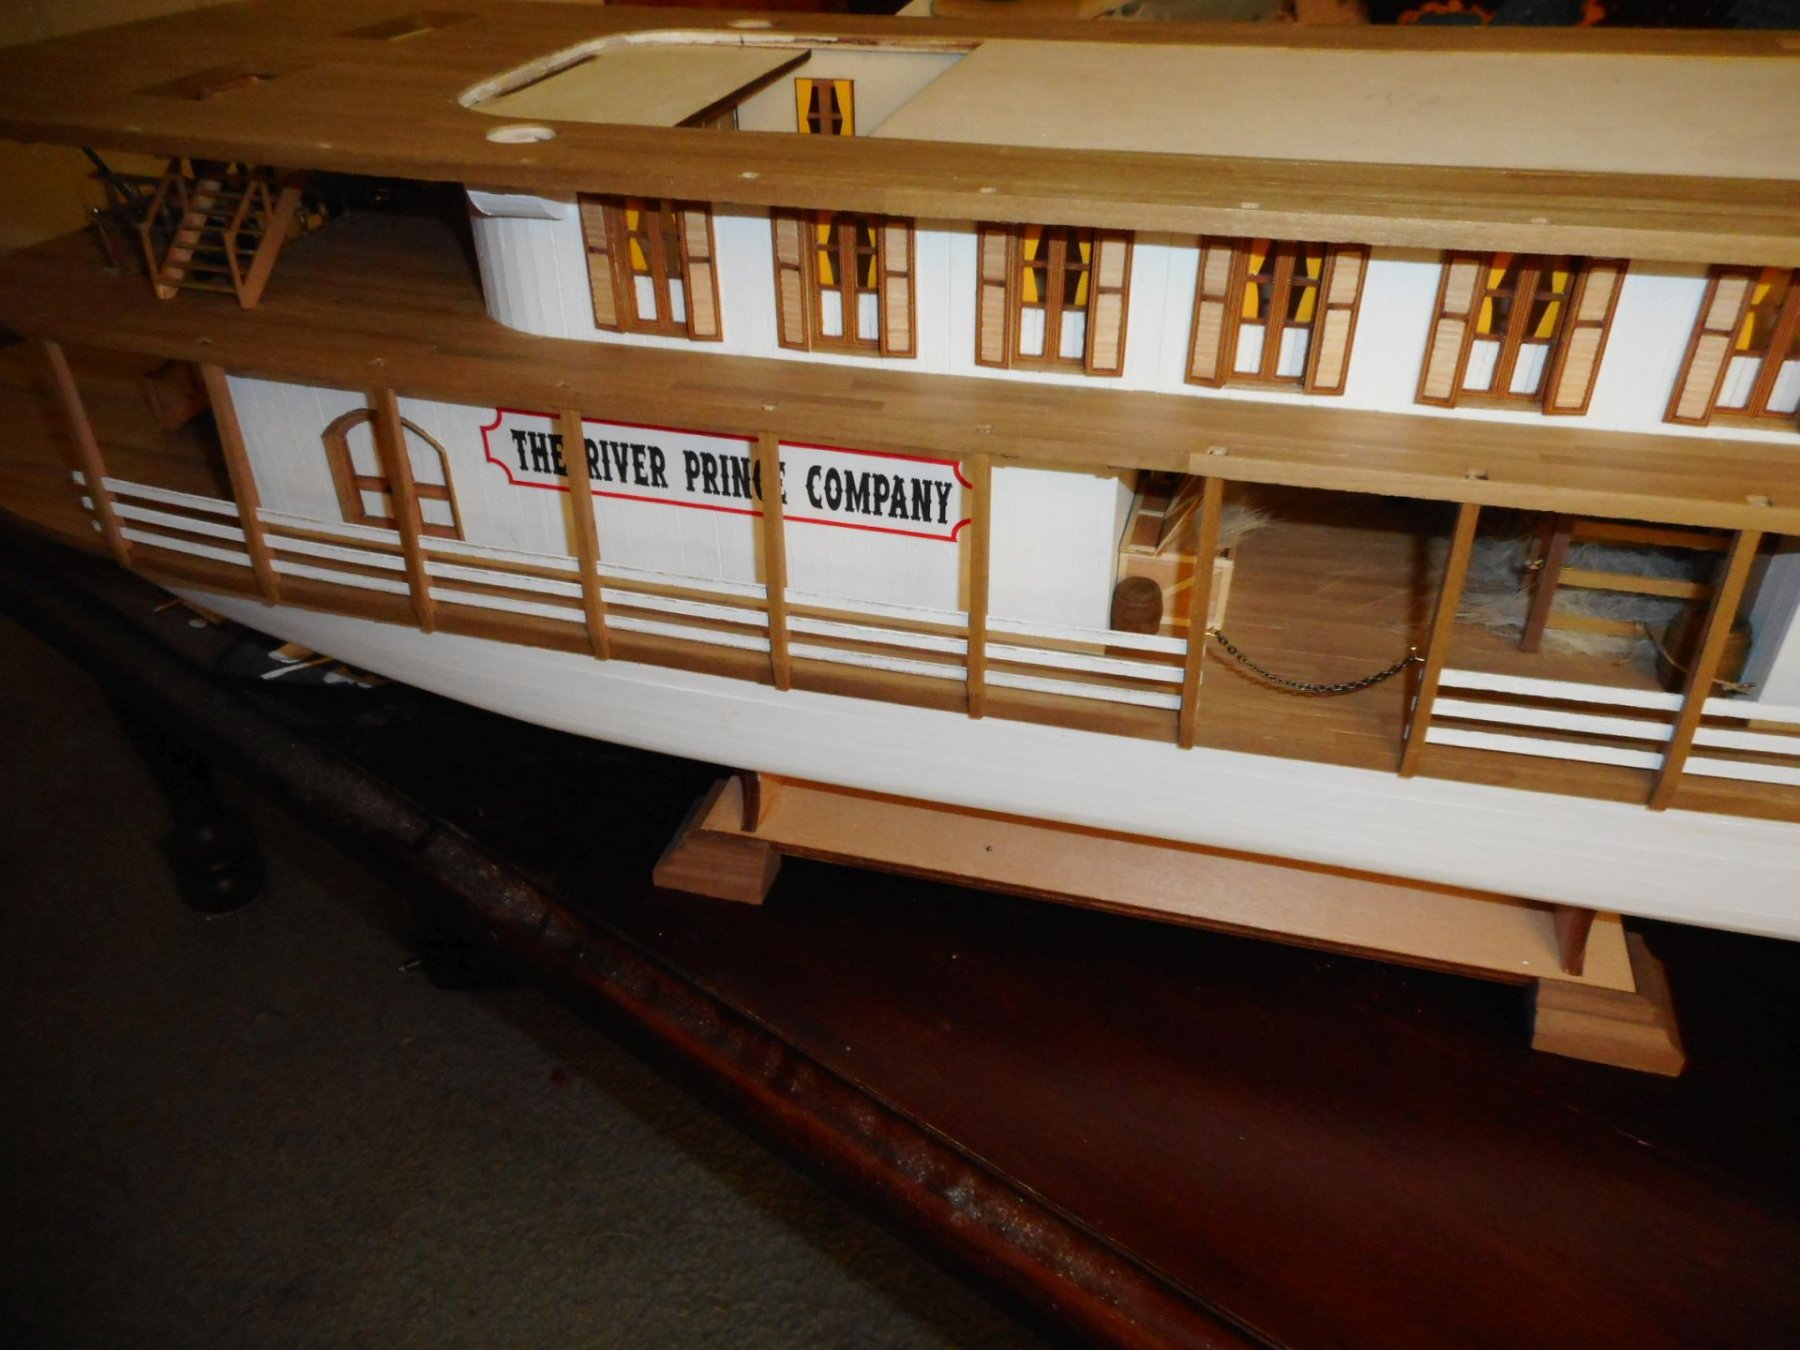
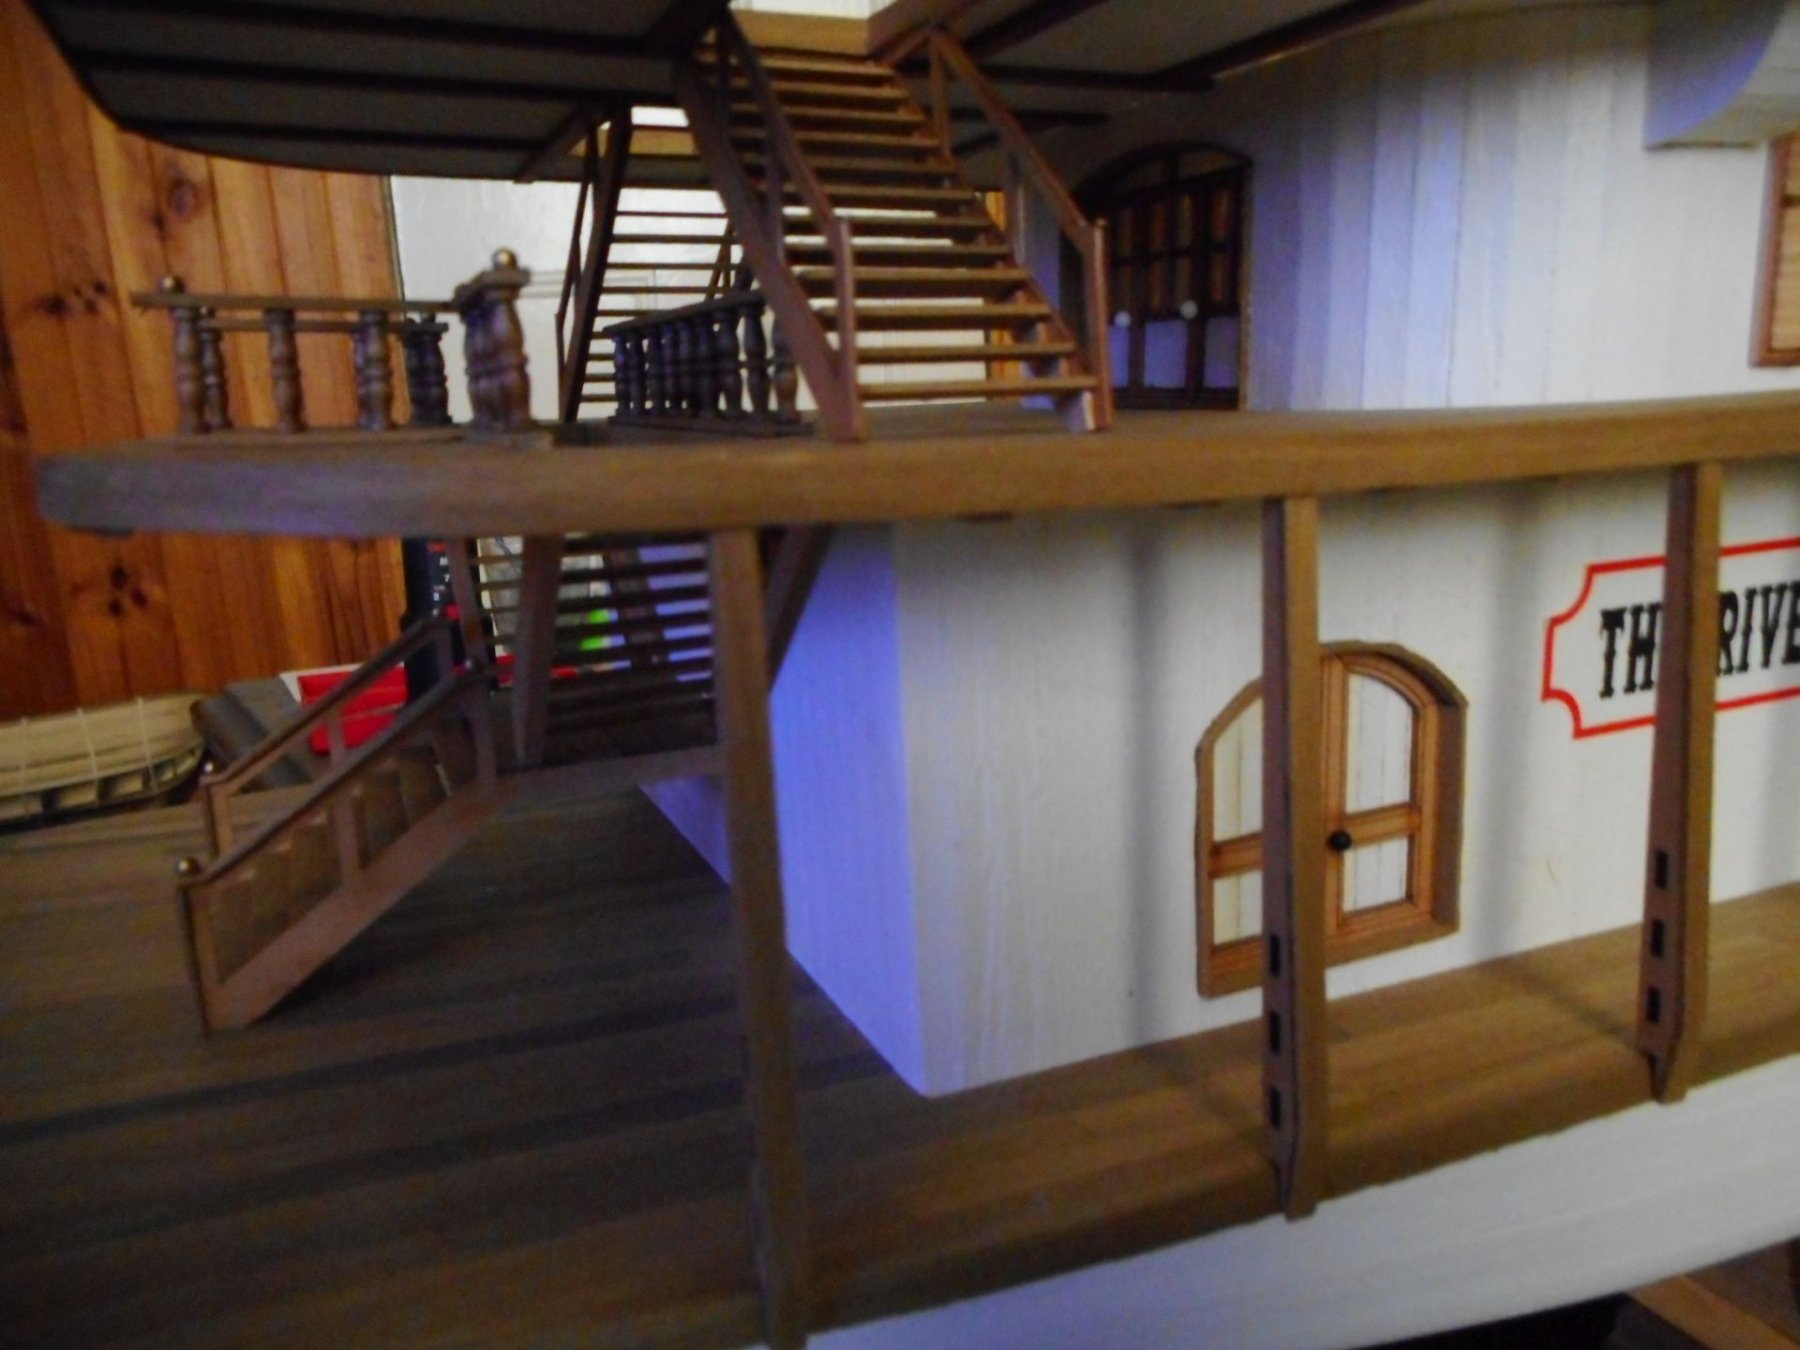
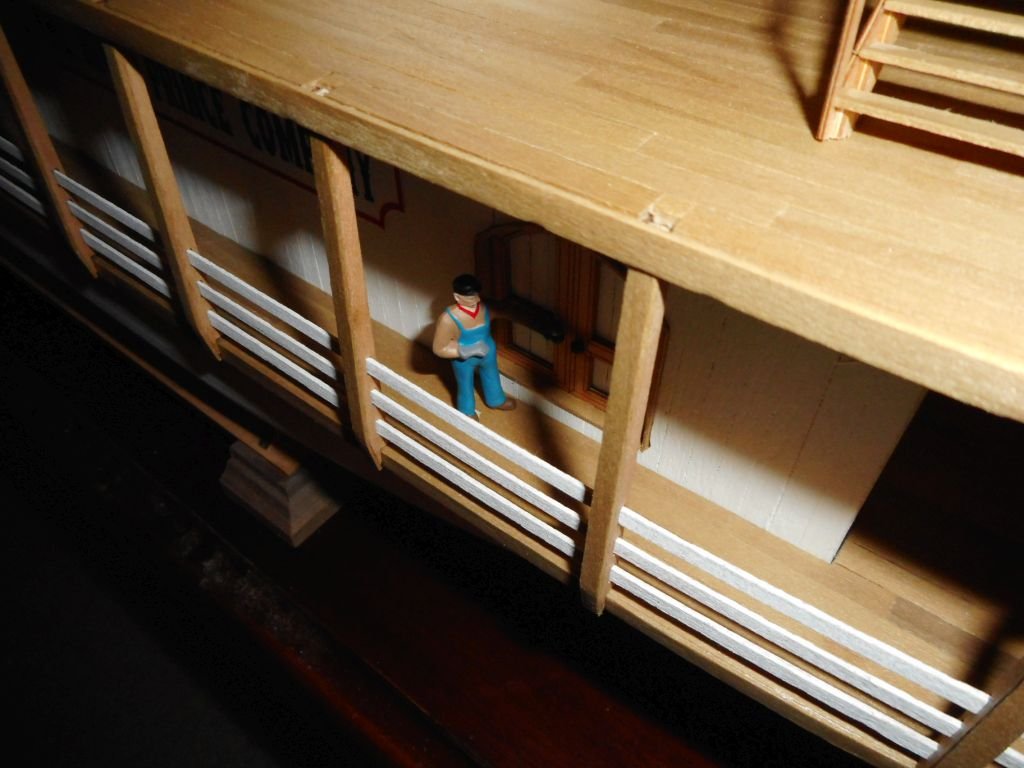
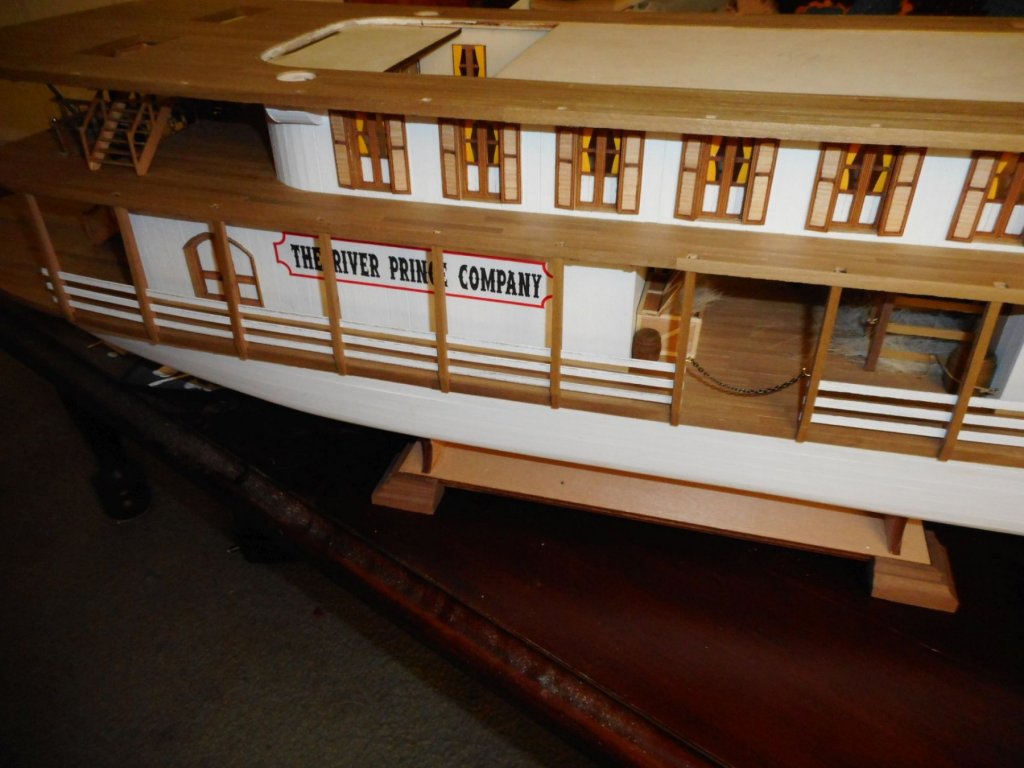
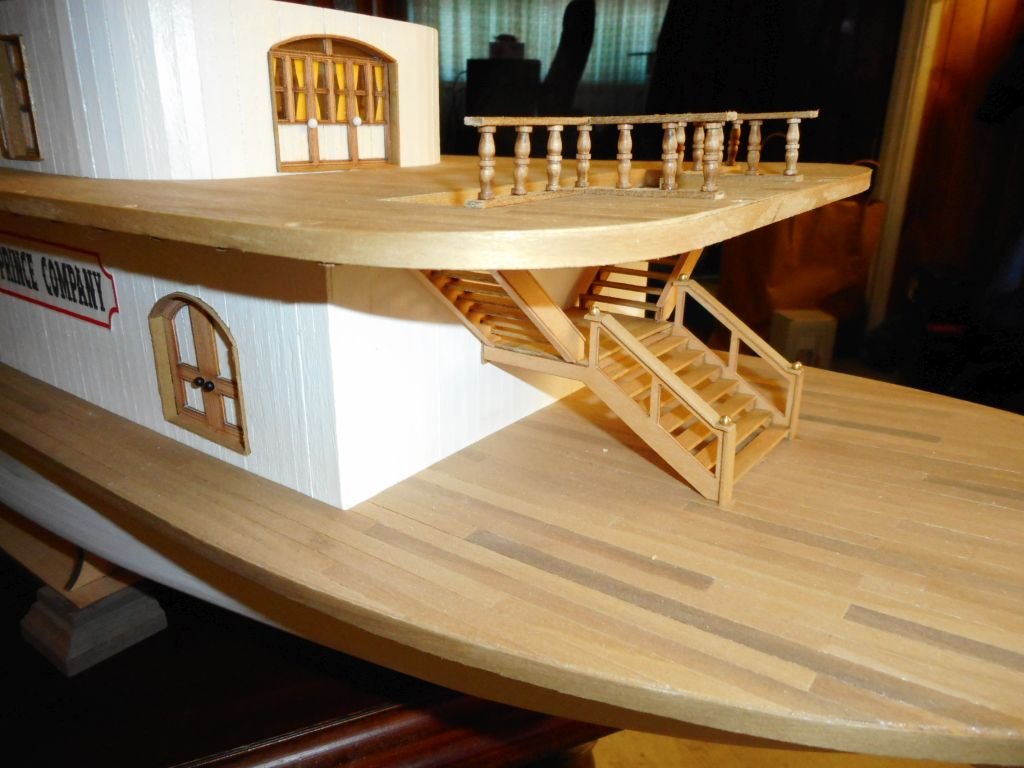
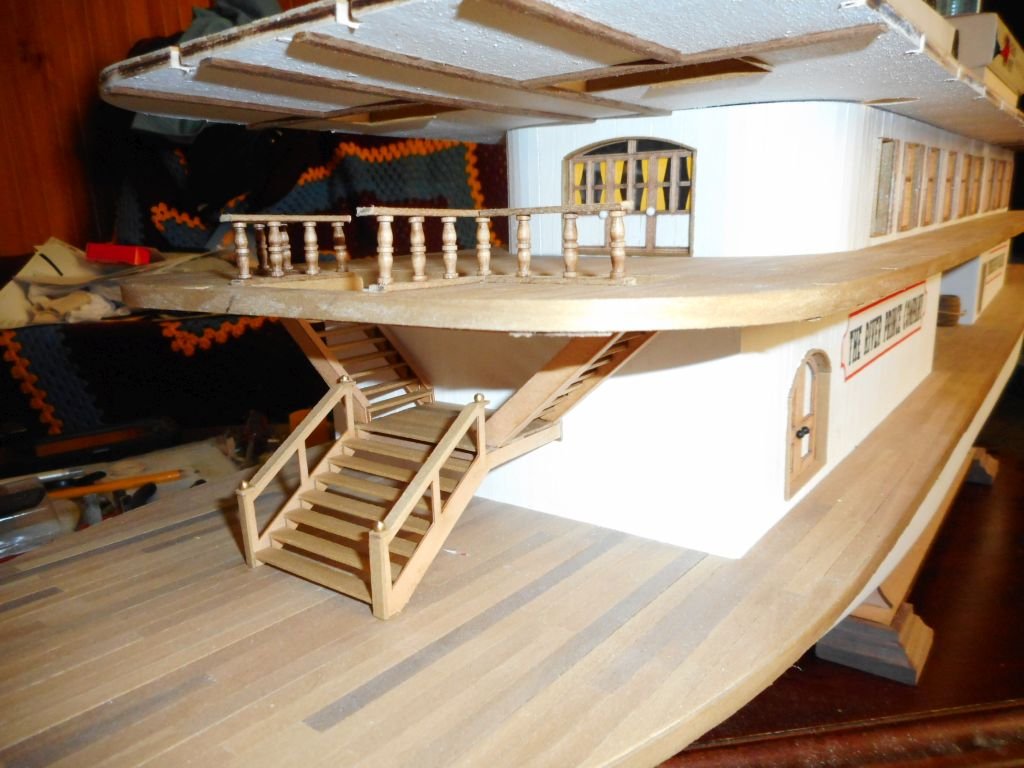
Another quick update. Posts and rails in place lower port side. Rails need another coat of white. Cheers Chris.


-
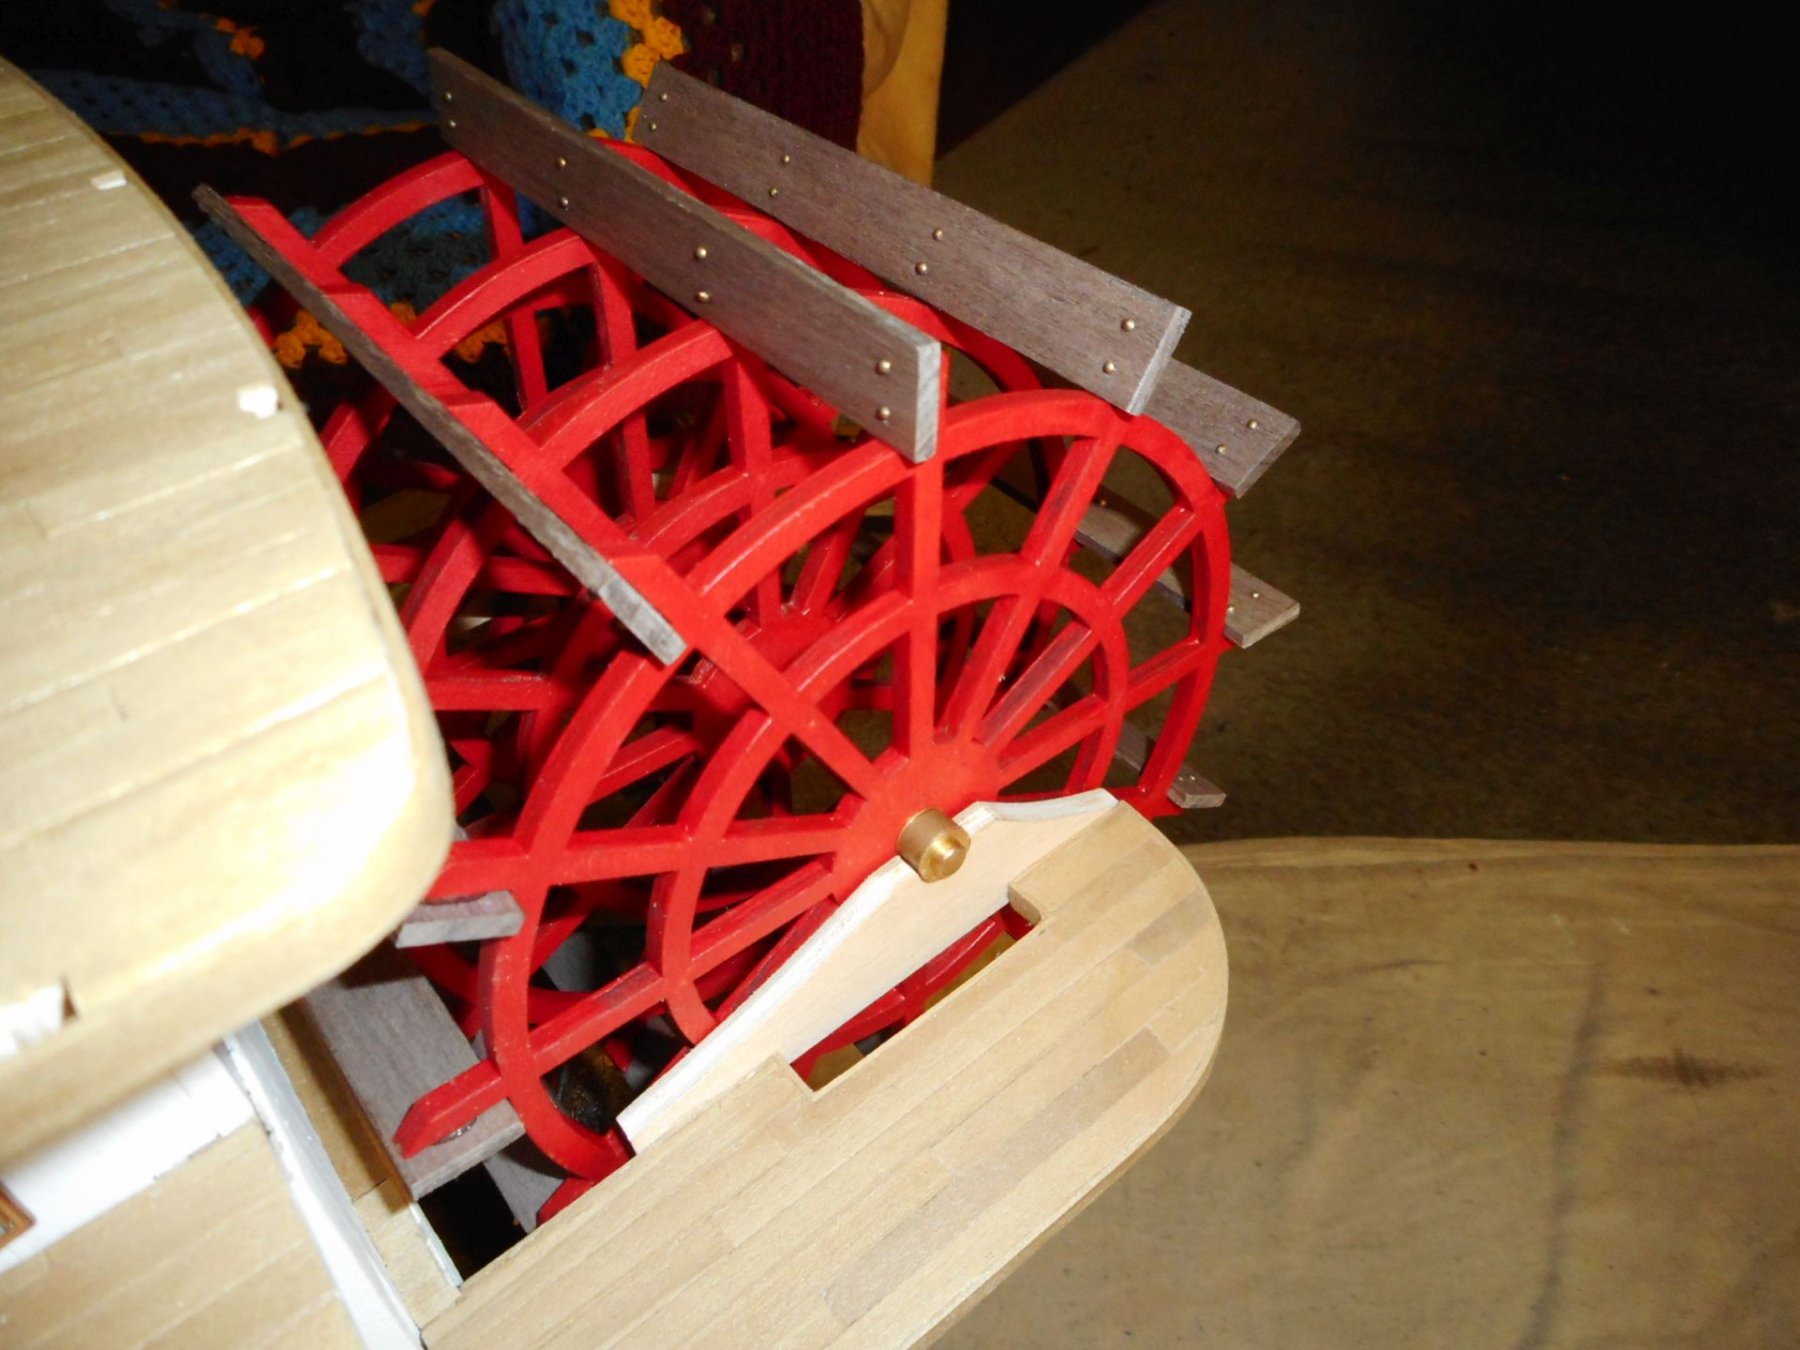
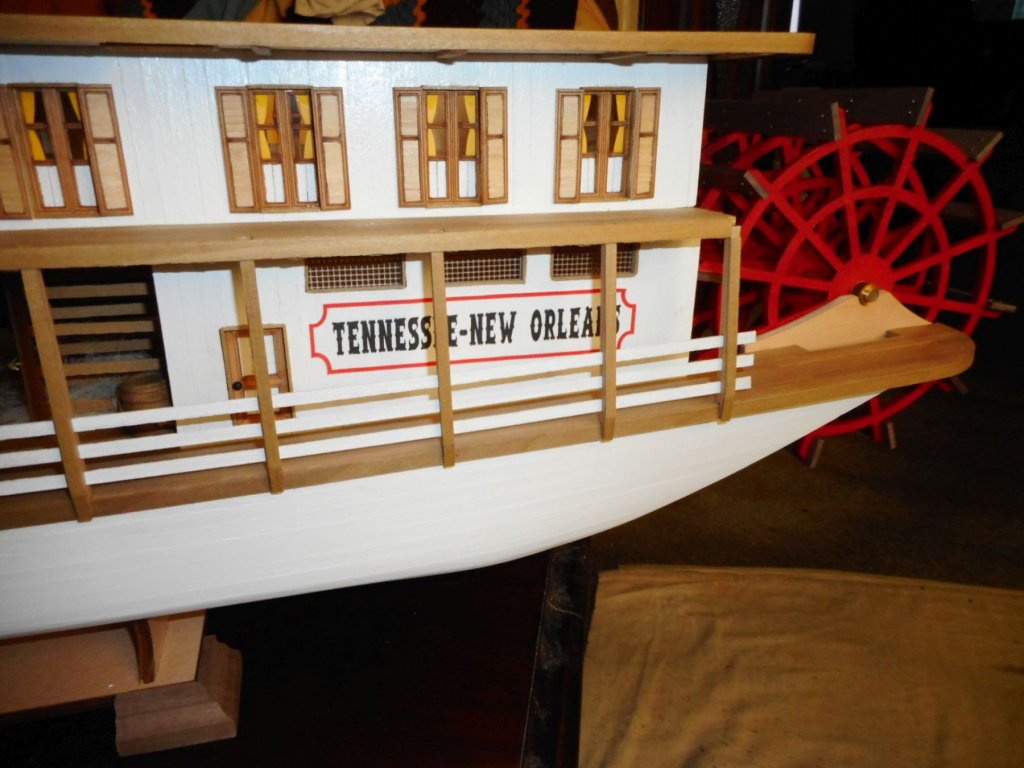
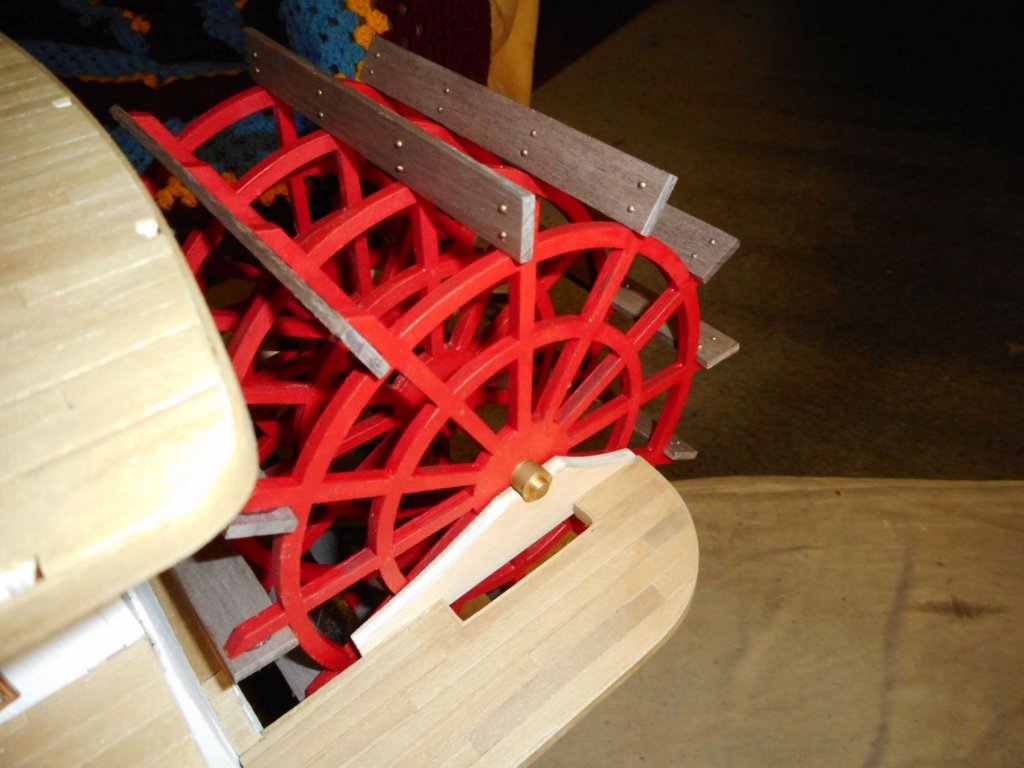
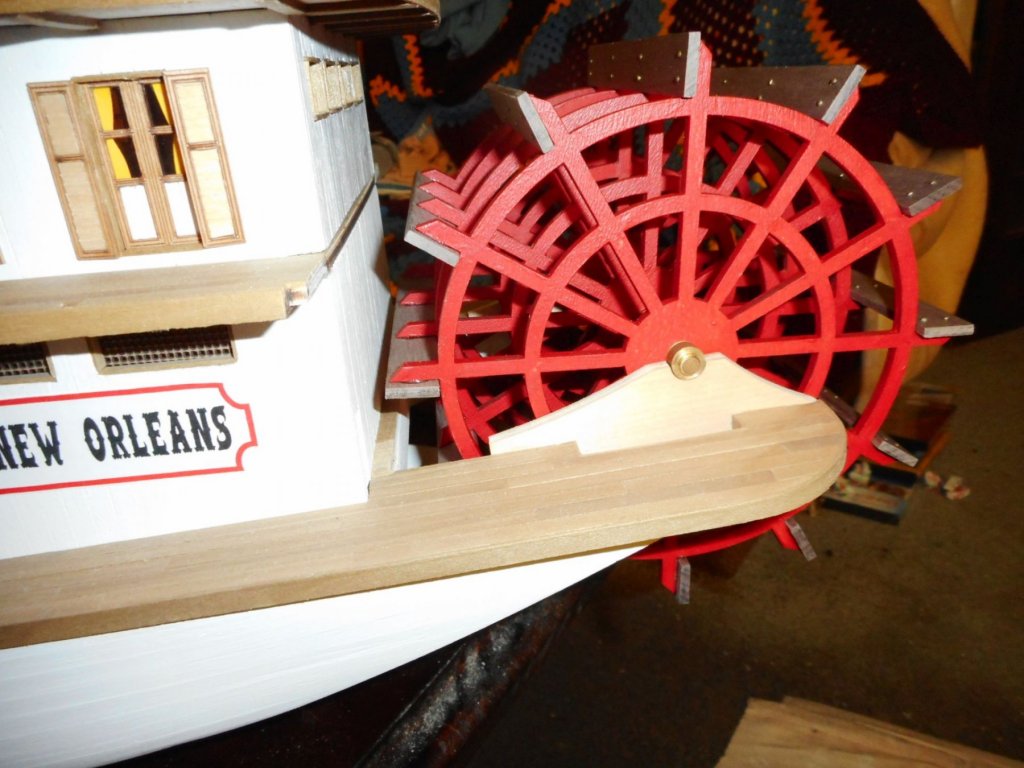
Hey Dave, the nails are actually false nails. What I did was first cut the blades to length. Then got a heap of old bent planking nails from previous builds and cut them down to about 1mm in length. Next I carefully lined up the blades on the wheels and marked where the nails would go. Then I drilled a tiny (very tiny in fact) hole and just tapped the cut-down nails into the blades. When they were all in, I gave the blades a few coats of matt clear, which further helps stick the nails into the blade, then line up the finished blades on the wheel and just glue them on. The nails therefore don't actually penetrate the spokes at all. They are only there for looks. I like the way they turned out, but it was pretty fiddley to do. Cheers Chris.
-
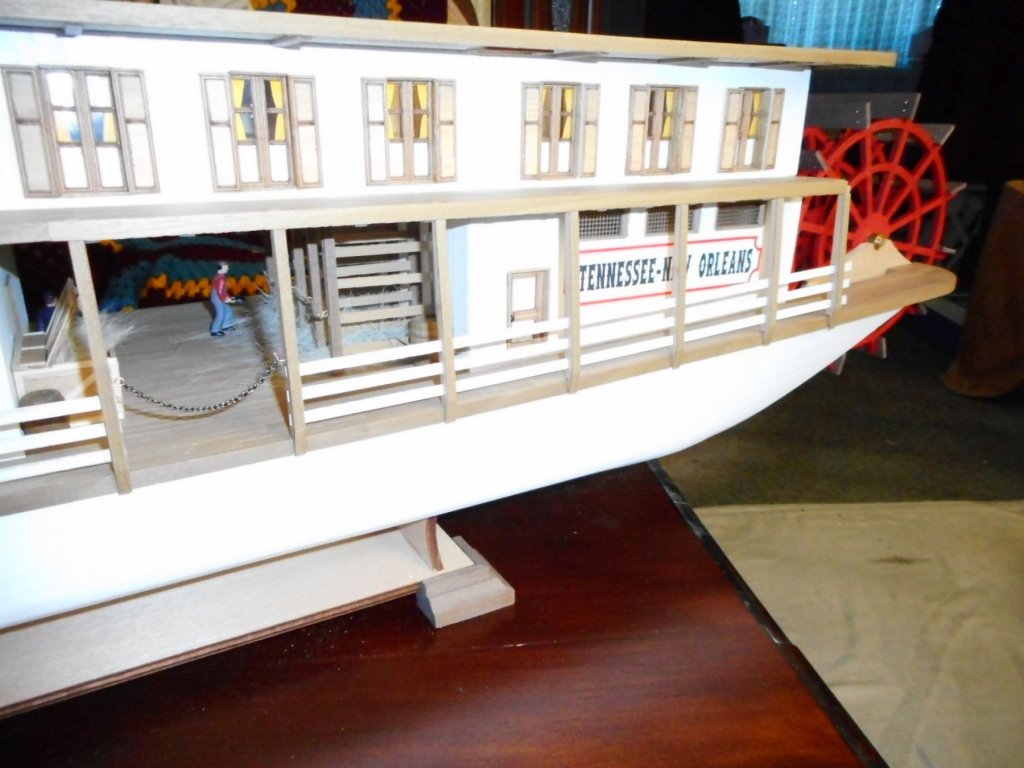
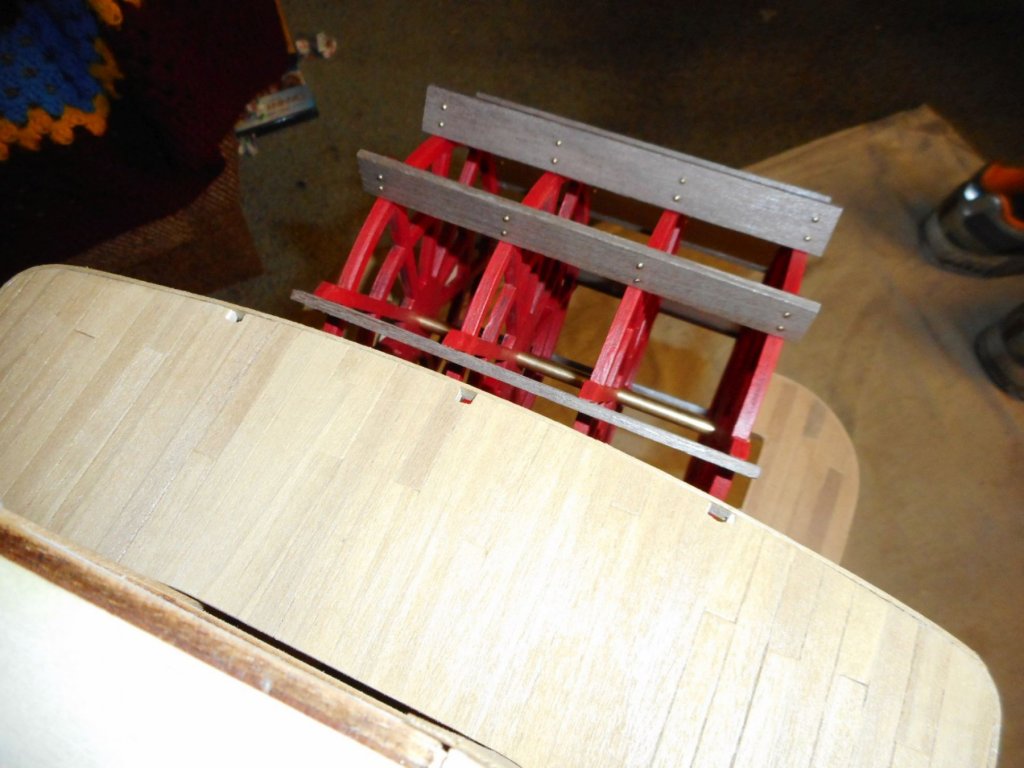
another quick update. a dry fitting of the paddle. still needs some excess glue taken care of and a coat or two of matt clear to finish. the actual red color doesn't look anywhere as bright irl. chris
-
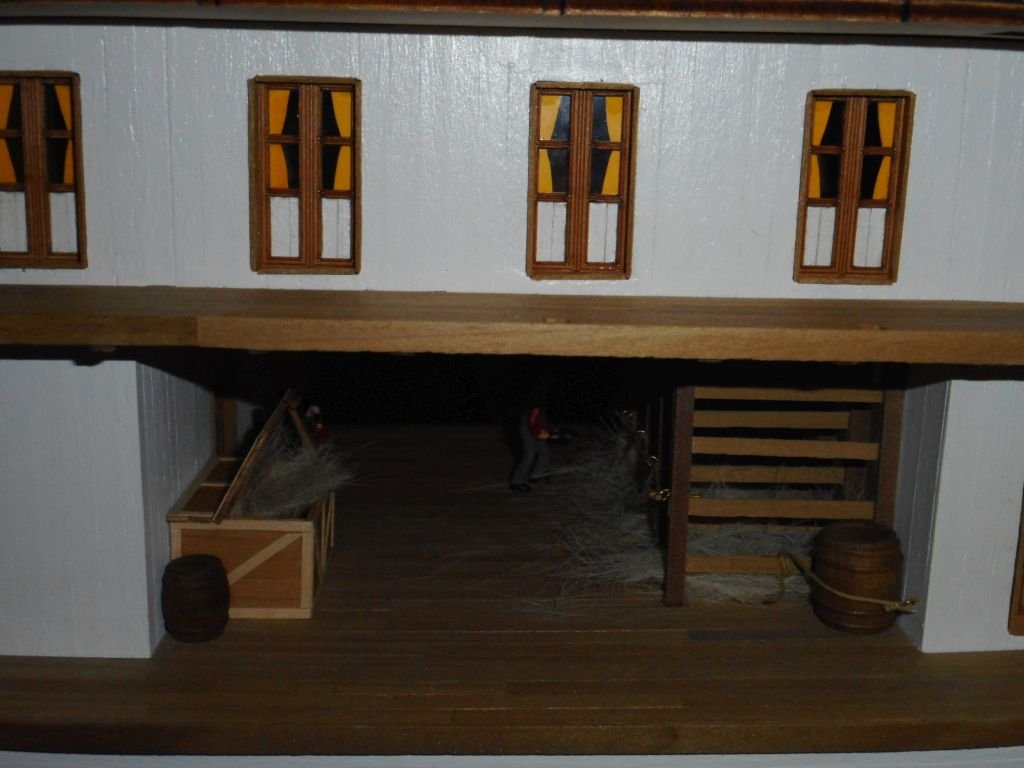
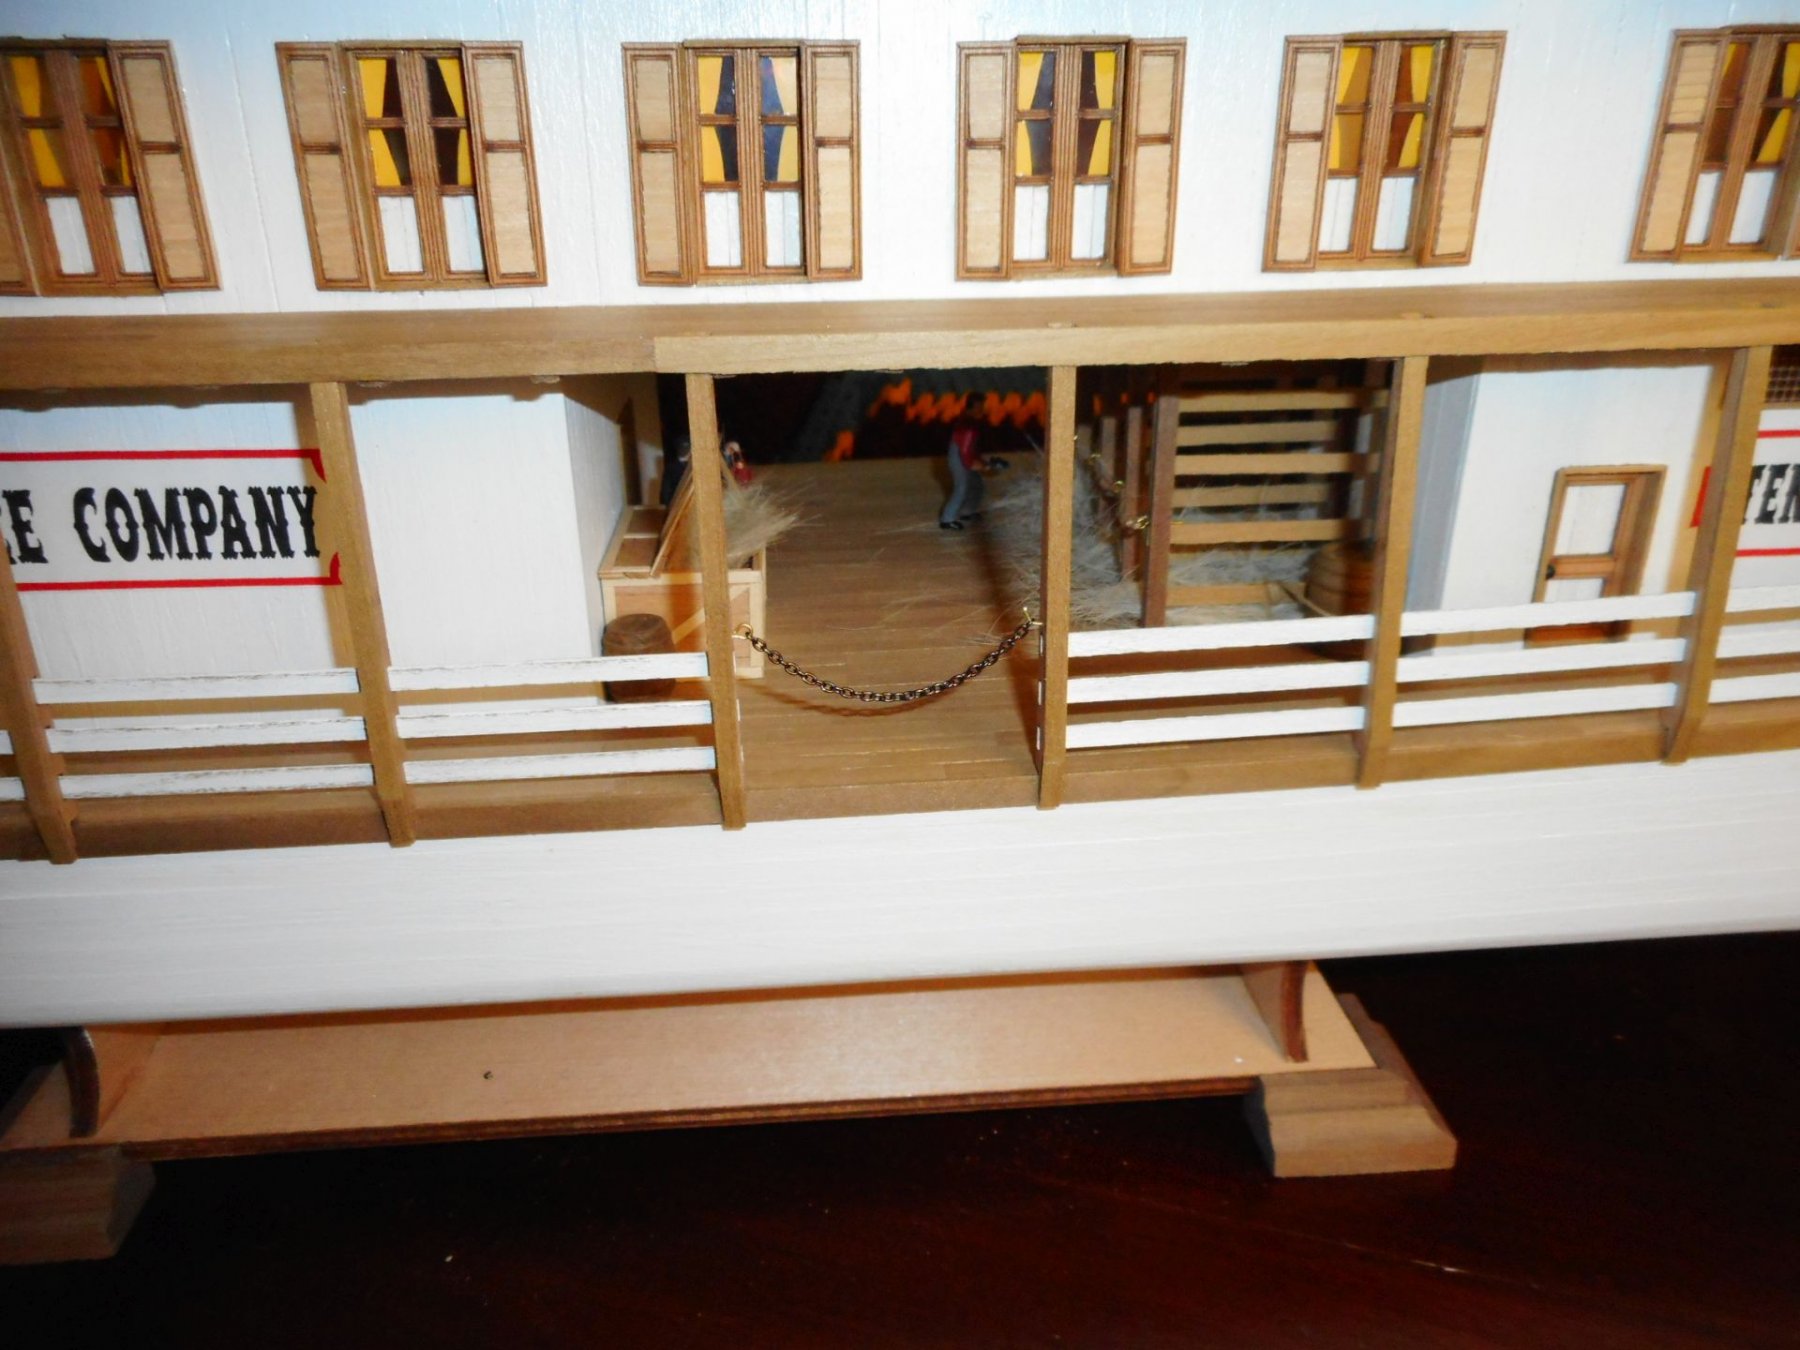
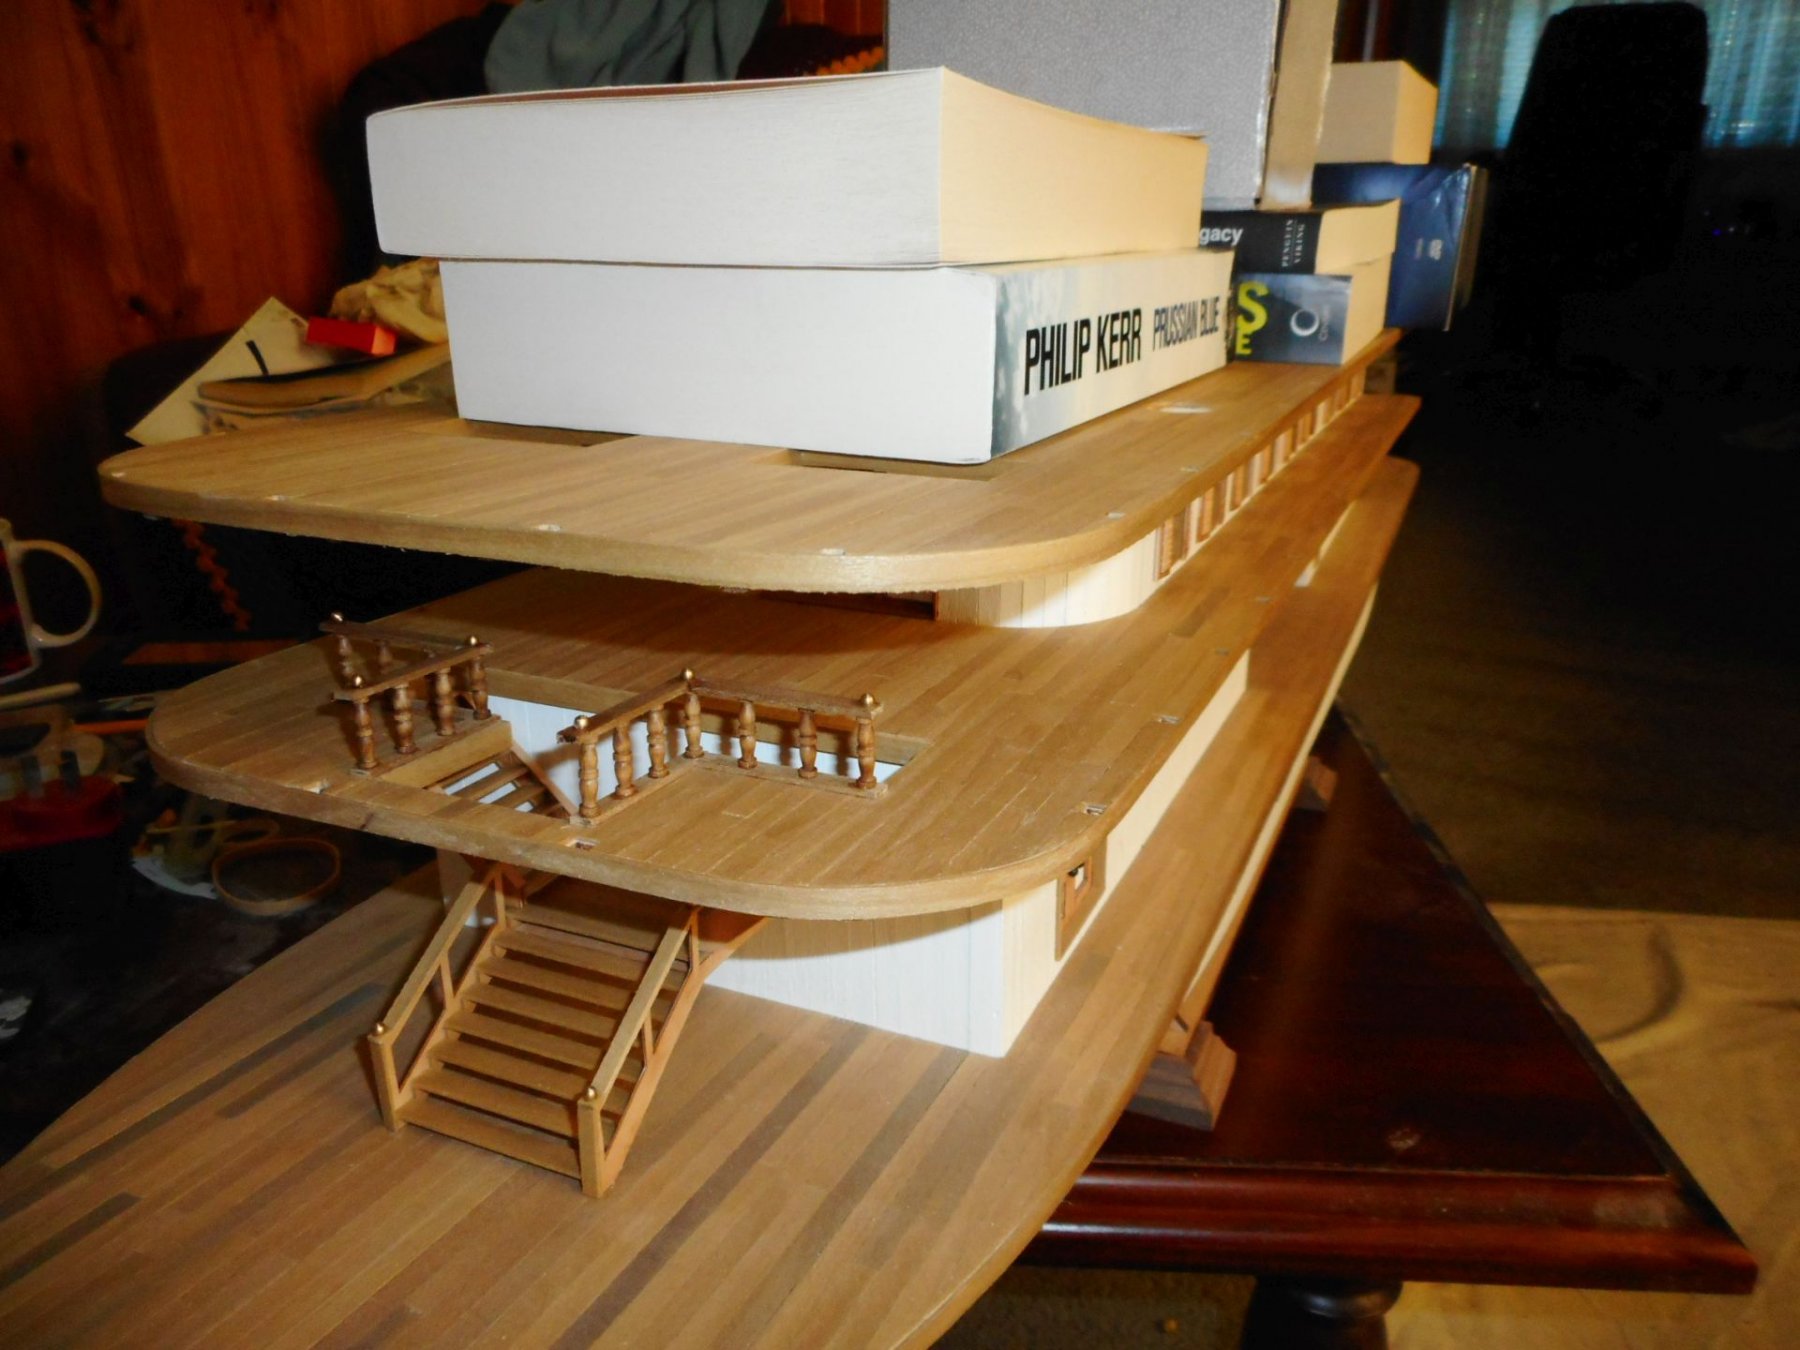
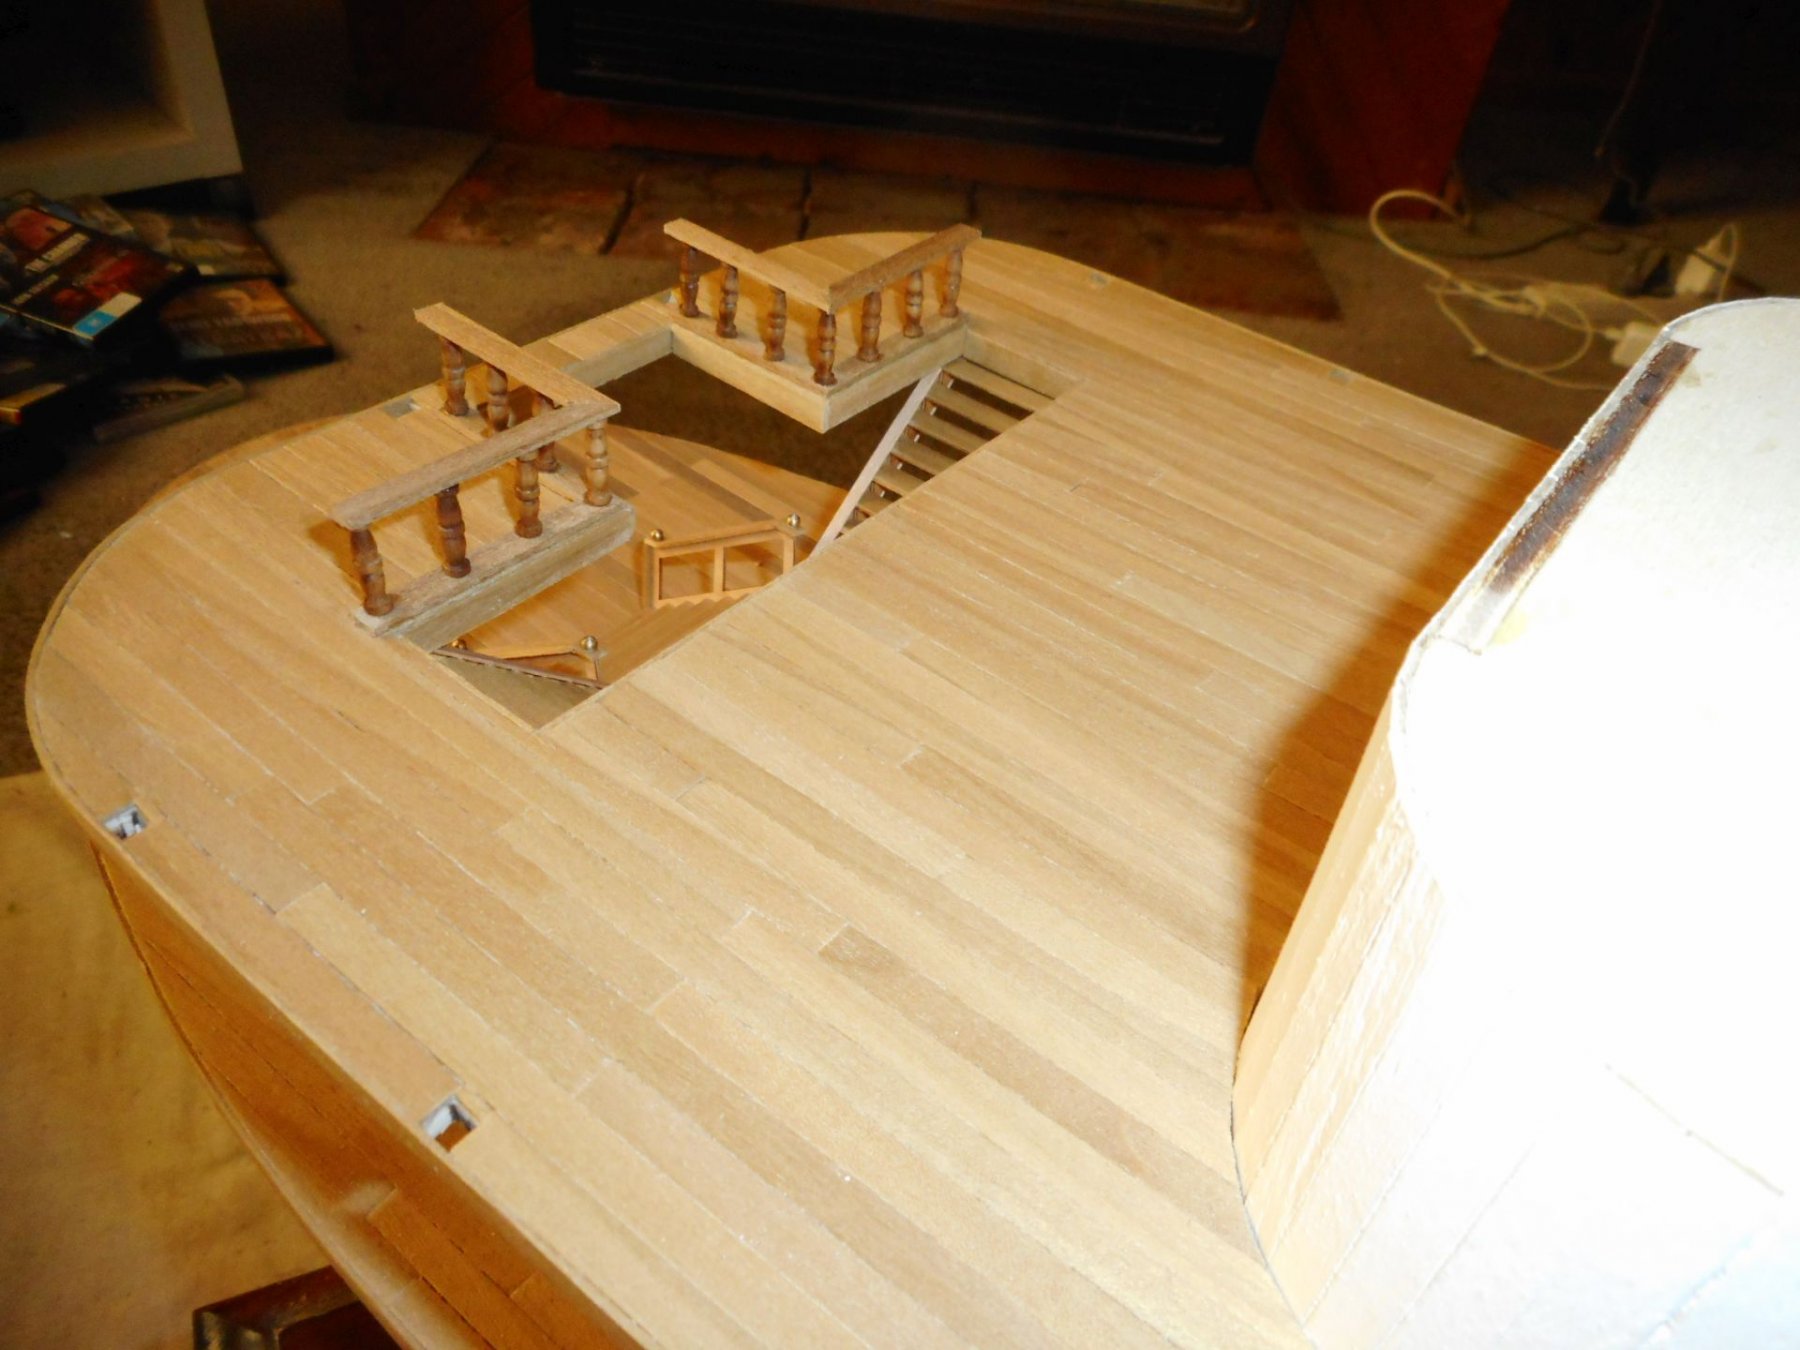
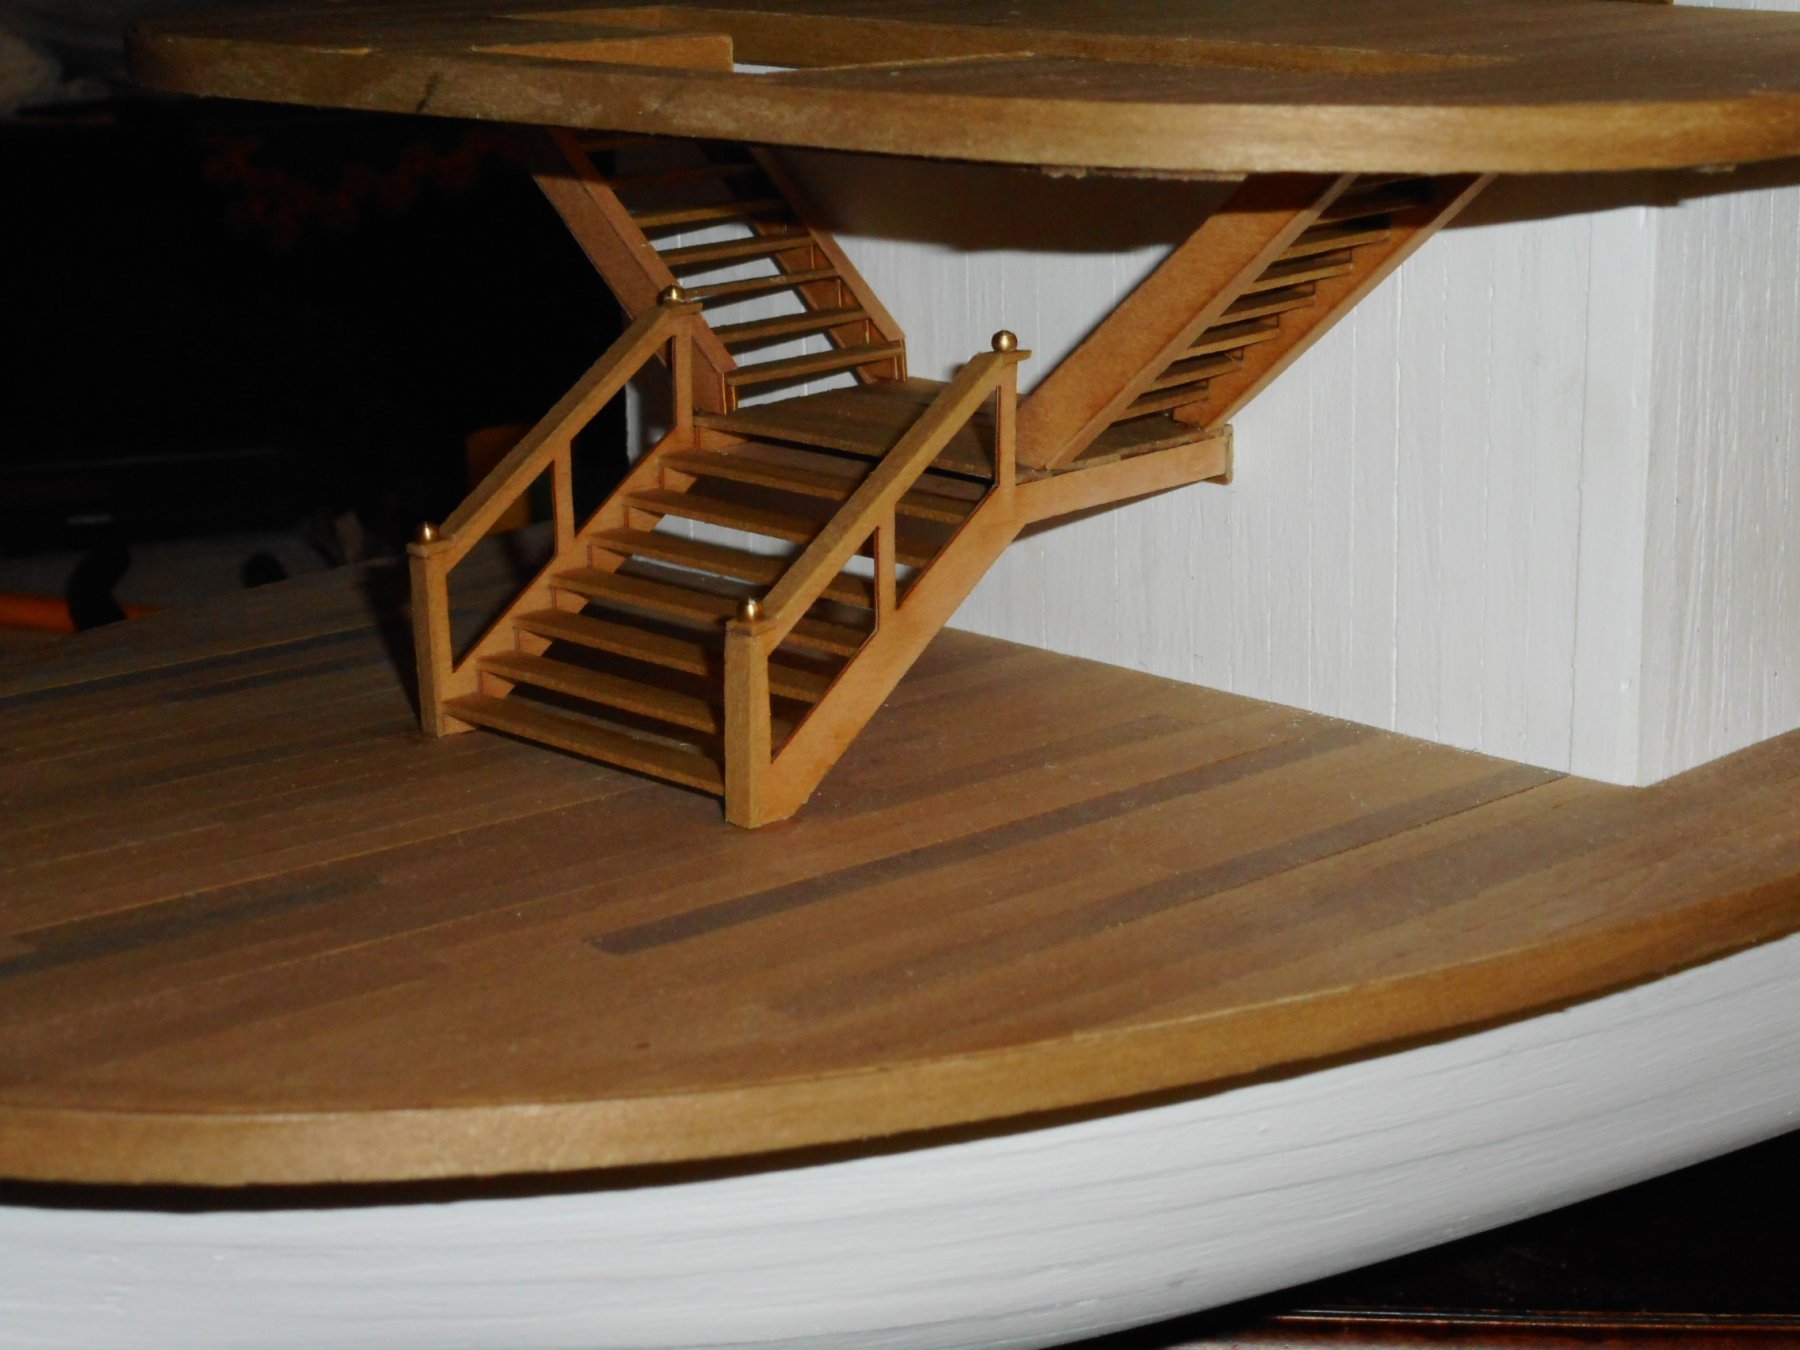
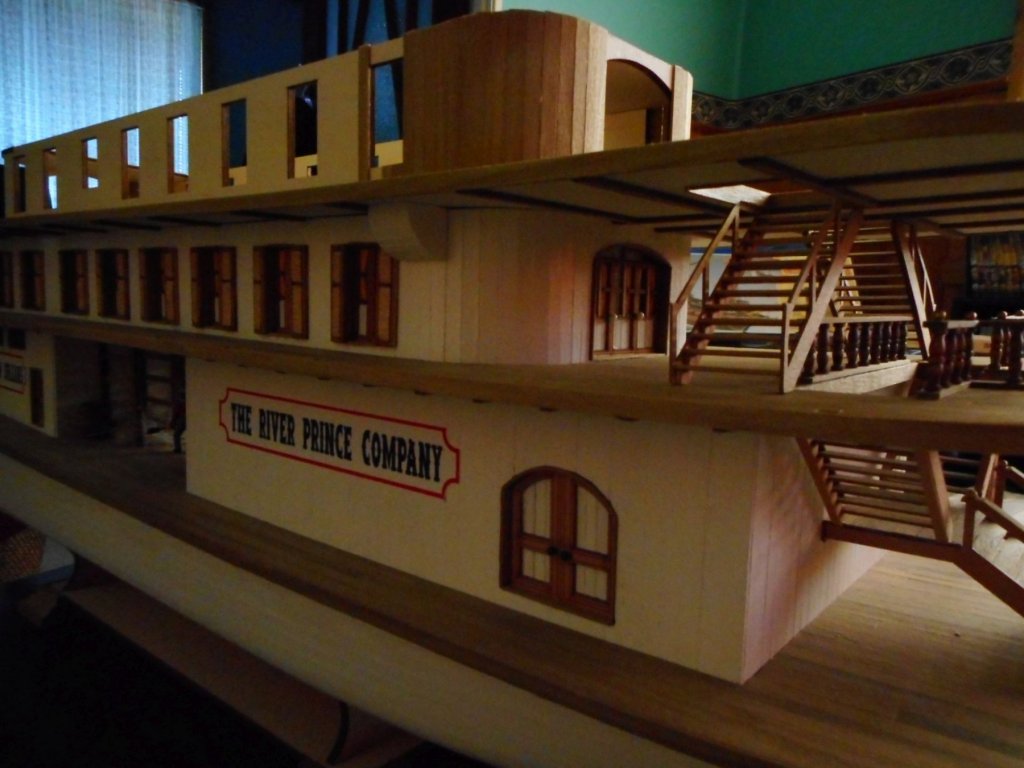
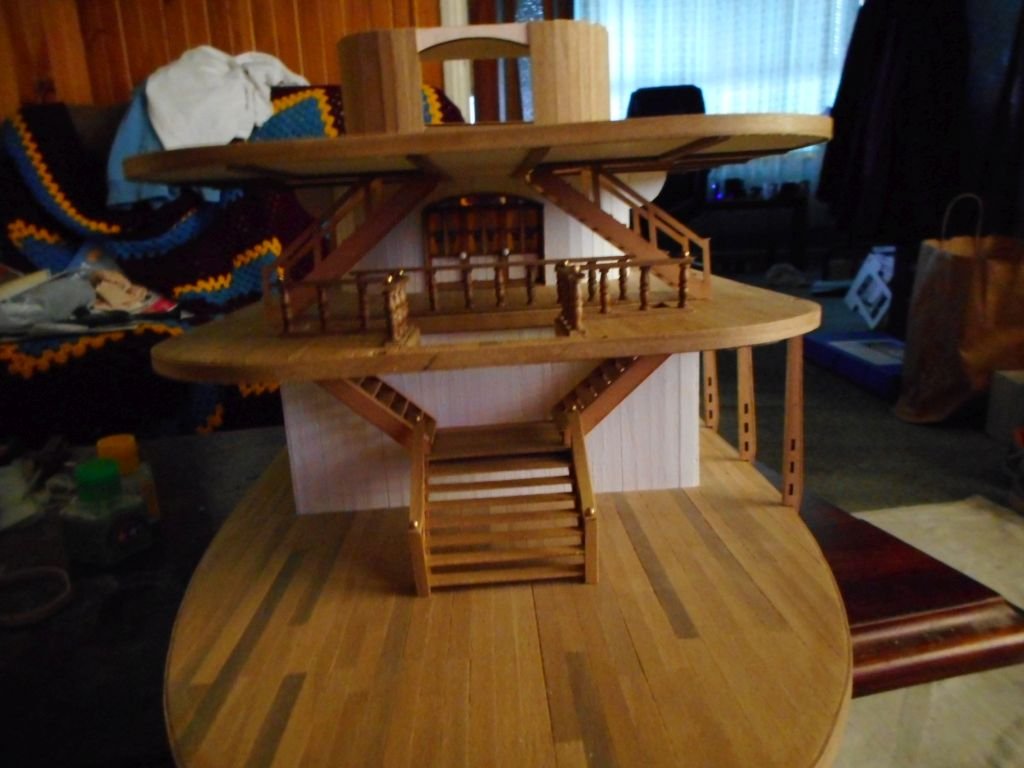
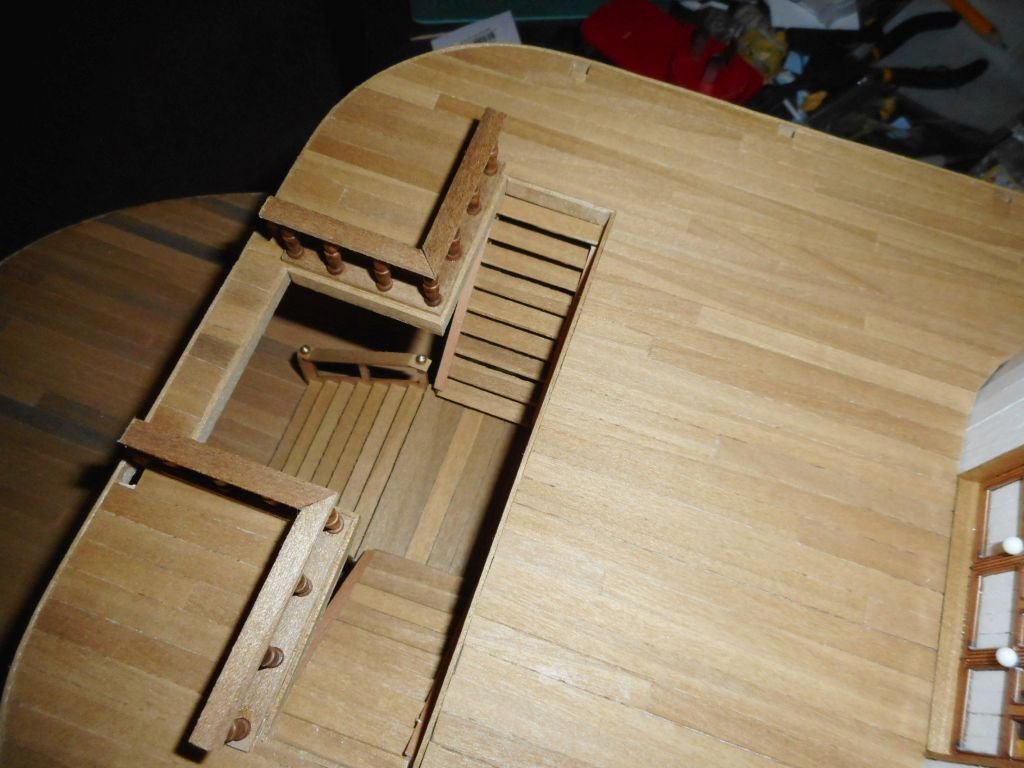
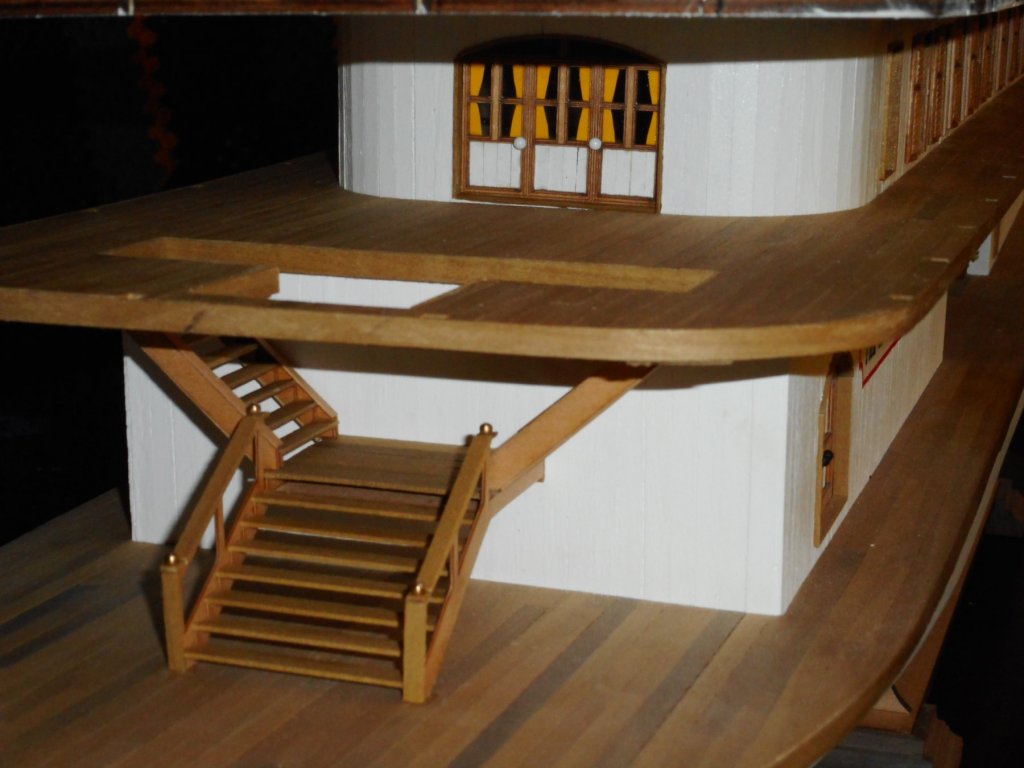
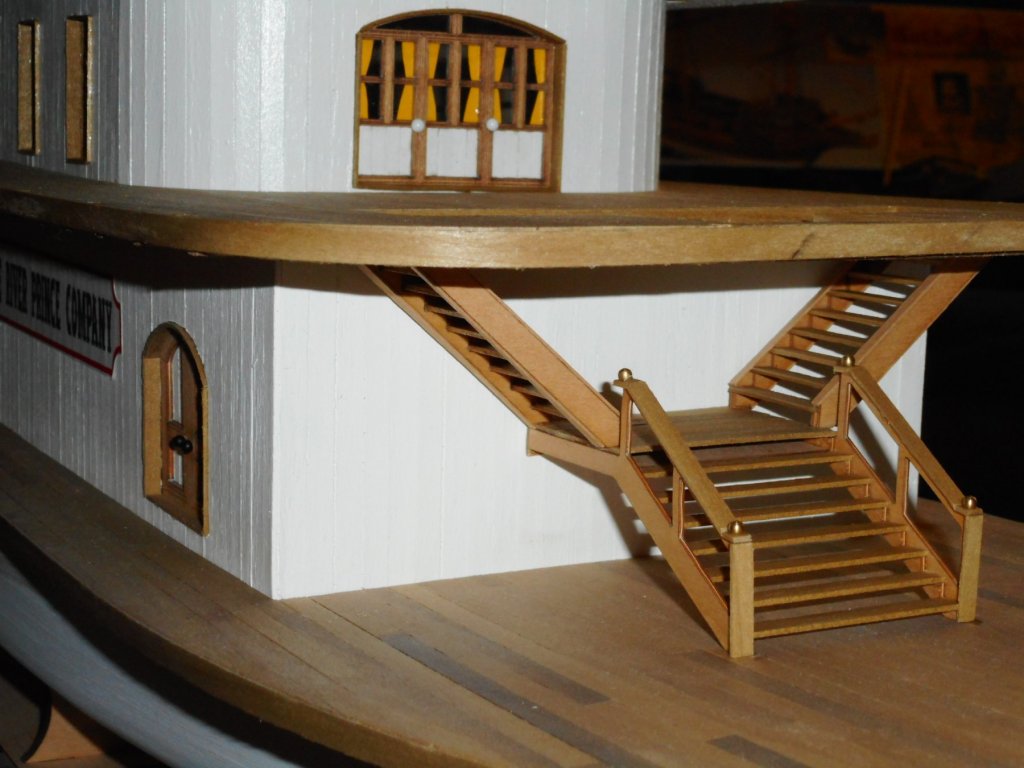
some more updates. stuck the next deck on using the tried and true flattening method more work on the main passenger staircase leading up to the new deck and also began lower posts and rails. also began planking the next level cabins. cheers chris


-
I'm in on this one Dave after your magnificent build of the Grand Banks. Great idea to upgrade to the wooden lifeboat to I reckon. Chris
- 126 replies
-
- 2
-

-
- fly
- victory models
- (and 1 more)
-
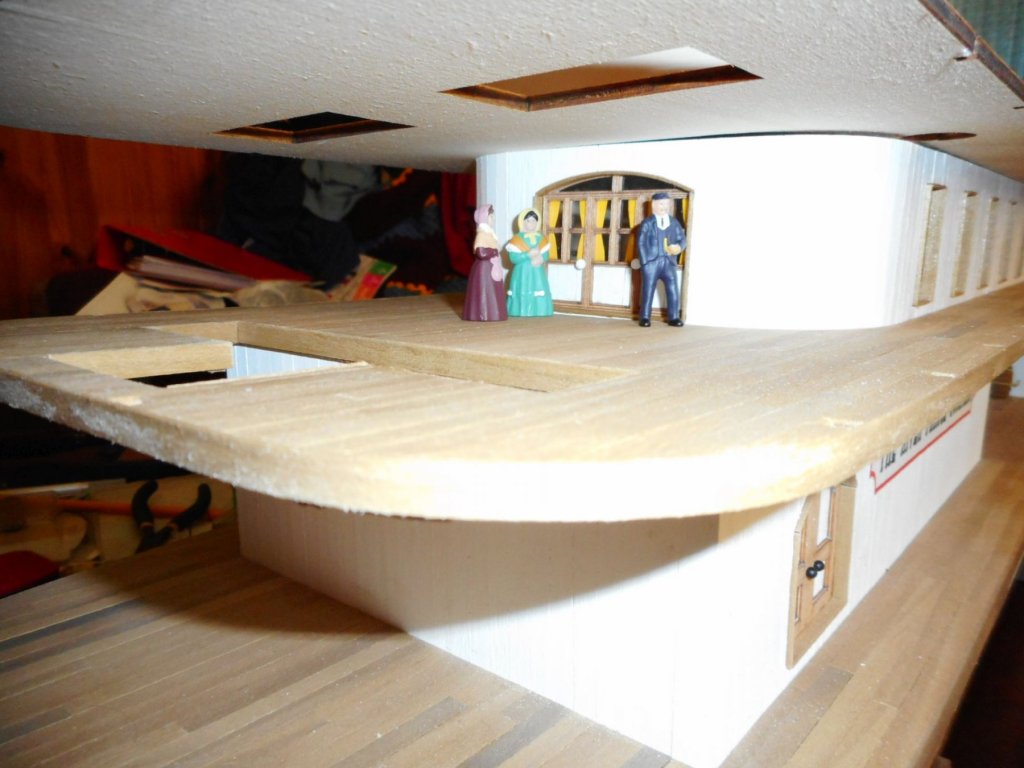
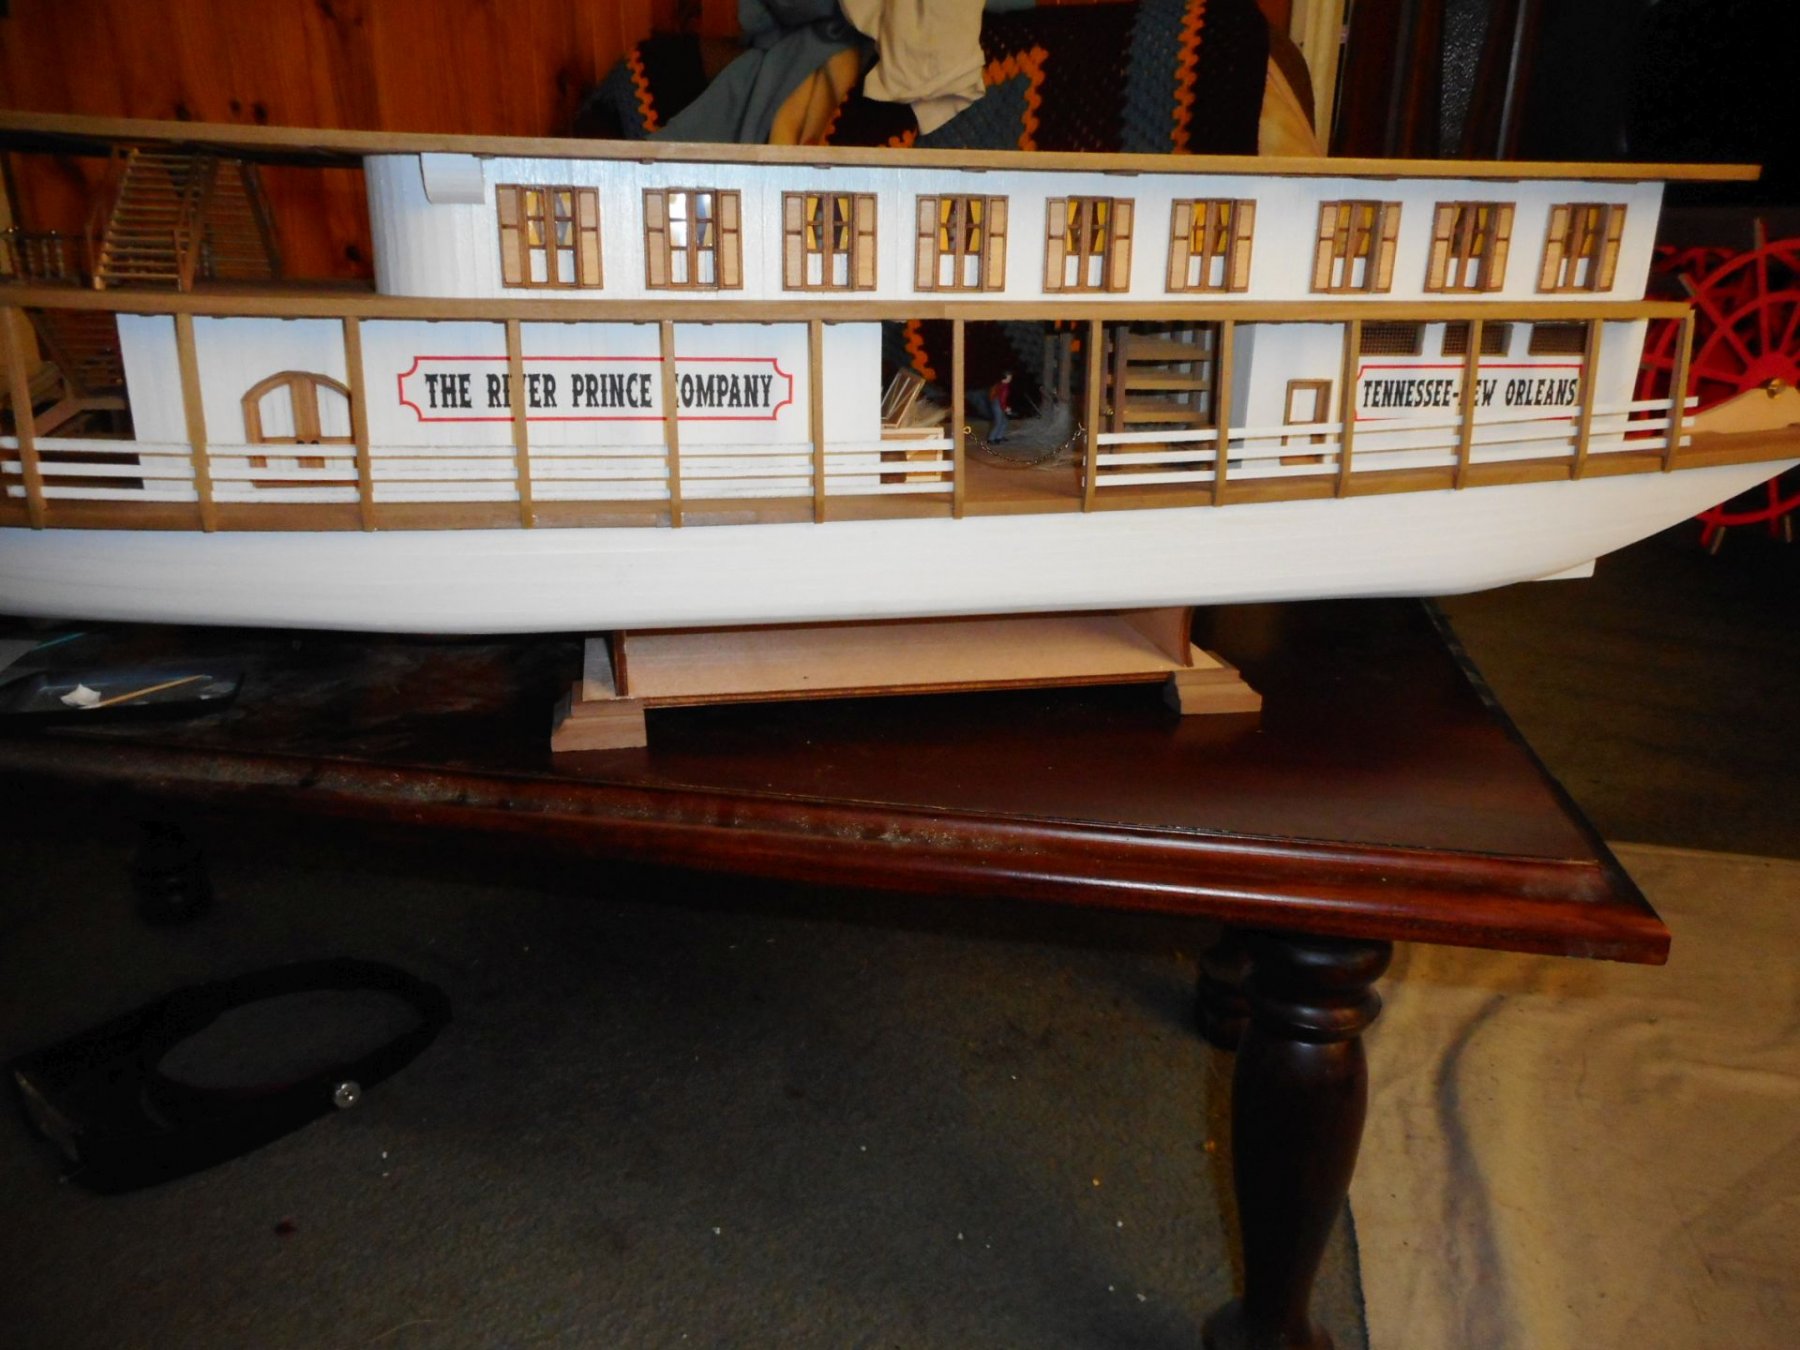
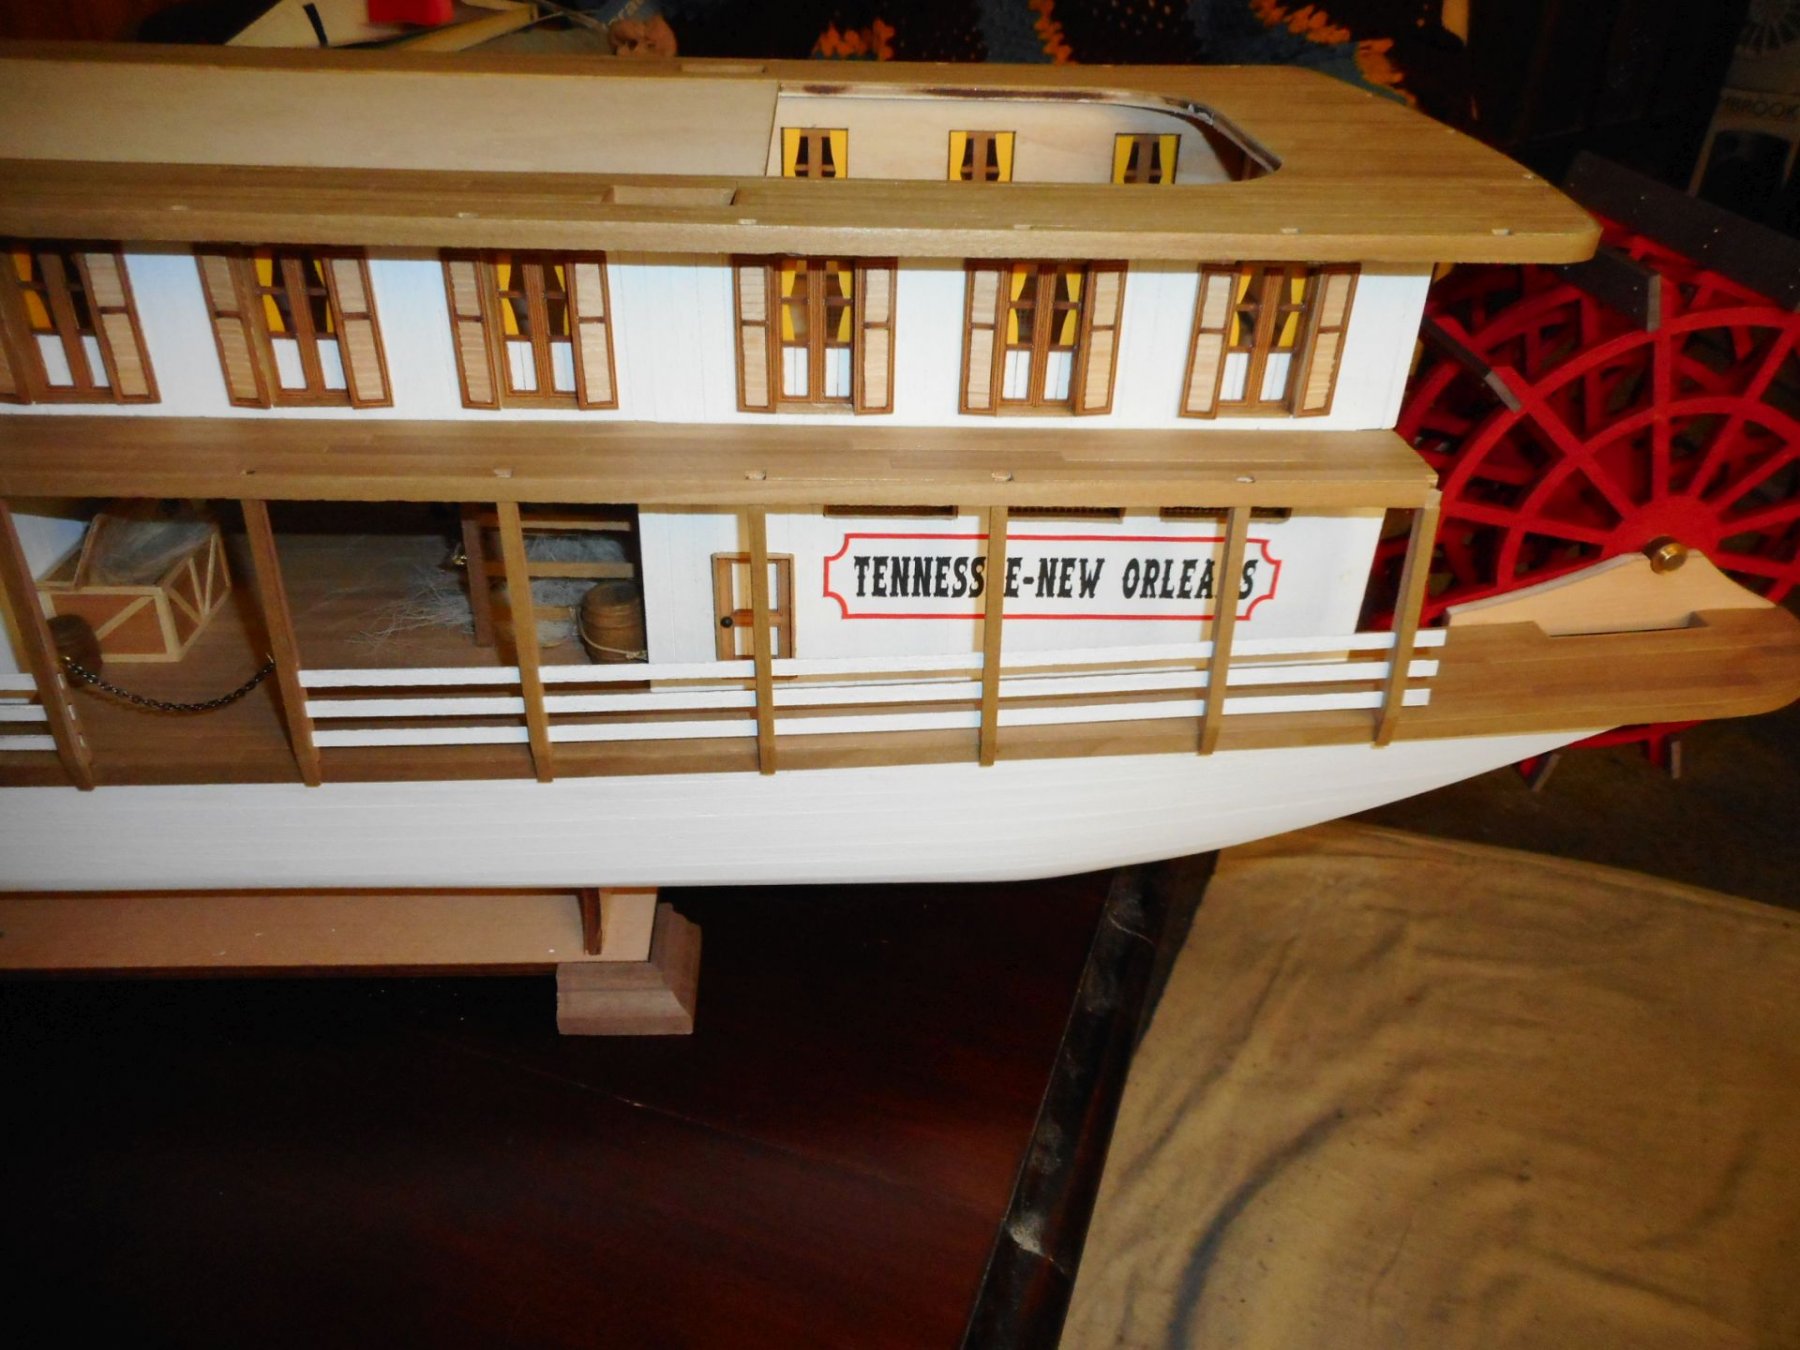
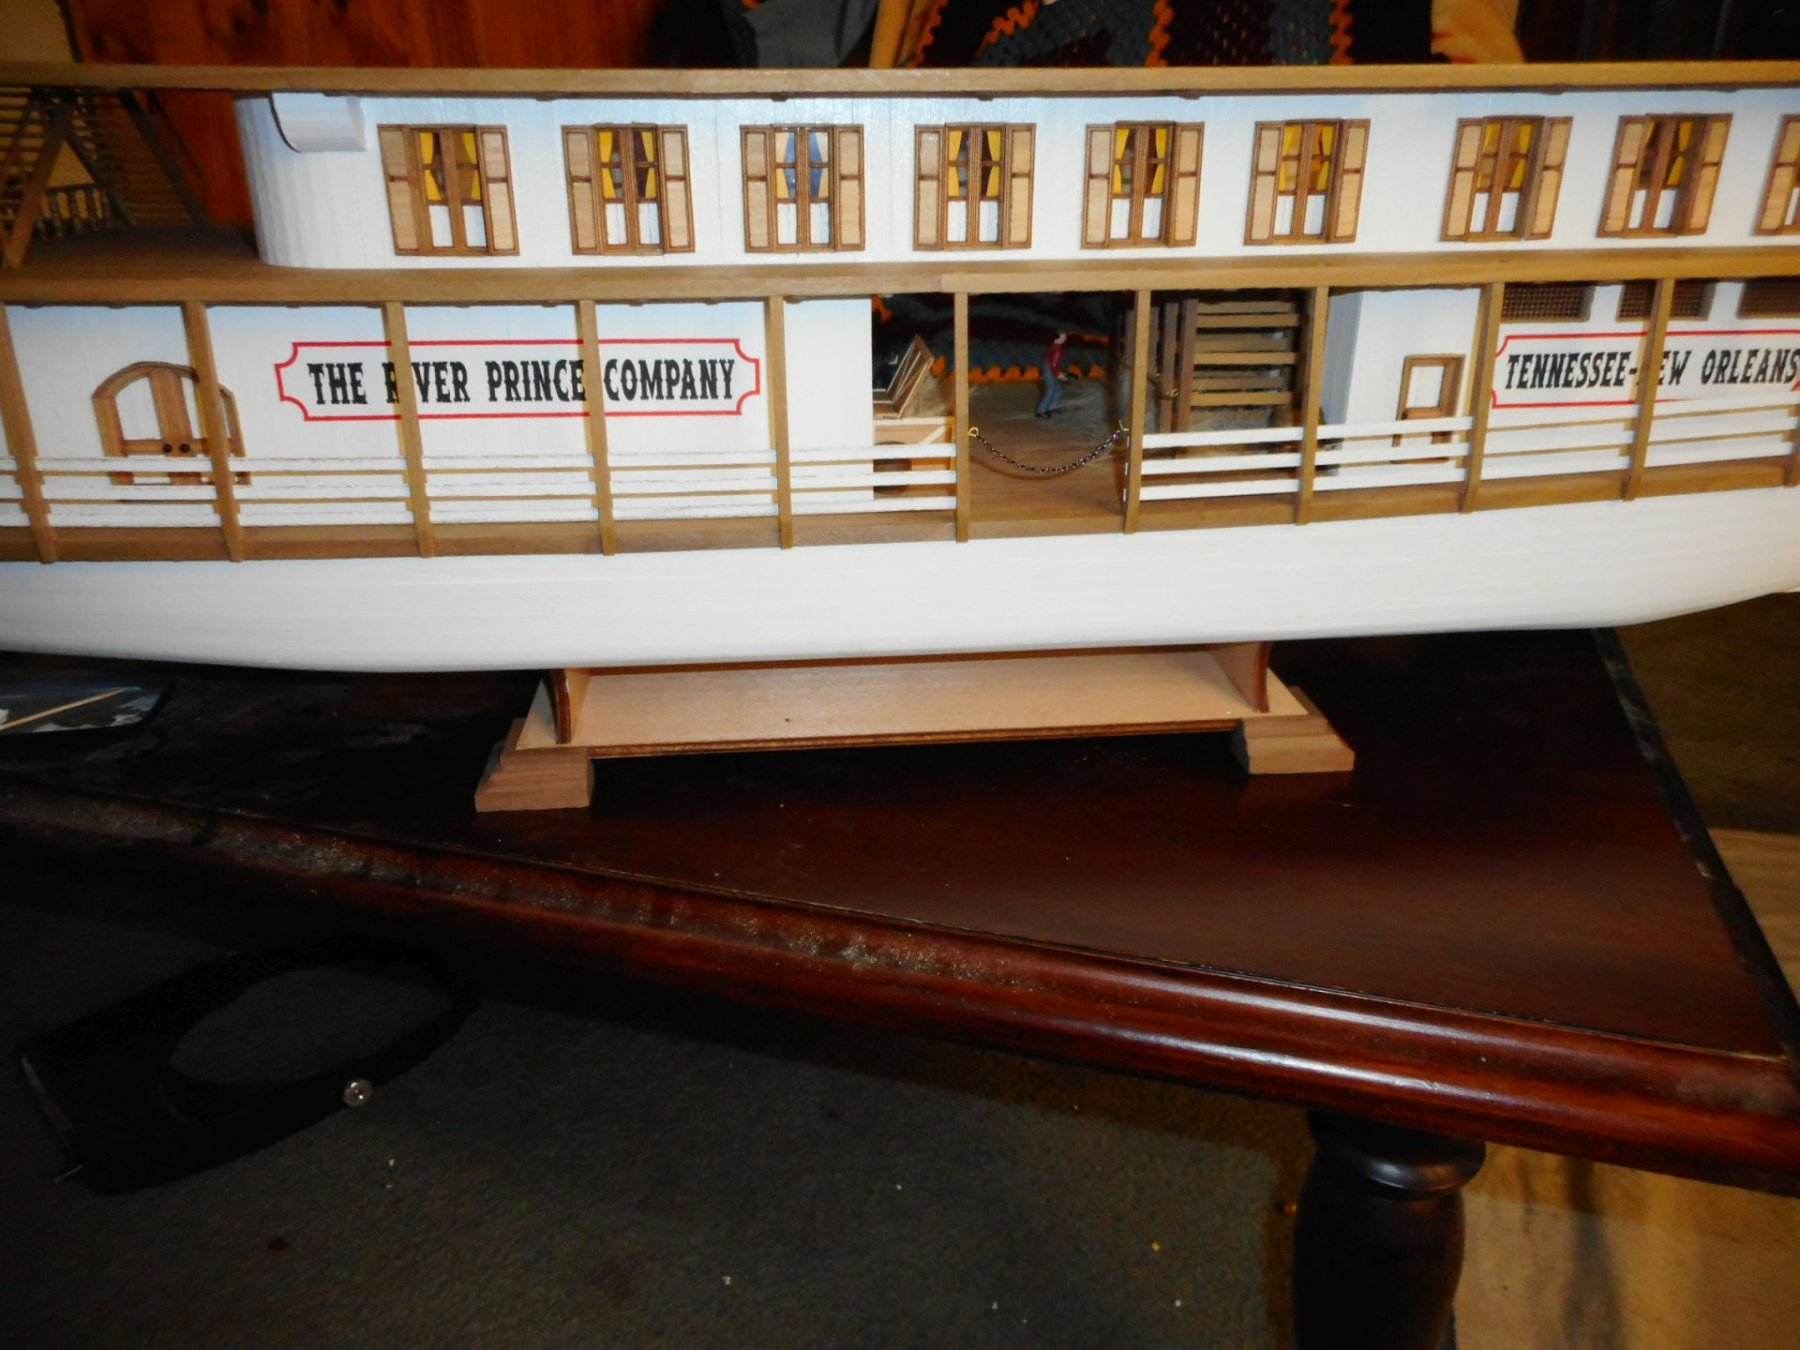
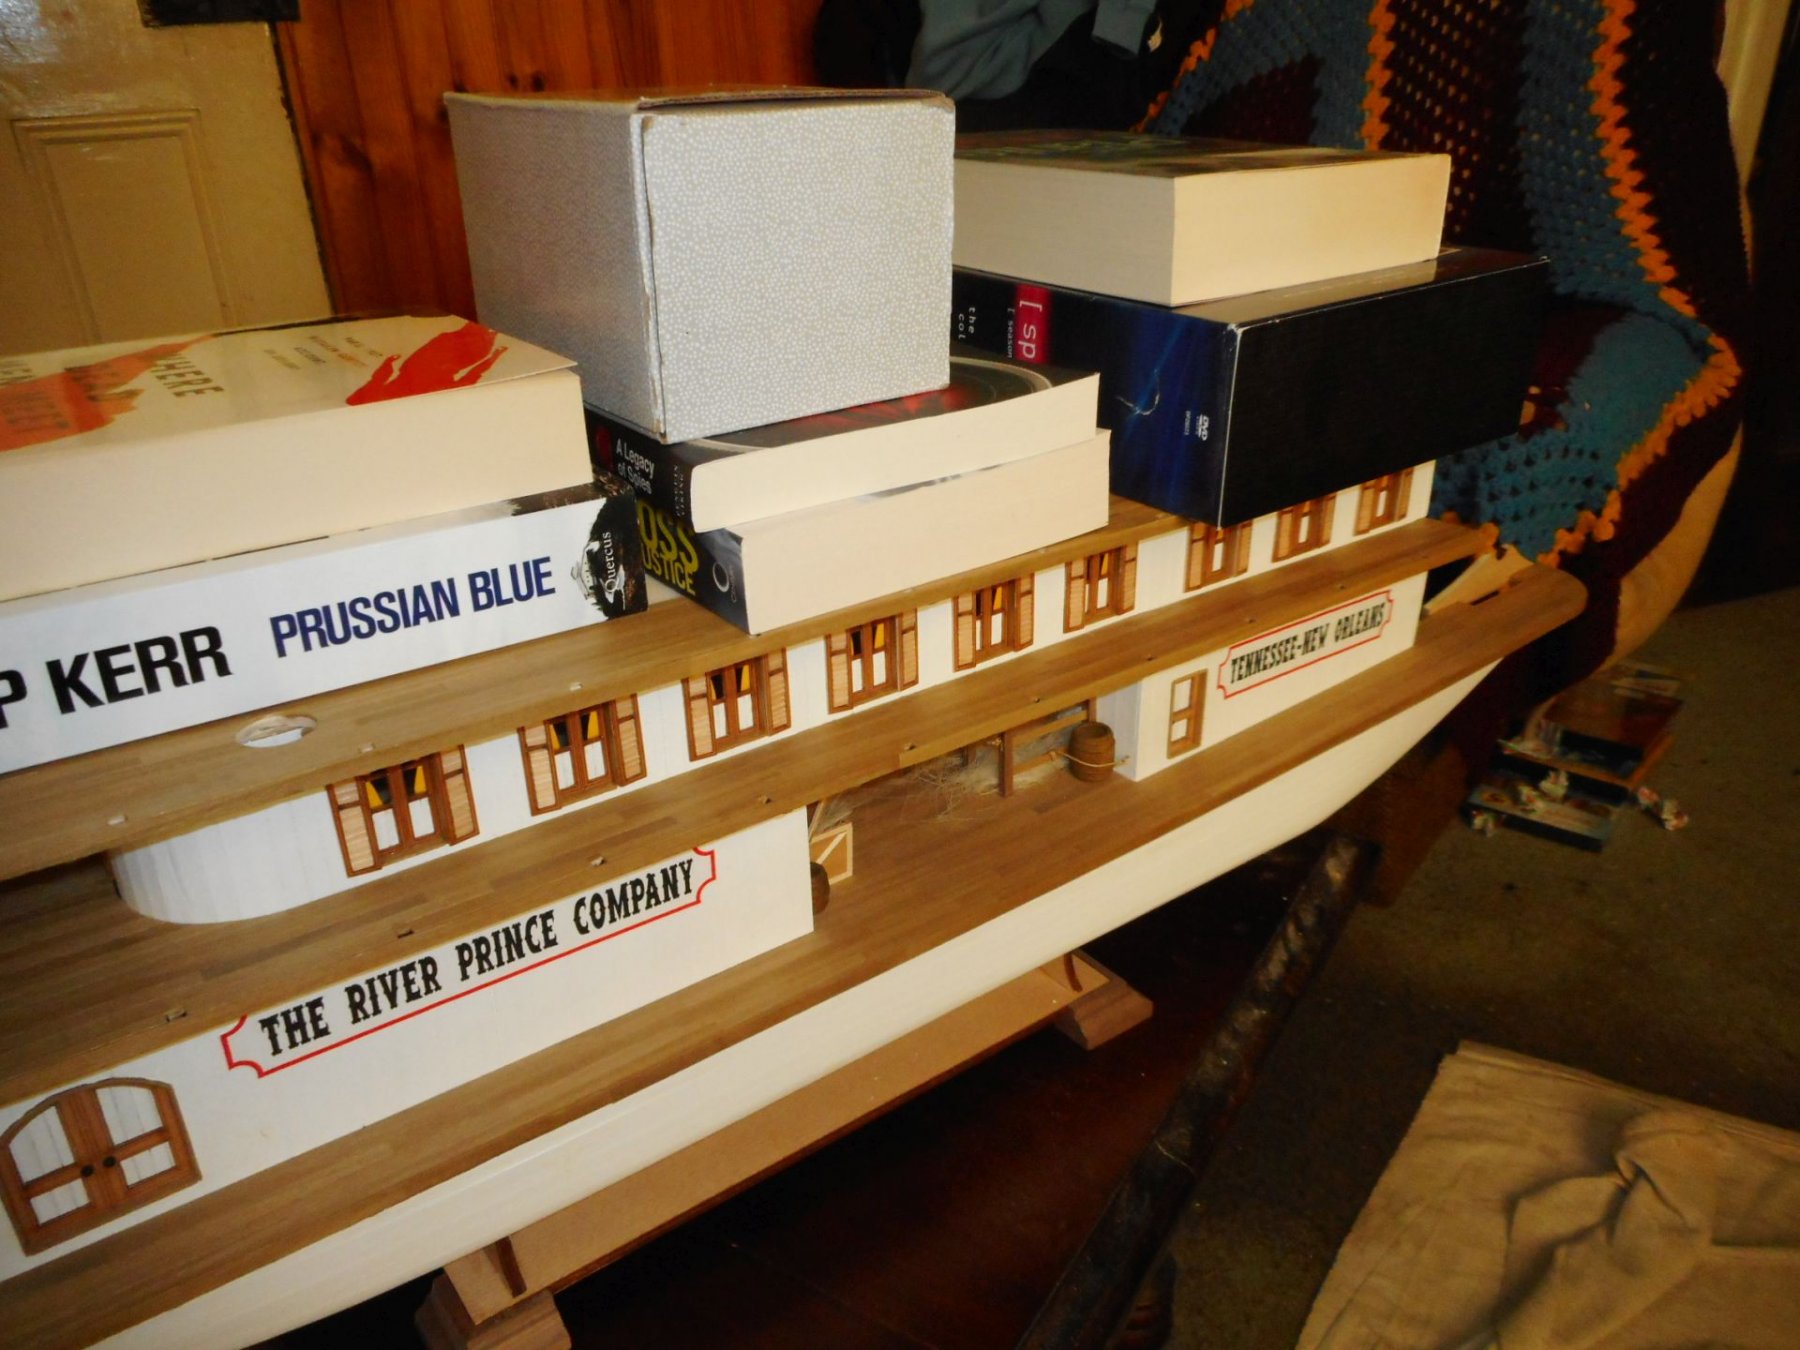
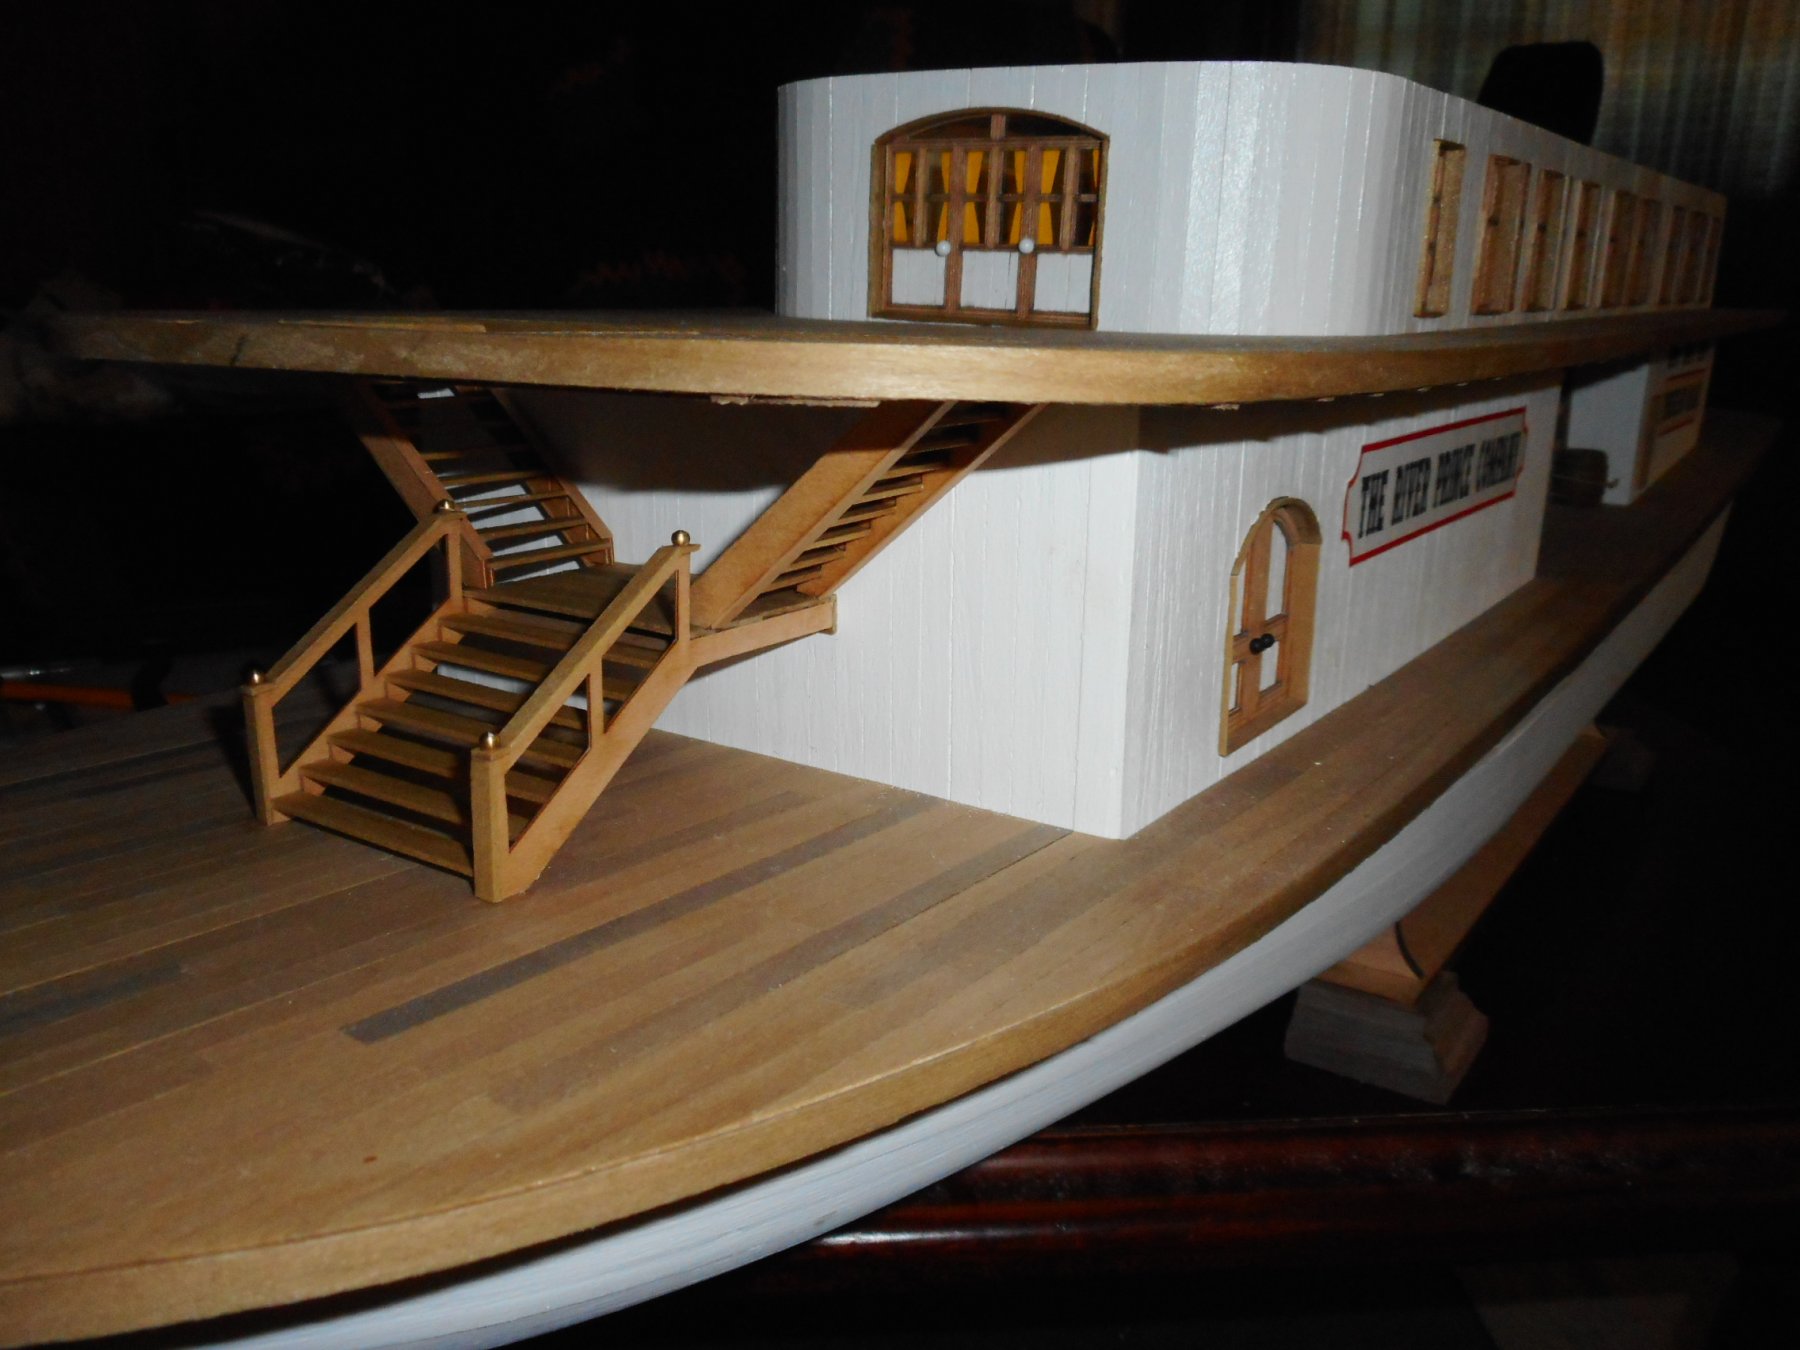
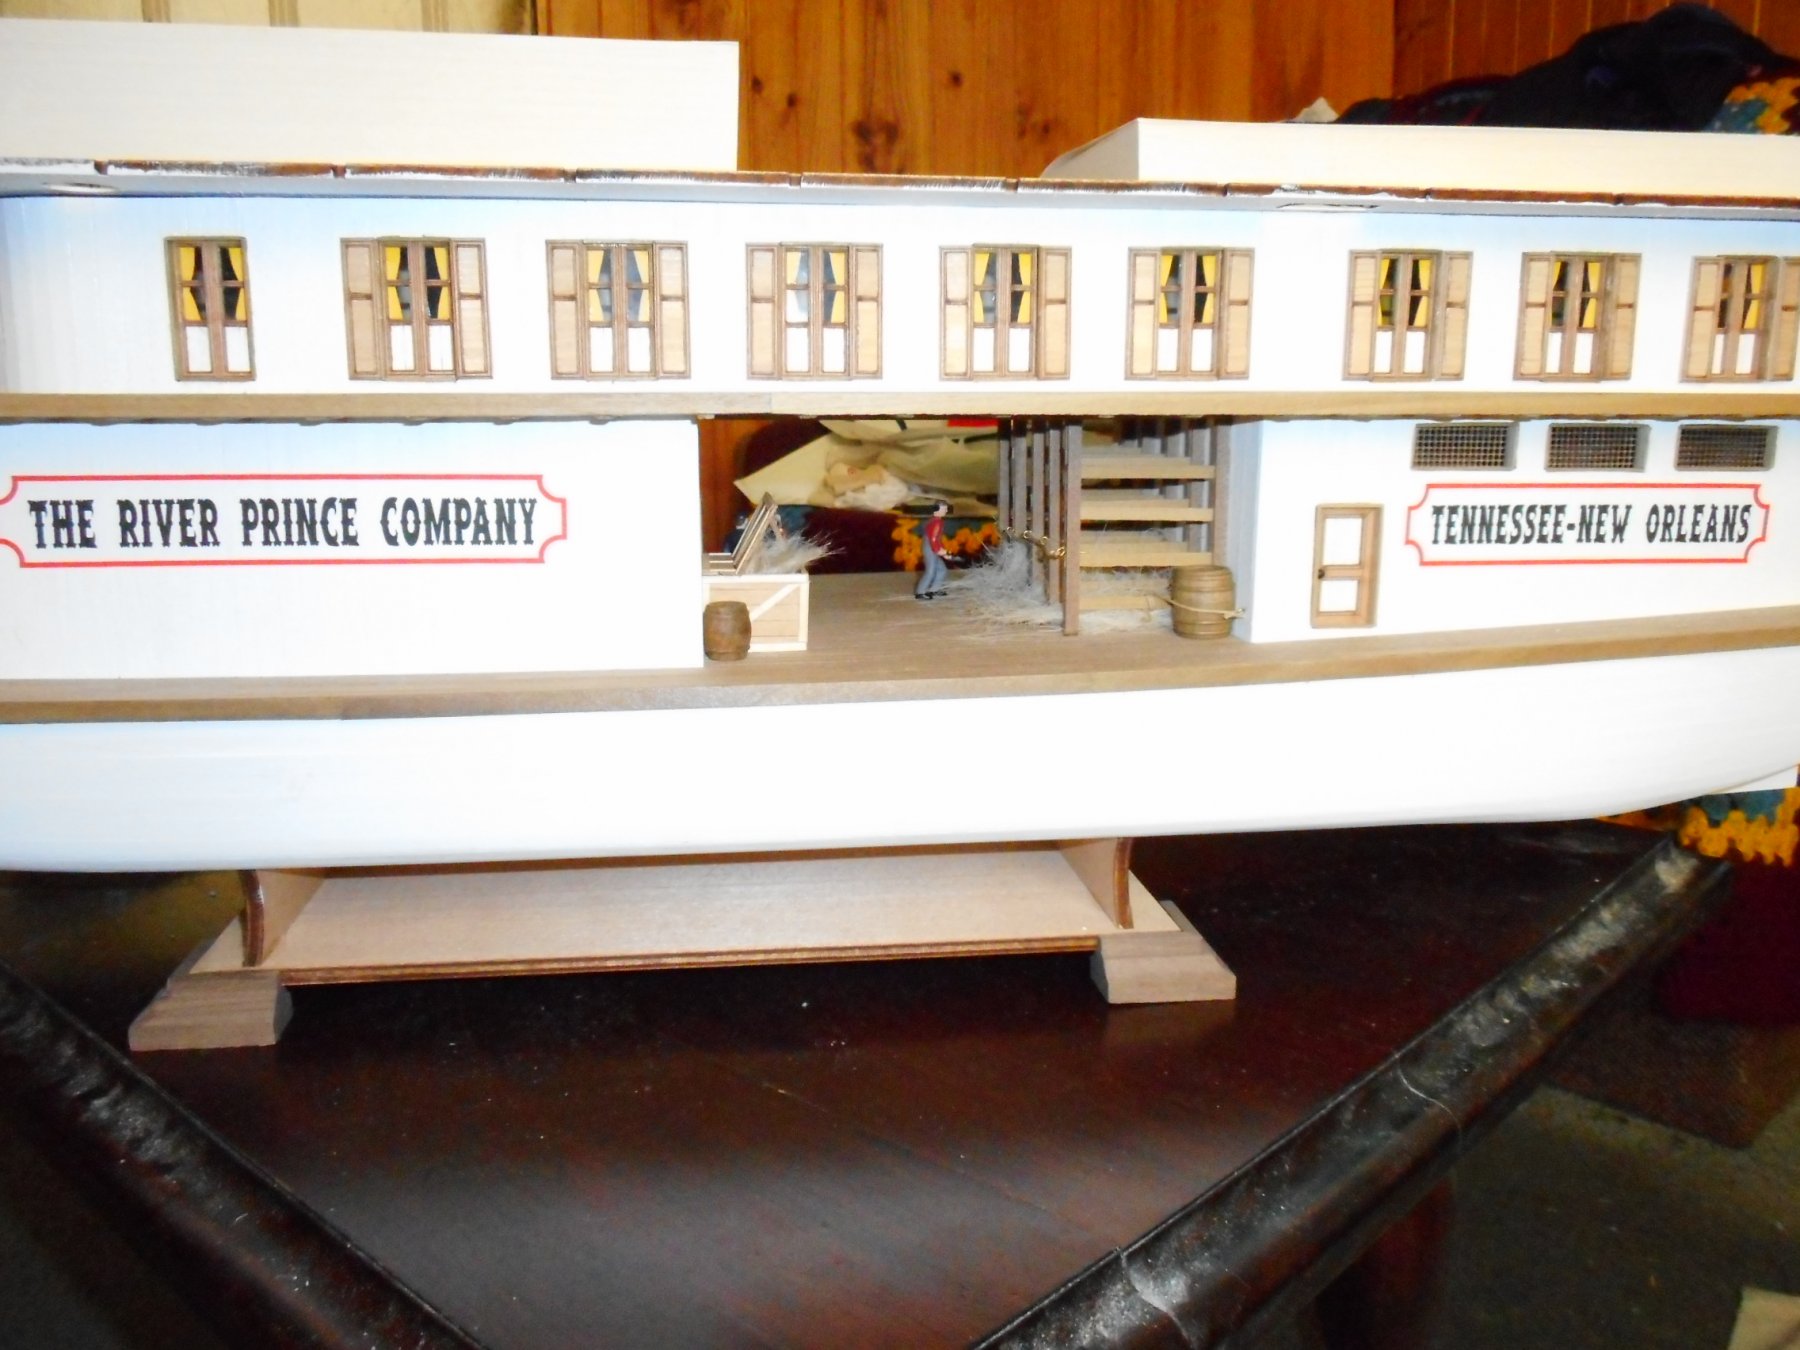
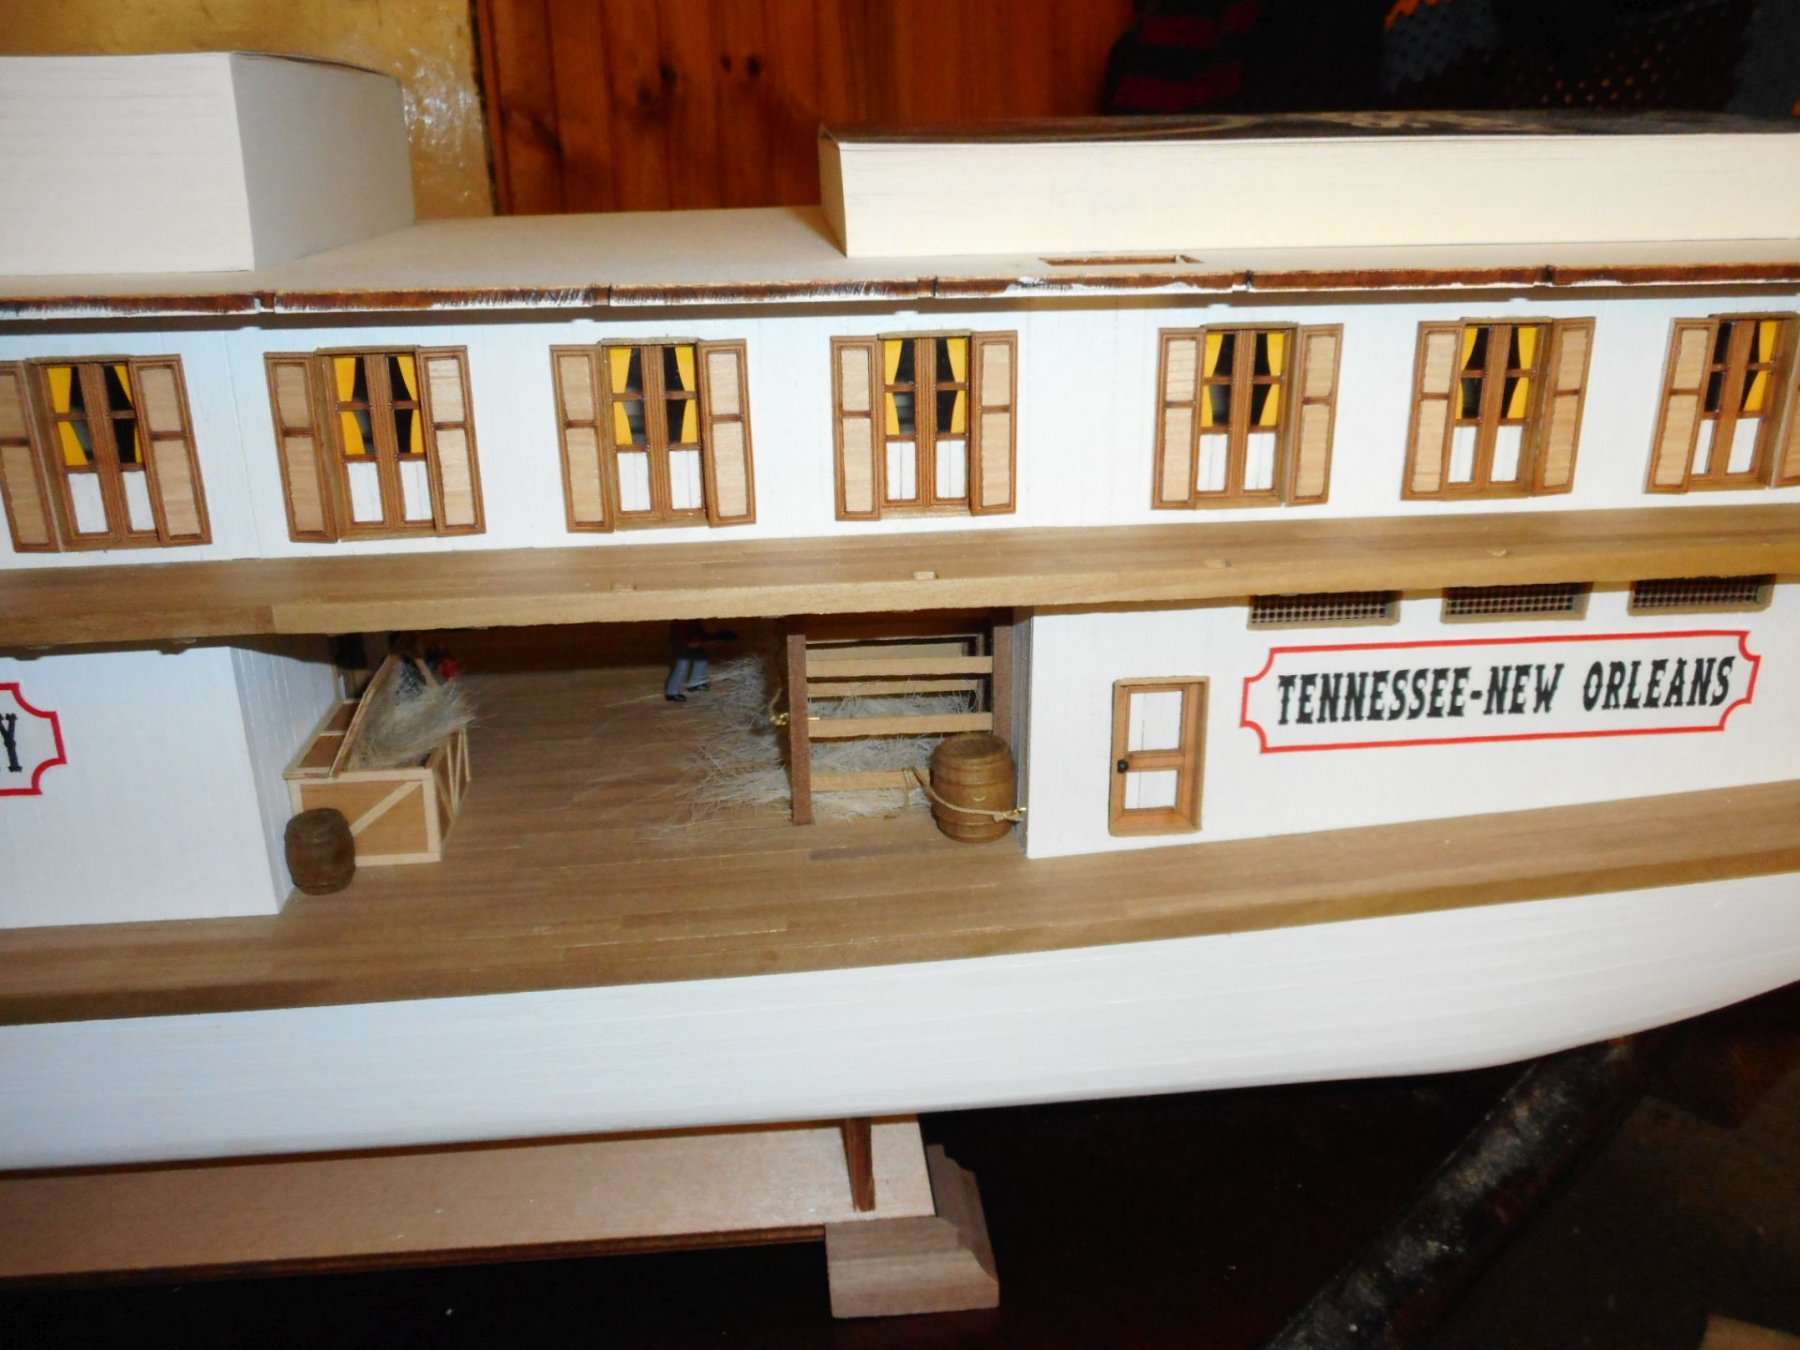
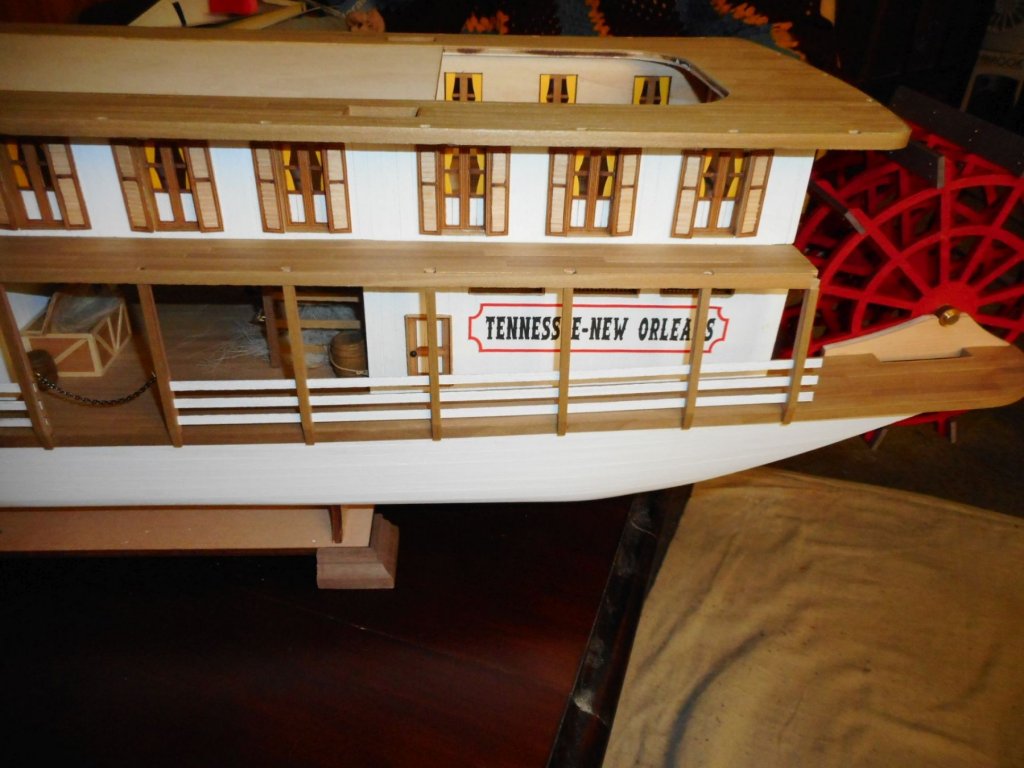
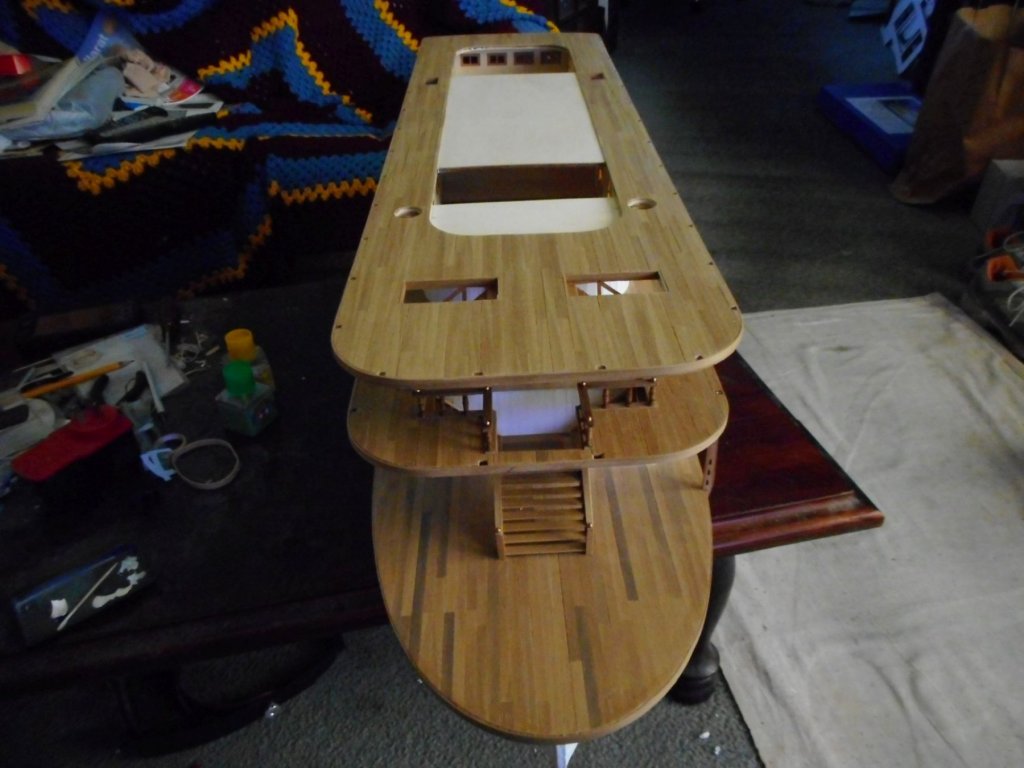
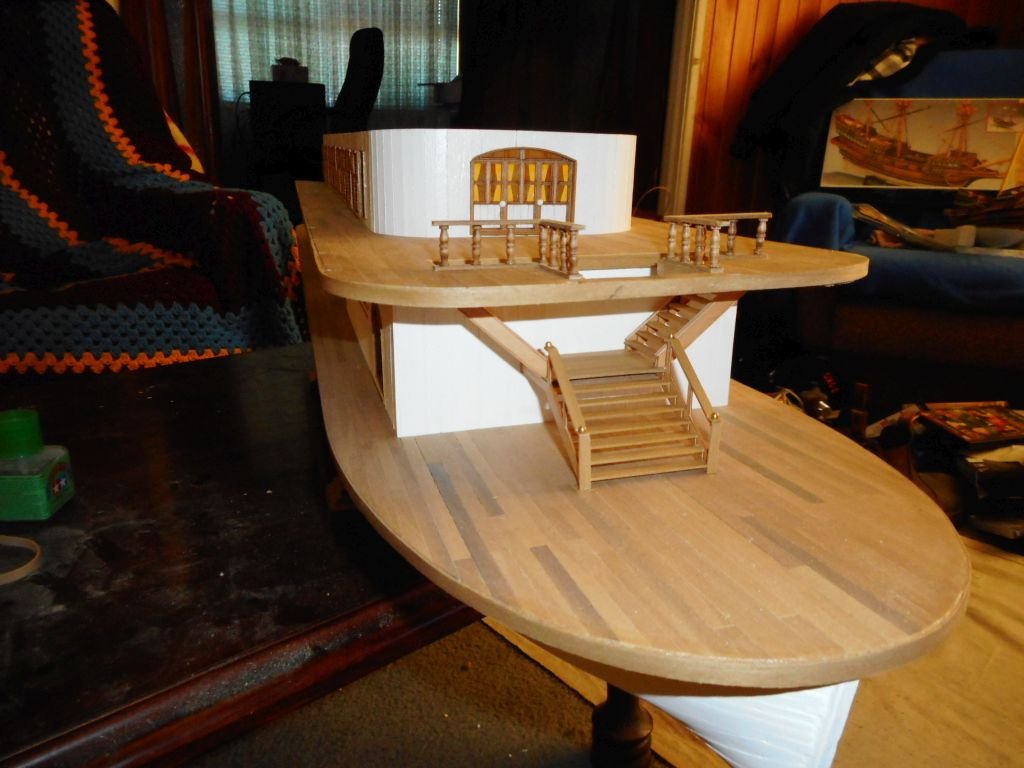
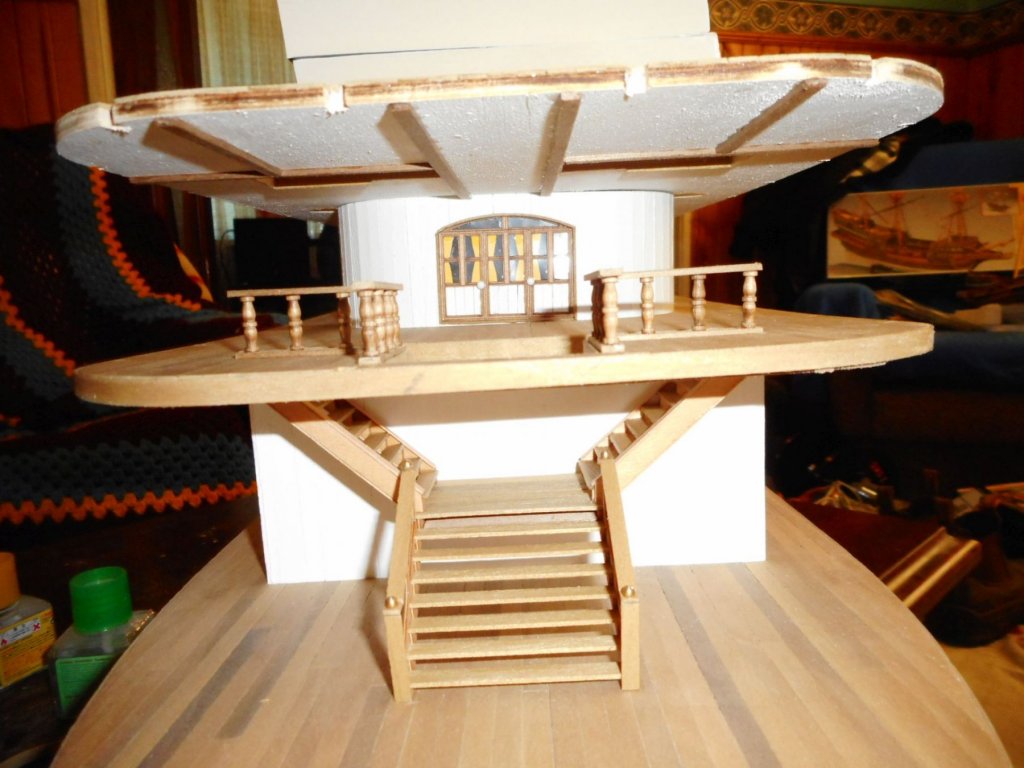
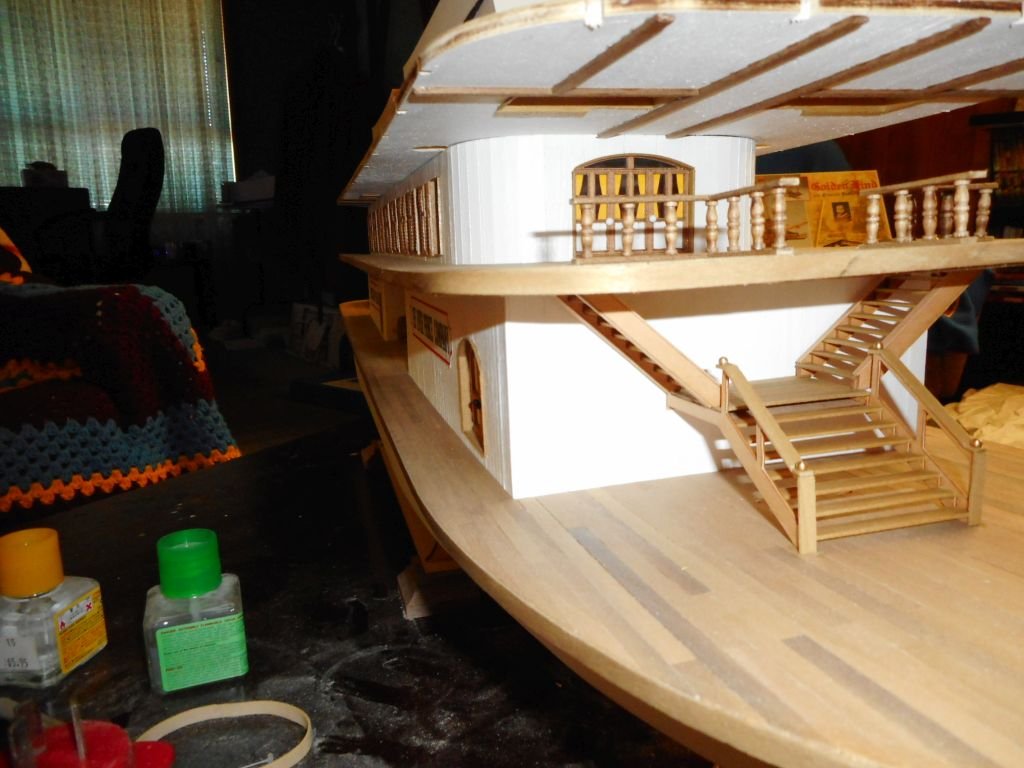
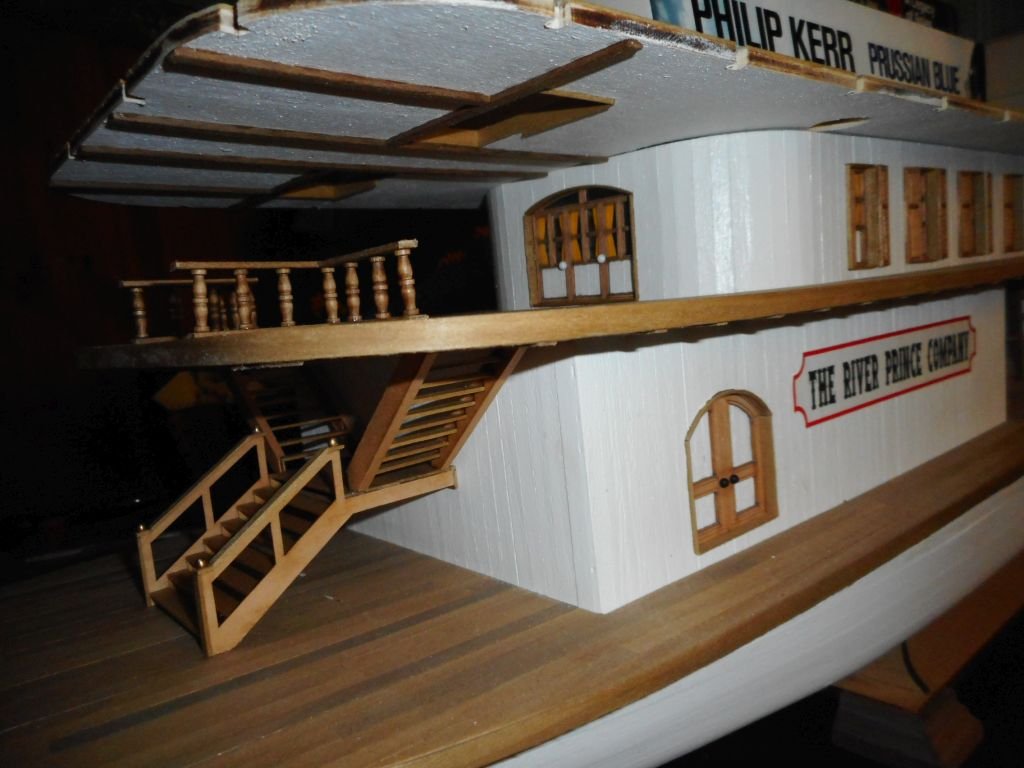
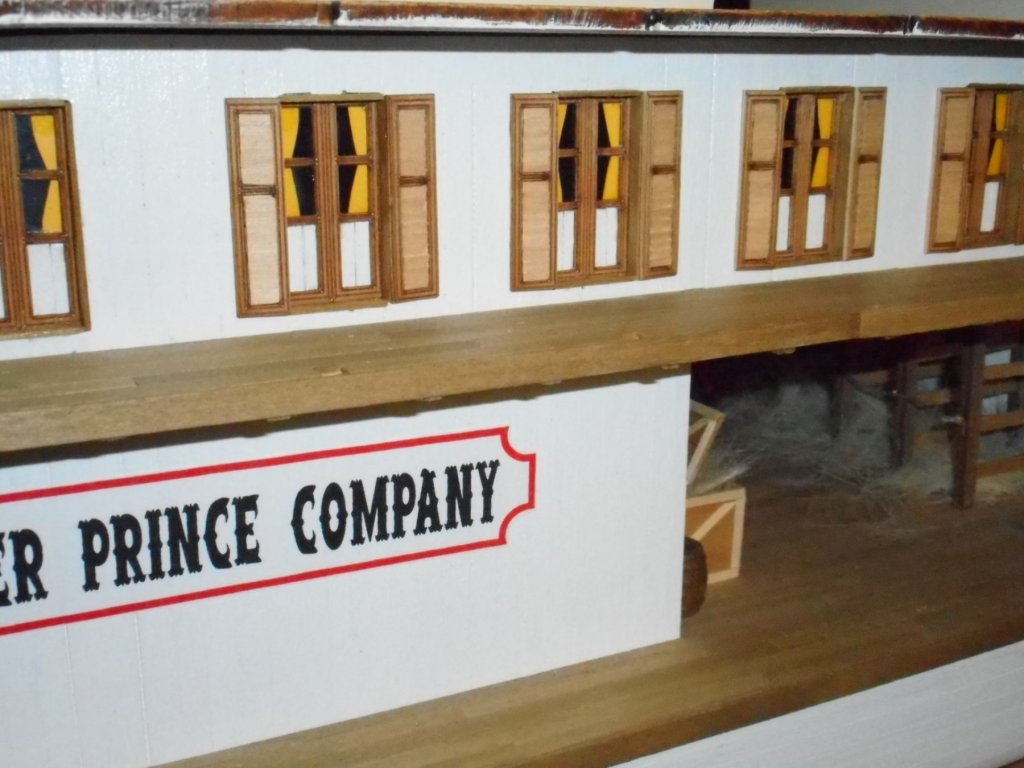
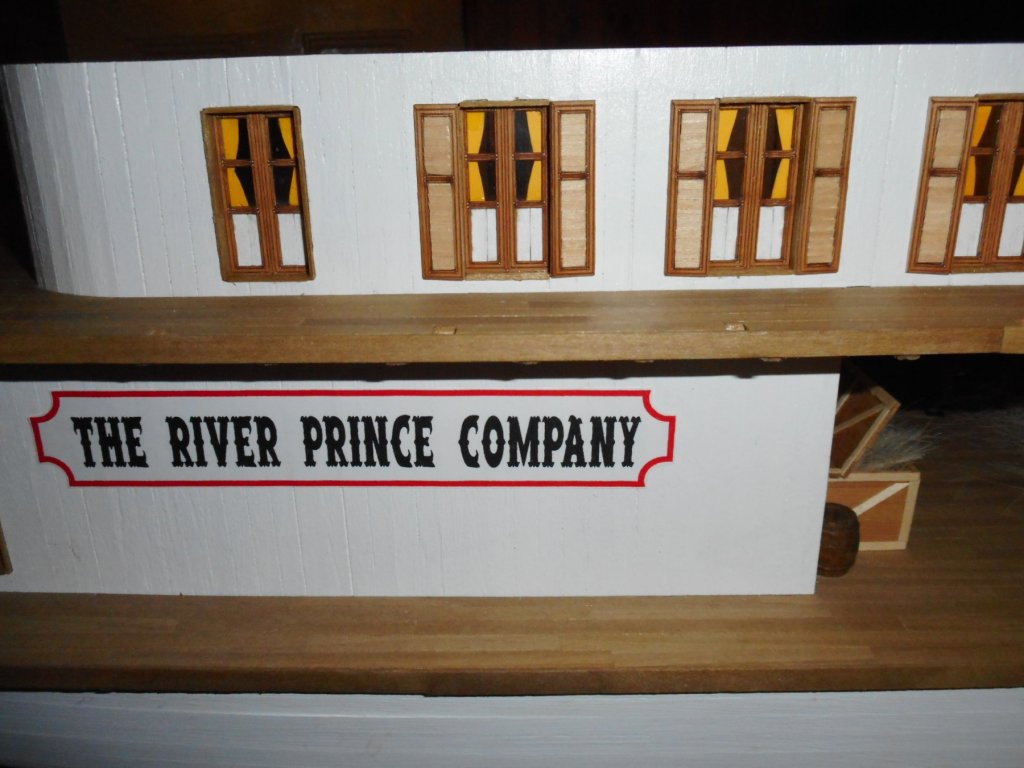
some more progress. have finally finished and fitted the starboard side louvre shutters to the windows. this whole structure has now been glued into place. have made a start on the second deck balustrades as well as the passenger ladders leading up to the next deck. also have planked the next deck level and made a start on the underside stiffening boards. here this is just dry fitted to try to get the correct alignment. next step, hopefully in the next few days, will be to glue this deck into place, position the access ladders for both the passengers and aft crew ladders. chris


-
looking really great. they really start to come together once a few of the decks go on and they start to rise up don't they. chris
-
will look forward to following along mate. good luck. chris
-
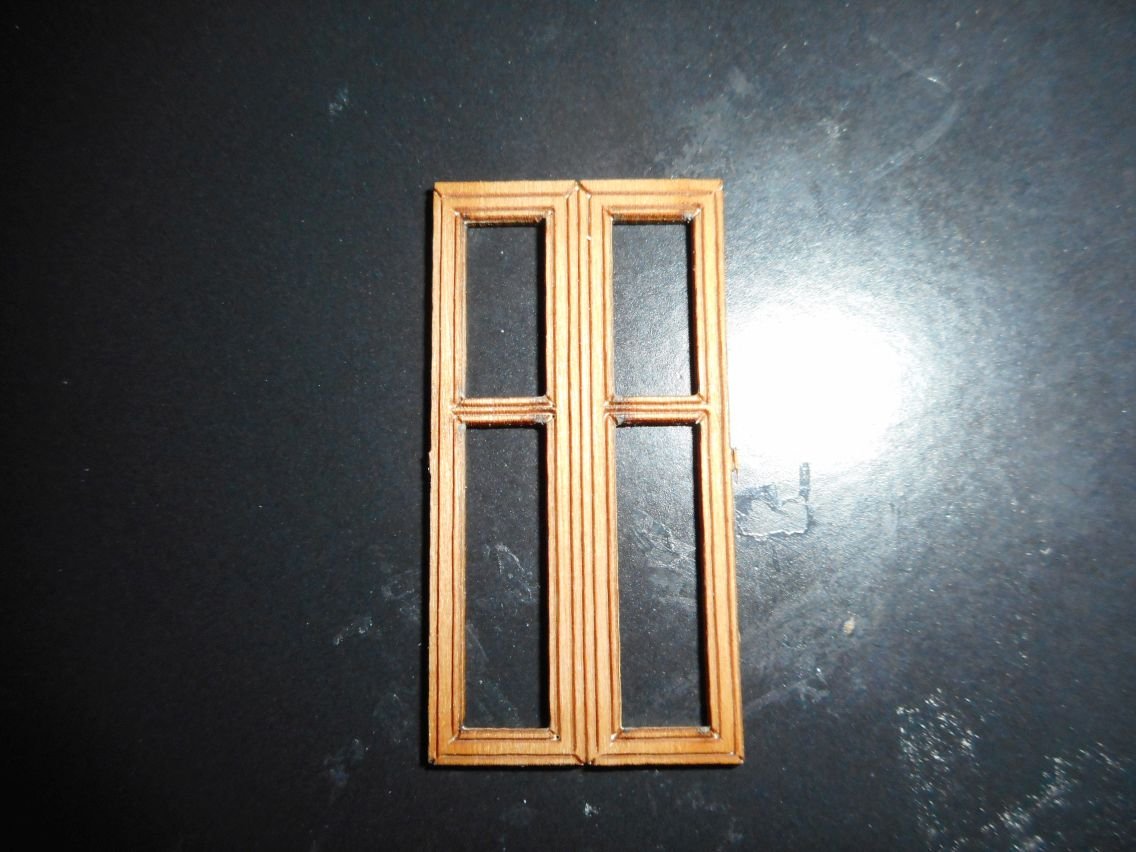
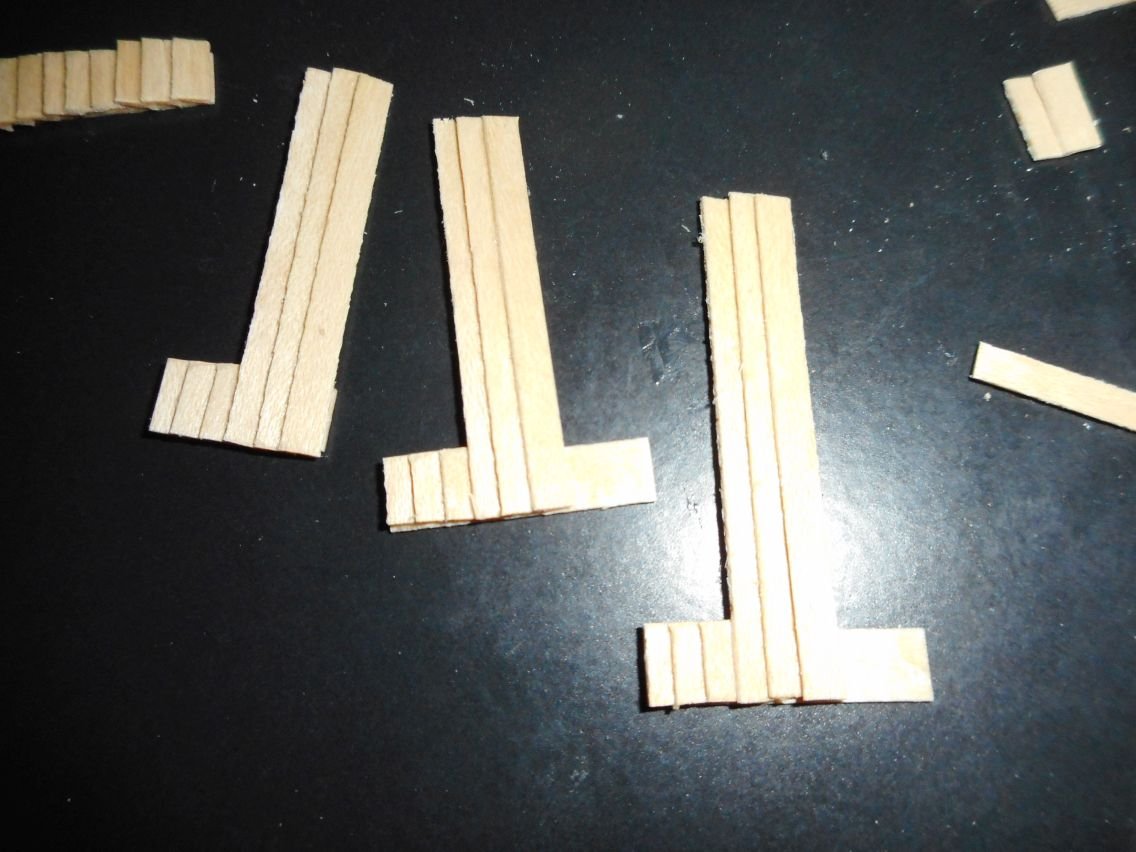
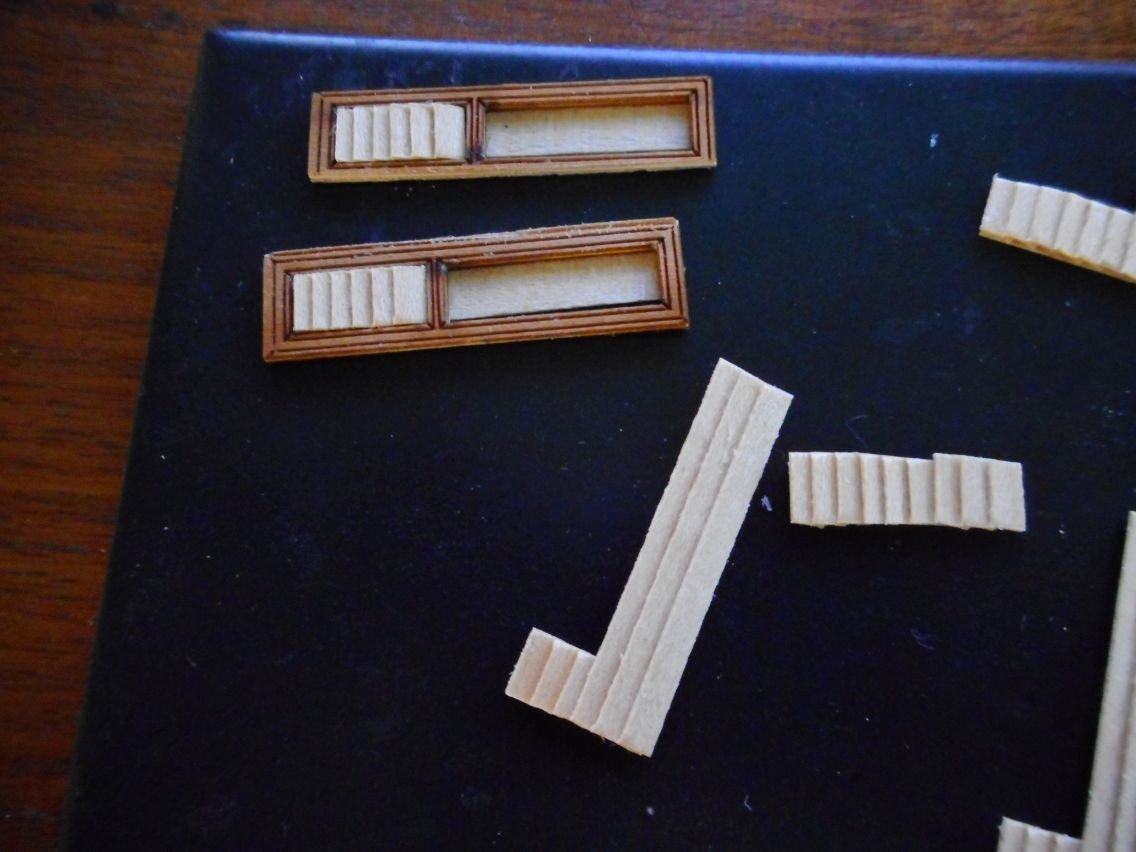
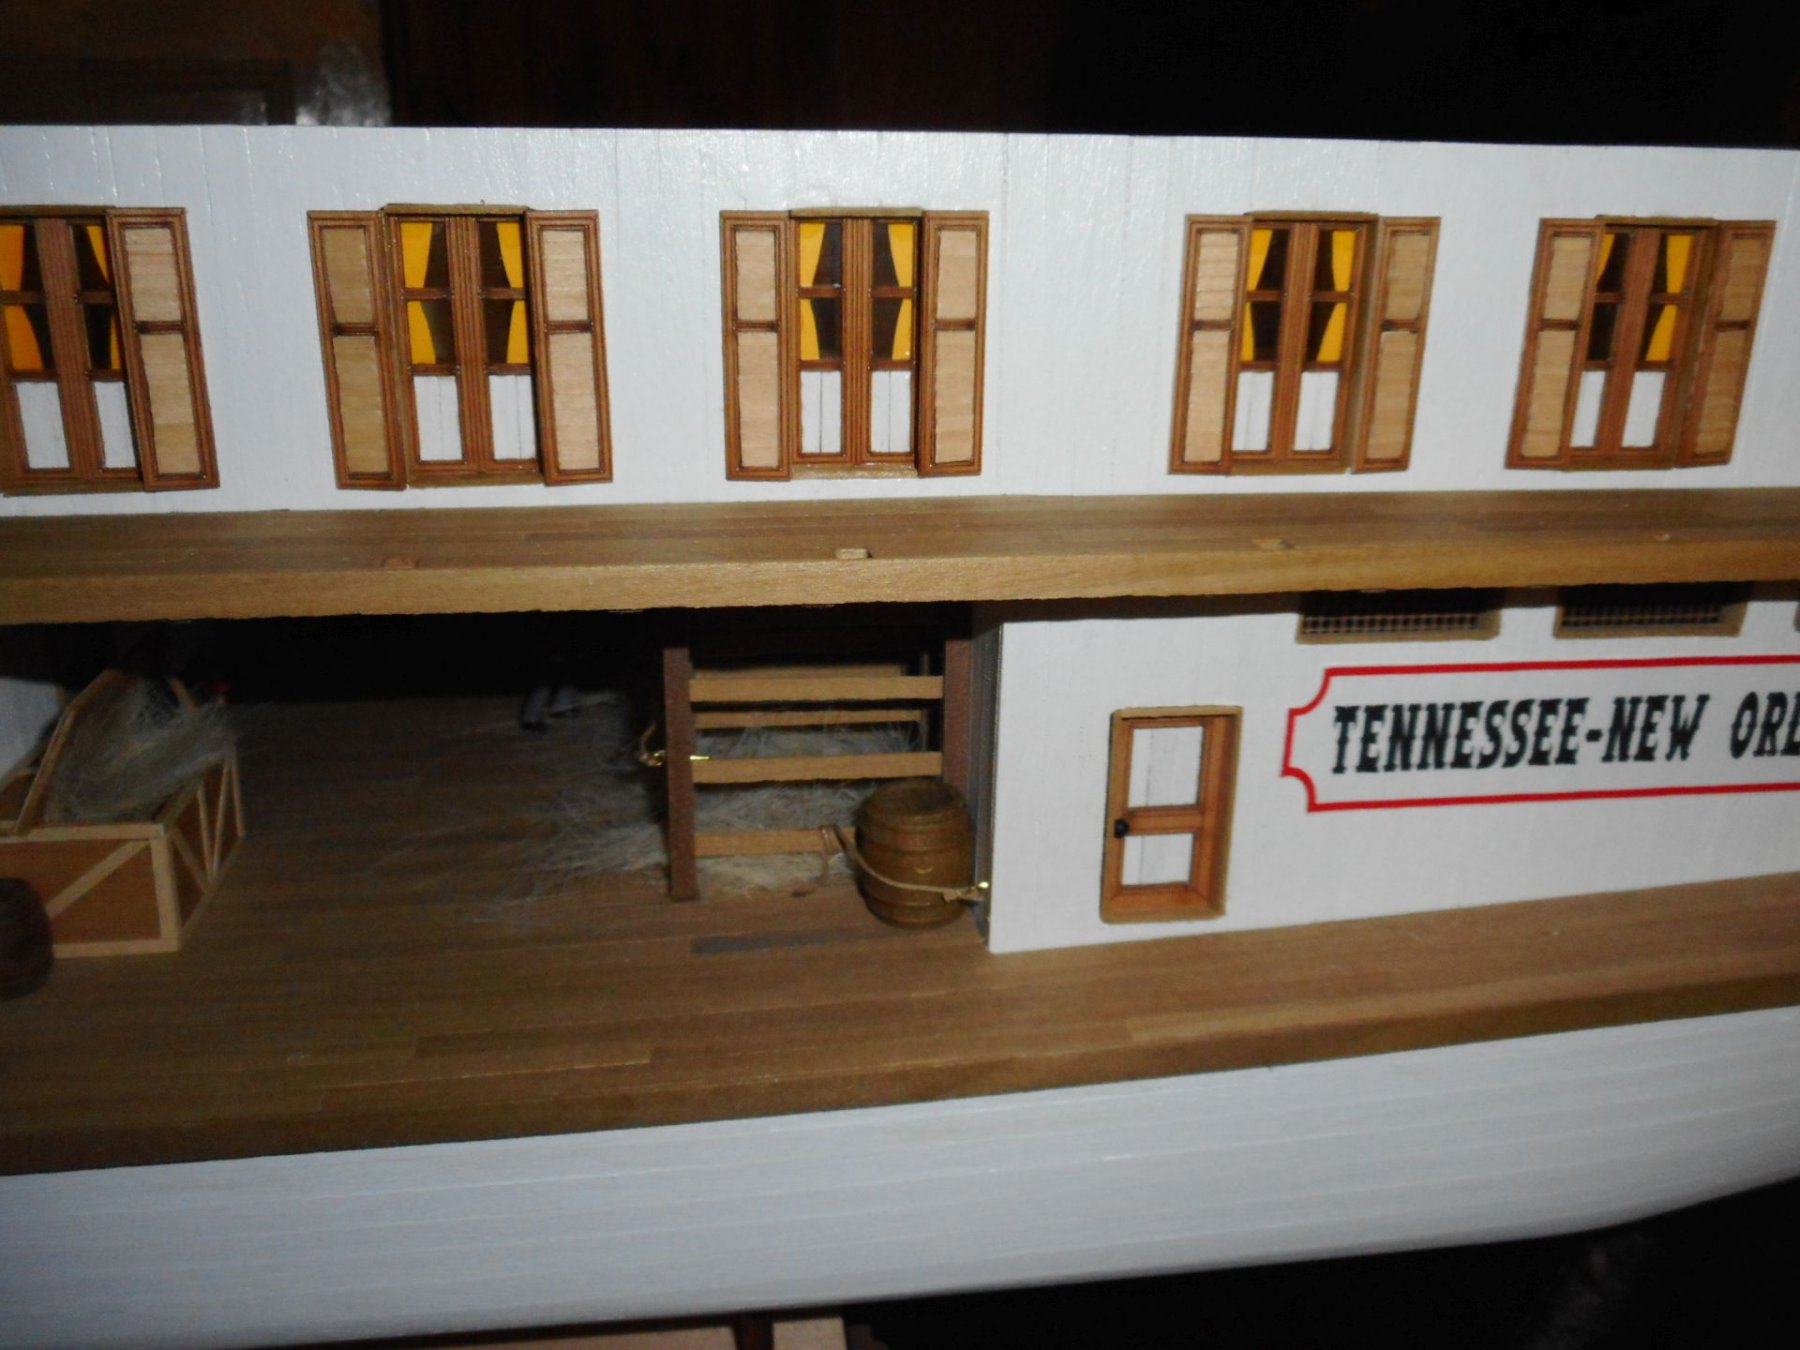
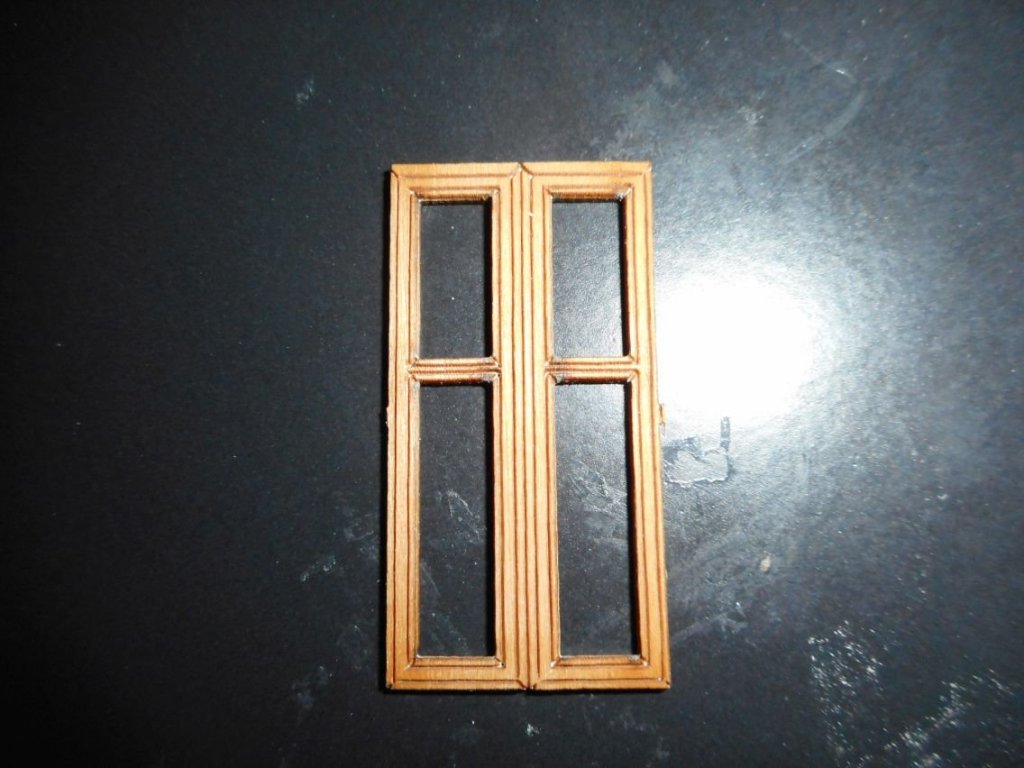
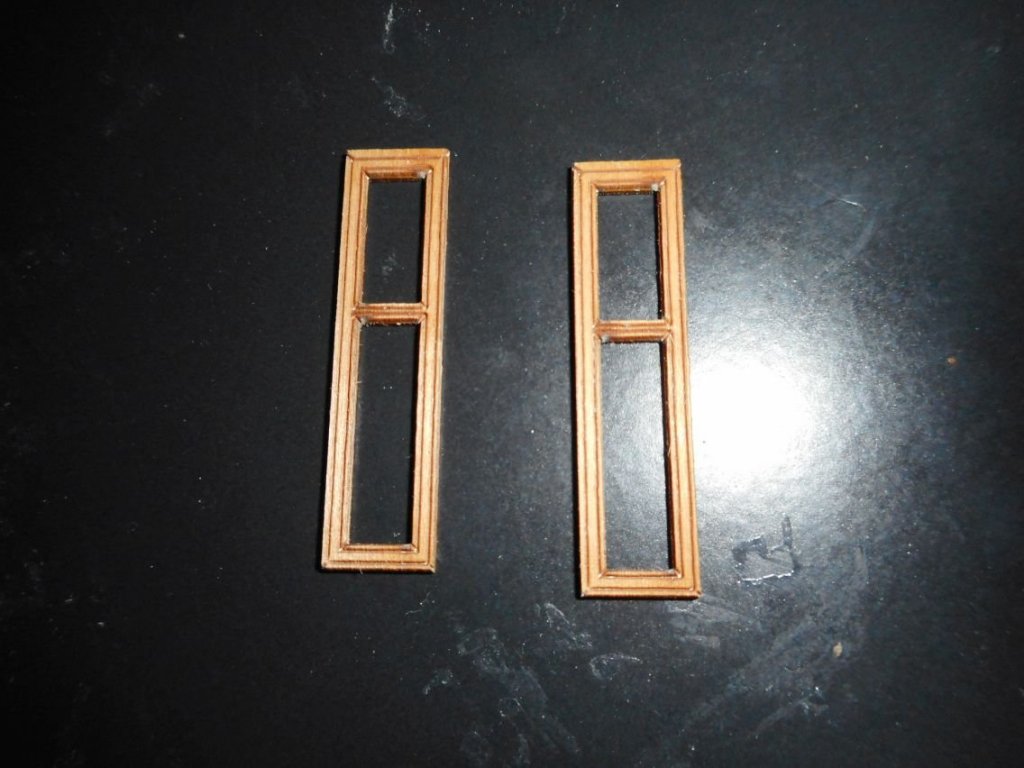
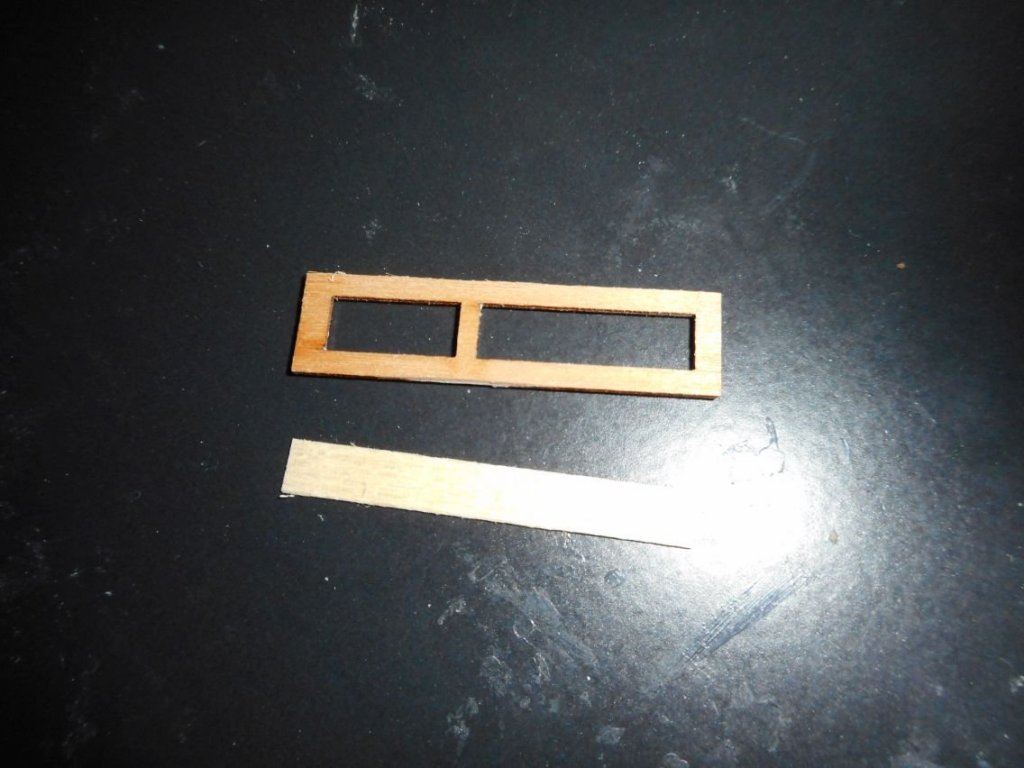
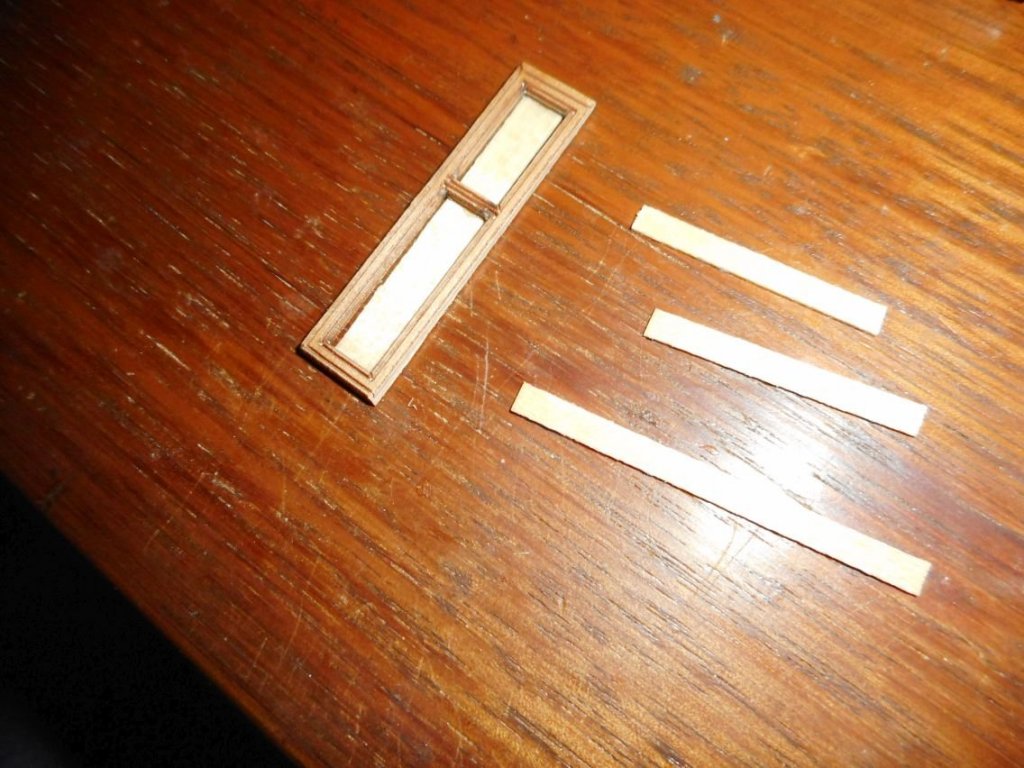
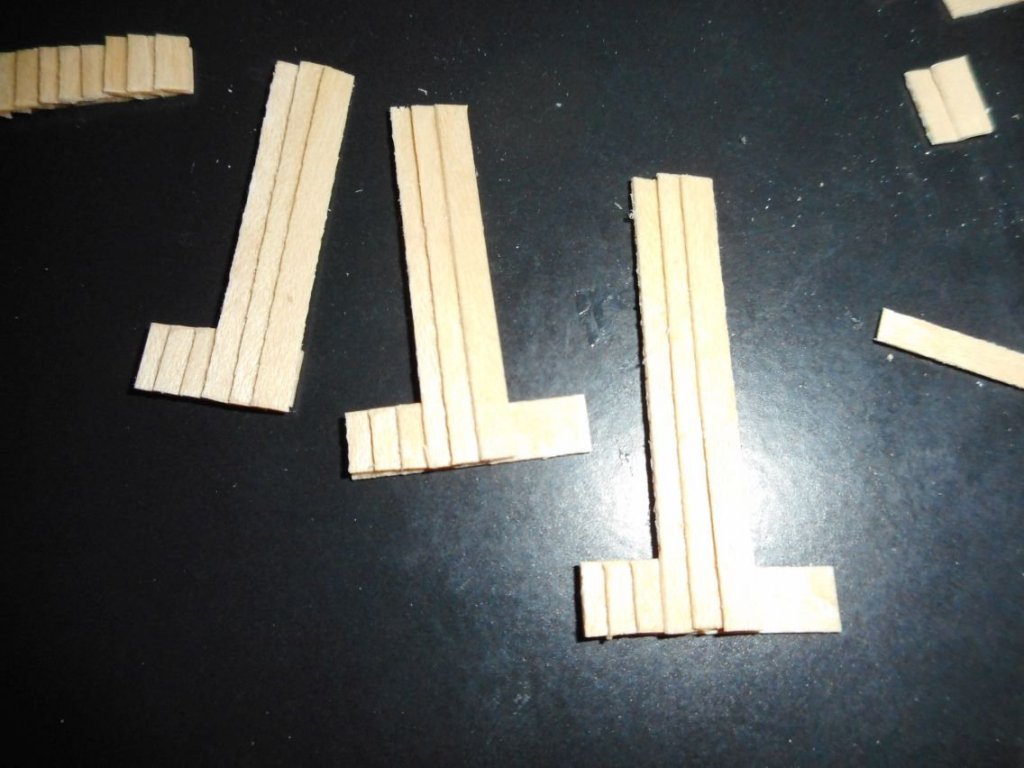
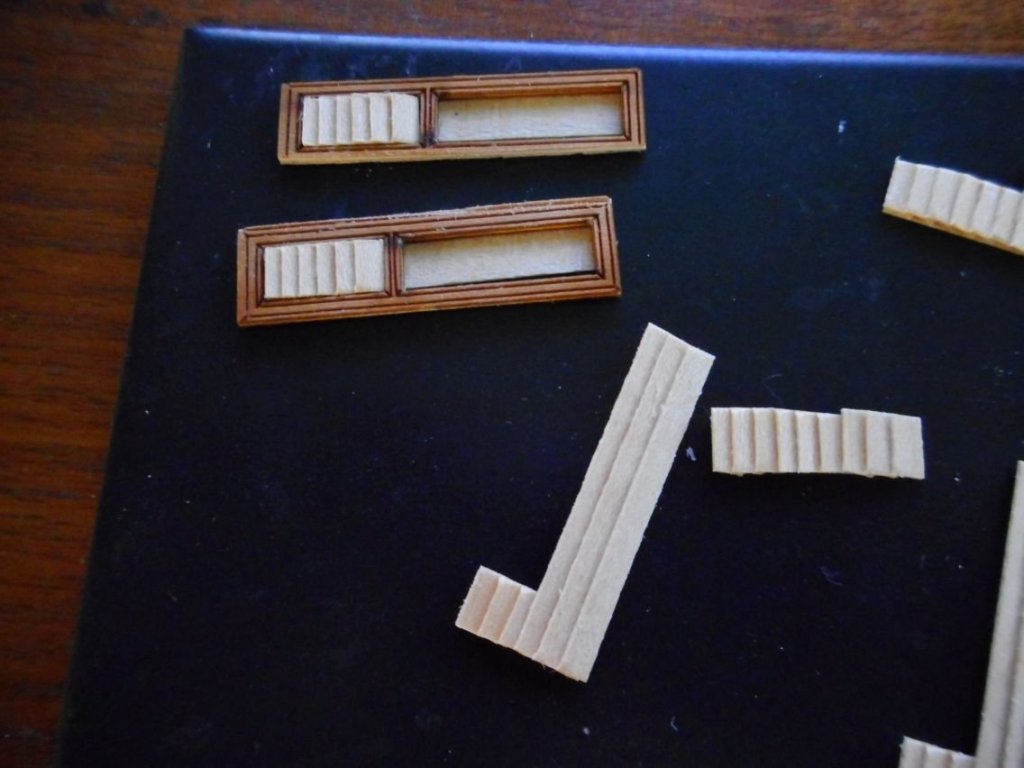
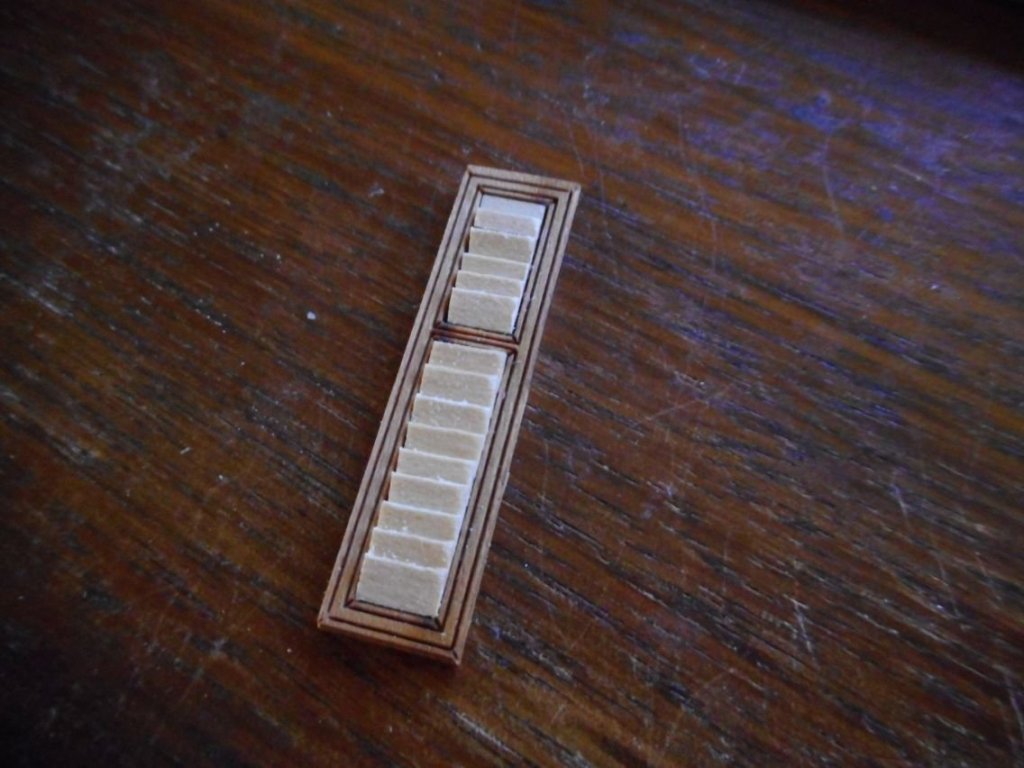
continuing on with the very tedious louvre shutters for the starboard side windows. they come on the fret as a dual piece that must first be cut in half. once cut the frames measure 40mm x 10mm once cut and edges sanded I glue a tiny backing board to the frame. this board is 5mm x 0.3mm pieces of very thin, 3mm x 0.3mm plank are then glued together in a step like fashion. I use another backing board, slightly smaller than the area of the interior framework to glue these on. it makes them stronger and far easier to sand prior to fitting. hopefully once all is glued, sanded and fitted, I end up with something like this to attach to the windows in the structure. chris


-
this really coming along nicely vinnie. I have the amati bounty I want to get back to after I move along a bit further with my current riverboat. chris
-
Another hello from Newcastle, Australia.
vossy replied to Jobbie's topic in New member Introductions
hello mate, you have some really nice builds there. I am sure you will find this site invaluable. good luck on your Supply, looking forward to watching her grow. Chris -
Hoping to get this build and log going again in the next few days to run in conjunction with my build of the Mississippi Riverboat. Stay tuned..... Chris
-
Congratulations on your finished build Dave. A truly beautiful boat. You did a superb job on her. Ok, what's next! lol Chris
-
thanks dave. really think I will just leave them as is at this stage. there is still a lot of stuff to put on that area, plus I have a few ideas to busy it up even more than the stock standard model calls for. chris
-
also made the lower main staircase. still undecided as to whether or not put down carpet stair runners as per the box art. if I do it certainly wont be the red sticker that comes with the kit! Chris


-
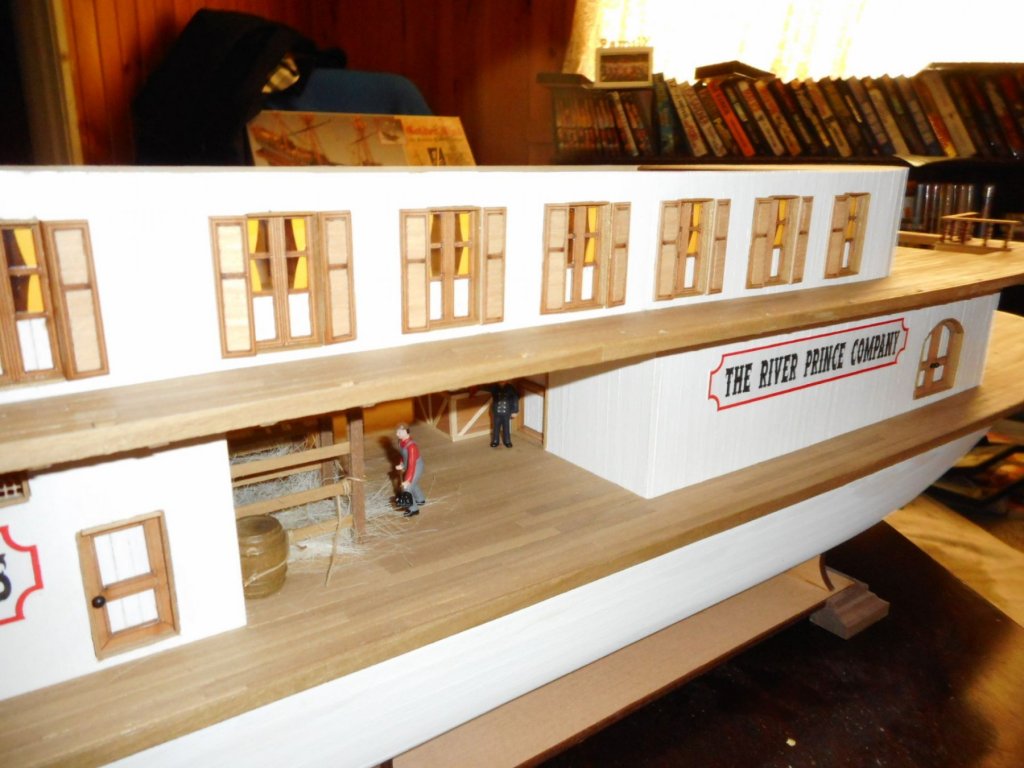
So, after what seems like an eternity, I have got the shutters on the Port side windows. Each shitter contains about 35 individual pieces They tend to show up a bit dodgy in the pics, but in real life I am really happy with them. again at this point this structure is just sitting there as its way easier to glue the shutters on beforehand.. also the next deck is just sitting there as well. Chris


-
New member with a question about shipping models
vossy replied to CJ2S's topic in New member Introductions
Sorry, don't know about transport in your neck of the woods, but your father really produced a beautiful model there! any chance we can see more pics of Victory and the other one? Chris -
you certainly are going a lot faster than me! chris
-
looks like an extremely well made kit parts wise. or perhaps you are just doing a really great job of it. chris
-
really great looking paint work dave after your fix ups. spray paint tends to just sit on top of a surface. it doesn't penetrate unless you physically push it in. its the reason house painters back roll over sprayed area's. I actually liked the light blue in the original kit pics, but now after seeing your royal blue I reckon it works even better. gives the vessel a more regal appearance which it deserves. chris
-
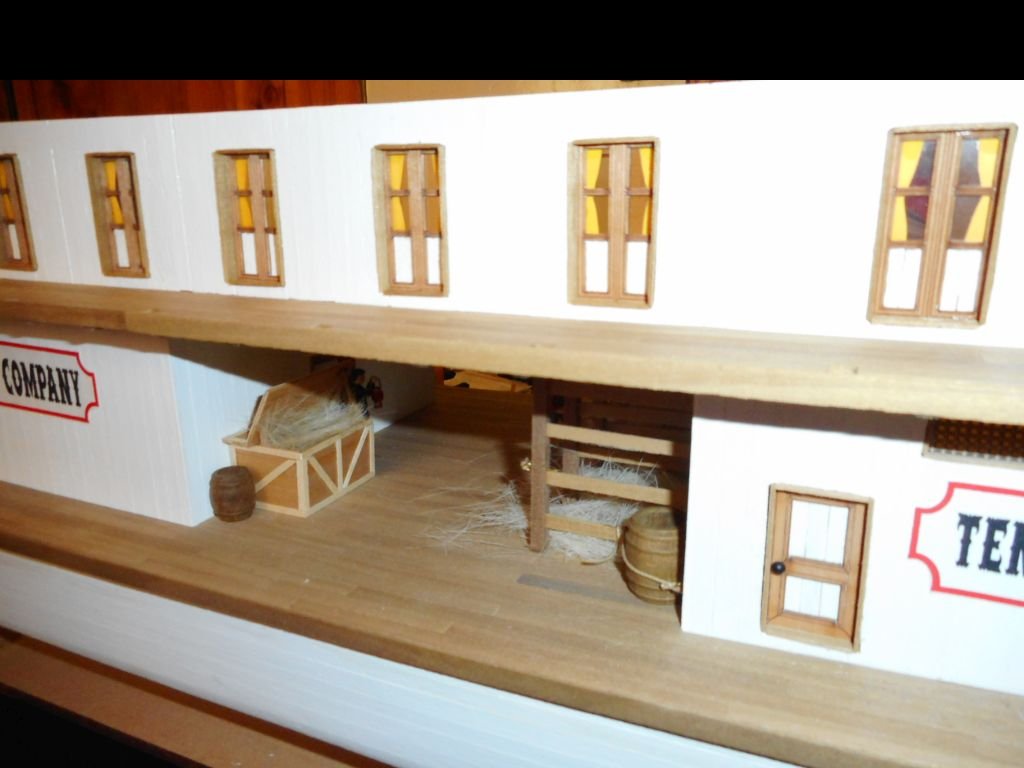
no, I wanted to use black knobs on the lower working deck and white/ivory knobs on the upper class decks. I am thinking red and white polkadot curtains for the next level windows and doors as well, but first have to make a start on all these louvre shutters for these windows. that will take an age! chris
-
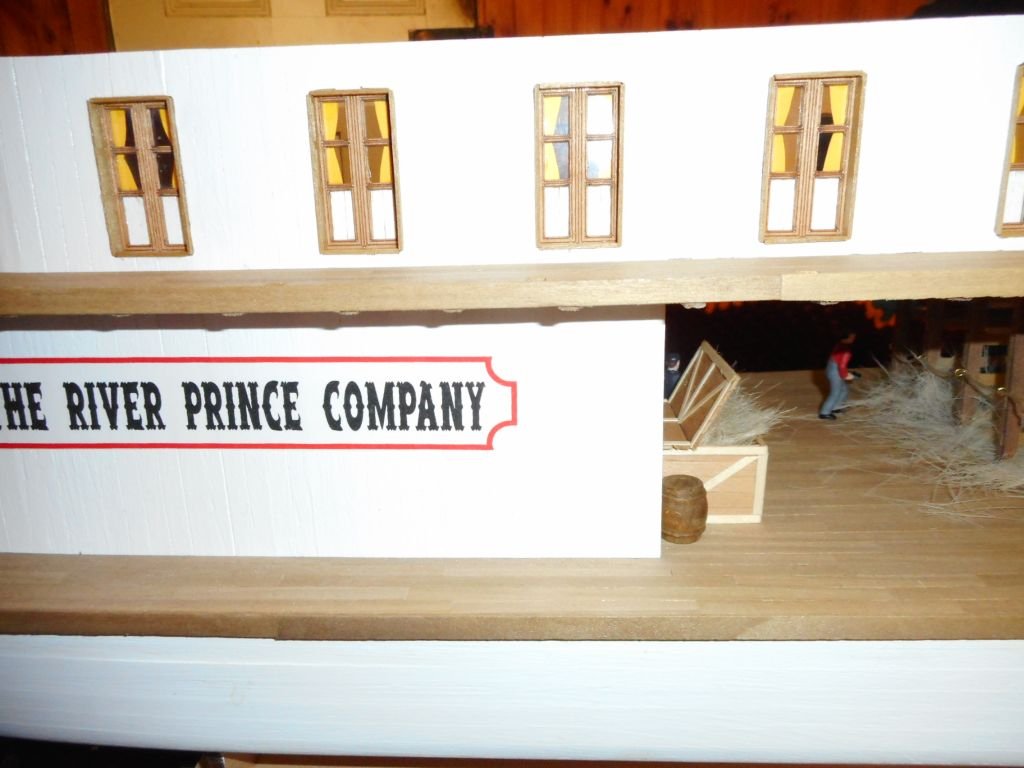
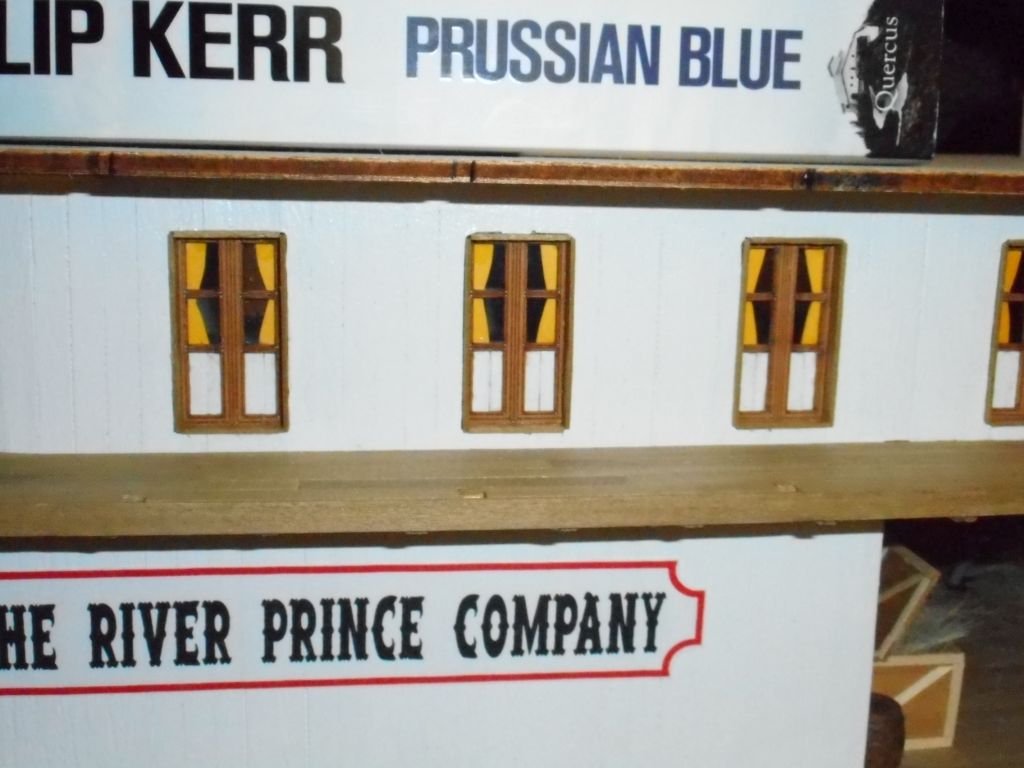
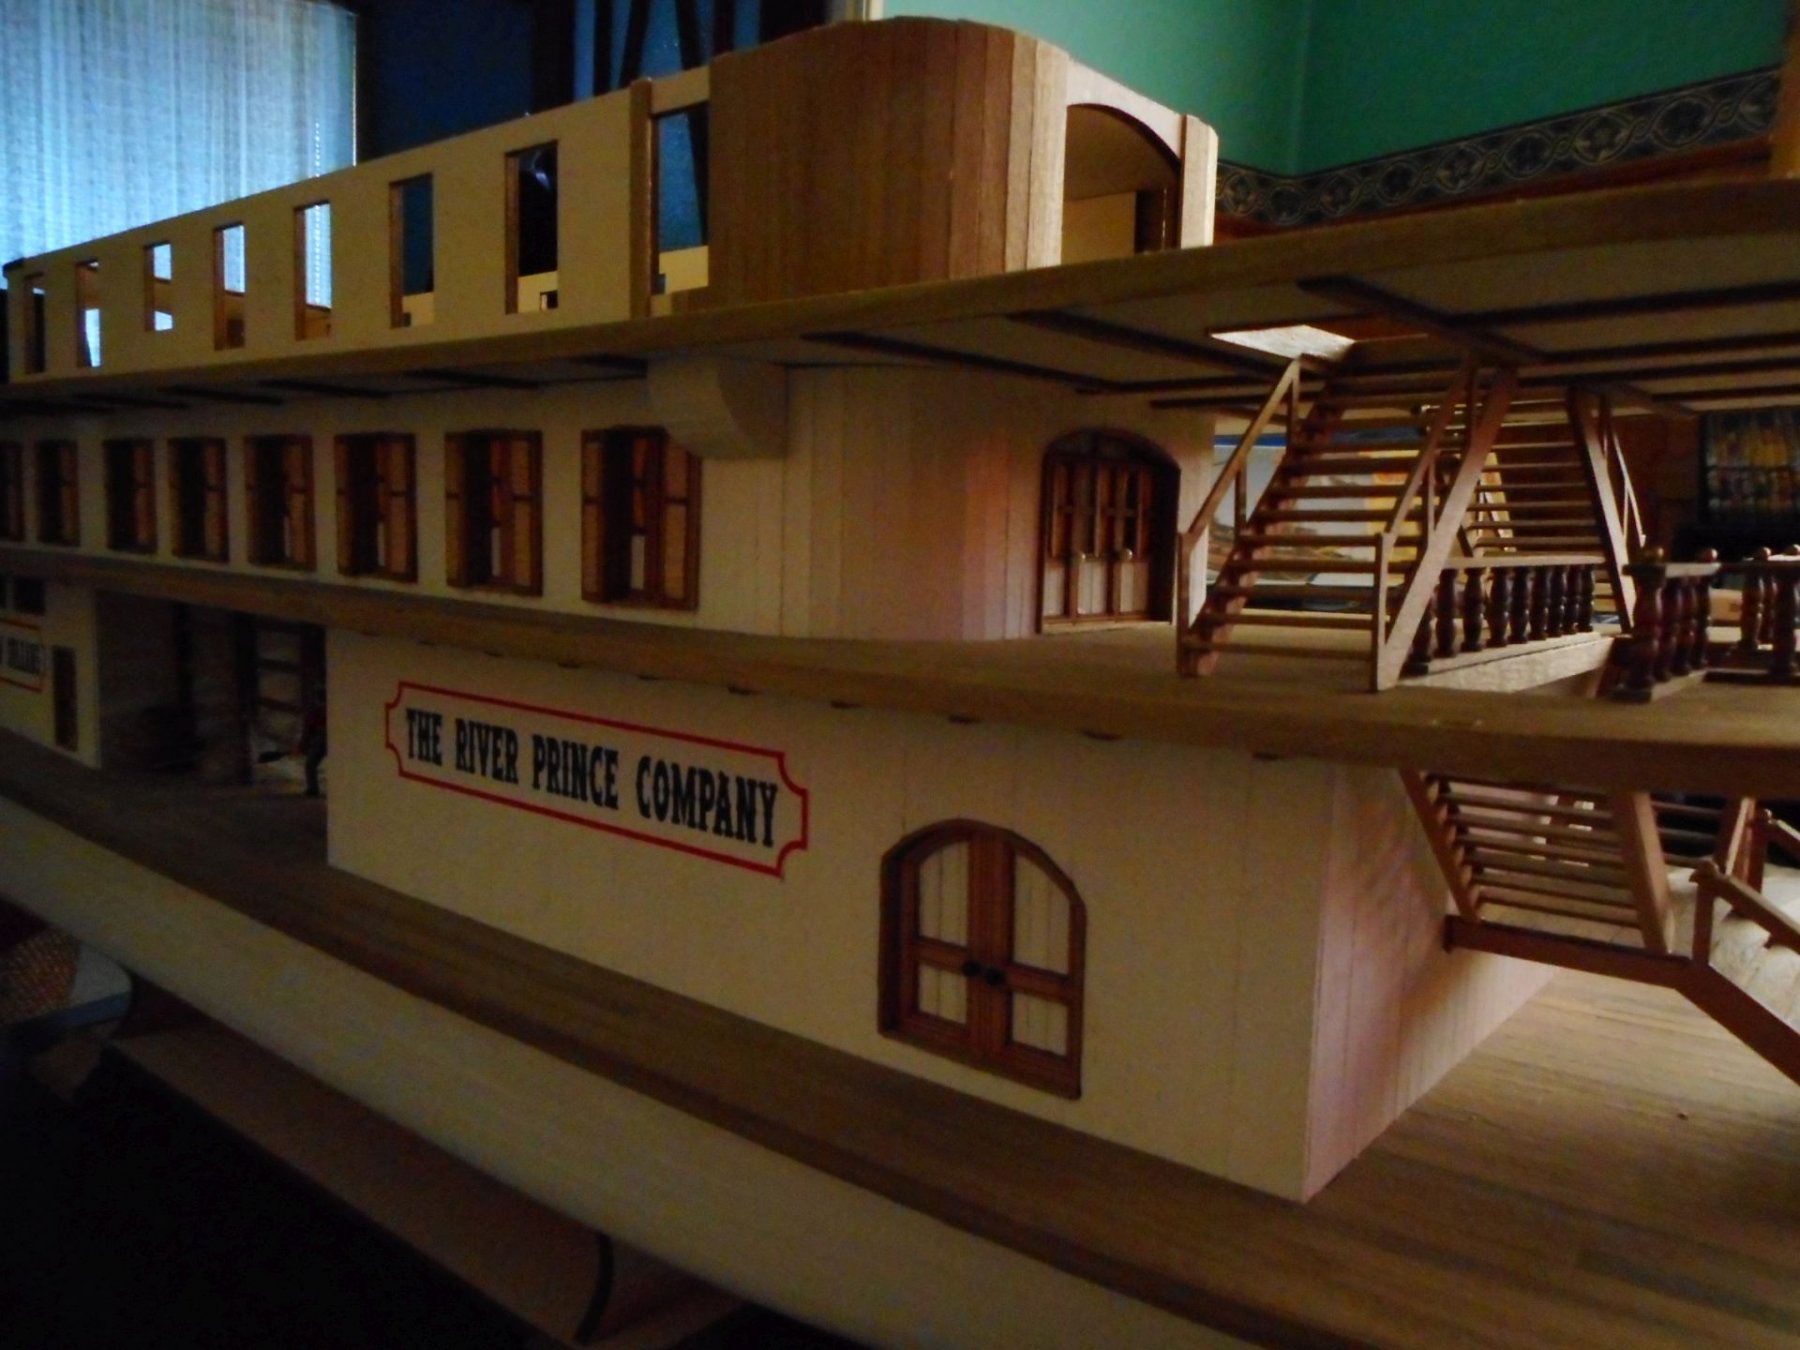
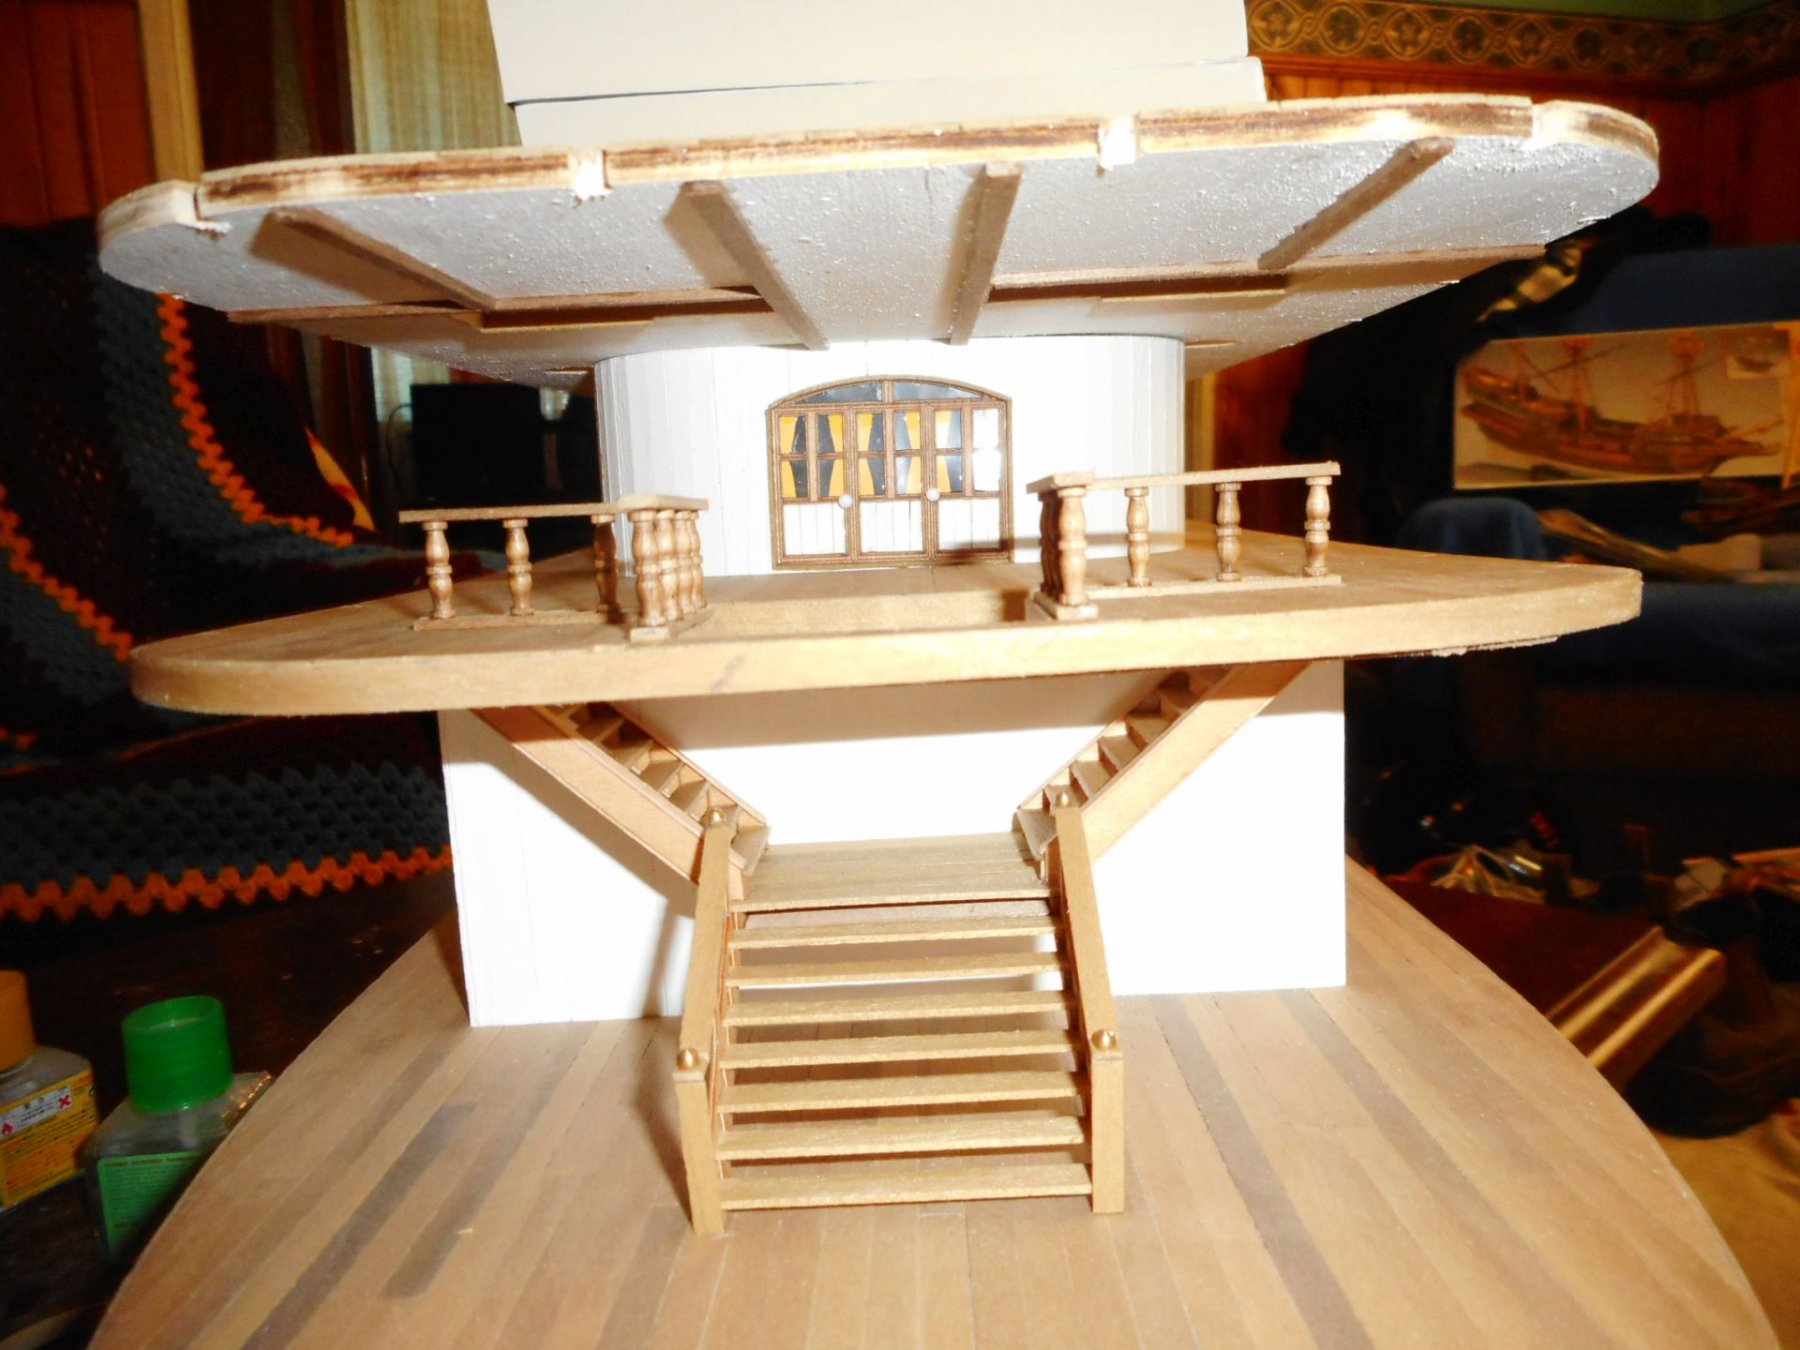
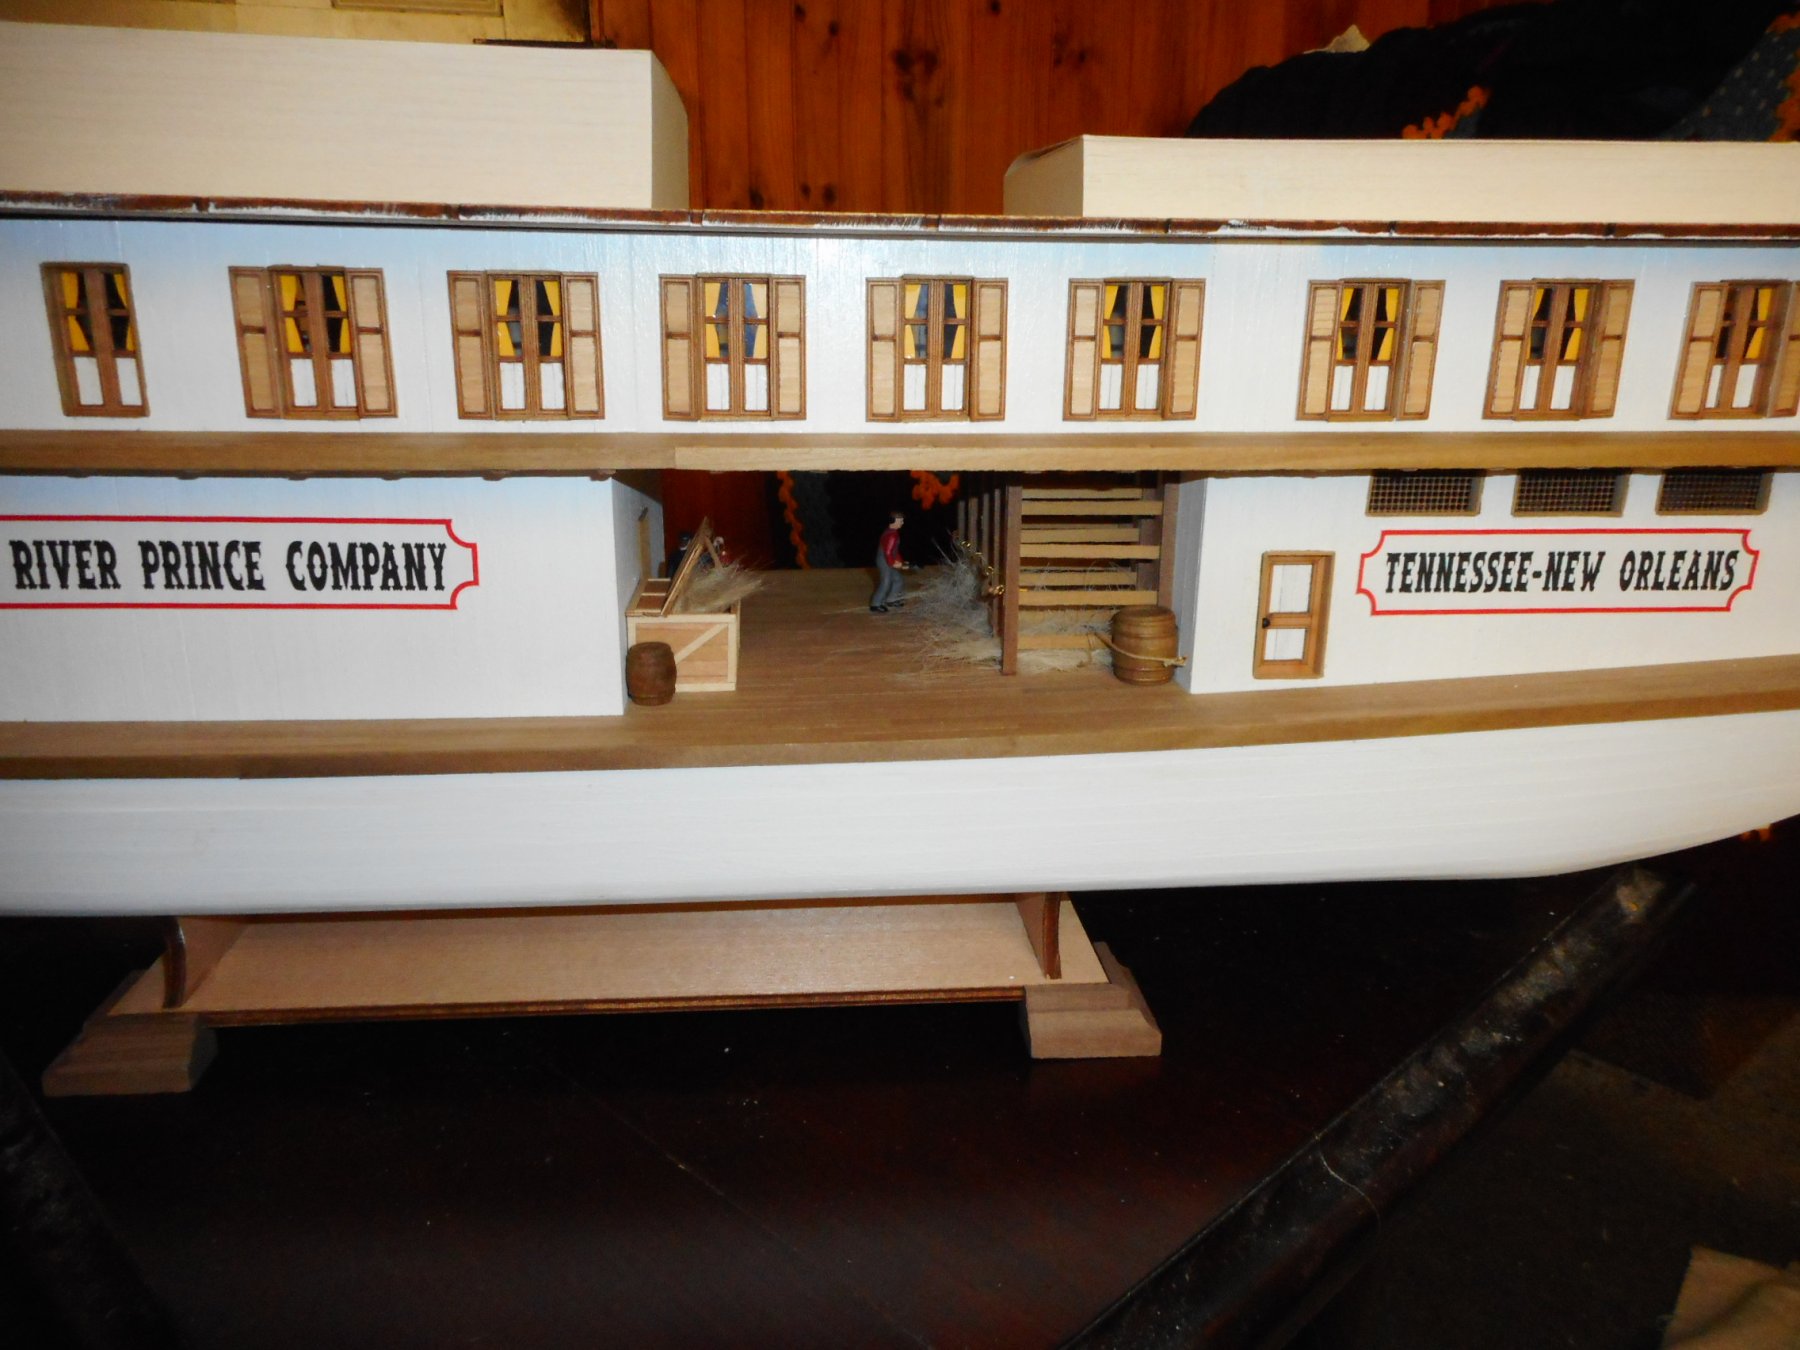
so, I have completed one side of the interior windows and main doors to the second deck structure. I decided to go with yellow curtains as it is quite dark inside, especially when the next deck goes on as you can see where I have placed it on top to get an idea of how much visibility is inside. again, the whole structure is just dry fitted as I still need to make up and position exterior louvre window shutters on each side of the windows. this should also clean up and square off the window framing nicely. I hope! chris