vossy
-
Posts
600 -
Joined
-
Last visited
Content Type
Profiles
Forums
Gallery
Events
Everything posted by vossy
-
Hi Dave, please do a log mate. It is incredibly useful to others down the track. Cheers Chris
-
 How's the problematic staircase going Pop? Nice work on the decks to mate! Cheers Chris
 -
New to Modeling, still prepping for my second build
vossy replied to CosmicRust77's topic in New member Introductions
Hi, is it just me, or can no-one else view your pics? Cheers Chris -
What's with the paper on the bulkheads in the second picture David? It is used as some sort of a guide as to where the doorways are? Nice planking too. Are you going to stain it or just clear coat? Cheers Chris
-
Hooray!!! Glad to see you back on this at long last! Cheers Chris
-
Hey Mark, any more info on that? Size etc? Links? Cheers Chris
-
Is this kit the current "go to" kit on the market for size, quality, plans, material, and authenticity? Or are there any others in the wings/development that rival it? Cheers Chris
-
Hey Rod, great you finally made it here! First things first though. Go to the build log page. On there, near the top, you will see a topic called quick find indexes. Click on small craft and scroll down to you find the logs of the kit you are building. Some will be better than others, but everyone who starts a log on a kit is in there. This is a link from my latest build https://modelshipworld.com/index.php?/topic/17564-mississippi-1870-riverboat-by-vossy-sergal-150/& You will definitely learn heaps here. My first piece of advice however would be, a full blown Endeavour is vastly different and way more difficult than the kit you have chosen to begin with. Anyway, enjoy mate. Cheers Chris
-
Hey welcome mate. My number 1 piece of advice is to follow what Bob said. Read every build log you can find, then ask questions if you are still unsure. My number 2 piece of advice is to then start a build log of your own. Someone else will be in your same situation as a new builder one day and may find how you tackled a particular part of the building process invaluable. Good luck. Cheers Chris
-
They certainly follow them on Facebook. I agree David that there probably isn't a kit on the market that doesn't have some sort of issue, but this is a bit over the top I reckon and given the stage of the build it comes in could well end up being a critical error further down the track. Would be great if we could somehow get this rectified. I have a good relationship with the people at CMB. I will email them and see if they are aware of it? Maybe they can convince Amati to at least have a look at the issue? Cheers Chris
-
David, she just trumps your Titanic at 1100mm Cheers Chris
-
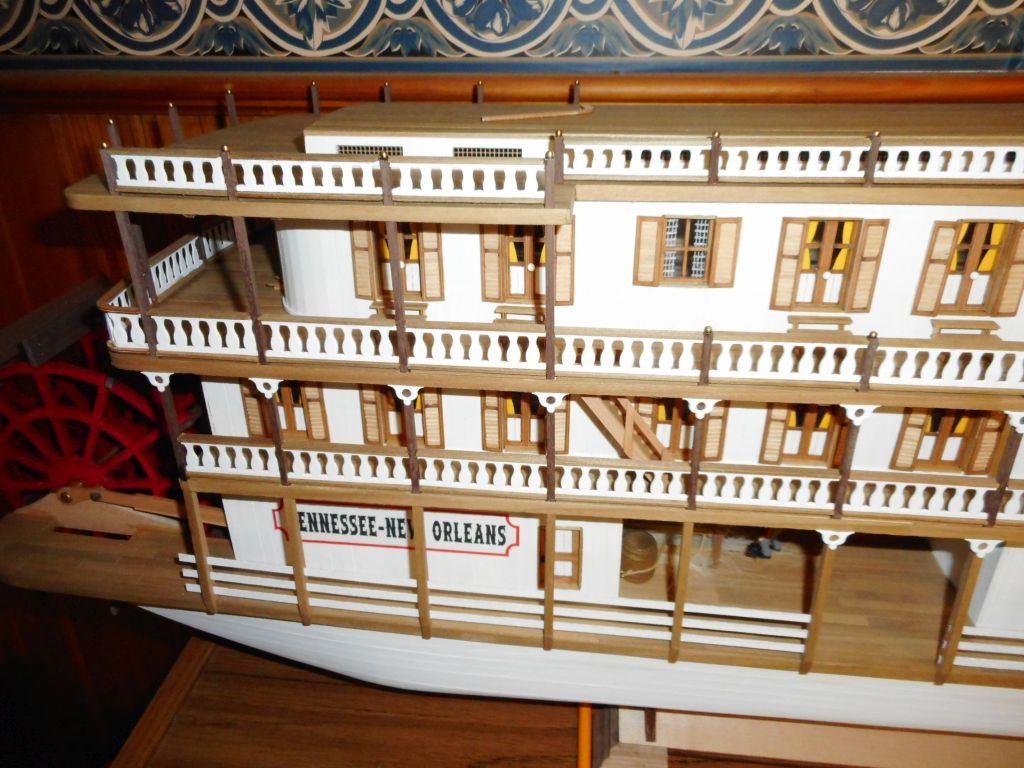
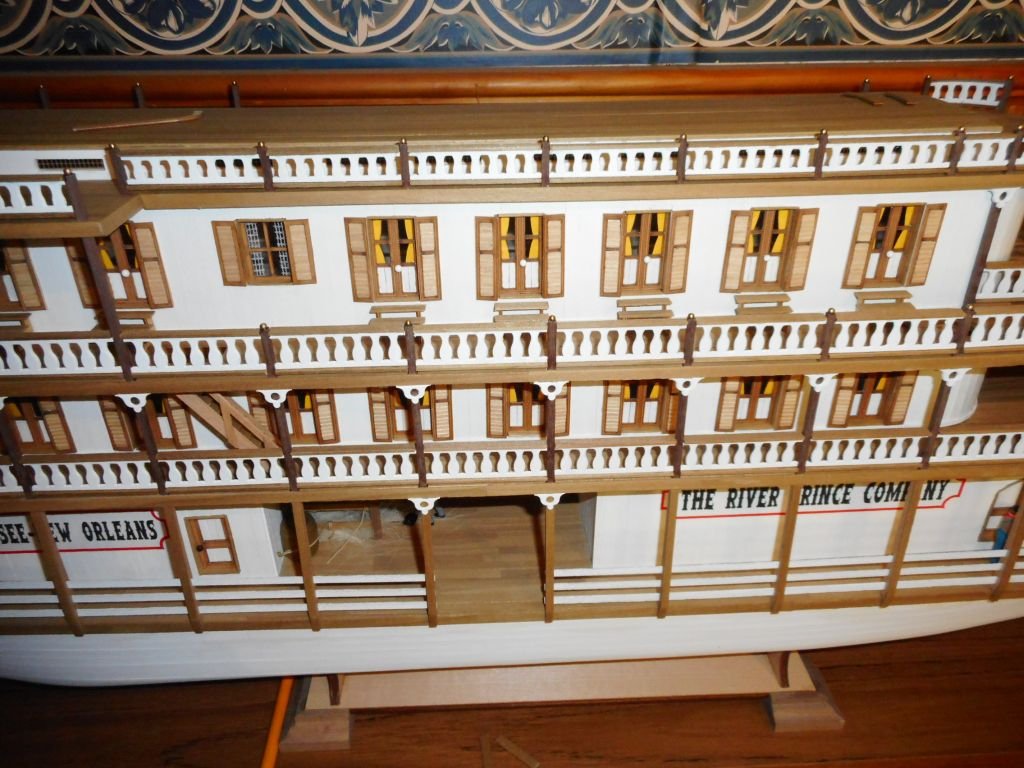
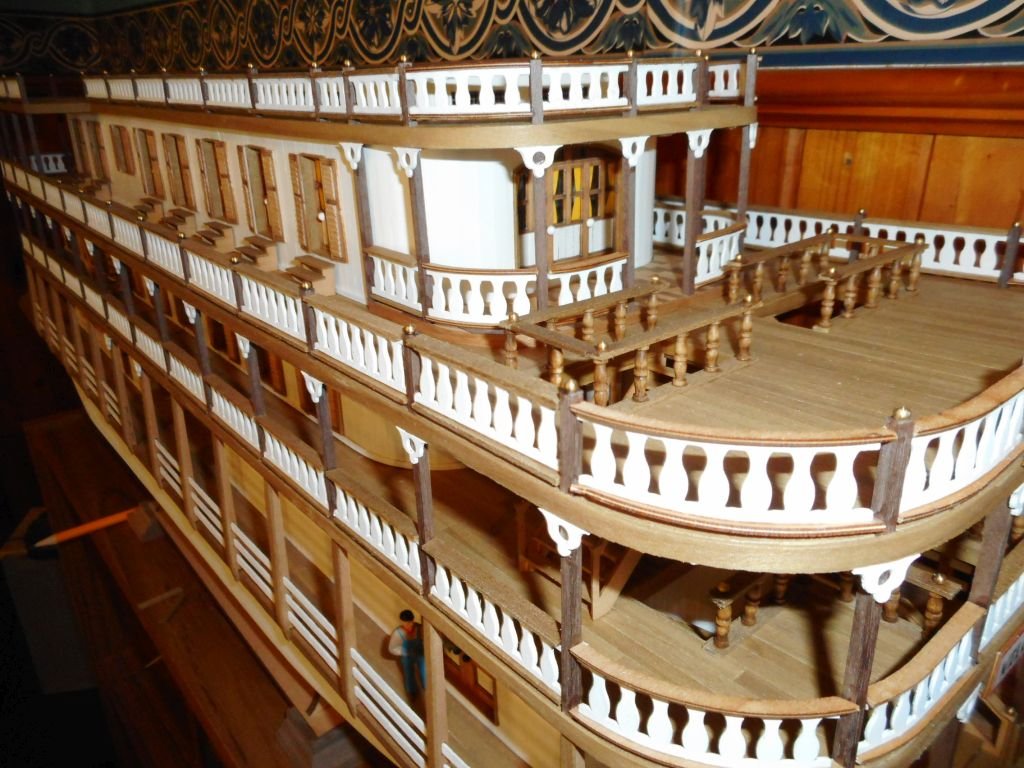
Pretty much done and dusted with the final Starboard side upper rails. Just the stairway and single rails to go. Time to turn the old girl around and complete the Port side. Still need to put the fancy deco's on the posts though. Cheers Chris
-
So the bulkheads are faired and now the planking begins As you all can see I managed to get one of them out of square! Looks bad on with the camera, but I don't envisage this being an insurmountable to overcome . Having said that, this is a single planked hull, but being painted I think it should come up ok. The error was my fault. Not the kits. So far loving this manufacturer. Looks pretty straight when you look along the length. Overall, happy with it up to this stage. Cheers Chris

-
Really good start David. I cant believe how terribly wrong those bulkheads supplied with the kit are and why a large, reputable company like Amati hasn't addressed the situation yet. As you suggest it wouldn't be too hard to provide half a dozen new pieces of the correct shape as an aside to the kit. After all, these kits aren't cheap and many who purchase this one may not have extra wooden at their disposal to produce what you have. I would love to build this kit, but I wouldn't buy it until this issue is fixed by the manufacturer. Perhaps I should try to contact them or the shop I buy my models from to try to get them to act upon it? The kit is well over $1000 AUD to purchase here and a glaring, easy to fix (for Amati), error is not very equitable in my opinion. Cheers Chris
-
Good work on the bulkhead fix David. Will it impact on the covering strips or ply pieces? Will they need to be lengthened etc? Seems to me that if you are pushing out the width of the vessel you would have to lengthen anything covering them up to compensate that. Looking at Mr. Pucko's picture he posted I cant tell if the covering (under the strips he bemoans), are separate planks or sheets of ply. If its the latter it could be a problem if they are laser cut to fit the given bulkhead pattern. Just a thought. Cheers Chris
-
Hey David, welcome back. Hope you had a great holiday. Really looking forward to this one! Cheers Chris
-
Hey Greg, I really like and admire your builds. Don't know if I should ask this here or not, but you seem to be able to come up with a great deal of different models. Have you ever seen a kit of HMAS Torrens (my avatar, and home for some years), on the market? I must say, I haven't really searched high and low, but maybe you have come across a kit in your travels? Cheers Chris
-
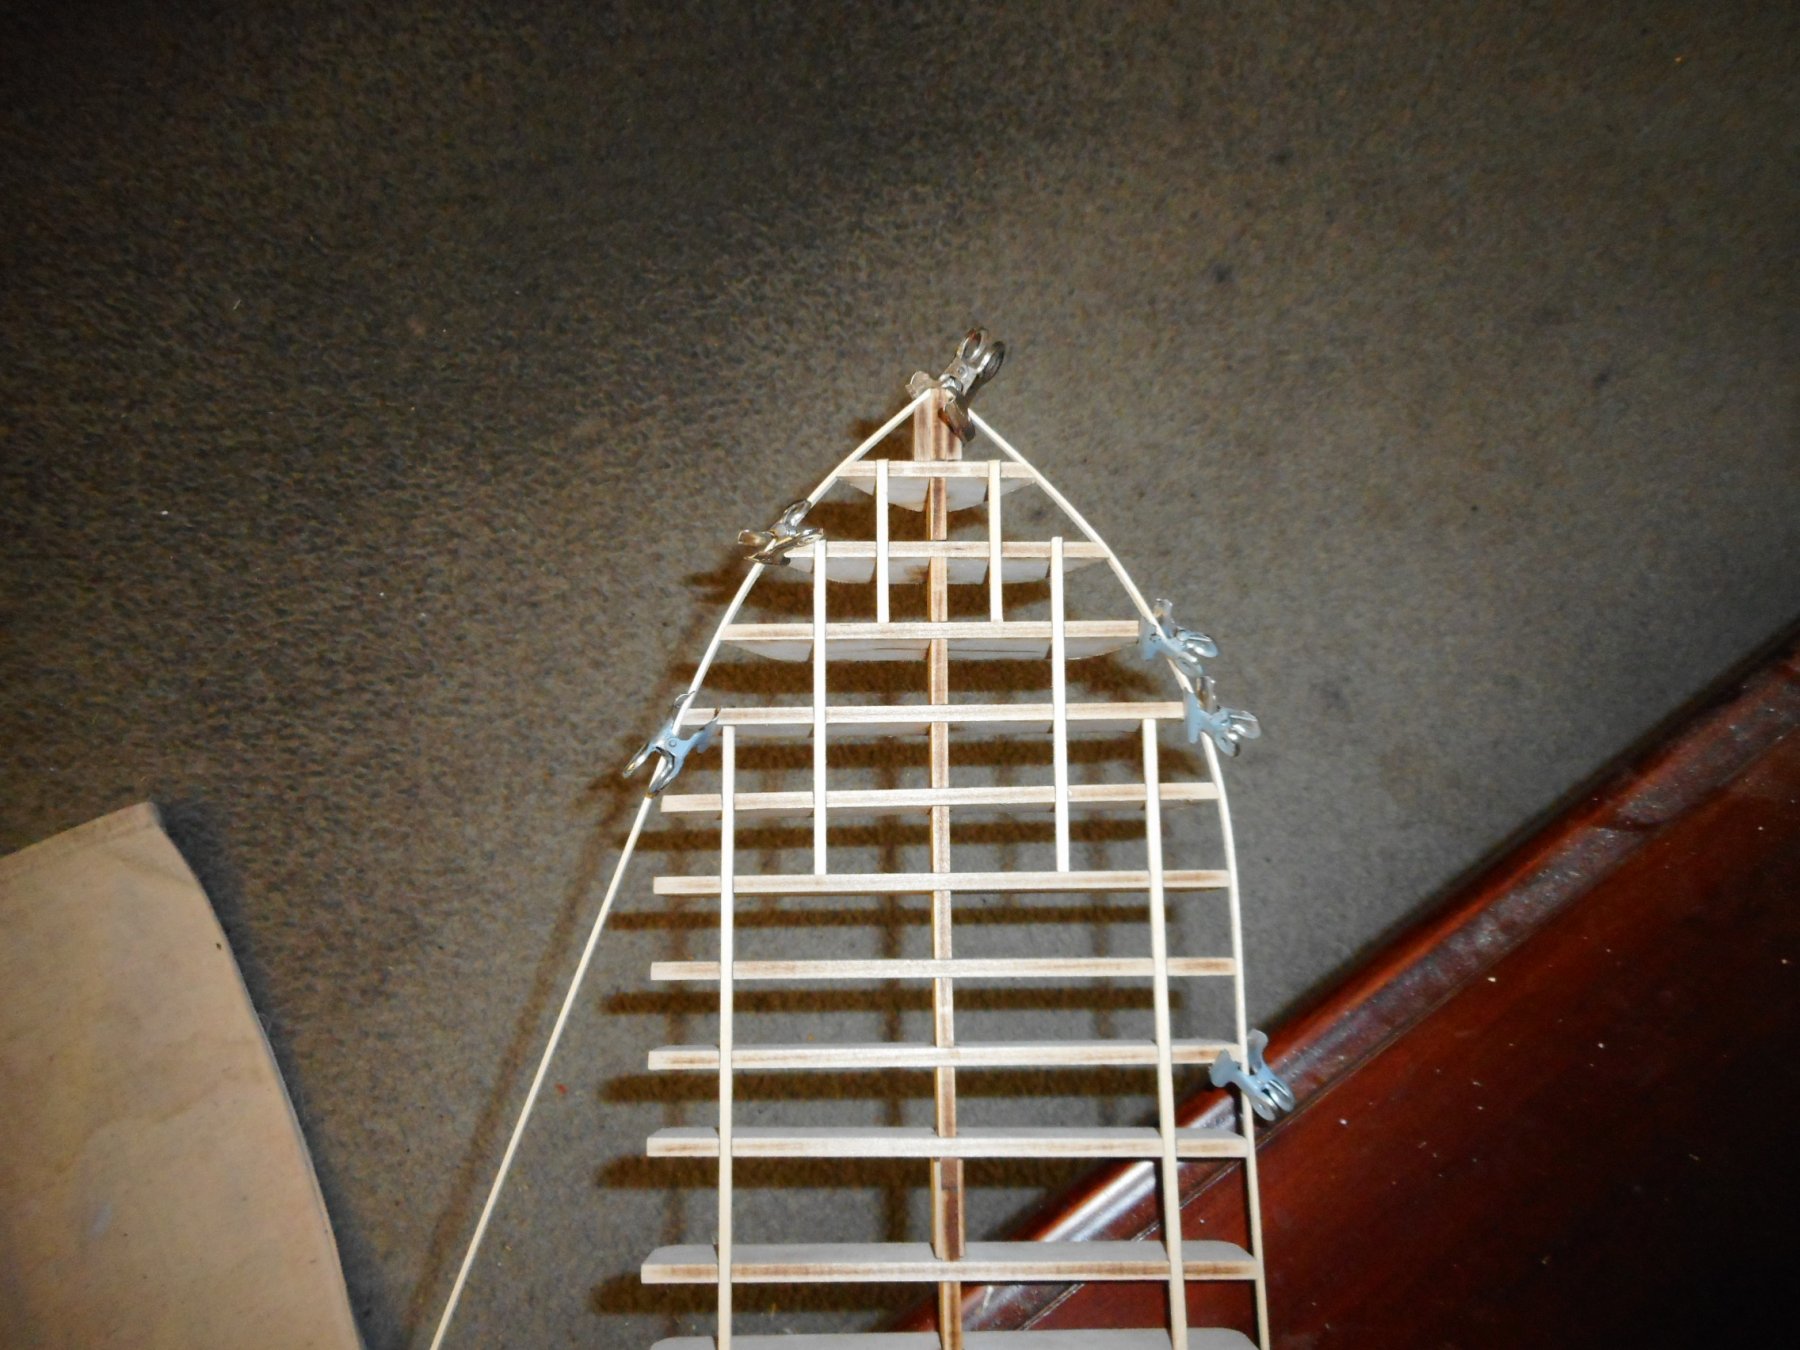
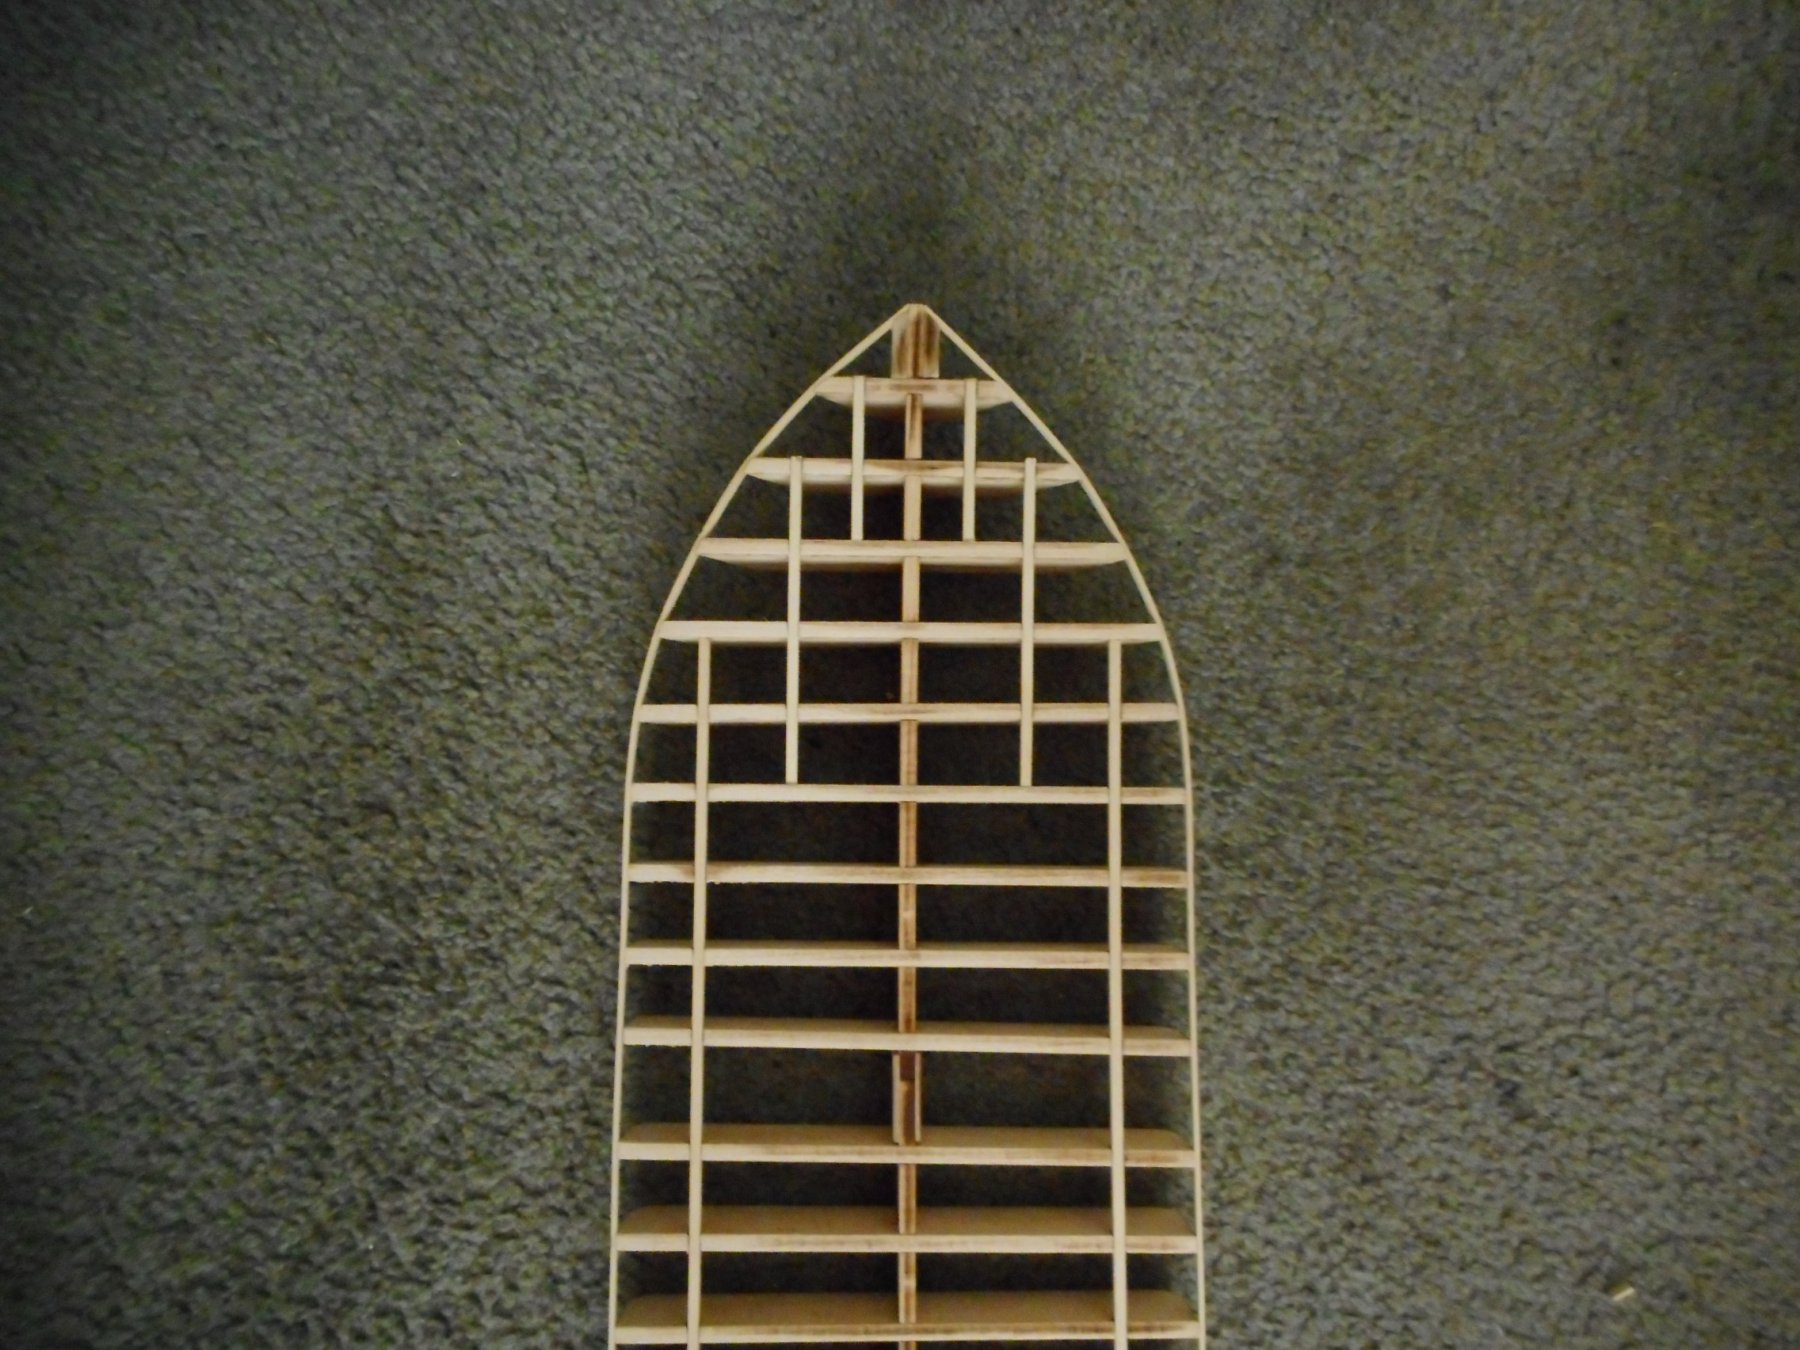
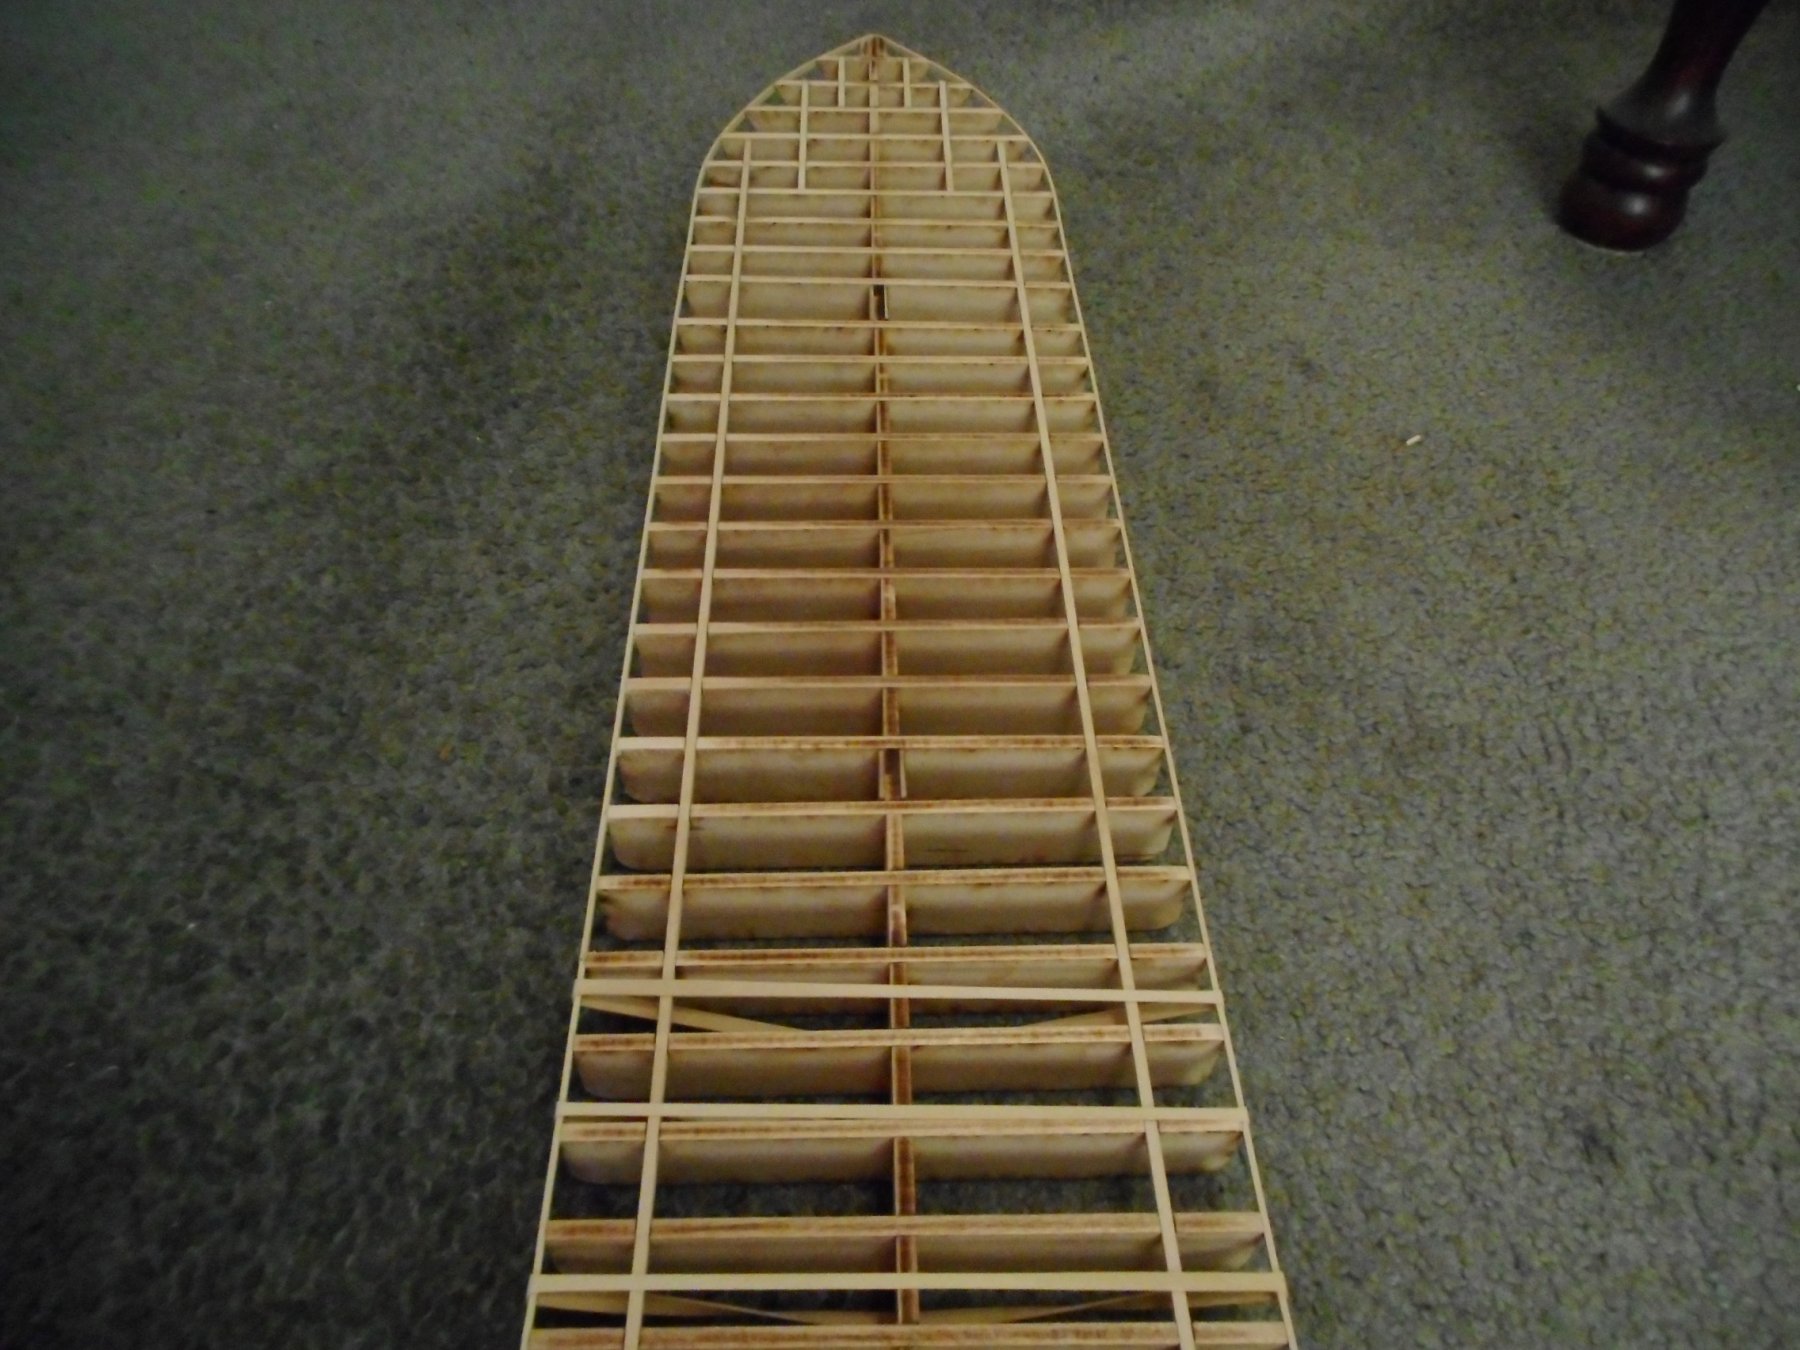
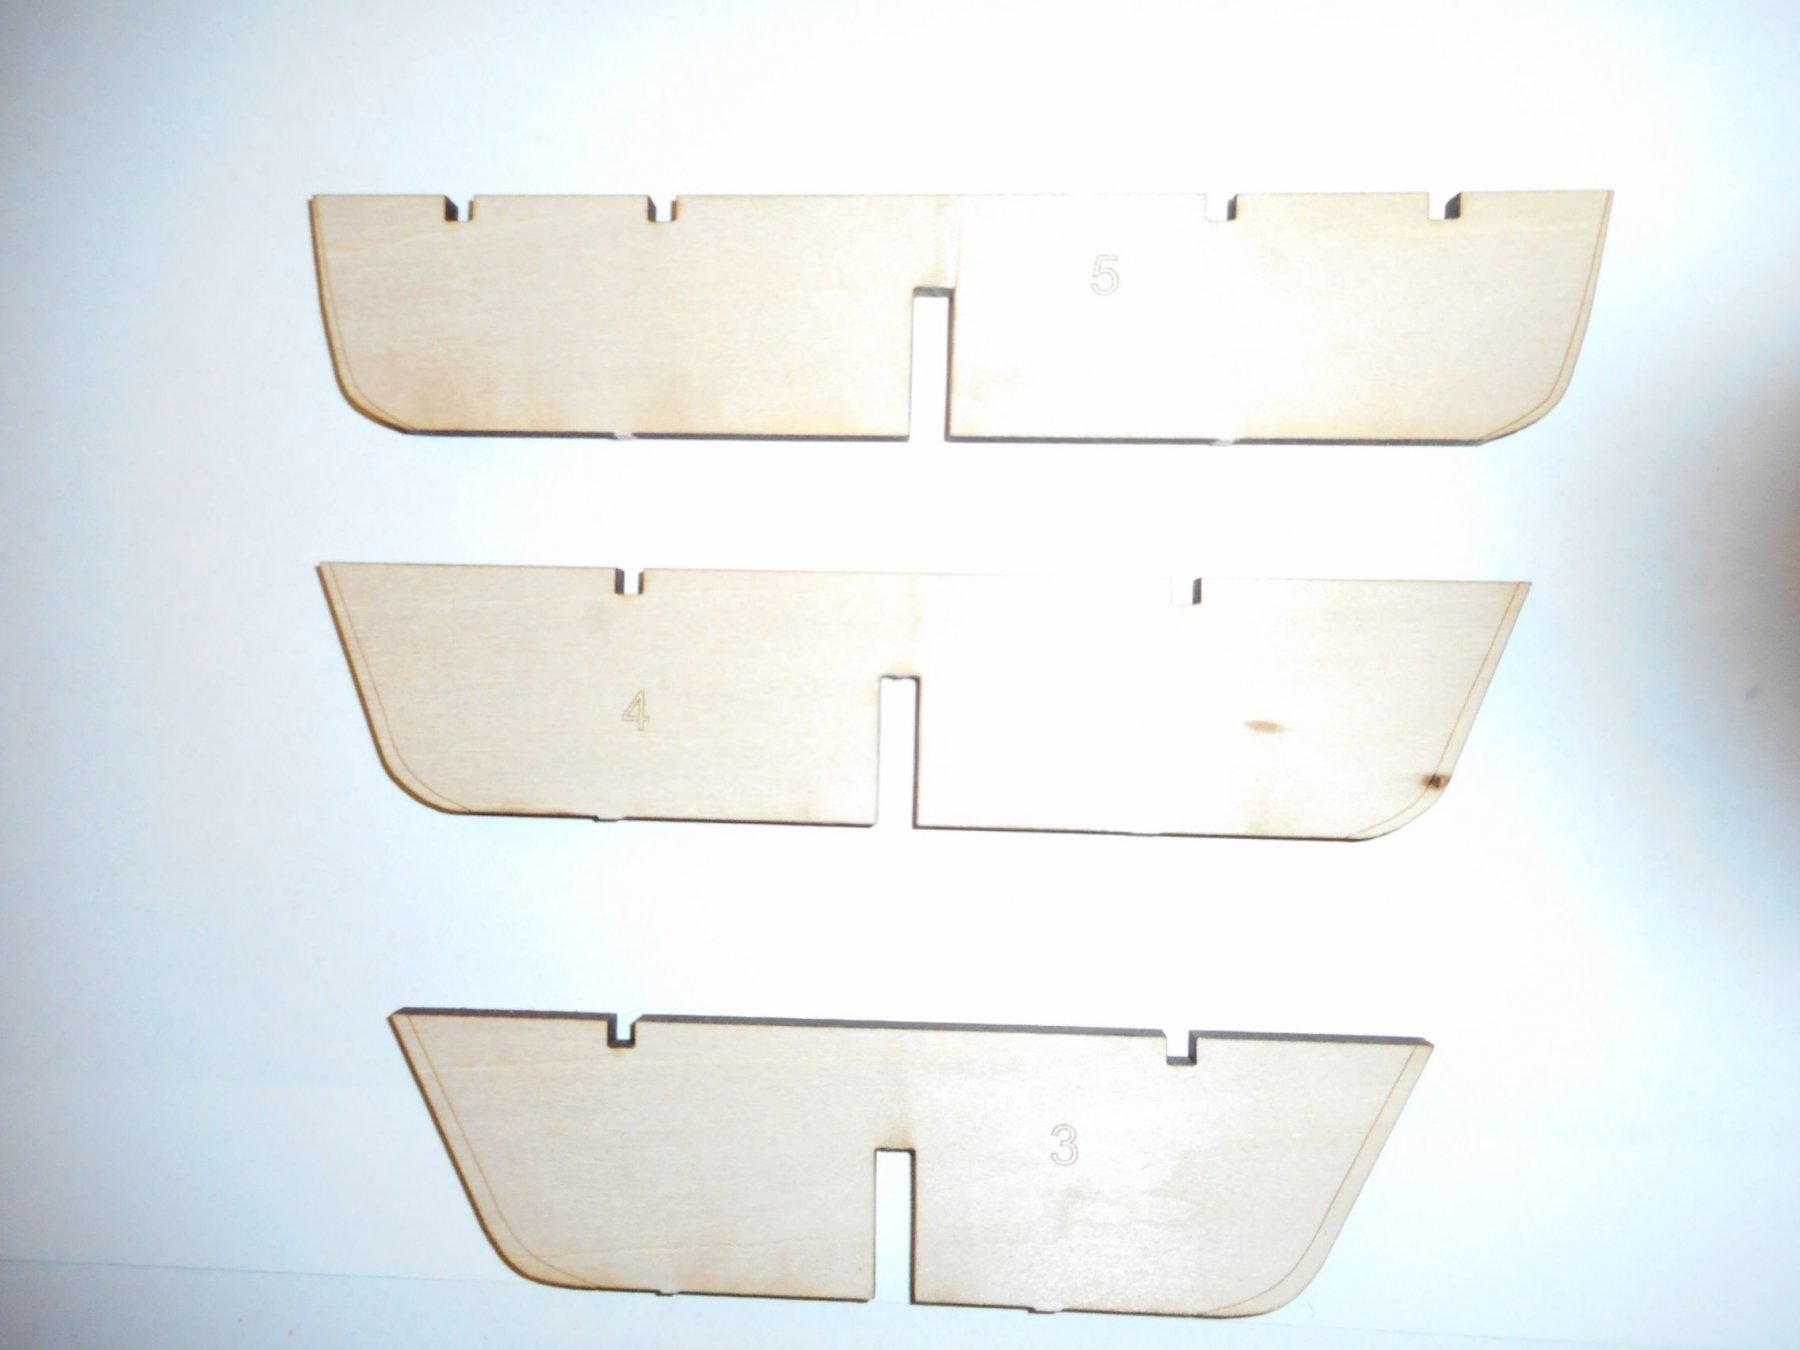
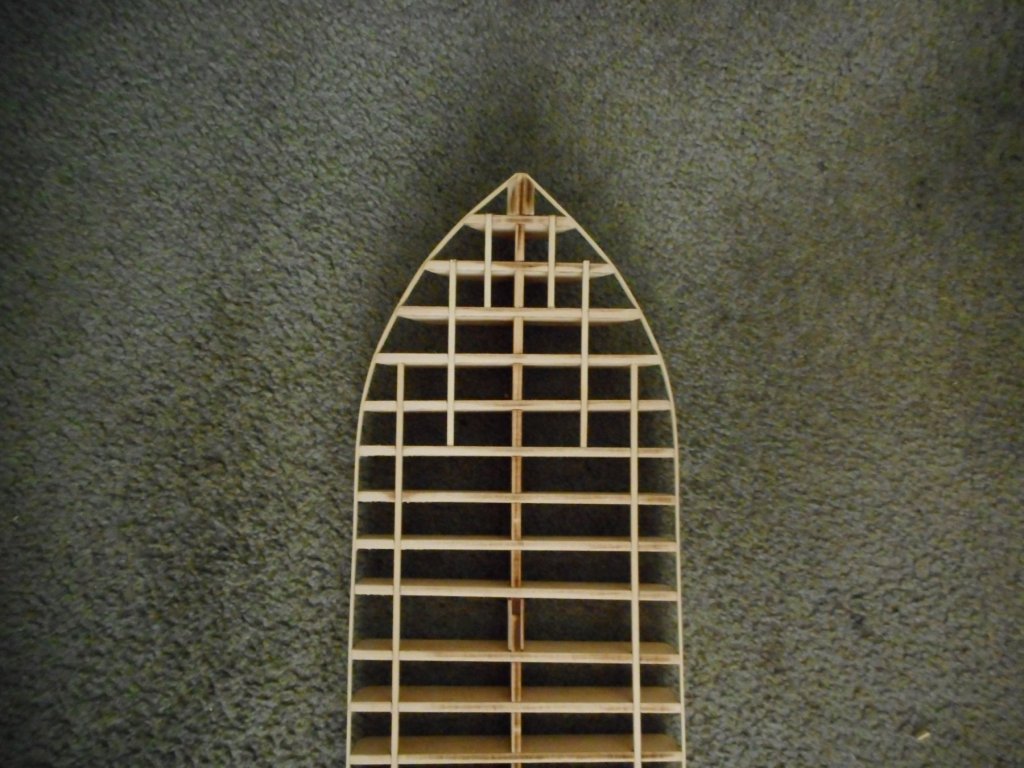
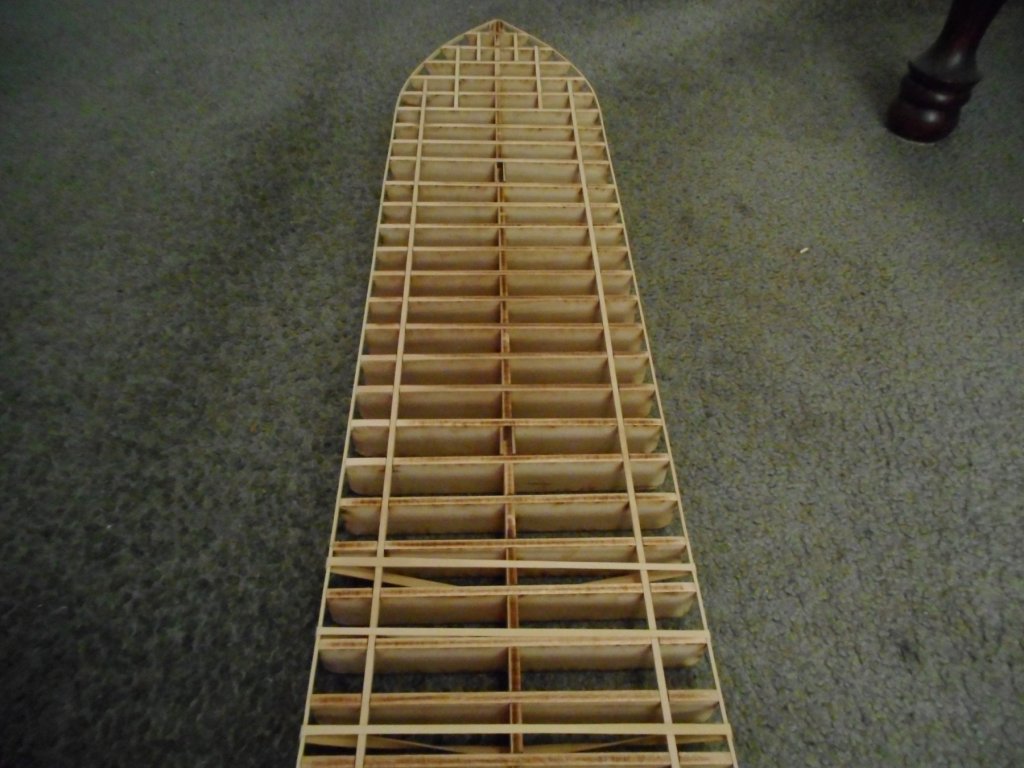
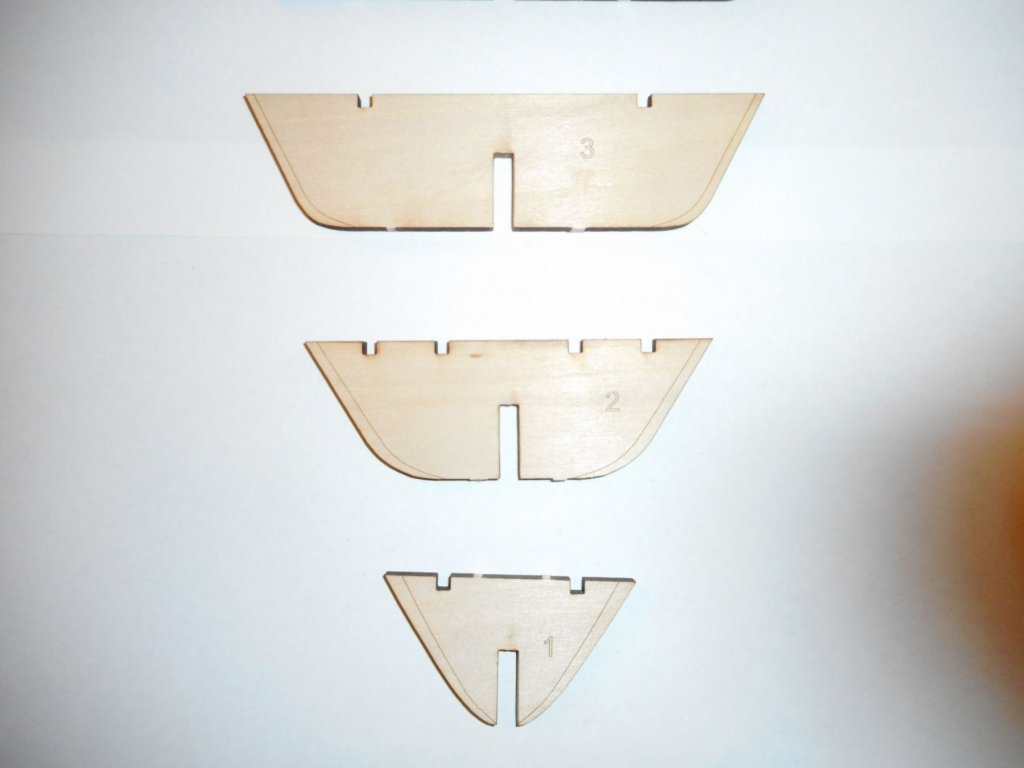
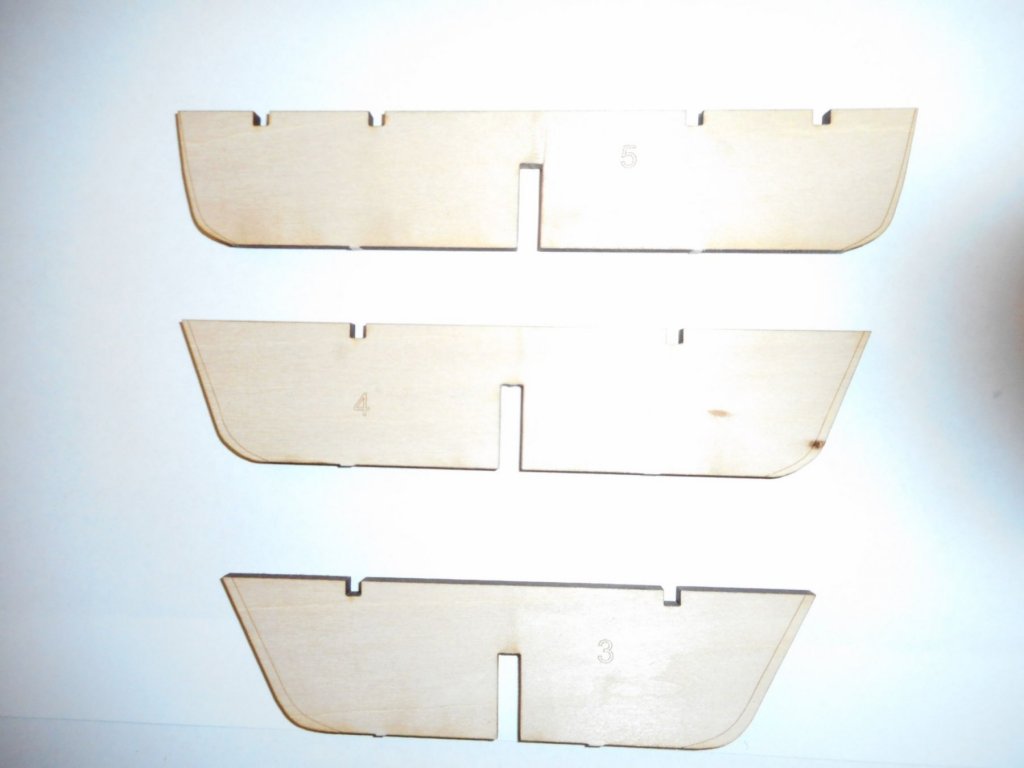
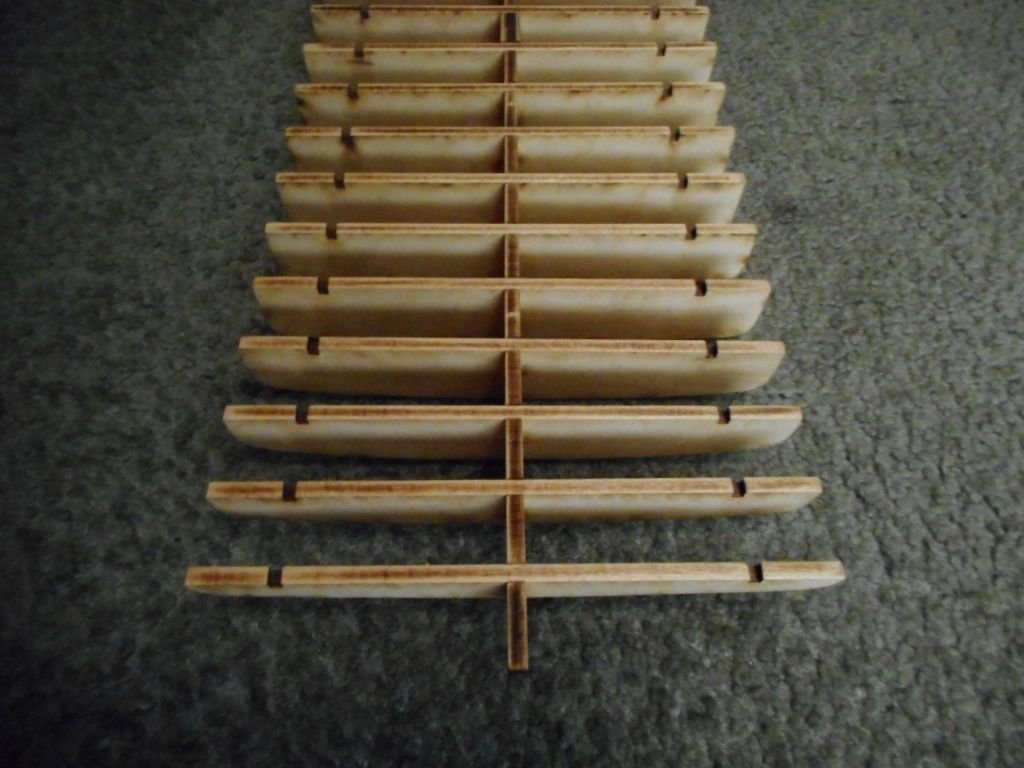
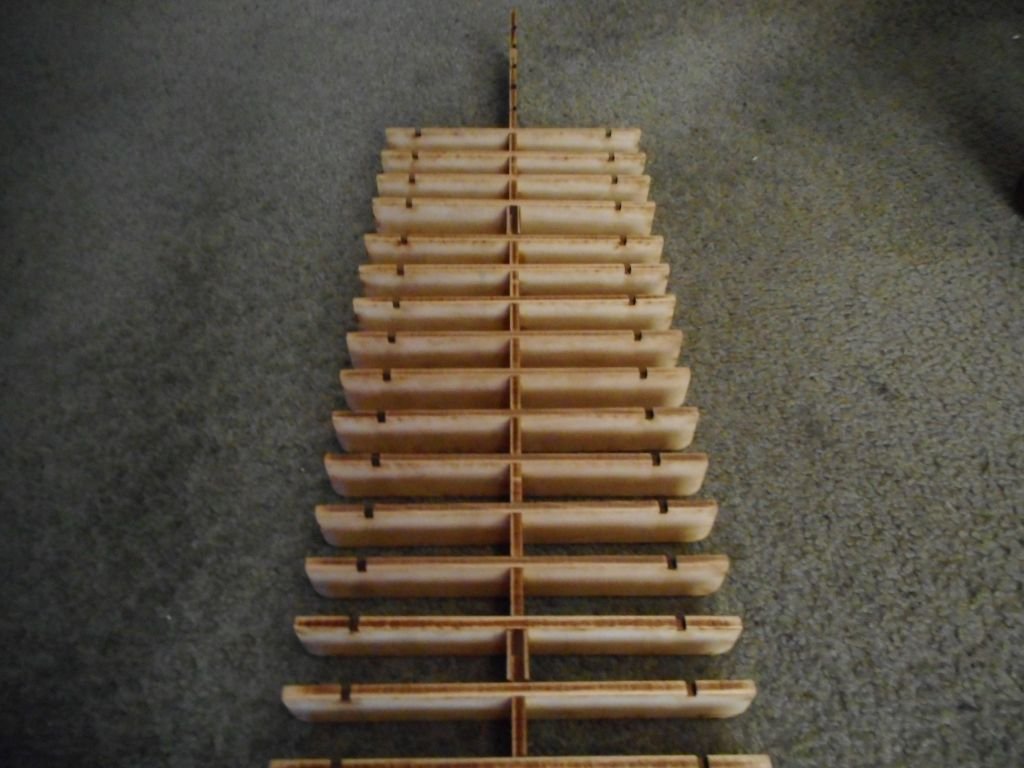
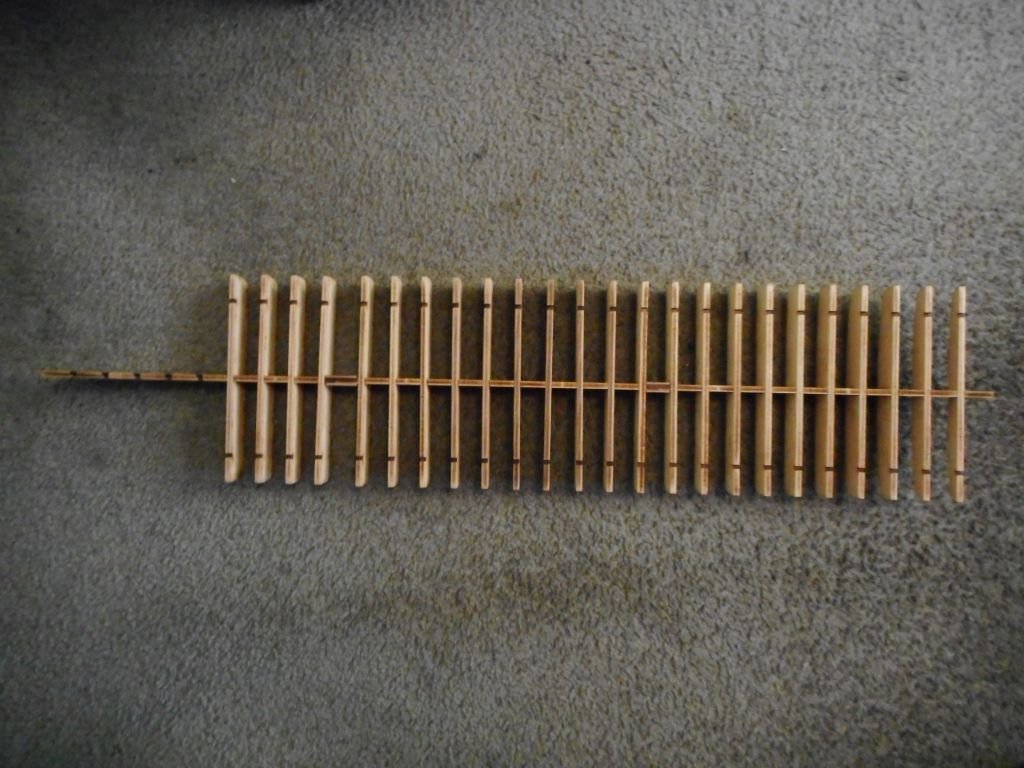
Getting all the bulkheads in place. A couple a bit out of whack, but the stringers will straighten them up. Most of the work just involved removing the char! Have also checked and the stringers will correct the warp in the keel. Looks pretty dodgy at this stage I know, but I am 100% confident she will turn out just fine under the right hands! When you get to bulkhead number 5 the clever folk at Model Shipways decided to make it a bit easier to fair the hull prior to planking by adding these really cool and useful guidelines! In my opinion, a few more kit manufactures could follow suit. Specially with beginner kits. I don't have any data to back up this statement, but I bet more than a few novice builders have abandoned a build because they didn't fair the hull and thus planking became a nightmare that was too much to overcome. I reckon, by doing this on beginner kits it would at least instil the basic principle of fairing before planking. I don't expect a Caldercraft 1:72 Victory to have this feature. If you are tackling one of those you better know how to do this already. But for a beginner feature, for me its a no brainer. Cheers Chris
-
Tools, supplies and workstation......
vossy replied to CPDDET's topic in Modeling tools and Workshop Equipment
Agree with all the above comments and recommendations, but I will add this if I may: your build should govern your tool kit. Not the other way round. If you buy a multi tool set you may well find you don't use any on the particular project you are undertaking. A good hobby knife, a few hobby files, assorted grades of sandpaper, and a straight edge ruler should kick you off well in the right direction. Easy to add on from there as you deem necessary. As for workstations, I tend to think they are over hyped. Just my opinion. I would rather save the money on a workstation toward my next model. All my modelling is done on the coffee table in front of the tv in the lounge room. But then again I do live alone. Horses for courses I guess. Heaps of clamps, cradles, holding devices etc. can be self made. All my models live their building life ultra cheap Styrofoam cradles I glue together from packaging materials. Costs nothing, is beautifully soft on wood and associated paintwork, and gives a great non-slip cradle so the model wont slip when turned on its side. Cheers Chris -
Be good if someone could post a copy here so us convicts can see it too. Copyright depending though. Cheers Chris
-
Thanks for the nice comments Popeye. Much appreciated. The boat on the shelf is the Mamoli Golden Hind. I pretty much gave her up at this point when I got sick and tired of replacing deformed pieces or missing lumber etc. Probably my own fault as I should have done an inventory before I began, but this was one of the first kits I built so I didn't really know any better. It is a real disgrace how much of this kit was missing. For example, there was only enough planking material to do one side. But don't get me started. I will, or at least want to, finish her off one day. Cheers Chris
-
Hey Steve, interesting build. Can you post a link to where you bought this model? Cheers Chris
- 446 replies
-
- 4
-

-
- zebulon b vance
- deans marine
- (and 3 more)
-
Hi Dave, you have found the number 1 ship modelling resource site on the planet! As they say in the classics; don't be fooled by imitations! Anyway, that book you have purchased is THE ship modelling bible! Full of easy to read and understand concepts and illustrations to boot. I cant recommend it highly enough for both beginners and experienced builders alike. Have a good look around here at the multitude of different build logs. You will find all manner of craft in various levels of degree of difficulty. Ask questions. No such thing as a dumb one. Ultimately though, build something you are interested in and have a great time! Cheers Chris
-
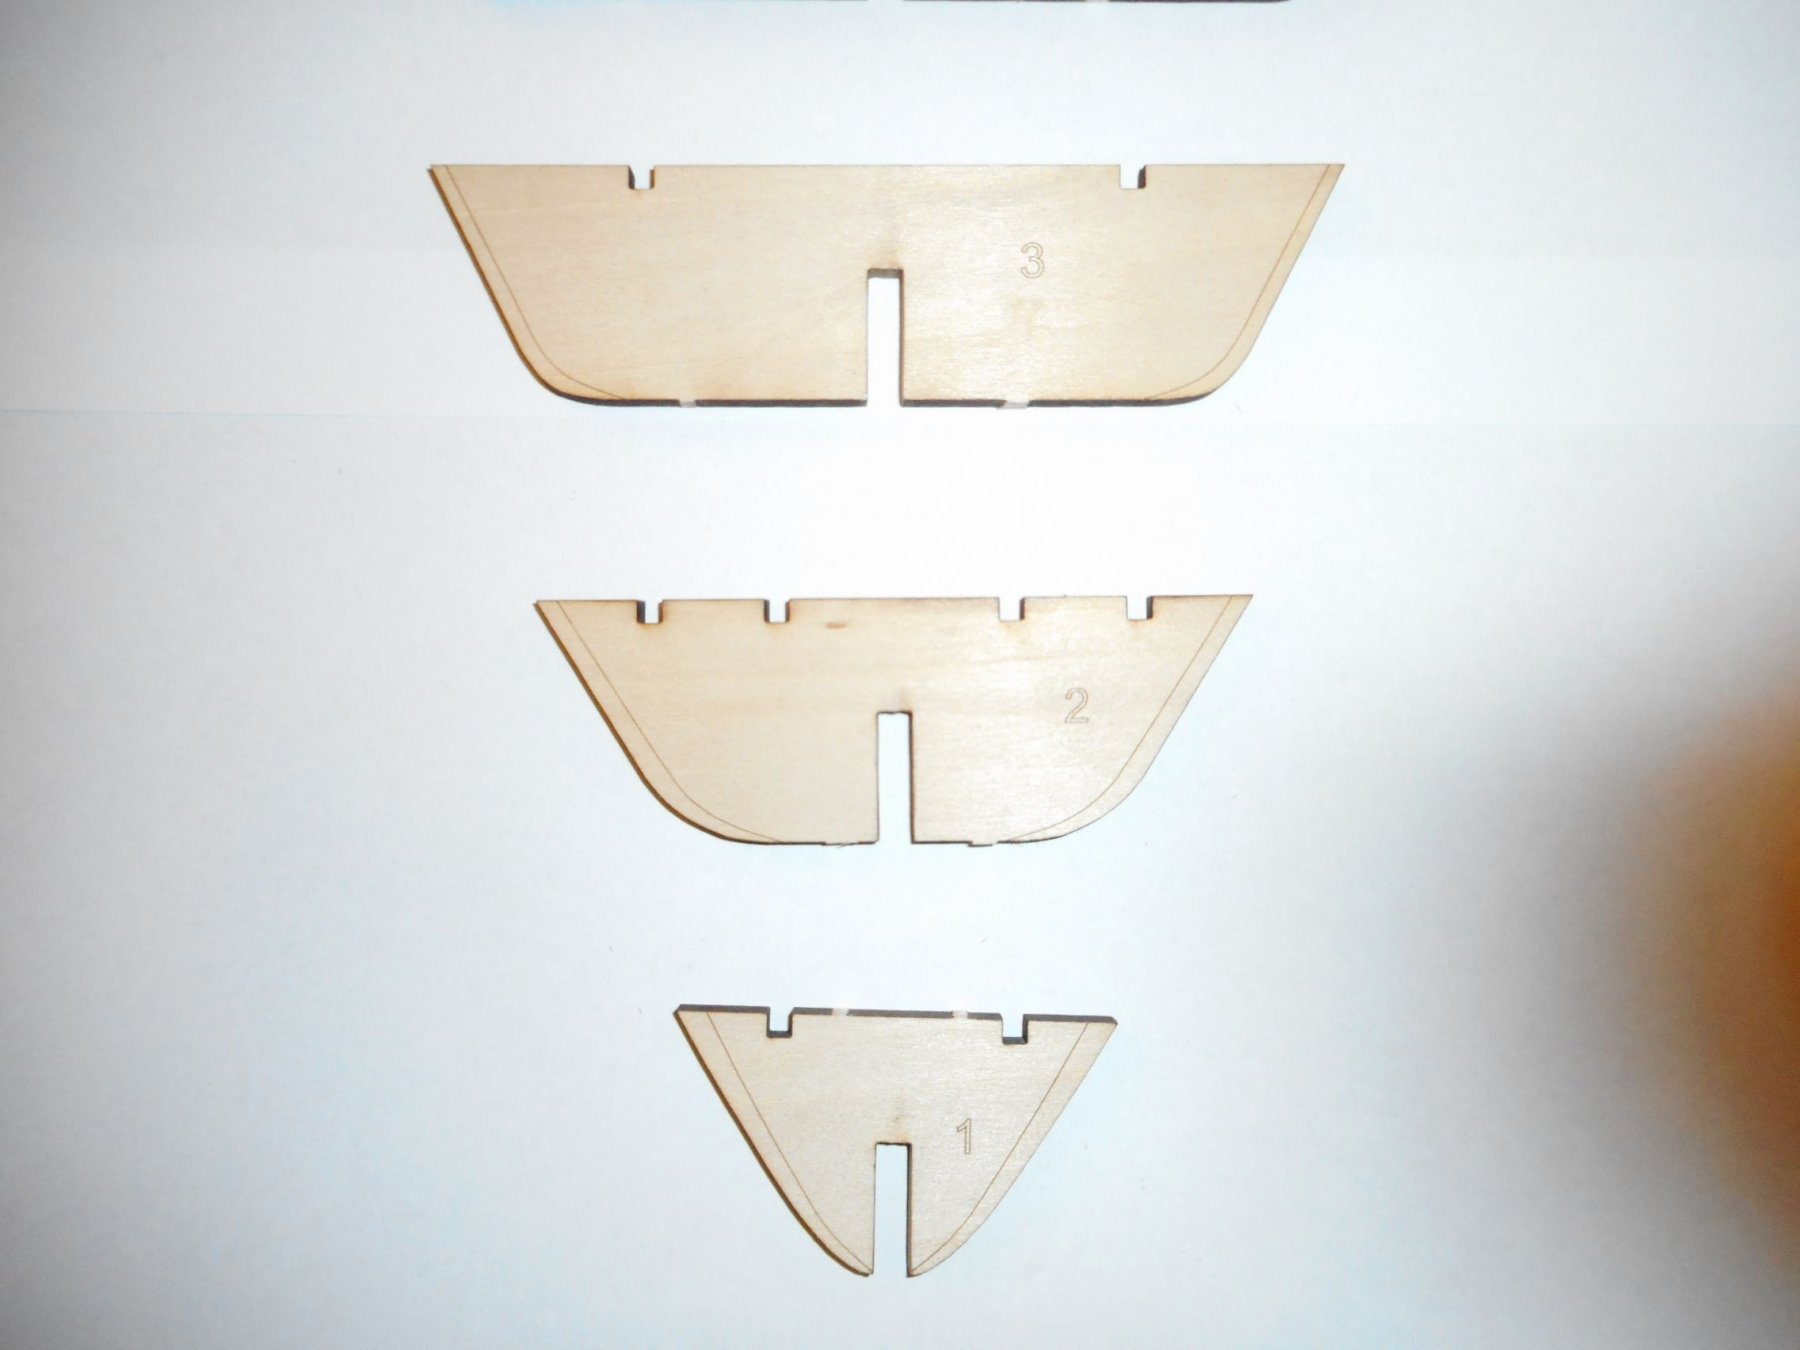
Hey Carl, yeah it is easily the most burnt I have ever come across. Its nothing more than annoying though. I just wanted to alert newer builders to the fact that you do need to remove some of it to get good adhesion to other parts. I wont need any wood slivers as I wont be sanding them down too much. Cheers Chris