Check out our new MSW Sponsor Innocraftsman
×


vossy
-
Posts
600 -
Joined
-
Last visited
Content Type
Profiles
Forums
Gallery
Events
Everything posted by vossy
-
 Love to see the Subs. Had a bit to do with them in the real world cheers Chris
- 229 replies
-
- 5
-

-
- trafalger class
- airfix
- (and 2 more)
-
your best bet, if you haven't looked there already, might be https://www.facebook.com/navalhsa/ I spent most of my time on the DE's hence my avatar of HMAS Torrens which was home for a few years. cheers chris
- 1,090 replies
-
- 5
-
-
- showcase models
- vendetta
- (and 2 more)
-
seriously, have you guys thought about opening a private chat log for all this banter? having to wade through 10 pages of "hanging from the rafters", "pulling up a pew", etc, and other non related comments to the build is a bit much I reckon. having served on the now gone DE's, I was really looking forward to following this build of one of our countries great vessels. but I fear it has now just passed into a more social chit/chat type log. anyway, more build/pics, less mindless banter I, and many others, say. of course I will probably be shot down in flames by certain admins for posting this, but, its supposed to be a build log, not a review of the days coffee cup get together. cheers chris
- 1,090 replies
-
- 1
-
-
- showcase models
- vendetta
- (and 2 more)
-
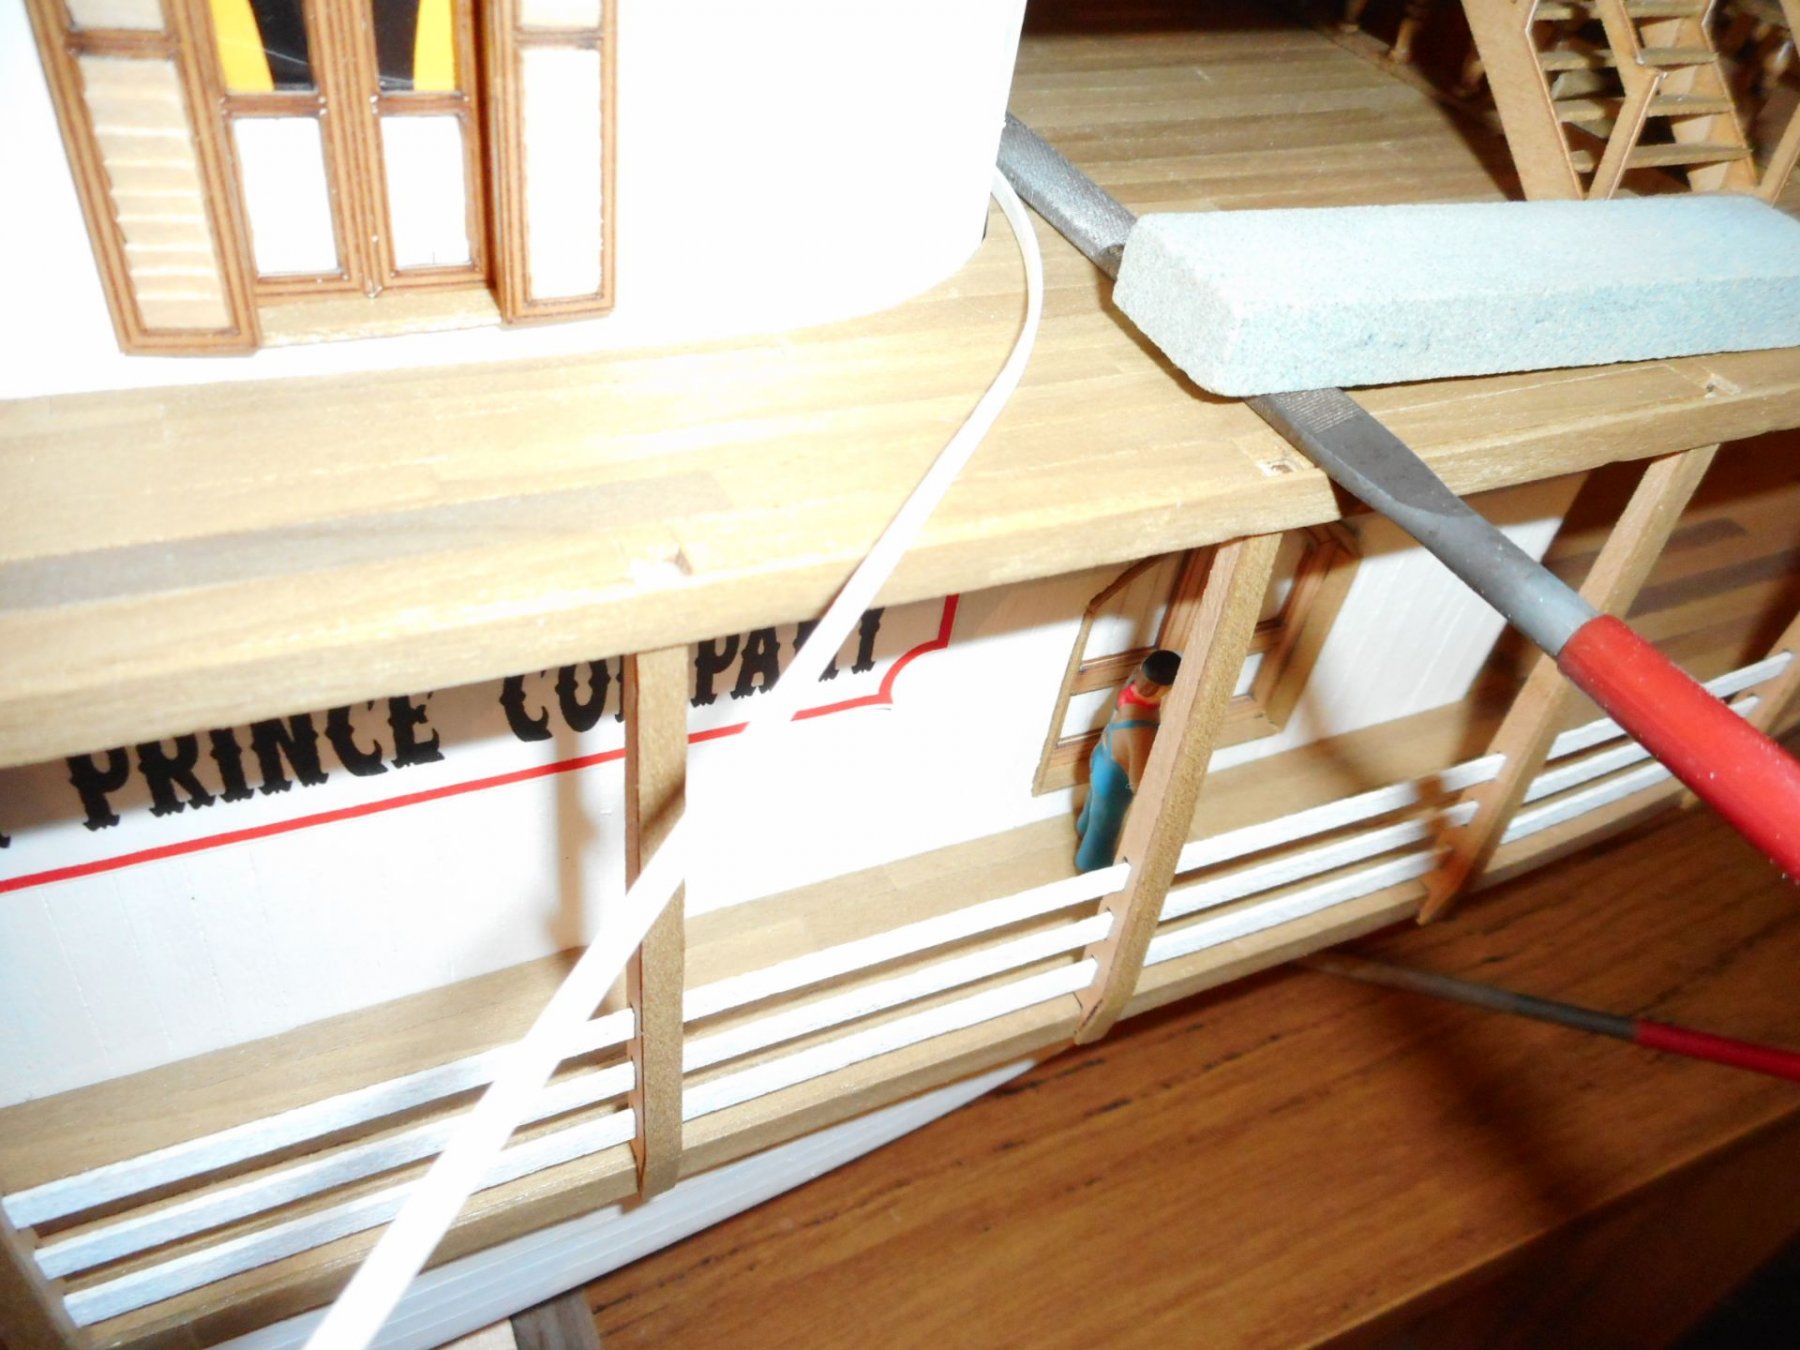
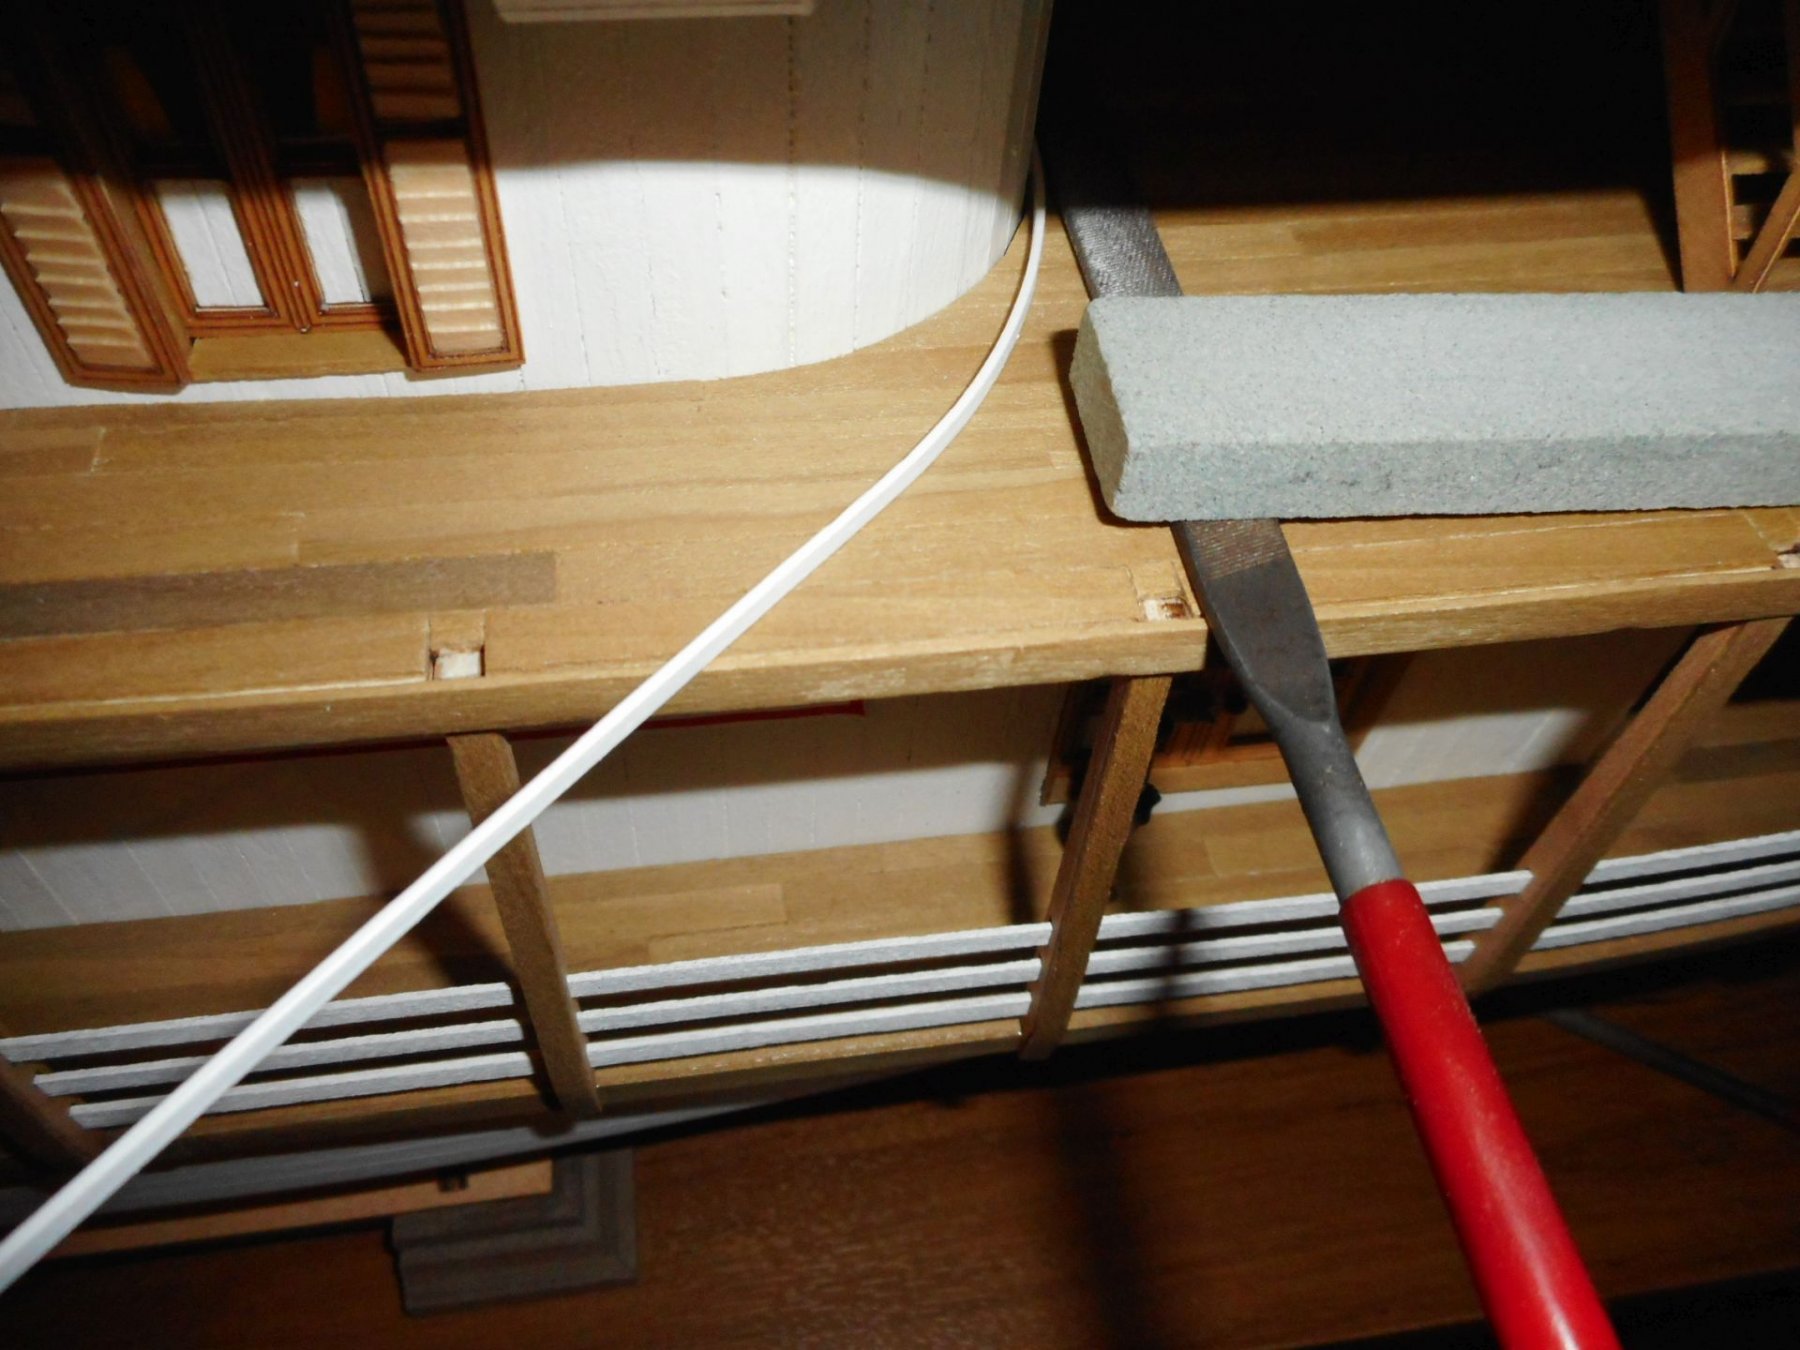
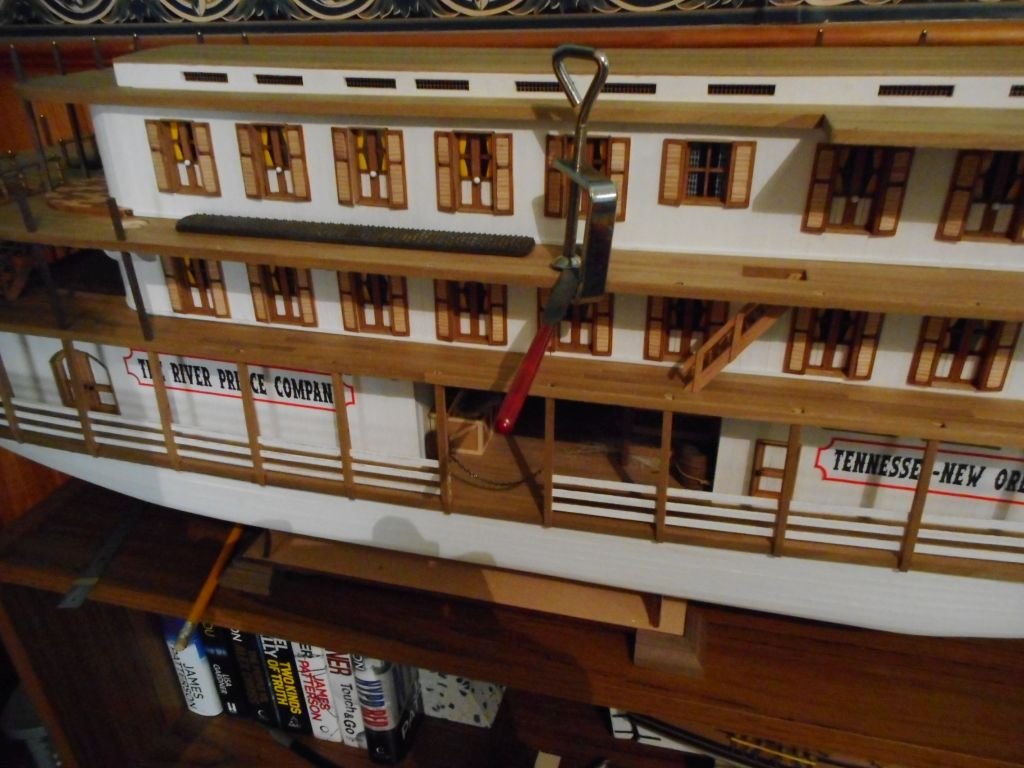
work continues on the port side posts and railings, plus some exterior skirting boards and my innovative way of getting them to stick in place. cheers chris
-
looks really great david. lots of fine detail work with all the blocks and rigging. at least the riverboats have minimal rigging to get around. cheers chris
- 126 replies
-
- 1
-
-
- fly
- victory models
- (and 1 more)
-
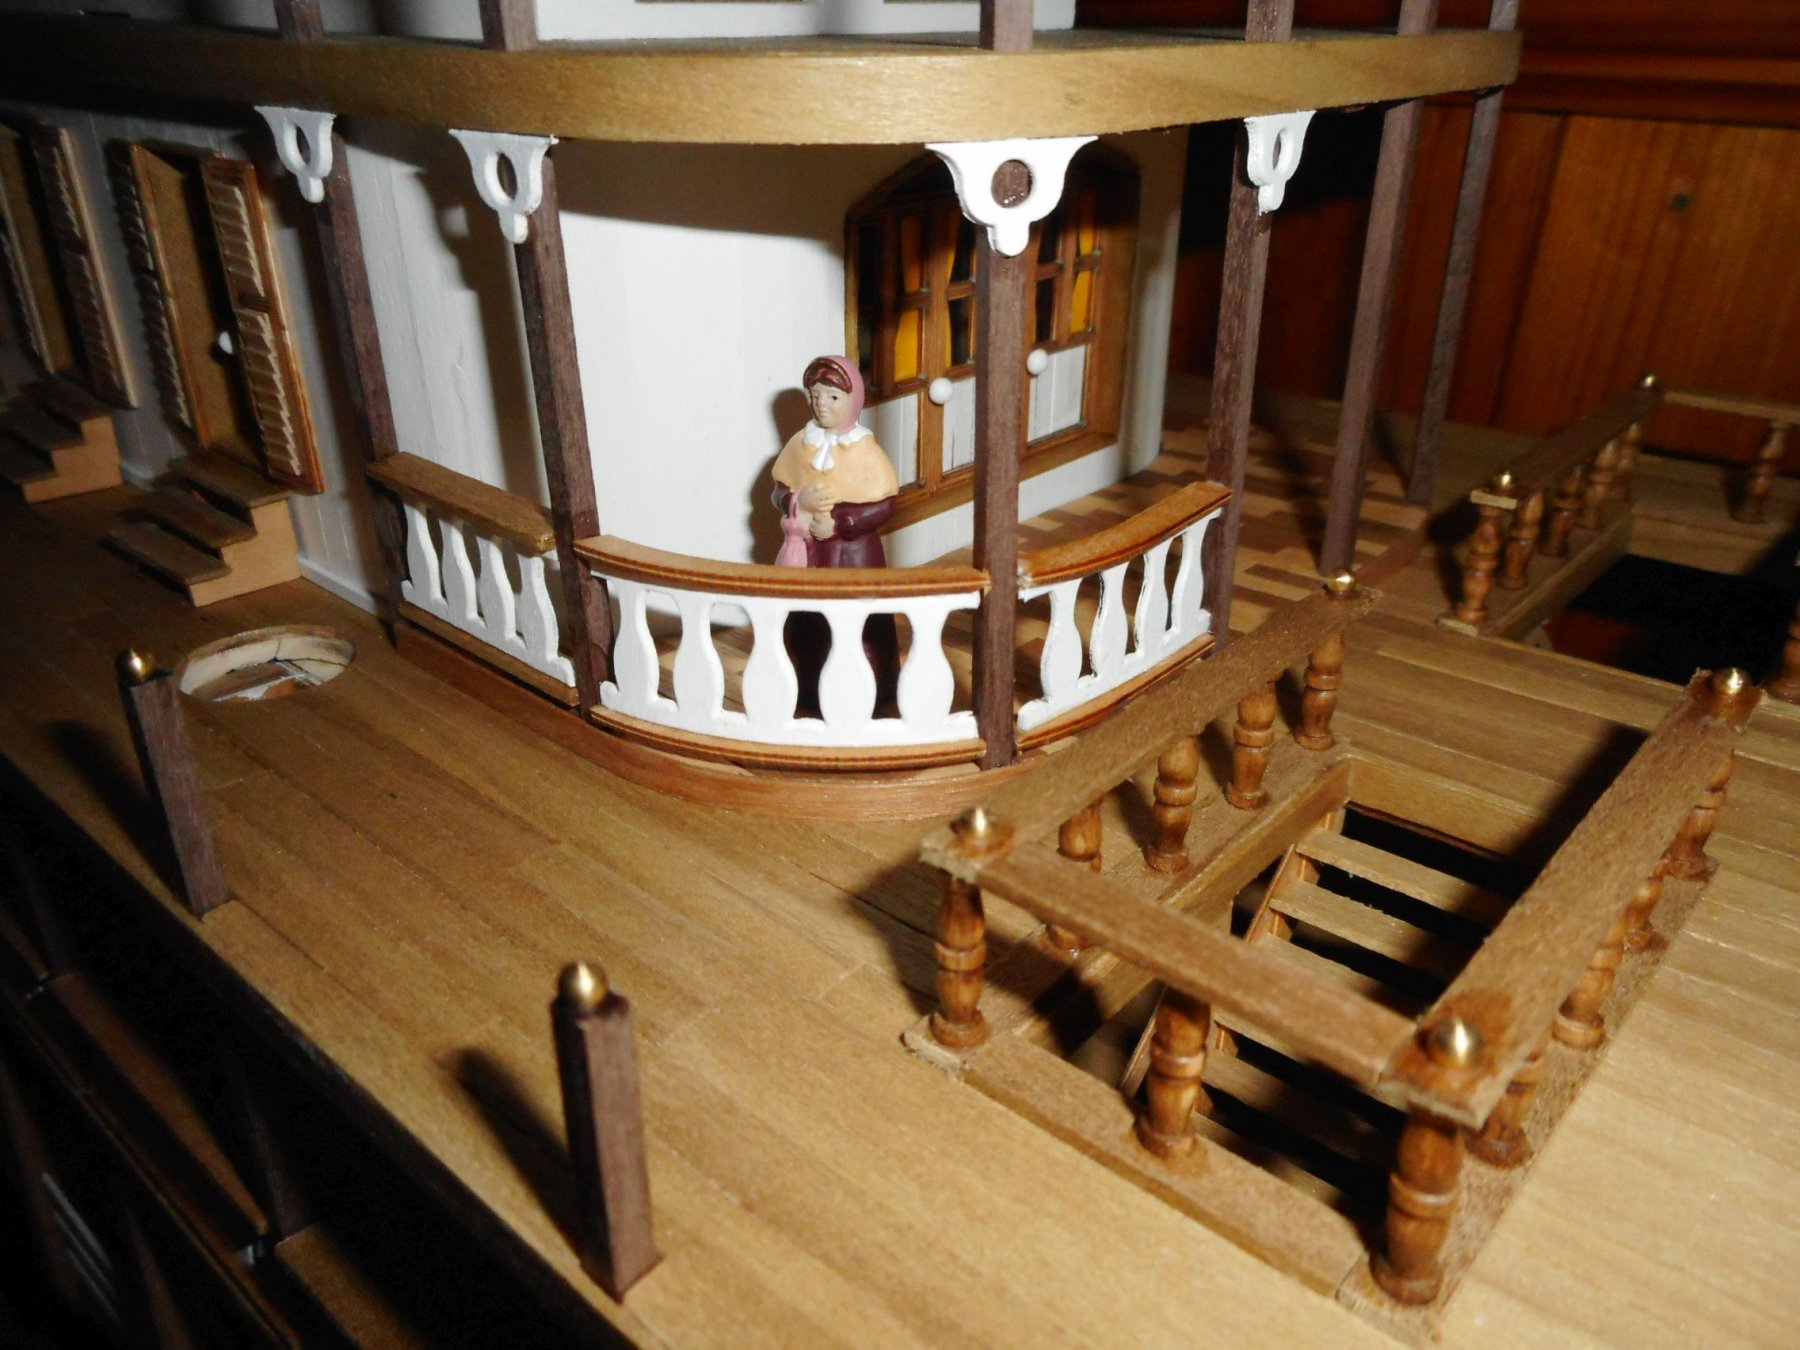
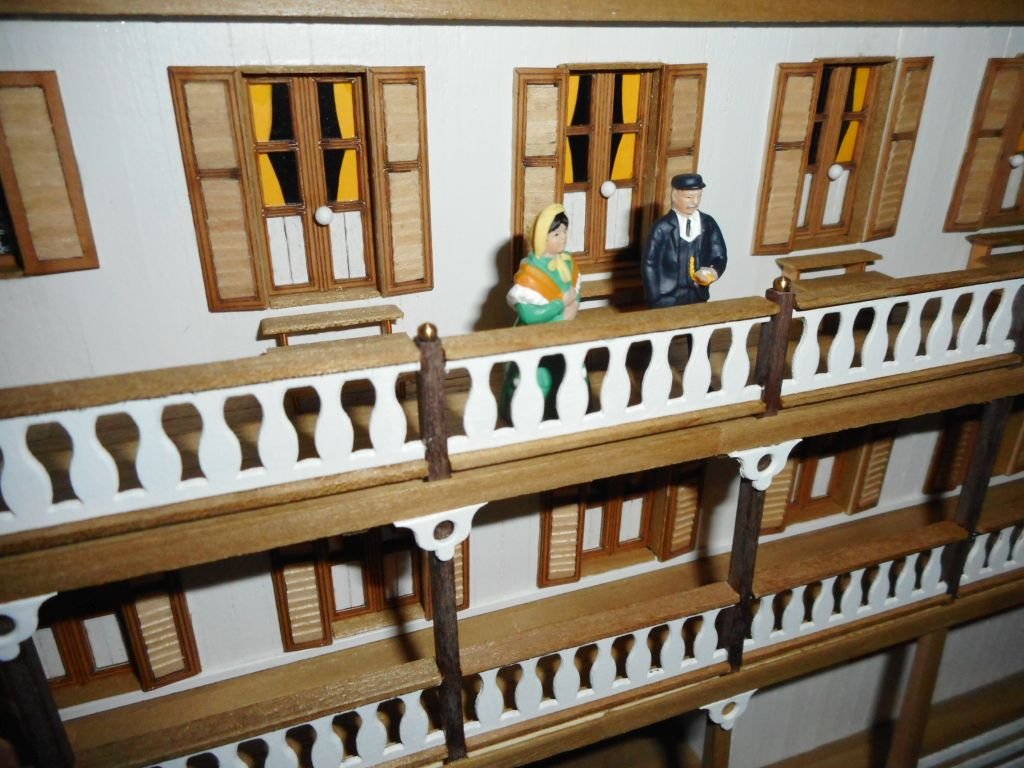
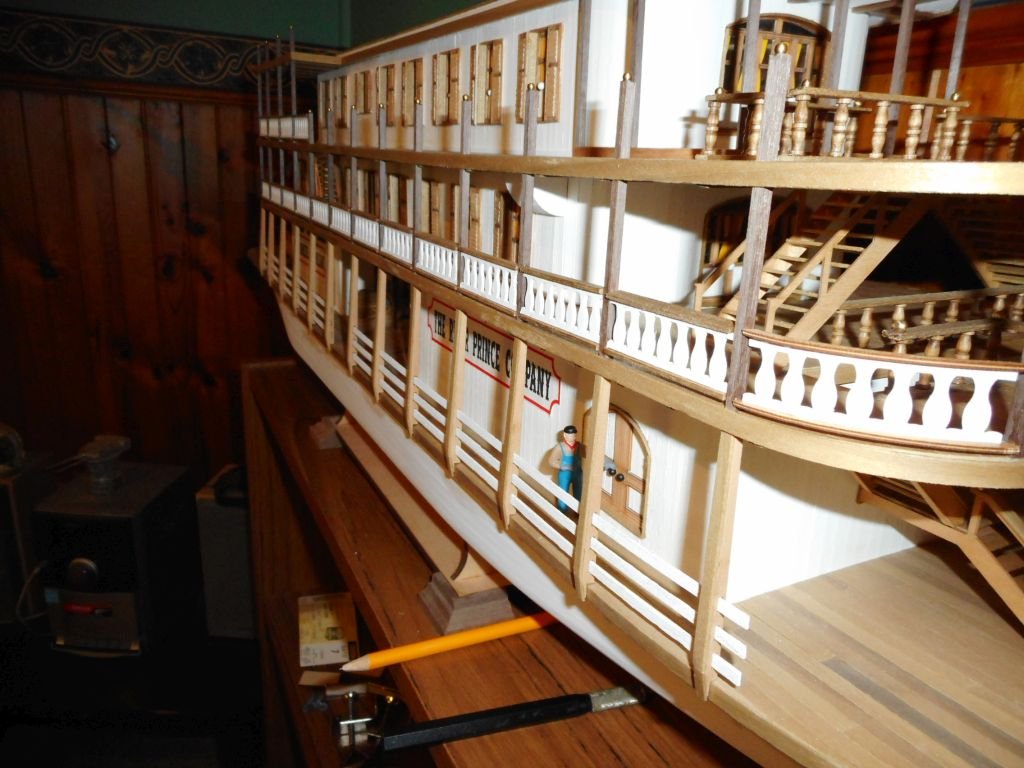
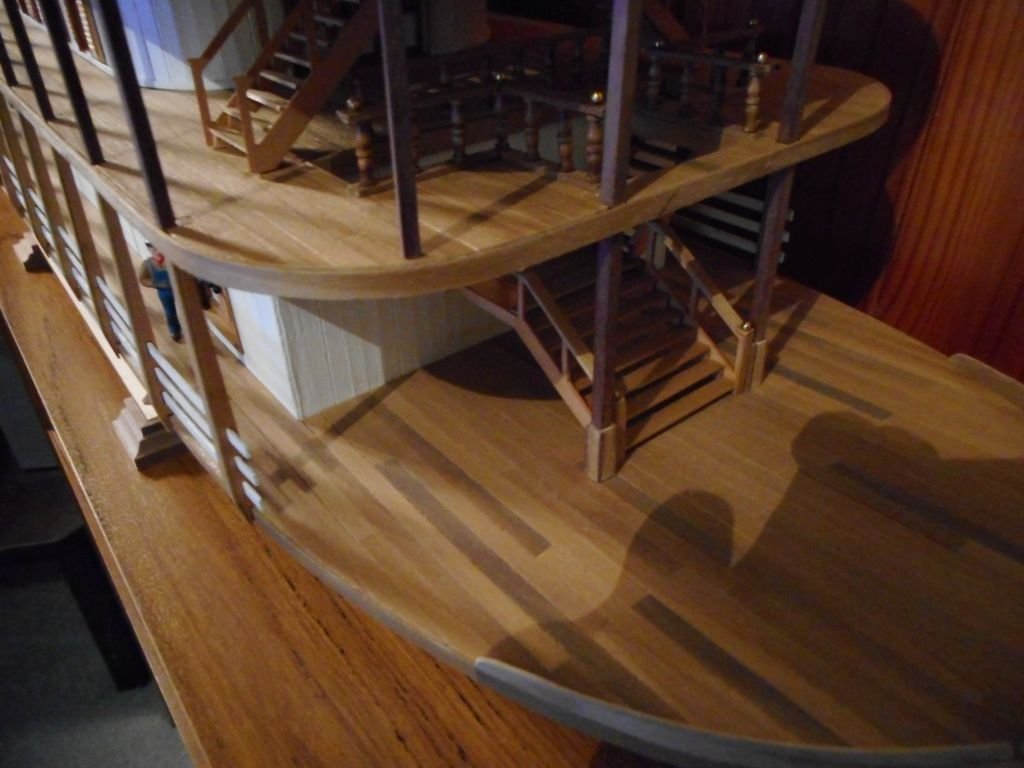
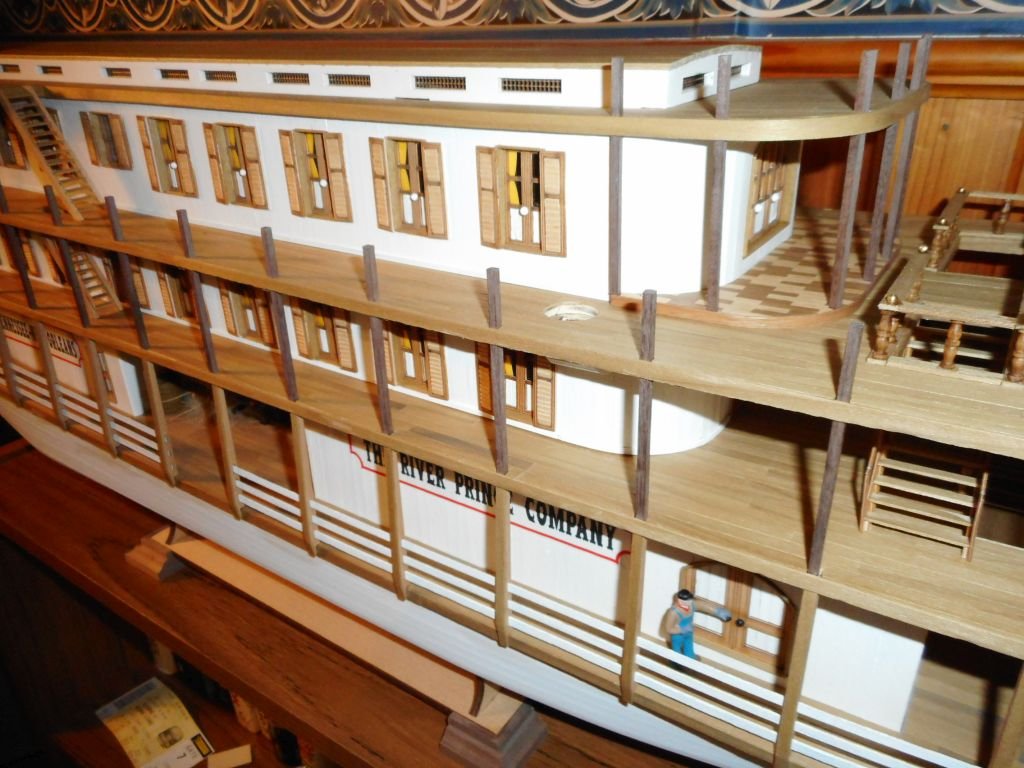
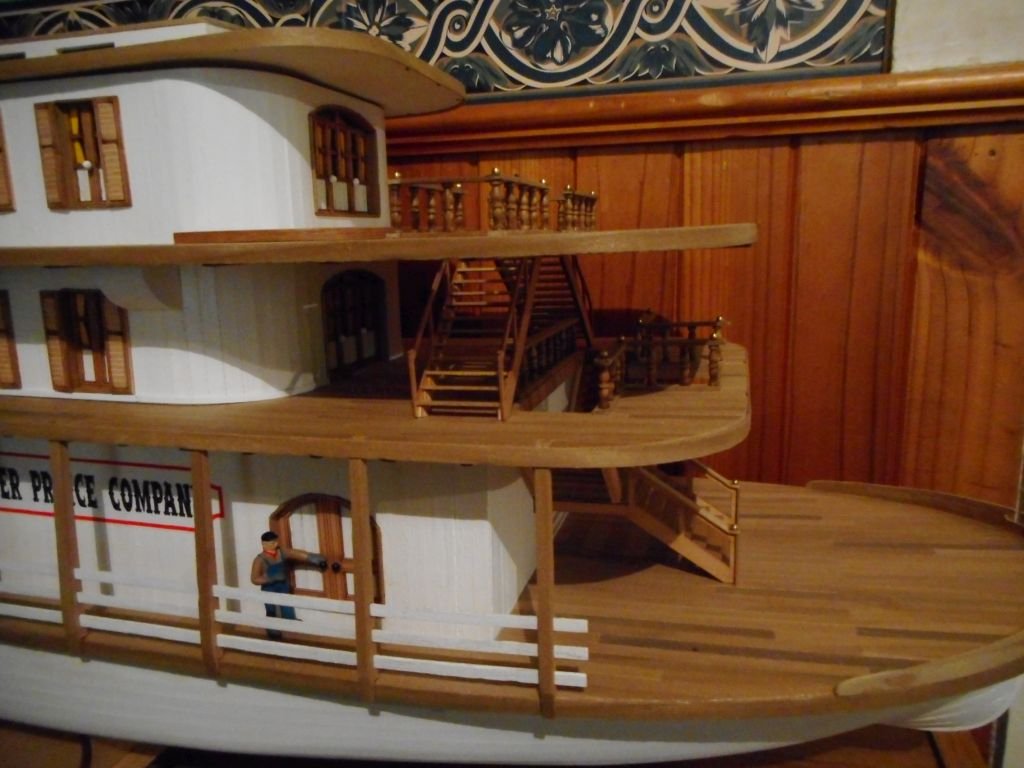
a few passengers strolling the uppers. and a lonely widow perhaps??? still have a lot of glue stains to clean up etc. its marvellous how high definition photography can show up the smallest defects! cheers chris

-
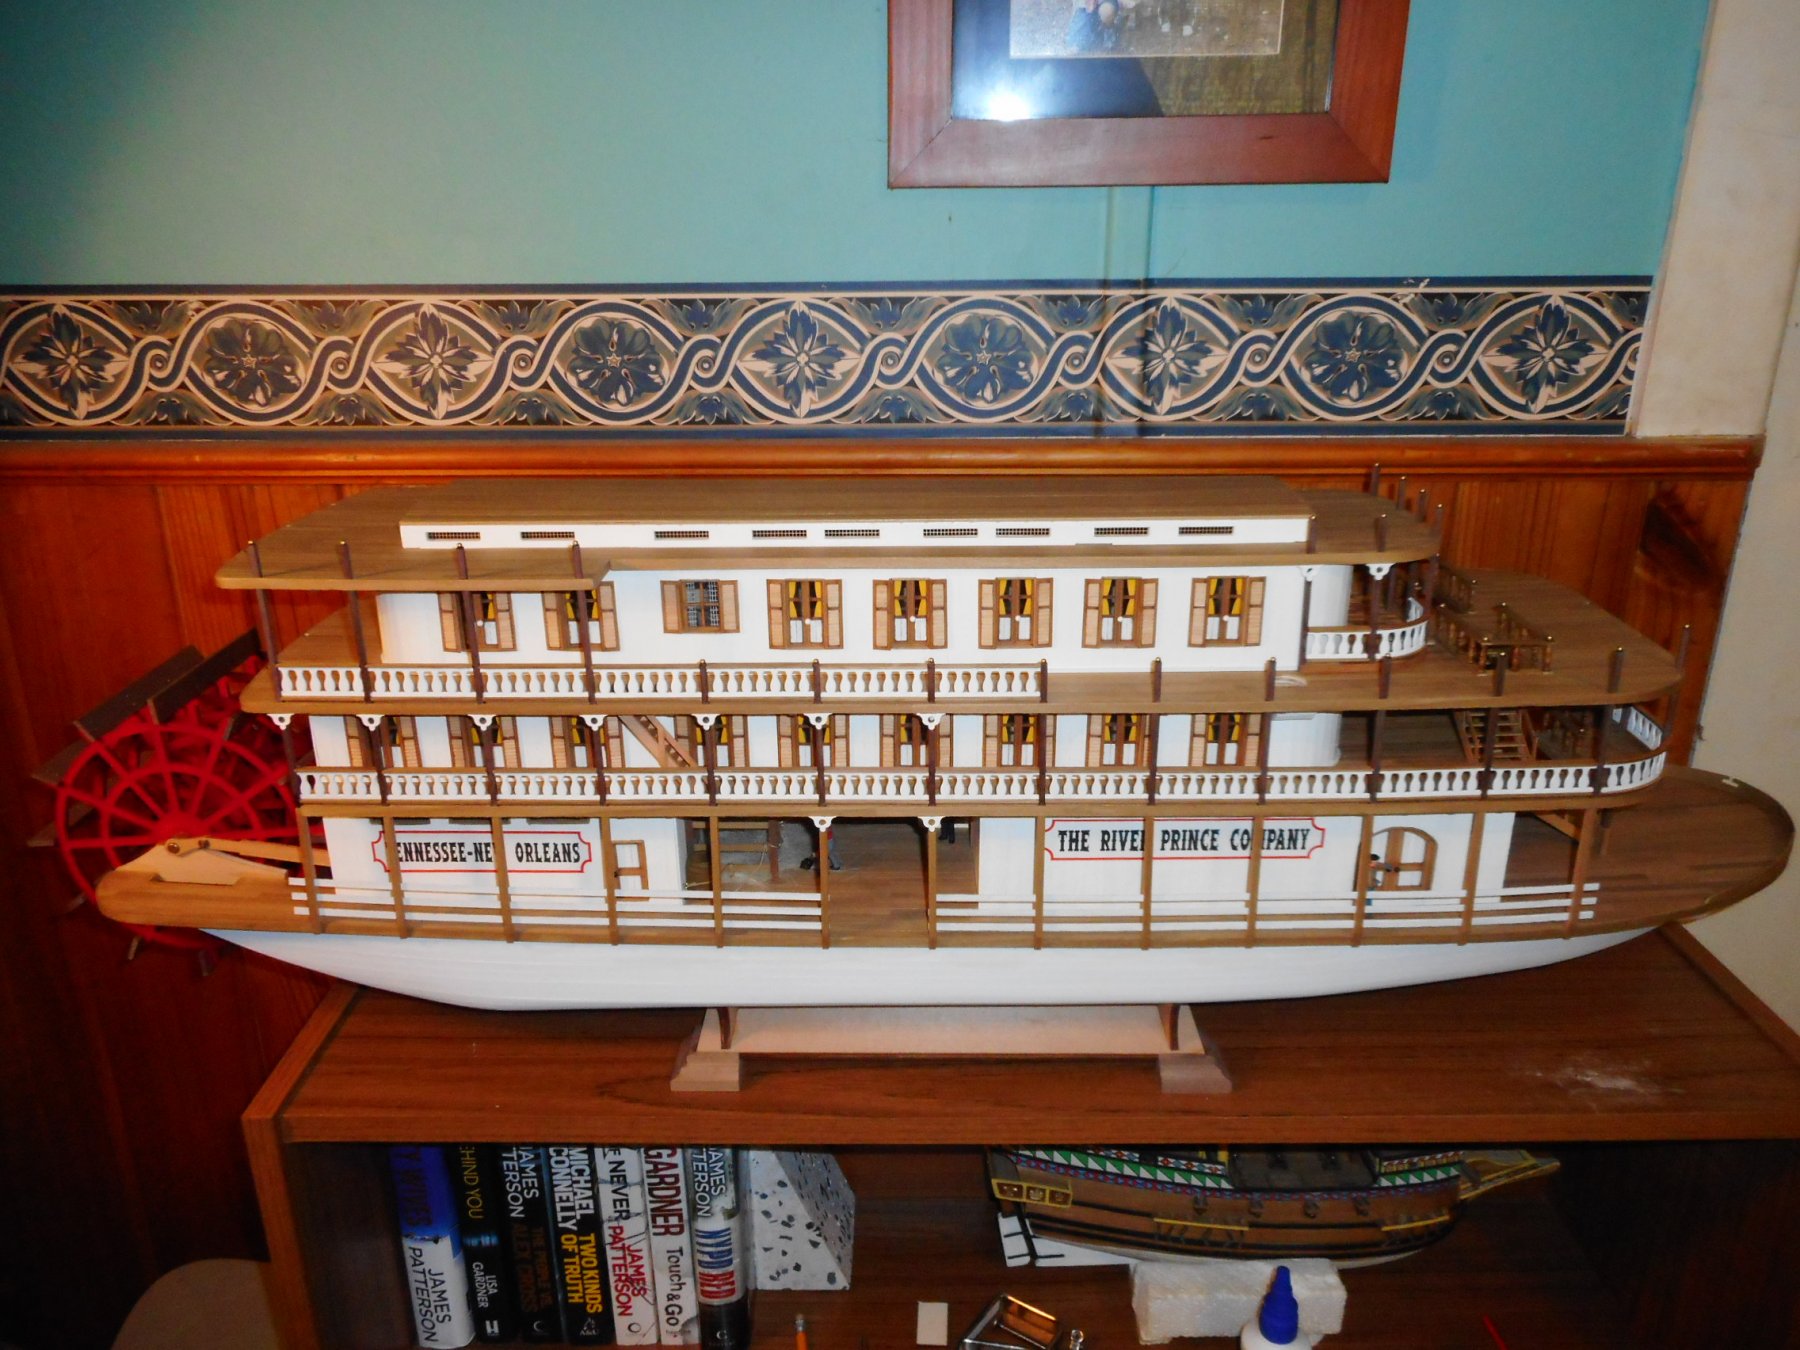
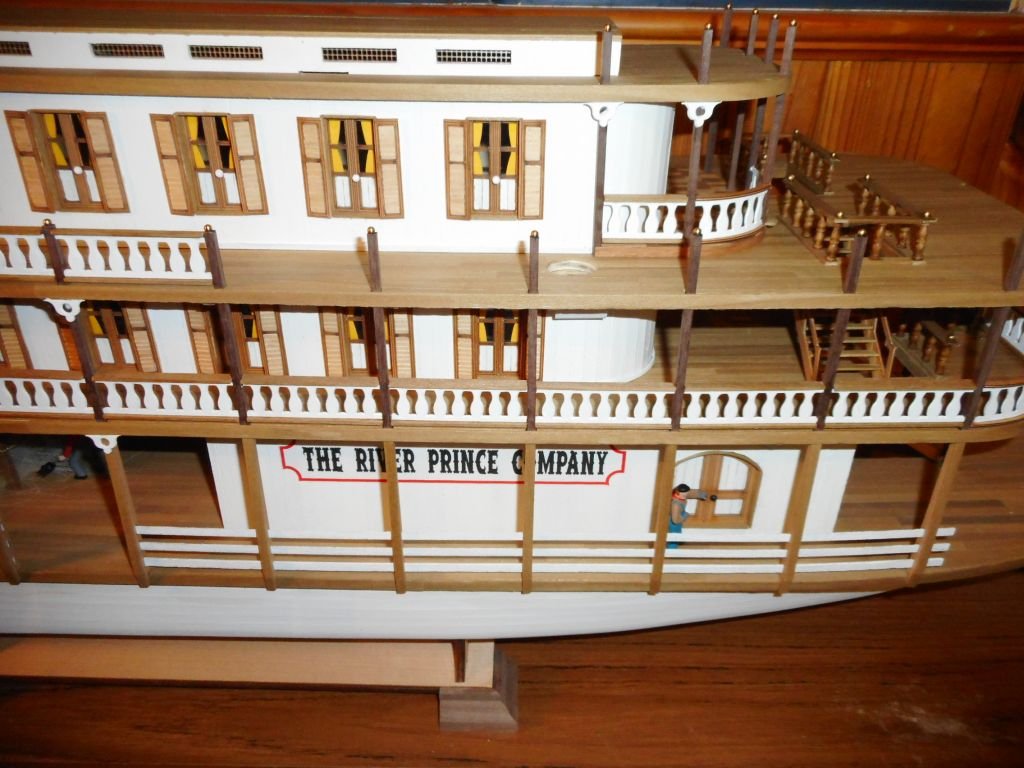
ok, so some more shots which hopefully portray the posts in their real (dark) color. plus a full length shot that David asked for. cheers chris

-
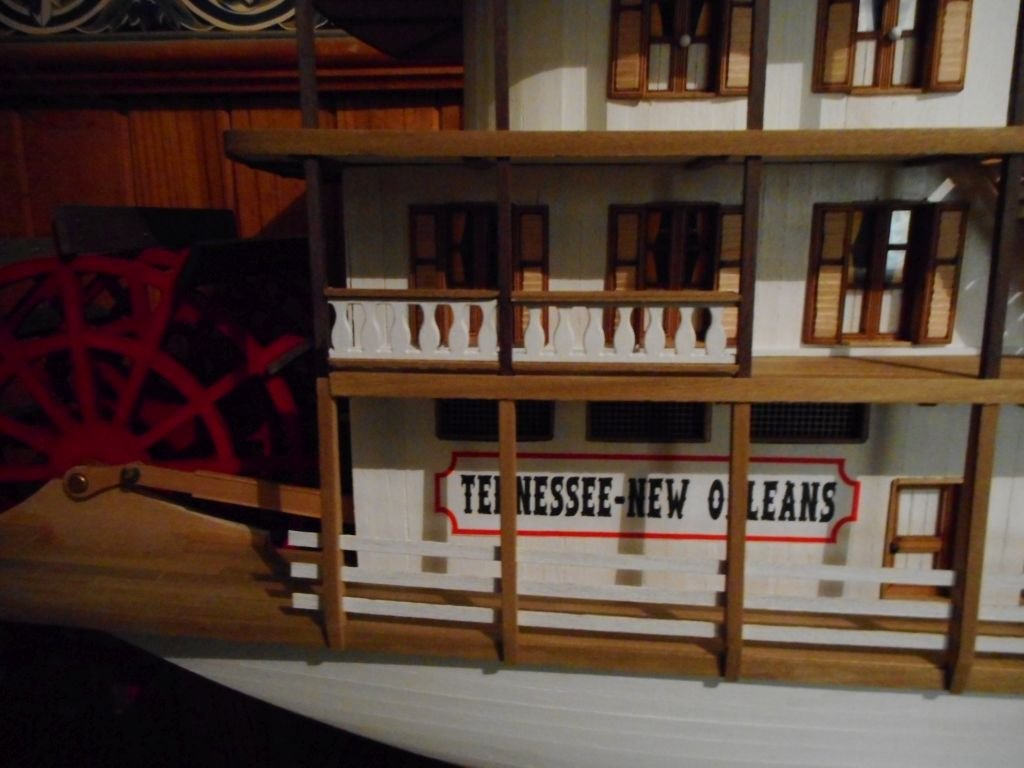
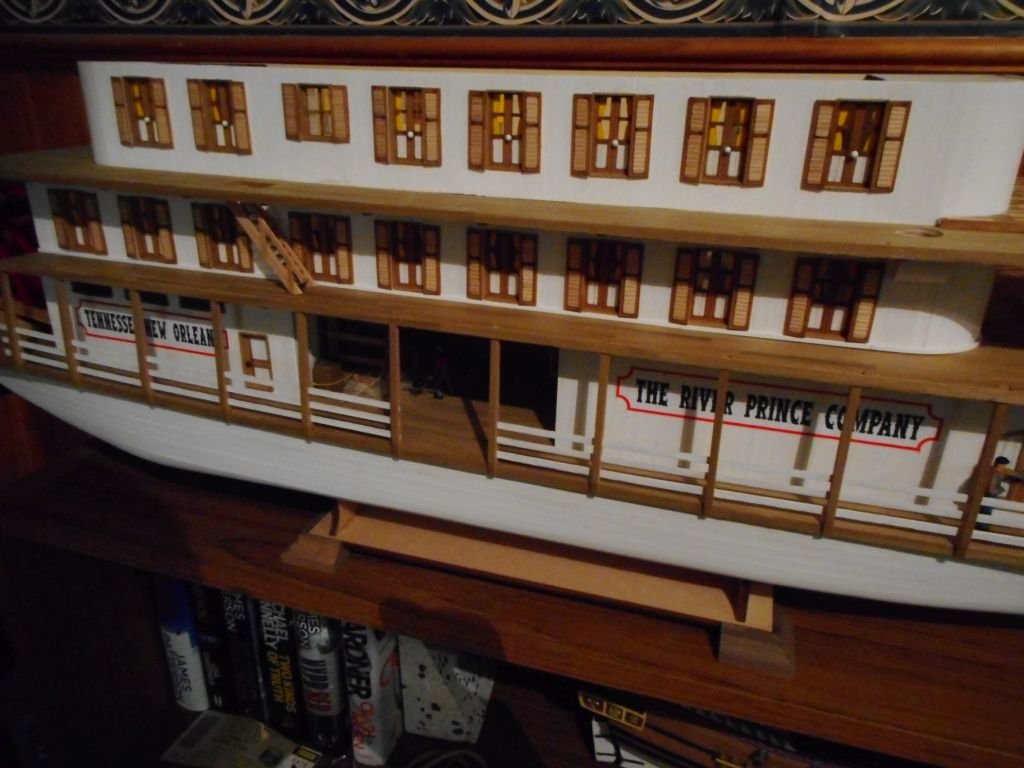
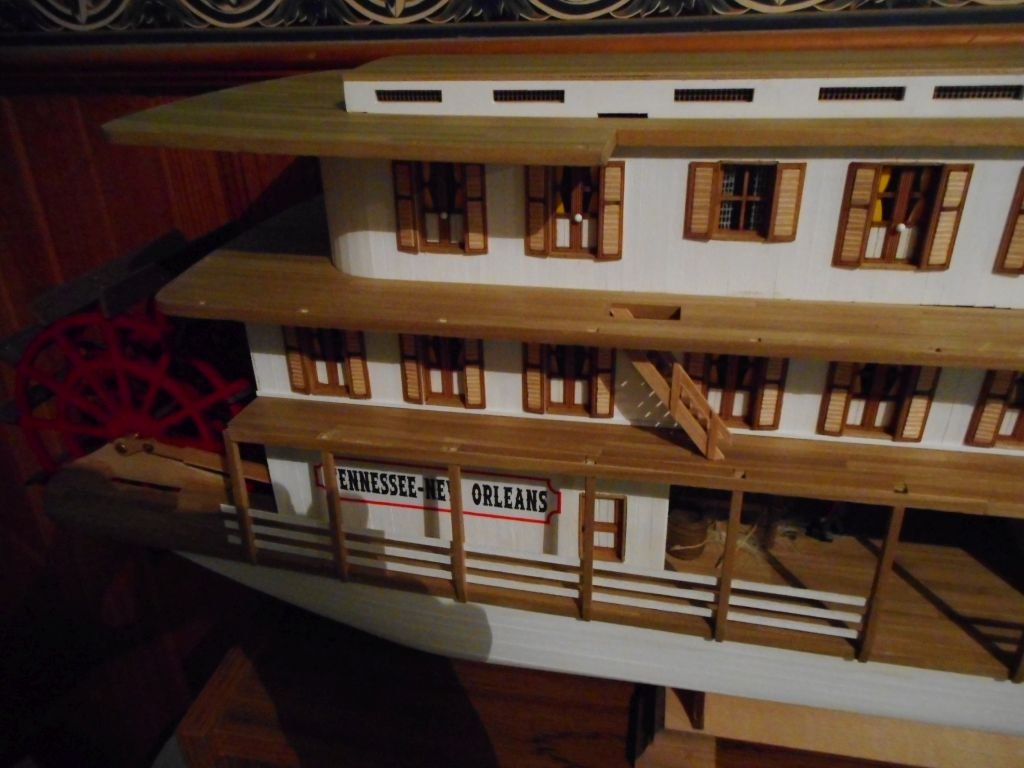
hey mike, they are not painted at all. its just the light. they are the same dark color as the pics above them. will try to get better pics today. the only things painted on this boat are the stark white area's and the red paddlewheel. everything else is natural wood with coats of acrylic matt clear on them for protection and to enhance the natural wood grain and color. I will admit though, they do look a lot lighter in those pics. cheers chris
-
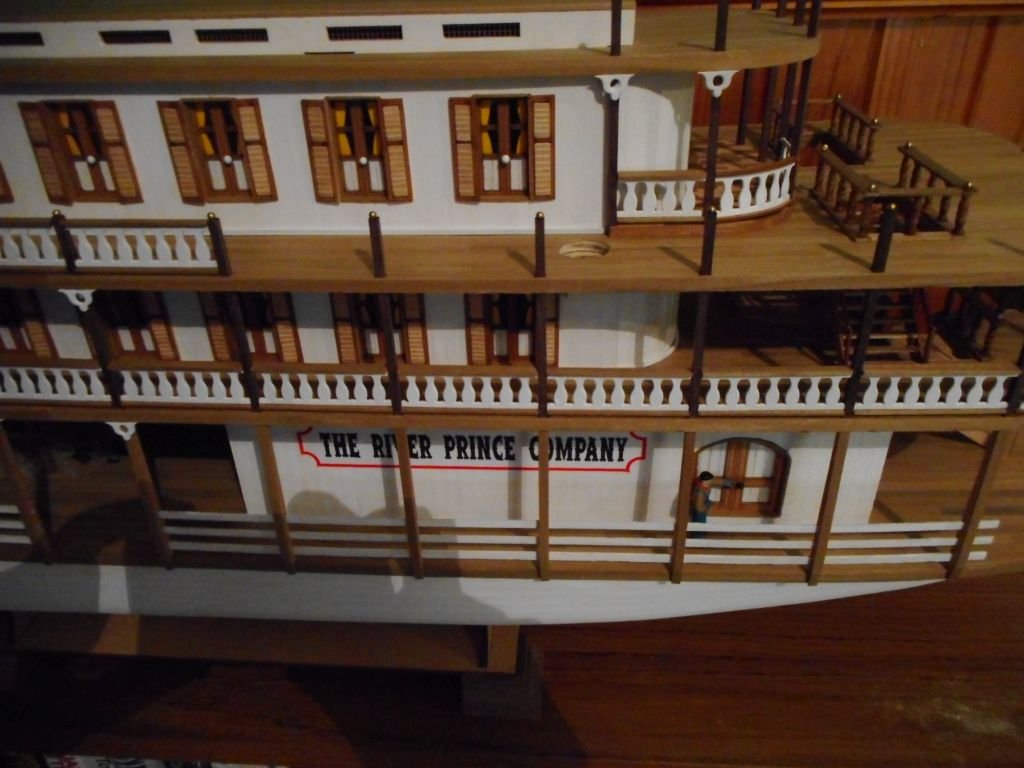
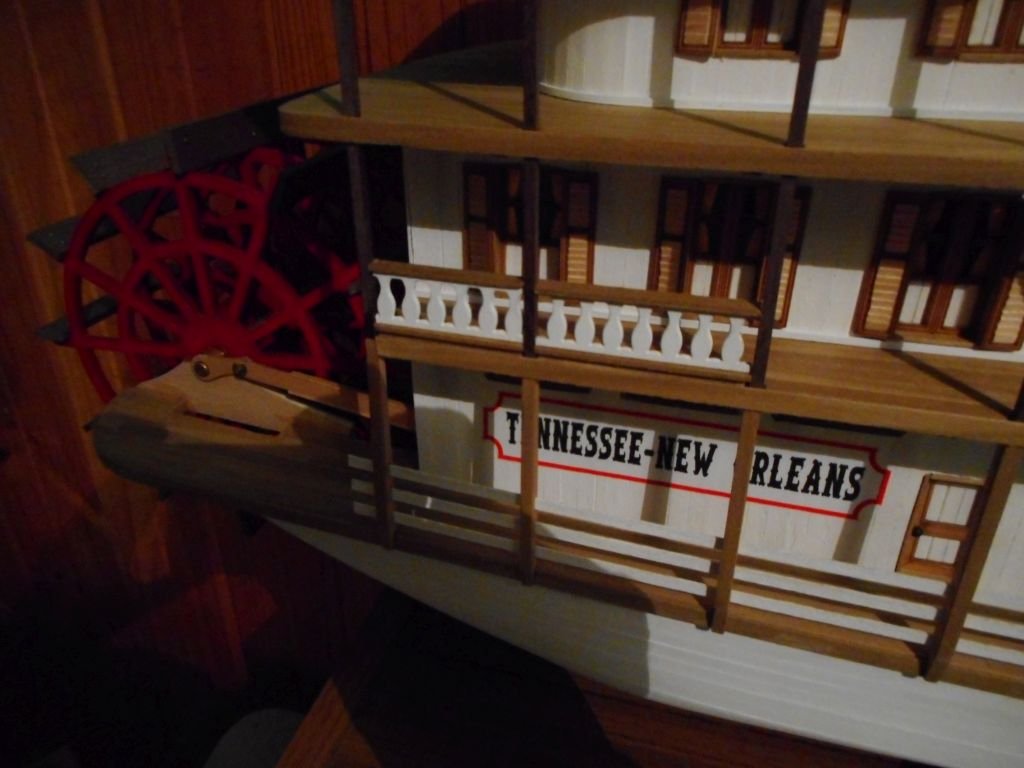
really like this boat and your build of her. regarding the hull color, i'm not too sure what you mean but why not get rid of the black altogether and paint the entire hull white, which was extremely common practice at the time. a lot of old drawings of the vessel depict her with a white hull. she certainly appears in literature and art with a predominately white hull as opposed to one having a black one. cheers chris
- 54 replies
-
- 1
-
-
- robert e lee
- amati
- (and 1 more)
-
Continuing on with the fancy railings. Doing other stuff behind the scenes on the pilot house and smoke stacks. Cheers Chris

-
You've been busy! Looks really great David. Love the red color throughout. You going to rig the guns? Cheers Chris
- 126 replies
-
- 3
-
-
- fly
- victory models
- (and 1 more)
-
Hey Eric, yes I got the Chaperon for Christmas last year so she is next up. As I said, she sits in the box waiting for the go ahead. So far all I have done is open the box, check the contents and look through the instructions. I wont start her, or a log, until Mississippi is finished or at least up to the final rigging stage. Cheers Chris
-
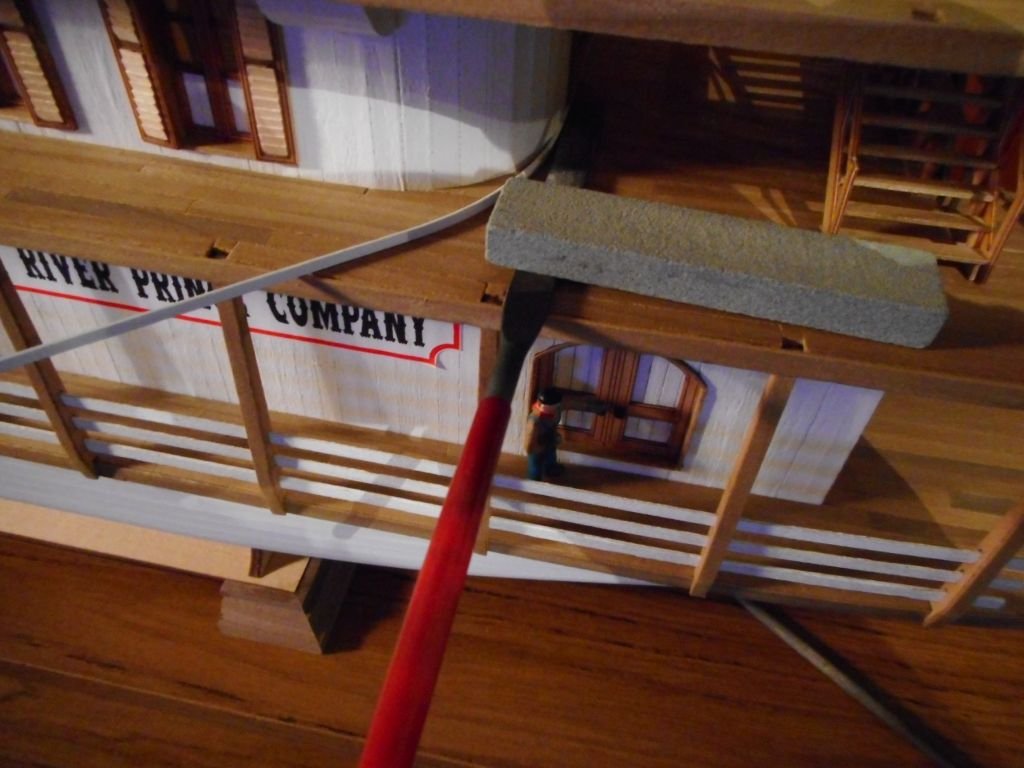
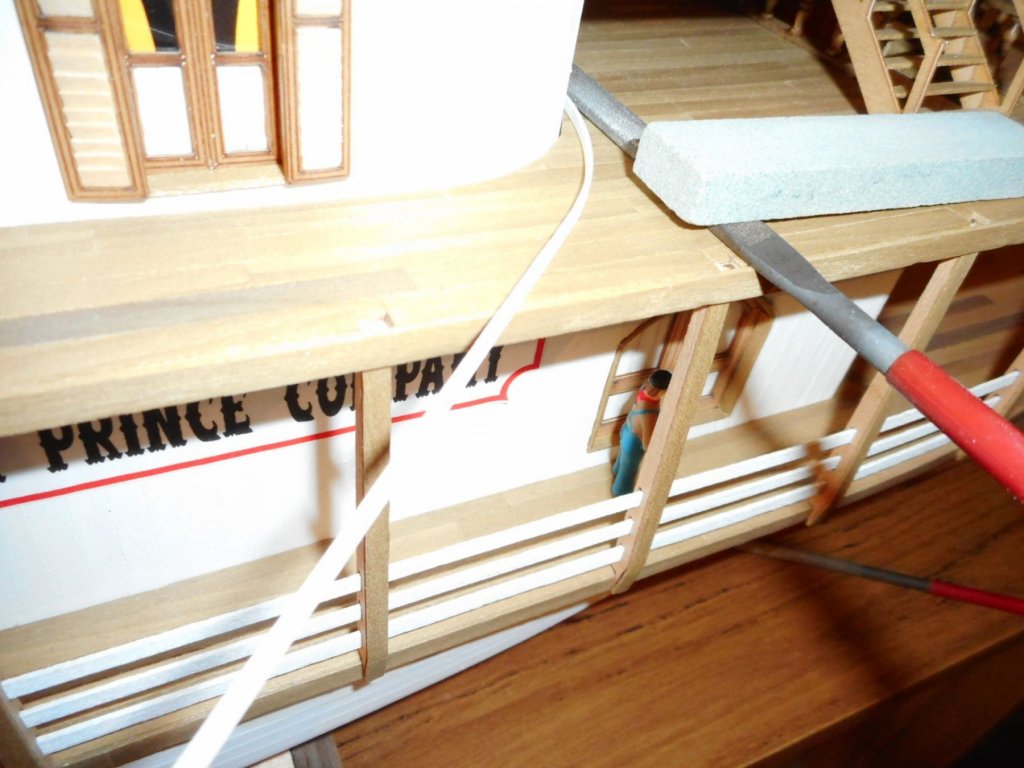
I am just interested to get a gauge of usage of power tools over hand tools, (or vice versa), when people build a wooden kit model. I might well be wrong, but I would envisage a far greater use of power tools when building a scratch model as opposed to a kit. For me, I have no space, tools, or knowhow to build a vessel from scratch so I stick to kits only, albeit with a little bit of scratch enhancement when I can manage it. In building my kits, the only power tools I ever use, in fact the only ones I own, are a soldering iron for plank bending, and very occasionally, a dremel for sanding. Mostly I find myself using hand saws, files, cutters etc. Now I am pretty happy with the end product I achieve with these tools, but looking at some of the truly majestic builds on this site and the internet in general, I wonder how many of these results are achieved via only/mainly hand tools? a mixture of both, with a greater emphasis on using which? And which power or hand tool couldn't you do without to complete a specific task? Cheers Chris
-
it is one of the things I really like about them I must say, and although I know this particular boat is only a somewhat fancy representation of a grand old lady, I do like all the trimmings she comes with. bit like decorating the tree at Christmas! having said that, I am itching to get stuck into the Chaperon which has been sitting patiently in her box since last Christmas. that is fortunate though, as whilst doing the Mississippi I have been ruminating over what color to do the deck on her??? still tossing up between a red one like Kurt's version. or a lighter stained one. cheers chris
-
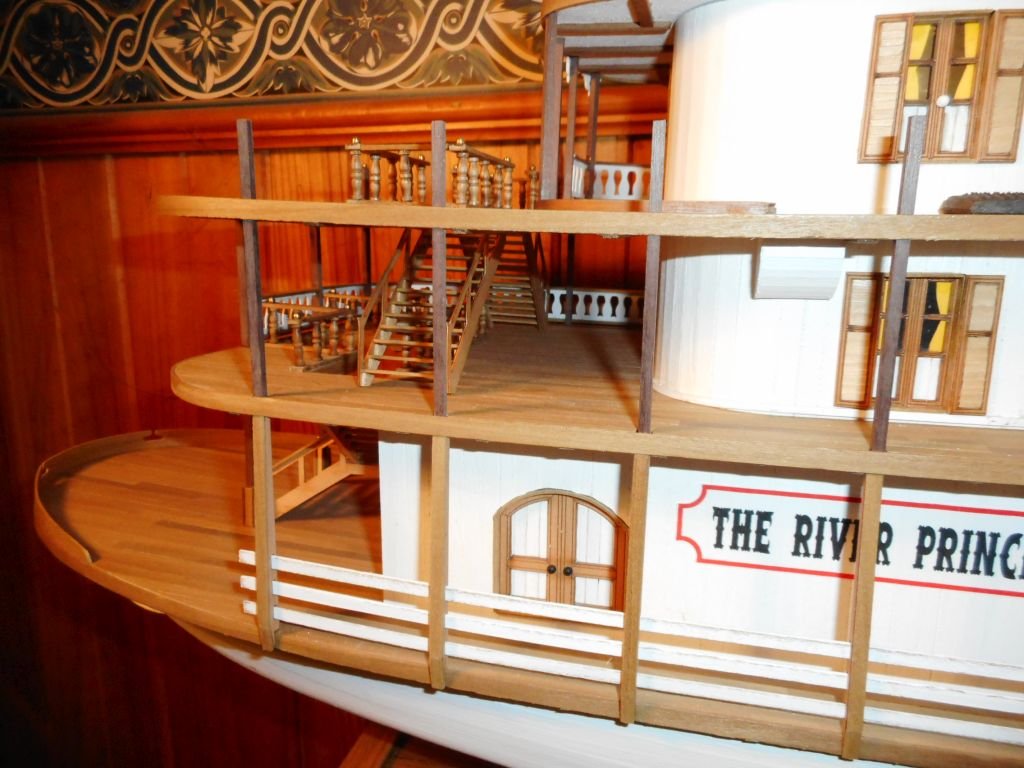
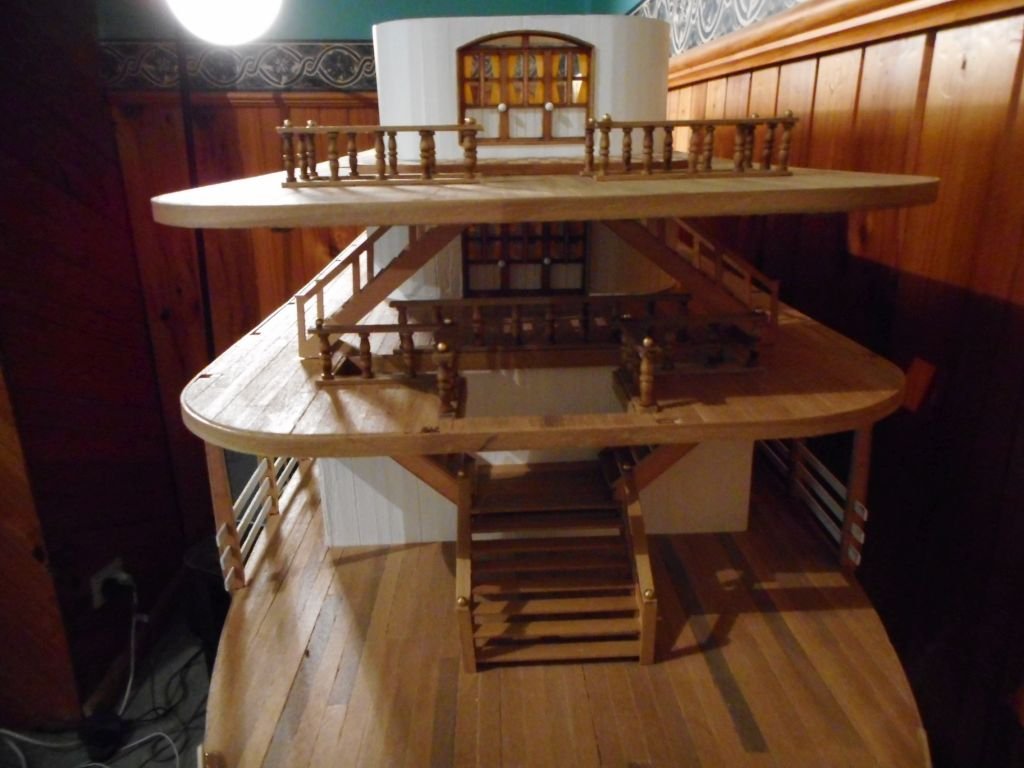
finally starting on the fancy railings. cheers chris
-
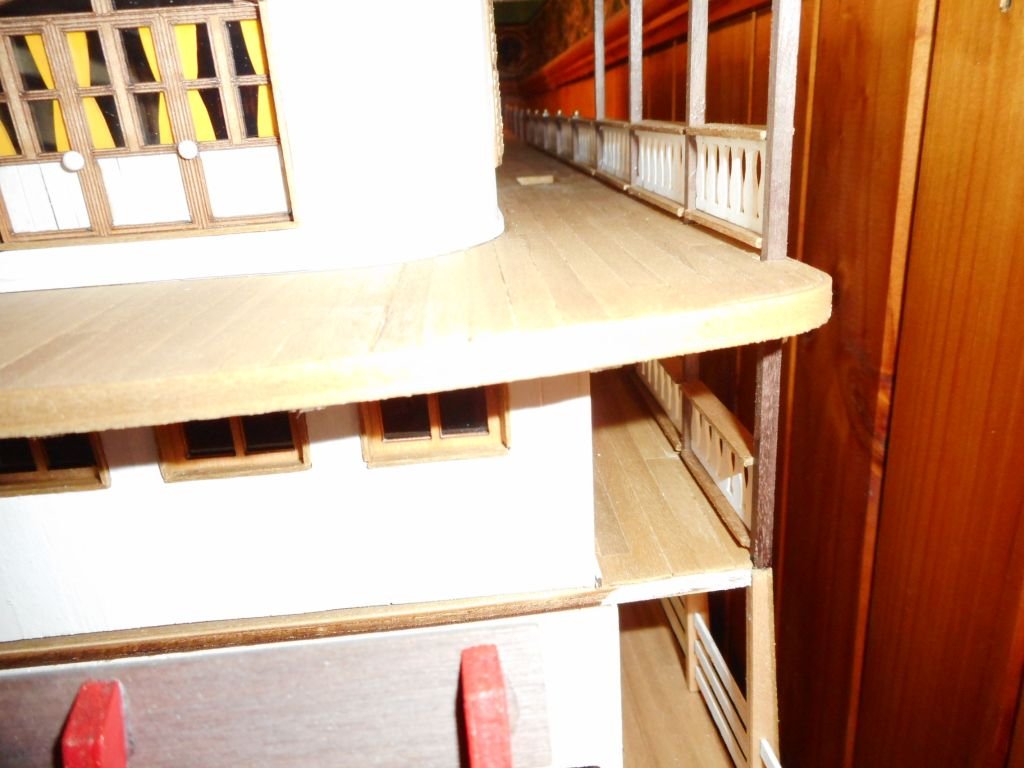
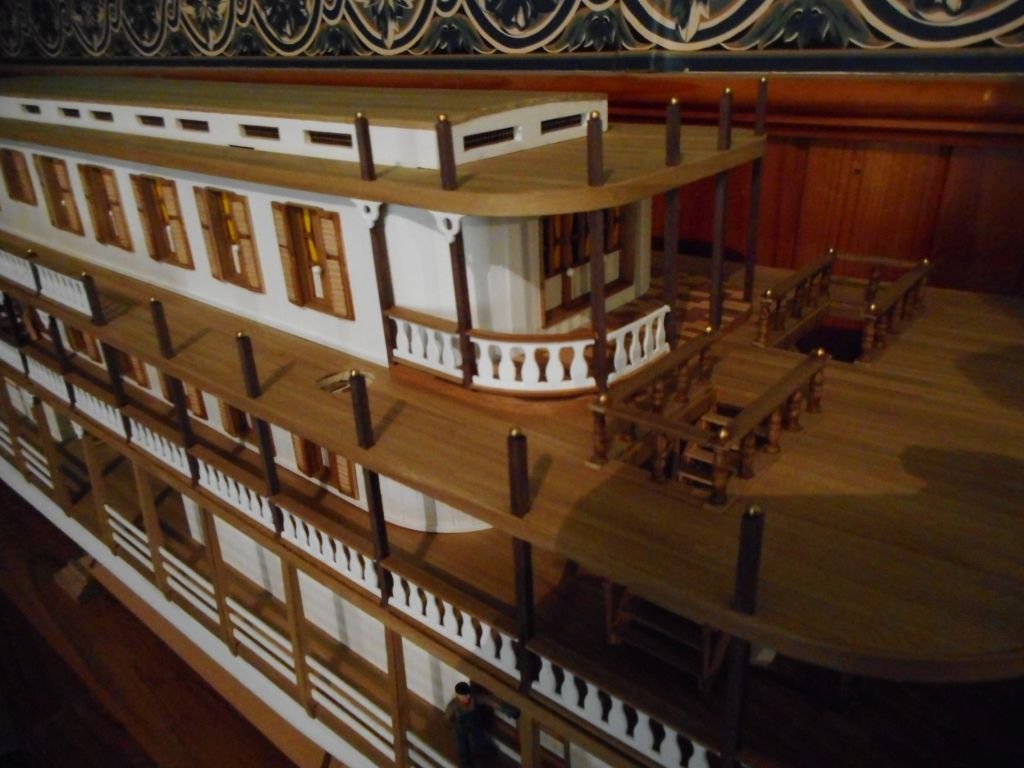
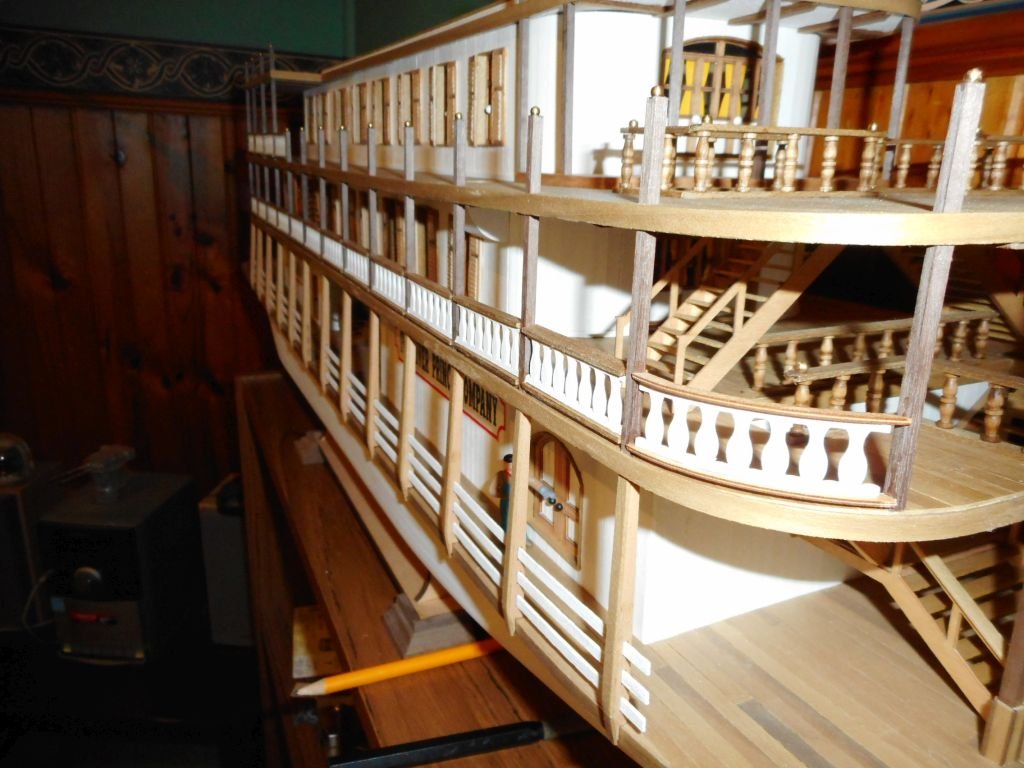
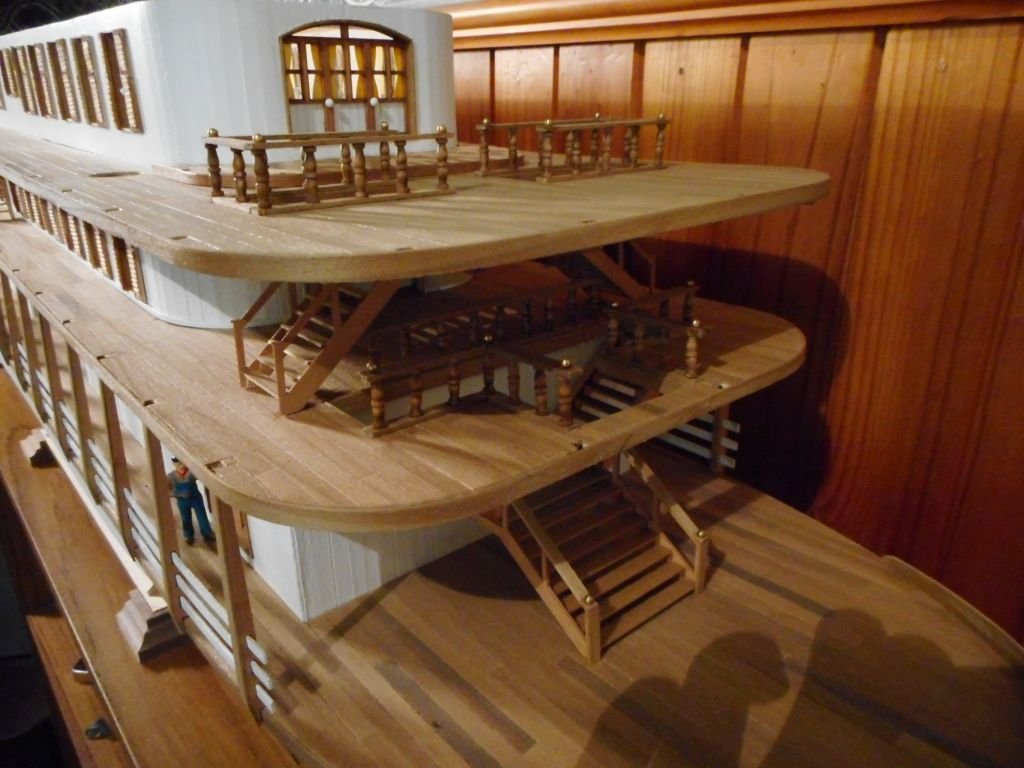
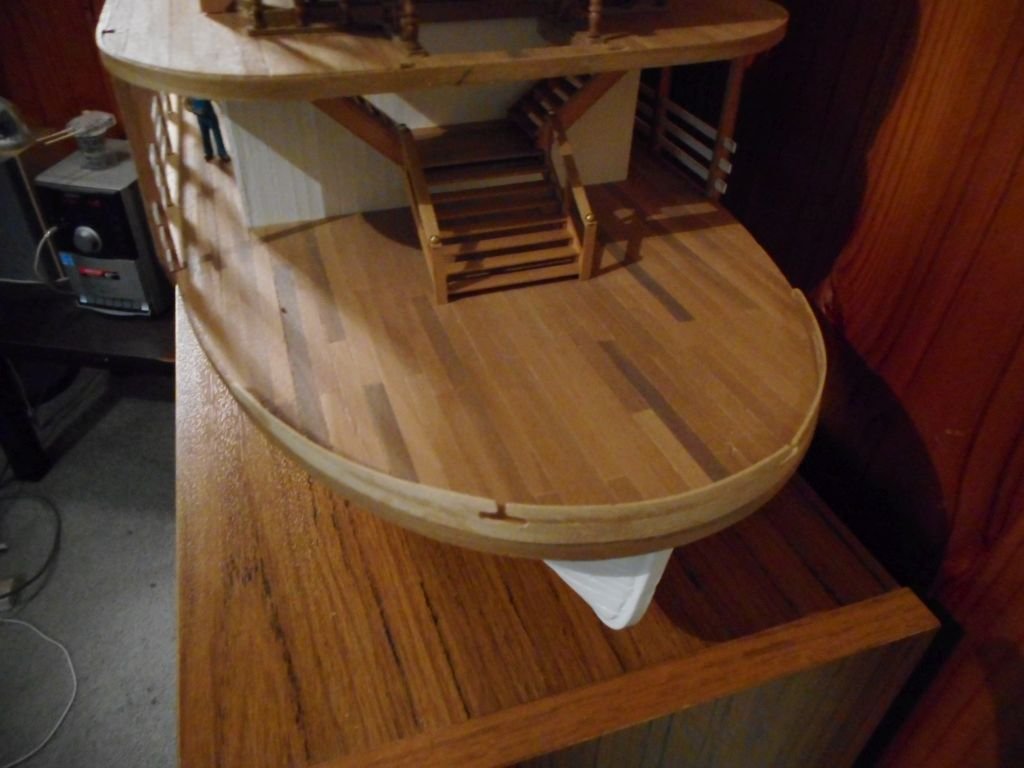
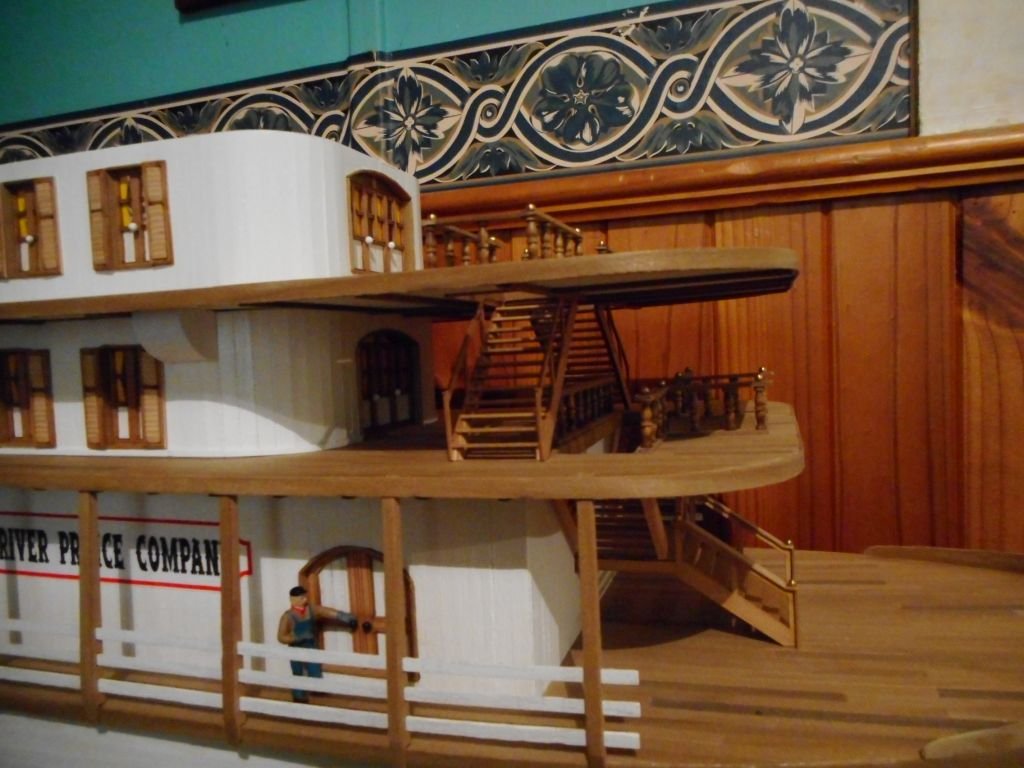
hi all, have started on the posts that go around the boat to hold the decorative balustrades. all pieces are just sitting there atm. also made a start on the upper crew staircase, again just sitting there as it needs more sanding and atm is a bit of a different angle to the one below it. also fashioned some decorative timber on the lower part of the posts at the foot of the main passenger staircase. cheers chris
-
at the uk site, starling models, they have an Australian Collins class submarine and a small scale, 1/700 patrol boat. cheers chris
- 1,090 replies
-
- 8
-
-
- showcase models
- vendetta
- (and 2 more)
-
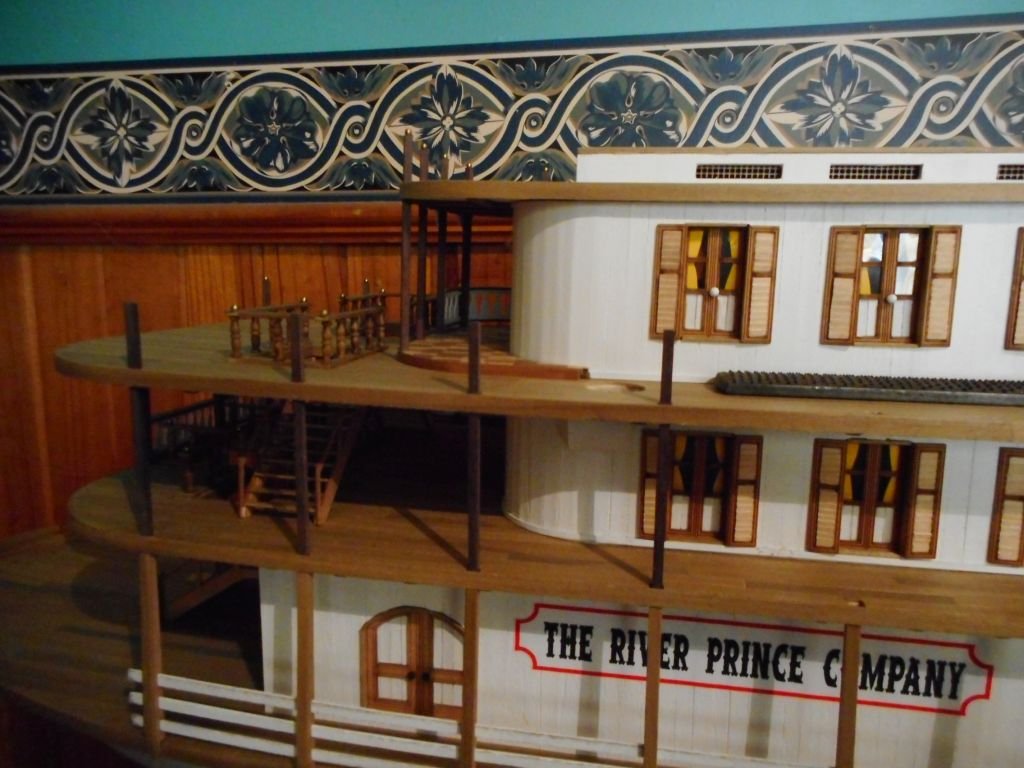
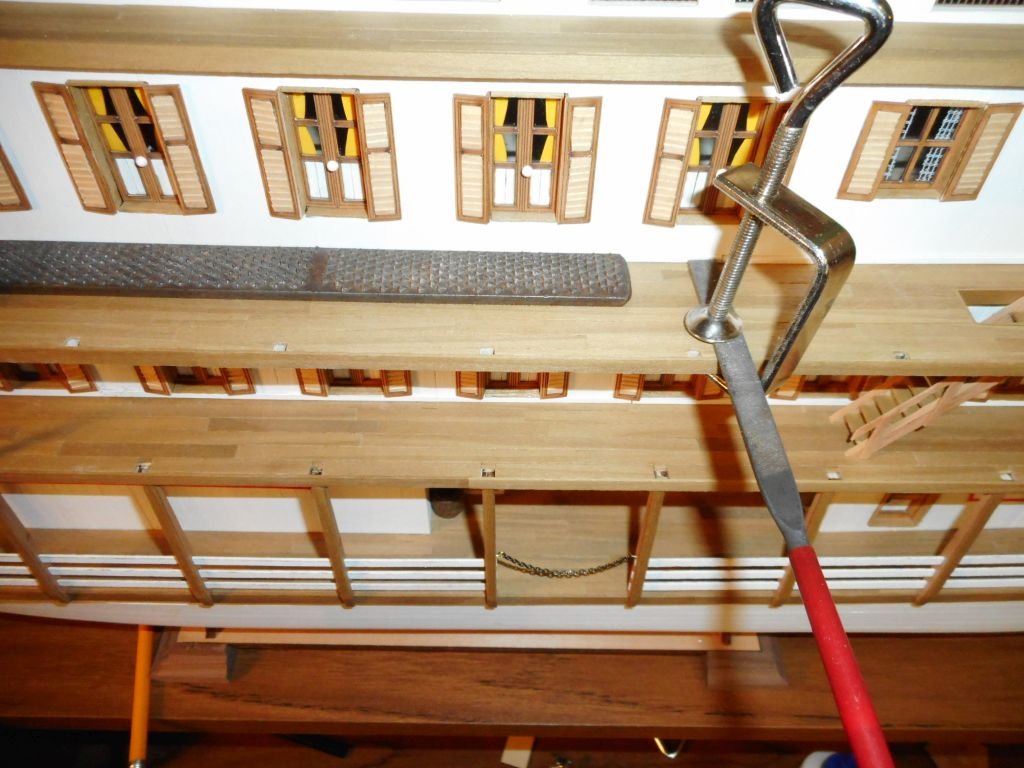
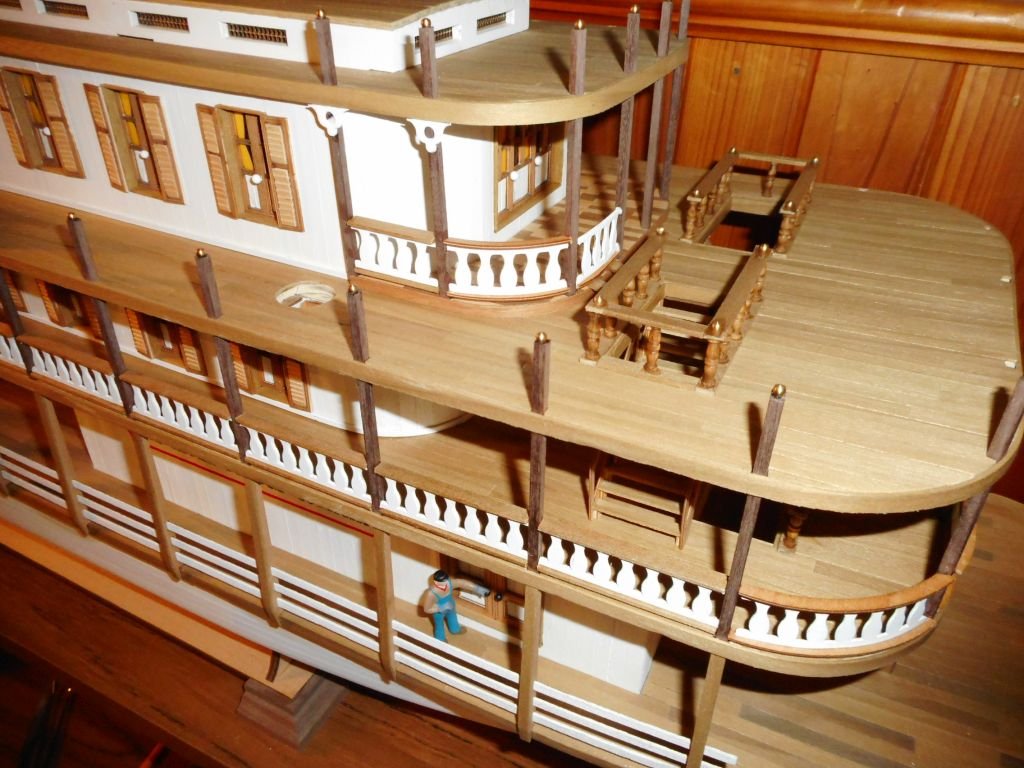
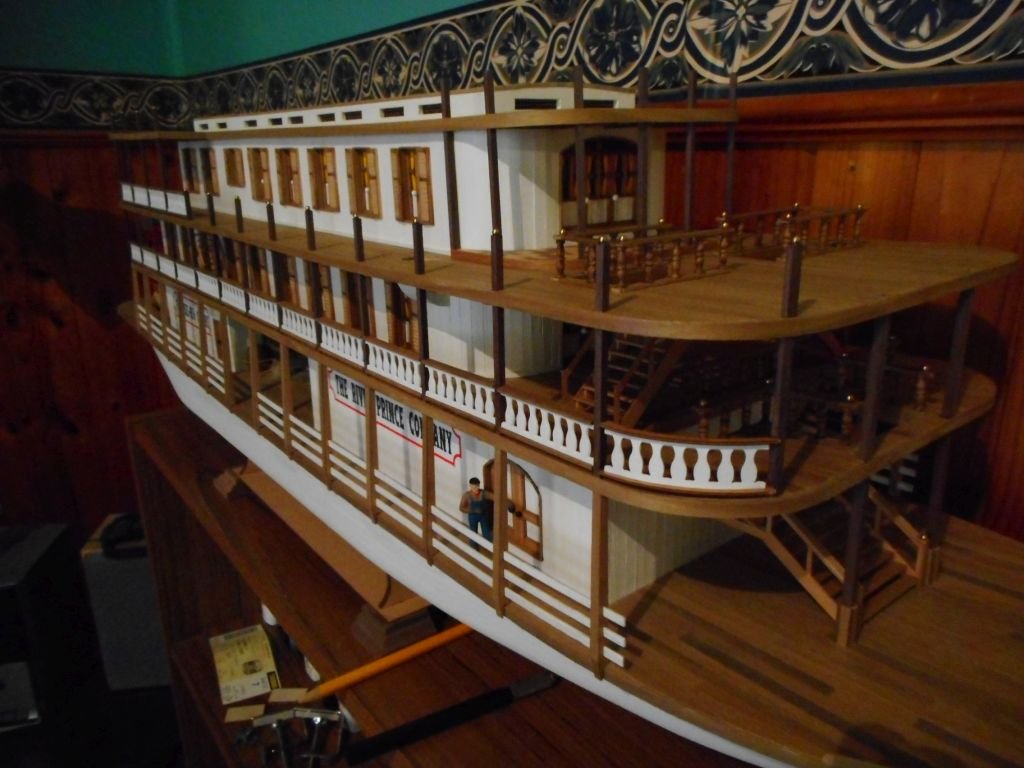
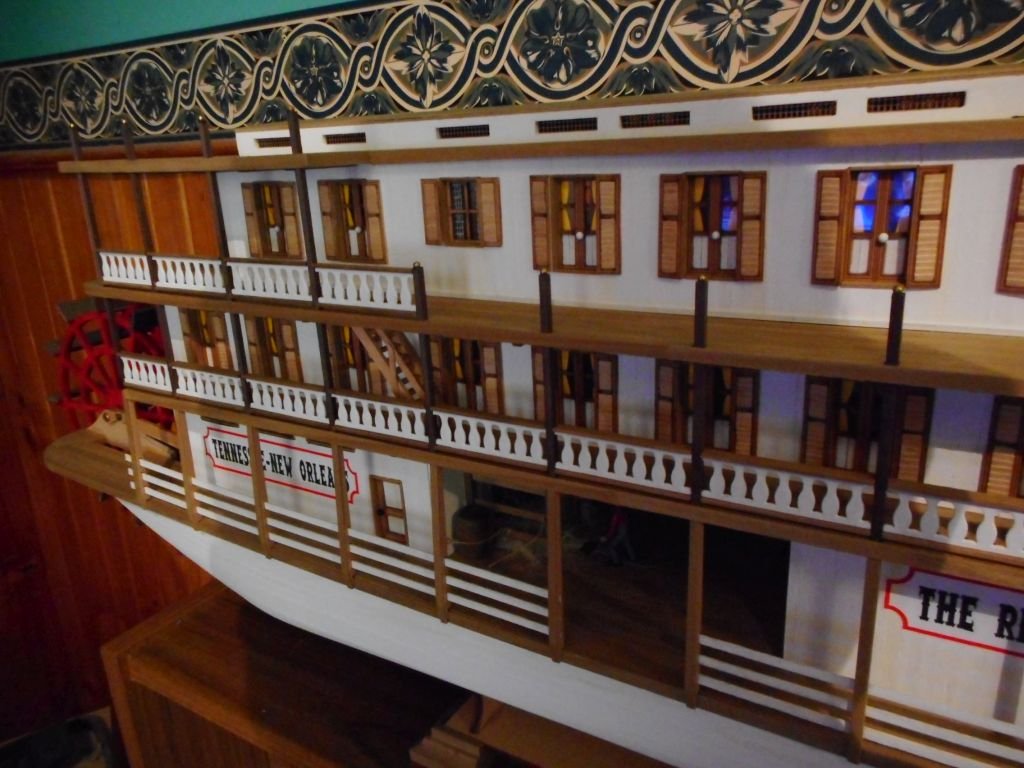
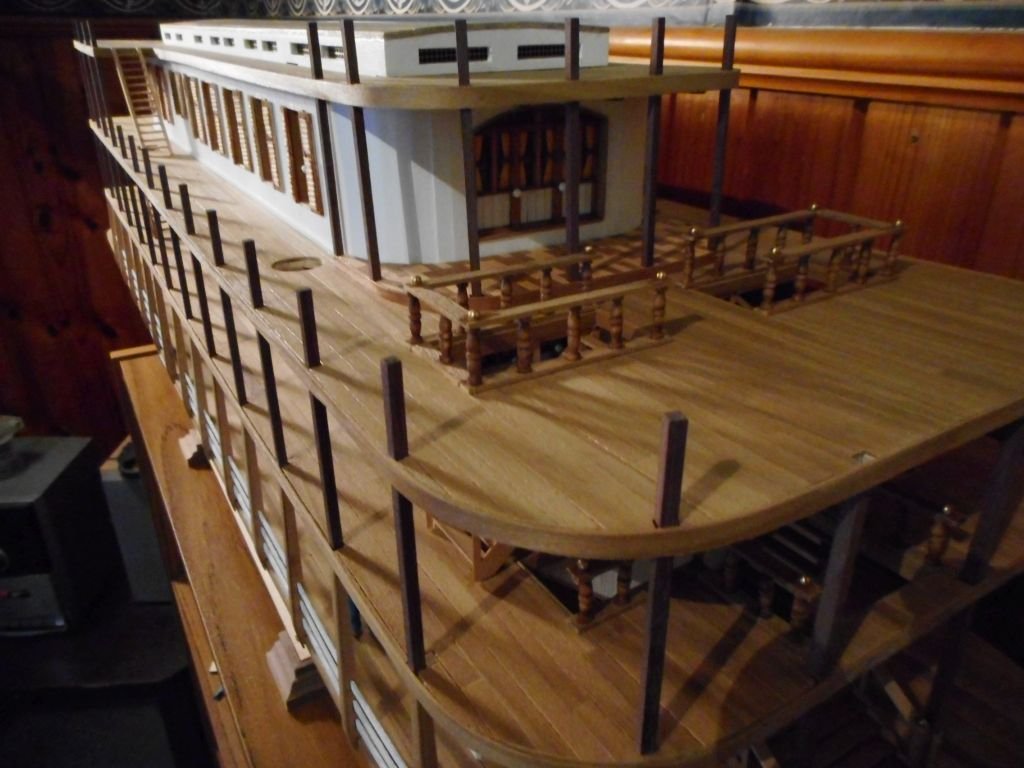
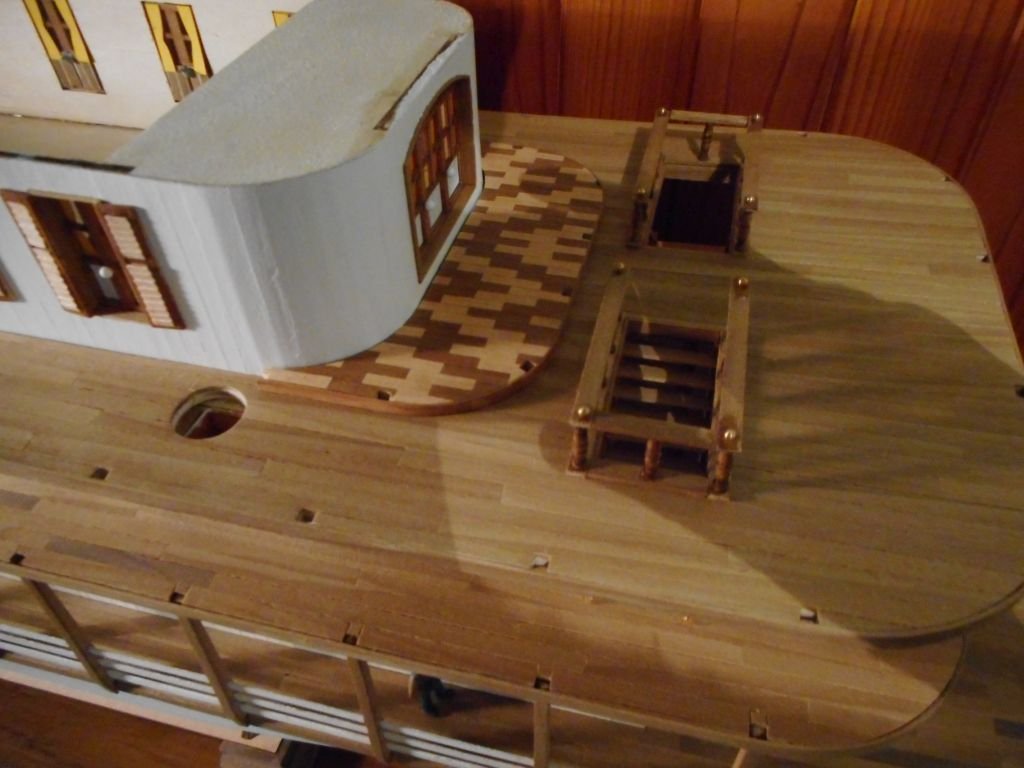
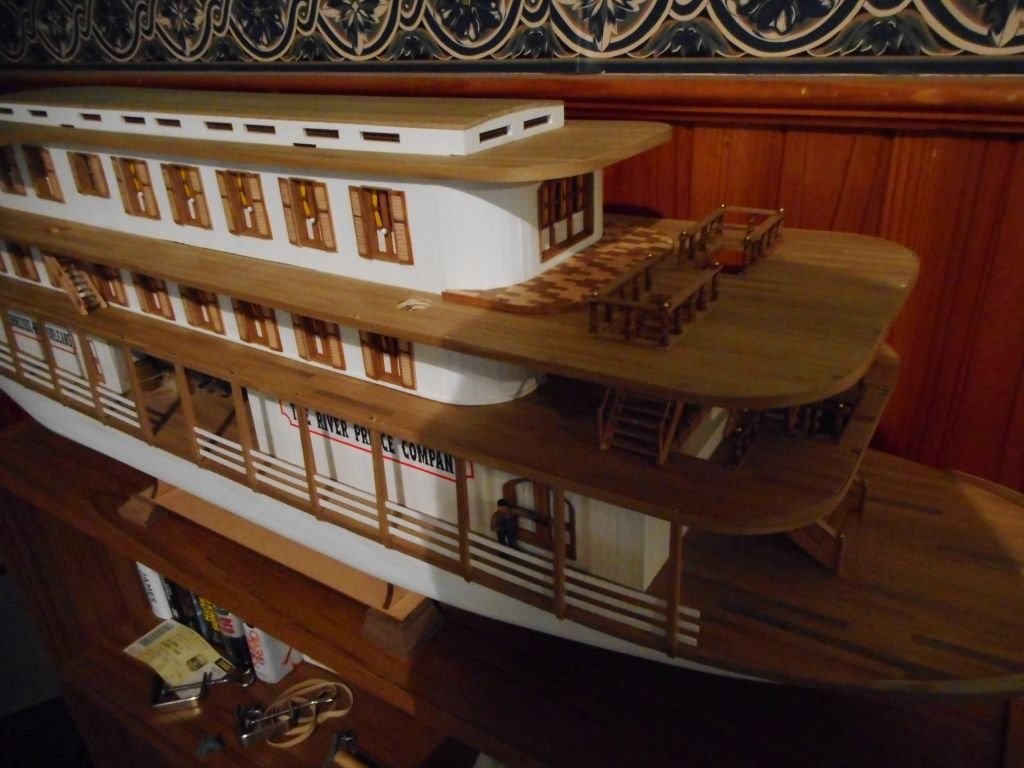
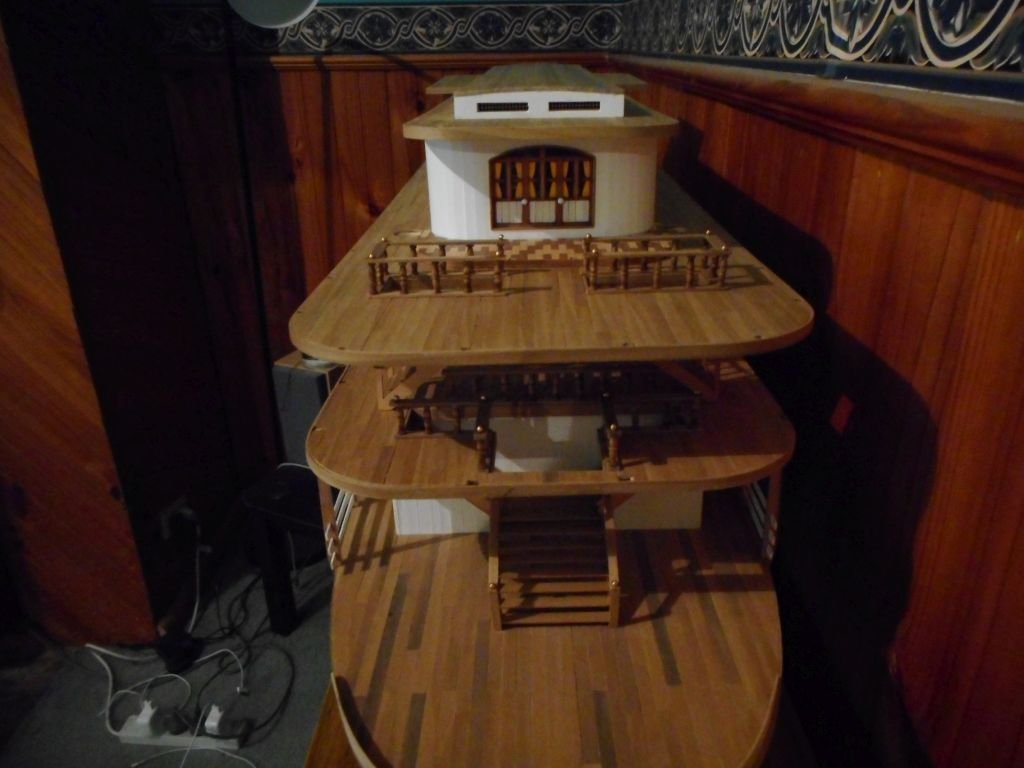
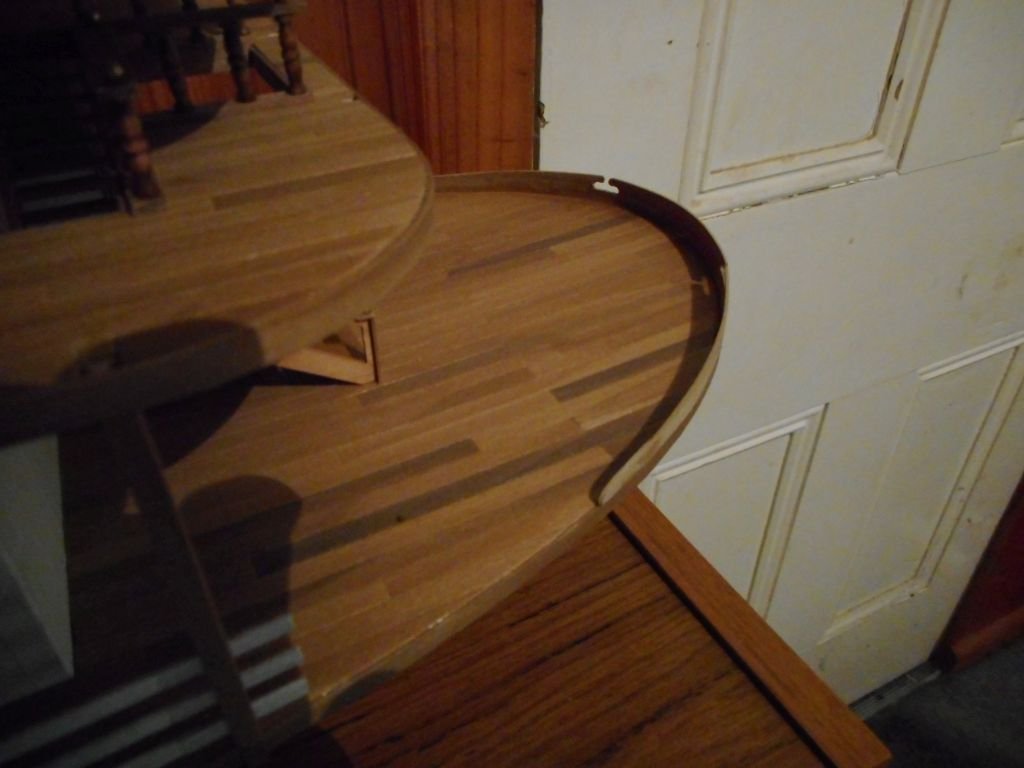
so finally got all the shutters done and glue on. upper structure is now also glued into place. just have to add the skirting board around the bottom like I did with the second structure. the top deck is not yet glued into place so this should make it easier to do that. also added the top balustrades to complete the three tier passenger staircase. I really like how this turned out. looks really "busy" and cool in real life. also added the bow water protection. I ended up scratch building this part myself as the kit one was a really hard pinkish type of wood that I didn't like. this one is the exact same dimensions and should blend in well once it gets a few coats of matt clear to match the deck. next up, put the false beams on the underside of the top deck and affix that to the upper structure. the pilot house is nearly finished and just awaiting a few interior details I might add. once the top deck is attached I will begin the fancy railings around all decks. should look pretty cool I reckon! cheers chris

-
this is so great eric! I wish I had the tools, space, and knowhow to scratch build some of our early Australian rivercraft! cheers chris
- 599 replies
-
- 4
-
-
- sidewheeler
- arabia
- (and 4 more)
-
Hey David, this rudder looks super. What did you do different to the first rudder picture you took a few posts up? It does look heaps better now they are all connected I reckon. I am really enjoying your work on this build. Doing a great job on her. Cheers Chris
- 126 replies
-
- 2
-
-
- fly
- victory models
- (and 1 more)
-
Thanks. Should have a photographic update this weekend. Been working on small, fiddly stuff like shutters and skirting boards. Would have been heaps easier to apply these before the I fixed the upper deck in place, but after soaking, bending, painting, clamping, and gluing little by little in place I will get there. It does give the structure a nice straight bottom edge and finishes it off nicely I reckon. Cheers Chris

-
fabulous looking boat david! really well done. personally I didn't notice the stern naming until you mentioned it, but now I see it redone it is much better. you are creating a super model here! cheers chris
- 126 replies
-
- 3
-
-
- fly
- victory models
- (and 1 more)
-
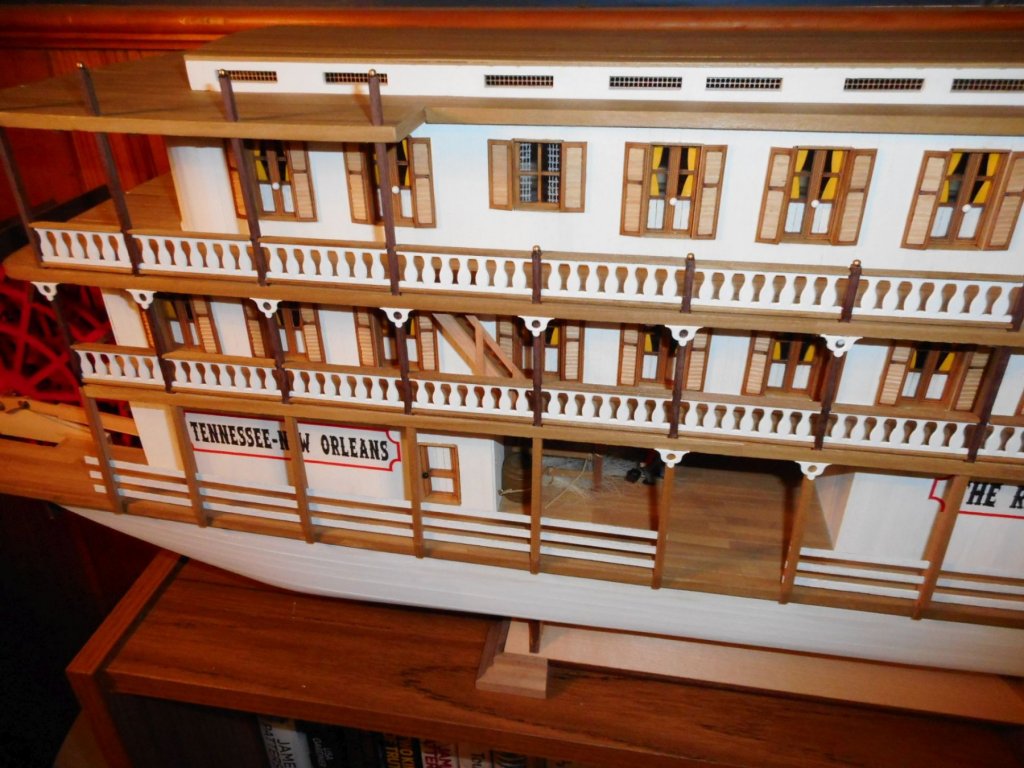
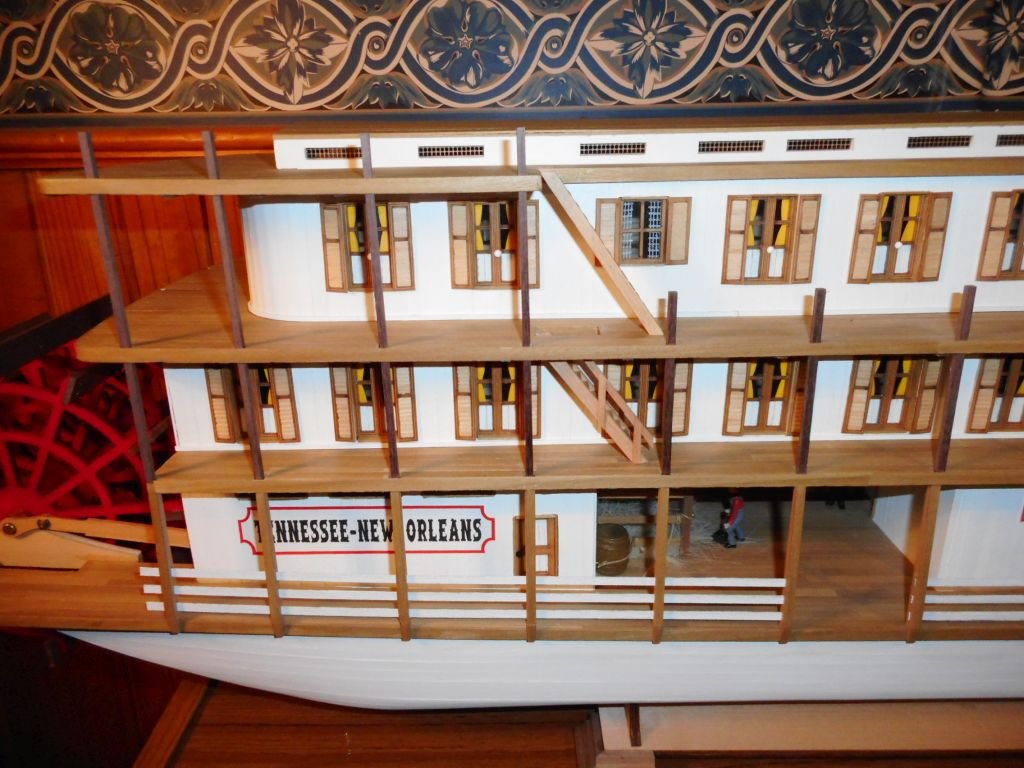
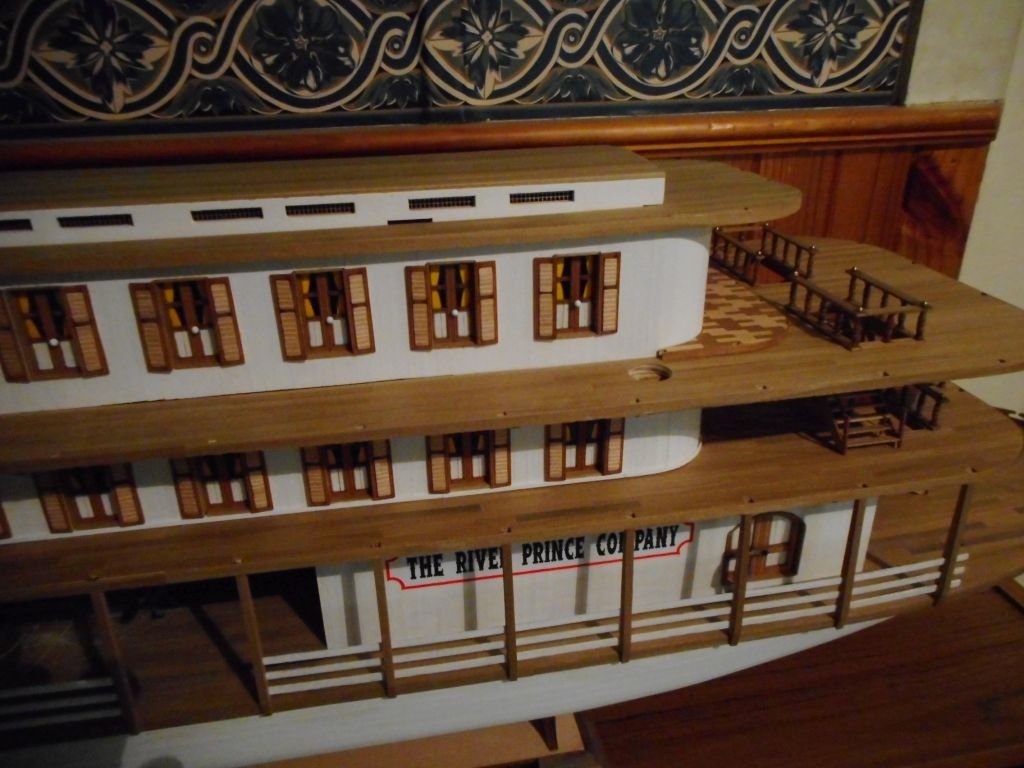
hi carl, on my boat I made the middle deck the dining room and on the side are the windows on either side of one long room. they are not individual doors, and hence have no handles. the upper structure I envisage as separate cabins, hence the individual doorways with handles and steps leading up to them. just my take on things. cheers chris
-
hope the stairs haven't beat you on the paddle steamer? chris
- 171 replies
-
- 7
-
-
- krabbenkutter
- authentic models
- (and 1 more)
-
super painting, lovely details and colour david. cheers chris
- 126 replies
-
- 2
-
-
- fly
- victory models
- (and 1 more)