kurtvd19
-
Posts
3,031 -
Joined
-
Last visited
Content Type
Profiles
Forums
Gallery
Events
Everything posted by kurtvd19
-
 Eric's correct - I just noticed I forgot the smiley face to end my previous post. Kurt
- 63 replies
-
- 3
-

-
- chaperon
- model shipways
- (and 1 more)
-
Roger: You are right about the square stern shown in the contemporary drawings. The only thing I can think of is that the research done for the documentary film by the History Channel might have shown some indication of the rounded stern. It is indicated as a source of information used in the kit's design. I don't remember if the boat used in the documentary had a square or rounded stern. One thing in the documentary film that was wrong was they showed the hull painted white - strictly so that the boat would be visible in the film. Had it been painted flat black as the data I read before building the model indicated, the film would have been able to have been shot with the lens cap on and seen as much had they used black paint. Kurt
-
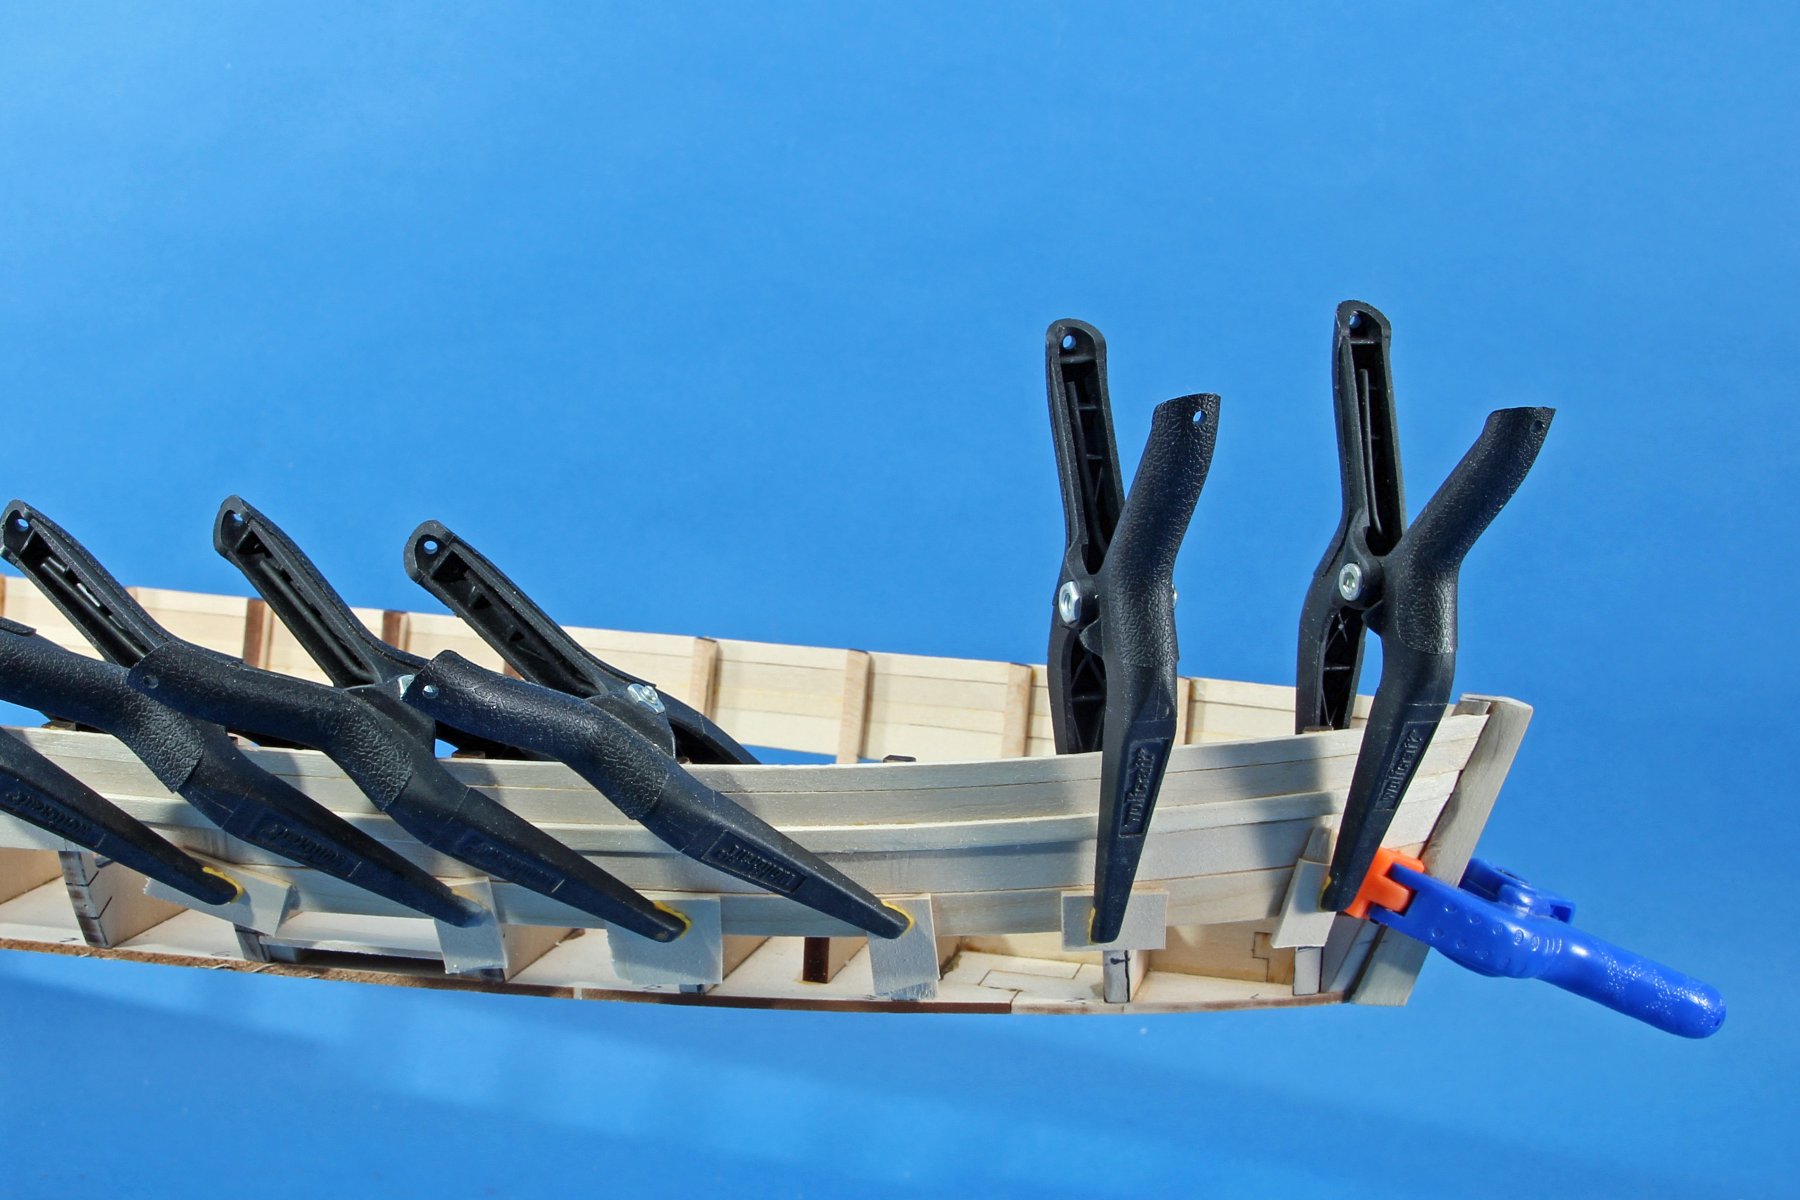
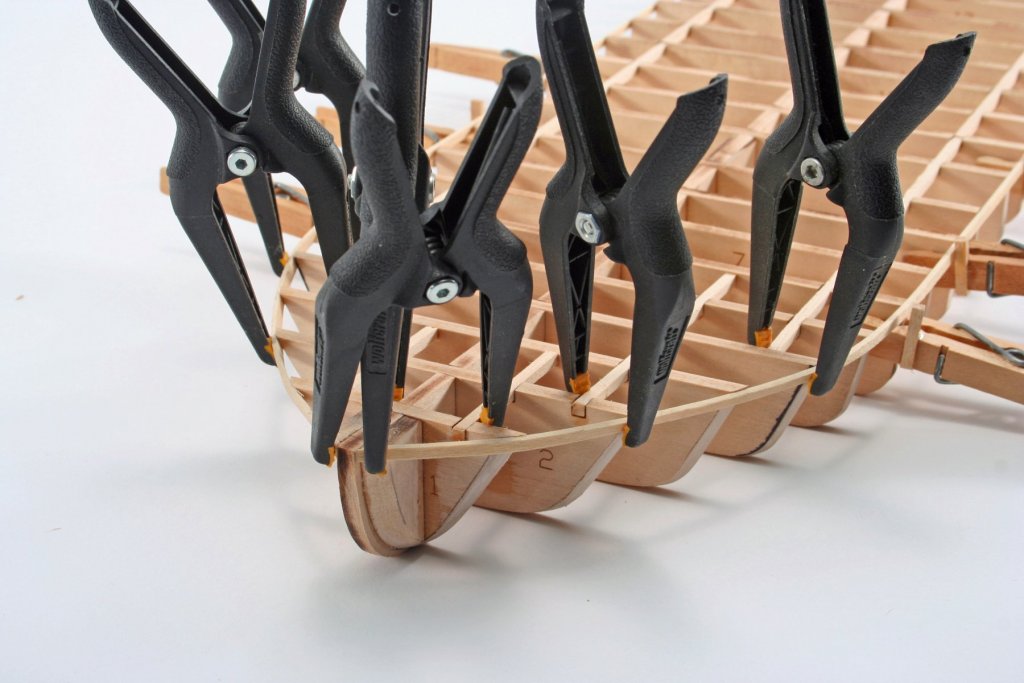
Greg: I have purchased these at both Menard's and Home Depot. I can't believe anybody only has 2 clamps of any one type. I routinely use many at a time and have about 24 of this type alone. Like Norm Abrams says, 'You can never have too many clamps!" Kurt

-
3D-printing for modellers?
kurtvd19 replied to Jean-Pierre's topic in Modeling tools and Workshop Equipment
Various plastics and metals but have never heard of wood being used. I don't think using wood is possible due to the additive nature of the process, building up the shape. But, who had heard of 3D printing just a few years ago? A shape can be carved out of wood using CNC controlled lasers and/ or mills in a subtractive manner. Pat has made 1/200 scale anchor chain with the bars that is individual links all together as if it was welded chain. Some gentle tumbling and then paint - incredibly intricate. Kurt Kurt -
3D-printing for modellers?
kurtvd19 replied to Jean-Pierre's topic in Modeling tools and Workshop Equipment
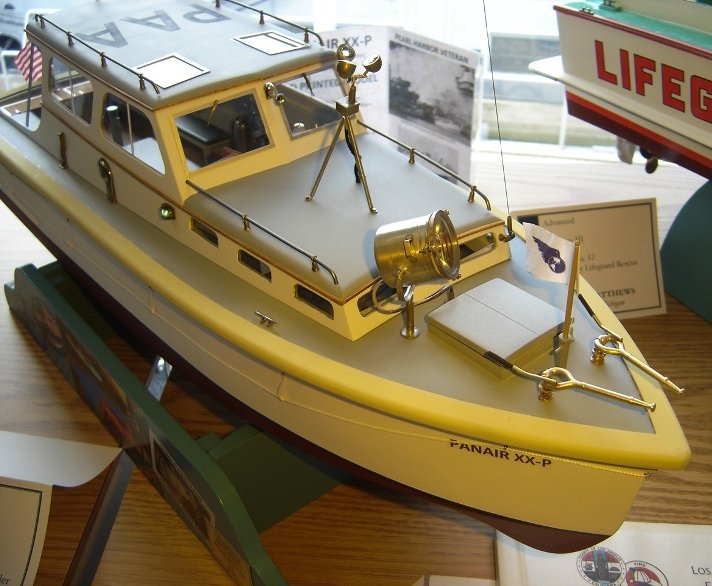
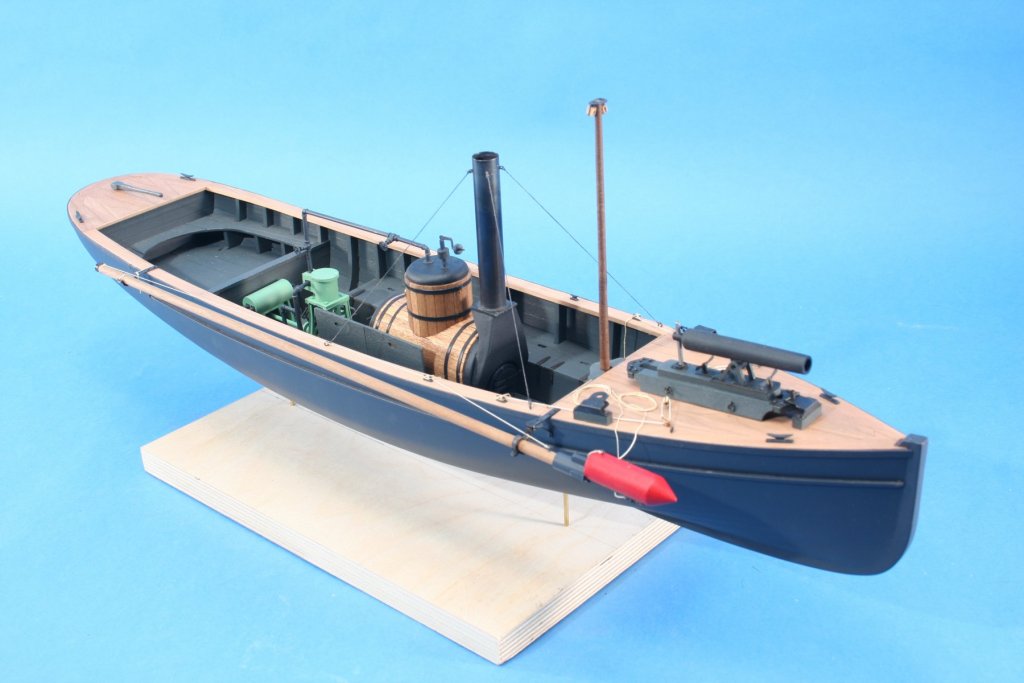
Pat Matthews is speaking at the upcoming contest at the WI Maritime Museum about researching and doing up a 1/8 scale Hicks engine in which he used many 3D printed parts. Pat's something of an expert in 3D modeling using it daily in his job as a Ford engine designer/engineer as well as his very fine models. Pat has done presentations at the museum and at NRG Conferences on the subject of 3D printing. There are many process and no single process is best for all applications. Pat provided information on the variety of processes and what systems to use for applications in an article in the NRG’s Nautical Research Journal – Summer 2014 – Vol 59-2 (downloadable article [PDF] available from the NRG Office for $2.50). Pat has won gold awards at Manitowoc for his models that have included many 3D parts while one was almost entirely from 3D parts. The contest rules allow Photo Etch and 3D in scratch built categories when the modeler does the drawings/masters used for the processes. Two of his models with 3D parts are below - the big searchlight on the seaplane tender is lathe turned - the rest of the model is almost exclusively 3D printed parts. The contest info is here on MSW at the following link - https://modelshipworld.com/index.php?/topic/15799-wi-maritime-museums-41st-annual-model-ships-and-boats-contest/ Kurt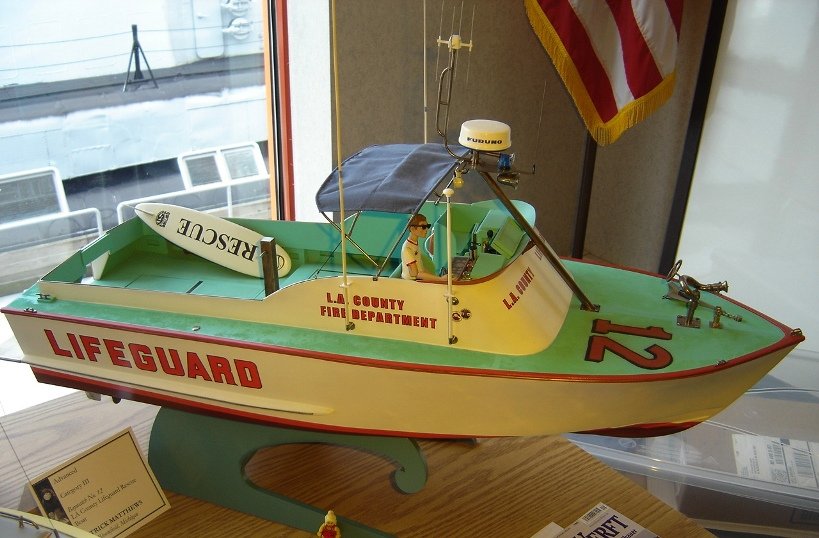
-
Pat: Nice work. Did you get back already or yet to leave? Got the check yesterday. Kurt
- 449 replies
-
- 4
-
-
- sultana
- model shipways
- (and 2 more)
-
Regarding the hinging of the coal bunkers - the photo attached shows some lids opened. Note that if the hinges were not placed as they were - per the kit - they would block access for loading from a dock. As they are positioned they act as a backstop for shoveling the coal aboard. Not much room to shovel coal from the bunkers to the boiler regardless. Kurt
- 75 replies
-
- 8
-
-
- model shipways
- picket boat
- (and 1 more)
-
Working with braided steel lines
kurtvd19 replied to skipper1947's topic in Masting, rigging and sails
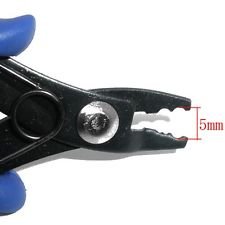
That looks like it is pretty stiff. Jewelers wire comes in more flexible wires of similar diameter. I have used quite a bit of the jeweler type wire along with connectors called CRIMPS. The photo of the wire loop is 7 strand wire - diameter is .024". The Crimp is a bit bigger (I.D.) than I would use but this is what was at hand. A special pliers is used to do the crimping - not expensive but must be sized to the crimps. Kurt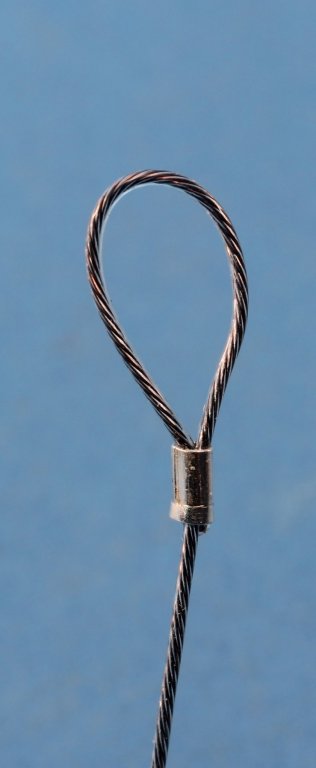
-
Elijah's also got my phone number and uses it - with my encouragement. Kurt
- 228 replies
-
- 10
-
-
- gunboat
- model shipways
- (and 1 more)
-
The Shop Notes have arrived. Any pre ordered copies will be mailed out later today or tomorrow. Kurt
-
The original Ship Modeler’s Shop Notes first published by the NRG in 1979 and out of print for several years is being reprinted and will be ready for sale by early April. The original Ship Modeler’s Shop Notes contains “Shop Notes” and some longer articles from the first 25 years, Volume 1 to Volume 25, (1980) of the quarterly Nautical Research Journal. This book has been described as a book that ship modeler’s must have. This is a completely separate book from Ship Modeler’s Shop Notes II published in 2009 – SN2 covers Volumes 26 – 50 (1981-2005). If you have Shop Notes II we are sure you will want to add the original to your library and if you don’t have either, now is the time to get both. Be sure to contact the office for the member’s discount code that will save you $5.00 off the list price. Save on shipping when you order both Shop Notes (1 & 2). Place your order through the NRG office and pay only one shipping fee of $6 for shipping both copies (US only & to the same address only!). When the books are in stock we will announce they are available for purchase.
-
Miles: Welcome to MSW and to the NRG - Mary told me you joined today - she's working on your welcome letter and sending you the current Journal. She mentioned you joining because my cousin toured and played Sax with your namesake about 25 years ago. I know you will gain a lot from your association with the crowd here - check the various build logs for the Constitution if you decide to tackle it next. Take care, Kurt
-
A complete set of Annual Indexes to the Nautical Research Journal has been put up on the NRG web site under the Journal button http://www.thenrg.org/the-journal-indexes.php. The Indexes for Journal Volumes 1- 40 are searchable. The indexes from Volumes 41-61 are downloadable pdf's. Some of the articles from past issues are already available from the NRG Store and more will continue to be added http://www.thenrg.org/the-nrg-store.php Articles not yet listed for sale in the store can be obtained by contacting the NRG office - use the "contact us" link at the bottom of each NRG web page. Kurt
- 1 reply
-
- 6
-
-
Elijah: Great model - you can be proud of your first build. If you bring the model to our next meeting I will take some photos of it for you using my set up here so you have a couple of good photos against a nice background. On to the Philadelphia - you are going to enjoy this build. Kurt
- 701 replies
-
- 7
-
-
- phantom
- model shipways
- (and 1 more)
-
Caution - if you are using acrylics do not use common steel wool - a piece will inevitably be left behind someplace despite blowing off the dust and it will rust through your nice paint job. Use a synthetic sanding pad like the 3M pads or similar. Kurt
-
Shellac is a very common finish for furniture and wood projects - it was used extensively here in the US until sturdier finishes became available and fine furniture makers still use it. It is still easy to get here and to use. The woodworking stores sell cans of ready to use shellac and they also sell the flakes so one can mix up a fresh batch and it can be made to different consistencies by adding more flake to the liquid. If you buy any, get the smallest amount you can get as it doesn't have a real long shelf life once it's mixed but if the can is kept tightly closed I have used stuff that was 2 years old. Here is a link to the Wikipedia definition https://en.wikipedia.org/wiki/Shellac Hope this helped. Kurt
-
I use only acrylics and specifically Badger Airbrush Co's Marine Paints - they have virtually no odor. I doubt that you have access to this brand. I often just airbrush a light coating of water onto the wood and when dry sand the raised wood. If it was raised a lot - softer woods raise more than hard woods - I sometimes spray another coat and sand that when dry and then apply the acrylic paints. Sometimes the model will not work well with sanding due to tight corners, etc and then I use a coat of shellac under the paint. The shellac doesn't raise the grain and once it seals the wood there isn't any way that the acrylic will affect the wood. Kurt
-
Making a sternwheel operate is much more difficult than adding an electric motor. Most operating model sternwheels use a circular drive wheel, inside the engine room, that the inboard end of the Pitman arms attach to. This makes the pitman arms operate in a circular motion while the real steam engine connection to the inboard end of the pitman arm is a slide mechanism that goes fore and aft and the pitman arm attached to the sternwheel follows the sternwheel's circular motion. The inboard end slides back and forth at a set elevation while the outboard end rotates in a circular motion where it attaches to the sternwheel. When you see the slide mechanism operate vs the inner wheel type drive the latter looks very toy like. Kurt
- 296 replies
-
- 3
-
-
- chaperon
- model shipways
- (and 1 more)
-
Steamboats and other rivercraft - general discussion
kurtvd19 replied to Cathead's topic in Nautical/Naval History
Eric: Thanks for doing the research. I have filed the info and links in my steamboat files. I know it will proove helpful down the road. Kurt- 281 replies
-
- 3
-
-
- Steamboats
- riverboats
- (and 3 more)
-
Are you an NRG Member???
kurtvd19 replied to Chuck's topic in Using the MSW forum - **NO MODELING CONTENT IN THIS SUB-FORUM**
Grant: Sorry, but the limitations of the web site would make it visible to everybody as there is not a "members only" section. There is an upgrade in our data base under consideration and members would have access to update personal info and see the member number but it's sometime down the road. If every member would look at their mailing label - the Spring 2017 issue is in the mail - and record their member number they will have it at hand when needed. Take care, Kurt -
Are you an NRG Member???
kurtvd19 replied to Chuck's topic in Using the MSW forum - **NO MODELING CONTENT IN THIS SUB-FORUM**
I don't think you see your member number on the store - we don't ask for it and the store and member data base are not linked. Send an email to the office and ask what your member number is - or call and ask and renew at the same time. The email is info@thenauticalresearchguild.org Phone is in the Journal - page 1 and on the web site www.thenrg.org Kurt -
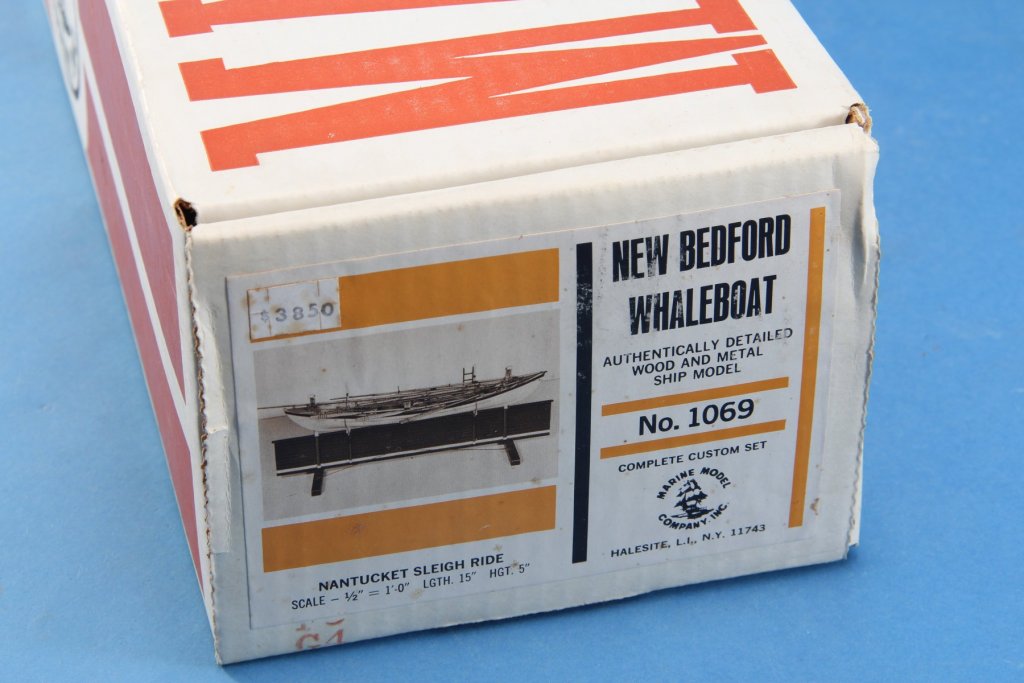
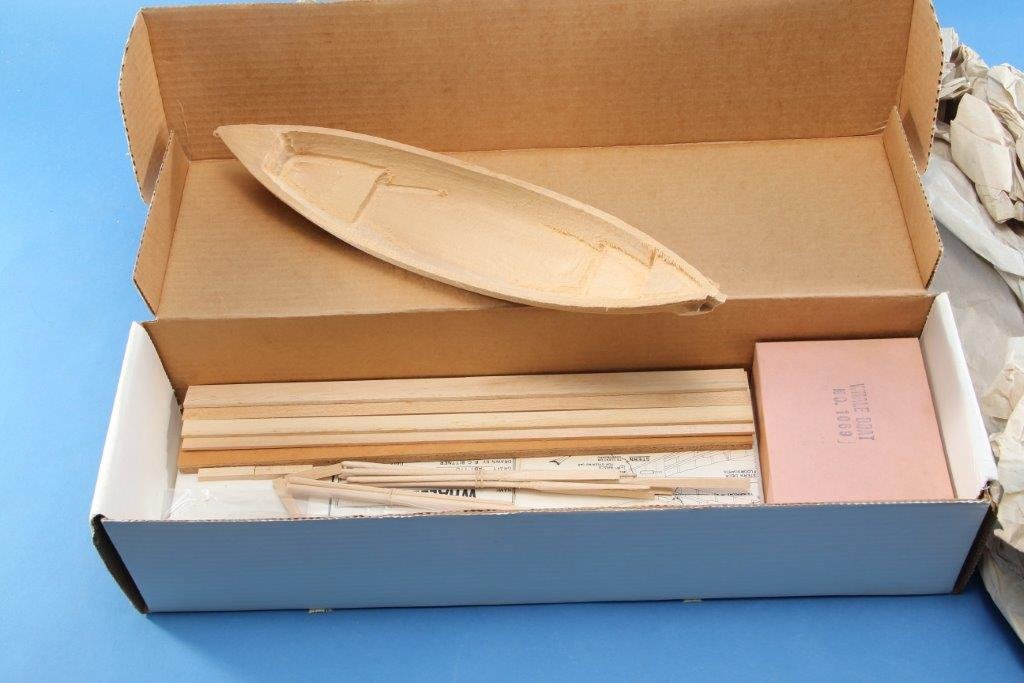
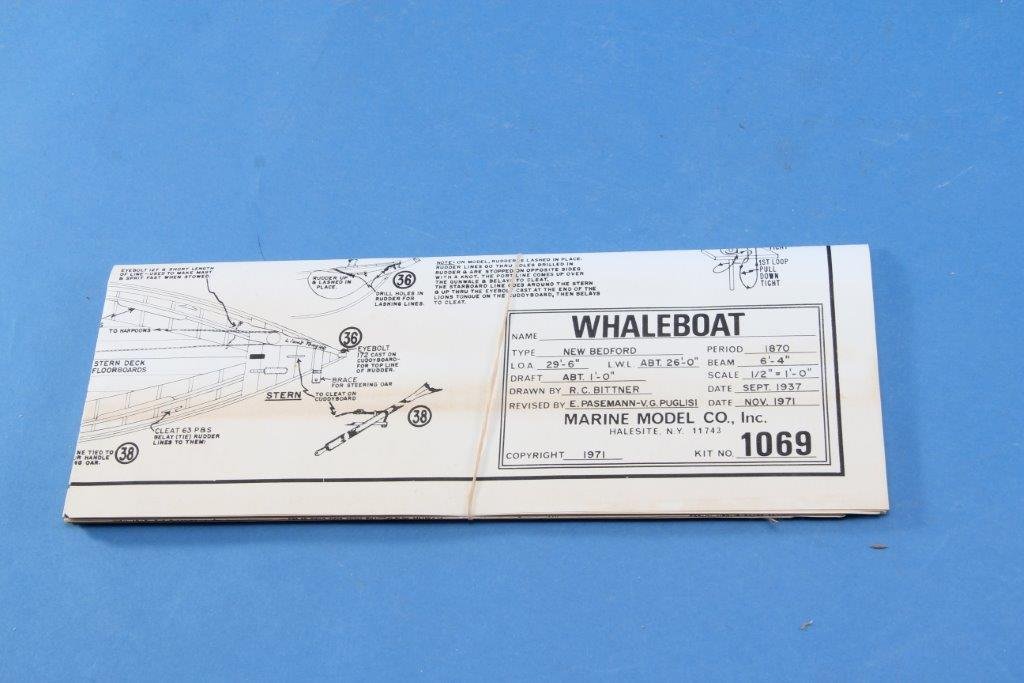
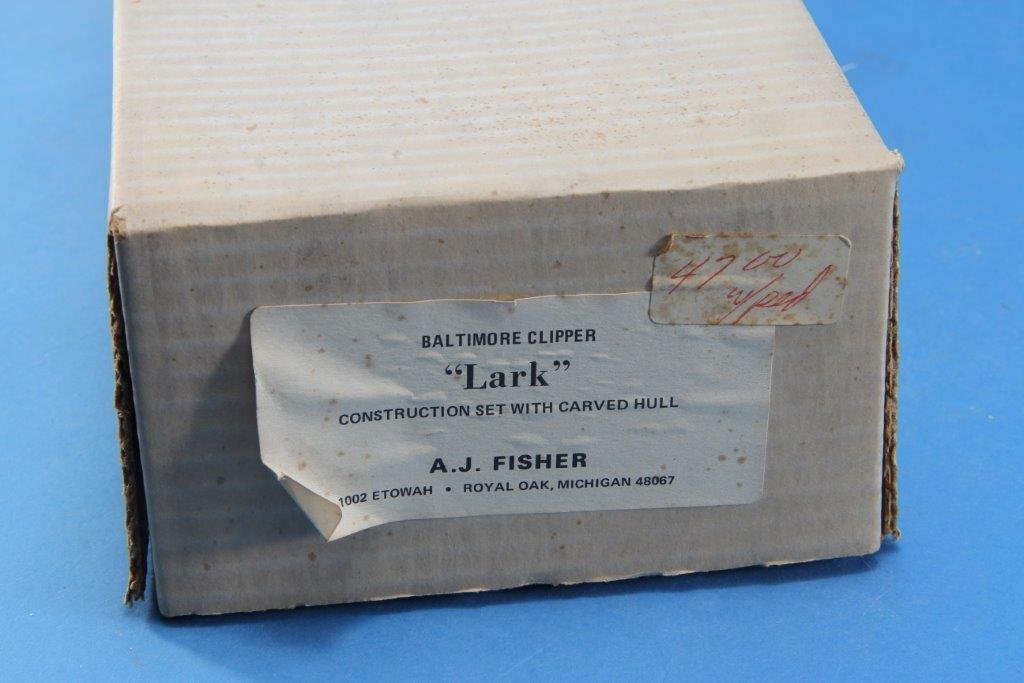
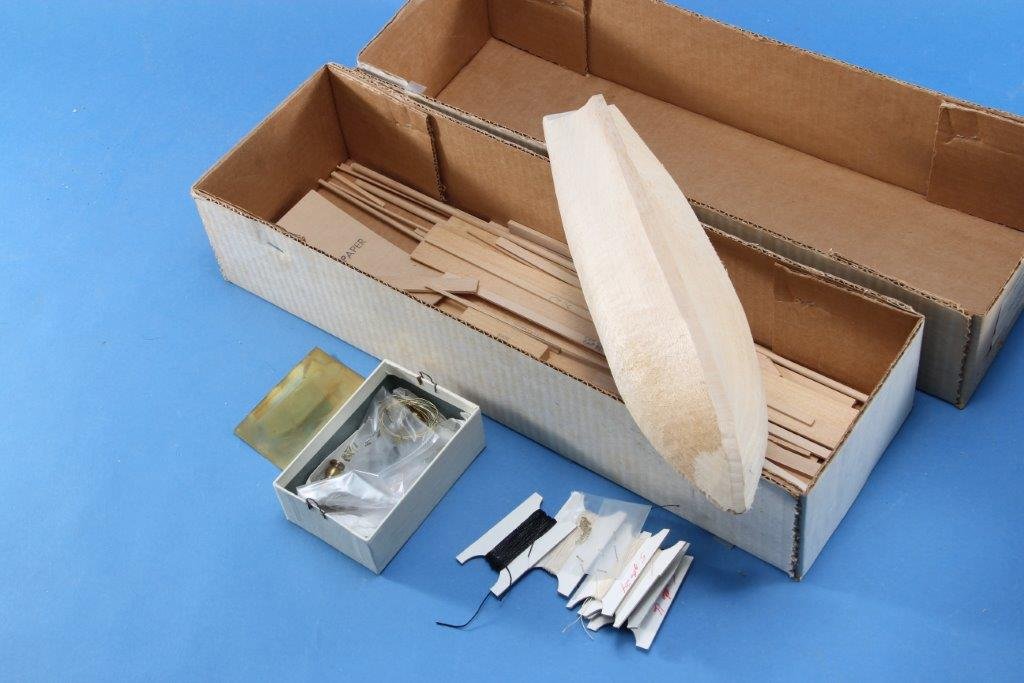
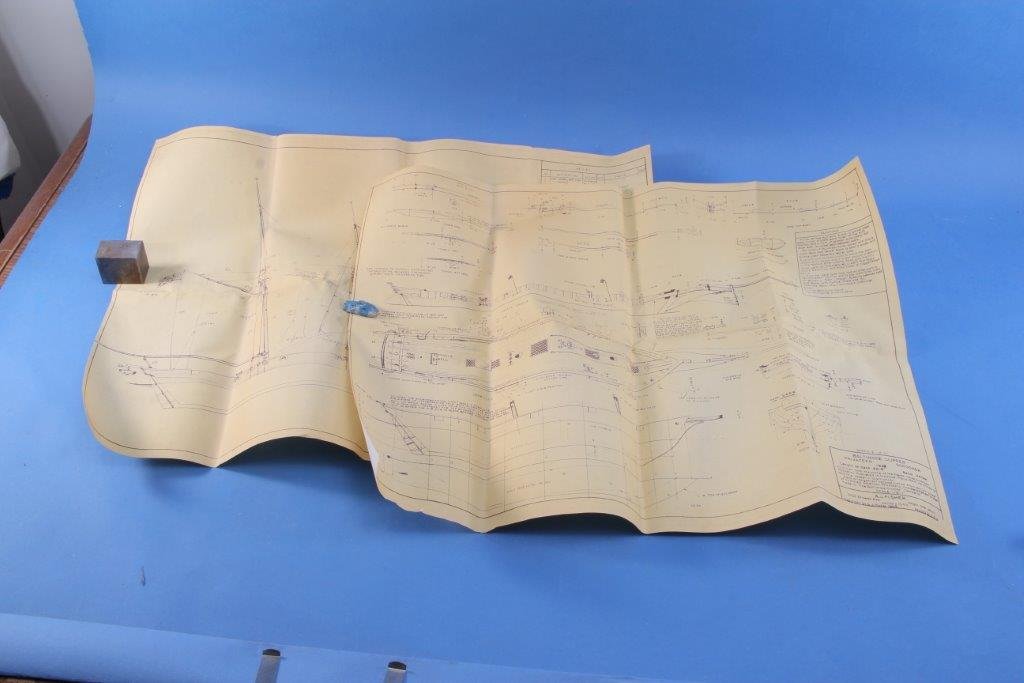
I will be periodically listing some older, out of production, kits on MSW. The price to the left of the item is the minimum bid that will be accepted. Some boxes are marked with these prices from the 1980’s. Some are classics produced by out of business manufacturers and are selling on eBay for much higher prices than we have marked. Send your bid(s) to me, and Reply by PM ONLY. The auction will continue until midnight – CST - (Chicago, IL) on Saturday, March 11, 2017. The winner of each item is the highest bid received prior to the deadline. Be very specific as to the item under bid – use the description noted below. When a bid is received, a PM update will be sent to all bidders as soon as possible. This may allow you a chance to submit a counter bid before the deadline. Each of these items has been inspected and are complete unless otherwise noted. Some of the boxes are less than pristine but the contents are undamaged and complete unless otherwise noted. Some are still in sealed boxes. The funds will benefit the three Chicago area model ship clubs through their Tri-Club Association. Shipping will be additional. Cost of shipping will be by USPS with no upcharge once destination is known. Kurt MARINE MODELS $39.00 - New Bedford Whaleboat kit #1069 - 1/2” scale – complete A J FISHER $35.00 – Lark – Baltimore Clipper – 1812 – 1/8” scale – complete
- 1 reply
-
- 3
-
-
Airbrush
kurtvd19 replied to Mike Dowling's topic in Painting, finishing and weathering products and techniques
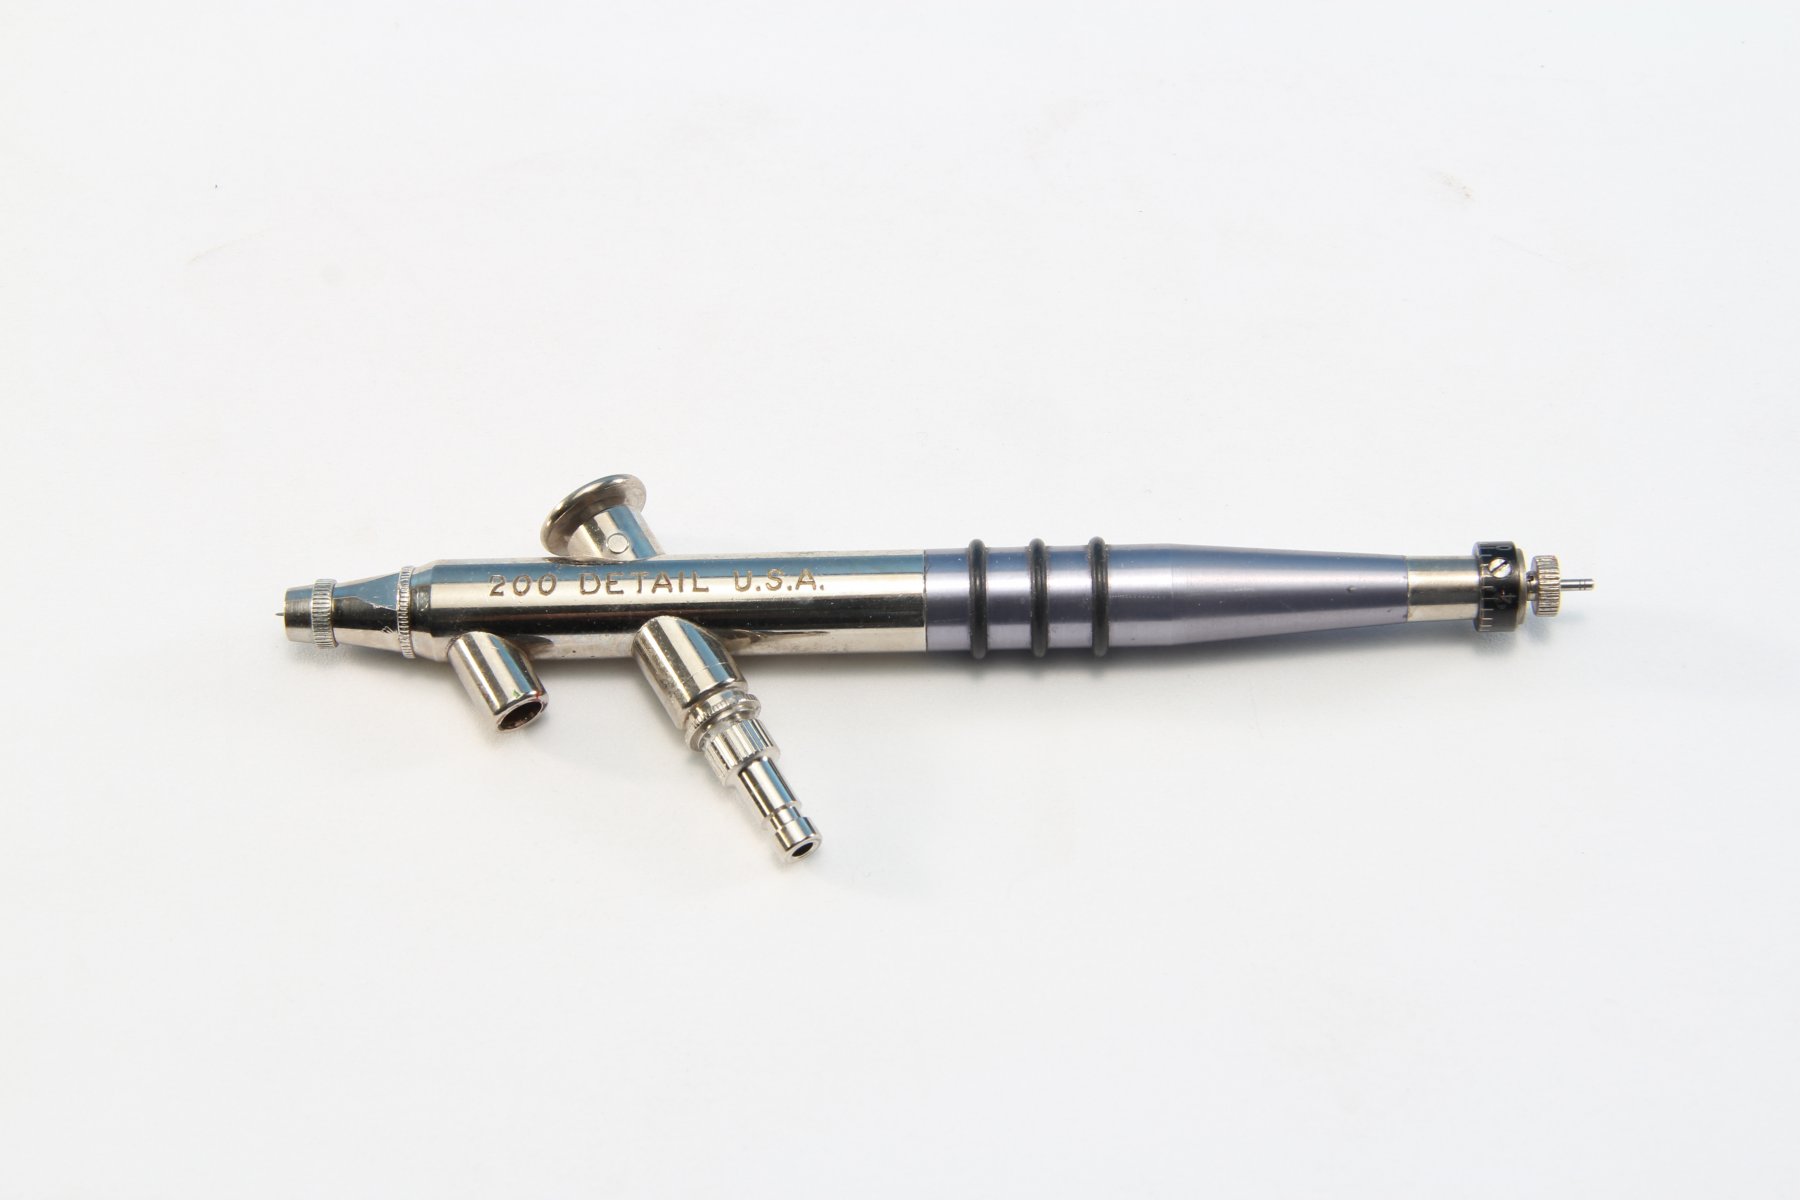
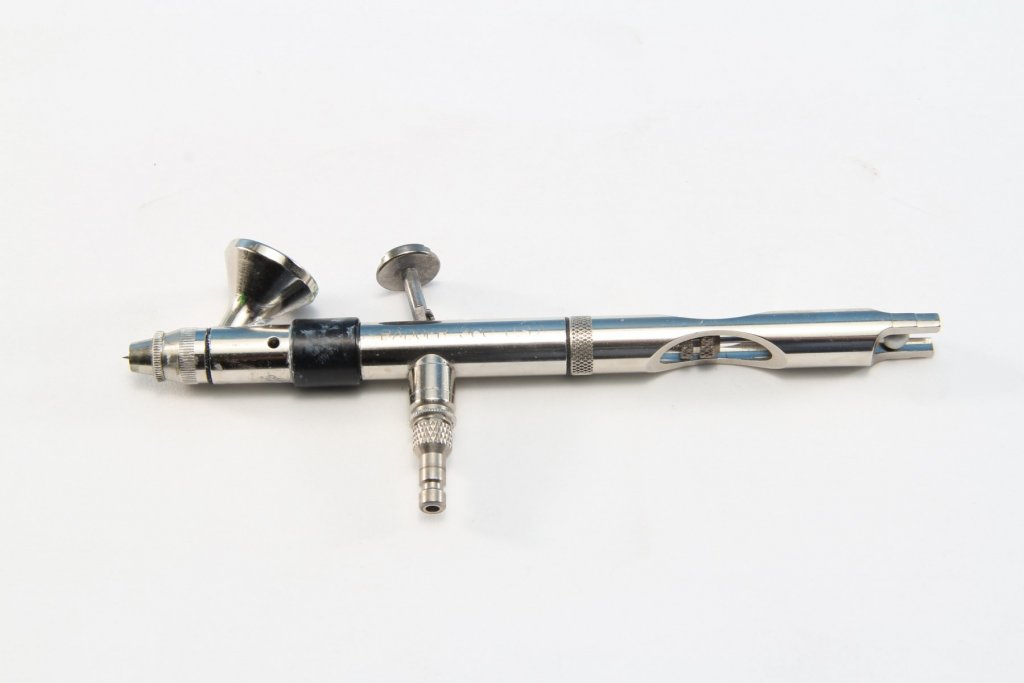
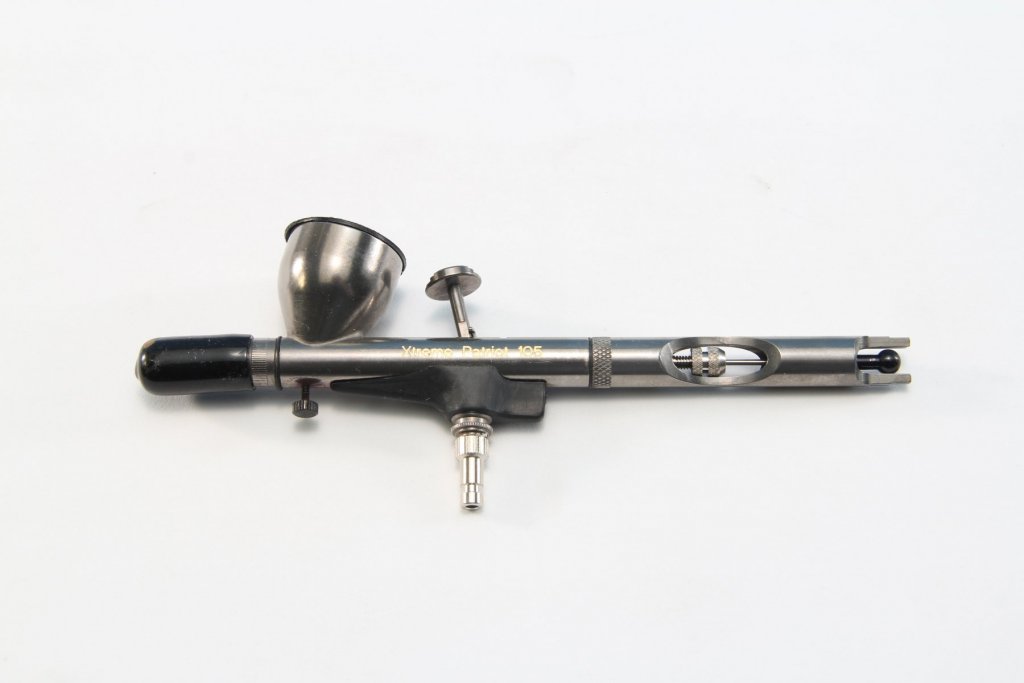
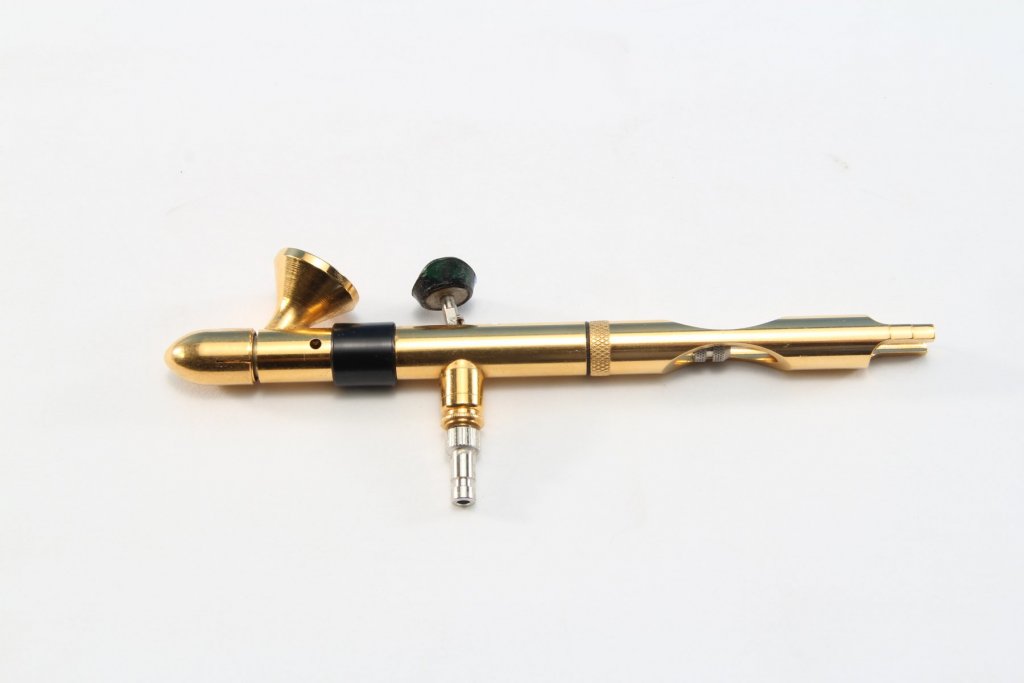
Airbrushes are kind of a personal fit. I had a Paasche VL double action brush long ago and after many attempts to use it sold it. Just couldn't use it. Some time later at a club meeting I was able to try a Badger 155 Anthem and I could spray with it right away - I fell in love with it. Turned out that it's the difference - for me - of the fat barreled VL and the thinner barreled Badger. The VL just wasn't comfortable but the 155 was. I have found that when doing demos for Badger I never demo the Creschendo 175 model because of it's fat barrel. I have big hands, prefer a fat pen but prefer a thin airbrush. To each his own. The comments below, while showing Badger brushes, are true regardless of brand of airbrush - as long as we talk name brand brushes. Not copies or the "$9.99 Professional" brushes we see advertised. Some have stated their preferred brushes and I will do the same. For the modeler who doesn't regularly use an airbrush a single action brush is the easiest to use and puts the paint onto the model just fine. Once they are adjusted for the paint and pressure being used it's just a matter of pushing down on the trigger and painting. The 200-20 shown below is my go-to single action brush (everybody makes a similar unit) and in my opinion is perfectly adequate for most occasional users. The airbrush I use 90% of the time is the 360. It is a double action brush with both gravity and suction feeds - the front end from the black band forward - revolves 360 degrees - thus the name. As shown it's in the gravity feed position with the color cup on top, but rotate the front end 180 degrees and the bottles plug into the throat of the color cup. The advantage of the 360 is that for a small amount of painting the paint can be put into the color cup by an eye dropper. This is great for doing some detail work or painting a few small parts. With the front end rotated and a bottle plugged into the color cup, larger pieces can be painted. This is a good double action brush for the modeler who uses an air brush often enough to work with a double action brush. Smaller models / pieces can best be painted with a double action brush if the user is skilled enough. If you do 1/700 models a detail brush is the choice. This type of brush has a narrow angle of paint stream and is not meant as a general use air brush. Trying to paint the hull of a 1/72 scale submarine is not a job for the detail brush. The Patriot 105 Extreme is a new brush aimed at the modeler doing very fine work. I use this brush often but for ship modelers it is a second not a primary unit. It is designed to paint a line as narrow as a pencil line but only about a maximum of about 1/4" to 3/8" wide. The next is a brush that I rarely use and it's being shown here as more of a trophy than as a tool. It is actually gold plated! It is one of about 12 that Badger made for presentation to staff or friends. This is the last one they ever assembled (better late than never) and I was able to watch the technician assemble it and then accepted it from Badger's President. One thing people always ask is "what is the best airbrush?" My answer is there isn't a best airbrush. However, the best airbrush for anybody is the one they are comfortable using and does the job for them. At our local IPMS chapter one of the members works for Iwata. When people ask him about airbrushes he talks about Iwatas. When they ask me I talk about Badgers. When somebody stands up during a meeting and asks a general airbrush question we both get equal time to give our opinions. The points that we both always mention is that the best airbrush is the one you are comfortable with and that all name brand airbrushes when compared by type - single action and double action - lay down paint the same way. I think that the proficiency of the user is much more responsible for the quality of the paint job as the name brand brushes are all very good. Buying a Badger or an Iwata is not going to guarantee a good paint job if the user doesn't practice or have any skill. In the hands of a skilled operator the equipment is secondary - but also very personal. Kurt
-
Are you an NRG Member???
kurtvd19 replied to Chuck's topic in Using the MSW forum - **NO MODELING CONTENT IN THIS SUB-FORUM**
The NRG Membership Number is above your name on the mailing label. The mailing label is affixed to the Secretary's Newsletter (SNL) facing out from inside the plastic mailing sleeve. The labels are not affixed to the Journals so that the covers are not defaced. An email can be sent to info@thenauticalresearchguild.org at any time to ask for your number - you will need to tell Mary your name, city and state (we do have duplicate member names) and she will return your email with your number - no later than the next business day. We provide each member with notice of when their membership is due to lapse, right on that mailing label "EXPIRES VOLUME 62 - ISSUE 4" appears for the first two issues (assuming a January start date) telling the member his membership us up when he receives the issue noted. With the 3rd issue (2 issues to go) the words 'RENEW SOON" are printed on the label. The next issue has "LAST ISSUE - RENEW NOW". When a member lapses we keep them on the mailing list until time for the next Journal to go out. At that point they go onto a recently lapsed list so reinstatement is very easy. We even send emails before somebody lapses yet Mary is kept quite busy reinstating up to 20 or 30 who wind up lapsing each issue, because once the next issue ships w/o the member's renewal they need to pay for mailing of the missed issue - IF we have any in stock. So, the best way to keep your collection intact w/o missing copies is to heed the messages on the mailing labels and renew early - and this helps keep Mary happy too, and I truly appreciate that. Kurt