trippwj
-
Posts
3,156 -
Joined
-
Last visited
Content Type
Profiles
Forums
Gallery
Events
Everything posted by trippwj
-
 Thanks, Sam - that makes too much sense! I am going to try for something close to "as built" but know that will include the use of many assumptions. One thing I am hoping to get from the various sources is an idea of where certain things were located - and also as an aid to working with the Aeropiccola plans. Ultimately, once I have the chance to compare the various sets of information, I'll be in a better position to plan out any changes I want to make to the kit. Looking at this as a long term project (figuring at least 2 years before I even start thinking about the rigging), and want to take the time to do this one right, hence having the references to cross check assumptions. Will see how that all works out, though! Please keep checking in and offering insights - I am gonna need all the help I can get on this one!
 -
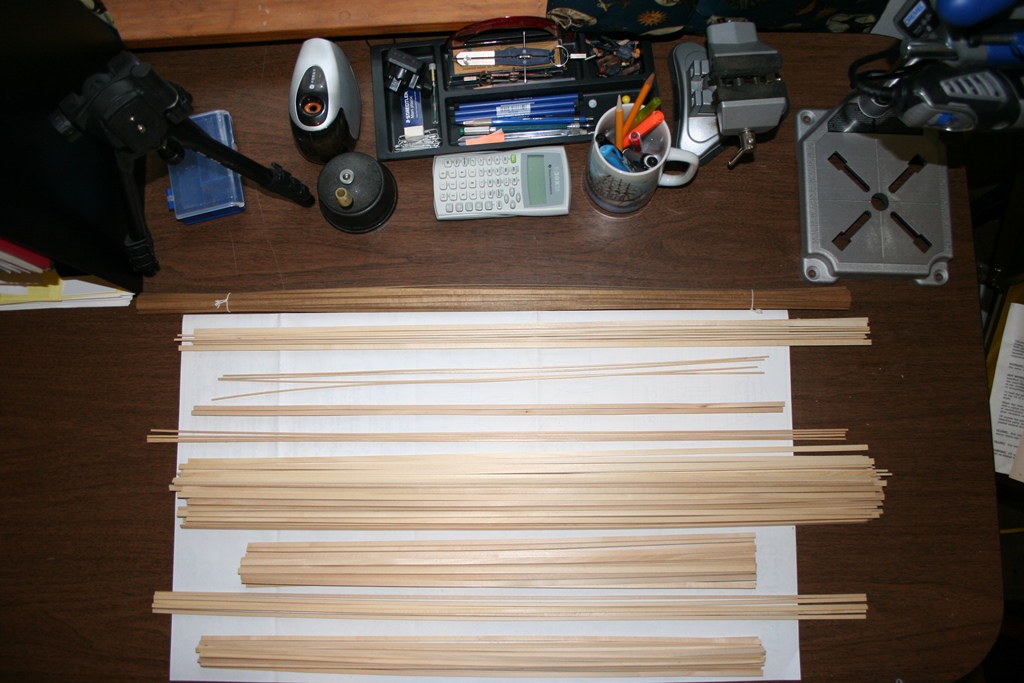
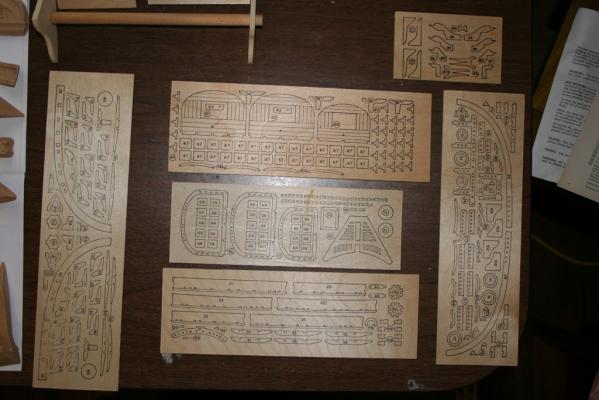
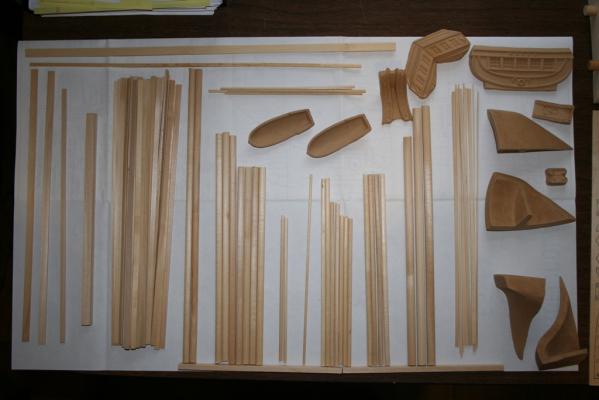
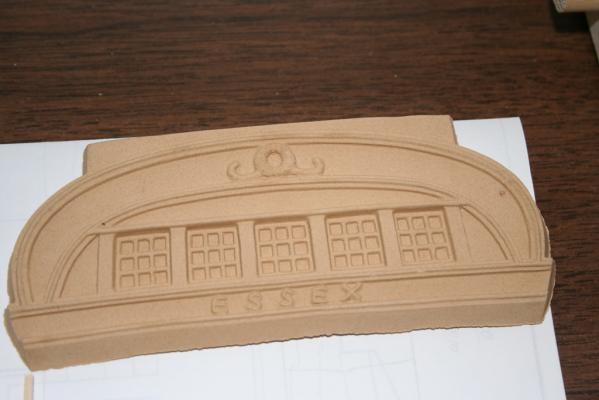
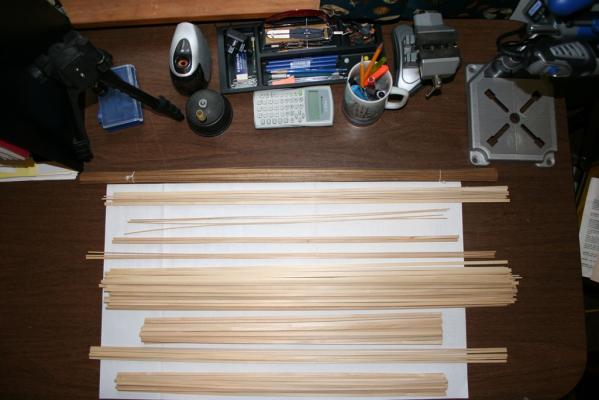
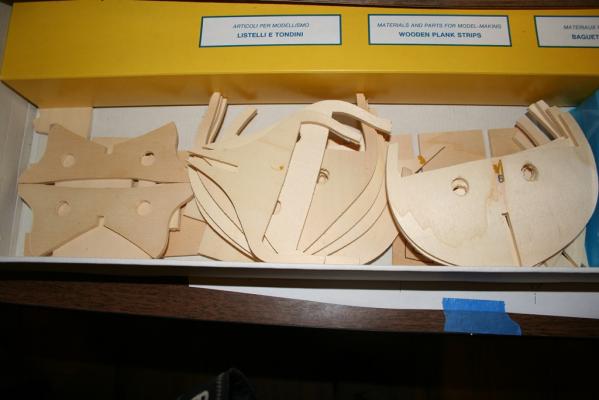
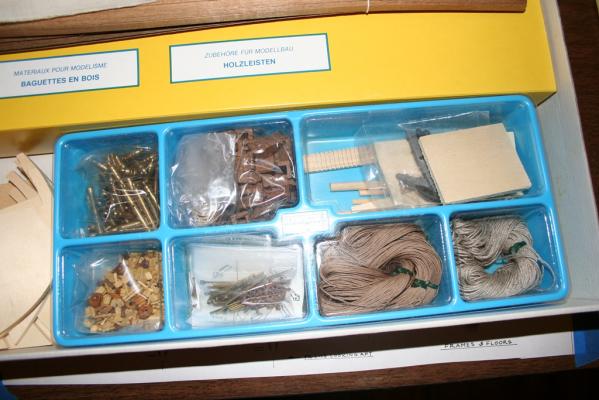
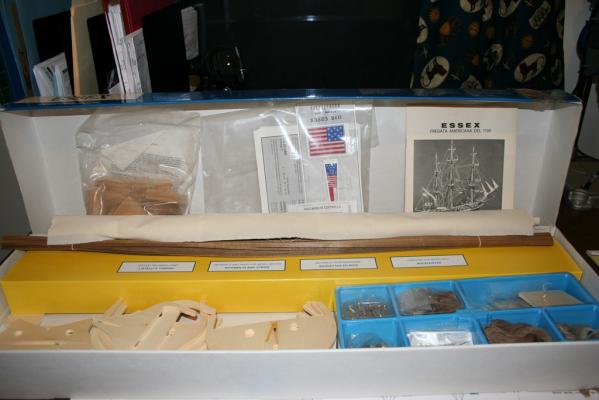
Greetings and salutations. Not a great deal of progress to report - continue to fine tune the alignment on the bulkheads in preparation for installing them. I was out of town most of the week (and will be next week as well), but the Admiral graciously assisted me today with a detailed inventory of the materials. There is no materials list provided, and all of the wood was in a couple of bundles or just loose in the box. After a couple of hours of sorting and measuring, we came up with a good detailed inventory of what is provided. Next step is to translate the Italian into English - my significantly better half has offered to take that on as well! So - here is what came in the kit AFTER the initial sorting. First, the Timber The Laser Cut pieces (knees, pin rails etc). The Dowels and some more shorter timber. Also the molded pieces - some form of pressed wood material. Here is a close up of the stern windows etc. I think, when the time comes, I will be trying to make these from scratch. Time will tell on that! Spending my time while on the road going through the AoTS Essex, John Stevens plans from 1952, the William Baker plans (in The Frigate Essex Papers, 1974) and cross checking to the kit plans. I have the plans by Portia Takakjian on order and will be working with those as well. The kit plans are more building diagrams and parts drawings and most are not to scale.There are a couple of good profile views and cross sections which are to scale so using those for some of the preliminary layout work. There are no lines drawings provided, so will be checking the hull shape using the other sources listed above.
-
Very handy for soldering small stuff.
-
Harriet Lane in the home stretch, Emma C. Berry in the framing stage. Just started the Aeropiccola Essex - I like this kit! Corel ranger on the shelf for now.
-
Good morning, Lawrence. I agree with Grant - not sure how the rigging material is in your kit, but it was like night and day compared to the stuff in my kit. I'll take a couple of pictures (using both on the Harriet- too complicated to change it all over) when I get home from Orlando on Friday.
-
Your craftsmanship continues to impress me, John. Wonderful job on this - you do her justice!
- 2,250 replies
-
- 1
-

-
- model shipways
- Charles W Morgan
- (and 1 more)
-
Off to a nice start - mind if I follow as well? I am partial to schooners, just like the lines and simplicity!
- 1,039 replies
-
- 1
-
-
- ballahoo
- caldercraft
- (and 2 more)
-
La fortuna non giocata!!!
-
Hi there, Popeye. There are 2 wooden dowels (one on each side) that extend through all but the aft most bulkhead. It appears that they serve as both additional reinforcement as also for aid in maintaining alignment.
-
Thanks for the insight into working with Aeropiccola plans - this promises to be a challenge for me, but I am looking forward to it. Actually approaching this as though it were a real ship to a certain degree - working across the 6 sheets of plans to identify what needs to happen when, then building out a schedule of steps that I need to take to get there. Here's hoping I don't forget step 14 until i am at step 298!
-
LOL! My better half offered to buy some rat poison this weekend if that would make it any easier!
-
Thanks, Grant - switching to his rigging thread made a huge difference in both my satisfaction and the ease of rigging!
-
Thanks, Popeye. Not sure full speed is very fast, but it is moving! Still a great deal of little stuff to do on the deck but can work that around the rigging. Thank you, Sjors! Not nearly as impressive as your work on the SI, but I am quite pleased for a first build.
-
Thanks, Augie. This is probably my third or fourth iteration on some of it but I like the way it looks overall. Thanks for the kind words, Lawrence. I can only compare Chuck's line to the synthetic line that came with the kit. Chuck's is a lot easier to manipulate and form, looks much more natural as well. Thanks, John. Not much to show but at least I am moving forward again!
-
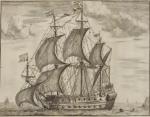
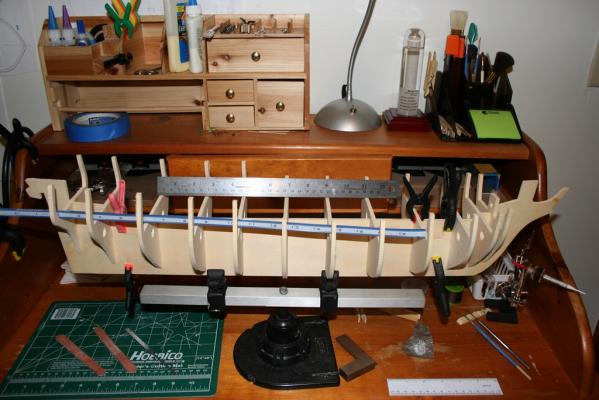
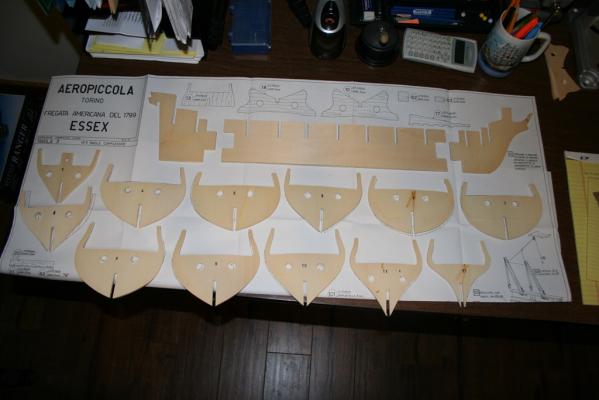
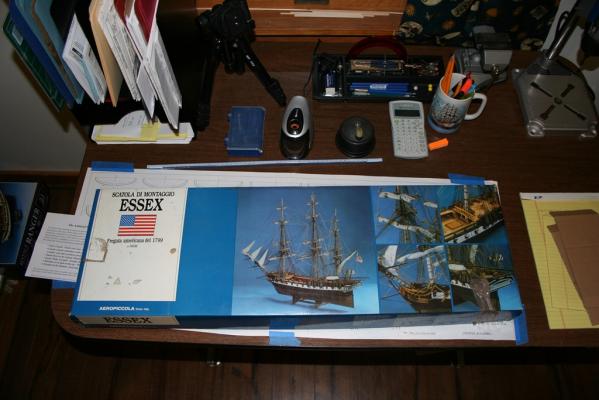
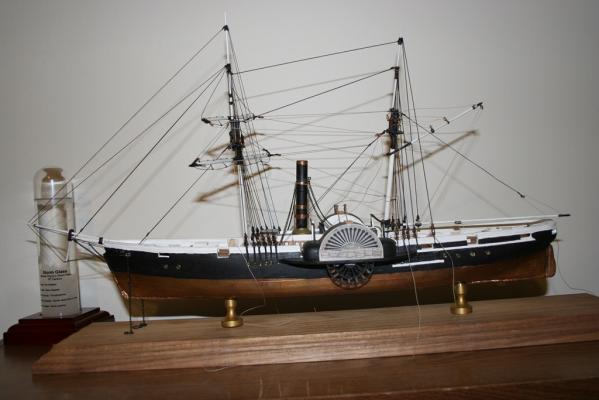
So, with the Harriet Lane nearing completion and the Emma C. Berry moving along, I figured it was time to start a whole new adventure. This Aeropiccola kit dates to 1974 (according to the drawings, at least). It is a very solid POB kit, plans are in Italian but a brief translation provided for the labels into English. No instructions, just the plans. My intent is to work through the plans, referencing the Model Shipways instructions for ideas. I will also be using the Hackett plans and the redrawn version by William Baker provided in The Frigate Essex Papers (1974). I also have The Anatomy of the Ship The 32-Gun Frigate Essex by Portia Takakjian, as well as several articles from The Nautical Research Journal and Model Ship Builder Magazine (Seaways Publishing). I have ordered a copy of Portia's plans for the Essex and the Model Shipways plans as well. My goal, over the time I am building this beastie, is to take it slowly and try to combine the best from all sources available to me. We'll see how that works out! This is quite a change from the Harriet Lane - 1:70 scale as opposed to the 1:144 for the Harriet (and 1:32 for the ECB). This one measures about 27" stem to stern for the framer - total length when finished will be 43 inches long, 13 3/4 inches wide and 29 inches tall with the rigging. The kit includes all the rigging, including material for sails. That decision is a long time off, so no idea yet whether to include the sails or not. Here, then, is the obligatory photo of the box (note this is one of the kits Maryann was selling last June). Some of the contents The Bulkhead framer and bulkheads laid out for inspection And, the bulkheads dry fit - all slid in slick as could be. I did have to file the fitting between the central portion of the framer and the bow and stern pieces. No glue has been harmed as of yet, but the first bits of saw dust have been made. So, welcome, pull up a chair, and look forward to seeing how this goes!
-
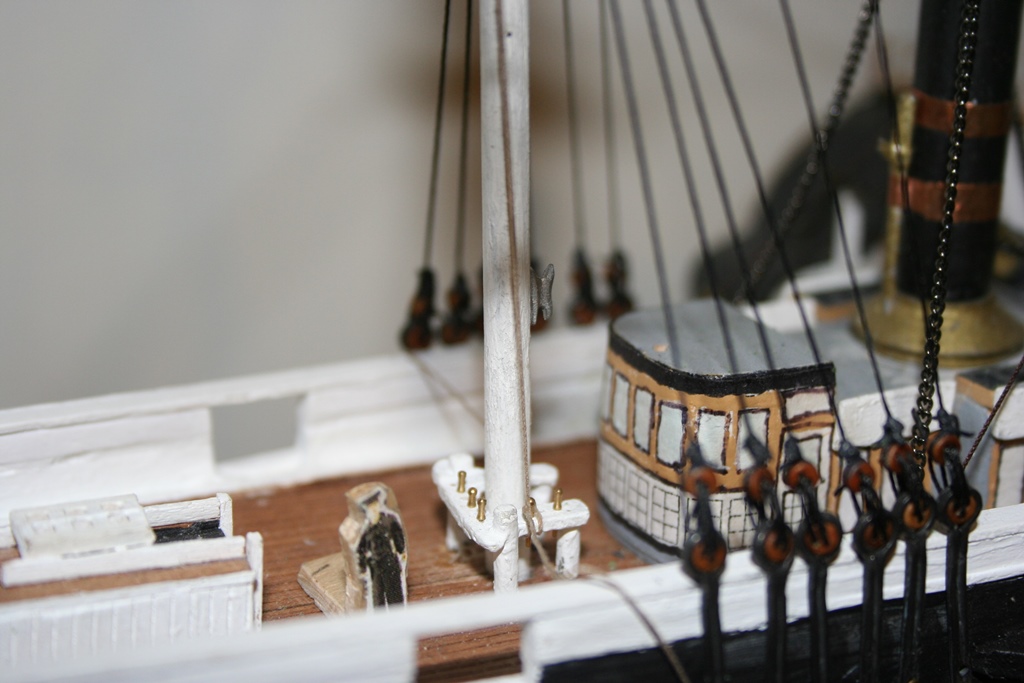
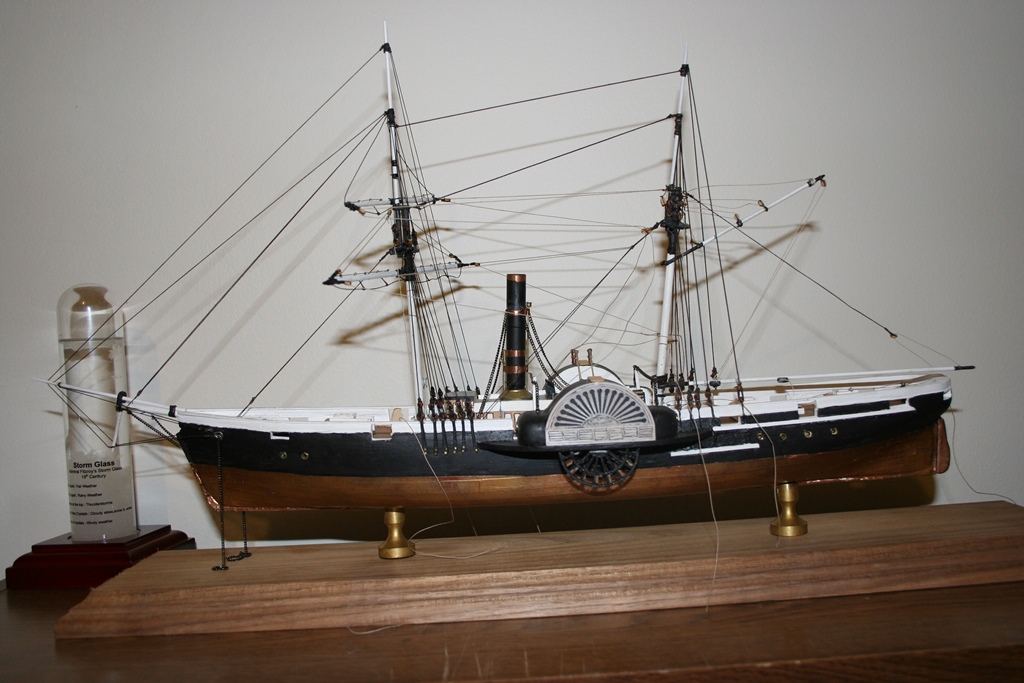
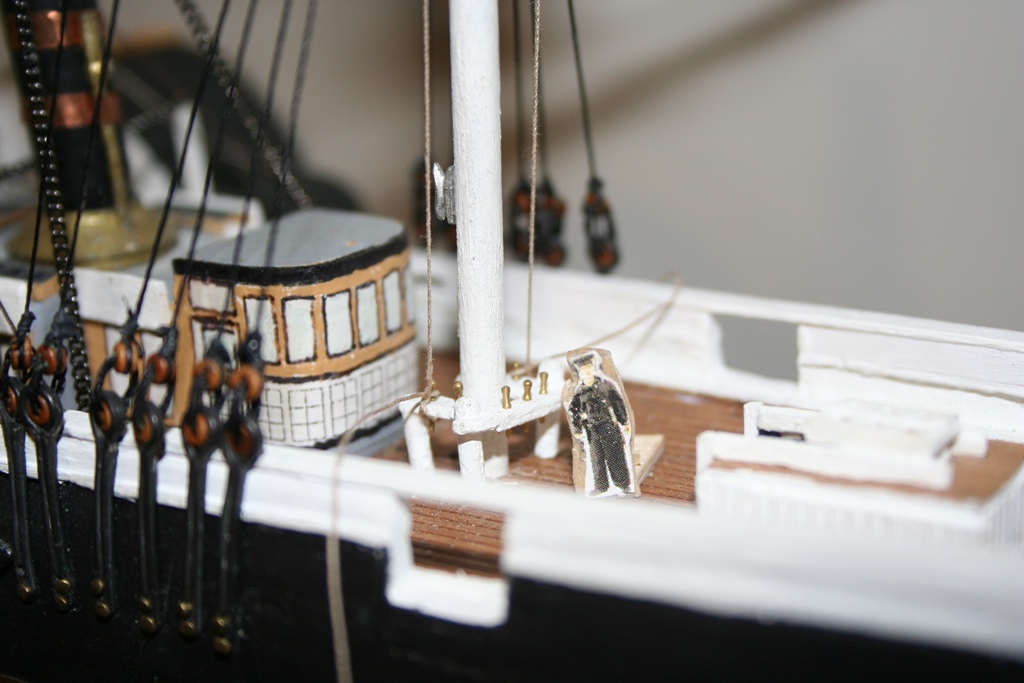
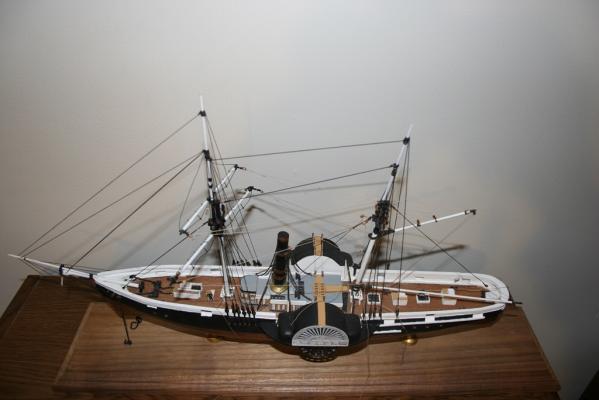
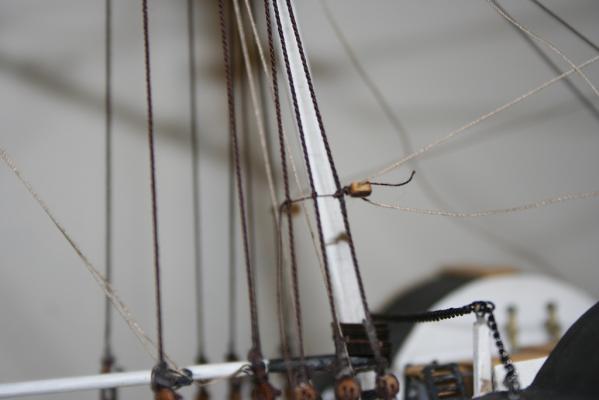
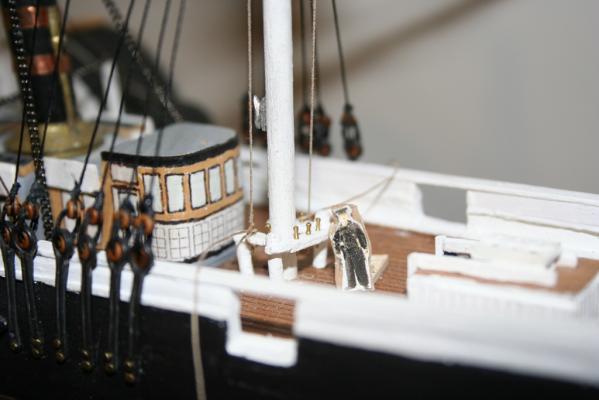
Progress continues, albeit very slowly! Each step now seems to take a goodly bit longer as I plan out the sequence, and at the same time try to keep from blocking other things I still need to do! The major accomplishment is moving the Model onto the stand - I had to cut down the stanchions about 1/8" but that was fairly straight forward (thanks to the new Dremel!) View of the Fore mast (with my ships superintendent Almanza). Have started to belay the lines from the lower lift. With all of the shrouds set, I have started on those miserable rat lines. I have not yet calculated how many are needed - I think I would disolve into a deep funk if i knew! The shrouds are .018" diameter from Chuck - I love this stuff! So much easier to work with than the synthetic that came with the kit. Last, a couple of views of the full ship.

-
Welcome to the show, Robbyn! Good thing this build is a big one - even here in the balcony I can see it just fine - which is exactly how it is looking, Sjors - VERY FINE!!!!!
- 1,616 replies
-
- 2
-
-
- caldercraft
- agamemnon
- (and 1 more)
-
Is this a real ship? "Kiel restaurant"
trippwj replied to Shamrock's topic in Nautical/Naval History
There you have it! Certainly a loose interpretation of Frigate! 3 decks of guns - I counted over 50 cannons on the starboard side in the first picture you posted. -
Is this a real ship? "Kiel restaurant"
trippwj replied to Shamrock's topic in Nautical/Naval History
Very interesting picture! Based on the date you provided, I would suspect it was an older ship of the Line converted to a restaurant. Based on the role of Kiel as the home for the German navy Baltic Fleet, it seems plausible. Will do some digging - assume this is from the City of Kiel, Germany (not Kiel, Wisconsin)? -
Not unique to British ships - see the example on the Confederacy. http://modelshipworld.com/index.php?/topic/1395-downloadable-instructions-for-the-model-shipways-confederacy-kit/?p=27142
-
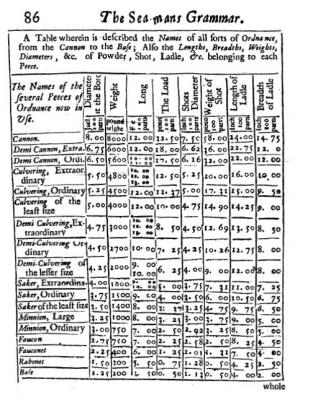
Gary - I came across the following whilst perusing my copy of the 1691 Seaman's Grammar and Dictionary by Captain John Smith.
-
Fantastic work, Sherry. Nice way to stay in away from the cold!
-
Druxey - that is correct. British Warships in the Age of Sail, 1793-1817: Design, Construction, Careers and Fates
-
And to think I paid $64 for a new copy on amazon last April!