Cabbie
-
Posts
599 -
Joined
-
Last visited
Content Type
Profiles
Forums
Gallery
Events
Everything posted by Cabbie
-
I don't know if it has been mentioned before but it is available on Google play books to read free along with various other rigging, mast making, ship building books. Hooroo Chris
-

Wales for Mermaid
Cabbie replied to Cabbie's topic in Building, Framing, Planking and plating a ships hull and deck
Hello BE Yes That's what i was thinking, but I will have to look up top and butt. It would be very adventurous with the wale material supplied, .4 mm thick, brittle, mahogany, but do you know if there any rules for the size of proper scarf joints? Might paint them, was thinking of painting them black and around the gun ports. thanks Chris -
Hello to all, just a little question for the brains trust. I am just wondering about the wales on my Mermaid, will they be plain planks or can/should they be a patterned plank? From my log "The wale trim strip will sit on the bottom of the lower plank, with the channels in line, then 2 wale planks and then the lower trim strip. They will have to turn under the transom a bit." Thanks Chris

-
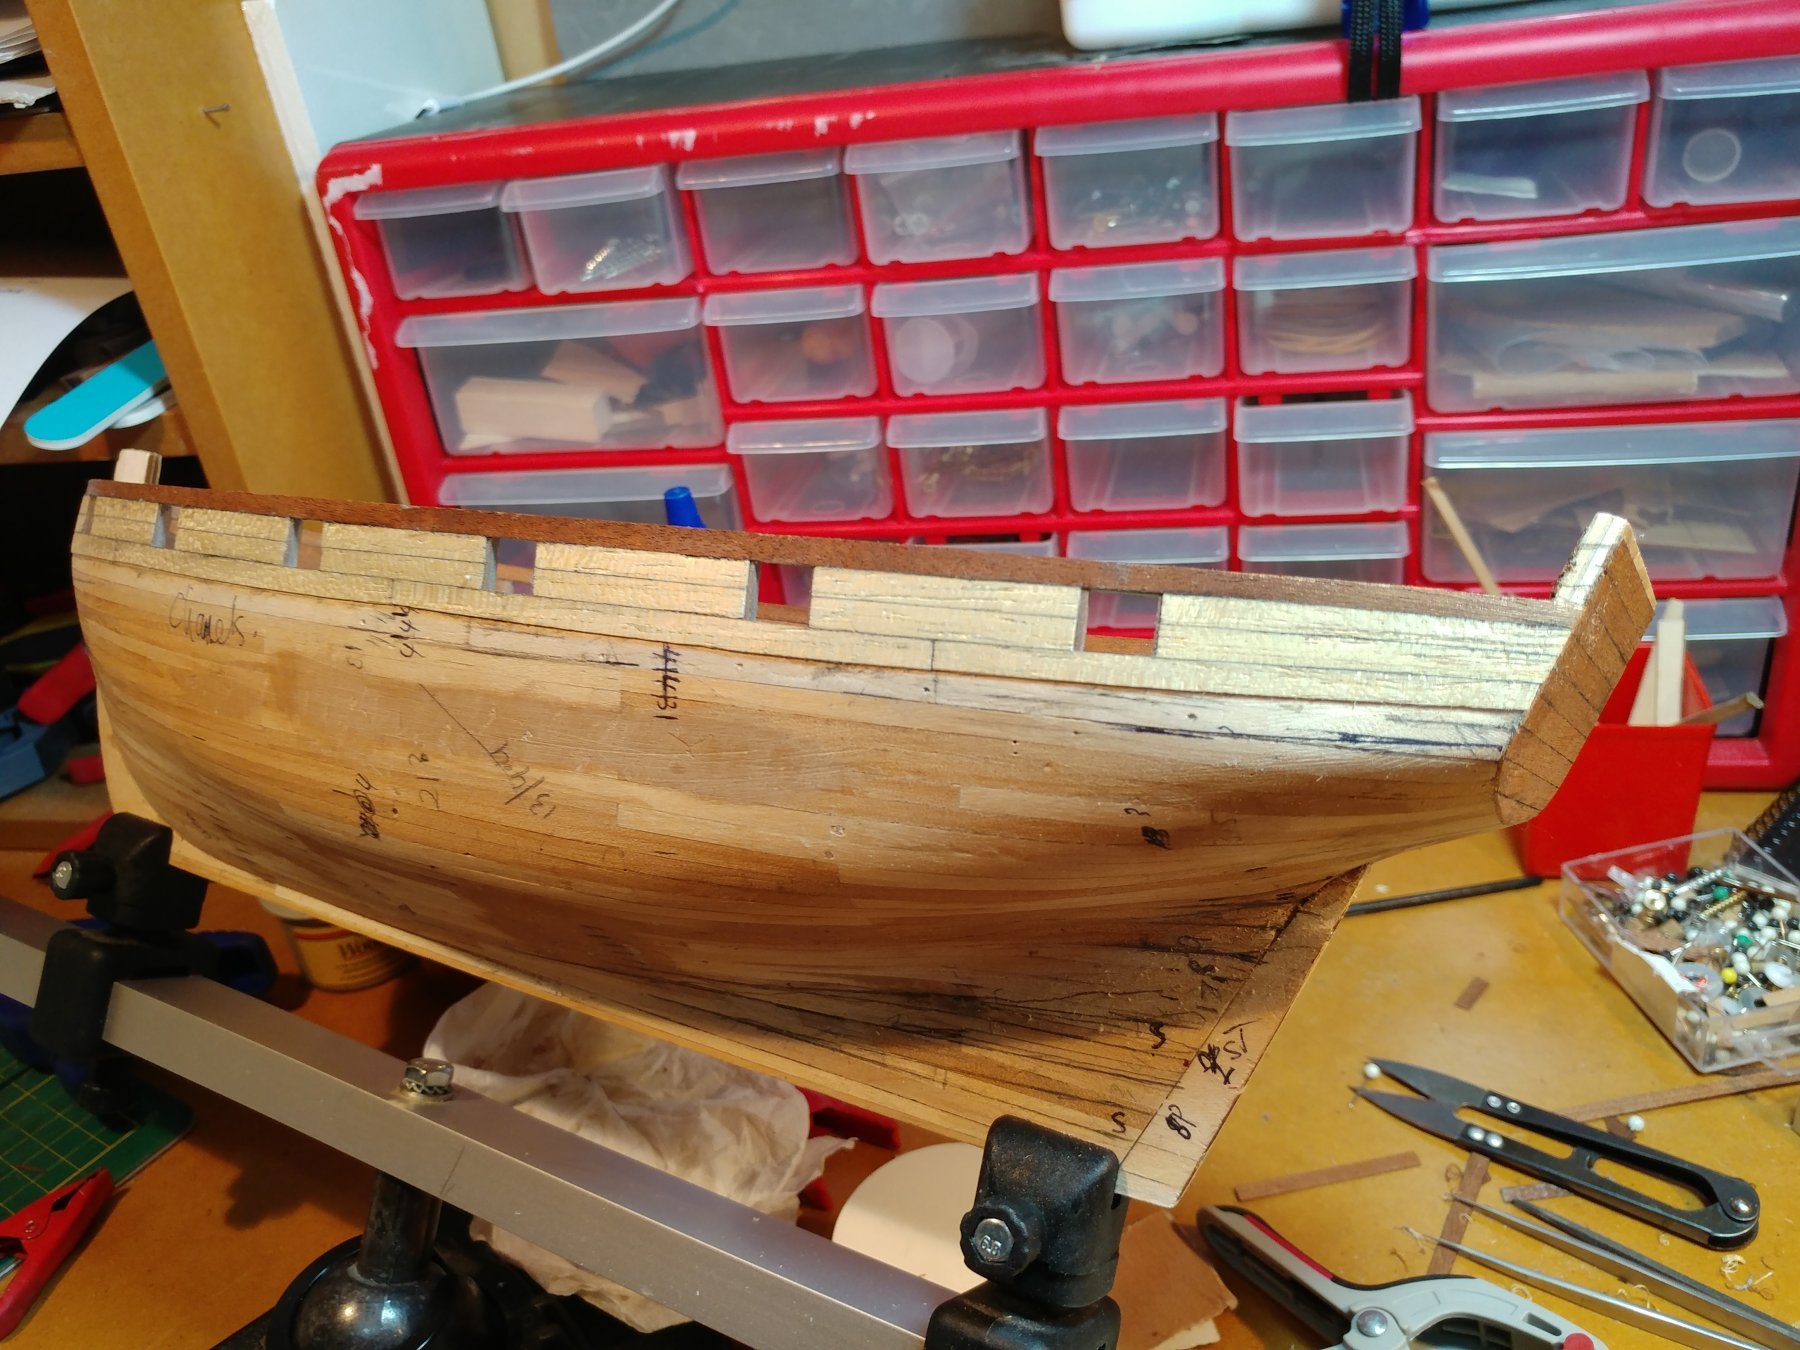
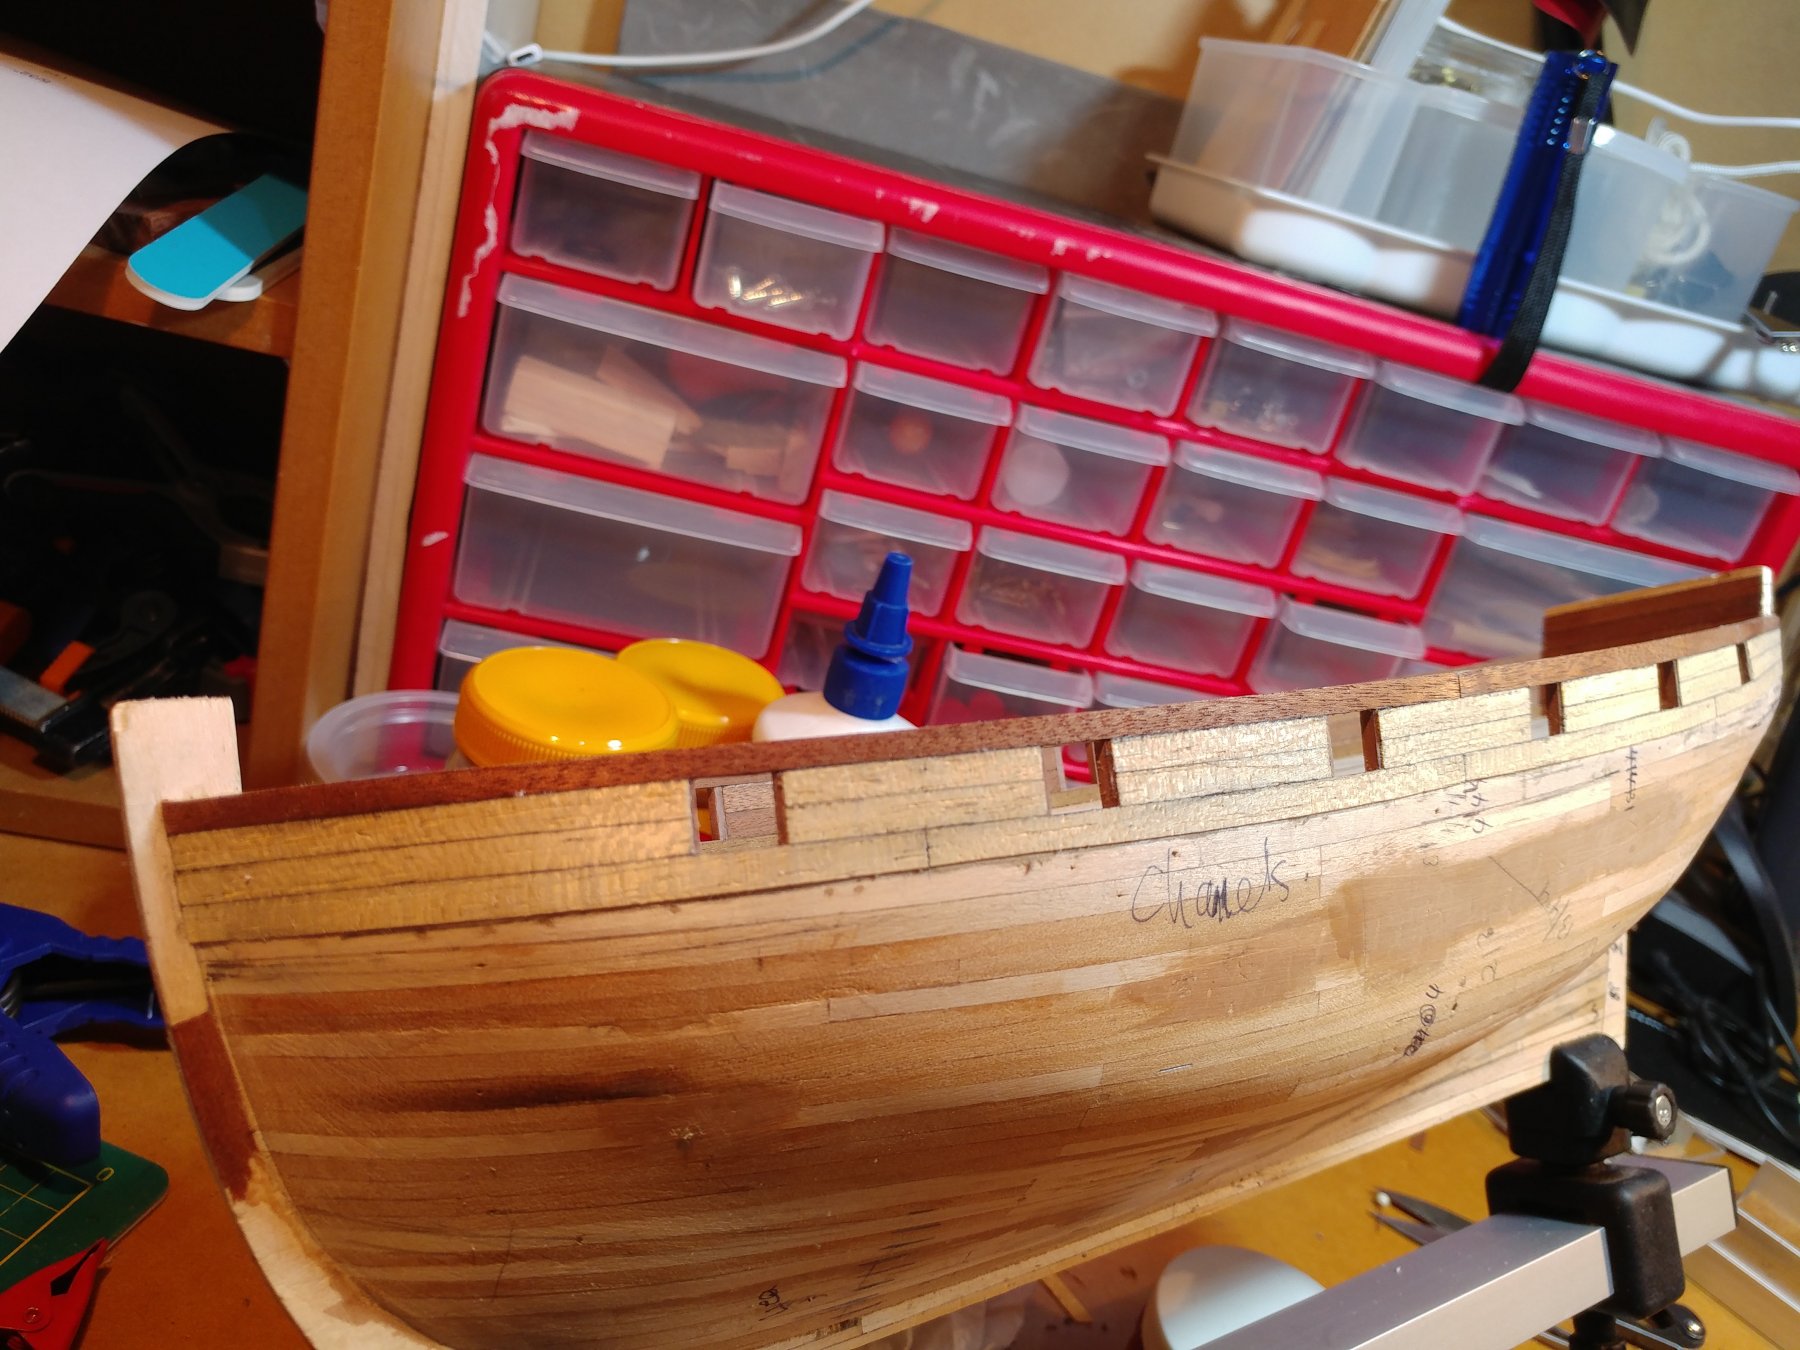
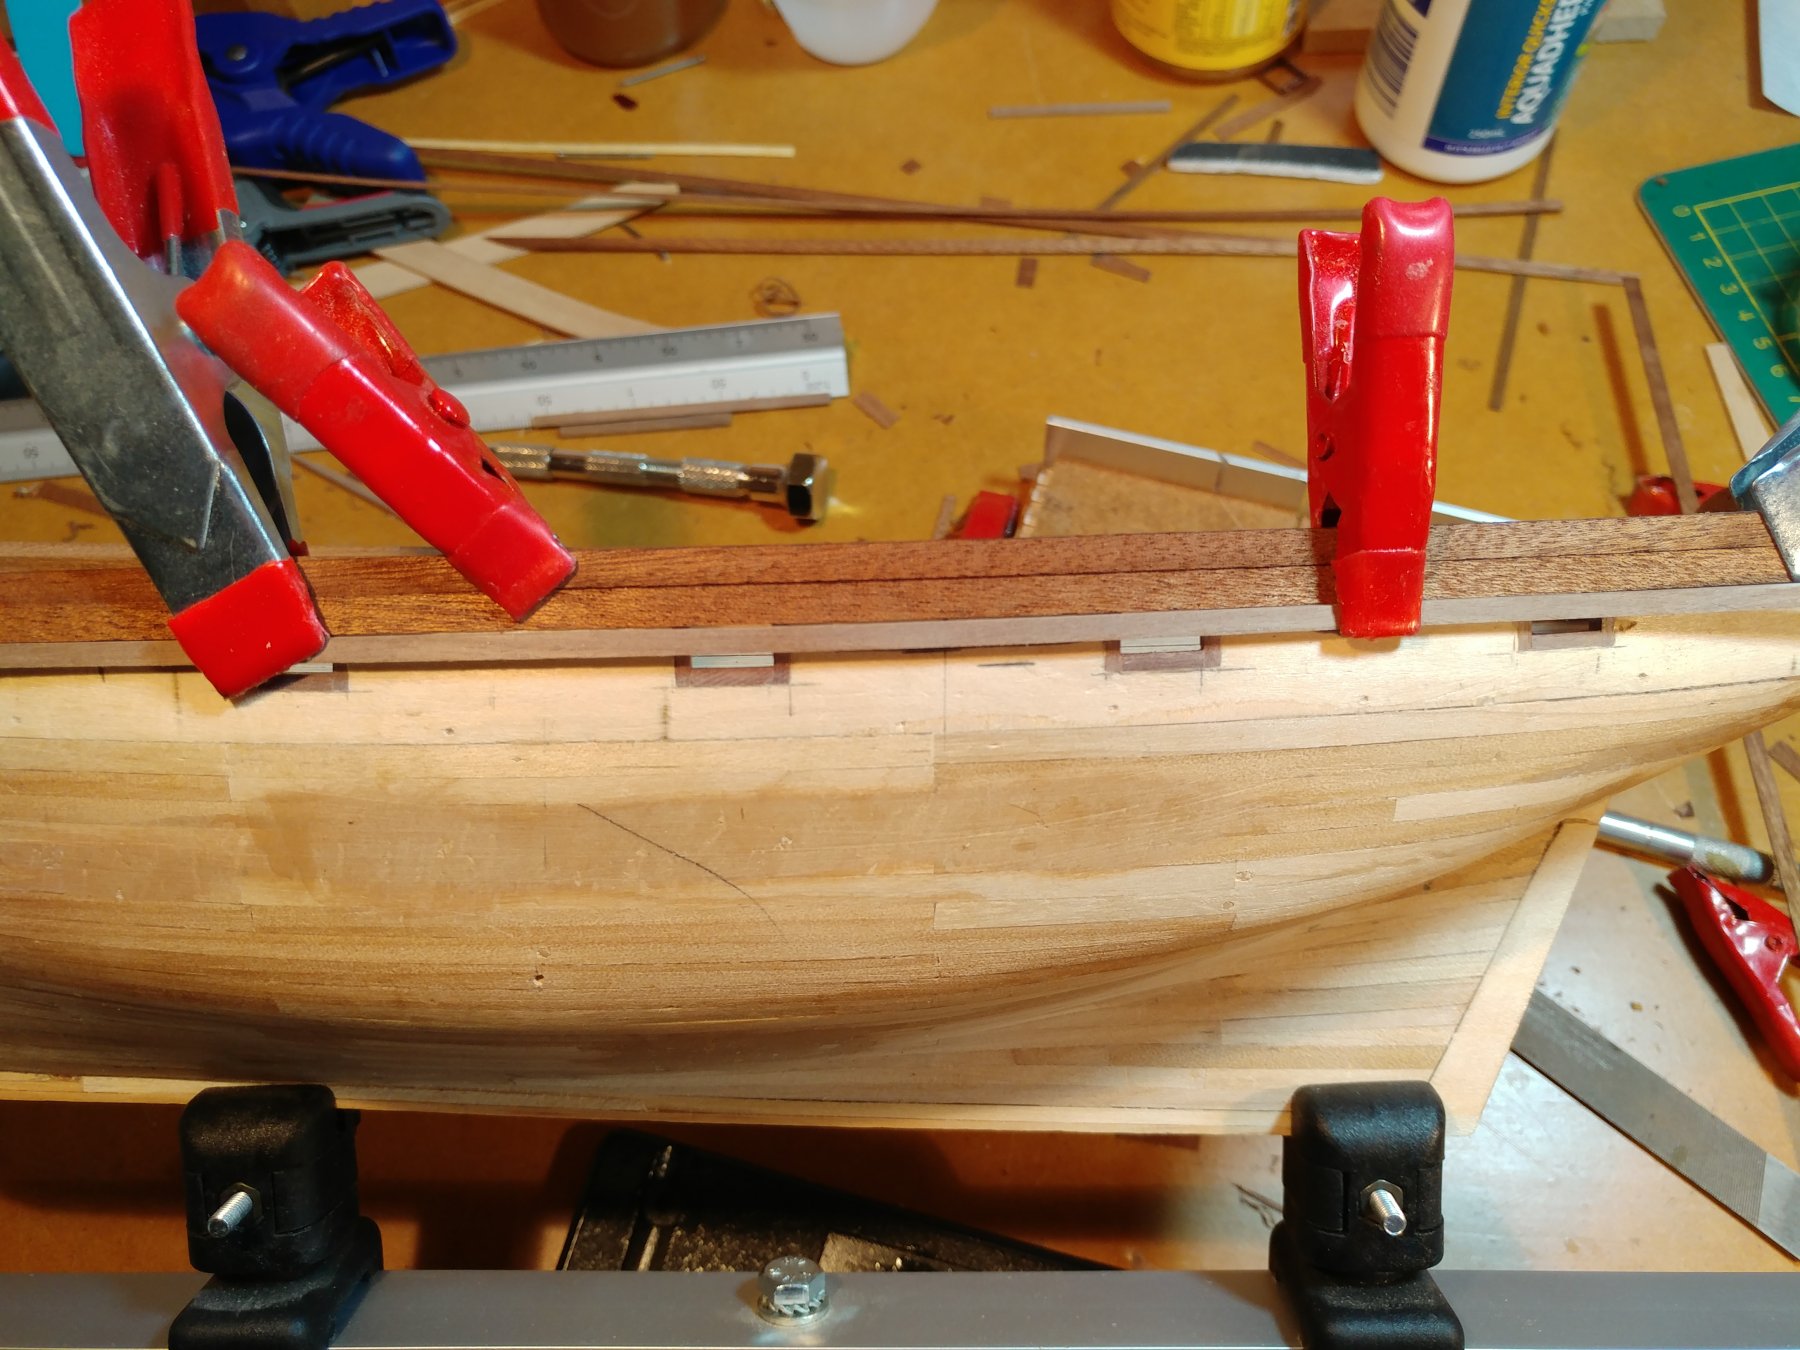
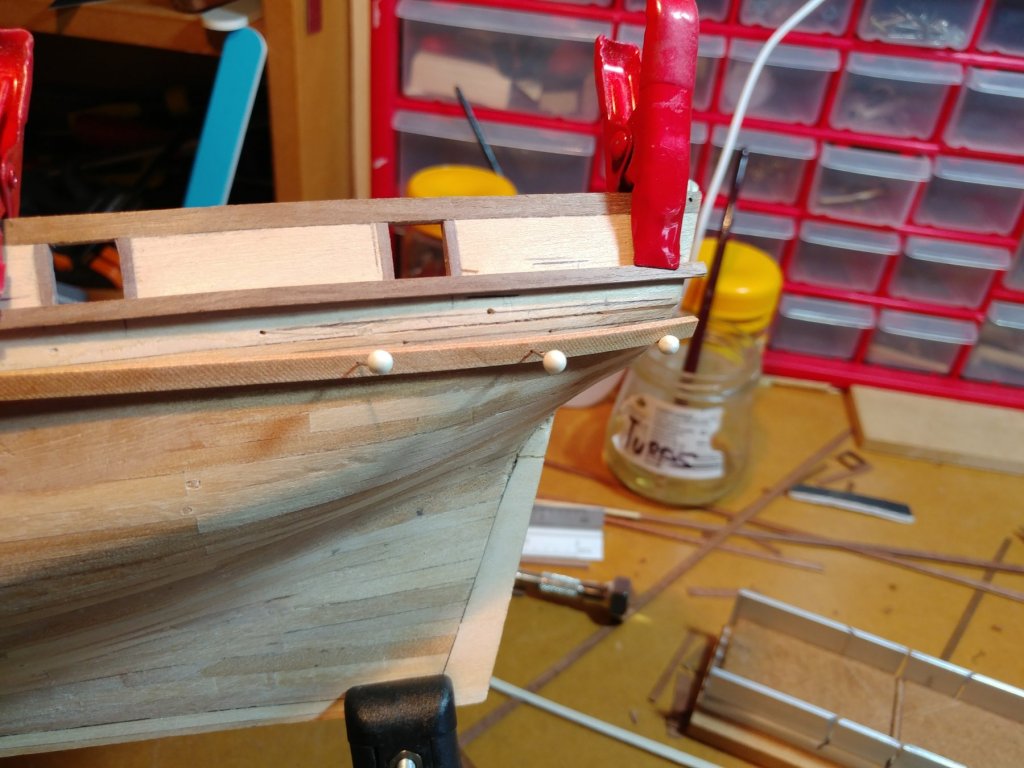
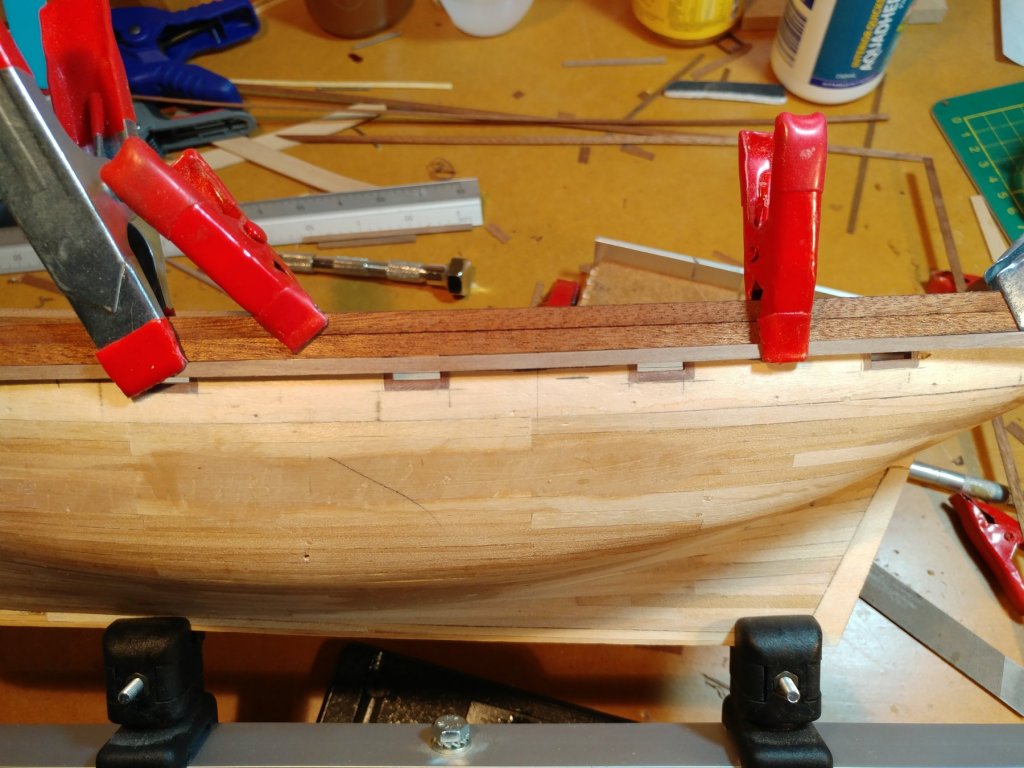
Booyah!!! Planking at last. And yes change my mind again, switched over to the pale planks to go along with the gun ports. The wale trim strip will sit on the bottom of the lower plank, with the channels in line, then 2 wale planks and then the lower trim strip. They will have to turn under the transom a bit. I have been working out the general hull planking. At this stage there will be 2 or 3 steelers at the stern, maybe some dropped planks into the bow and under the wales close to the bow. And maybe I will have to partake in some "faux spiling" I suppose on a boat like this the wales were just plain planks? And the standard plank length?

-
Ha, would have been better if i did a spell check, lol. generally means hard, strenuous work.
-
Morning James, Certainly earned yourself a T shirt. Its hard yakka planking a boat like this with the materials they give you. Some planks need to be spiled, but there are no wider ones to do it. Bit you got there and it has a very nice slightly weather beaten look about. For a first build it is something to be very pleased with. I see you have a few steelers in there I am thinking I will need 2 or 3 on mine. Hooroo Chris
-
Not so much the battle damage. I was never really happy using the deck planking material supplied. And now that we have discussed so much about the planking, wales ect, I don't know if the deck suits the boat. I have a new version for the outside that i really like and will think about the deck again later. Cheers Chris
- 241 replies
-
- 1
-

-
- mermaid
- modellers shipyard
- (and 1 more)
-
Good Morning Edward Welcome to MSW and ship modelling. A lot of first time builders run into trouble with the hull planking. Certainly a major skill to master. I have seen but didn't take a lot of notice, some kits come with pre-spiled planks, and off the top of my head i don't think they were necessarily big ships. Have a look through the kit logs and the model site adds on the side bar. And most importantly when building, take it easy and enjoy Hooroo Chris
-
Nah, Don't throw out the ship. Do it again. I am seriously thinking about re-doing my deck, some clumsy type around here has knock it around a bit' and hit it with the drill bit a few times. All in good Fun!!!!!!!!!!!!!
-
Just has to be! My brain has had enough. I want to get on with the planking.
-
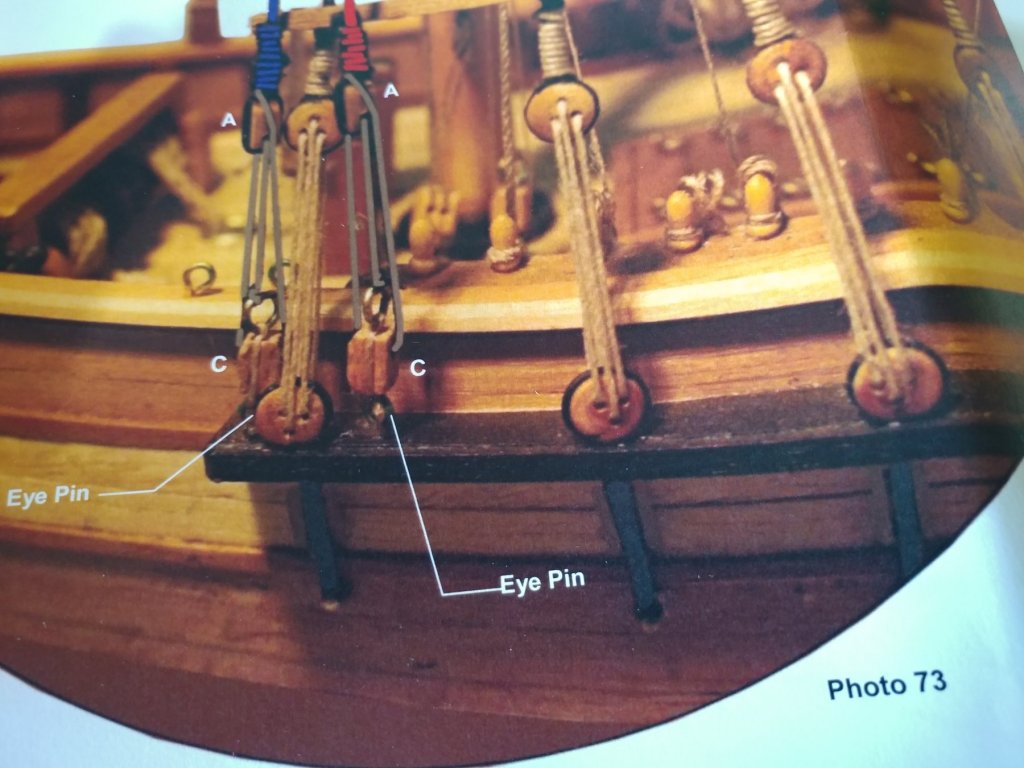
Two pics of how my instructions say it should look, except their pictures are different to their plans. I will do mine as in the first pic with the channels under the trim strip and on the top face of the wales, except mine will be 2mm lower as I didn't cut the gun port holes int the top walnut strip. I want to keep the wales as high up as possible.

-
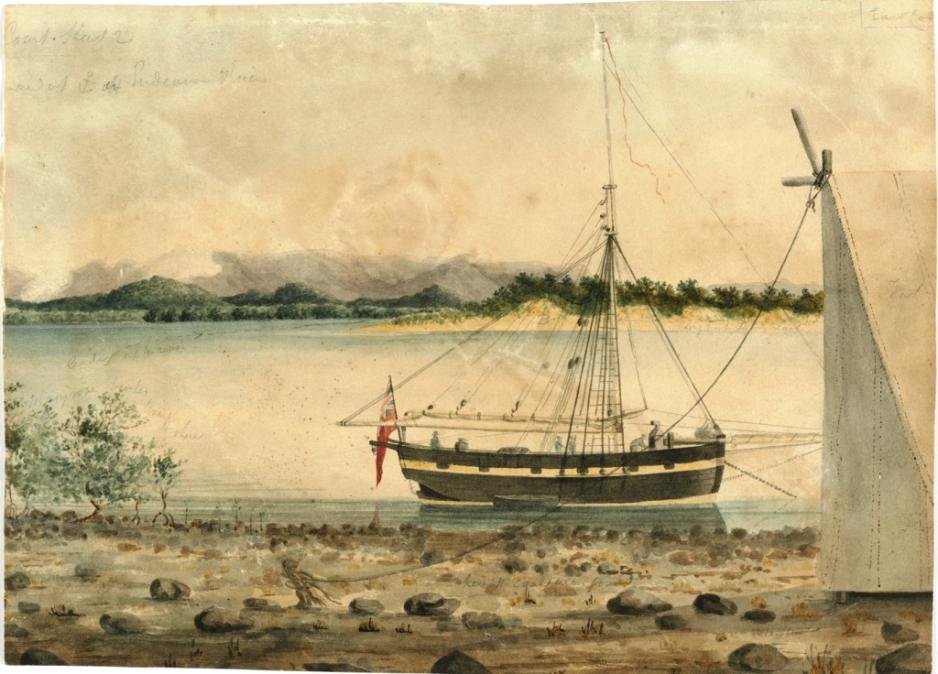
Morning James "I've been worried I'm overthinking things or missing something obvious" "so we could be jousting with windmills!" I think you just about covered it all I don't like that endeavour river pic, If you zoom in, the gun ports seem to go all the way up to the capping rail and with the dark rectangle on the white, I think that makes them too tall. There is still room under the white to place the wales in that pic. Its funny how that rounded transom keeps showing in theses drawings. I think with that model and gun port drawing you have that is only a trim piece, to me the wales are below the ports. I think i have decided for me and my model i will put the wales under the ports and probably cut the wales trim piece between the ports. Hi Don, all is good over here work has been way to busy here, so I had to come back to modelling to regain some sanity.😕 Which would be more common the channels placed on the wales at the top, or just above the wales inline with the wales trim strip? Which means the wales trim strip drops down to underneath the gun ports. Or perhaps just ditch the trim strip. i will post pic of trim strip the plans have later. Ugh, work calls now catch you all later. Cheers Chris
-
Good morning to all, thanks for looking in and the likes, much appreciated. I am still trying to sort out where to put the wales, channels, wale trim strips. Does it matter if the channels sit on the wales?, been hunting around but seems hard to find. And a big Hi to you Don, do you have any projects going at the moment. It must be still cold and white over there, we need rain here, very dry and dusty all over. Its going to be a bad drought if it doesn't rain soon. Hooroo Chris
-
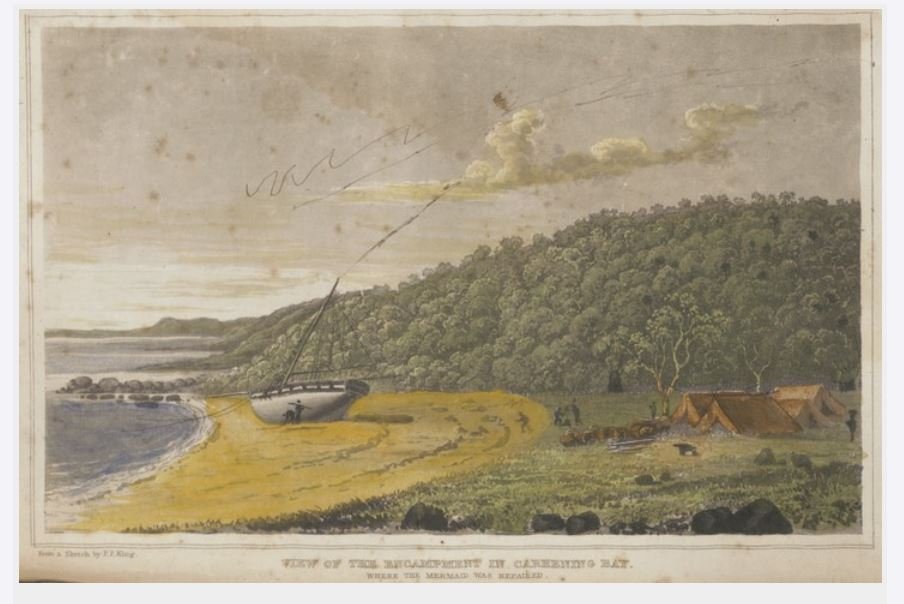
View at the Encampment in Careening Bay, Where the Mermaid Was Repaired. From a Sketch by P.P. King (London: John Murray, May 1825), nla.obj-136063558 I was just thinking of it in terms of seeing another model that looks something like what we are trying to build. Chris
-
Hunting around the net tonight I found this site with the picture below of a cutter and thought it looked pretty close to our subject. Though it is meant to be a bit later built and French. From Here, https://wiki.eanswers.net/en/Cutter_(boat) It seemed to look a lot like the pic of Mermaid beached at Careening Bay. From Here https://www.nla.gov.au/blogs/behind-the-scenes/2016/09/28/swallowed-by-the-sea-the-mermaid And similar to last from post 61

-
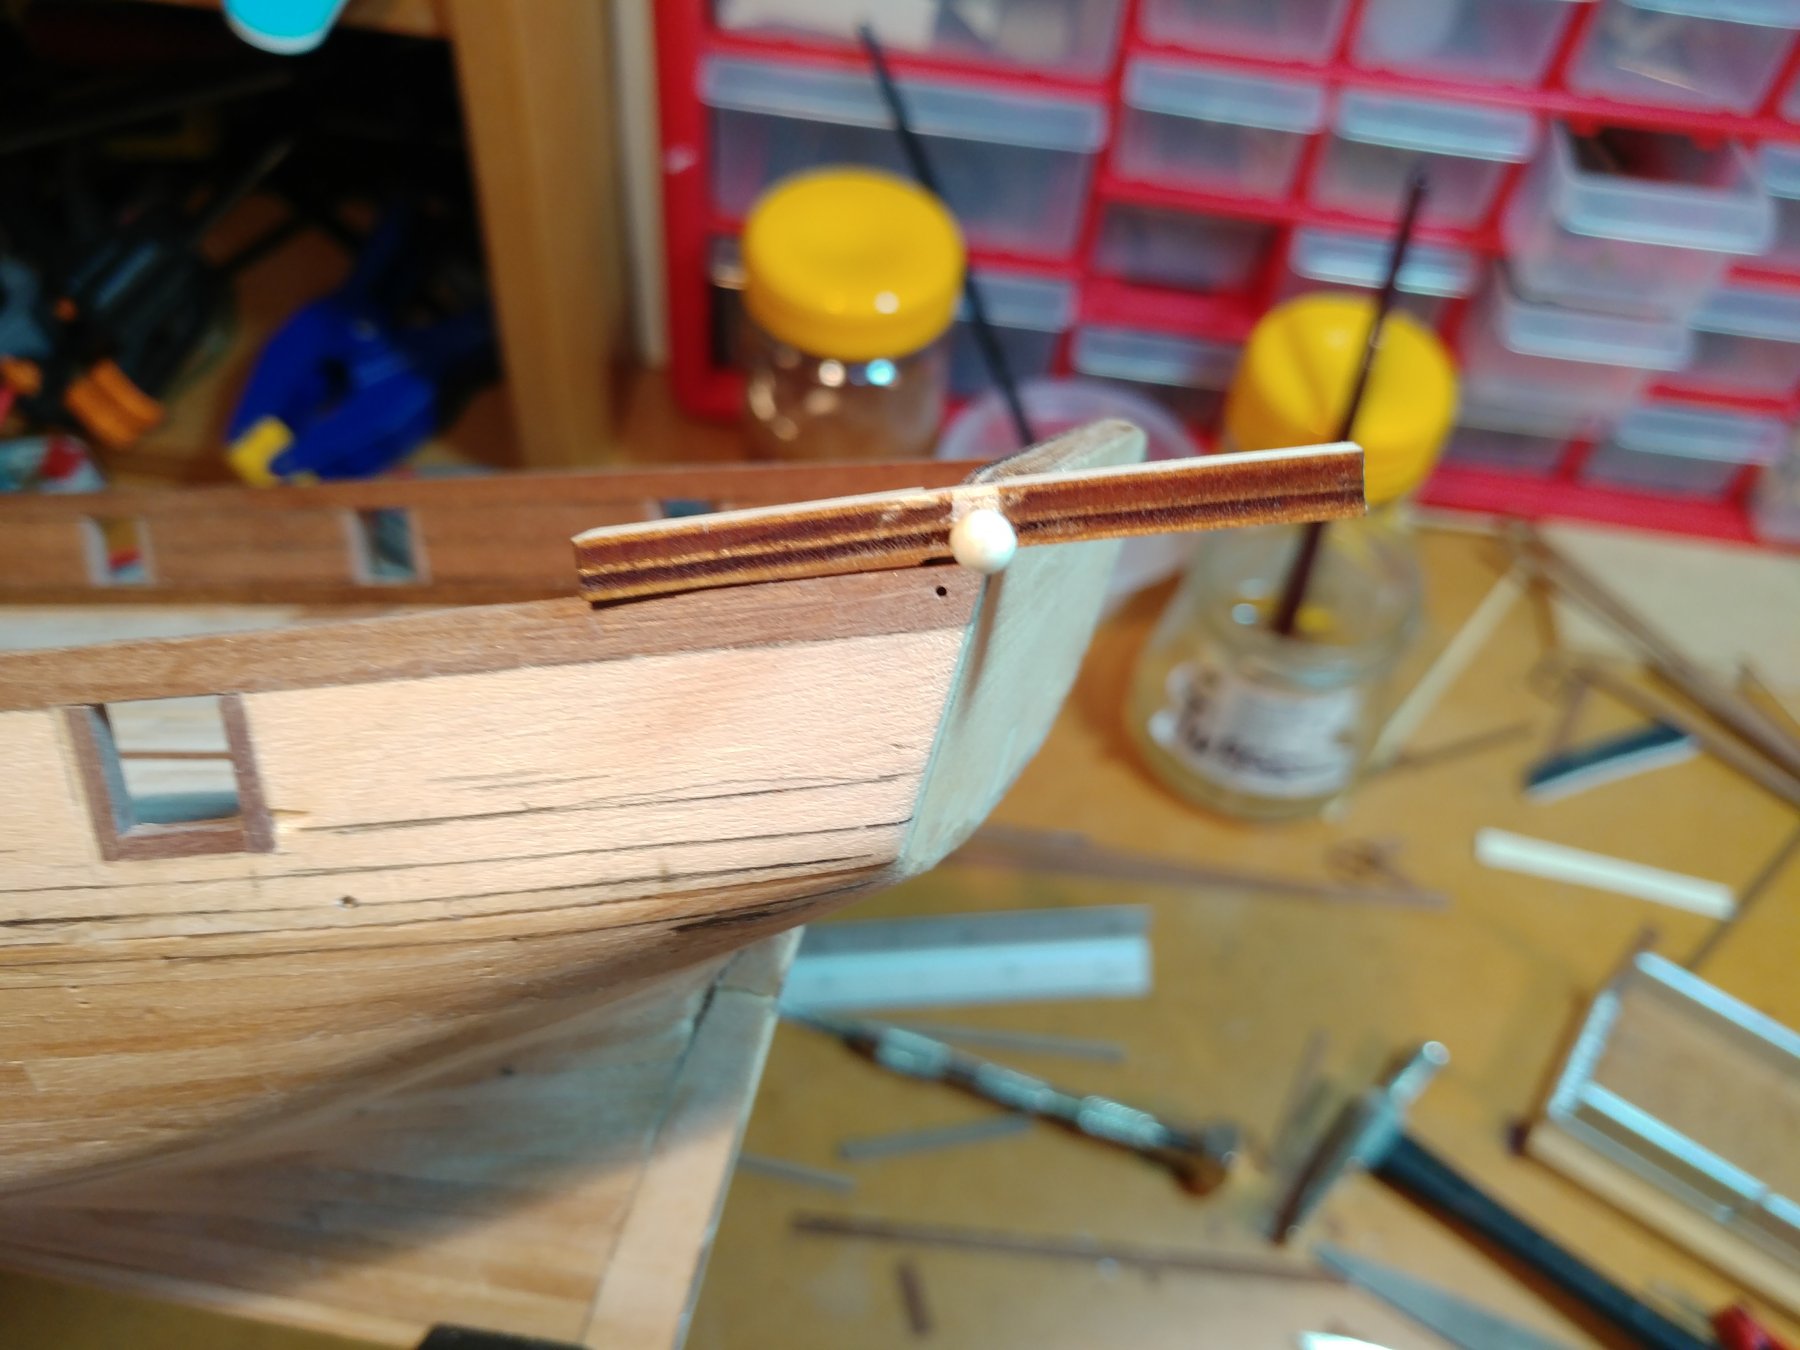
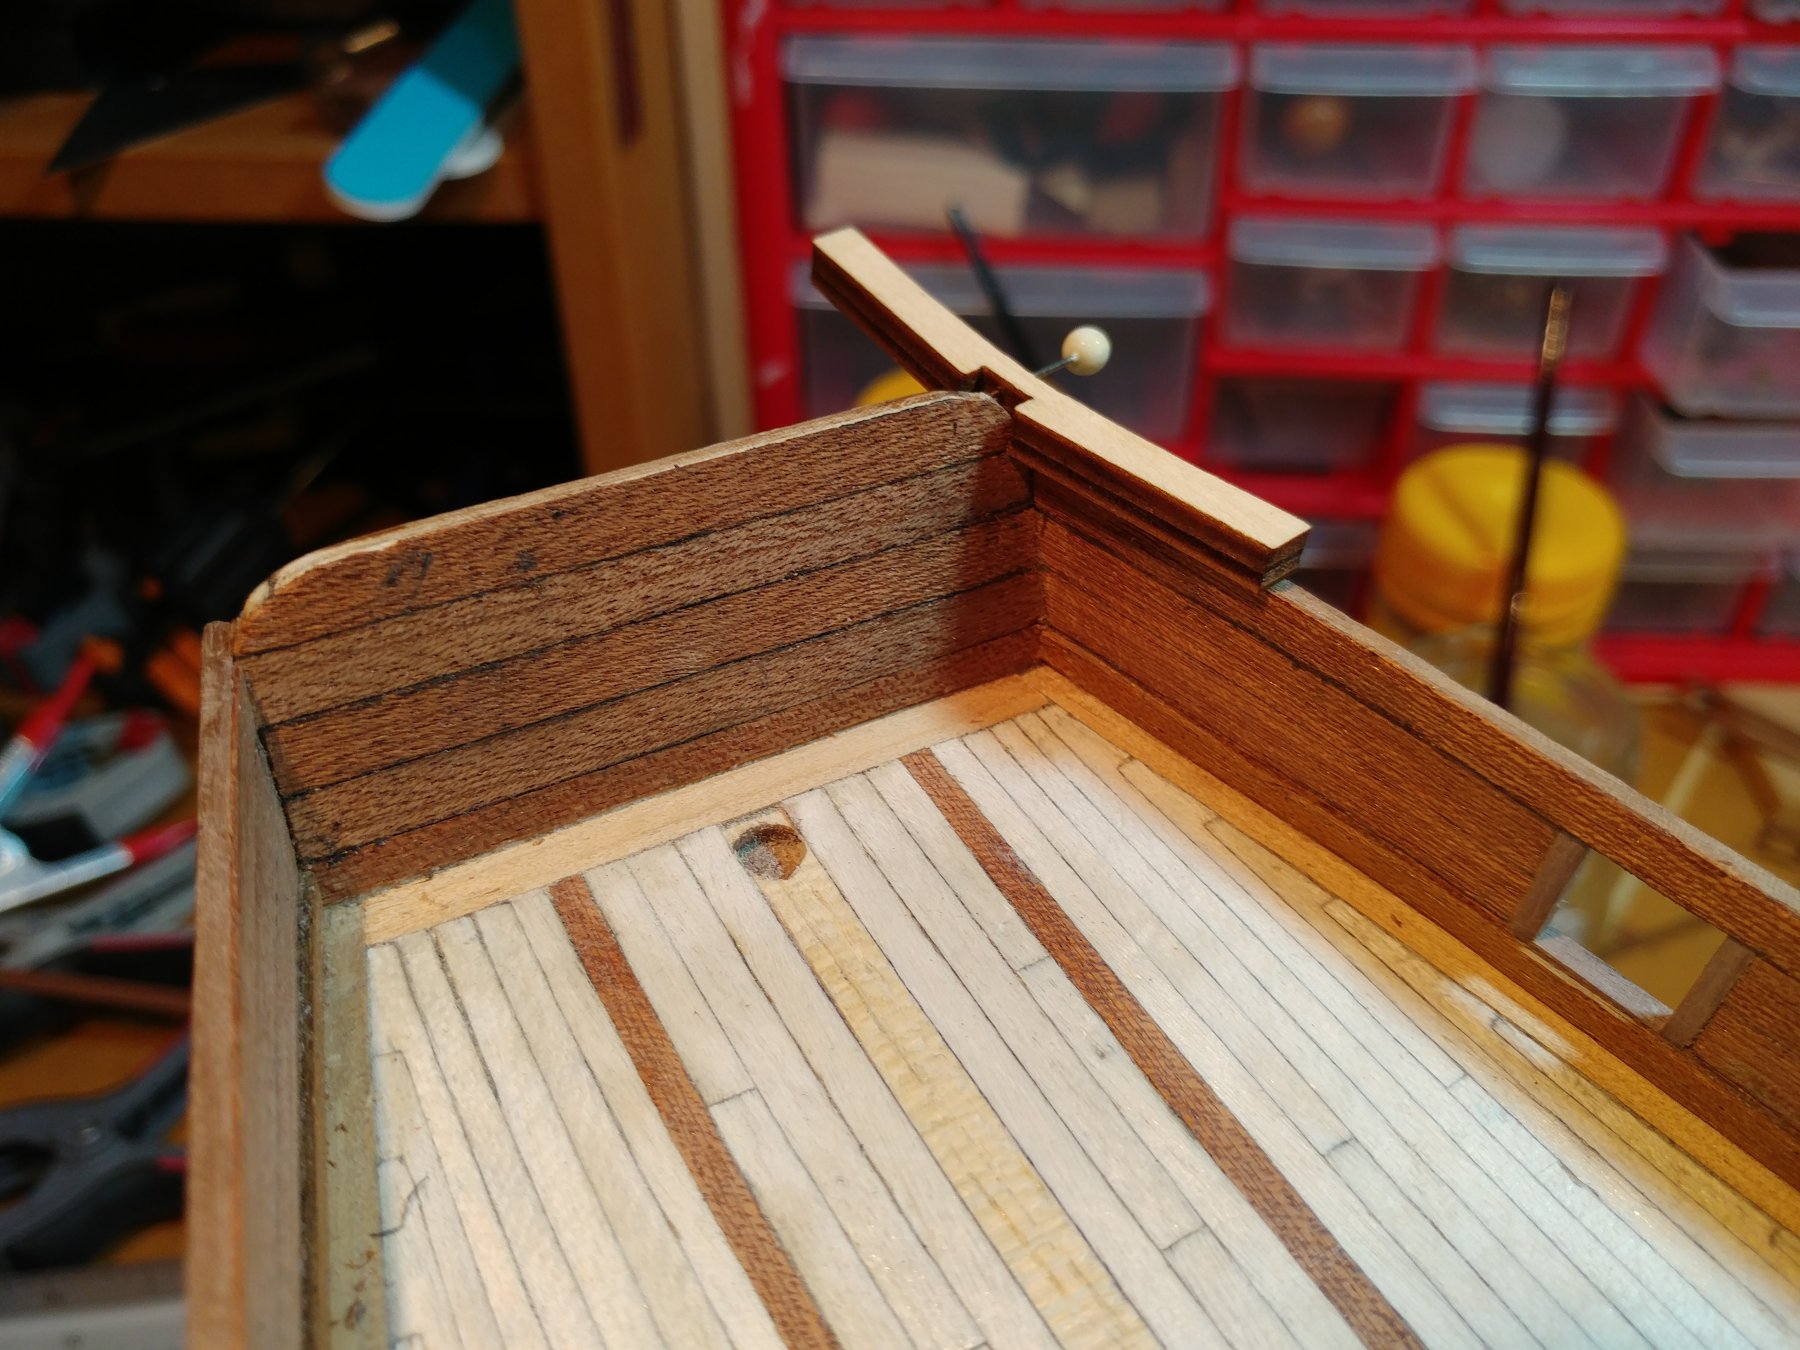
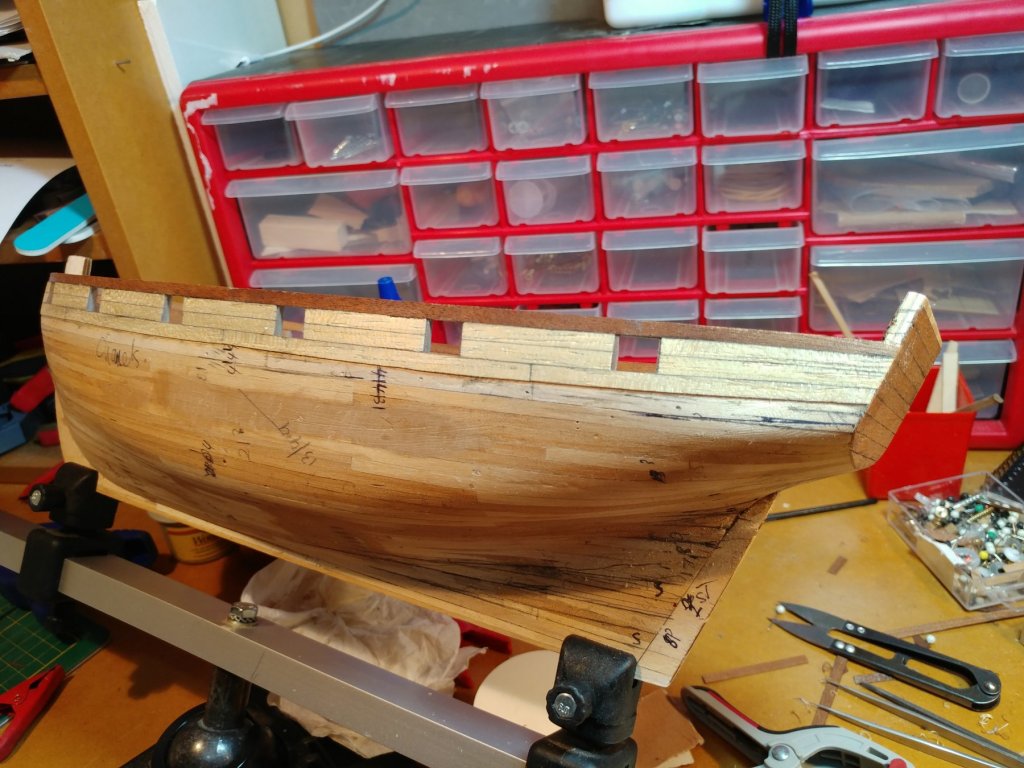
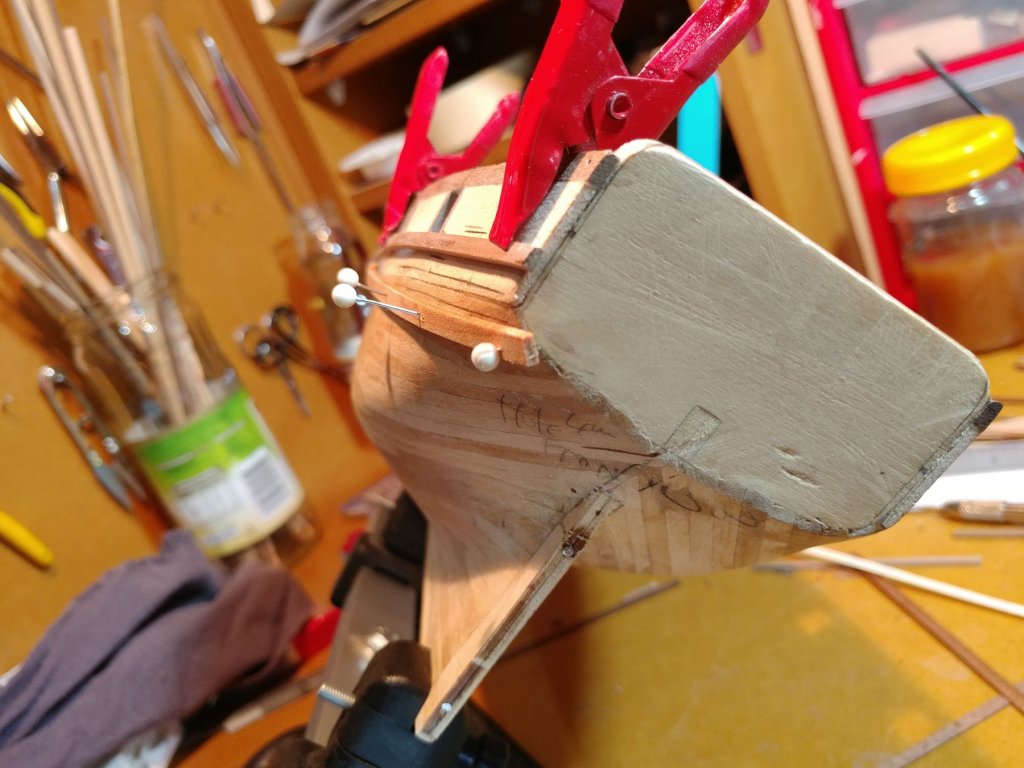
Discovered something else this evening, the transom is not tall enough. There also is a 2mm thick cap rail to be put on. I will have to add about 12mm in height. I will cut it back to the plank join at the top of the walnut strip and add on another piece of ply from an off cut. Is this the correct way for the davits to sit? I have seen a couple of models with the timber sitting the other way and increasing in height. Thanks Chris


-
Thanks for the heads up with the chanels, totally forgot about them, another thing to check before I start planking. And for the gun port drawings, i have been wondering about how they are meant to be done properly. Cheers Chris
-
Yeah the planking is a task and a 1/2, too many little things keep coming up to work through.
- 241 replies
-
- 1
-
-
- mermaid
- modellers shipyard
- (and 1 more)
-
Very nice Matt, Planking looks nice and tight. I am just about to do my Mermaid with the same planking material. Looking at yours reminded me to to the transom first. Thanks Chris
- 68 replies
-
- 1
-
-
- virginia 1819
- artesania latina
- (and 1 more)
-
Thanks BE That is what I was thinking, just wouldn't be correct. Yes Gregory the whale are the lighter colored strip which I have run out of. When i did the deck it looked like I wouldn't have enough, that's why the racing stripes made an appearance. I have placed a few test strips and it doesn't seem to be curving too much under the transom, not enough anyway to alter the gun port height.😨
-
A question for the wise and knowledgeable On the pic attached, below the walnut strip is according to the plans where the whales are to be placed, by the measurements given from the plans. The pics from the plans show them under the ports Is it ok for them to be cut either side of the gun ports. Or should they be under, if they were to be under they would probably bend around under the transom too much. Maybe I messed up the height of the ports. What would be the correct technique? Thanks Chris
-
Good Evening James How is the planking going, looking very good so far Have you had a look at where the whales are to be placed. Just been looking at mine and they will be cut in-between the gun ports. I don't know if this is correct ship building or not. The pics of the of the ship with the plans have them under the gun ports. I think i should have cut my ports higher up. Cheers Chris
-
Thanks BE, now please excuse me whilst i go and look up scuppers.
- 574 replies
-
- 1
-
-
- cheerful
- Syren Ship Model Company
- (and 1 more)
-
Now for a Newbies question. How is the water meant to clear from the deck of these boats? When i did my swift i put in slots to clear the seawater. Thanks Chris
- 574 replies
-
- 1
-
-
- cheerful
- Syren Ship Model Company
- (and 1 more)
-
Thanks Vossie i have been wondering about what to do about lids, leave them off sounds good to me. Rick showed me a drawing of the Mermaid with a cannon sticking out of the stern port (which I can't find now) That will do me. I have been looking back through your log BE magnificent looking model. I will be coming back here to find out how to go about mine. Cheers Chris
- 574 replies
-
- 2
-
-
- cheerful
- Syren Ship Model Company
- (and 1 more)