Cabbie
-
Posts
599 -
Joined
-
Last visited
Content Type
Profiles
Forums
Gallery
Events
Everything posted by Cabbie
-
 Looking very good BE. It seems to be a real challenge which will keep you on your toes and me when I get to it. They are big spaces between those bulkheads I think i will be putting an extra bulkhead or 2 in. Cheers Chris
 -
Home made thicknessing sander if
Cabbie replied to Cabbie's topic in Modeling tools and Workshop Equipment
No worries Tom, but don't hold your breath on the pear. I don't have any and not likely to. I did see somewhere else a suggestion for using double sided carpet tape to hold the sandpaper. Maybe other tapes would work, but I didn't want to make it hard to change the paper. Which could be ok it would still have a little bit of the squish that Bruce likes. Probably got too much squish at the moment. I have been thinking of putting some springs each side of the adjusting screw to help keep the table even, where to find them around here is another story. -
Looking very nice indeed Edward. I am bit like you, I like the natural look, partly because i am a bit of a chicken when it comes to painting, afraid i will make a hash of it. Your painting makes her stand out a bit more. Yes, the angled top companion hatch is a better look. Enjoy the exercise. Cheers Chris
- 84 replies
-
- 1
-

-
- sherbourne
- caldercraft
- (and 2 more)
-
Home made thicknessing sander if
Cabbie replied to Cabbie's topic in Modeling tools and Workshop Equipment
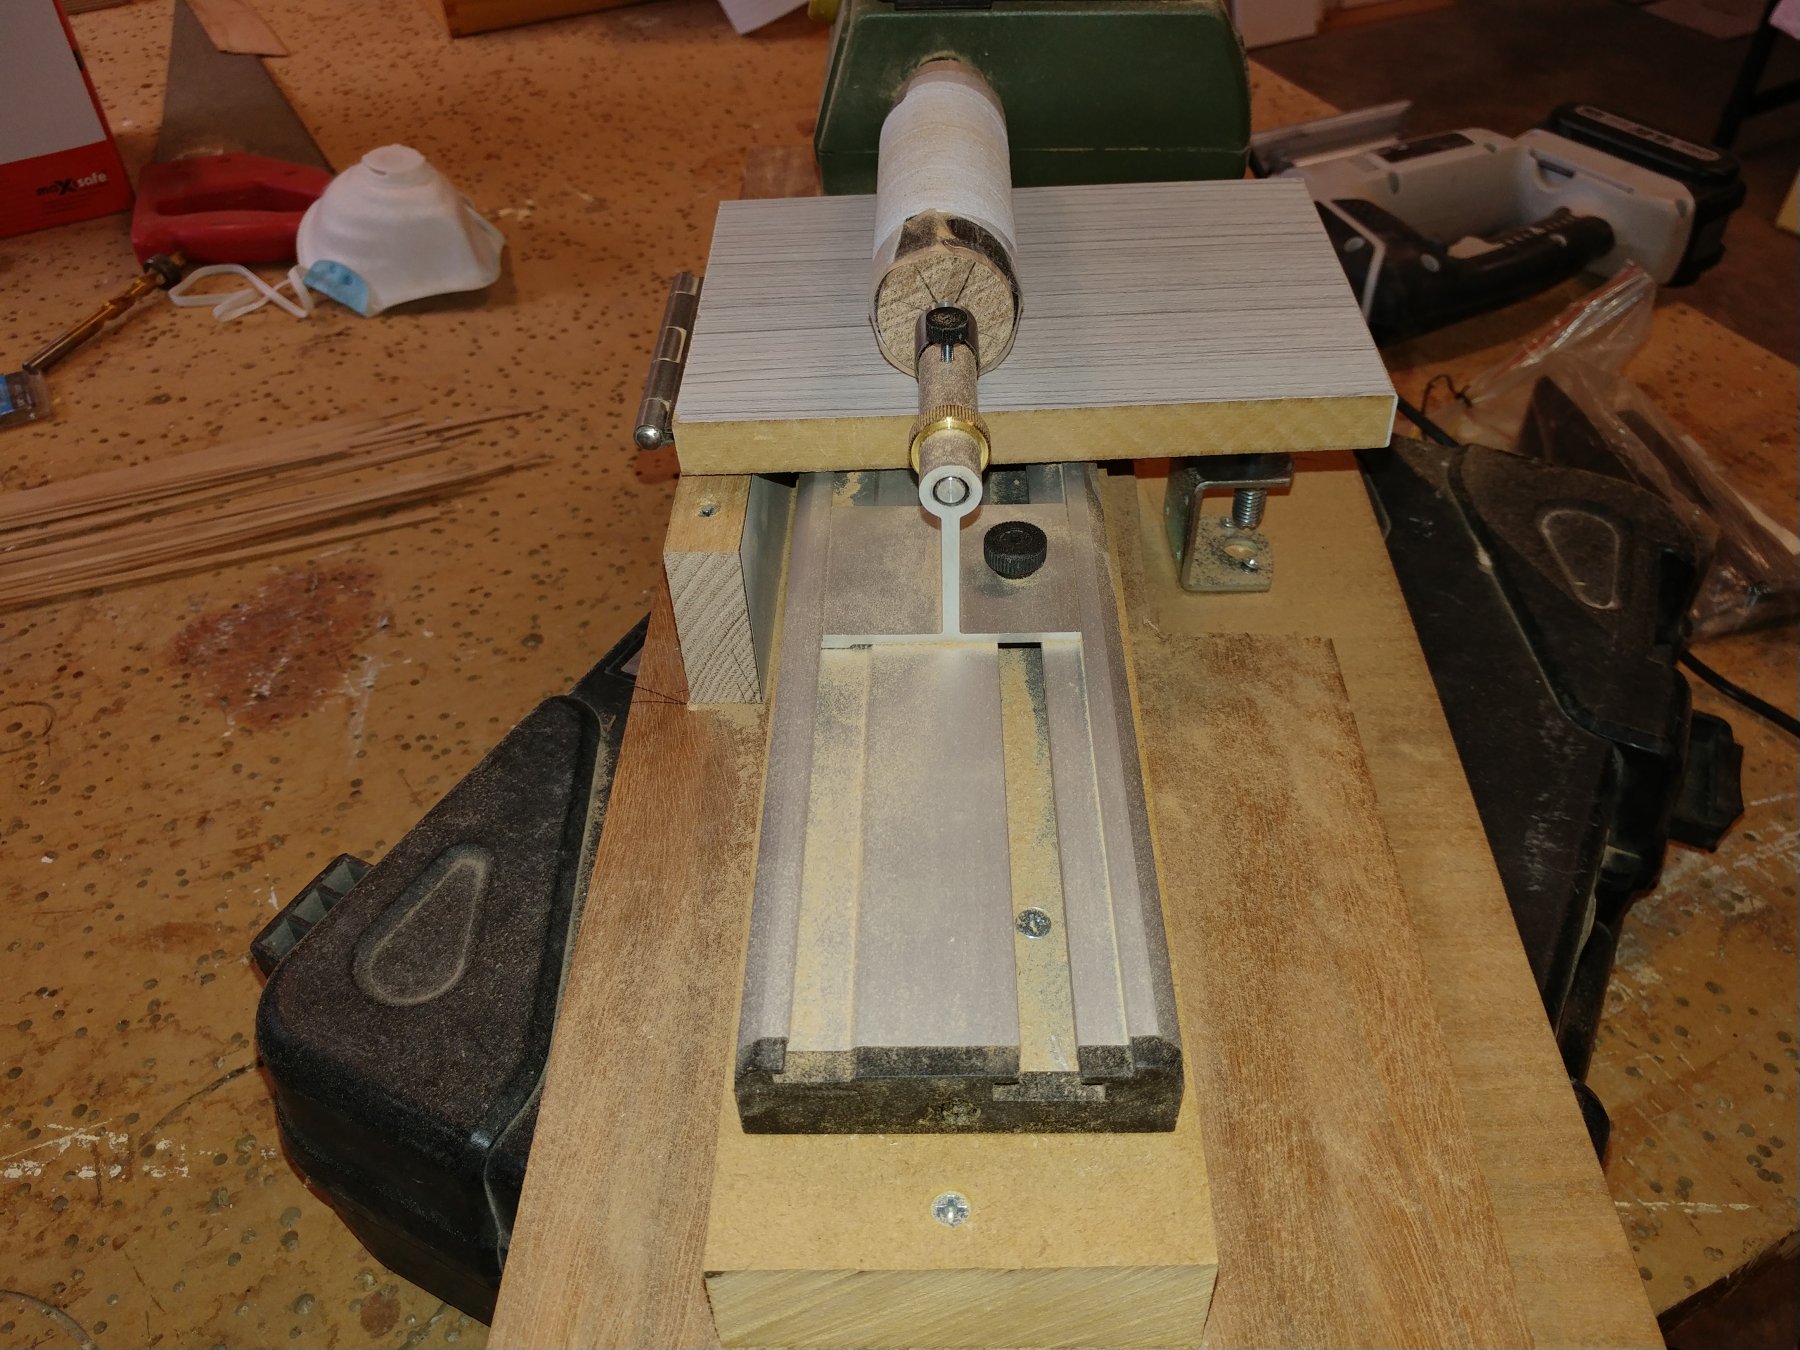
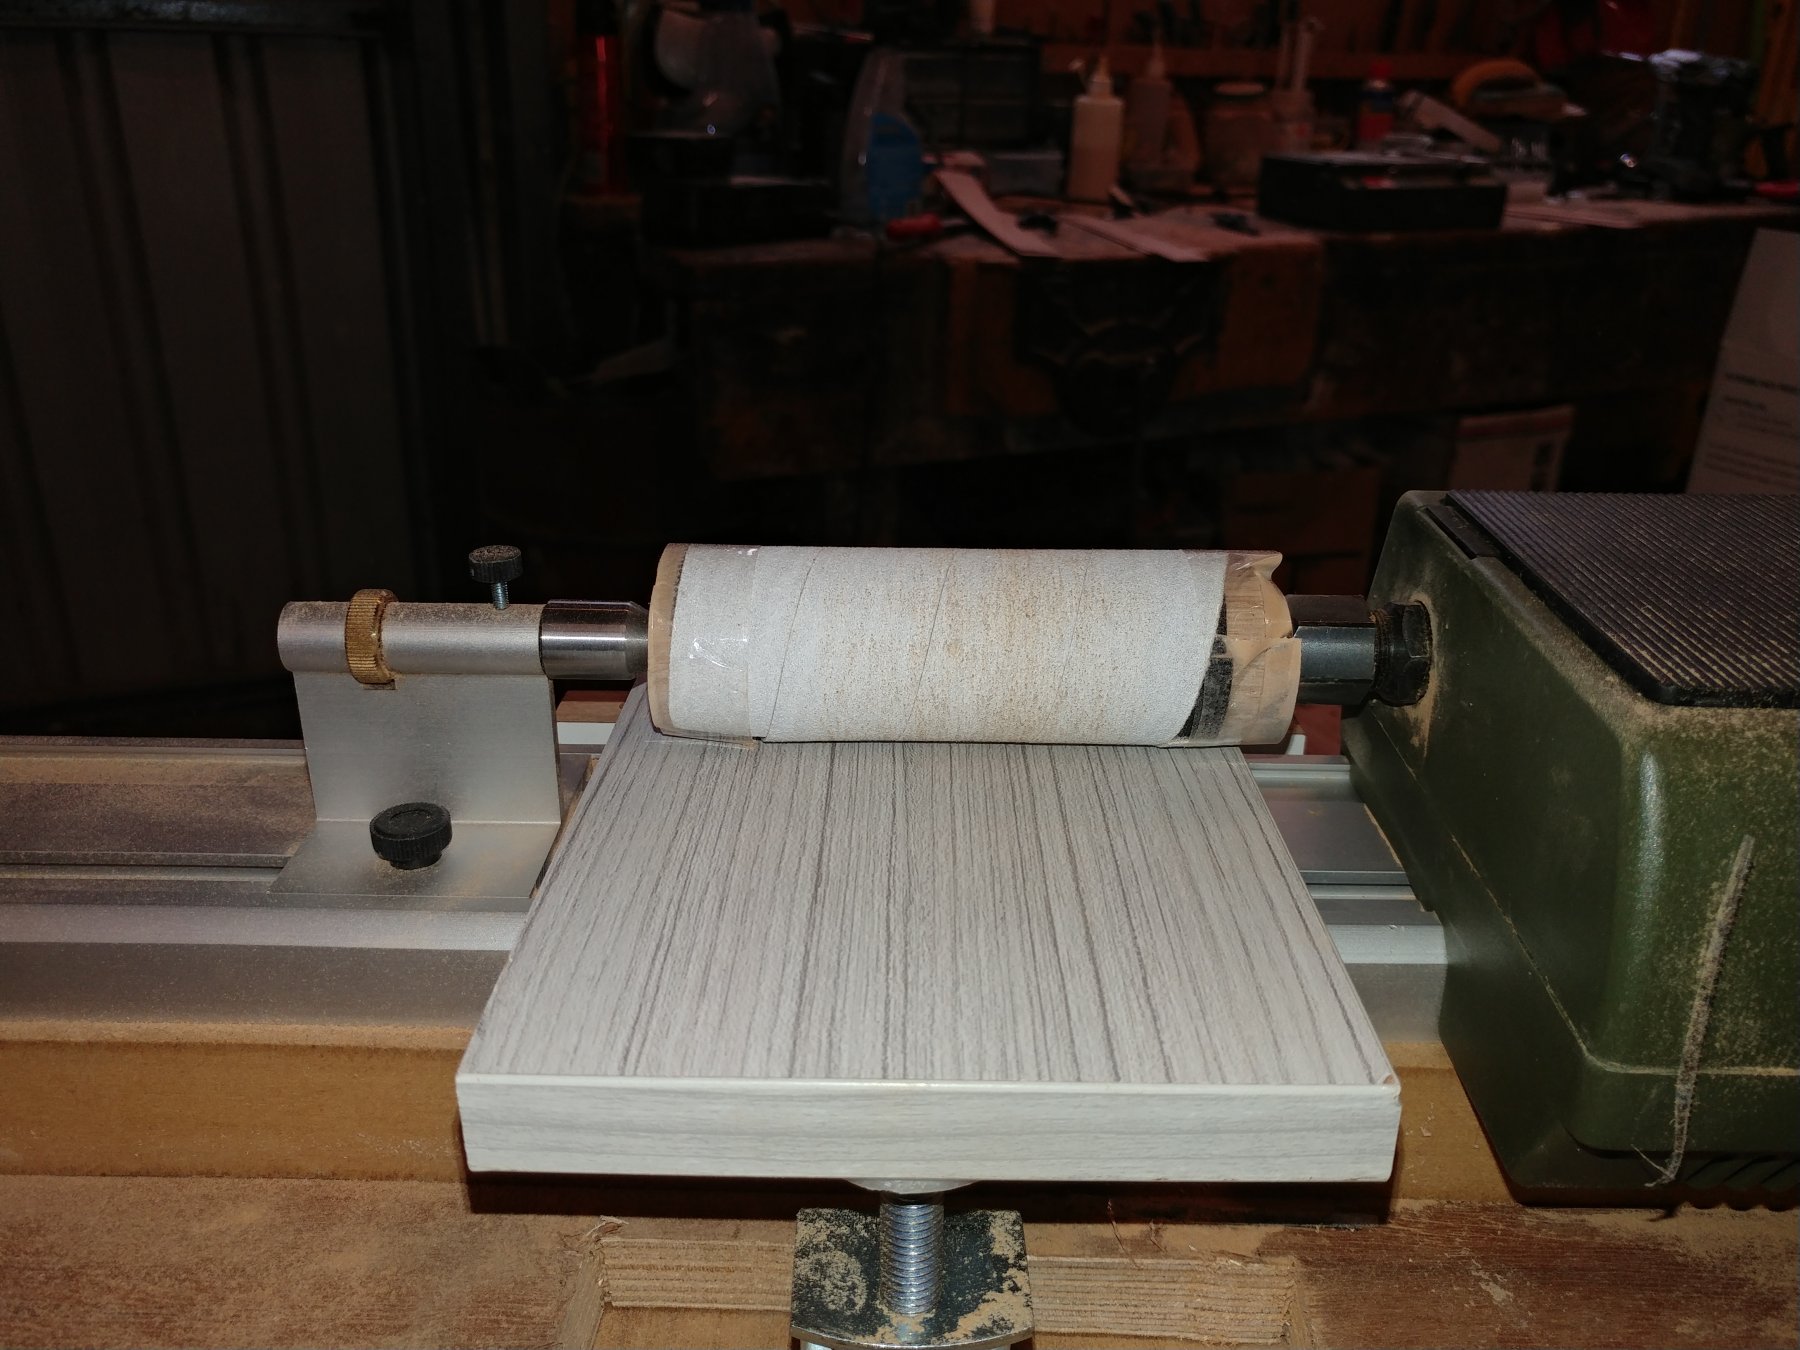
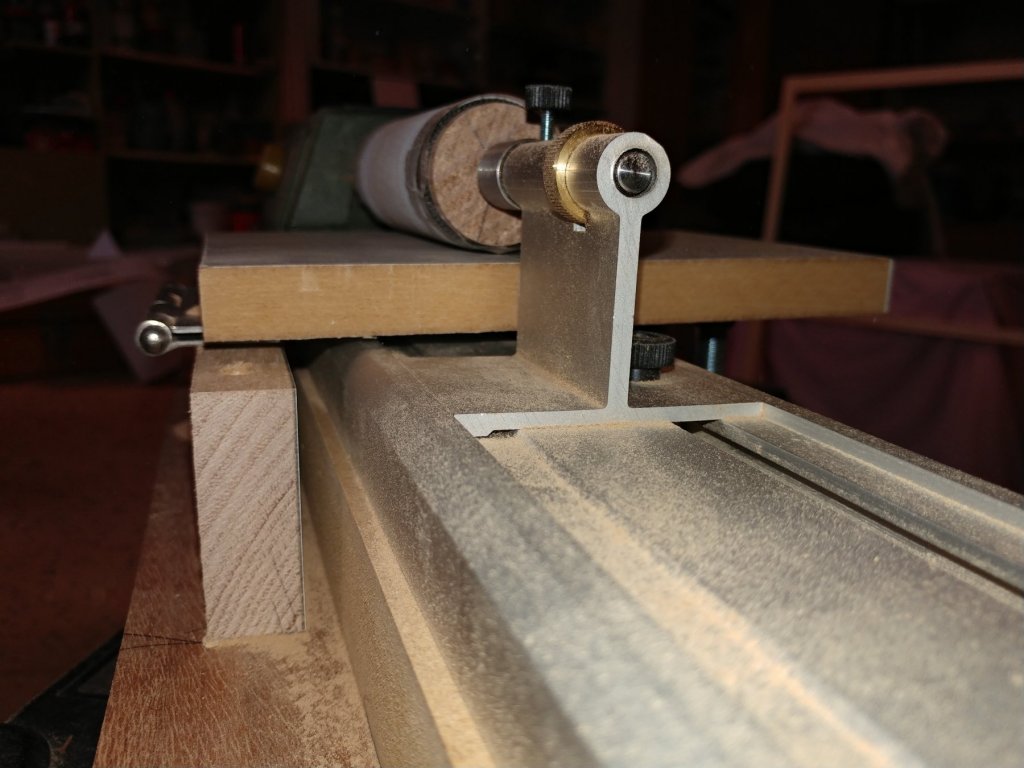
Morning to all and thanks for replying Griphos, yes certainly has possibilities. Will the rubber tube stay flat when tightened or squeeze out of shape a bit? Might be a bit too much to set up in my little proxxon lathe Jaeger Some good ideas there thank you, but 2" stock is way overdoing unless you are talking about scaled sizes😀 the max thickness i will be putting through is about 2mm. Yes the platten and paper fixing is an open question. I might not have very good velcro hooks. I did think of a longer one, but that means a bigger hood. In its current configuration it takes very little effort to change to a different grit. Tom, no patent, go for it. And Druxey, YES the dust will be a problem I wore a mask testing yesterday. It will need to have a hood made for it, even just positioning an extractor hose in the right spot would make a big difference. This little unit is not going to do a lot of work, just meant to be there for the occasional small use. When I start scratch building and machining a lot of wood sometime in the distant future I will buy a Byrnes type machine. Thanks to all Chris -
Home made thicknessing sander if
Cabbie replied to Cabbie's topic in Modeling tools and Workshop Equipment
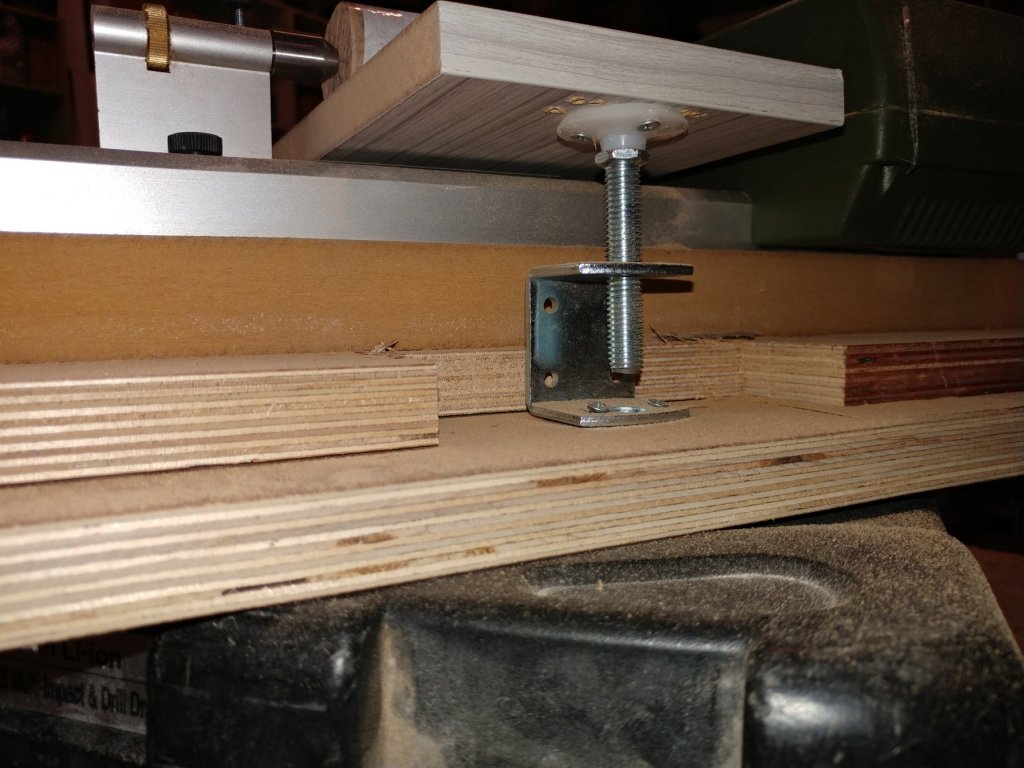
That's about it in a nutshell Bruce, I don't know if hard roller would work. A bit of squish is good to have. The problem with the velcro is that it only just hangs on to the paper. I think a spray glue is available to hold the paper directly on to the wood that would let go when you wanted to change the paper, but that means a hard roller. Will fiddle with it, I am good at that. Hooroo Chris -
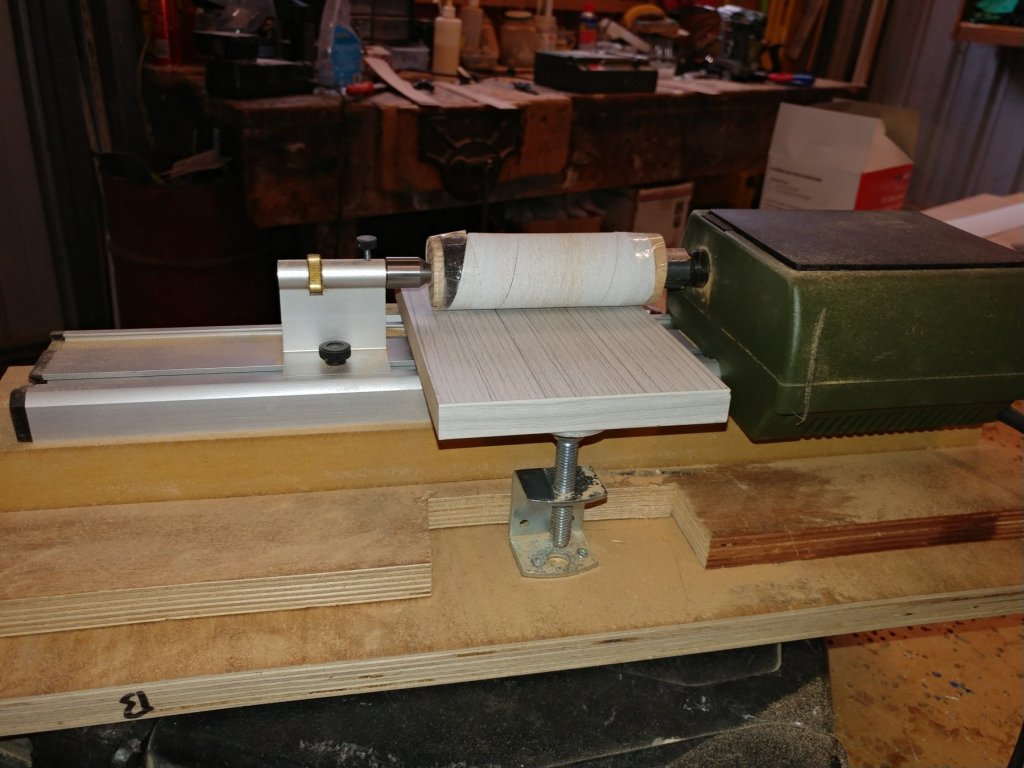
Home made thicknessing sander if you have a lathe. I wanted to cut some new deck planks for my Mermaid which i can do well enough, but they would have a sawn face. So I started thinking about making a thickness sander, what did I have that spins horizontally? The little Proxxon lathe, a little bit of thinking and came up with this item. Its is a bit crude, just made up with bits in the shed. The height adjustment is probably lacking in enough horizontal stability The butt hinge is a bit loose in the pin. And the cloth backed sandpaper is just hanging on to the velcro. But that said, it did a pretty good job for a first up, bang it together fitting. The lathe handled the load fine, the planks were put through against the spin. I was only sanding a small amount each pass so holding the wood was no problem. Certainly need refining, a dust extractor hood. I trued up the dowel by running a file under it sitting flat on the bed. Cheers Chris


-
Welcome to MSW Tim?jina It sounds like you are already well along the model ship building path. Even though you have started your current ship you can still do a build log. This is a very friendly place to be a member of, join in and have a good time. Hooroo Chris
-
"A bit rough around the edges" Listen to the man will you. Get me a strong magnifying glass I might see something a bit rough, maybe! Yes, and thanks Chris now I need a new keyboard, totally covered in drool. If only time and money didn't matter, better buy another lotto ticket. Cheers Chris
-
Middle one for me as well, too many panes in the bottom one Looks good in the 2 tone color.
- 241 replies
-
- 1
-
-
- mermaid
- modellers shipyard
- (and 1 more)
-
Good Morning Vane It looks like you are off to a good start, correcting mistakes seems to be quite common in some of my work. Its all good practice. Contact Caldercraft and tell them about the lousy wood, send a photo, they might replace it no harm to let them know. Cheer Chris
-
Thanks saint, but I have no real knowledge of sailing ships, kits ect. Start small as you suggest, I don't know if you can get a cross section kit. Probably best to have a look through the manufacturers kits on the right hand side of main page and see whats available. Others will chime in and make suggestions, there have been forum topics on this subject but I'm not sure where they are. Cheers Chris
-
Welcome aboard Saint Now you can consider yourself to be extremely time poor. A model ship or 2 can occupy you for years. Have a look through the forum topics for inspiration of what to build and what to start off with. Start a build log when you have decided. Hooroo Chris
-
Olliechristo has a very nice skylight in his log and a much more elaborate companionway than I was thinking about. Overall a very fine build. Page 16 post 457 Something I just learnt click on the arrow top right in link and it will take you to the post.
-
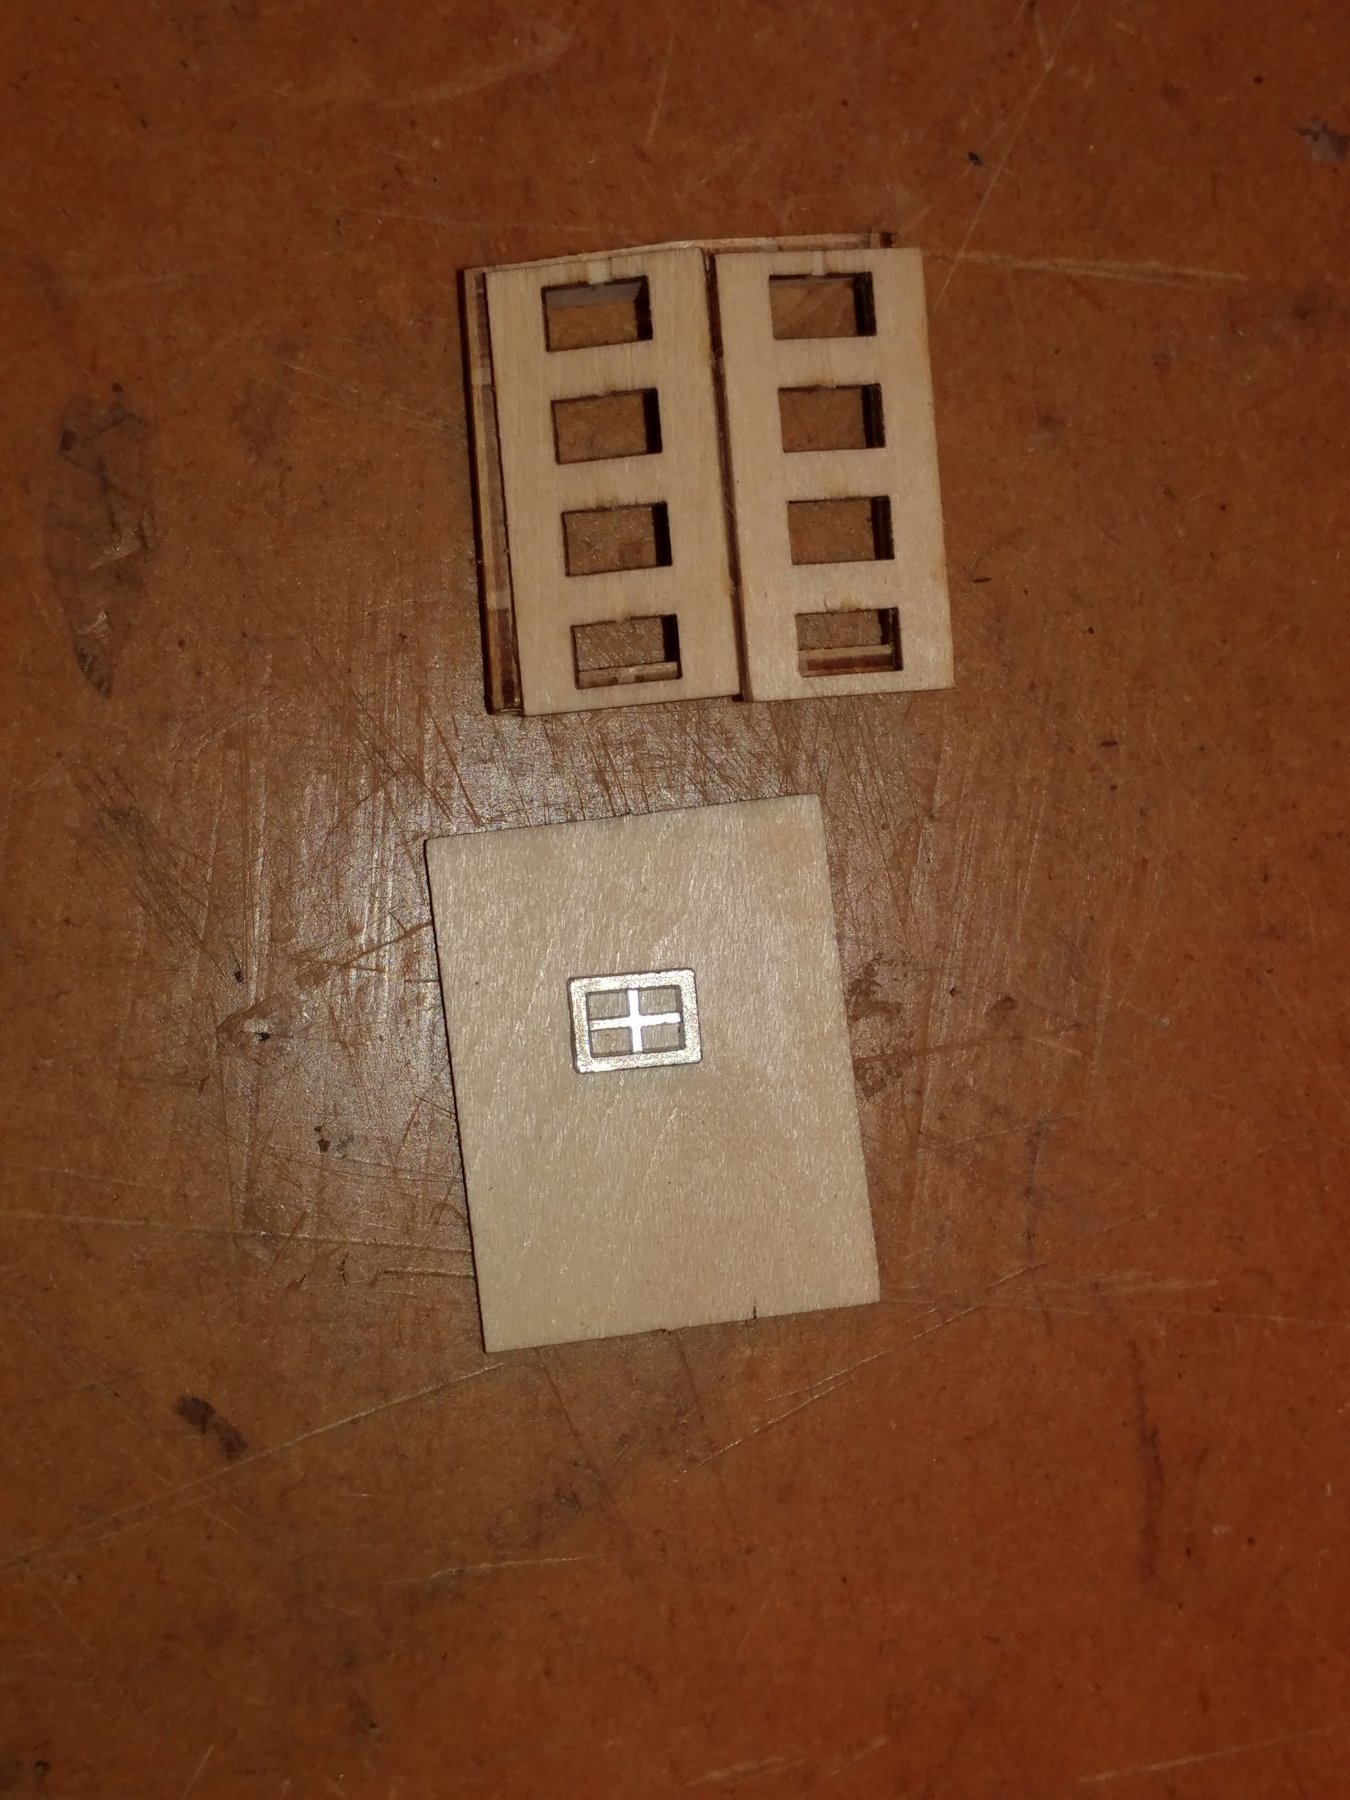
One reason I was thinking of using the supplied frames was if a pane of glass is broken I would prefer it to be a smaller one. I'm not sure what it would be like to obtain a new piece of glass back in the 1820's. Still might need the protective bars as well, stop them being broken or someone falling on them.
-
Hi James it looks like we are thinking the same again. Does this mean that this frame with cross bars is not correct for our cutter? I was thinking of using mine. Cheers Chris

-
That is a very neat binnacle Jame, really looks the part. I had something very similar in my head except I was going to have two compartments on the left. Is that a vent on the top? Can you tell me what it measures? Thanks Chris
-
Thanks Rick, From my point of view I don't know what a flying jib is, so you had better post it.
-
Congratulations Tim a very fine looking boat.
- 115 replies
-
- 1
-
-
- Scottish Maid
- artesania latina
- (and 1 more)
-
Good afternoon Pat That is a lot of work in those deck fittings and yours are looking very sharp. I think Cap'n cook himself would be happy to walk on your deck. I always thought they would be too hard and fiddly for myself to tackle. But now I have no excuses. Cheers Chris
- 111 replies
-
- 1
-
-
- artesania latina
- finished
- (and 1 more)
-
Morning Dash Catching up your Endeavour she is looking very grand indeed. There seems to be a huge amount of rigging on her, looks to be almost more work than the rest of the build. But finished off she will look the real ship. I will be coming back here to learn what to do when i get on to mine again. Which just got put back because I bought a new kit☺️😏. Cheers Chris
-
Woo hoo, Mine arrived today delivered without warning by a courier company but left at Aust post because i wasn't home to receive it. Much quicker than I expected. There was a bit of crush damage to the top of the box, but nothing is broken. Yes, a stiffer cardboard sleeve or inner box is needed. That aside, it looks an absolutely marvelous kit, huge instruction book, extremely comprehensive, should be an absolute delight to build. It is a real credit to you Chris to come up with a quality kit like this, worth every aussie dollar i spent on it. (no jokes about aussie dollars you lot) And thanks to Spyglass for all the help he has given. Cheers Chris
-
Howdy BE lucky you straight into it, looks like it should be a marvelous boat to build. I dare say that there will be a few more soon, along with Chris's log I will have plenty of modellers to follow and help me through the tricky bits. Sorry can't help with the planking questions, way beyond my pay grade. hooroo Chris
-
Thanks Rick, The old kiss principle as I have to keep telling myself. I was trying to find a much harder way to work out a size.
- 241 replies
-
- 1
-
-
- mermaid
- modellers shipyard
- (and 1 more)
-
Morning Bob It is definitely a very well done boat, inspirational, it has gone down on my list as a must do. trouble is there are too many of those already. Cheers Chris
-
I asked Chris watton about what he did for the bowsprit in his new Alert kit and this is what he said. "It rests on top as the gunwales end before reaching the stem, and there in a step down on the bulwarks, so the bowsprit rests on top of the stepped down gunwale or bulwark top edge. Not sure how well I explained that, just got up and still very tired... lol" I think he means that the gunwale steps down lower and the continues to the stem and that the bowsprit sits on top of it in a square space. I don't like the idea of just inserting it through a round hole, will just be water trap. Cheers Chris