


Izzy Madd
-
Posts
382 -
Joined
-
Last visited
Content Type
Profiles
Forums
Gallery
Events
Posts posted by Izzy Madd
-
-
-
Hi, does any one know the sizes of the original blocks. As I'm trying to make some but don't know how big they should be.
Please help.
-
Ahoy there.
Just a quick question. Please be brutally honest. As this is the very first one I've made. So I want advice on how it could be better as much as acceptance. Sorry about the quality.
-
Ah but the beauty of my admiral is she's only 20mm high and will be stuck on the front of the Cutty Sark. The nearest I've got to an admiral is the ships cat, who comes on the bed occasionally during the night.Hmm your admiral sounds like mine Izzy

I just haven't got the heart to tell her she's been dead five years.
-
Hi there Izzy,
Will be keeping tabs on your build as I have a soft spot for the Will Everard as she was my first build,at some time I think I will revisit the build to do a better job of her.
Interesting idea to caulk the hull planking...are you going to make her into a working model ? and I may be mistaken but wasn't she steel hulled...... I don't suppose it matters about authenticity as long as you are happy with her and enjoy the build.
good luck
Jack
Hi, Jack
Always wanted to say that but never met a jack before :-). You are right she is a steel hull boat. And still running. Although I had the pleasure of sailing on board her when she had just been taken over by OCL. I've a soft spot for her and wood. And as they were being made from the two materials at the same time. The last in wood was 1936. I'm taking a little artistic licence. Shall we say. The layout will still be Will just out of wood and in shades of wood. Unless things go wrong. I mean I change my mind .but the model is somewhat short of the real thing as a look at the virtual tour will show. The hold cover is far bigger than the model for a start. So I'm trying to meet somewhere in the middle as true to Will as possible but all from wood and based upon the model. Unless I can obtain better dimensions of certain part such as the hold cover. Which for a start should actually be higher than the sides of the boat. Which when fully loaded would have been the water line.
So I feel there enough room between mine and billings to still say it's Will. Although I may rename her as I had a friend who's first name was Everard. But that's in the future. So welcome aboard and enjoy the trip. I just hope you've bought enough booze for everyone
-
-
When I started I just intended to build the kit. But it's snowballed and as I want to leave the planking showing. Im going to use 0.8mm deck planks for the base boards. So it "should" look ok. If not I can rip out the base boards and plank it. I'm also toying with the idea of opening up the interior. As I was on dry goods barges. As the hold was just the inside of outer hull. With walls at either end. Which if i do do threats all the ribs would be if I ciput them back and just add two walls and plank the base on the inside. I'll see ho it goes up to that point first.
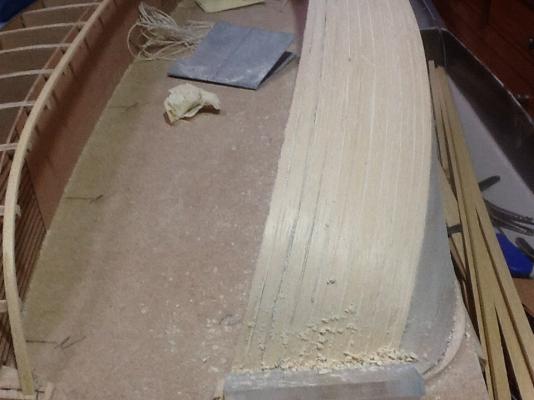
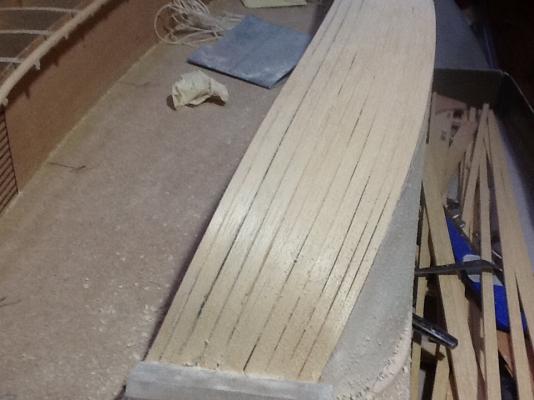
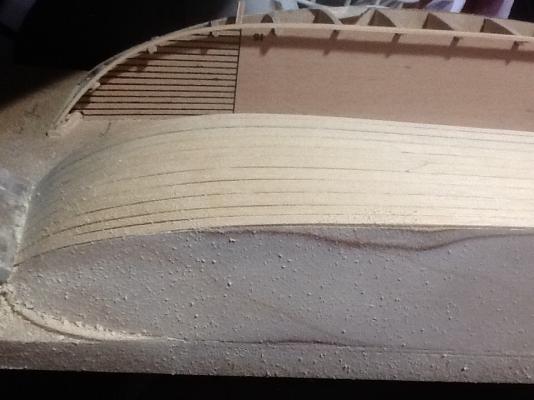
As for the hull sides the stern is suck down now and had its first levelling sand down. So I can see the lines of the hull and I've still cot grooves for the caulking. So it's caulking for this first side and plank the rest of the other side then plank the base boards.
-
Hi,
And welcome the greatest beauty contest this side of the Tardis. Why the Tardis. Well it seem that despite the rumours that I'd abandoned a young highland lass by the name of Nannie. In favour of some one called Little Willy. The rumours are unfounded to the point the I've enlisted the good Doctor to help. As you can see below...
I'm afraid you'll have to excuse the poor image quality but they insisted upon soft focus at this time of night.


It's always when someone turns around you get the best picture ah well
After much coaxing I did get them to pose for a last time.

And as you can see double yes we now have two Nannies. Thanks to the Doctor. Who nipped back to the future. Or forward to the past!‽ which ever but there they are. While big sis sports the right coloured tail it's clear that little sis has caught a much darker horse. So which witch is which? Well they are both of course just one is 1/130 and the other is 1/350. So we are still moving forward. It's just the ladies keep disappearing just as I'm about to do their hair or sort out her/their Cutty Sarks. And it's taken until now to get them both ready and in the same place at the same time. You can never rush a lady never mind two.
So let's hear it for the girls
Wolf whistles are allowed as being PC is banned on my log
-
Any help is grateful accepted. Criticisms I ignorethanks Izzy.......I'm relieved that you didn't take my comments as criticism........in no way would I ever do that
 I've only been involved with the medium since 2009, so even if I did throw stones, they'd hit the ground before they ever hit the target
  but I am familiar with Billing's kits and their construction, so I may be able to help in some small way. as with the instructions, it won't matter much if you were to follow the old or revised copy.......the big differences will be that the kit isn't laser cut and some of the part numbers will have changed. this reminds me of when I began the medium with my first build, the Nordkap.
it wasn't laser cut either.......I downloaded the revised copy of the instructions, even though I had the original ones.
I'll look forward in seeing the finished hull
- popeye the sailor, mtaylor, maddog33 and 1 other
-
 4
4
-
-
Hi,the board your working on is a good idea.........harder to tell if the pictures are upside down or not
>just had to drop a subtle hint<your concept is an interesting one, but it has it's dangers. do you want to build the "Will", or do you want to enhance it into oblivion? believe me, I've done it........added so much, that I killed the subject. {check out my Maine Lobster boat build} not too many folks here have ever calked the hull......I think the problems will come when you sand the hull smooth. some of it may be lost, or as a worse case, you may end up with some visible plank lines.
I've built many Billing's kits........only one has been with this split hull method.......can't say that I liked it. I didn't want to see a separation line up the bow or stern, so I joined the two halves together before it was planked. made it easier to clamp the two halves together {evenly distribute the cement}. a good suggestion would be to look up images of the actual boat, and see if it fits what you plan to do. I'm not trying to dump on you or anything like that.......it would be sad to see you get half way through the build, and find that the subject went out the window
As it happens that's right way up. Apparently Apple have admitted they've messed up and advised people to hold there iPad one way for rear shots and the other for forward shots. That's fine but the camera won't rotate whilst taking rear shots so your looking at an upside down image that ends up being the picture. Ah well.
Having the two halves laid out together makes a lot of things simpler. It's easier to visually match the two. I'm using one hull to pre bend the planks for the other. I can take measurements direc from one to the other and I can stagger the work from one to the other so as to keep the work flowing smoother no stopping and waiting iafter each plank if I don't want to. Just turn it around and work on the other half. Also the thicker board helps keep the keel flatter. I hope!
Thanks for your comments and I'd also considered this problem of not liking the final look but I can always fill and paint if it's too bad. I'll check out you log soon but I've seen photos of old wooden barges and they have very clear caulking lines as the hull is so rough. They've just left it with a deep groove that's then filled partially withe pitch. But this is a learn as I go job and it works or it doesn't either way if got a model boat at the end. But I'll keep what you've said in mind. As for the sanding smooth I've started already and the caulking has sanded out but I've got severa razor saws and there's still enough groove to open it up enough to re caulk once sanded. So hopefully it will work. Watch this space.
Thanks and keep trying to spot the upside down images
-
-
Thanks for all the likes
This brings back memories- built this in 1993! I planked the bow and stern then painted the "steel" decks red and used high build primer on the hull to remove wood grain. Will be interesting to see her in wood finish.
Keith
As you've done him before. You may be able to help out as regards the sails. Or anyone for that matter.
Normall they were painted with a delightful mixture of fish oil and red ochre. While I'm all for realism I'm not into the smell of rancid fish oil for the next few years.
What's the best thing to use to colour the sail?
As they are a lovely shade of as we called it in the rag trade ecru. Better know to us mortals as unbleached.
I know I could just paint them but I'm concerned about the paint being to thick and looking like I've painted them rather than some sort of stain. I don't really want to go and buy fabric dye as it cost a fortune and is carefully measured for colouring several yards of fabric.
Would food colouring work or even red ochre and mineral oil. As that's inert. So won't go off. And I have loads of that for protecting razors.
Also as I've moved Little Willy back a few decades I've realised that the planks would have been nailed on.
Would I be right in assuming these would be normal 4" copper boat nails or even roves? Does any one know.?
And if they used roves no wonder they used to wrap chains around the hull when filled with loose cargos like bricks and coal. As they would have been copper rove plates flying everywhere. And the cargo sat at the bottom of the river
-
-
Well I can defiantly possibly unofficially confirm that reading the great and mighty Dafi (no offence intended, I mean that as a compliment). Is contagious.
Or is seems to be for me. Not only have I ended up kit bashing slightly, but to what I can only describe my self as being obsurd. That's me not the act of ultimate detail.
While Little Willy, which he told me he prefers, not on anywhere near the same par as the almighty Dafi's Victory. At 1/64 and being my first wooden kit. It's not bad even though I say so my self. After much soul searching, and not finding one spare. I've decided to go for a slightly earlier version of the Thames river barge. That of the all wooden era. Simply as I don't want to have to paint the wood. And because I'm too far away for you to stop me

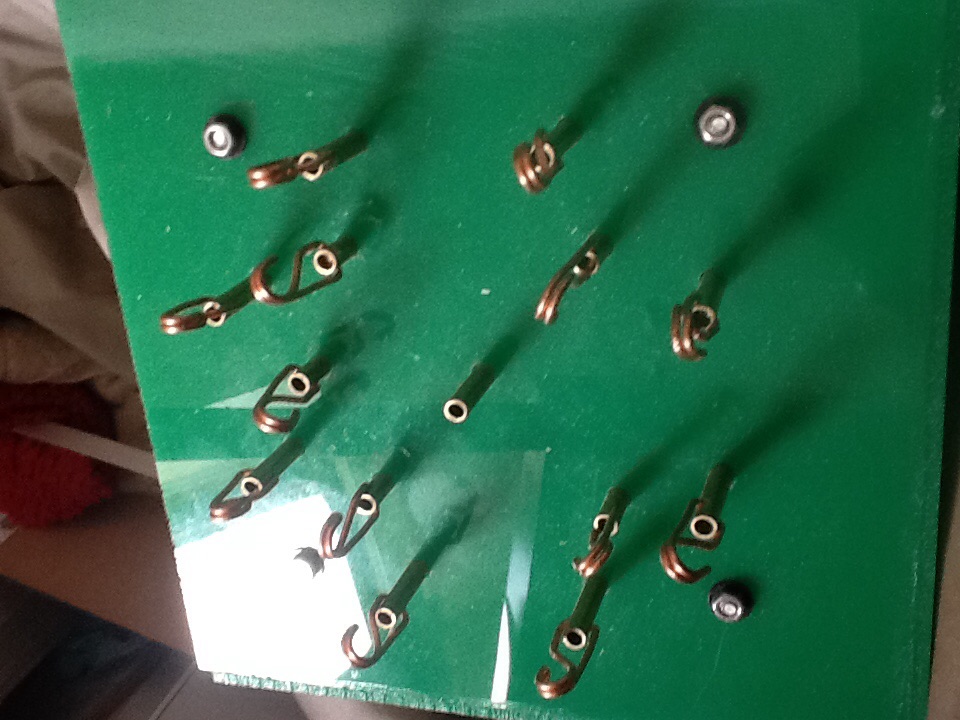
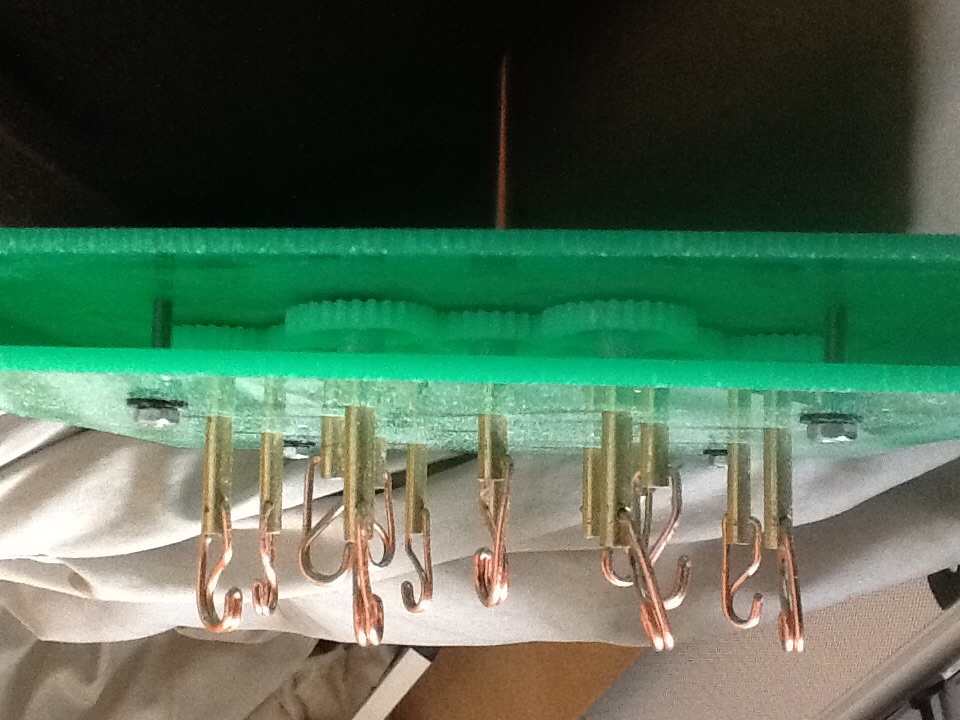
-
-
Just a query about the salt boxes and brass monograms. While I'm sure I've got more than enough thanks to your kit. Do you think that once embossed that the recess could be filled with fine powdered brass and CA? Or is the recess to small?
Love the workmanship and attention to details I can only wish for.
- CaptainSteve and dafi
-
2
-
Hi,
Just a quick question for anyone who'll answer please
Did I read somewhere that the victory had teak decks? And if so did this also hold true for the Cutty Sark?
Only I've got about twenty 50mm strips of teak veneer 2.800mm long. Which would look great colour wise even if it's to dark for reality.
-
ADVICE PLEASE
Decking. I know the "Will" was never fully planked. But as she is my boat it's my choice.
Having said that. What is anyone's opinion about such a complete change of the kit.?
The reason I want to Kit bash in this way is I simply love wood and would like to leave it as unpainted as still looks right. But shows as much of the beauty of the material. I'm also thinking of adding a new single veneer piece as the base of the hull to hide the joint and possibly veneer the keel for the same reasons. I know some pieces will look better if they are accentuated with paint such as say the masts. Who'd have no real grain to feature.
And I wanted to get another ponint of view. Is it shunned as "not true to the original? Or lauded as imaginative? Or just ignored as its up me what I do.? Or what ever.
Please leave some answer. As I'm assuming not many are over impressed as I've had 65 views but just one recognition/like. If I'm doing something wrong in my build log PLEASE tell me. As this is my first time sharing a build of any kind.
-
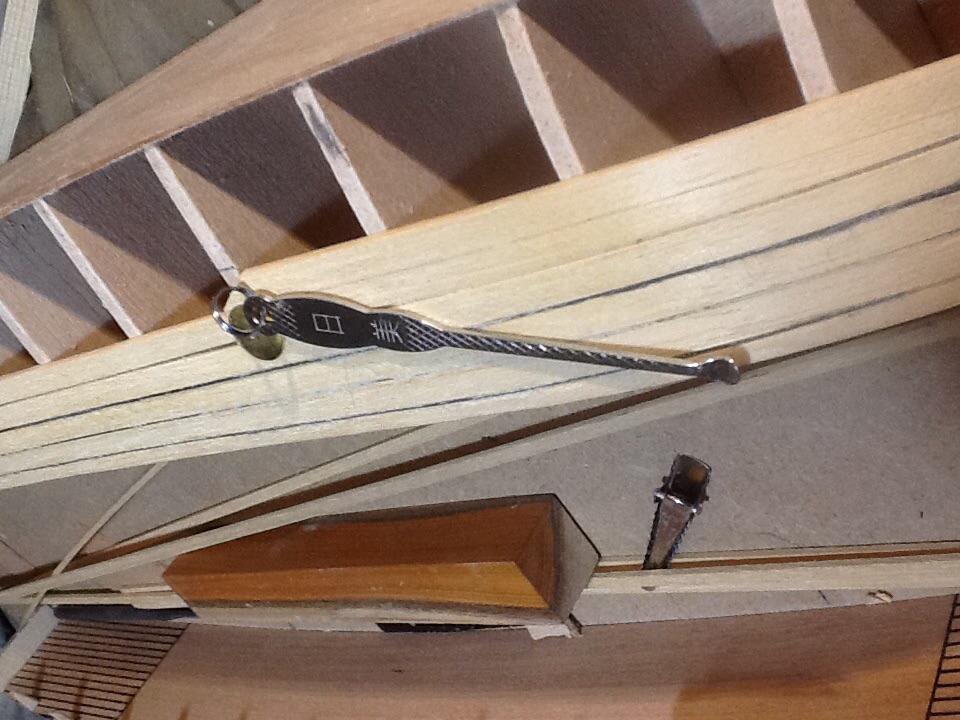
THREAD
Before you keel haul me Cap'n read on.
This may seem and my be needless to say. But we all use threads of differing thicknesses and colours. But I've only heard one side of the market mentioned. That of the 'cotton' thread. Now I also know we are trying to reproduce rigging etc. from way back when.
BUT there are exceptions to any rule. Firstly even home made ropes are restricted by the material used as to there strength. Well if you move from a lock stitch machine to an overlock machine you will find. dare I say it, polyester thread.
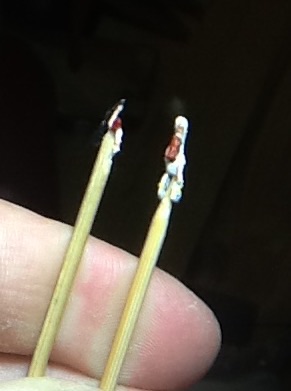
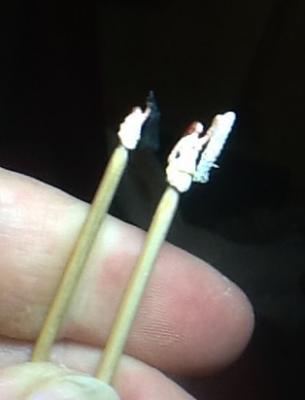
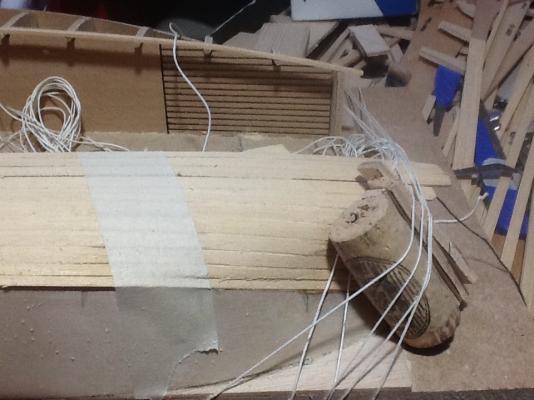
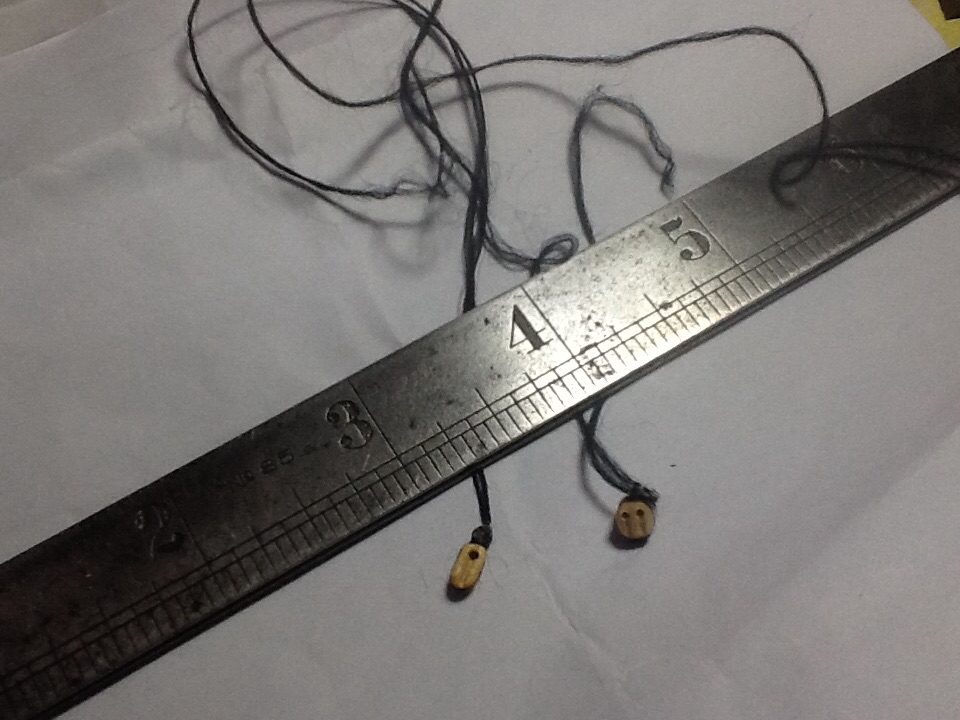
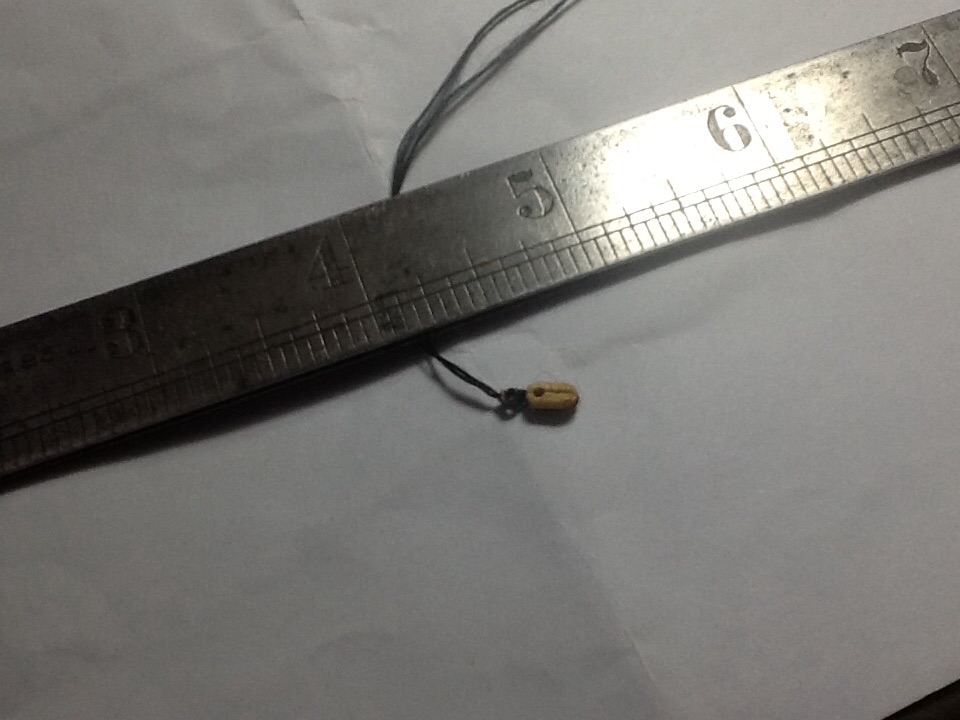
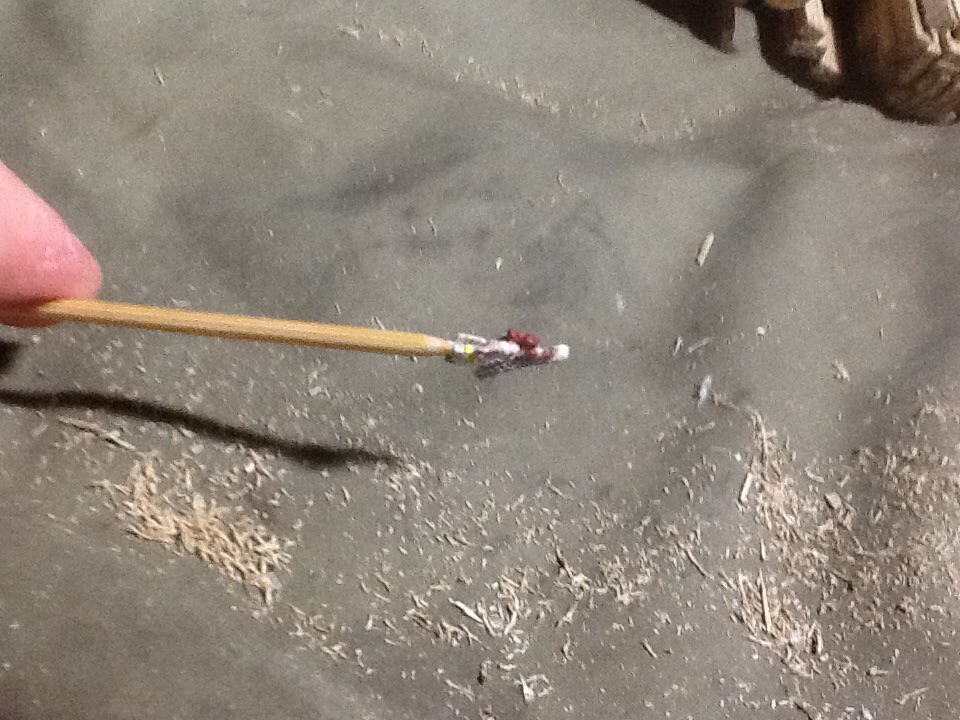
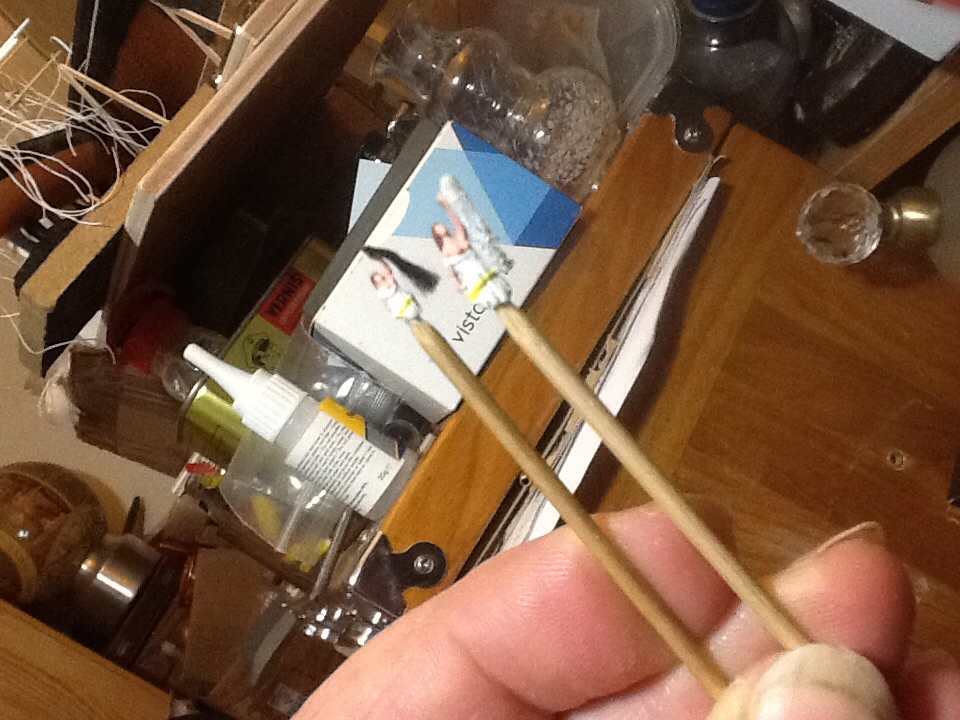
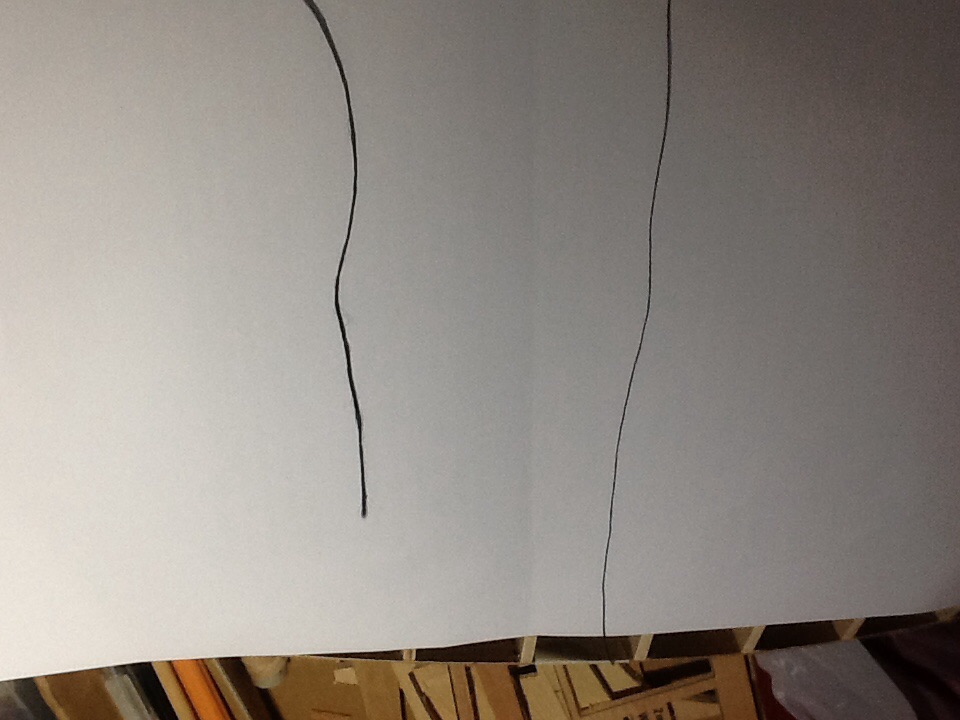
So what you say well poly thread is twenty times stronger at least. As it will cut through to the bone before snapping in your hands. Also, see below, it has a very marked resemblance to oakam. In that it is actually multiple threads loosely put together. So it can be thick if not stretched, see picture 1, the thread on the left is normal cotton thread, the piece in the middle is poly thread layed flat. And this shows how the separate threads can be allowed to open out.
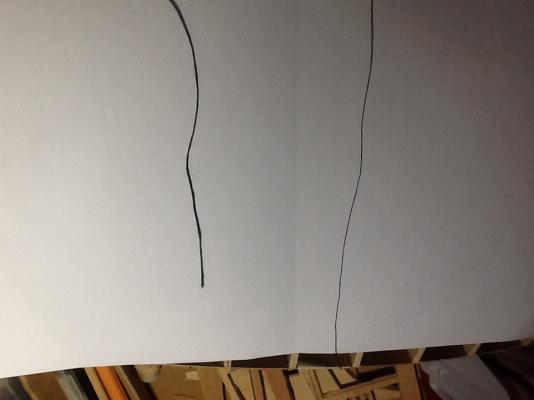
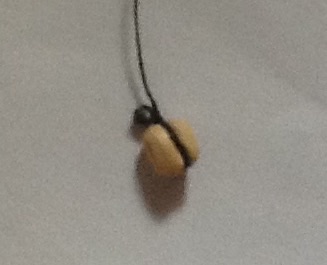
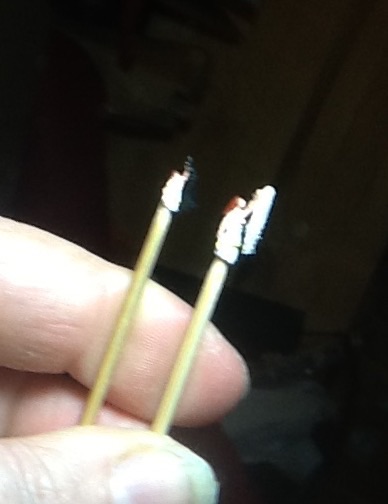
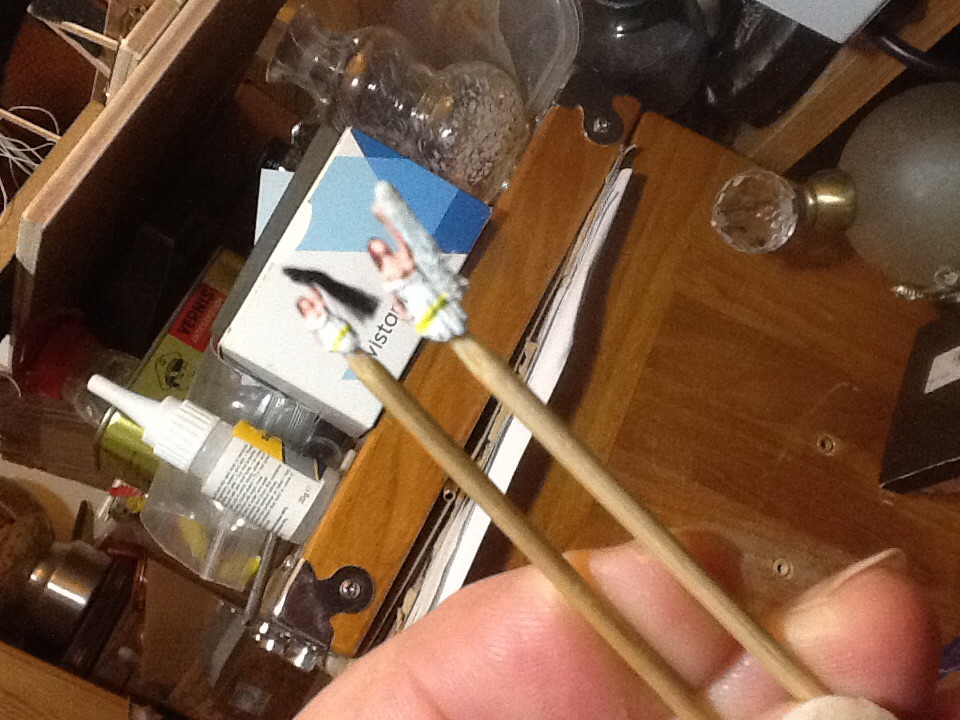
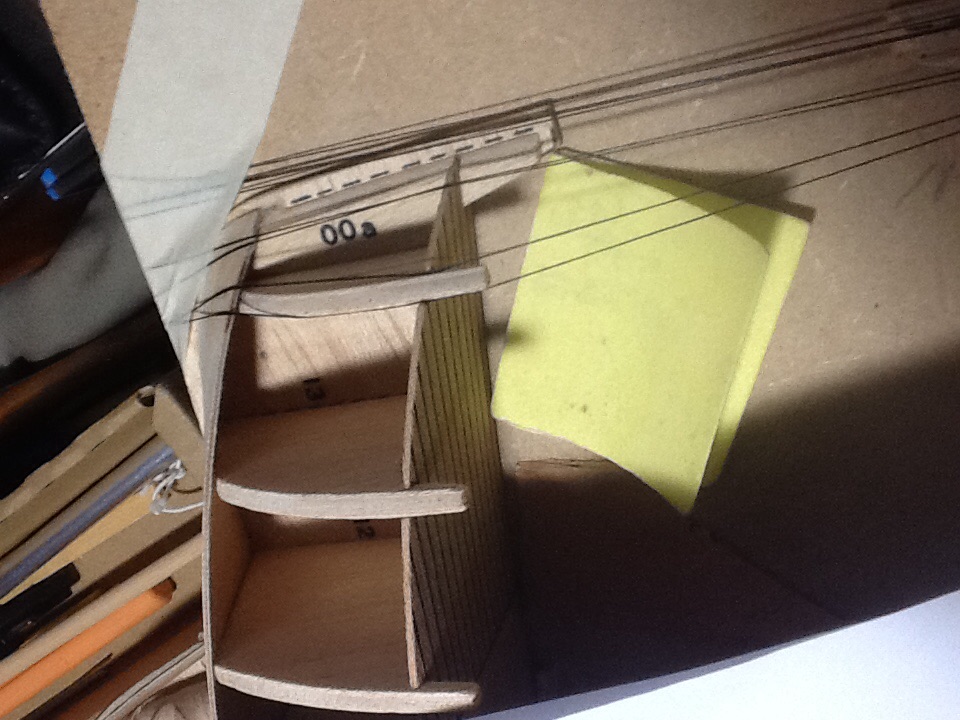
The second picture is of the poly thread doing what the cotton could not do. That is under tension.

You can the thickness when stretched reduces dramatically and it decreases further when squashed.
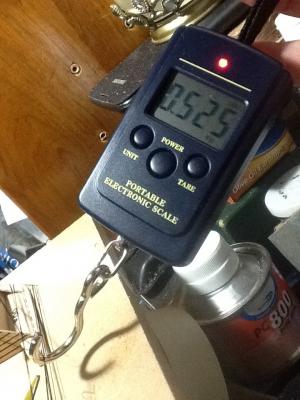
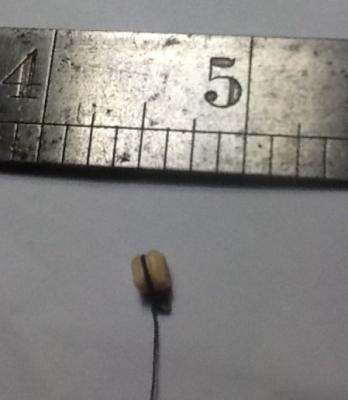
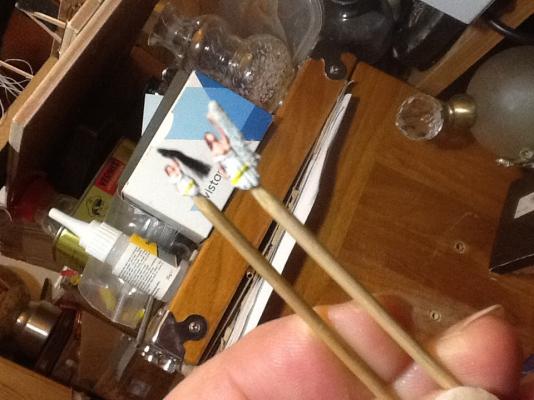
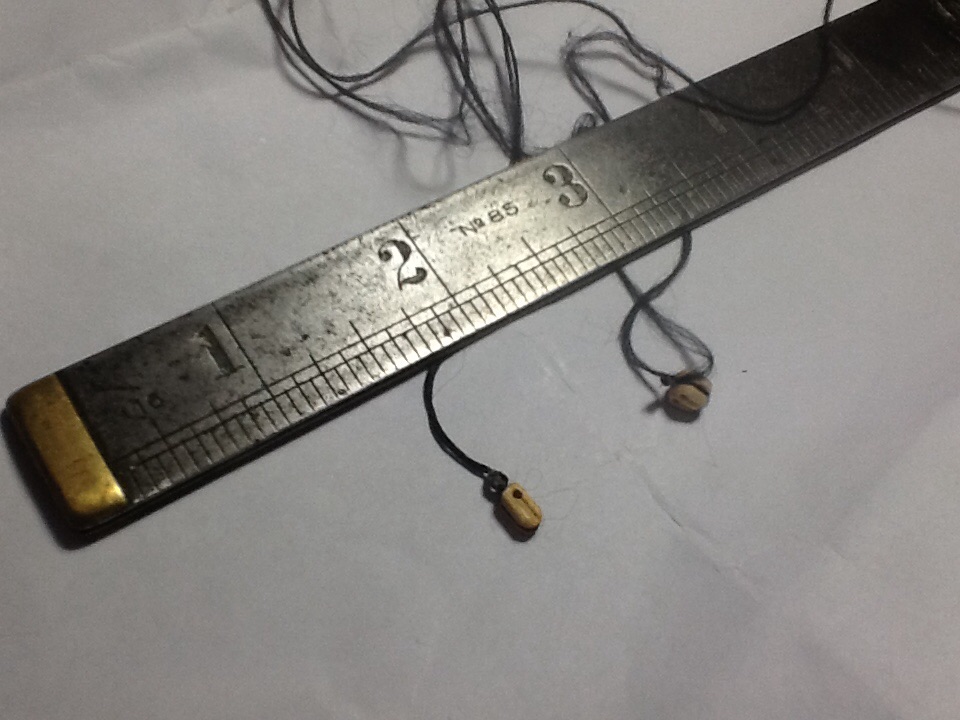
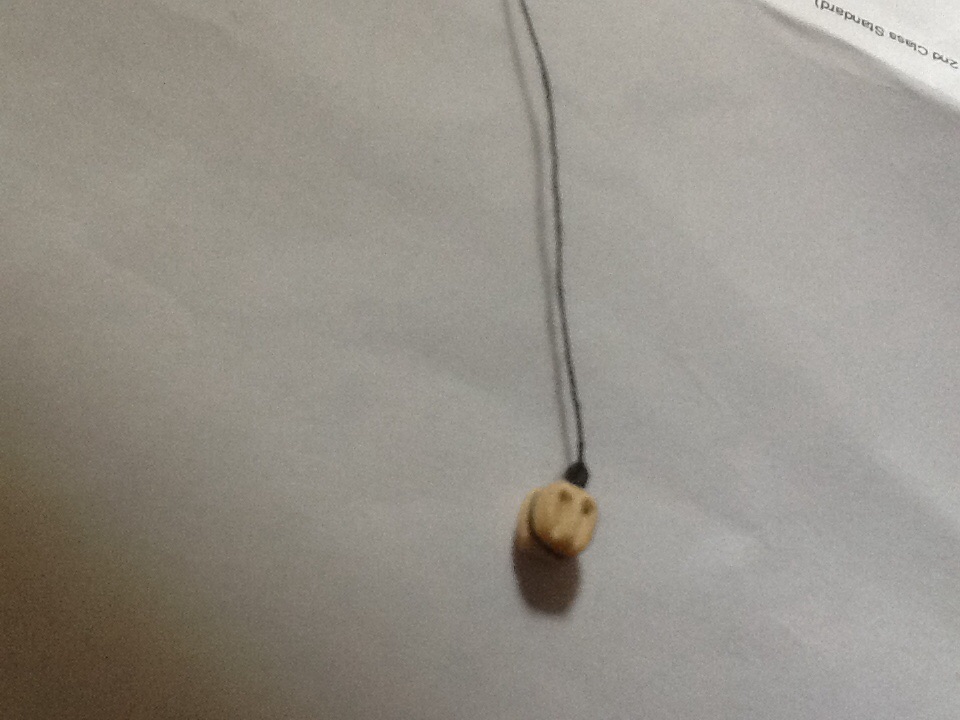
And this is the poly thread with a quick strain test showing it being pulled as far as I dare as its holding my model together at the moment. But the gauge read over 500g. Or half a kilo. And no sign of snapping.
Just something that may not have caught your attention. Especially the strength. That is in the home. Cap'n
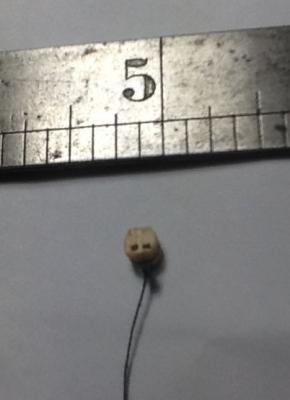
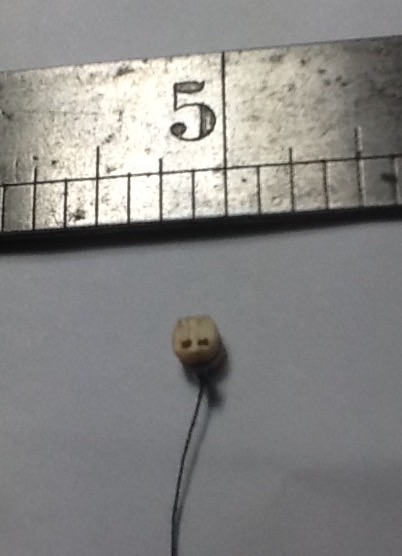
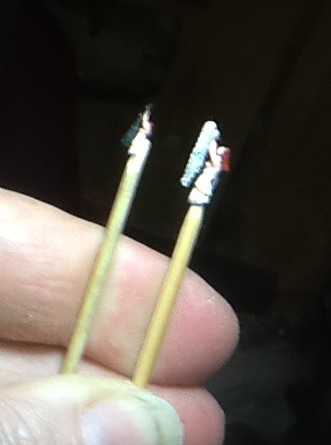
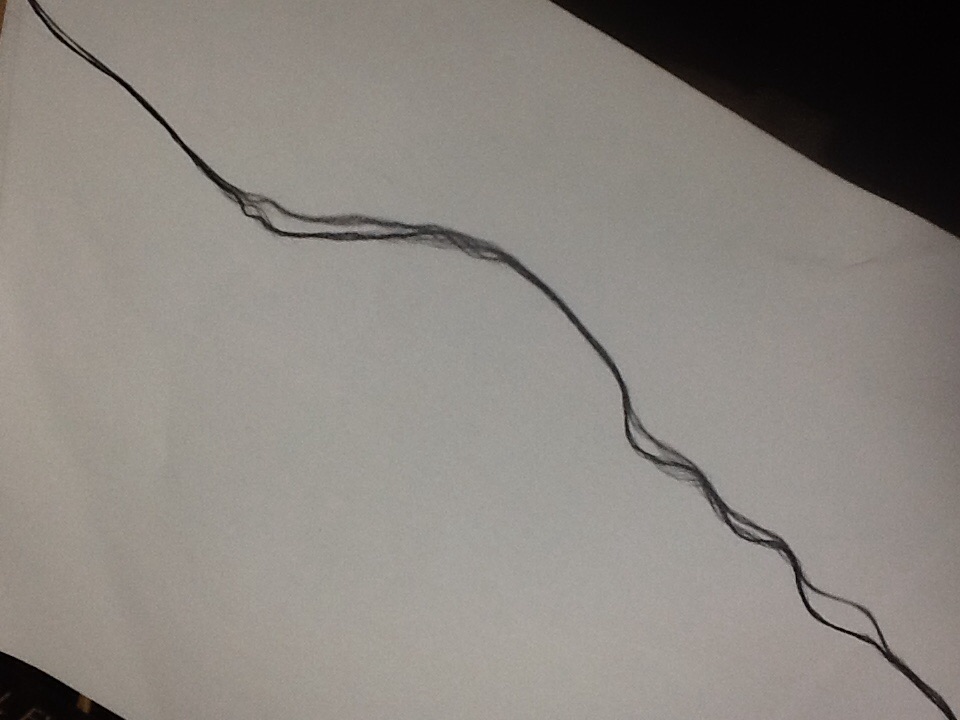
A quick update on this post

This shows the "fluffy" state better.
And the breaking strain is 1.2 kilos. More than enough to snap most model boats mast clean off and that's for a single length.
-
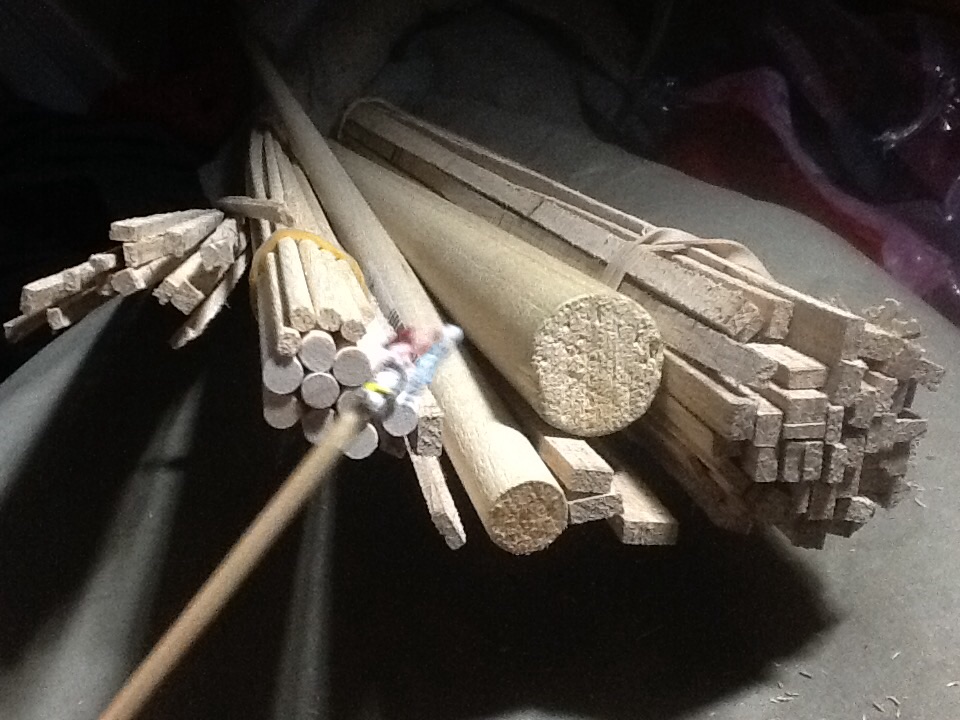
COFFEE STIRERS
I know we don't normally use them in the home but...
Namely the ones that are made of wood that's about 5mm wide and 1mm thick. While not the best quality timber they are just the right size for a nice bit of deck planking. Or any other such timber needs. And they are great for scraping unwanted glue from tight corners. But mostly as modellers consumable.
Does this one count Cap'n?
-
Oh and one last thing about the supply of lotto cards before they all dissapear to be used on some one models. If groves are cut into the edge they make great glue spreaders for large ares.
Please don't have me flogged over this one Cap'n as its to do with a household item just another use. Please grovel grovel
- mattsayers148, CaptainSteve and GLakie
-
3
-
Sorry my fault I started it and you are right. As are you Nenad, I just assumed they would be the first to be looked at. So didn't mention them but there is always someone who doesn't know. But enough of tools.
Wrists fully and justifiably slapped and I'll try not to do it again Cap'n. Or you'll have keel haul the lot of us. Har Jim me lad.
-
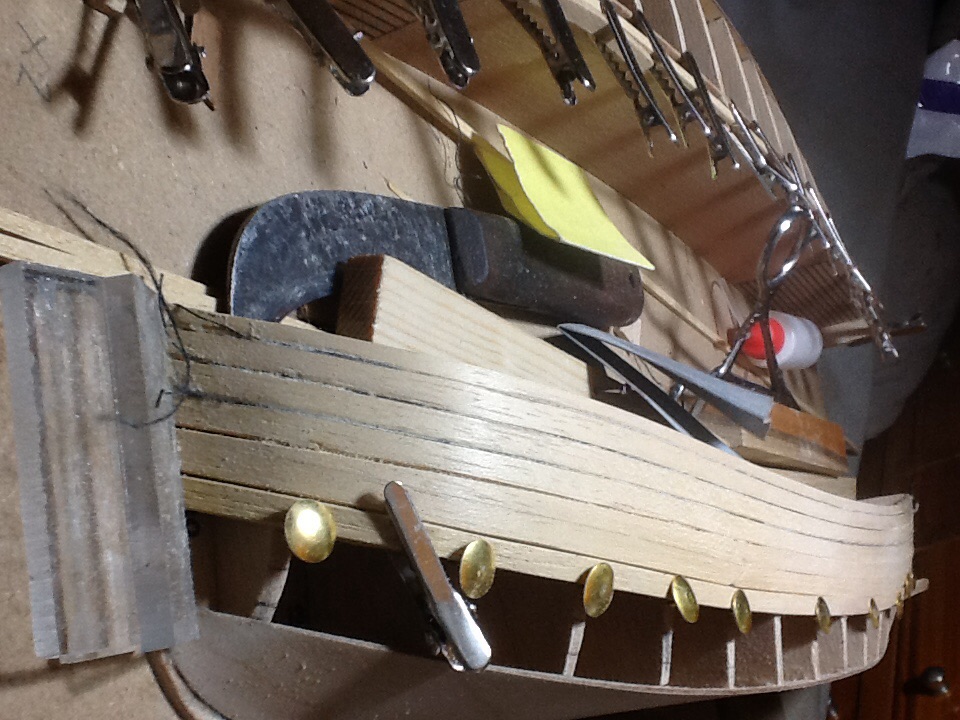
Ahoy there,
Just a bit of surprisingly early update.
But as things have turned out there is quite a bit I want to add today. So sorry for all the images. Hopefully they are all right way up.
First of all, thanks for the like Ray. Second as as far as I can see very few logs as to the build of "Will" I'm going to assume there are very few and treat you all to the gory details. I know there was a built on here back in 2013. But none I can find now. Please feel free to correct me. Also I want to avoid using CA as much as possible on the wooden parts as I find I crystallises over time as the wood moves and the glue doesn't. So parts become loose or fall of. So it's very similar to the way a wooden boat would have been built.
All will become clearer as we go along
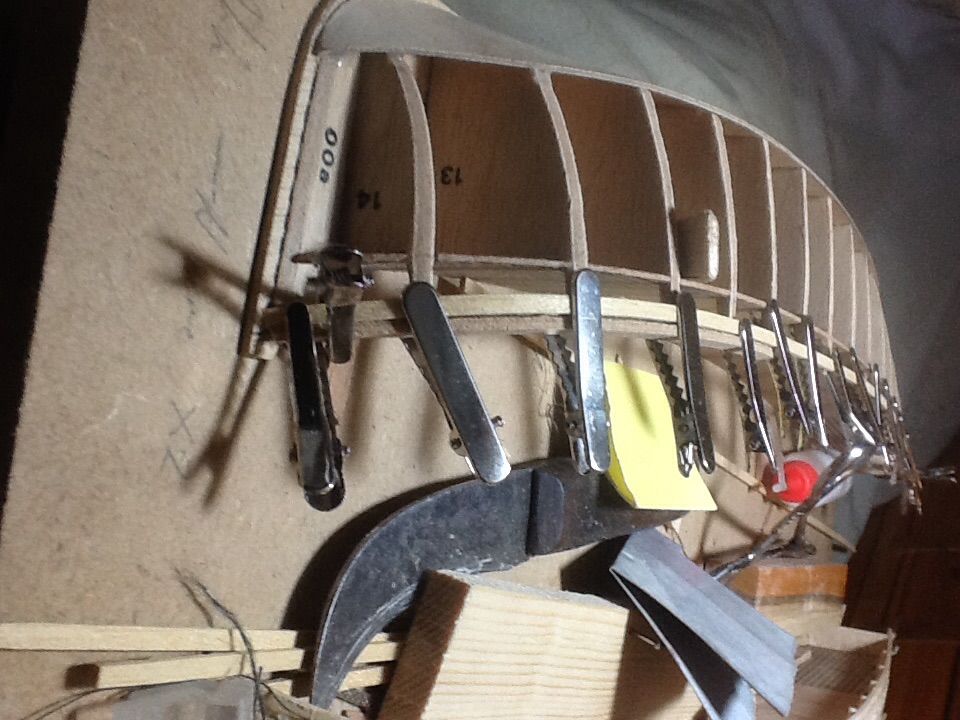
Yesterday I'd gotten as far as glueing the the ribs on one half. As this is built in two hales then the halves glued together. I'd also started to fix the base of the boat on.
For now I'm going to write about halves so anyone following me double up what I've written as I'll most likely be doing both side the same.w
In more detail the base is made of a single piece of three mill ply. And the boat is made in such a way that all but the last four ribs on each end are flat along the bottom.
So this meant I'm able to secure the base to the middle ribs as there is a line printed on the base for alignment with th seventh rib. Which I'm then able to leave to set over night. That way I'm not trying to hold 15 ribs and the base at the same time.
The first thing I did was to sand the last. Four ribs on each side to the right angle. This is very arbitrary as the ribs vary slightly so I decide to sick with a line that was smooth and visually nice. This done I need to bend the base ply three ways. Hence the glueing the middle down yesterday. Well ther are only three ways of doing this that I know.
Brute force, which worked but not easy to maintain for two hours wiphile the glue sets. Heat/Steam, messy smelly and needs extra equipment. Or they way I did. That is to apply several coats of warm soapy water for about ten minutes then bend it like paper and turn on the fan to dry it our. One dry it's three parts there. Then I glued and taped the hell out of it to hold it in place
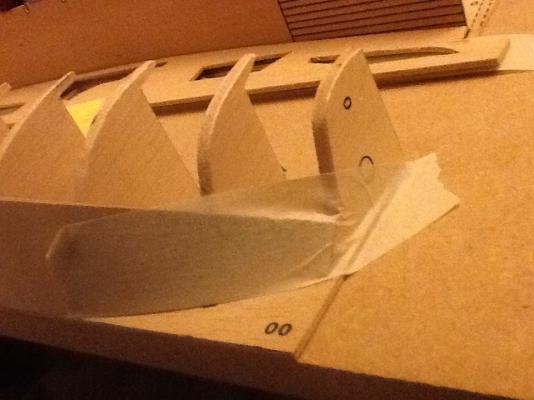
The end with the least tape I allowed to dry before gluing so less pressure needed also the front is such a low angle I had to add to scraps of ply left over to pin it down because the angle is REALLY low. As you'll see next time
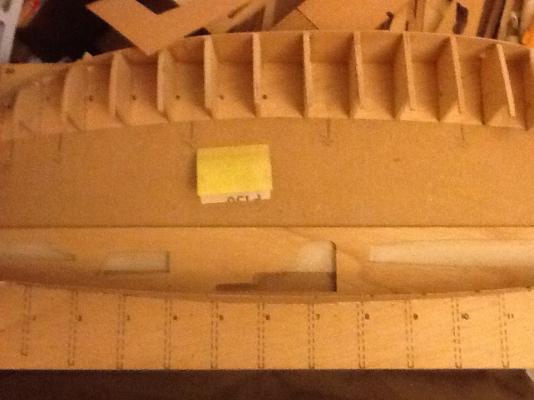
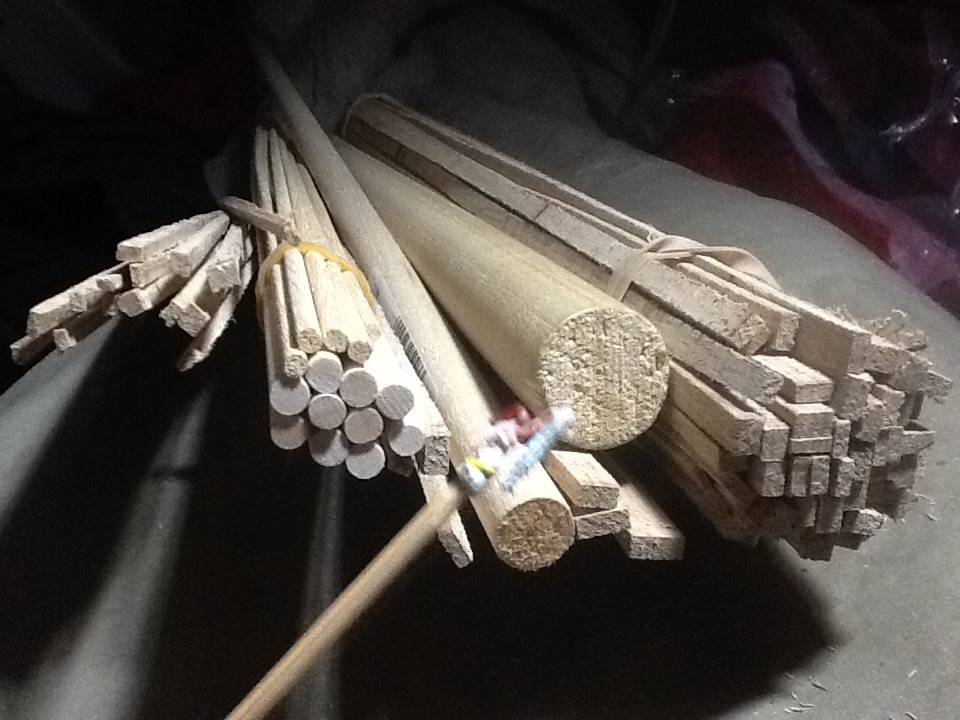
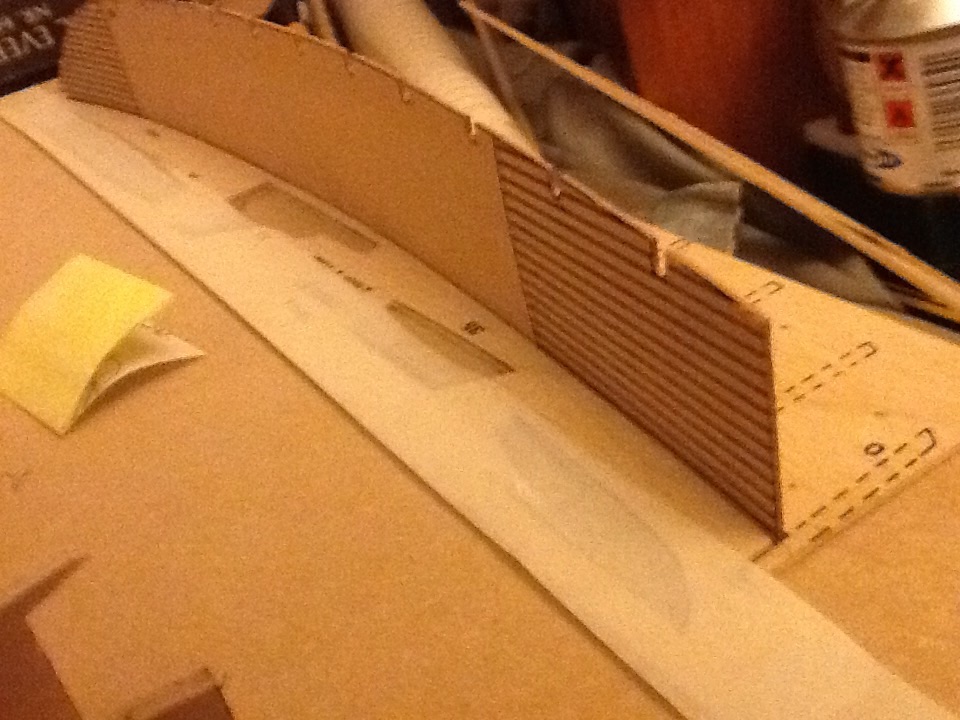
So today I was able to cut all the pieces out and try to make some sort of headway out of sorting the planking etc. As this is an "old" kit see the lid and the bloke with the beard and pipe tells you that much. But the parts don't all add up as to the modern version of the instructions. This said I do think they were far more generous back then as I seem to have about twice as much as nowadays. :-). Great for those slight redesigns later.
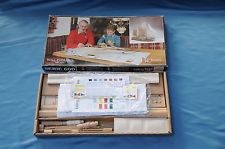
See what I mean
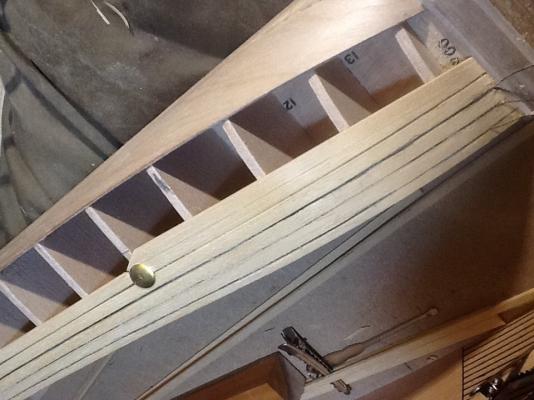
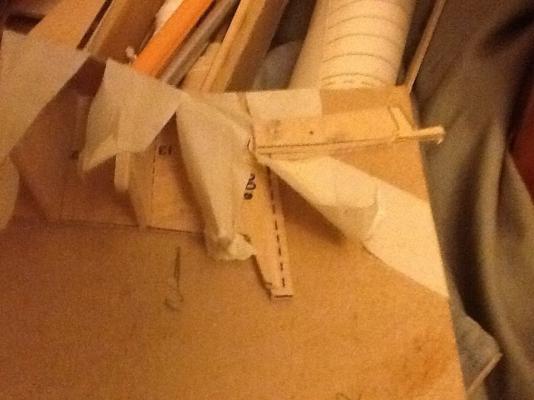
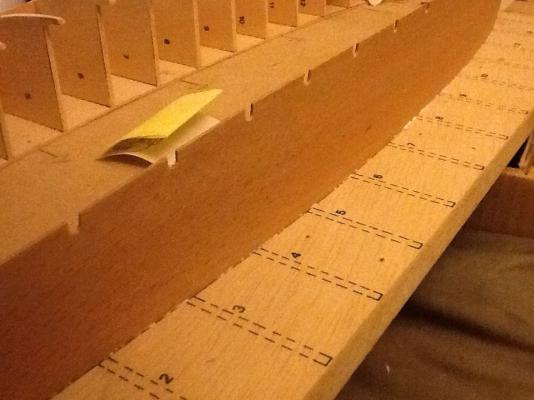
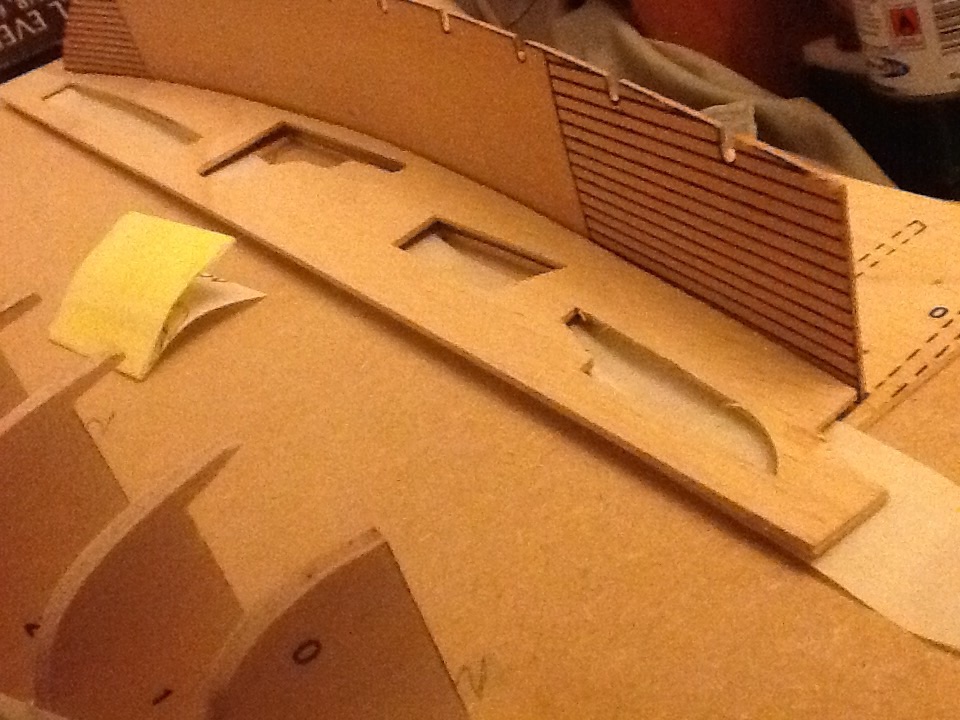
Well the first thing I did was to replace the slipway that is supplied as this one had twisted and was only able to hold one half. Too slow. So I've gone for a piece of MDF 10 x 300x 500 mm ish. Then I can just spin the board around to work on the other half.
This done you'll notice a few oddities. First off I should have glued the deck on befor the base. In my defence I disuse the deck piece to ensure alignment. Secondly was a spark of inspiration on my part. The makers tell you to put the ribs on making sure there all square and vertical. Very good advice but I was arranging parts when I suddenly realised the the keel boards are from a square set in the same sort of arrangement I've pinned them down to. This is where the idea struck me.

If the scrap piece is the same shape as the deck needs to be AND I need to stick the ribs in the right place. Then brainwave. Glue the dec on first, ribs have to sit in the notches, and hold it there with the scrap piece already shaped.

Everything is now in place perfectly and I can just shove, technical term that, the ribs in the right places bang bang bang, another technical term.
One thing I did learn from the build from 2013, sorry terrible with names, drill the holes in the ribs for any fittings before planking the sides. As there is only 10mm night so it can only be done from the outside. So until next time heave ho. And pass me the rum as its weekend and PARTY TIME


H.M.S. Victory, Heller, 1/100, Onward and Upwards.
in Plastic model kits
Posted · Edited by Izzy Madd
On a completely different tack.
And no disrespect to the chap(images curtesy of The Daily Mail). As its the lighting and the daft pose they put him in.
Is it just me or does this guy look like a cross between Joe 90 and Brains from Thunderbirds?
Every time I see this image I want to look for the strings...
And for those that had a less than full education, ie born too late.
Here's Joe 90.
And here's brains. Pre cartoon version...
And before anyone asks yes it's the weekend and yes I've been tapping the admiral...