HOLIDAY DONATION DRIVE - SUPPORT MSW - DO YOUR PART TO KEEP THIS GREAT FORUM GOING! (Only 13 donations so far - C'mon guys!)
×

Gaetan Bordeleau
-
Posts
1,307 -
Joined
-
Last visited
Content Type
Profiles
Forums
Gallery
Events
Everything posted by Gaetan Bordeleau
-
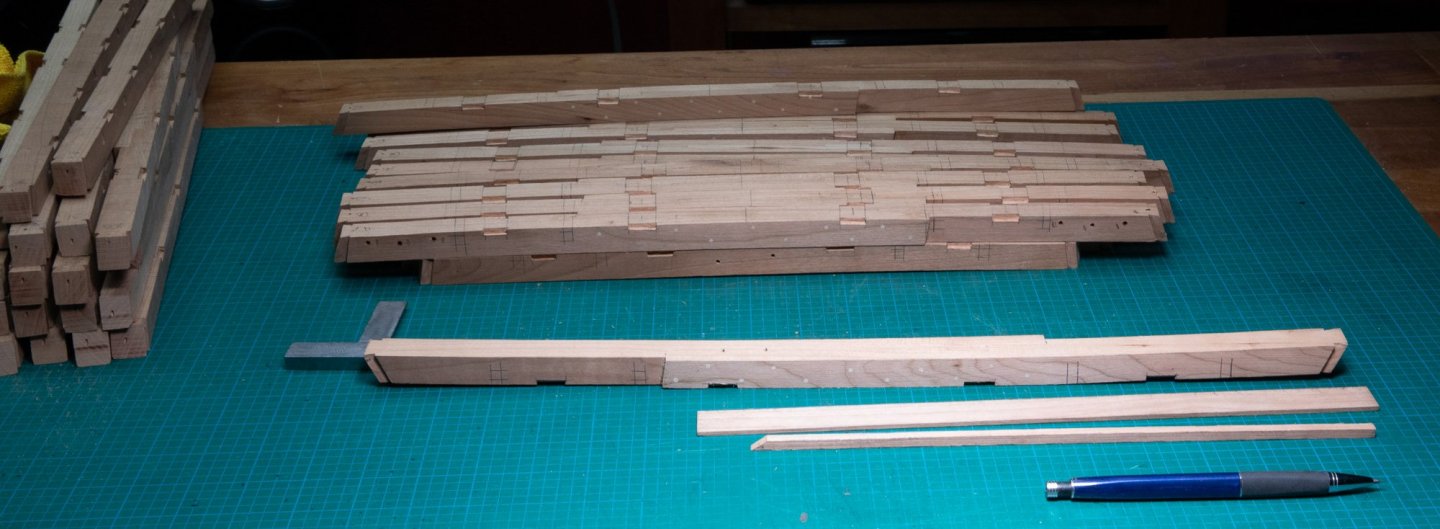
 Thank you Jorge and Bradley Notches for the second deck are mostly completed but nothing is glued yet on this deck. Still other parts to fabricate on the first deck.
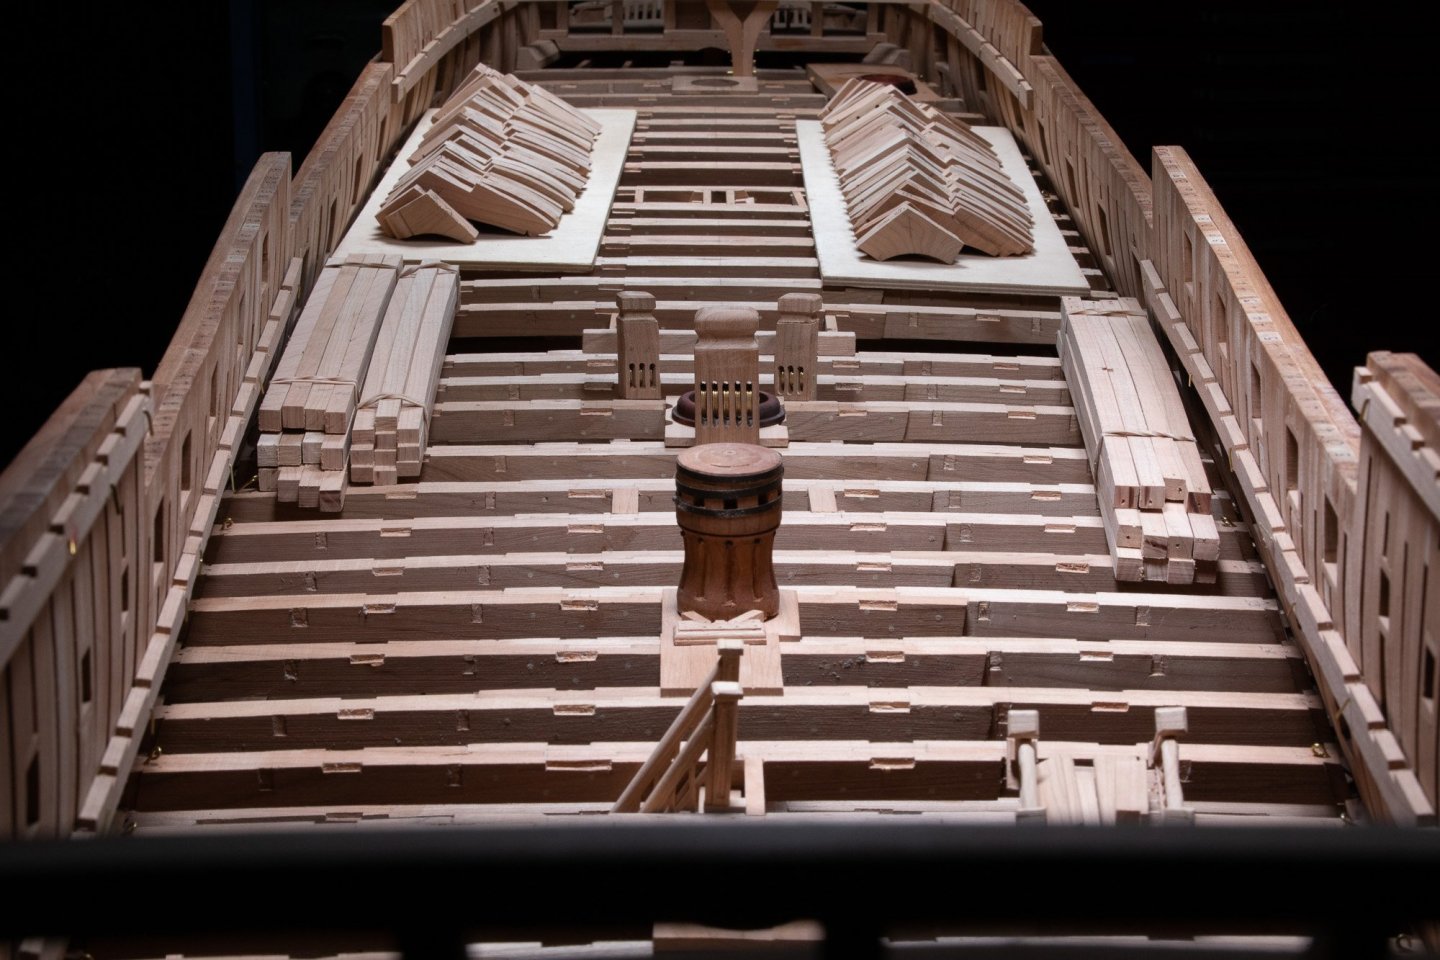


-
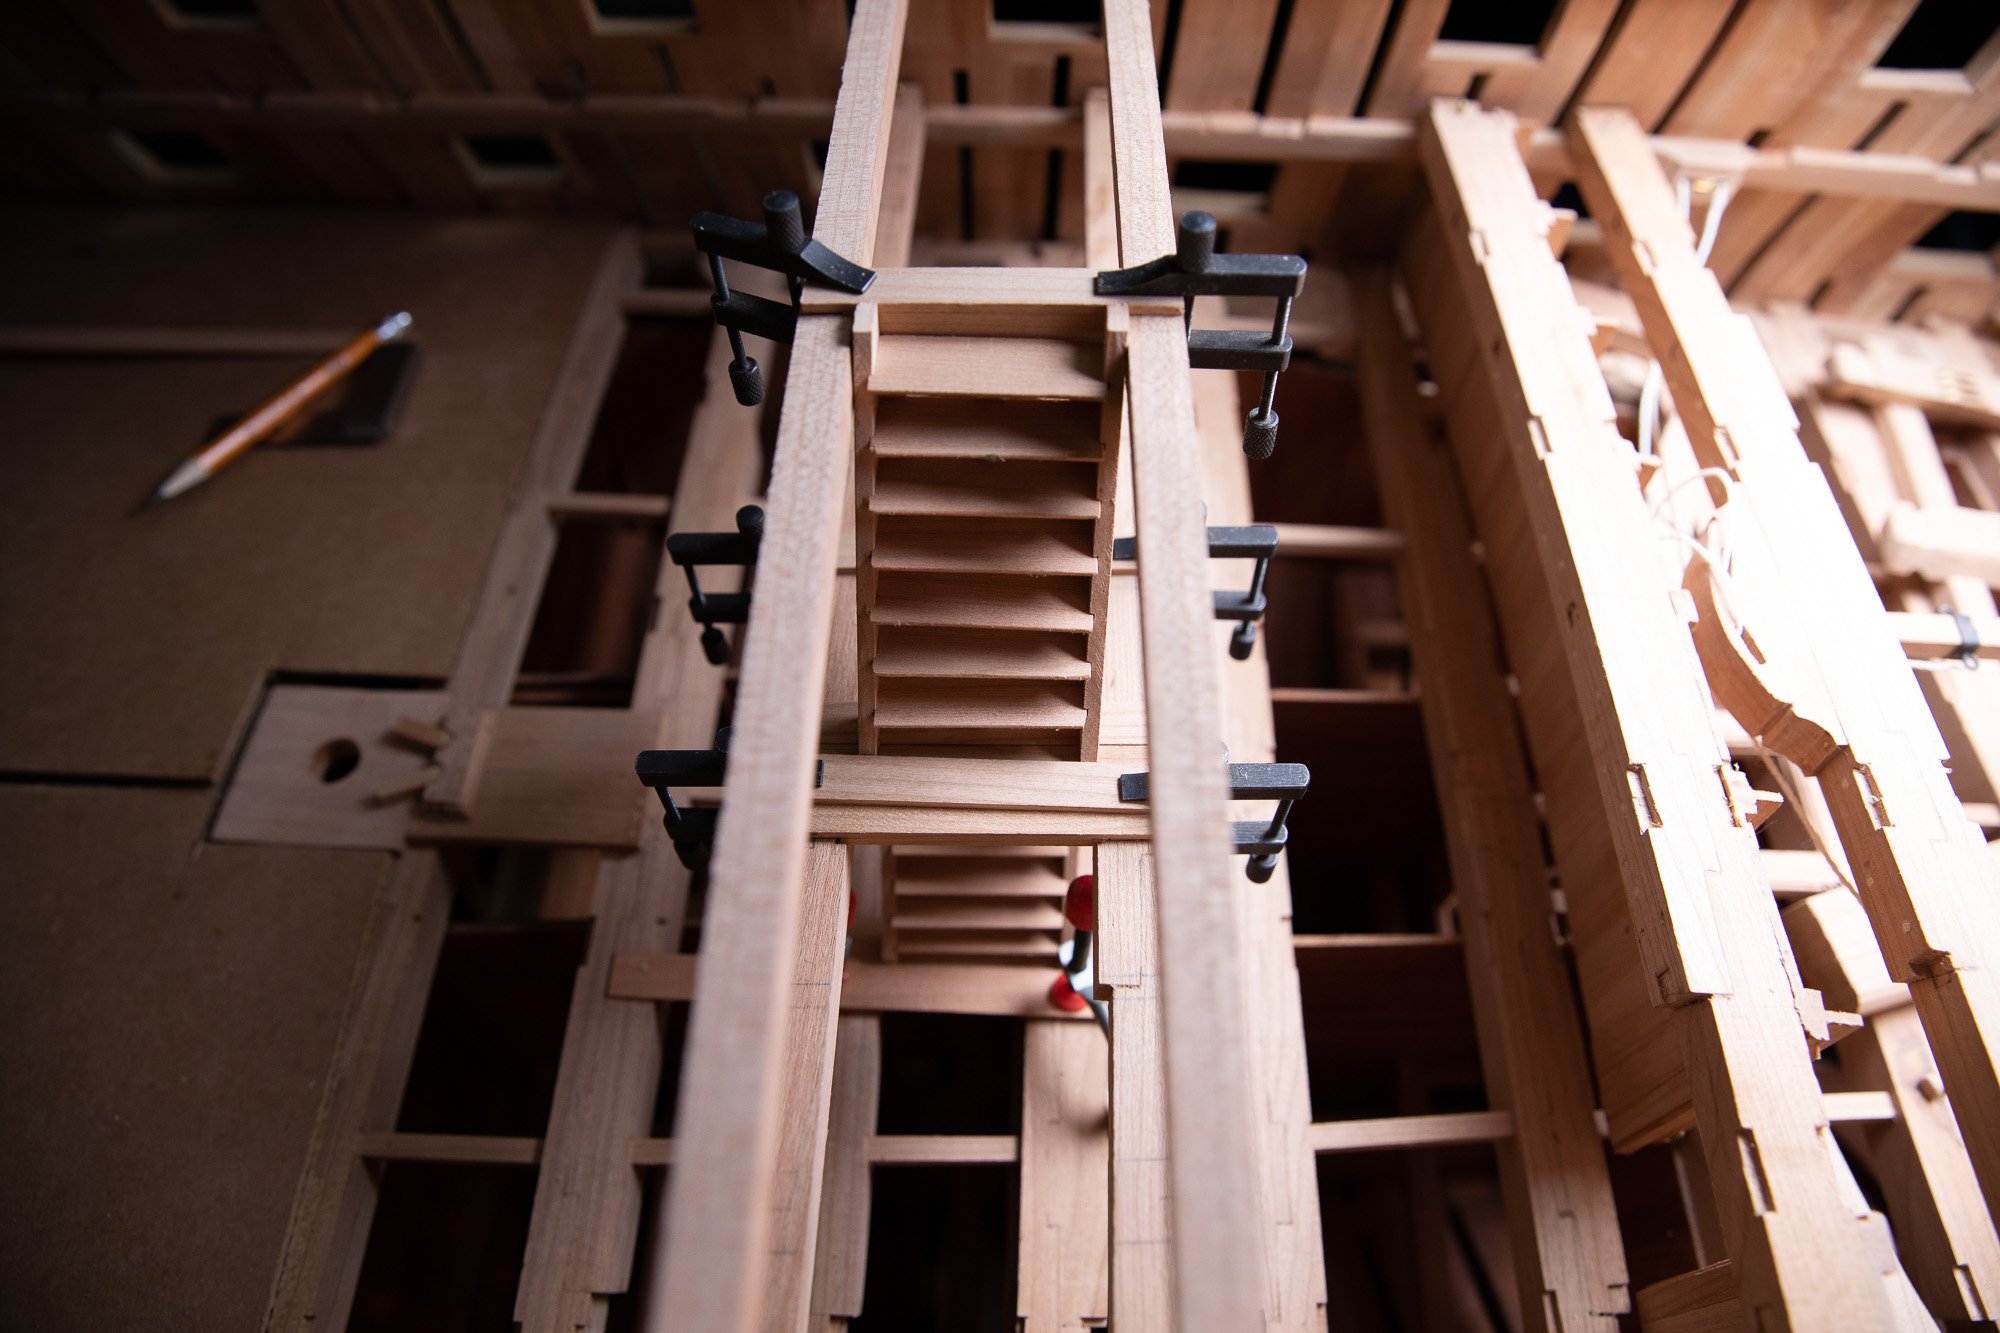
Hi Jorge I bought these at Lee Valley a long tIme ago, they do not sell it anymore. They are 1,5" long. I do not know where to buy others. Another solution, would be to make a few ones as Mike did in a few posts. Or continue the search on Internet with: toolmaker machinist parallel clamps. https://www.amazon.com/s?k=Parallel+Toolmakers+Machinist+Clamps&ref=nb_sb_noss https://taytools.com/products/toolmakers-machinist-parallel-clamps https://www.grizzly.com/products/Grizzly-Machinist-Toolmakers-Parallel-Clamps-1-Pair/T10079
-
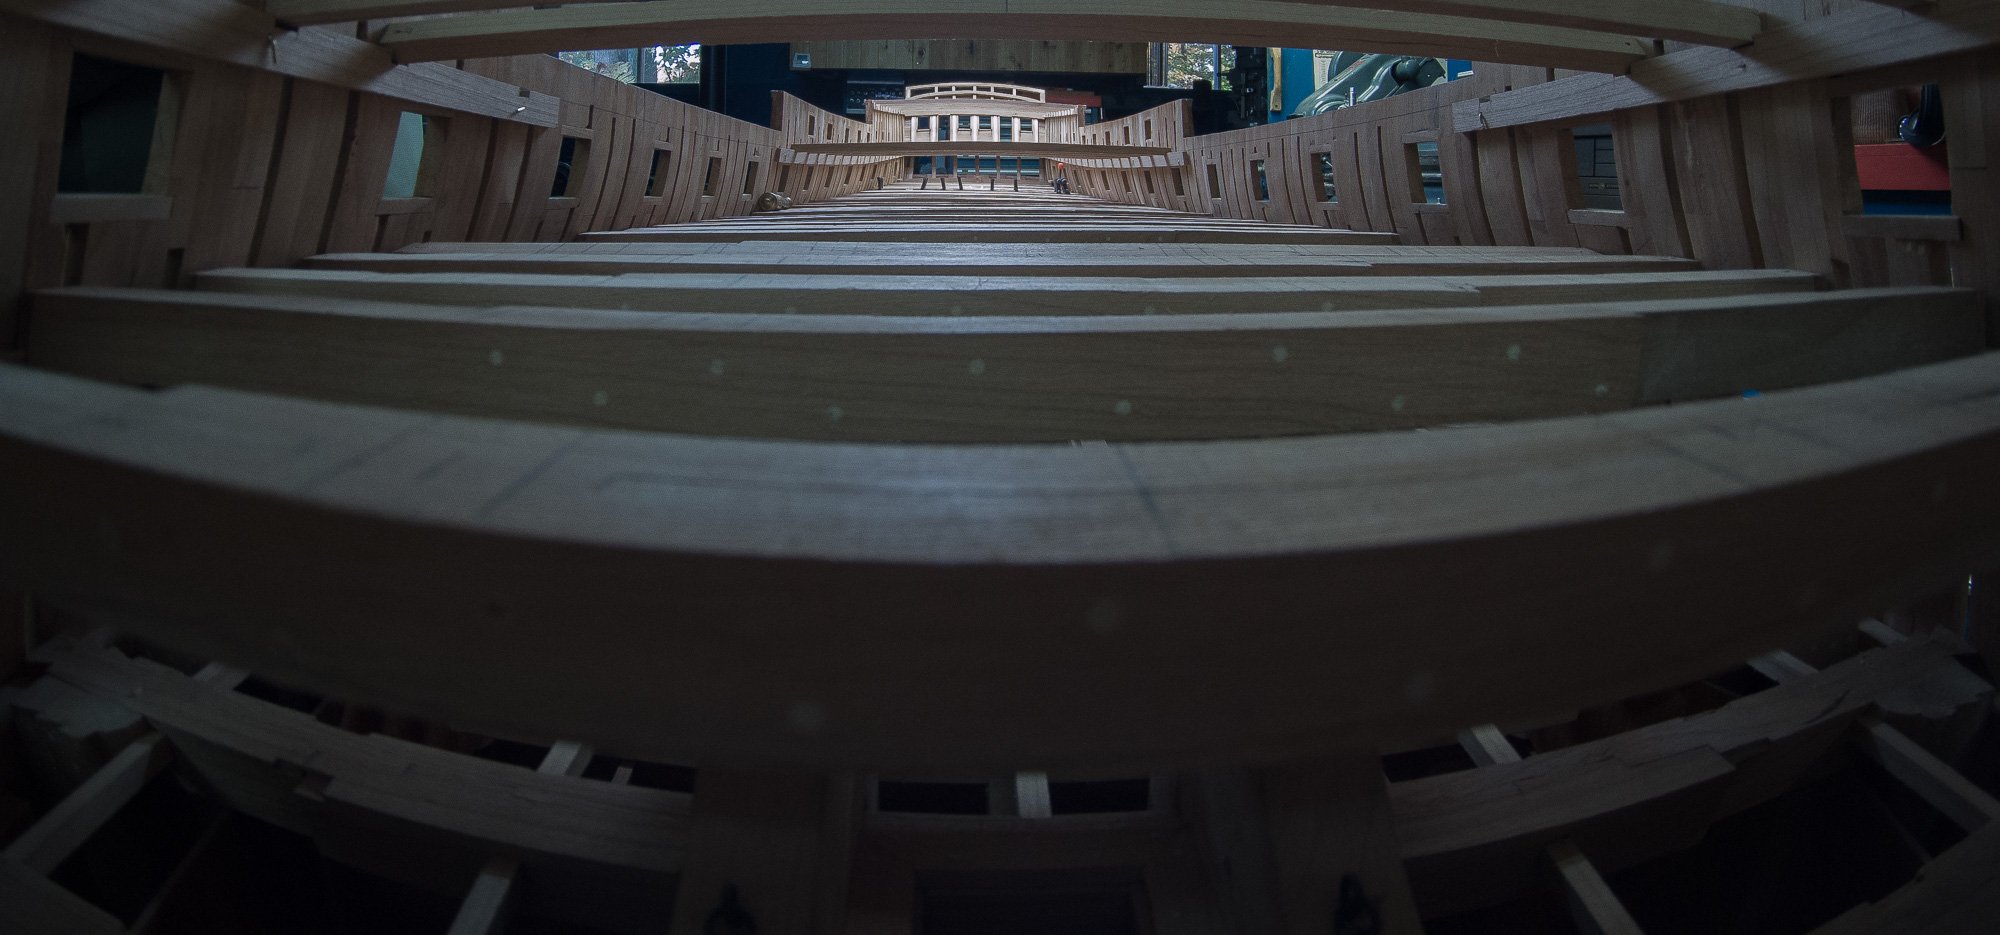
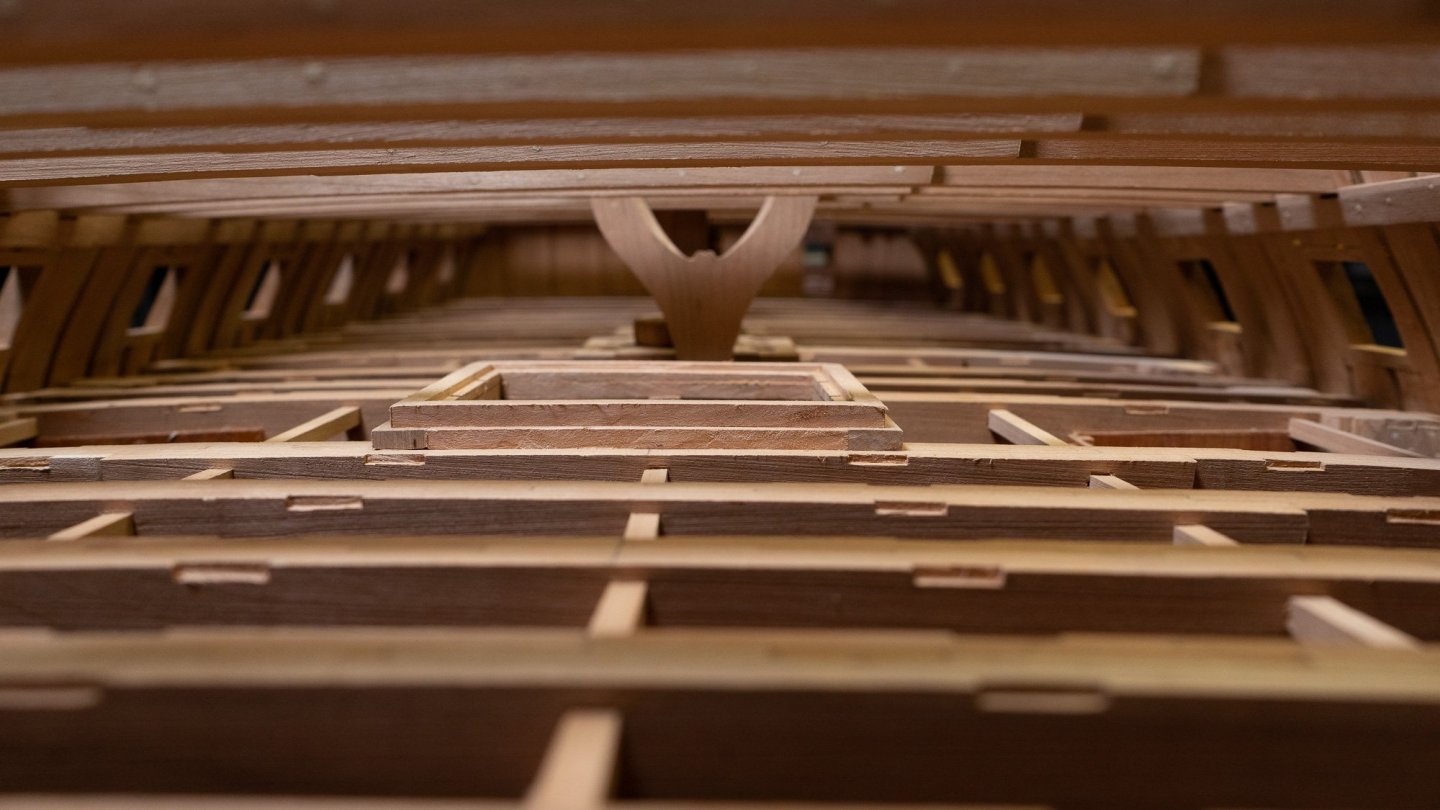
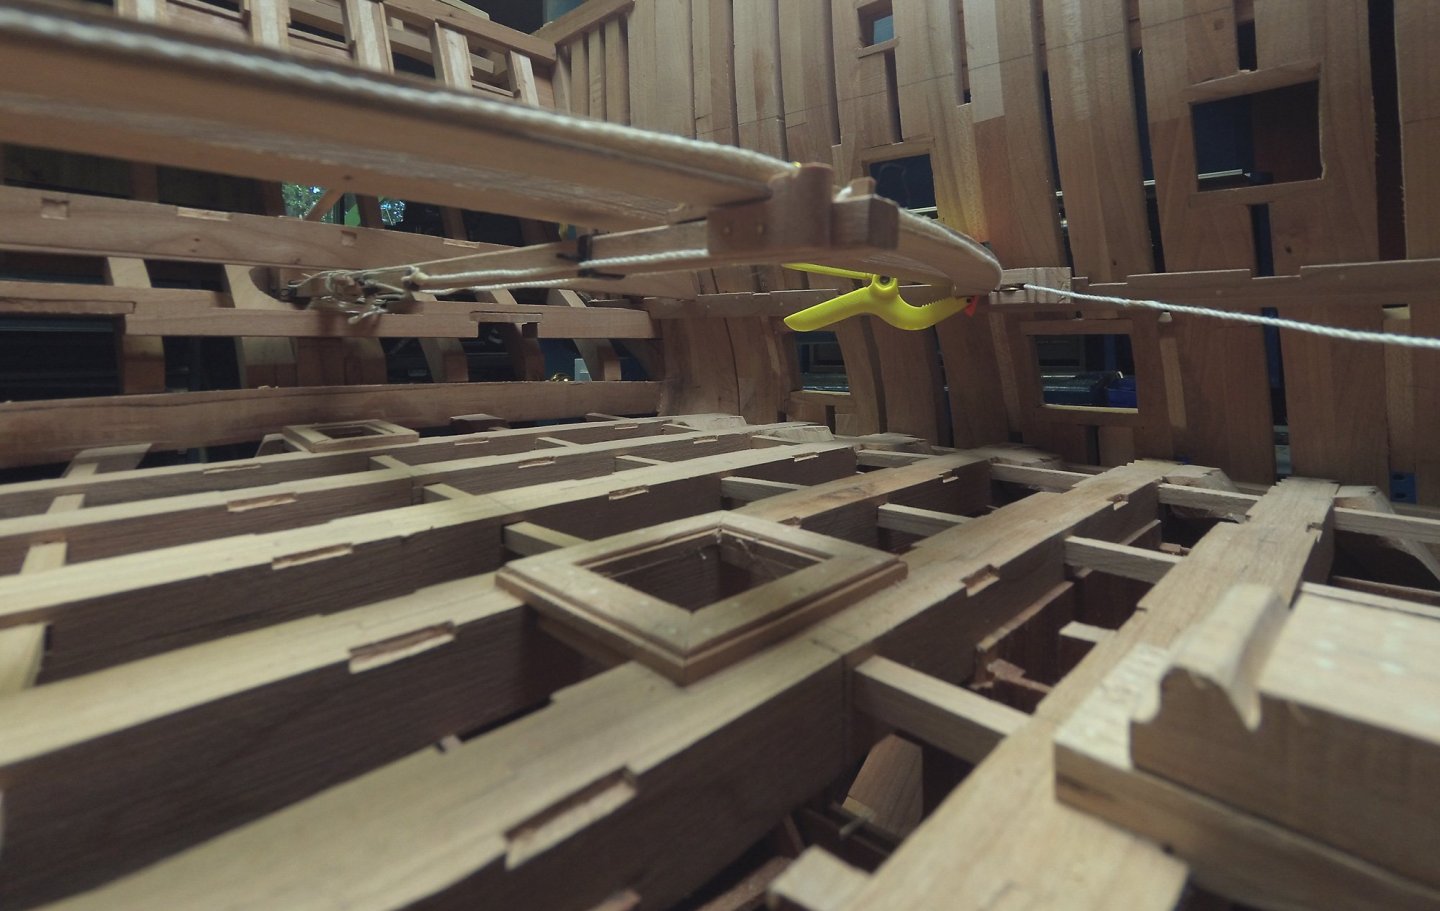
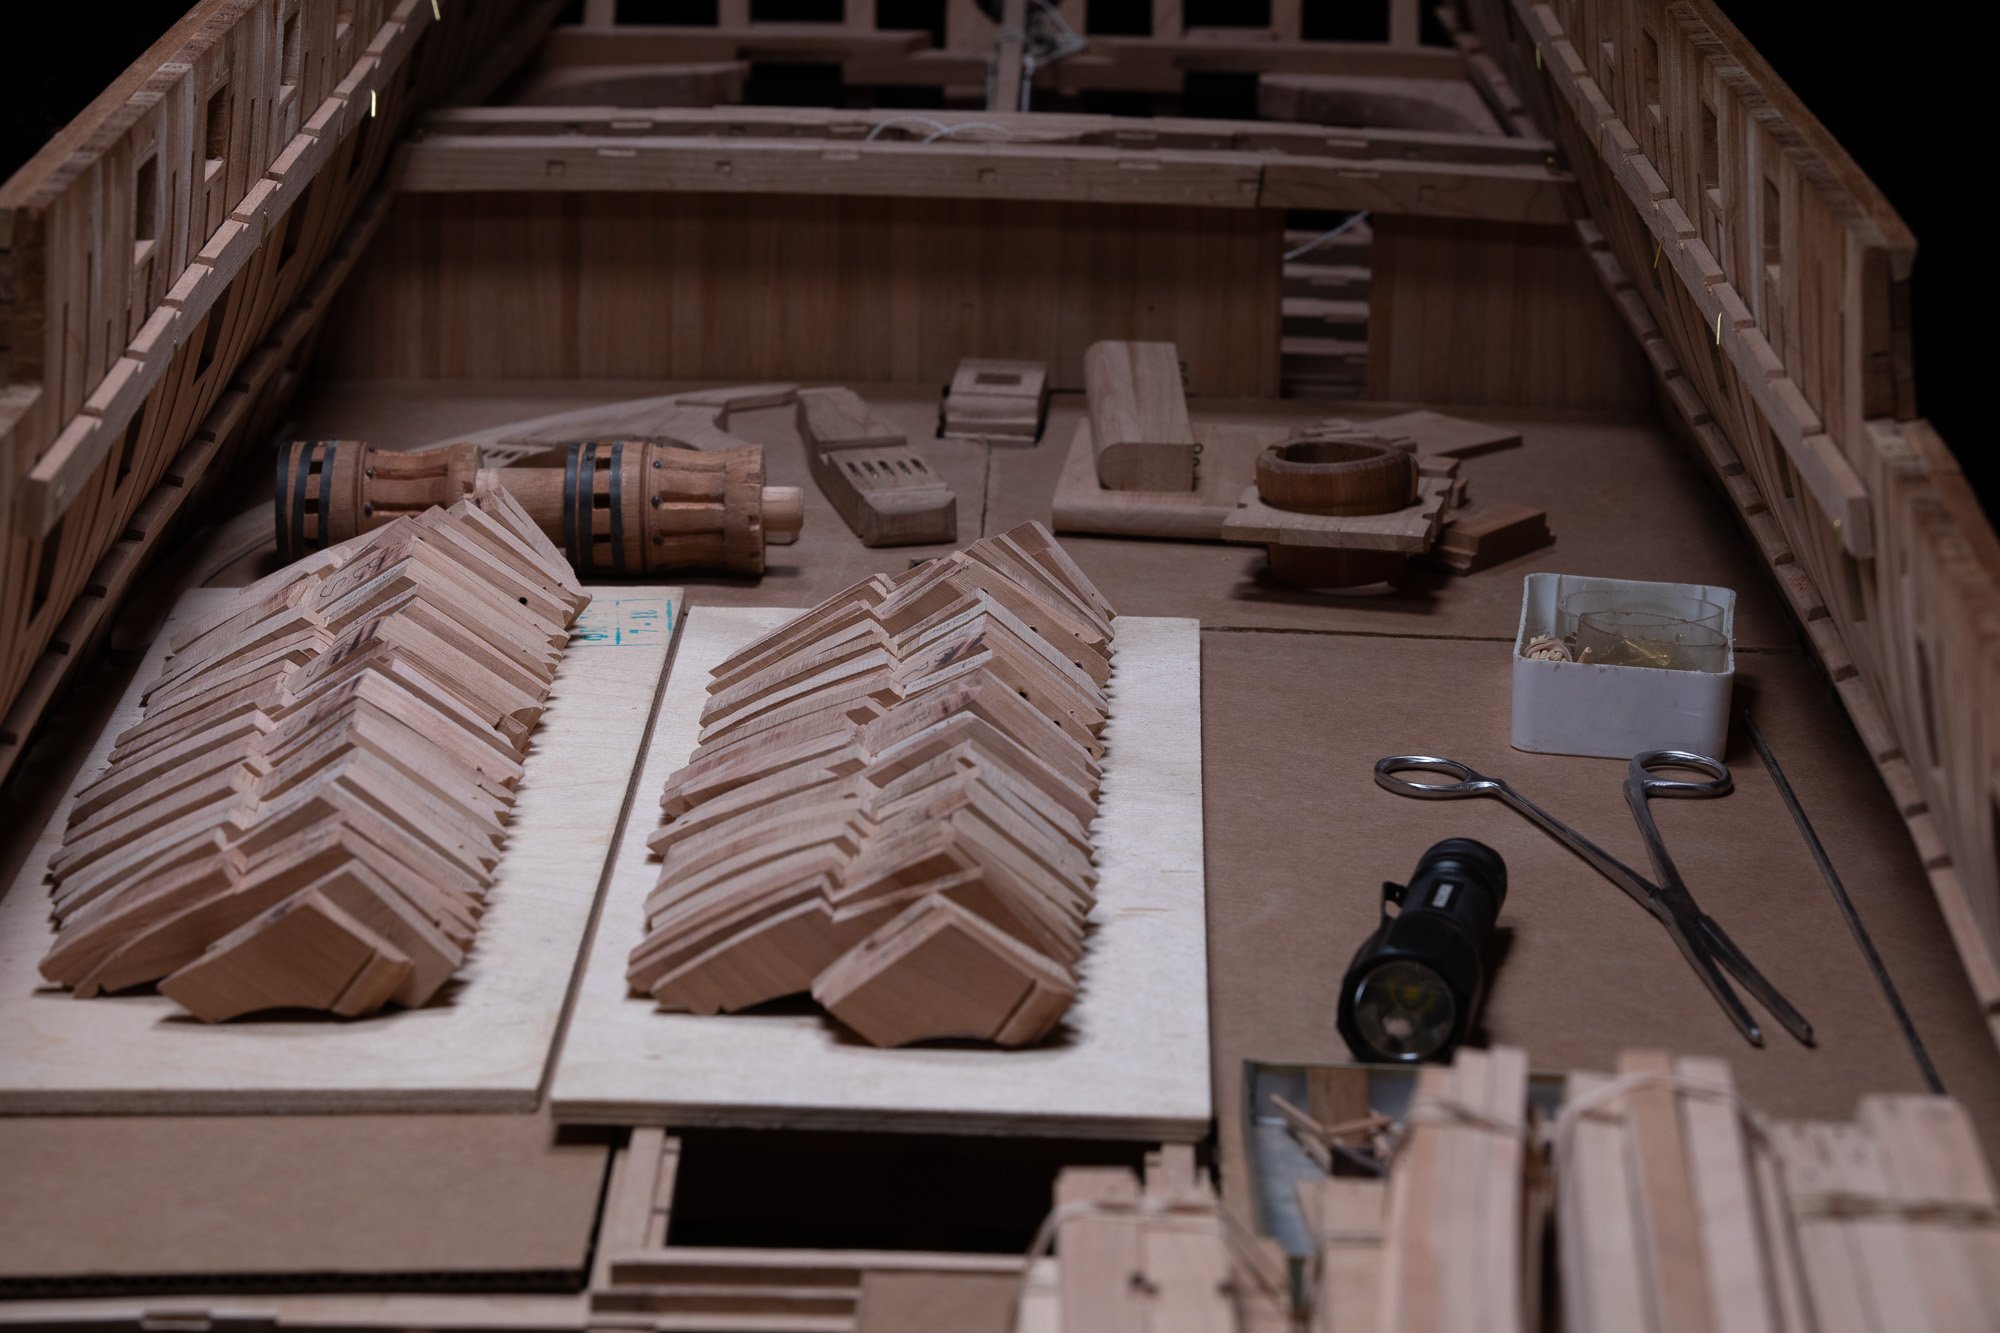
2 photos later 544 notches on the deck beams of the second deck depending of the attitude you choose to do it, it can be fun

-
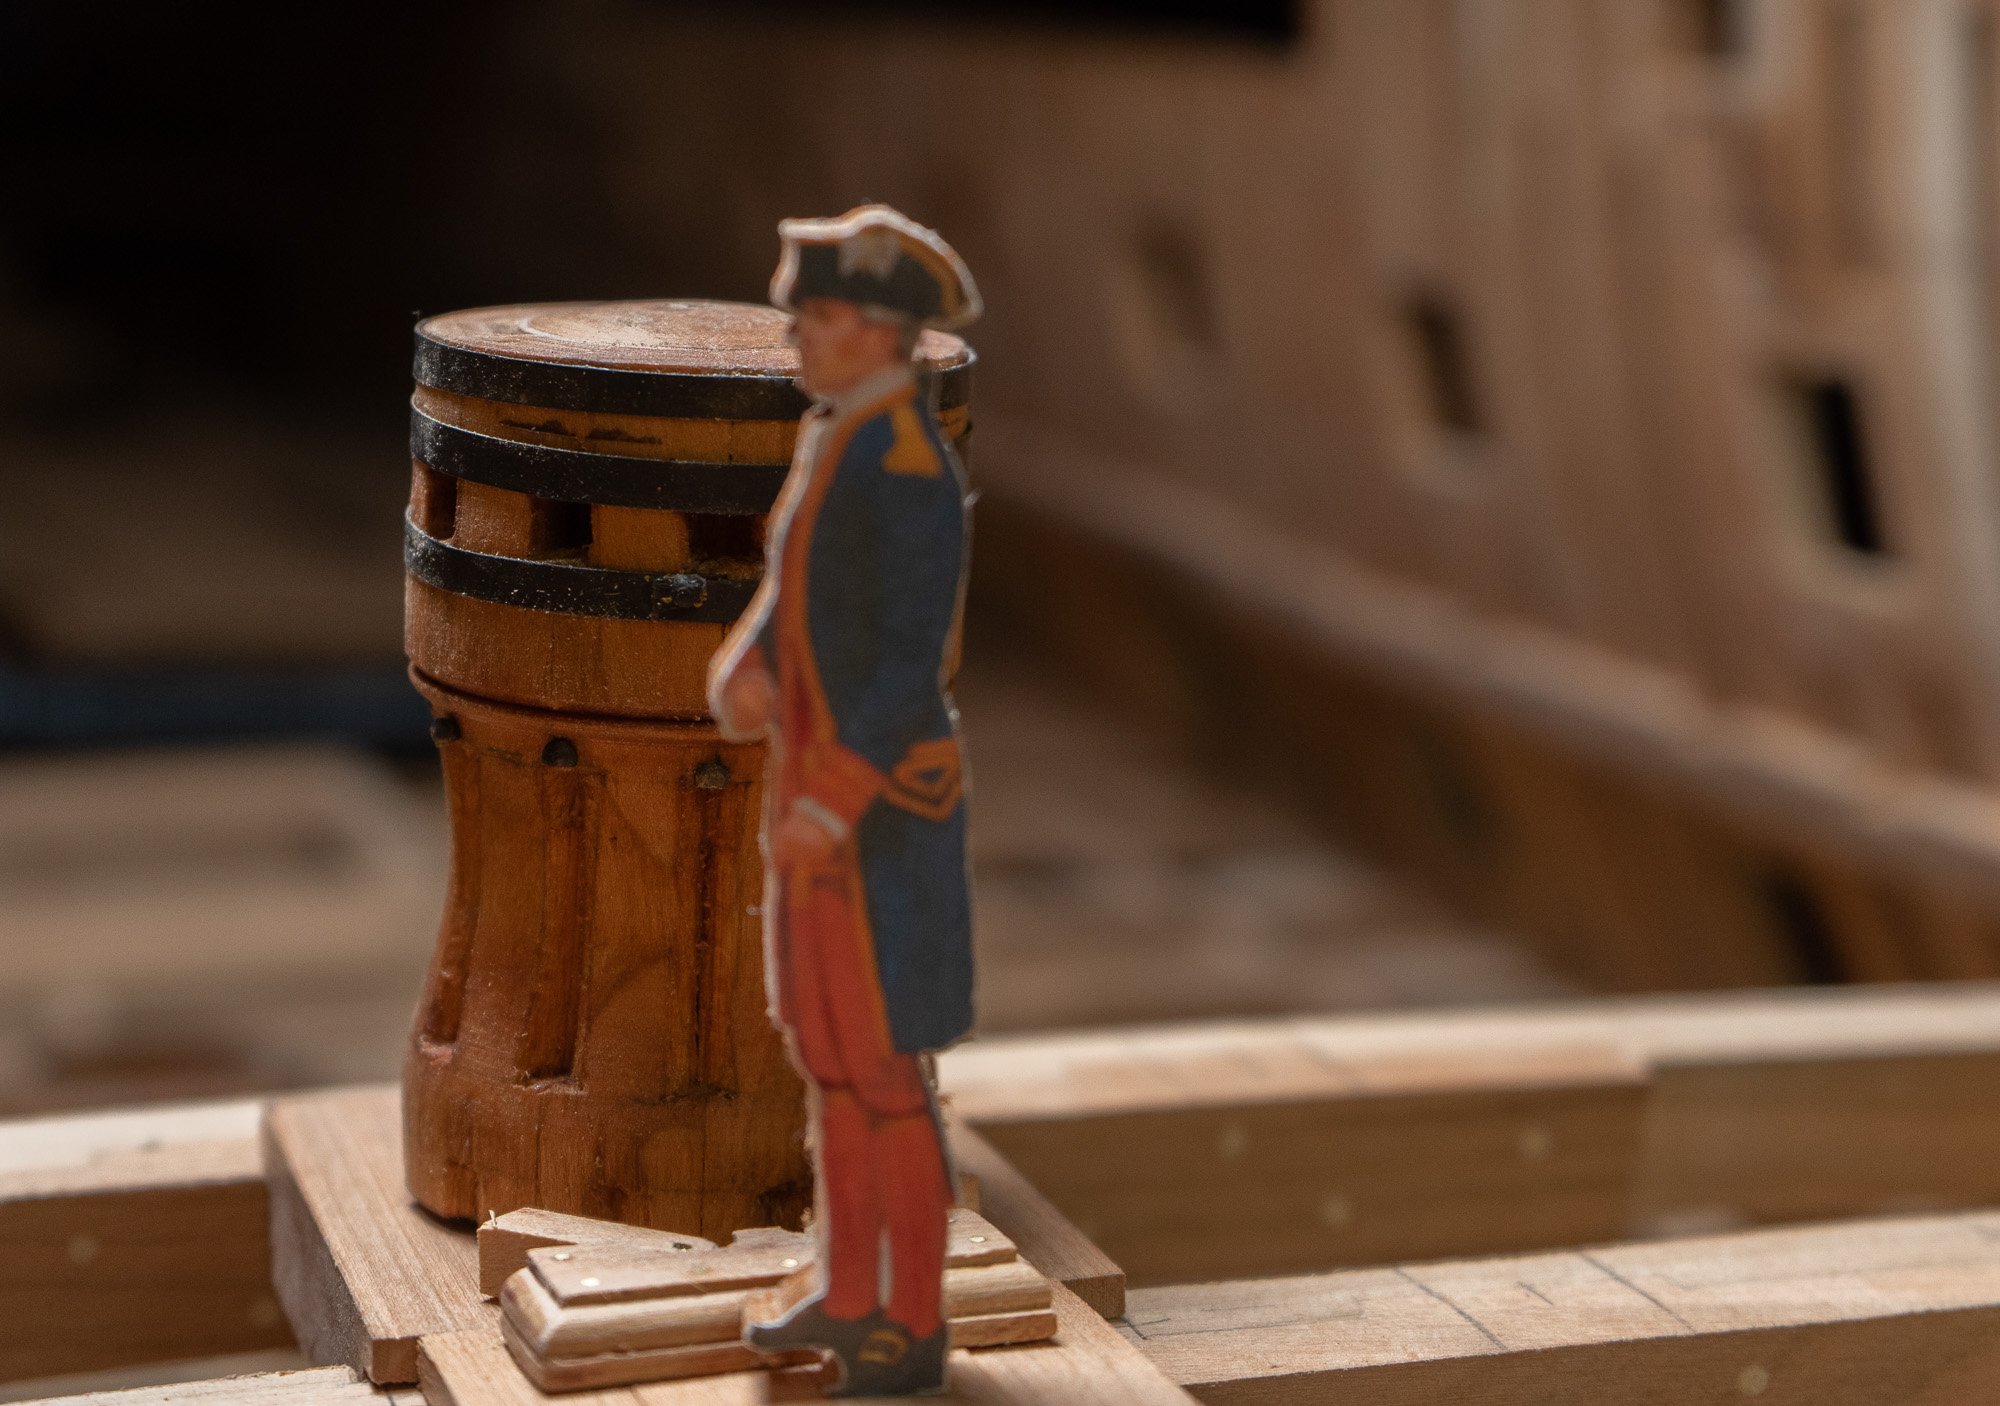
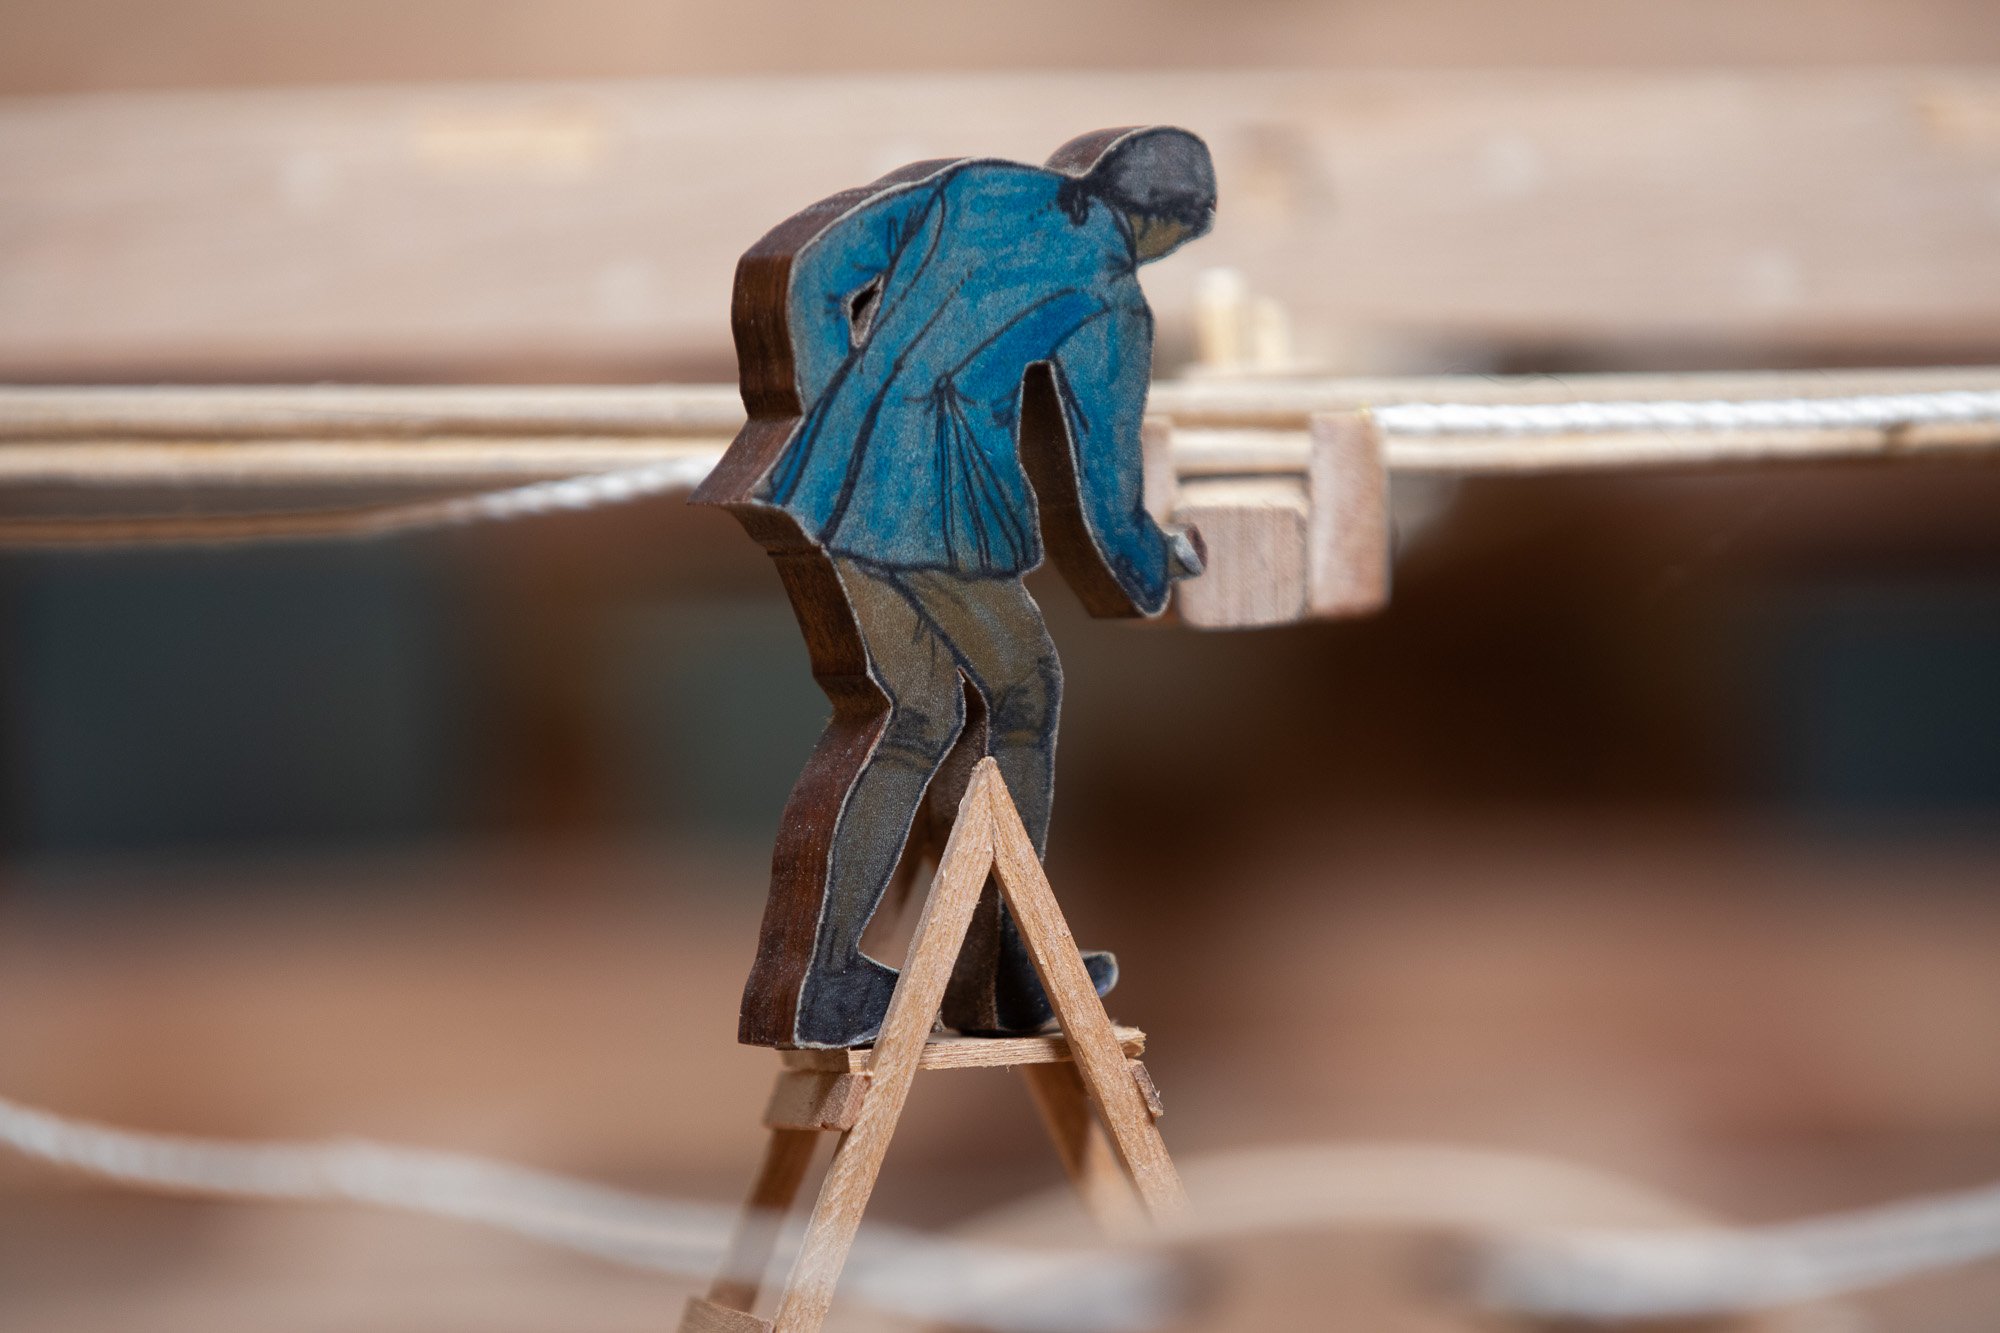
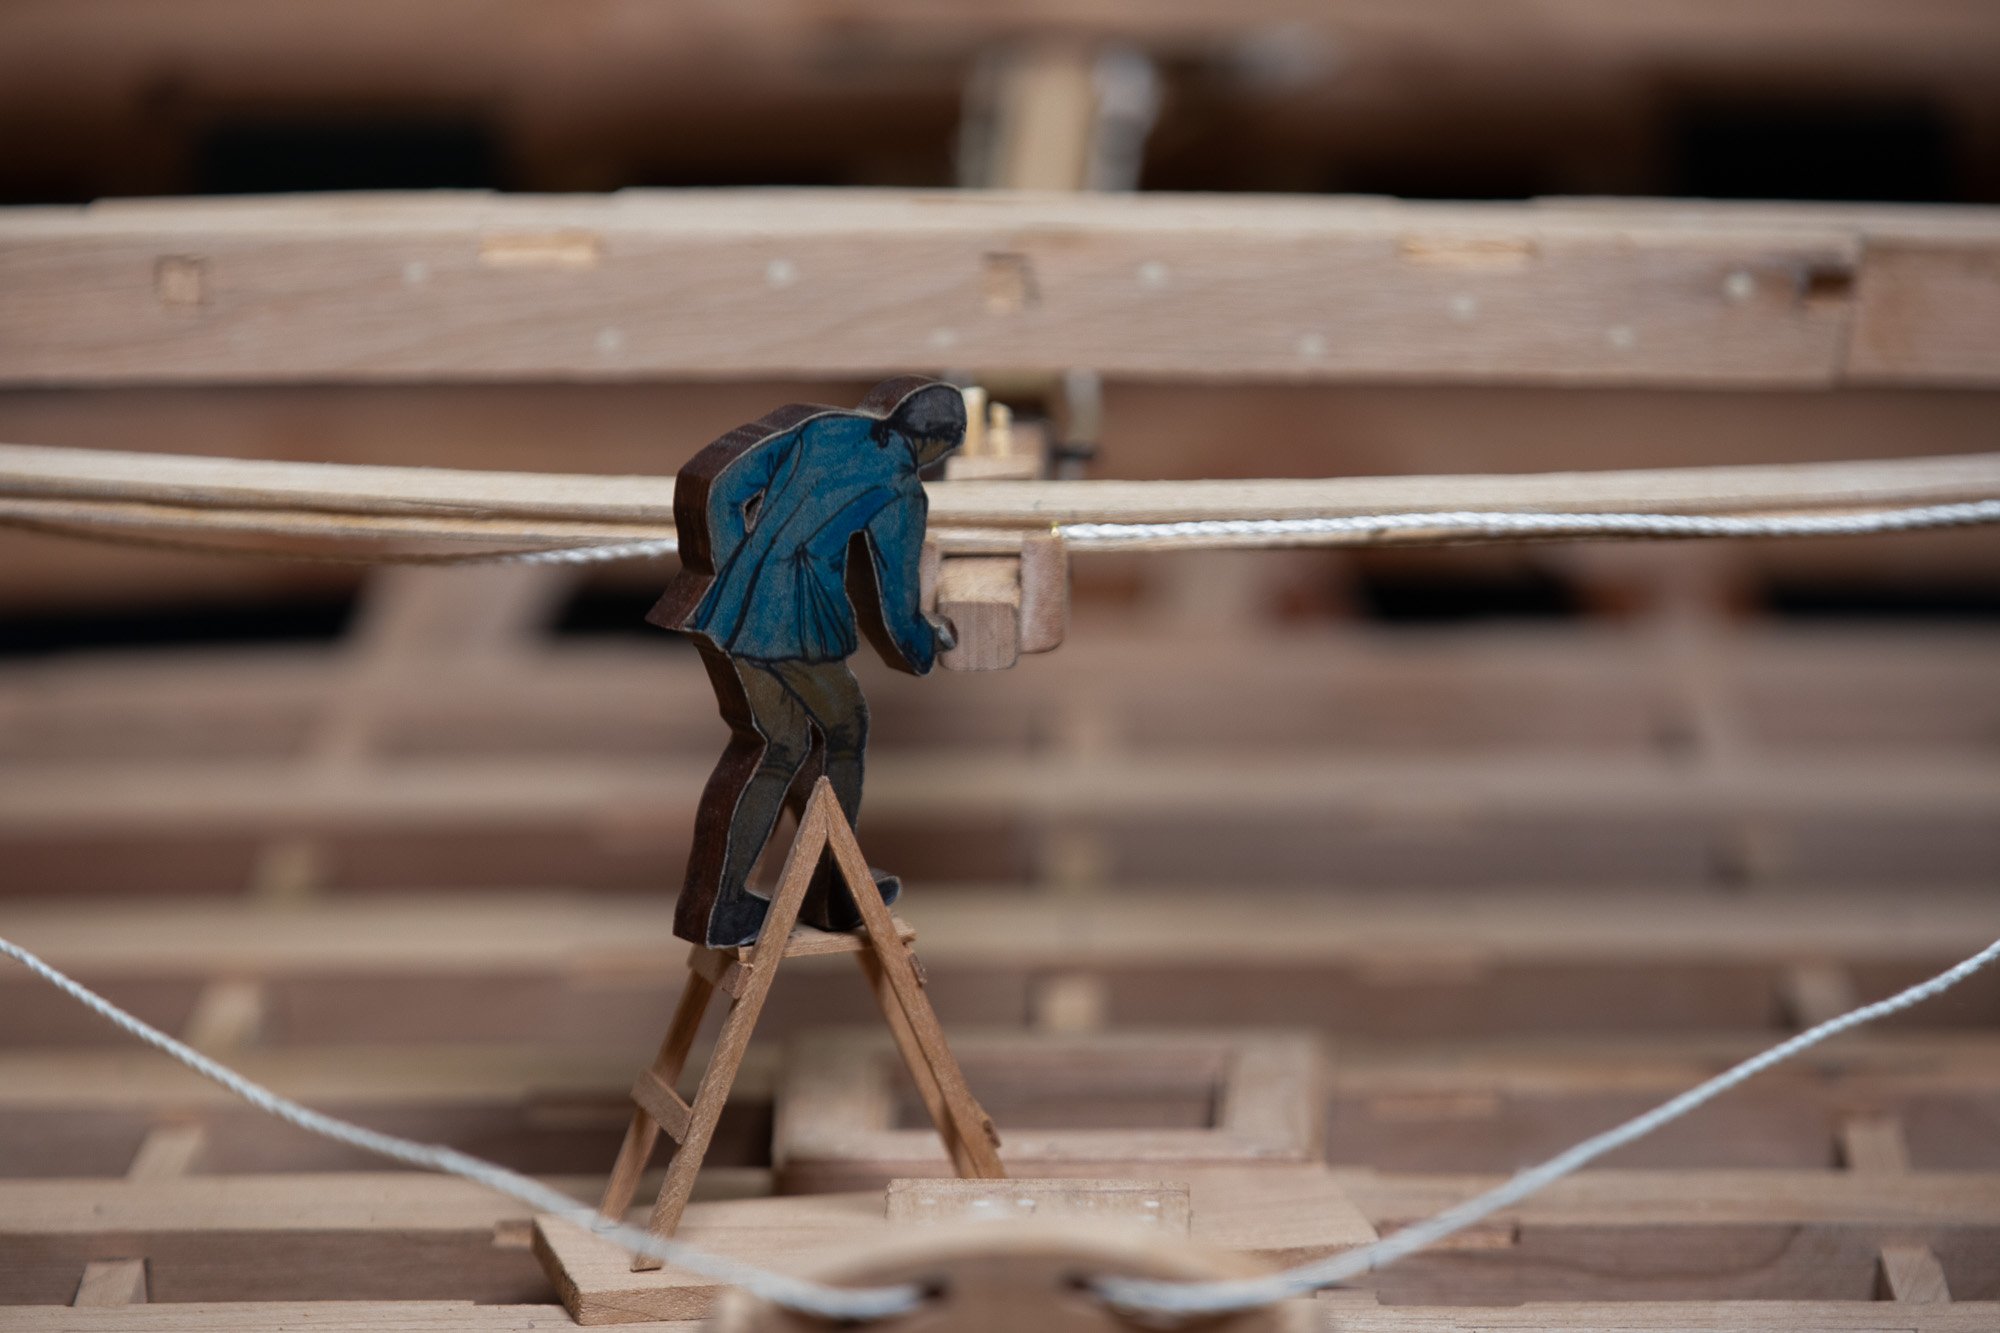
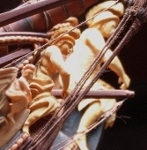
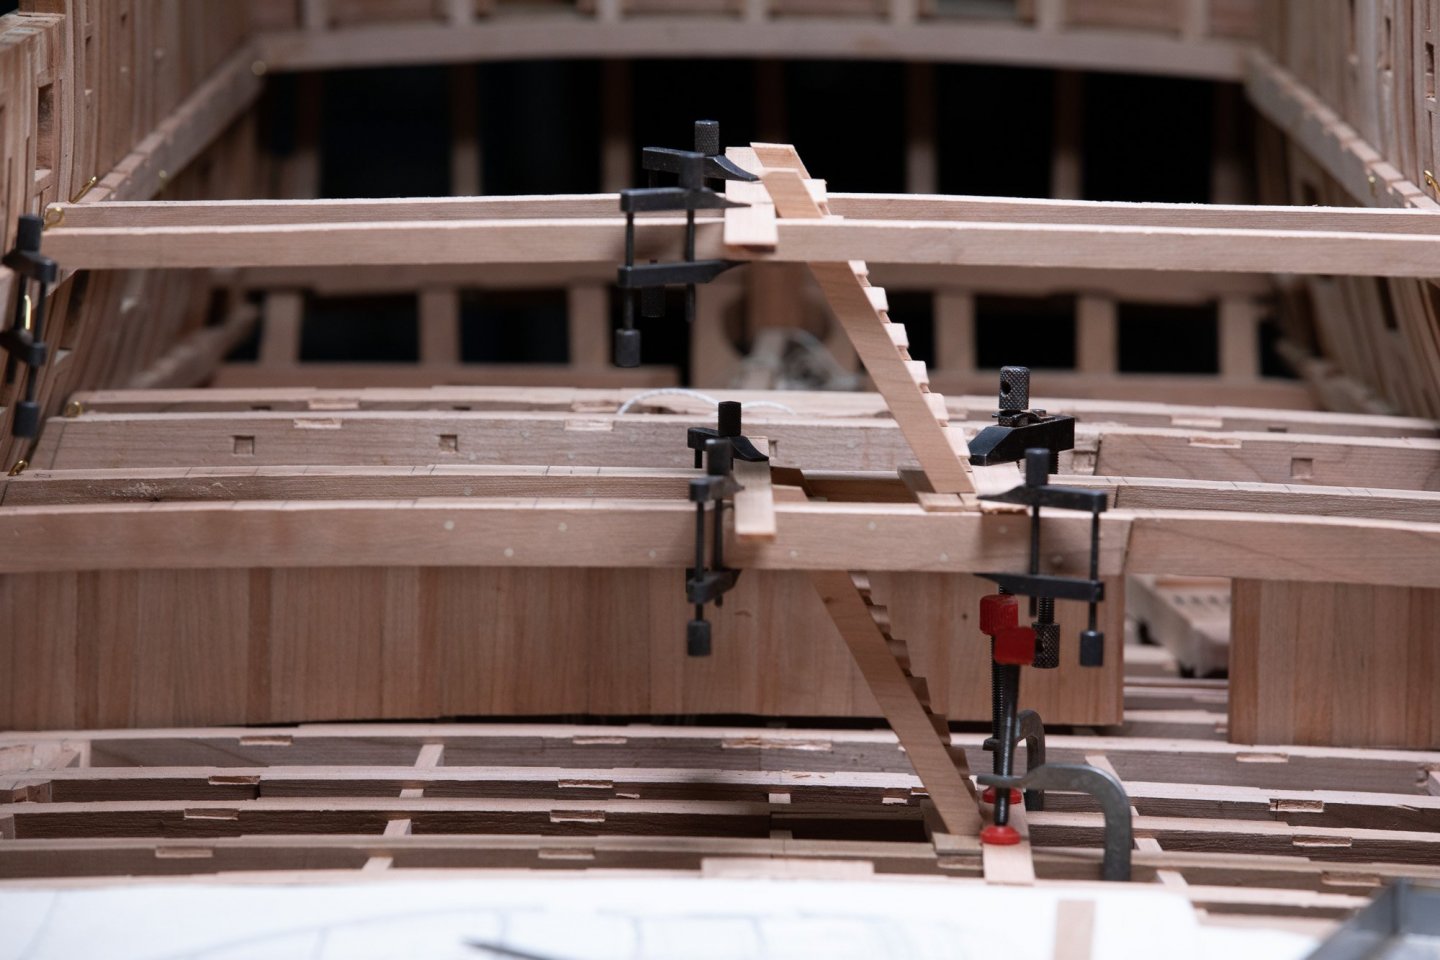
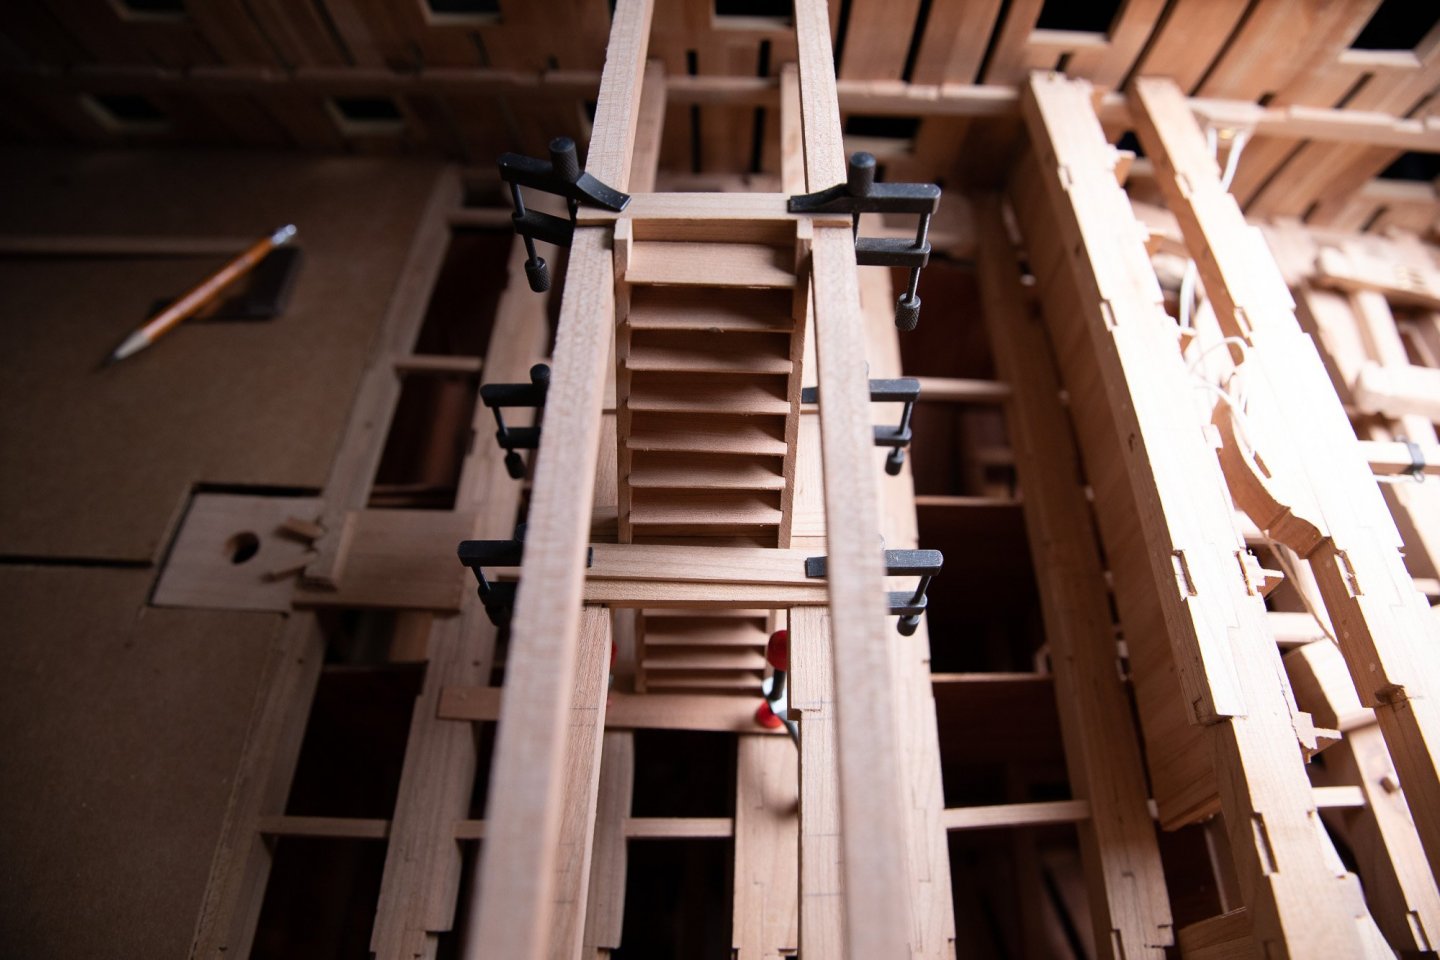
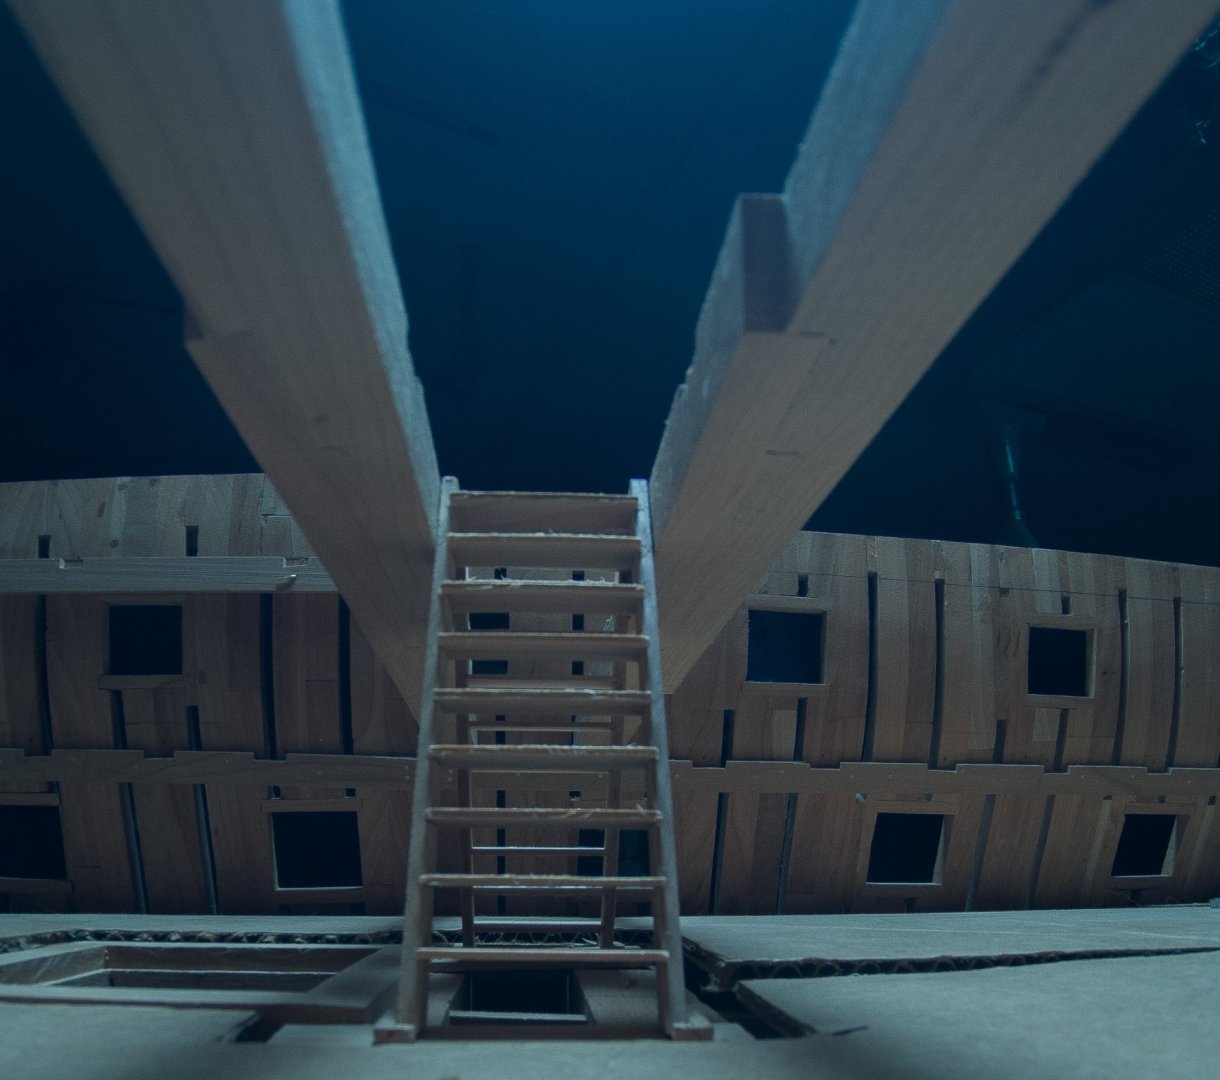
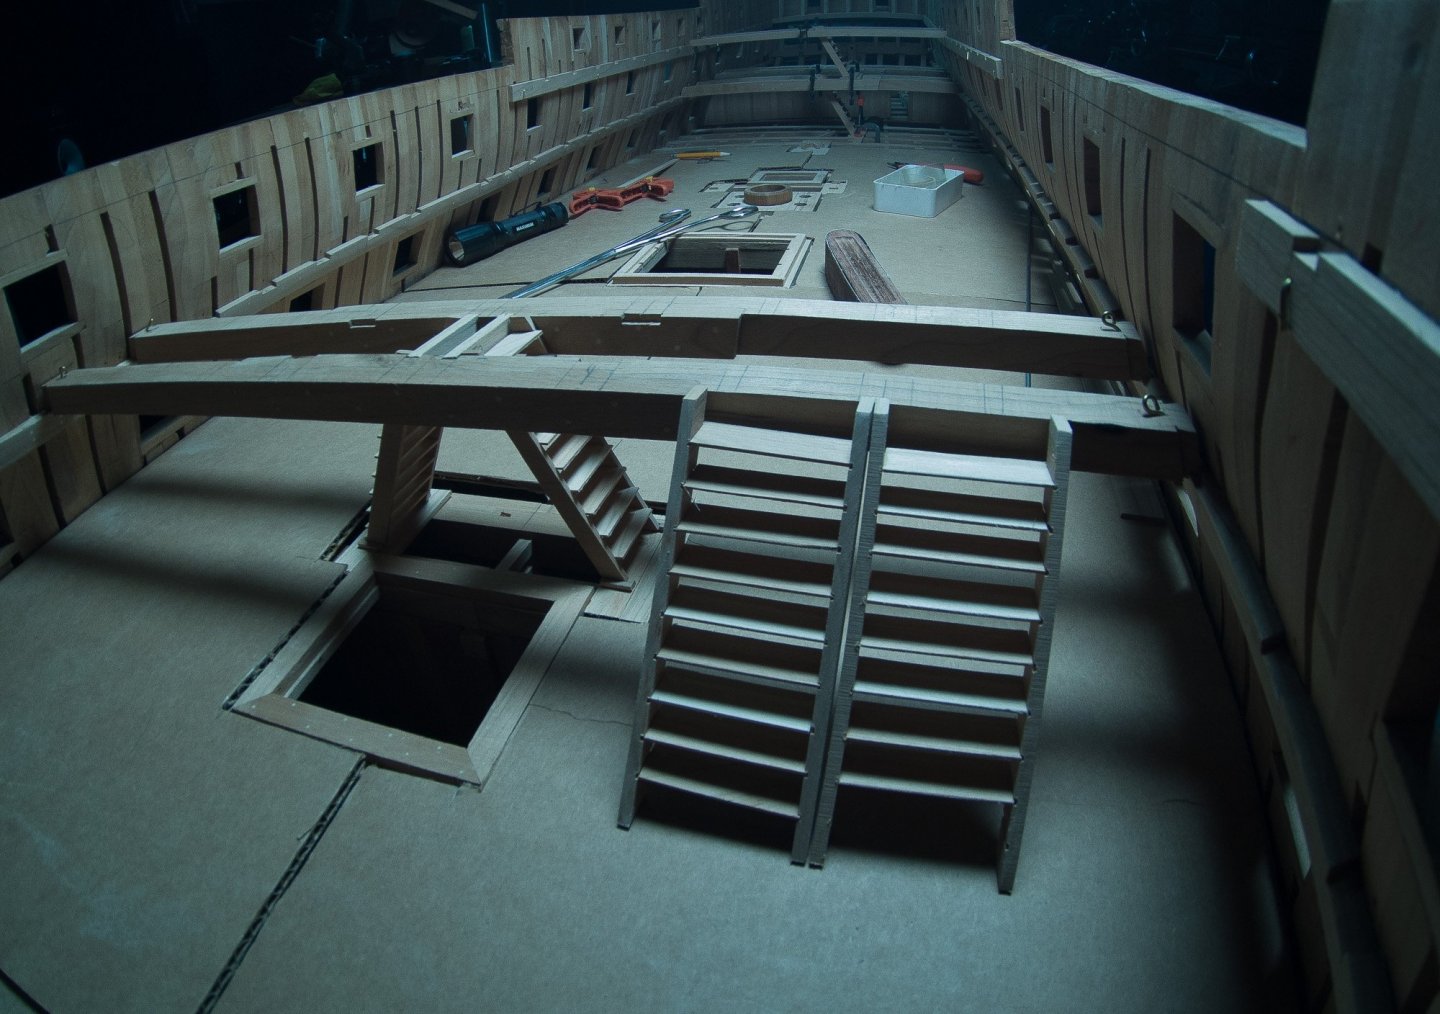
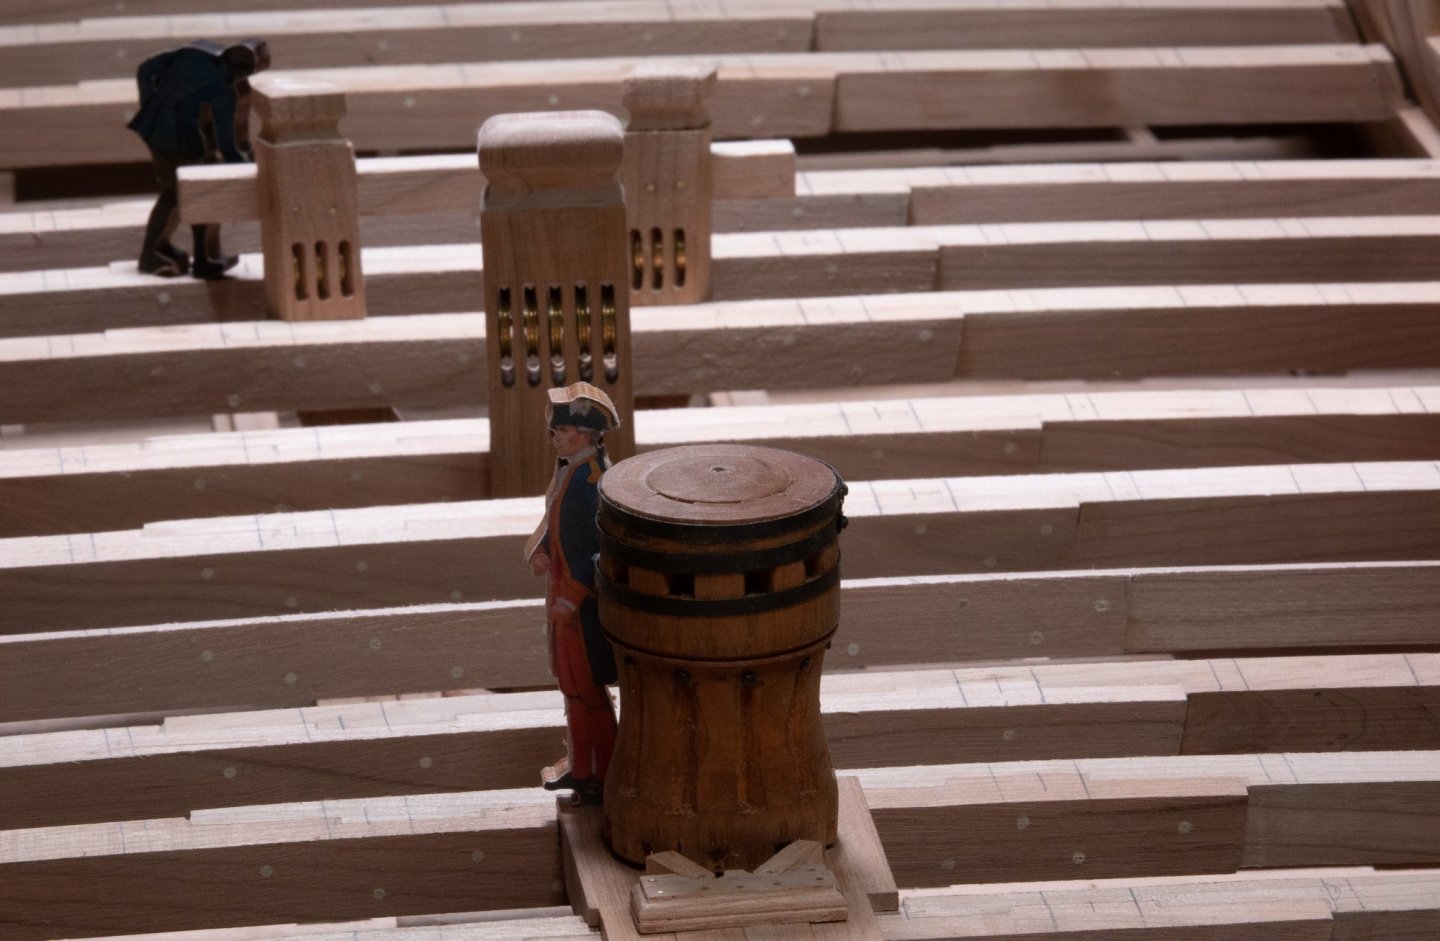
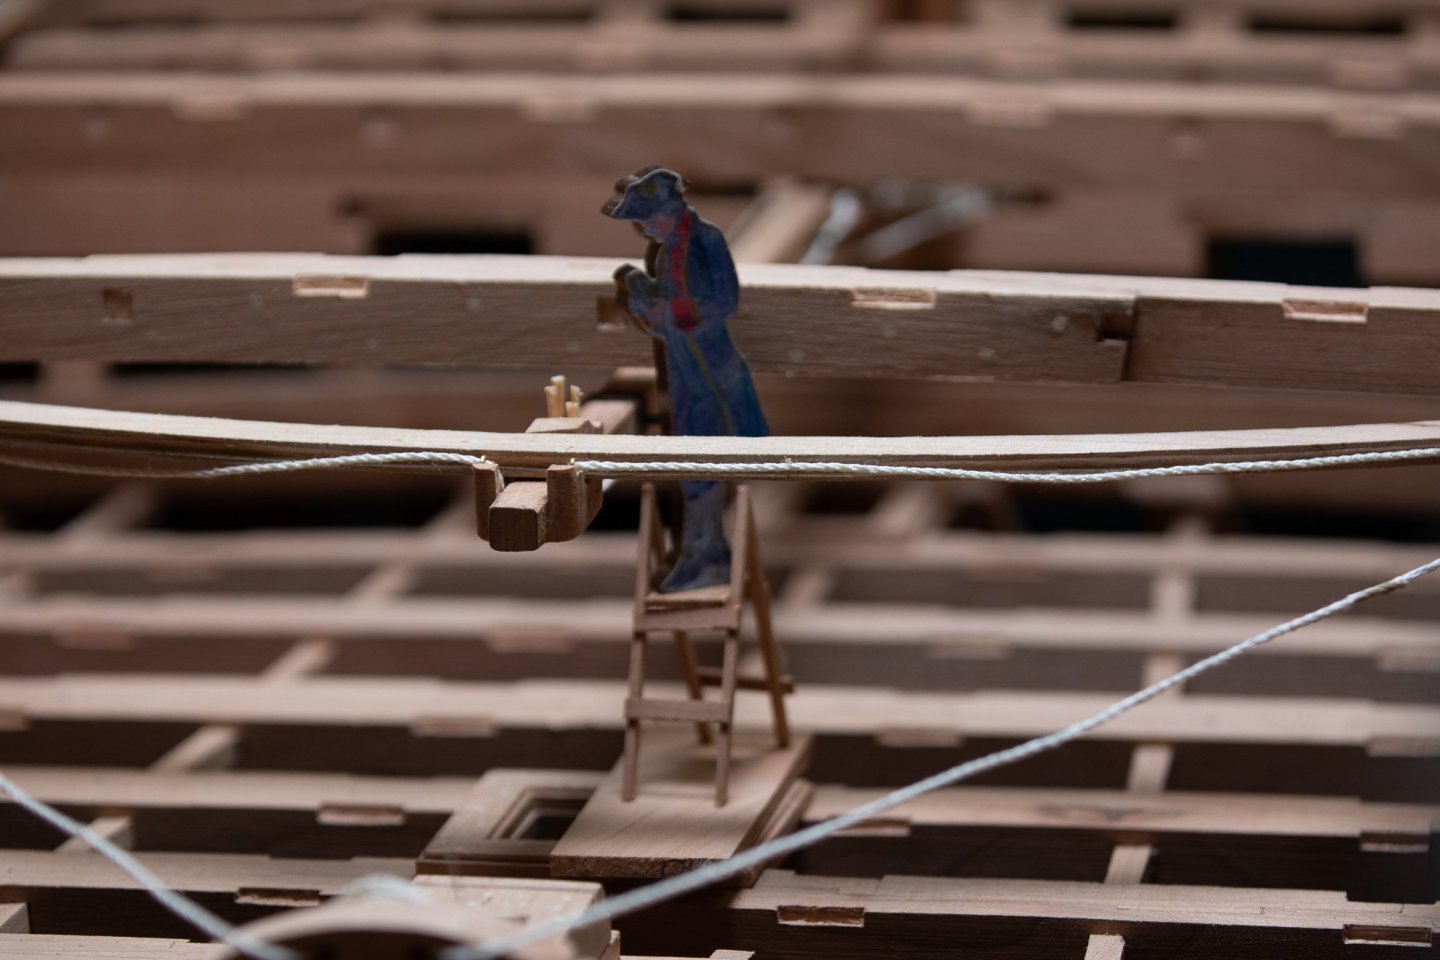
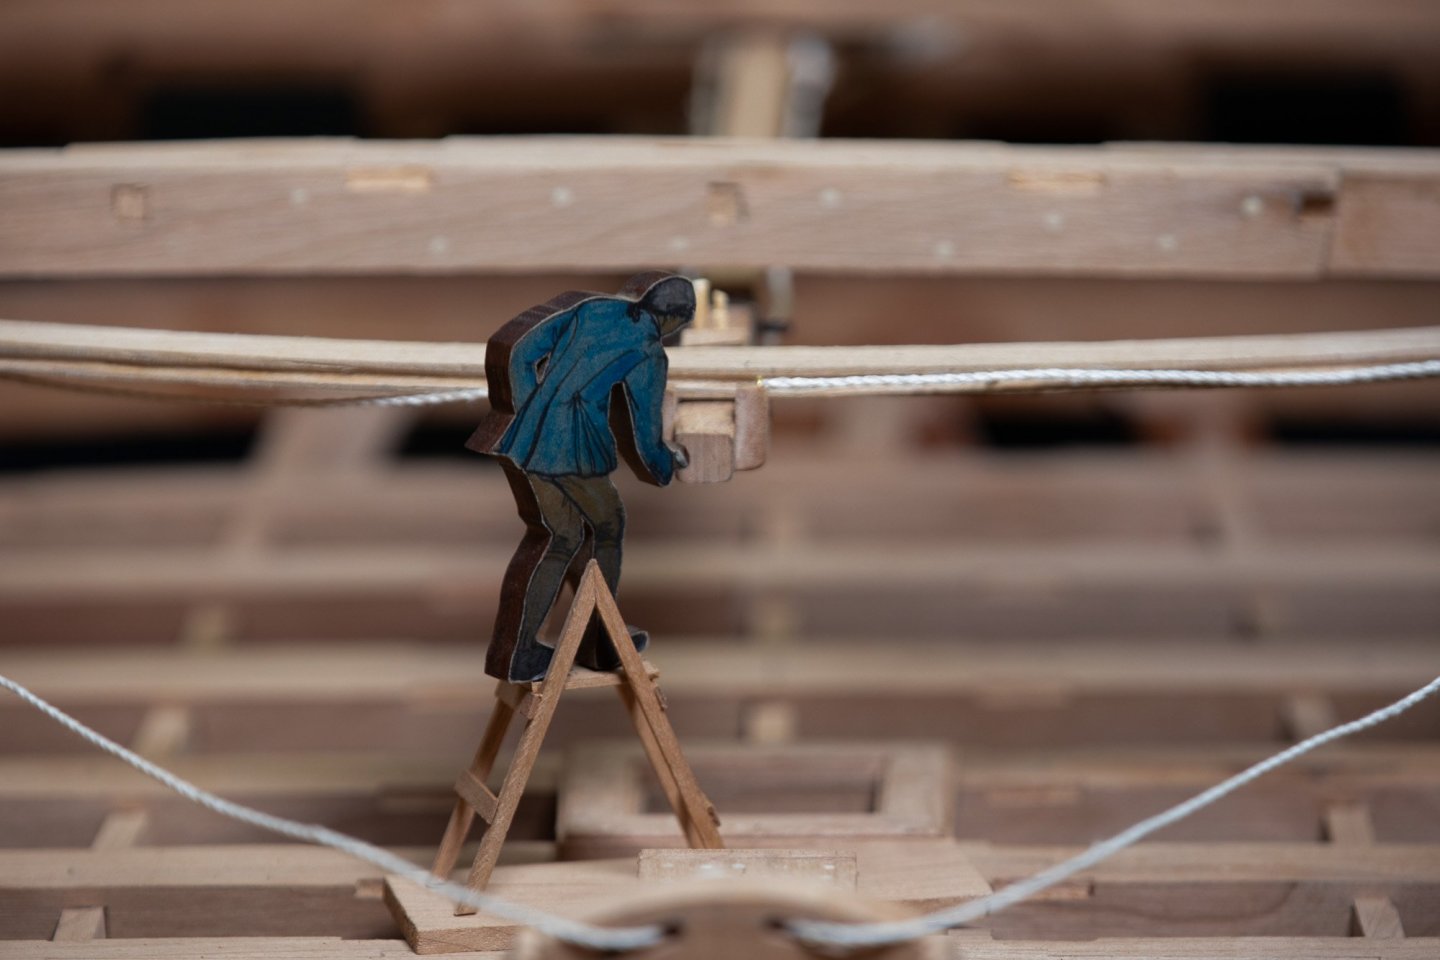
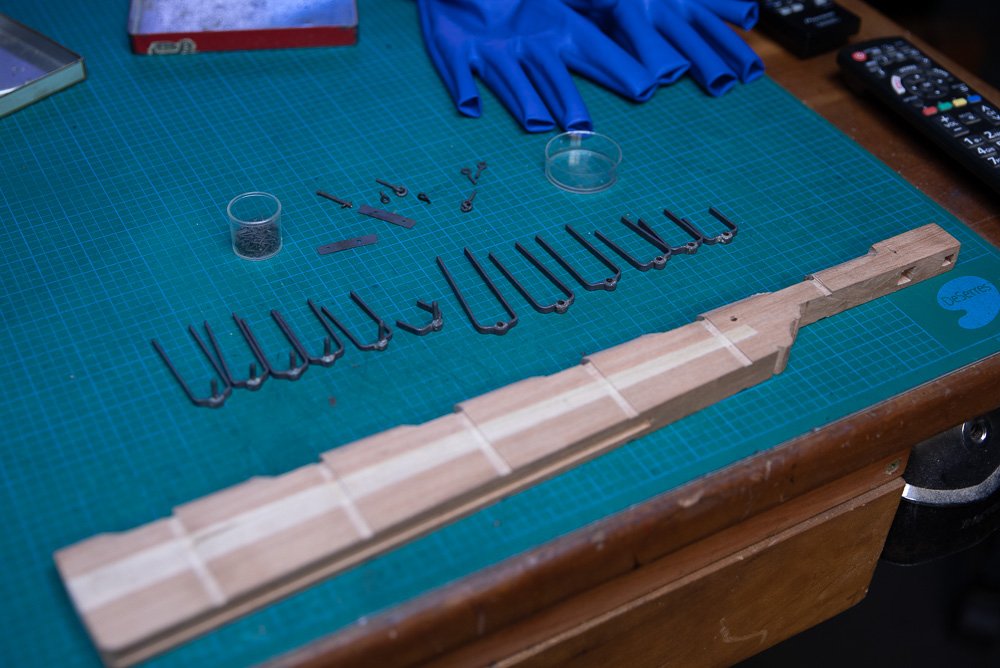
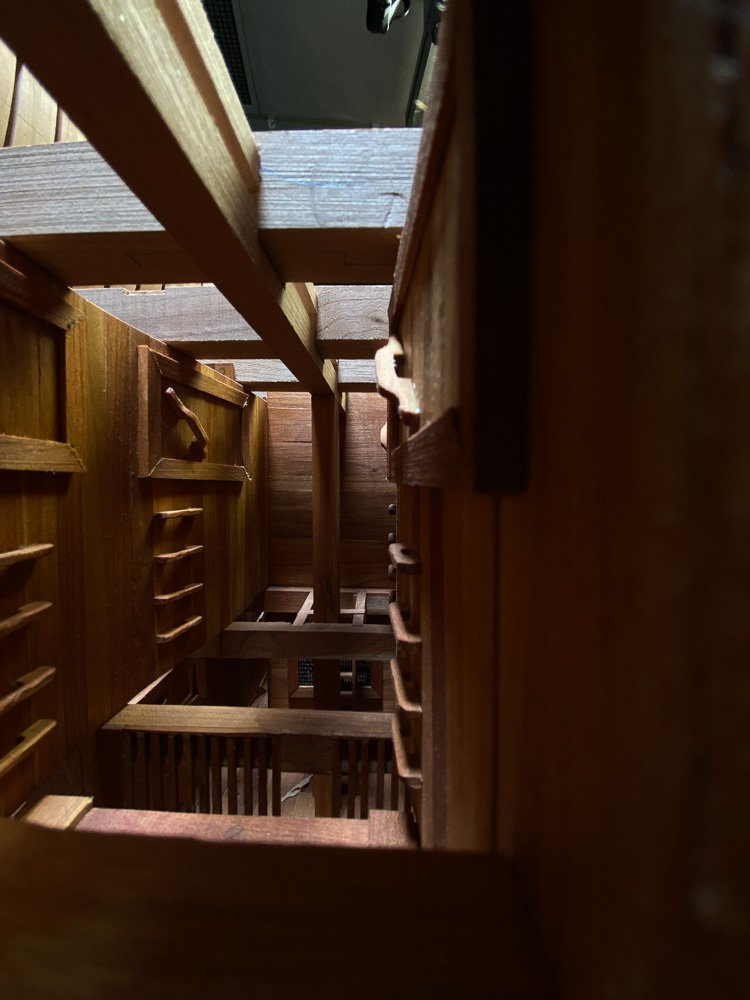
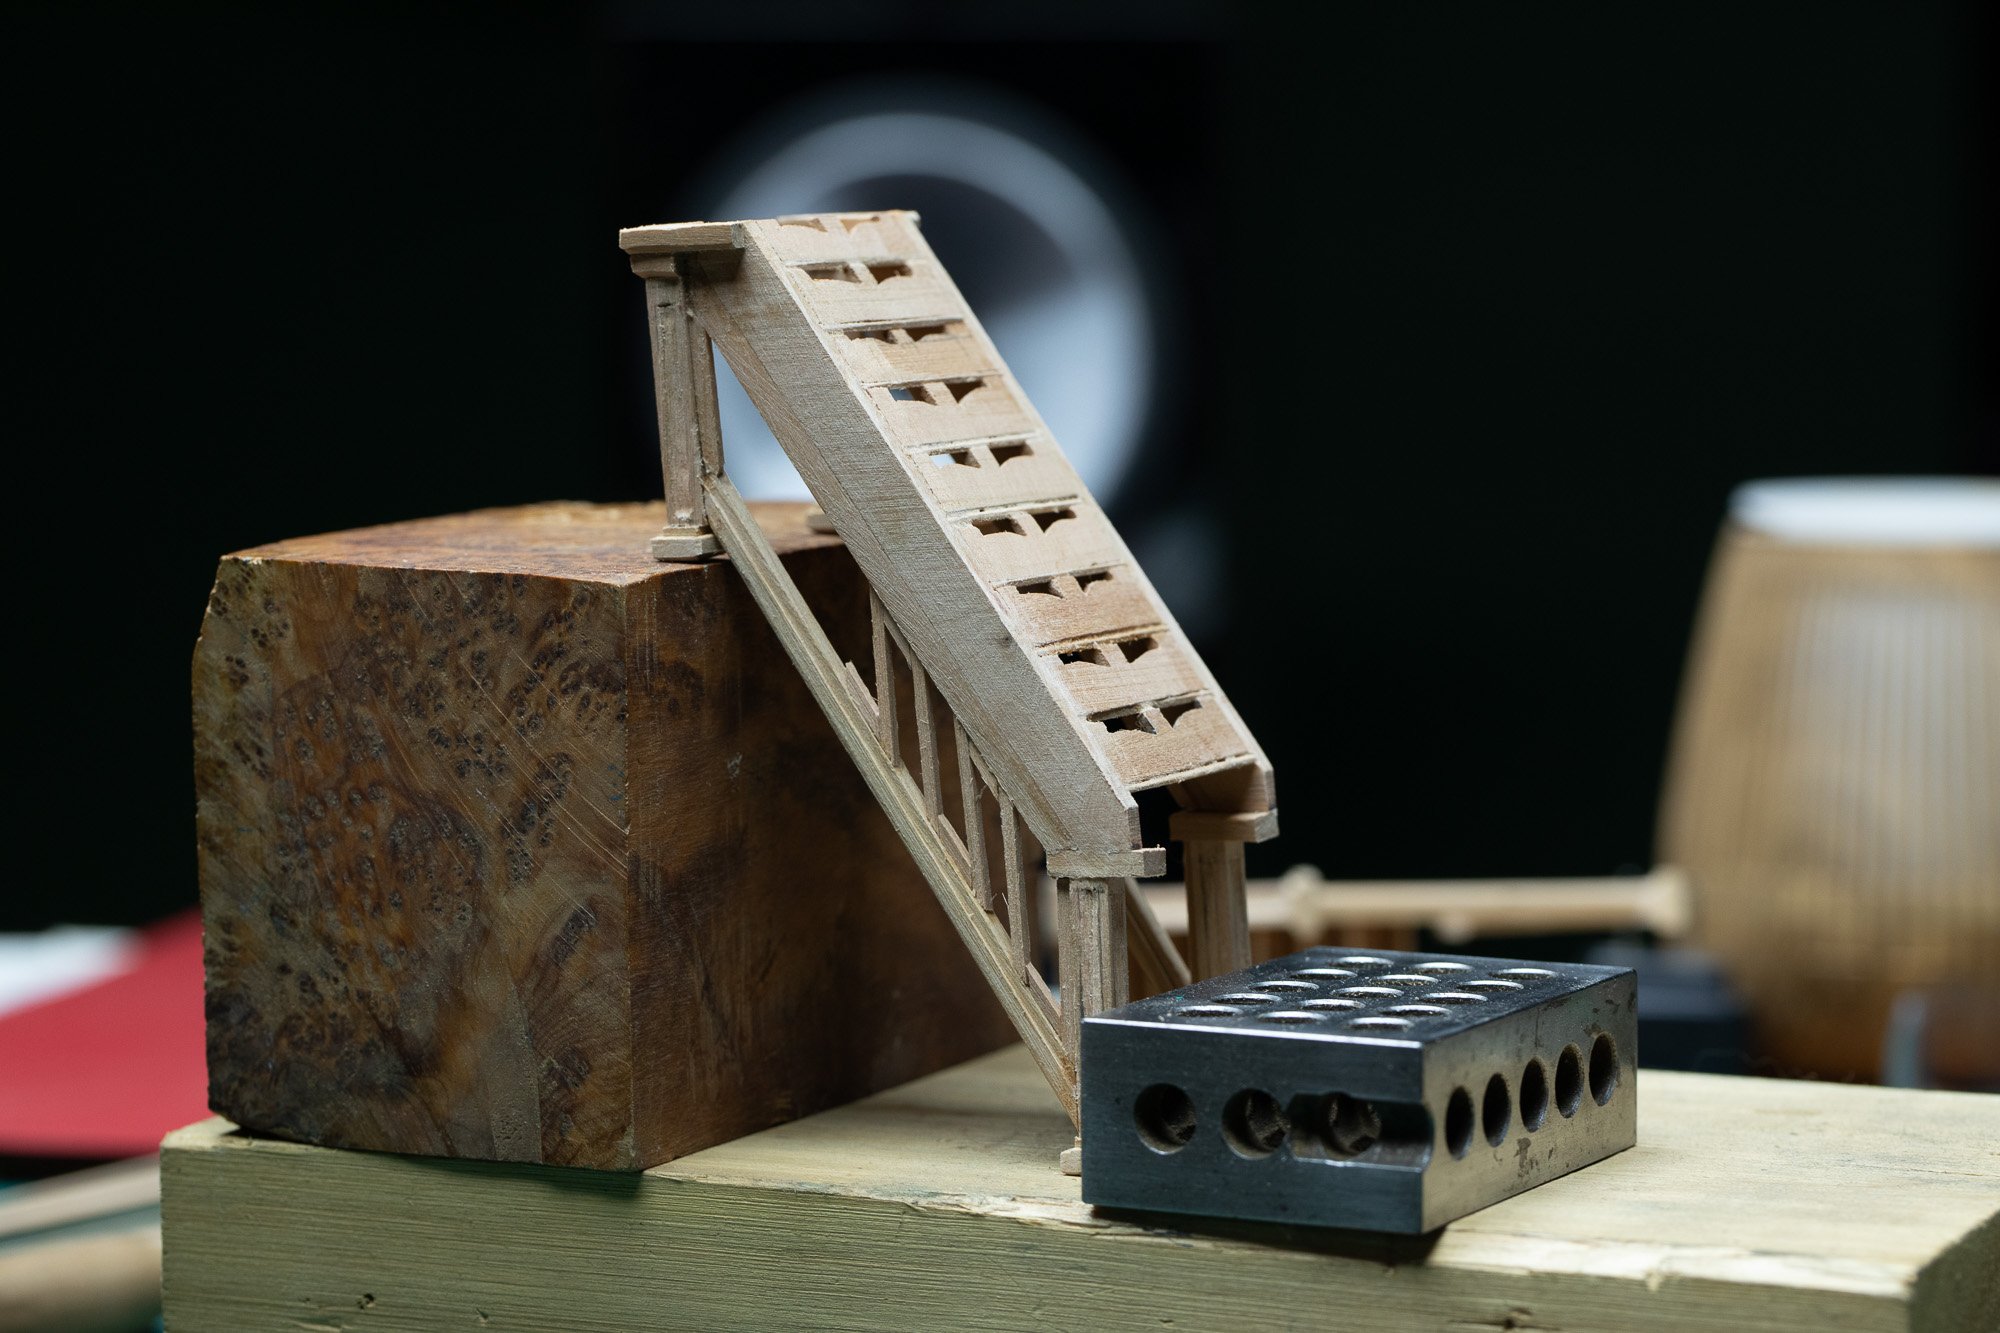
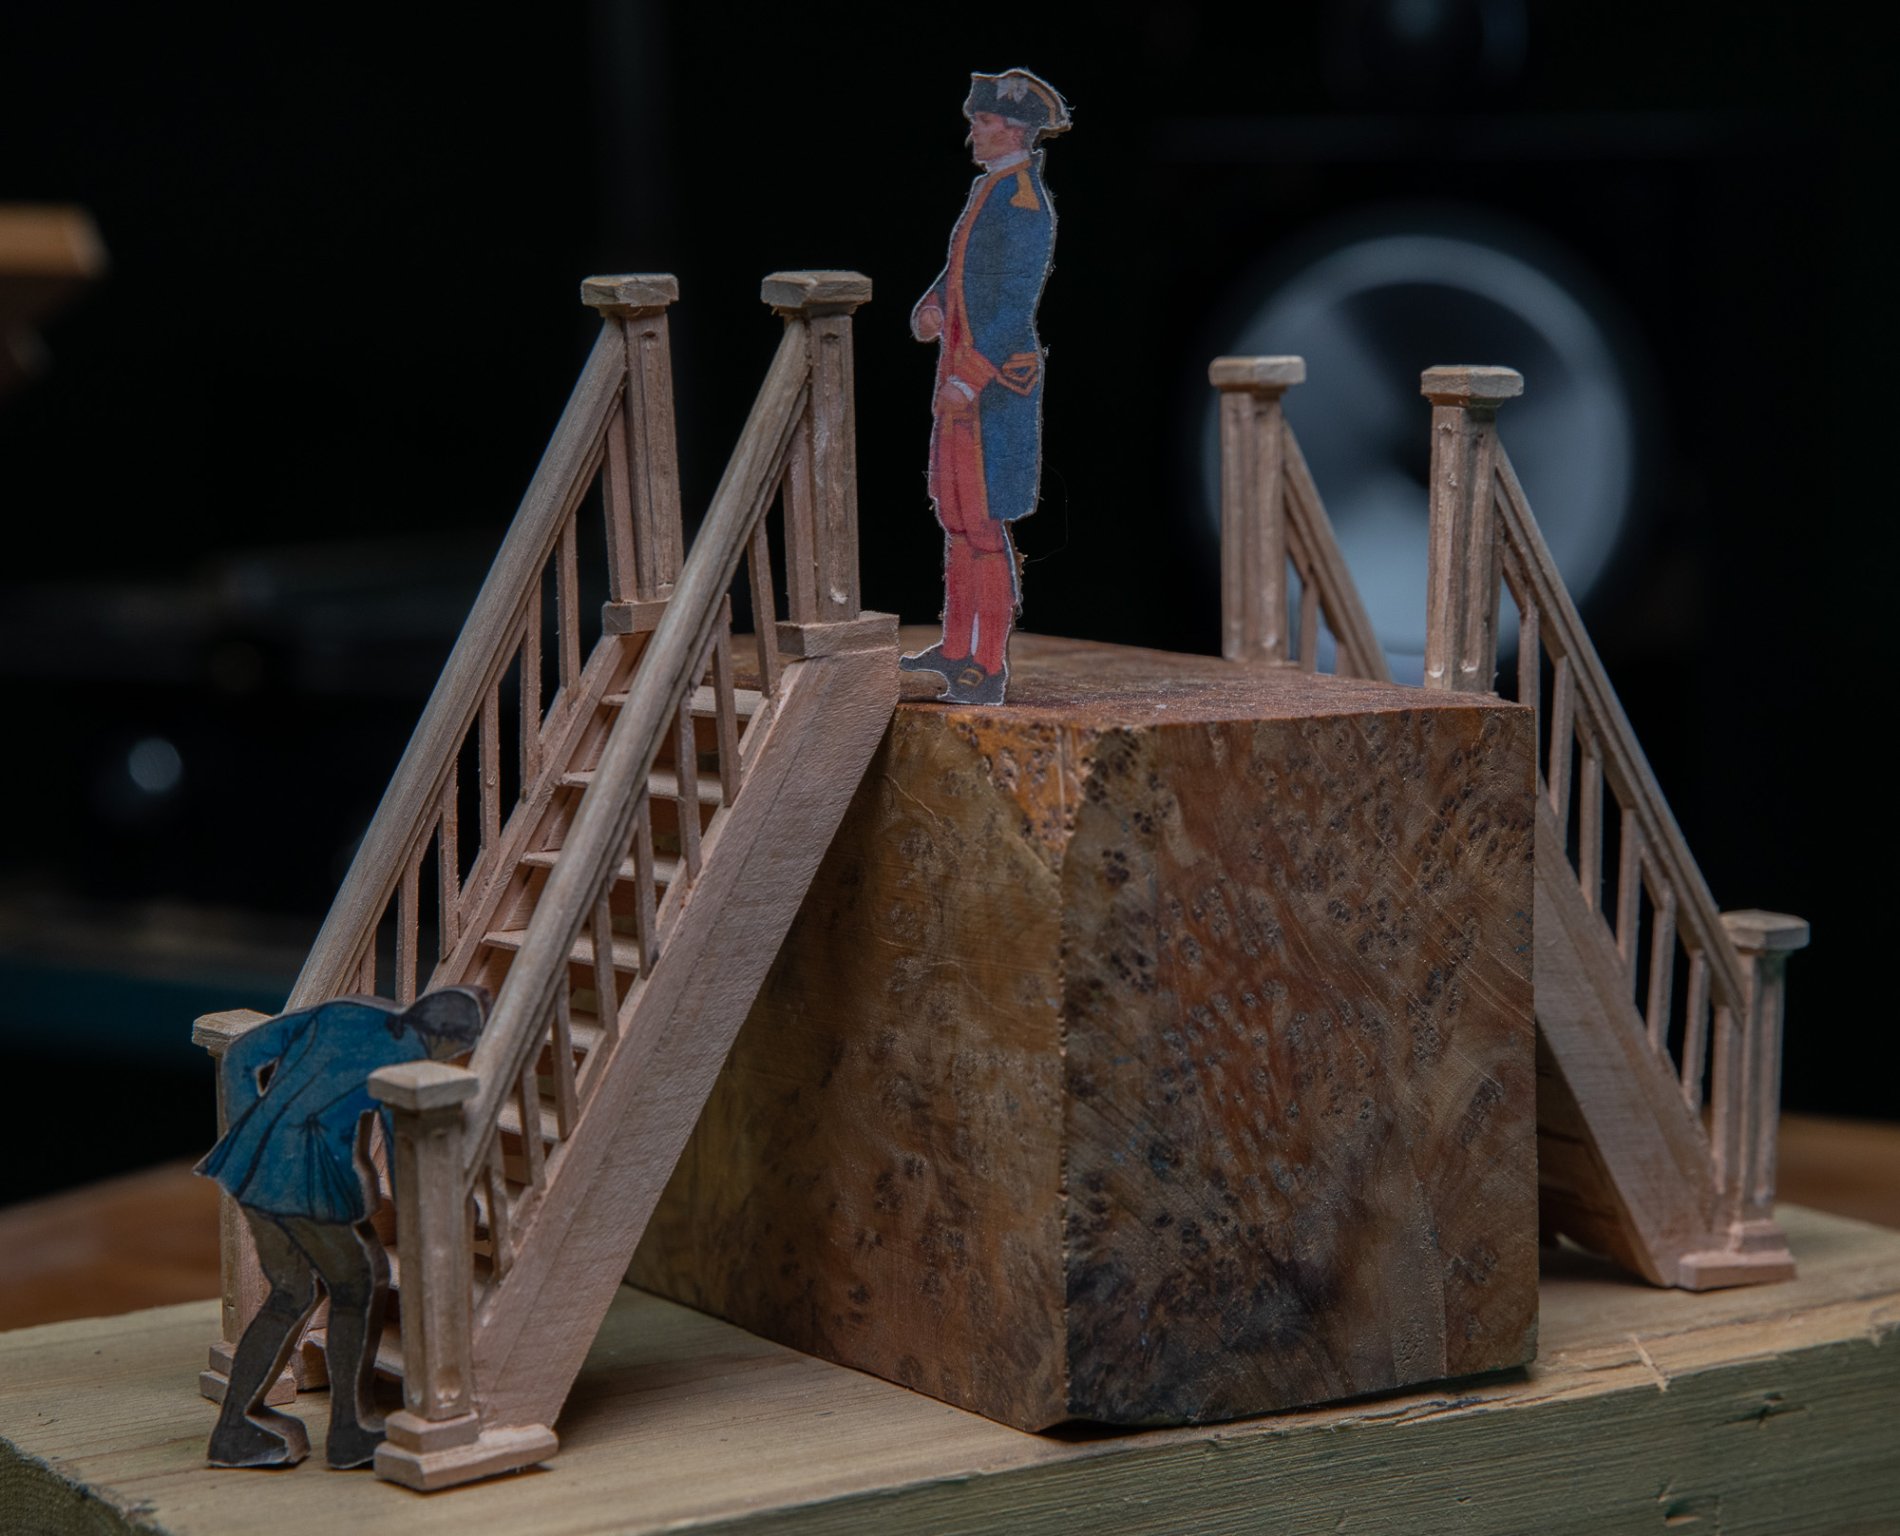
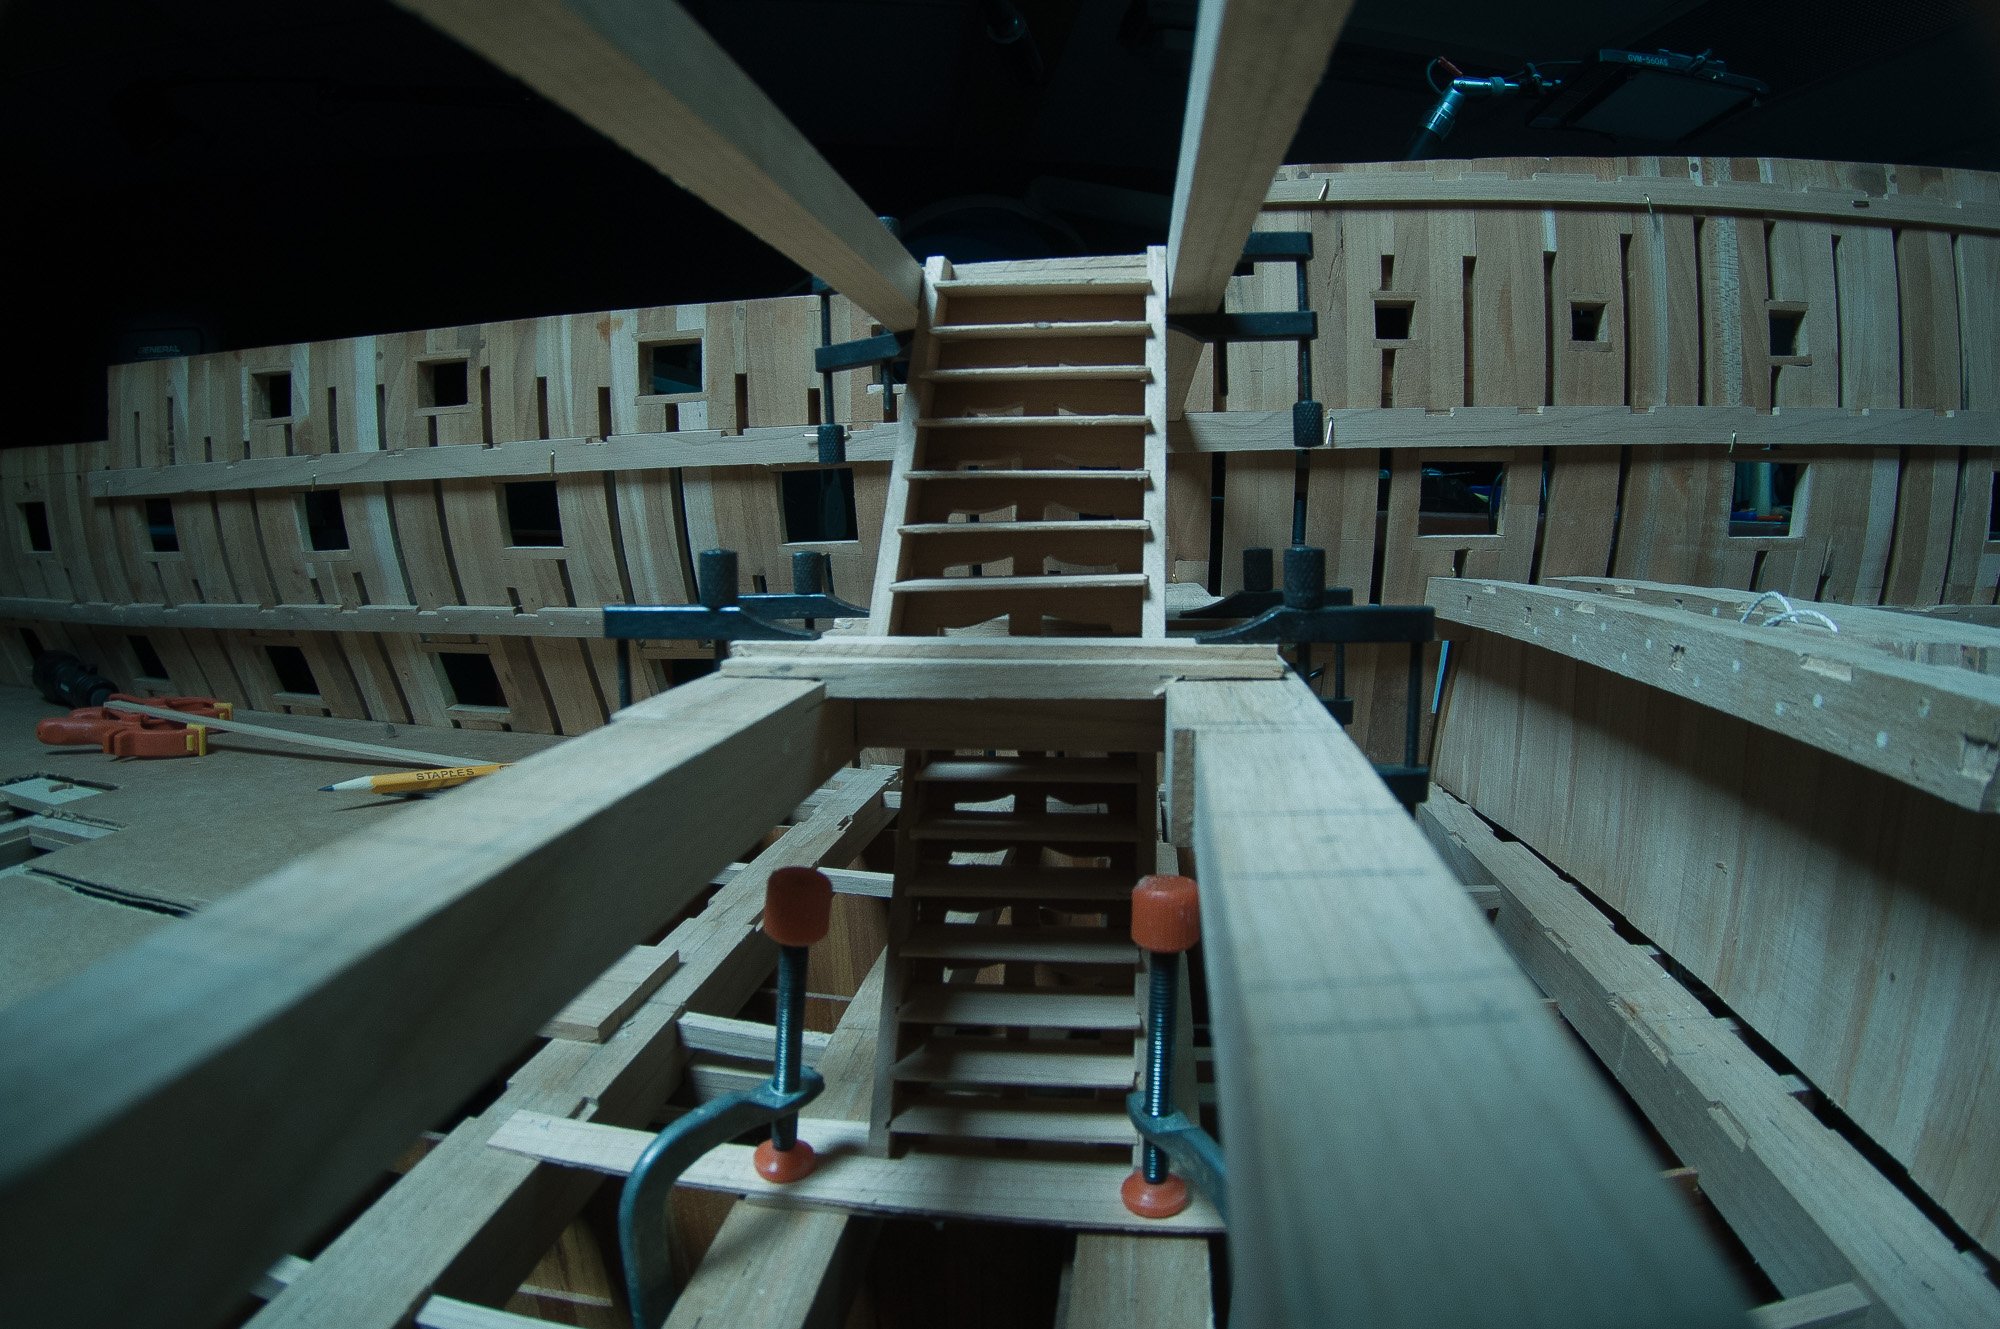
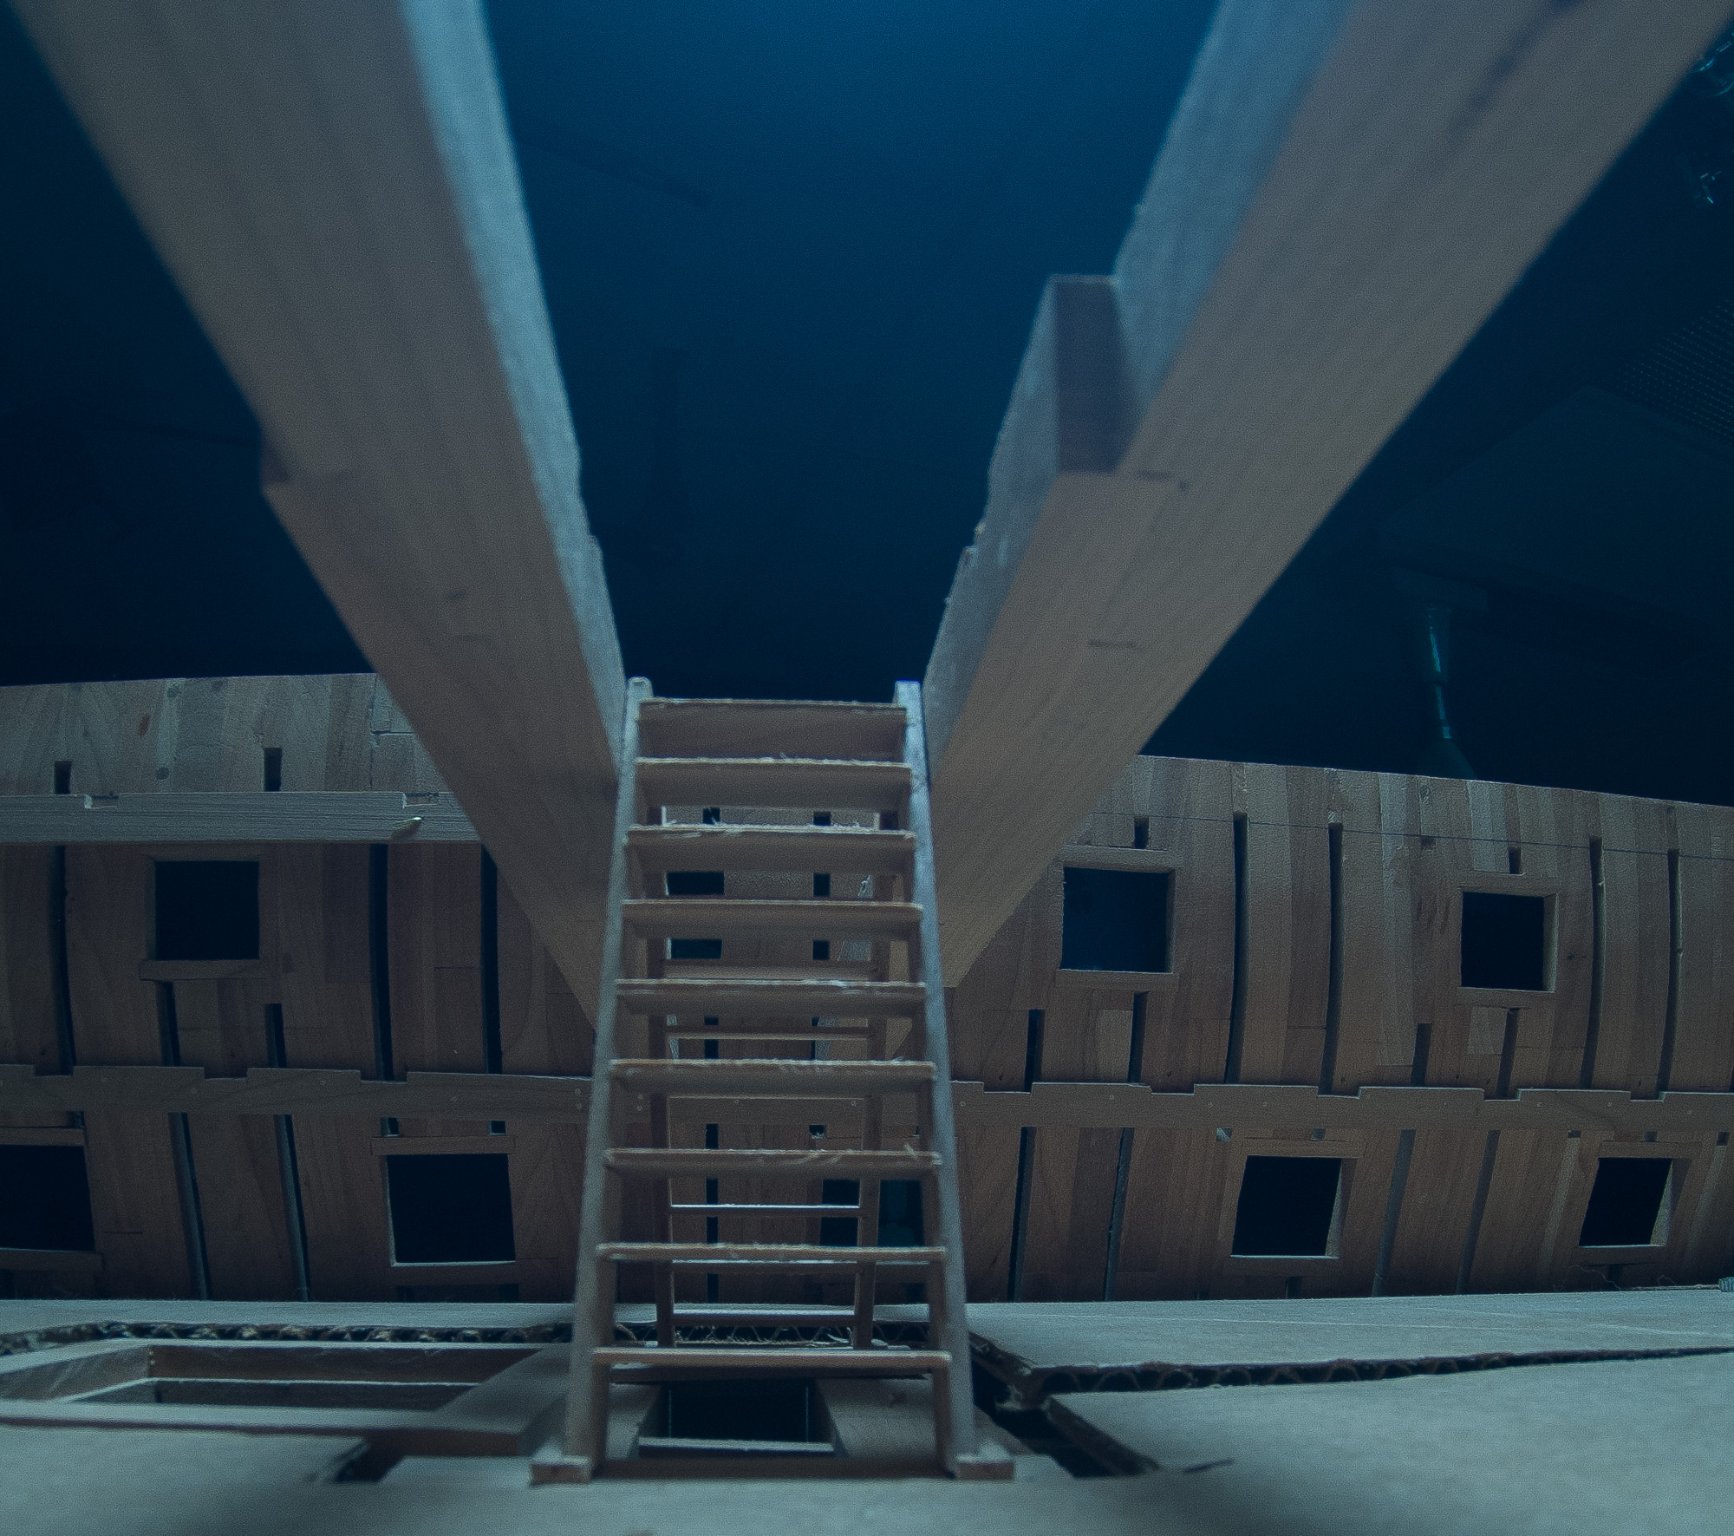
thank you for enjoying the painting, looking back at it, I would say that this model, about at 1/36 is standing almost in a dangerous position and it is difficult to know if they consider the model ship as a toy or something else? 2 more parts completed, the railings on the first photo, we can see where the steps are inserted and where the part holding the steps re coming from, This way it is very easy to do as many parallel staircase steps as you want.


-
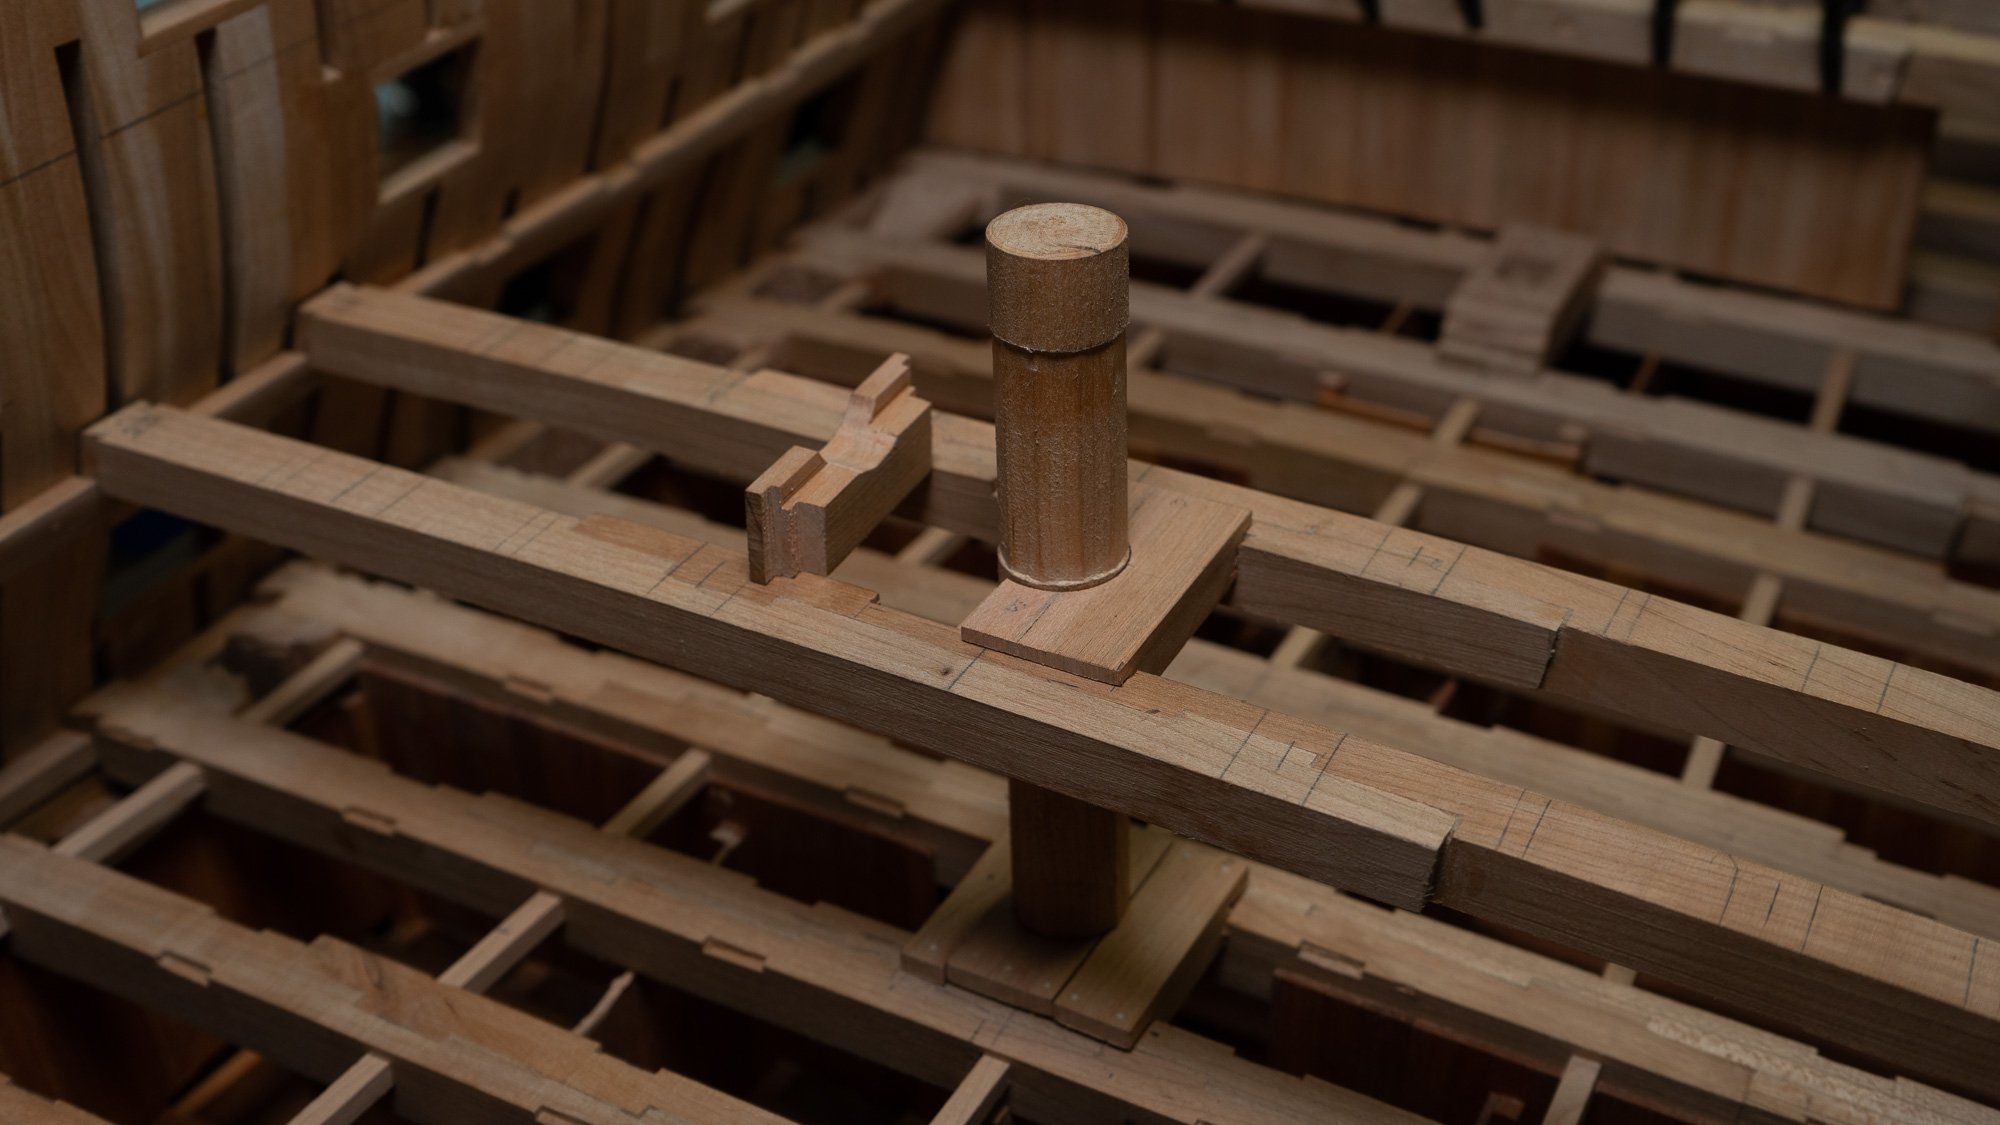
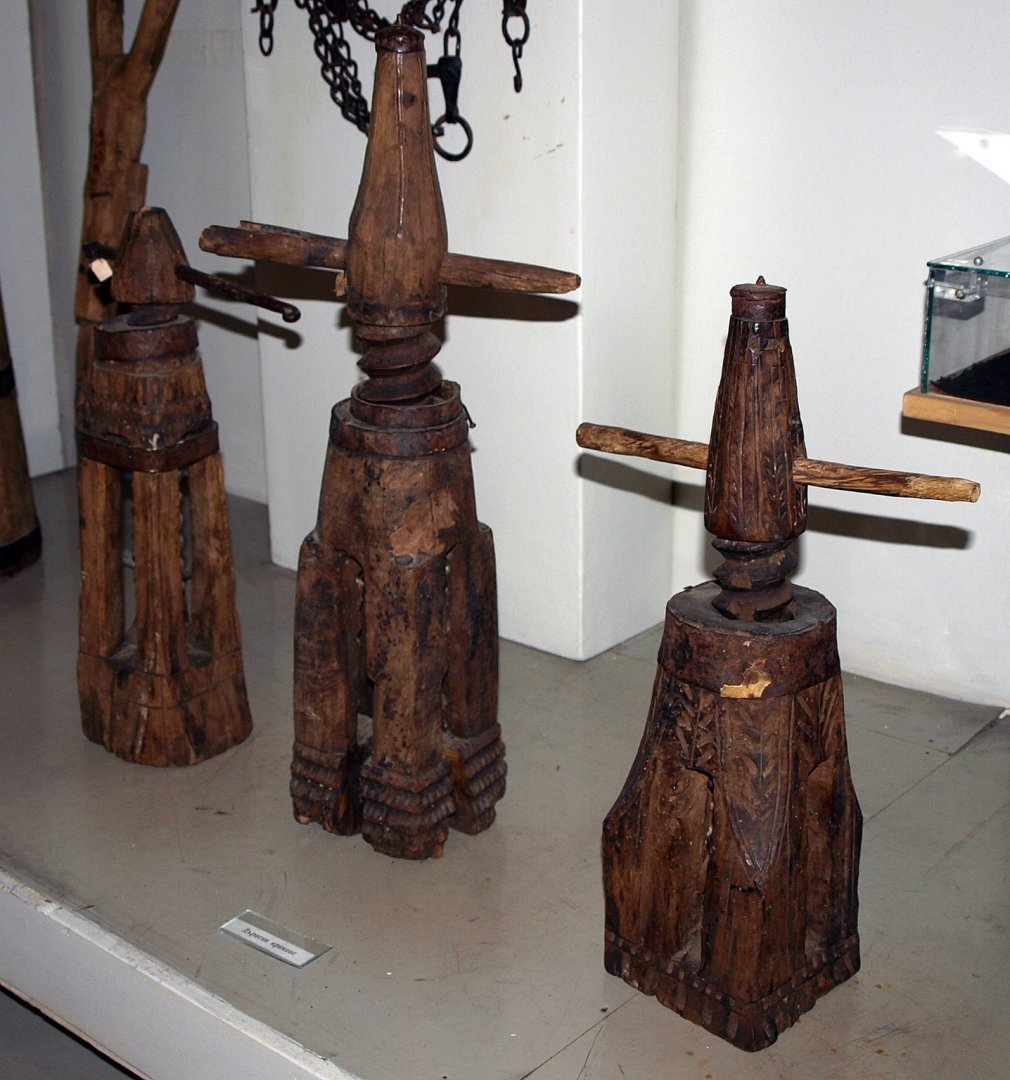
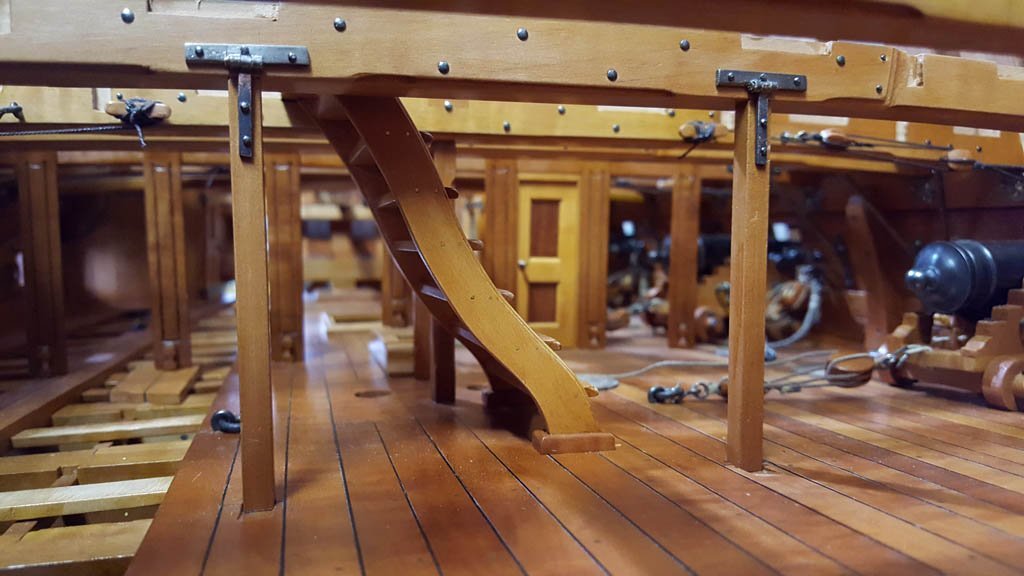
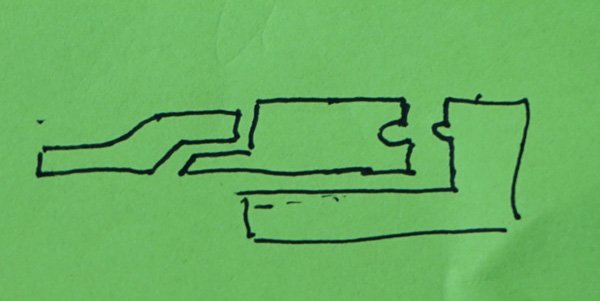
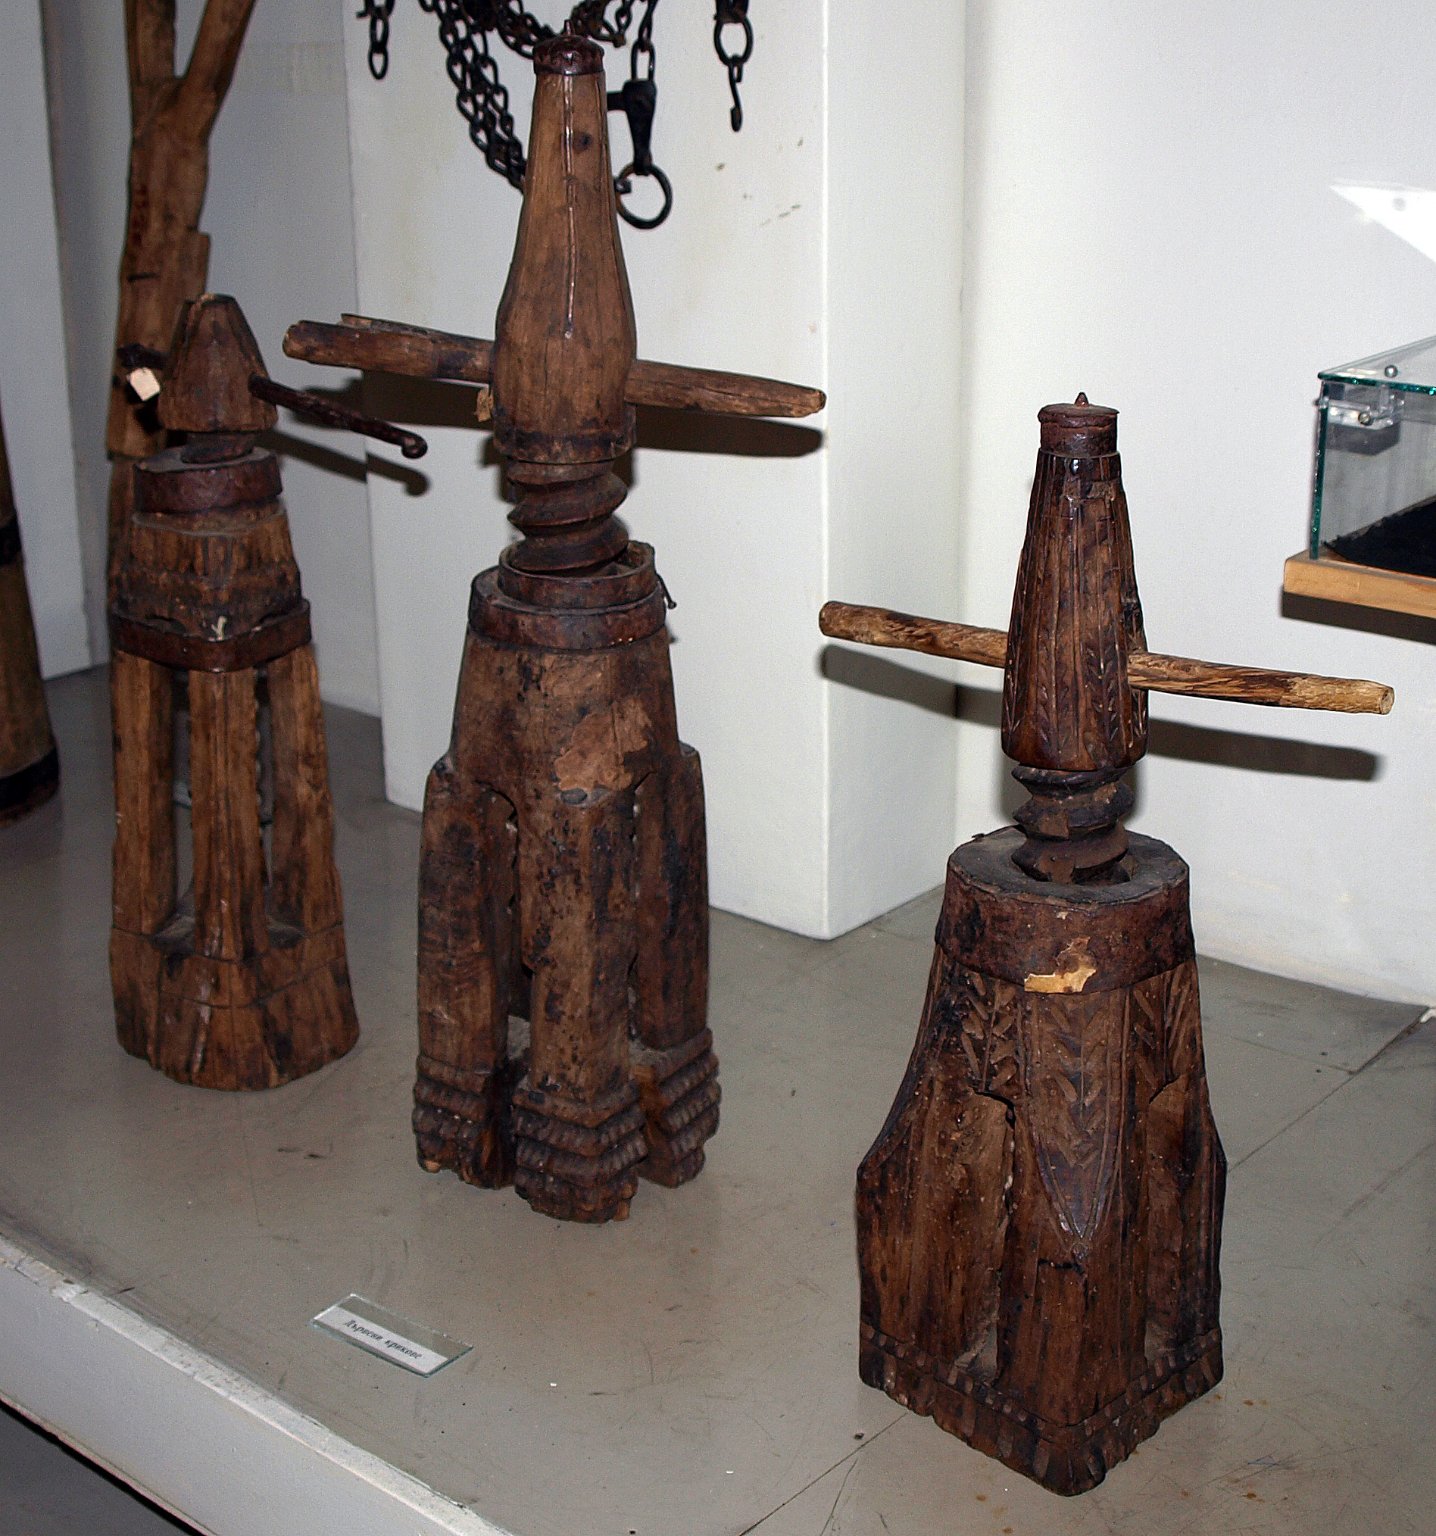
I saw of similar photo: a wooden jack screw for repair of cart and wagon wheels. (Ethnographic Museum of Elhovo, Bulgaria) Unfortunately, the date is not written. It is clear that both french and english used something to remove pillars when needed to use the capstan. How often did they have to remove the pillars? When they needed to use the capstans as winches for anchors, sails etc.. Probably that the pillars were in place more than 90% of the time. How much did they have to lift the deck beams? A fraction of inch, no problem, few inches to clear both tenons at each end of the pillar; I would be very much afraid to break many parts because a lot of parts will follow the deck beam. A recess in the deck beam and in the floor would save a lot of "height" and would also maintain the pillars in place. I do not know how they lifted the deck beam but it had to be fast and easy, as a simple lever by example, few feet long, something like may be a capstan arm. An easy question in 1780. A difficult answer in 2020.
-
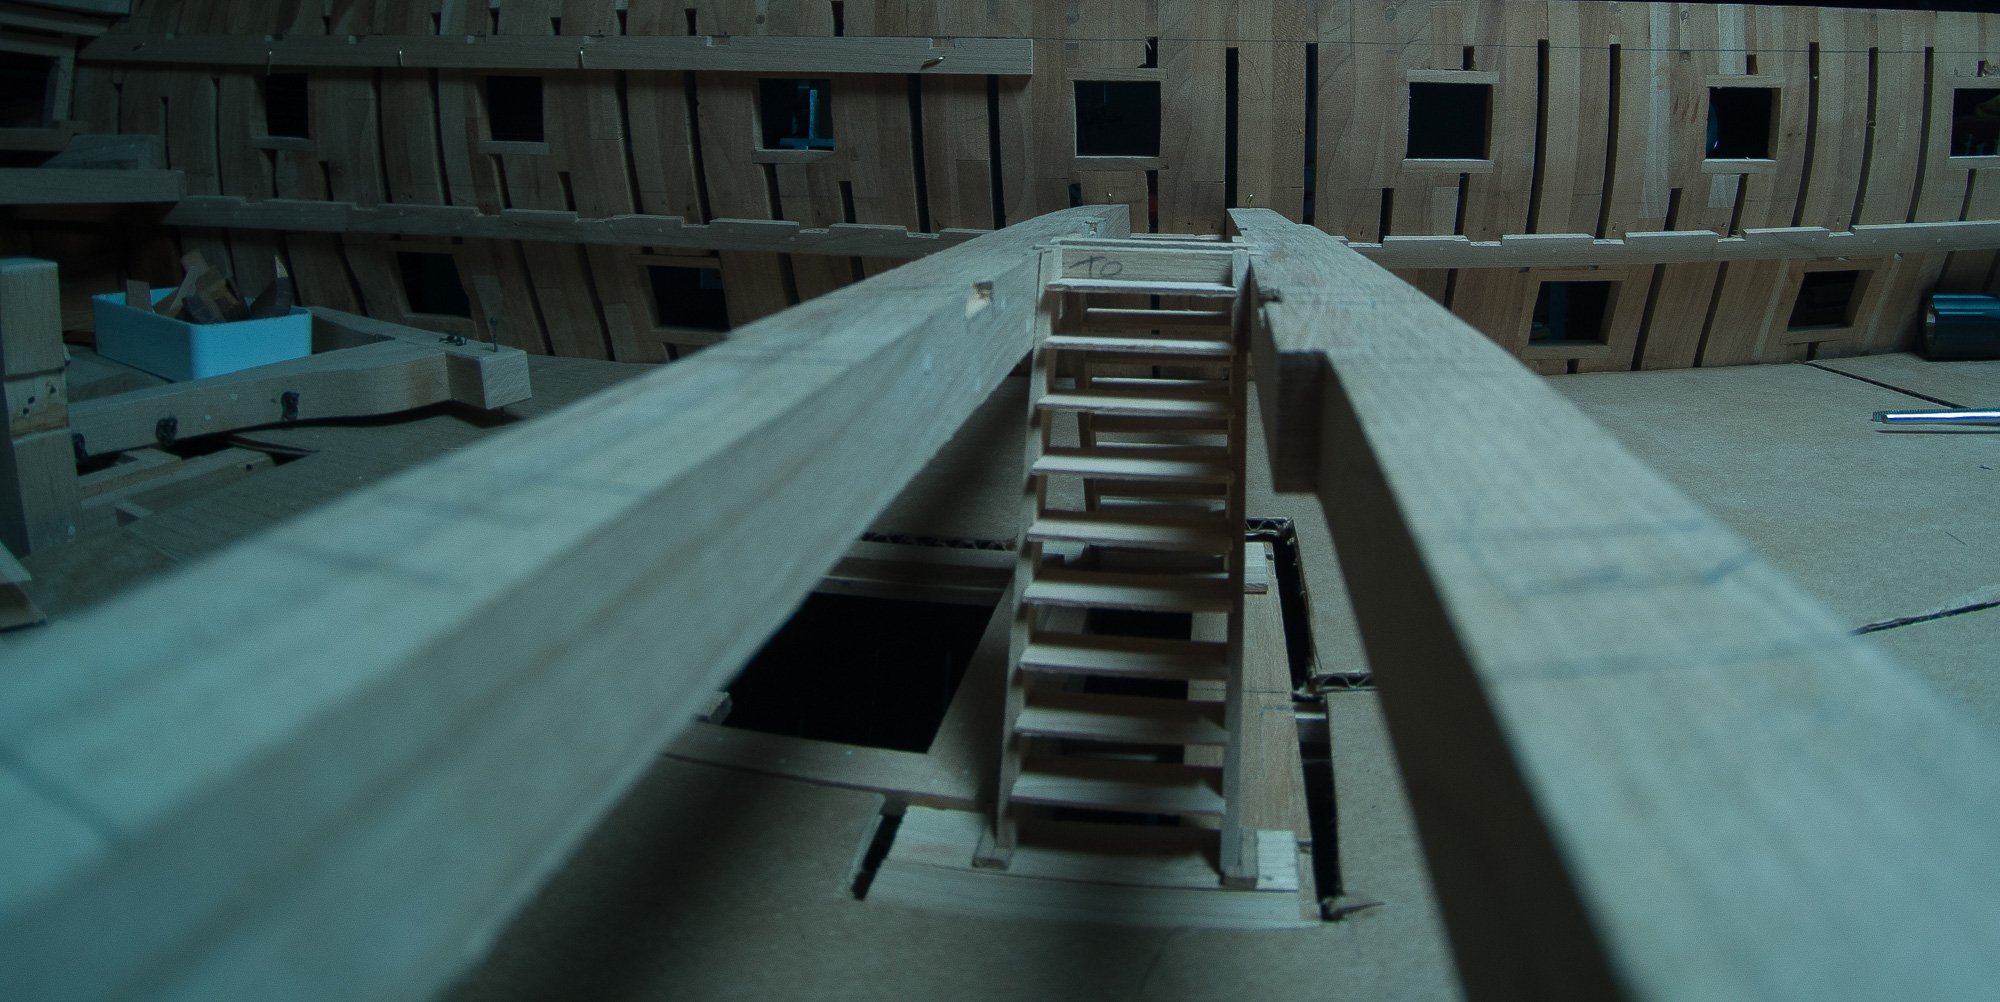
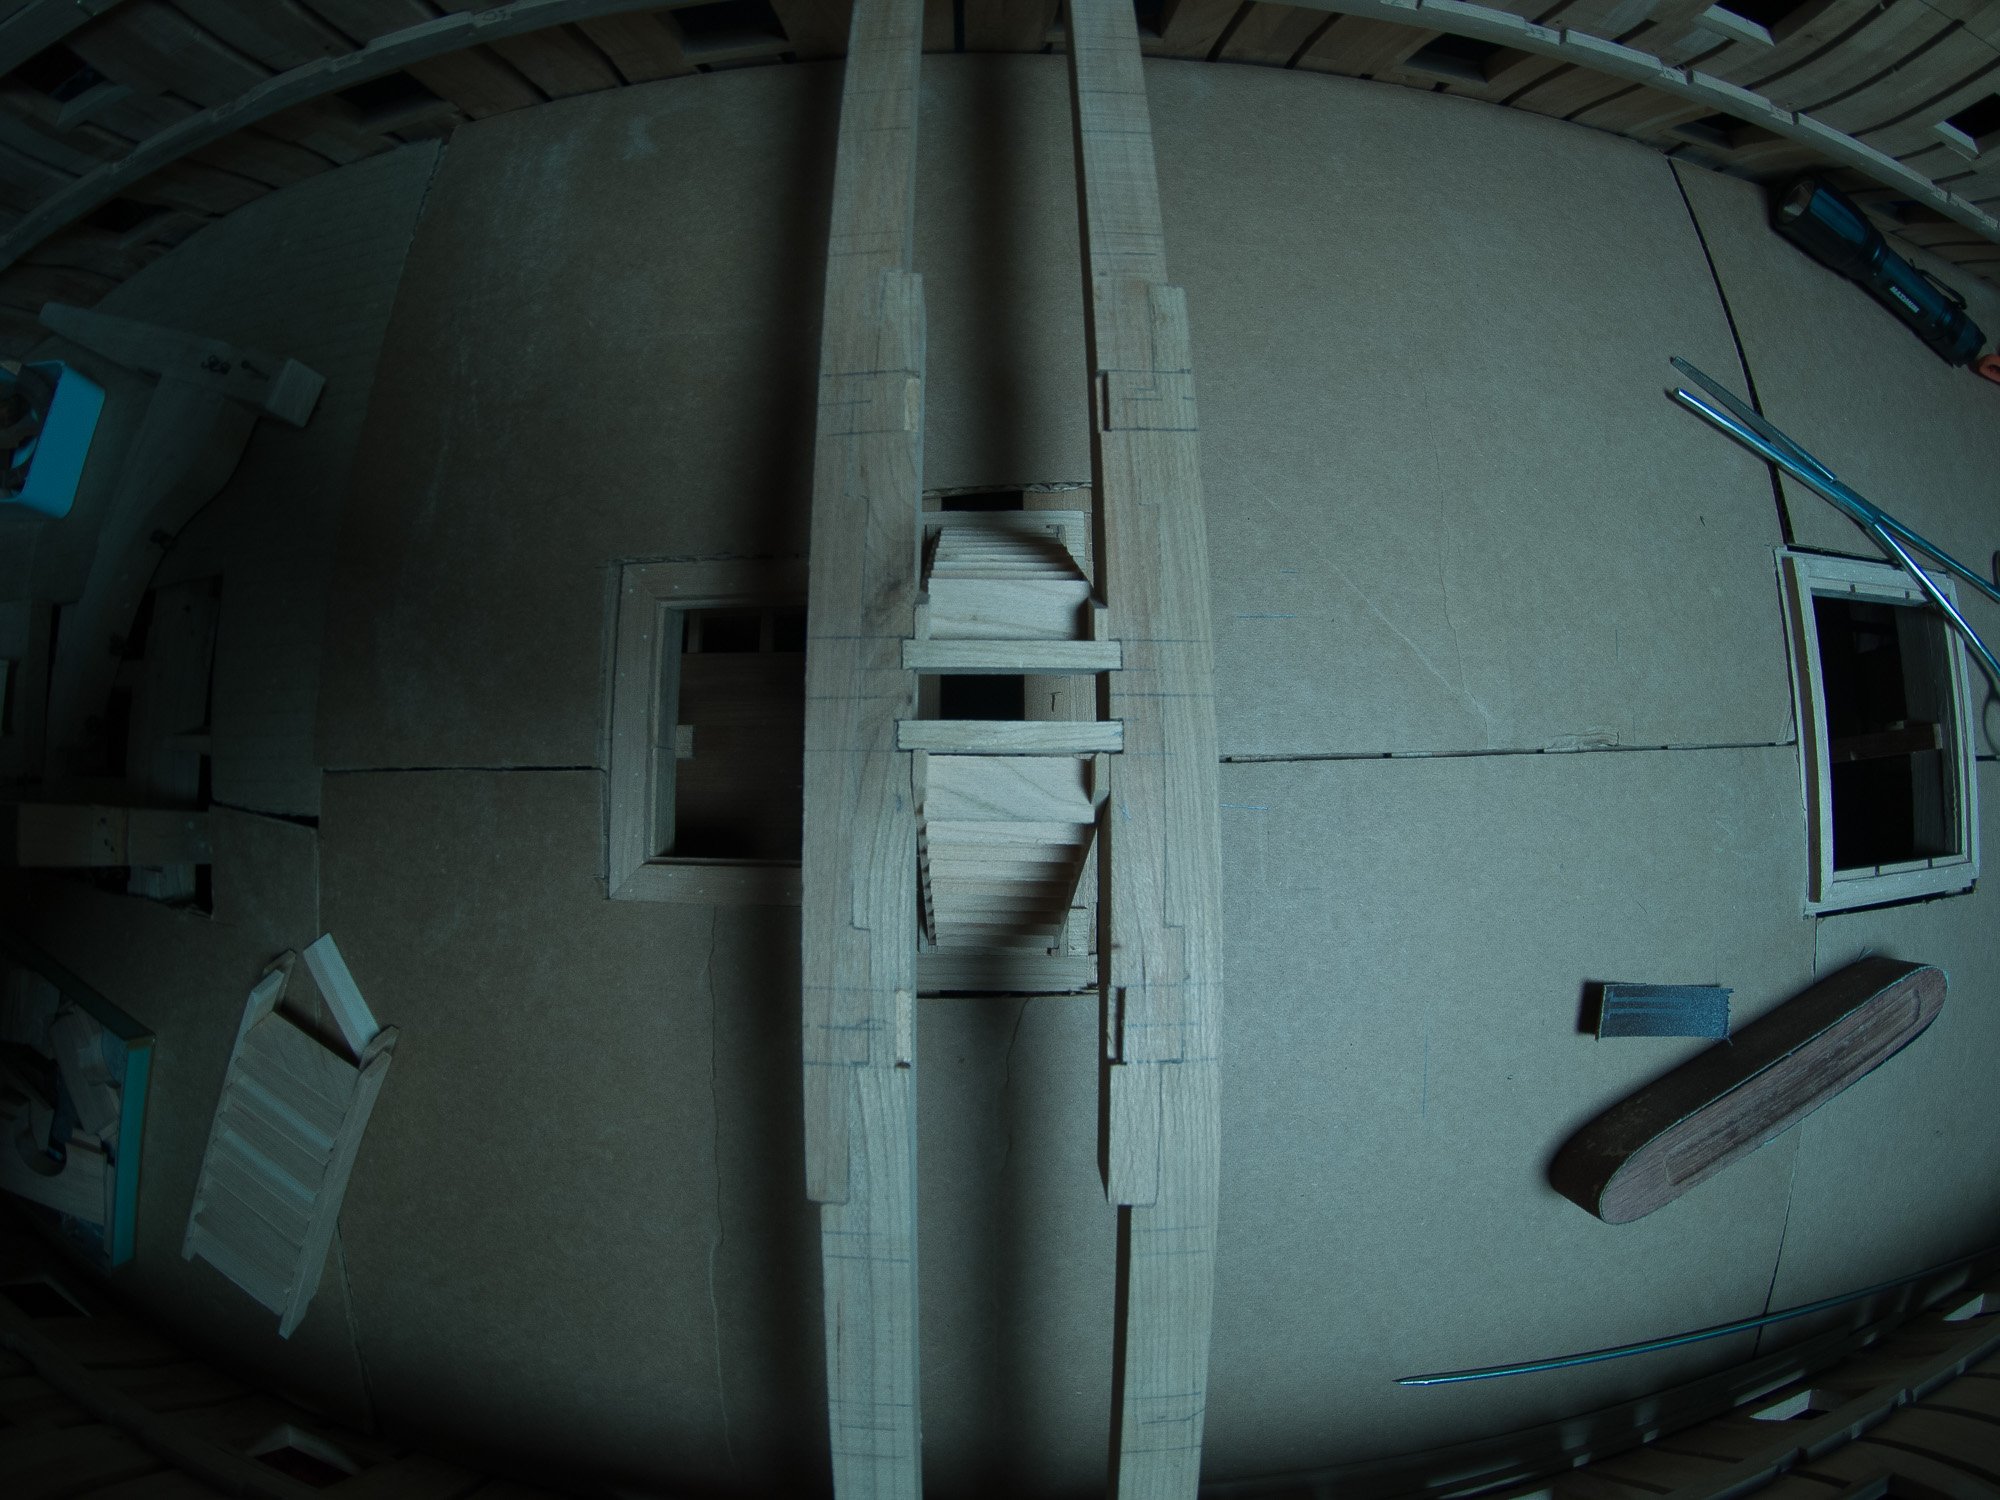
Thank you Thomas, Here is a photo of my family playing with a model ship... In fact, this painting was auctioned at Charles Miller LTD. Beginning staircases, 2 will have stair railings.


-
I have never seen it. These are some kind of "daily objects" from that era. I did try a guest on the 74 by looking at "locks" made during that time. Rekon also tried a solution on his 64, some kind of a door hinge. Some are locked on the top and other are locked on the bottom or removable panels.

-
Some other parts for the first deck.


-
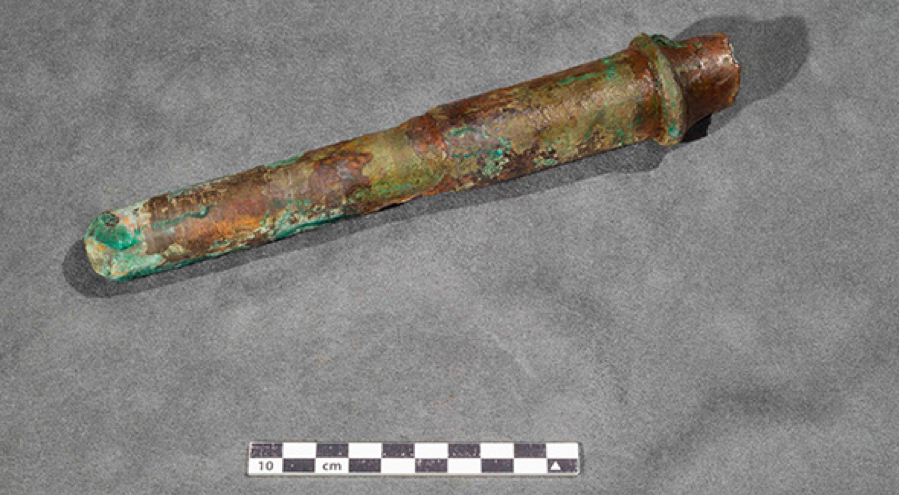
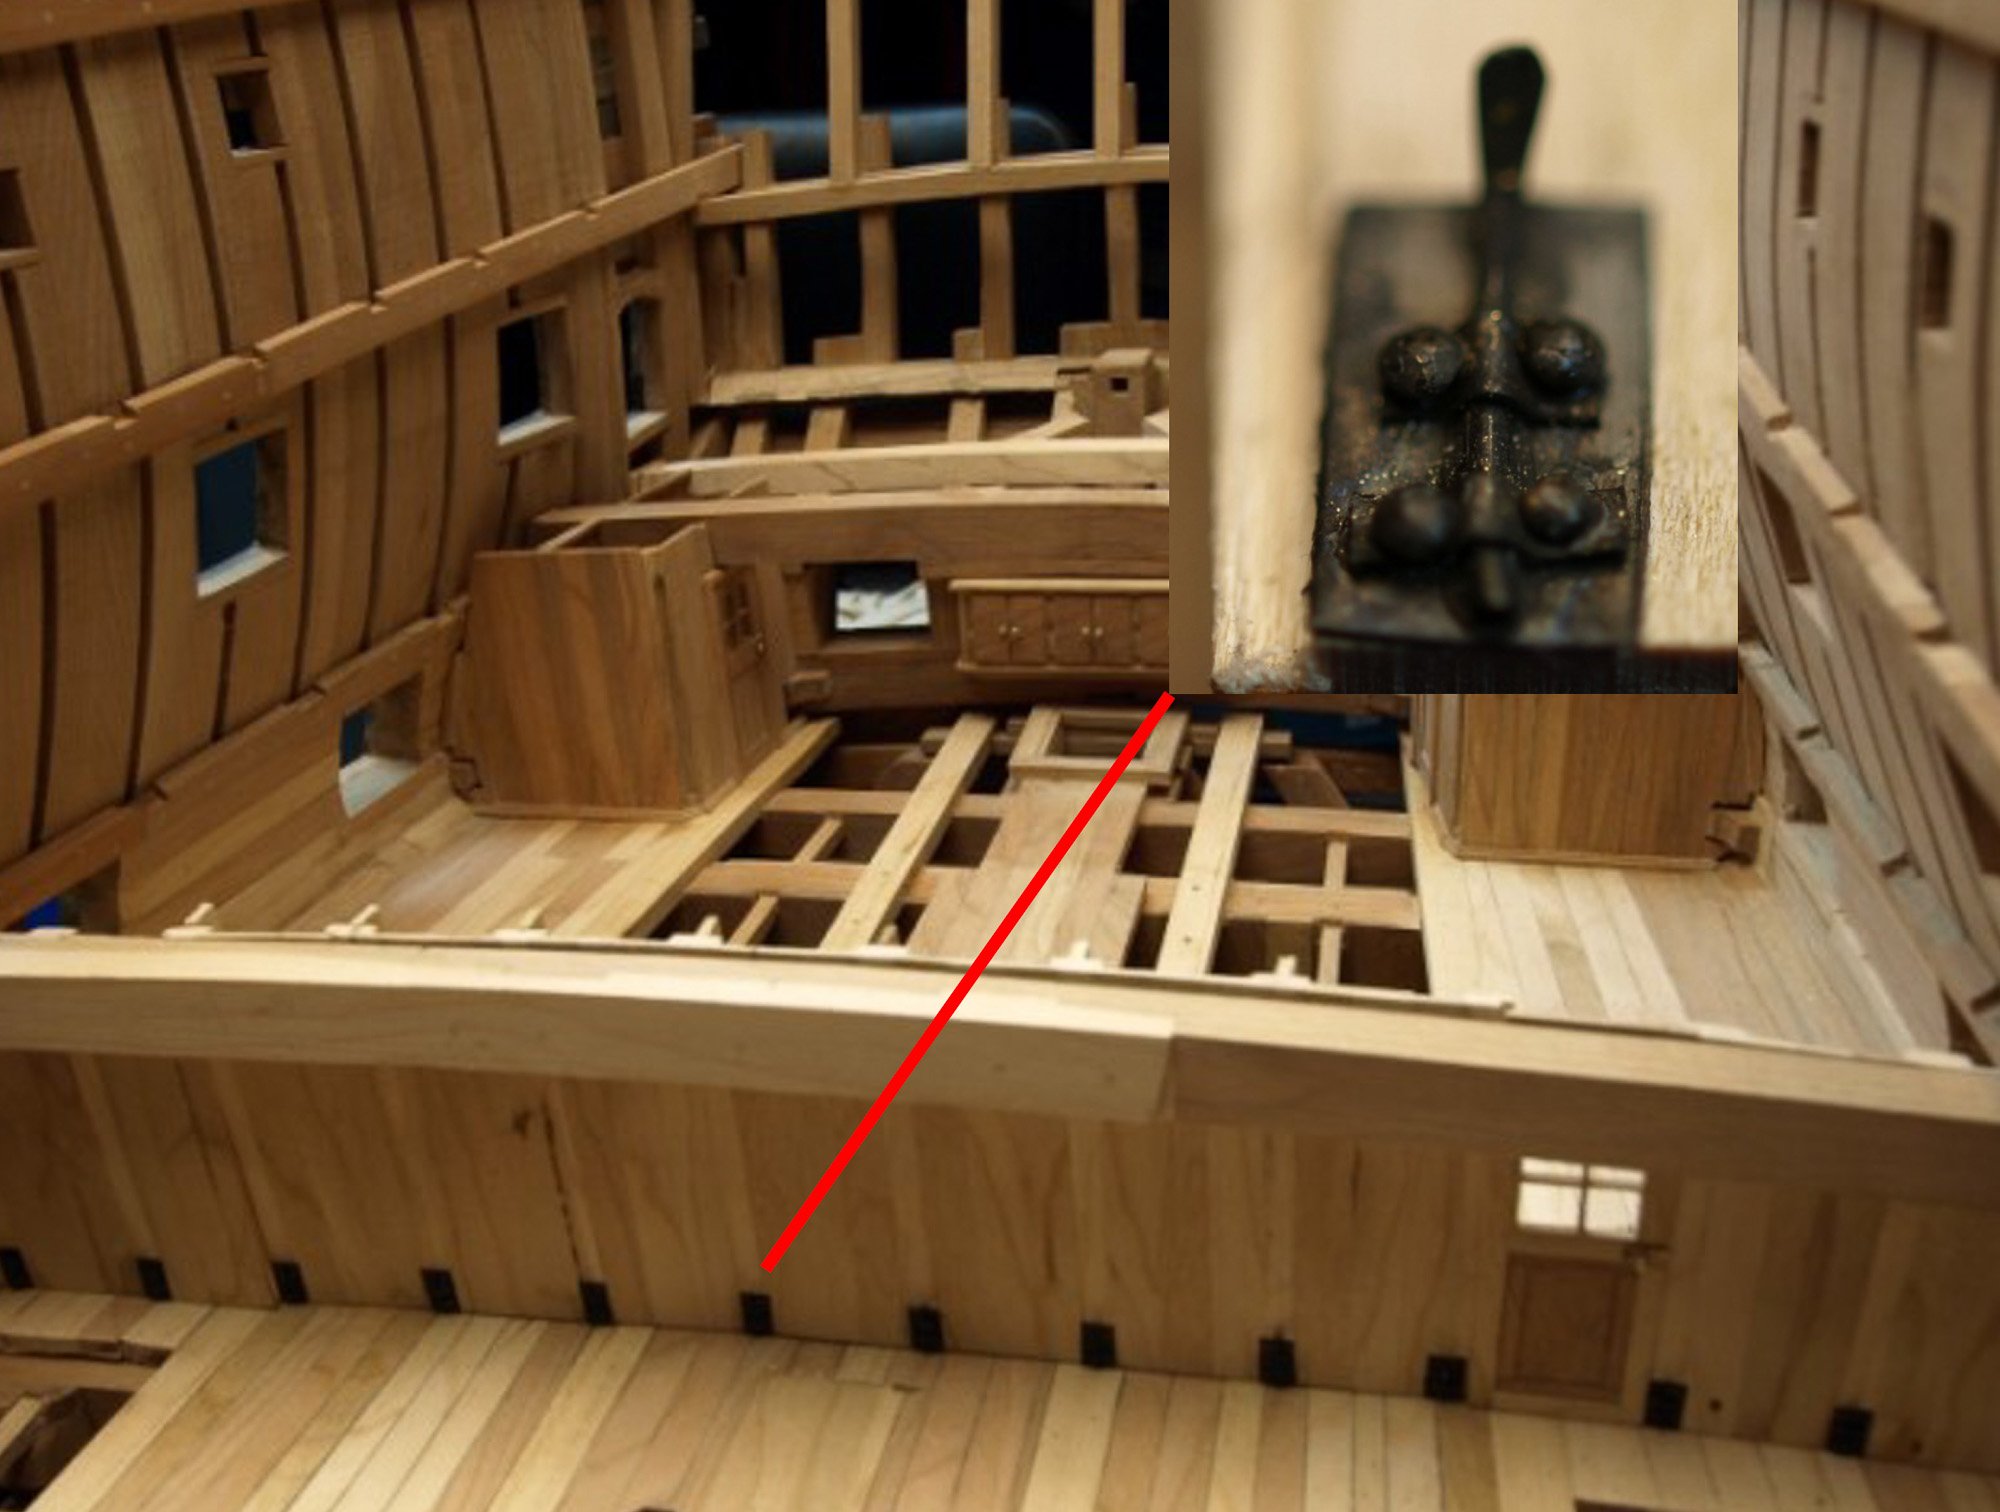
photo 1: HMS Erebus 1812 bronze belaying pin' photo 2: probably treenails from L' Orignal, 1750, Quebec. I bought these and they were sold as belaying pins. The question I ask myself; why this dark color as in the belaying pin from the NMM? tar, dirt!

-
Miniature spokeshave
Gaetan Bordeleau replied to stuglo's topic in Modeling tools and Workshop Equipment
I wrote this in my log few weeks ago: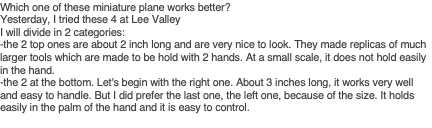
-
I had 1 plank of plum about 30 years ago. The color was very nice and it worked well. Wished I had more.
-
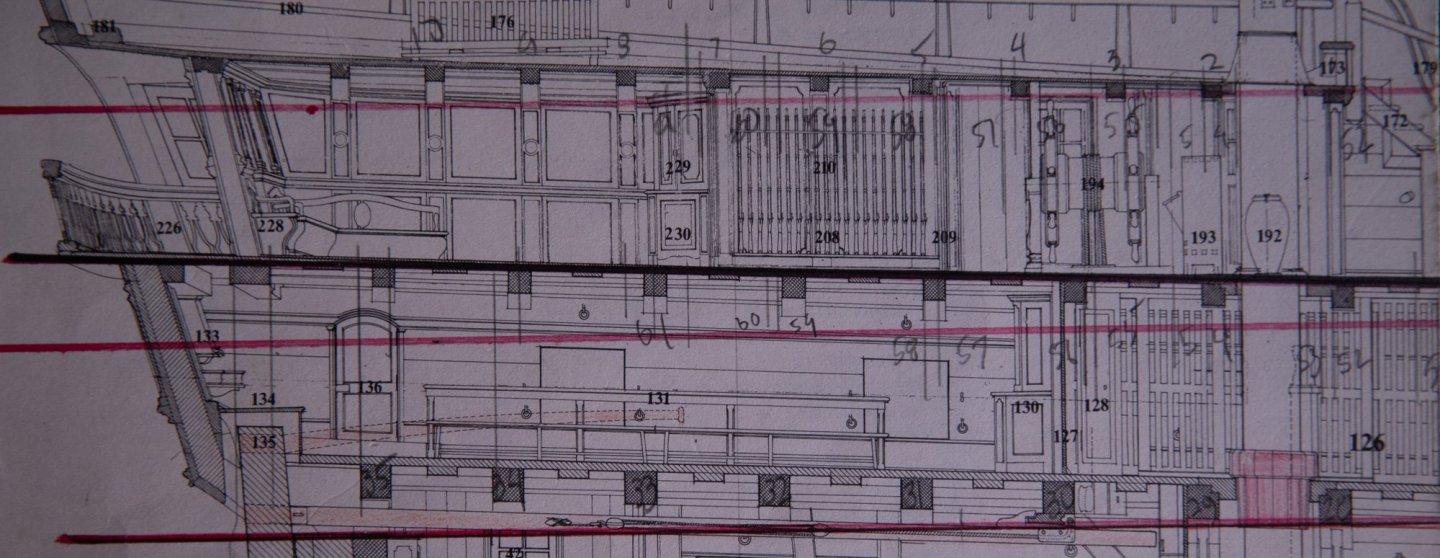
HI Mark, No other blocks, it goes straight to the steering wheel. On the second deck, the ropes pass through some kind of wardrobe, or should we say a wardrope. On a more serious note, the biggest difference between a French an English 74 gun ship for the steering wheel; is the location: the French installed it behind the mast, the English installed it in front of the mast, needing a much longer rope this way.
.thumb.jpg.91d61b6dc4fb8beda87e6ef85a8cb281.jpg)
.thumb.jpg.7708267dff3a90104e8dcc6700cd0272.jpg)

-
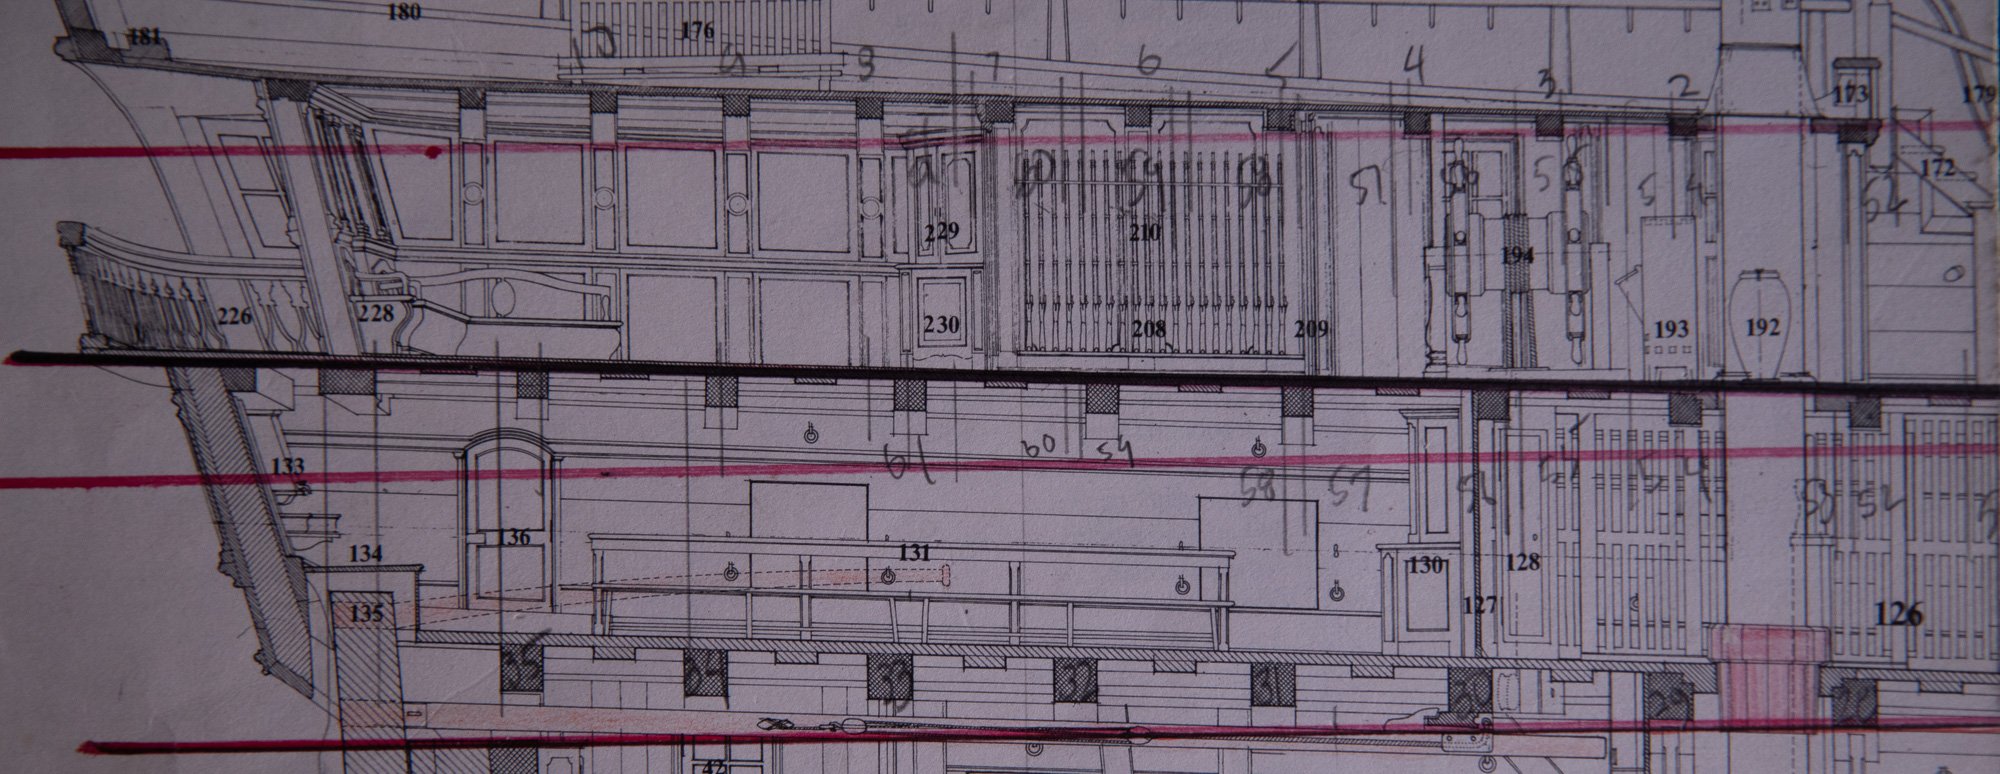
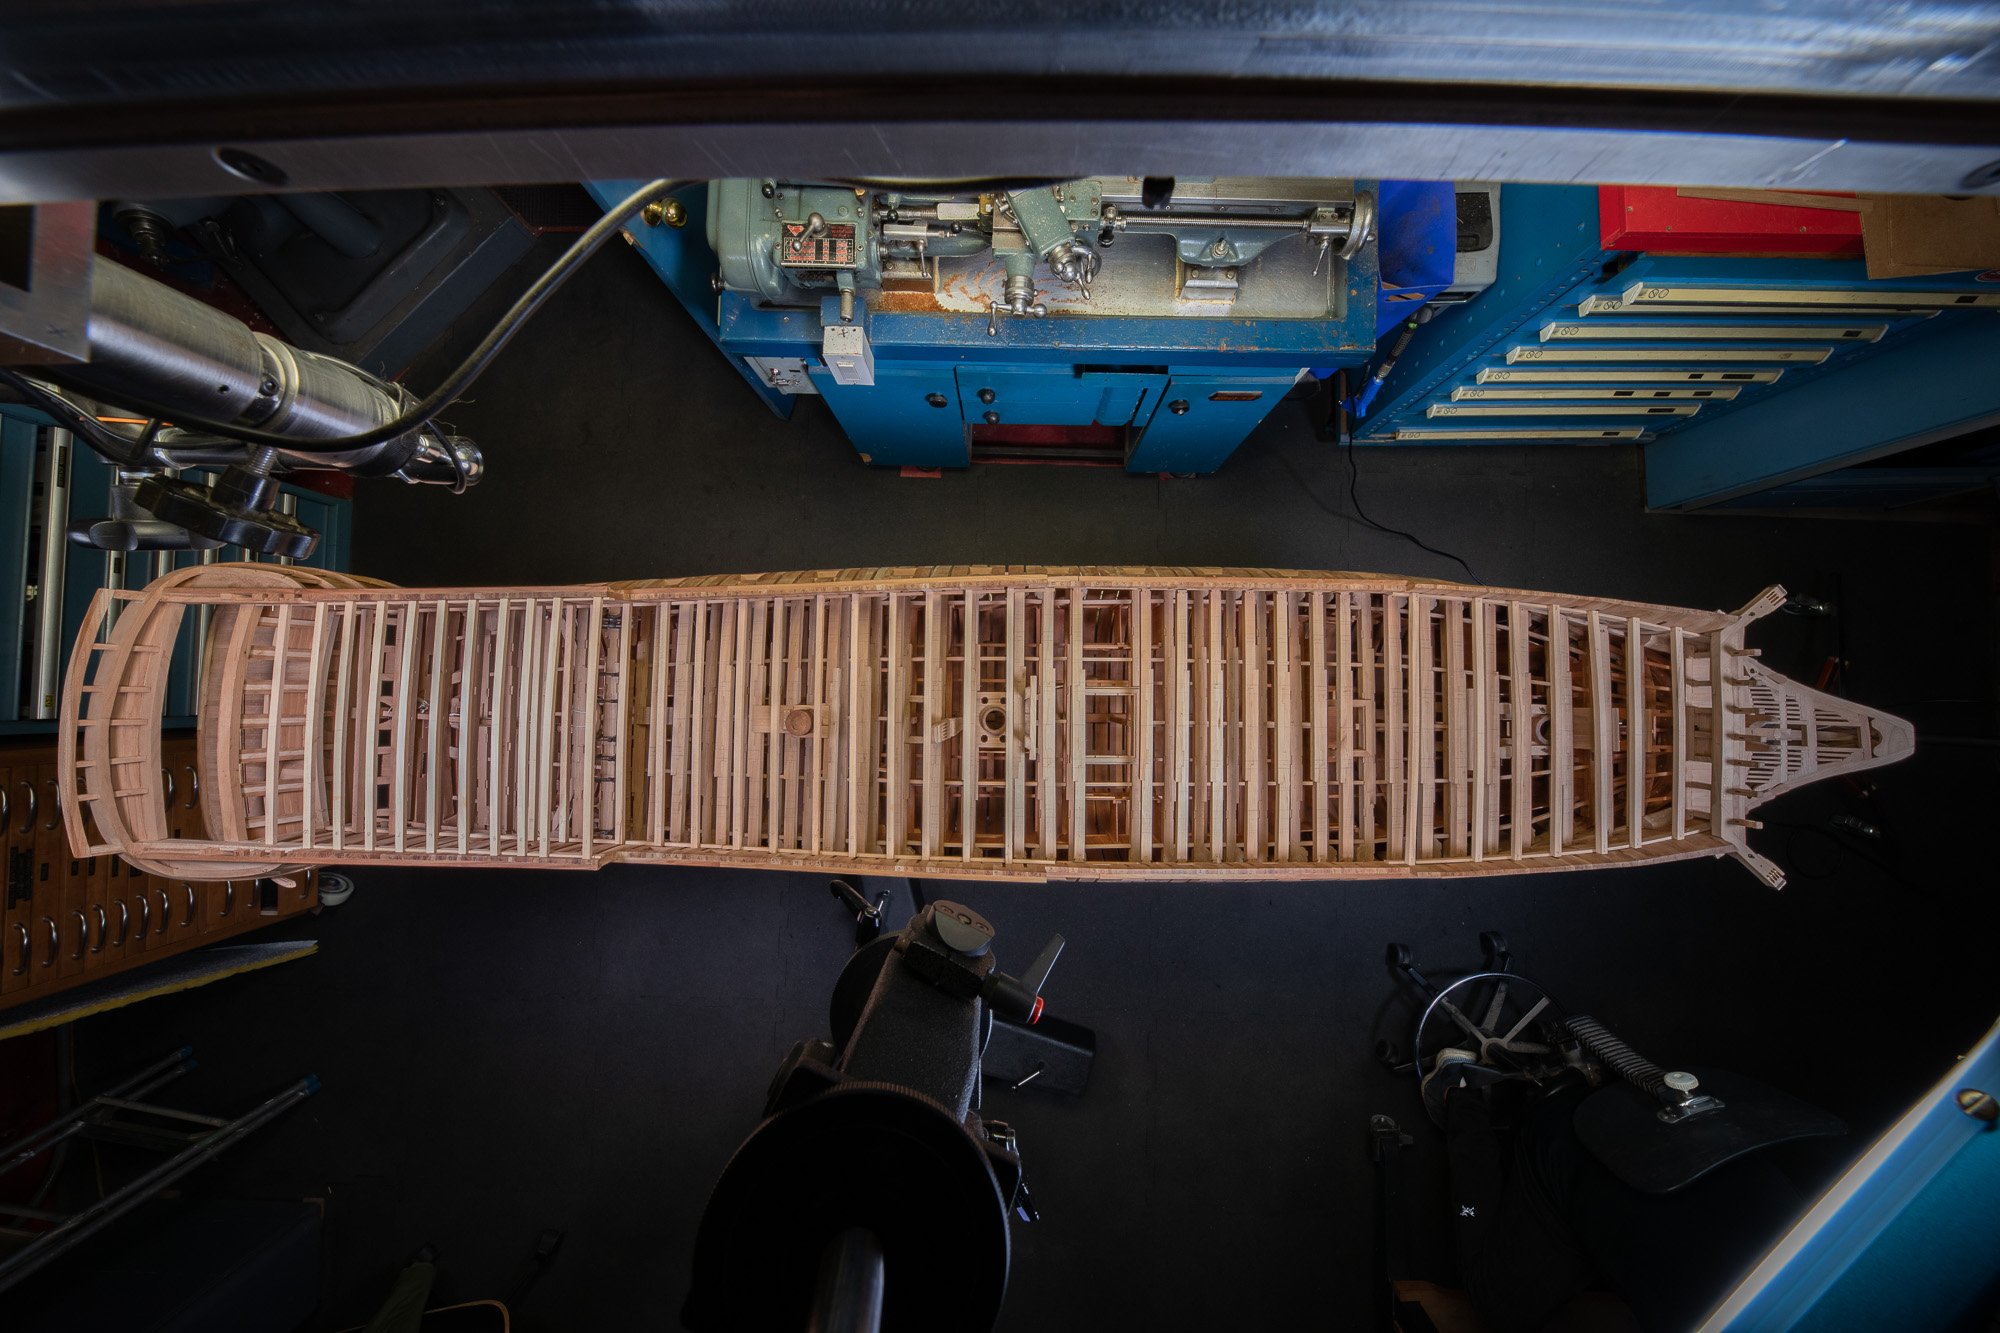
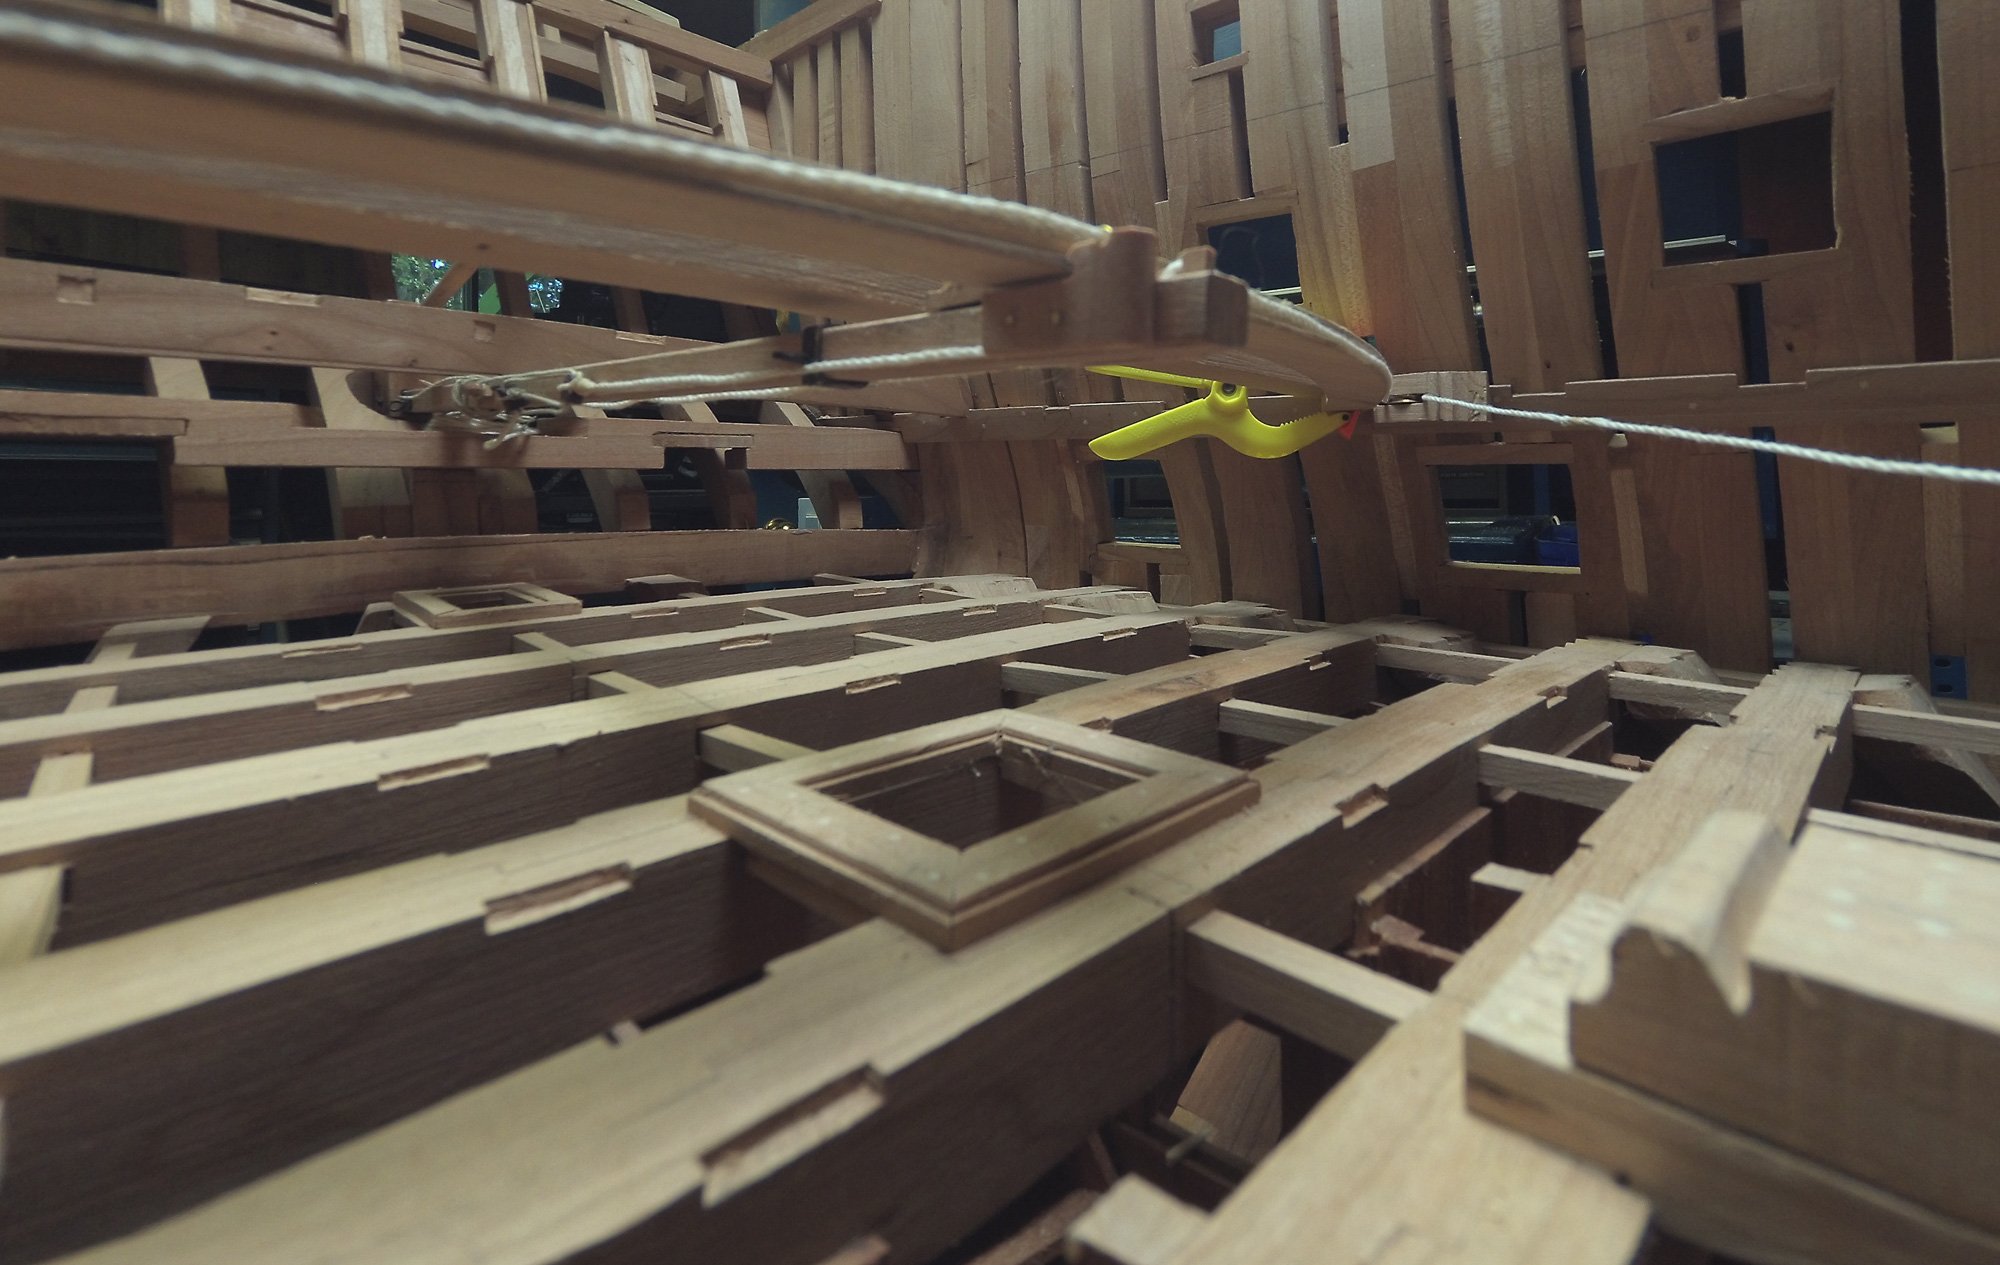
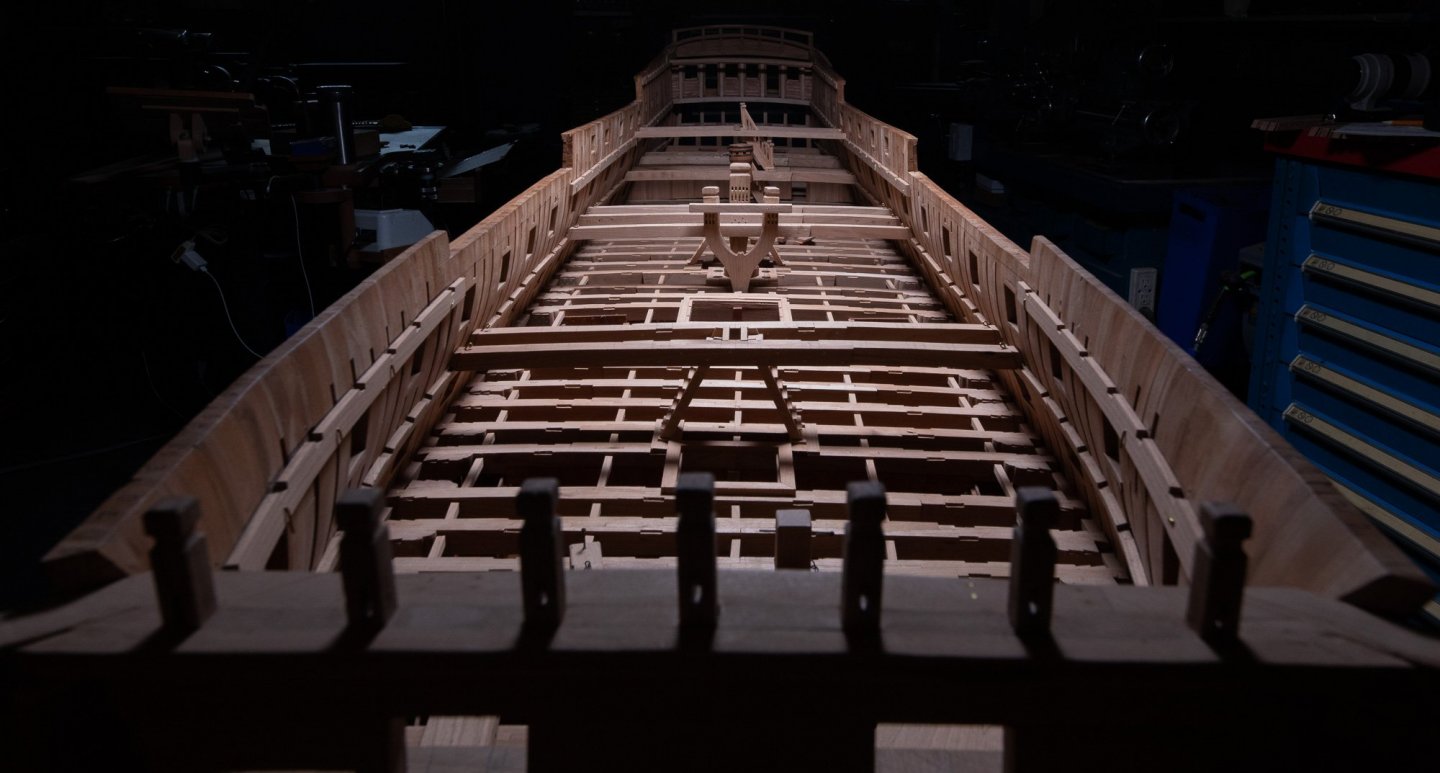
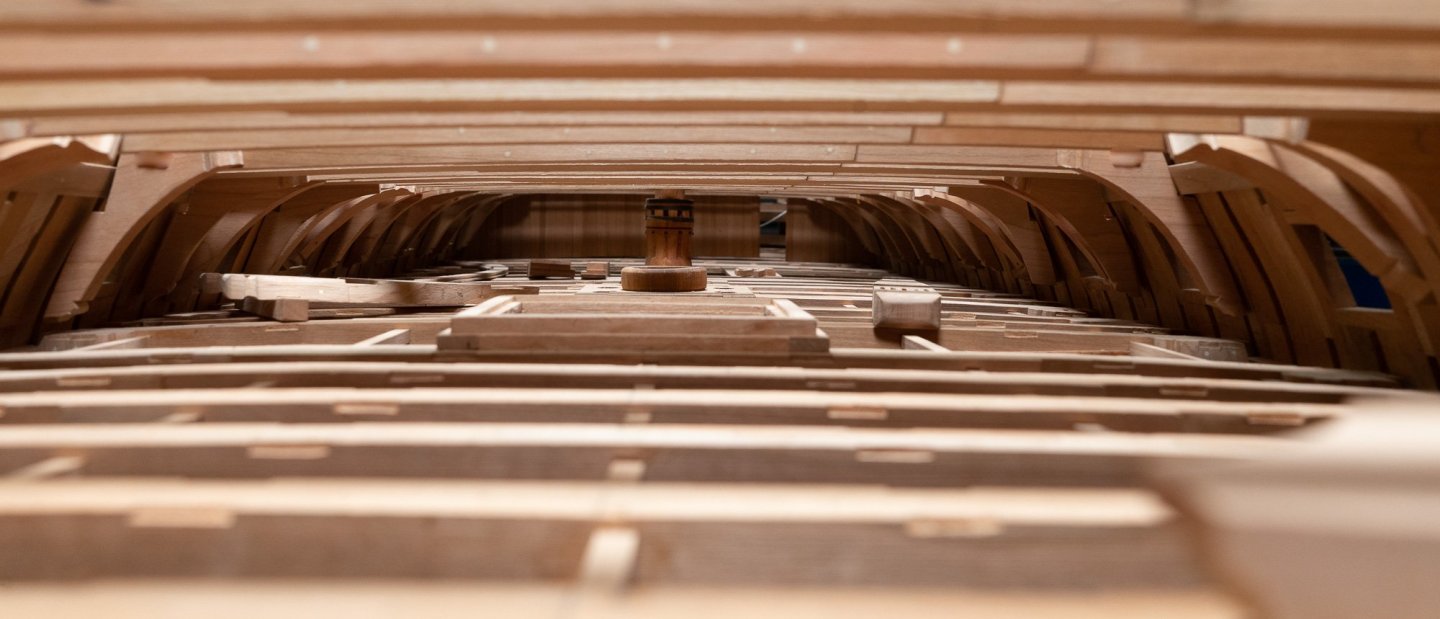
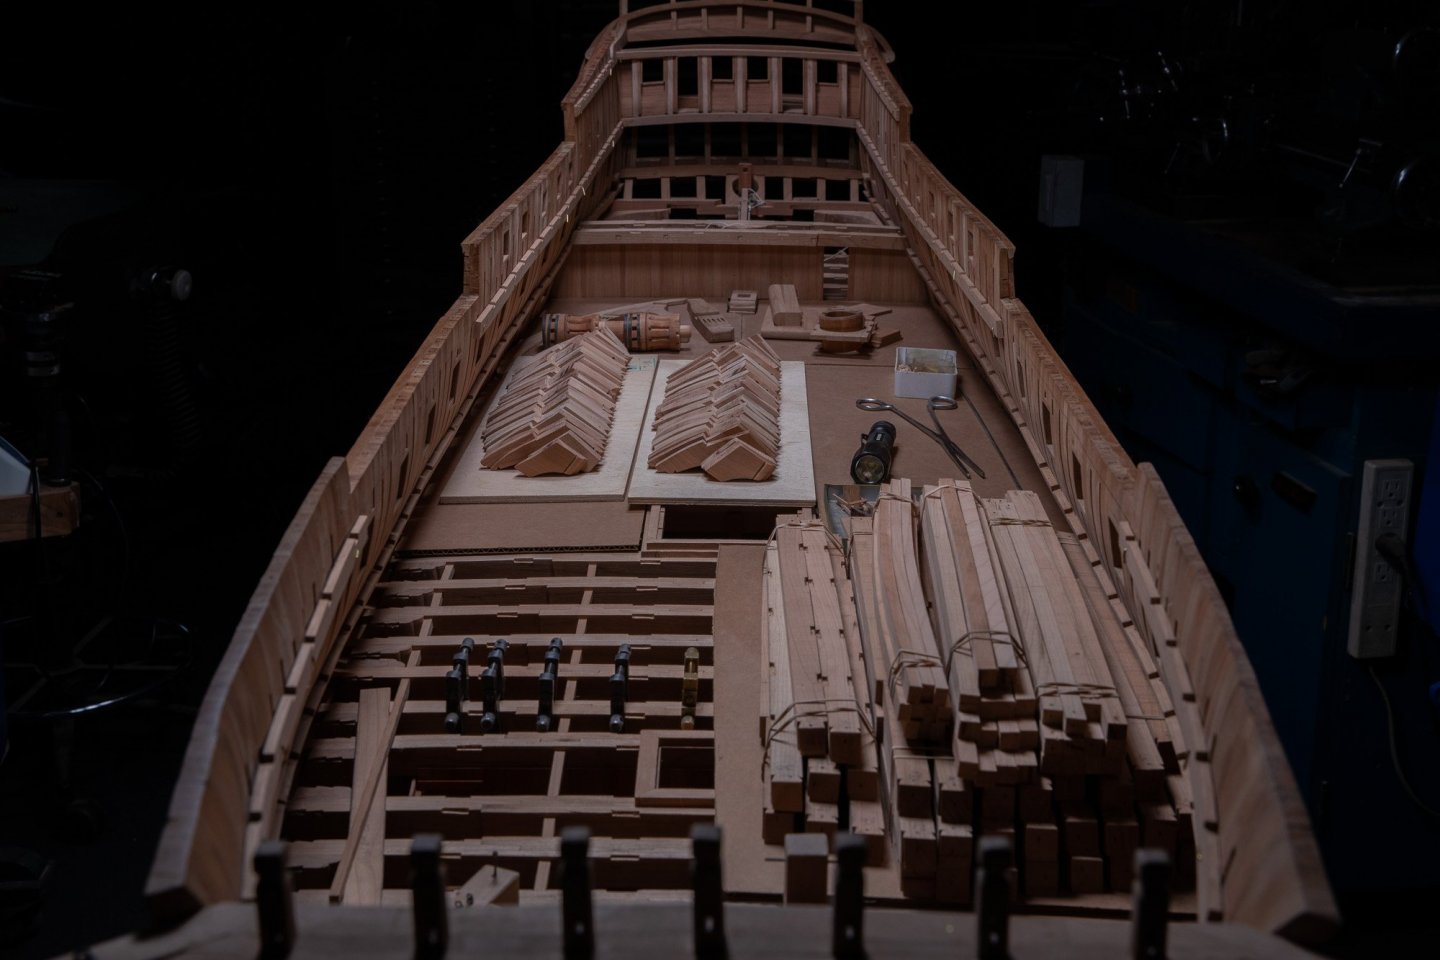
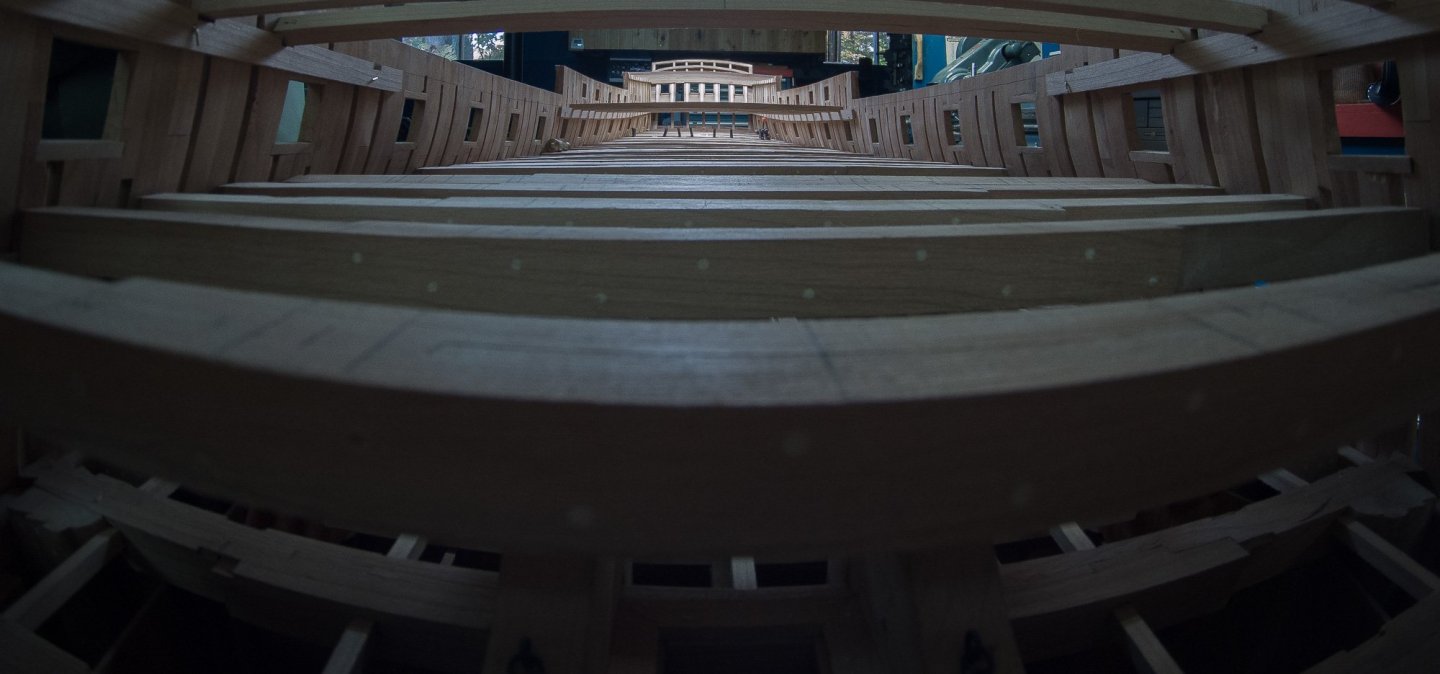
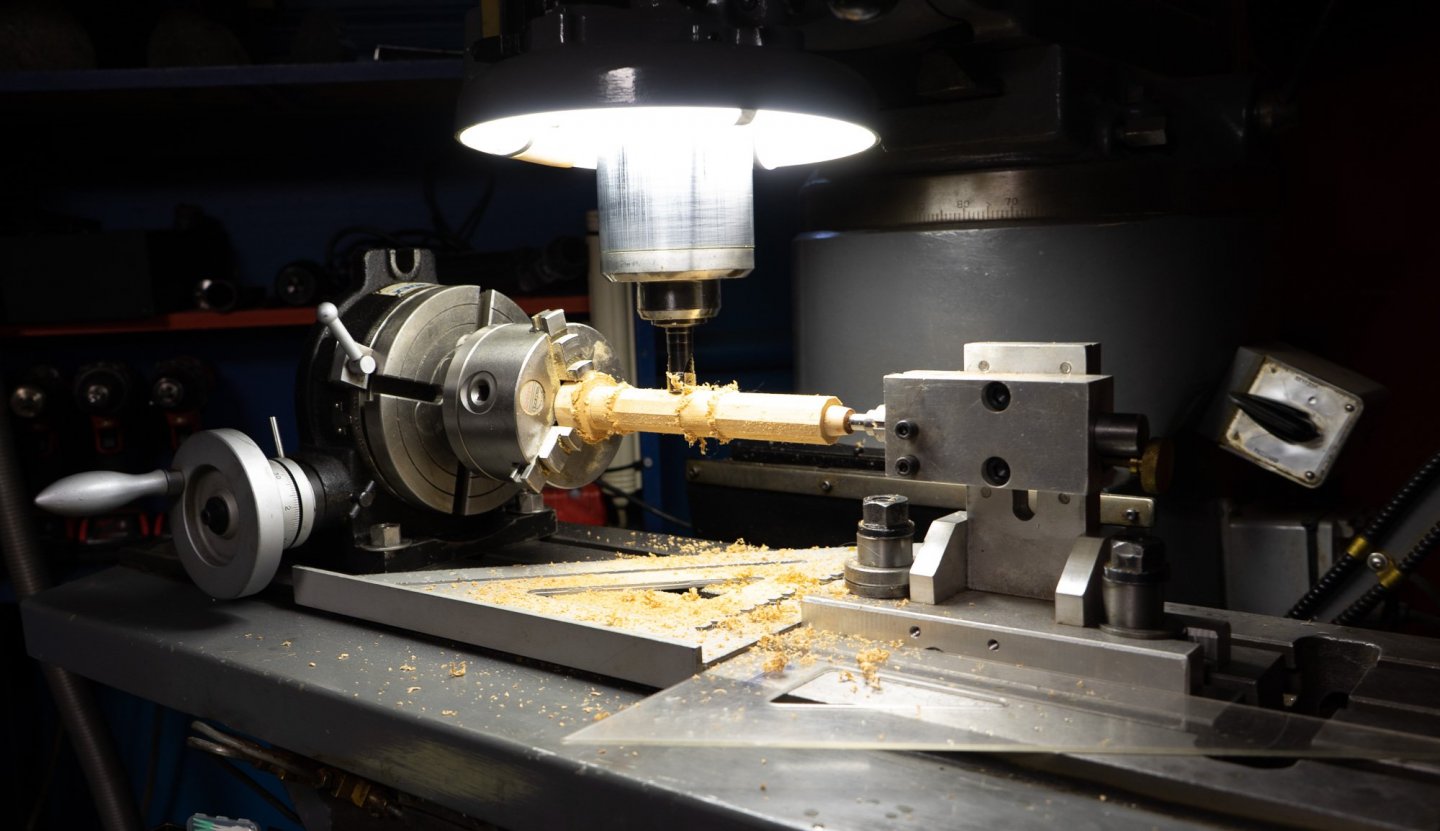
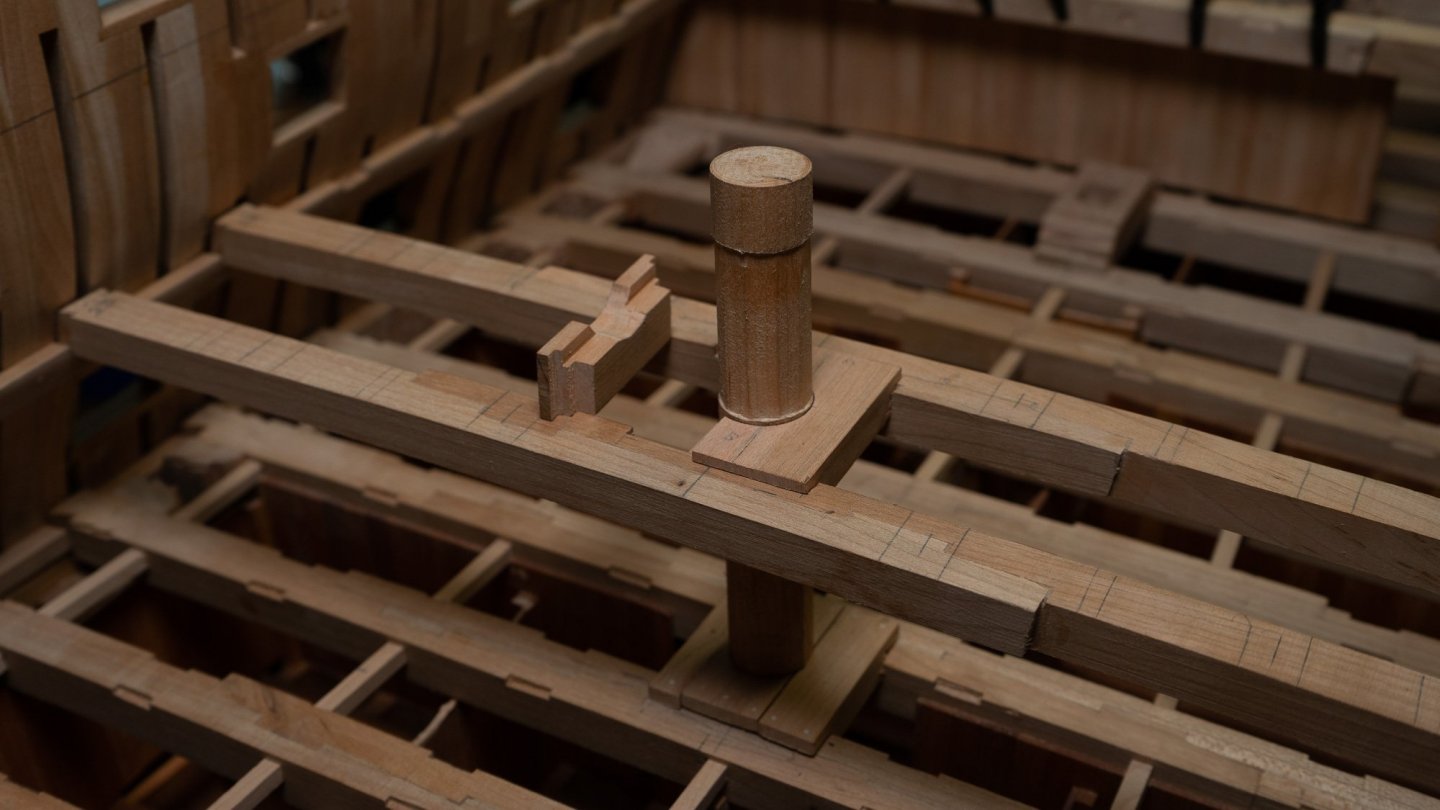
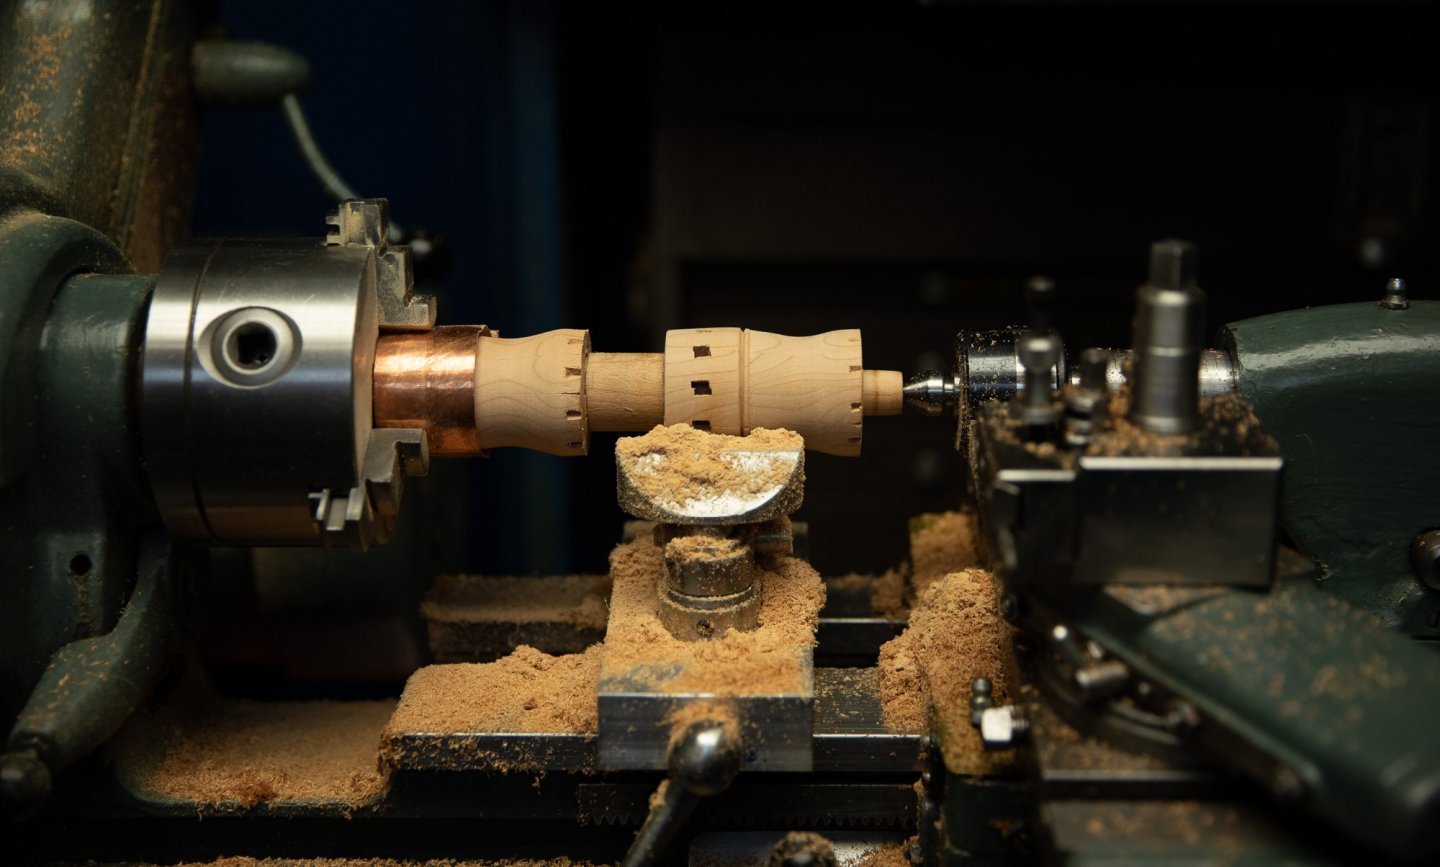
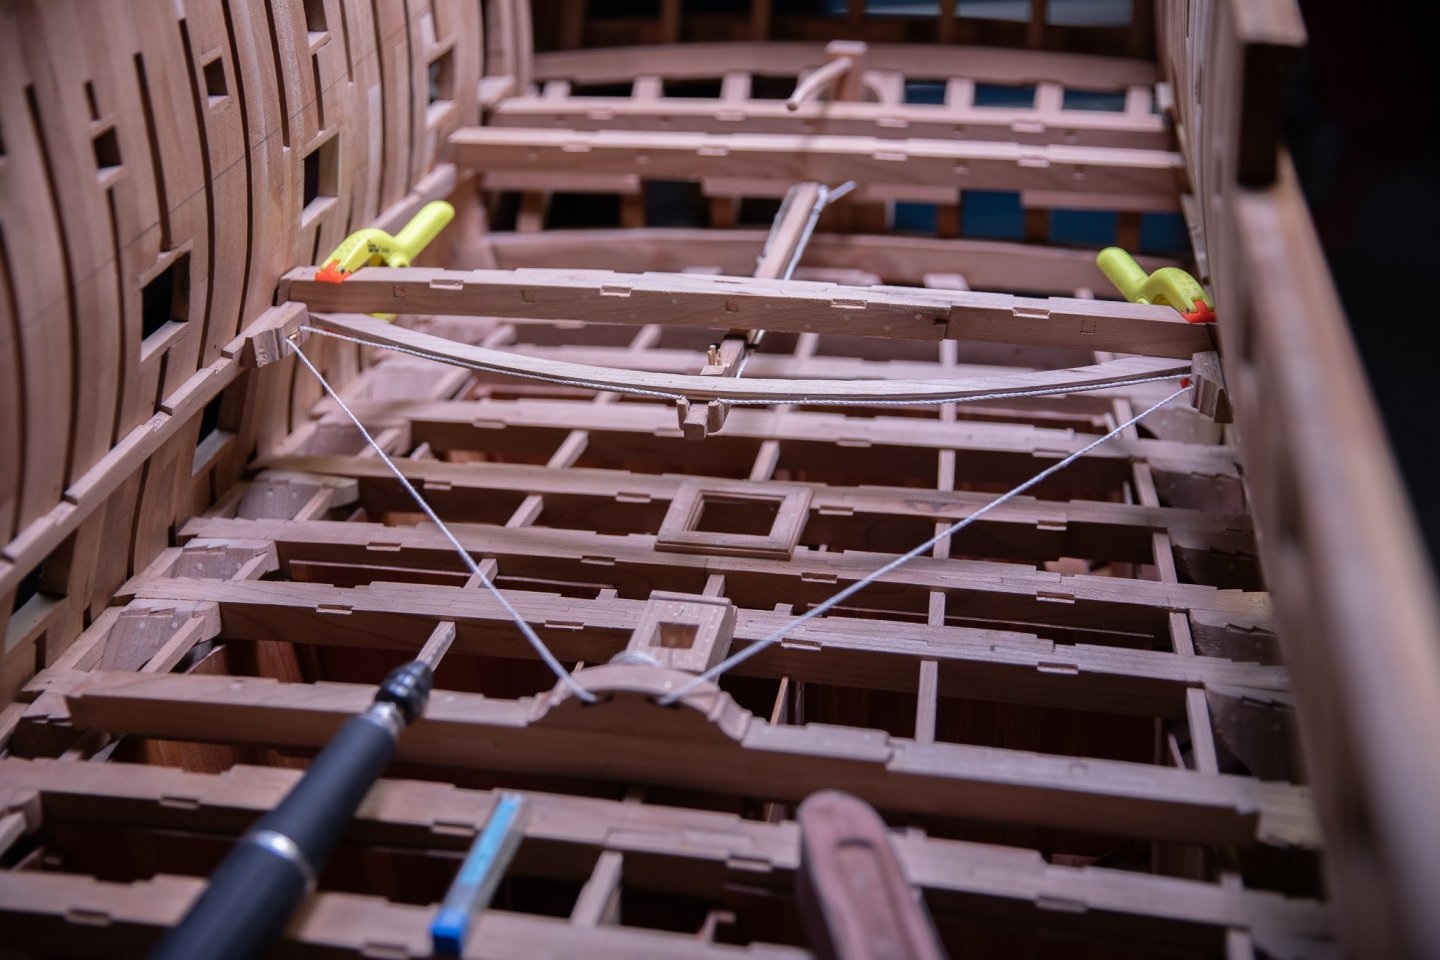
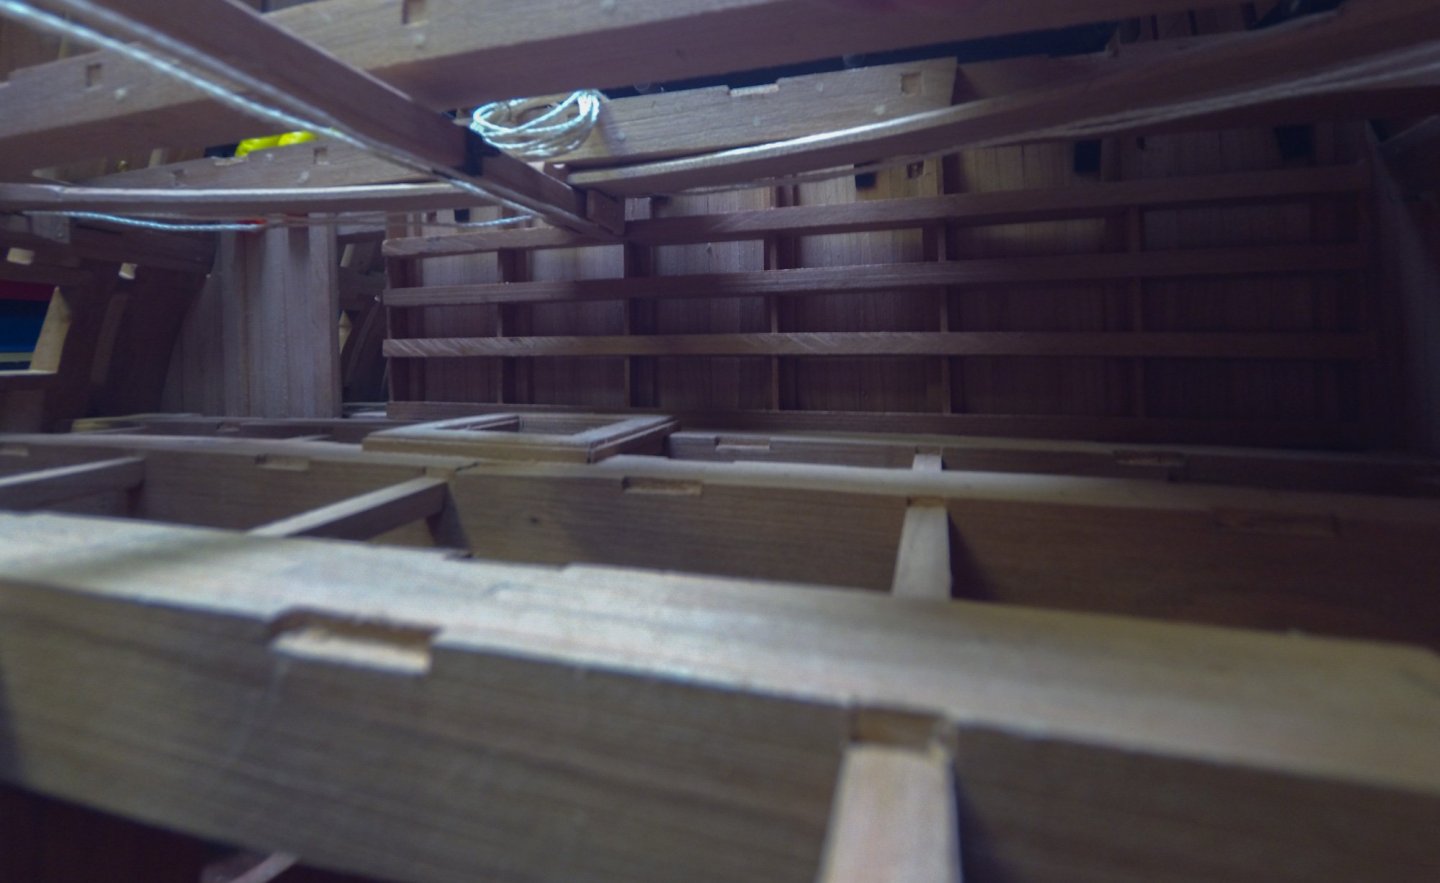
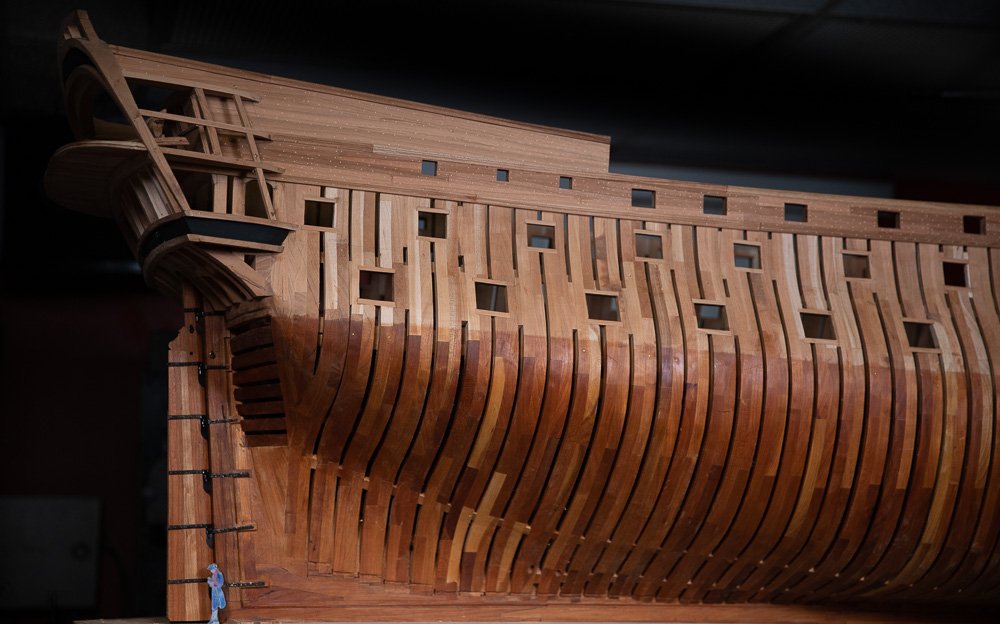
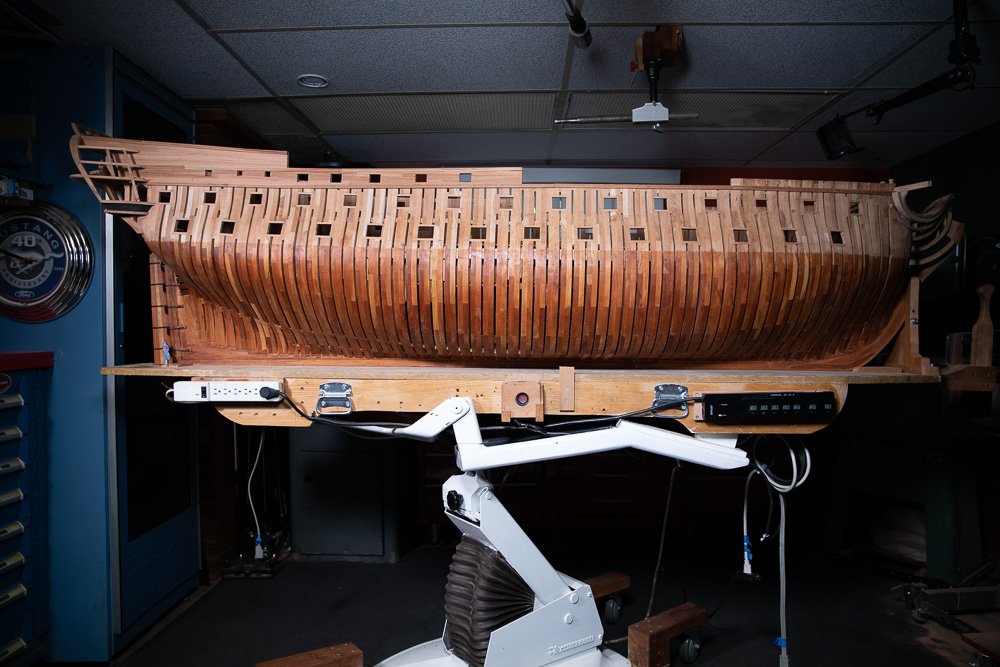
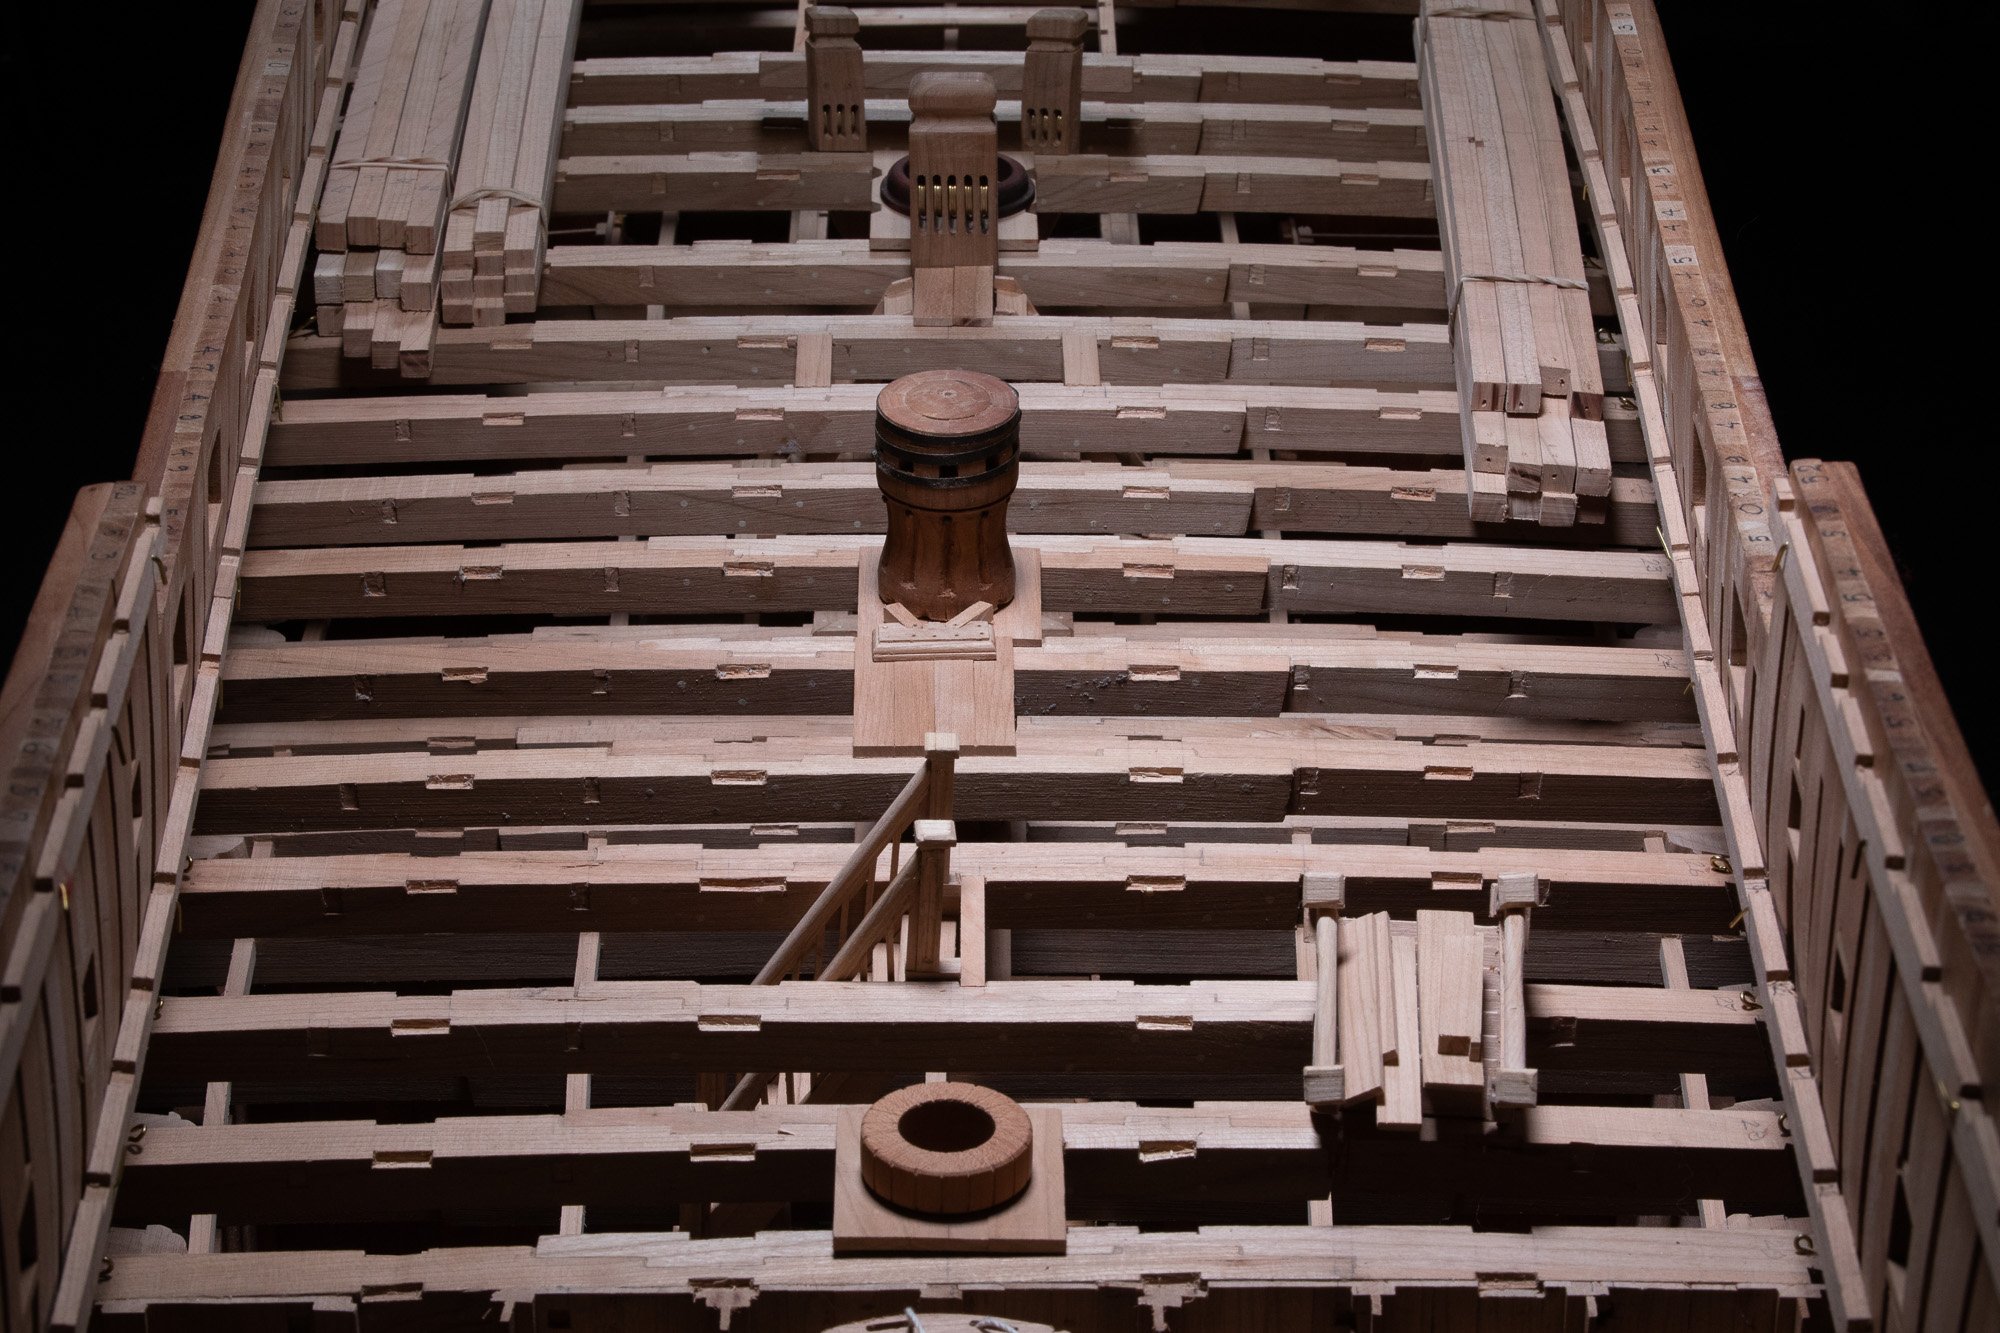
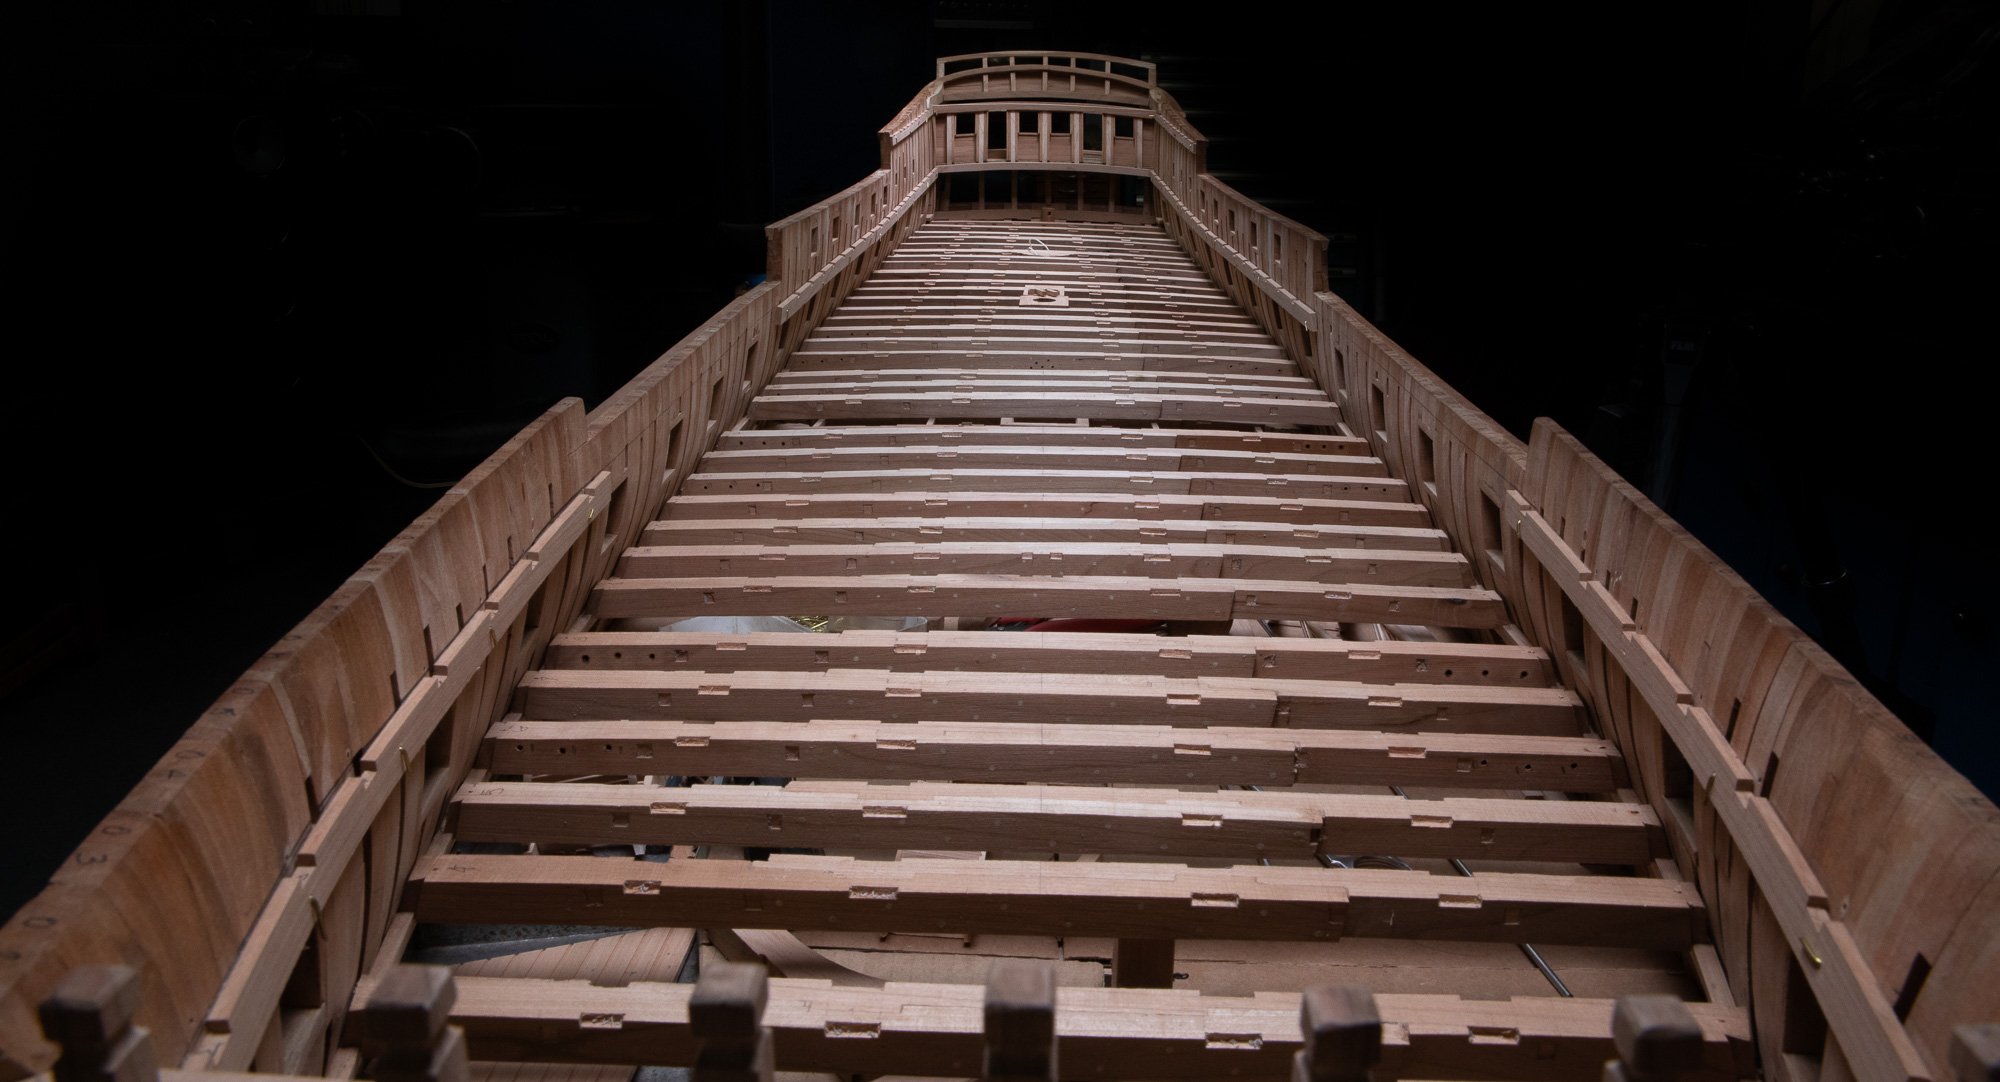
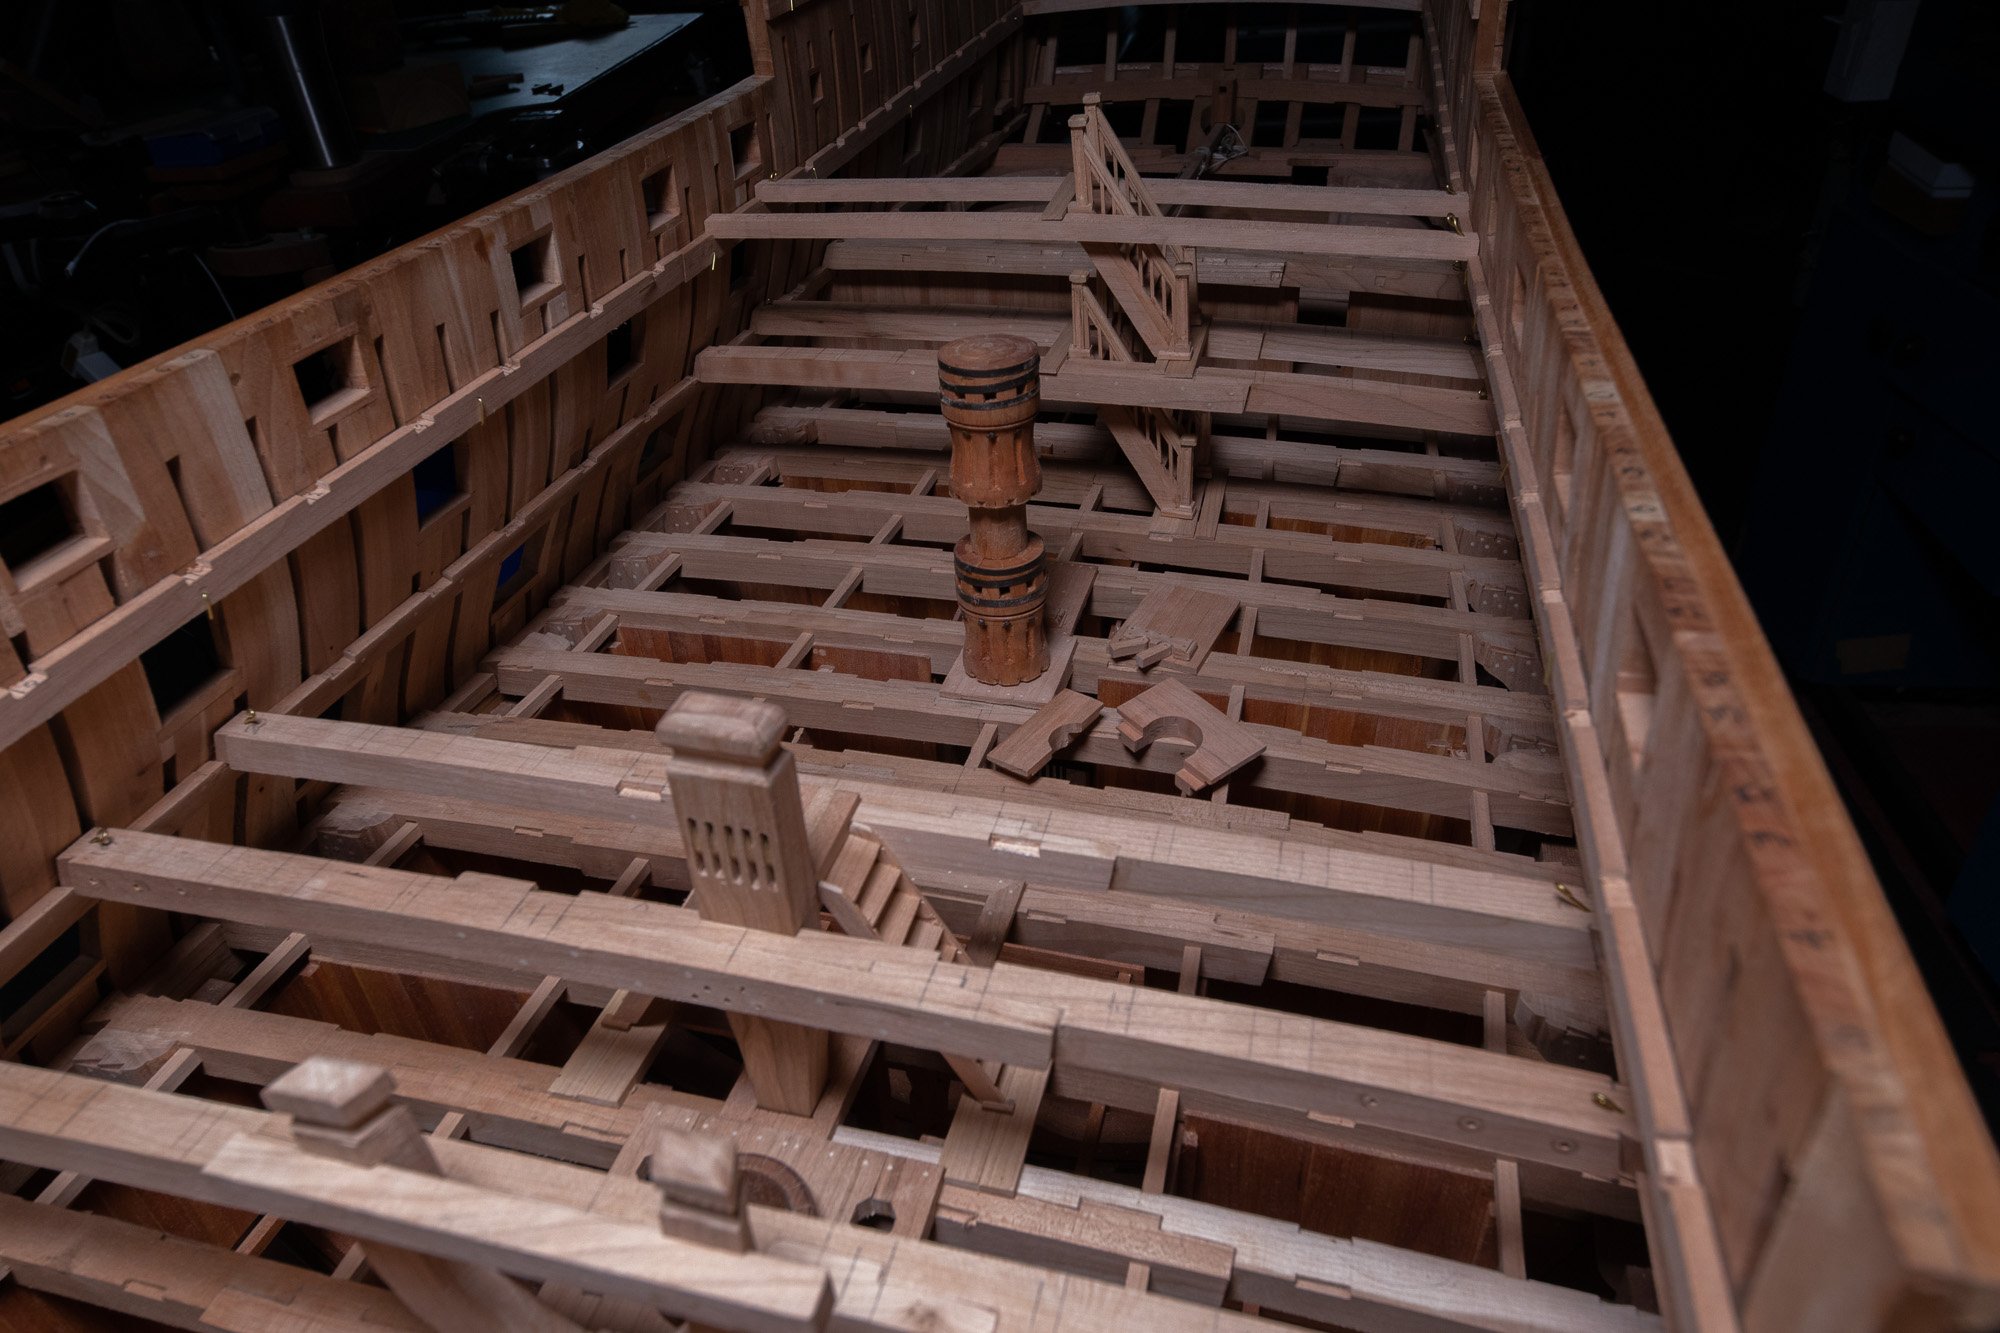
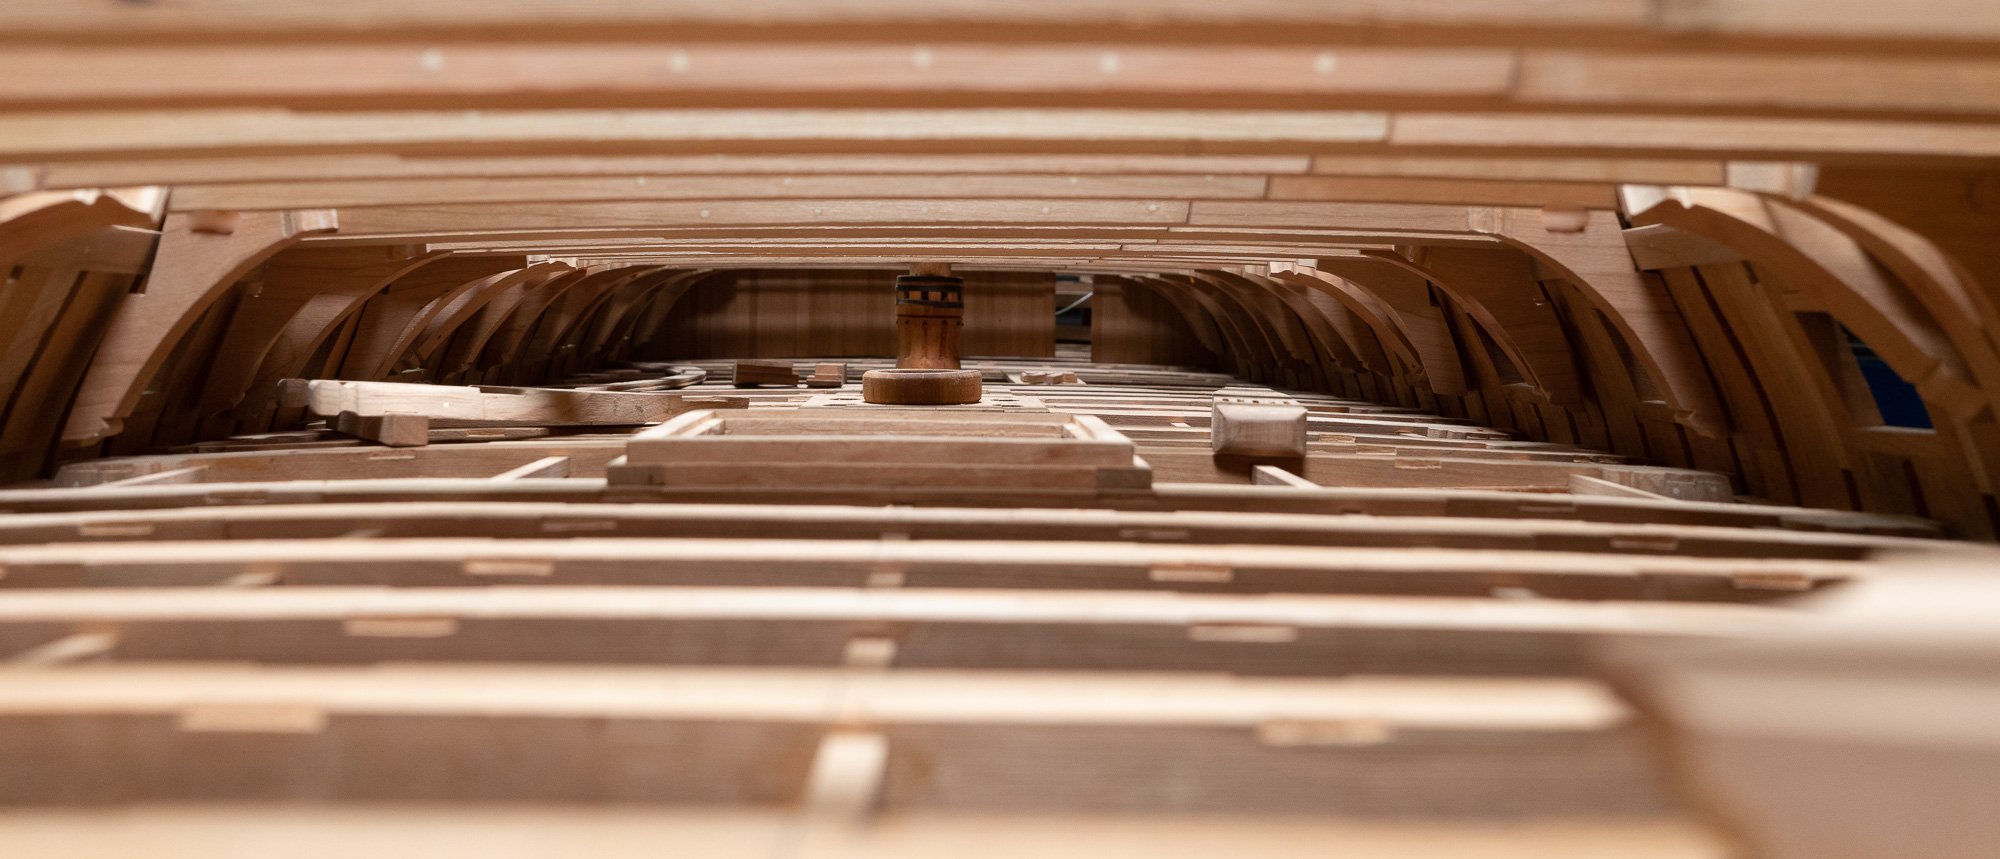
Fabrication of the capstan from the first and second deck + installation of all the deck beams. The easiest way to fabricate the curved deck beams perfectly parallel is to roughly cut the beams, sand the upper part, turn them upside down, and pass them under the drum sander.


-
photo 1 few words about Ebonizing which can be good ... or bad photo 2 a letter from Boudriot explaining which lines are tarred and which ones are not. The line for the steering wheel is not tarred and few others. photo 3 a drawing showing how the tiller is well maintained in his trajectory


-
A DIY thickness sander
Gaetan Bordeleau replied to Kris Avonts's topic in Modeling tools and Workshop Equipment
I built one about 25 years ago. I used 4 rods with a chain sprocket welded on each one. A chain was moving the 4 posts at the same time for the table elevation. It was replaced 15 years ago with one who has a table feed under the roll. This way, you do not have to push the wood strip. -
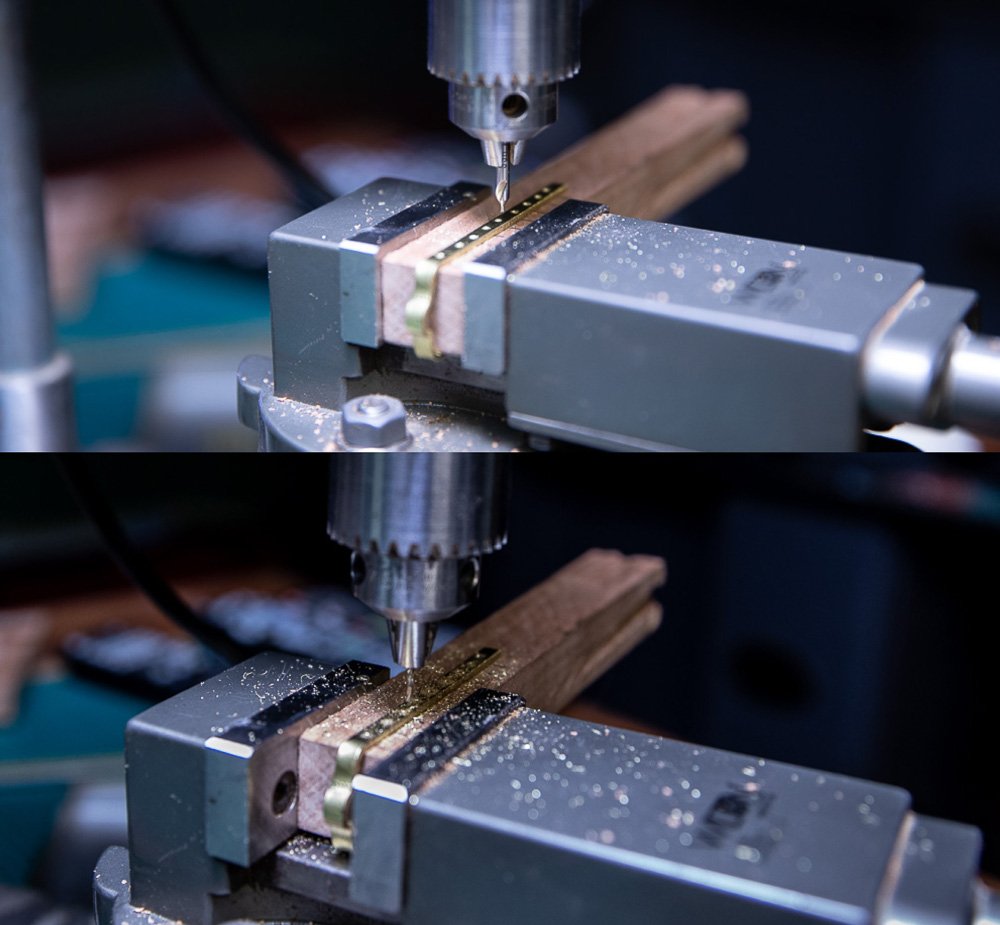
Thank you Bossman, Mark, I checked the phone camera, and it is possible to focus and even lock the focus on a photo. I guess as many phone camera as many different properties, so there are probably no standard. It is impressive to see what a phone camera can do. The phone camera can replace: 1 camera with 3 lens: wide, close, and tele-zoom.. The camera lens give good photo and 1 of the reasons is because they have a large opening (F). Good quality photos are possible, and it could be a good choice for a model ship building camera at 1/10 of the price of a bigger camera cost. The 2 biggest differences, I would say are the sharpness of the lens and the size of the photo. If you print a photo from both camera, the difference would be easy to see, but for computer screen, it can be difficult to see the differences. Here is how I make holes in brass the easy way: a center drill or maximum reduced span at maximum of the drill bit. There are a lot of theories on how to do it but this is the easy way. A too much long span in drilling brass will create wobbling of the drill bit and this way, the drill bit has difficulty to "start" the hole because she wants to go everywhere... The first chapter of the rudder is completed: outside. The next one will continue but inside the model.
-
If you also have fun doing this, that is, it is all about! Continue your good work.
-
Mark, as usual I do not know the answer, but for the french ships, it was lead plates which are more convenient, I would think than jumping over a brick step every time you com close to the stove.
-
Hi Mark, You have a good question but I could not tell you how does it works because it is too much new for me. I know that touching the screen will be where the focus will be done. For these photos inside the model, I cannot see what the camera sees so I transfer the image in the tv to see what the camera sees. I probably just looked at the back. I use the camera from Lighroom mobile and my first goal was to learn synchronization between Lightroom and Apple. By default Lightroom want to sync everywhere and this take a lot of cell time. I had to find where lI had to uncheck 2 boxes in Lightroom, and also uncheck 6 boxes on the I-phone, so that the sync can only be done by wifi which is unlimited.
-
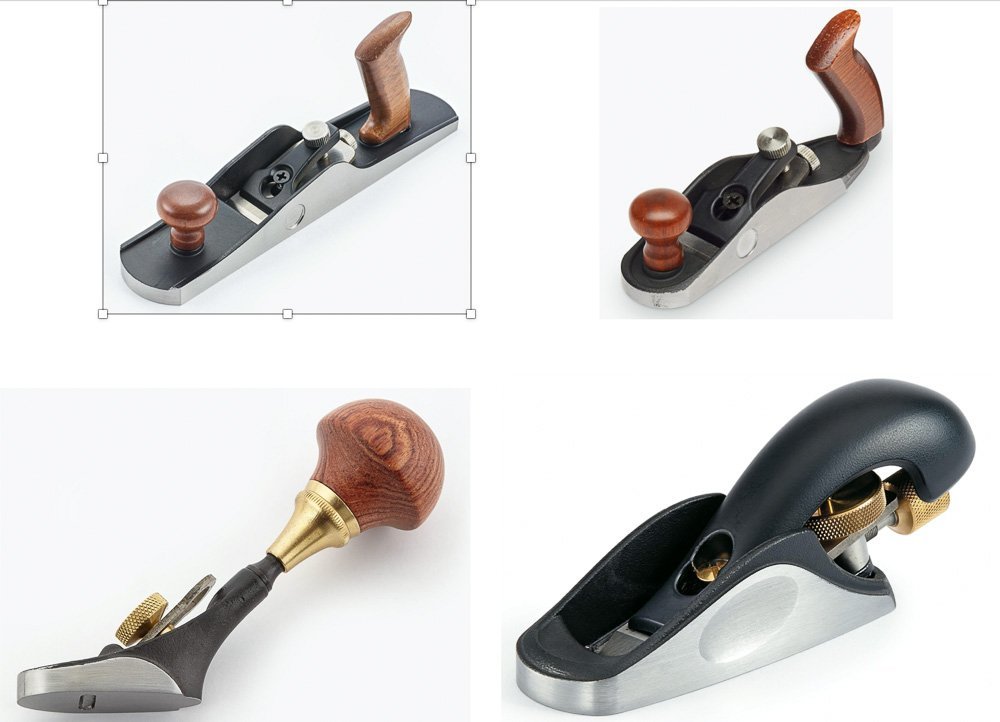
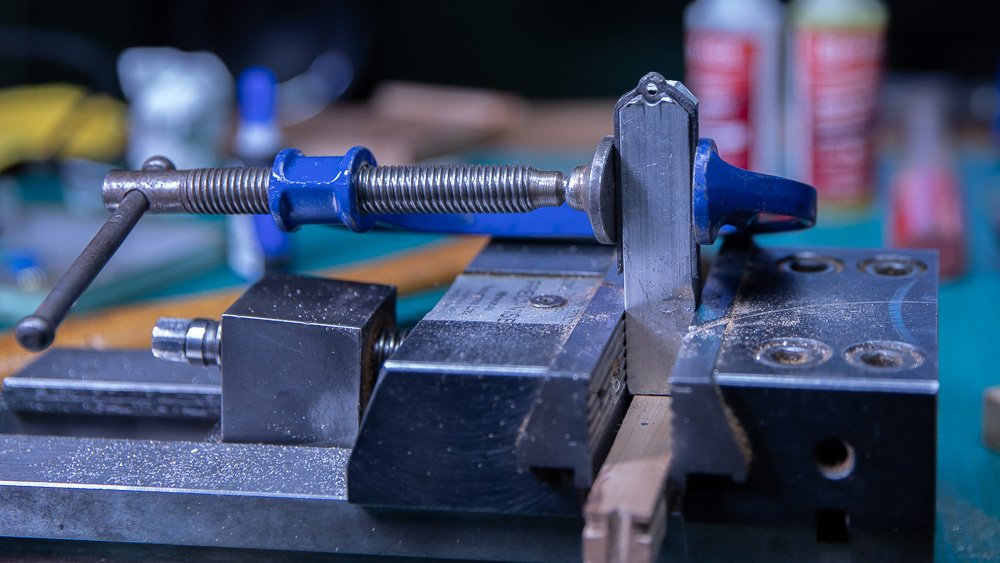
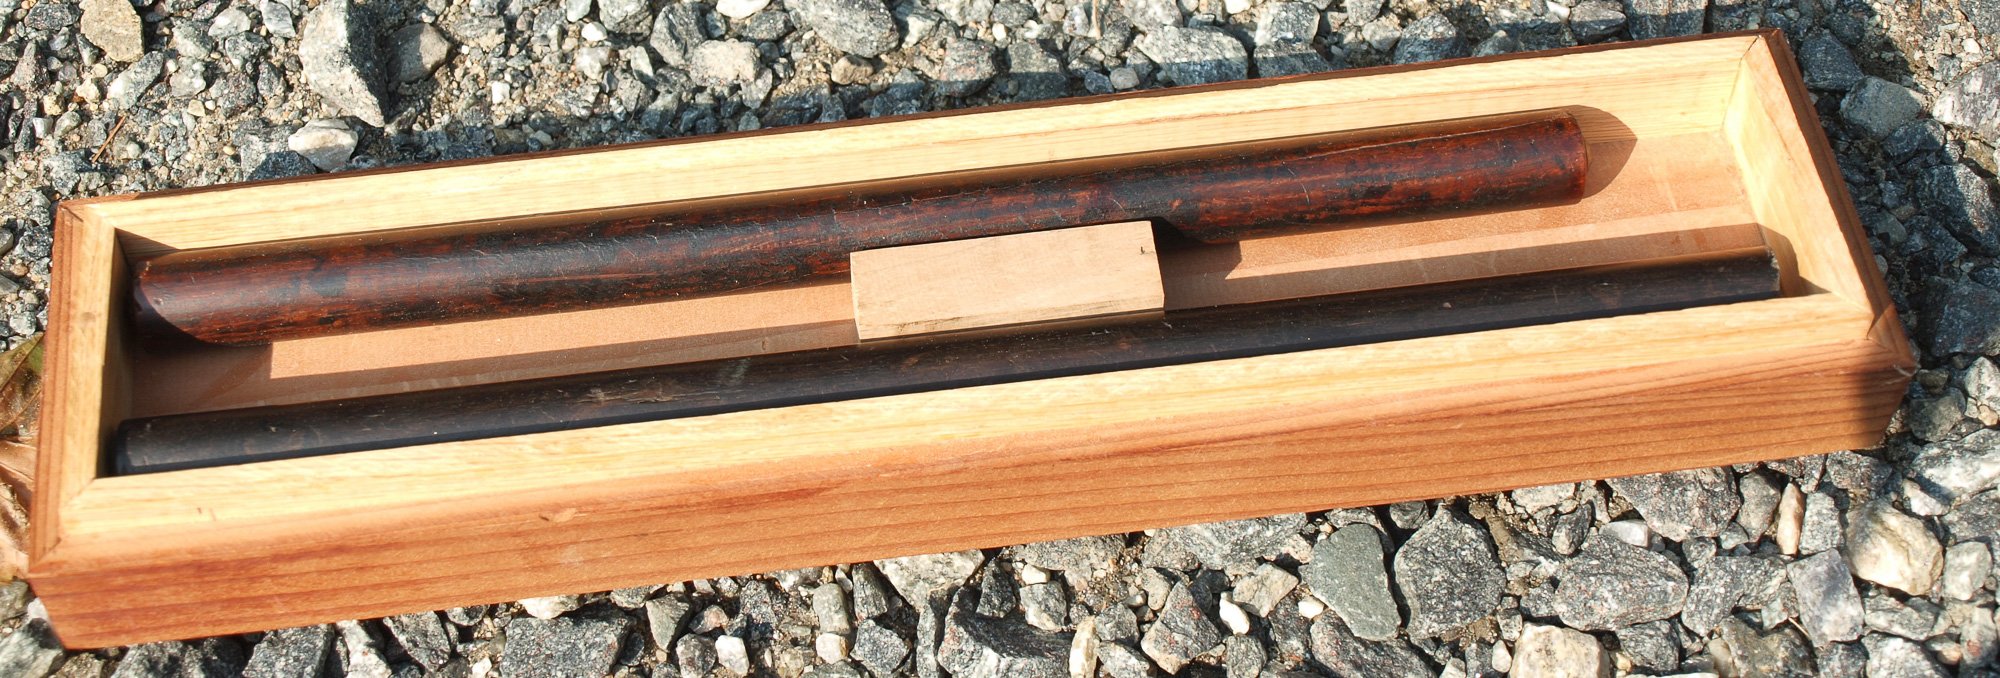
Which one of these miniature plane works better? Yesterday, I tried these 4 at Lee Valleys I will divide in 2 categories: -the 2 top ones are about 2 inch long and are very nice to look. They made replicas of much larger tools which are made to be hold with 2 hands. At a small scale, it does not hold easily in the hand. -the 2 at the bottom. Let's begin with the right one. About 3 inches long, it works very well and easy to handle. But I did prefer the last one, the left one, because of the size. It holds easily in the palm of the hand and it is easy to control. I wanted a small one, so I took this one. This week, I also tried another tool, a camera... from the smartphone. So from now on, the photos will be from it. It is surprising to see the quality, but it is not as much versatile as a real camera. Here are a few examples.


-
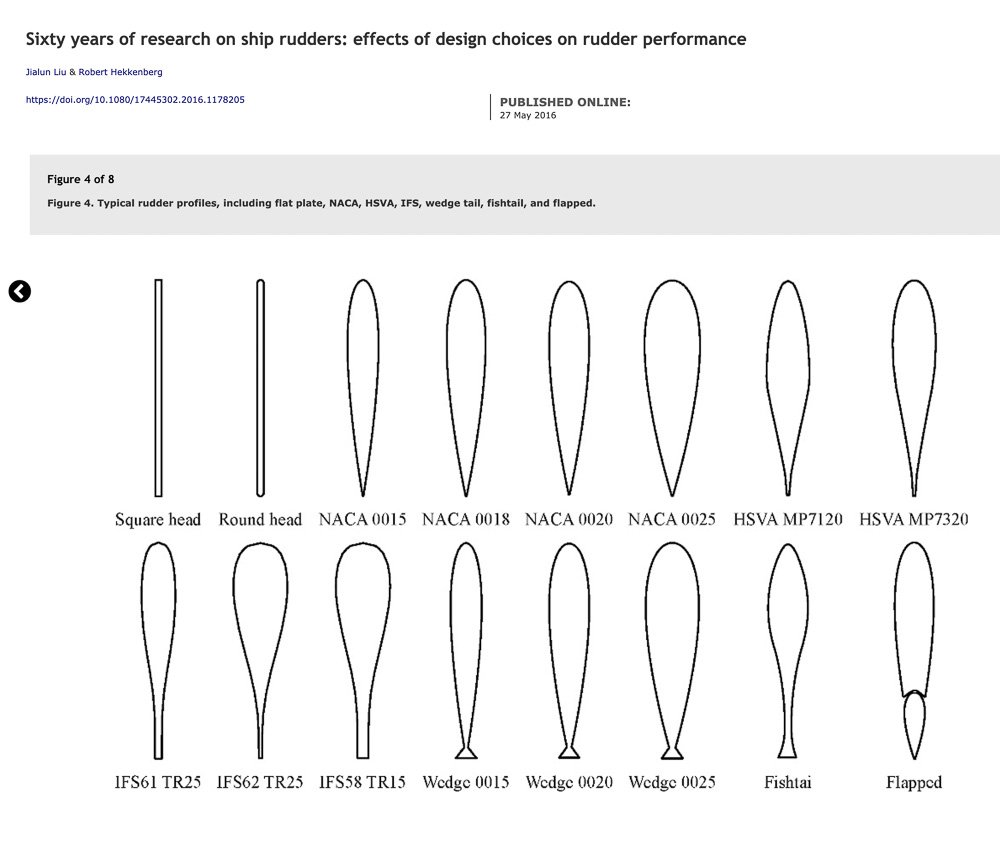
I did not see what these 2 articles talks about but I do not think that this groove has revolutionized the rudder. I would say that instead, they improved the aerodynamic of the shape Here is a photo in a more modern approach, an it is free.
-
There is no need to copy the entire 5 pages. Somebody who did read this article, could have given us an idea in 1 paragraph. This way, everybody, could advance in ship modeling.
-
Mark, it is a very simple modification, but the question apparently will remain: Did it work?
-
It was Jaager who posted it. About the groove in the rudder, Boudriot noted it in the 74 guns volumes but he did not say when it began and neither do I know.
-
I do not know if you can or not. My understanding is that you can if: -you quote the source -as long as it is for information purpose only, not for commercial use.


.jpg.c96d6fb37079335b5546a115f4542a47.jpg)
.jpg.1bd7dcba6233aaabfa22d1e51ae32343.jpg)