HOLIDAY DONATION DRIVE - SUPPORT MSW - DO YOUR PART TO KEEP THIS GREAT FORUM GOING! (Only 13 donations so far - C'mon guys!)
×

Gaetan Bordeleau
-
Posts
1,307 -
Joined
-
Last visited
Content Type
Profiles
Forums
Gallery
Events
Everything posted by Gaetan Bordeleau
-
 Binoculars are even more. There are 2 big differences between these 2. With an optivisor you have a greater field of view With the binocular the field of view is much smaller. Also if you take an optivisor at 2,5 X and compare with a quality binoculars also at 2,5 X, the details will be much better with the binoculars. These 2 in a way are not comparable; a binocular is a high precision instrument (not at $ 35) and the optivisor is far behind.
 -
I have 2 pairs 2,5 and 4X. Working with these is restrictive but you will see more clearly very small objects. Buying too cheap meaning cheap glass quality; well I do not think it will help you very much. One of the important factor is the working distance. It is more natural to work at a greater distance than 12 inches by example. Also you will need more light to see clearly. The best are actually the led lights.
-
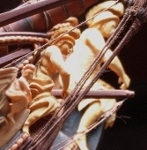
Hi hjx, You chose a very nice model and you are able to render a very realistic figure head. You have an excellent project going on.
-
Hobby Knife Preference?
Gaetan Bordeleau replied to Matt D's topic in Modeling tools and Workshop Equipment
I tried one. It is only useful to scribe lines. -
dremel sanding discs
Gaetan Bordeleau replied to Ron B's topic in Modeling tools and Workshop Equipment
I bought a Foredom about 30 years ago. I rarely use it now, even if the shaft gives it torque, it takes away easy handling in all directions. I prefer to use a Foredom brushless Micromotor, a lot of torque, light and easier to handle than a Foredom shaft. -
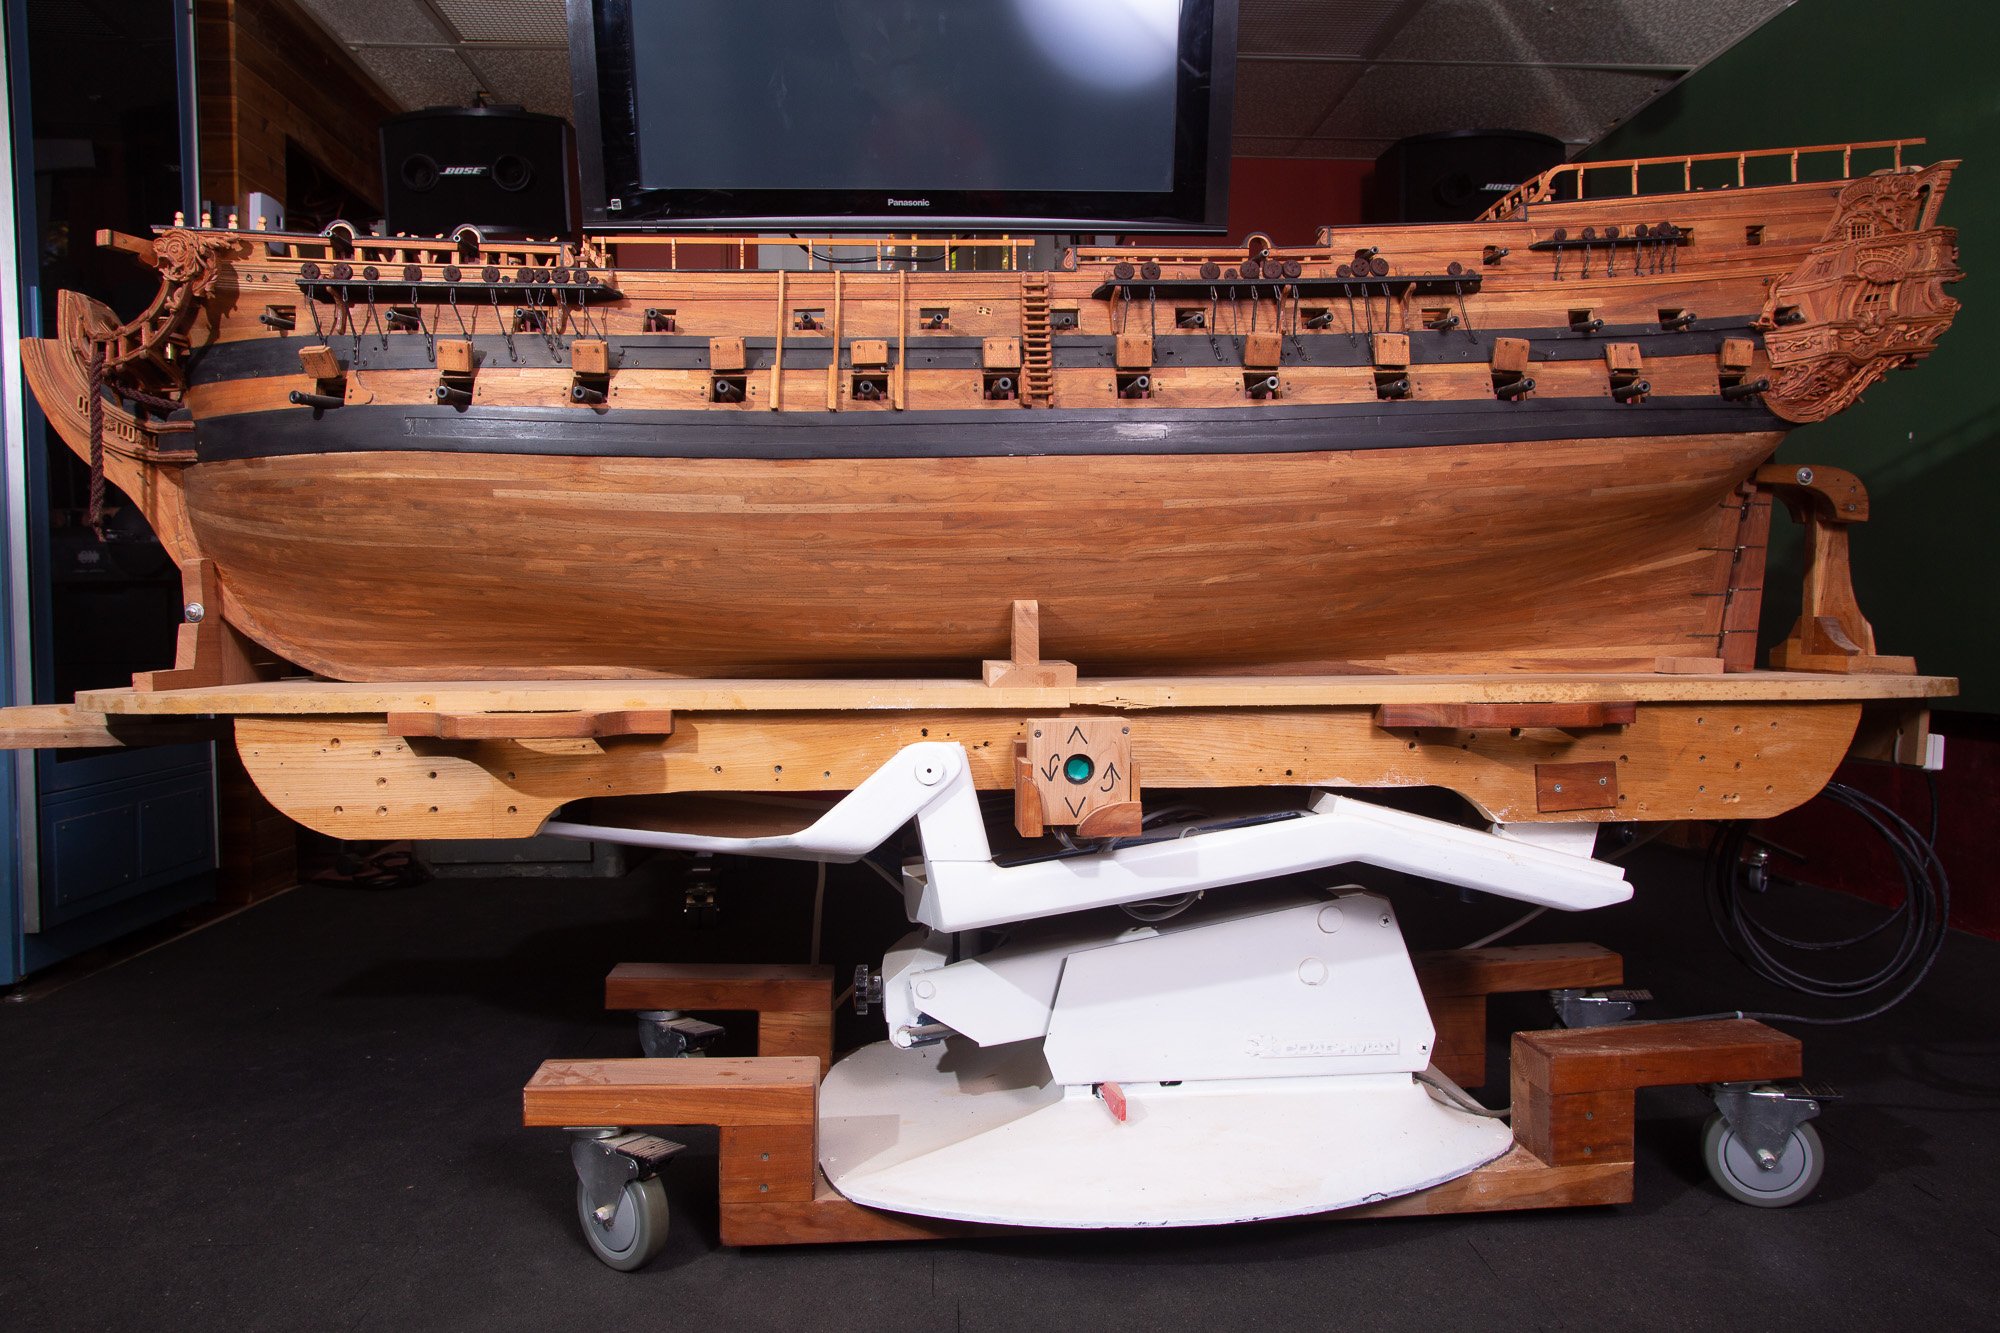
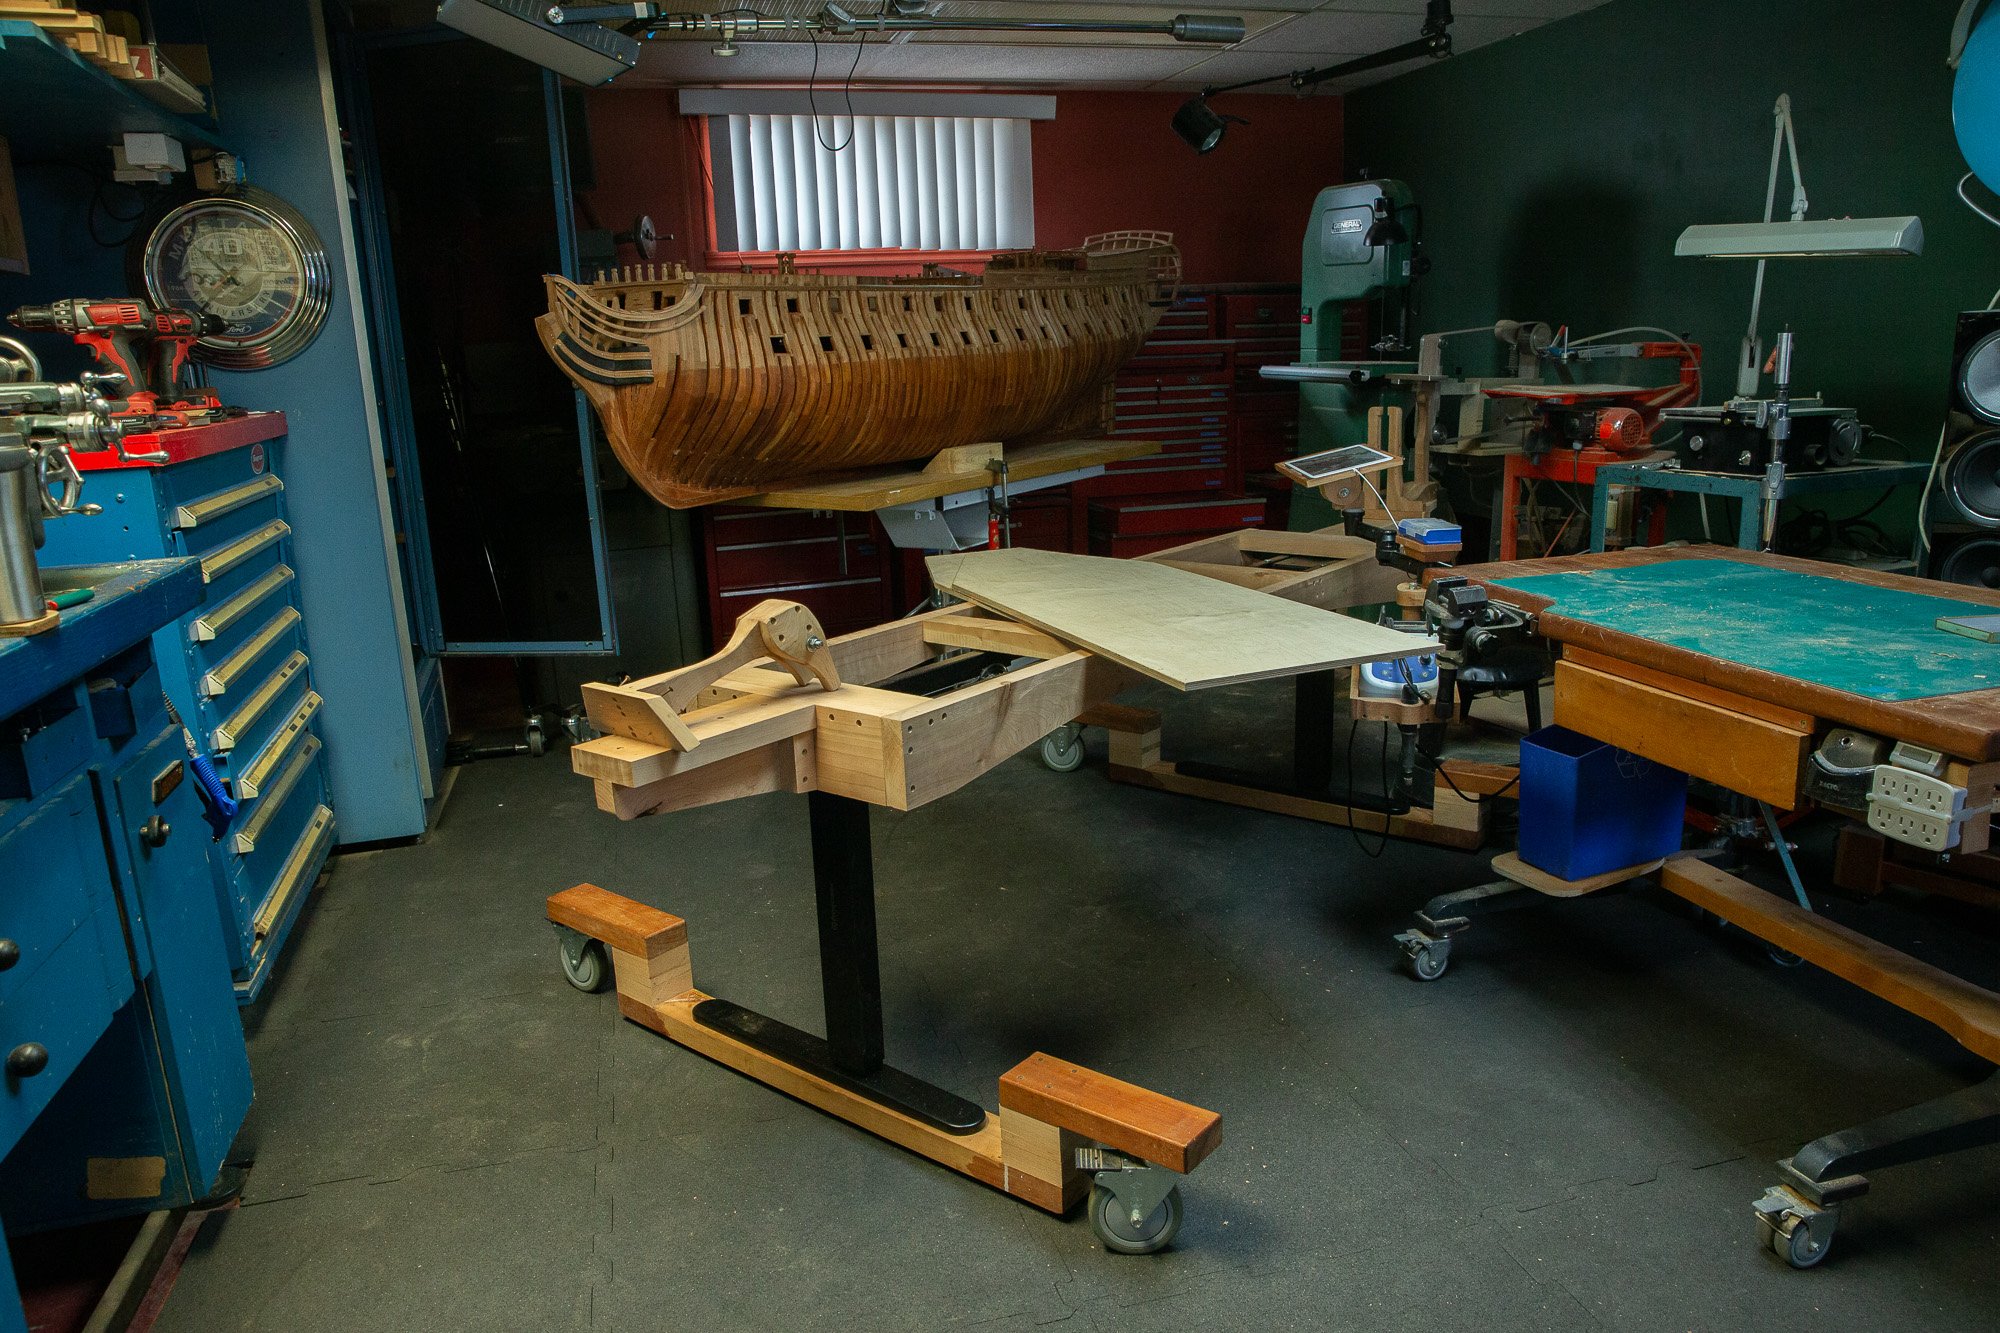
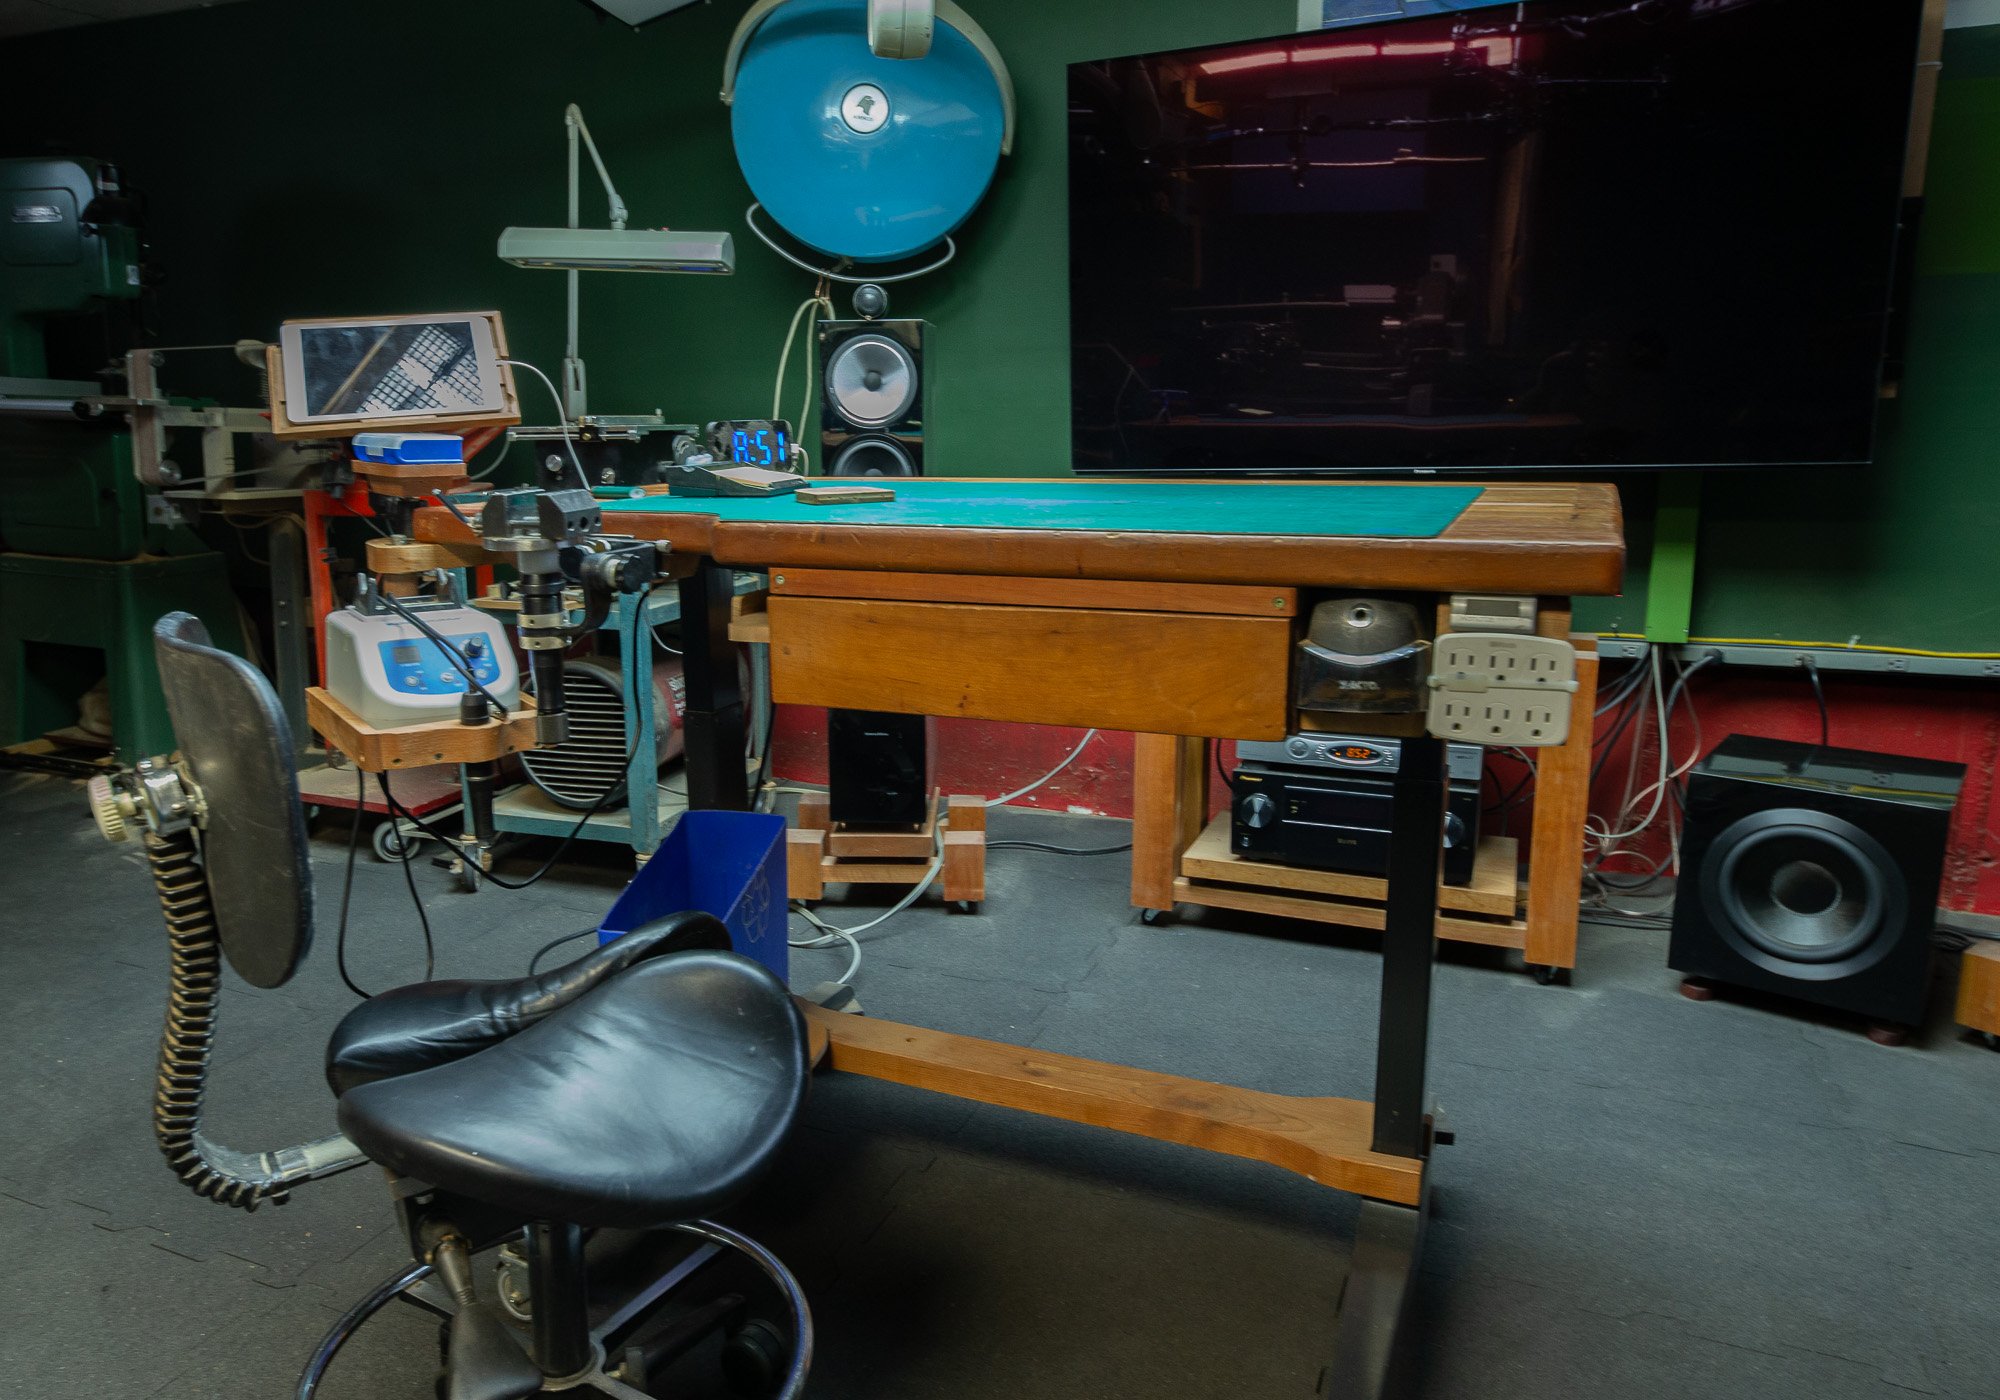
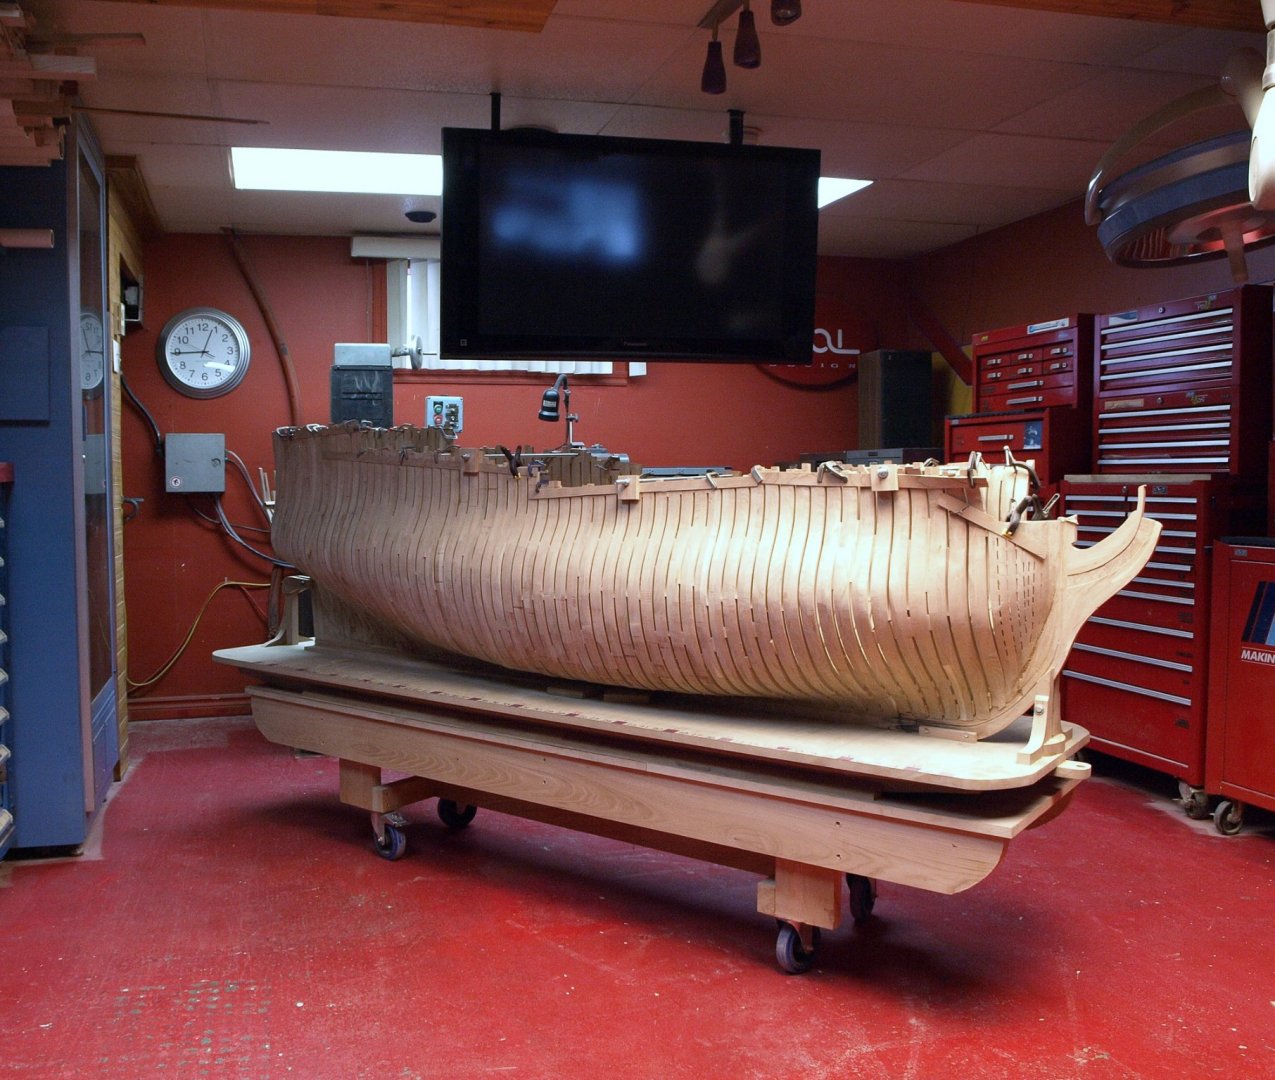
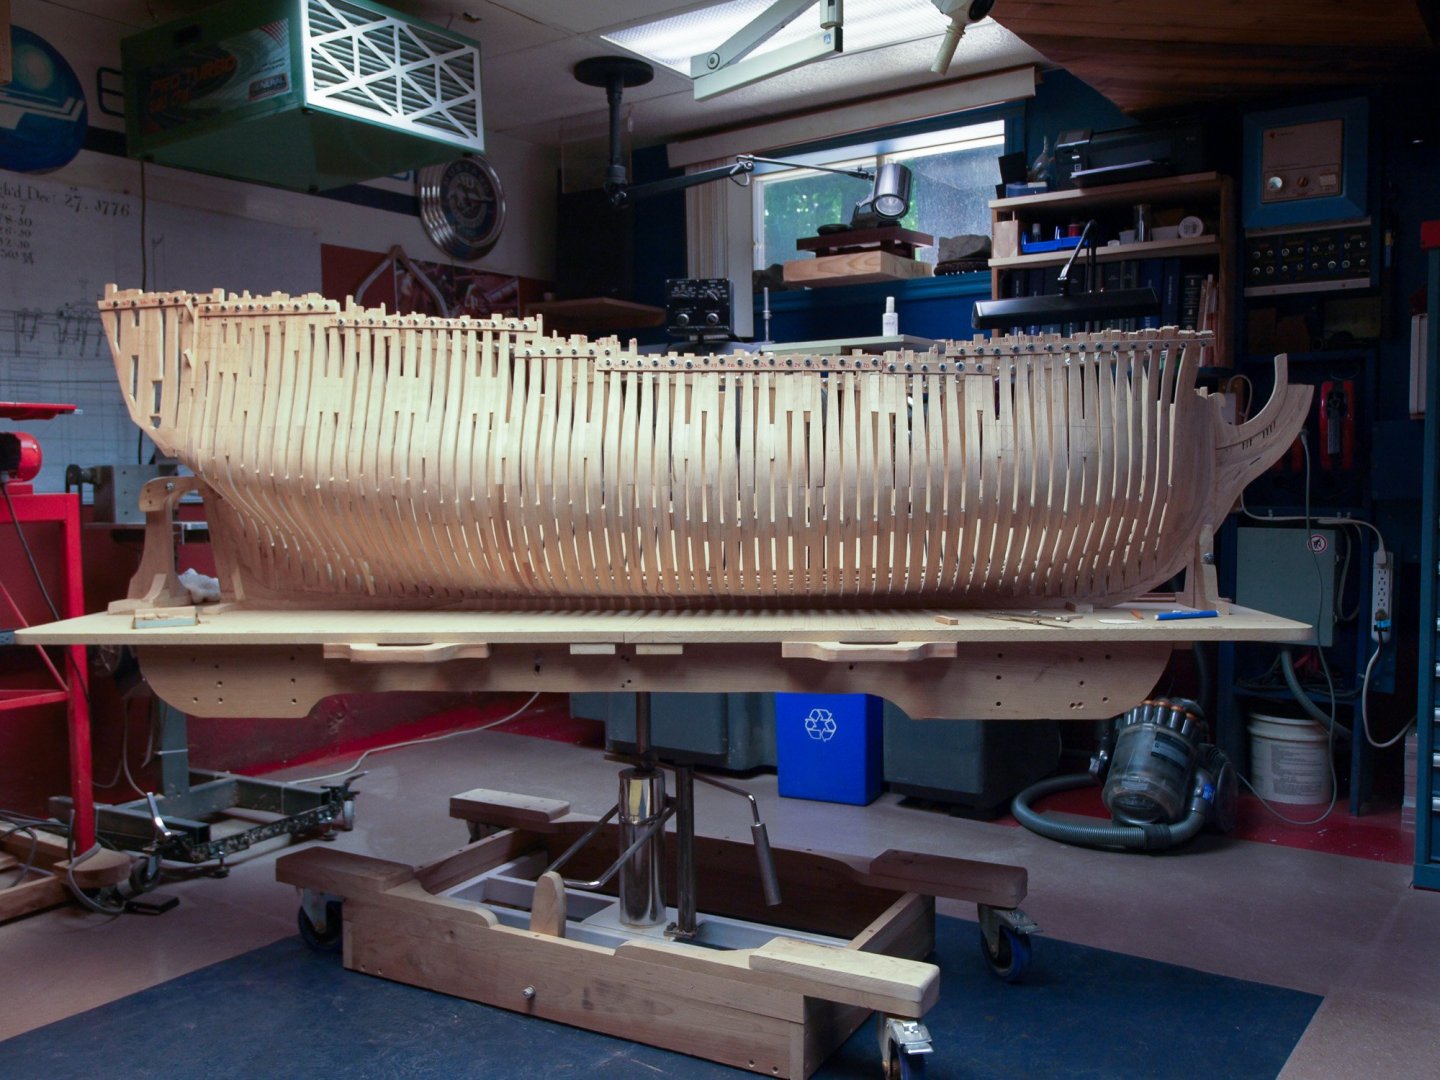
I wanted to have a lighter craddle for the 74, so I did another the V4 version. V1: as usual on wheels. The biggest disadvantage no height adjustment. I repeat it working at the good height, makes the difference. V2: Transformed an hydraulic chair into a height adjustable hydraulic piston. I added a blocking mechanism on the piston so that the table does not turn around the piston. V3: Transformed a dentist chair into a height adjustable table. The angle of the table was adjustable too but there was no real use to it. It was heavy and as I grow older, i do not get stronger. The way to make the table to move in a more easier way is to change the wheels. I bought a 8 inches sets that I will receive in a few weeks. V4: Additionally, I decided to change, again the table for an electric table. The 2 most important specs are the minimum height adjustment and the weight it can lift. This table is rated for 275 pounds. The model weight around 100 and the cherry wood table between 30 and 60 pounds. The only thing I kept from the previous chair are the wheel base that I have temporarily fit until I receive the new wheel set. Actually the 2 wood bases are parallel to the feet. In the last photo, at the maximum height, we can observe that the leg want to open slightly. With the new wheel set, the wood base will be perpendicular to the metal feet, this way the feet will not move.


-
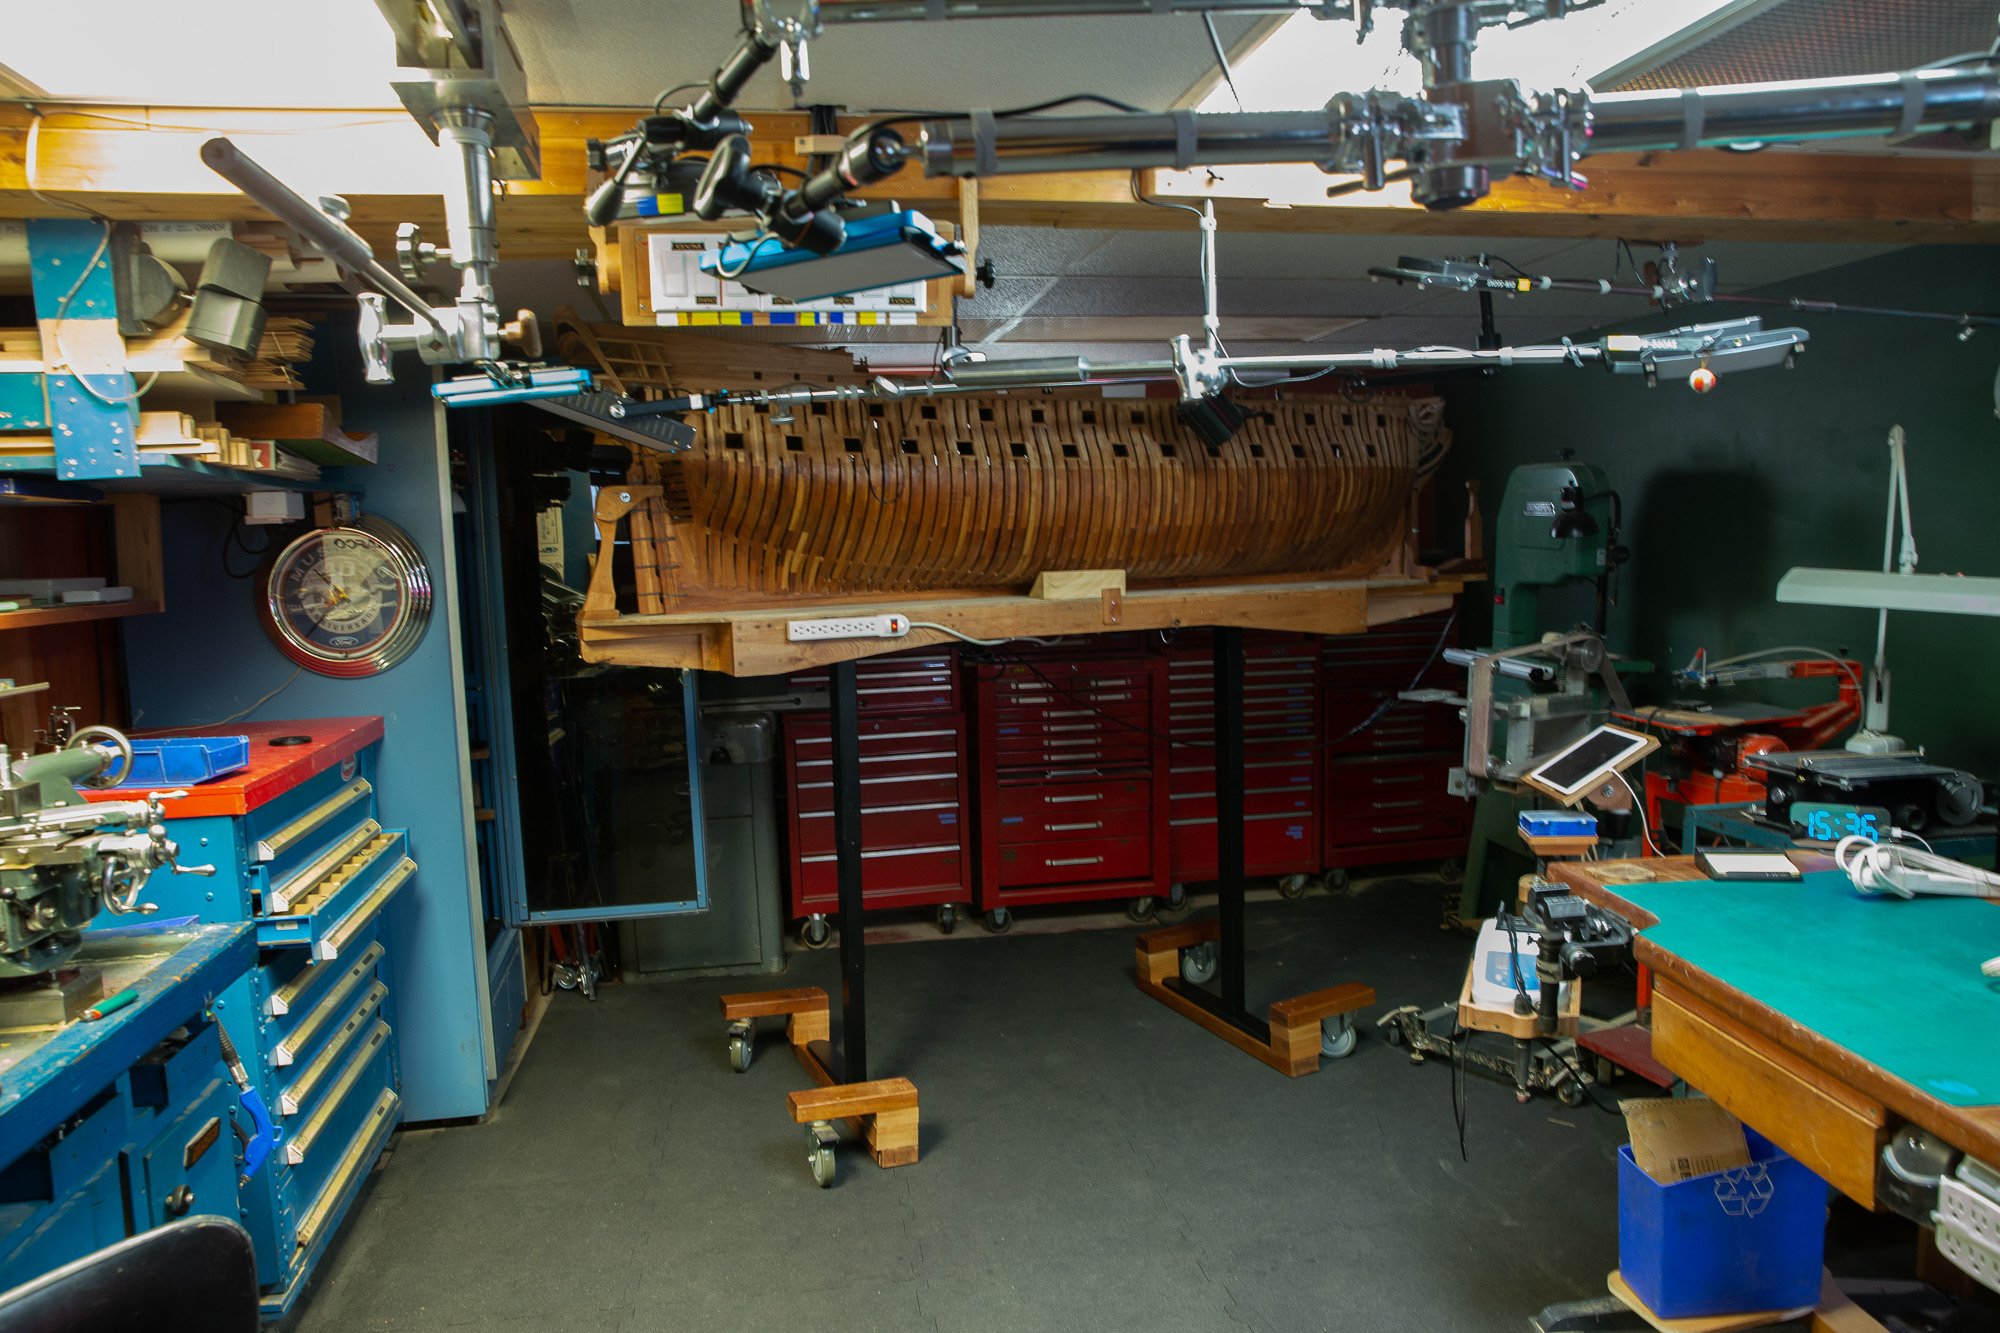
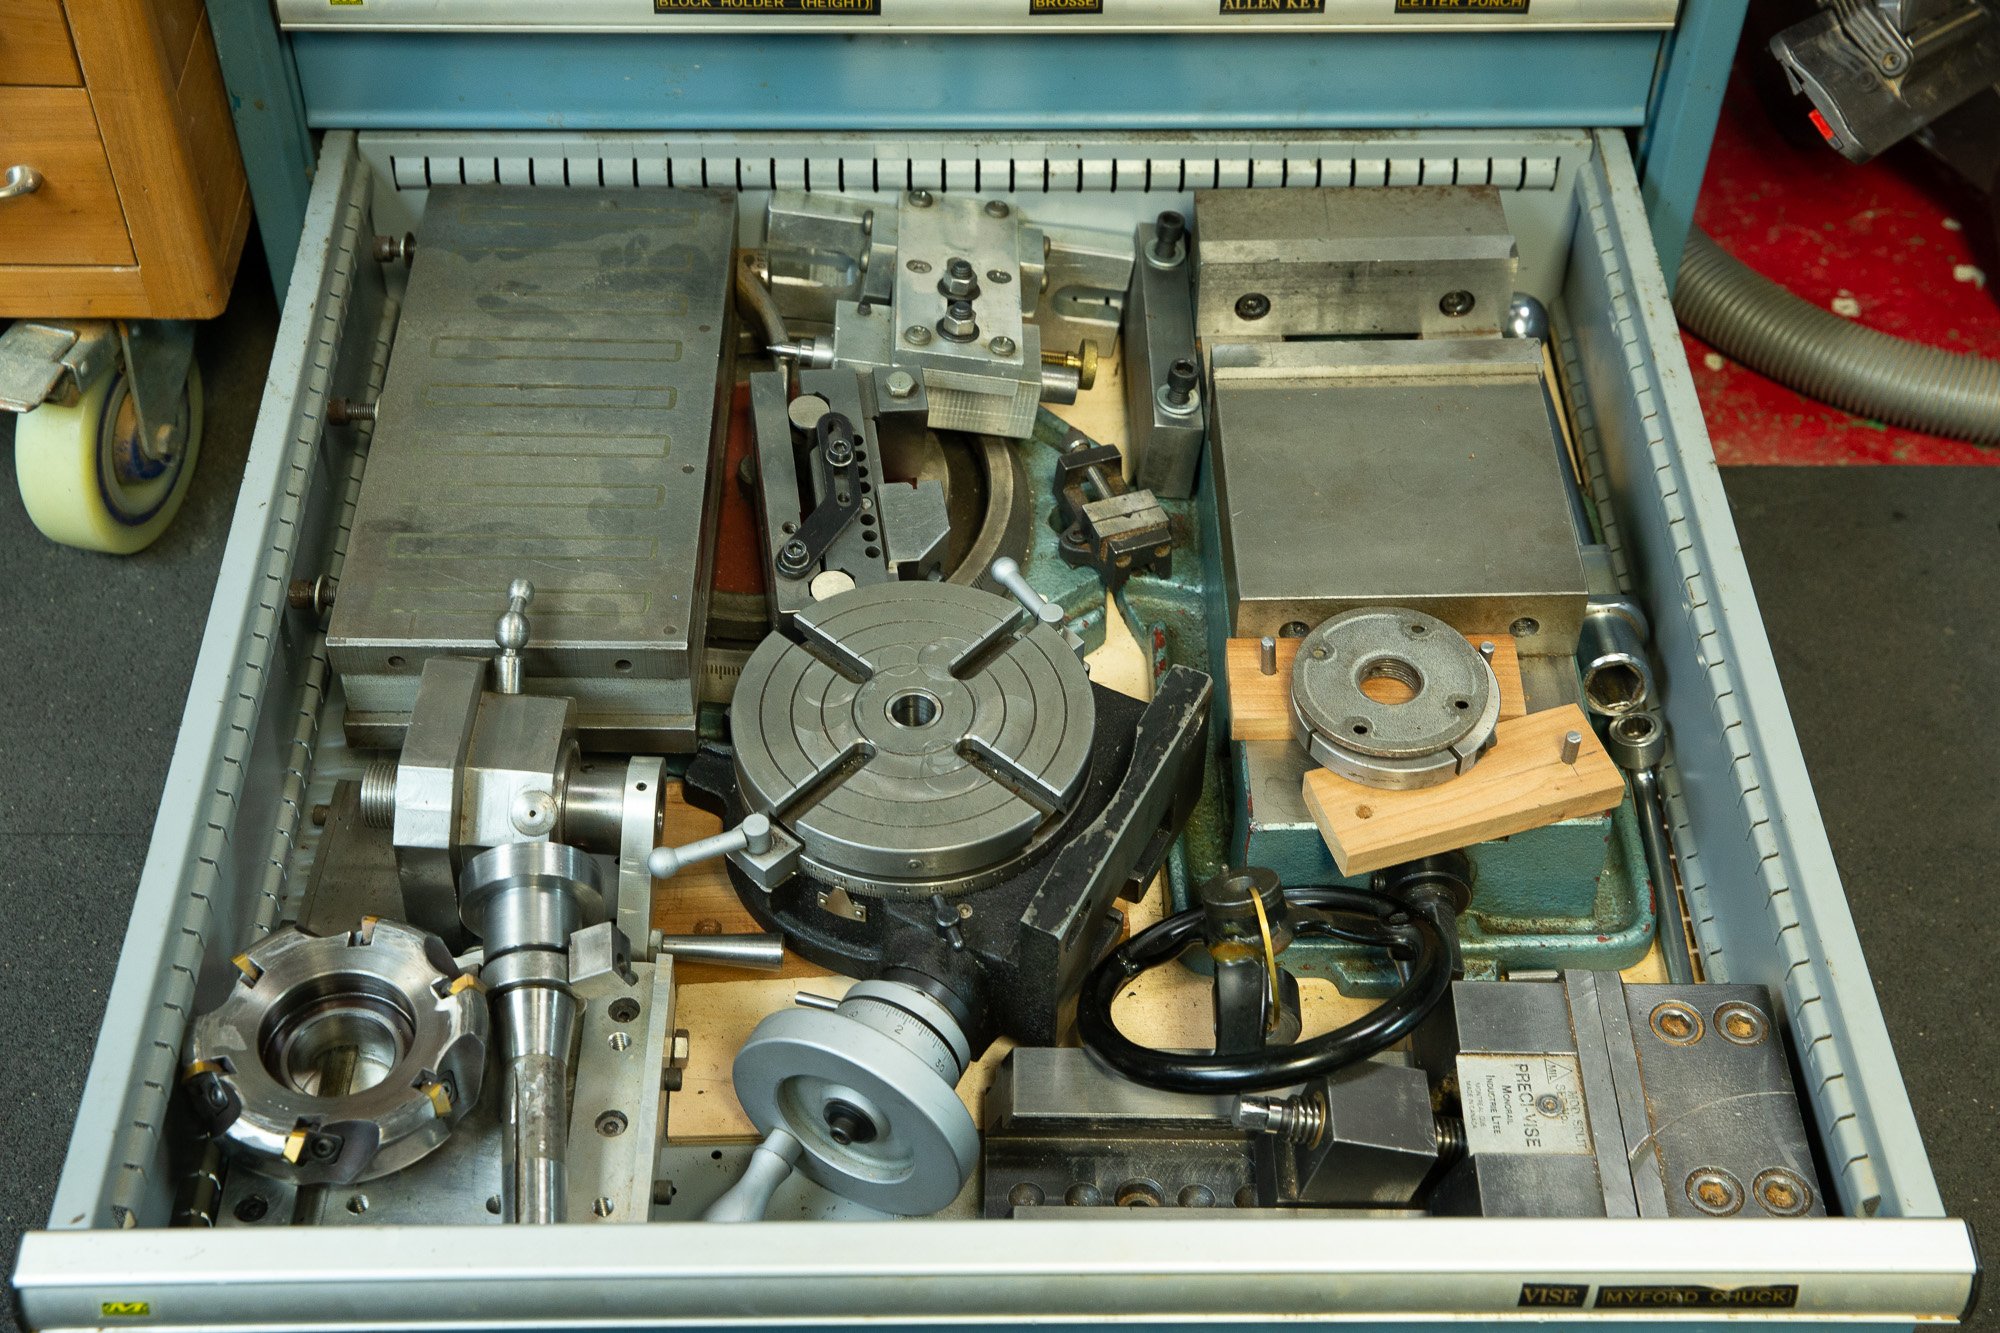
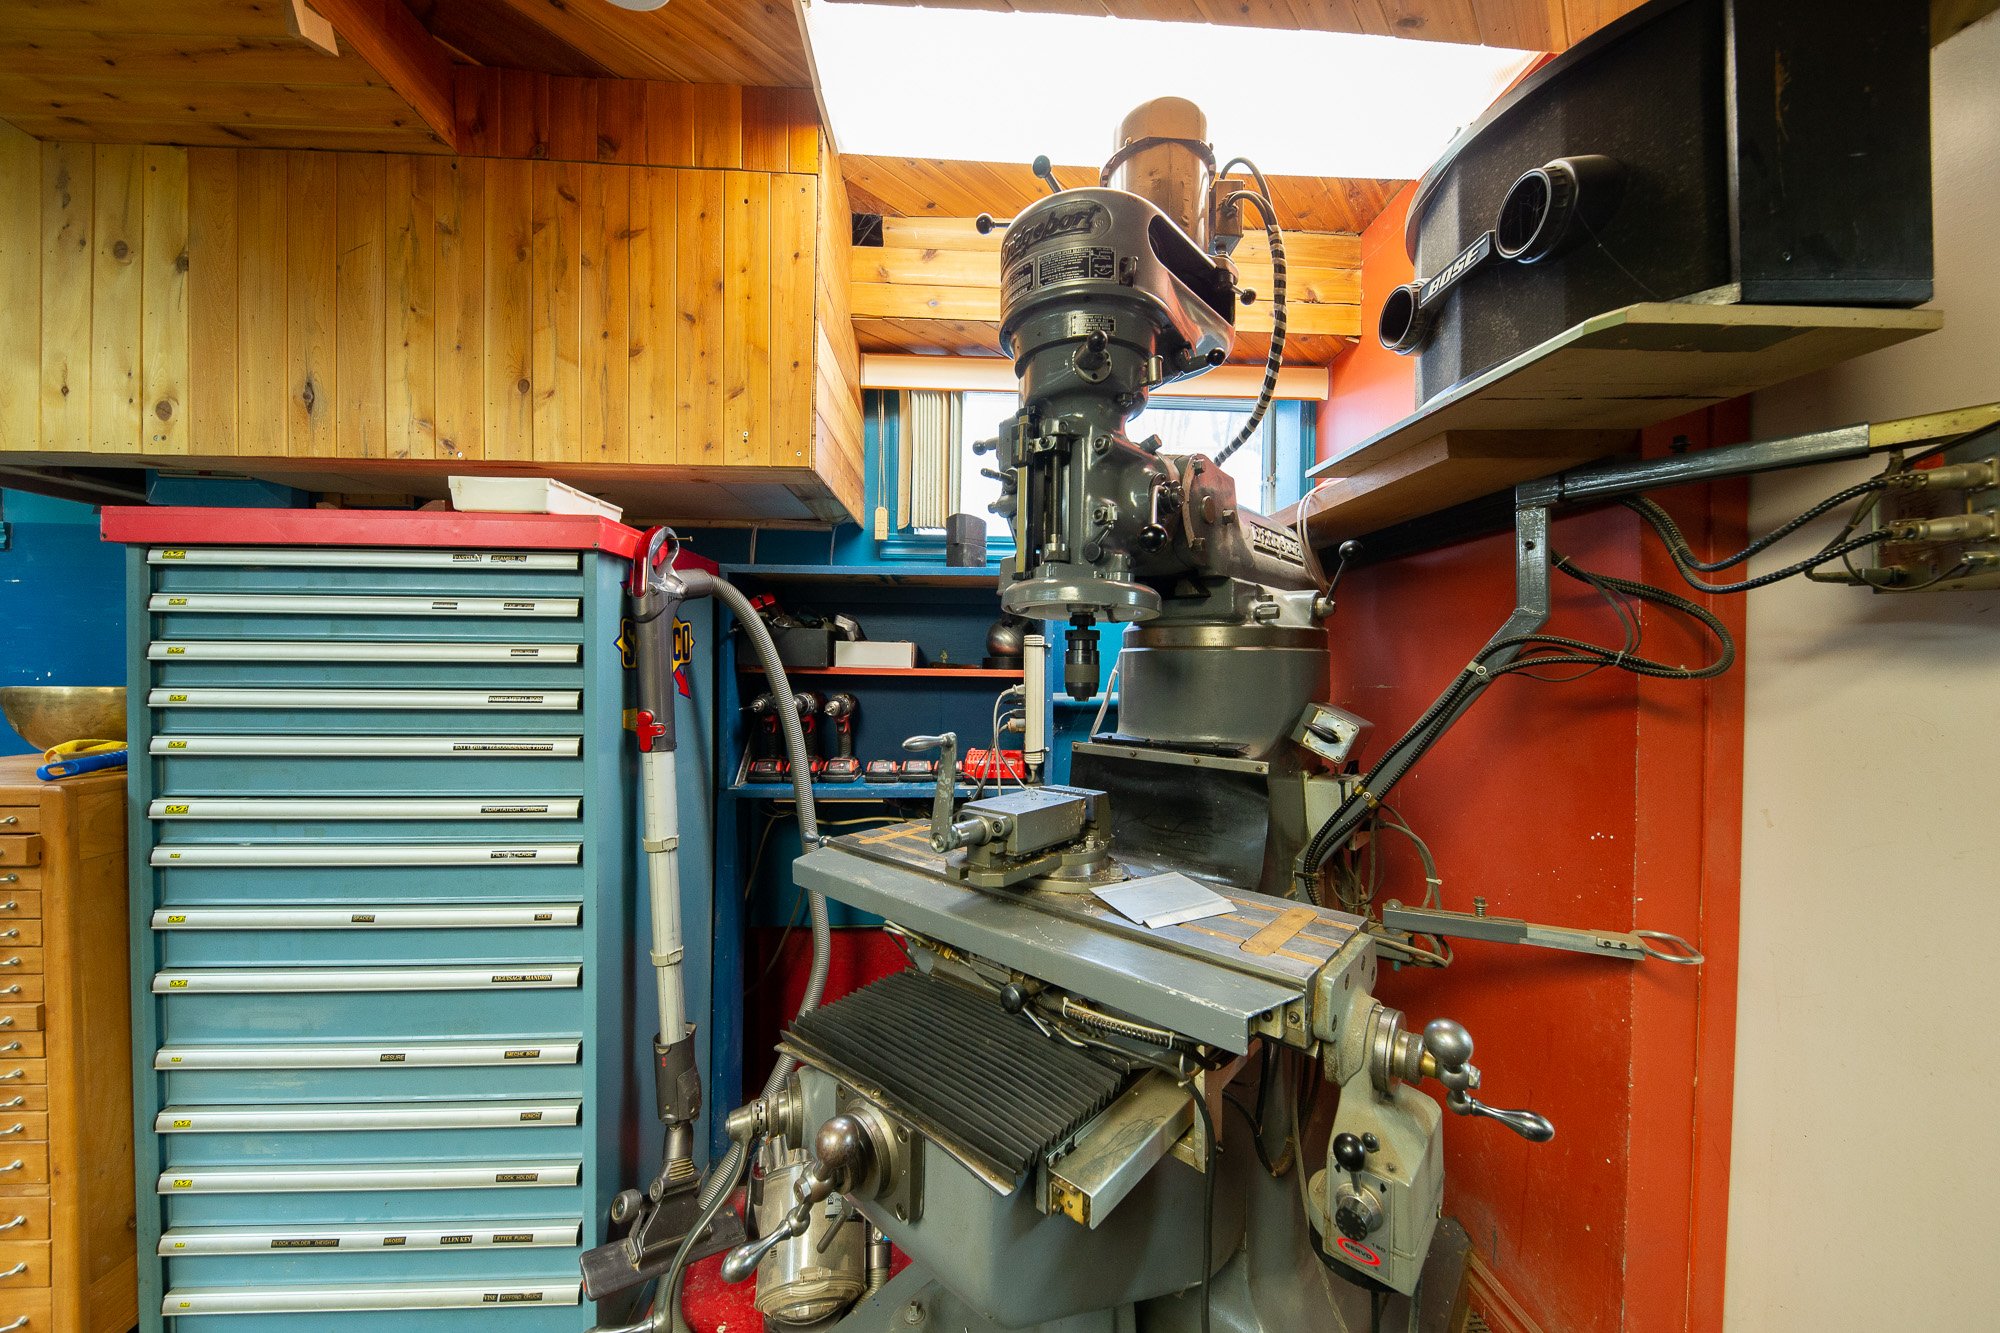
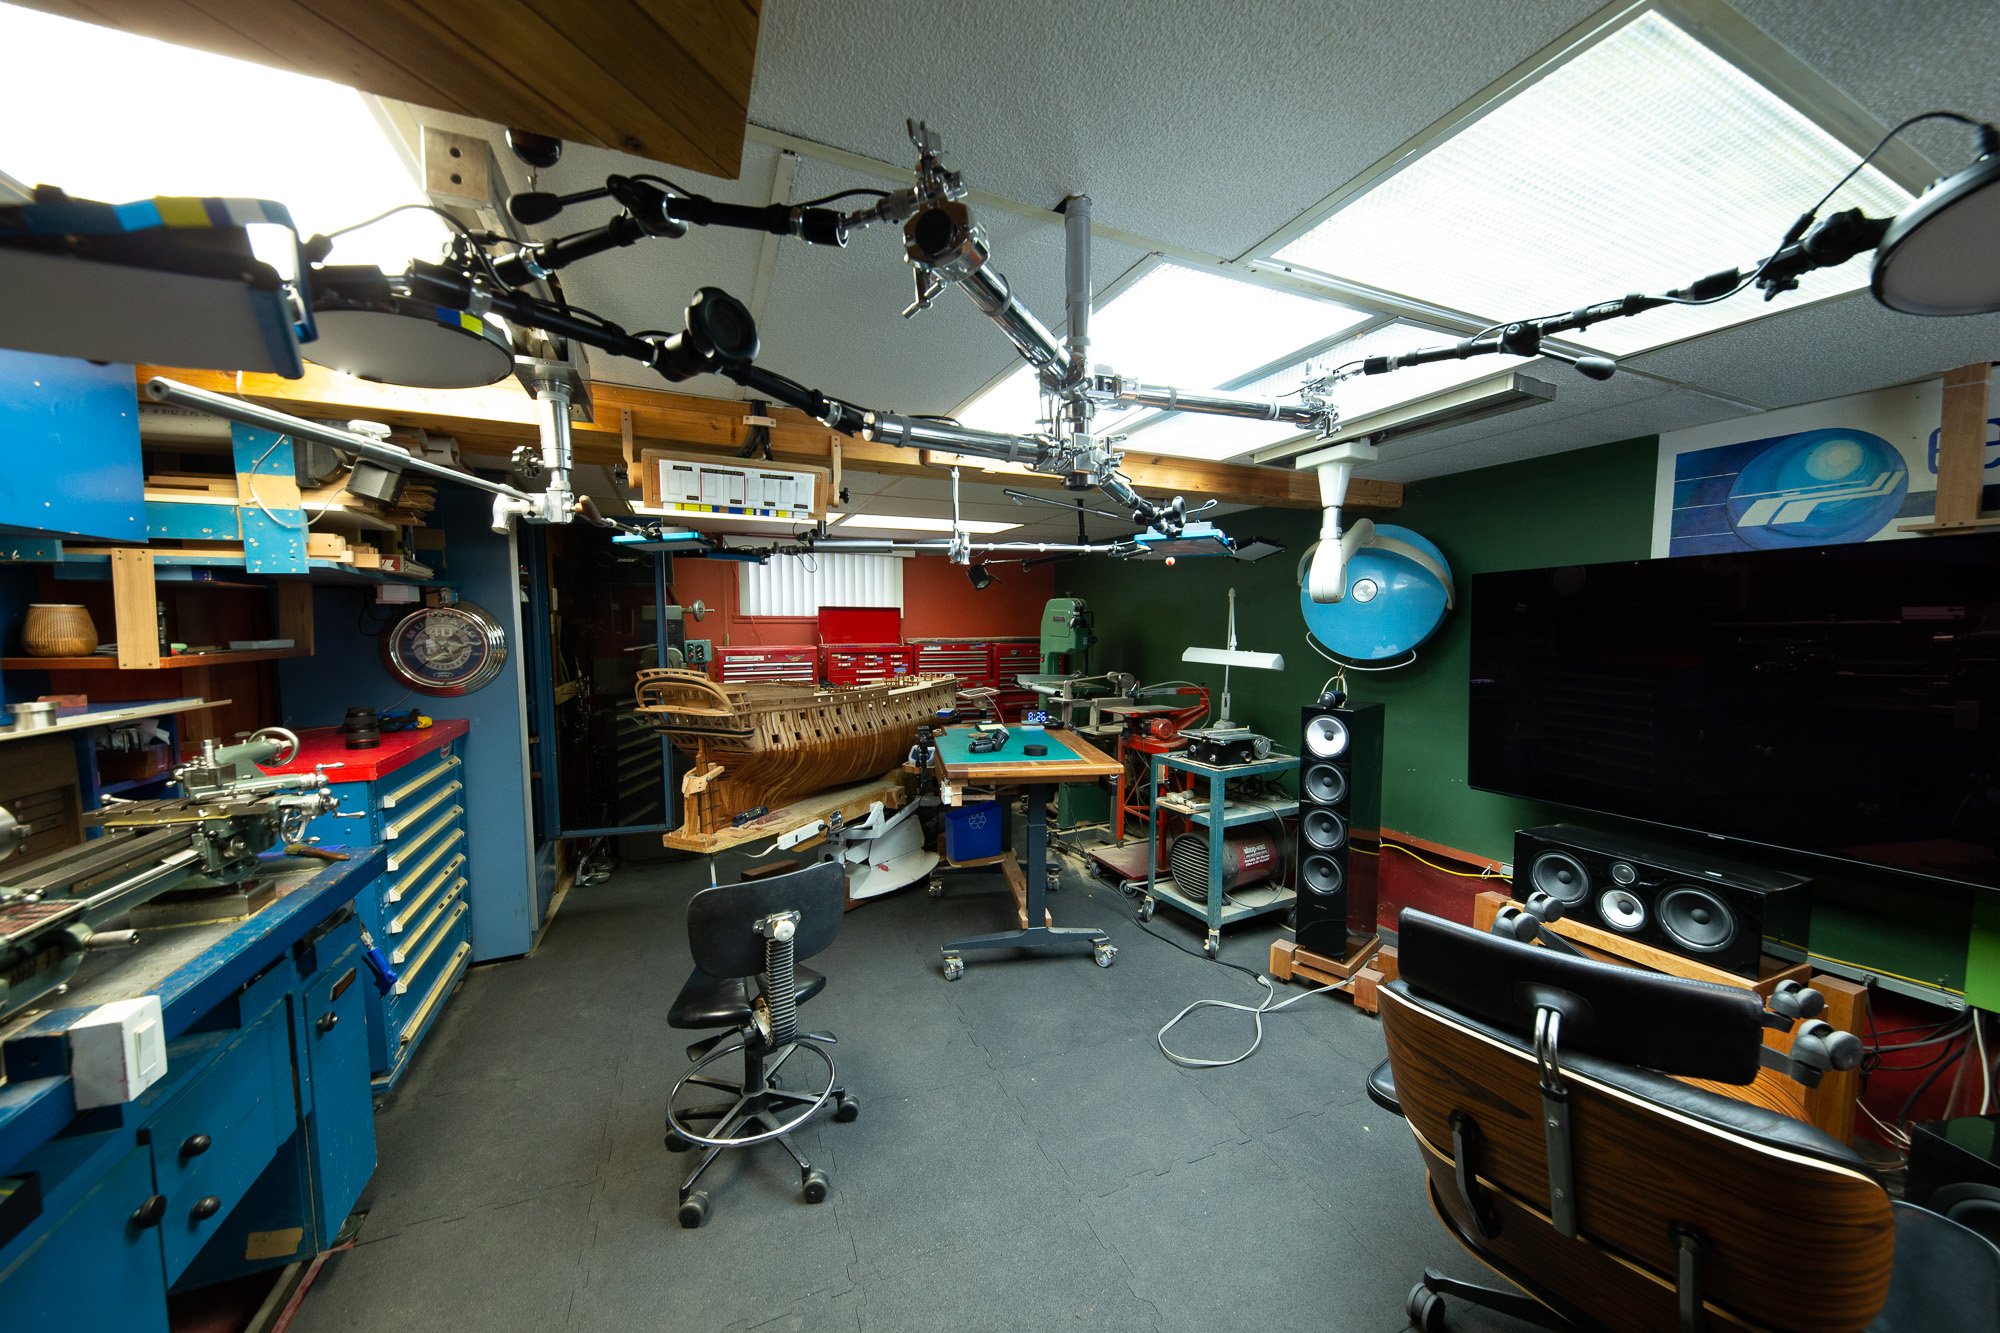
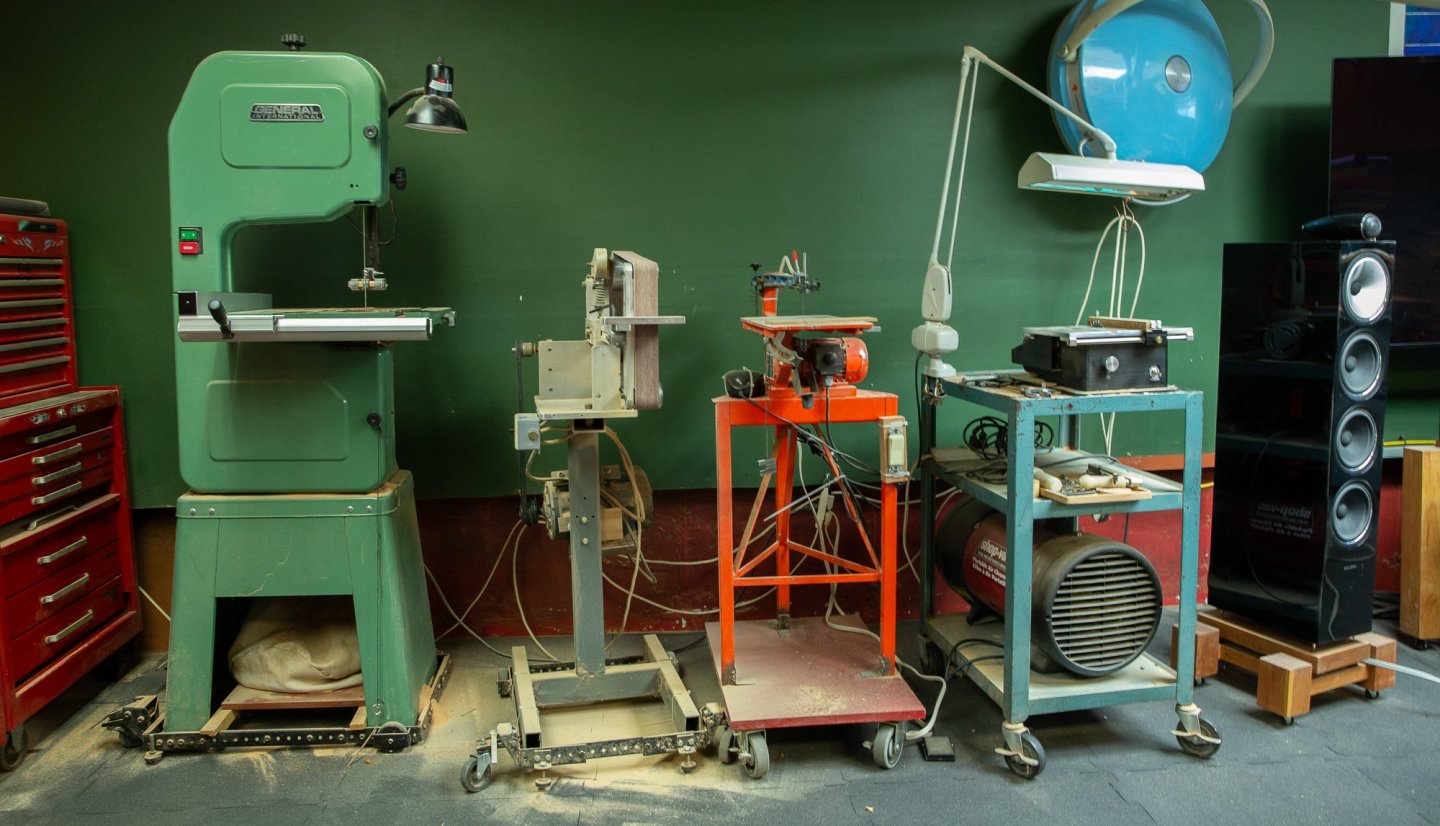
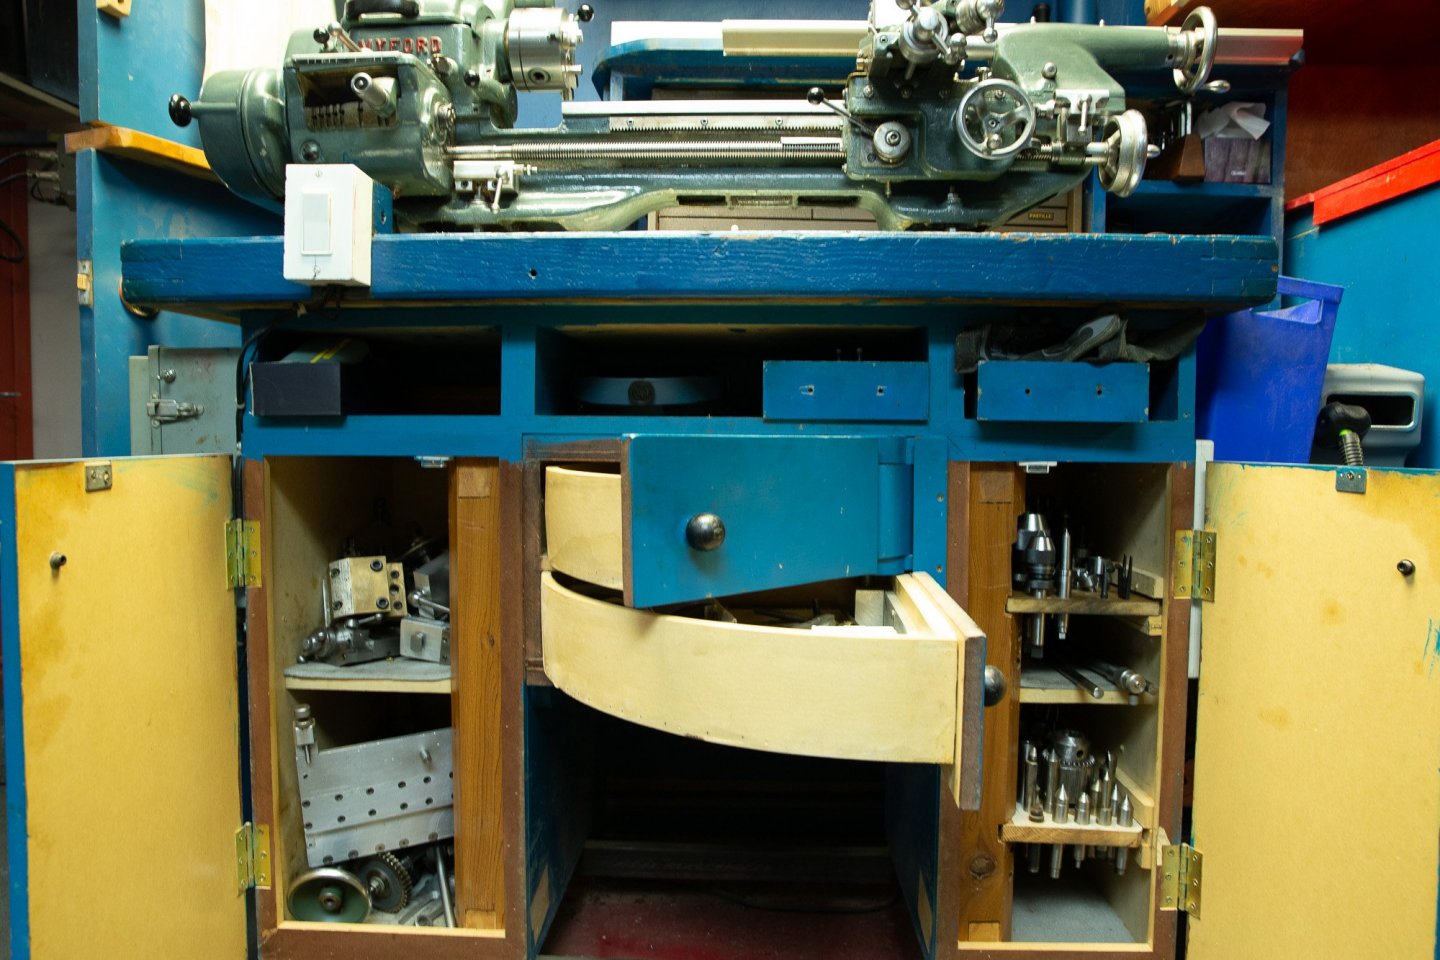
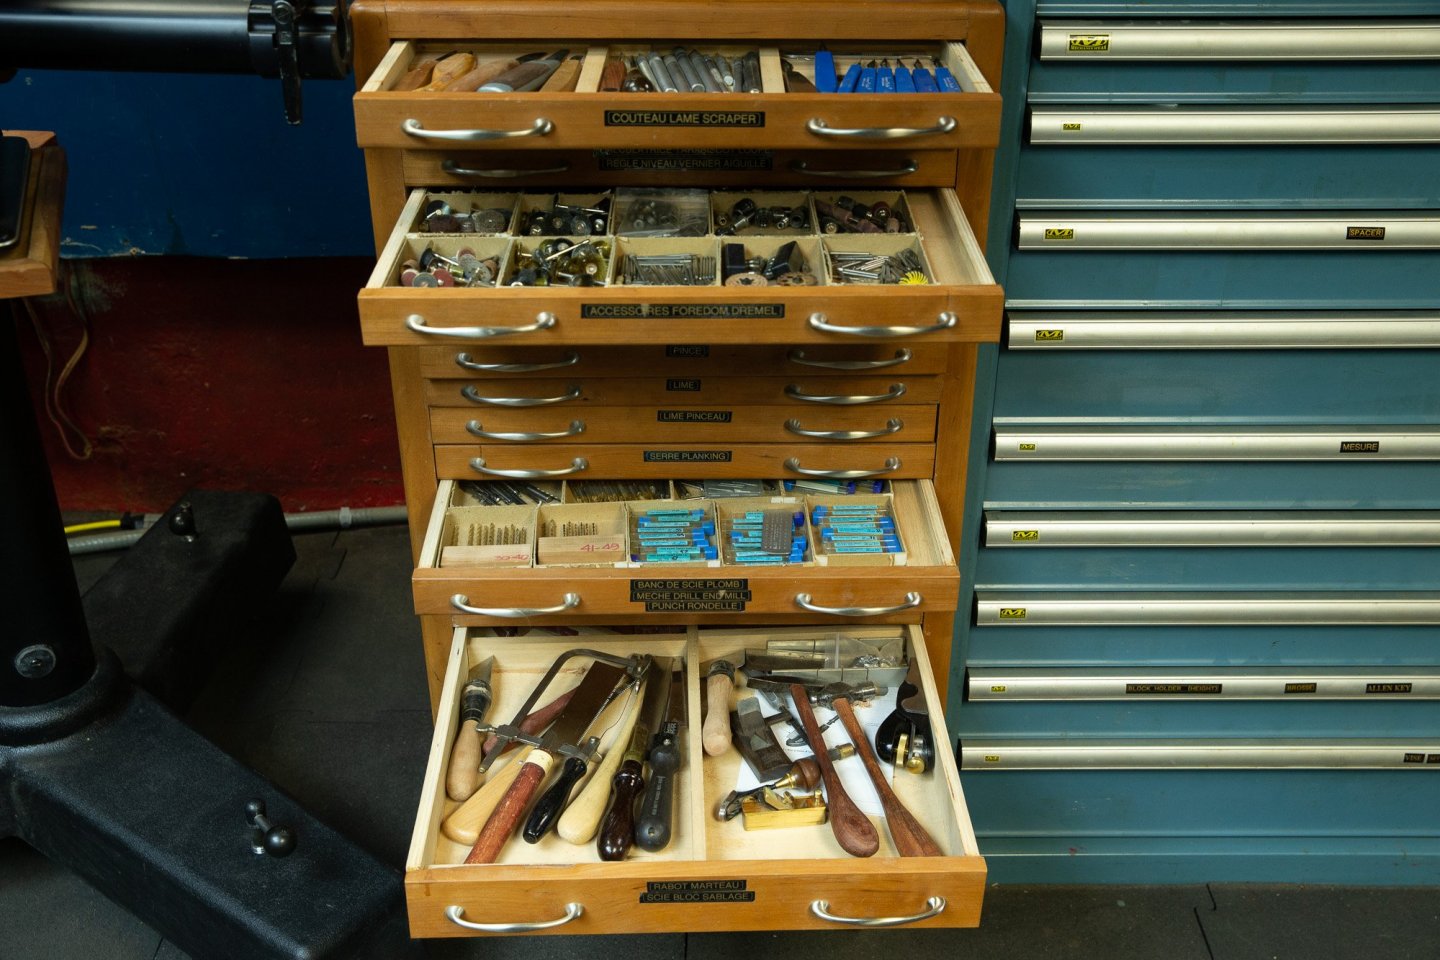
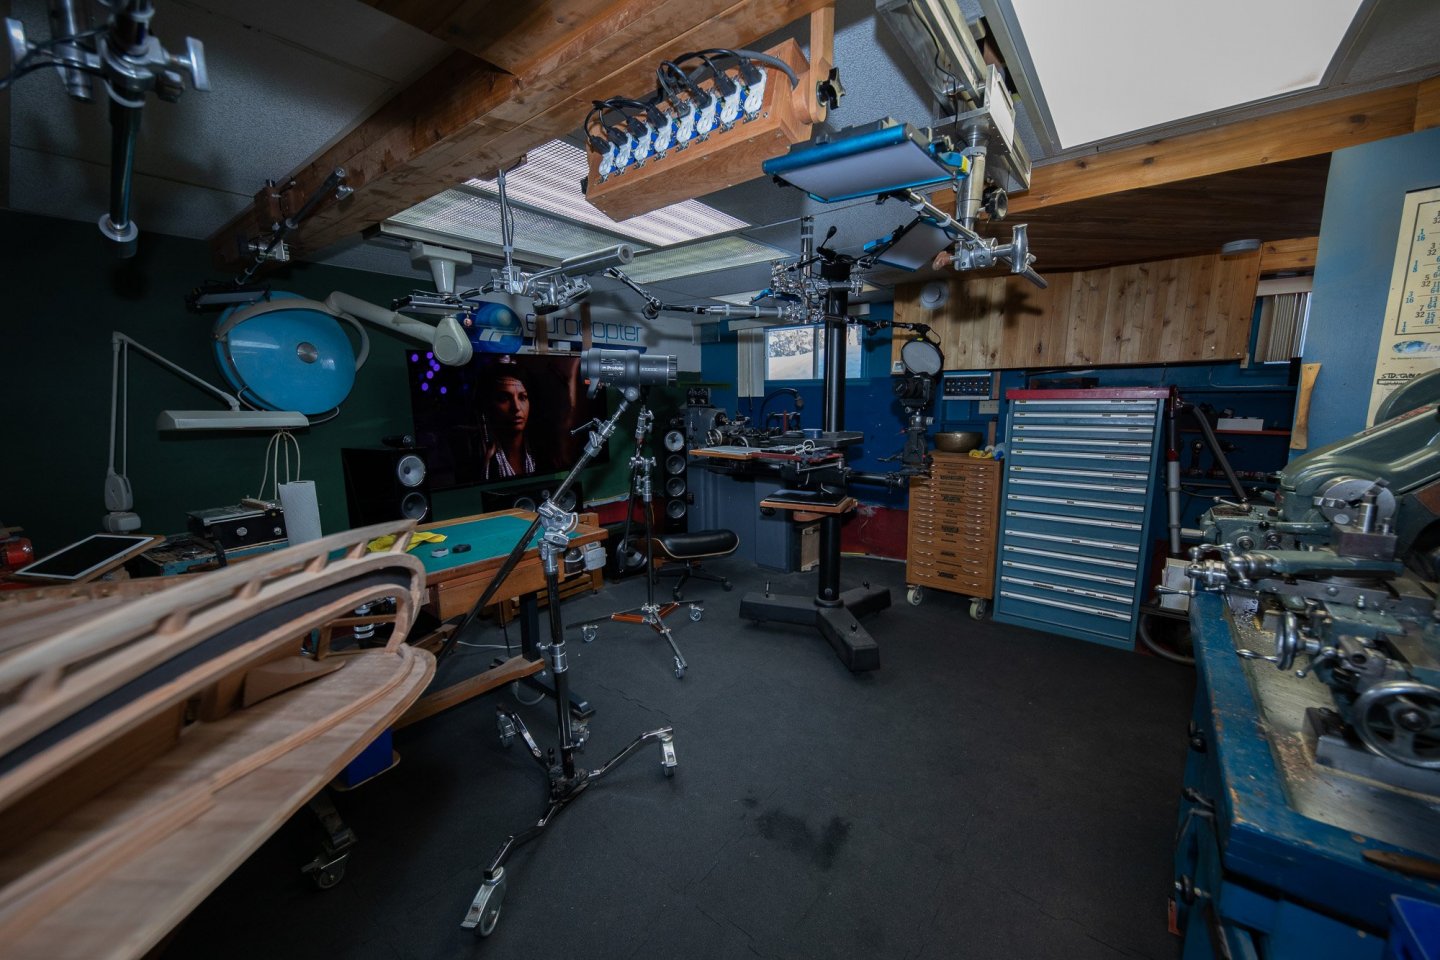
When I bought a house, I had 2 choices: buy a big one or buy a small one with tools. I do not have a big house... so storage is important and it takes many chest with many drawers. It is preferable to have many low drawers than big high drawers because if you store just a few tools in a big drawer, you can lose easily more than the half of the volume of the drawer. In the workshop, the big tools are close to the walls because they do not move. The others are on wheels and they can move as needed. Like a chameleon, the workshop has many colors. It can be transformed in few minutes in different kind of spaces: workshop for wood or metal, photography studio, home theater. This room also makes a very good studio to listen music, concrete walls, insulated tiles on the ceiling and a rubber floor of 3/4 inch thick. The beauty of this floor is that I can drop a knife on the floor without damaging the cutting edge. The most important tool for me is the height adjustable electric table. Combine with the multi position vise, it makes a very good combination to position the part you work. Having the part at the good height and in the good angle... can make the difference. And a few photos: on one, there is a motor with a phase converter. It allows you to use a 3 phase motor with 240 volts to feed the precision lathe and the surface grinder. In a drawer, we see all kinds of metal blocks made by the surface grinder which works with a precision of 0,0001". Precision can be even greater, the most extreme I can measure with a dial indicator is 0,00005".


-
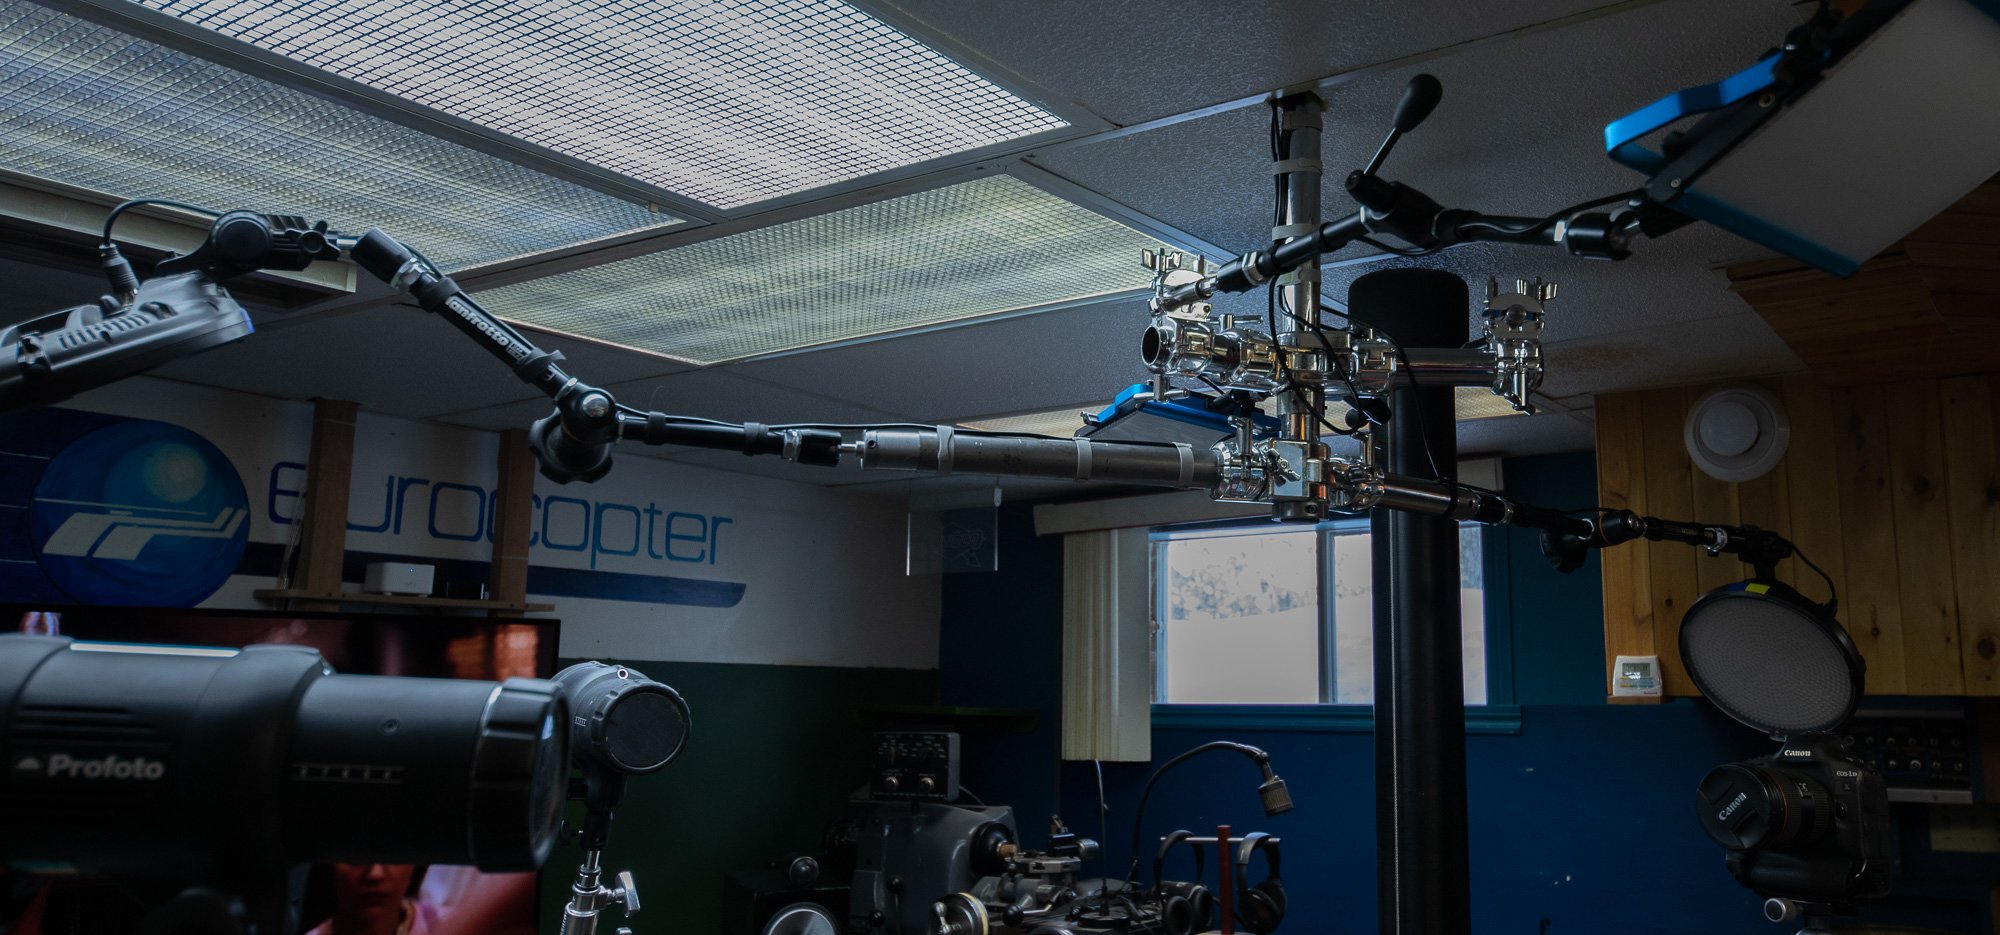
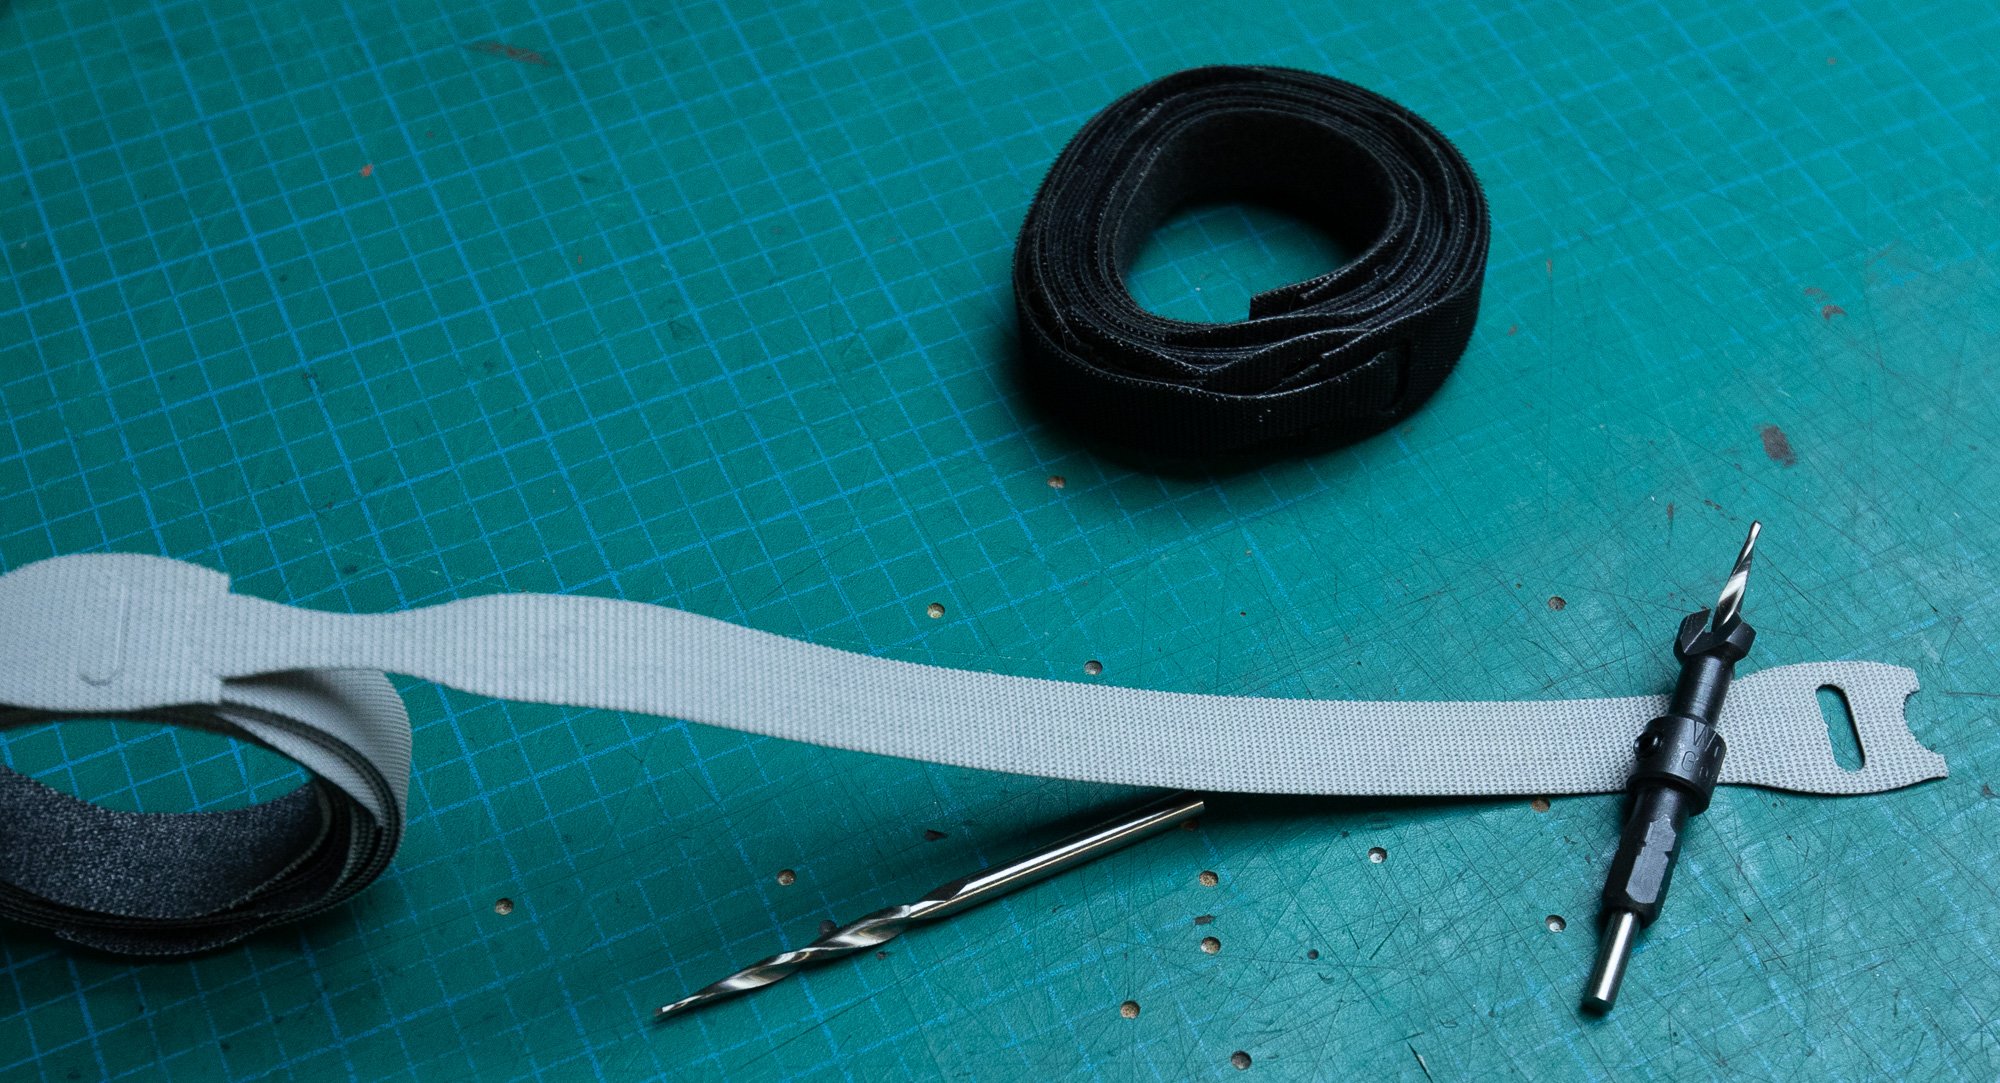
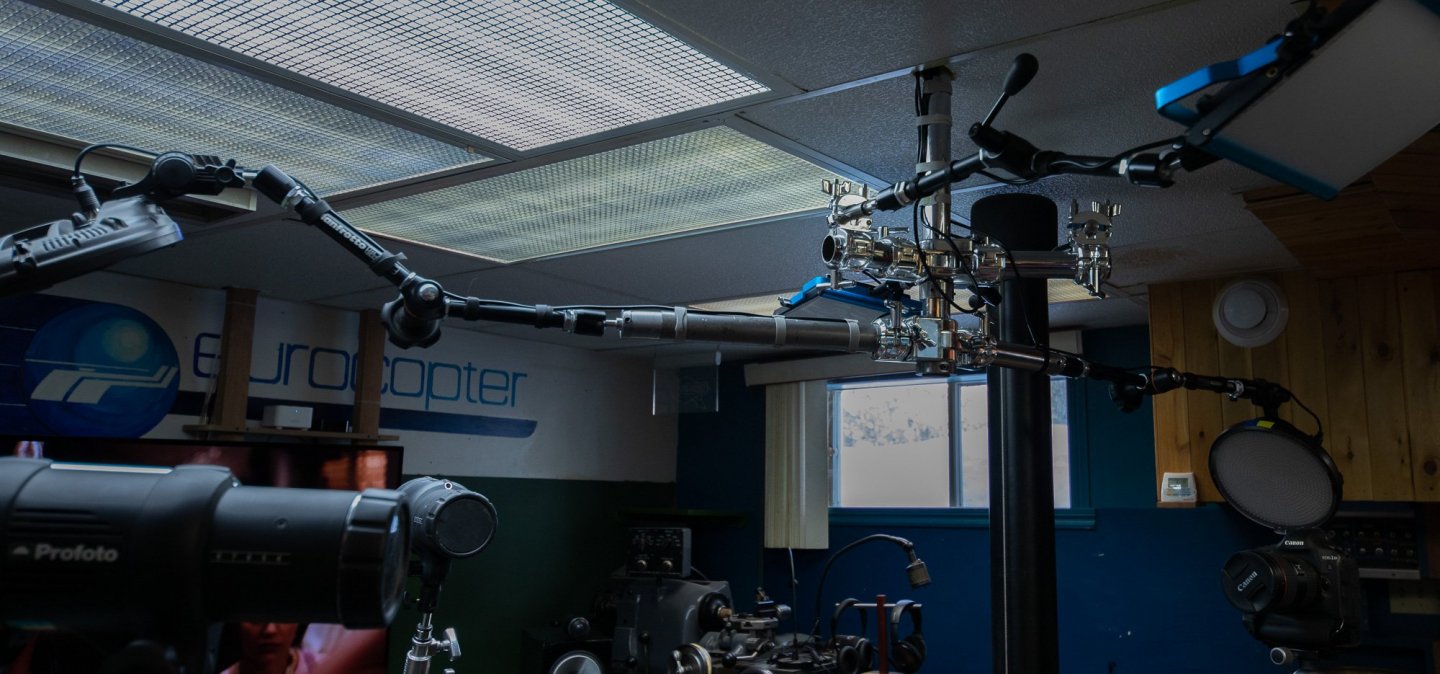
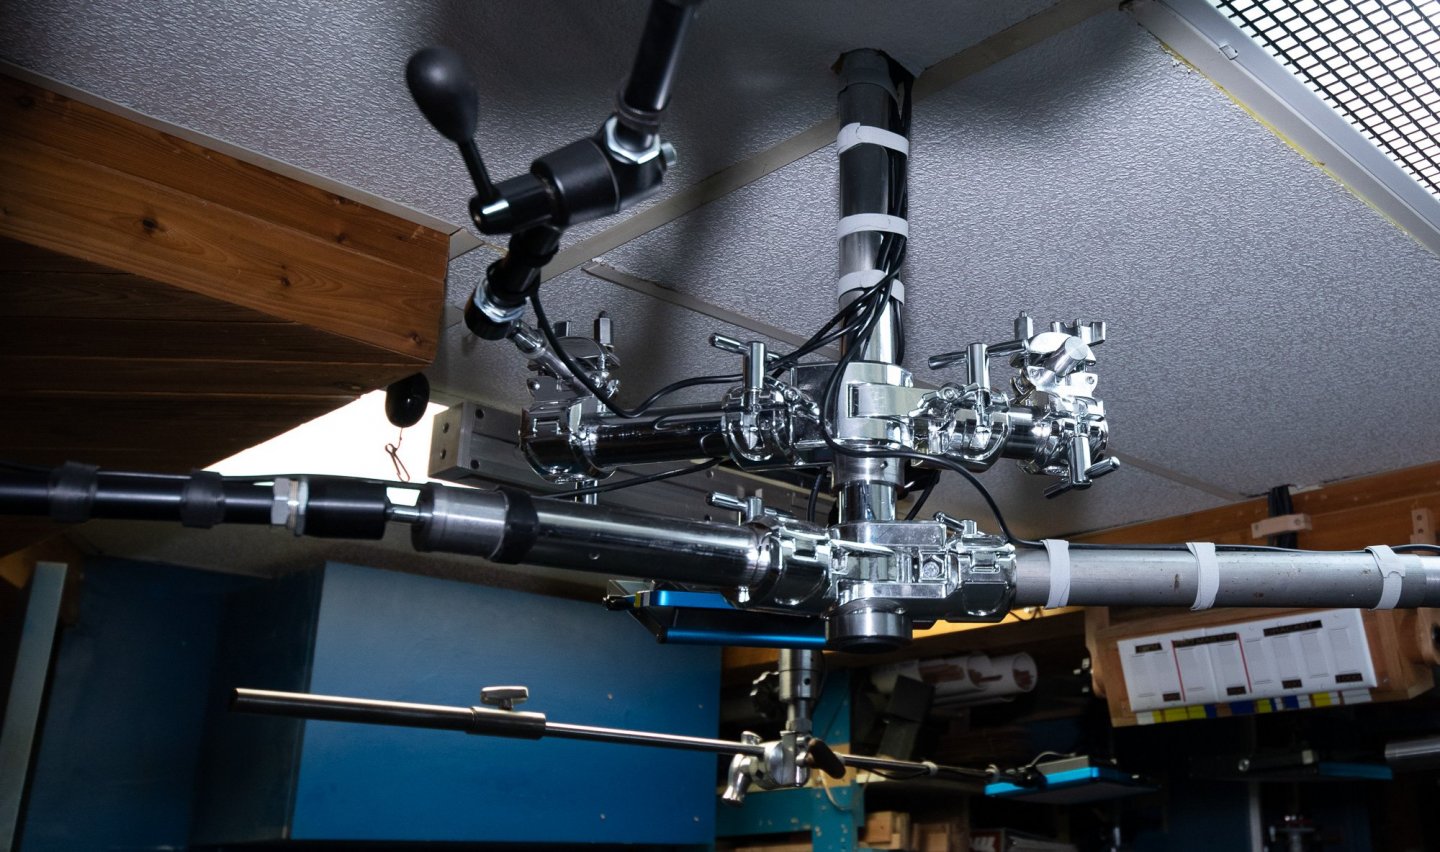
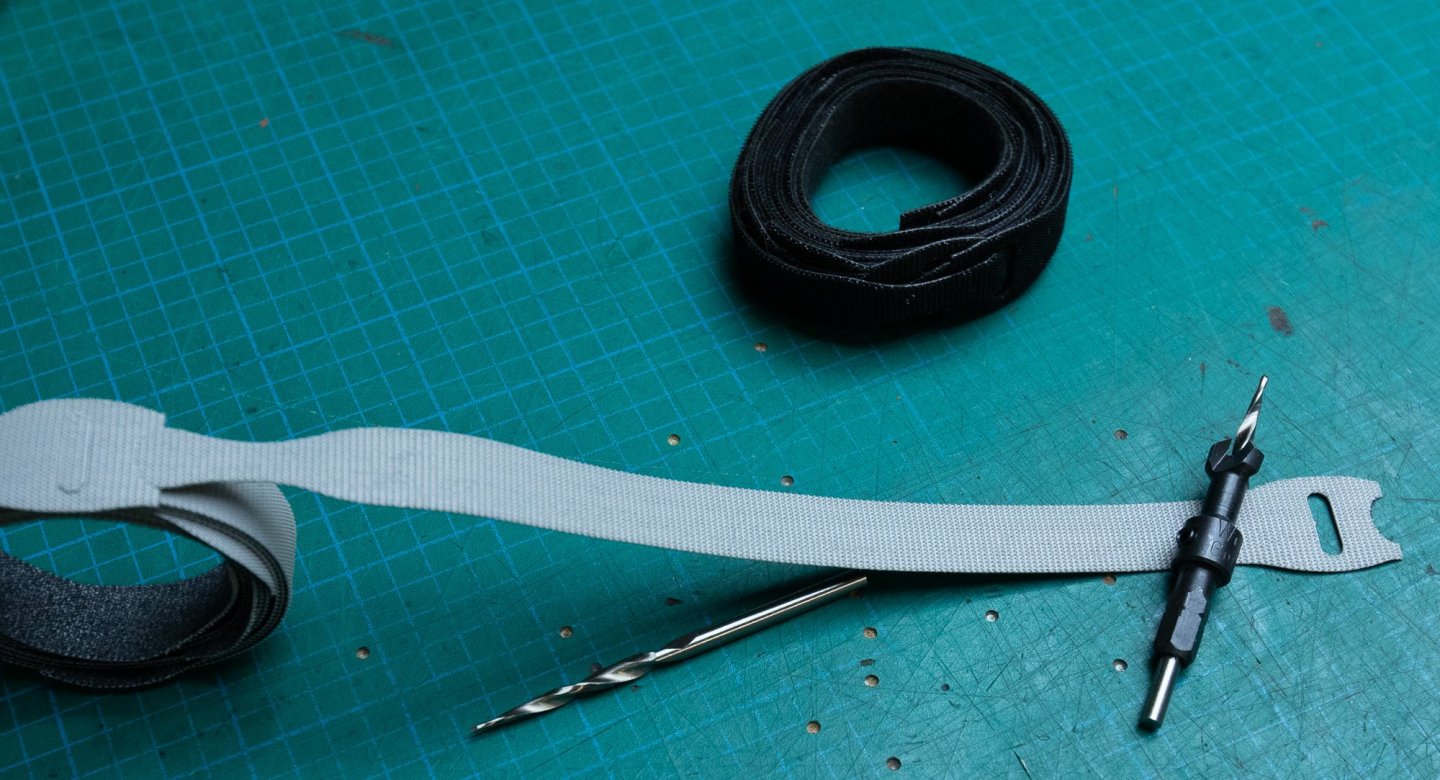
For the last 2 weeks, I continued the ceiling lighting. The first upgrade was to continue to replace fluorescent tubes with LED tube. The cost is becoming more reasonable as time goes. This is the easiest way to get a very interesting lighting. Also, I continued the studio lighting with video LED panels on the ceiling which are very helpful for photography. Usually when we have one light fixture, it is installed on a tripod. But when many lights are used, the footprint of all the tripods on the floor is embarrassing because it is difficult to move around easily. The easy way to reduce the footprint is to transfer the light to the ceiling. Photography store sell fixtures for this but these are excessively expensive. Since a few years, I did use the lathe extensively to adapt some "light holders". I did experienced with few prototypes adapting light stand accessories. The systm for a simple holder is light, metal rod and balanced by a counterweight to easily change the angle. At the begining of the year, I found another type of accessories which could help to hold some LED lights. I ordered music Drum hardware. After now 2 months, I am still waiting for some chrome tubing jammed at Fedex Memphis. I did a control board for all the switches, it is easier this way to light up. With this, a lot of wiring, I found 2 little gadgets very helpful. The first one is rolls of velcro tie wrap. In contrary of traditional tie wrap which are not reusable, the velcro ones are. The other one is to pre drill holes for screws. I often assembles pieces of wood with screws and I tried many versions of this tool. The last one I tried, is called screw digger bit by Wolfcraft. In comparison with all the others, this one is extremely performing. One of the reasons id because the drill bit is tapered.
-
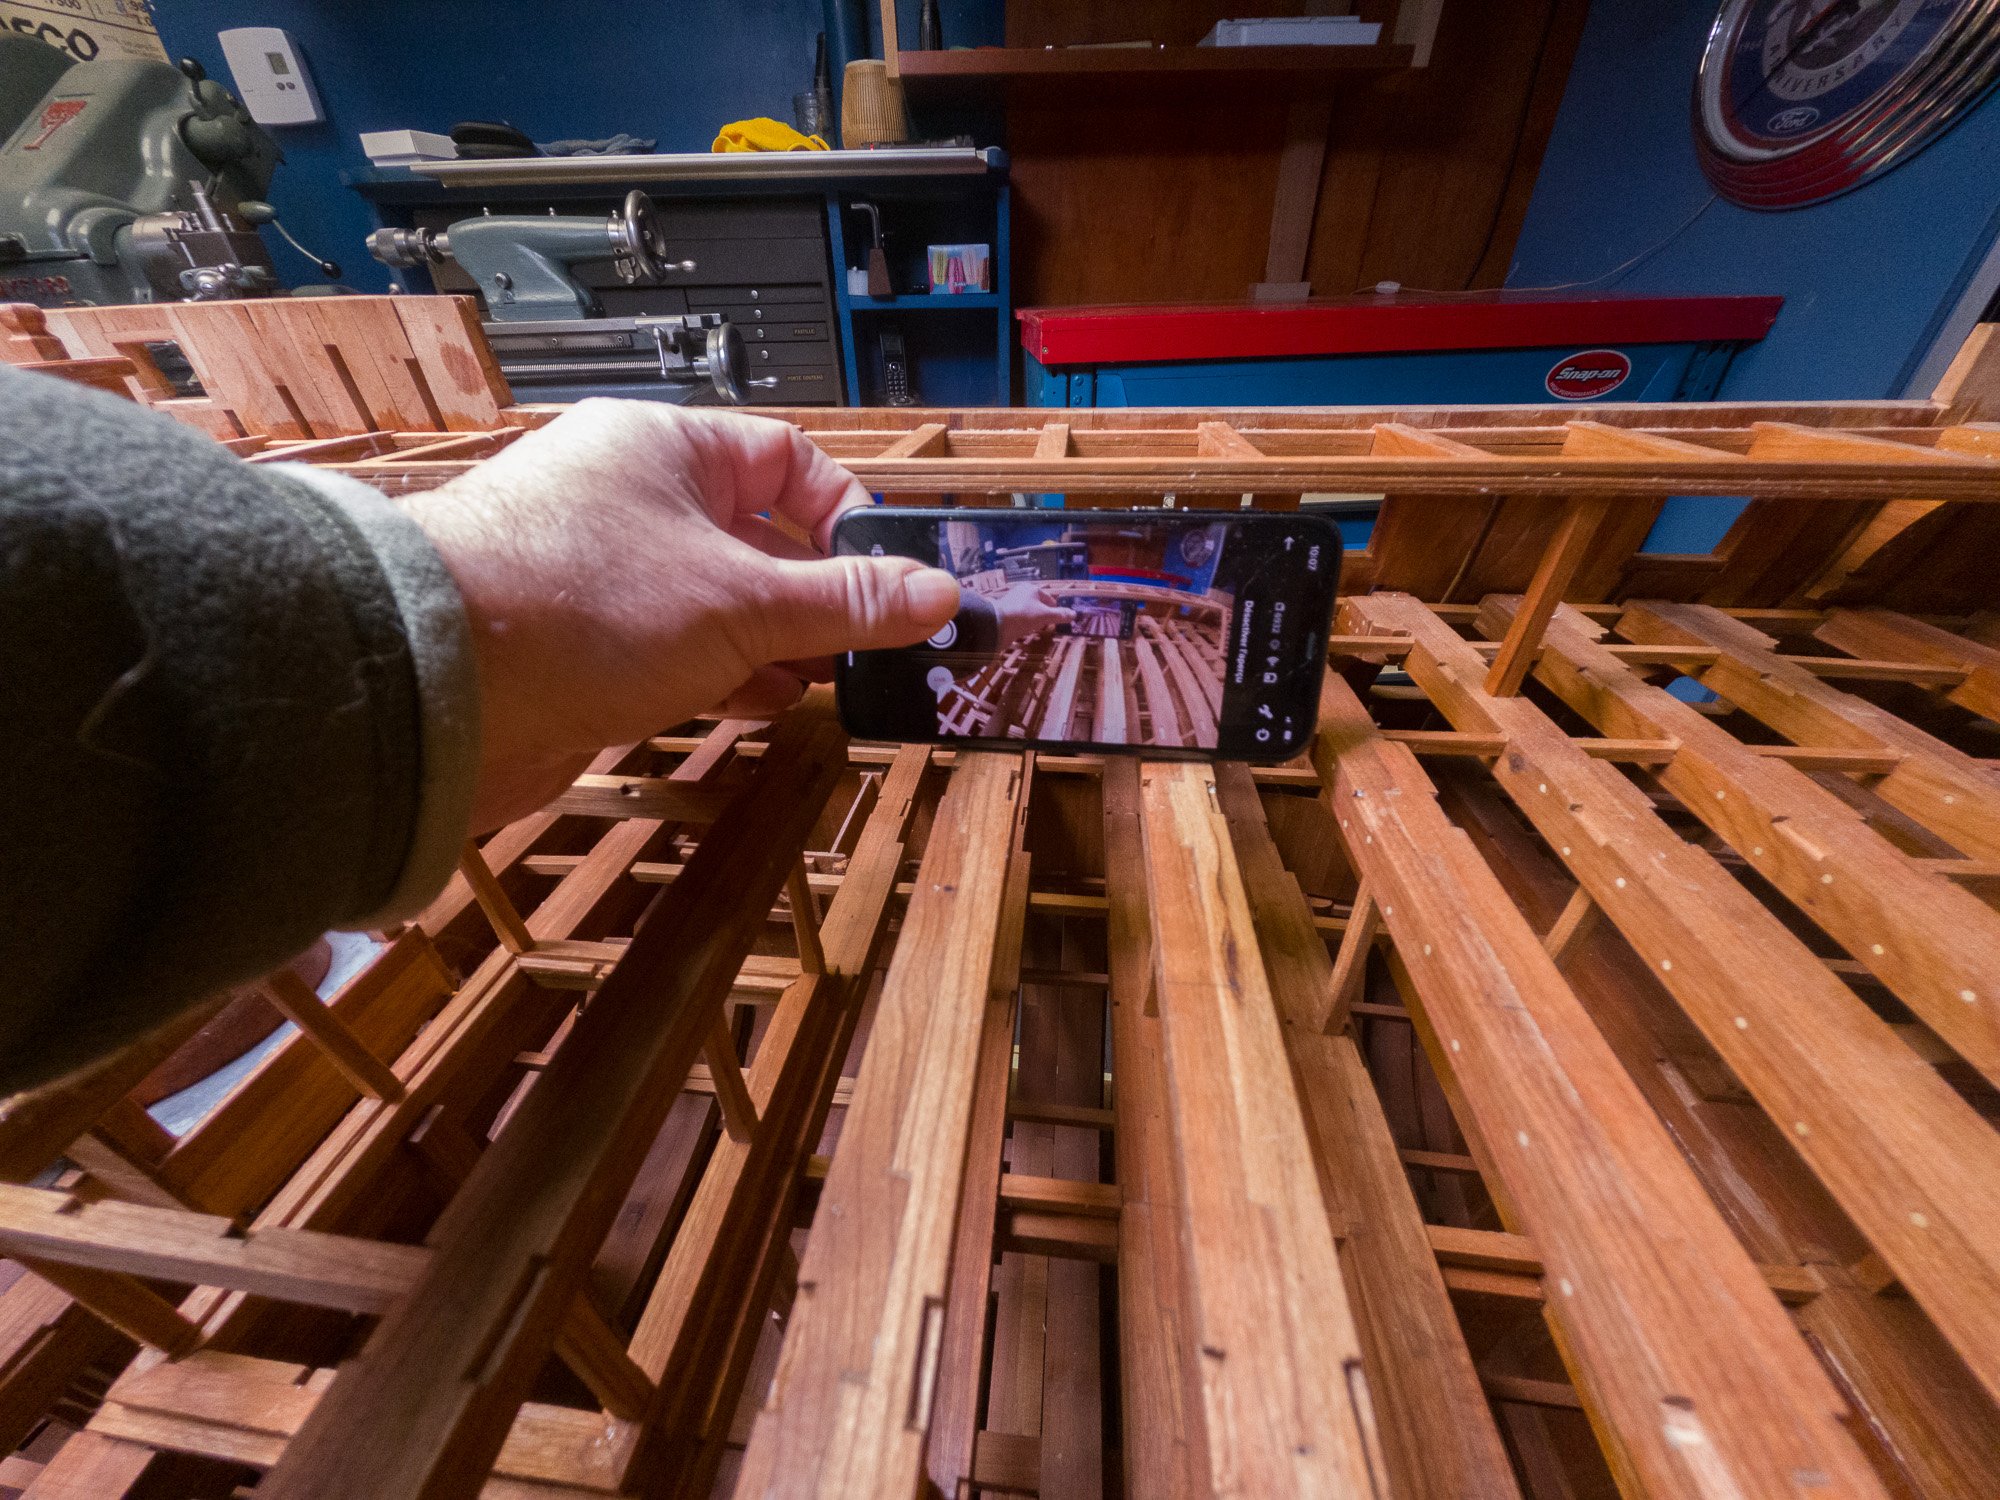
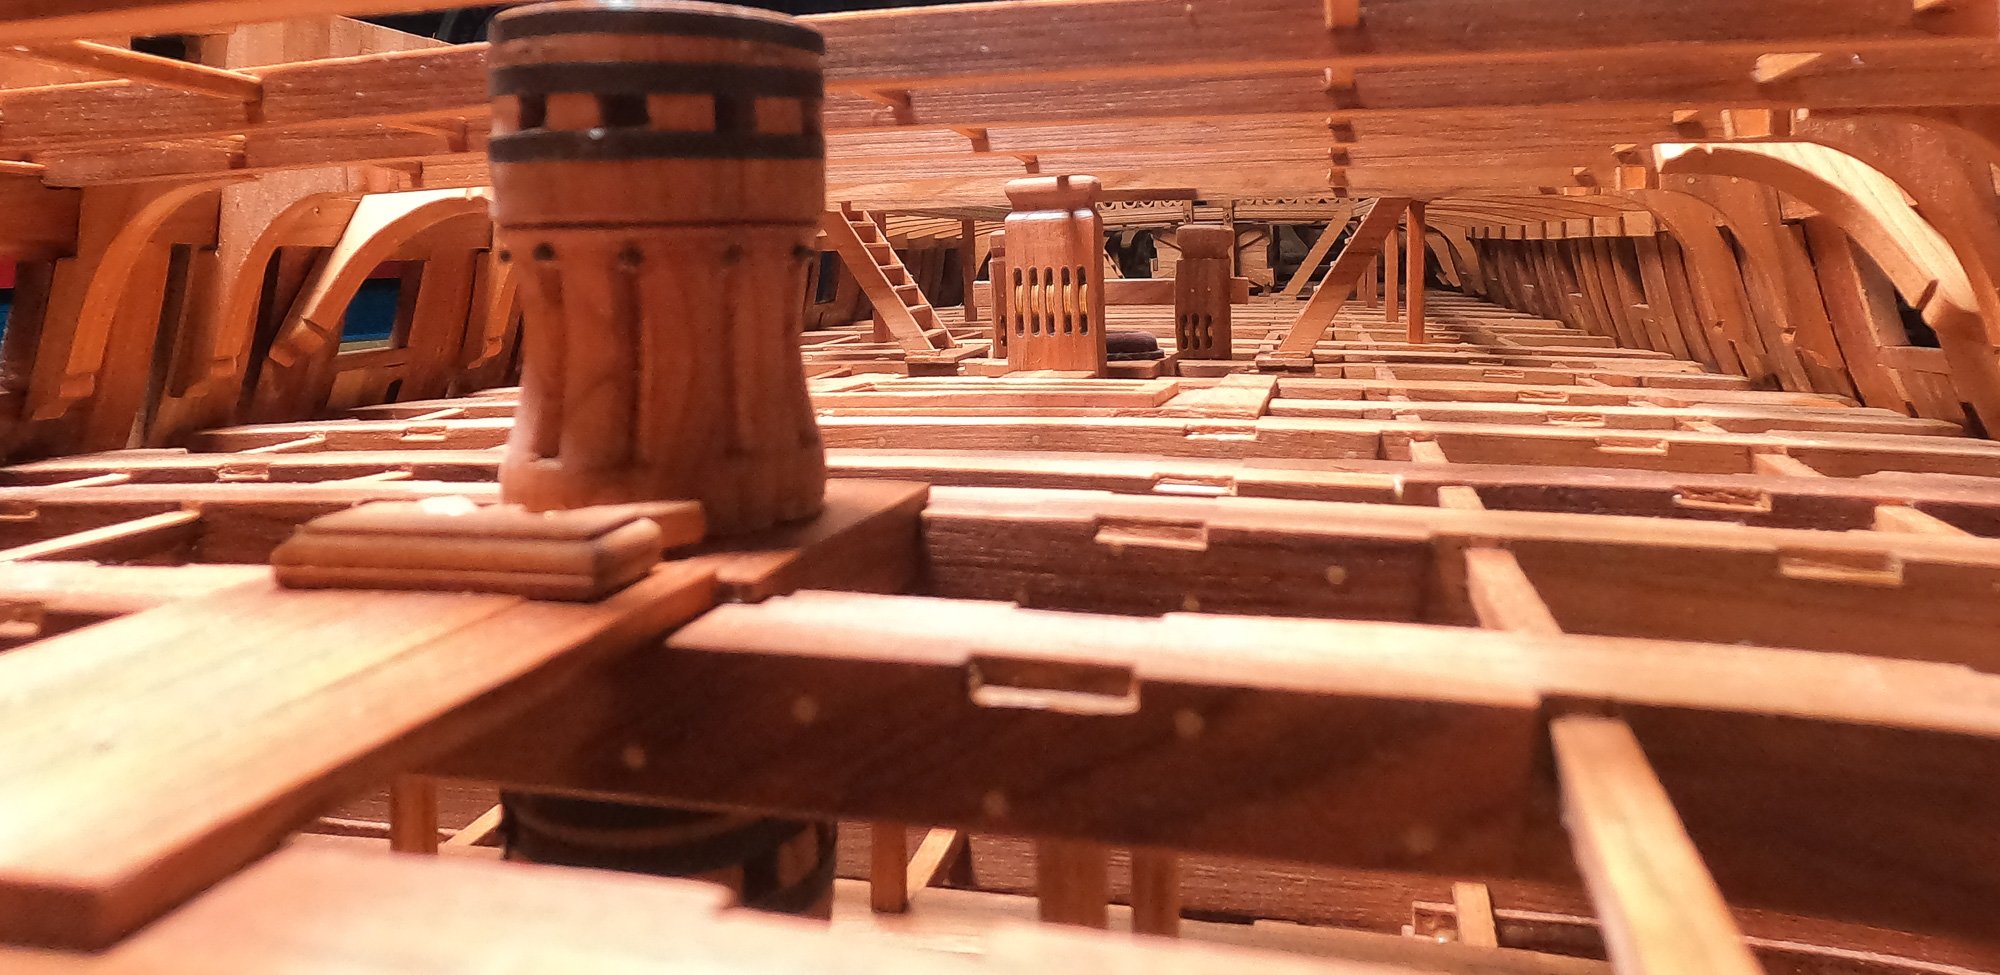
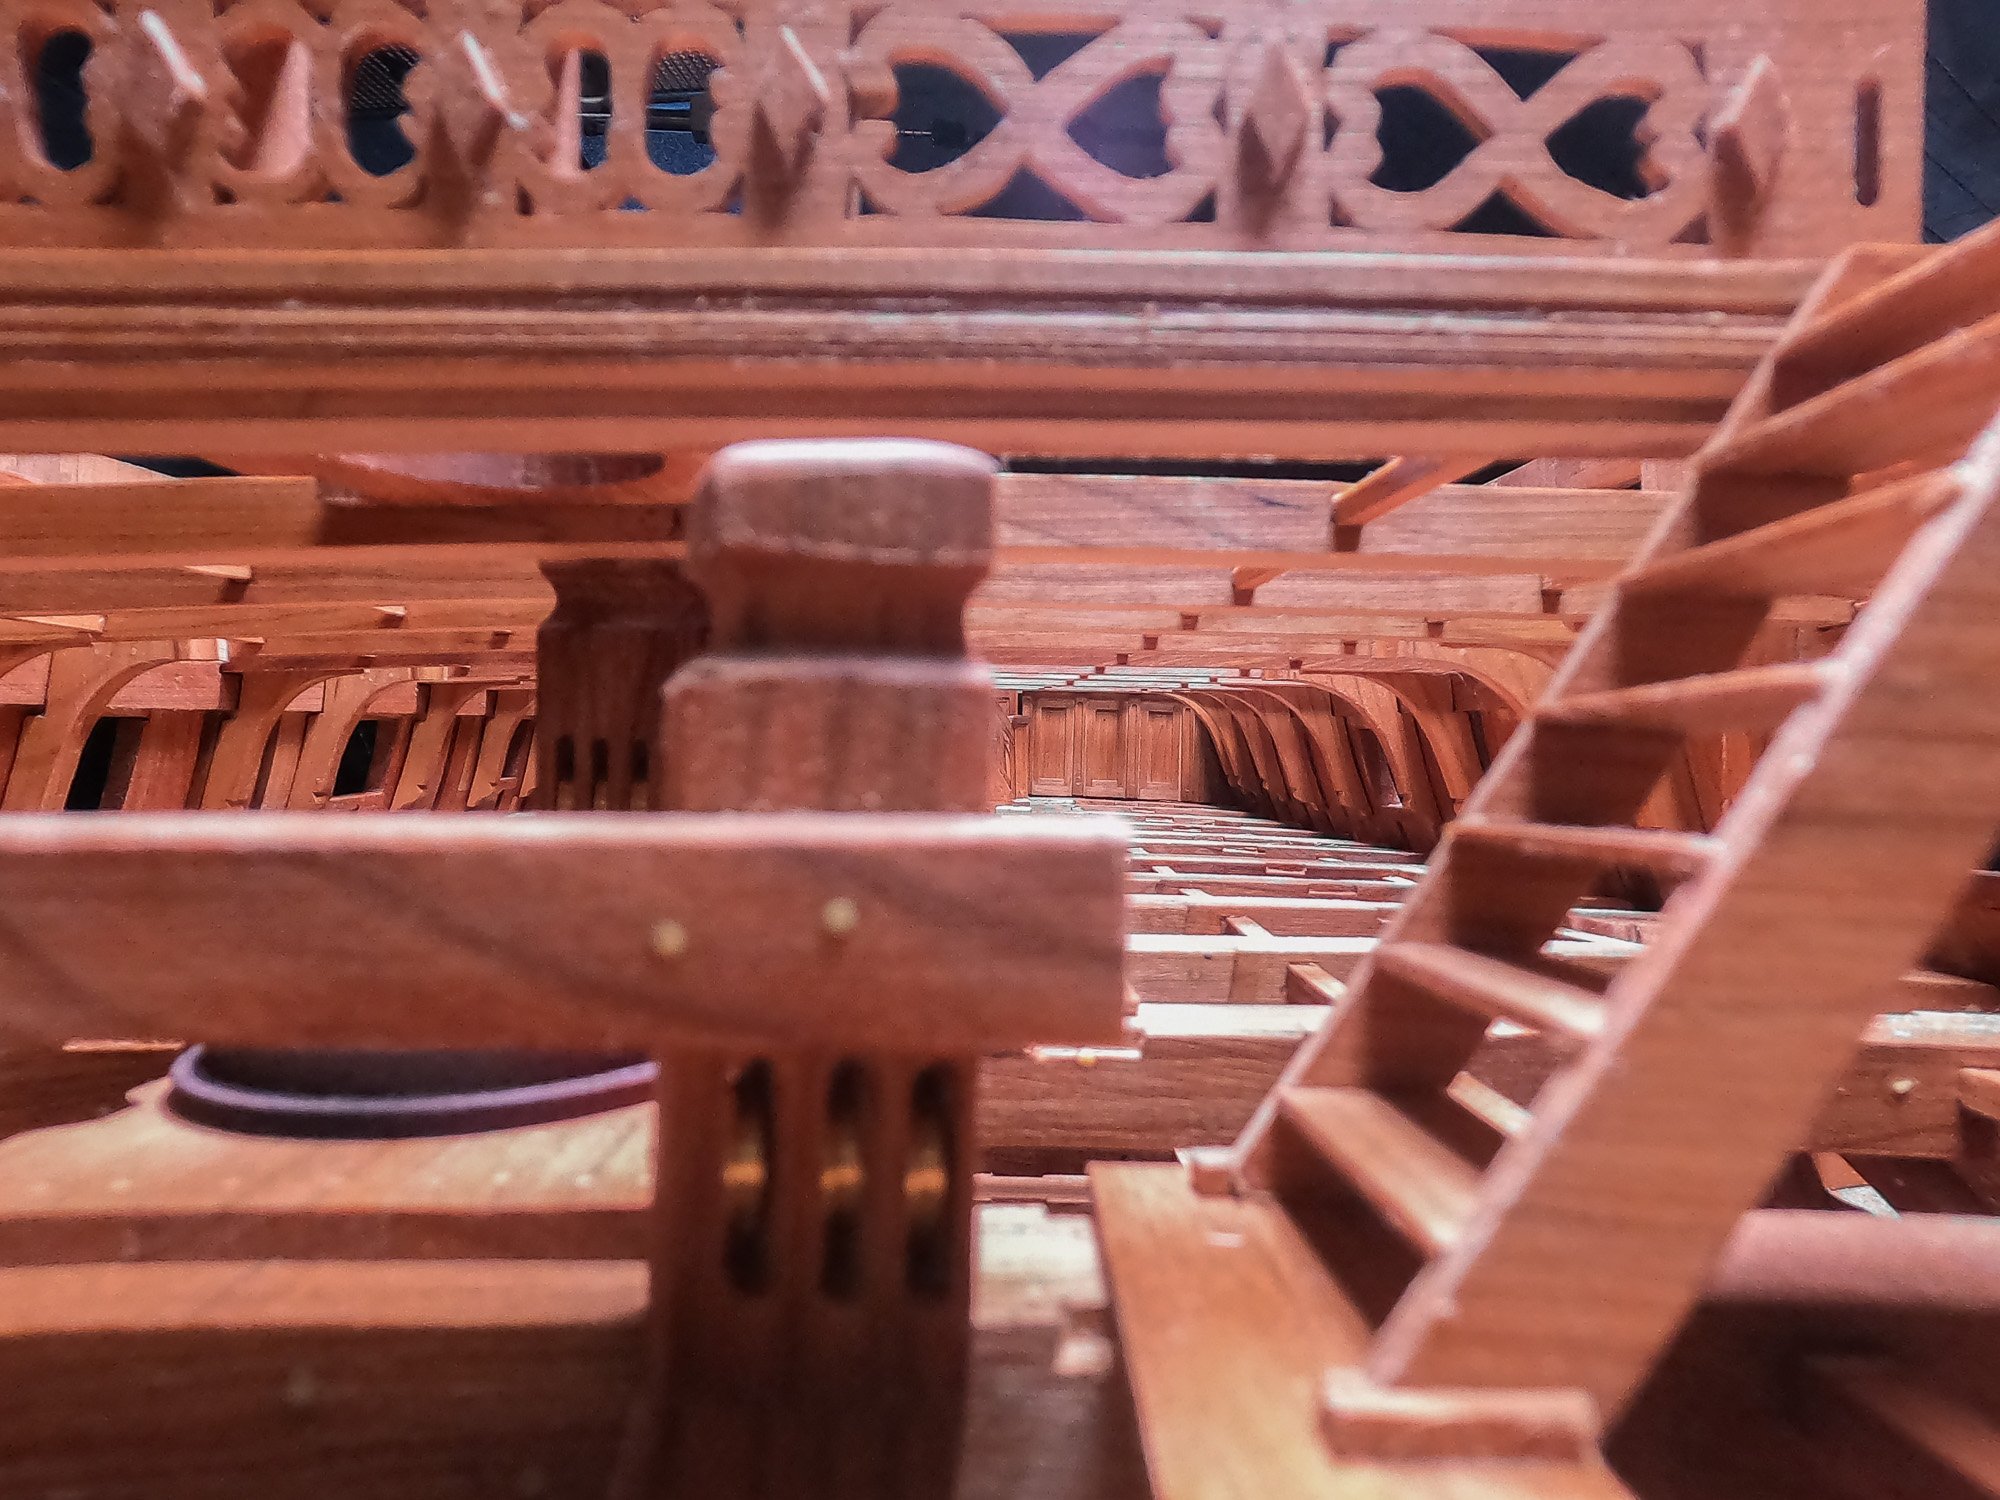
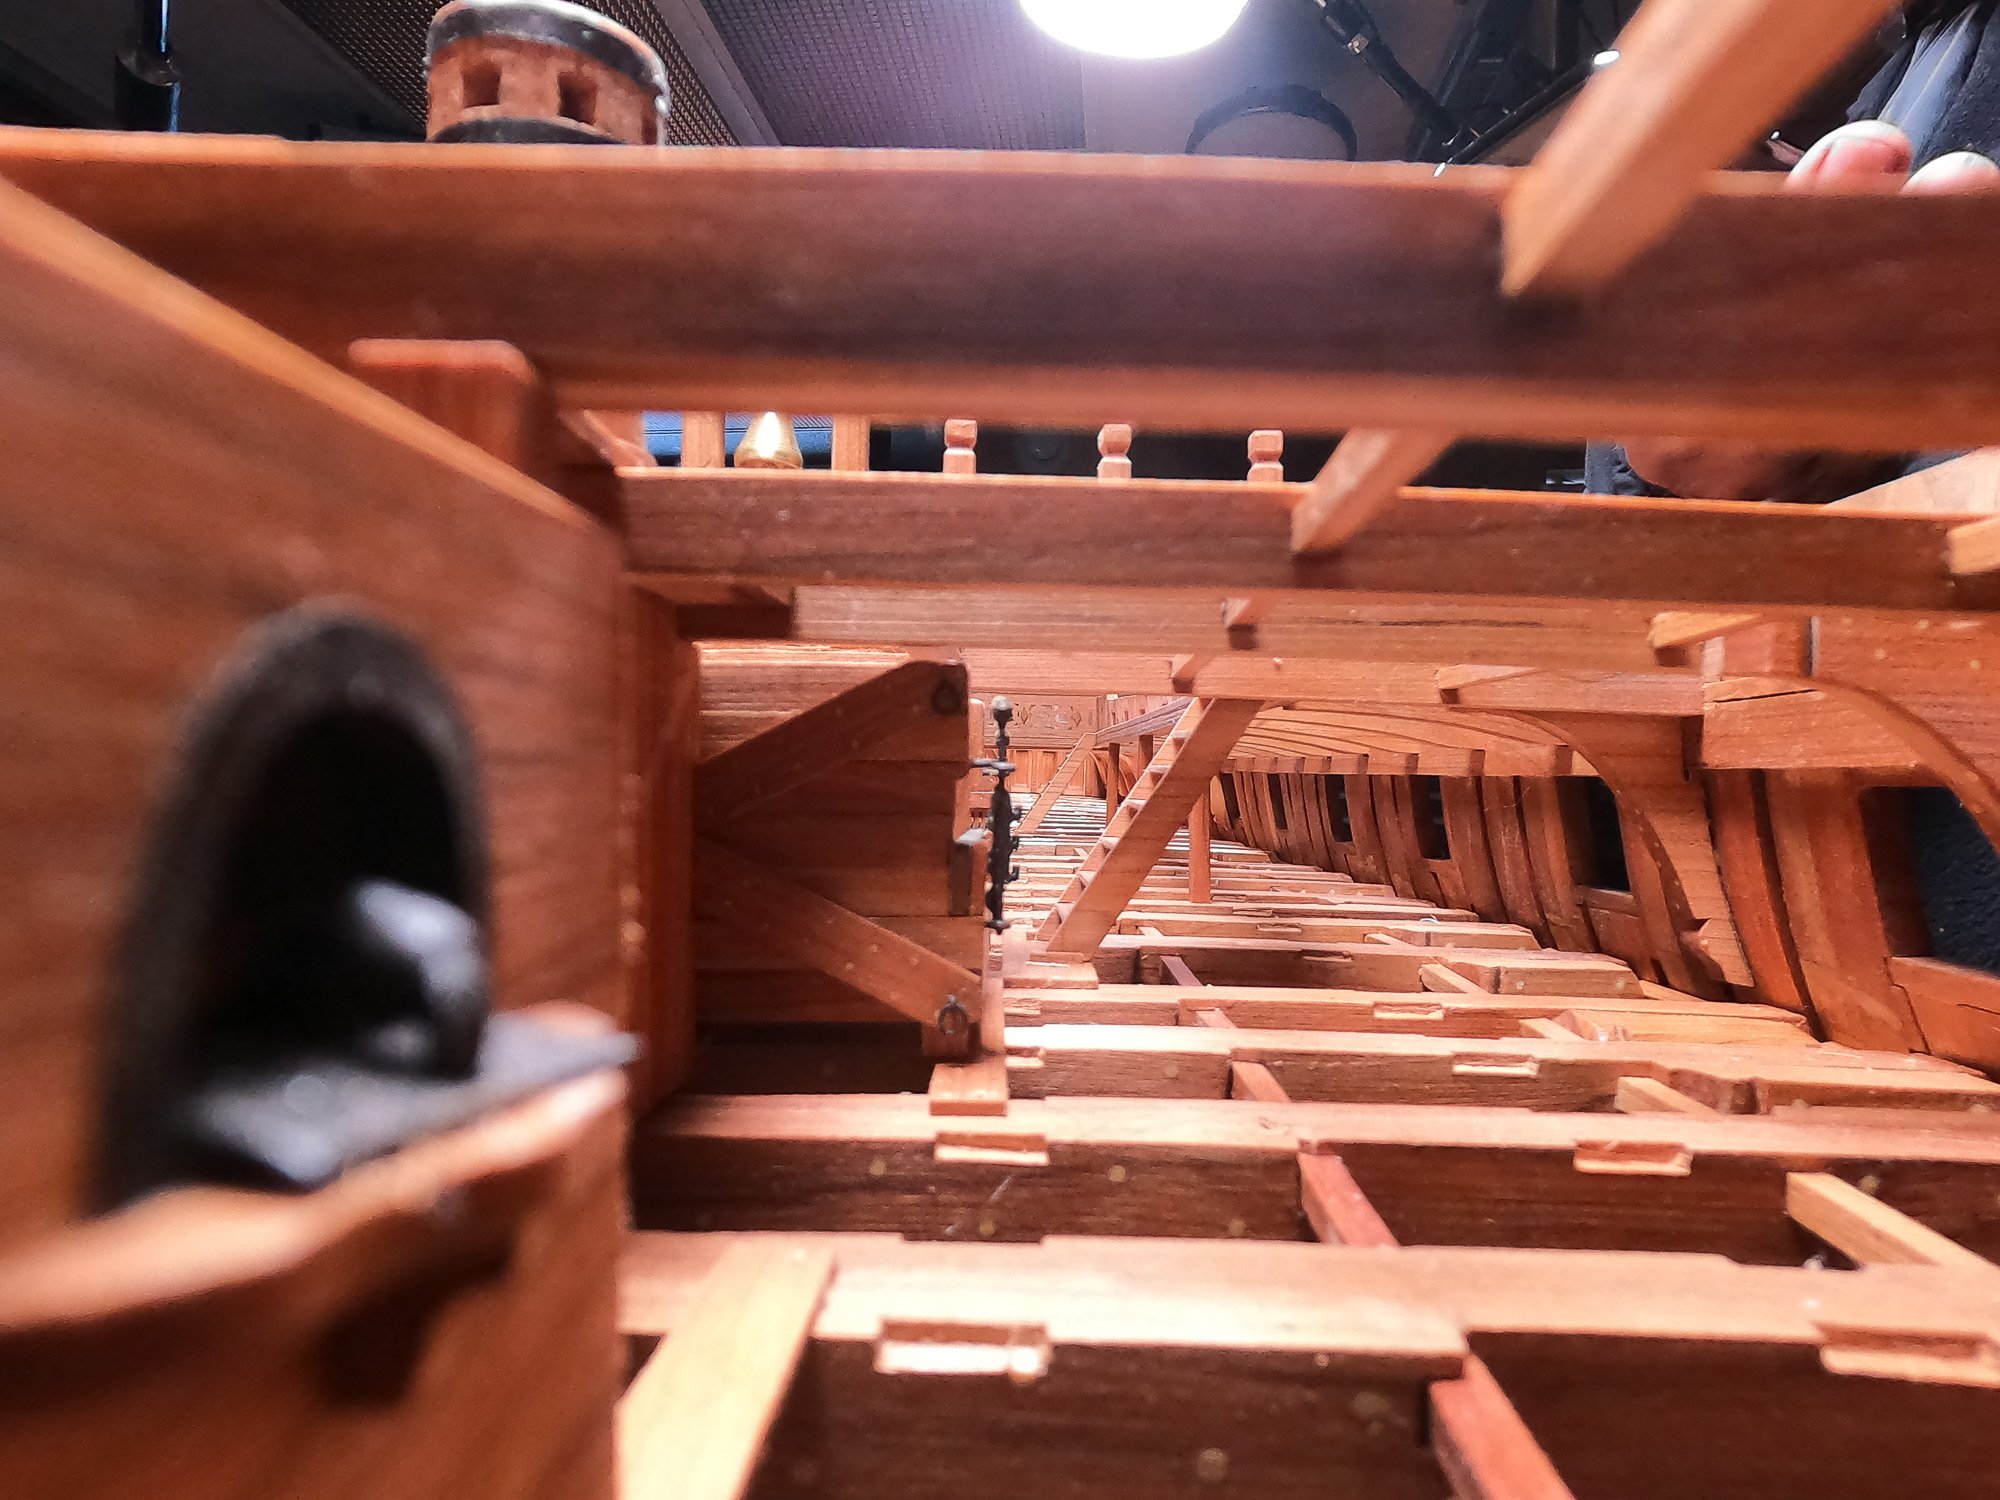
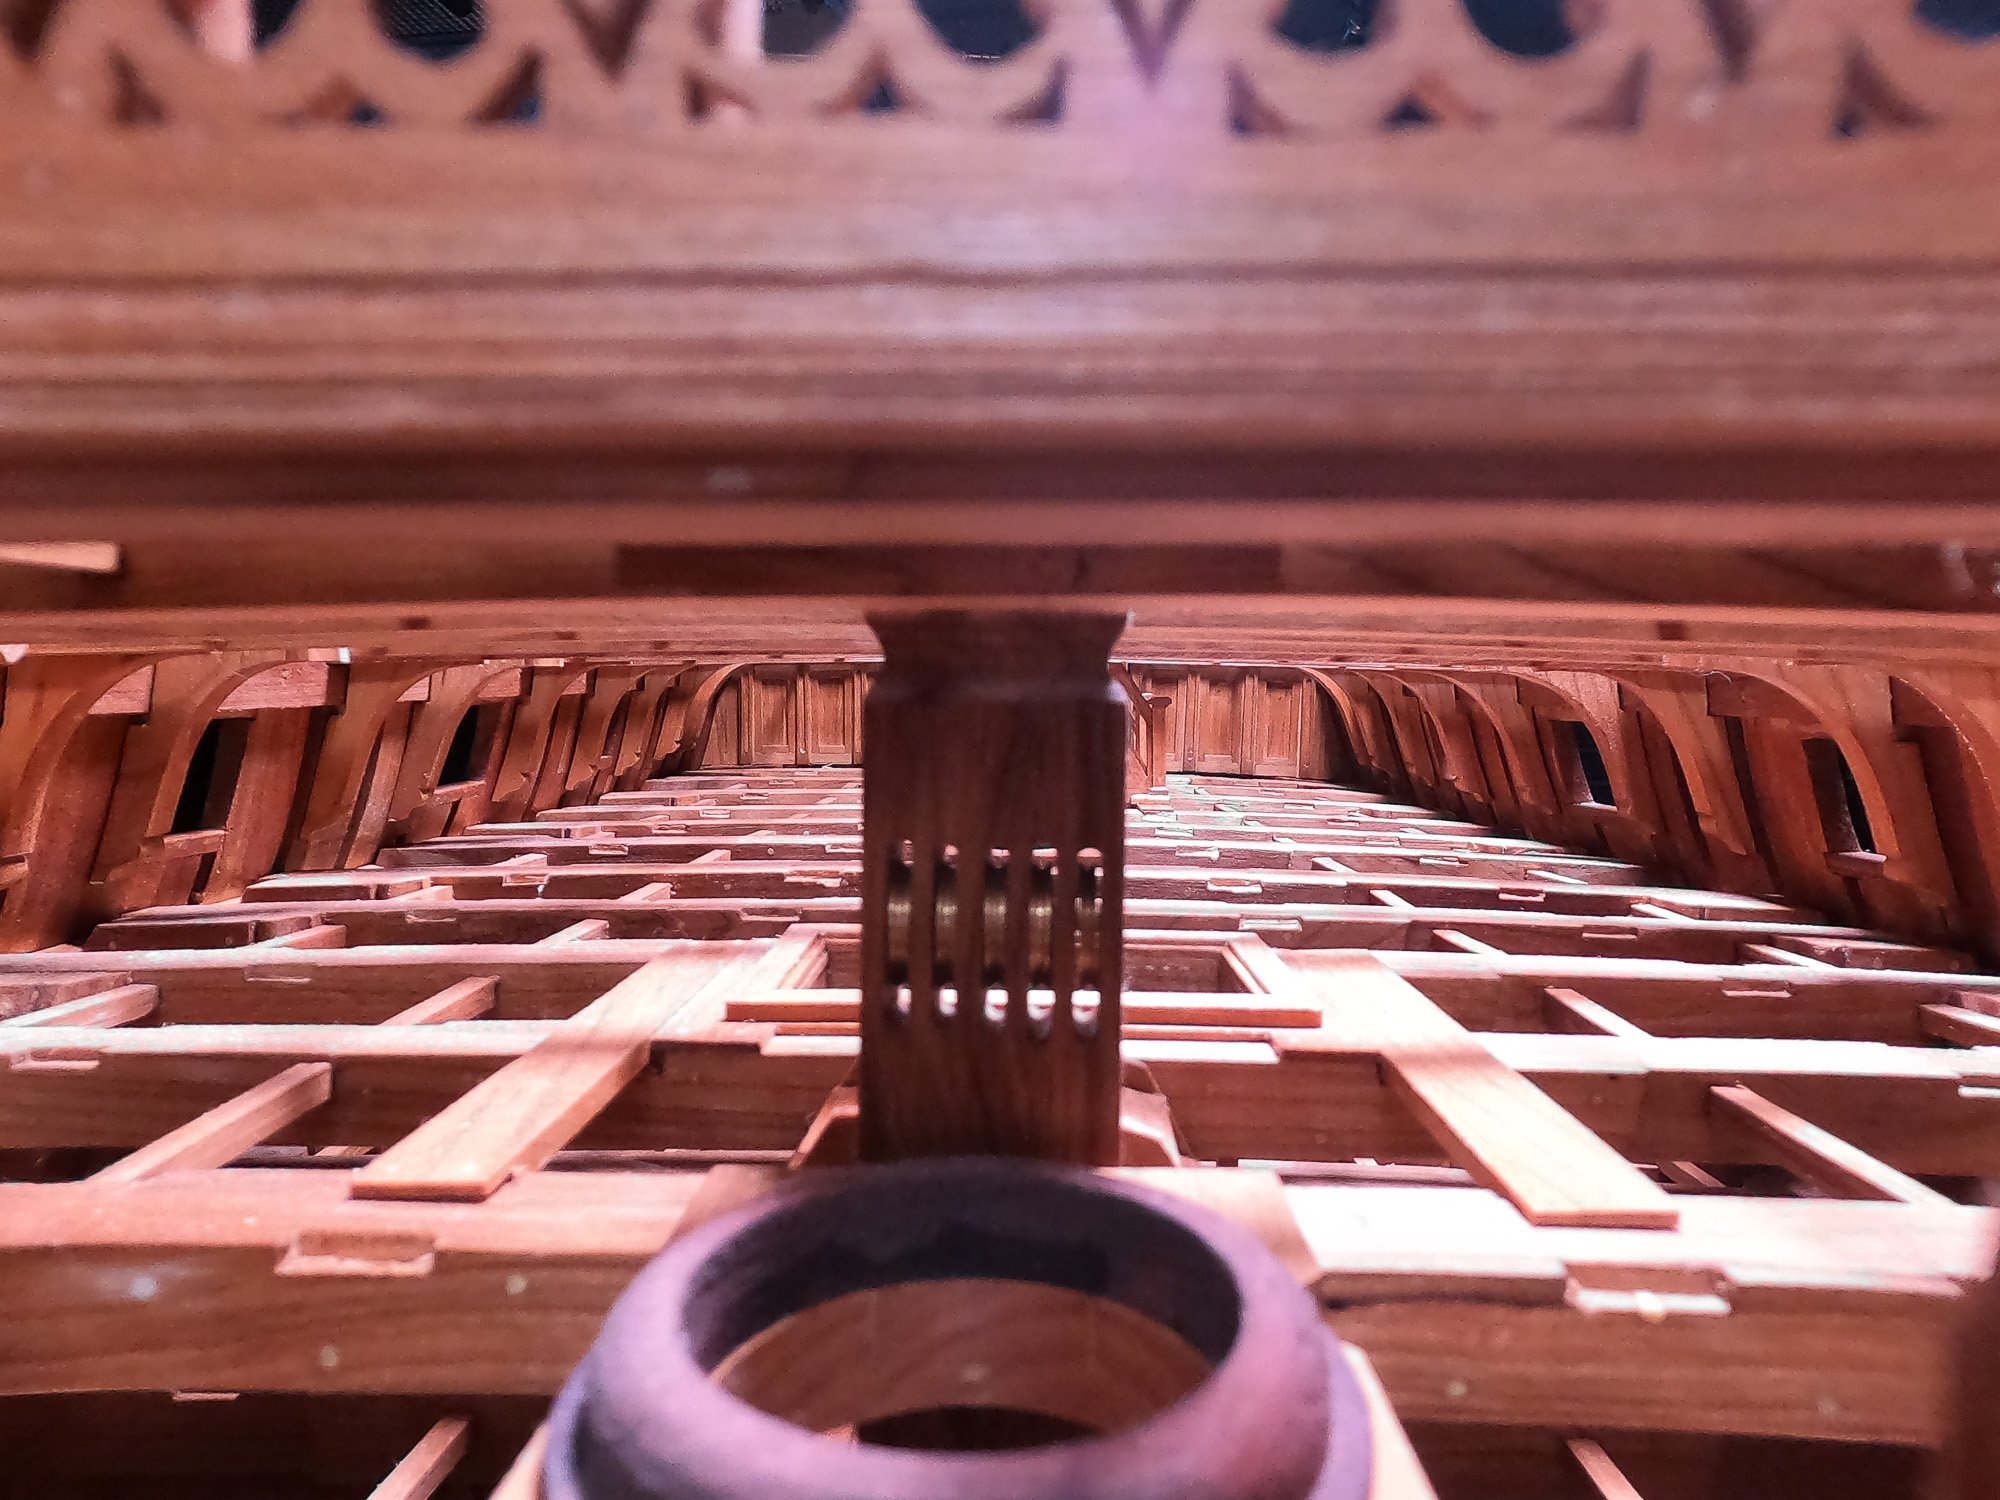
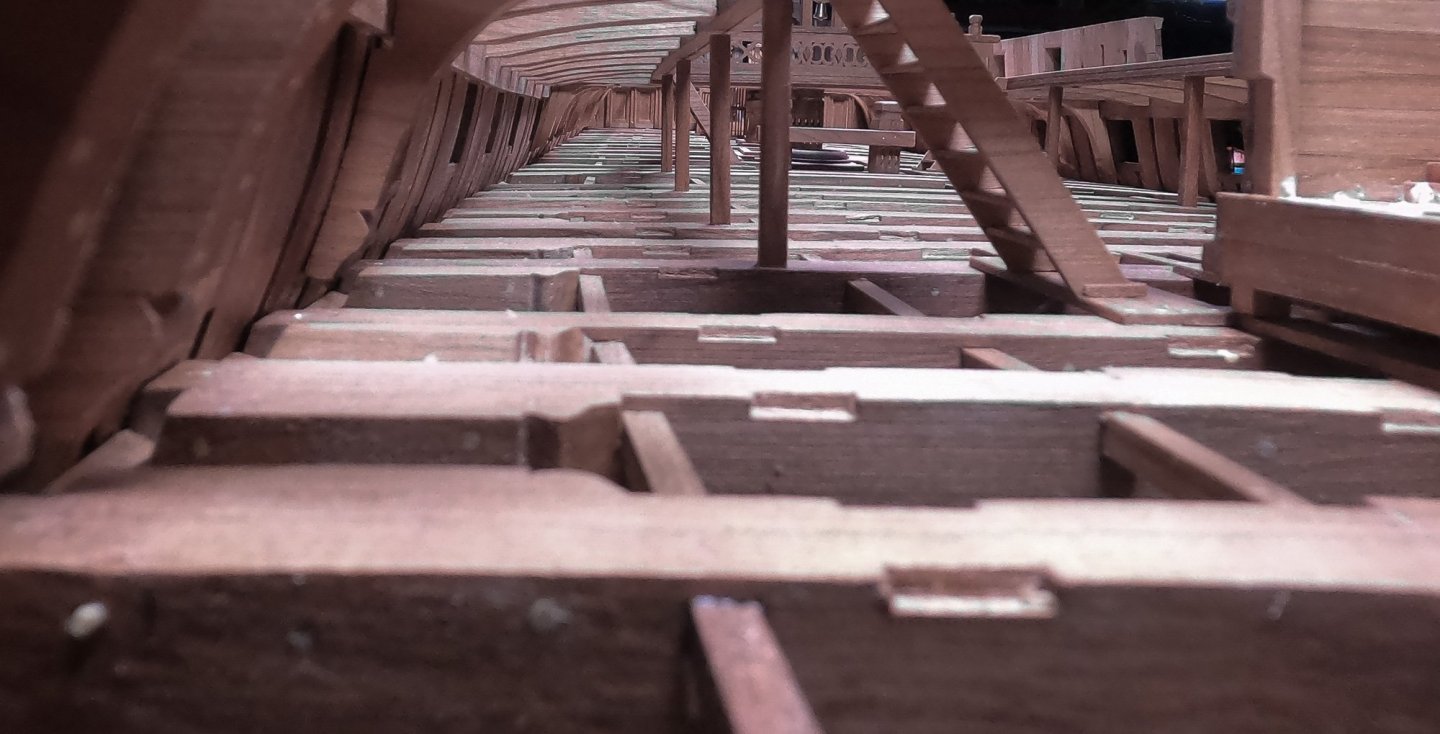
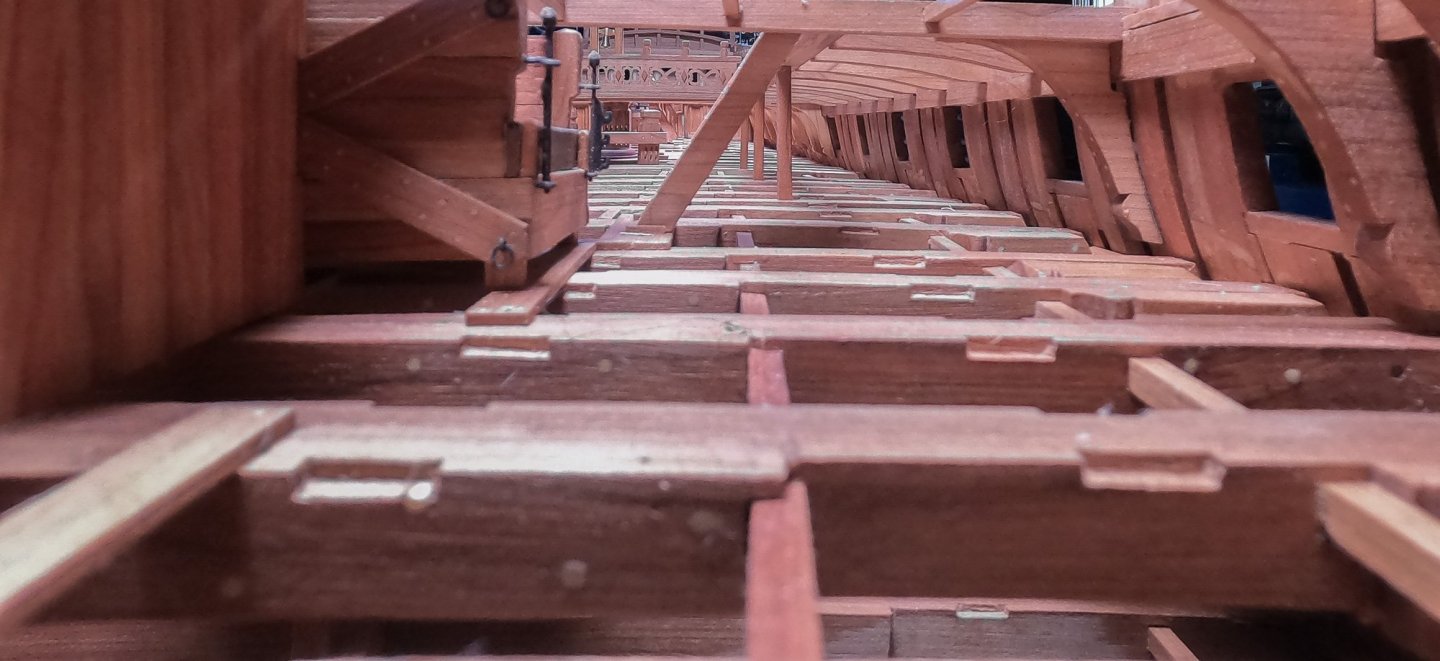
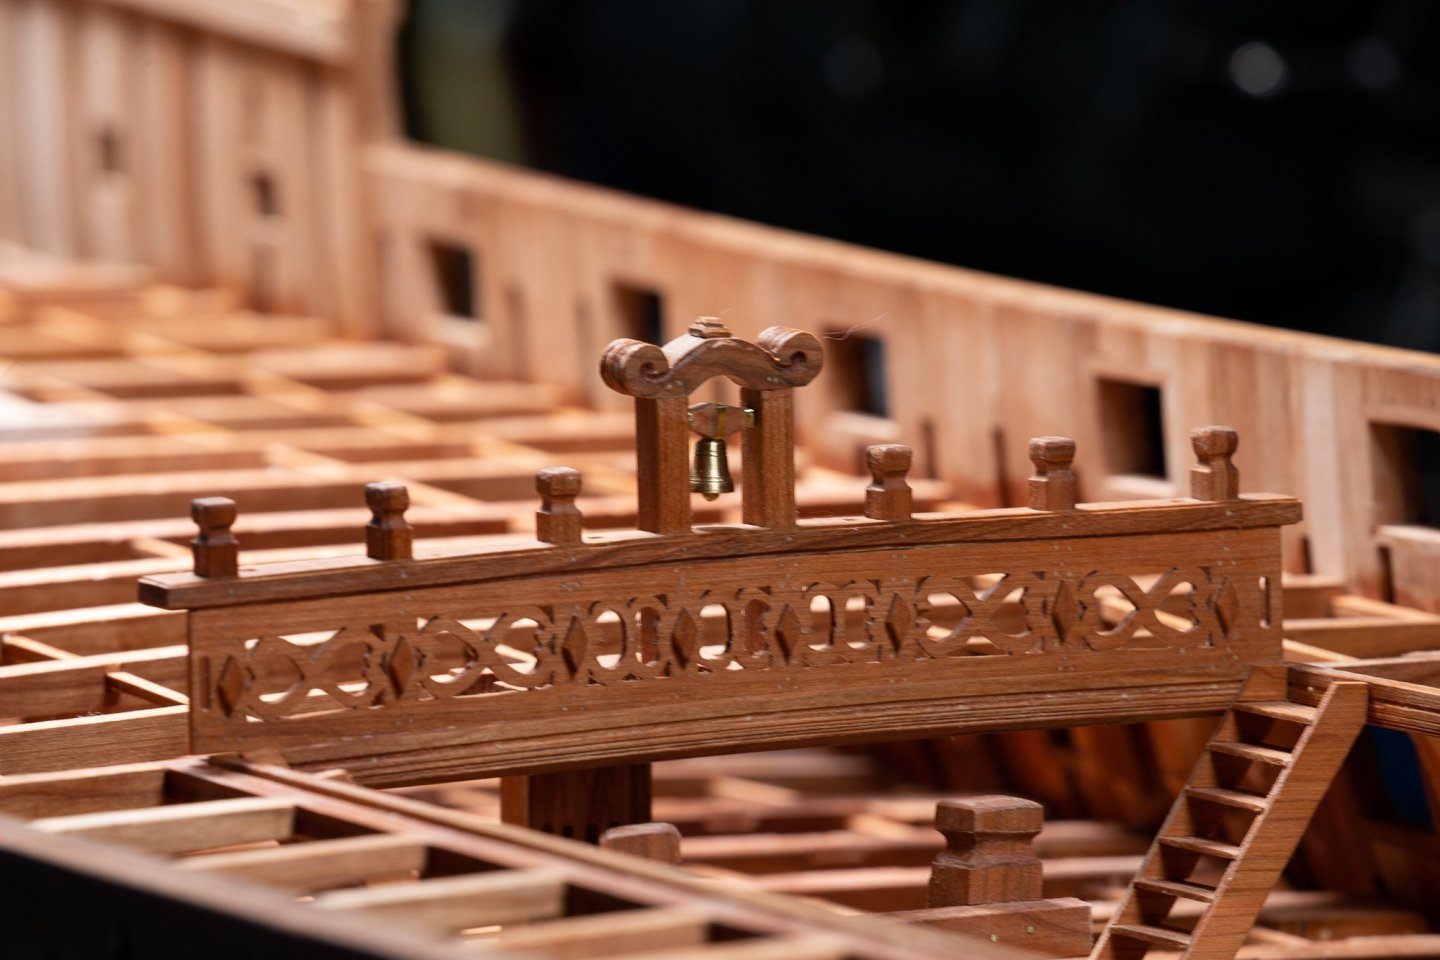
Thank you for your comments. All the following photos are from the little action camera:


-
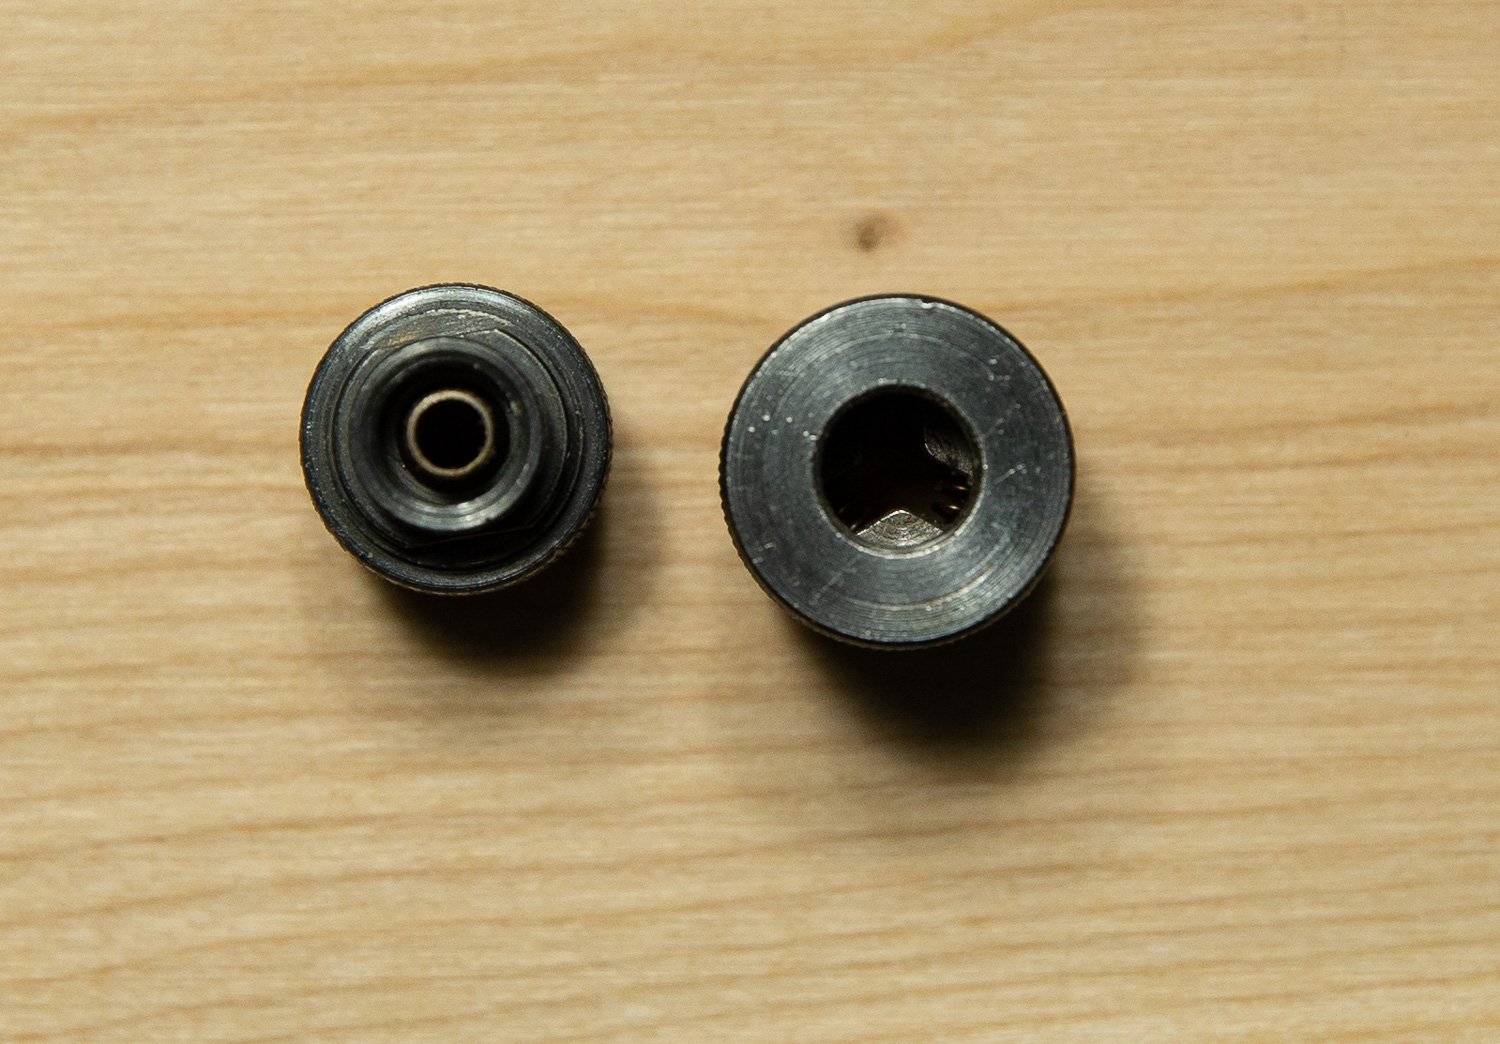
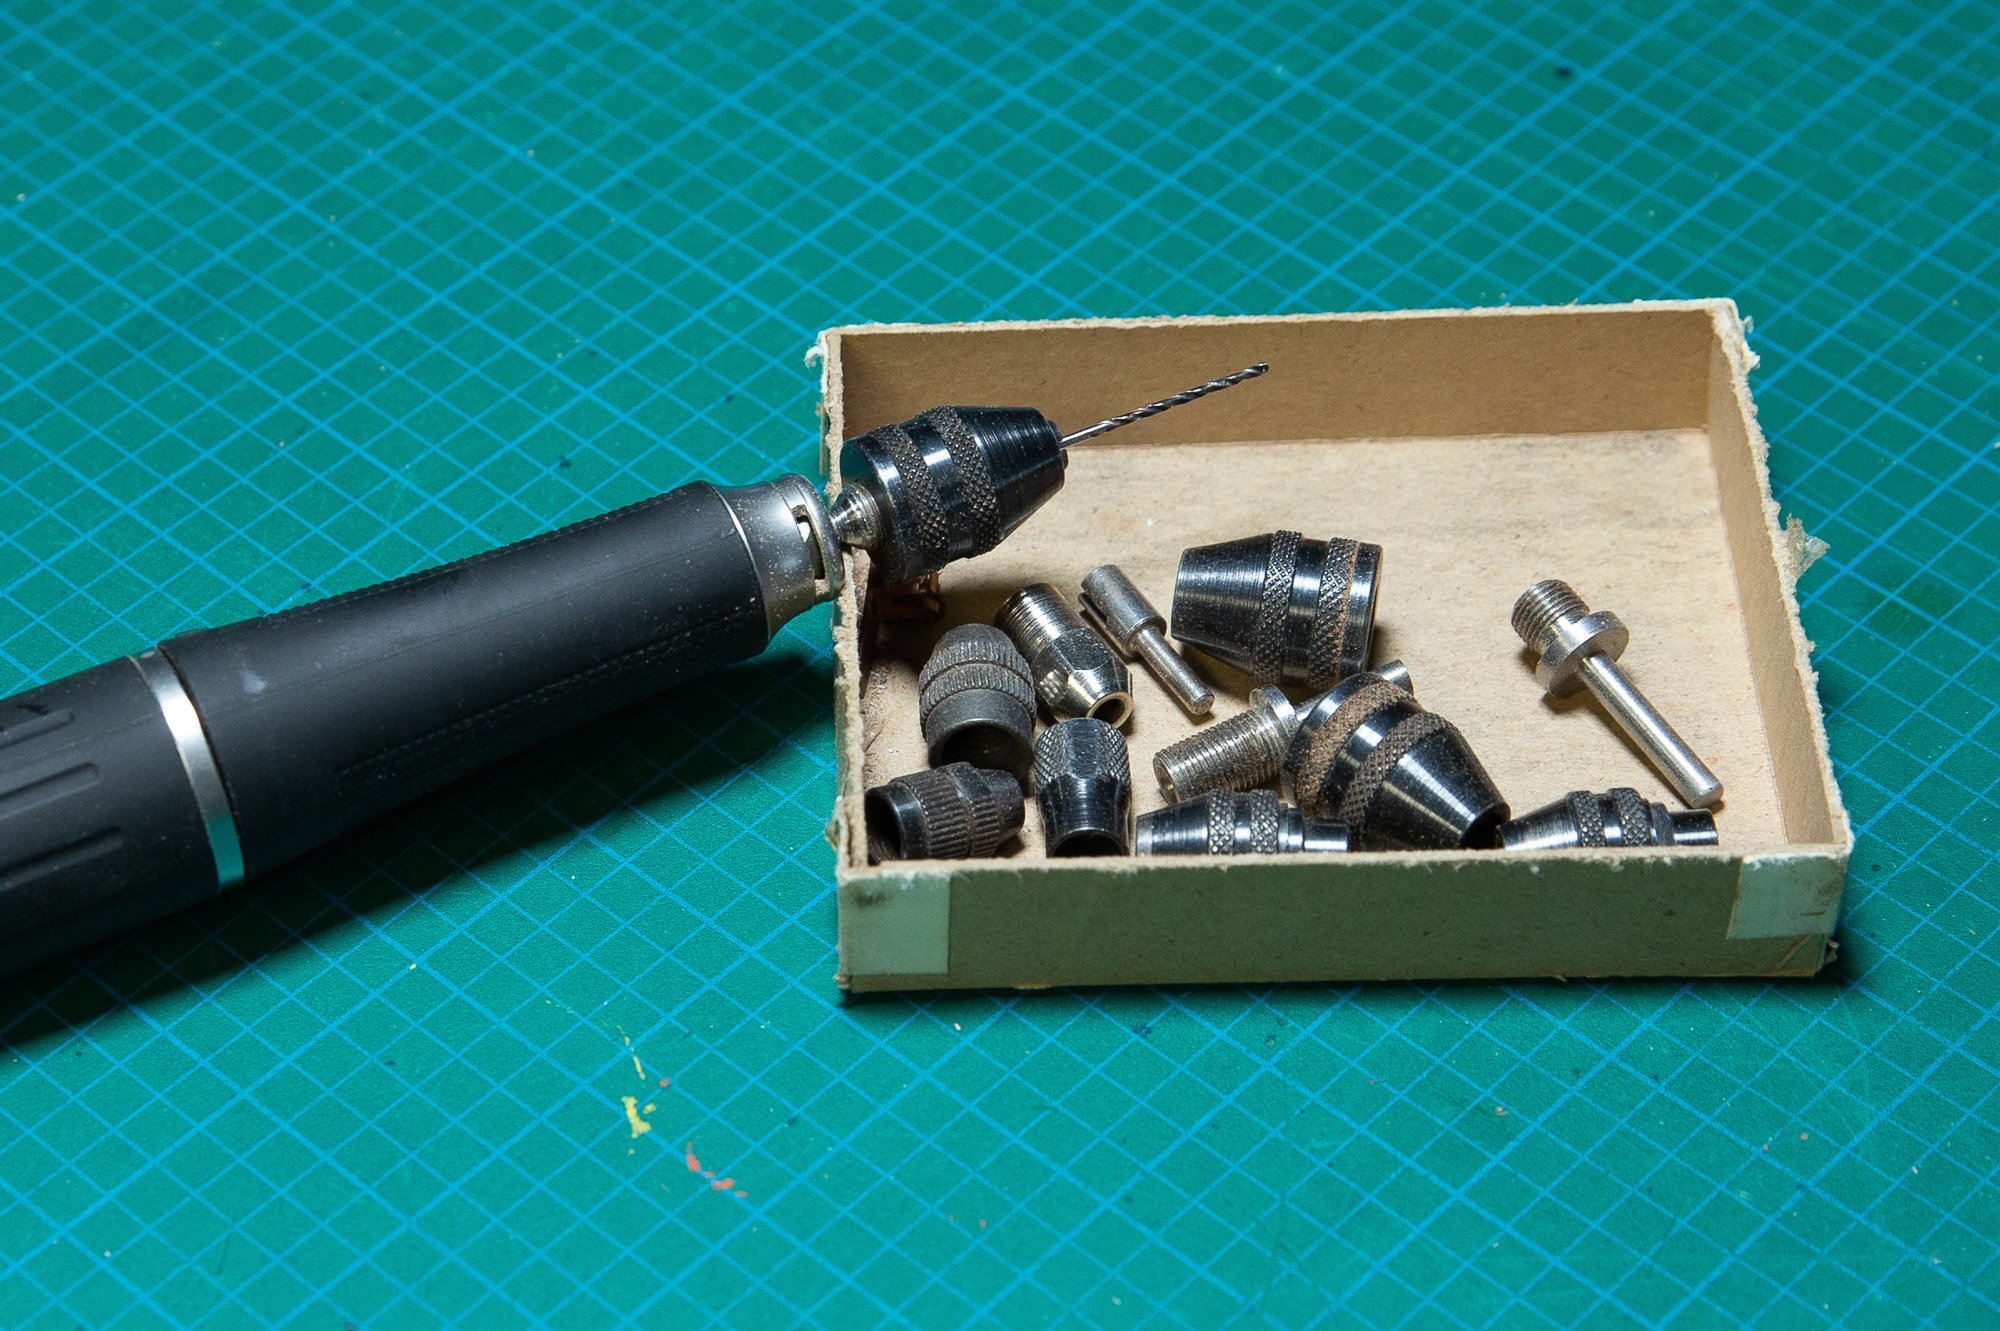
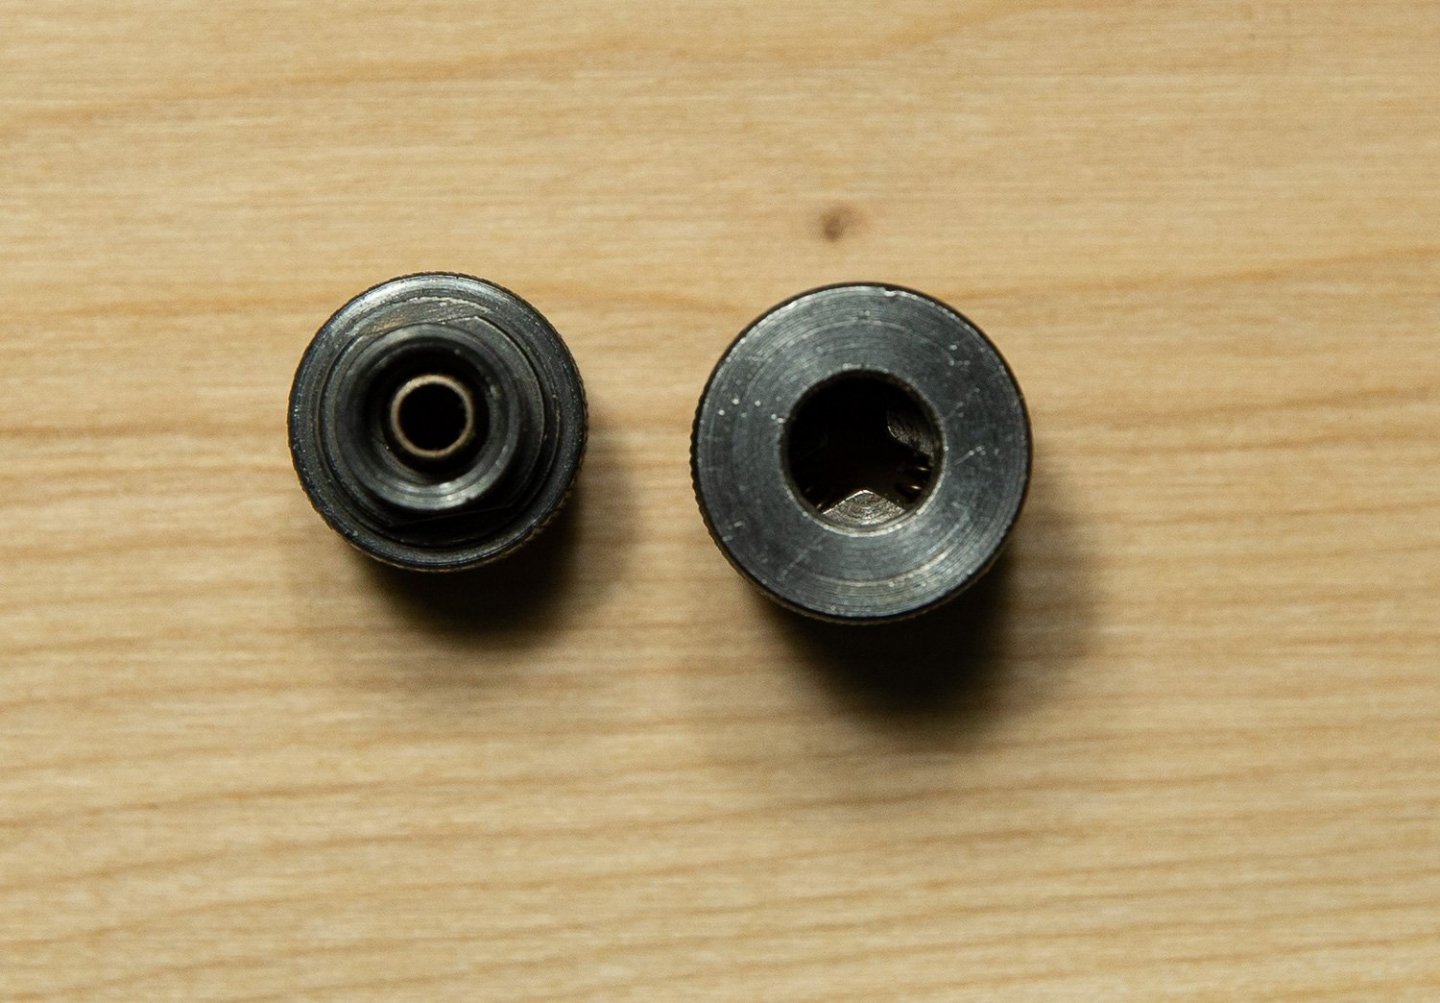
both works well, the main difference dremel is probably with american thread and proxxon with metric thread. They are made differently at the bottom. For the Dremel at right of the photo, I use mainly this one because I had the die to do the threading to do an adaptor to use with an electric pen that we can see on the first photo.
-
Dremel and Proxxon make 3 jaws drill chuck. Dremel started to sell it about 20 years ago. I use both with success. I must be very careful to insert a #80 drill bit, it is very easy easy to insert it out of center. The best way I found to insert it is to close the jaws as much as possible before inserting the drill bit. I always test run the drill bit before drilling and if the drill bit has a run out, I recenter it and it always fix the problem.

-
This is the first time I see a home made sander with an automatic feed by hand, very cleaver!
-
Hobby Knife Preference?
Gaetan Bordeleau replied to Matt D's topic in Modeling tools and Workshop Equipment
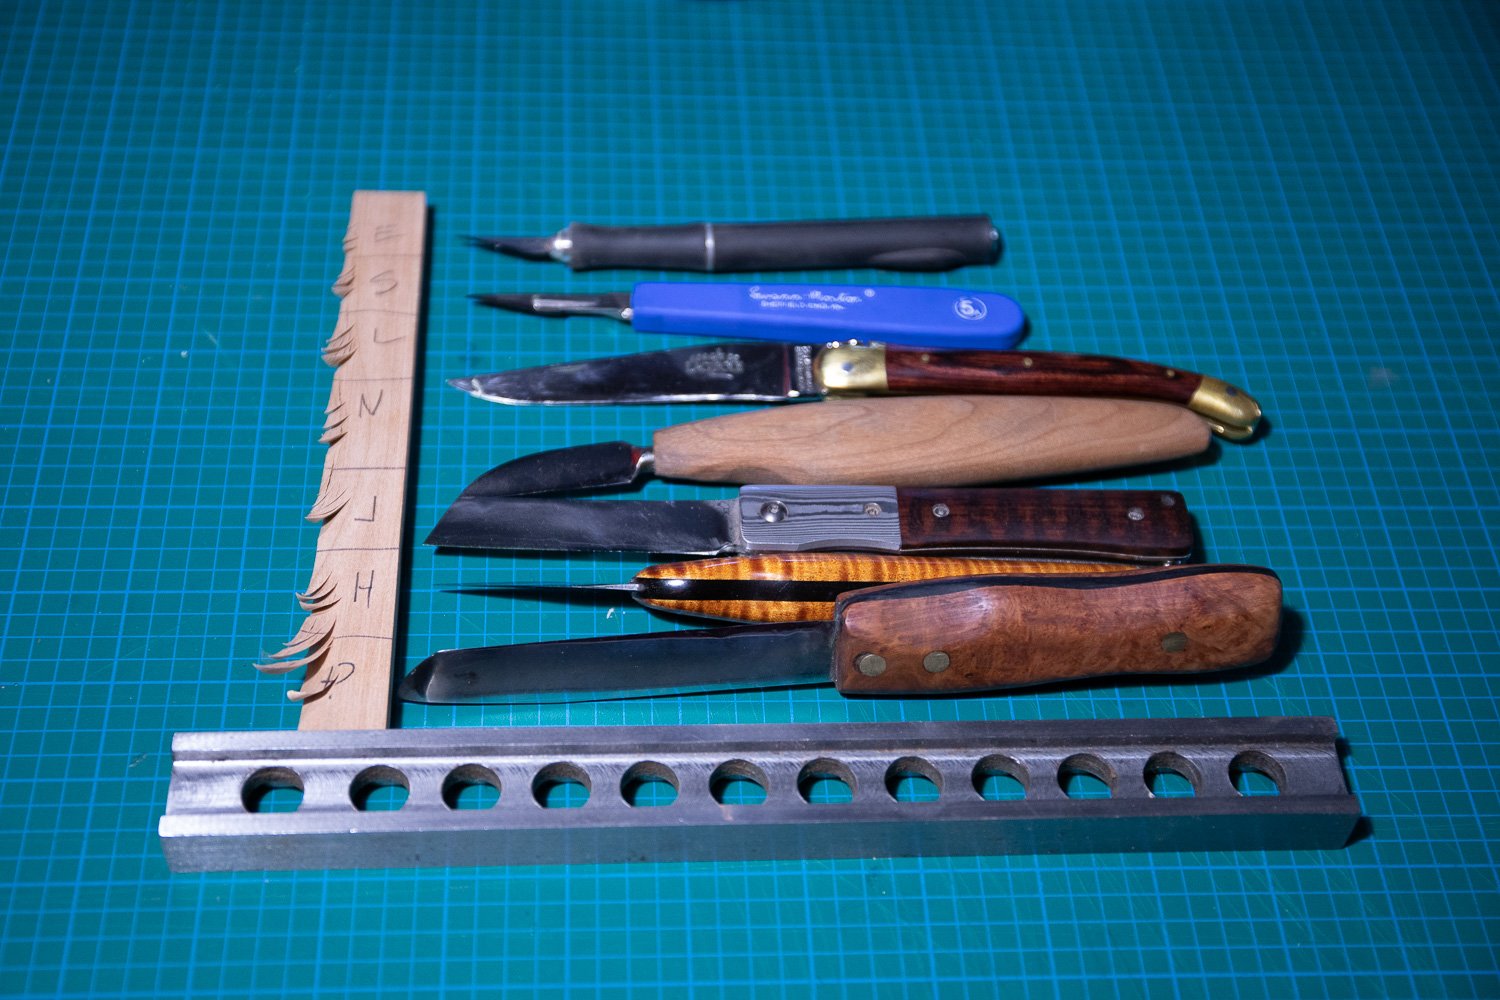
Learning to find a good knife looks like to be very easy. In fact, it is much more complicated. When we begin the hobby of model ship building, one of the first we will use is a standard hobby knife like Exacto. Until you find a better one , we will think the Exacto is the perfect knife. On day you discover the Surgical blades which performs better than an ordinary blade. There are many blades but #11 is the most used. For the light work, it works very well. If you are never going to do bigger work, you could stop your search there. The question now is: Is there a knife which can cut easier and be more effective than a scalpel with a#11 blade? The answer is YES. There are many reasons why this is true. First, you need to be in control of the tool you use to cut. It is a lot easier to control a knife with all your hand instead of only a few fingers to hold a scalpel handle. Scalpel has a very small handle, it is easier to control it with a bigger handle. The profile of the blade. Even if we think that the #11 blade is the most cutting blade, there are profile more suited for wood like a V shape. Japanese did understand that many century ago. There is also the kind of steel. Actually, the powder steel blades are some of the most performing blades on the market. In a photo, in an upper answer, I did show a test with 7 knives, scalpel did classified sixth on 7 knives, and the Exacto arrived the last one. The easier it will be to cut, the better the results will be. -
Hobby Knife Preference?
Gaetan Bordeleau replied to Matt D's topic in Modeling tools and Workshop Equipment
As the doctor said, scalpels were never intended to cut wood. For small uses, it cuts well but for larger ones, it is worthless especially when you apply a small tangential push, it often breaks. -
Hobby Knife Preference?
Gaetan Bordeleau replied to Matt D's topic in Modeling tools and Workshop Equipment
this was covered few days ago in the same section: Photo of a test showing how a knife can cut: If you compare the results, you can clearly see how a standard exacto blade is not performing very well, in fact that blade got the worst results! Understanding what bis a good hobby knife is not as easy as we could thing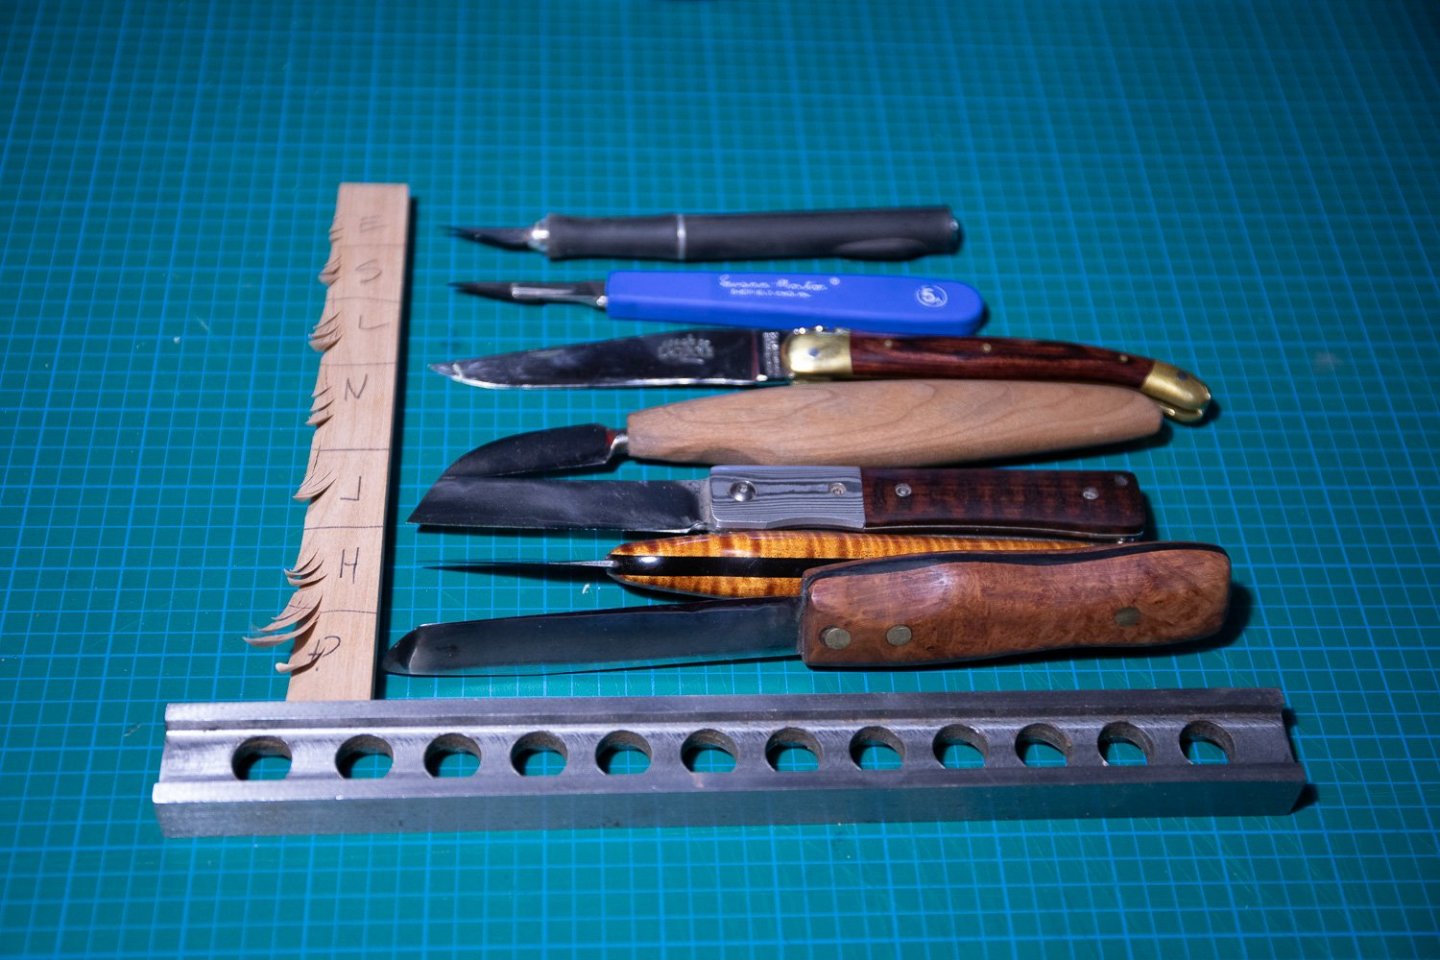
-
MONTAÑES by Amalio
Gaetan Bordeleau replied to Amalio's topic in - Build logs for subjects built 1751 - 1800
Hi Amalio, Could you tell us: the kind of wood and the finishing product you apply on the wood? -
-Inevitably, time will darken the wood color, so no color change is almost impossible, unless you completely block the light of the sun with a color paint. -If I understand well, Mike would prefer no wood color change. Does not, that this mean, that the color you apply will change with time? -If you would know that you can get the final color of the wood with 1 product, would you use it?
-
John, you simply click on the red banner and you will go directly to74 gun ship p.29 and you scroll down the page
-
I think there are more important aspects of a knife: - different blade shapes - sharpening: water stone, truing stone, leather strop - type of steel -detail knife fabrication -testing different blade shapes -sharpening test - buffering - hand sharpening - knife handle Vossiewulf and I discussed these subjects in my building post of the scratch building section, p. 29: I did regroups the post in 1 .pdf file. May be it could be interest for some peoples.
-
far from perfect, but thank you Jorge I will try to upload a .pdf file. I do not know if it will work. I have assembled the content of this log from page 15 to 20 in a .pdf file, but only parts about about my search about knife, blade and sharpening. May be it could interest somebody. Anyway, I did enjoy doing this search with the help of Vossiewolf. What is a good knife.pdf
-
If so, please forgive me, my first language is french, sometimes, it is difficult to fully understand some posts. Micro bevels for me is a myth created thinking that you would save time in sharpening!
-
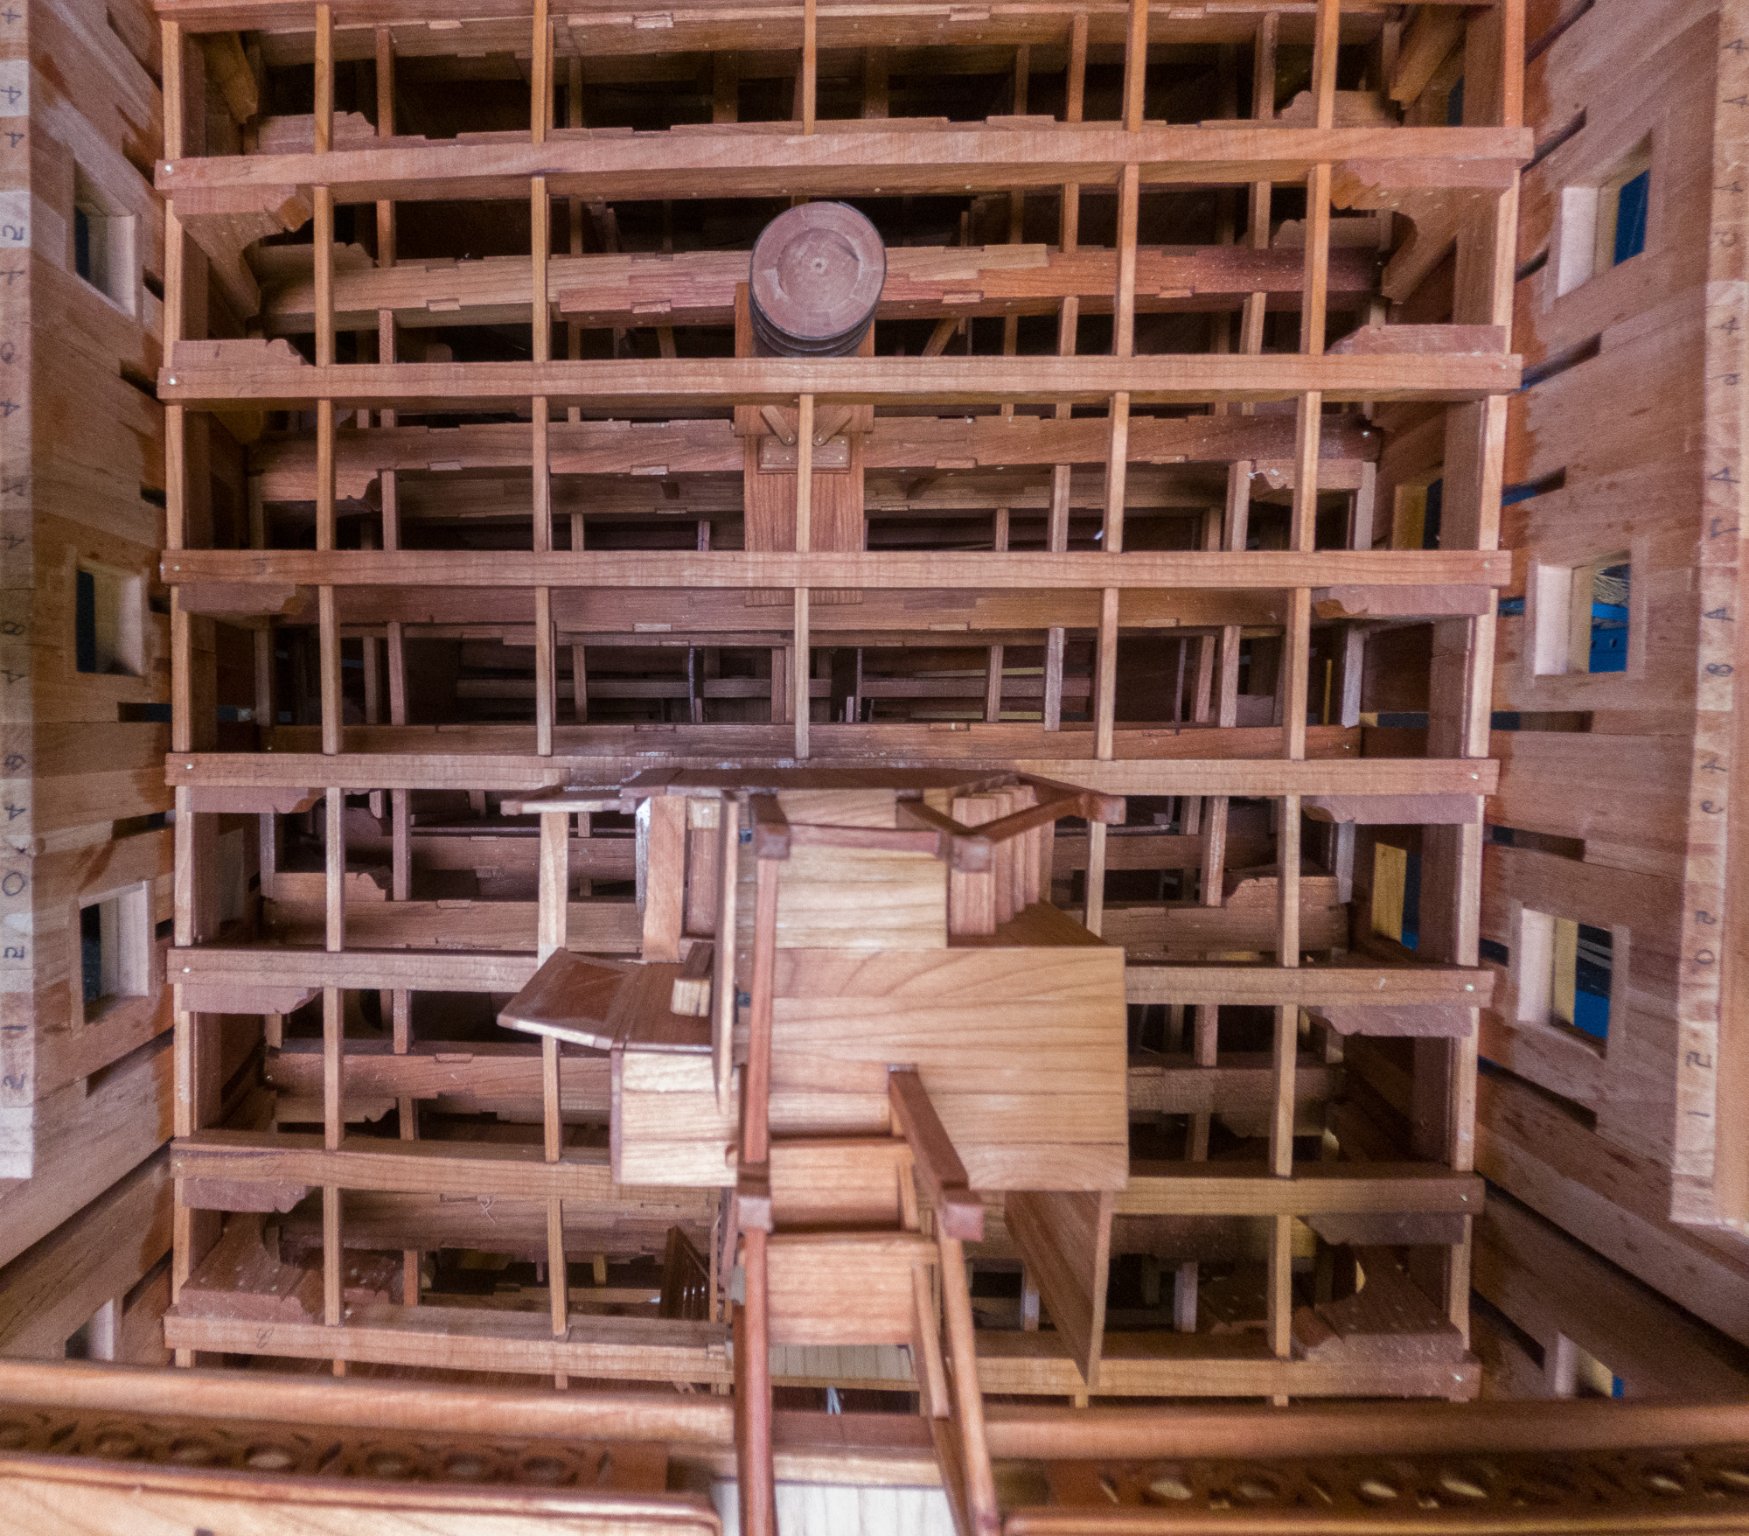
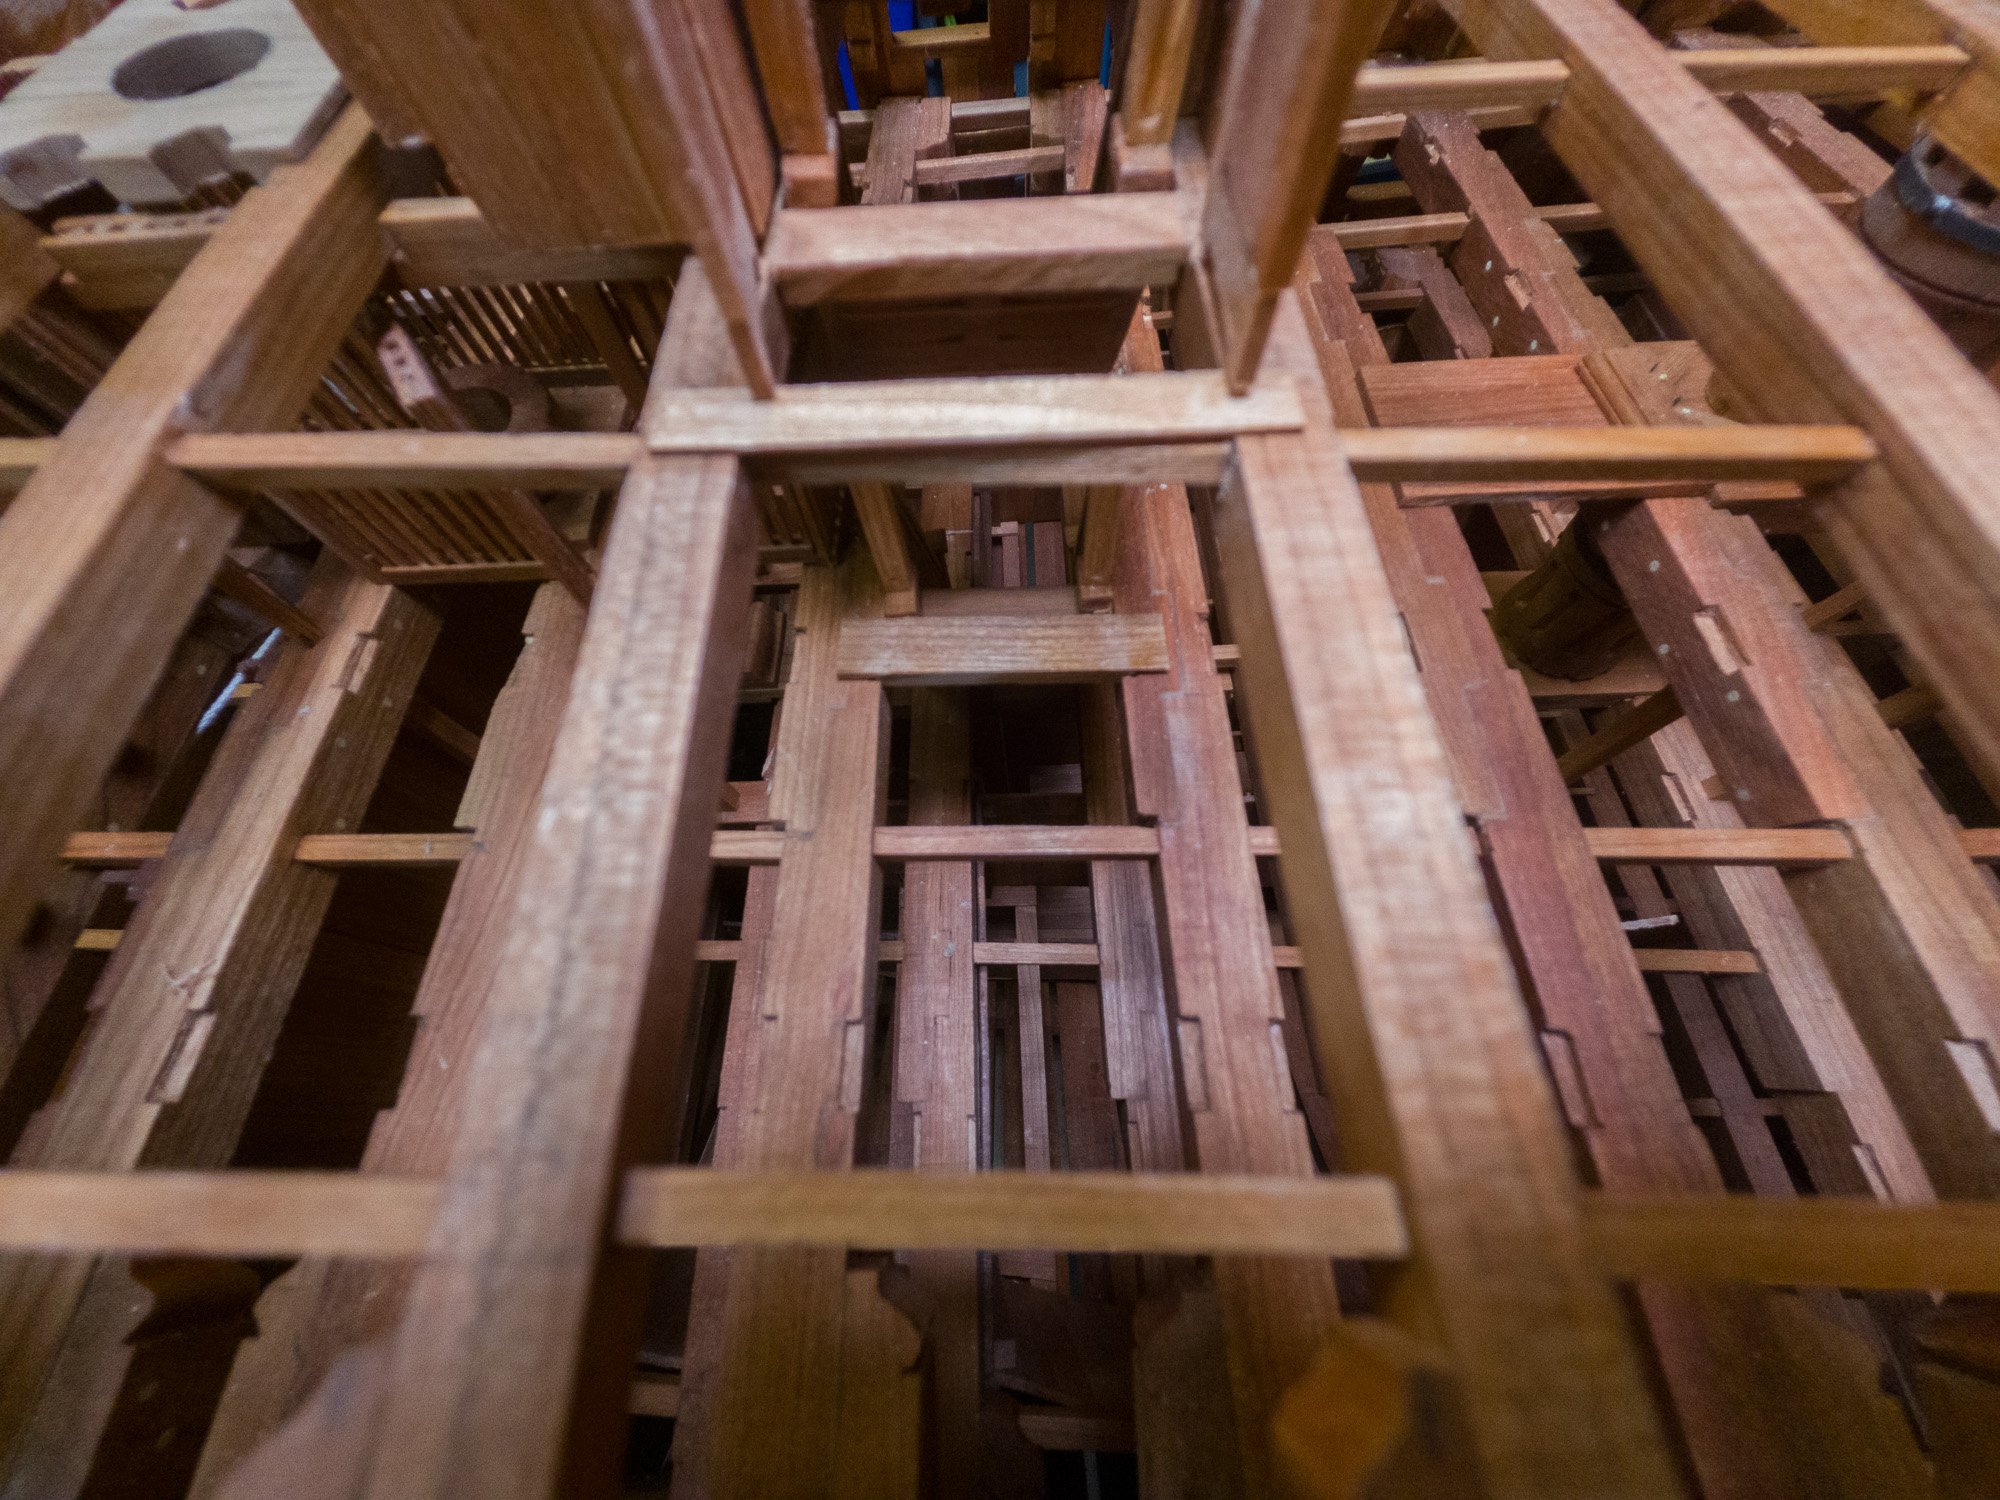
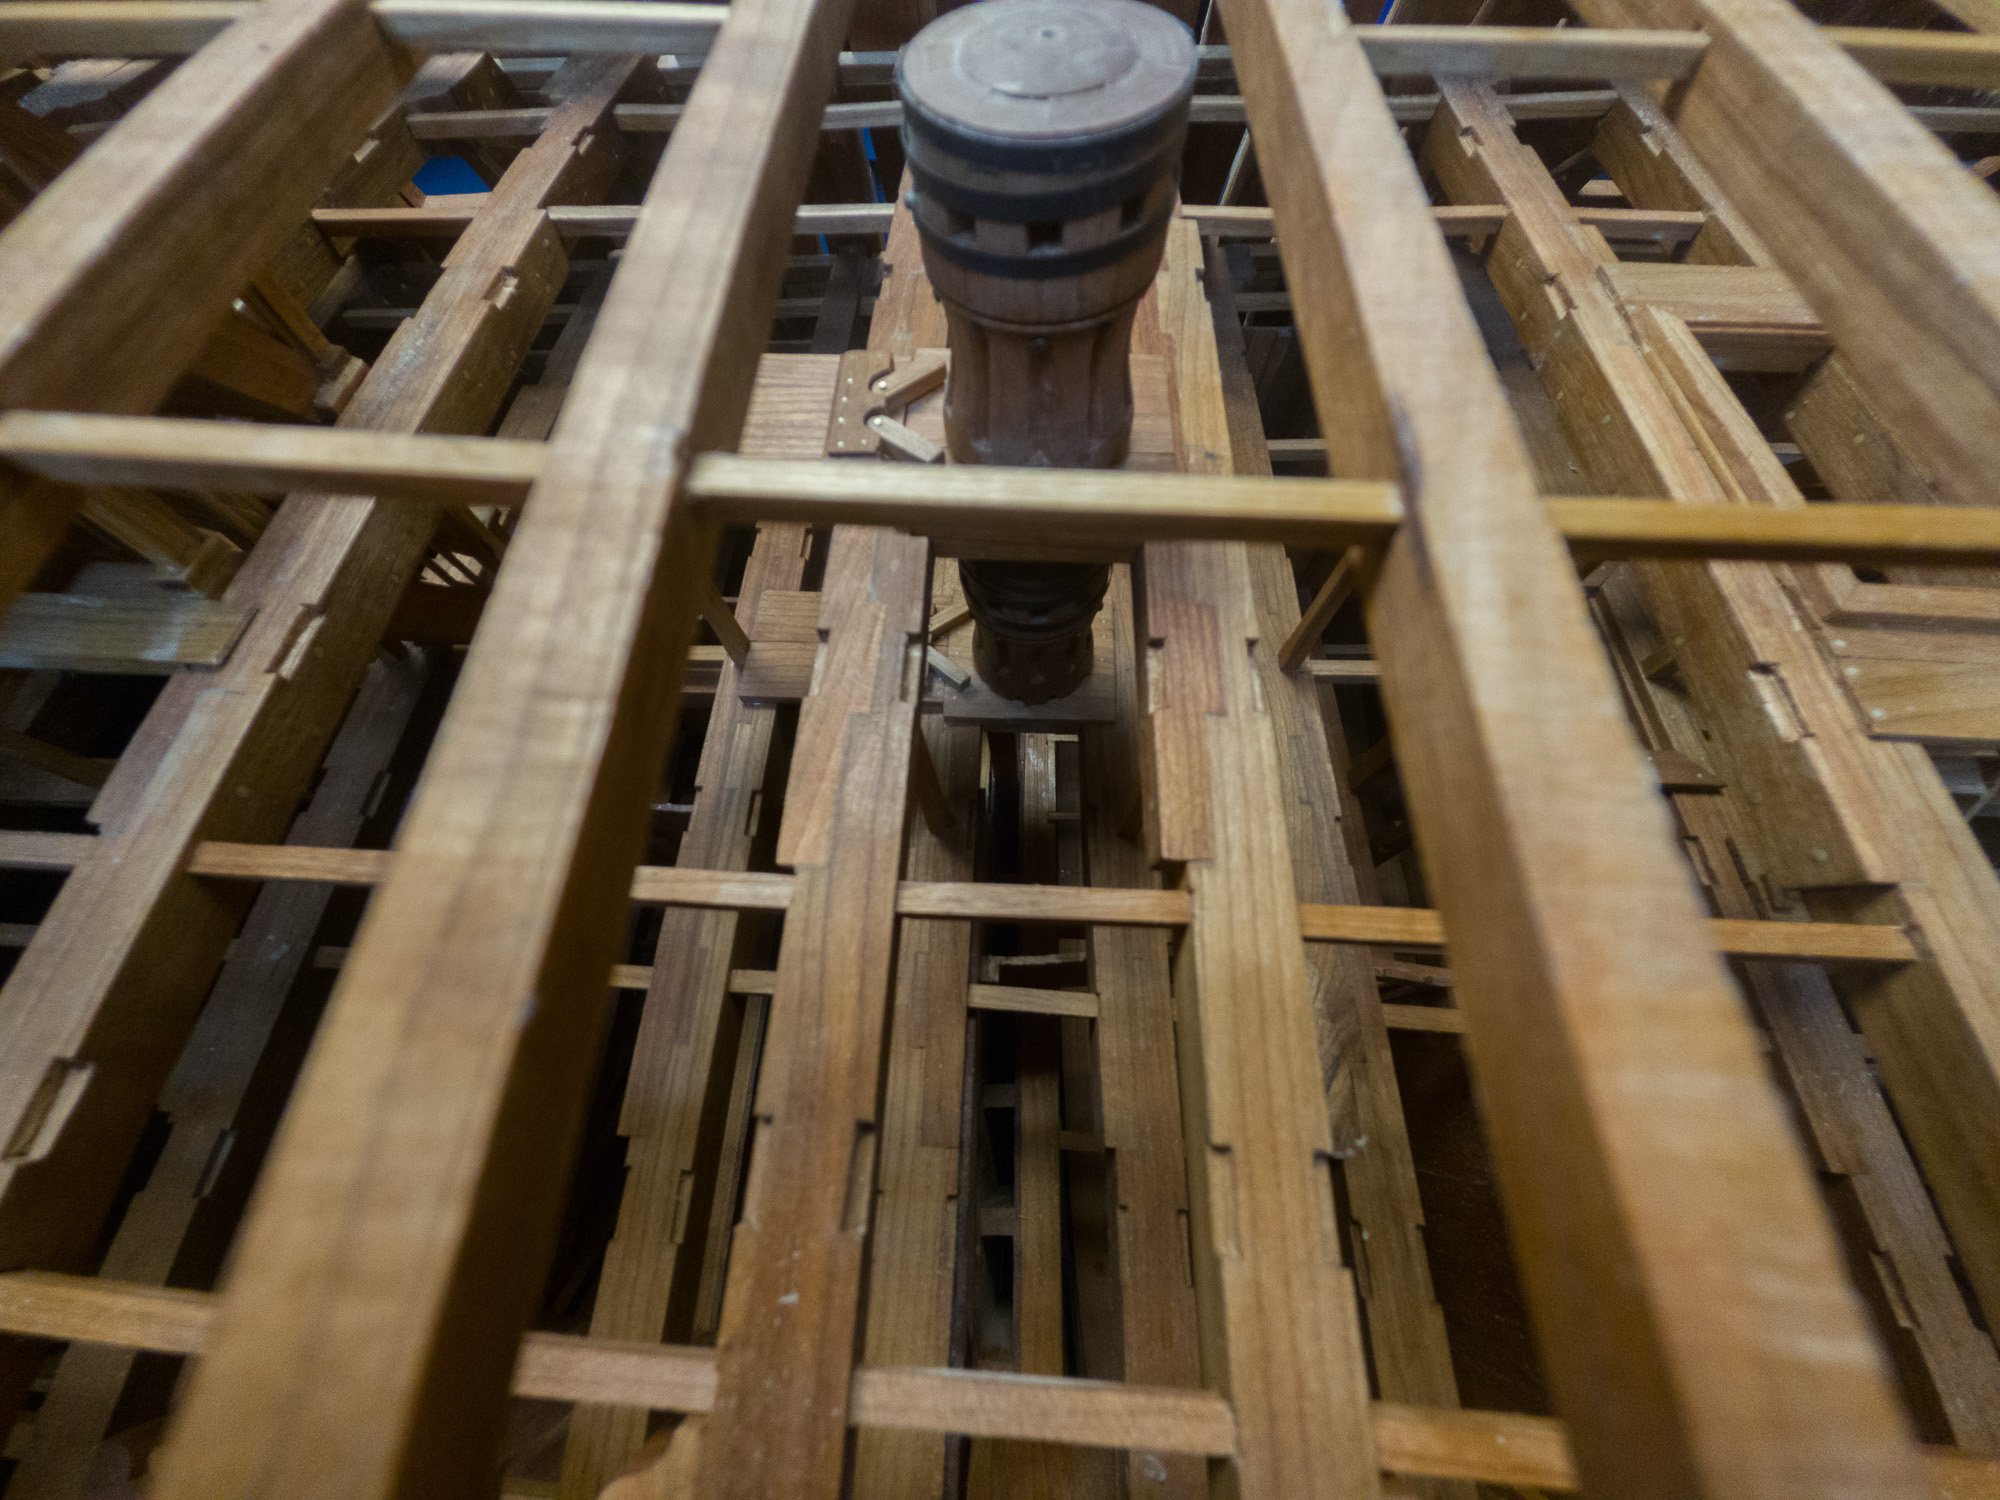
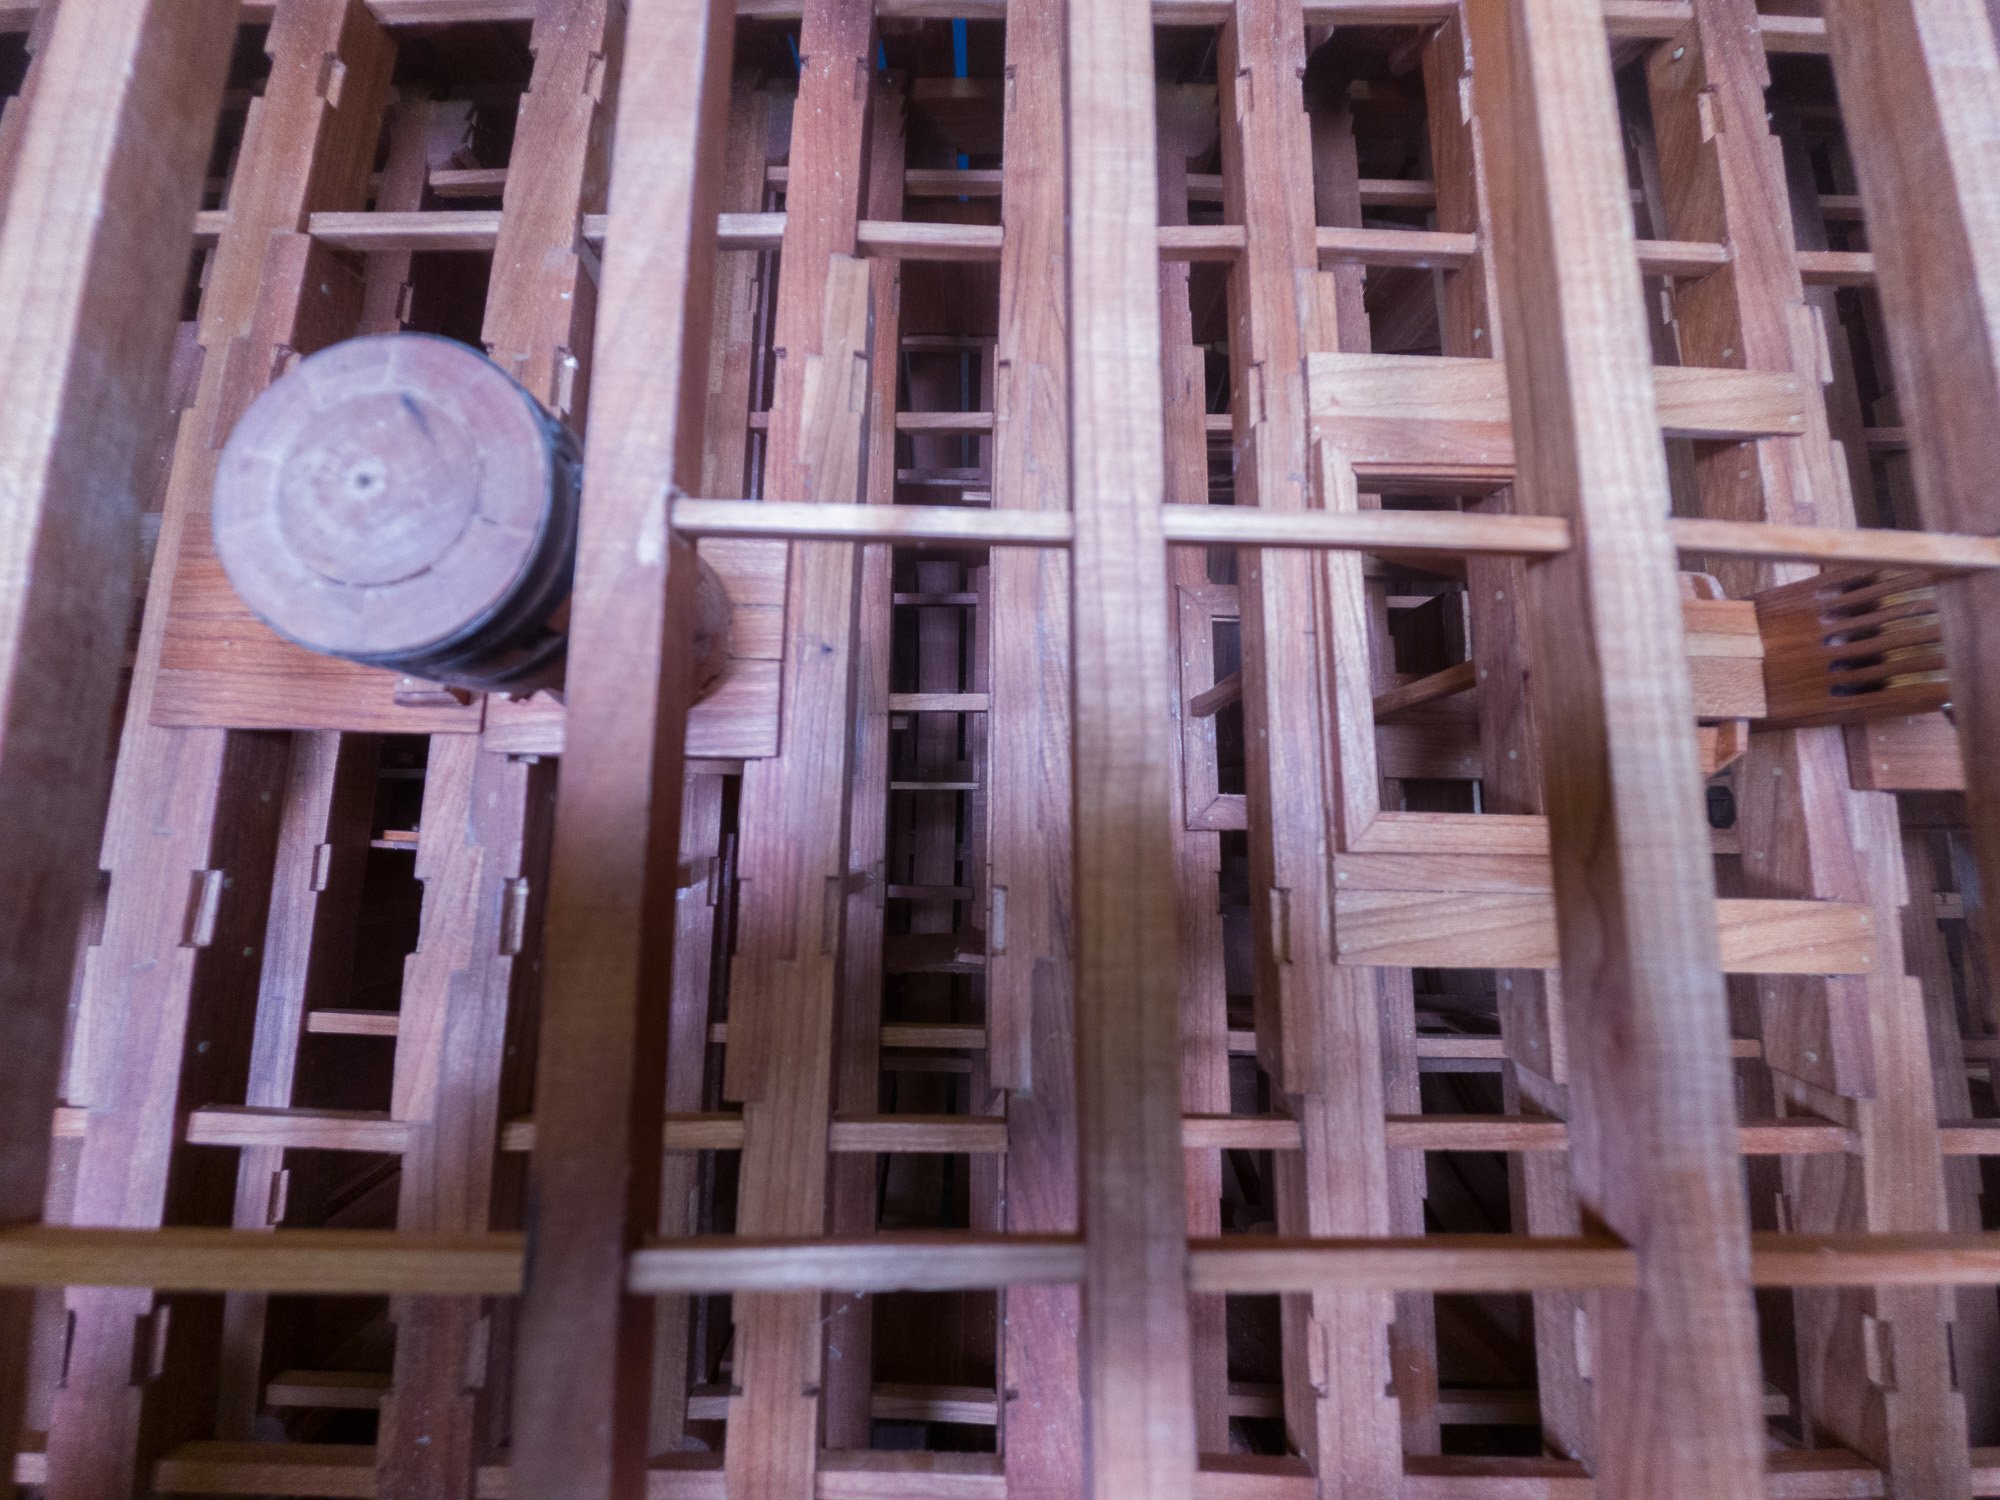
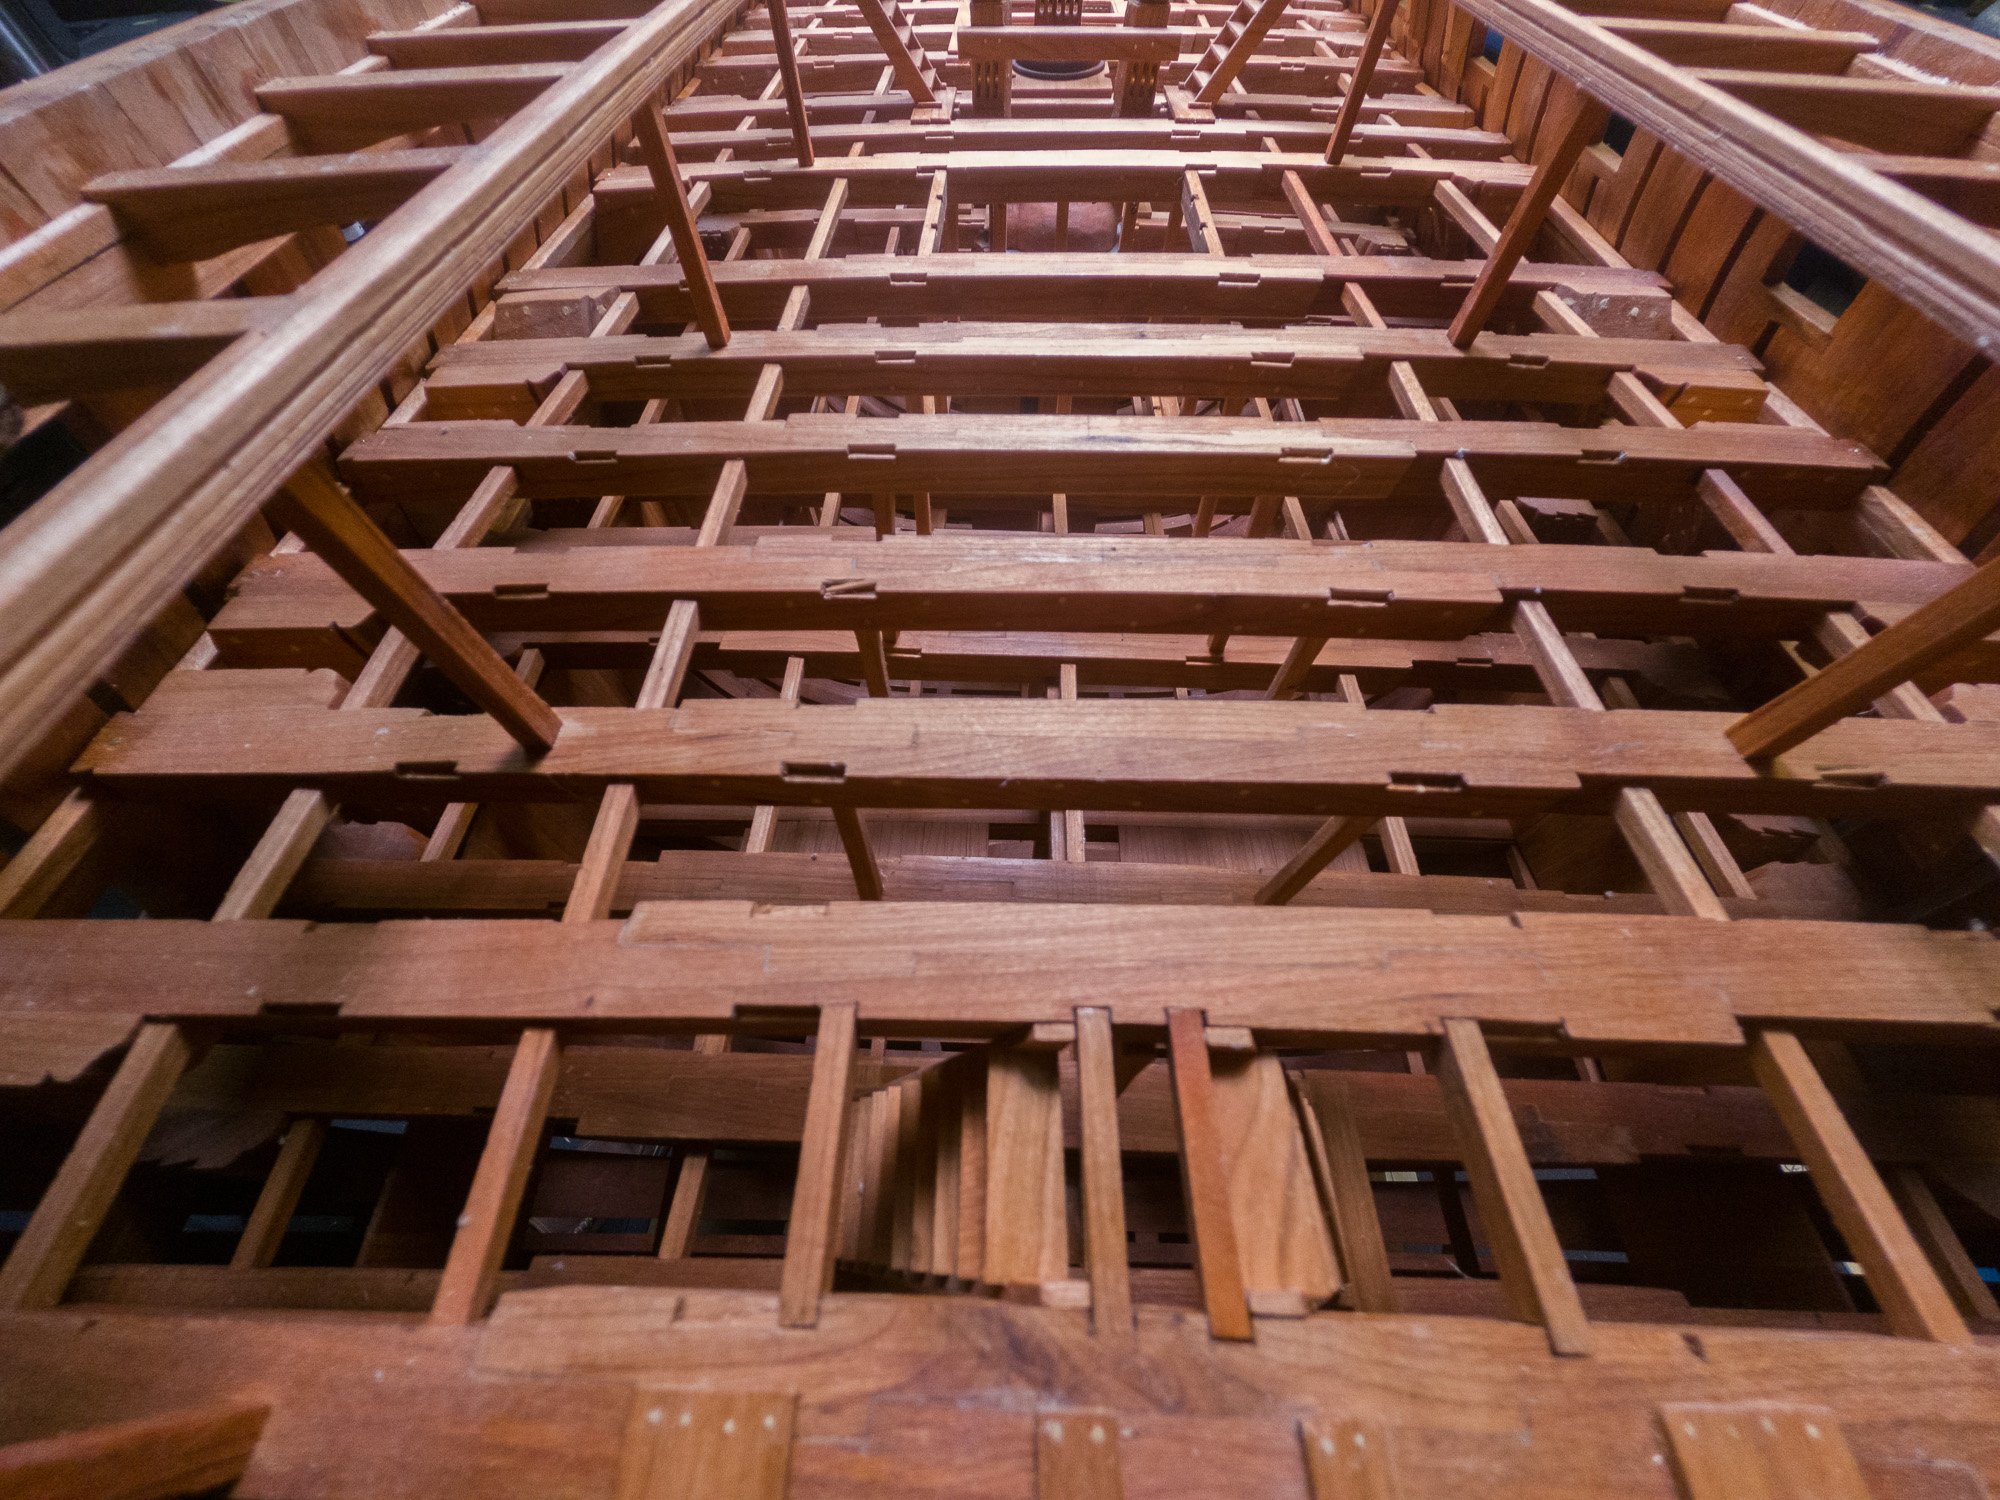
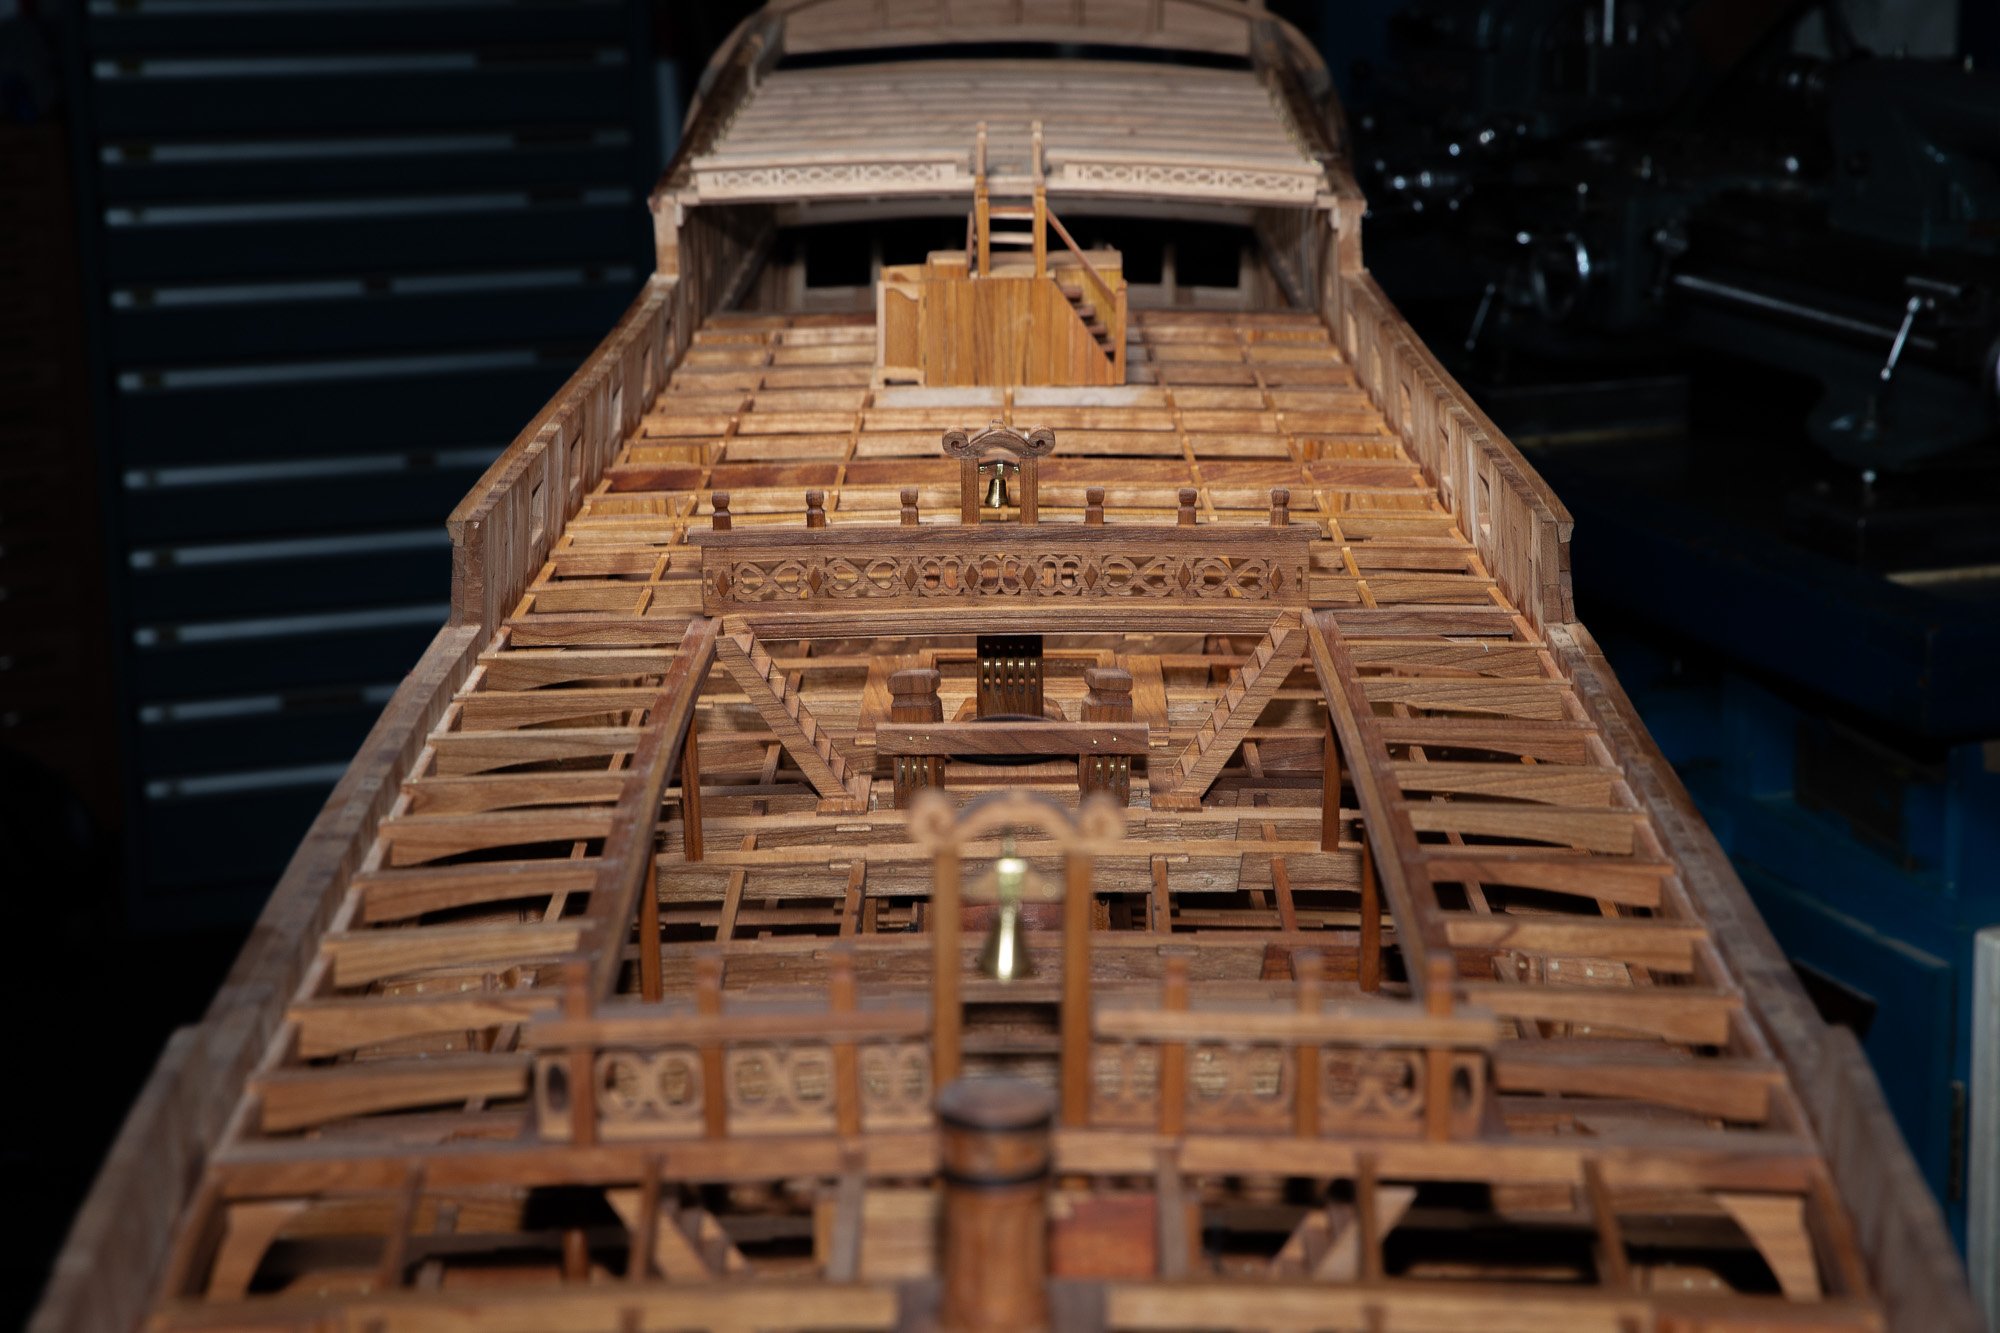
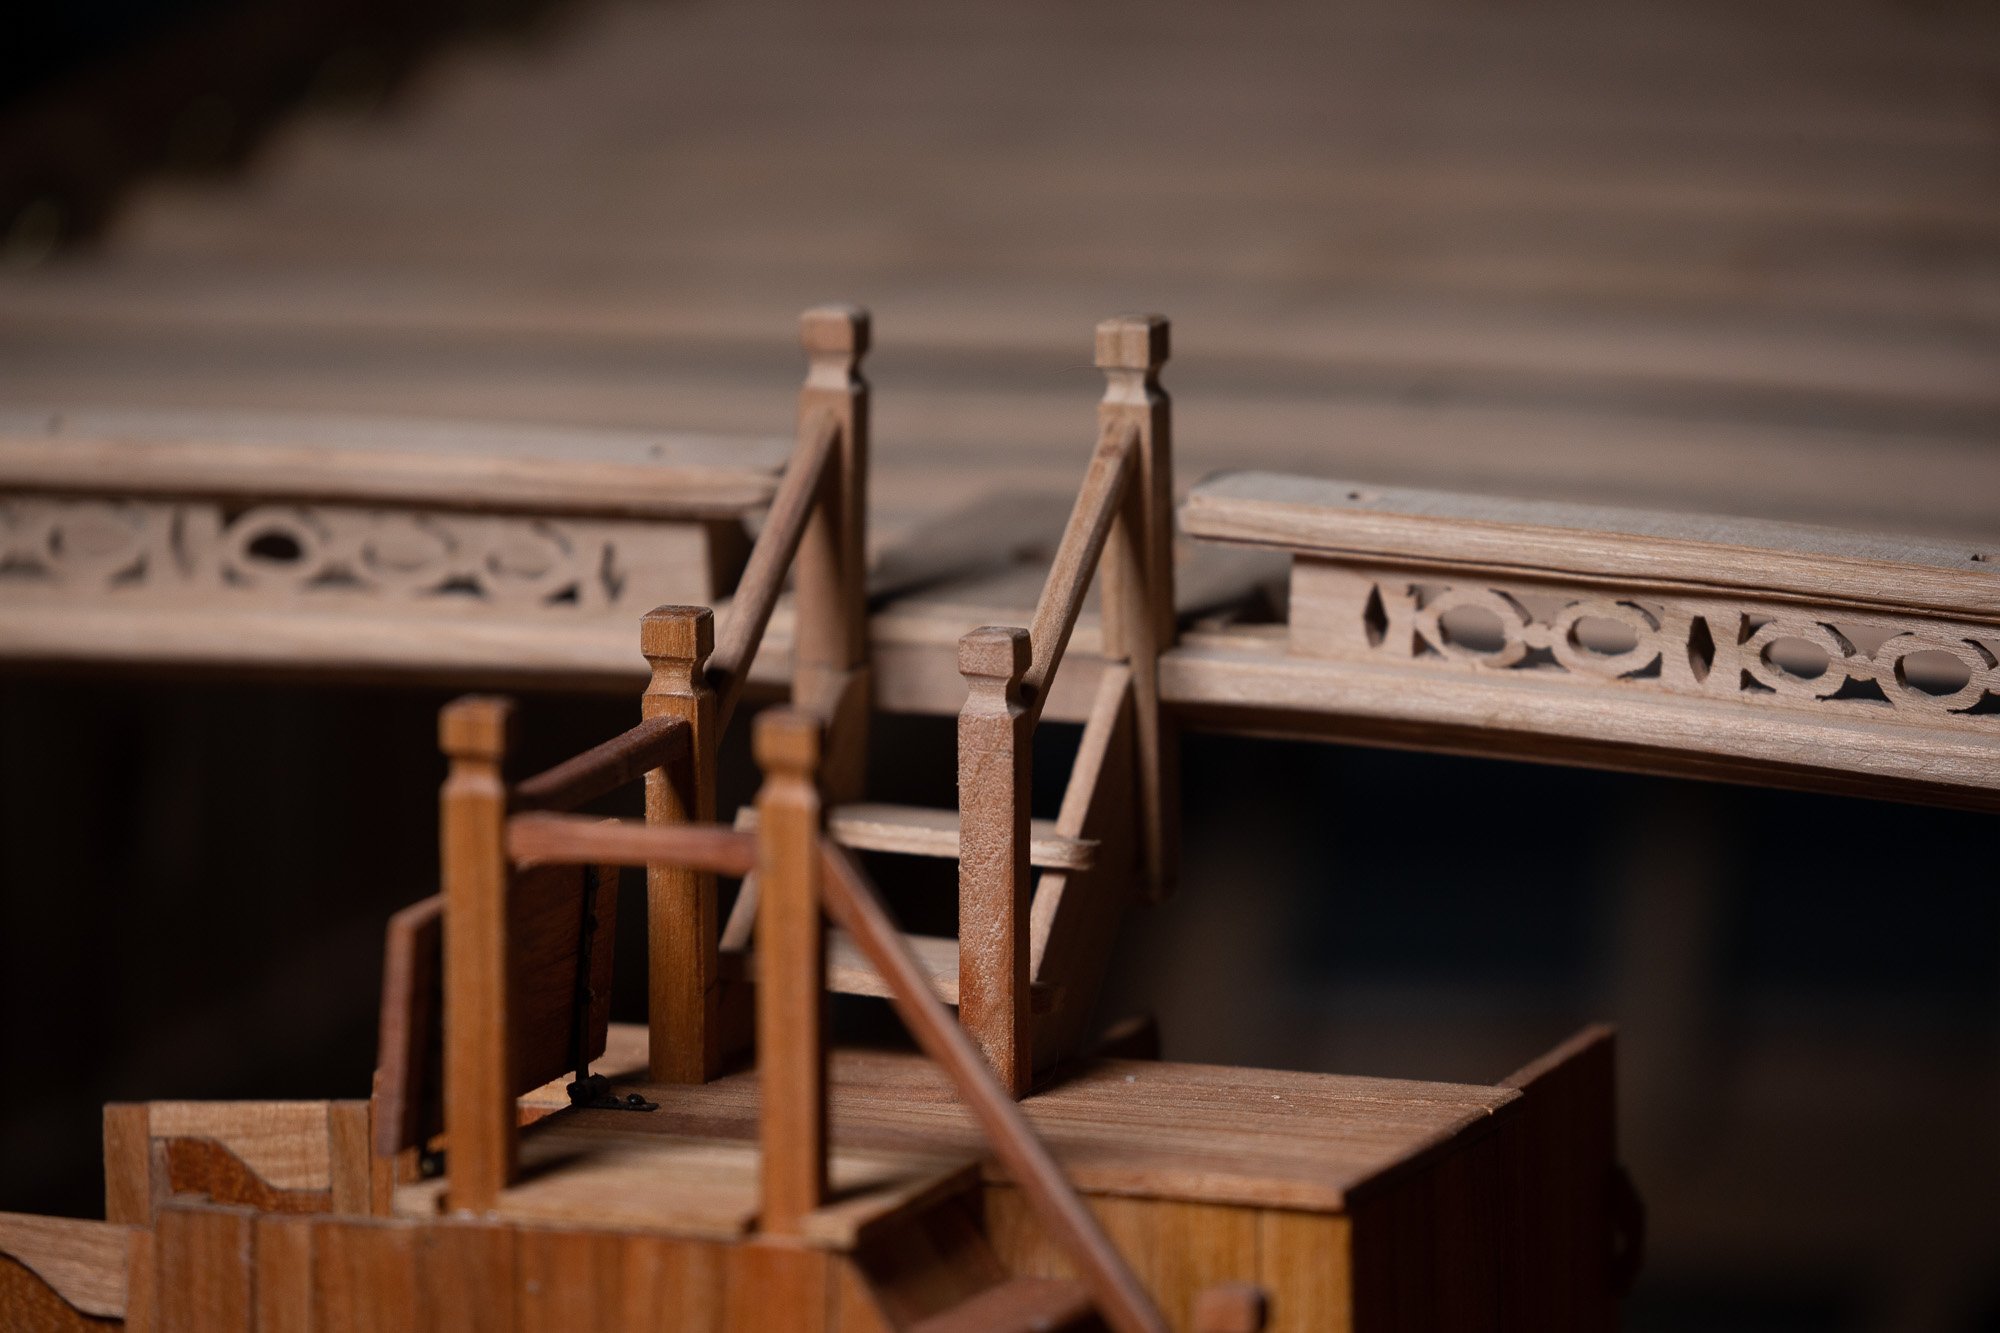
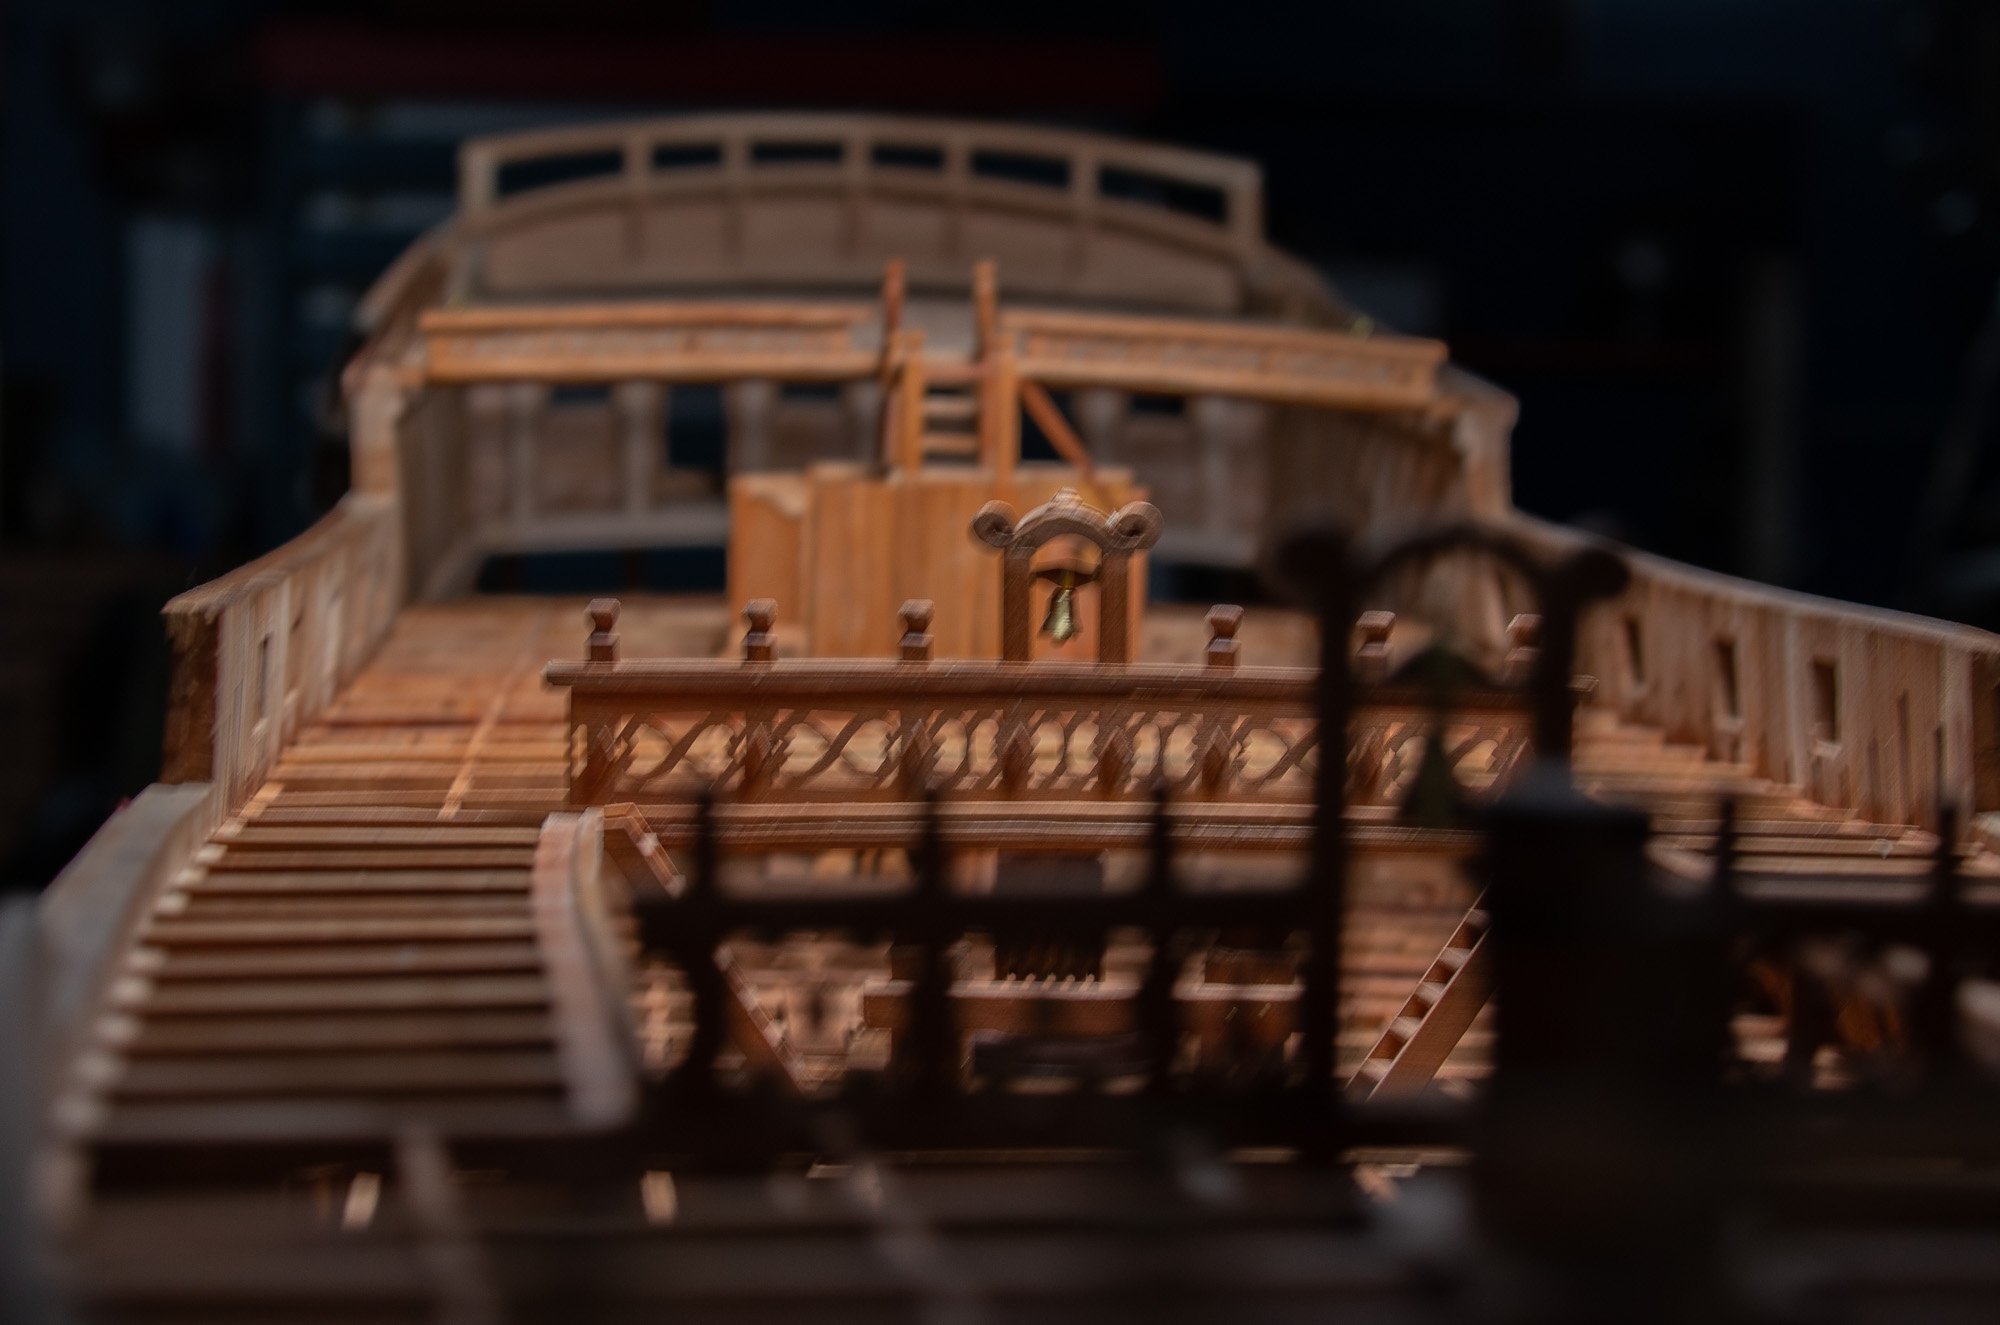
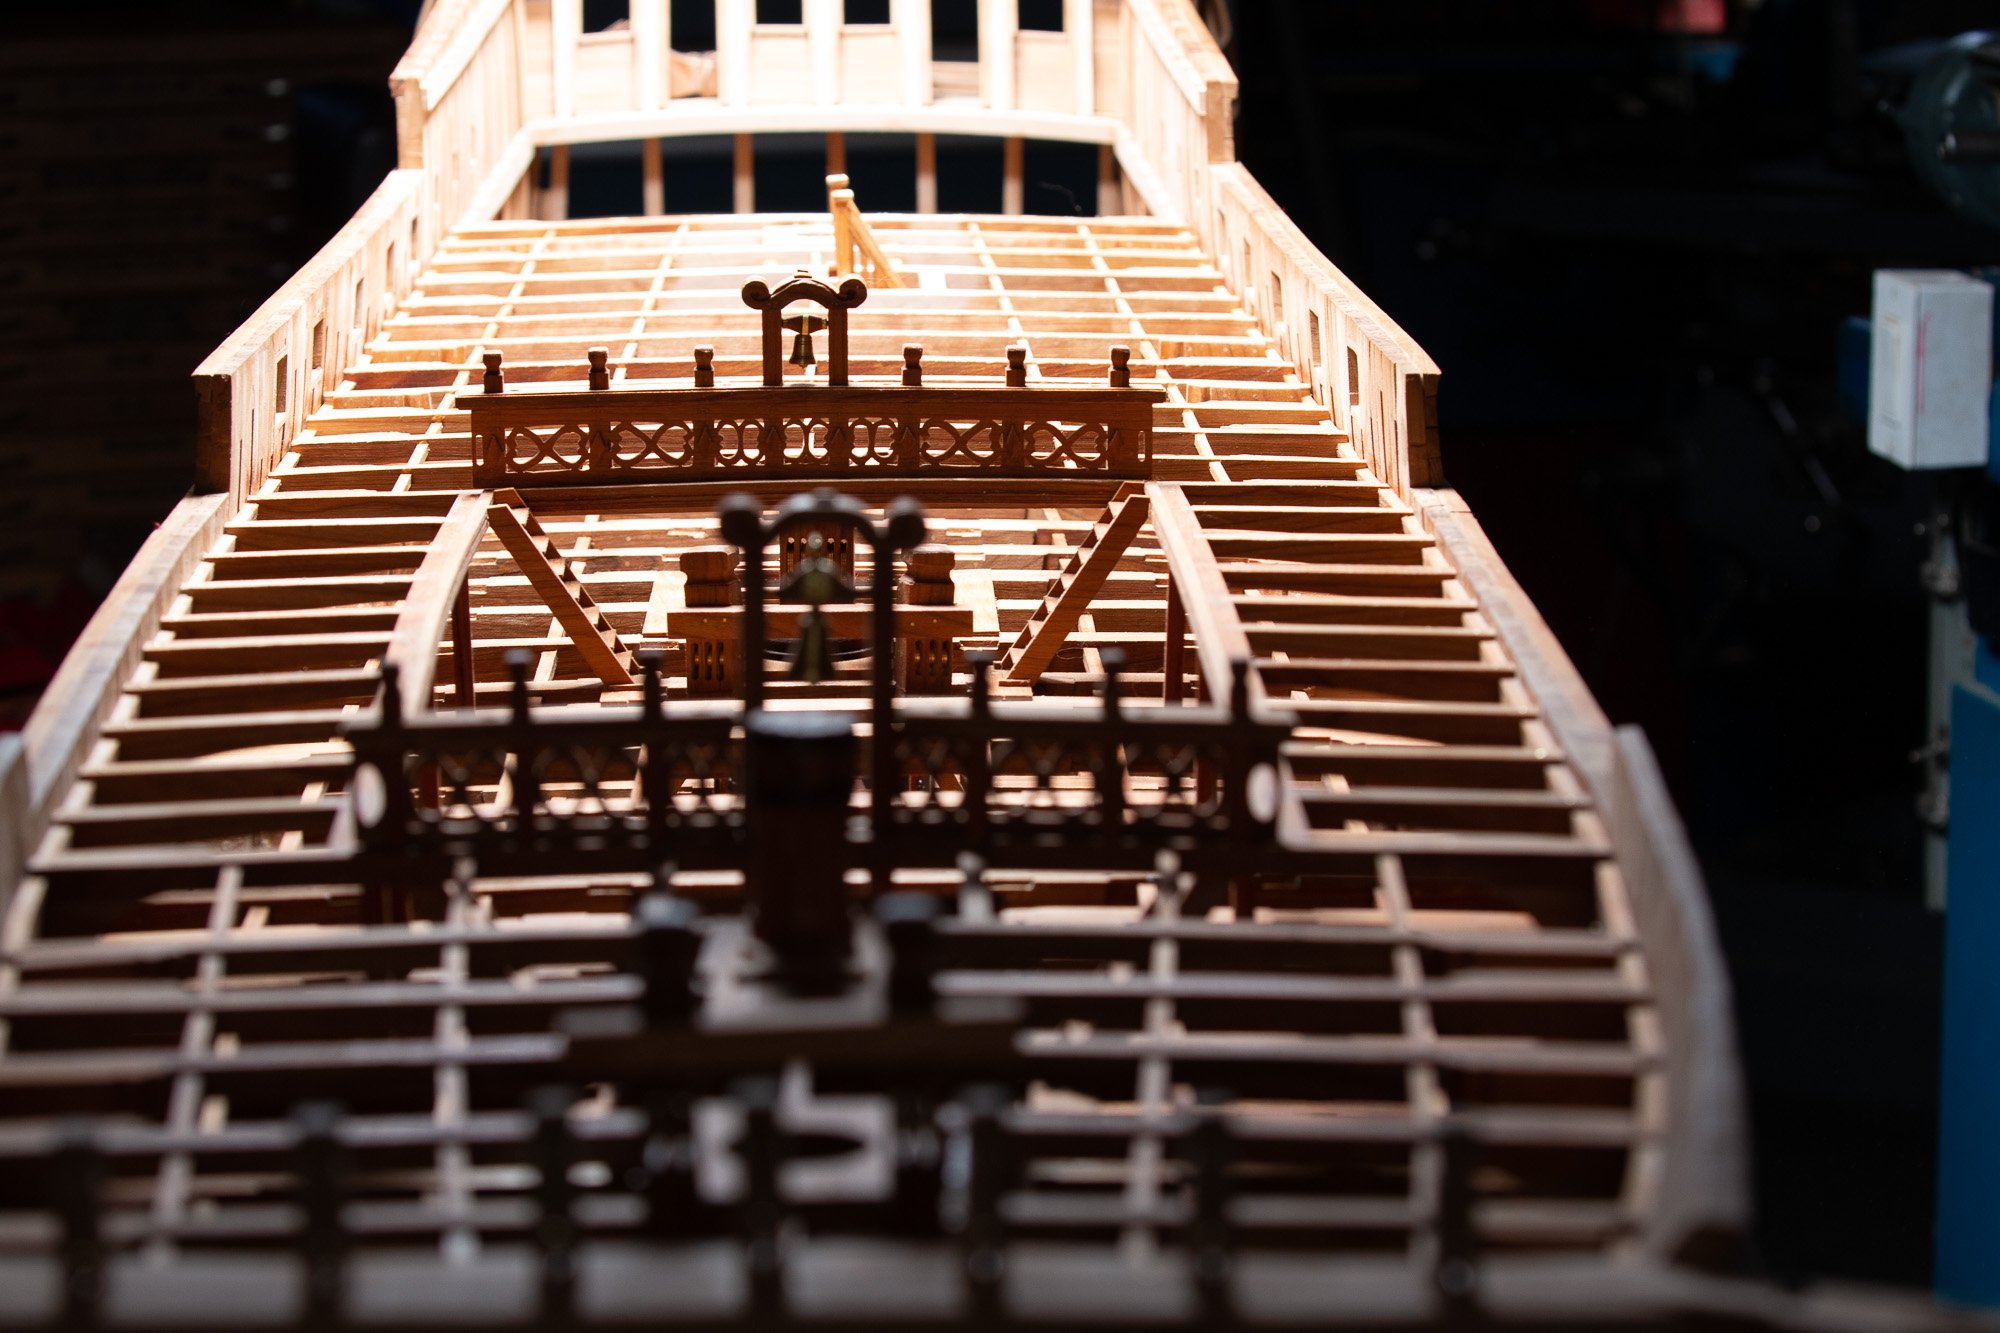
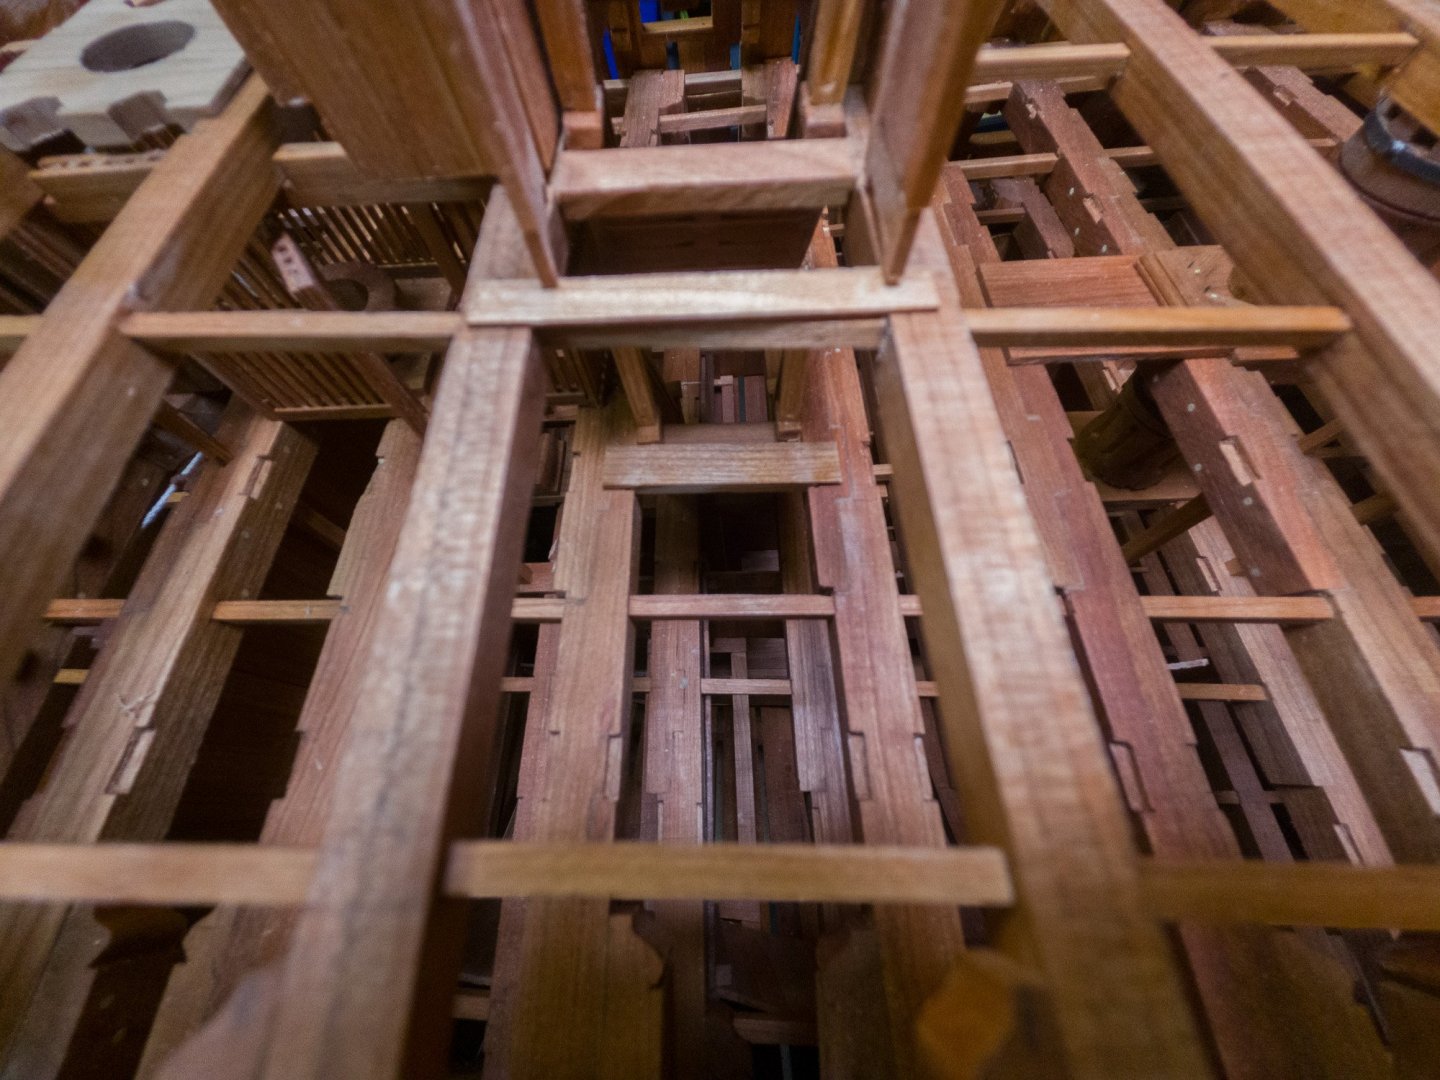
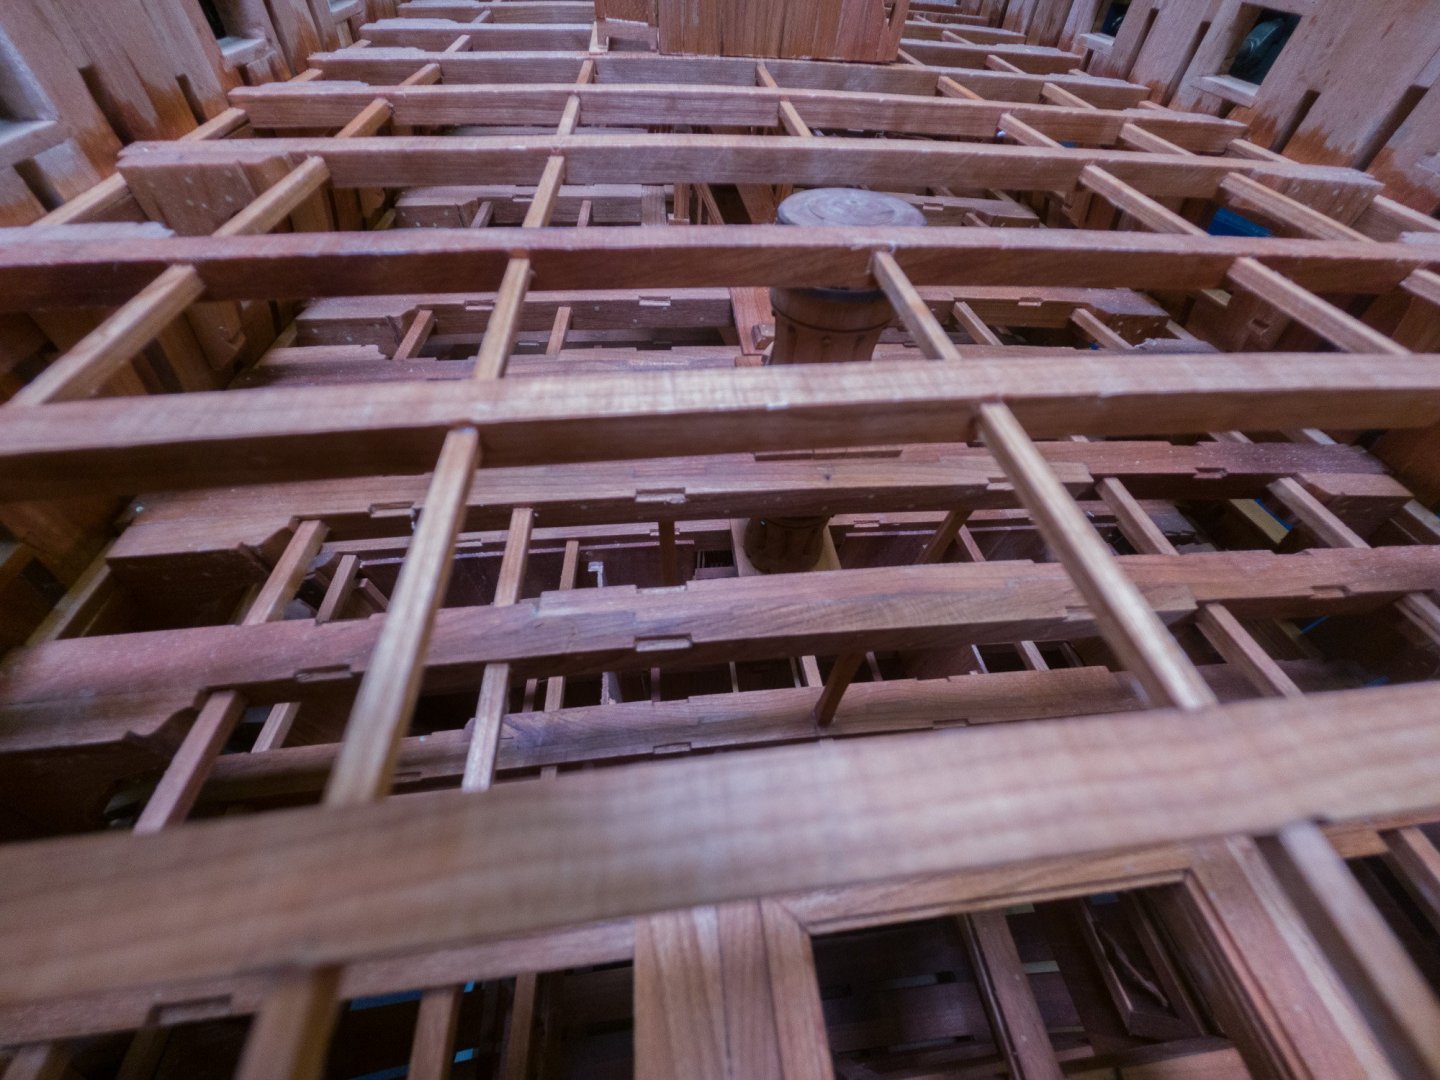
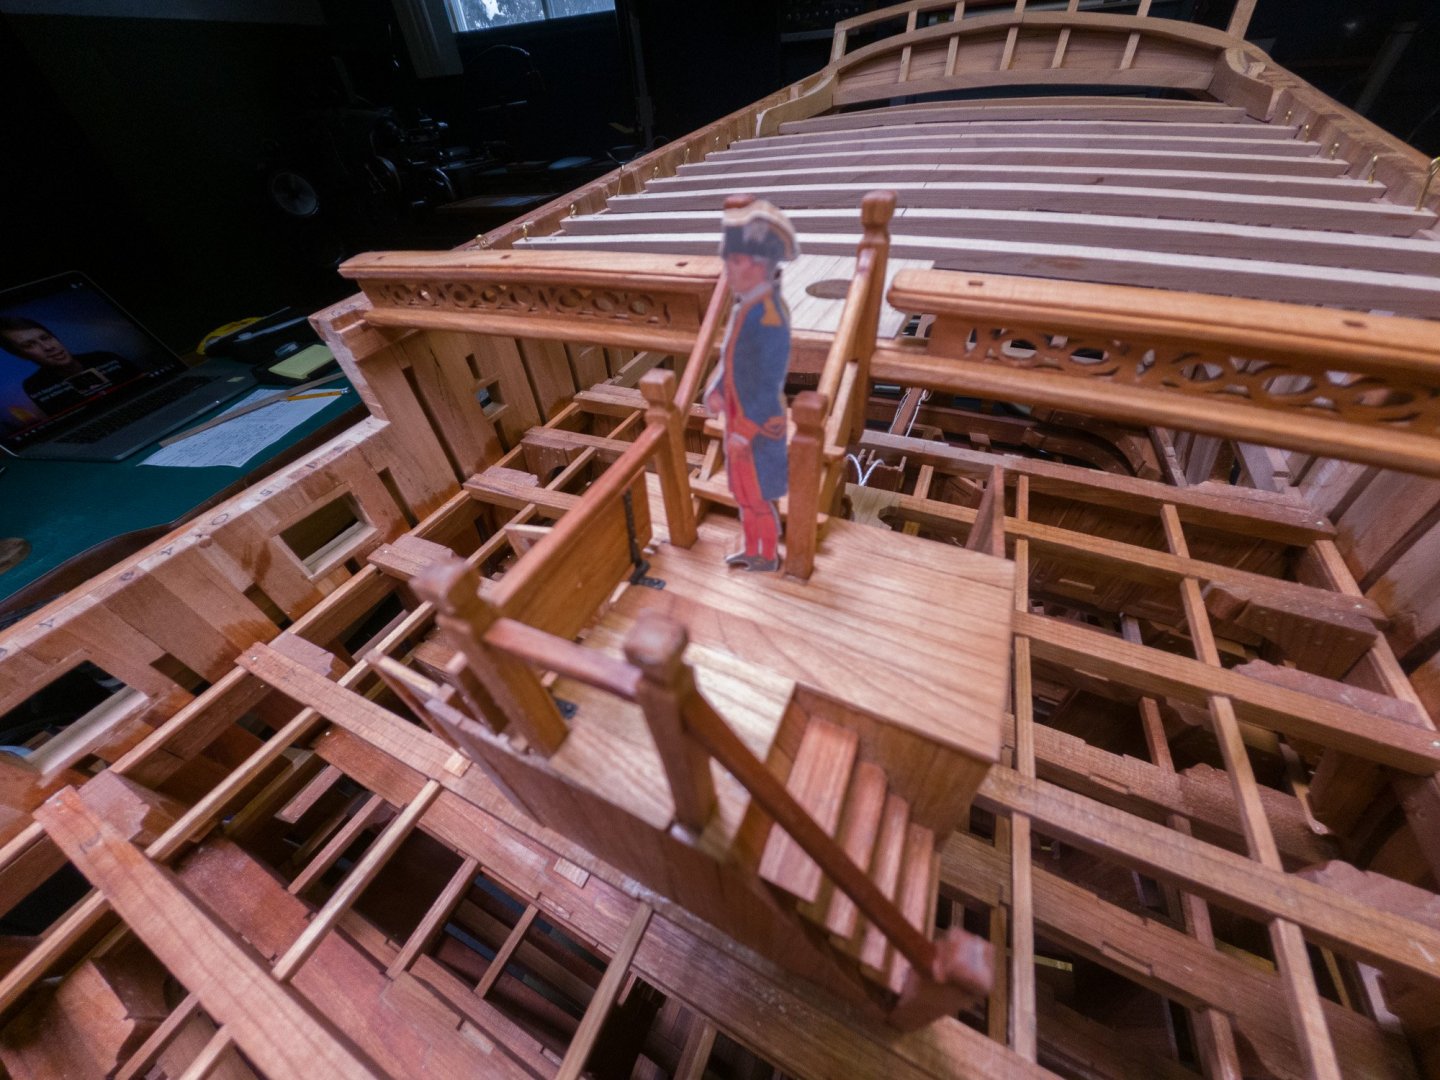
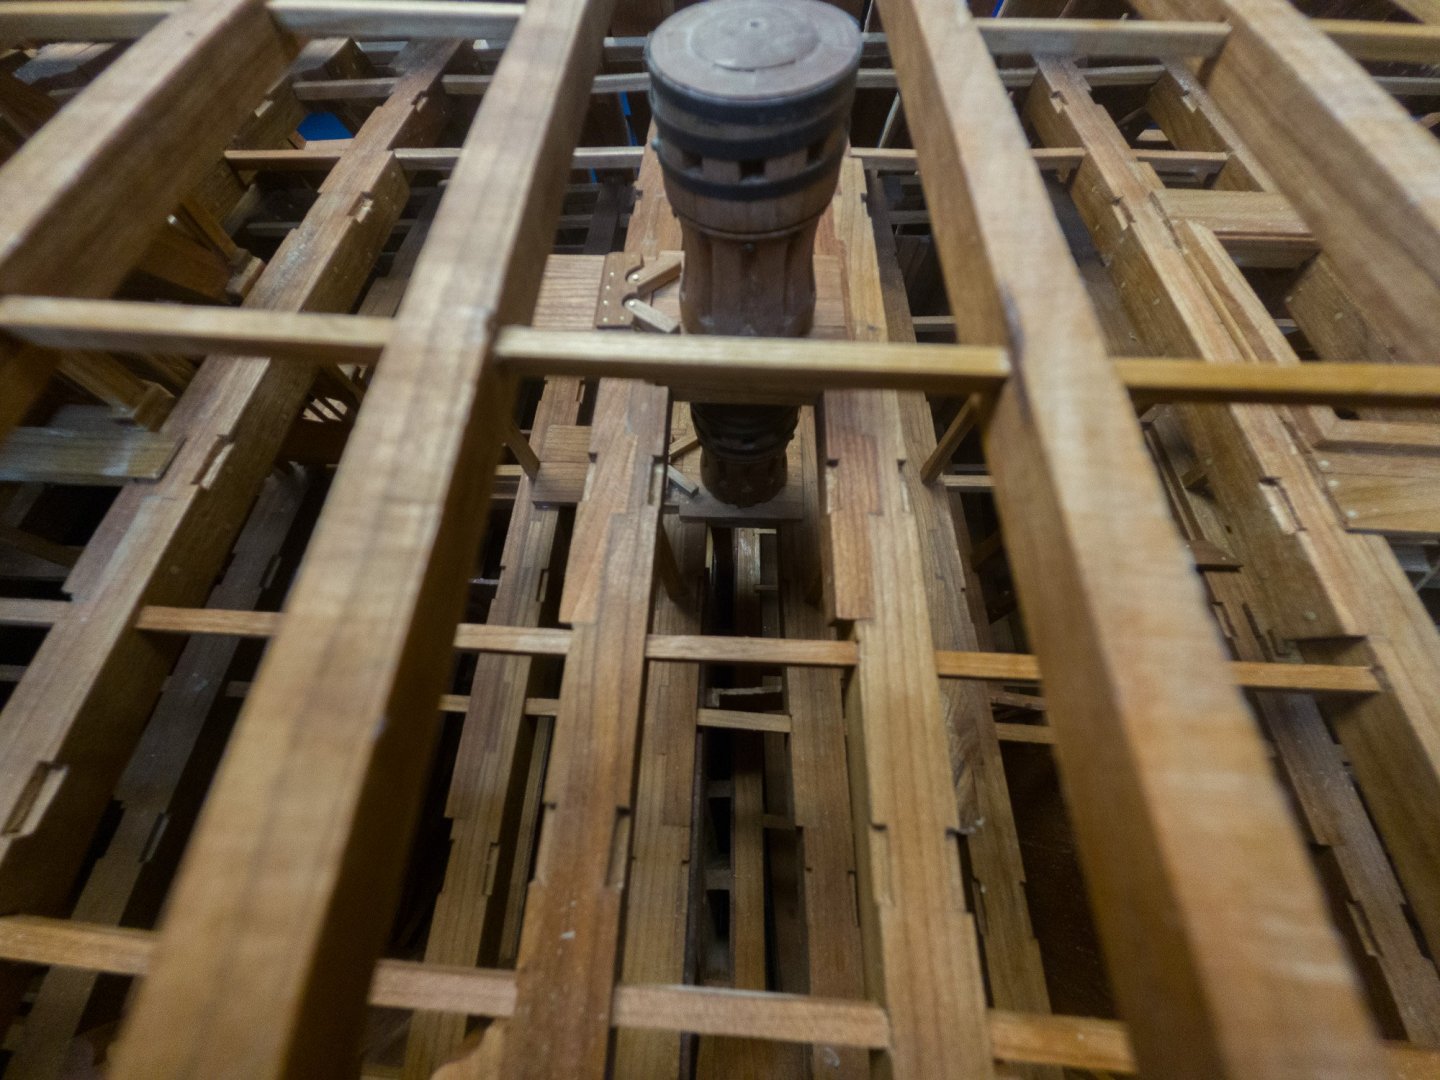
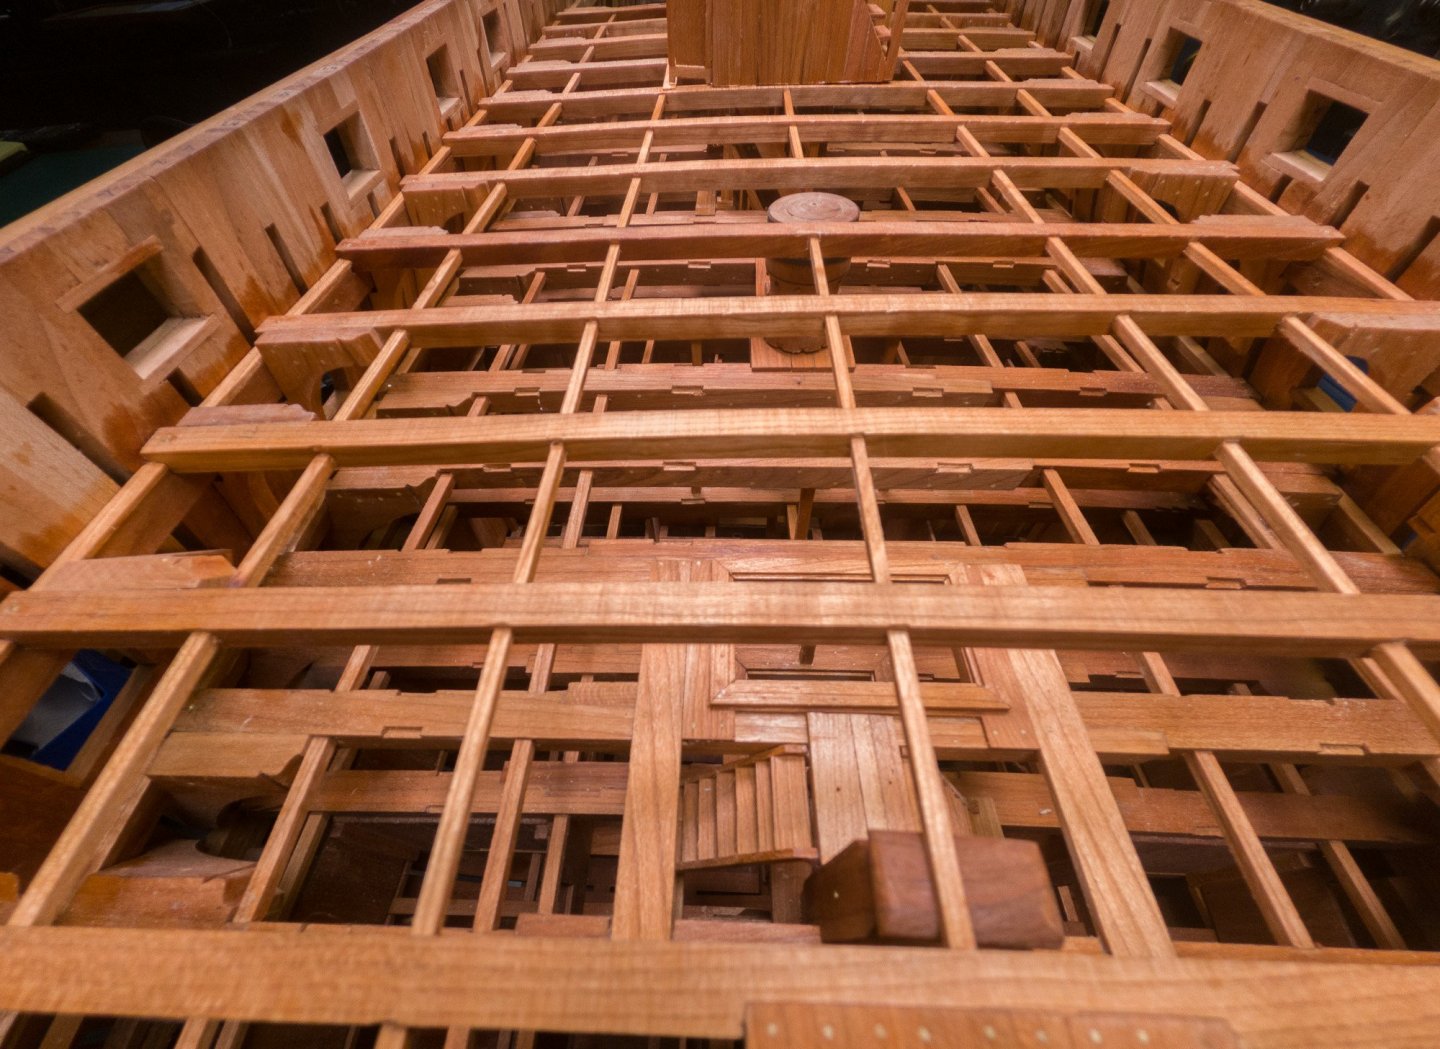
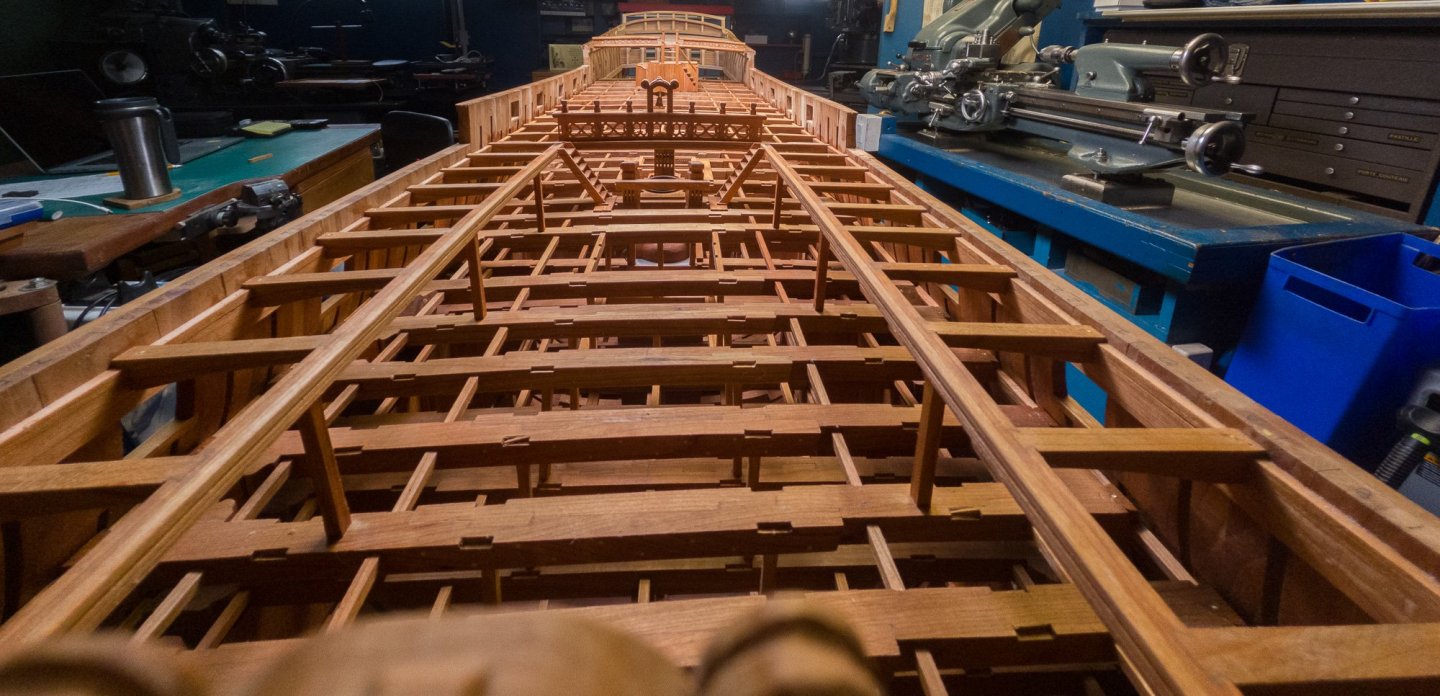
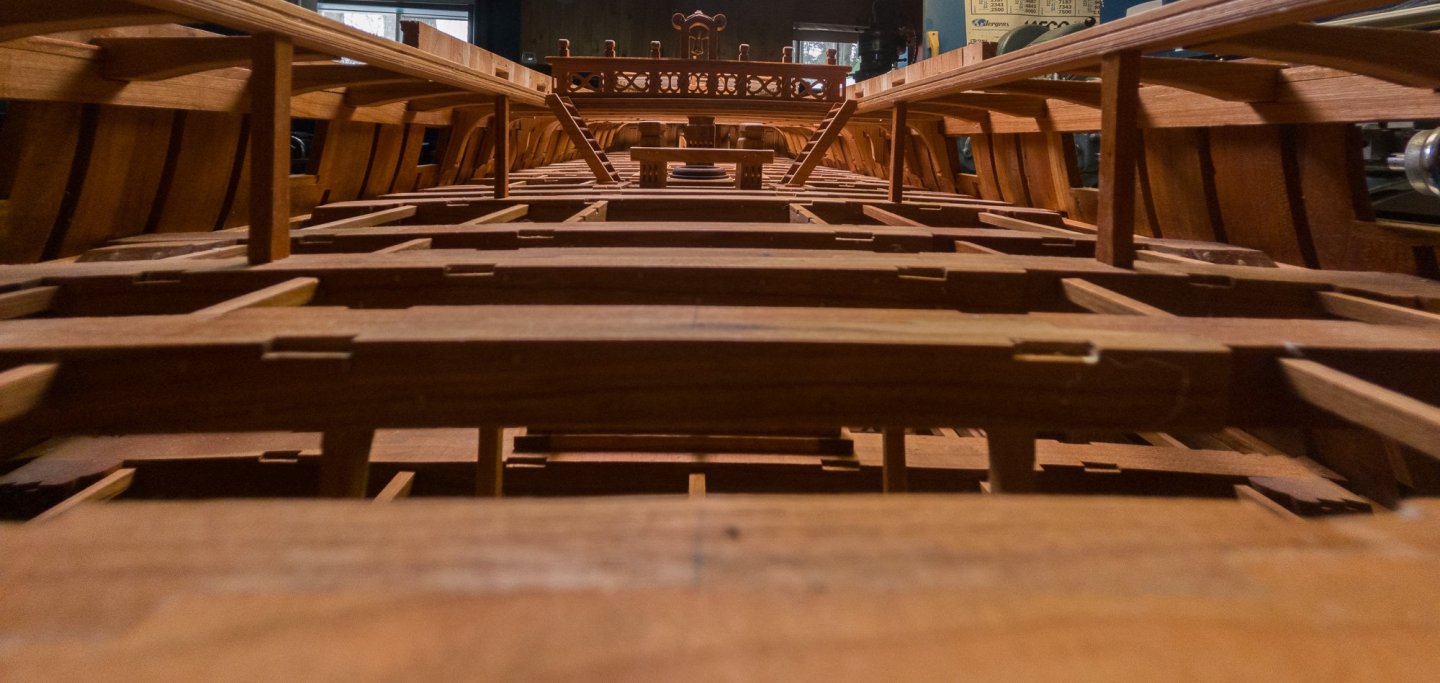
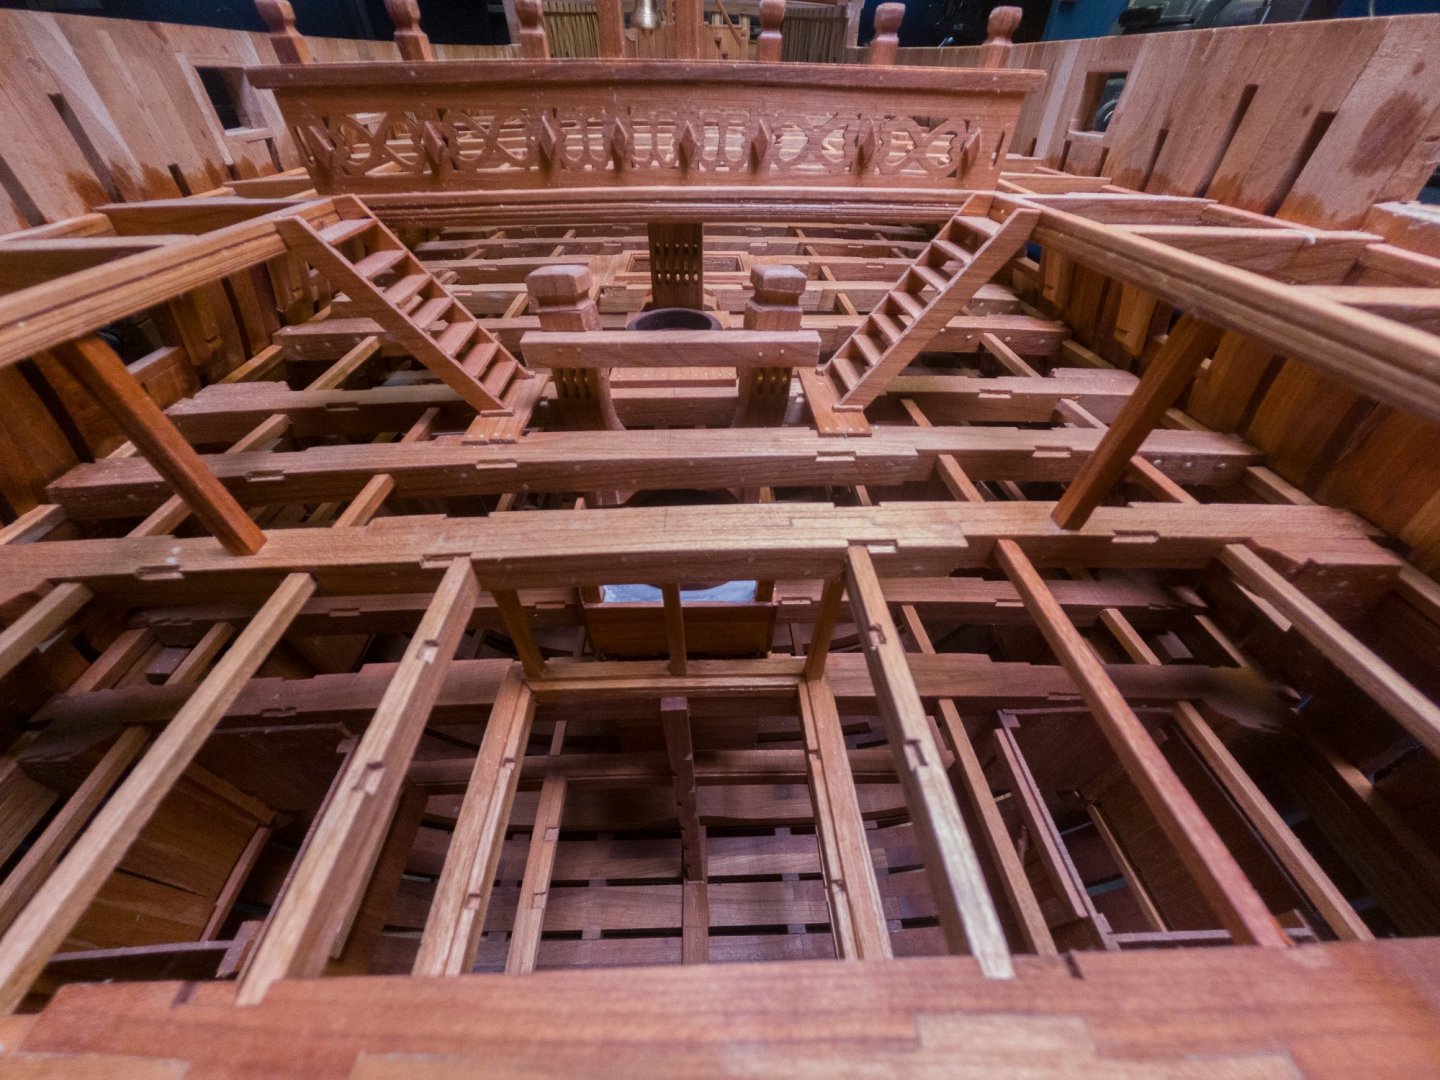
For the last 2 months, I did try to participate a lot more in some of other parts of the forum like tools and wood. What is surprising me the most is how fast some peoples can answer without reading the other postings of the same subject. I will stop here. While this time, I also continued to build. Next, the inside work will be behind the wheel from the first deck upward.


-
In think that you should pay attention to what you write. To believe that the micro bevel will save you time in sharpening is false, in fact it is the opposite. To believe that the micro bevel will make your edge last longer is also false; with or without, it will last the same time. Leather is not made for sharpening, leather and compound are made for 2 things:polishing and removing the burrs. Sharpening can be easy not because of the steel used but mostly because of the stone type you will use. Water sones are the best, some are very fast and others are slow.
-
Macro photography on the cheap.
Gaetan Bordeleau replied to ausf's topic in Modeling tools and Workshop Equipment
in comparison canon 65 figure at 1/192