-
Posts
214 -
Joined
-
Last visited
Content Type
Profiles
Forums
Gallery
Events
Posts posted by Jason Builder
-
-
- schooner, GrandpaPhil, mtaylor and 1 other
-
 4
4
-
- schooner, mtaylor, GrandpaPhil and 1 other
-
 4
4
-
Hi Bob,
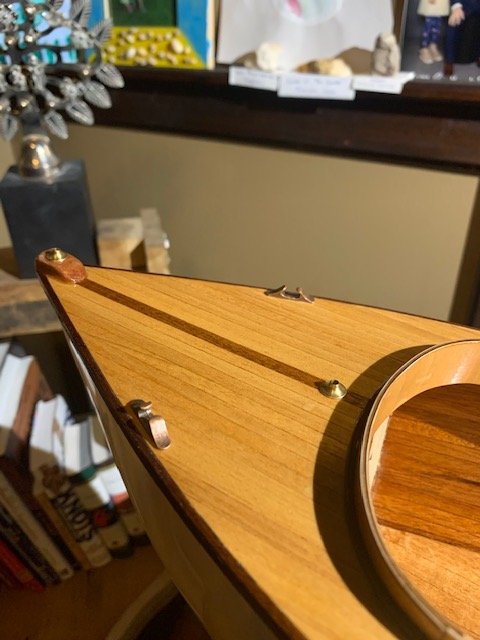
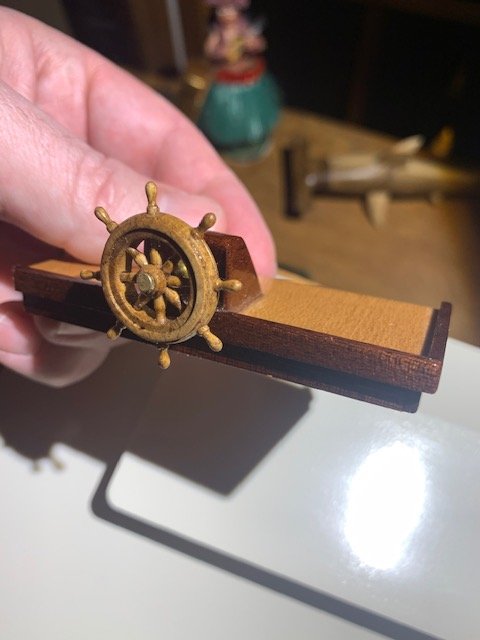
The cleats and chocks are from the kit and are cast metal. This is the first Krick kit I’ve built and I would say it is a high quality kit. The fittings, hardware, hull, and wood were of good quality. Nice machined and cast fittings, detailed wooden ships wheel, high quality accessories kit. What I added above and beyond the kit was all the non standard Wooden planking, trim work, and stronger servo bases. I also did not use the flags from the kit or the display stand. Door hinges did not come with the kit so I bought functional brass ones.
Jason
-
Salve,
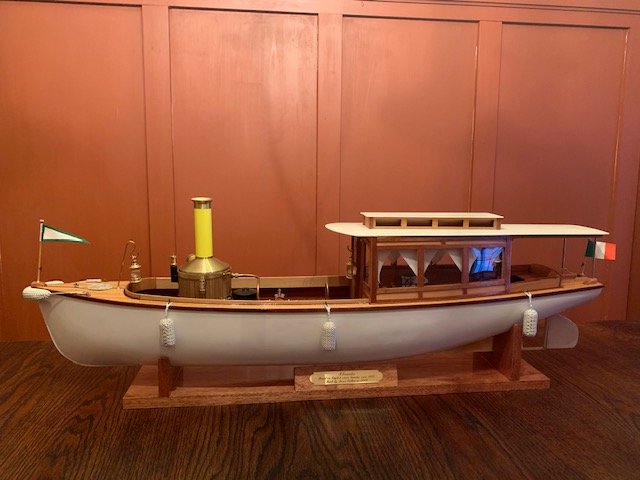
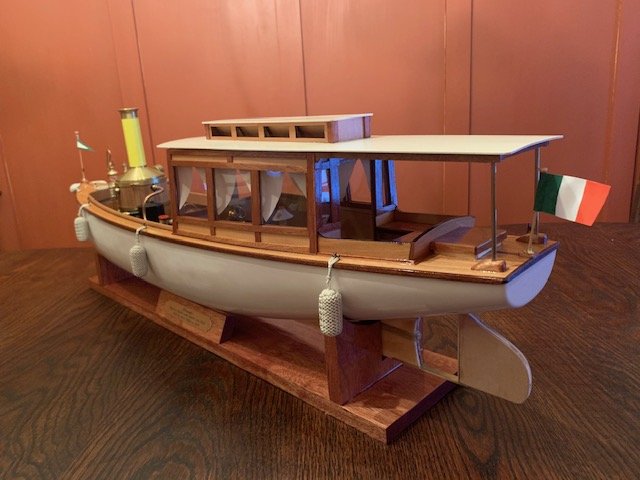
Well I can see the finish line! Here is the boat as she sits now. I got the fenders from Krick. They only needed the ends cut, tied and whipped. Remaining work is to mark the waterline, paint the hull, install the prop and prop-shaft, which I will do over the coming days or weeks. Then when it warms up (many months from now), I will see if she floats.
-Jason
-
Bonjour,
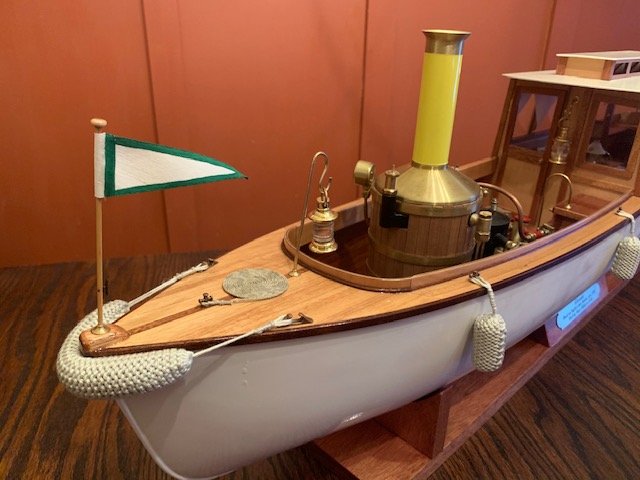
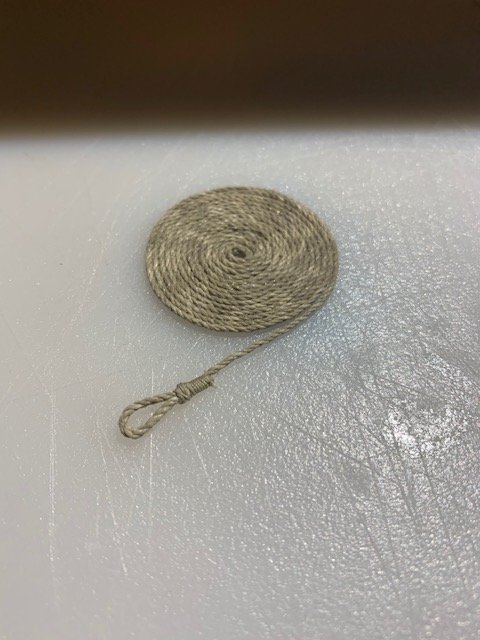
Flemish coil for the dock-line at the bow. I didn't glue this to the deck, but I did use superglue to glue the coils together so that the flemish coil will stay tight. I can never remember if these are supposed to go clockwise or counter clockwise, I will have to look that up again so that I place it on the deck with the coil going the right way.
-Jason
-
- mtaylor, BobG, GrandpaPhil and 1 other
-
 4
4
-
- mtaylor, GrandpaPhil, BobG and 1 other
-
 4
4
-
Sawubona,
These little finishing touches are fun. Recent activity has included:
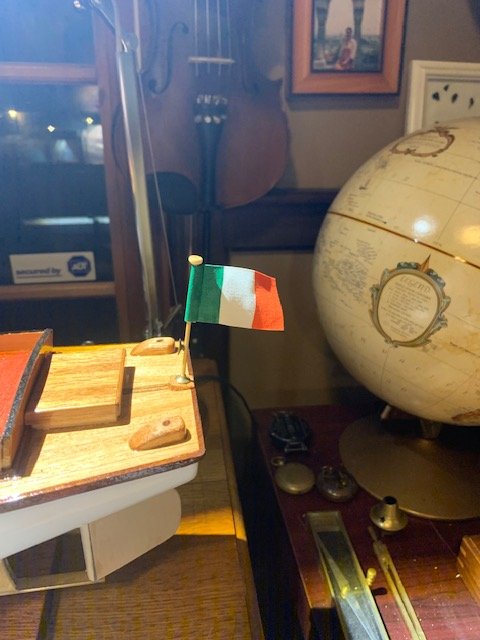
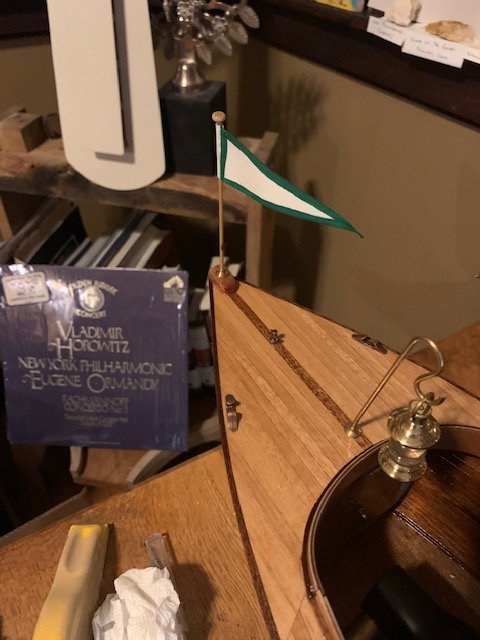
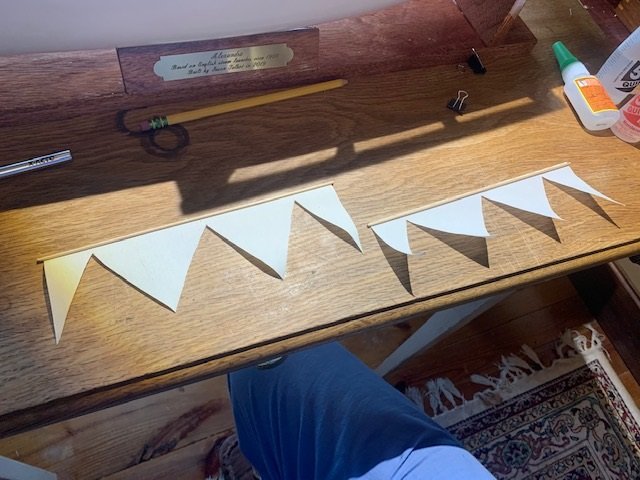
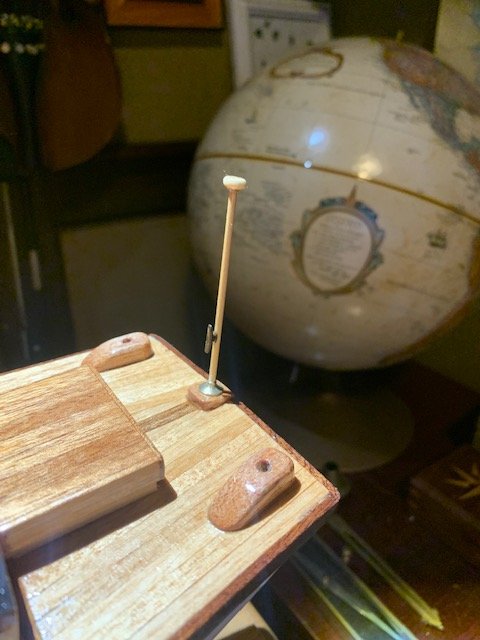
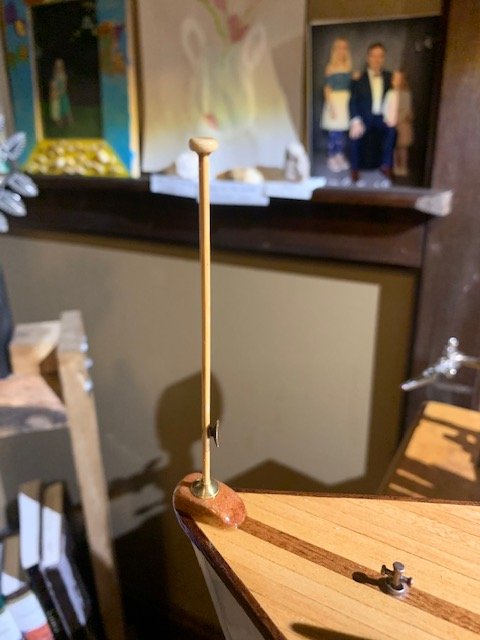
- make and varnish flagpoles
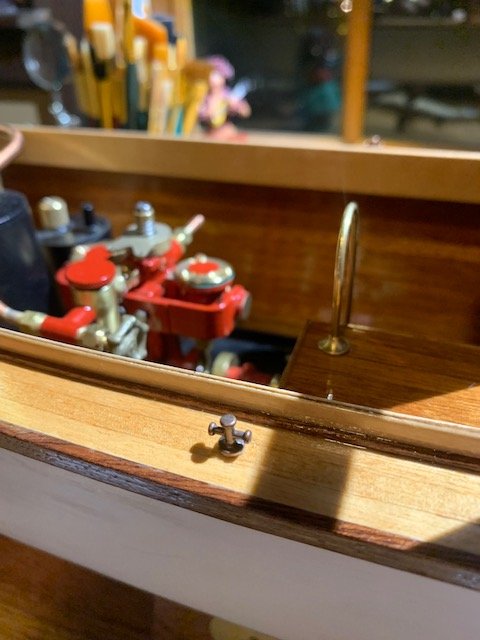
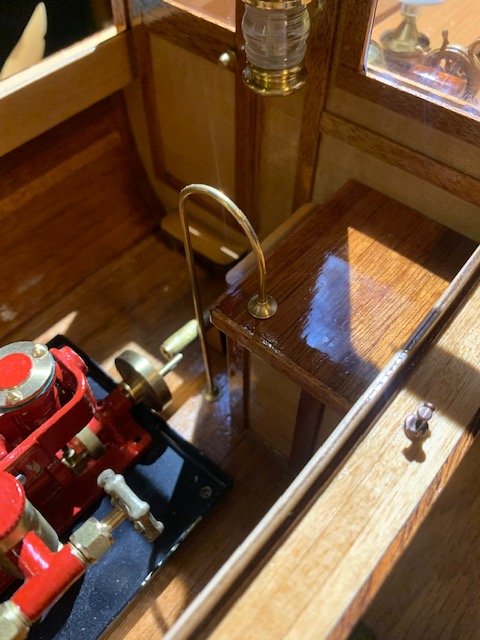
- install cleats along the deck
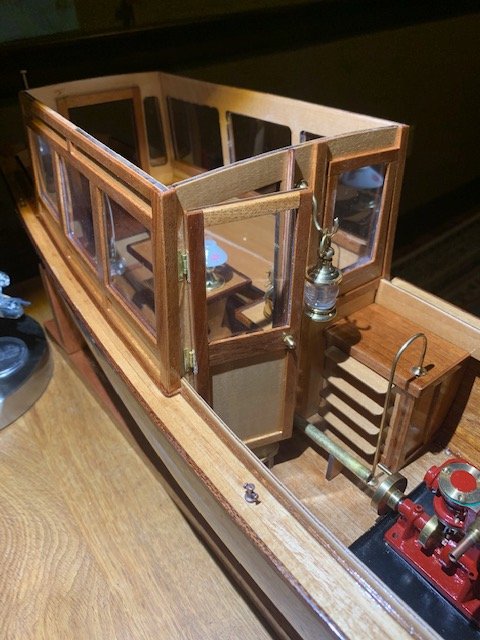
- install the brass handrail for the ladder/steps
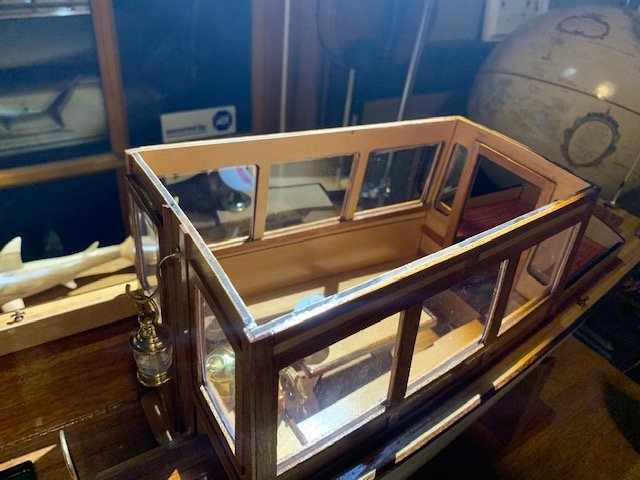
- Install the window panes (note: these all needed to be trimmed to fit)
- painting the brass smoke stack (looks like this will take about 6 coats to get a nice gloss yellow opaque finish)
- Installed the door (I used very nice little brass hinges that I bought from MicroMark, they are functioning hinges and the door opens/closes. Also installed the brass doorknob from the kit)
Beautiful snowy morning here in Wisconsin.
-Jason
-
Merhaba!
I have been plugging away with more coats of varnish. After the last coat I'm calling it quits with varnish, not sure how many coats I did but I think it was 6. Could keep going but I'm done with it. Installed brass deck fittings this evening which was fun. Probably should have painted the hull first, but I wanted to have some fun with the little trinkets. Aside from attaching the fun deck hardware, I am also finishing the keel. I have sanded and now am now applying fairing compound (epoxy compound) to the keel and also making a nice curved fillet transition between keel and hull.
-Jason
-
Hi!
The instructions from Krick do not cover the RC components , though the drawing show recommended locations for the throttle and rudder servos. The drawing and kit are also based on a steam plant from Krick which I did not go with. I’m not sure if it’s even available. So I had to modify the sole where the steam plants mounts also. Haven’t put much work in on the Alexandra since the holidays.
I’ve never worked with RC components either. I have the servos installed but not connected with any linkages yet. Other components that I have purchased include the battery, a battery disconnect switch, a receiver, and the transmitter/remote control. I am thinking that the remote control will allow me to program travel limits for the servos to prevent them from over-actuating the rudder or throttle valve. The remote looks pretty complicatedX though I’m sure it would be simple for someone who knows what they are doing.
something new to learn.
Jason
-
Thank you for the kind comments Bob. Minocqua is a lovely spot; we have a place northwest of there in Hayward. As I sit in this blizzard, Sacramento doesn’t sound too bad.
Thanks also for the comment on the website, it started as a documentation of my building of an actual sailboat, and then I decided to document my hobbies on it for fun.
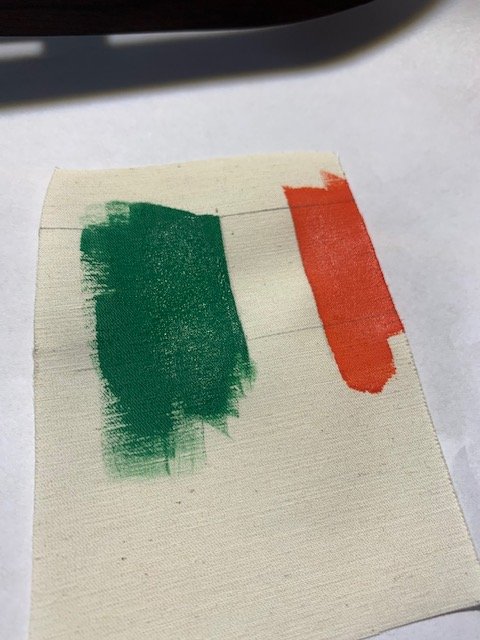
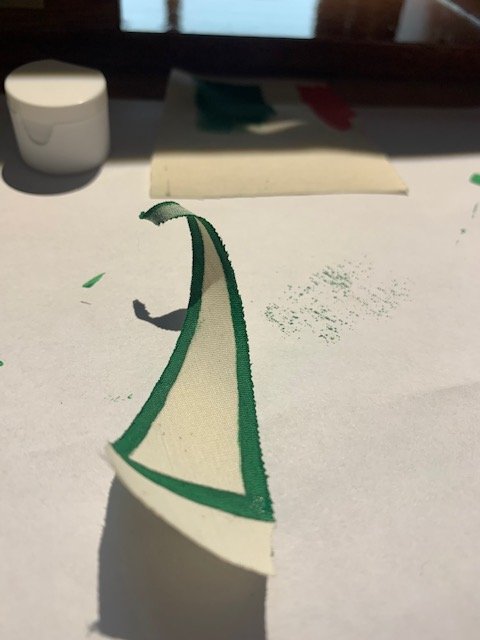
I have probably another 2 coats of spar varnish to go on the Alexandra, then installing the windows and subsequent interior window trim, then painting the hull, then installing the steam plant, then completing servo linkages, then making some flags for the bow and stern. Then figuring out how radio controlled things even work (1st time with that). All that will take me some time. Then I need to find a non-windy place to launch this thing.
All the best,
Jason
-
- mtaylor and GrandpaPhil
-
 2
2
-
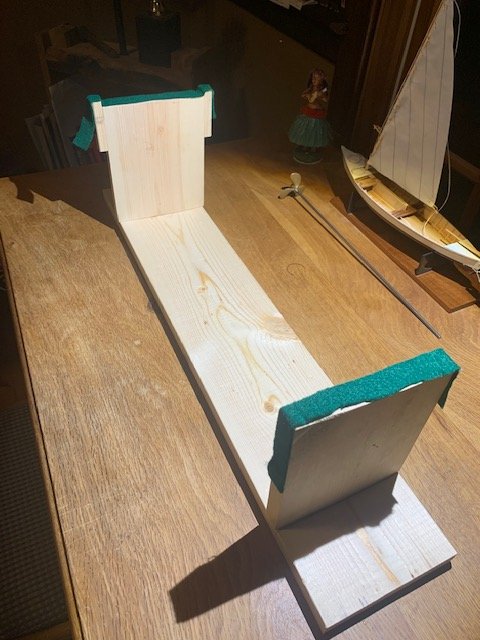
Today's update: Building simple mahagony stand for the Alexandra. The stock base works, but it's pretty short in length vs the length of the boat. The result is a big cantilever for and aft of the stand. Any downward force on the bow or stern send it tilting. I have built a stand that is a big longer along the length of the boat.
- mtaylor, schooner and GrandpaPhil
-
 3
3
-
-
Dia duit, agus Bliain Nua Shona!
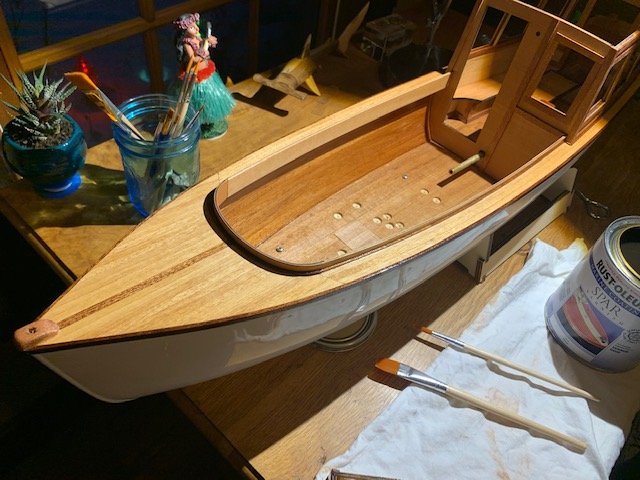
1st day of the year and I am accelerating as I near the finish line on the Alexandra. Calling it a day in the workshop, after applying the first coat of varnish to the woodwork. It's always rewarding to see the finish bring out the warmth in the wood.
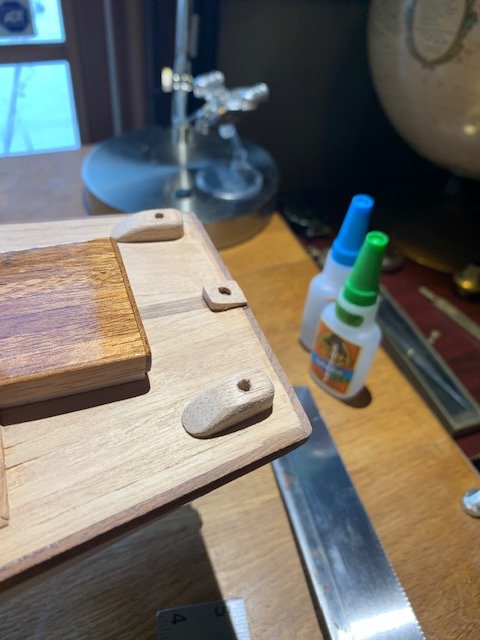
I finished the rubrail, and made the brackets and posts that will support the aft end of my custom extended cabintop. I also made and installed the fore and aft flagpole base-blocks.
-Jason
- schooner, mtaylor, GrandpaPhil and 1 other
-
 4
4
-
Happy New Year!
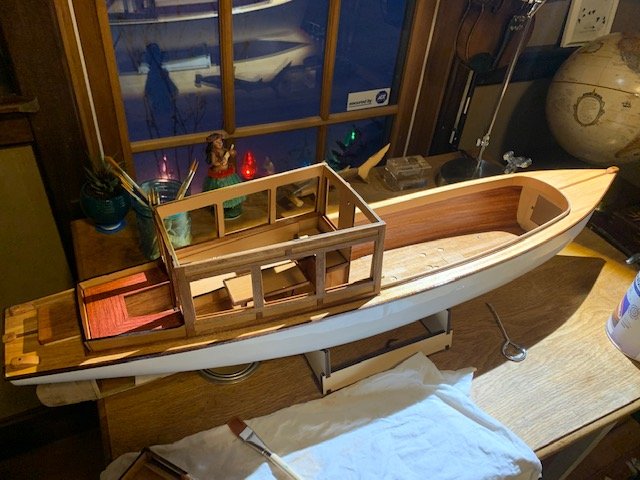
Progress continues on the Alexandra. I installed the coaming in the open bow area. Teh coaming is made of two pieces which are thin in thickness, which makes a strong coaming and which also makes the bending of the wood easier. I found that I did not need to steam the coaming itself into order to make the curve, but I did need to steam the little 1mmx1mm trim piece at that goes where the coaming meets the deck. This curved coaming is a striking element of the look of the boat, I think. I also have installed the rub rail which can be seen below. Now need to move to to finish sanding, varnishing, and painting.
- schooner, Duanelaker, GrandpaPhil and 1 other
-
 4
4
-
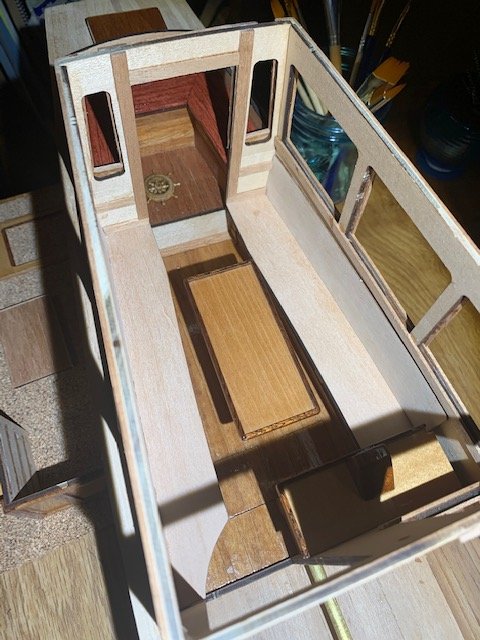
Hope you are all enjoying the holidays. I havent made much progress lately, other than cleaning up my workshop, which was nice. I made progress today trimming out the interior, and the seats are all installed. Note that the port side seat top is held in place with wooden cleats and is not glued in place; it is removeable to allow access to electronics below. Soon I will varnish the cabin, prior to installing windows. I ahve also begun spray painting the roof sections.
-Jason
- mtaylor and GrandpaPhil
-
 2
2
-
Looks great! As someone who built this kit, it is very fun to see it being built by another. Your frame looks nice, nice work!
Jason
-
Ahoy,
This weekend, I am planking the inside of the hull. The plans call for leaving the plastic exposed here, except some vertical ribs. I got some 1/64" x 1/4" mahagony strips from Northeastern Scale Lumber Co. and used this to plank the inside of the hull. Got a good coating of CA on myself also today.
-Jason
- GrandpaPhil and mtaylor
-
 2
2
-
- GrandpaPhil, mtaylor, dvm27 and 2 others
-
 5
5
-
Greetings!
I measured the height and the offset-from-centerline of the forward/reverse/rpm valve on the steam engine, and I marked this location on the cabin front wall where the actuating rod will pass through to connect the valve to the servo housed in the cabin. I made thicker/stouter servo mounting blocks out of laminated pieces of plywood. As this servo can only be removed vertically, I notched out the servo bracket in order to allow the wires to pull up vertically through the brackets. I glued the brackets in place with a thick coat of epoxy.
Today I also glued in gussets in the roof frame (I couldn't find the little gussets that came with the kit, so I cut my own). I am pleased with how snug the frame sets into the cabin sides. Then I located and glued the frame to the cabin top itself. There is a slight arch so I made sure I sanded a nice fair surface on the top of the frame before this final gluing operation.
- GrandpaPhil, mtaylor and schooner
-
 3
3
-
Hi Jo,
Have fun building the Arnanes! I built that kit in 2015 and really enjoyed it. When I saw that you were building it I was reminded that I never posted a finished model album in the gallery, so I just did that. When I was building the kit I researched this type of boat and found that the ship the model is based on was refurbished and is still sailing; she is called the Johanna and you can look at pictures of it for ideas.
https://www.mmtours.fo/product/sailboat-johanna/
Enjoy the project!
Jason
-
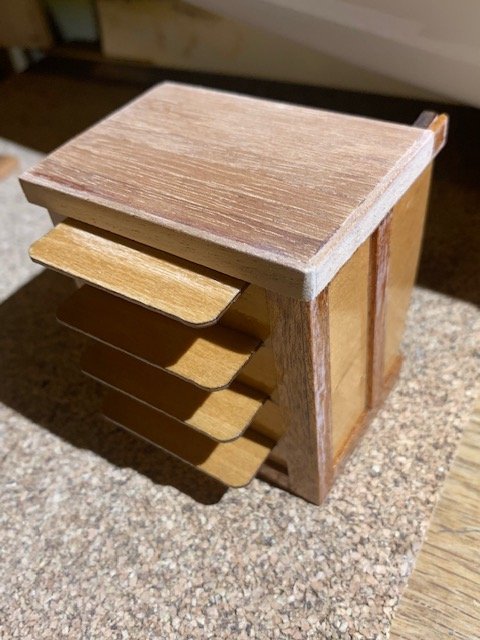
Good Morning Again! With this post I will be all caught up to where the model is as of today. This represents the progress from January to the end of November (slow progress, I know). I varnished the louvres that are installed in the cabin top vent box, and also varnished the interior of the vent box itself. Then I glued the louvres in place. I set a 3/4" board down the middle and just leaned the louvres up against it so that they are all aligned. I also trimmed out the forward cabin door. I bought some functioning brass hinges from Micromark that I will use to hang this door.
- GrandpaPhil, schooner and mtaylor
-
 3
3
-
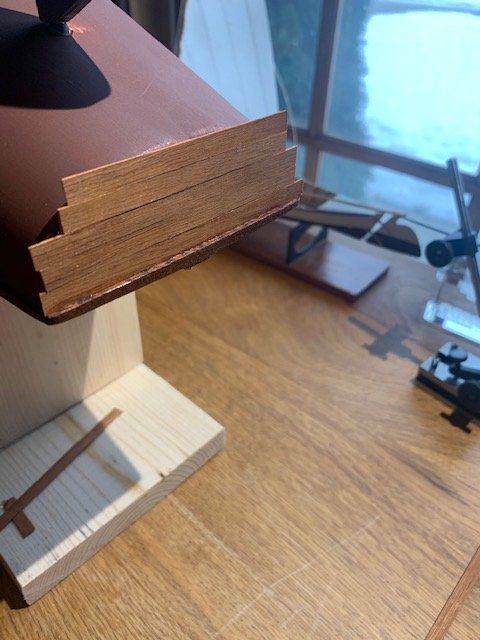
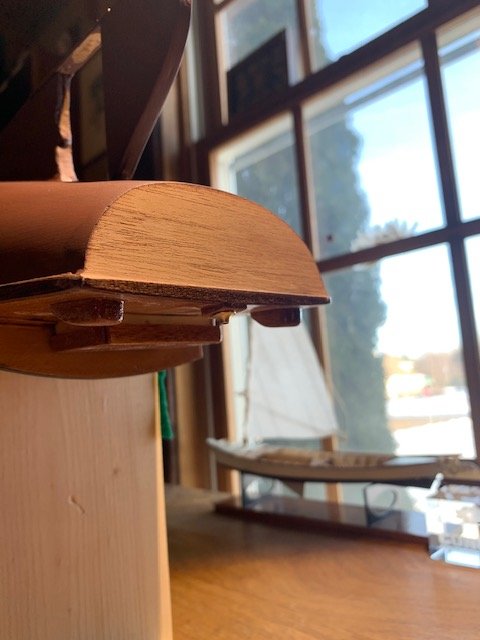
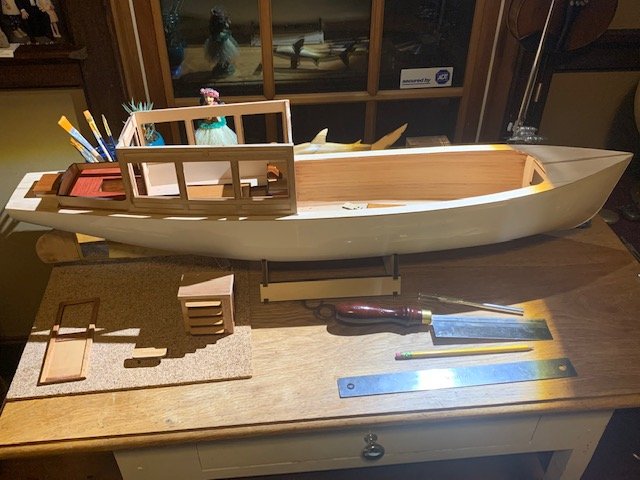
The roof assembly is removable on the Alexandra, providing access to electronics which are housed under the seats and in the cabinetry of the cabin. I applied electrical tape to the interior edges of the cabin sides and then glued the roof frames snug in place. The roof is glued to this frame work, and then the whole roof/frame assembly can be pressed into place and removed if needed.
- GrandpaPhil, schooner and mtaylor
-
 3
3










Alexandra by Jason Builder - Krick - RADIO - live steam
in - Kit build logs for subjects built from 1901 - Present Day
Posted
Hallo skipsbyggere!
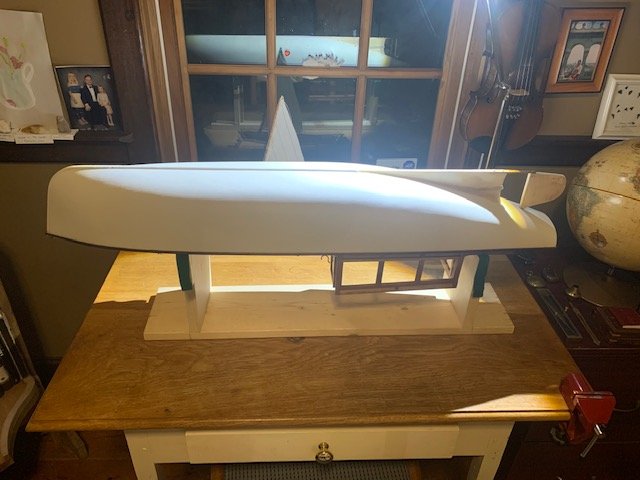
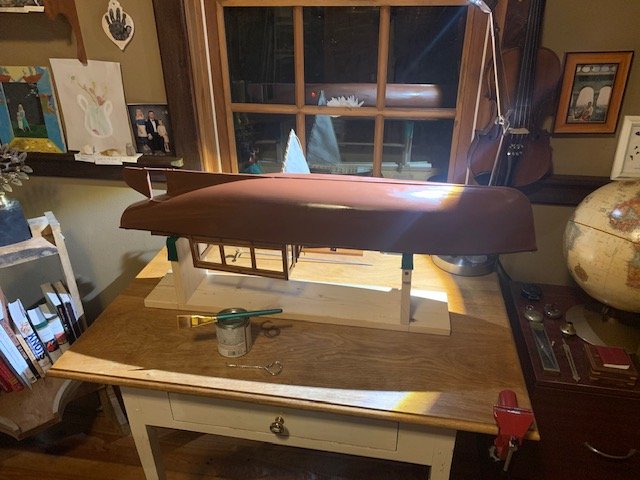
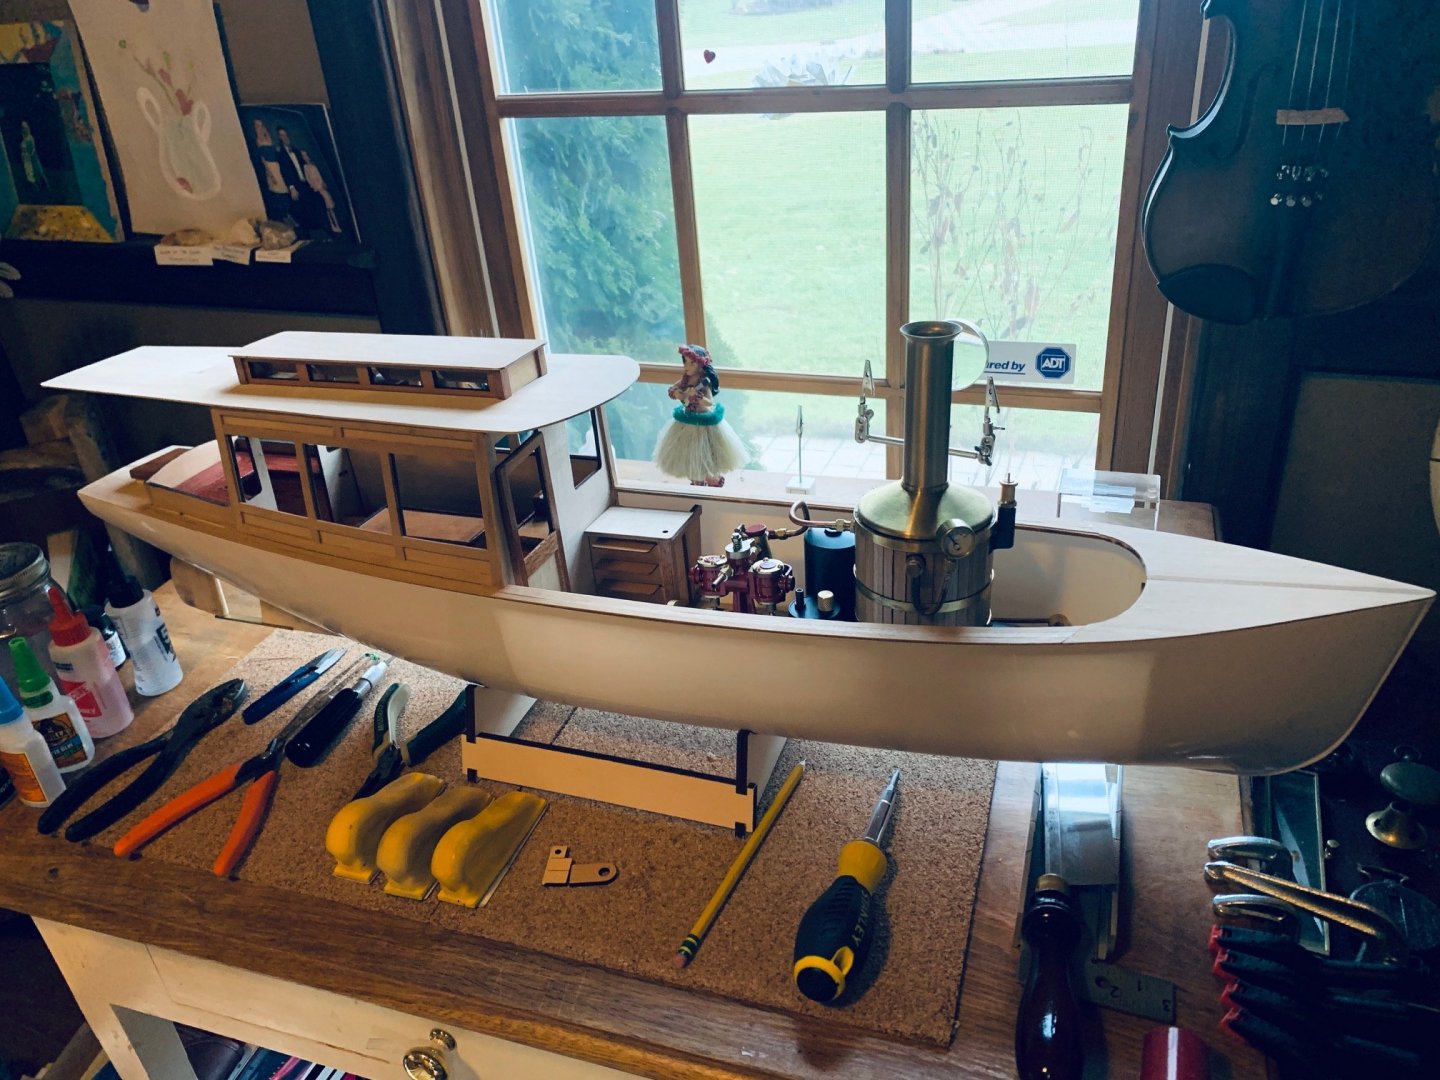
I'm applying multiple coats of spar varnish to the transom. I used my surface gauge to mark the waterline on the hull (after making sure the hull was level starboard to port, and stem to stern). Now the hull is masked and the first coat of finish paint applied.
-Jason