


aydingocer
-
Posts
898 -
Joined
-
Last visited
Content Type
Profiles
Forums
Gallery
Events
Posts posted by aydingocer
-
-
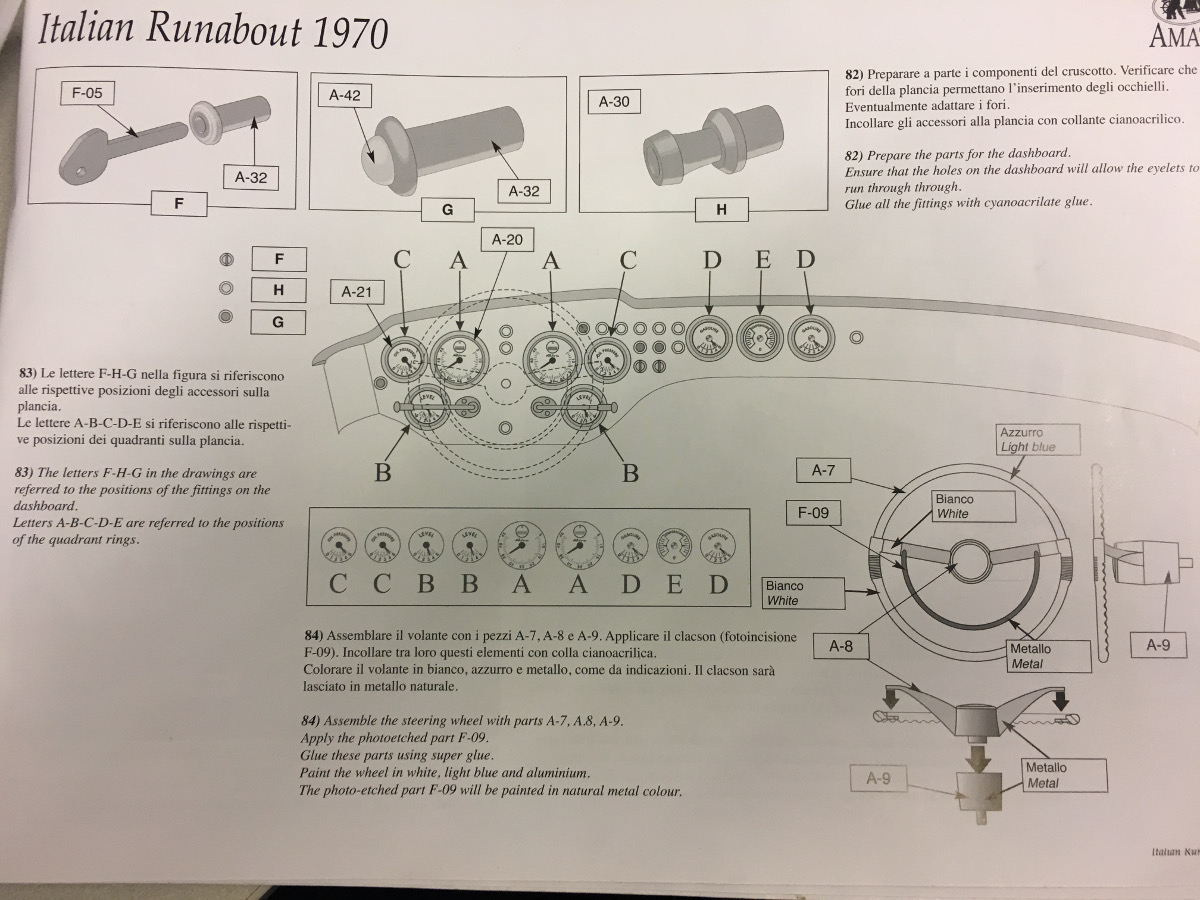
Next on the line is the dashboard decoration. Seems to be a lot of fun.
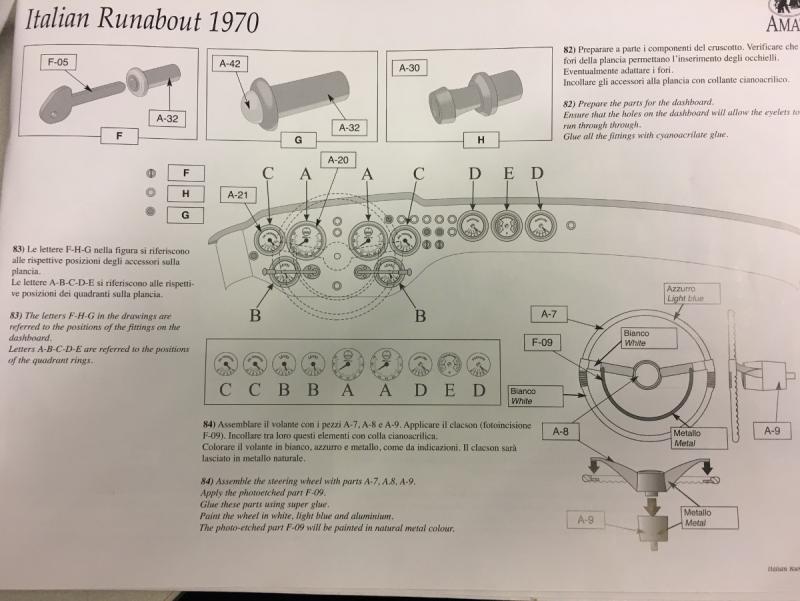
Instructions:
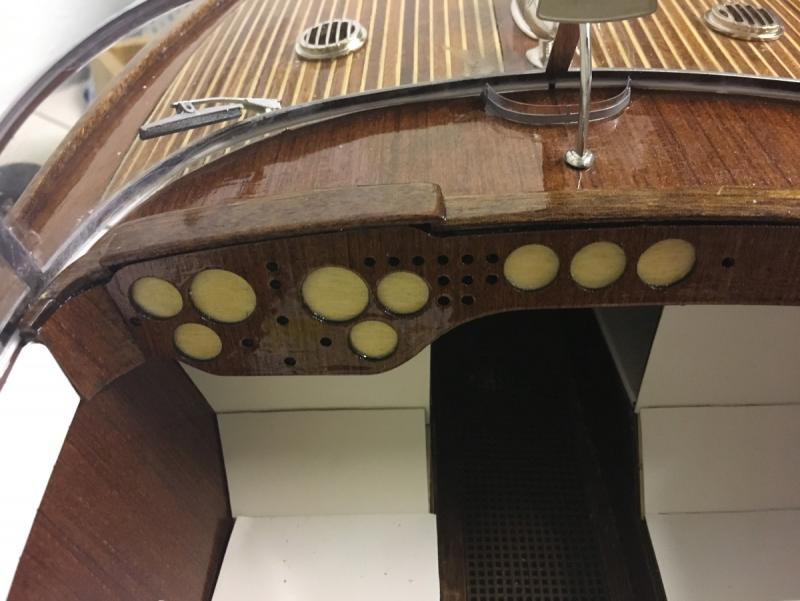
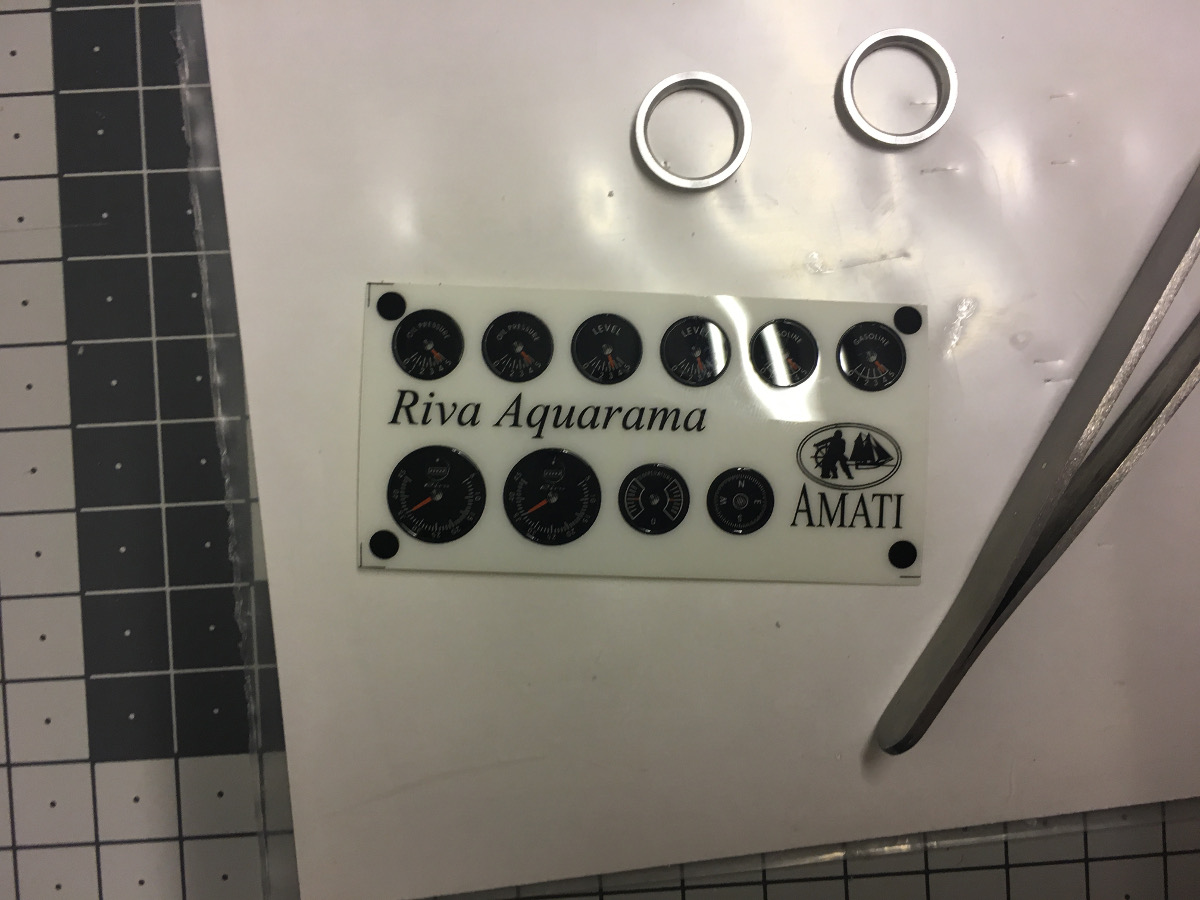
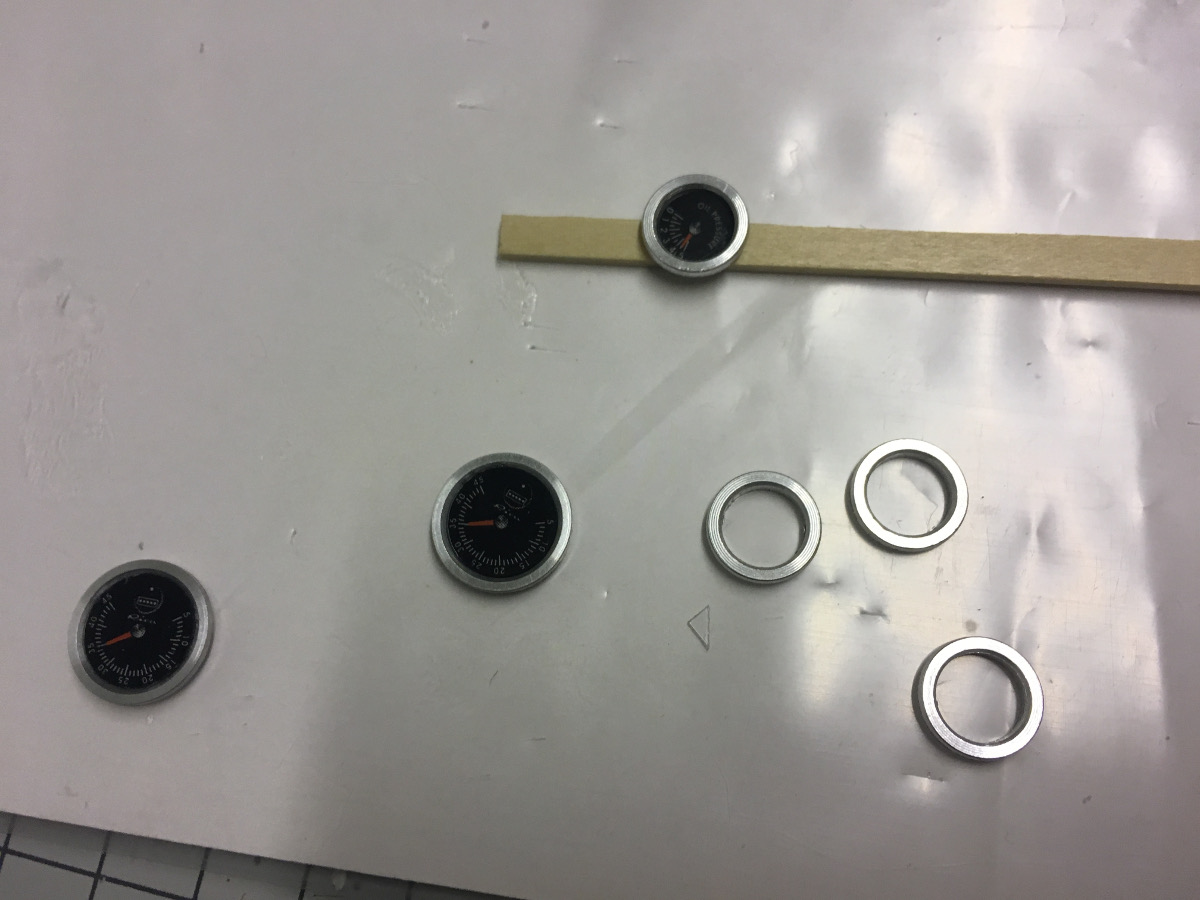
The current status of the dashboard:
Gauge stickers (they don't actually stick, you'll have to use glue) and a few frames:

Stickers being glued in the frames:

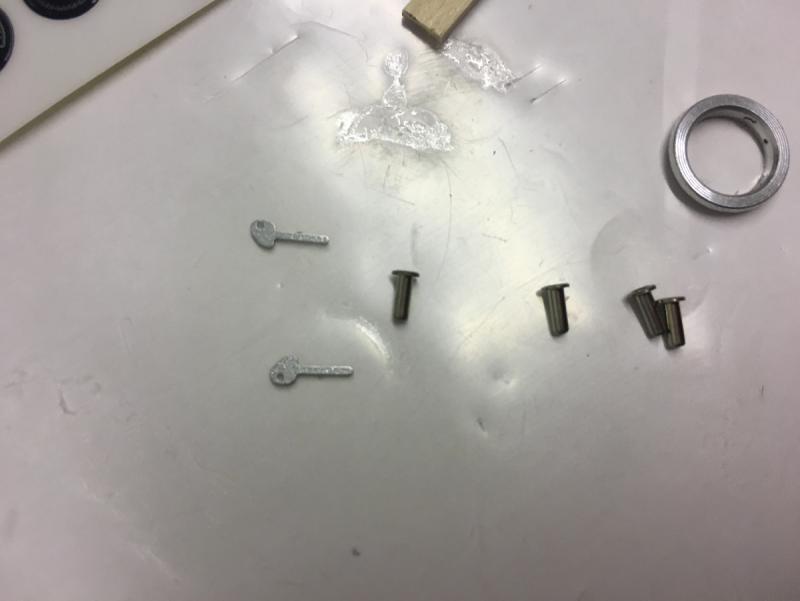
Example of more components, here the keys and its slots:
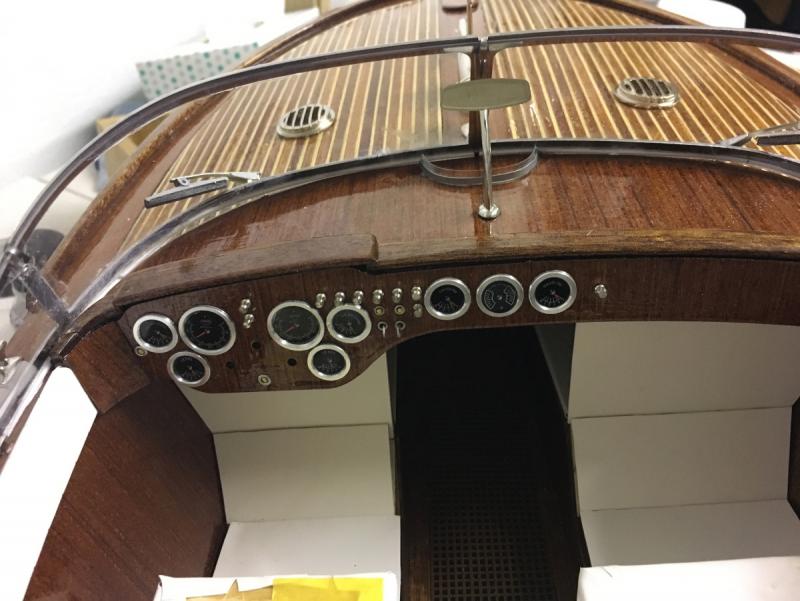
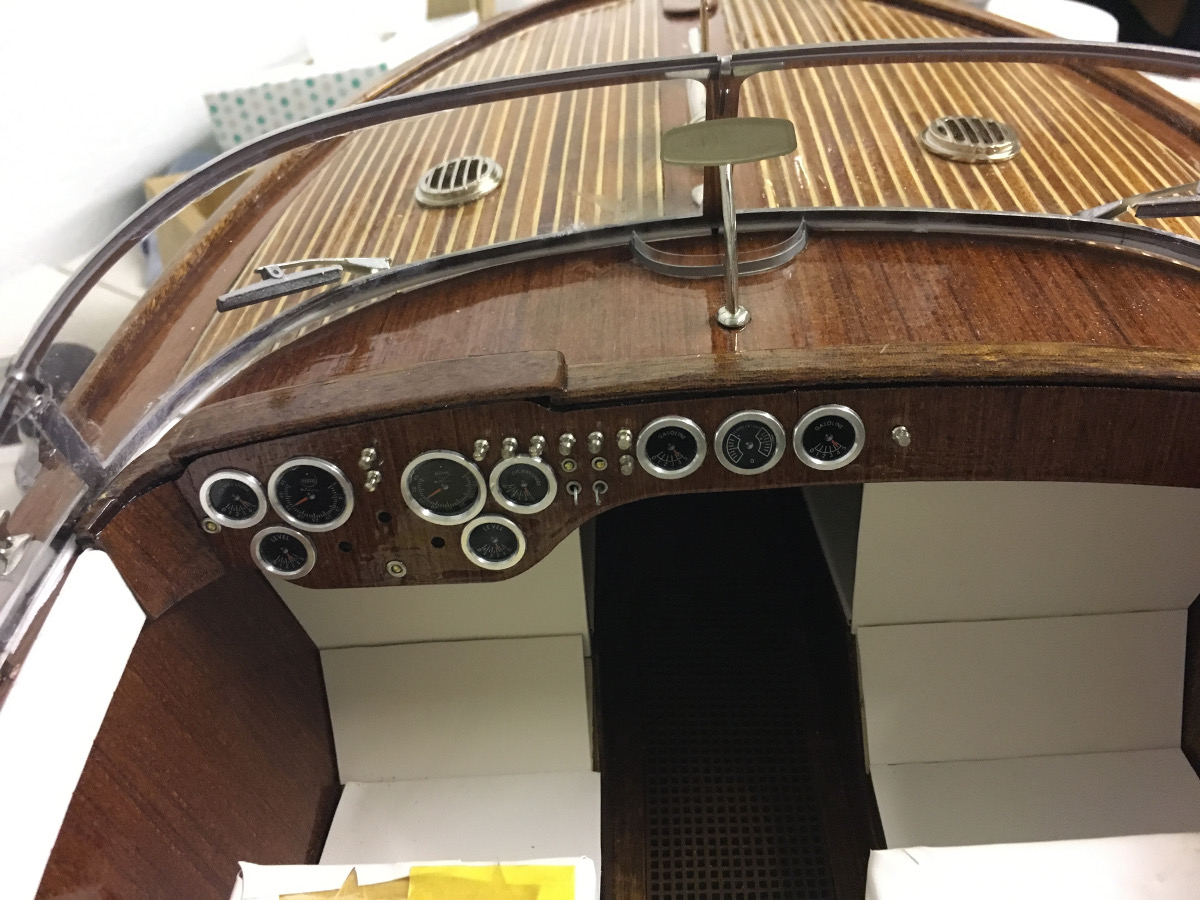
Installed them one by one on the dashboard. Quite annoying sometimes to run after small pieces which snap from the tweezer and run under the table:
- EJ_L, Robin Lous, WackoWolf and 6 others
-
 9
9
-
-
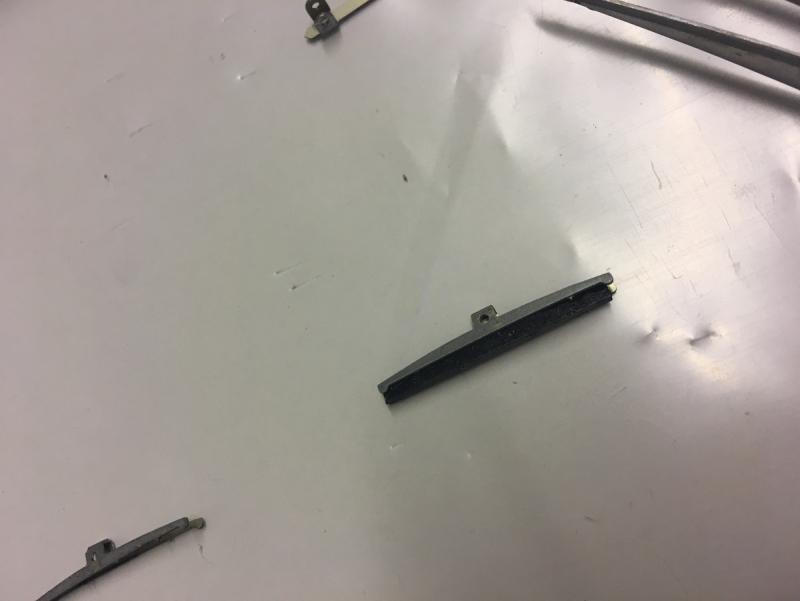
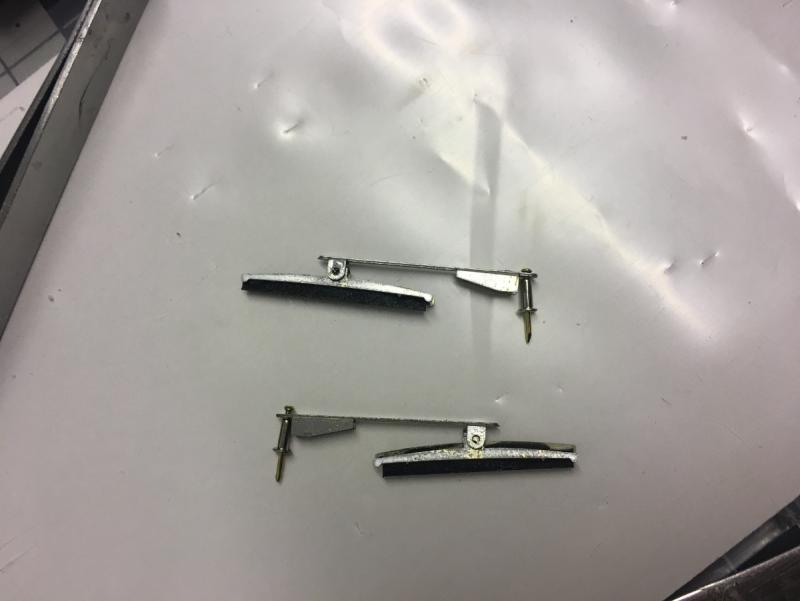
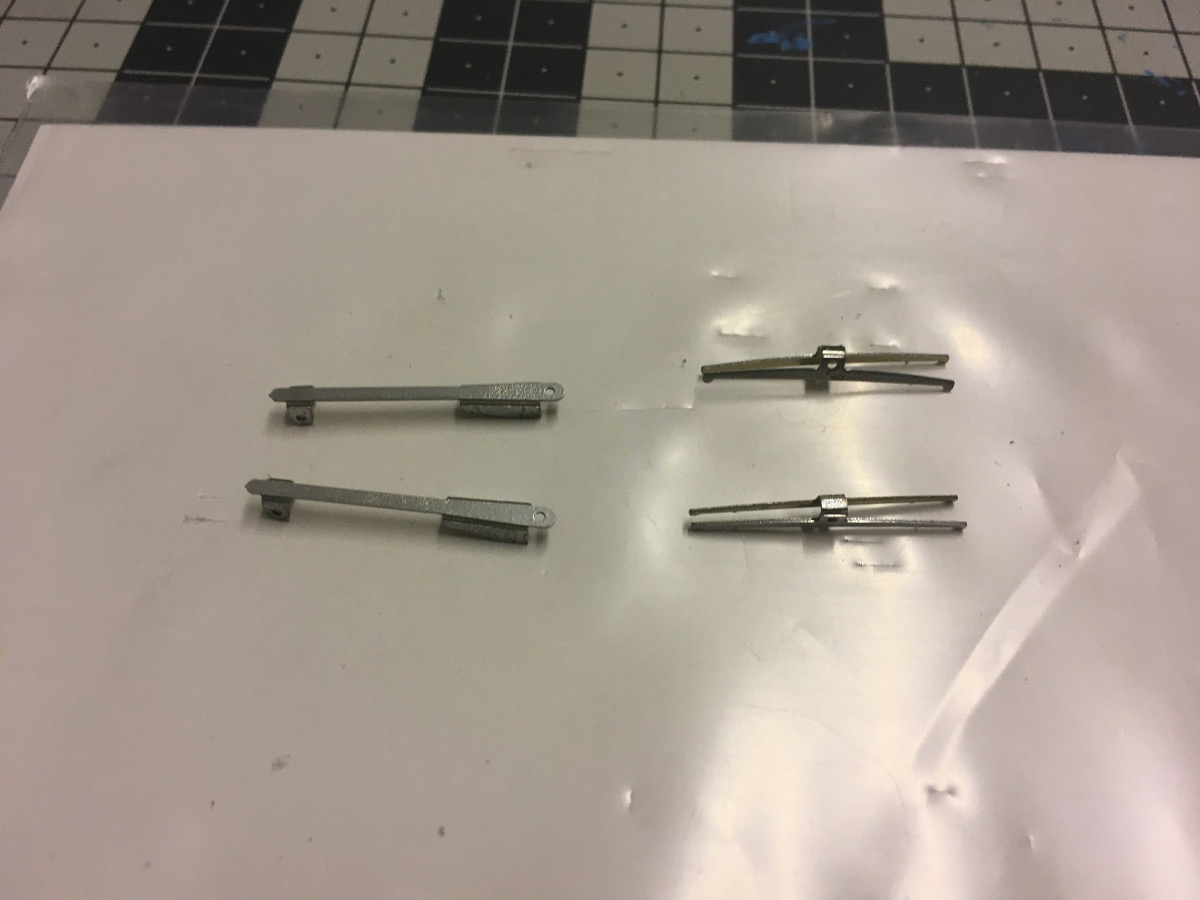
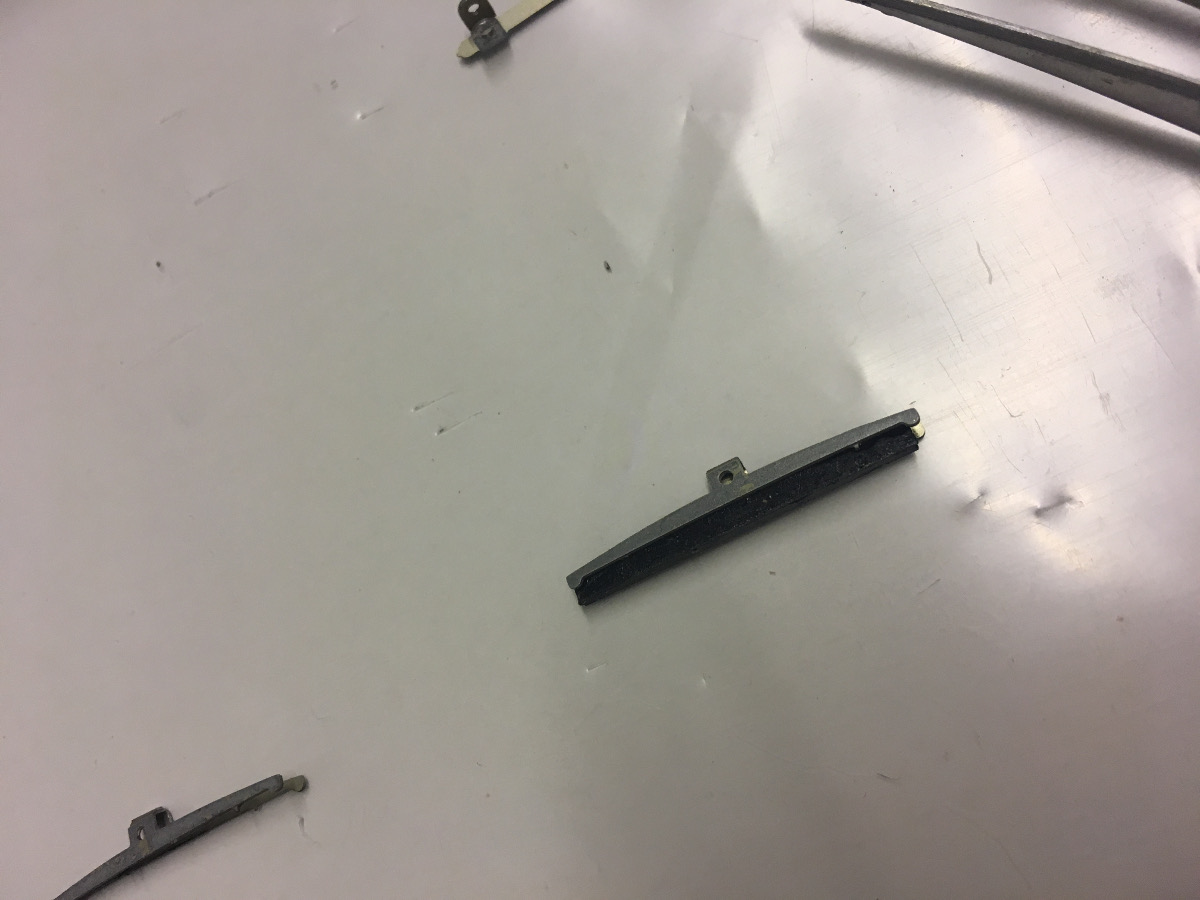
Windshield wipers:
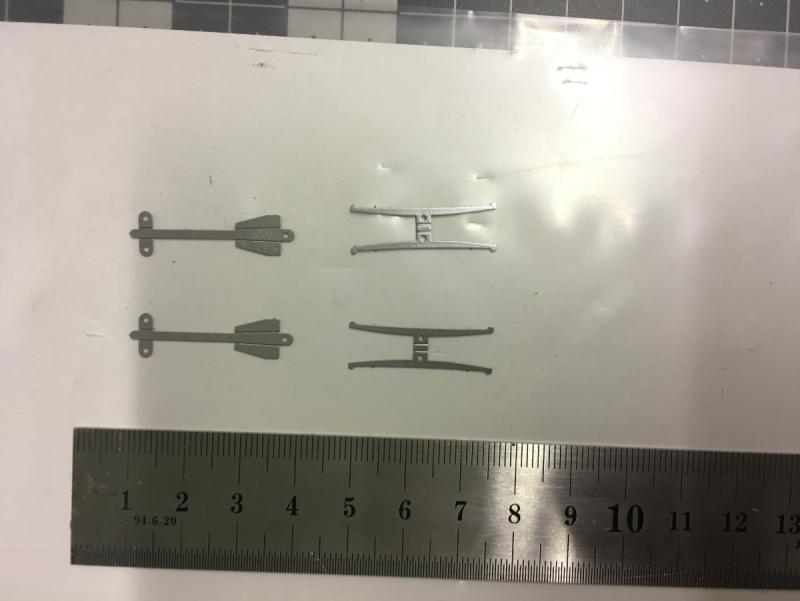

The rubbers are made of 1x2mm lime strips, painted in black:

- EJ_L, cog, Robin Lous and 4 others
-
7
-
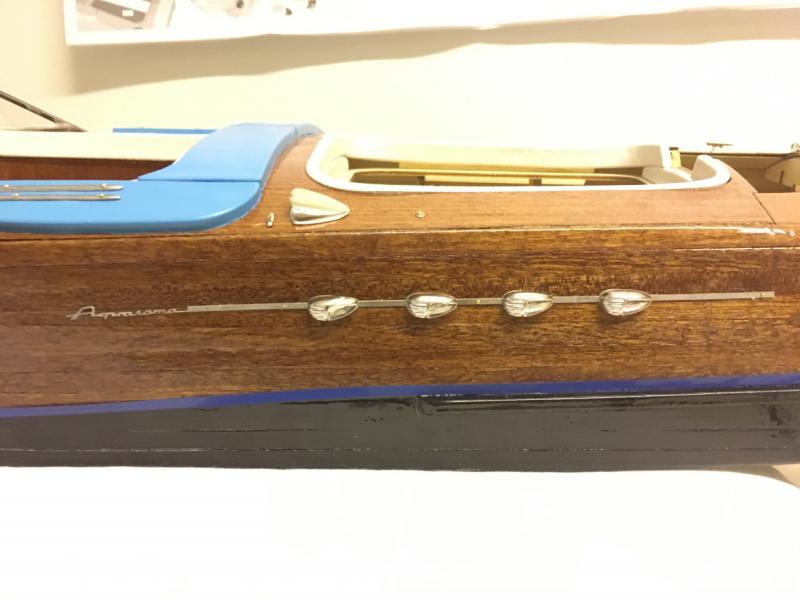
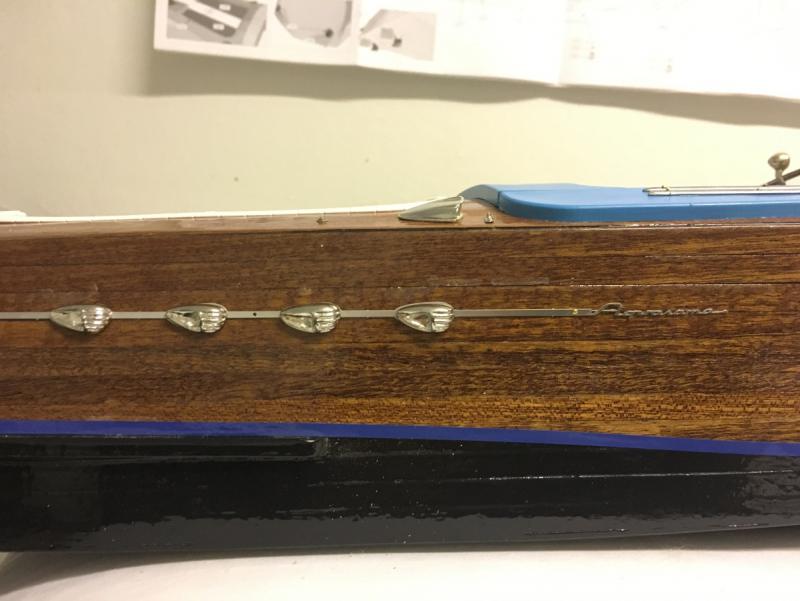
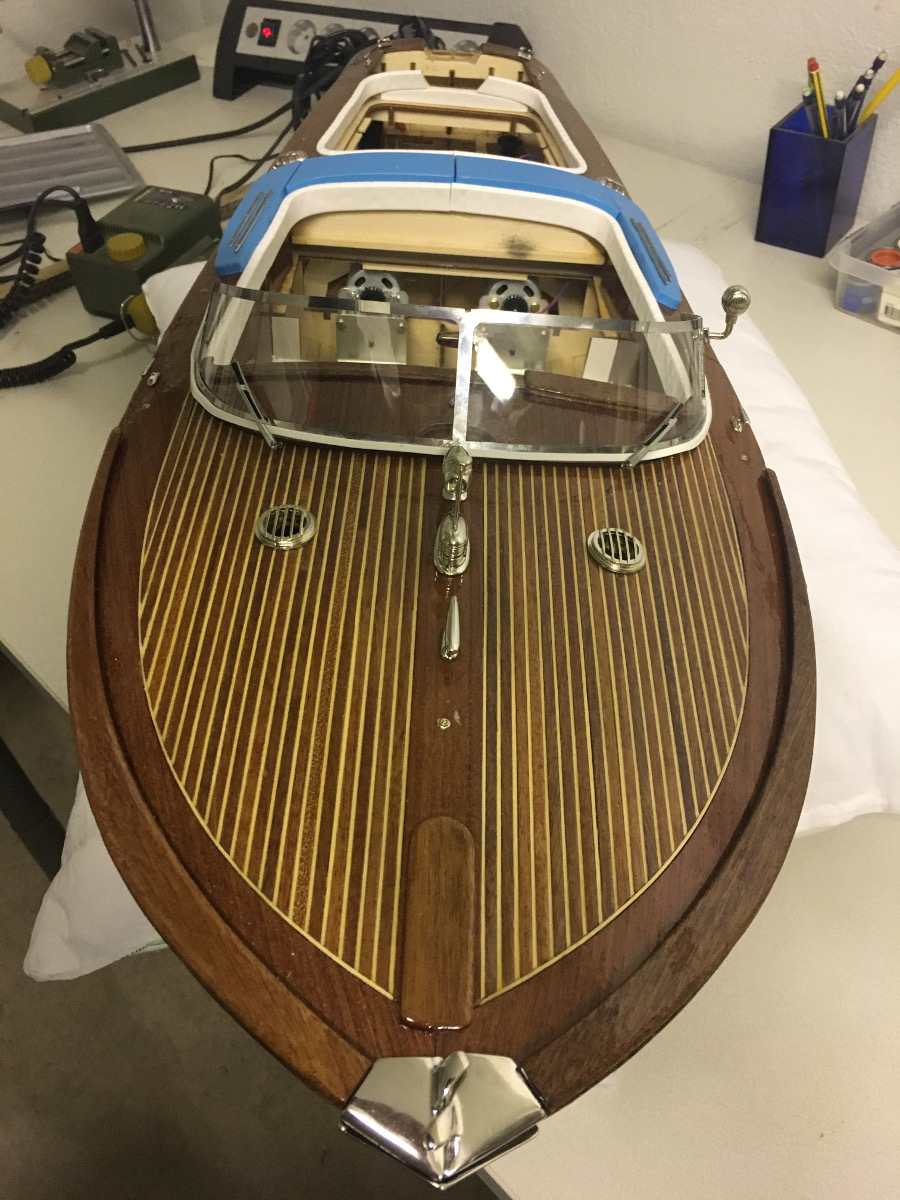
Name plates:
In place. Nows she is officially an Aquarama!!!

- EJ_L, WackoWolf, Robin Lous and 5 others
-
8
-
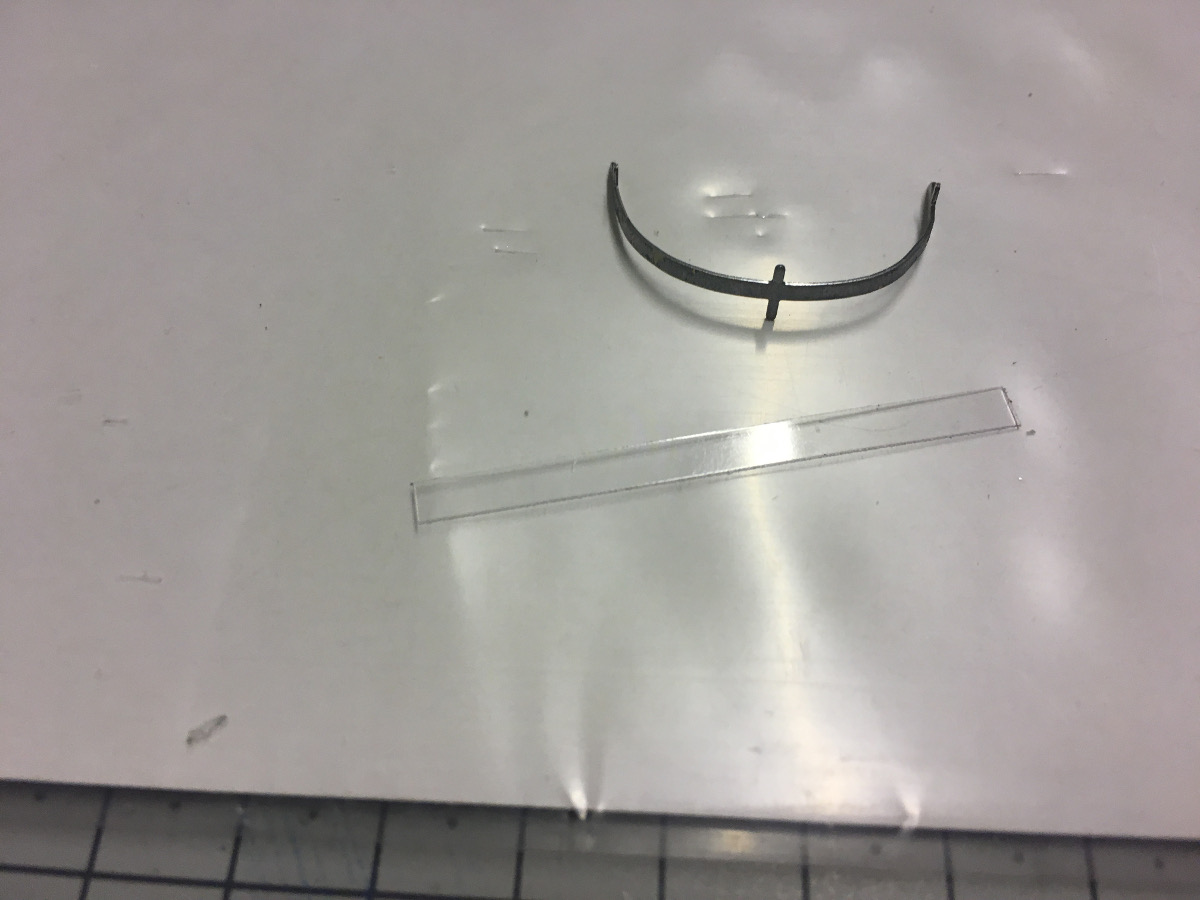
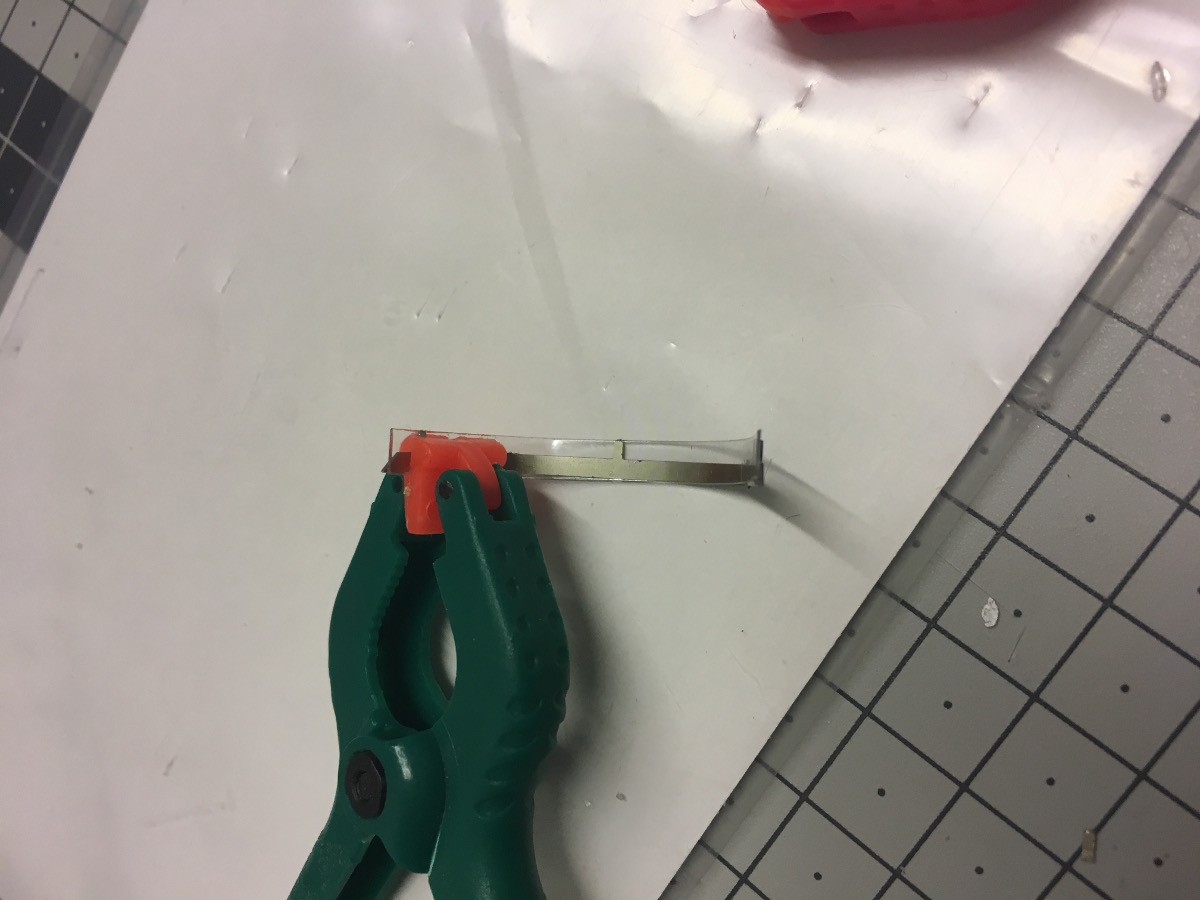
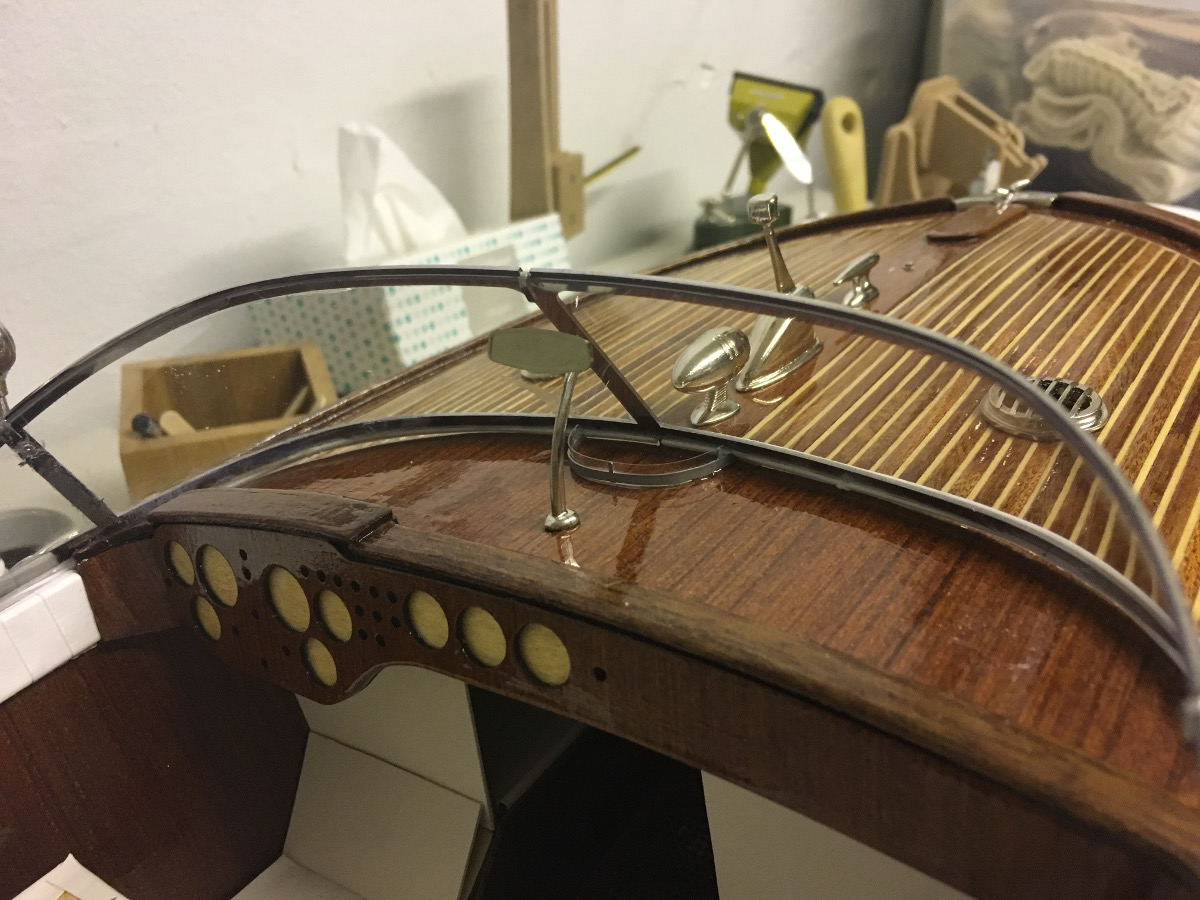
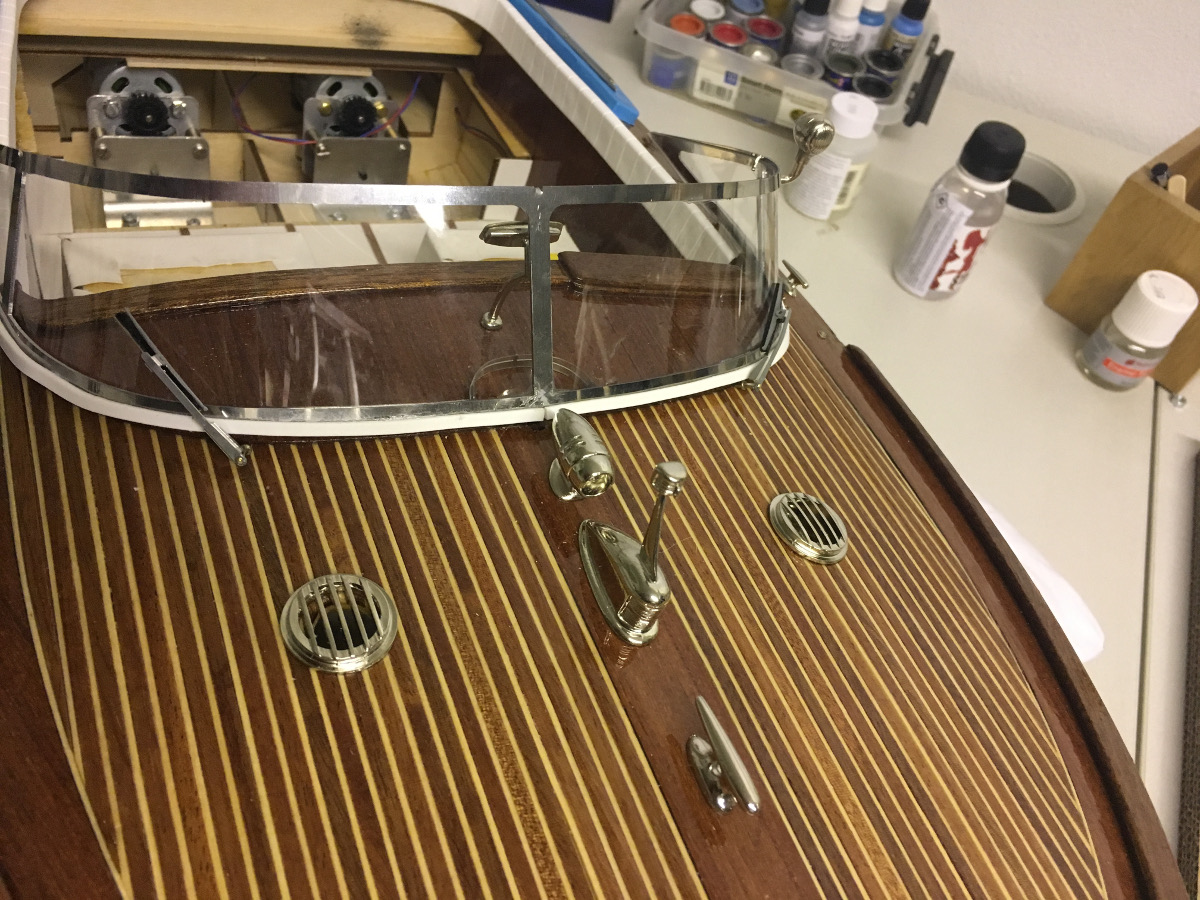
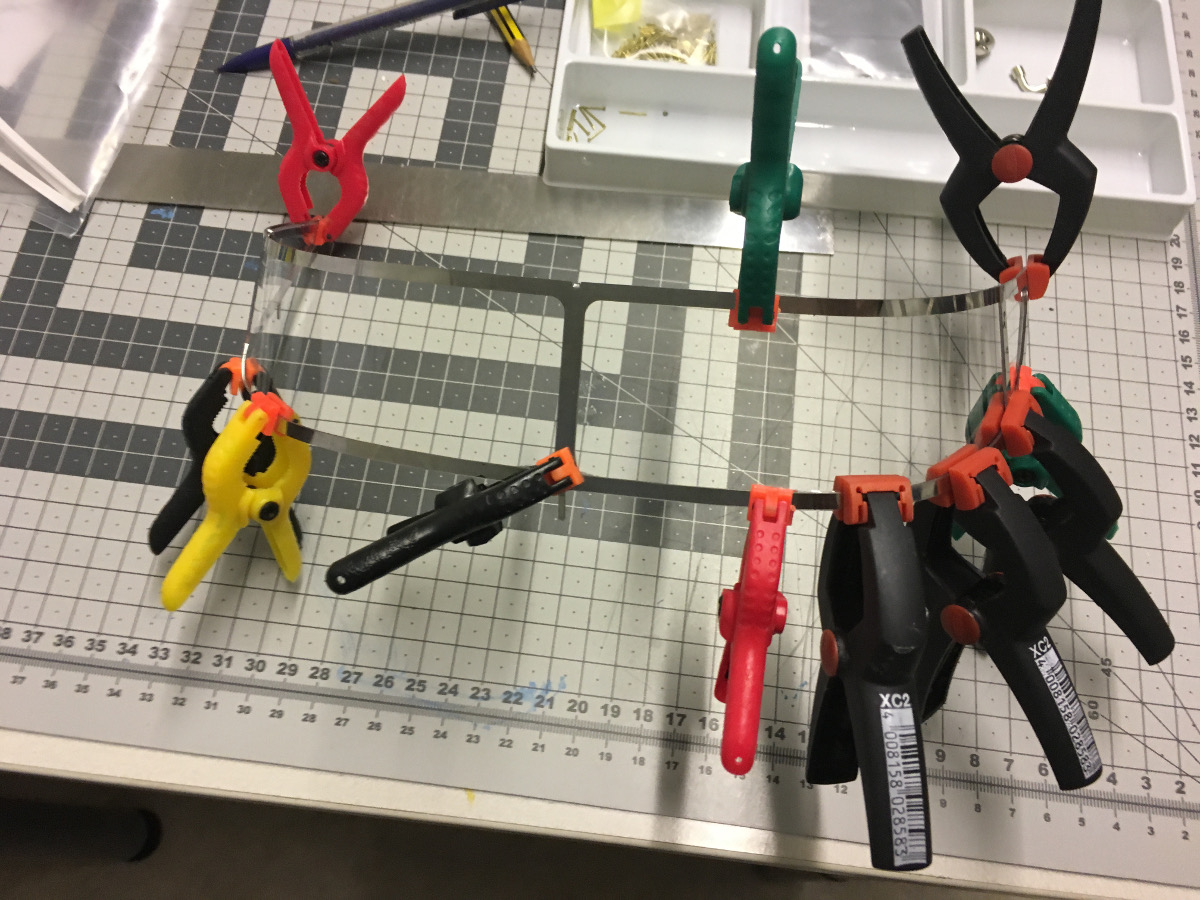
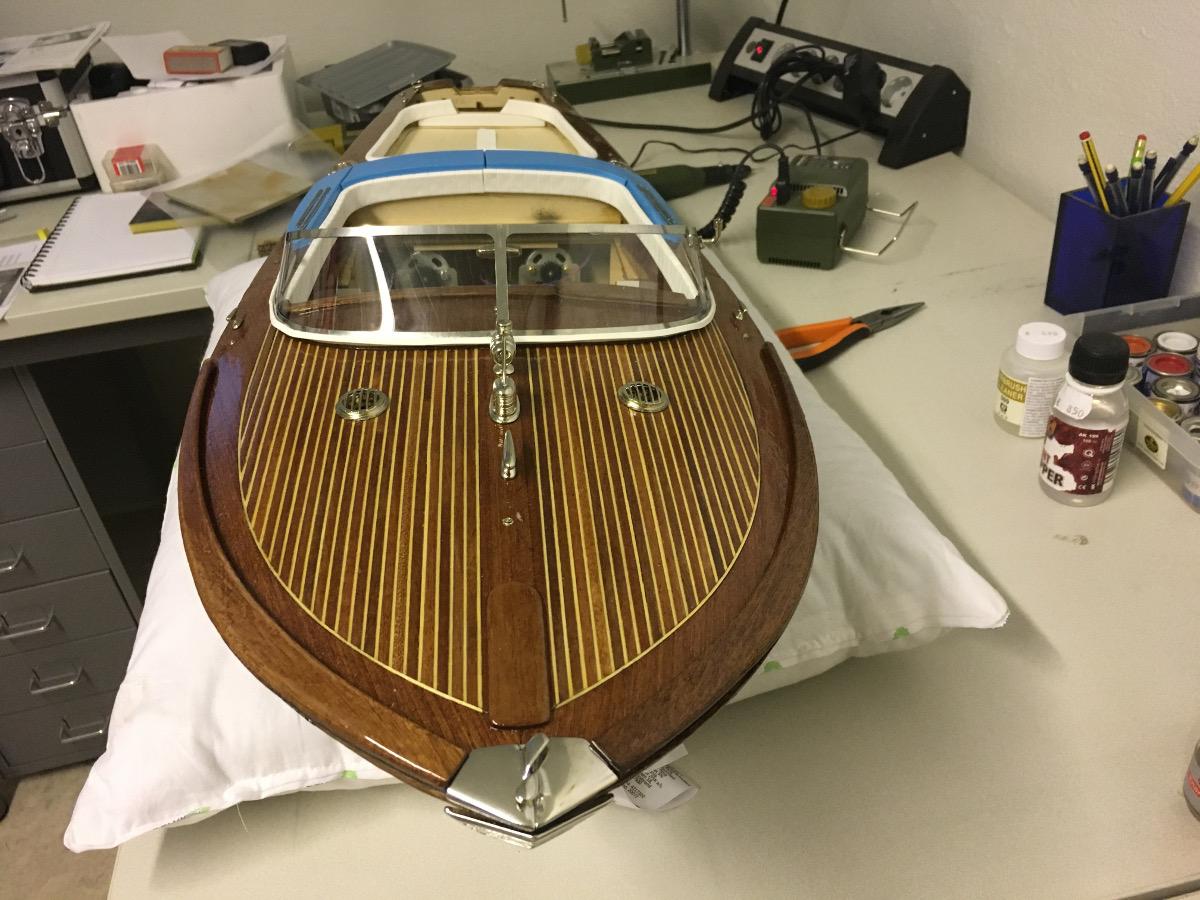
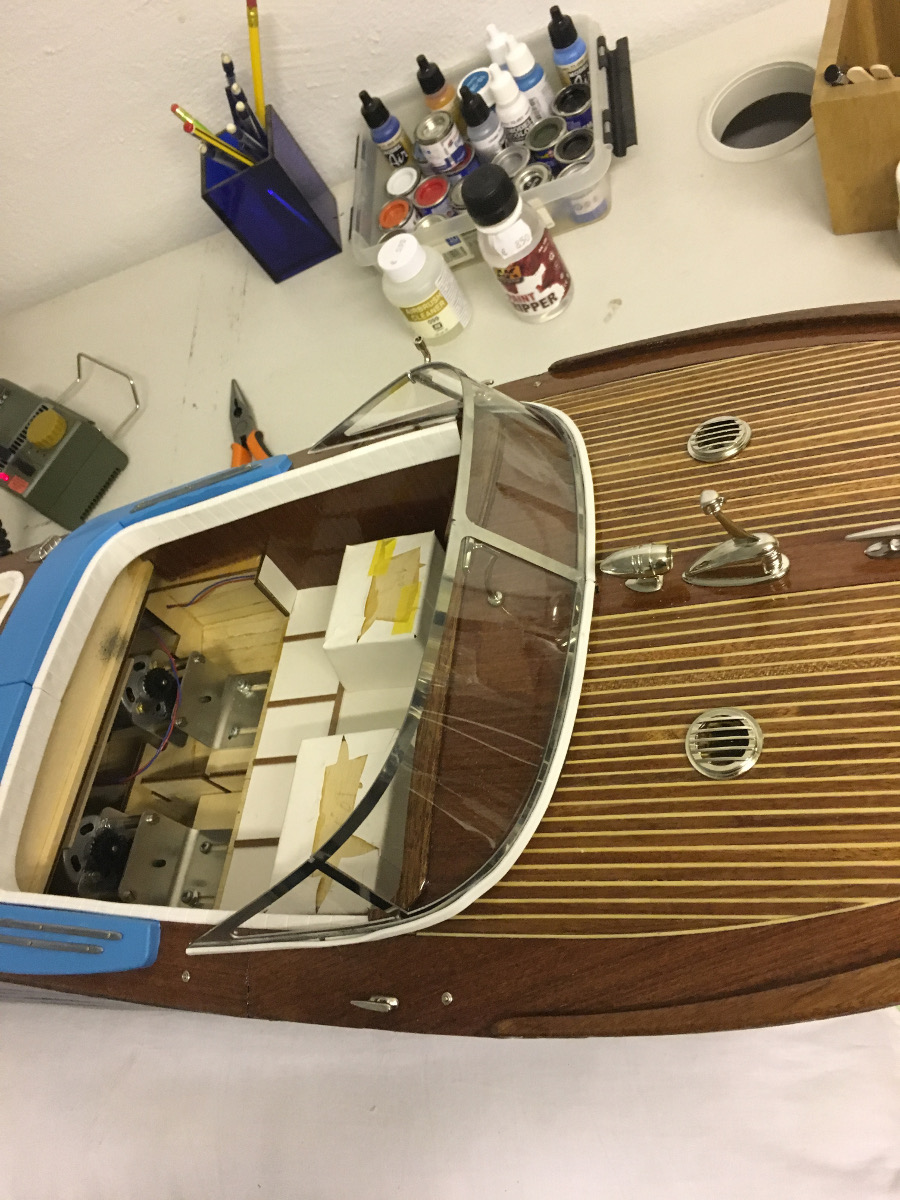
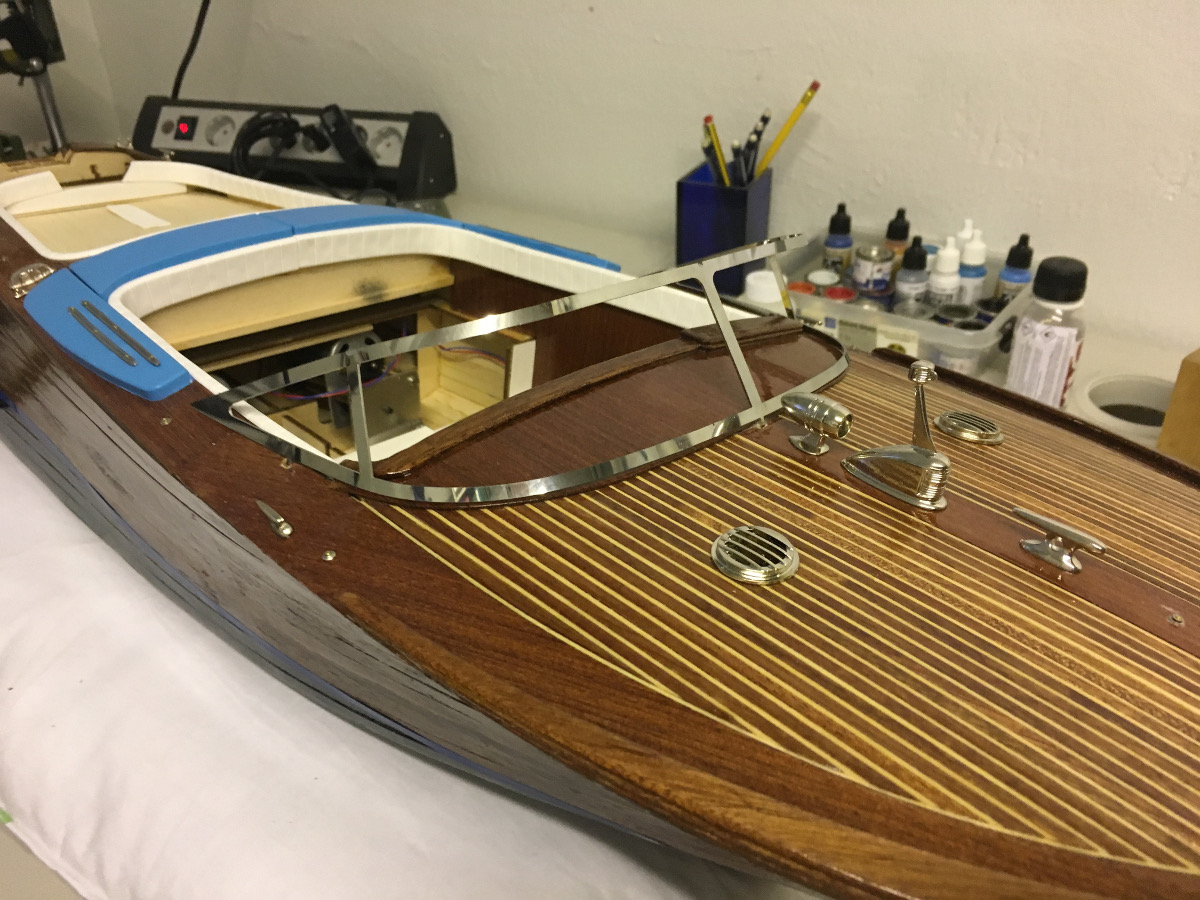
Installed the windshield glass (made of acetate):
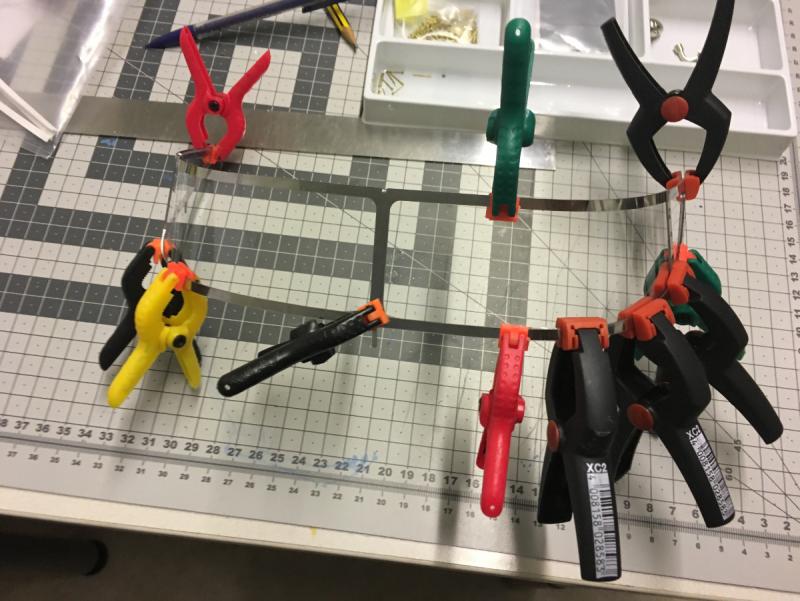
Windshield installed in place. Note also the L shaped rubber profile around the lower frame:


- Robin Lous, hexnut, EJ_L and 5 others
-
8
-
-
-
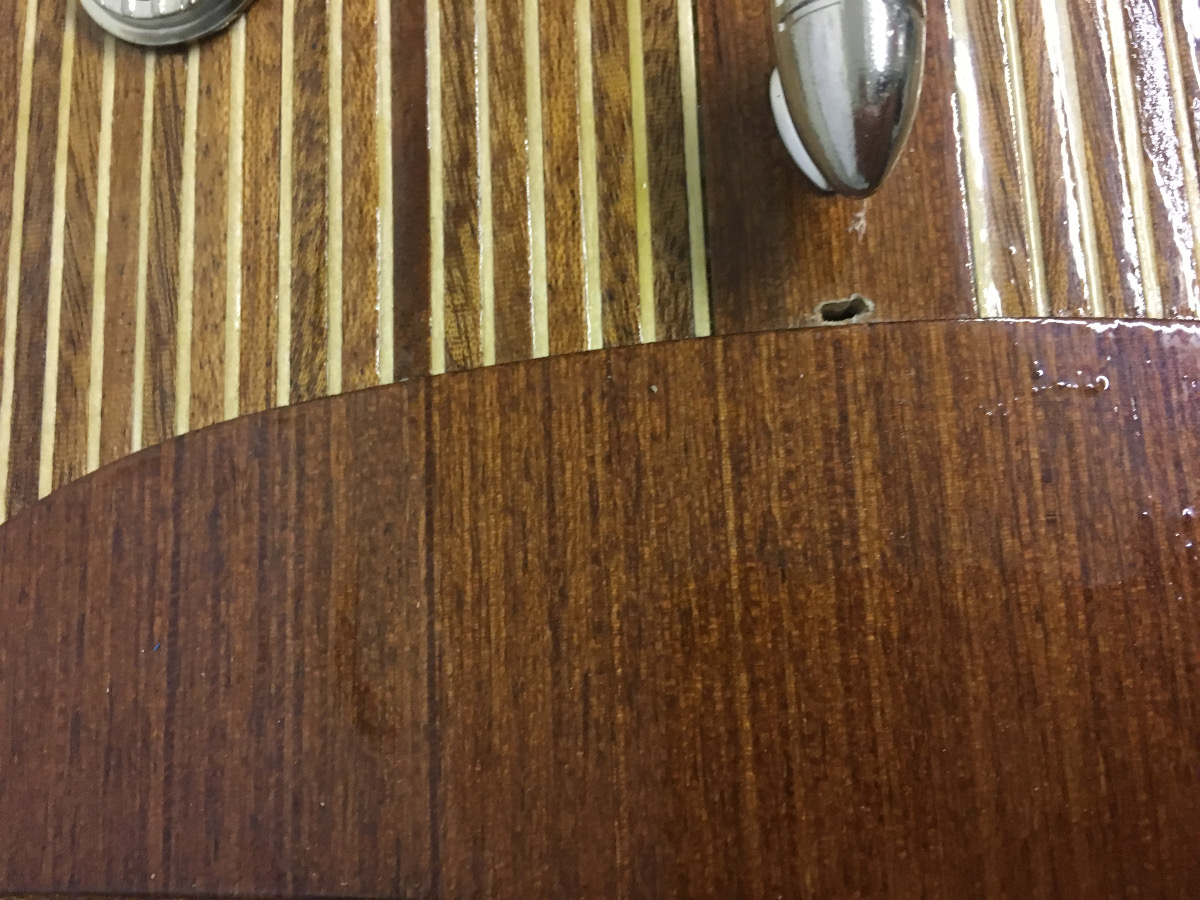
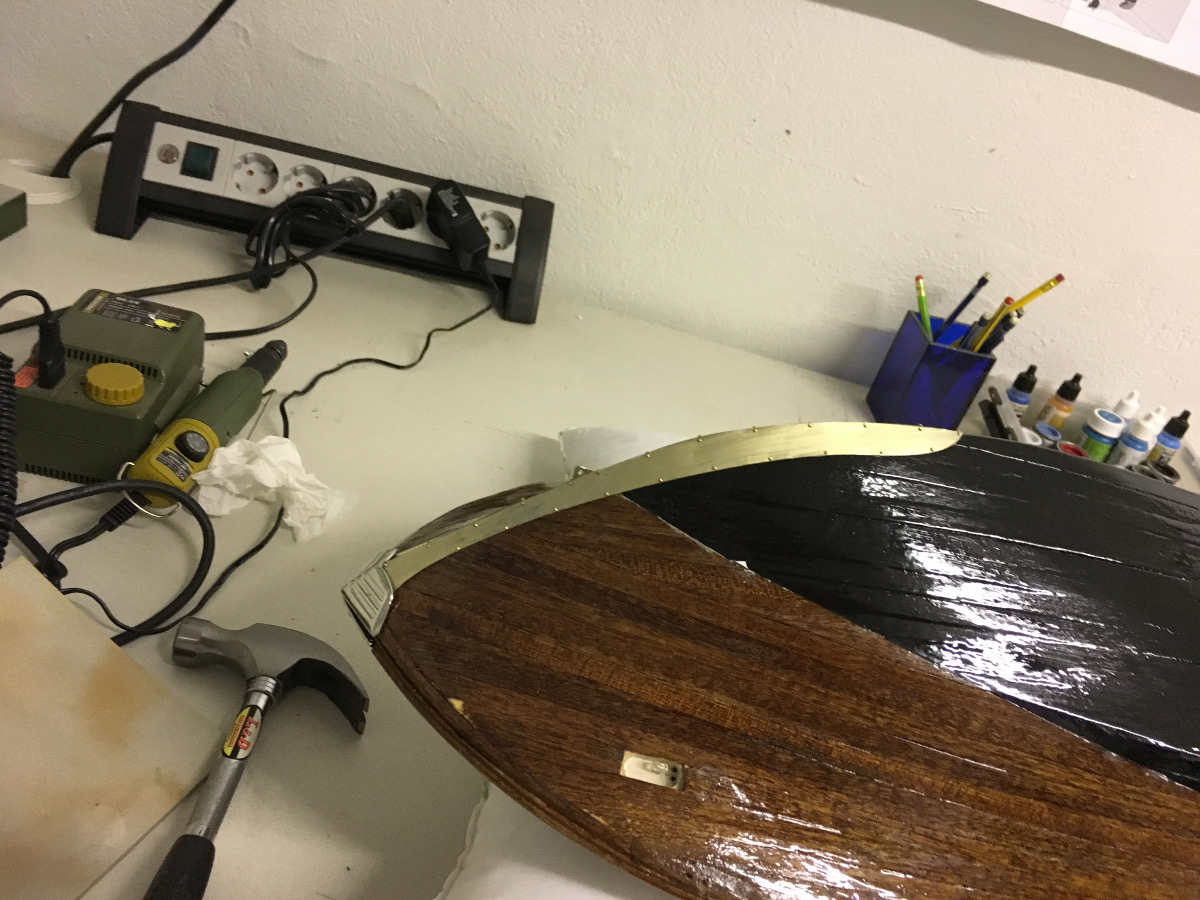
Exhaust pipes.
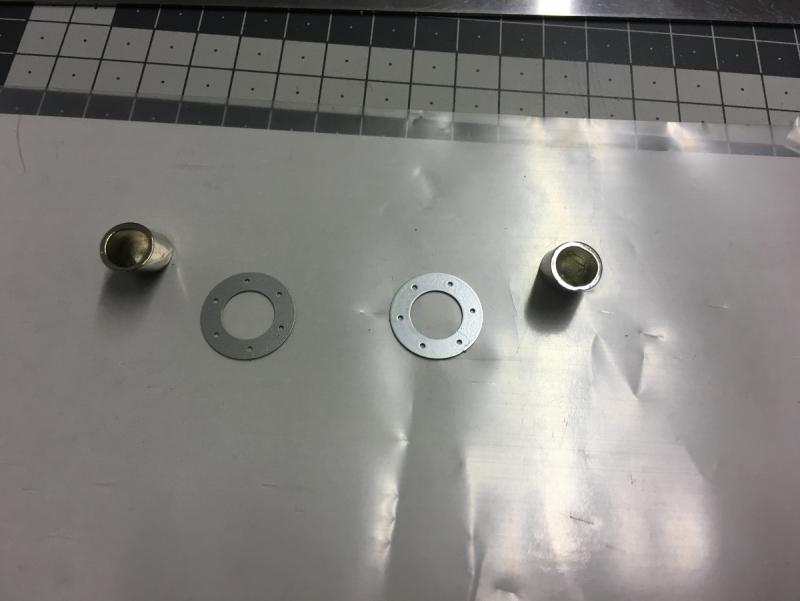
Here I made the mistake of installing the pipes first and the round frames afterwards, making it too hard to hammer nails to the holes on the frame. I leave them as they are for now, until I get a piece of iron rod to help hammer the nails without hitting the exhaust pipes.
-
-
-
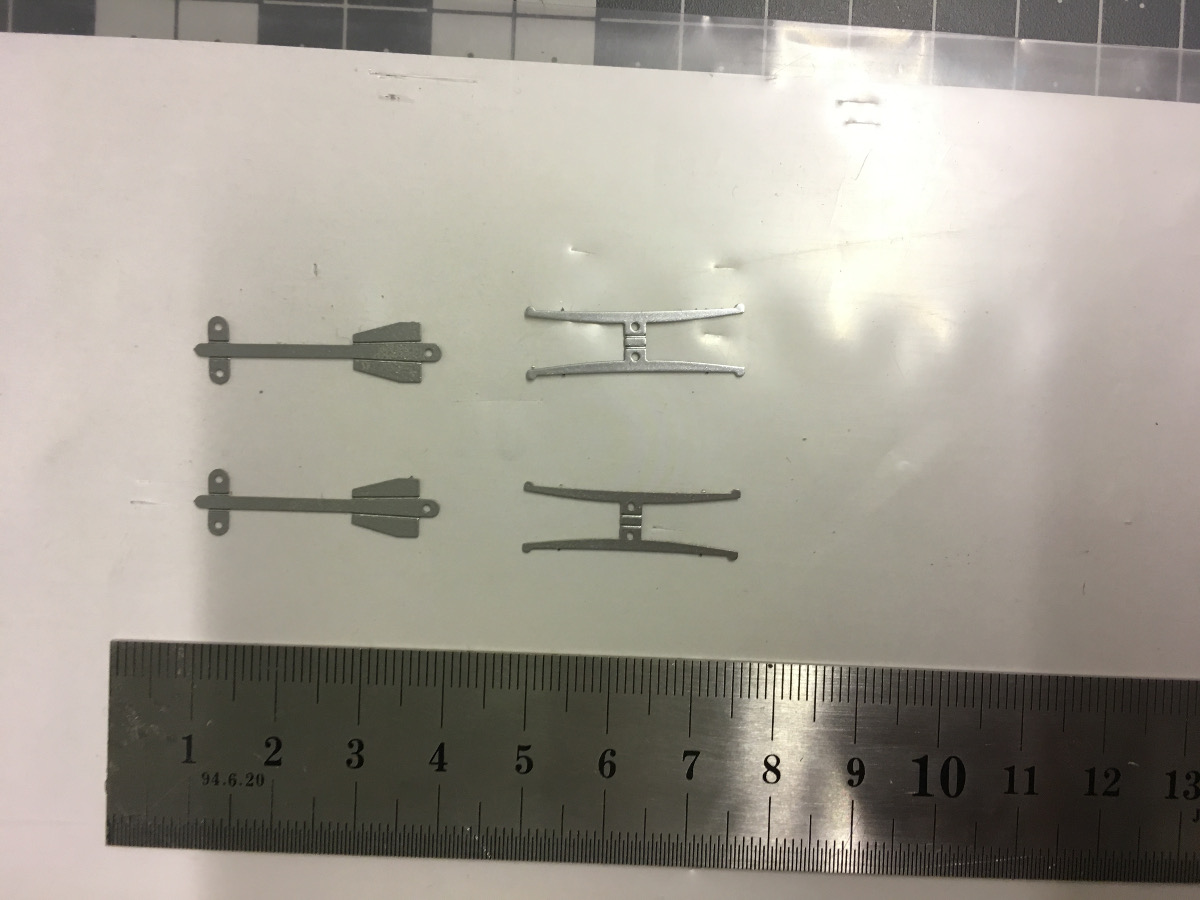
End of Build day 45
3,5 hour today.
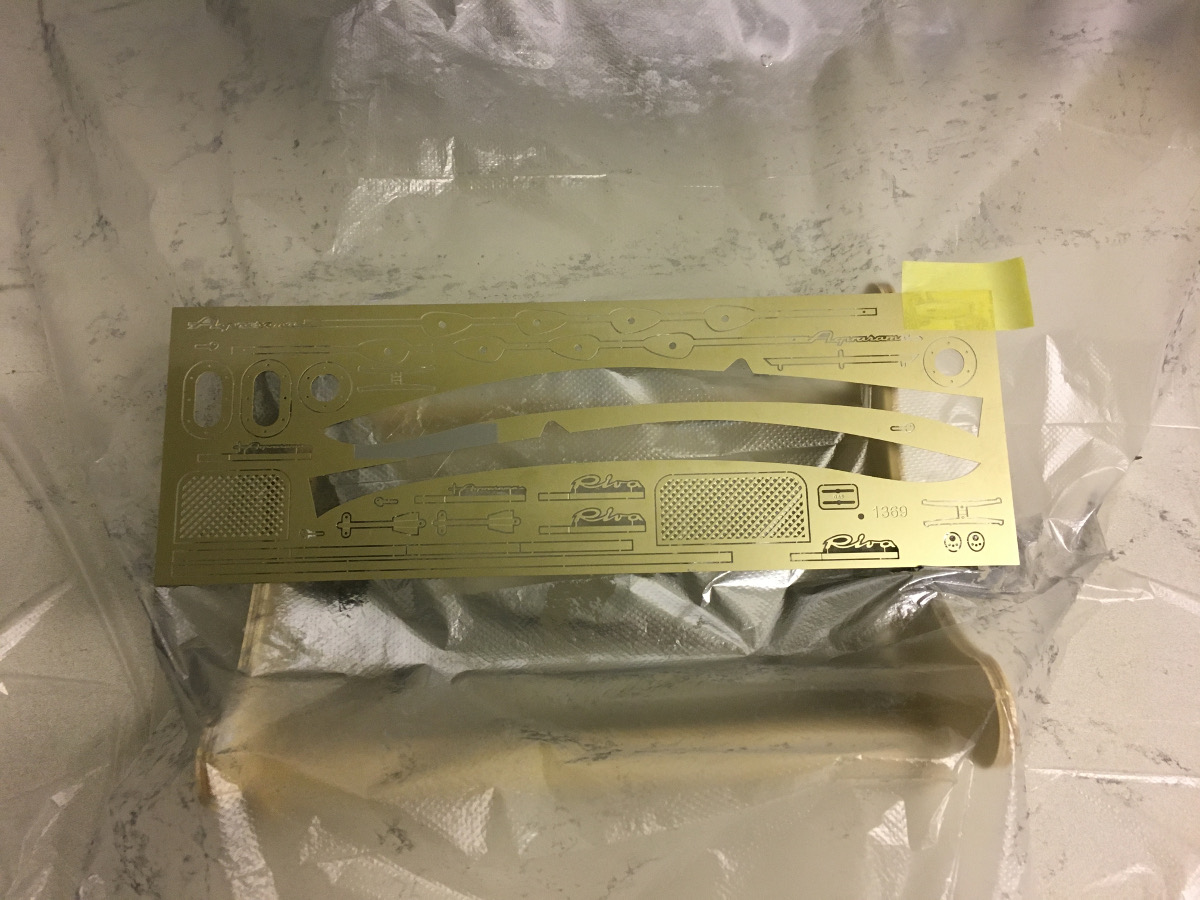
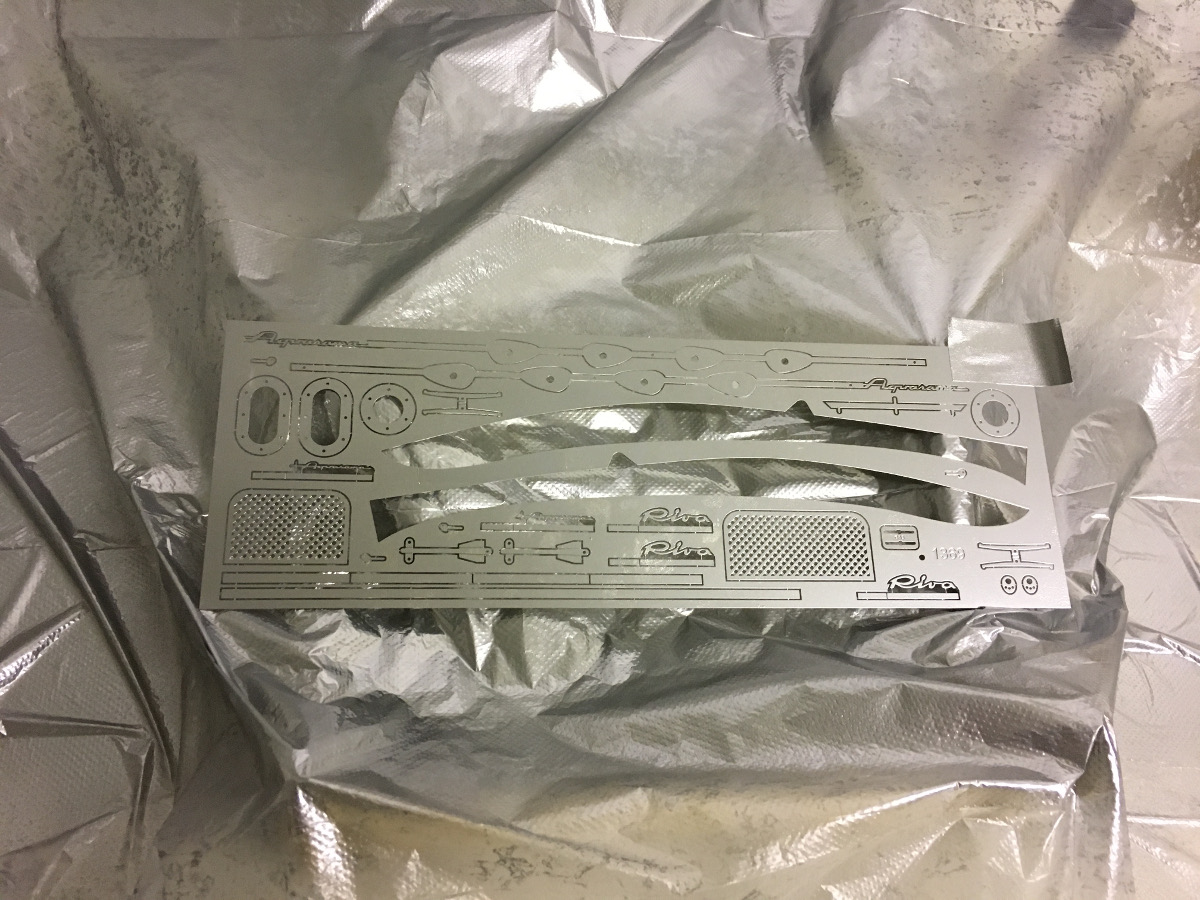
130 hours into build in total.Along with several other small metal parts, this is the status at the end of the day. Thanks for watching:
- gjdale, EJ_L, usedtosail and 7 others
-
10
-
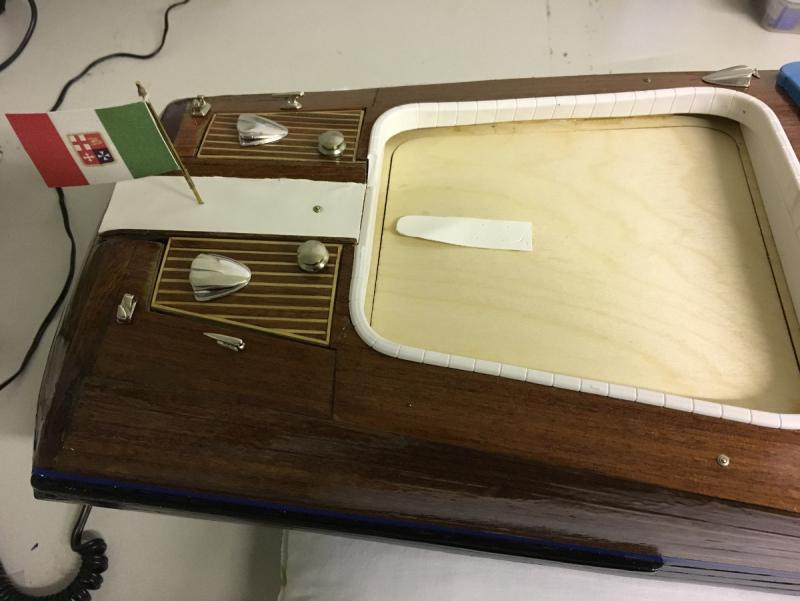
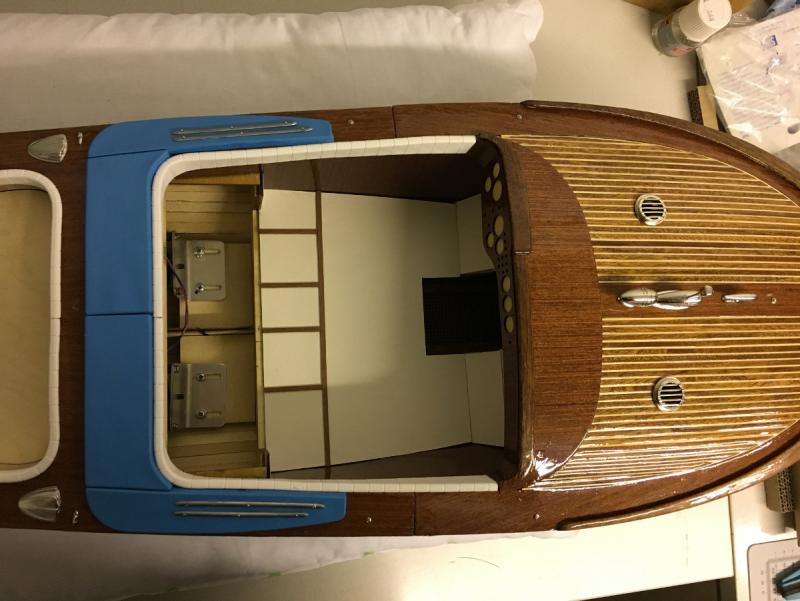
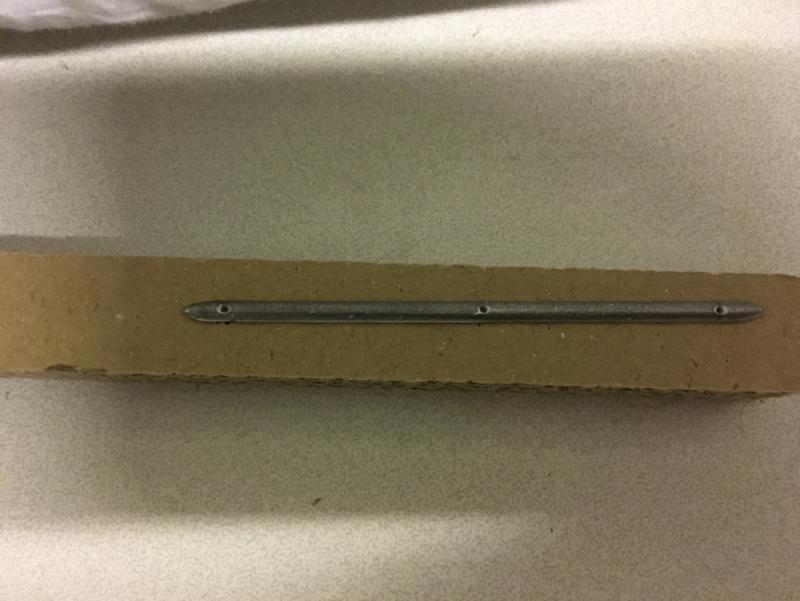
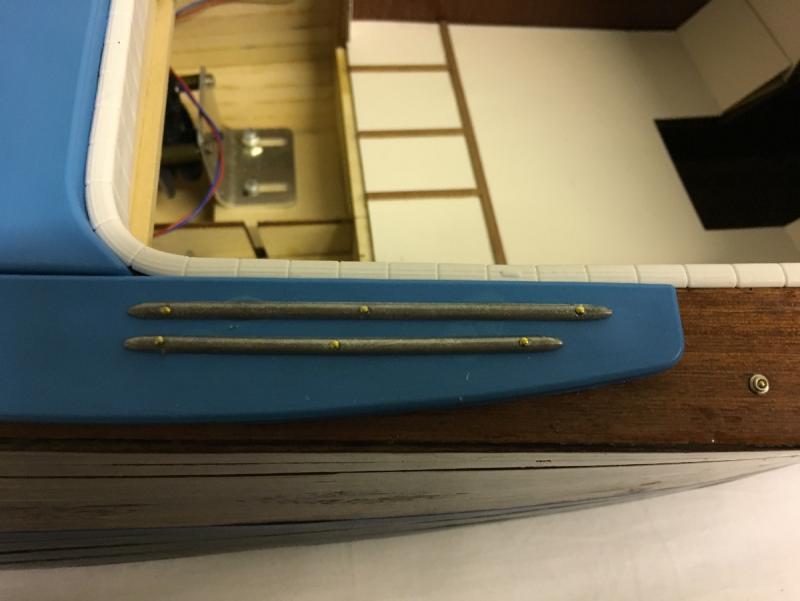
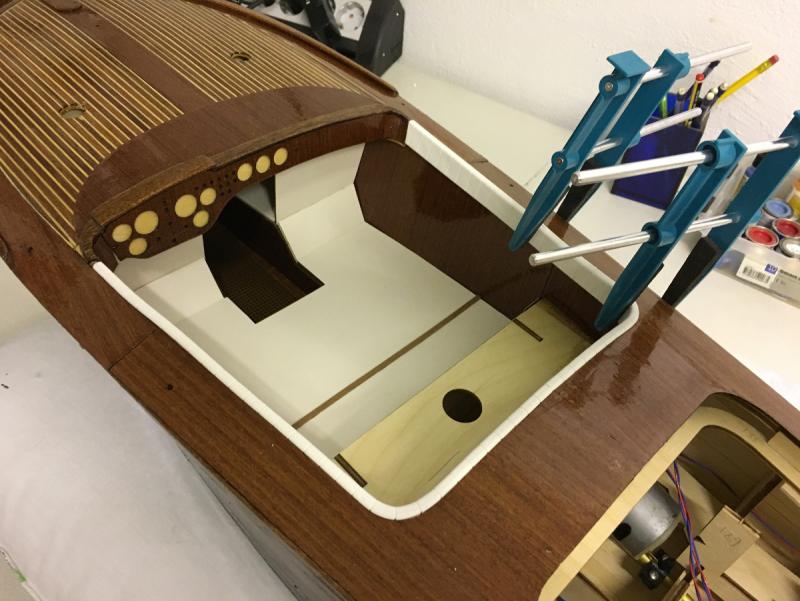
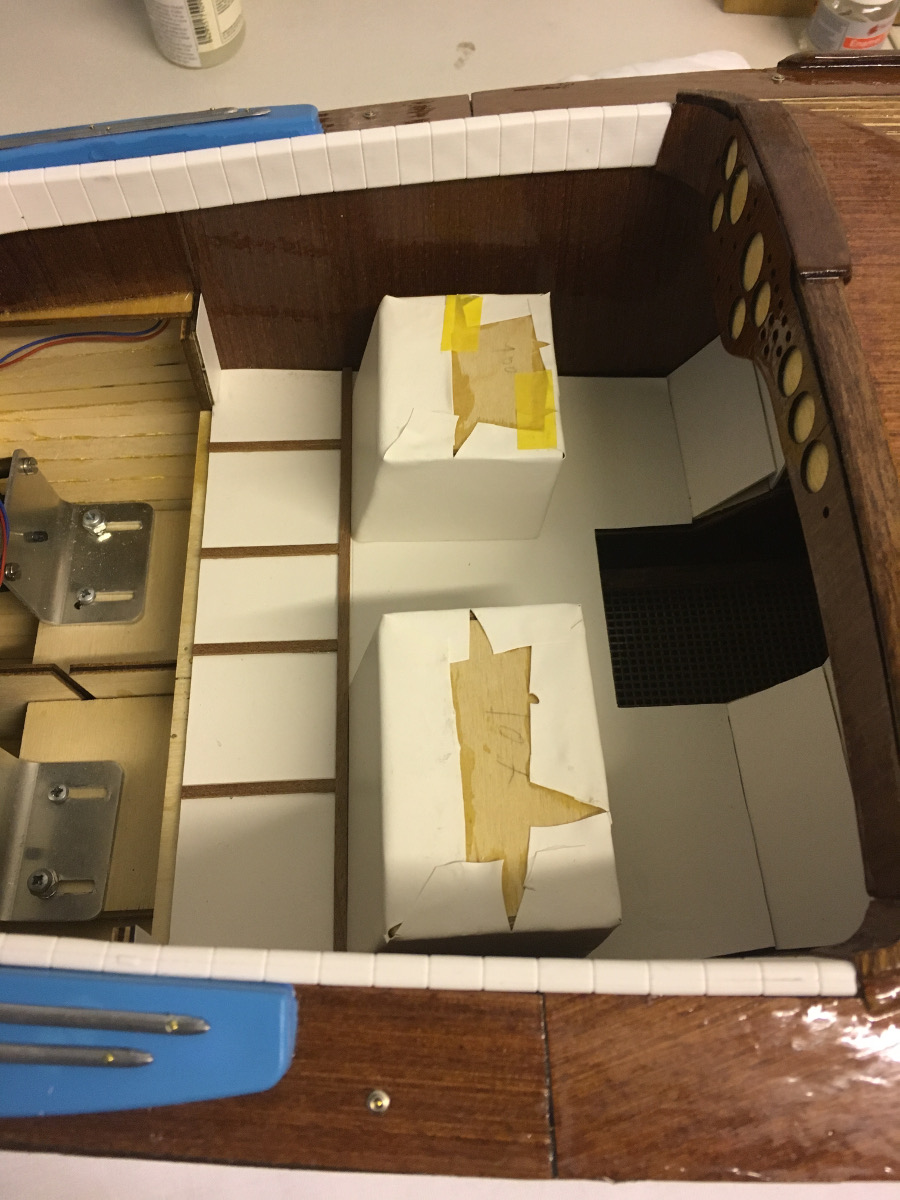
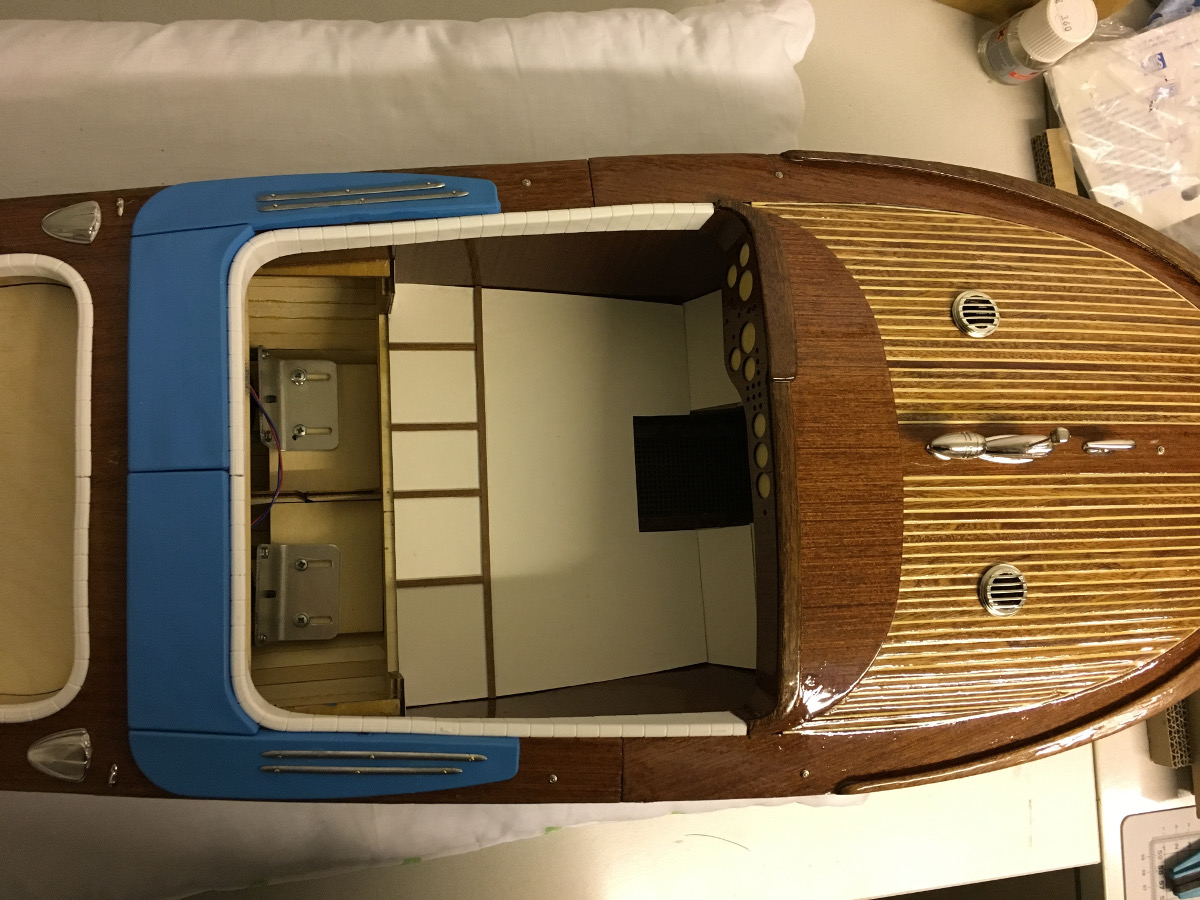
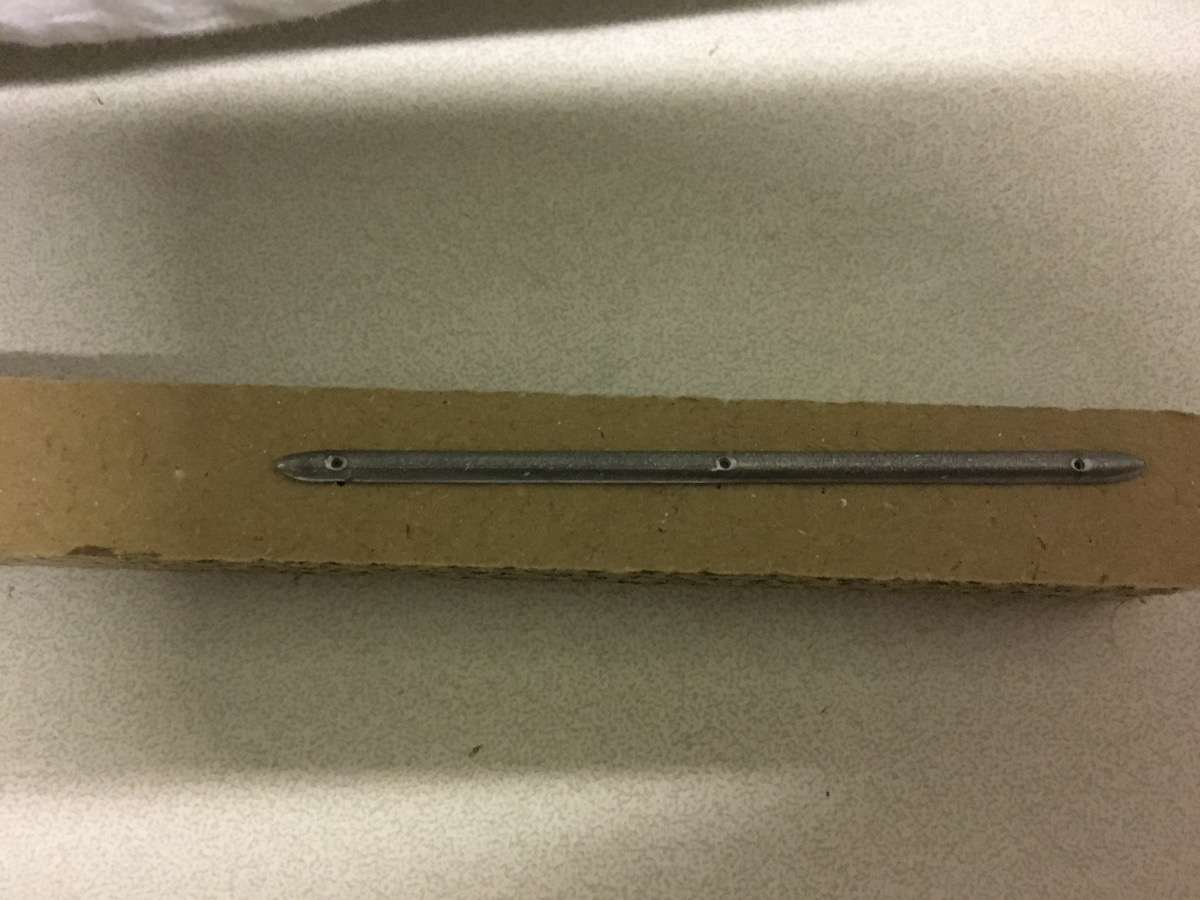
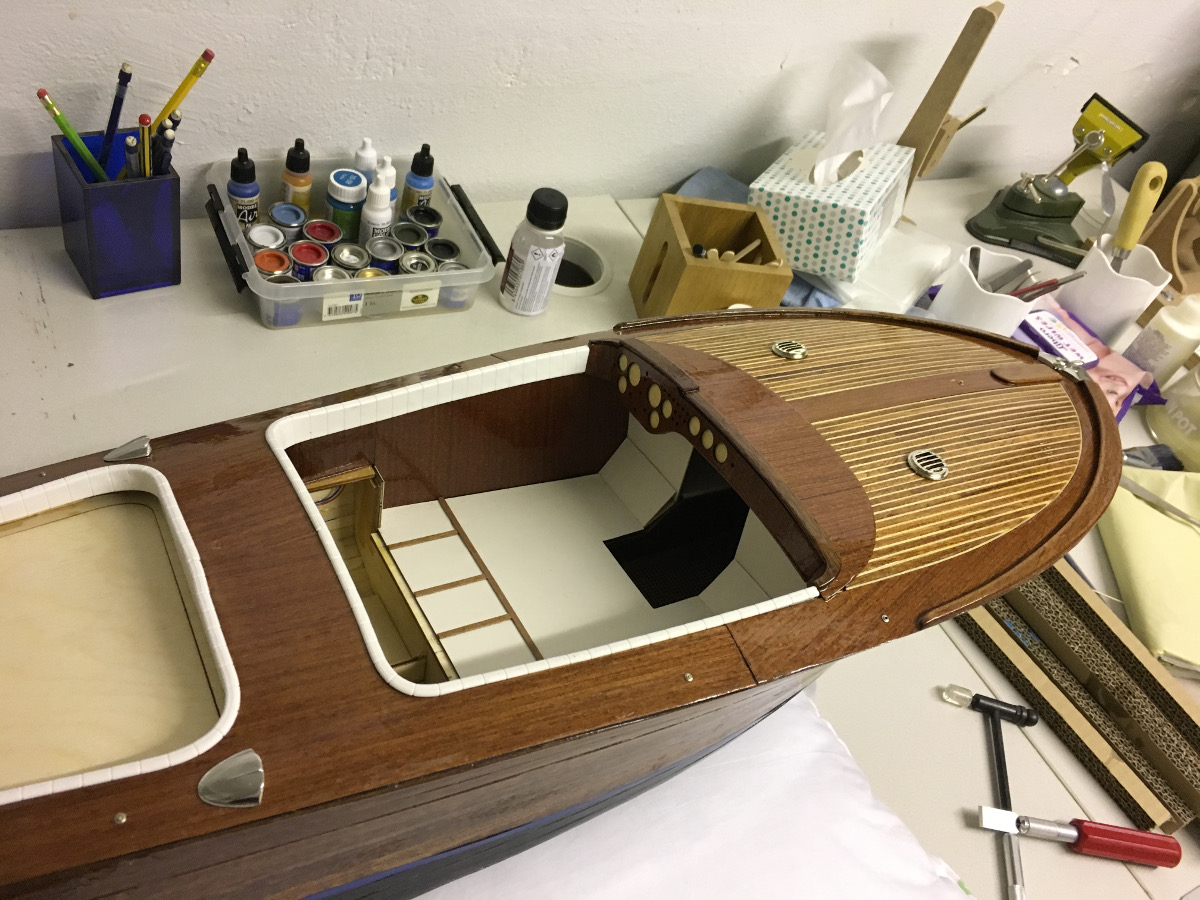
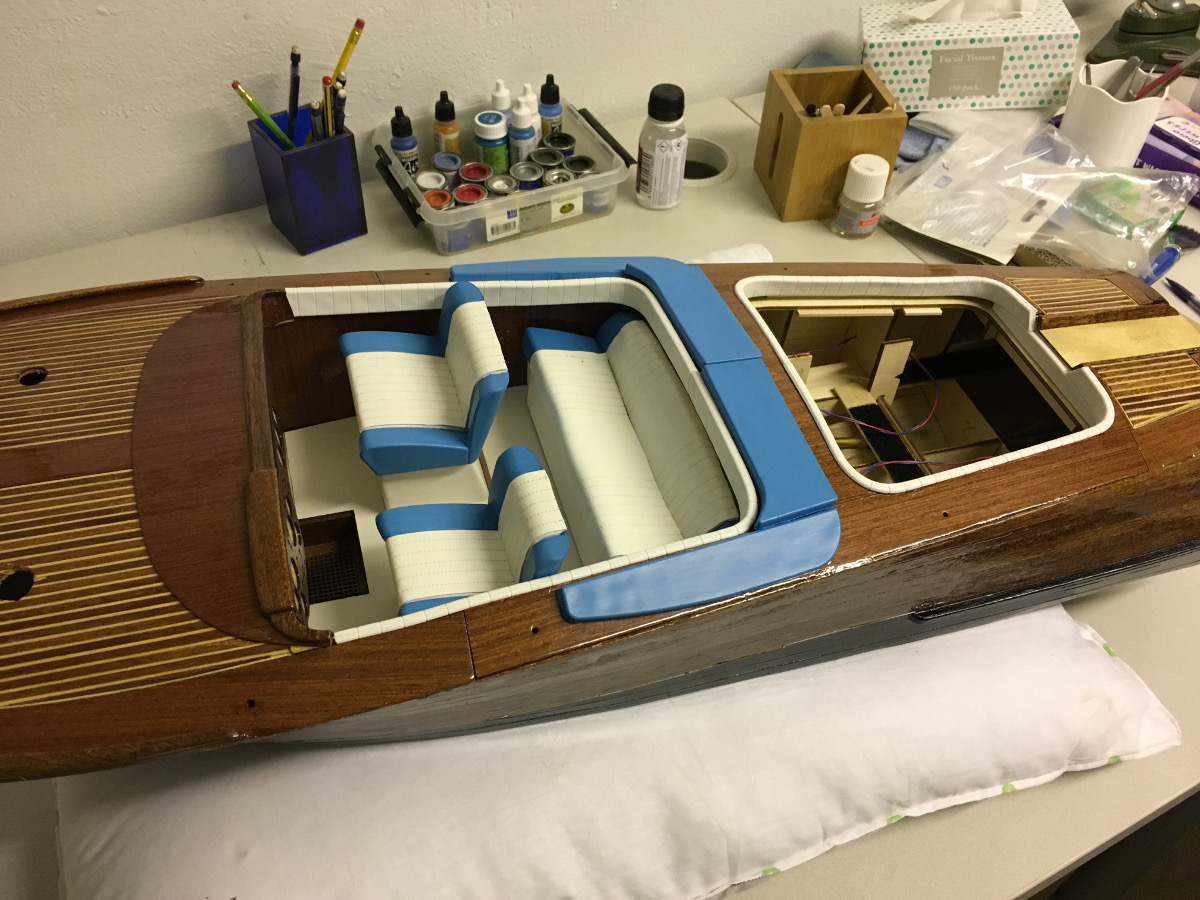
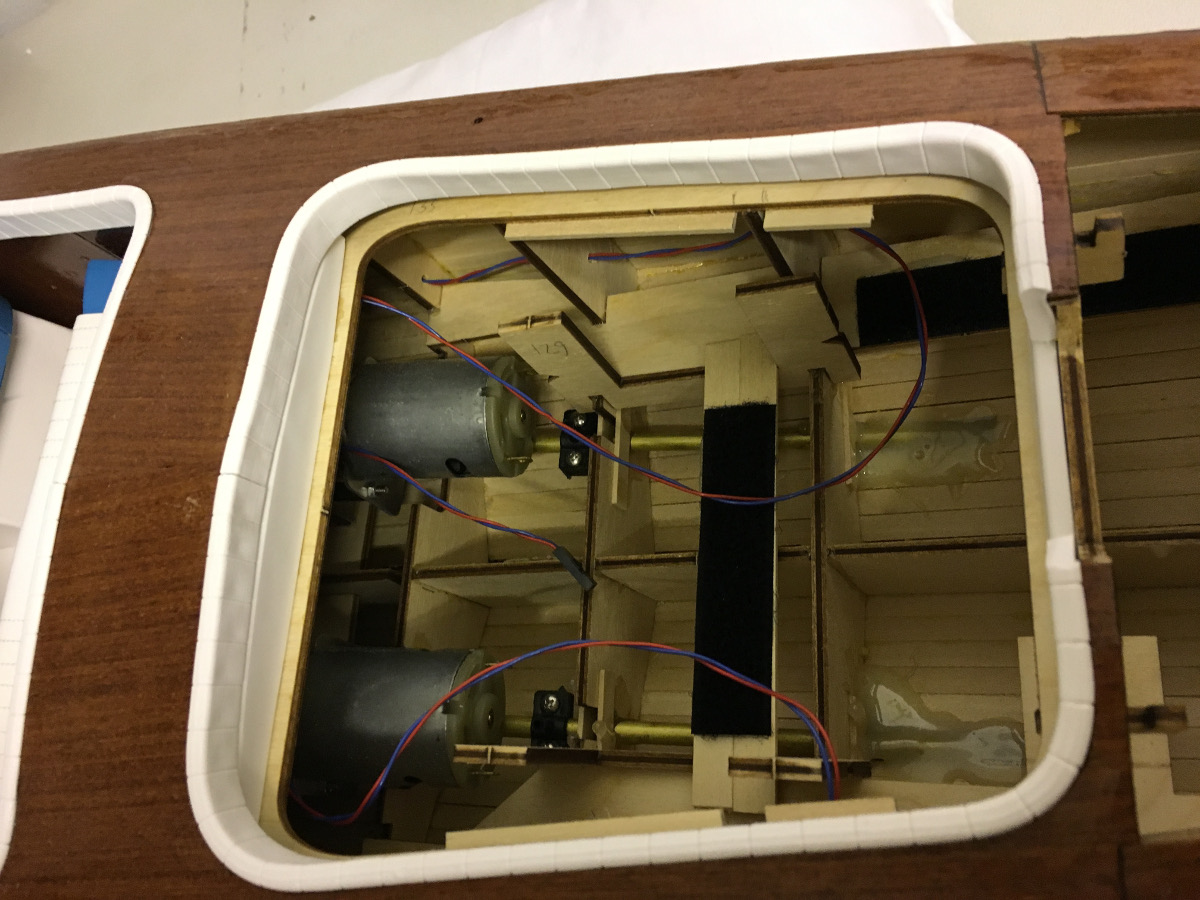
Glued the turquoise cushions around the cockpit. I had to do this in order to be able to position the other components correctly easier.
These cushions accommodate 2 pieces of metal stripes, which are supposed to be nailed. They had "simulated" nail holes which were not fully drilled. So I drilled the nail holes and nailed them on the cushions.
-
-
-
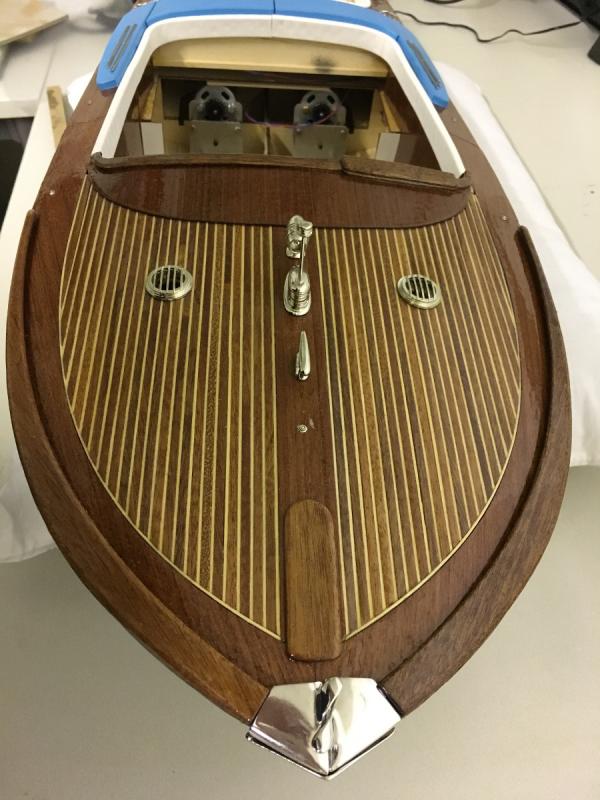
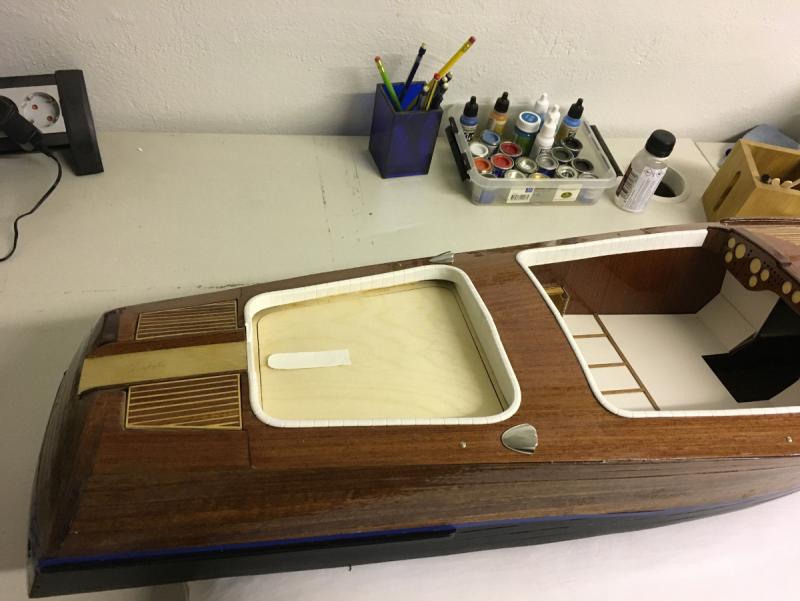
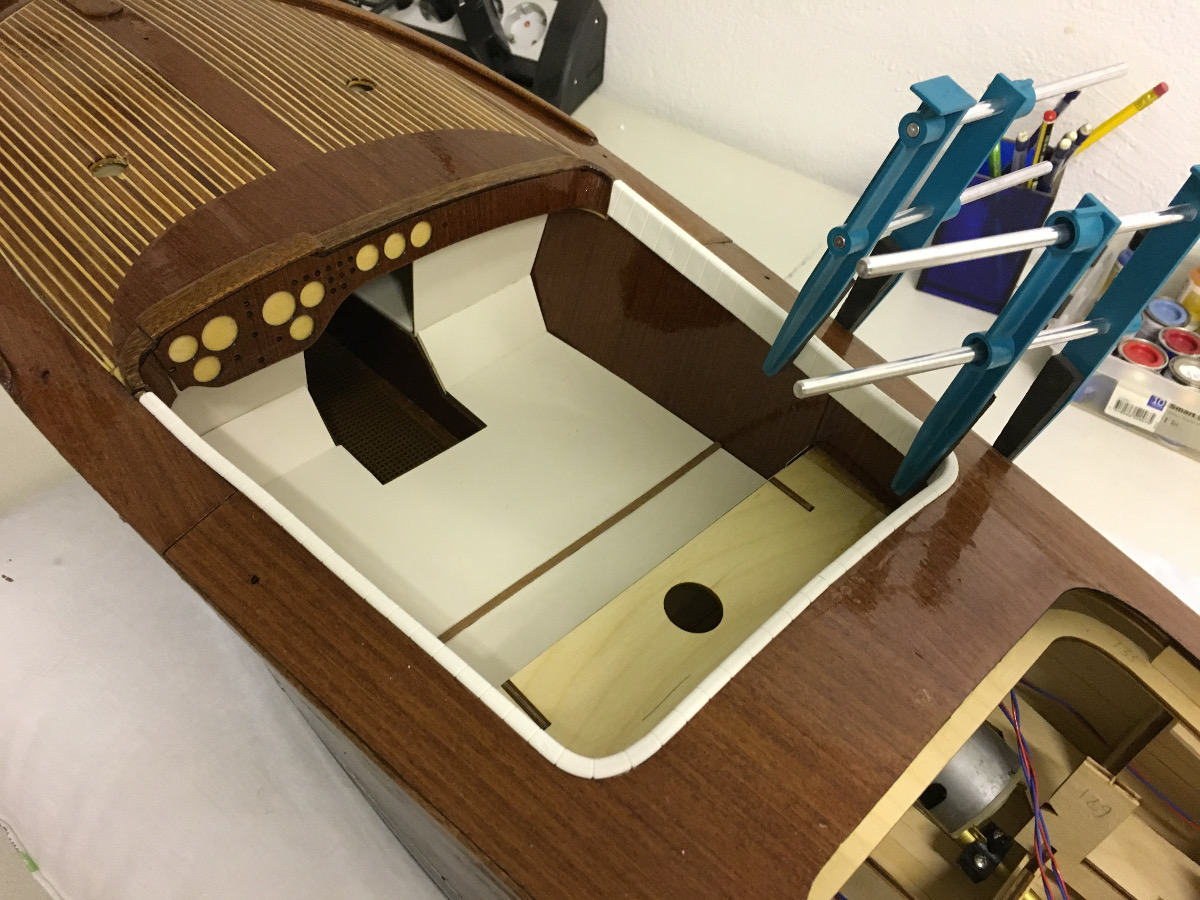
Installed the borders on the floor:

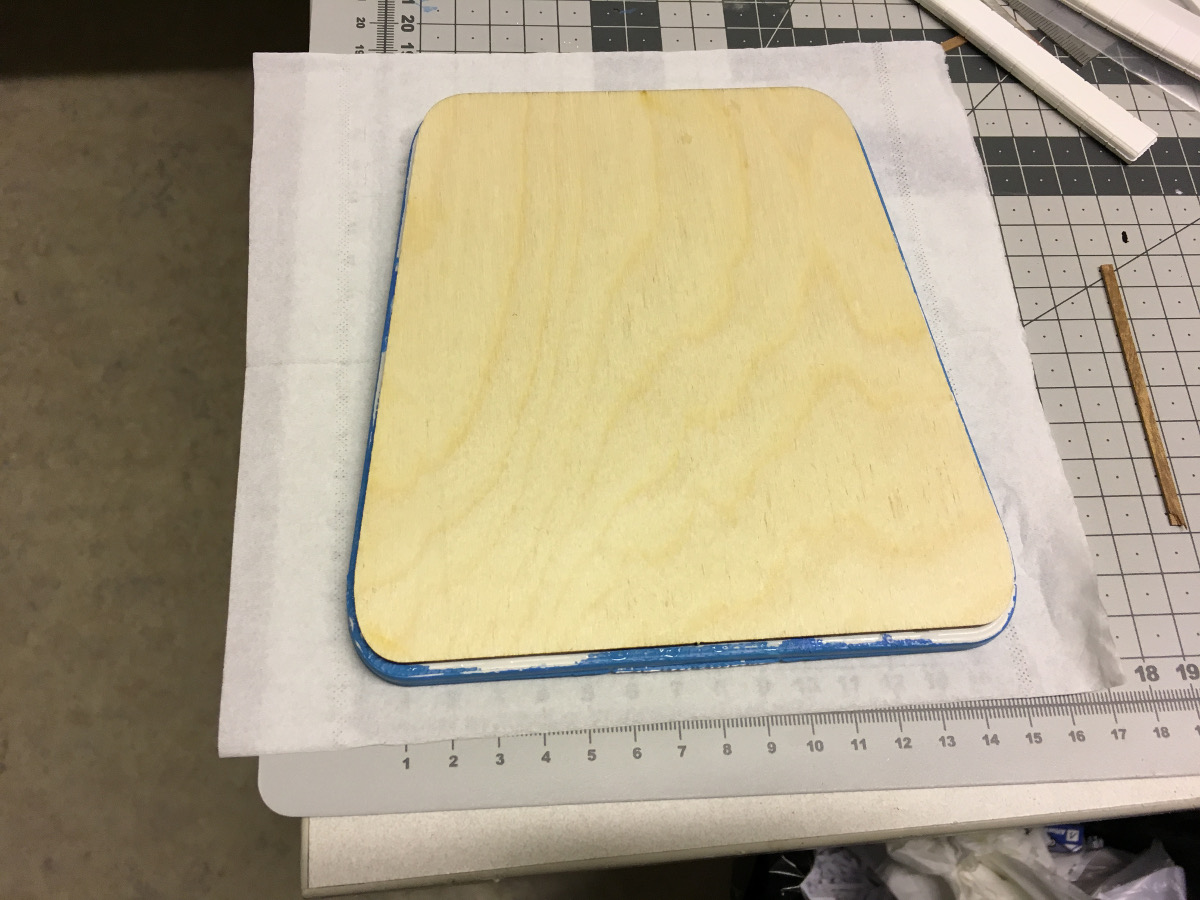
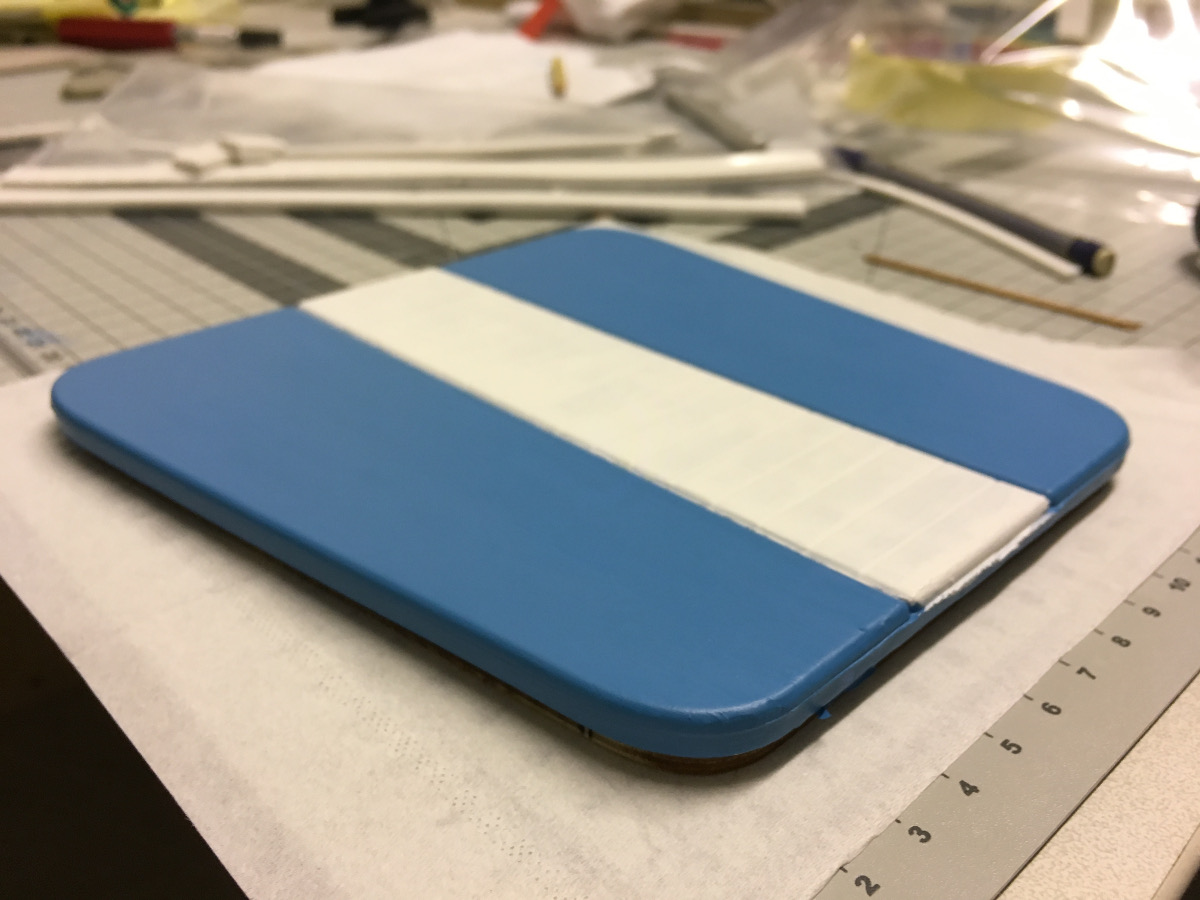
Earlier I had glued the sun bed on the rear deck to the plywood hatch which it sits on. Now I think it is not a good idea, since the sun bed will not fit in its place because of the white cushions around the frame. You will need to bend the sun bed a little to insert it, something impossible while it is glued on the hatch. So I detached it. Now in the photos you see the hatch without the sun bed:
-
-
-
-
Glued the lateral cushions on the cockpit and rear deck in place, as well as the cockpit floor pieces:
- Red, mtaylor, Robin Lous and 6 others
-
9
-
-
-
Build day 44. Decorations
1,5 hour today.
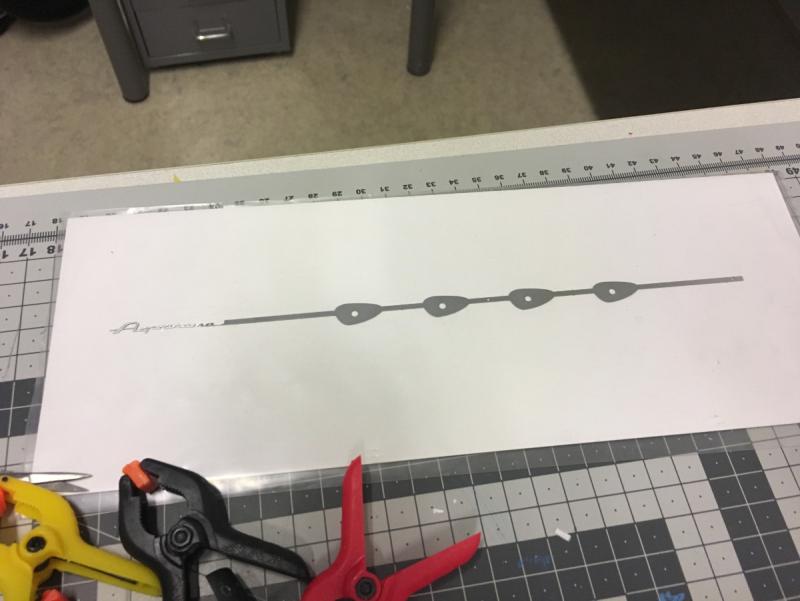
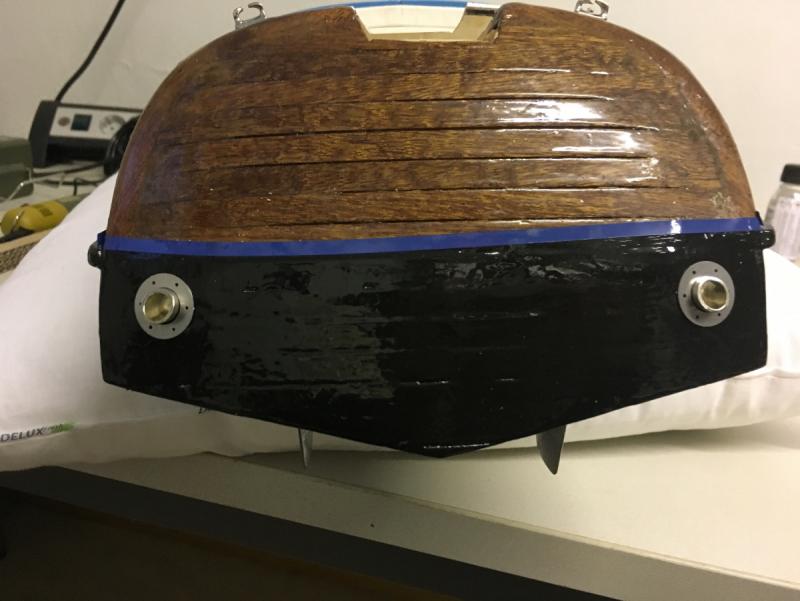
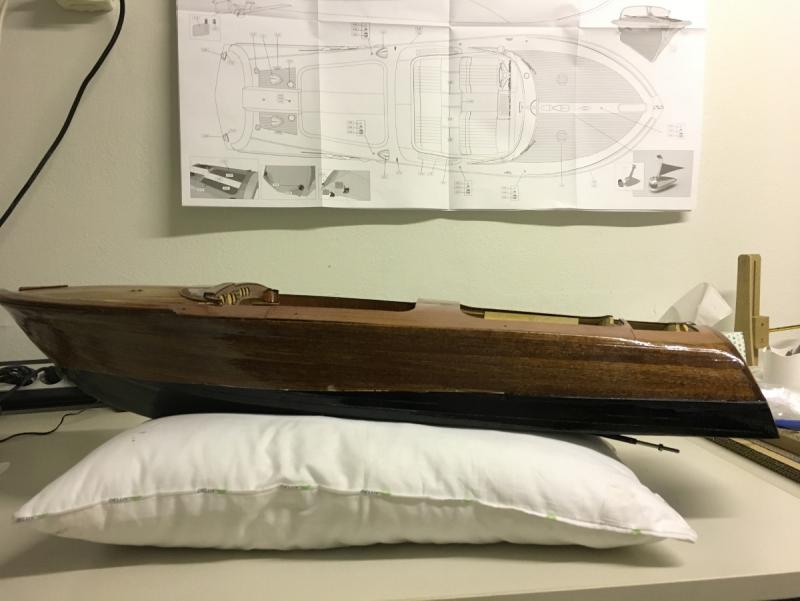
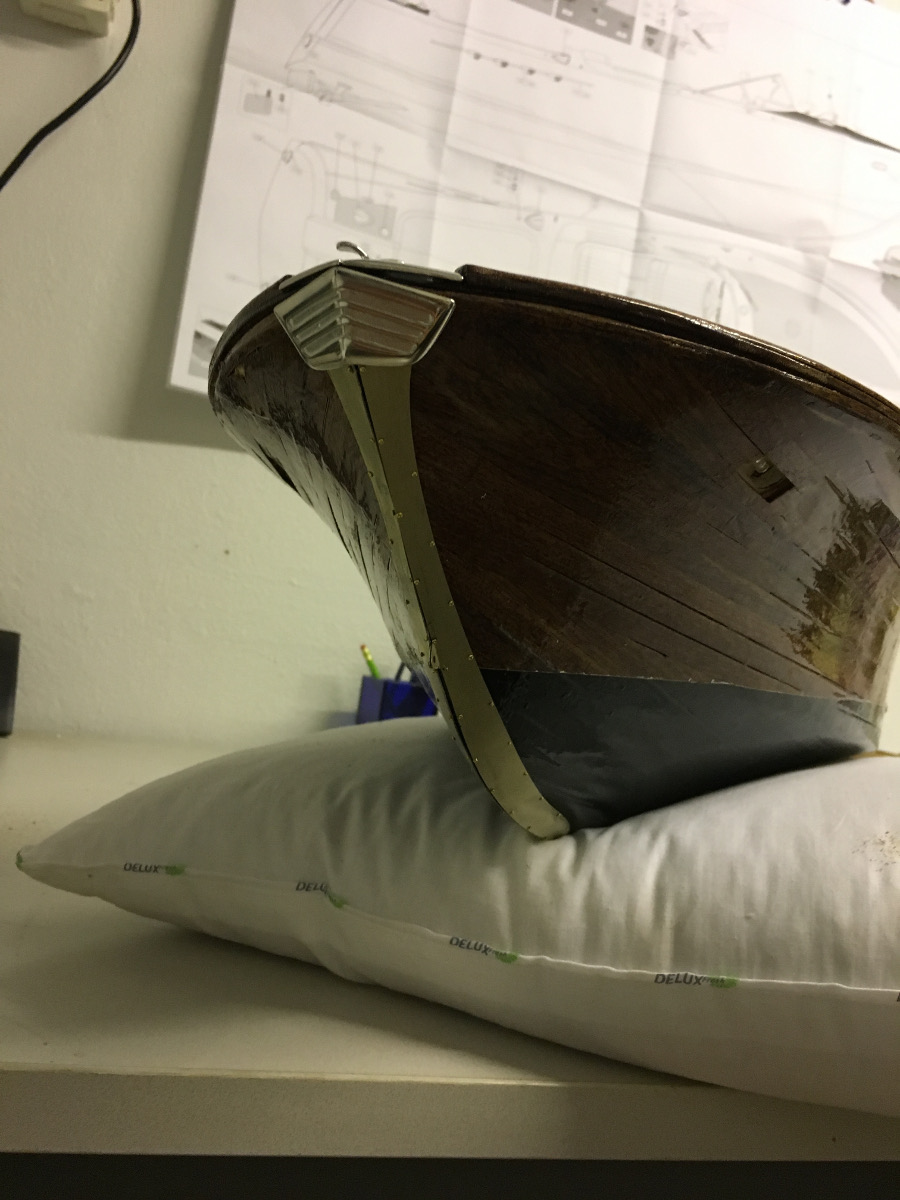
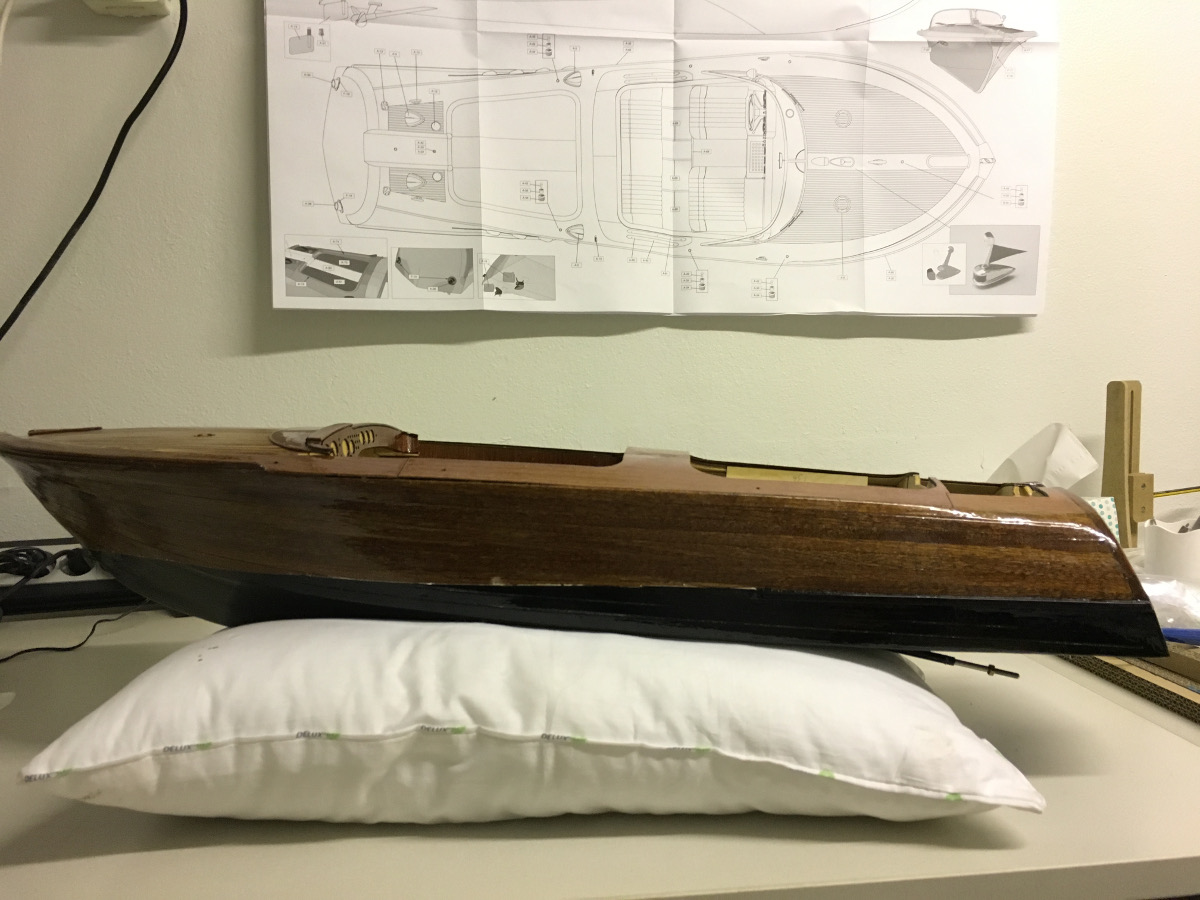
126,5 hours into build in total.I had been away for a trip to Turkey to visit my parents and now finally back at home.I had already painted the watermark before I left. As you see in the photos below, I decided to paint it black instead of white. I think it looks better this way. Opinions may differ, of course. Note that the waterline will still be covered with a thin strip of blue sticker, therefore the small impurities are not a problem:
-
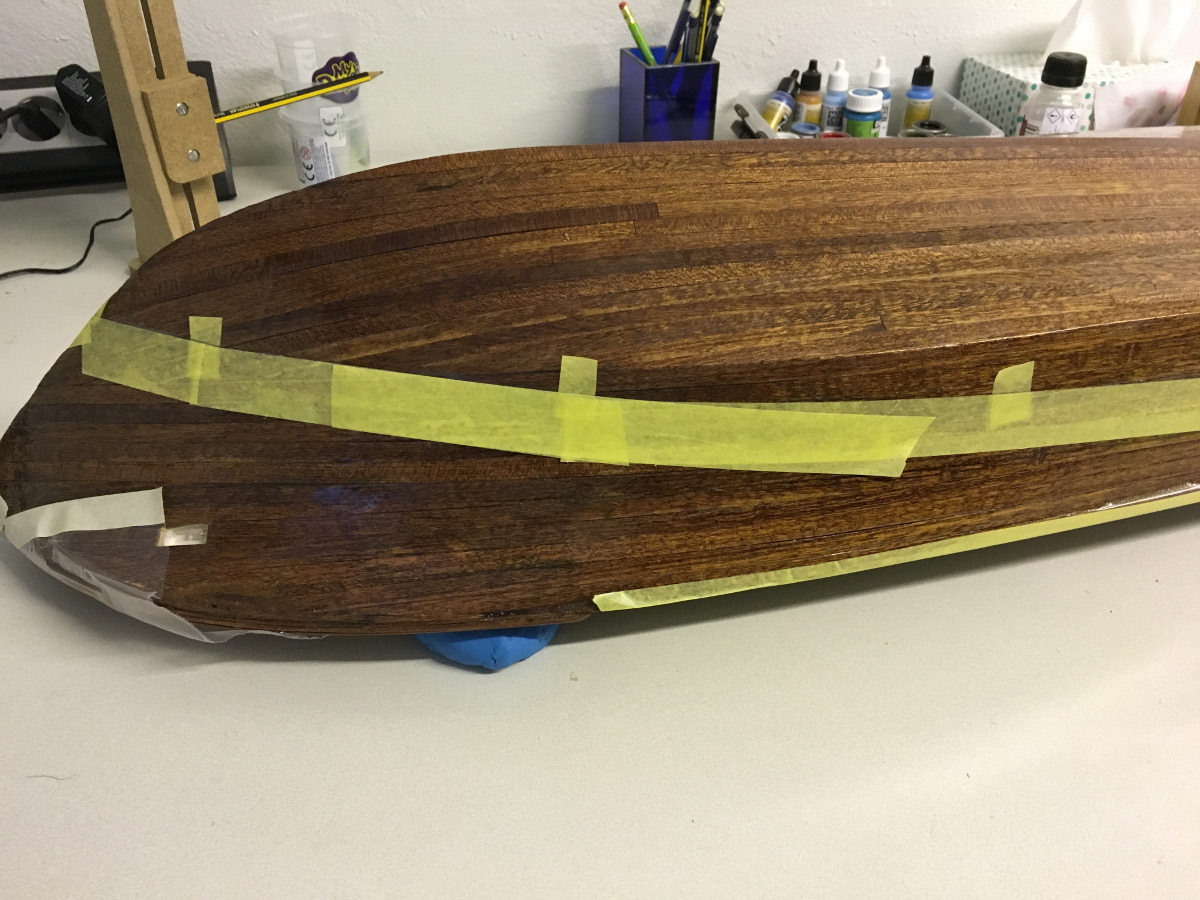
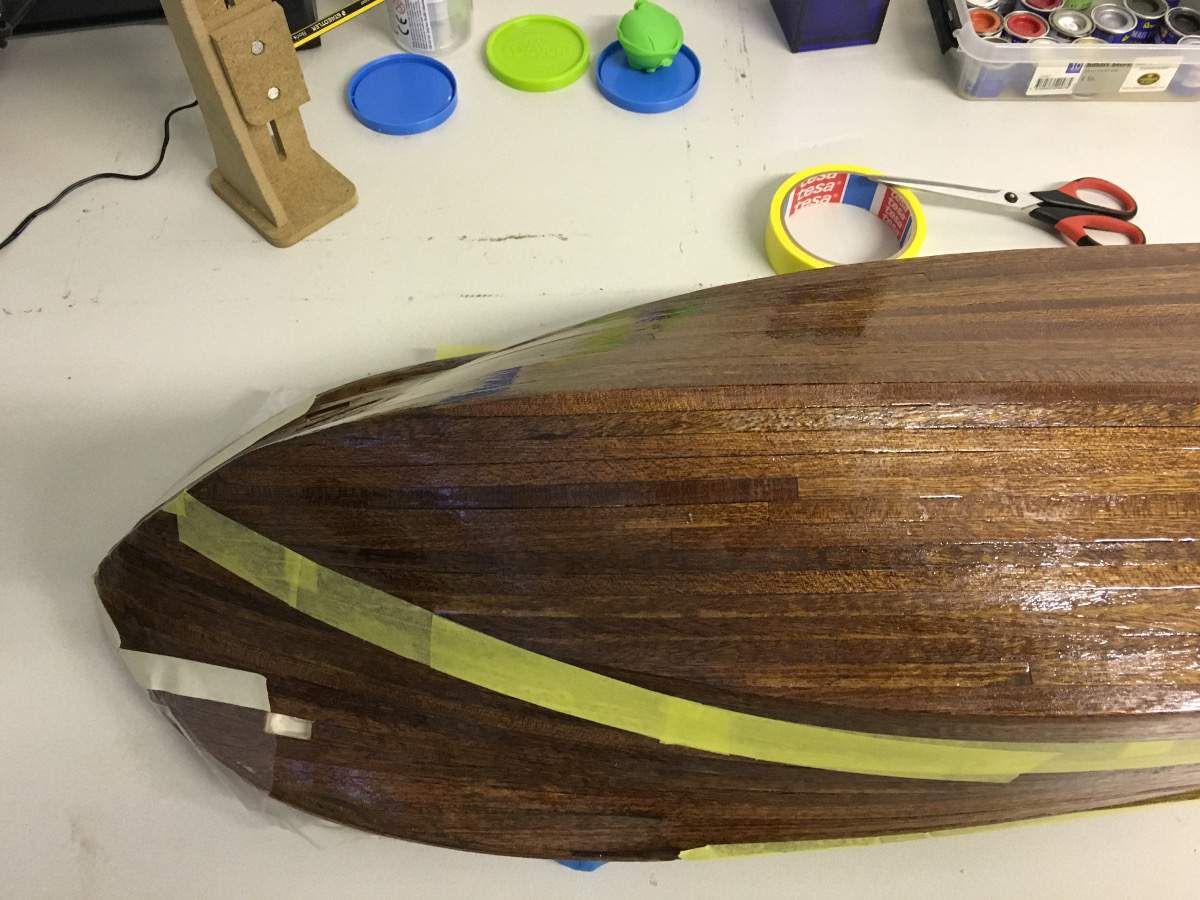
I placed small pieces of making tape at certain intervals to make the waterline marks visible. It will be easier to locate the charcoal pencil marks which are hard to see.
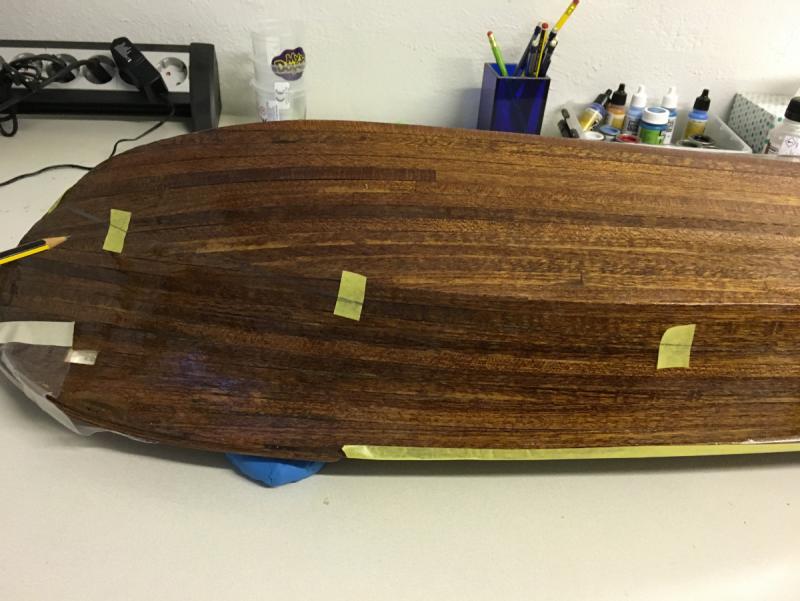
Then by following the lines, I merged the gaps between the tape marks by more masking tape:

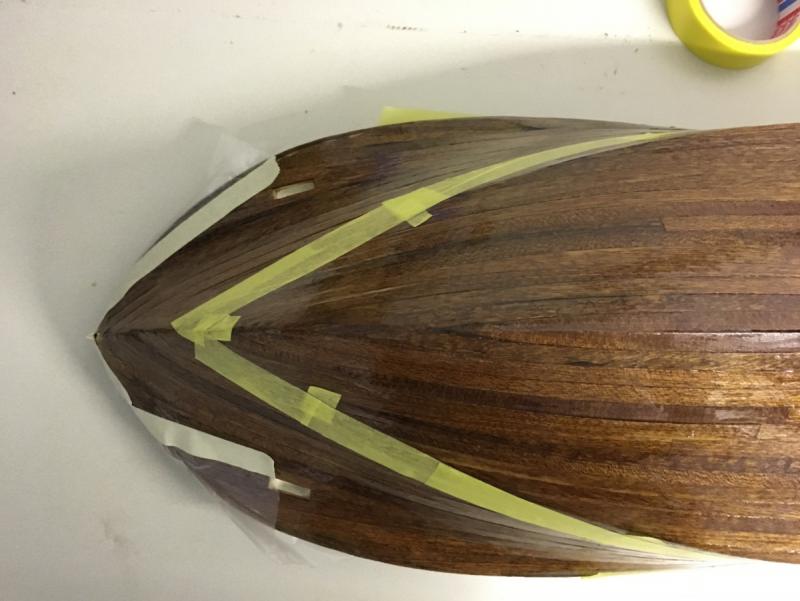
And finally cut off the initial tape pieces with x-acto knife:

Waterline masking is ready now. Hopefully tomorrow I will have some time to waterline paint.
That's all for today and thanks for watching.
Aydin
-
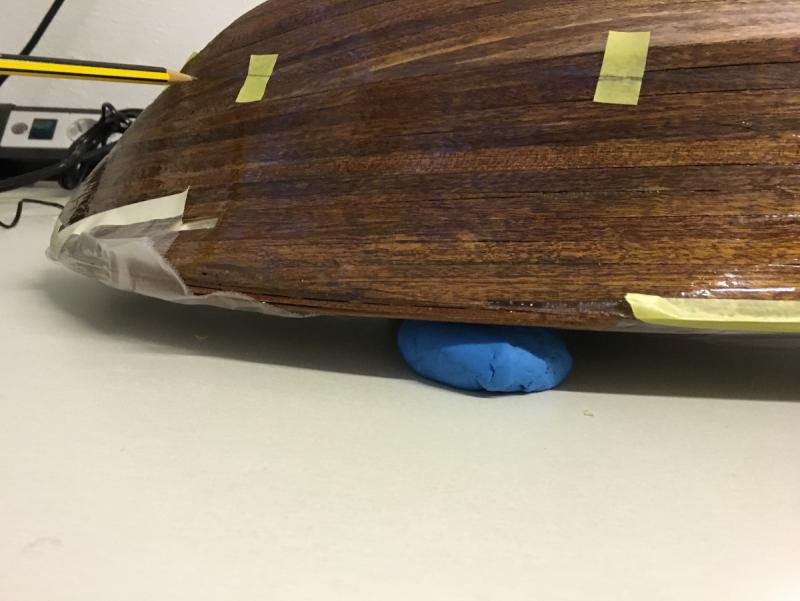
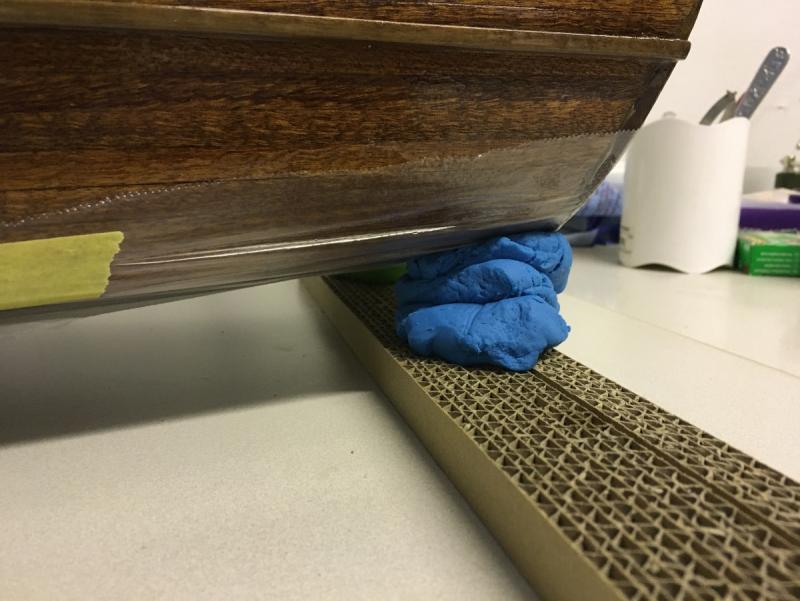
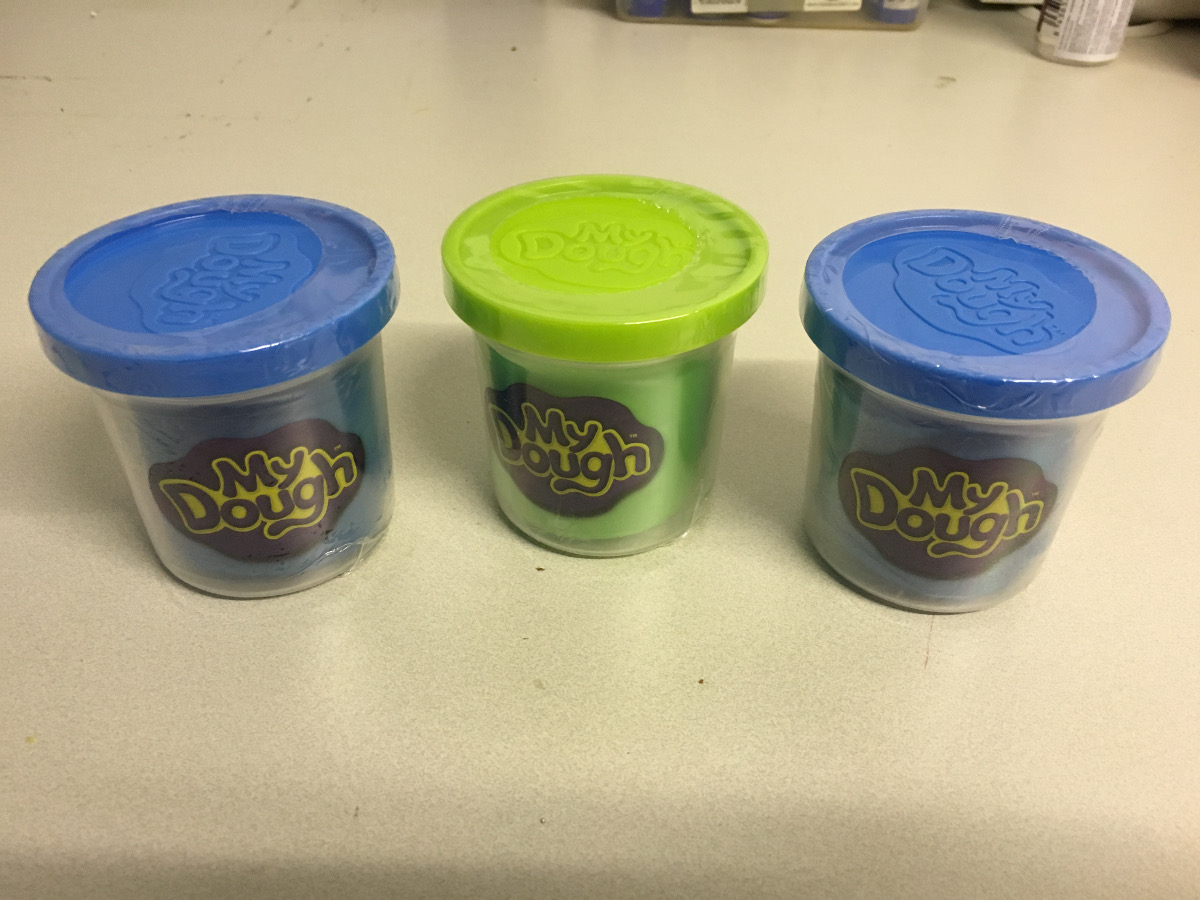
Question: What can a play-dough have anything to do with model boat building?
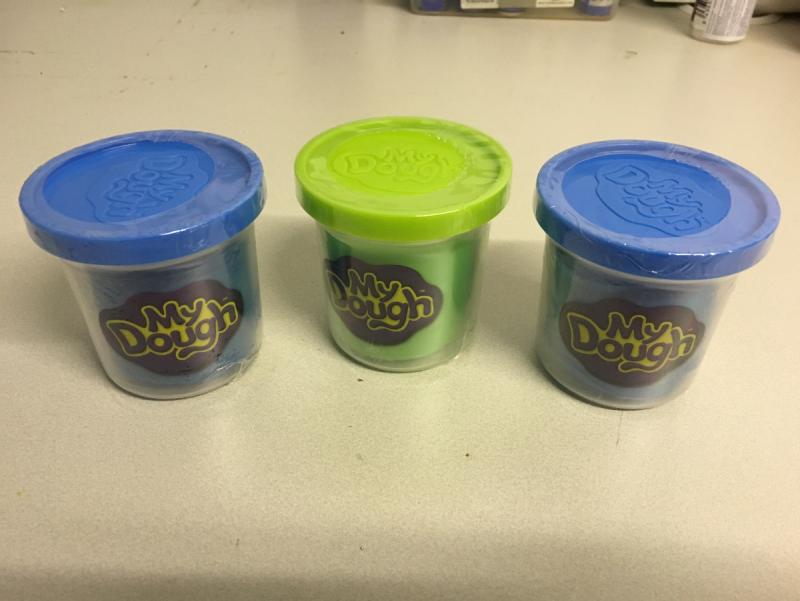
Hint: Check the base (where the boat stays on) which come with the model:
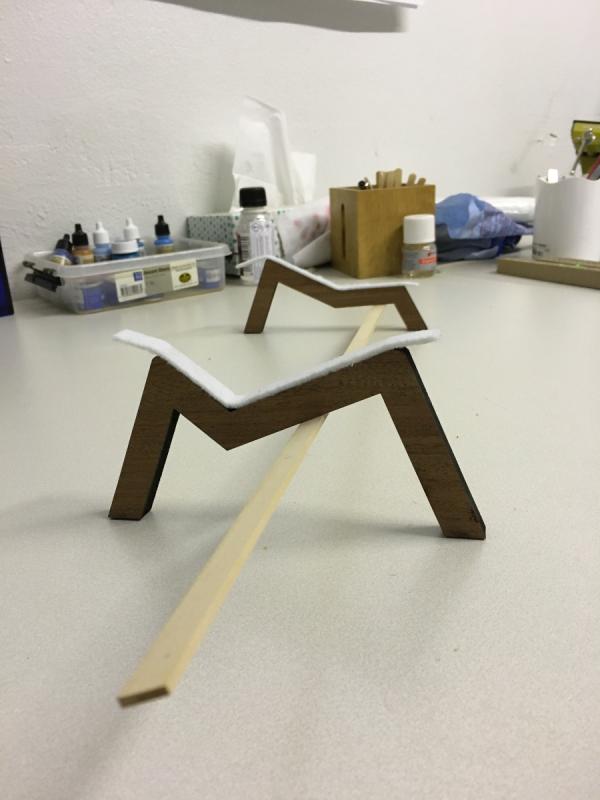
Yes, you guessed right. The boat does not sit on the base horizontally, but instead with an angle tilted towards one side (just like how its position would be on a speedy turn to left). Though this posture gives a nice artistic look to it during display, it makes the base unusable for marking the waterline.
Hence, enter the play doughs. Making use of their soft but solid structure I have been able to position the boat precisely horizontal for marking the waterline correctly.
- EJ_L, WackoWolf, Robin Lous and 2 others
-
5


Riva Aquarama by aydingocer - FINISHED - Amati - RADIO - A new challenge for a so-far static ship builder
in - Kit build logs for subjects built from 1901 - Present Day
Posted · Edited by aydingocer
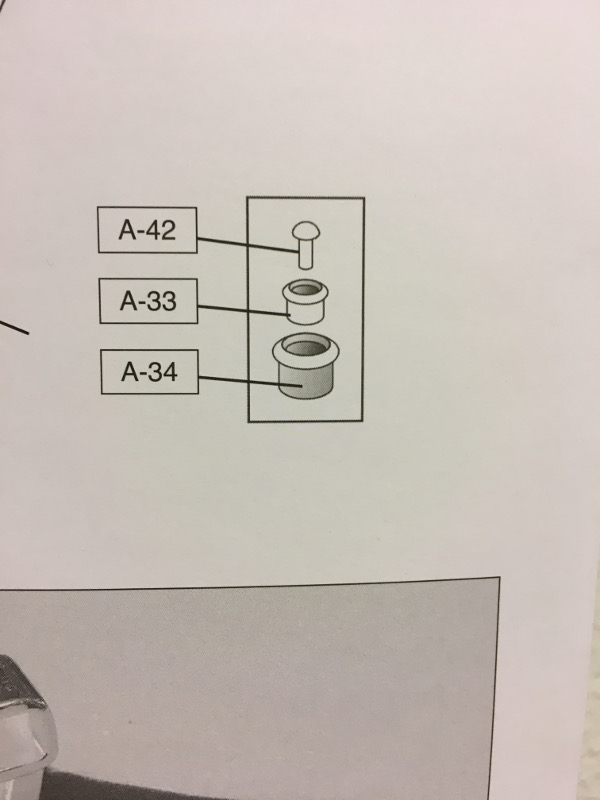
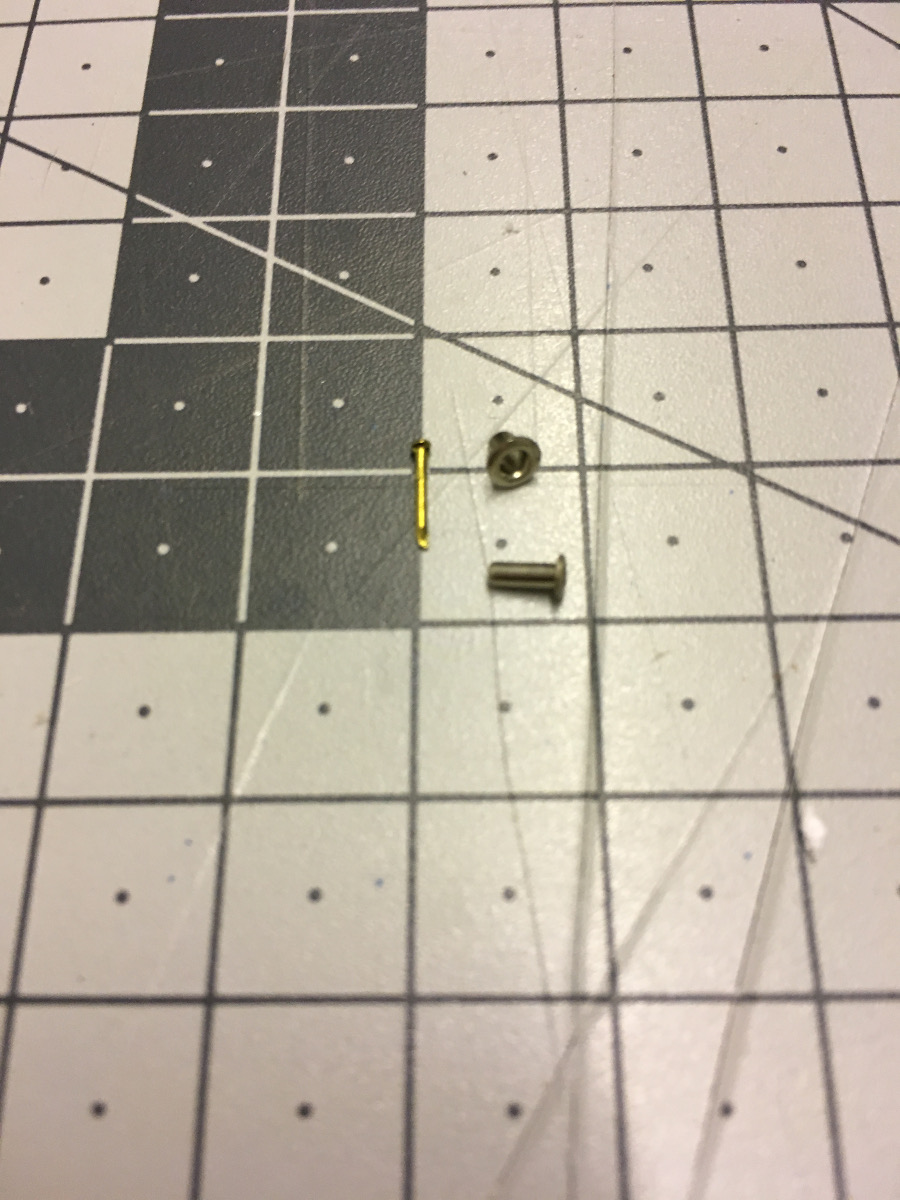
Steering wheel. NOTE: The instructions sometimes deviate quite a lot from the parts which come with the kit, I guess due to the version updates the kit has gone through in years. I would appreciate if they would update the instruction manual, too, to match the new list of parts. The steering wheel is one example. It comes in a single piece in the kit, however according to the instructions you have to assemble it from several parts:
Painted and waiting to dry, before installation in place: