MORE HANDBOOKS ARE ON THEIR WAY! We will let you know when they get here.
×


michael mott
-
Posts
5,195 -
Joined
-
Last visited
Content Type
Profiles
Forums
Gallery
Events
Everything posted by michael mott
-
 Hi Mark, This is what I have, it is old and I have no idea where I got it. I do know that i have had it for at least 40 years. Michael
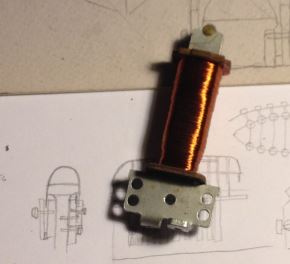
-
Has anyone had any experience removing the clear coating that is used on copper wire used in relay coils and or transformers or electric motors? I would like to do this without using any abrasives and also the wire I am hoping to do this with is .005" or 36 gauge. Michael
-
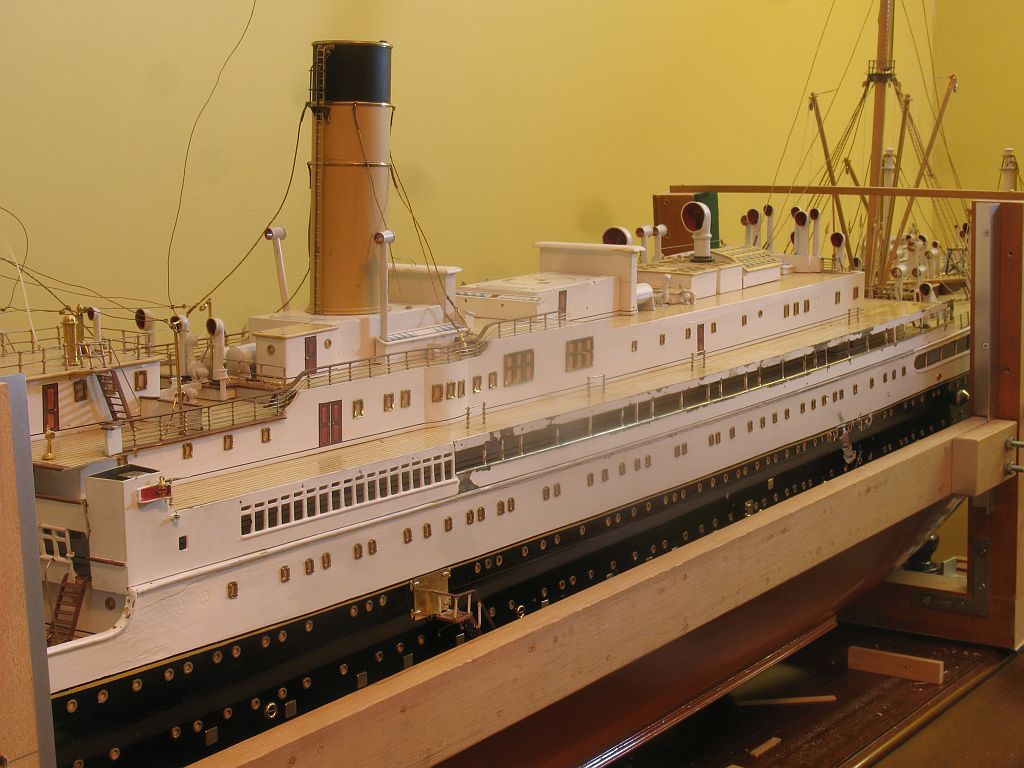
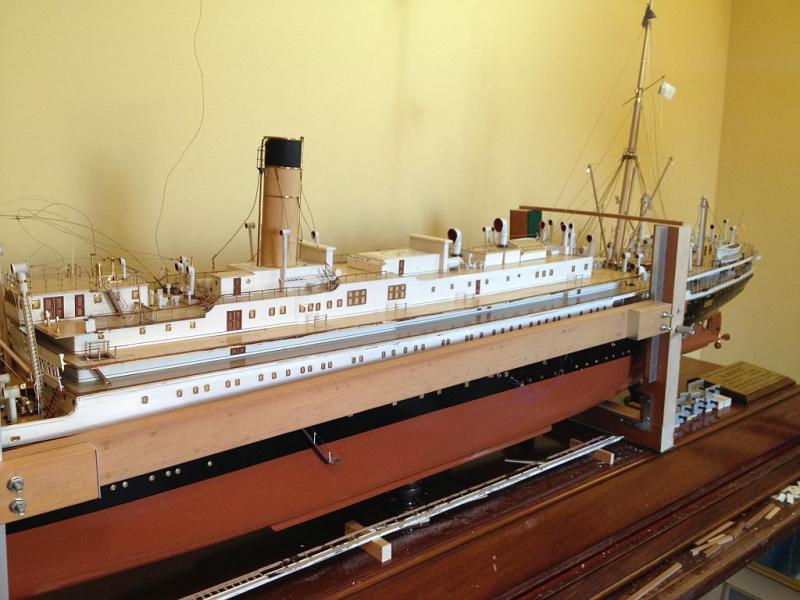
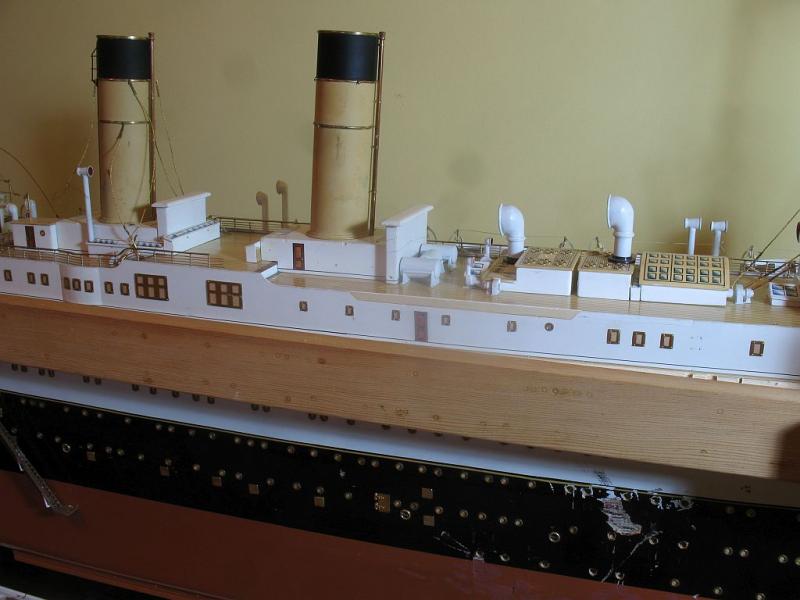
Mike and Druxey thanks, for your comments. Denis I am not sure, but I'm thinking about it. I placed the soldered up side in to see how well it lines up, it slipped in with a little bit of fiddling at the forward end. Once I have the white paint matched fully I will strip off the paint from the brass on the side piece before setting it in permanently. Michael
- 749 replies
-
- 15
-

-
- albertic
- ocean liner
- (and 2 more)
-
Nice move on coloring the pins for port and starboard, funny it looks like a centipede having a perm. Michael
-
Good looking metalwork, nice and clean. Michael
-
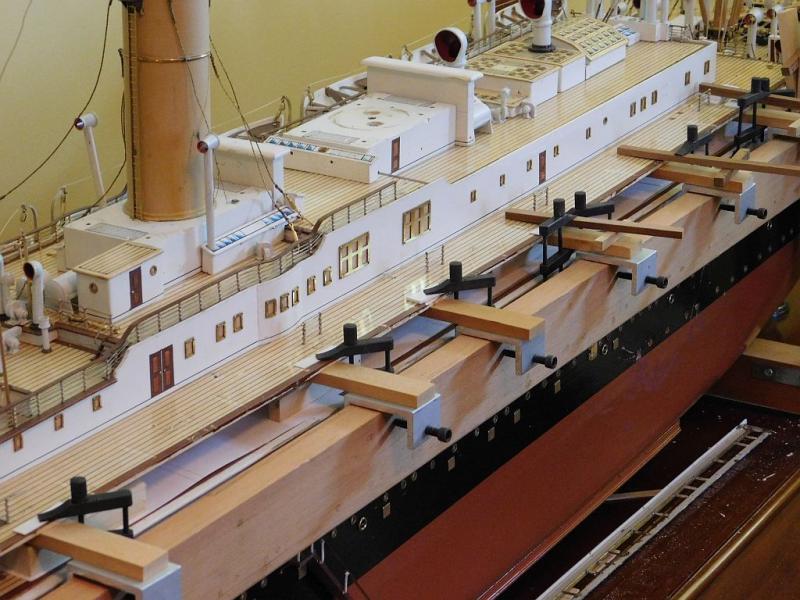
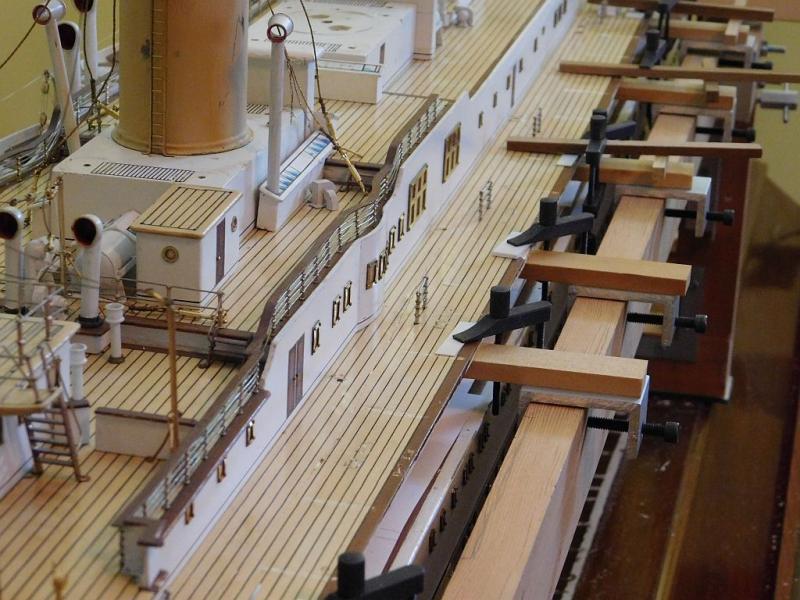
Druxey this is the direction I was leaning in. I do have an airbrush, the funnel is entirely metal pretty much all brass. I will after stripping give it a fine coat of Zinc Chromate primer before applying the colors. All of the stay eyes are through holes then bent on the inside so all of these will also be removed. Roger, I do not have an air eraser and do have acetone which on brass will work well enough and if it has difficulty with any of the paint I will use Lacquer thinner which I also have. Thank you all for your suggestions and input, it really is helpful to hear your opinions and Ideas on this area. Yesterday before we went into the city I glued up the boat deck. After setting overnight I just removed the clamps to see the next milestone achieved. An additional thank you to all who are visiting quietly it is encouraging to see the interest in this project. Michael
- 749 replies
-
- 28
-
-
- albertic
- ocean liner
- (and 2 more)
-
What a great shot of the clothing that the men wore. It doesn't look that warm for a polar type expedition though. Michael
- 15 replies
-
- 3
-
-
- gjoa
- polar exploration
- (and 1 more)
-
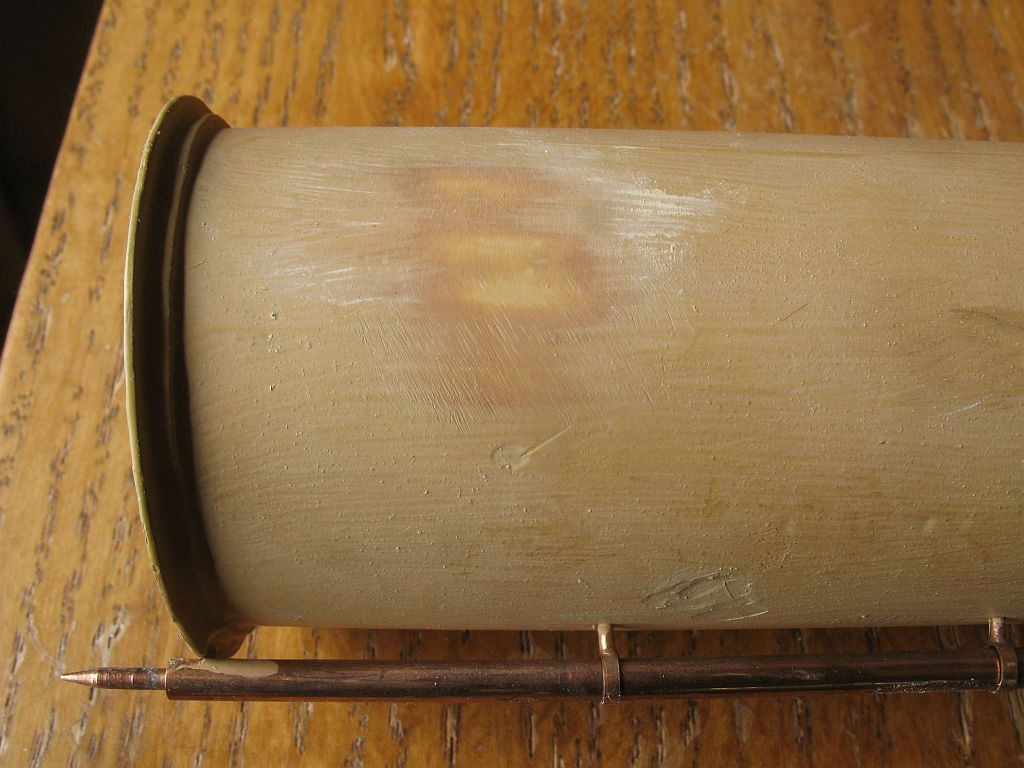
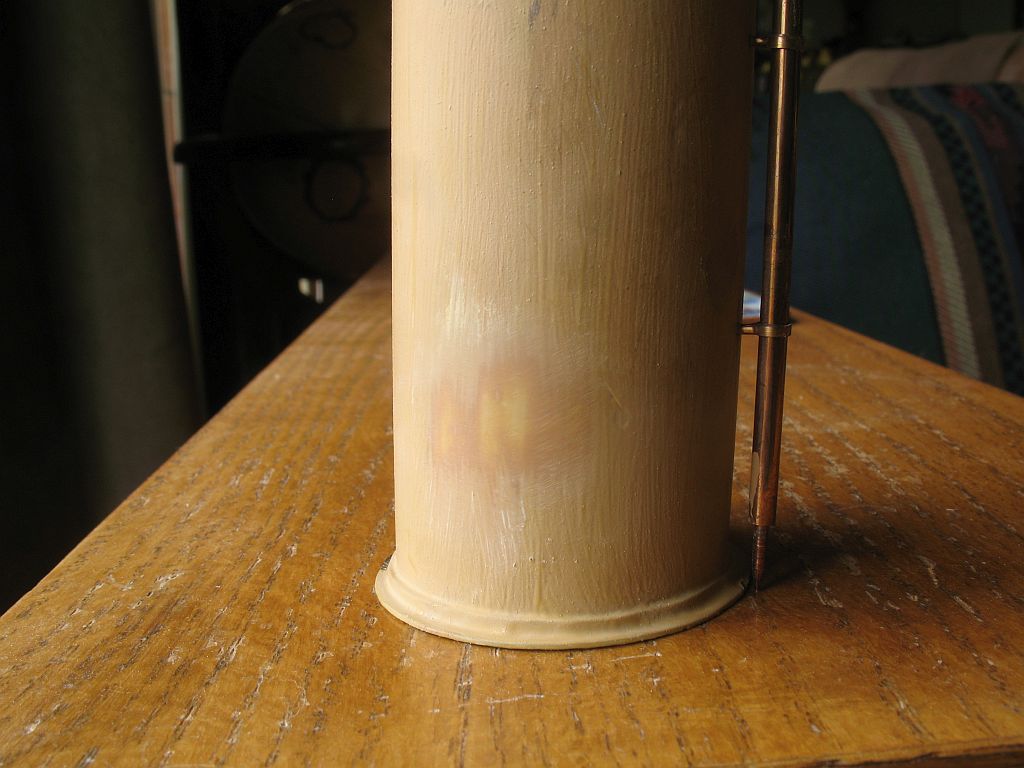
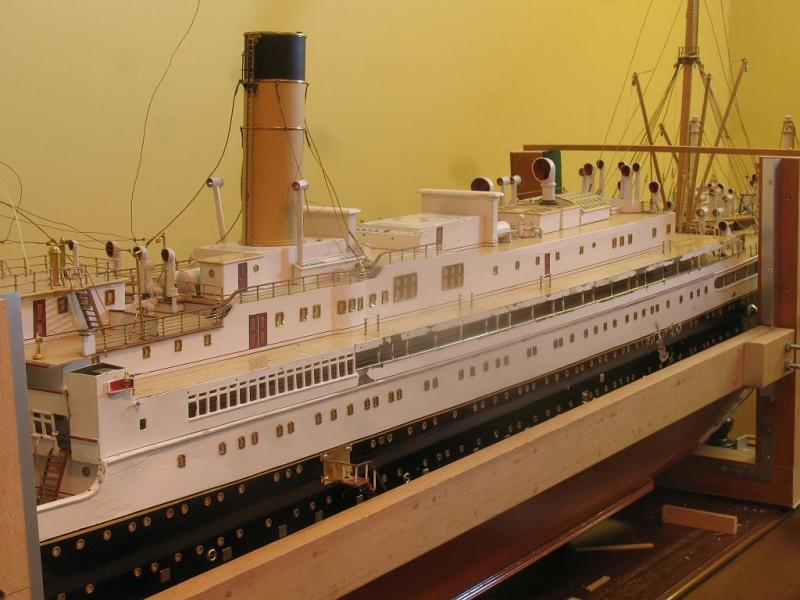
I had a look at the paint on the funnels today in the natural daylight, following Druxey's suggestion of cutting through the top layer(s) of paint this is what I found. So some history is revealed, this is a guess. Working up from the lowest layer which seems closer to the top color. a-bottom original b-middle possible smoke discolored or an off coloured repair, I am open for other opinions on this. c-top a last repair working to match the original. The top color is pretty close to the original but the person doing the repair looks like they used the same brush that they painted the fence in the back yard with. And yes to be fair, initially I used a rather heavy sanding stick. Michael


- 749 replies
-
- 12
-
-
- albertic
- ocean liner
- (and 2 more)
-
Good to hear there wasno damage from the flooding the model progress looks good. Michael
- 15 replies
-
- 3
-
-
- gjoa
- polar exploration
- (and 1 more)
-
Wefalck, thank you for this. I have not seen this type of tool before, I will definitely look into getting one. Michael
- 749 replies
-
- 2
-
-
- albertic
- ocean liner
- (and 2 more)
-
Any updates on this beautiful model Maury? Michael
-
Cutty Sark by NenadM
michael mott replied to NenadM's topic in - Build logs for subjects built 1851 - 1900
I like this it has a great charm to it. The overall shot shows just how far you have come on this enjoyable journey. Michael- 4,152 replies
-
- 11
-
-
- cutty sark
- tehnodidakta
- (and 1 more)
-
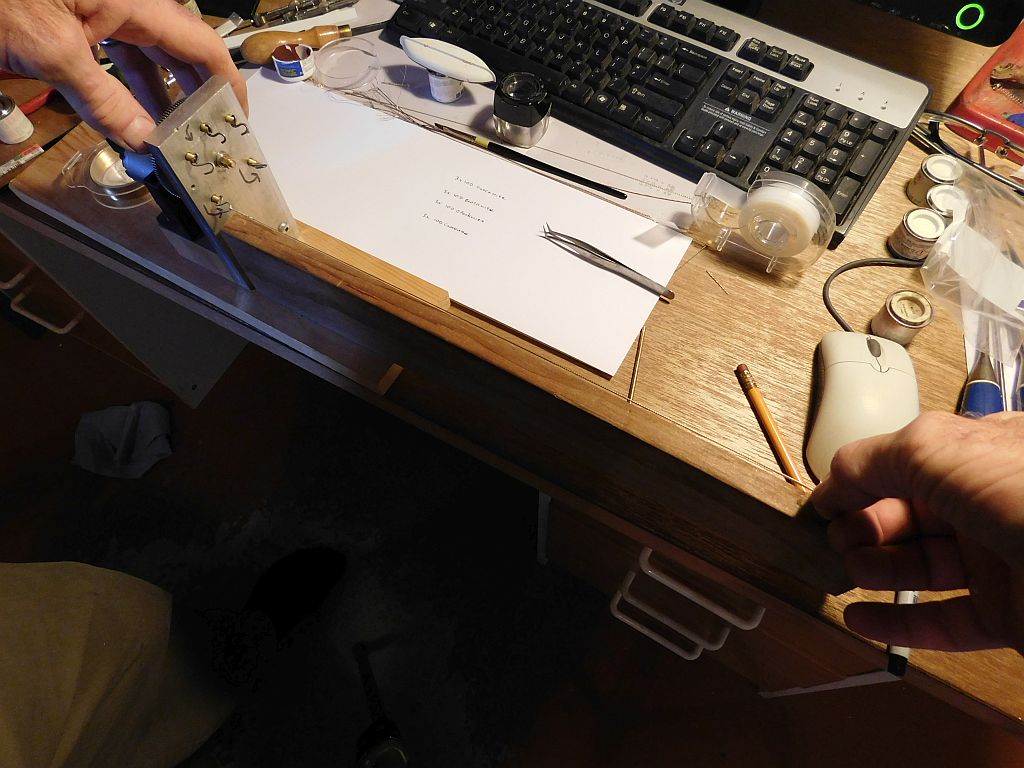
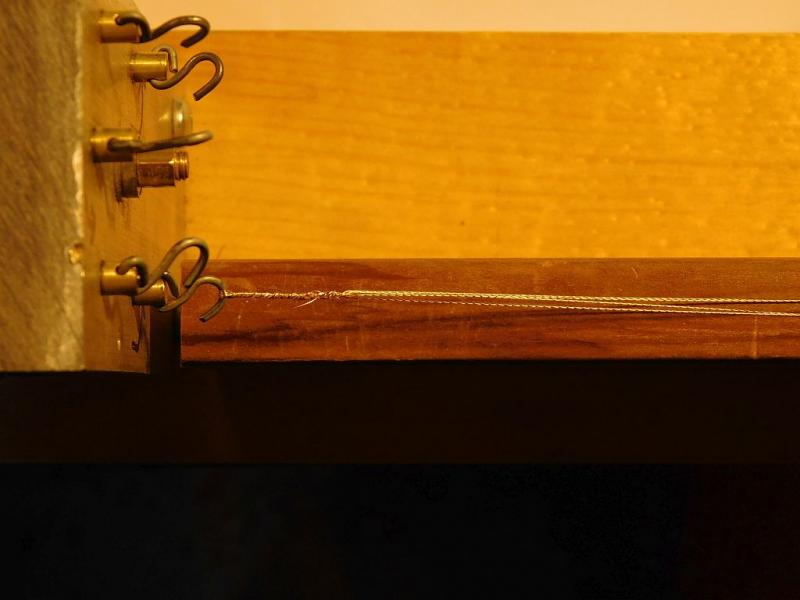
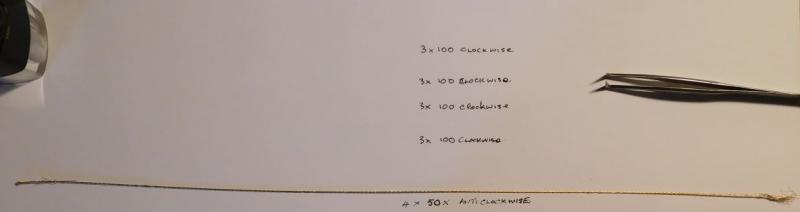
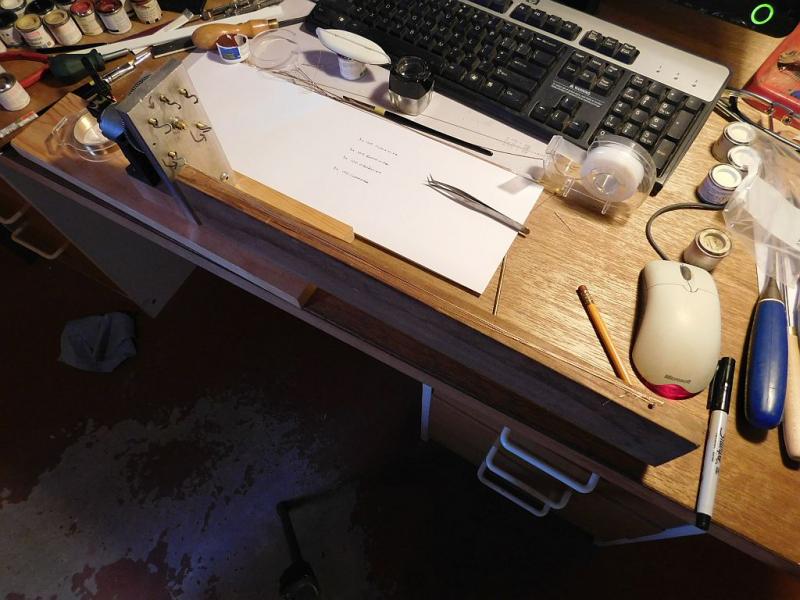
Thanks for all the positive comments and feedback. I am now satisfied with the color and the lay of the wire to match the Bassett Lowke cables This is the final lay up And how I achieved it first wind up the 4 sets of 3 in clockwise direction next set the wound sets onto the hook then wind up the set of 4 anti clockwise These beginning lengths of 15 inches shrink down to 12 inches of usable cable for the funnels, after the ends are snipped off. There are only 2 aft mast shrouds that need replacing, so I will need to make a couple of longer lengths for those. Michael


- 749 replies
-
- 15
-
-
- albertic
- ocean liner
- (and 2 more)
-
Wefalck can you provide details of your tool, manufacturer etc? Michael
- 749 replies
-
- 4
-
-
- albertic
- ocean liner
- (and 2 more)
-
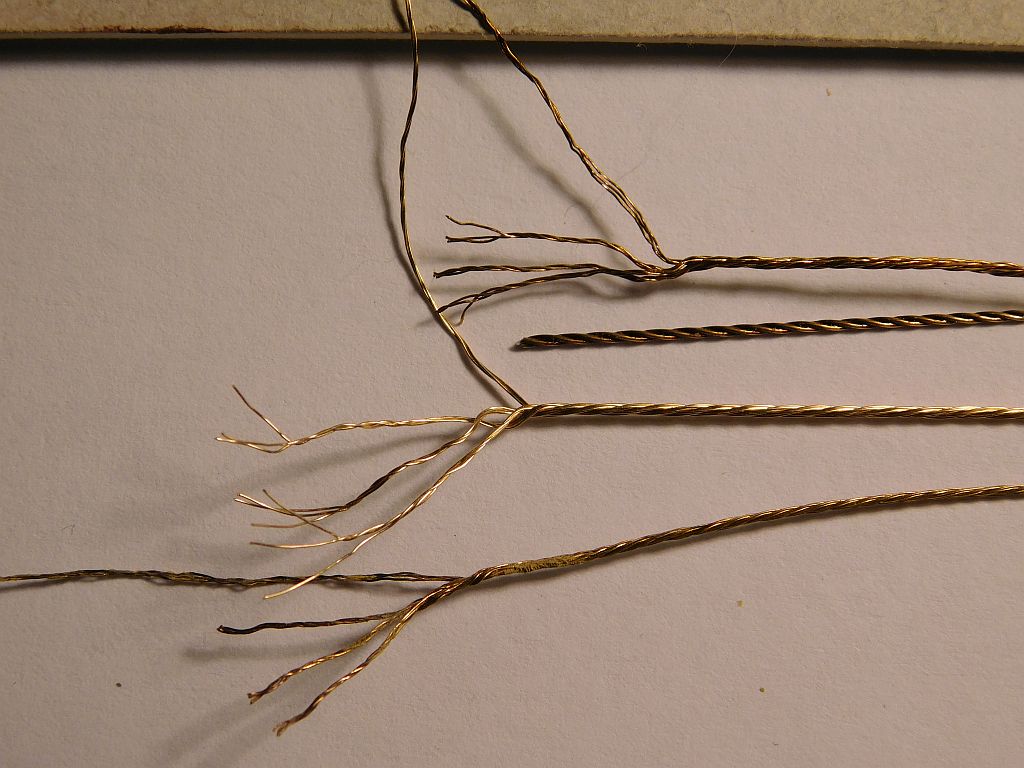
Druxey that was a brilliant Idea. I got up this morning and while waiting for the kettle to boil, I laid a length of assembled cable on the ceramic top of our kitchen stove set the burner to low and watched the heat cycle on and off as it does after about 5 cycles the wire did in fact turn a tint of a more aged look. top-untreated middle-heated bottom-off the ship The photograph shows the effect clearly, now it just becomes a matter of adjusting the timing. Carl as noted above the heat works well and is a lot less messy than any form of dipping or coating. Thank you very much gentlemen for your suggestions. Michael

- 749 replies
-
- 12
-
-
- albertic
- ocean liner
- (and 2 more)
-
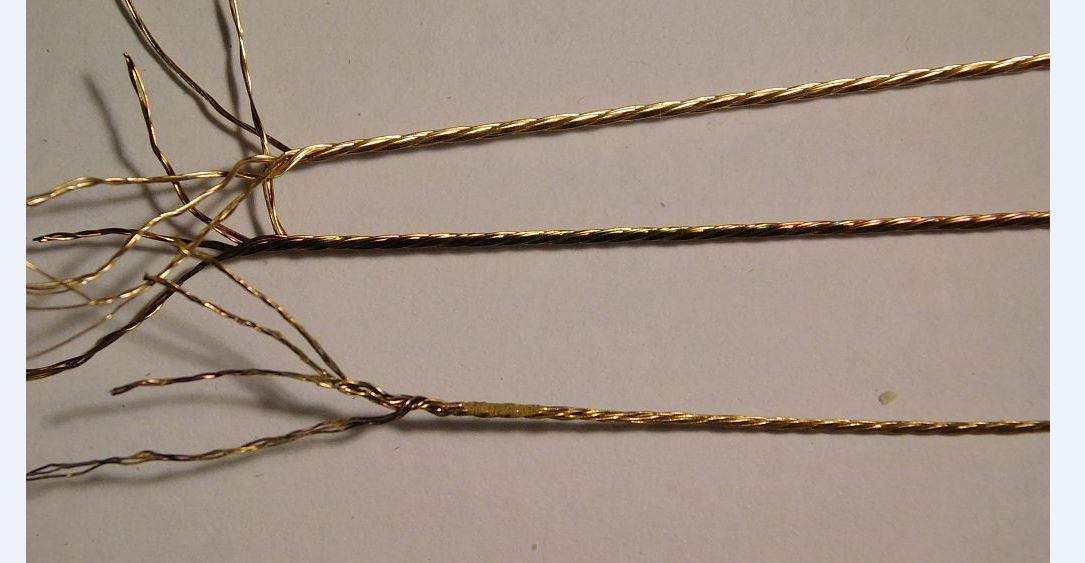
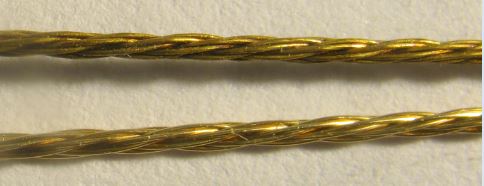
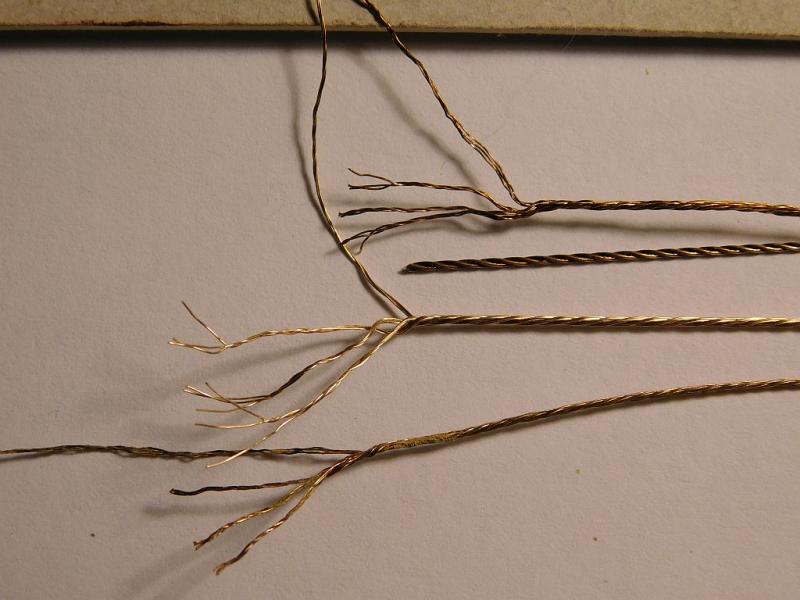
This image from Vallejogallery shows an obvious change or repair. if you look at the shrouds you can see the new brighter wire. I have been doing some further tests with the new brass wire. the top and bottom cables are from the aft funnel the second cable from the bottom is as close as I have come yet to replicating the Bassett Lowke cables it is made from a) 4 sets of 34 gauge non tarnishing brass colored wire each set is 15 inches long twisted with 80 turns clockwise c) the 4 sets are then combined and twisted with 50 turn anticlockwise The second cable from the top is made from 3 lengths of 28 gauge brass non tarnishing brass wire wound clockwise 80 turns and given a smear of brown Pebeo Vitrail stain for colored glass, I dipped the wire then immediately wiped it off once with a tissue it leaves an tinted aged look to the brass. Michael

- 749 replies
-
- 12
-
-
- albertic
- ocean liner
- (and 2 more)
-
Conway I too will be following along, this sounds like a very interesting build. Michael
-
Carl, I know that of course. I said it with a smile on my face. your comment though helped me see a better way. Michael
- 749 replies
-
- 5
-
-
- albertic
- ocean liner
- (and 2 more)
-
This is my hope. I have learned so much from all of the work that has been posted here by others. This site is more than a gold mine in my view. Carl I think that this will meet with your approval, thanks for the thought. I picked up my brass wire today and am doing some tests with it. Michael
- 749 replies
-
- 13
-
-
- albertic
- ocean liner
- (and 2 more)
-
Mike one of the things that I liked about watching the video of the operation of the tool was the fine control that comes with the ease with which the carriage moved and the simplicity of gripping the part being cut. What is the finest blades that work well with this tool relative to the fine jeweler's saw blades? I like to use a # 3/0 for thin wood and # 7/0 for thin brass. Michael
-
Thanks Joe, sometimes I wonder if I am being a little too detailed. My hope is that there are nuggets of info that will be useful. Michael
- 749 replies
-
- 5
-
-
- albertic
- ocean liner
- (and 2 more)
-
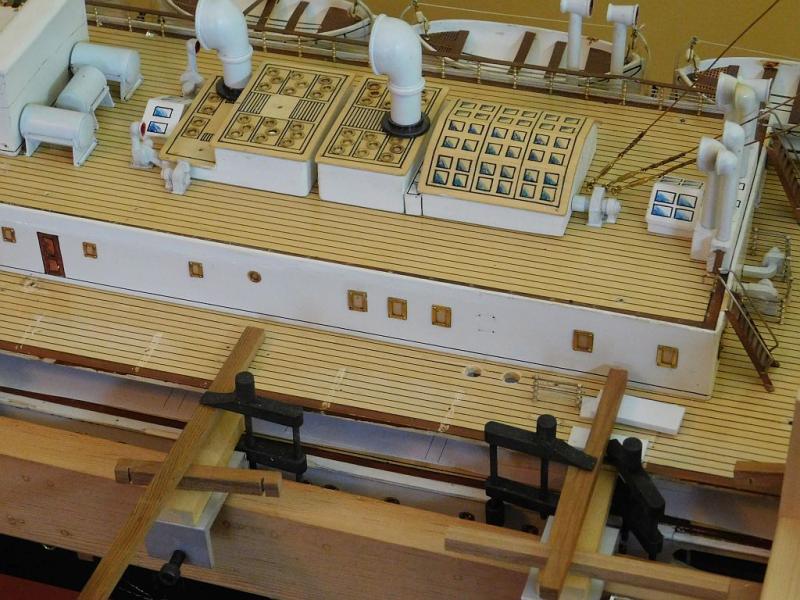
Hi Nils, they are made of brass, I cannot see yet if they are lost wax (which I doubt) or are a composite of rods tubes and forged elements the tall open type are a combination of tube and turned parts. The shorter large scoop type appear to be assembled as well. All of the chipped paint on them have exposed a brass color. Michael
- 749 replies
-
- 4
-
-
- albertic
- ocean liner
- (and 2 more)
-
Jan, me too, and I have to deal with them. The fall would have been a smooth arc it was the chair in the way and the glass case being shattered then the sudden stop at the end that did all the damage. Good point Carl. I shall rework it. Michael
- 749 replies
-
- 3
-
-
- albertic
- ocean liner
- (and 2 more)