CDW
-
Posts
7,719 -
Joined
-
Last visited
Content Type
Profiles
Forums
Gallery
Events
Everything posted by CDW
-
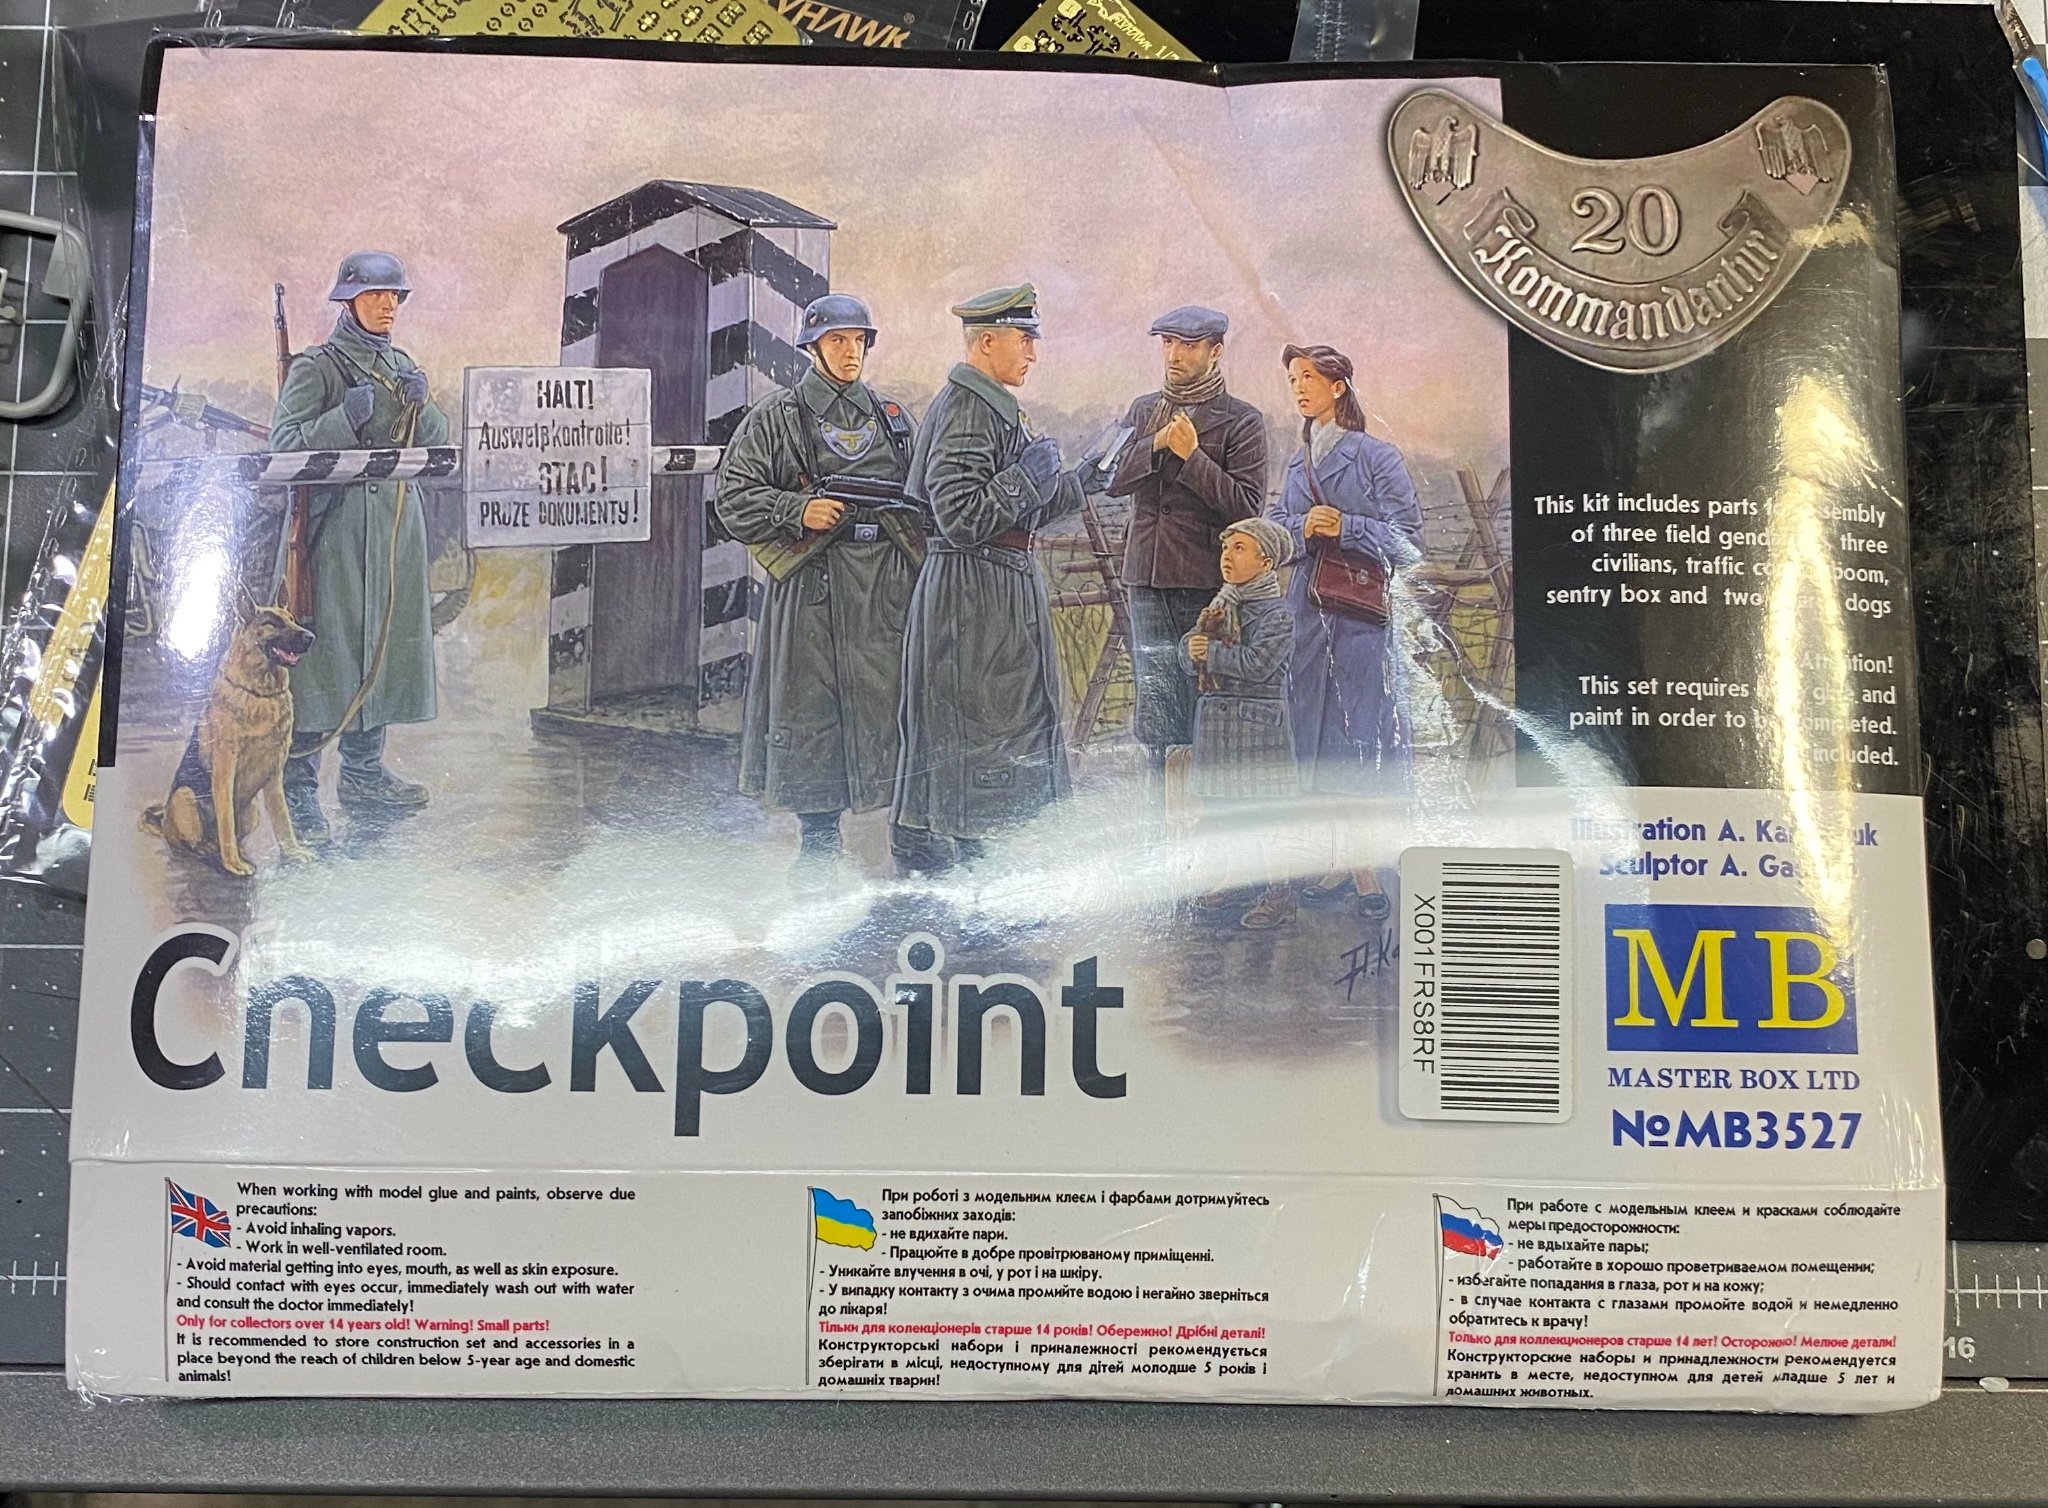
 In some fashion that has not yet been fully determined, will use the sets of figures pictured in this thread (see some of the earlier posts) to complete the vignette (or diorama if you will 😃). I’ll have plenty of time to decide as the figures will take a while to complete. Figure painting is not my forte. I know very little about it and have attempted it even less. Will follow some tutorials in the process and see how it shapes up. Always love learning new things.
- 143 replies
-
- 10
-

-
Thanks EG!
-
Chris One thing I noticed when visiting the GPM card model store, they list all the recommended accessory items below the main page for each particular model. In the list of items, often there will be photo etch as well as laser cut details. It's never clear to me whether one set replaces the other. I would be interested in trying the laser cut details rather than the photo etch, but am never sure if this completely eliminates the need for photo etch or only partially eliminates it. Because of the cost of postage, I want to avoid a need to order twice. Any idea on this, or does it vary from one kit to another? I am guessing the laser cut parts will be easier to work with in more than one way, not the least of which is the painting (of lack thereof) needed.
-
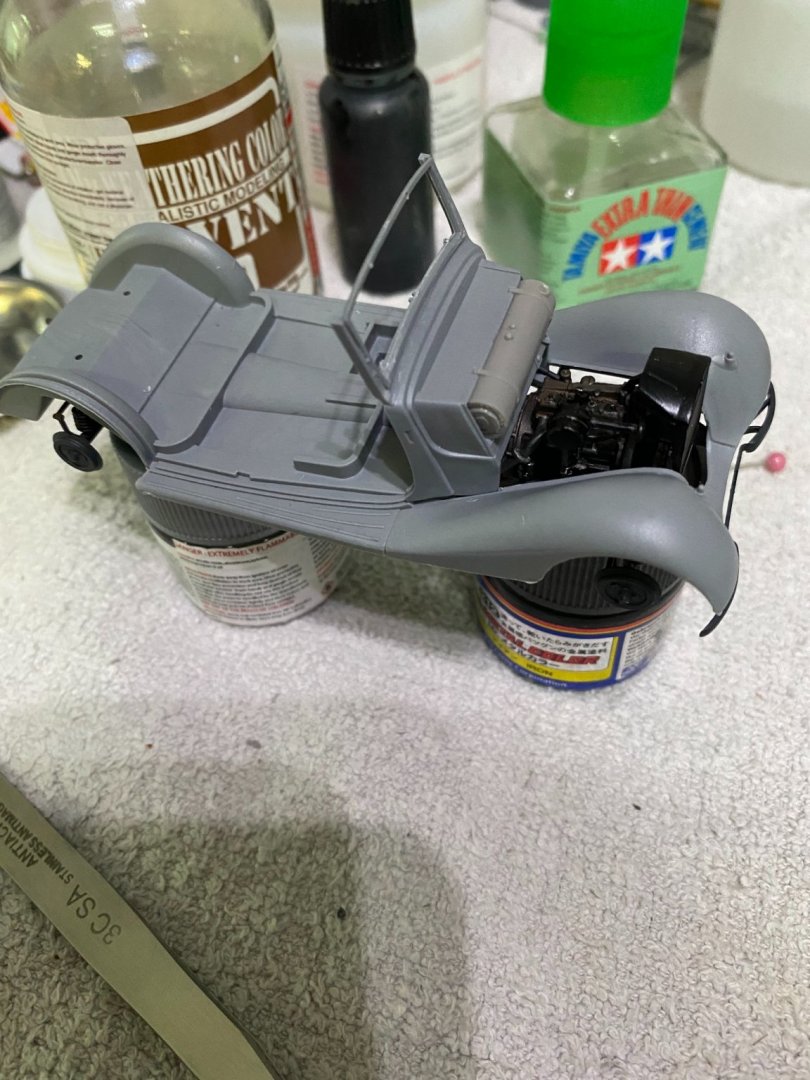
I'll bet you are correct. Look at the first photo in the three photos above. There is a rectangular object on the bottom of the floor boards, under the driver's seat. I bet that's the battery box. No need to model a battery then as it would not be seen. Makes sense now why it's not part of the kit. Everything else is so well detailed, would be very surprised if they left out something like that.
-
Hi Chris Happy to follow your build thread for the Waratah. May I ask, what specifically makes the two models on your special shelf so difficult in your opinion? You appear to be very proficient with your builds I have seen. I am curious because being entirely new to card models, it doesn't yet occur to me what makes one kit more challenging than another. In reality, all of them appear challenging to me. 🤔
-
Macro photos with an iPhone
CDW replied to Tomculb's topic in Photographing your work. How to do this.
What is the focal length of it? I have not seen that macro lens in action. My grandson wanted the zoom function for his hunting exploits, and that part worked well for him. -
Macro photos with an iPhone
CDW replied to Tomculb's topic in Photographing your work. How to do this.
My grandson asked me to order one of these for his iPhone. I was shocked how well it worked. I thought for the small price it was probably junk, but I was wrong. Amazon.com: Cell Phone Camera Lens Kit, SEVENKA 18X Zoom Telephoto Lens with Remote Shutter, Tripod, Fisheye, Macro and Wide Angle Lens for iPhone 11 Pro Max X XS Max XR/8/7/6/6s Samsung Android Smartphone : Cell Phones & Accessories -
Probably just me, but I wondered why the kit did not contain a battery, and if it did, exactly where it was located with this vehicle. Any know? I can scratch build the battery but need to know where to place it.
-
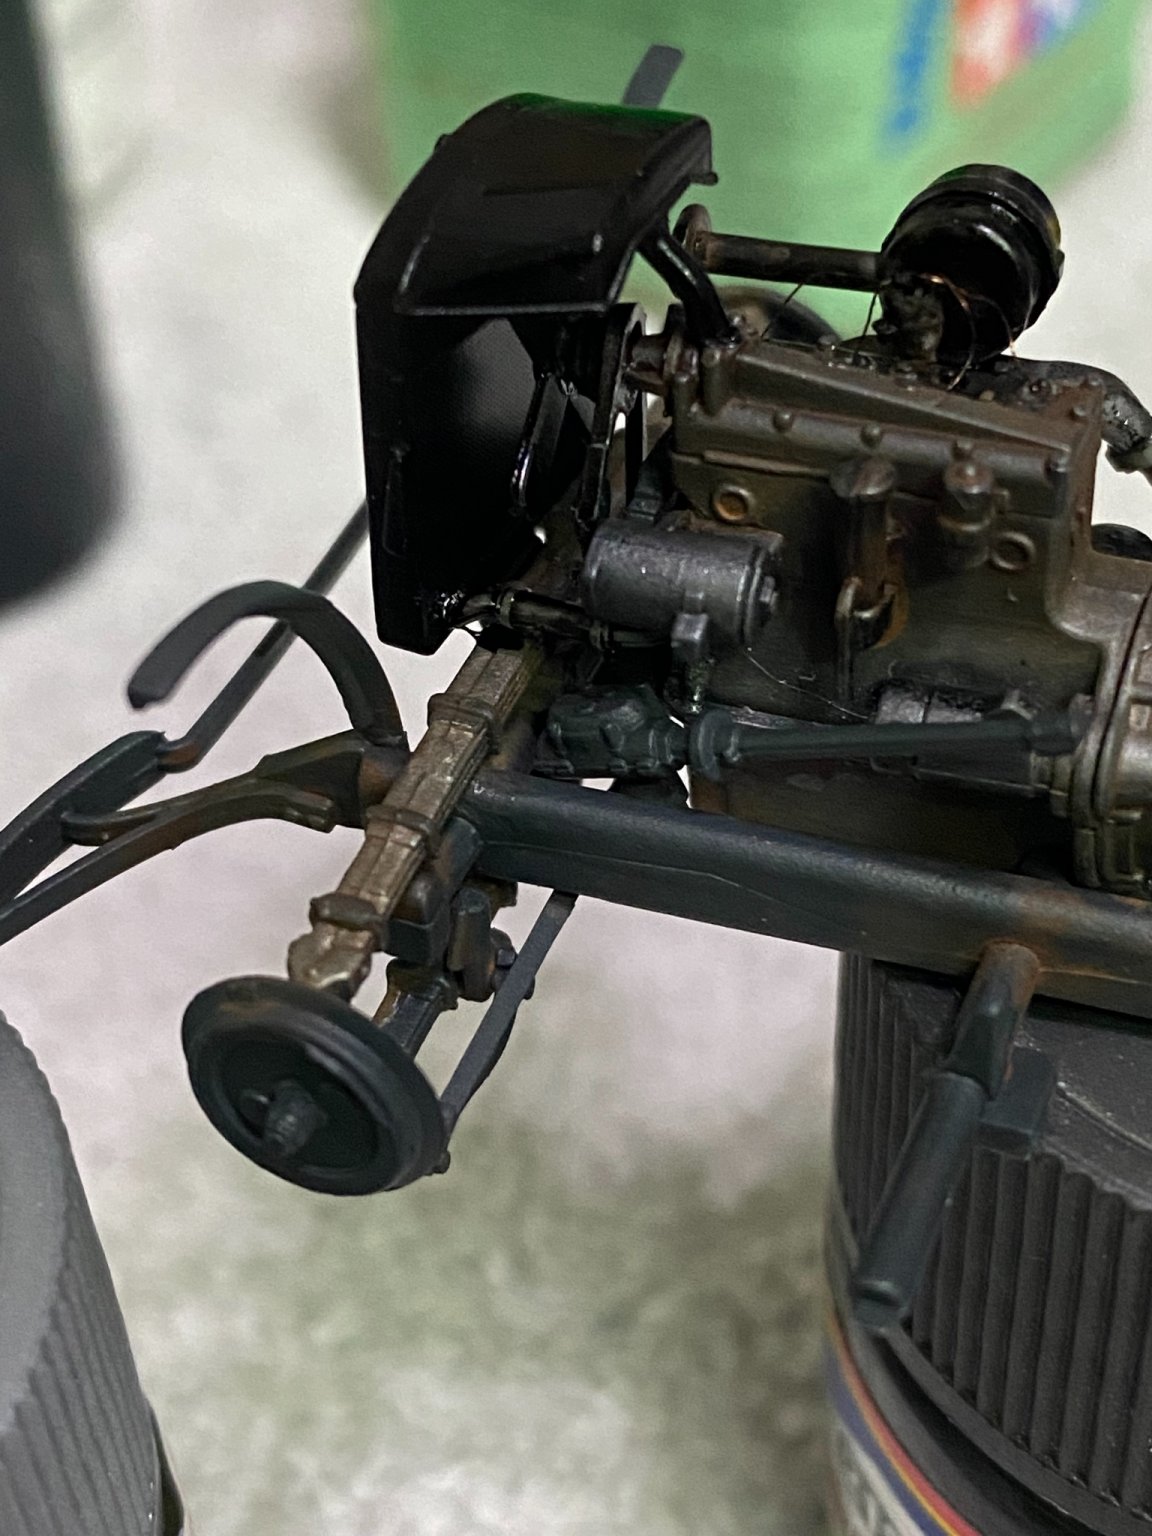
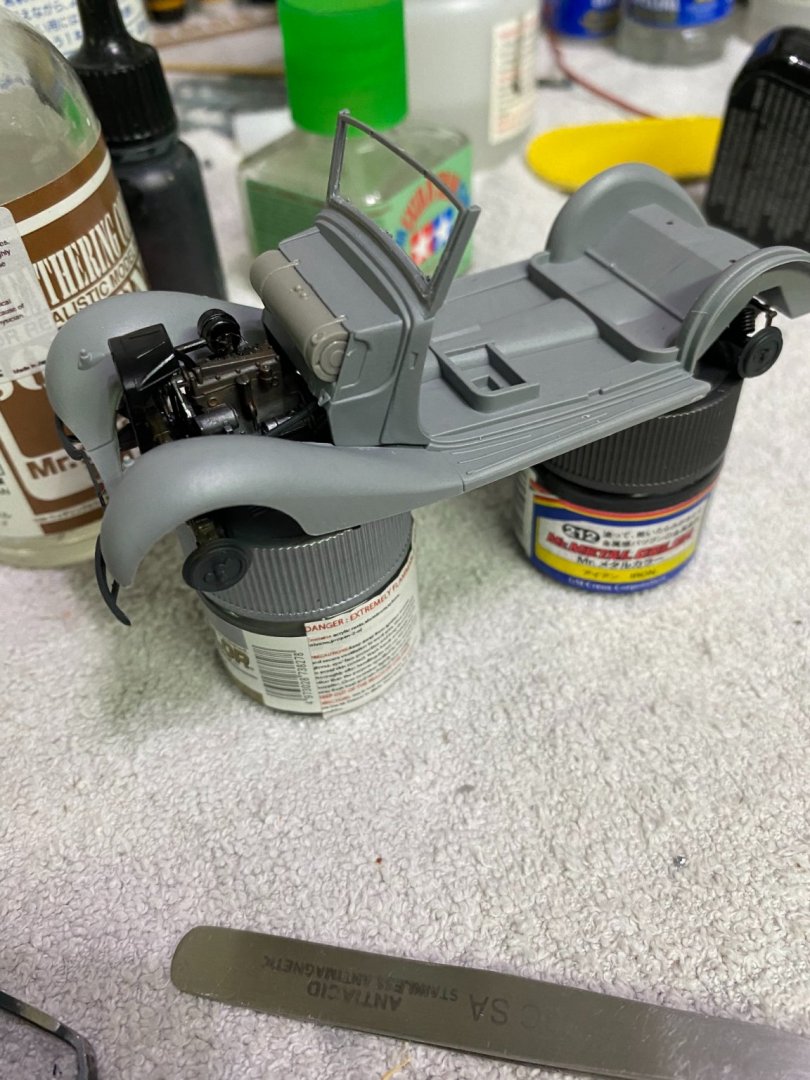
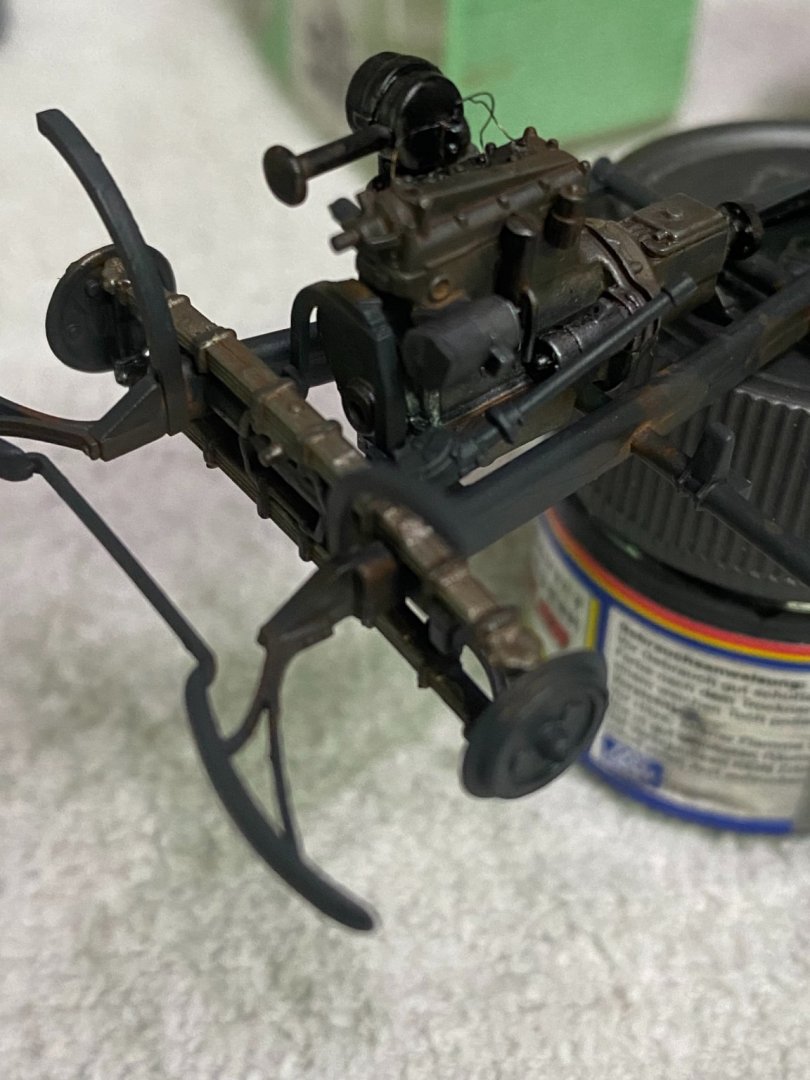
Firewall fit to fenders will tighten up nicely with glue applied. Notice the fuel tank on the firewall behind the engine which is unusual to me. Used to seeing the fuel tank in the rear.
- 143 replies
-
- 11
-
-
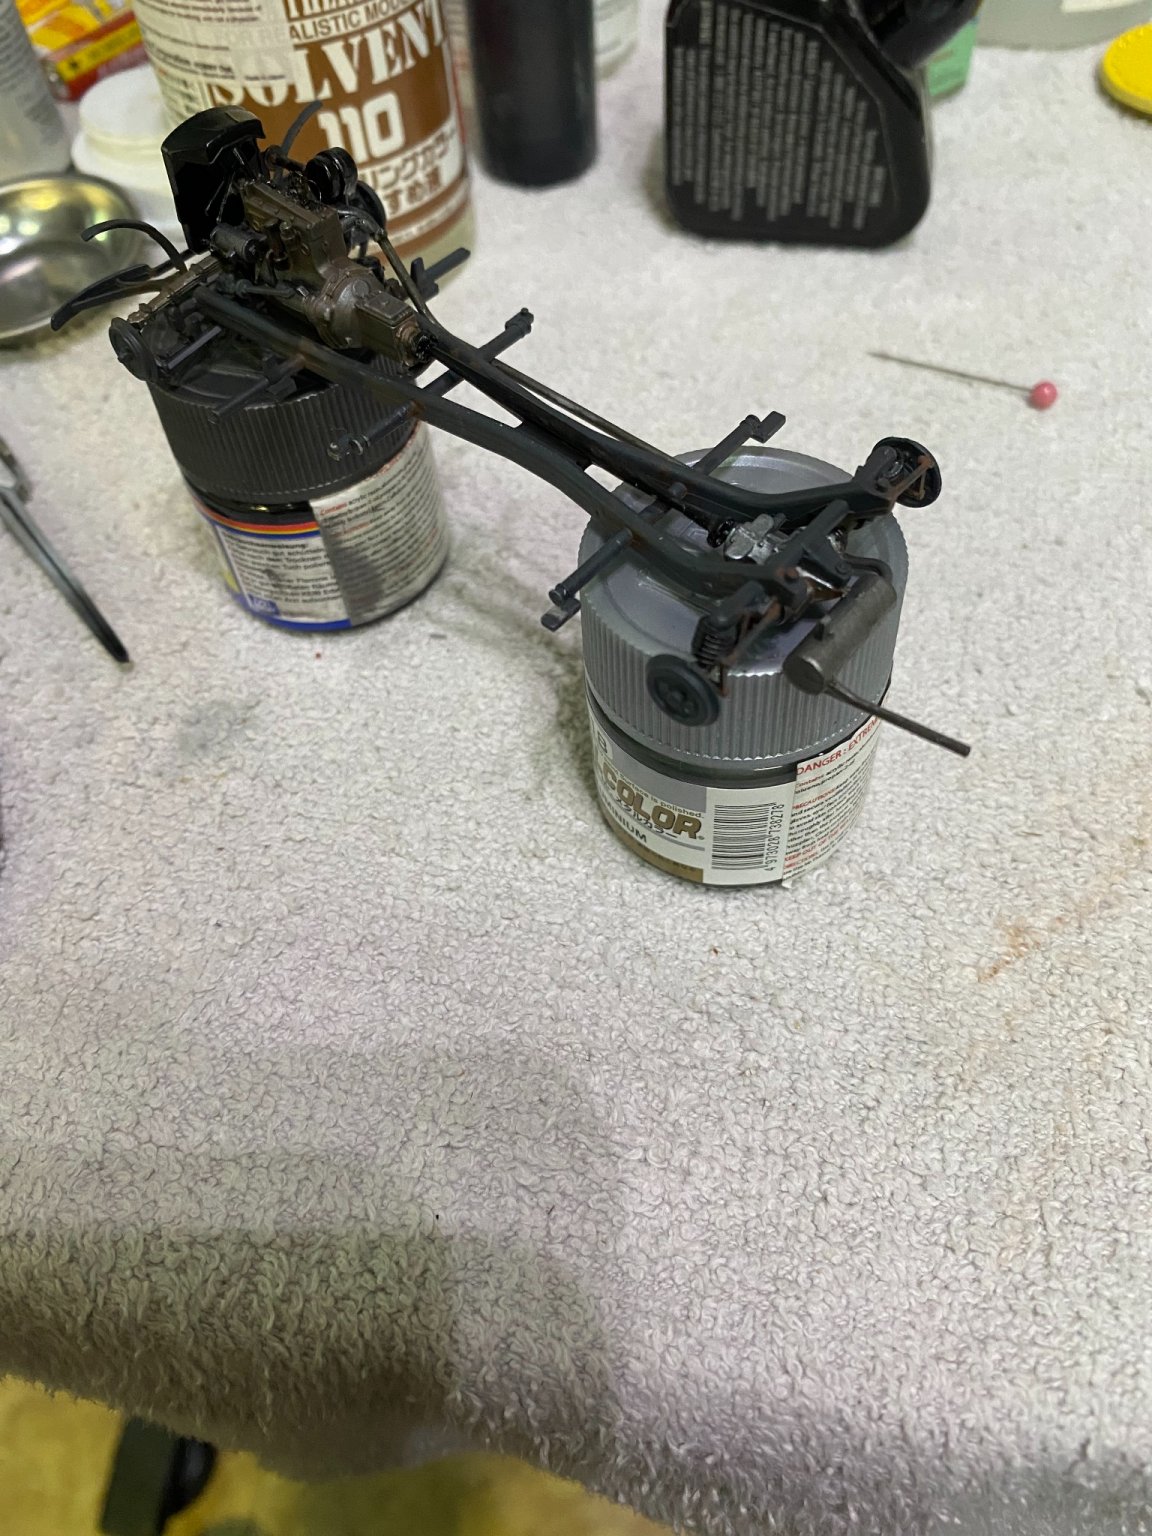
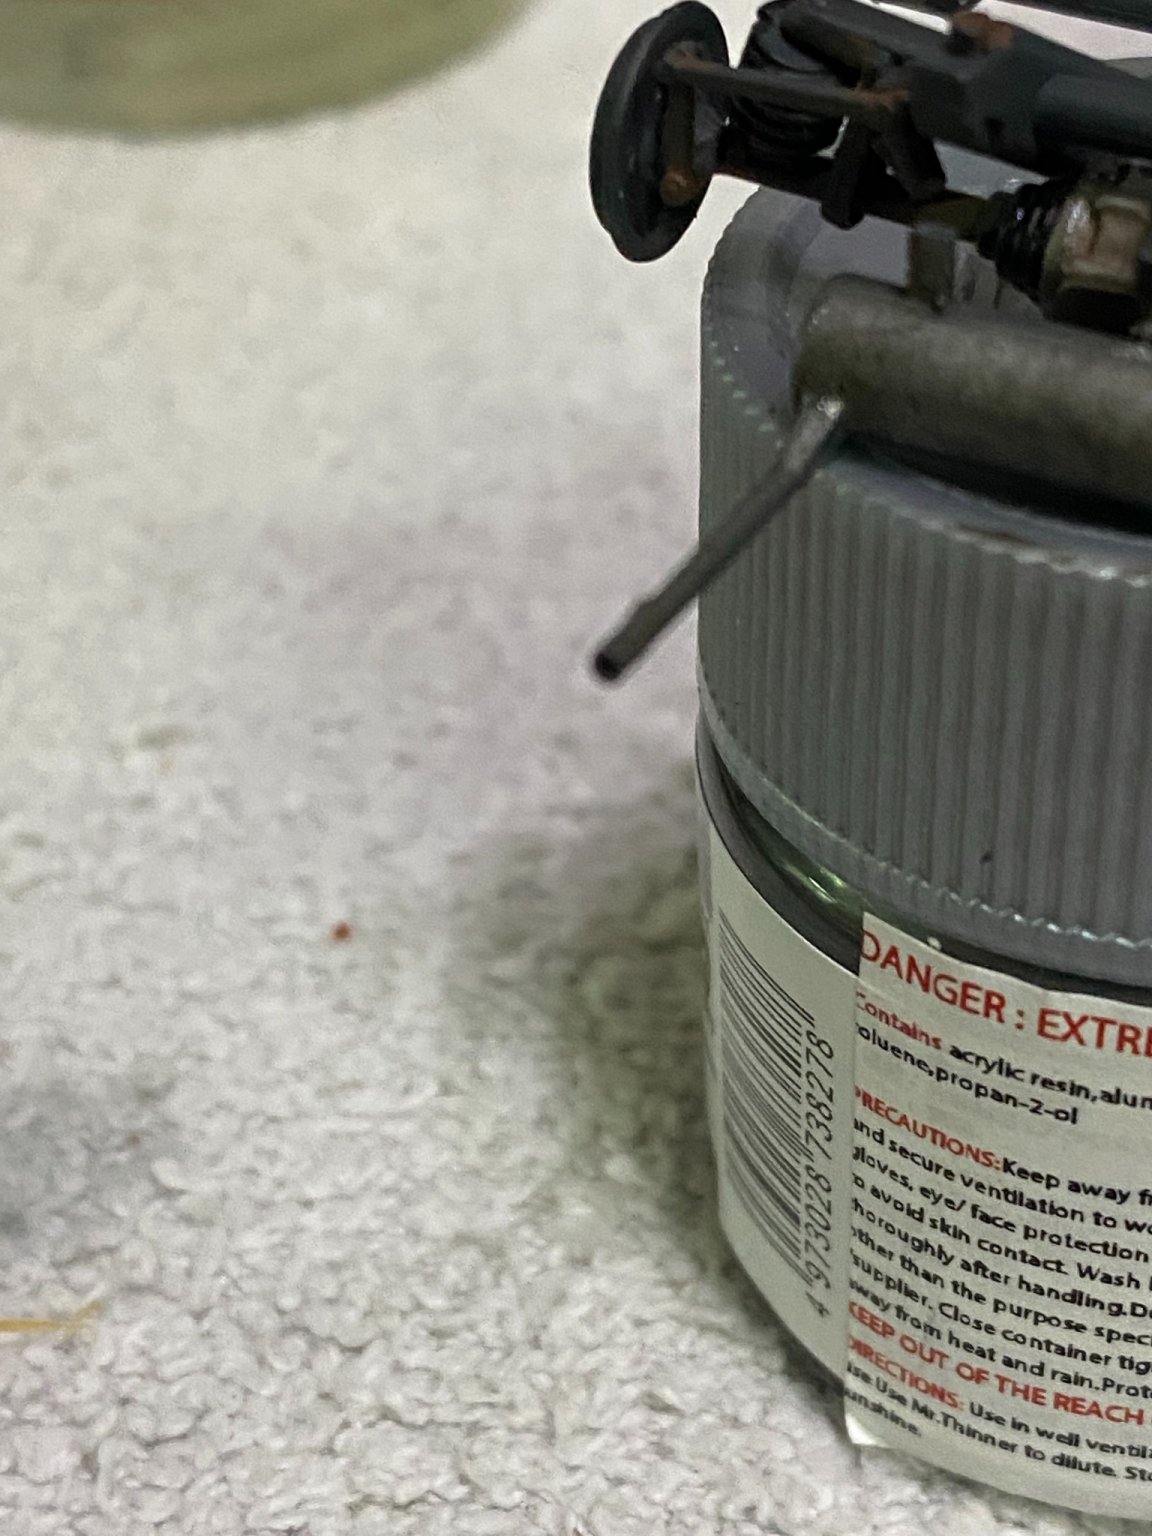
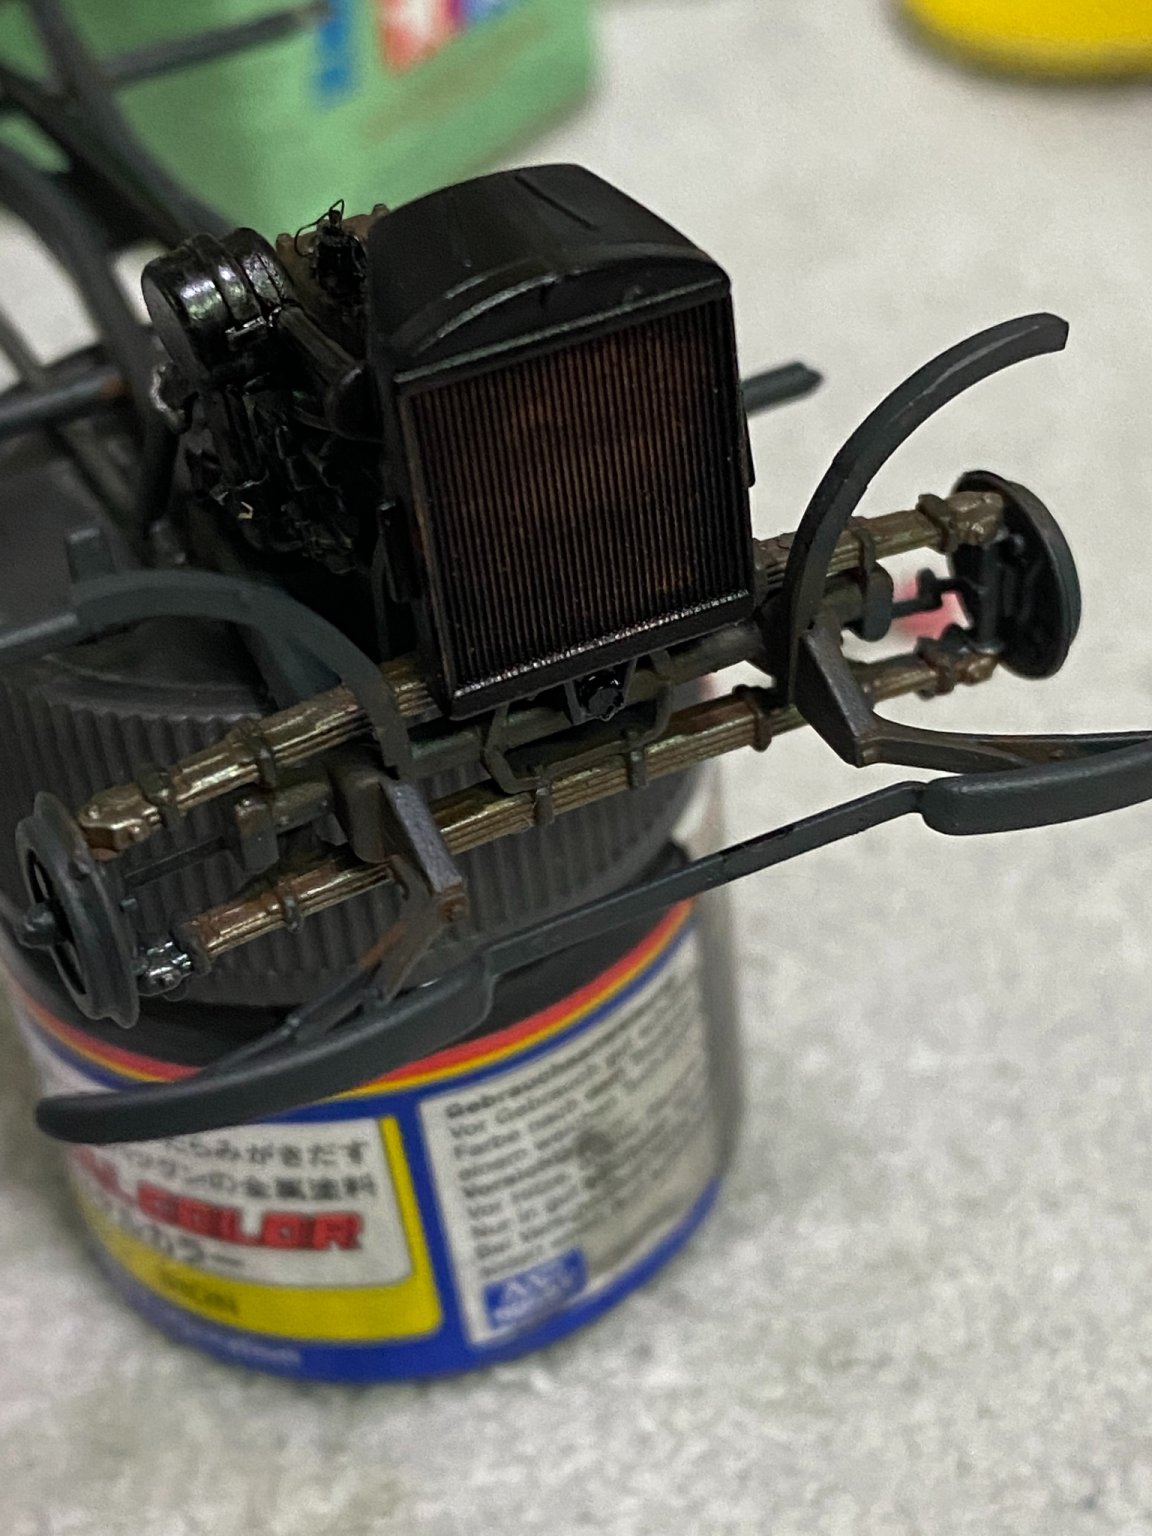
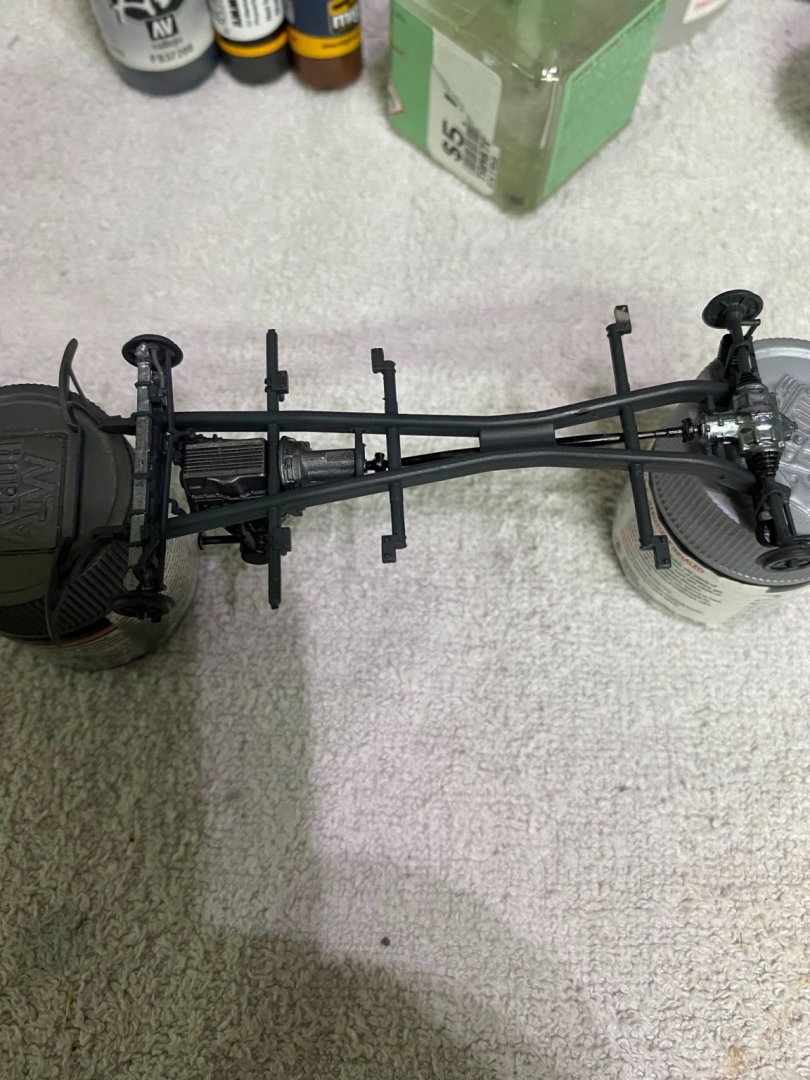
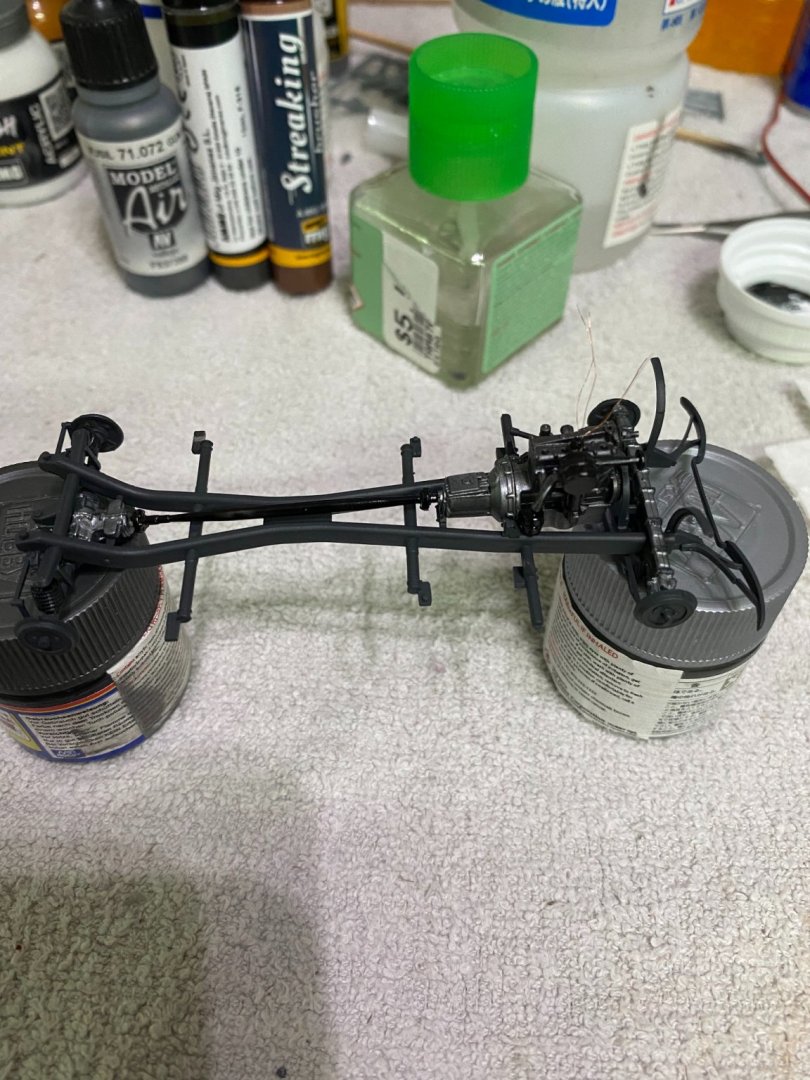
Added the radiator, hoses, and exhaust system. Don’t forget to drill out the exhaust tip.


- 143 replies
-
- 10
-
-
Very very interesting to see side-by-side in the same scale.
- 321 replies
-
- 7
-
-
- Finished
- Flower-class
- (and 1 more)
-
Incredible the structure did not go down. Thank God you made it through okay.
-
OC, EG Thanks Gents!
-
I like that pond! Makes me want to go fishing. 🙂
-
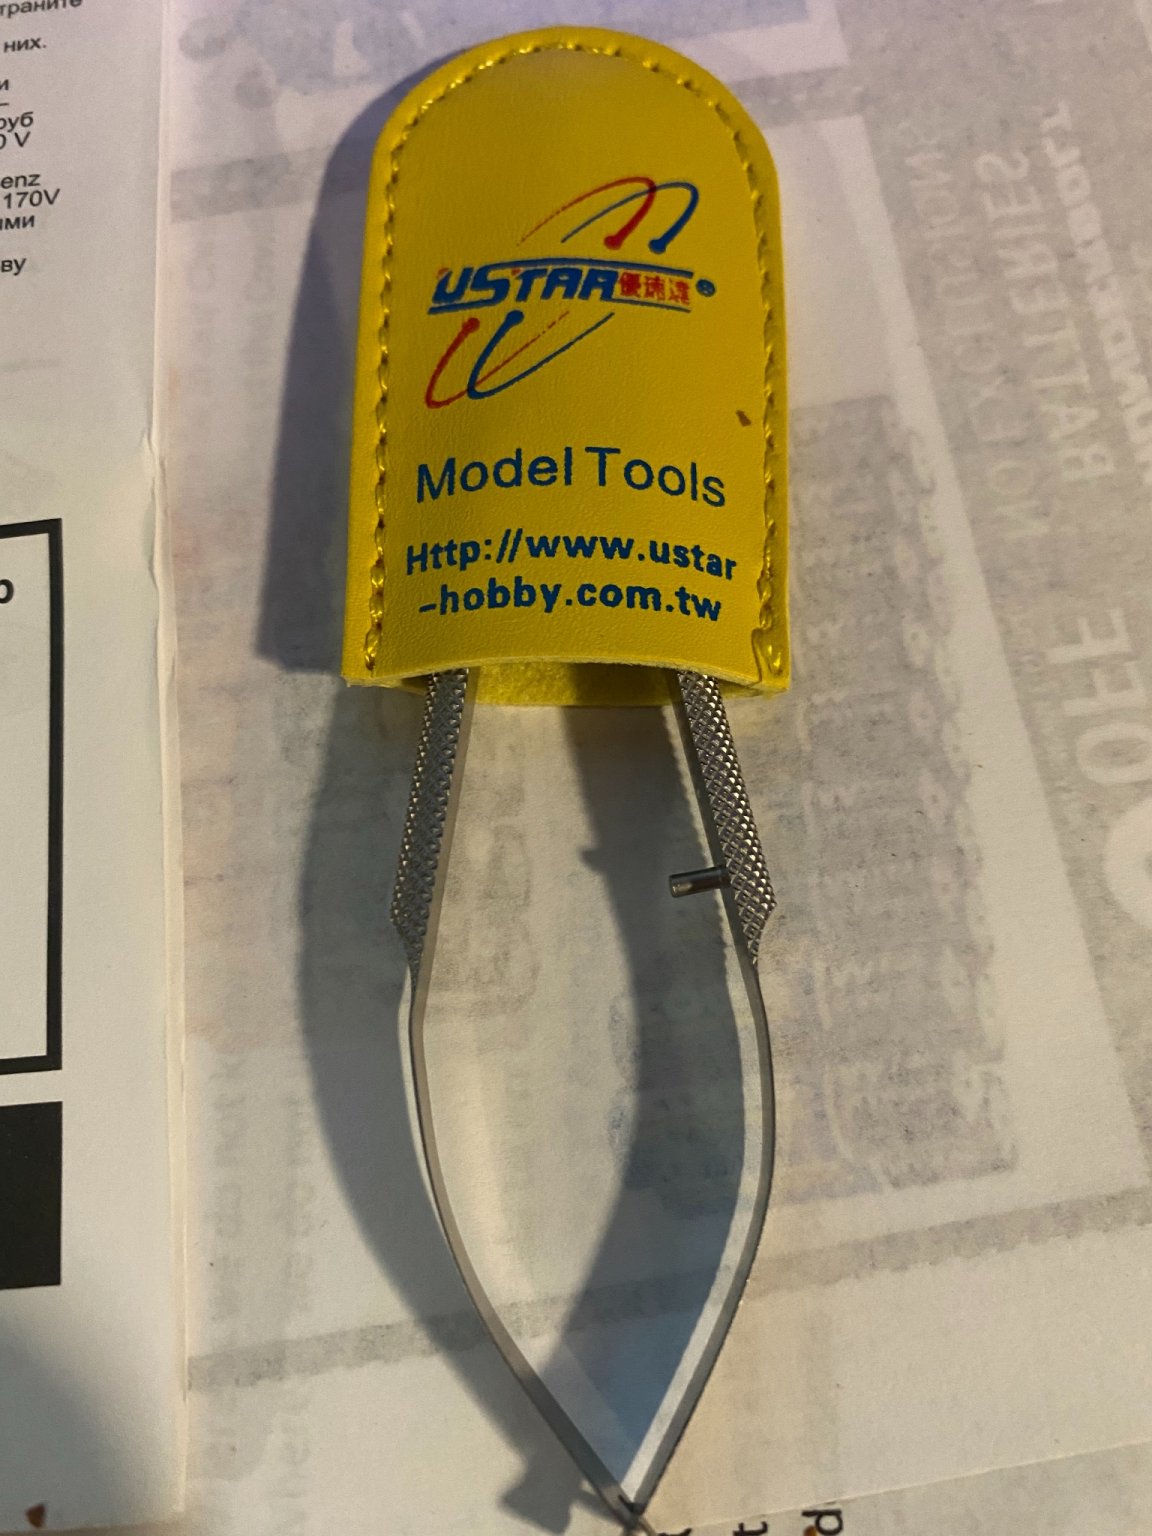
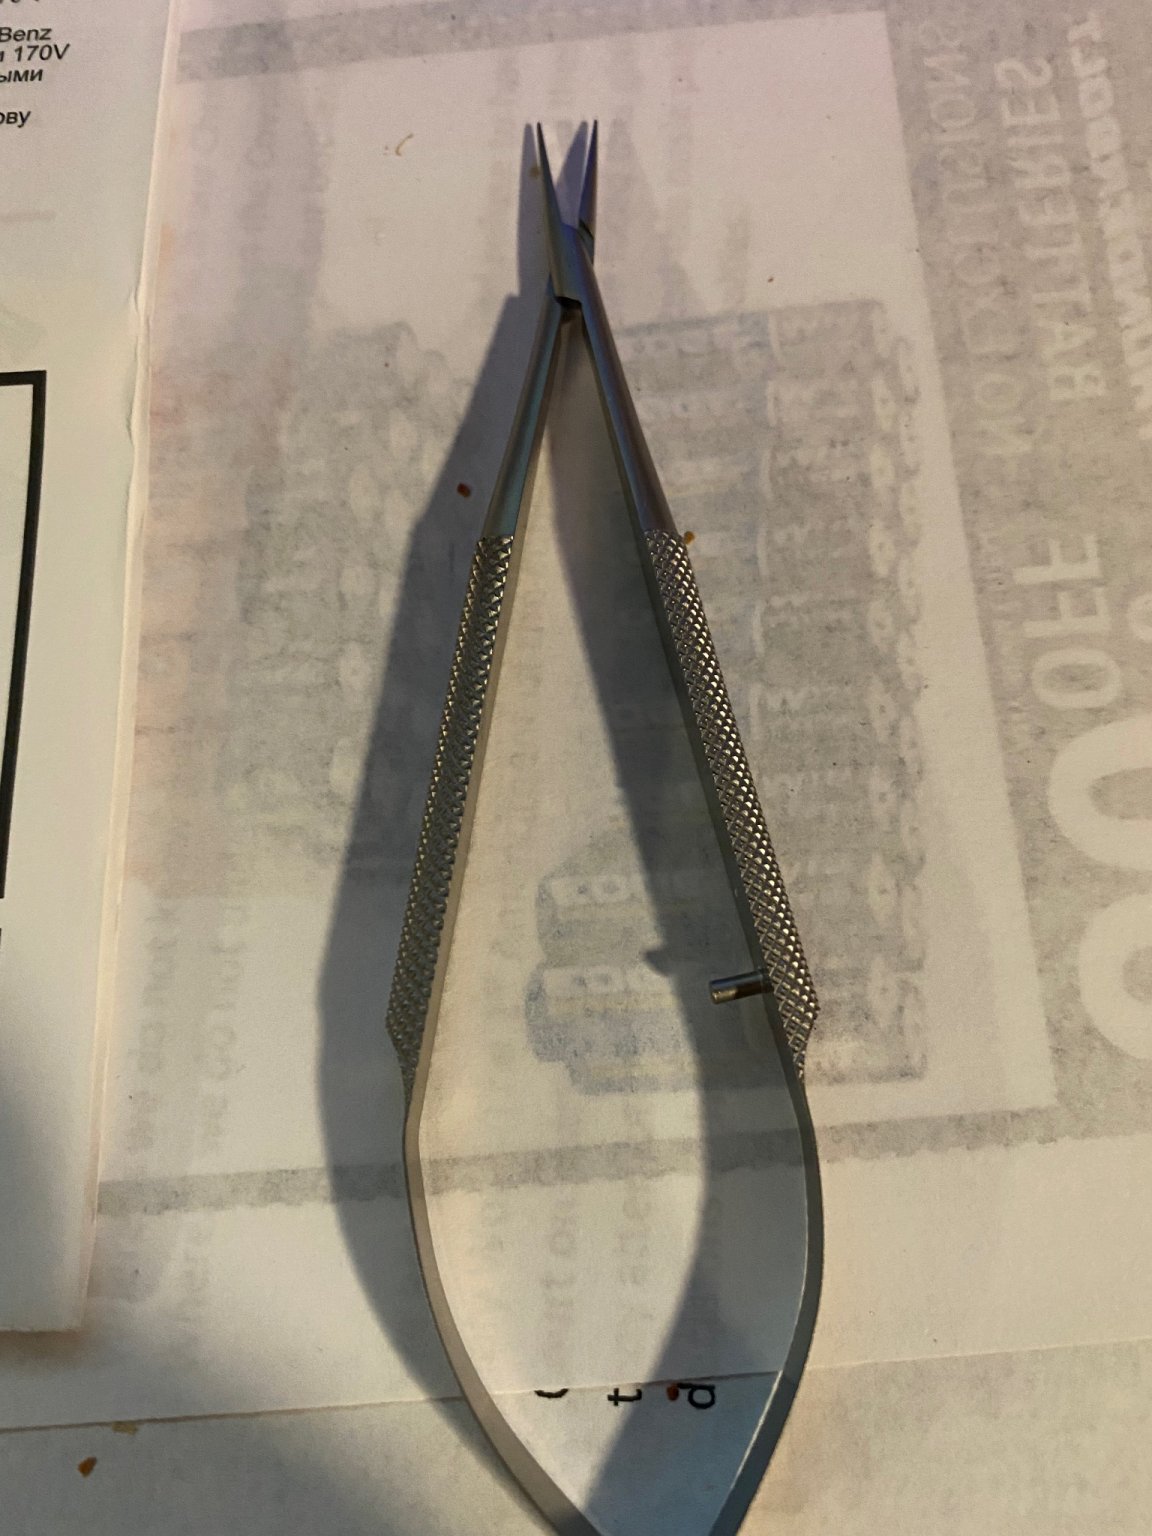
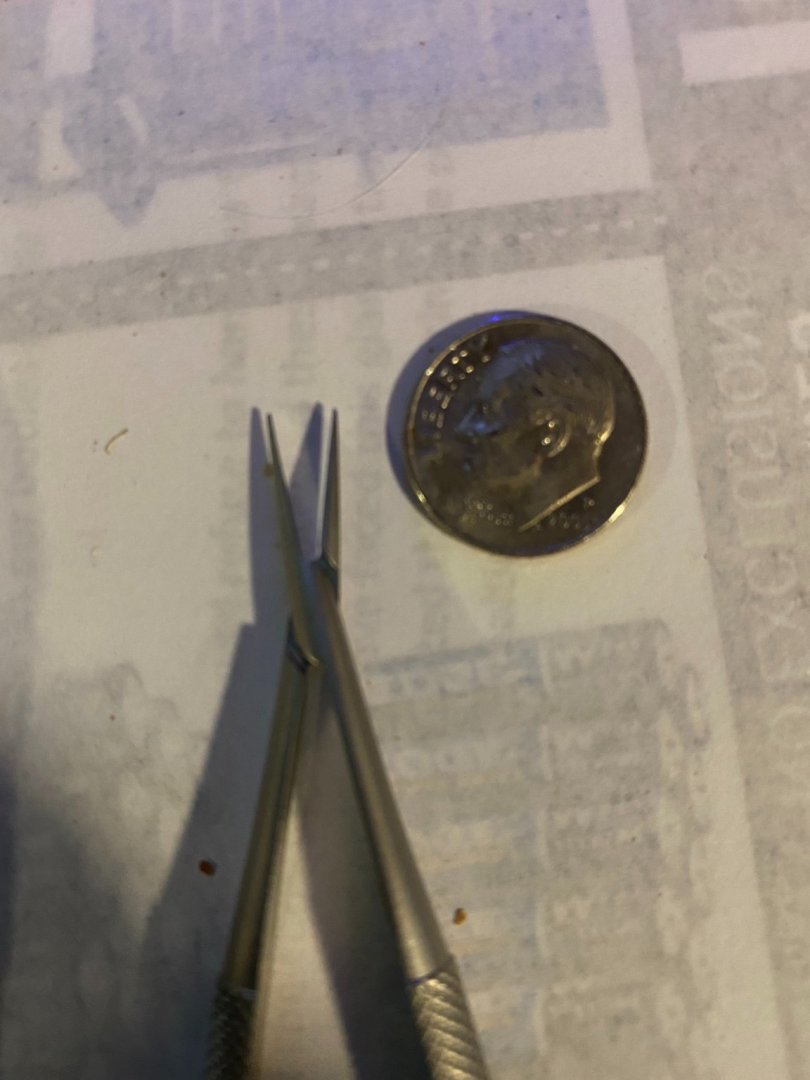
There are these micro tweezers made by a company called Ustar in Taiwan. I bought mine from an Australian vendor on EBay named Amodeler. I hold the photo etch part with the tweezers in one hand while I carefully file with a Tamiya diamond file for photo etch. Correctly positioned, the tweezers secure the part so it’s not bent while filing. Tedious but it works. Hope this helps. the tweezers are also very useful for tiny photo etch that needs bending. PS: that vendor has been excellent. Very reliable and fast.


-
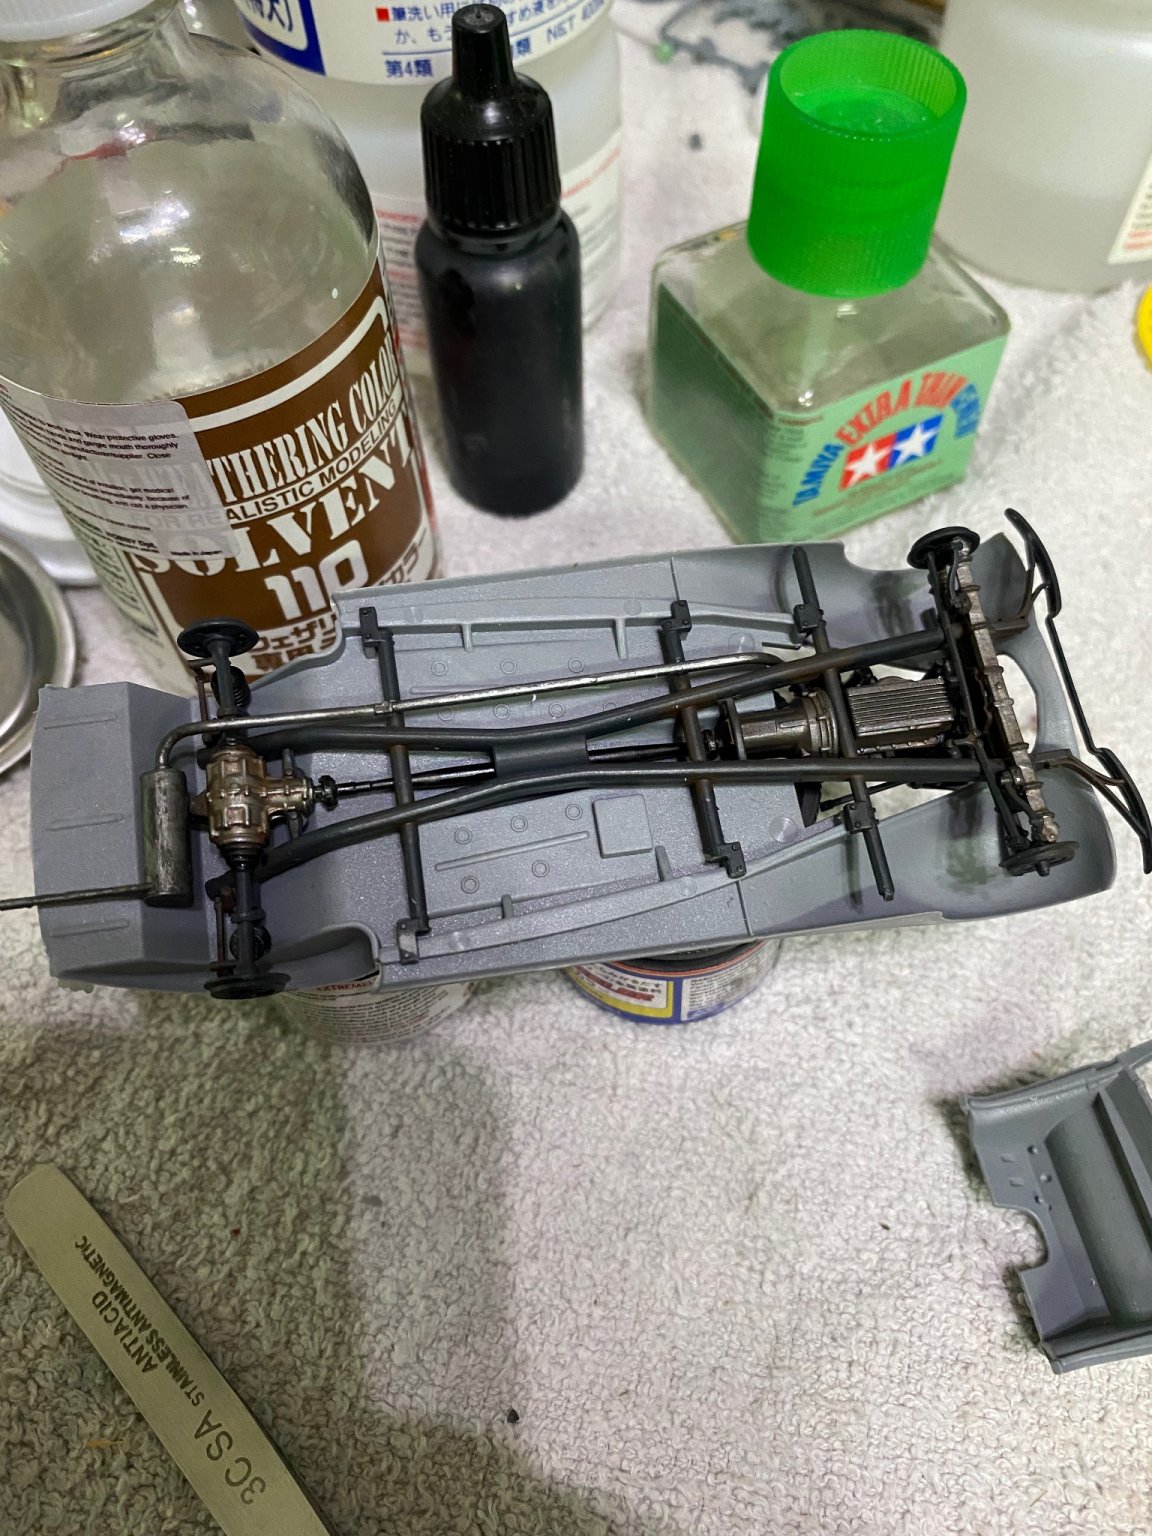
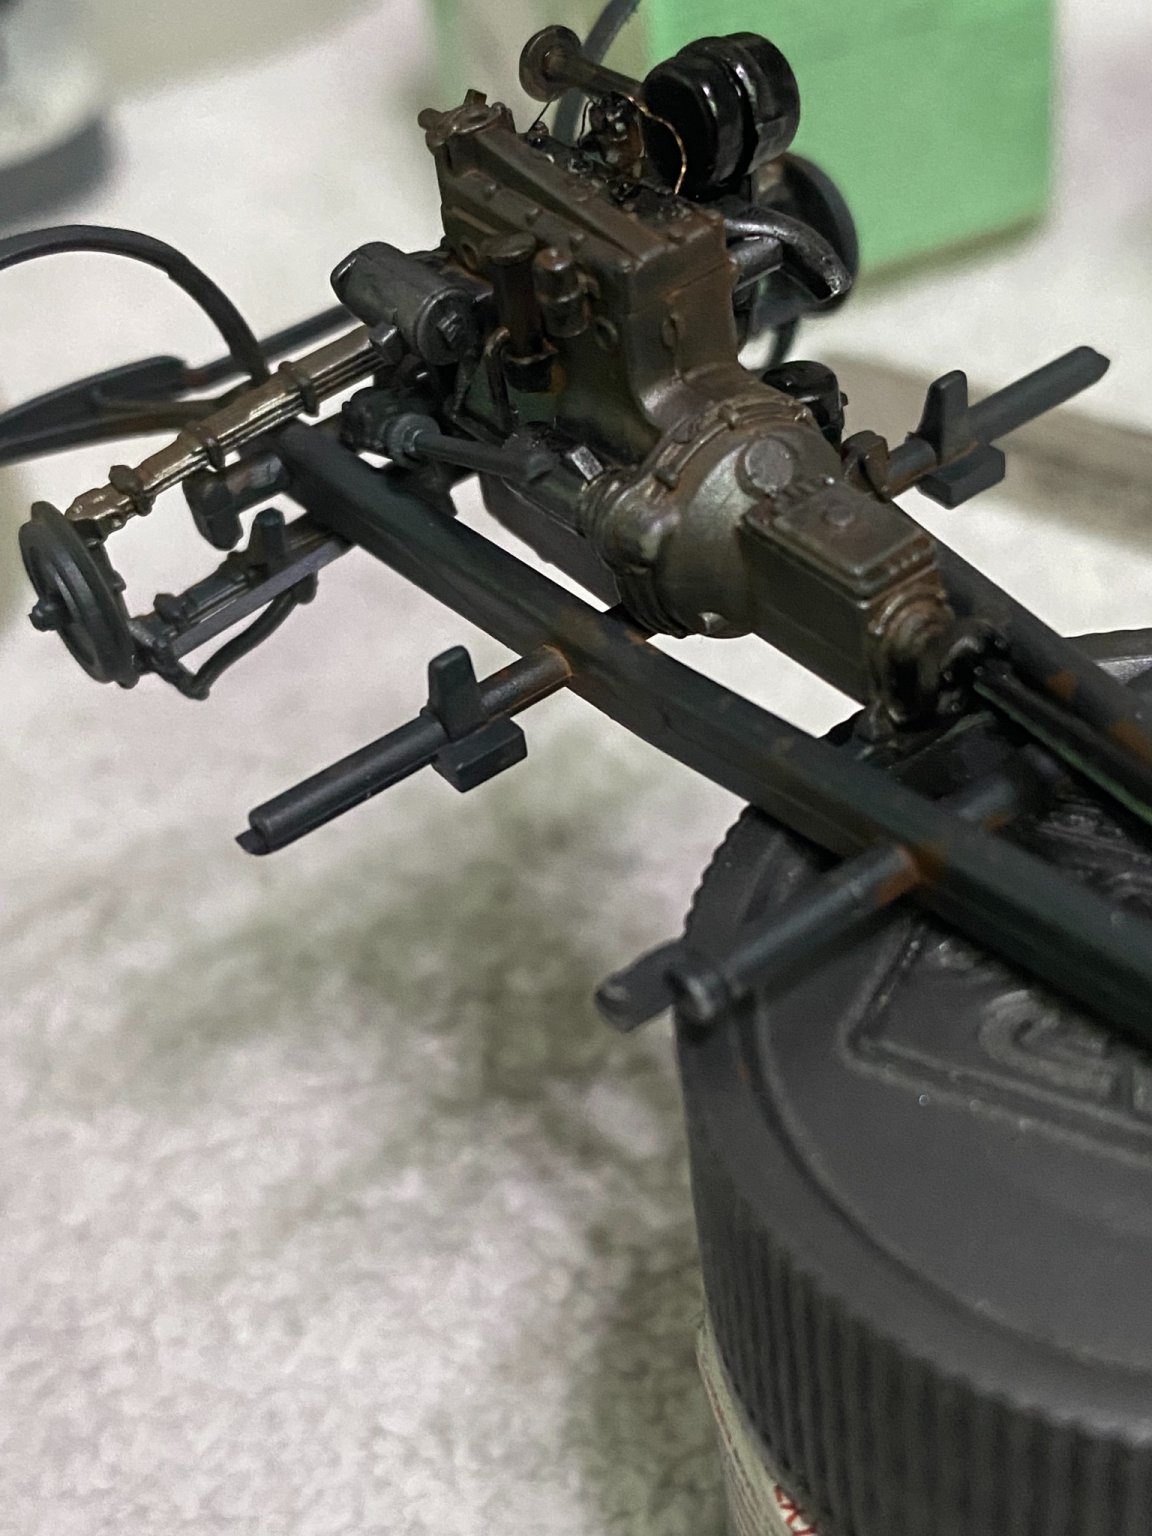
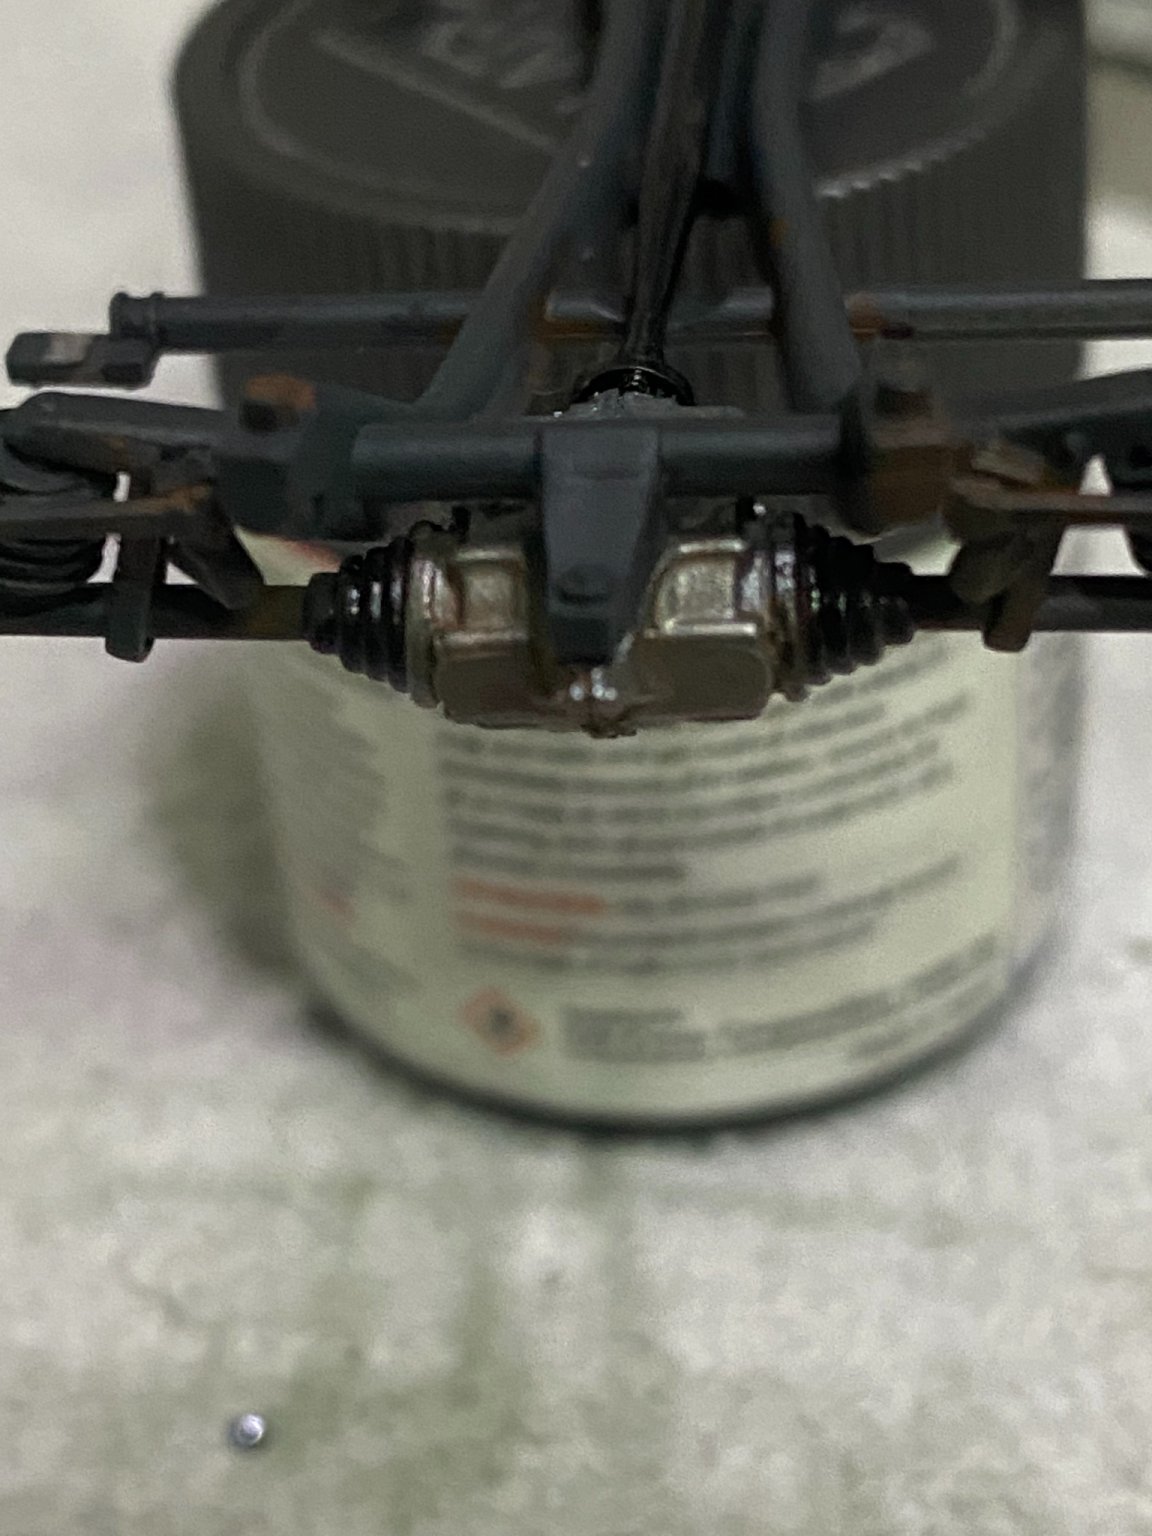
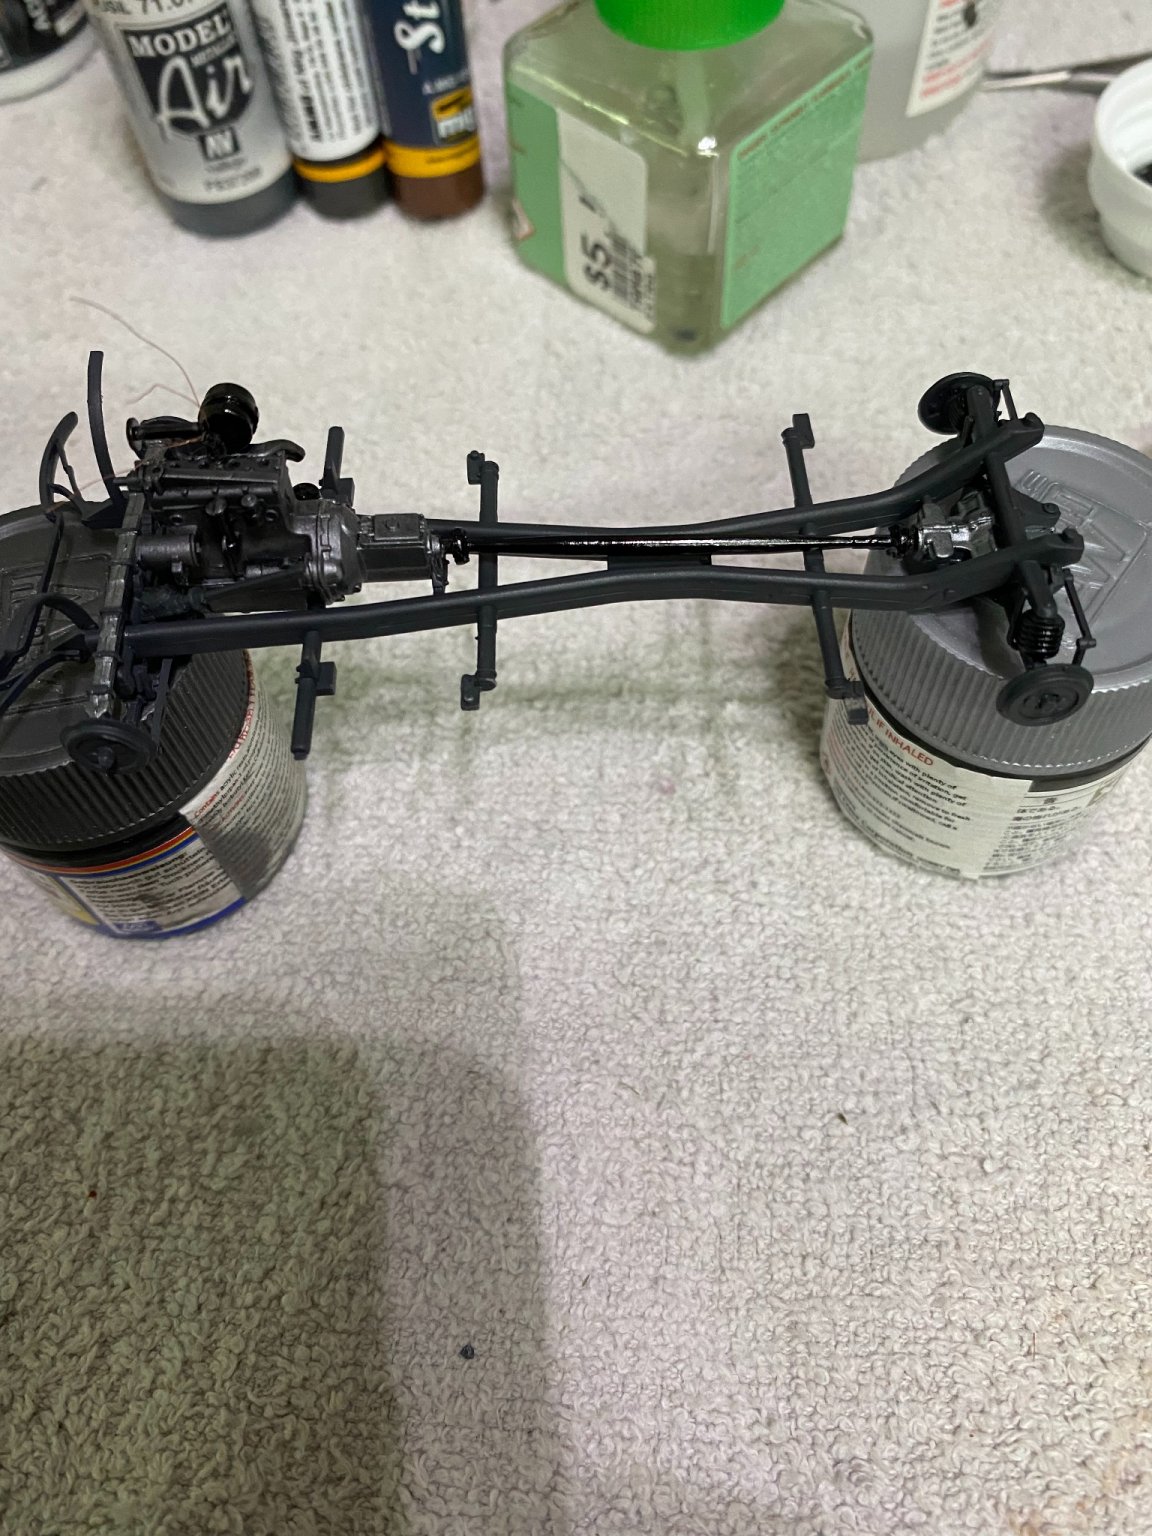
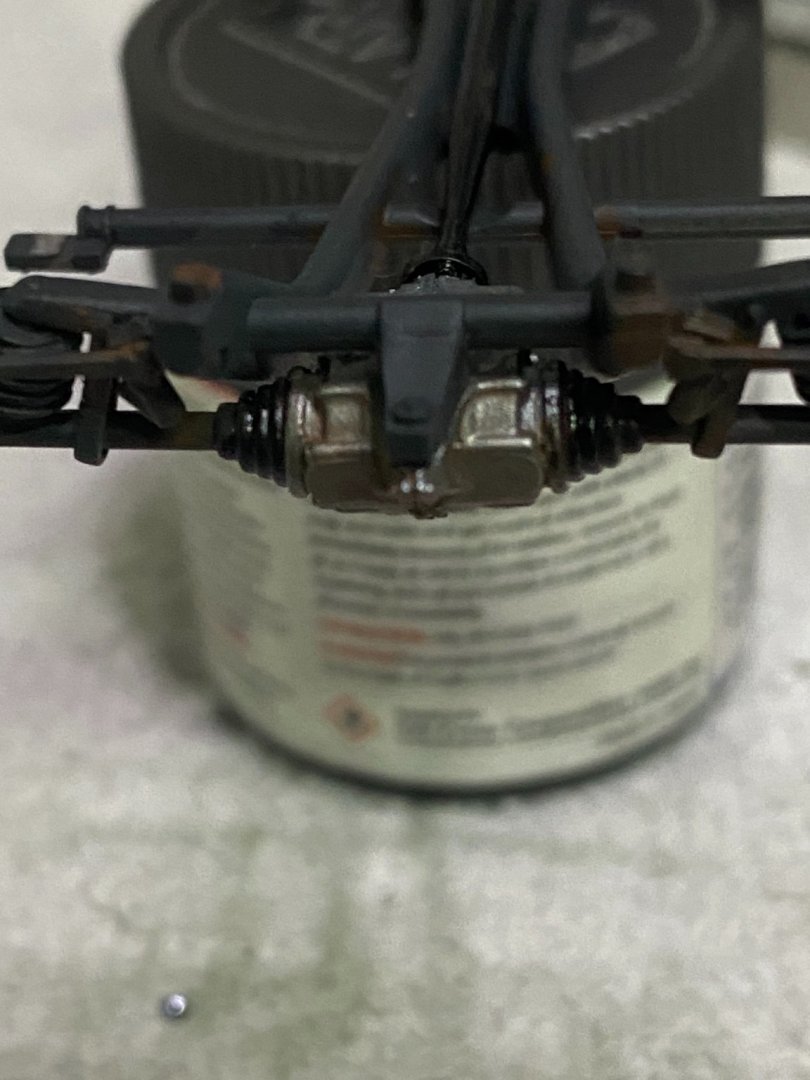
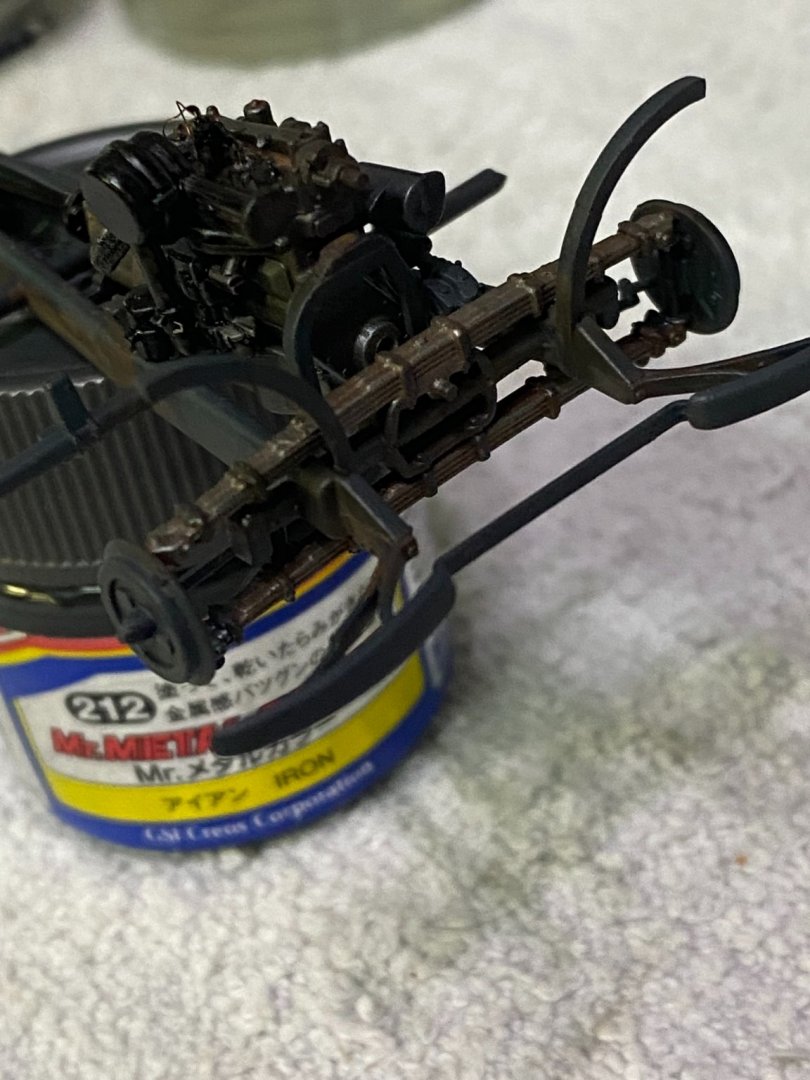
I’m going to subscribe to the less-is-more school of thought and leave the rust and grime factor where it is on the chassis-drive train. Not much if any of this will be seen once the model is completed anyway.

- 143 replies
-
- 13
-
-
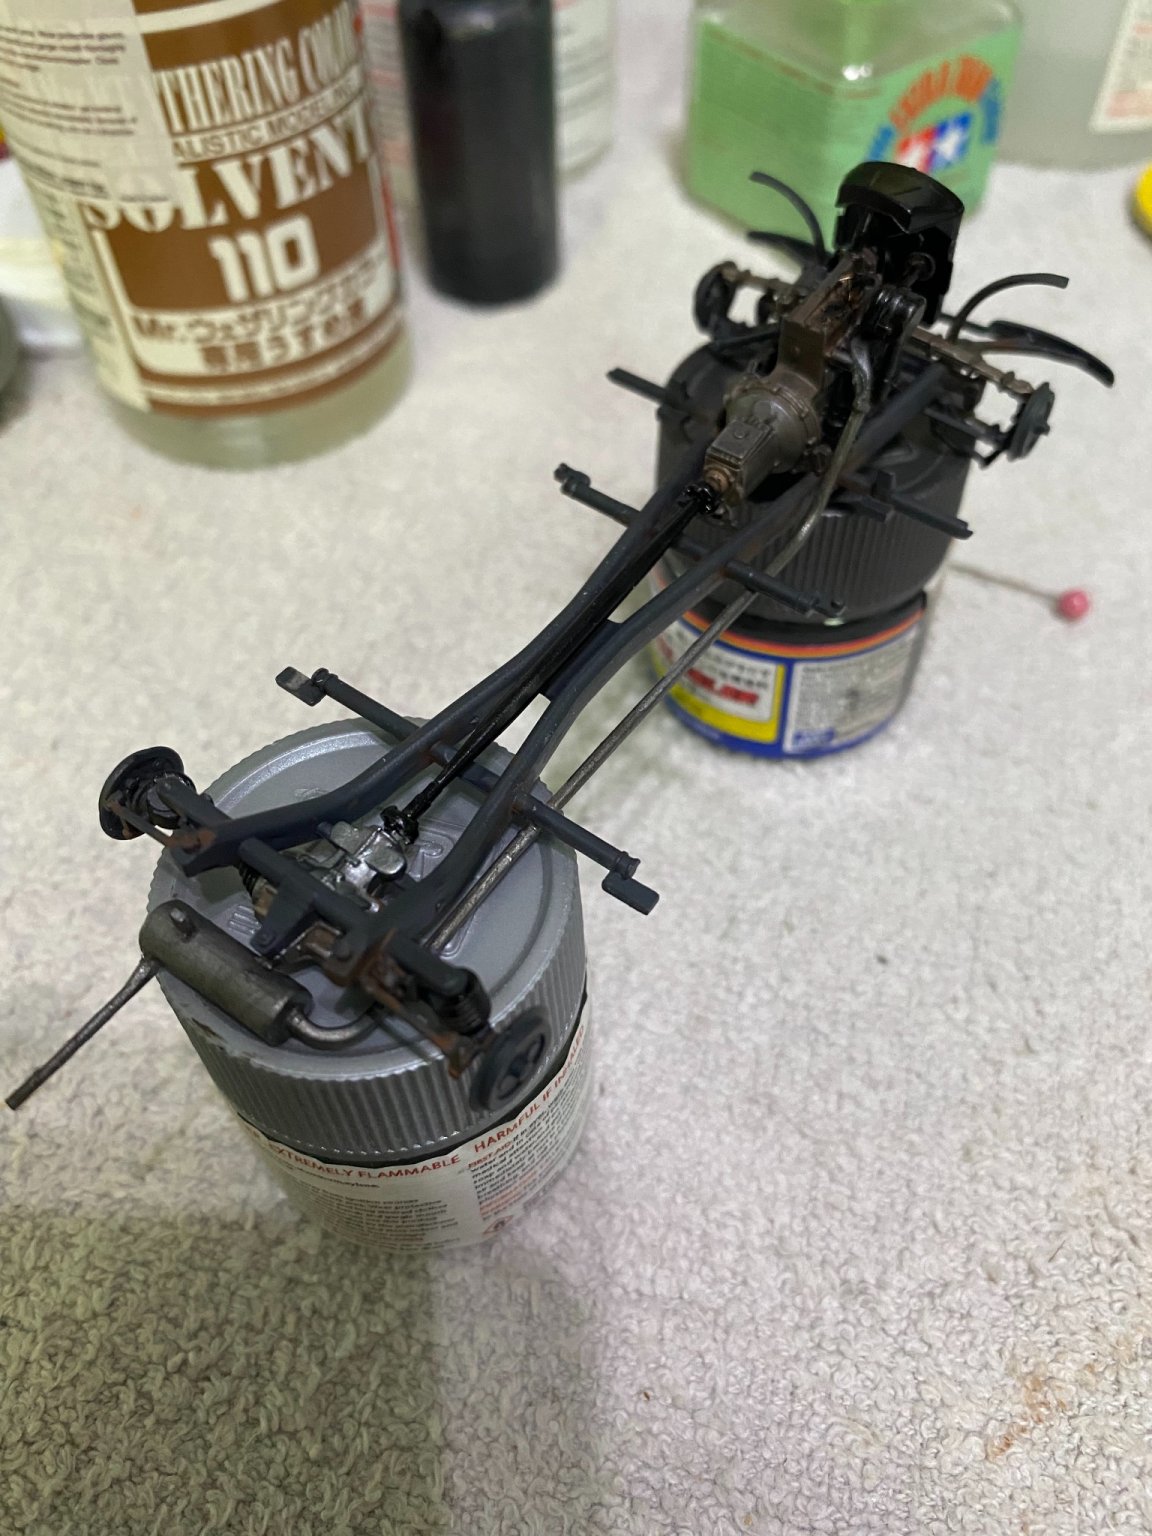
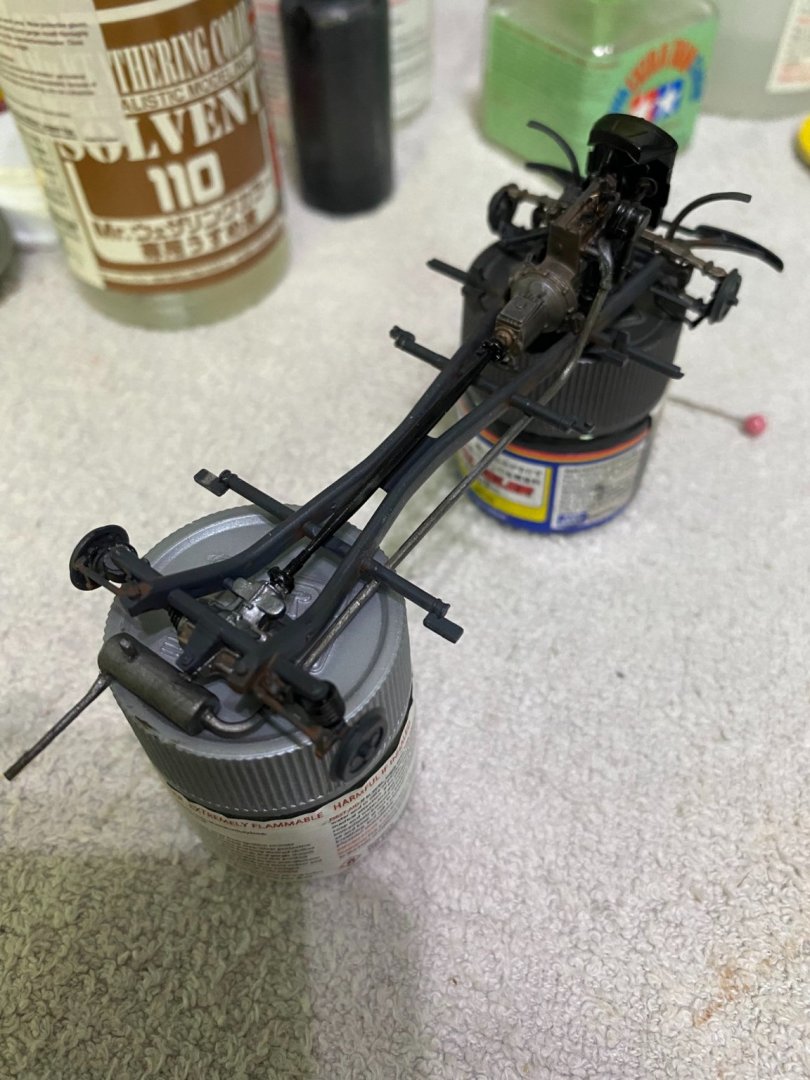
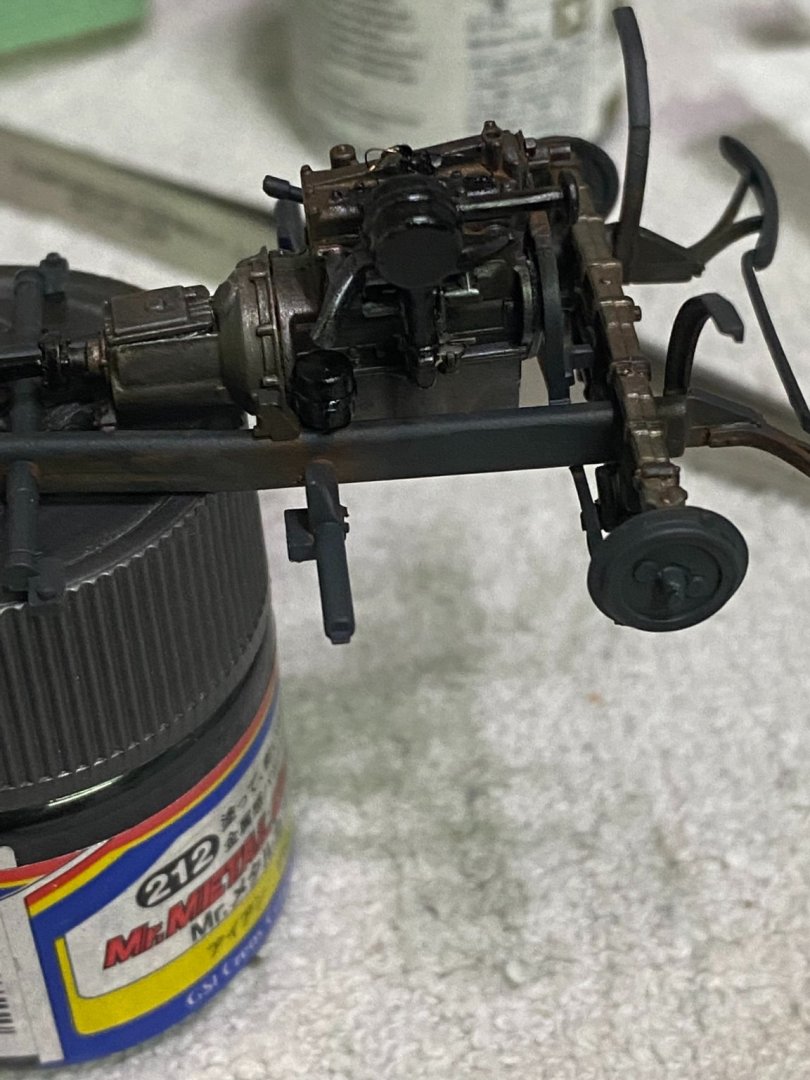
With the engine and driveshaft added, will add some weathering and rust, then the exhaust system and radiator before beginning the body panels and interior.

- 143 replies
-
- 11
-
-
That's good news about cleanup with lacquer thinner. I was afraid it would turn to goo like many acrylics do when lacquer thinner is introduced.
-
That brass looks super nice, Grant. I have read that Mig Ammo uses Stynylrez to bottle up as their "One Shot Primer" brand. I learned the hard way it doesn't spray well through an airbrush with a needle less than .5mm. It stopped up my airbrush lock solid.
-
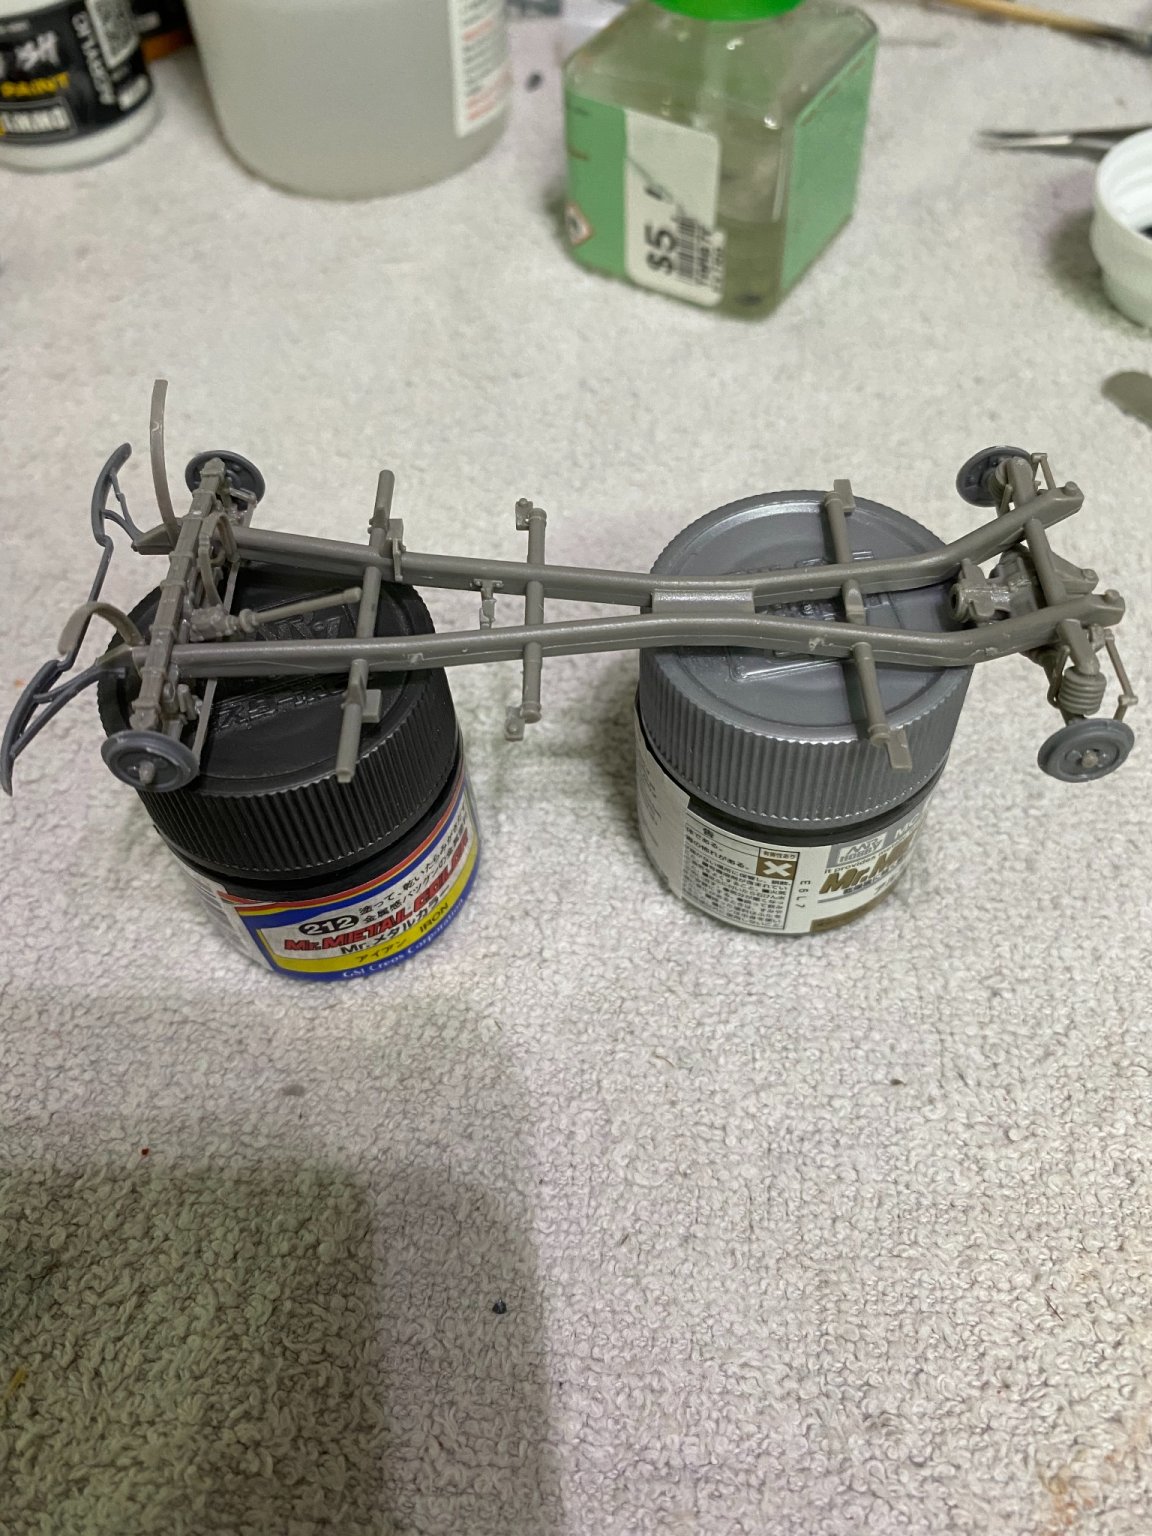
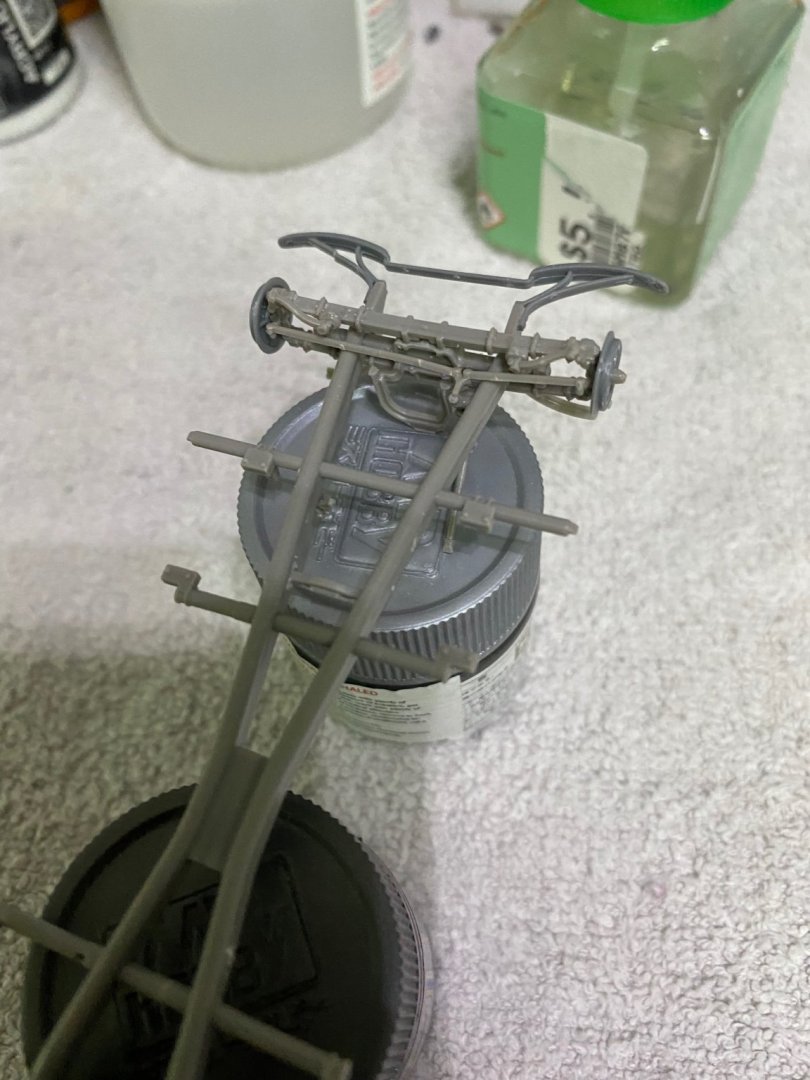
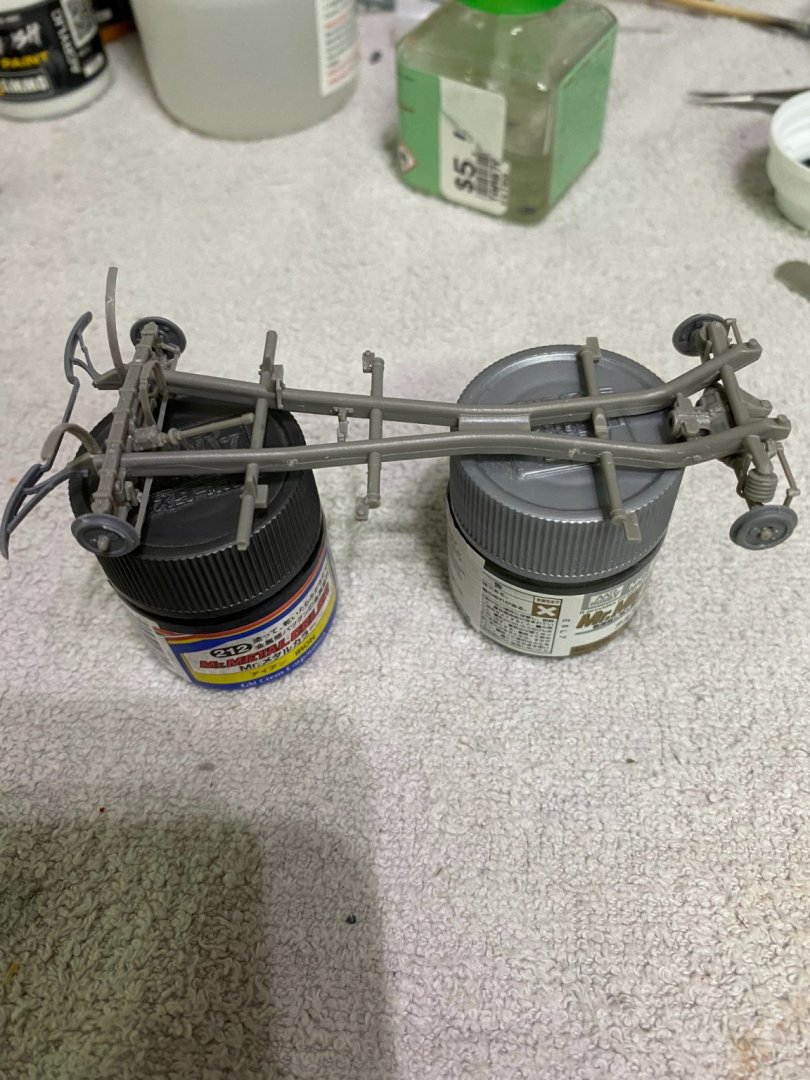
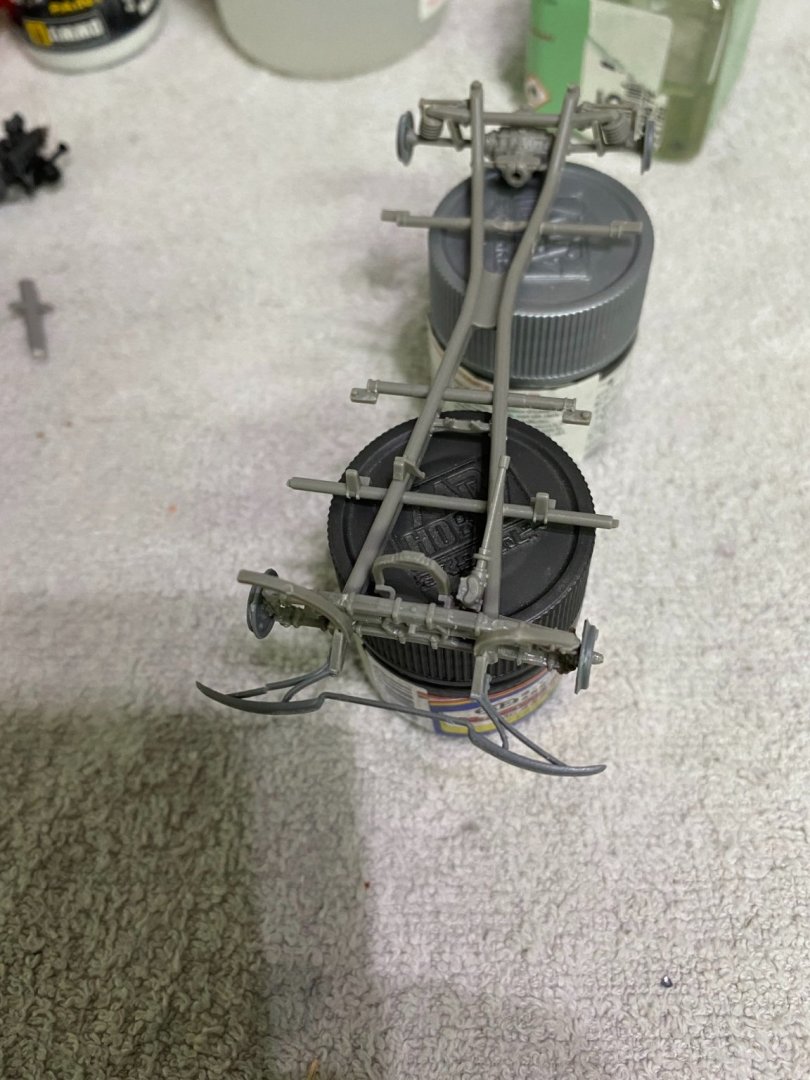
Using black-gray as my base coat, will pick out details using other various shades.
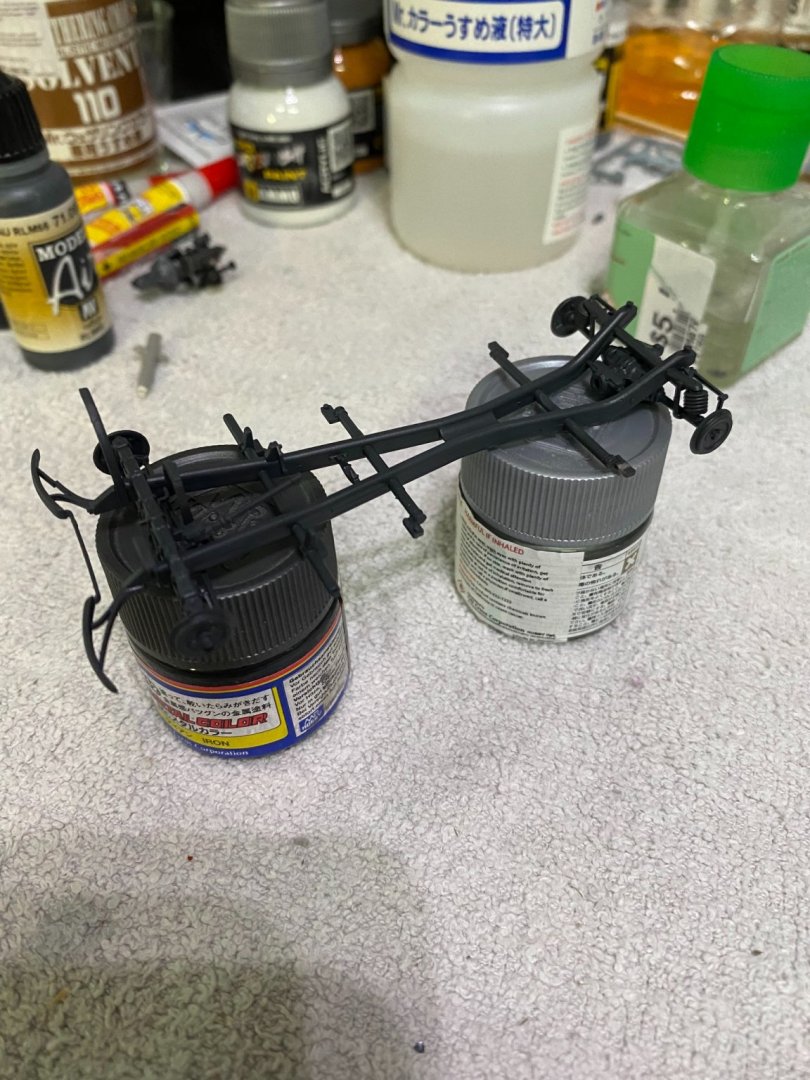
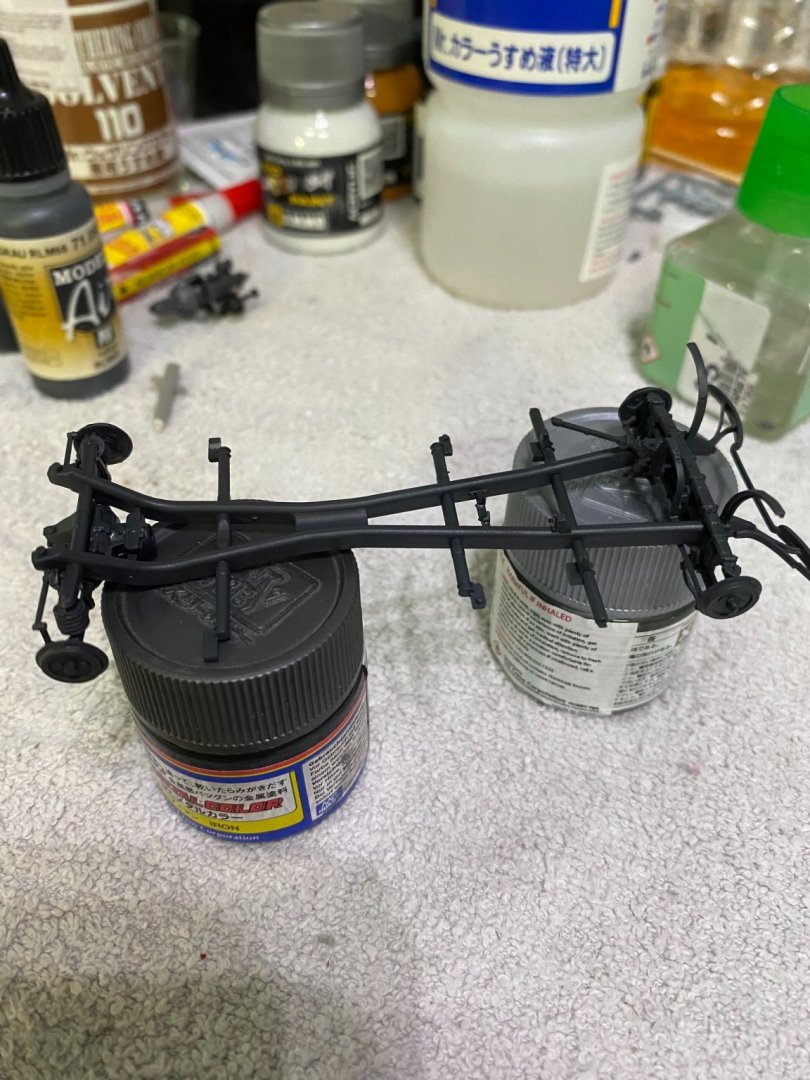
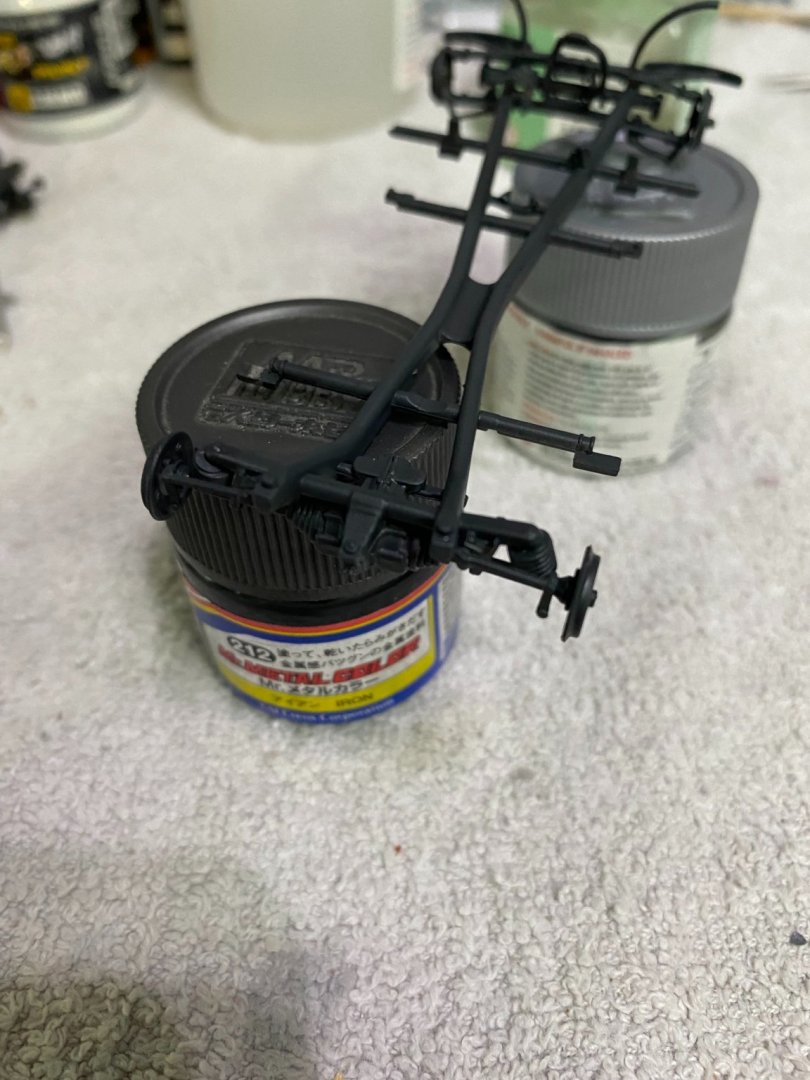
-
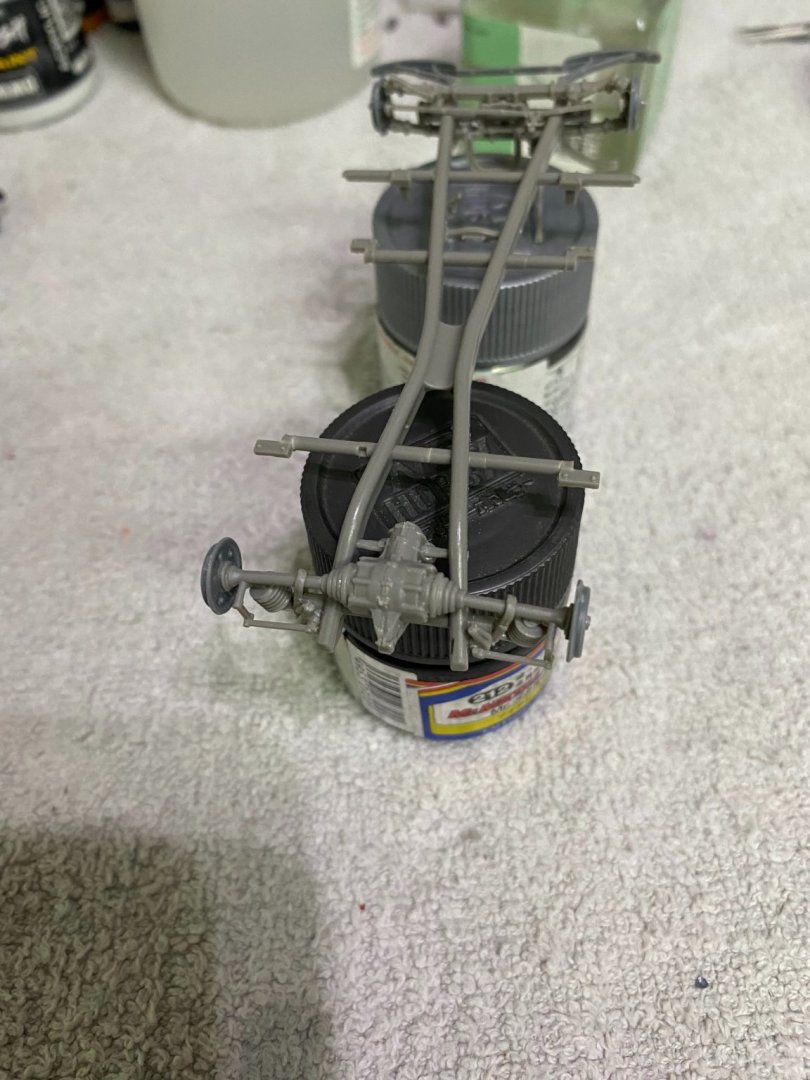
Chassis before painting. This is more akin to a limited run kit. Plastic a little on the soft side but details are good. Takes a little care to make sure where parts are to be located. Part sprues are not numbered requiring reference back to the part tree photos on the instructions where parts are numbered.
-
Prayers going up for all of you in the impact zone of Ida. Let us know how you are doing after it's all passed.
-
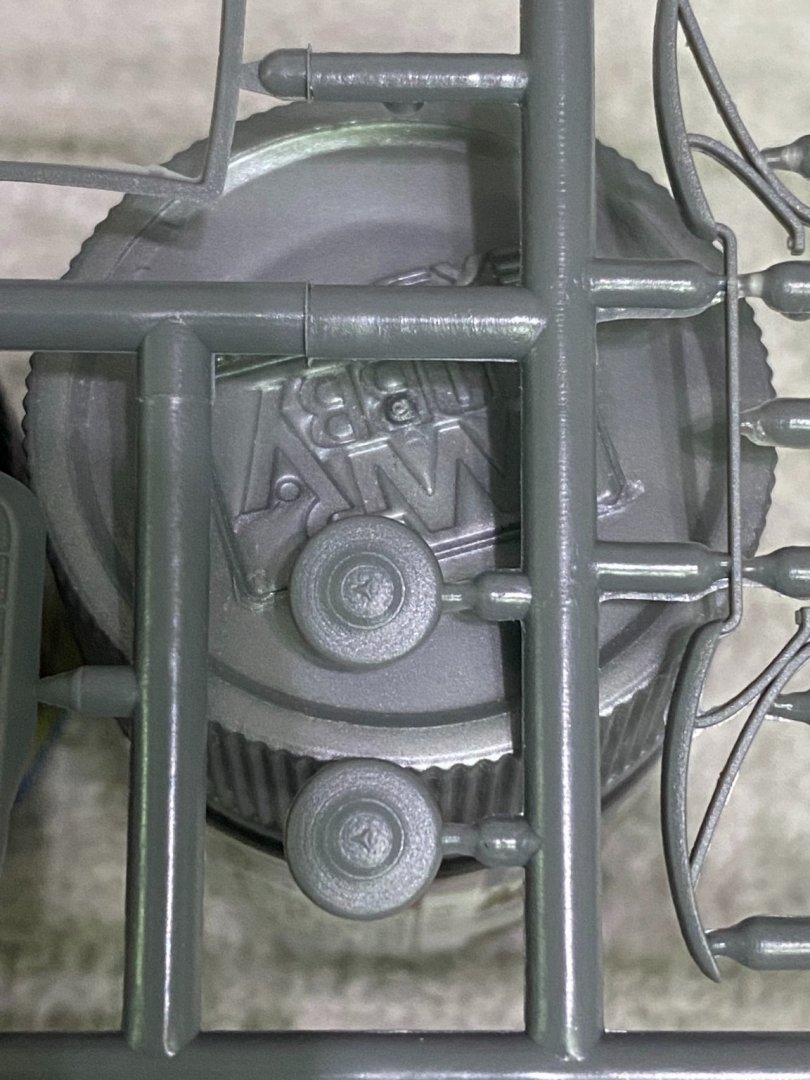
A zoom view of the kit hub caps clearly show the Mercedes logo.