CDW
-
Posts
7,755 -
Joined
-
Last visited
Content Type
Profiles
Forums
Gallery
Events
Everything posted by CDW
-
 Thanks Mike. It's Mr Surfacer 1500, black, reduced 4 parts paint : 6 parts levelling thinner.
 -
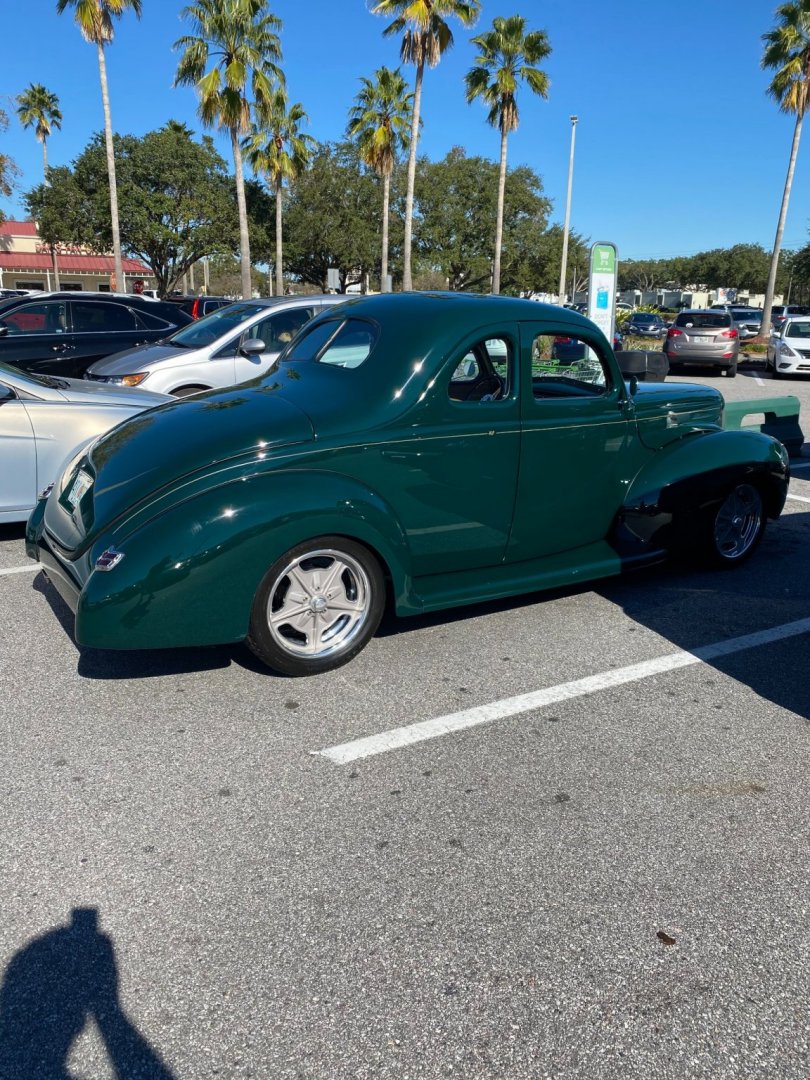
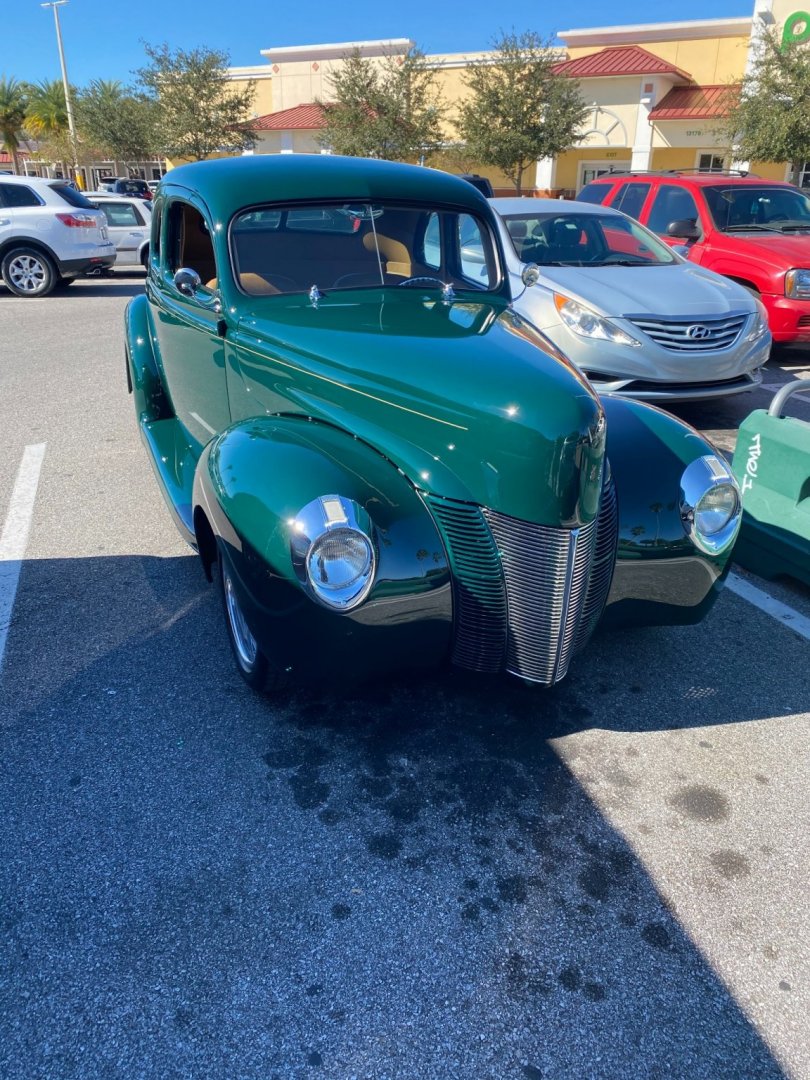
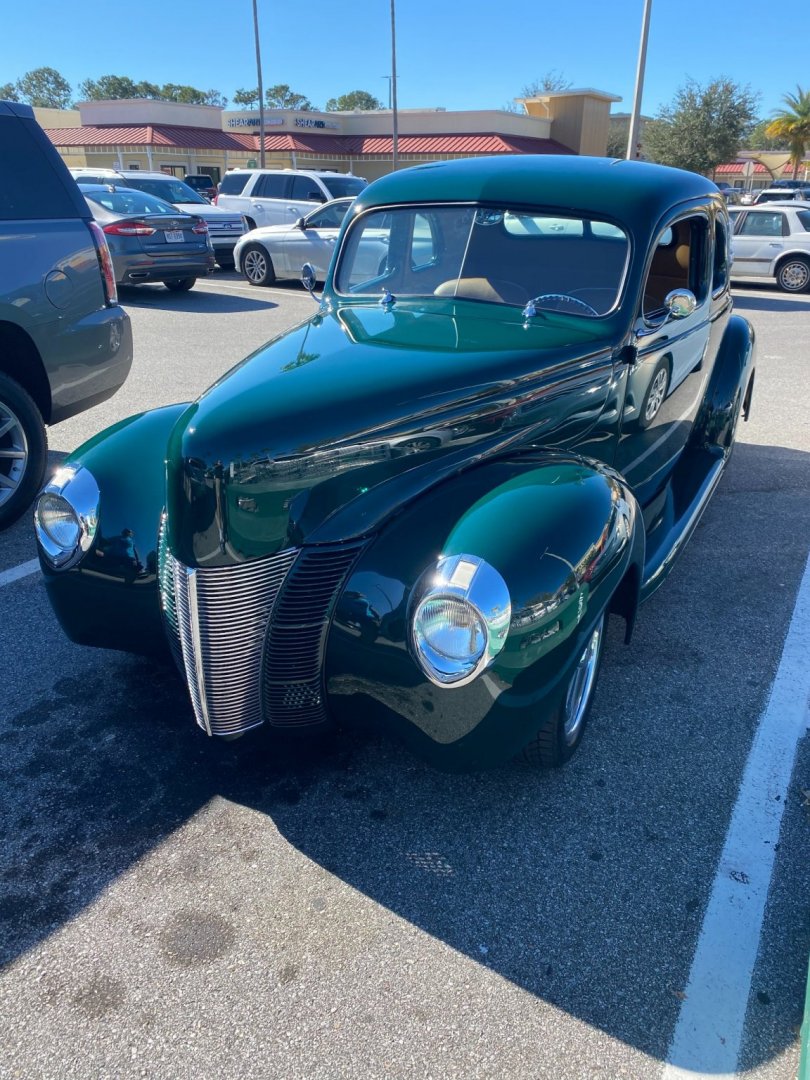
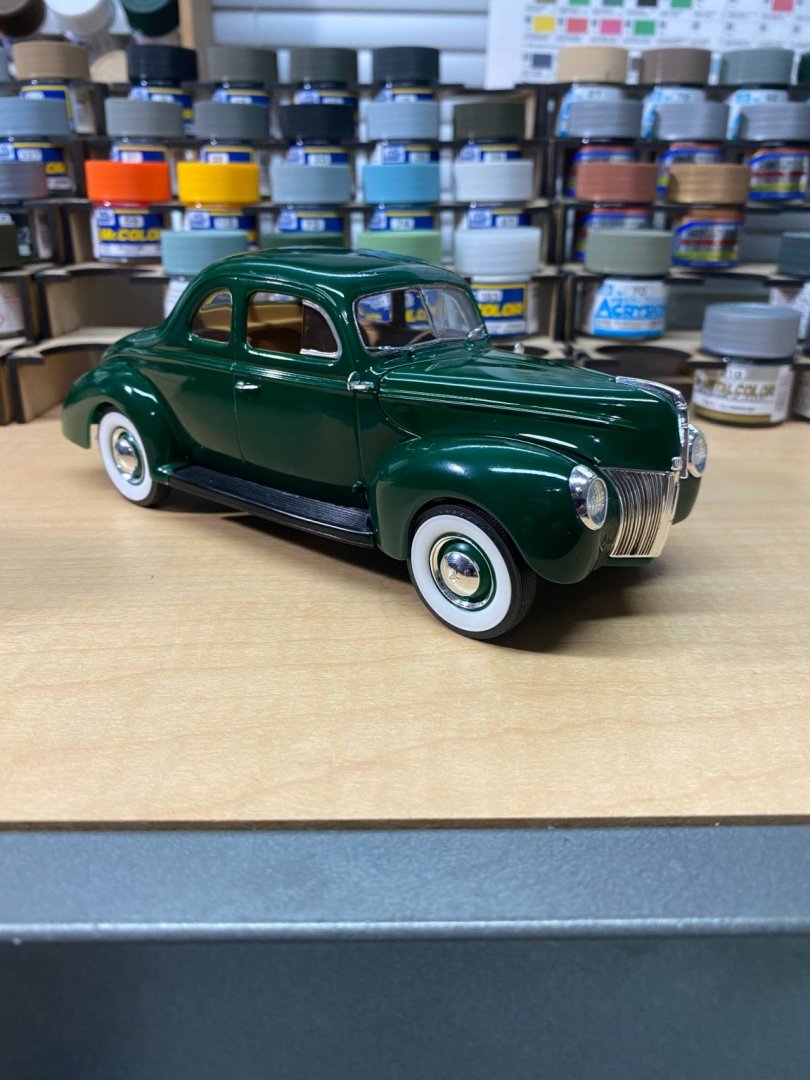
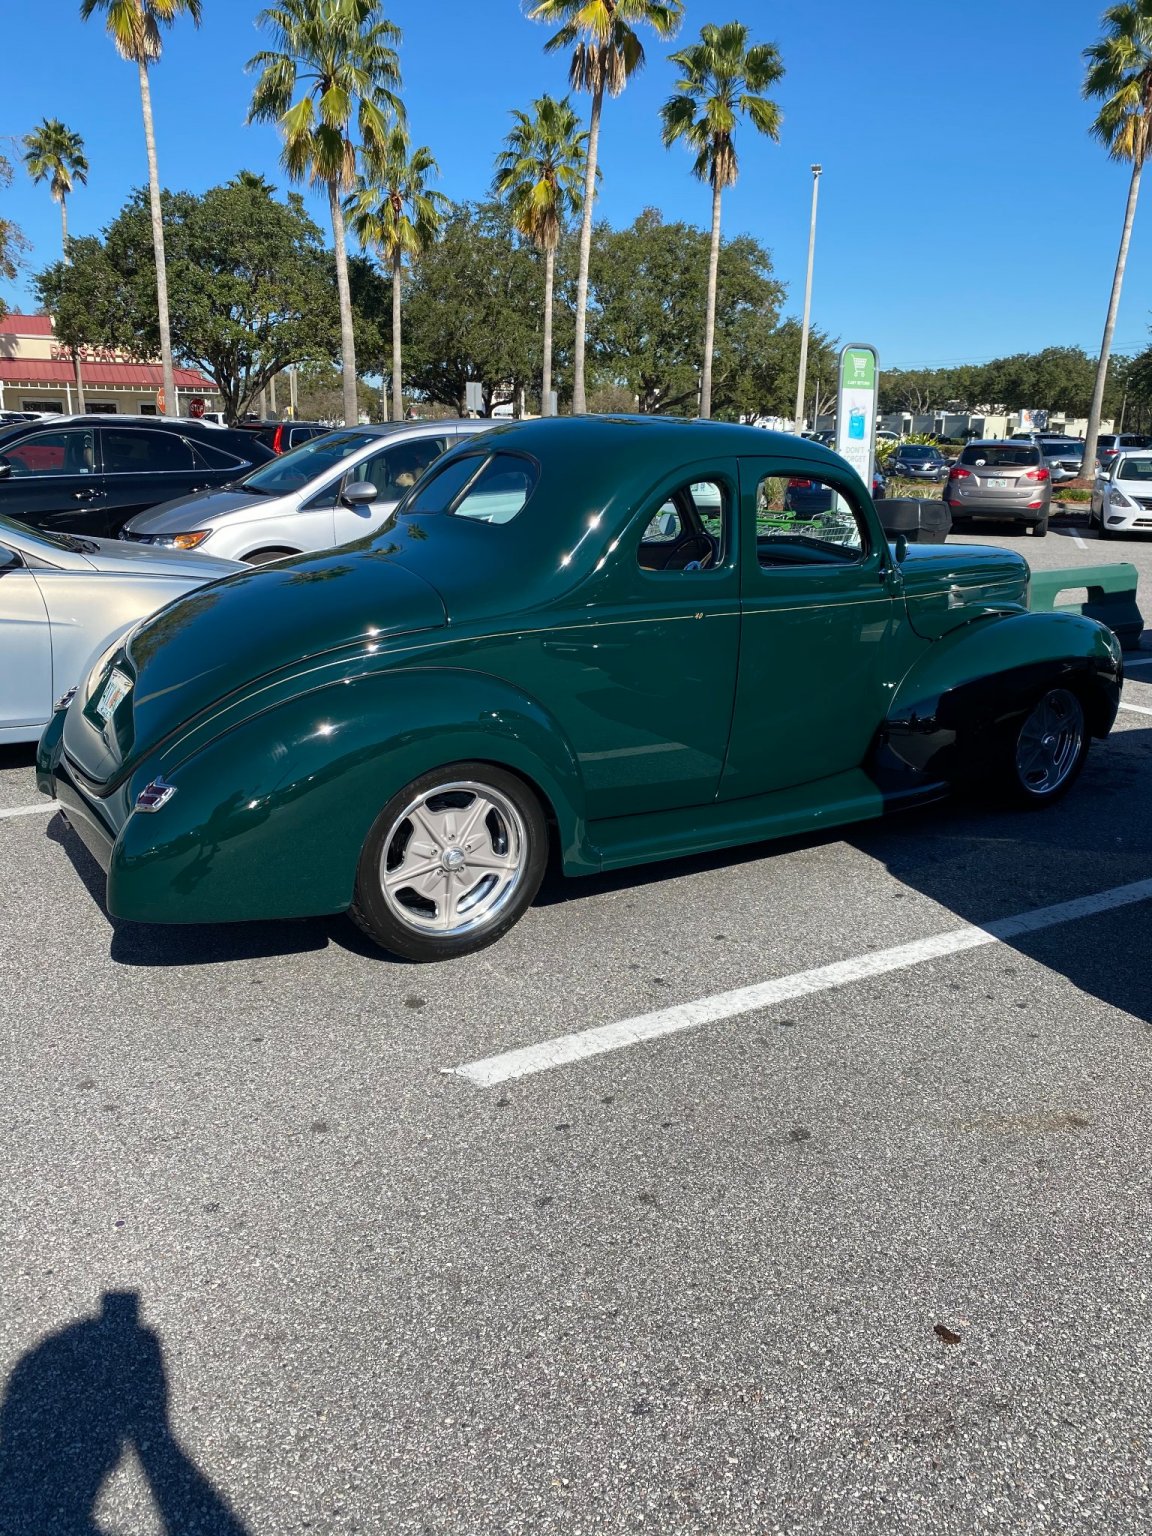
Thanks, Denis. These days, you will see these cars without the wipers and bumpers. See pics.
-
I am not crazy about this model at all. Too many missing features and I am not interested in scratch building them. I have a very nice Tamiya bug waiting on the shelf, and another super nice one in 1:32 scale, so will wait to build those to get my fill of well detailed VW's.


- 28 replies
-
- 11
-

-
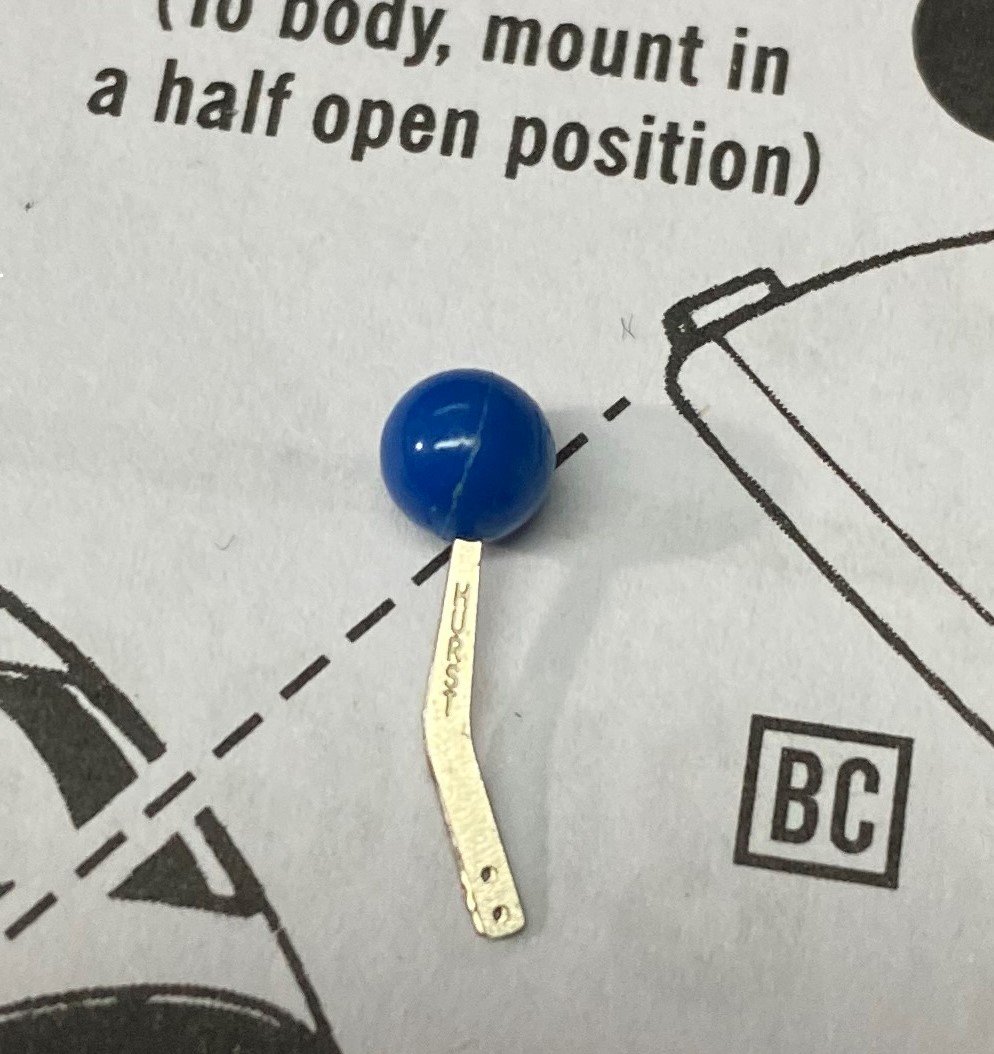
I would appreciate it if you sent me a smaller one. My hat pins are larger than yours, thus my balls are larger, too. 😁
-
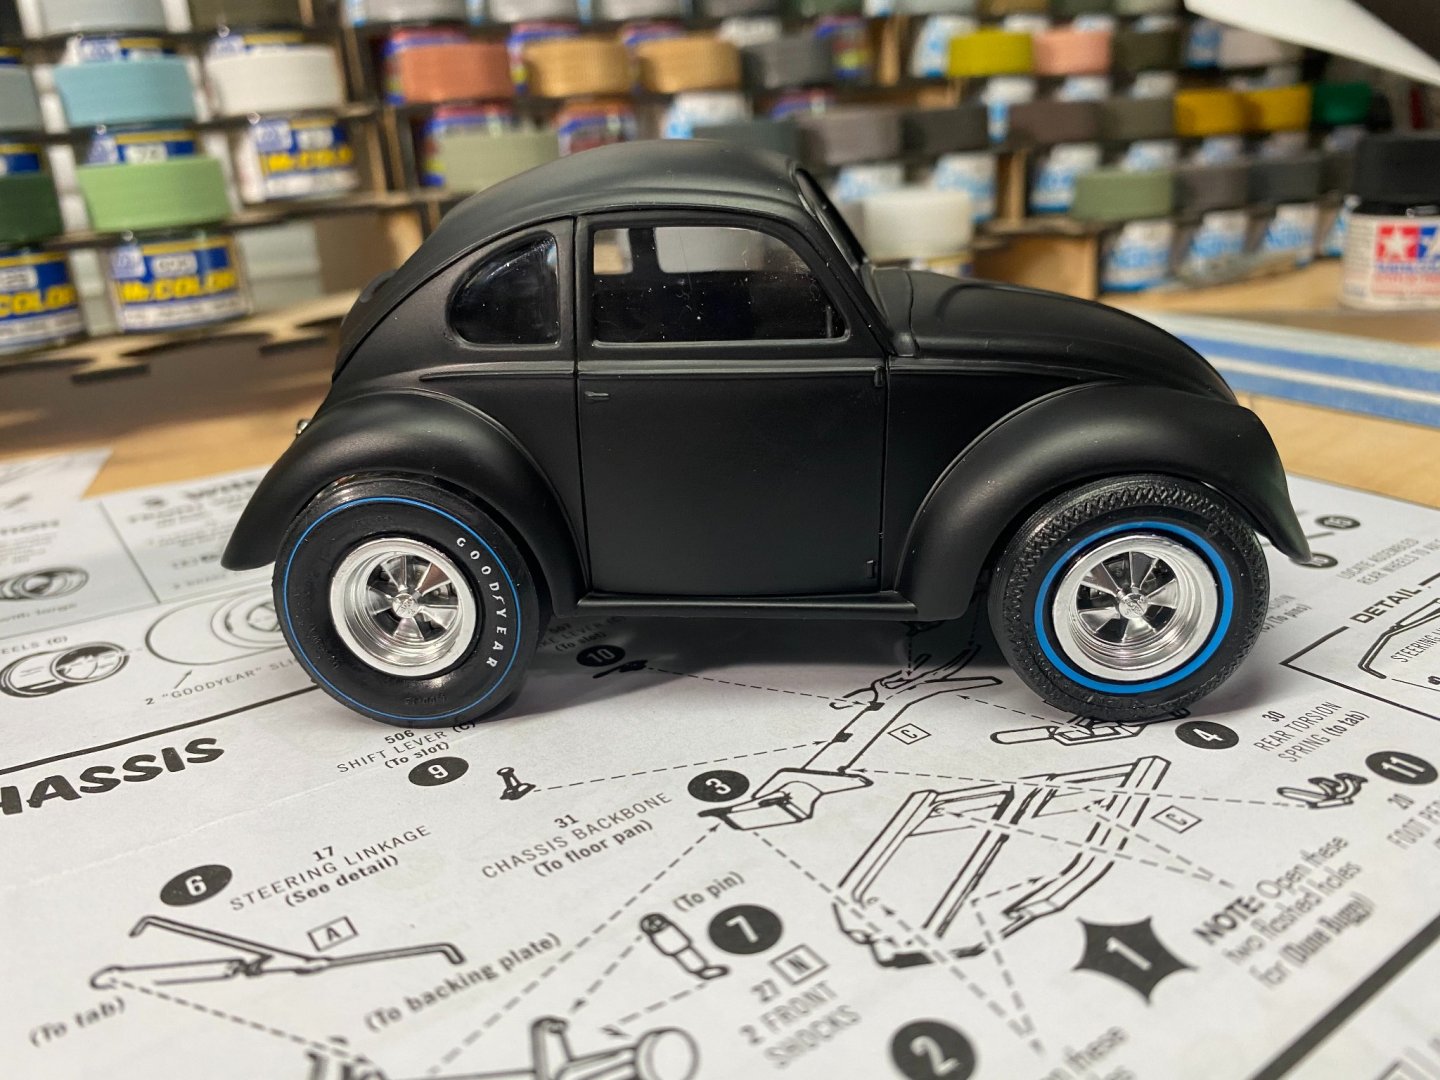
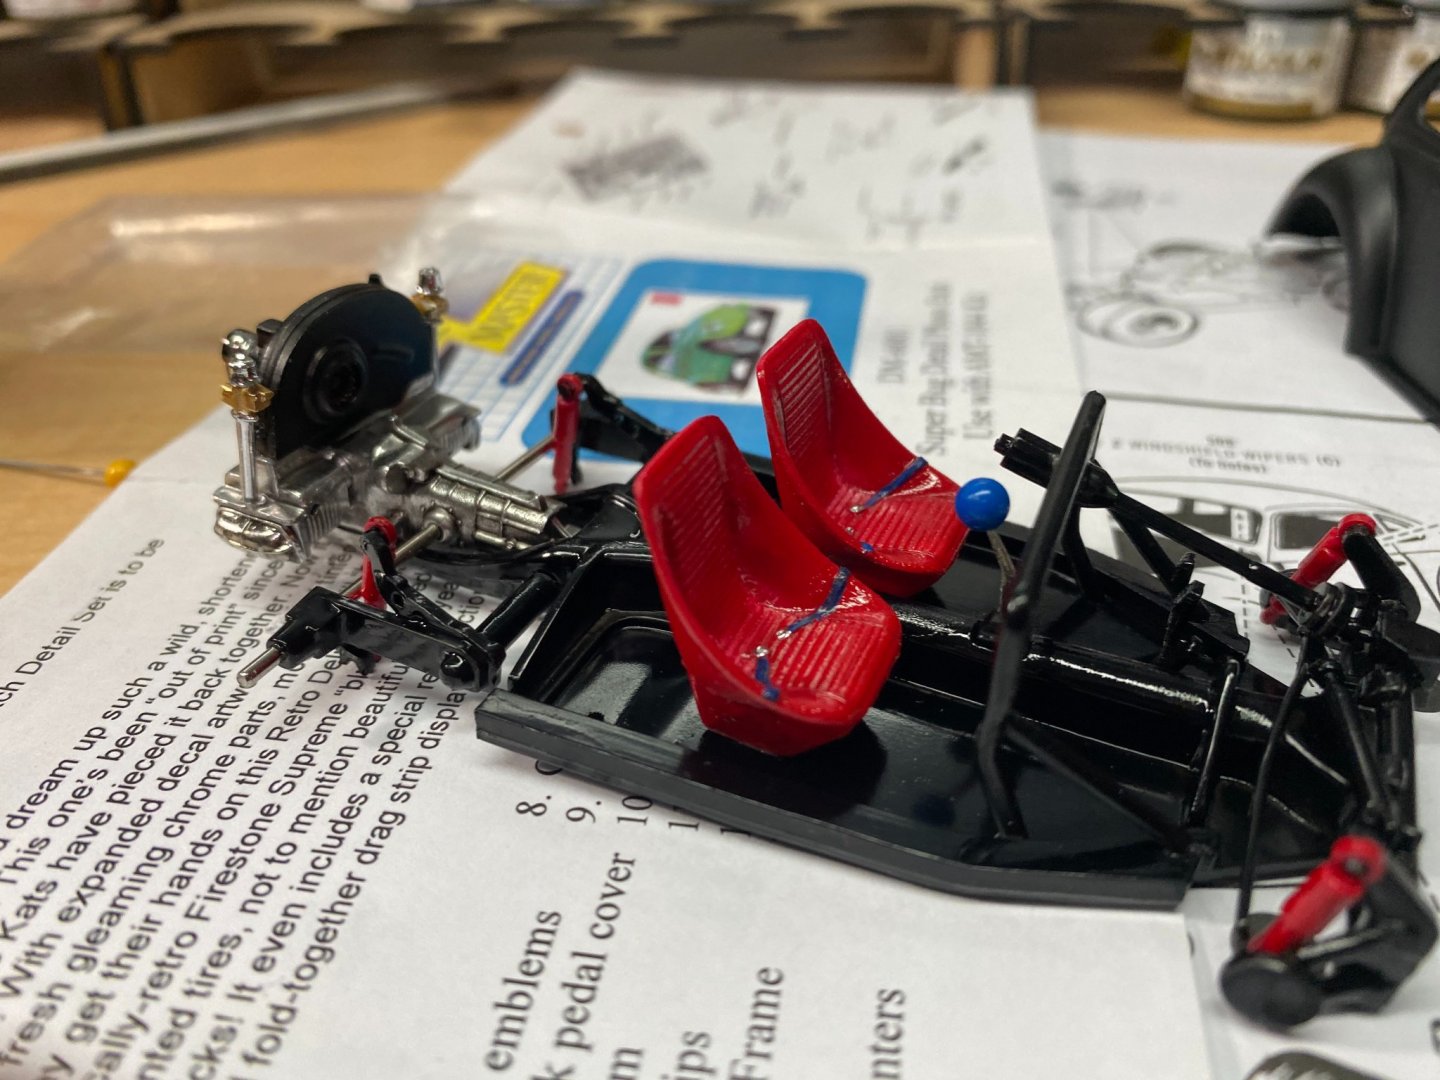
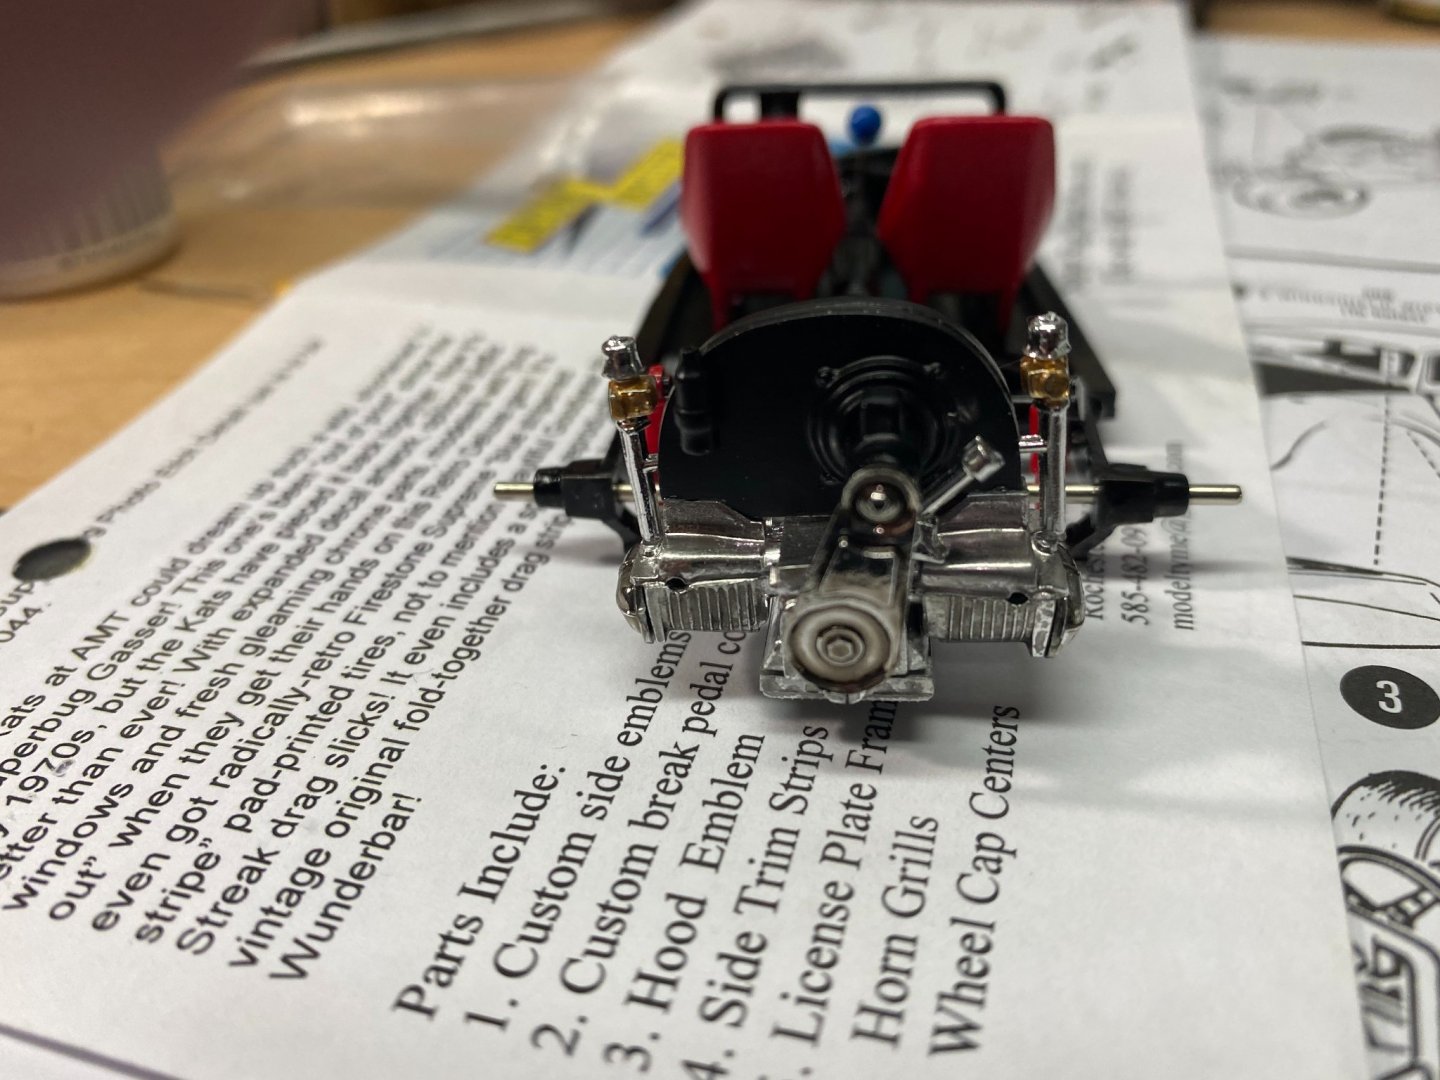
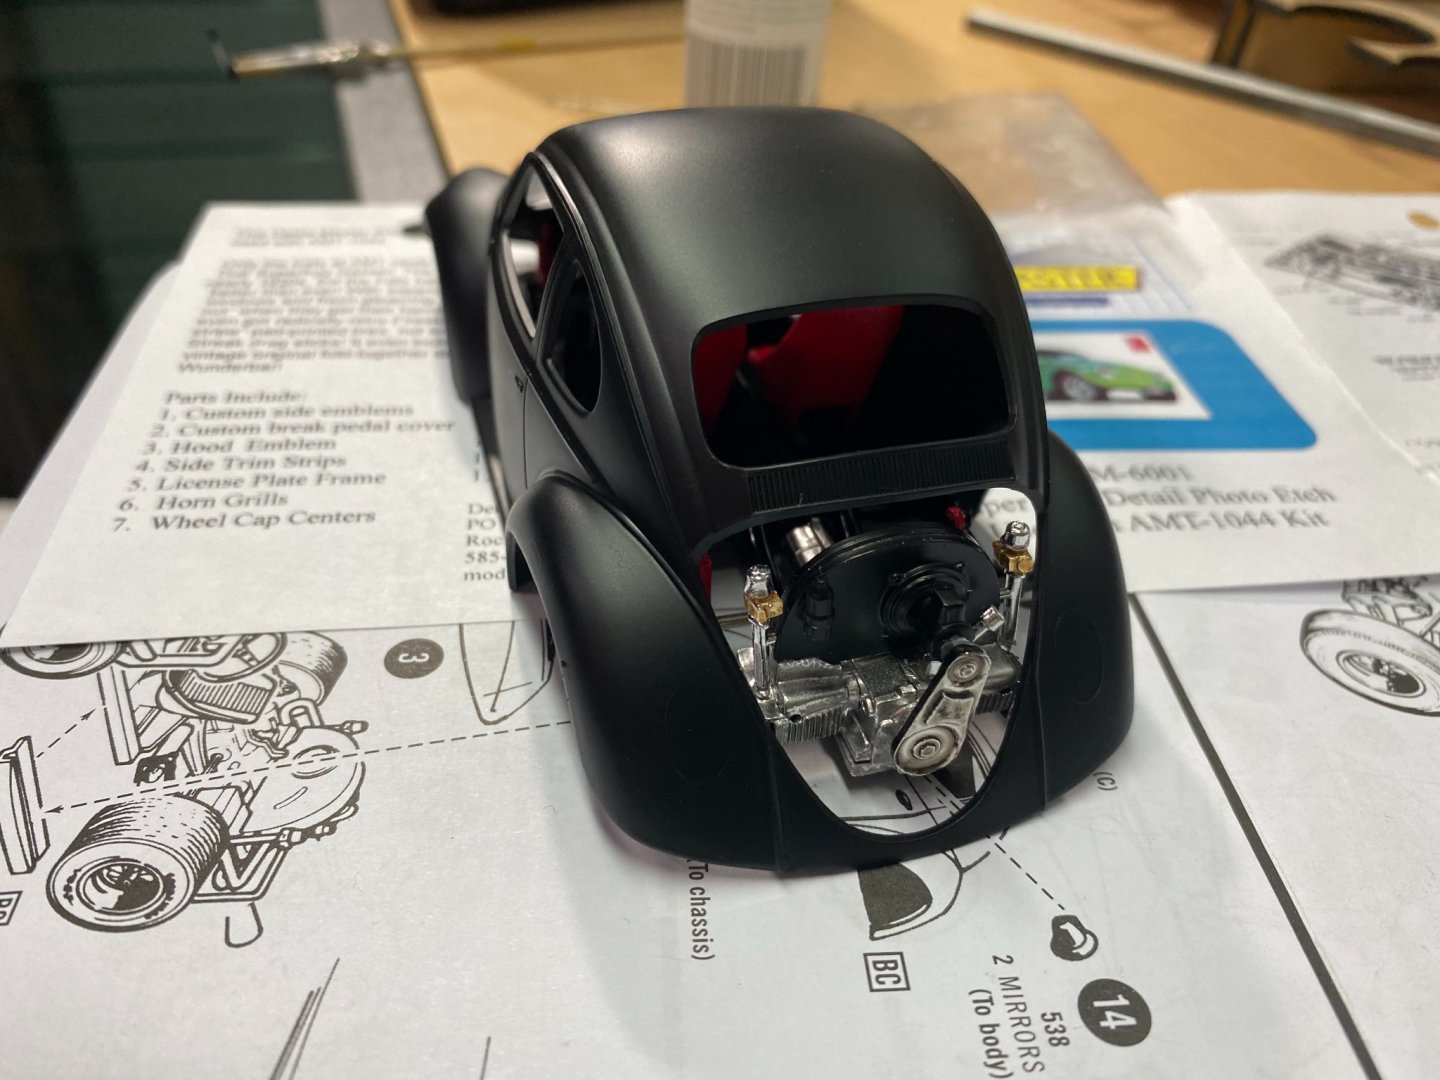
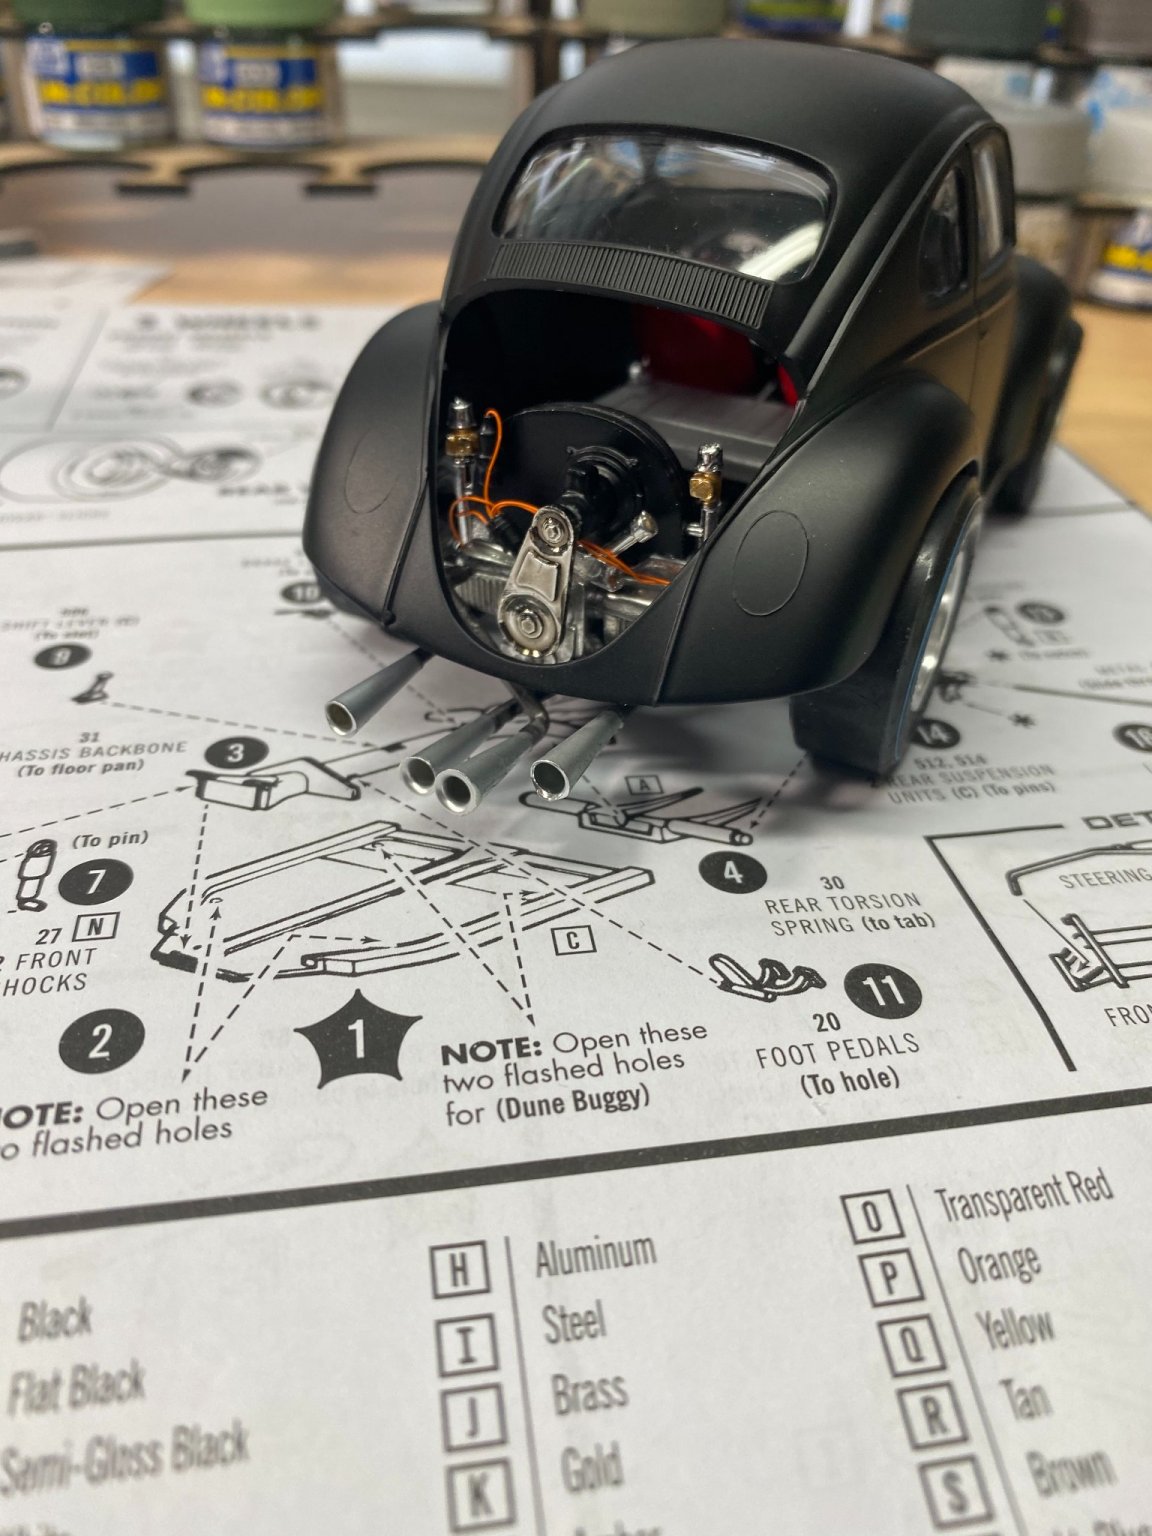
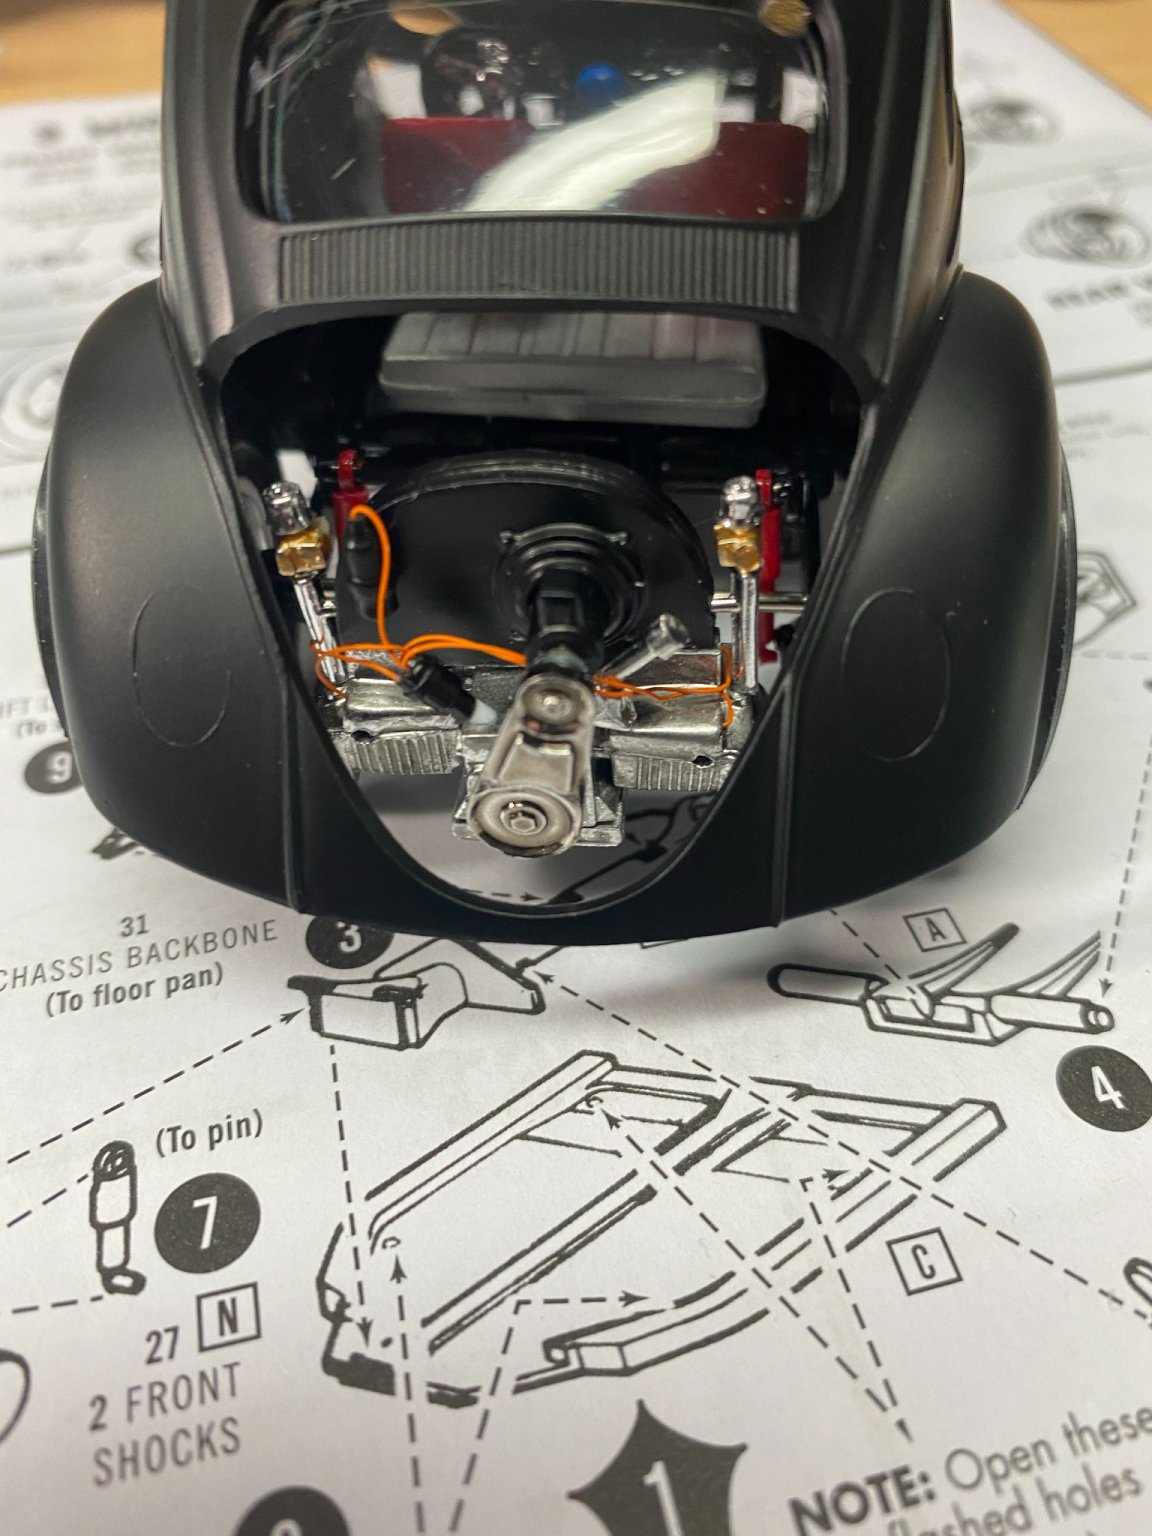
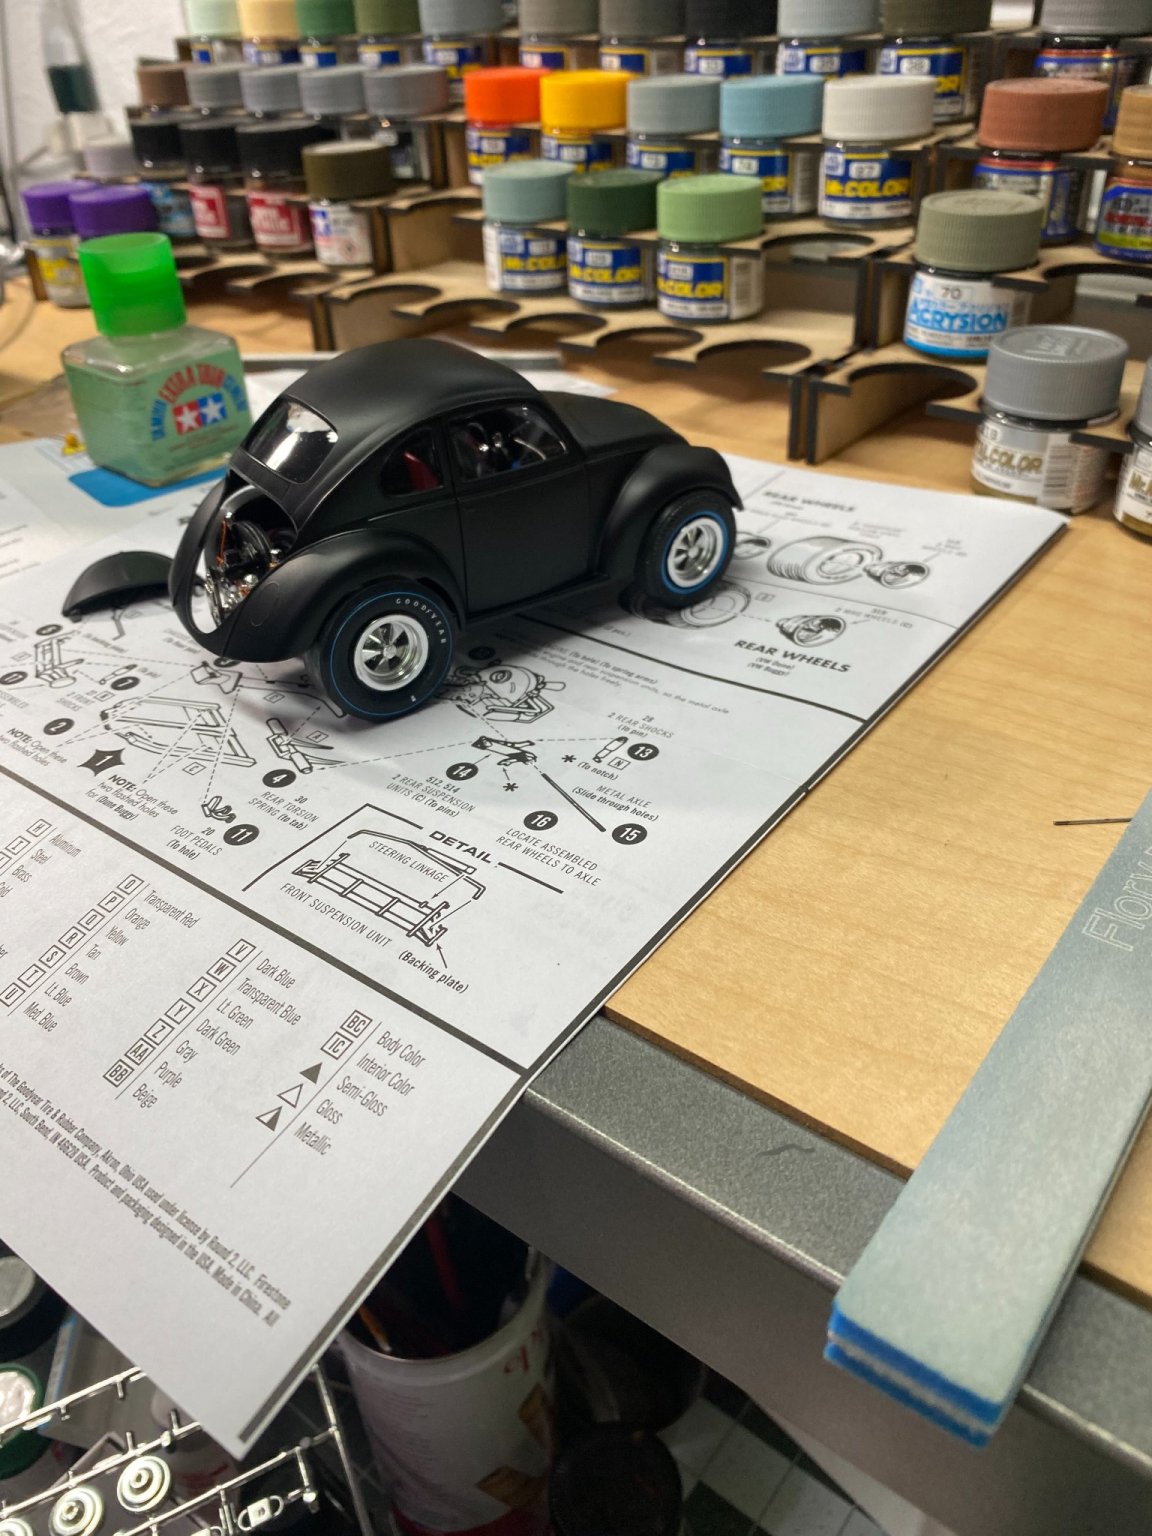
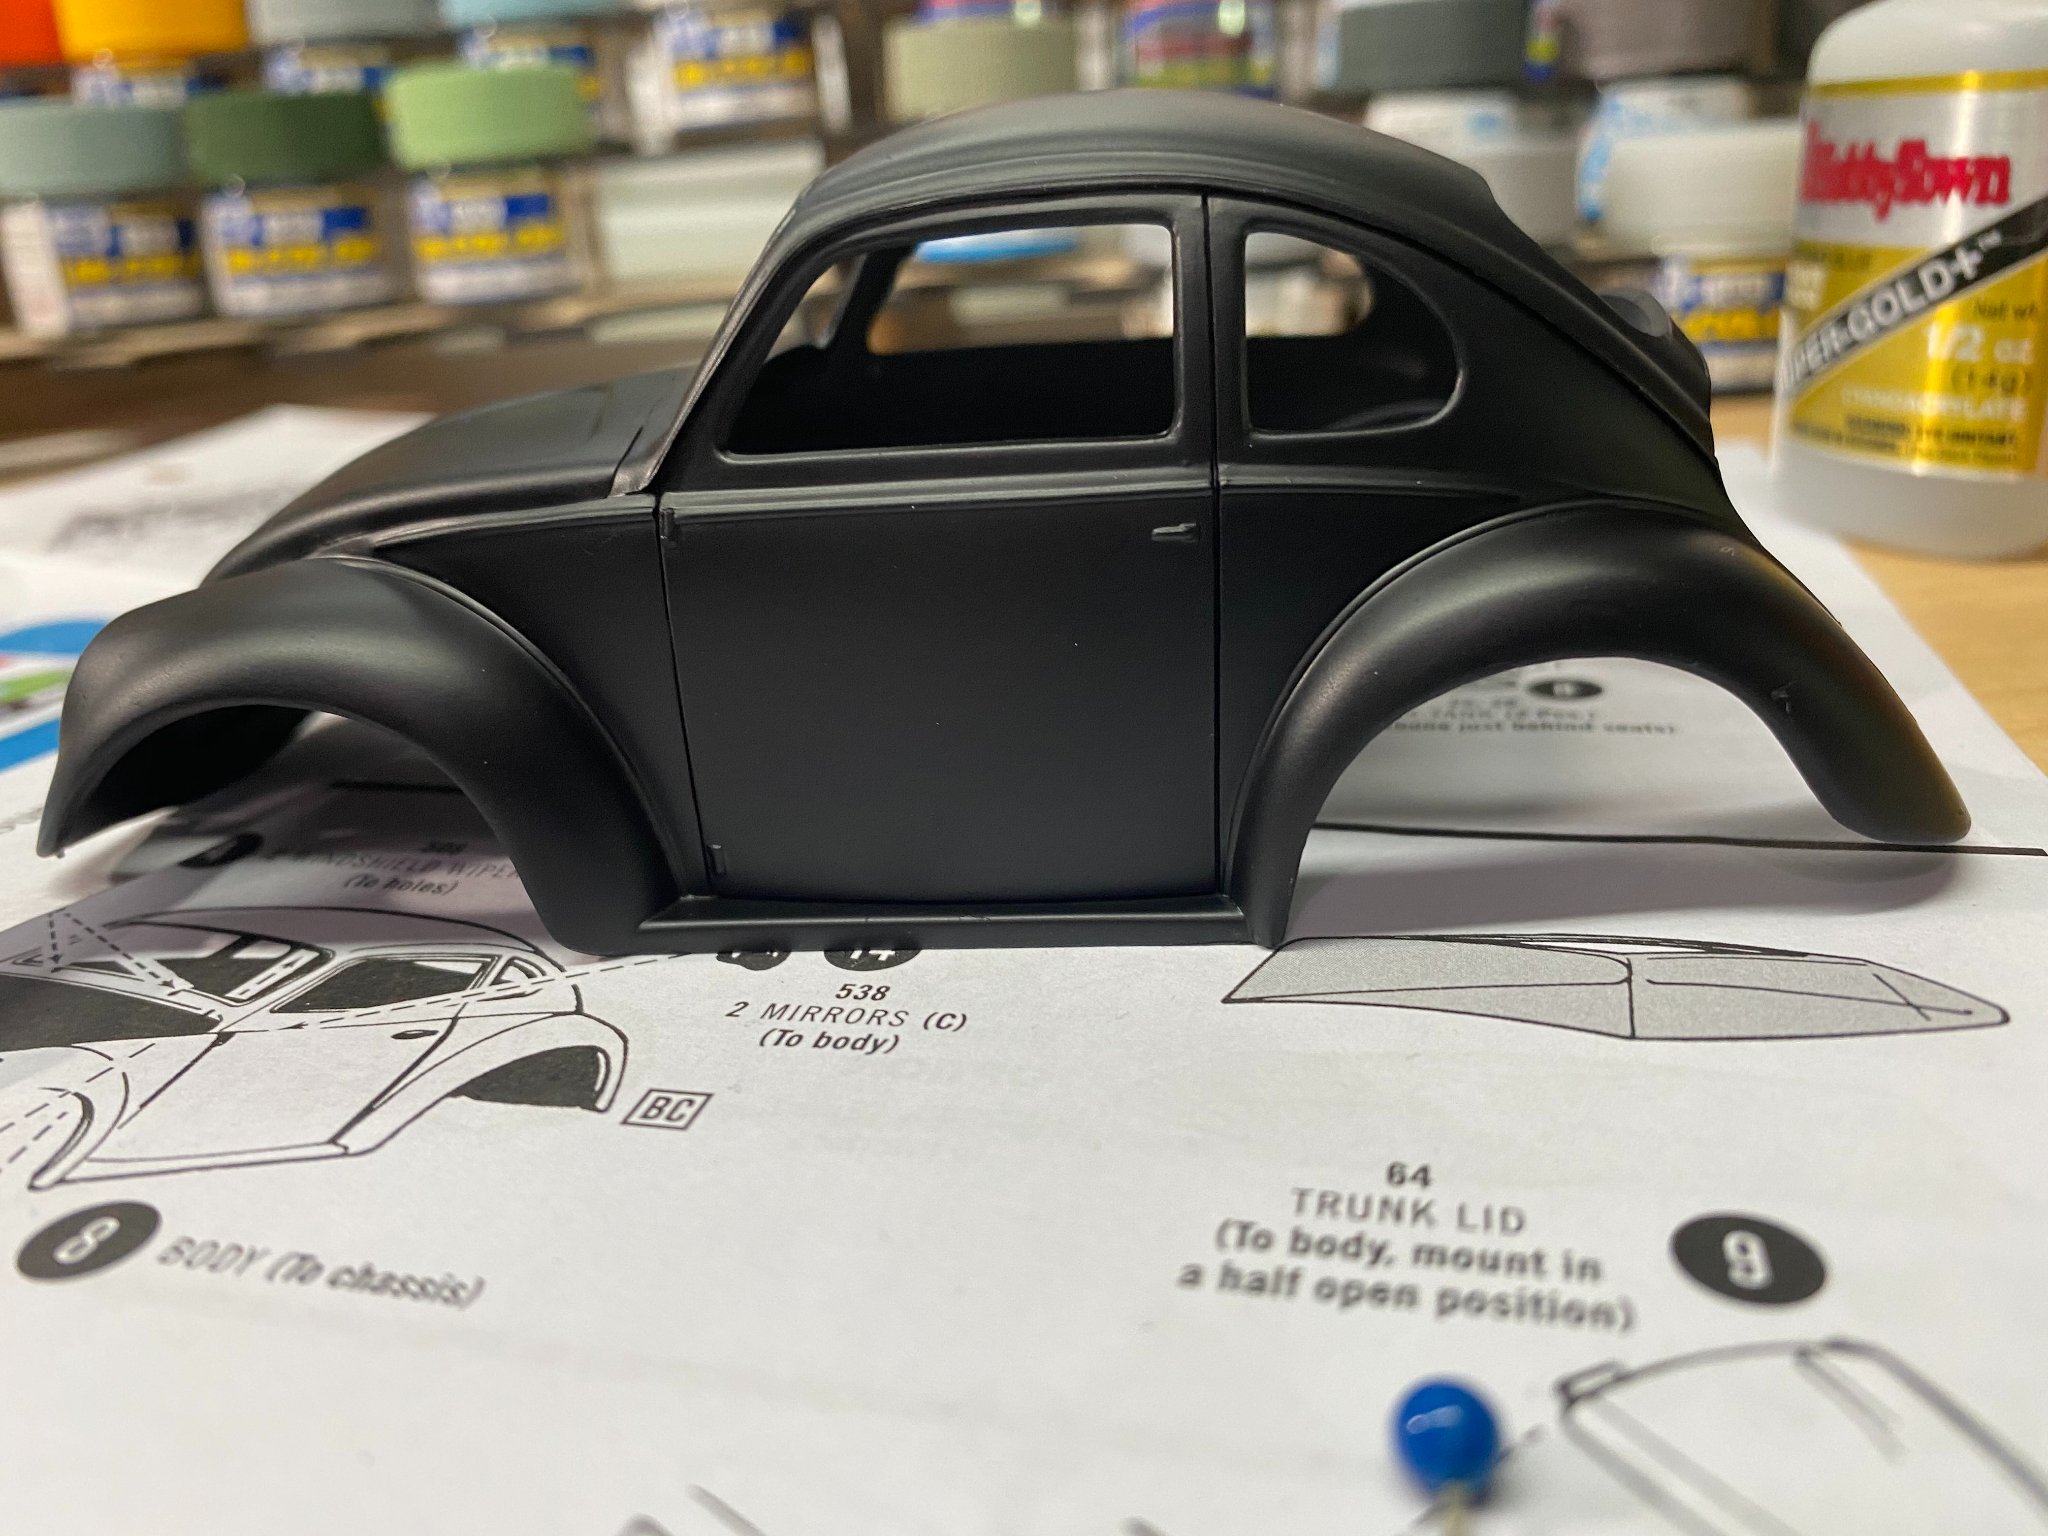
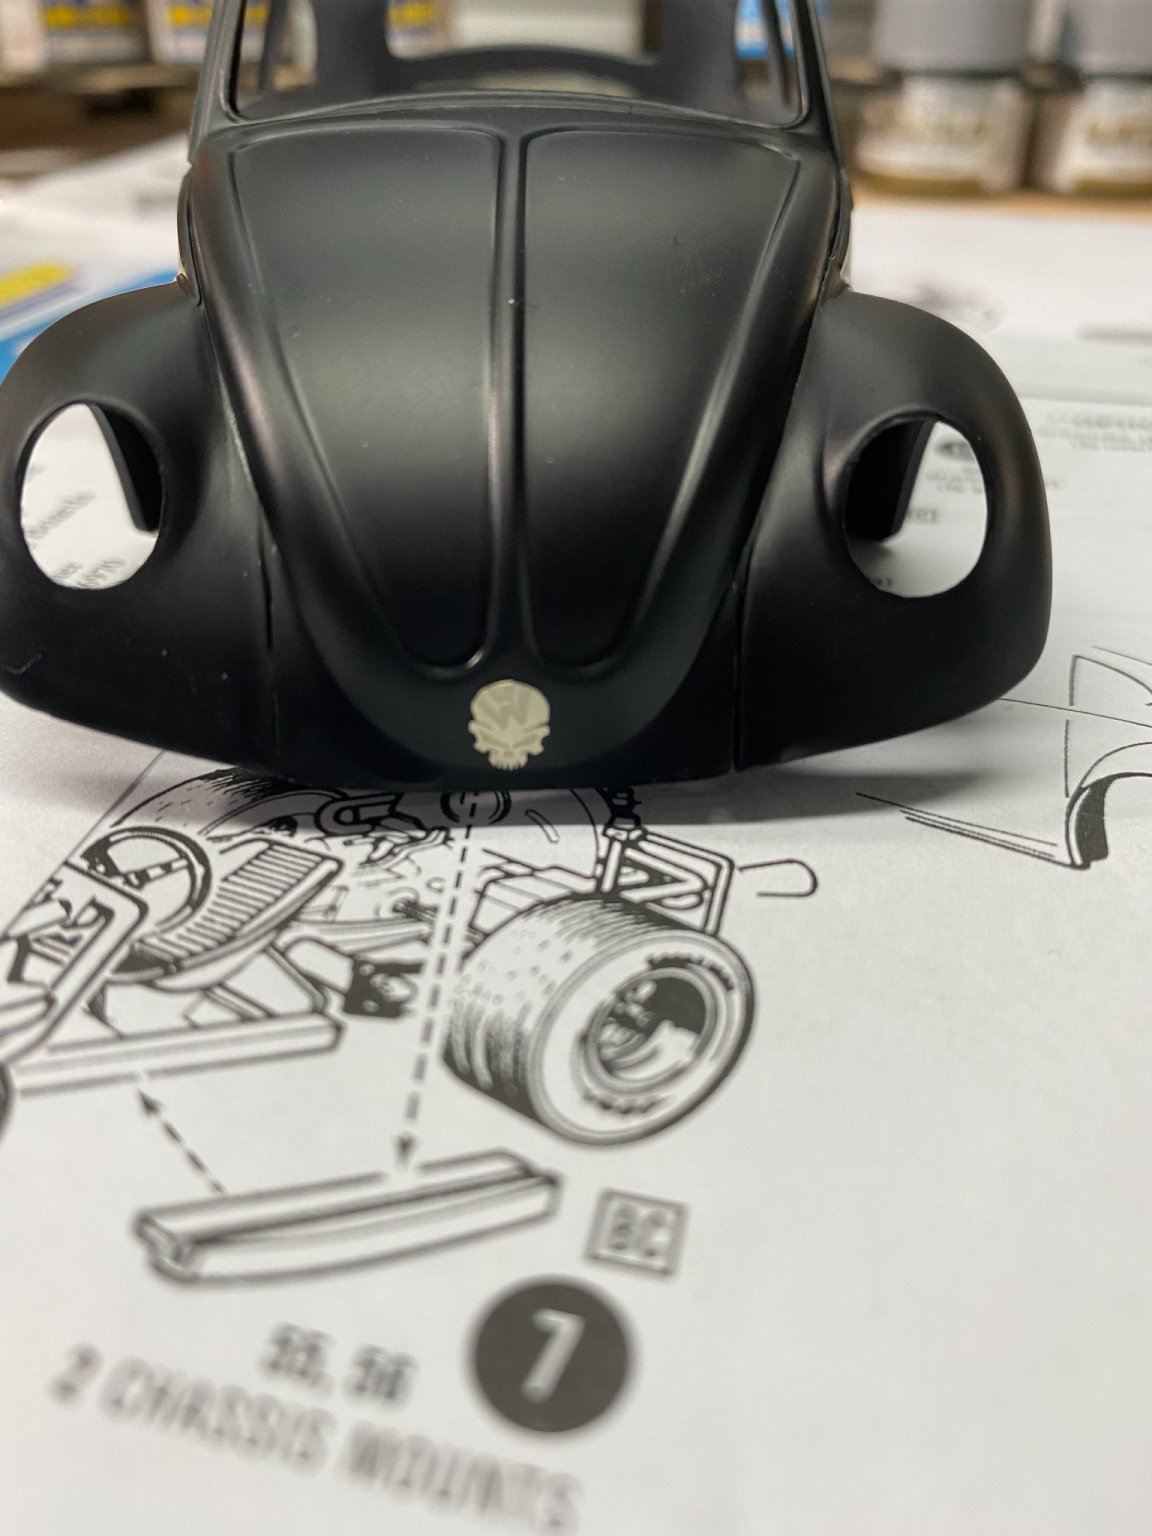
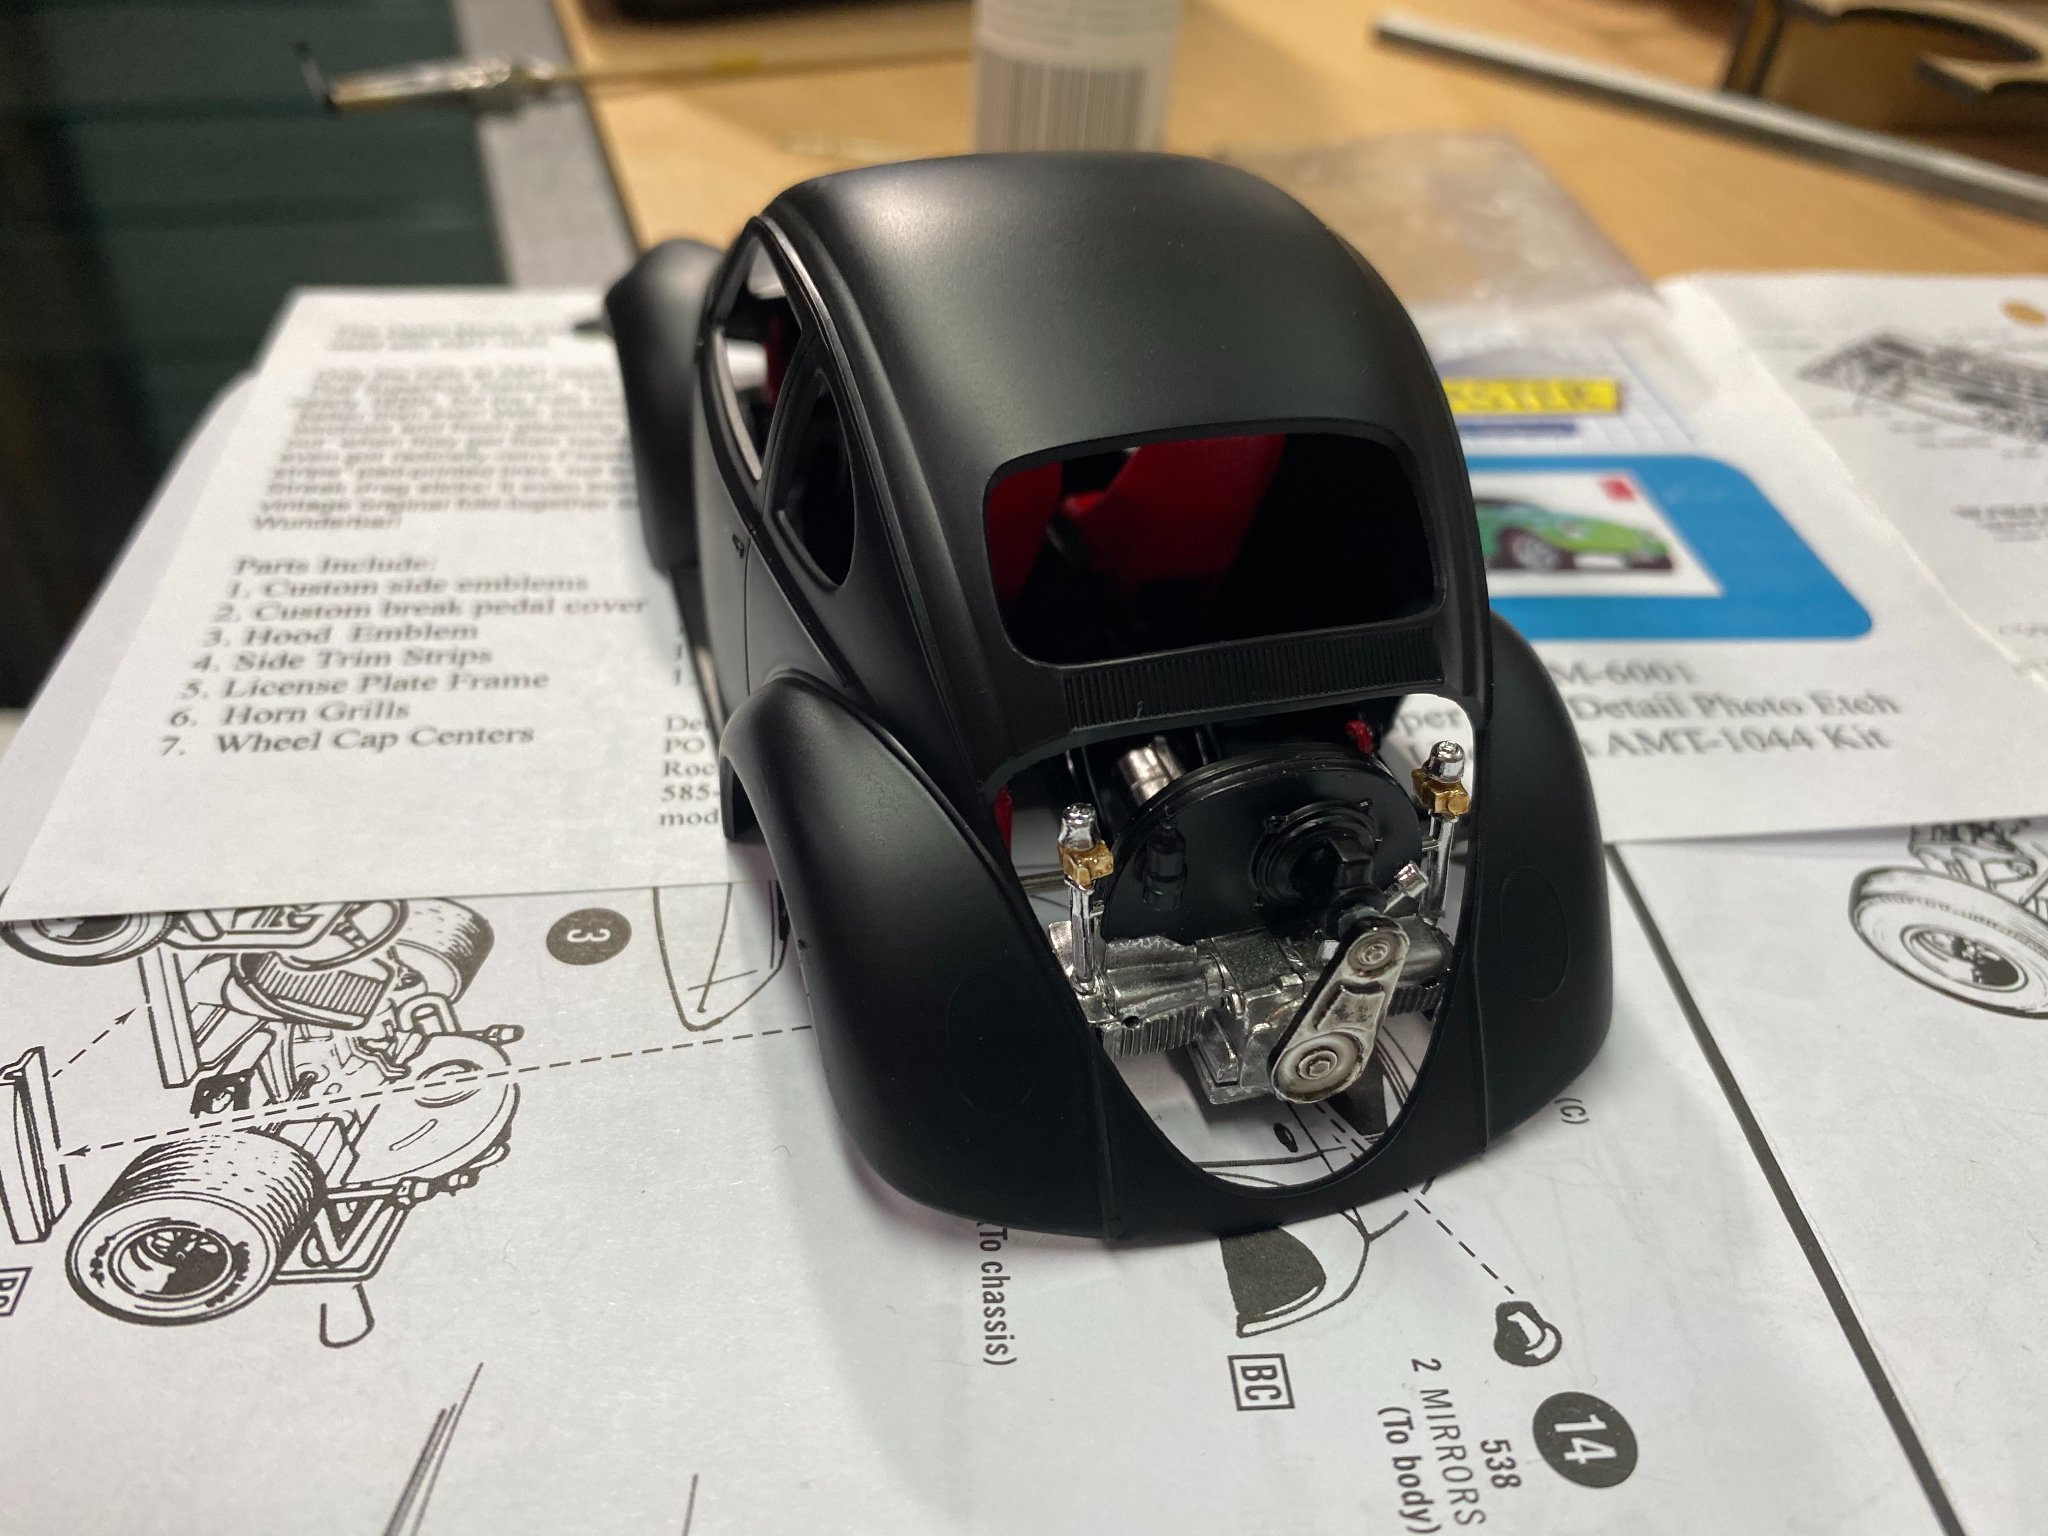
A project update. This is a reissue of a 1970's kit, so she's not complicated and rather simple for the most part. it won't take long to finish it. She's finished in satin black with a few photo etch details here and there. I have worked up a wired distributor for the ignition and will install that along with the exhaust system to liven up the engine a bit. Check out the little photo etch Hurst shift lever! Also have some cool photo etch placards to install. One can be seen in a photo on the front of the car. A "special" VW logo. 😉


- 28 replies
-
- 11
-
-
That's brutal! 😅
-
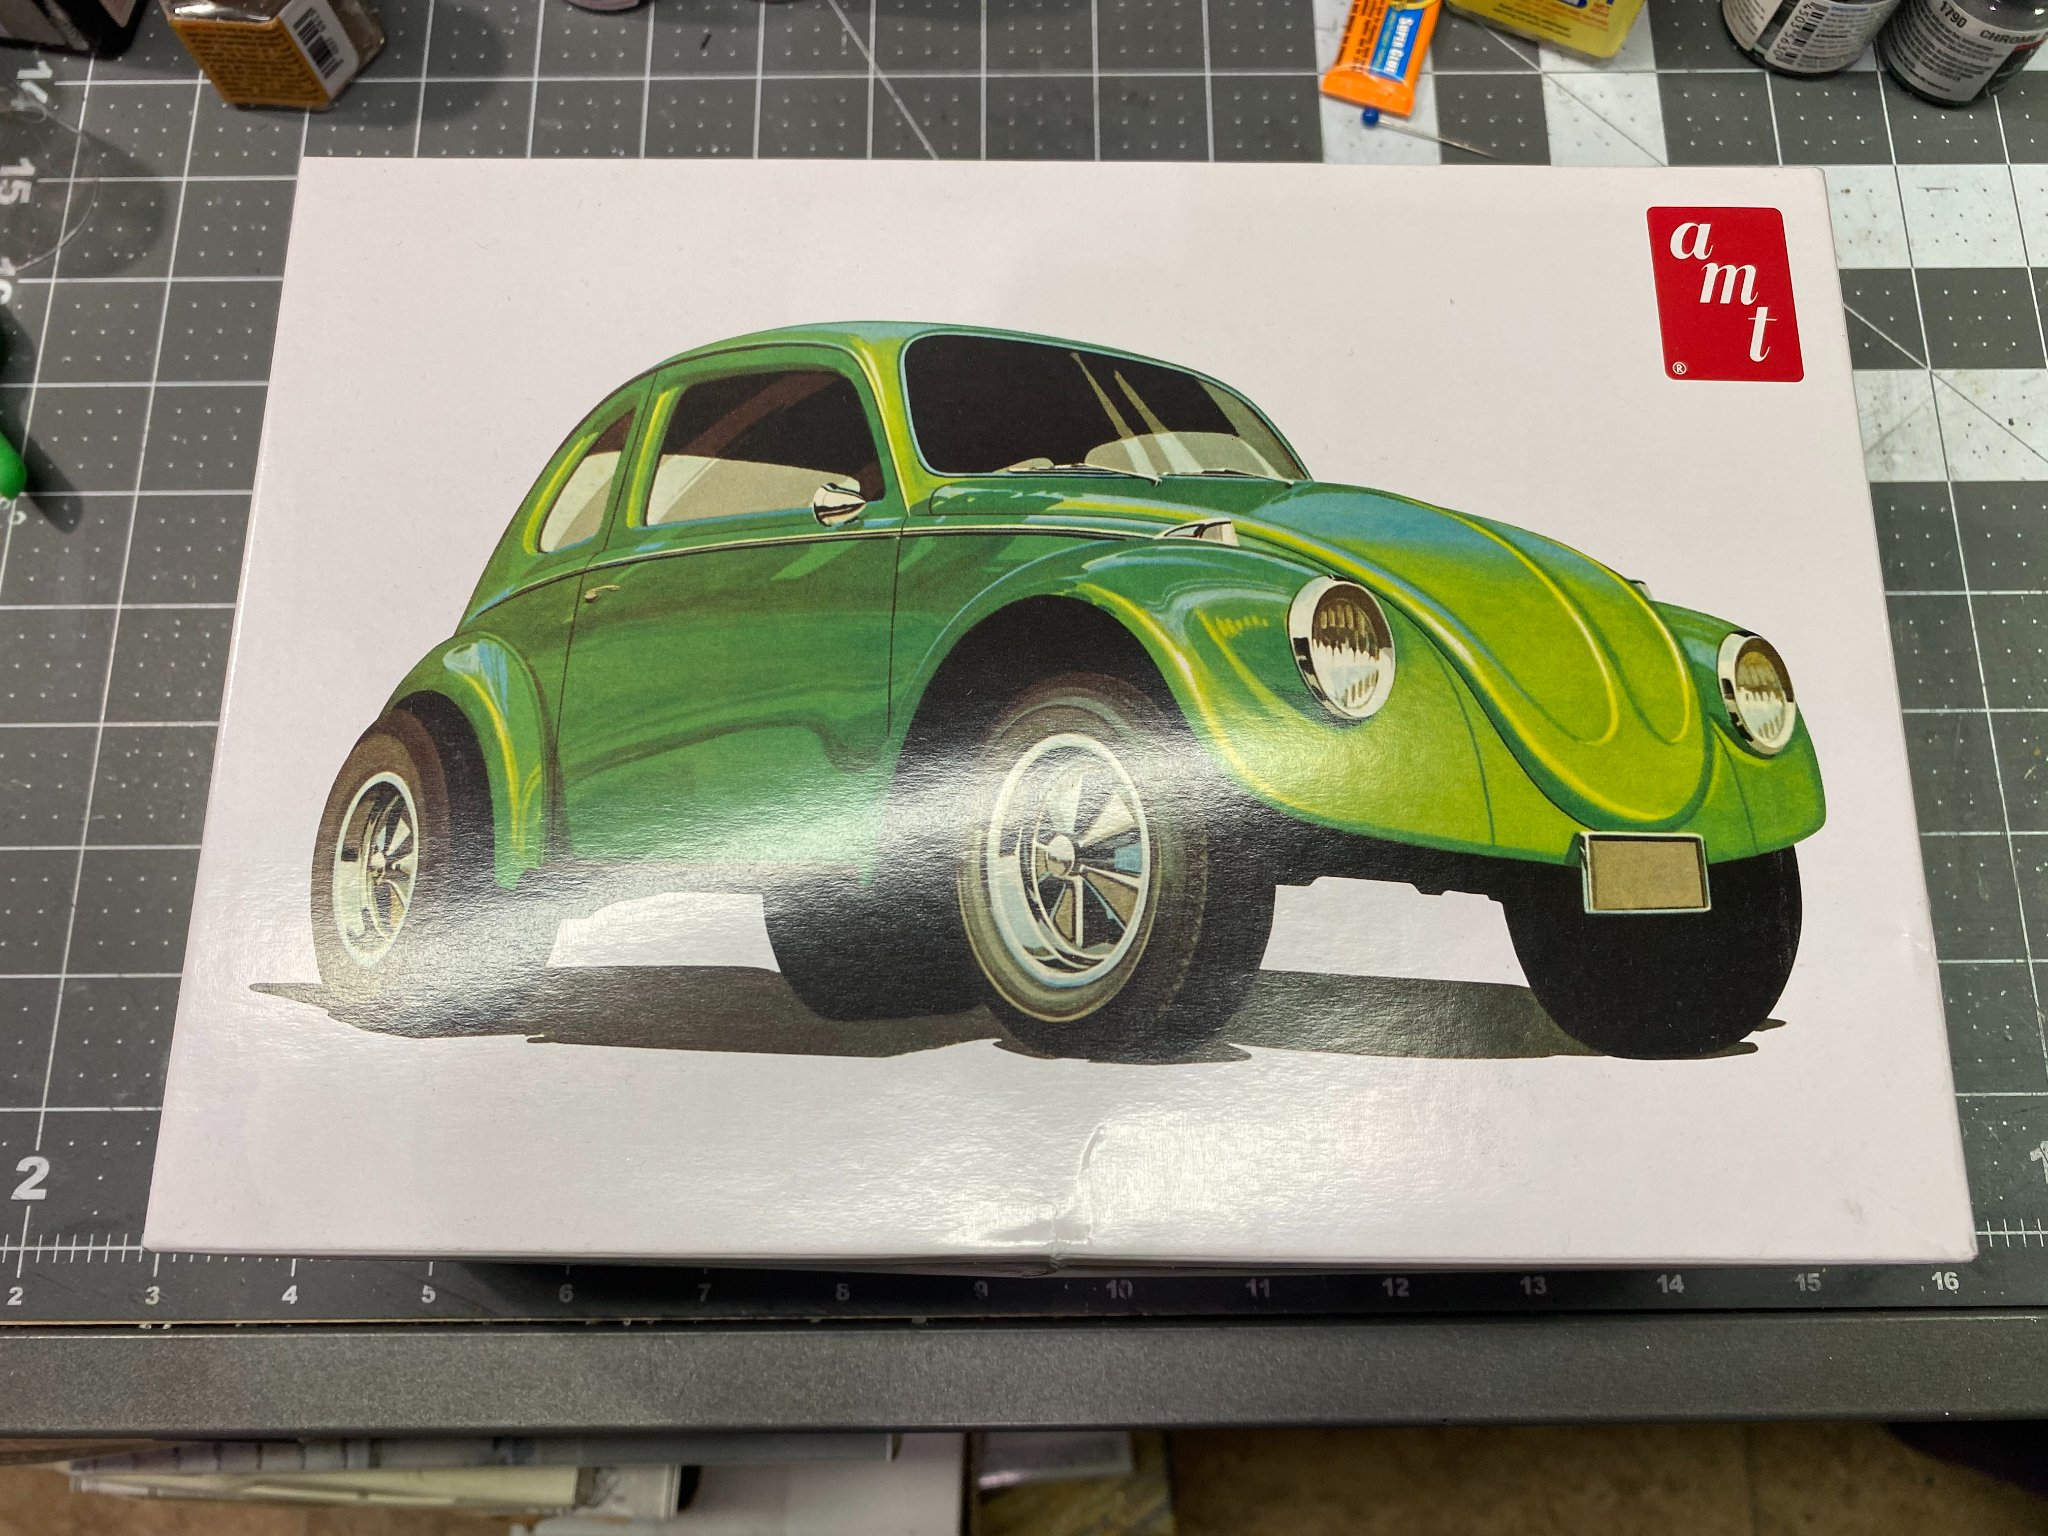
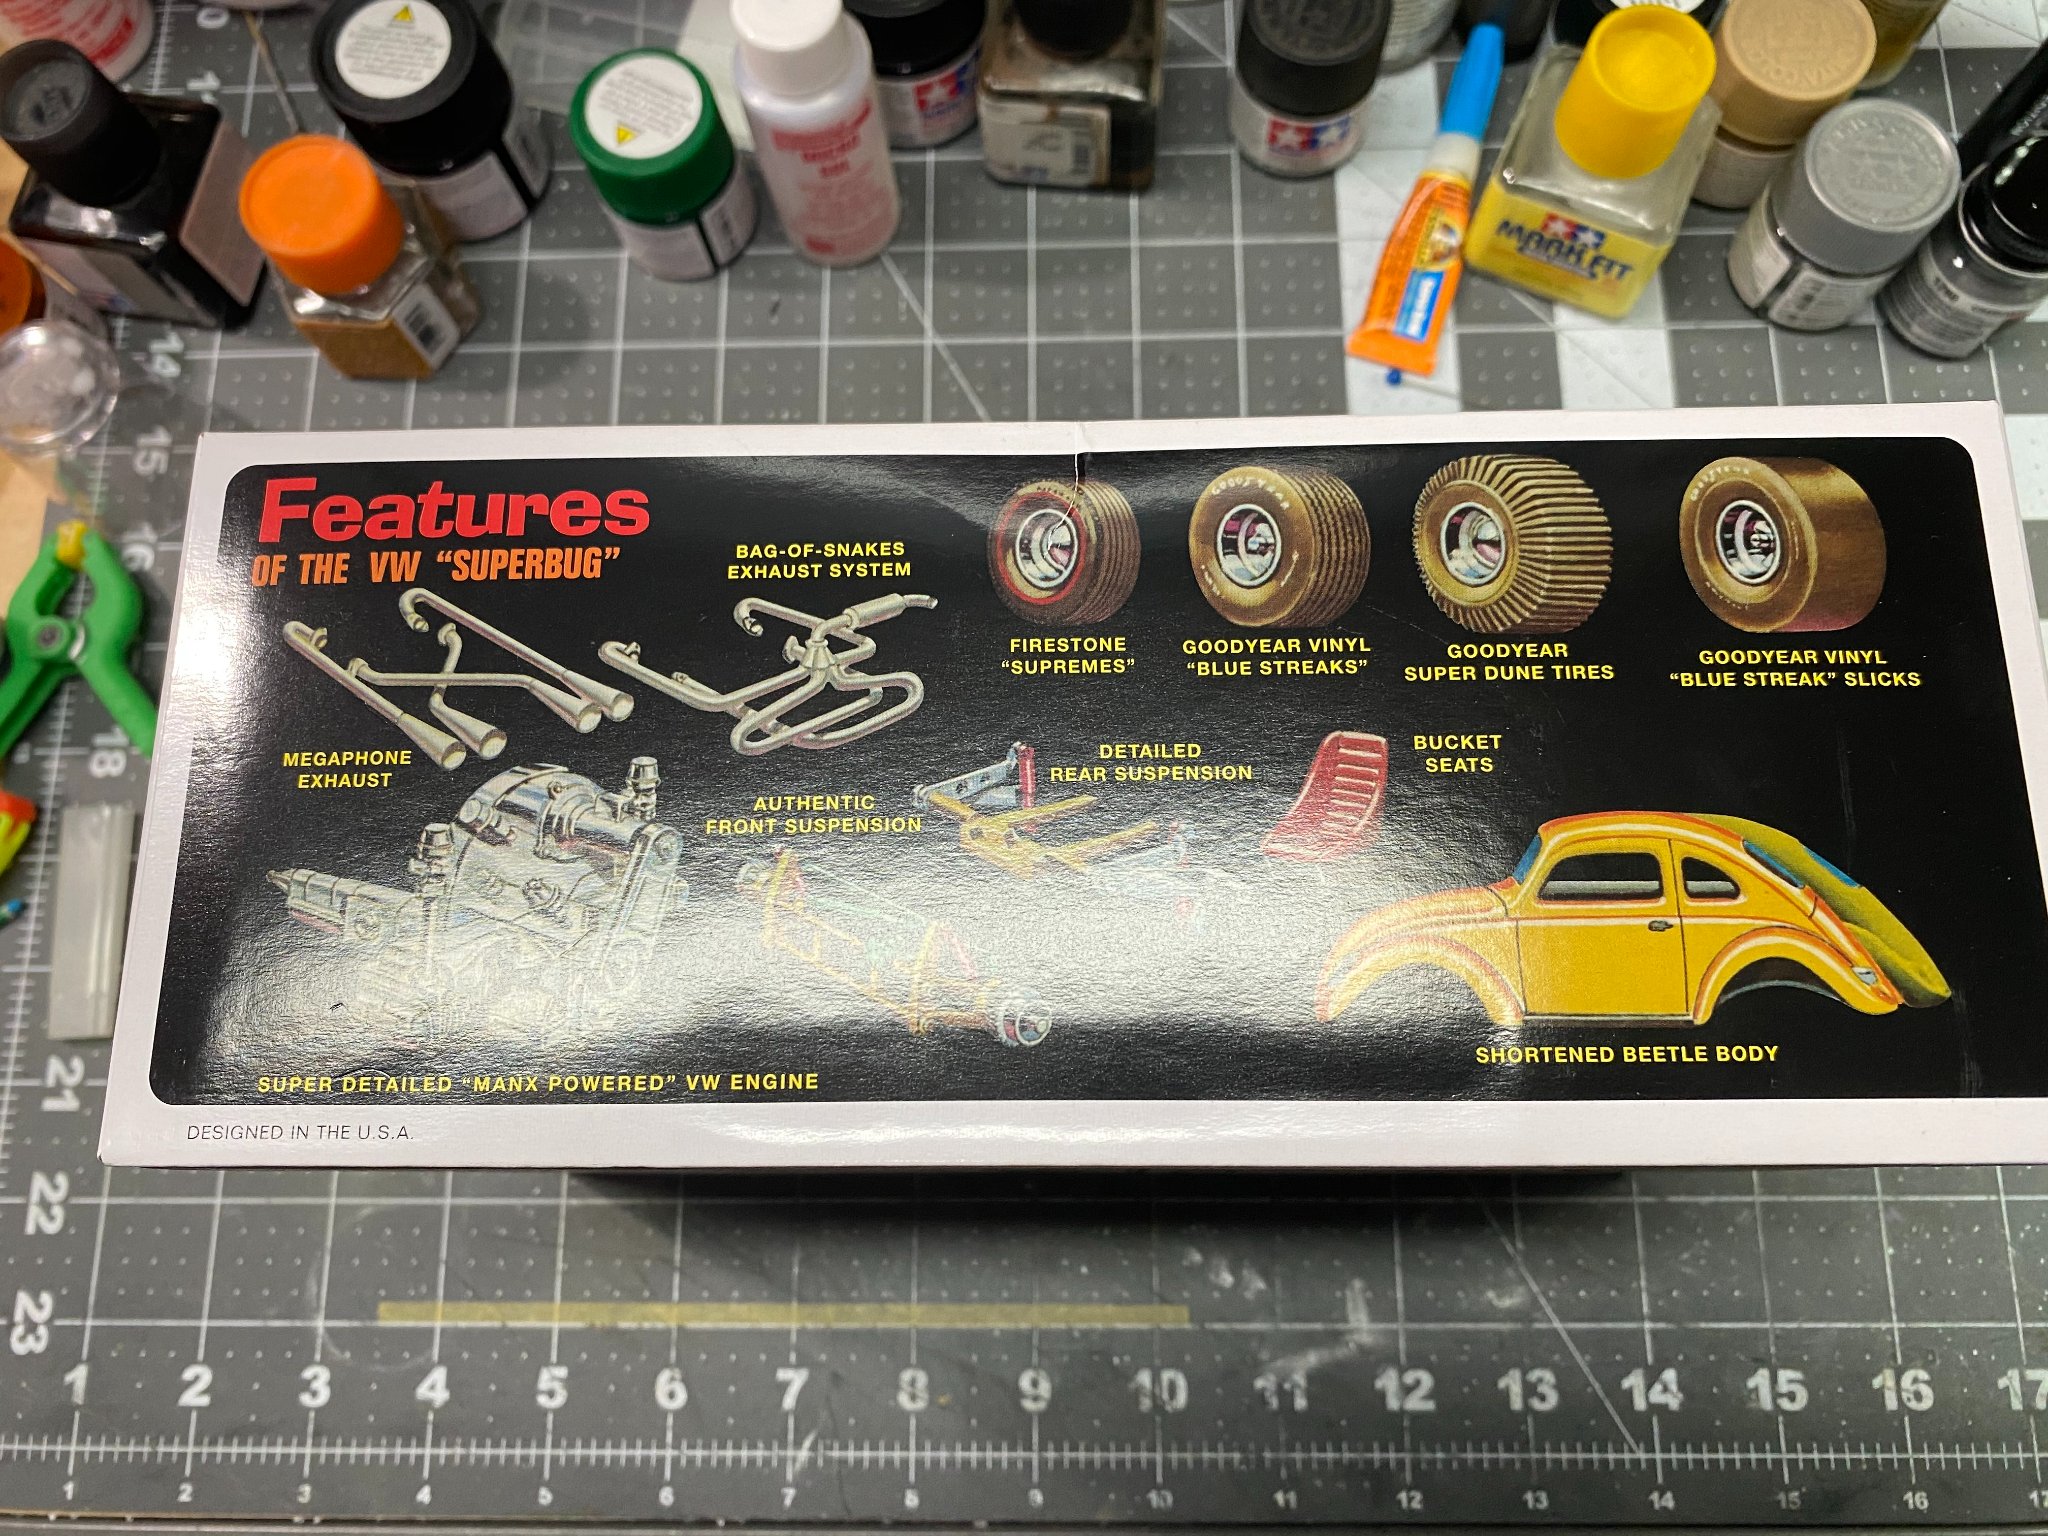
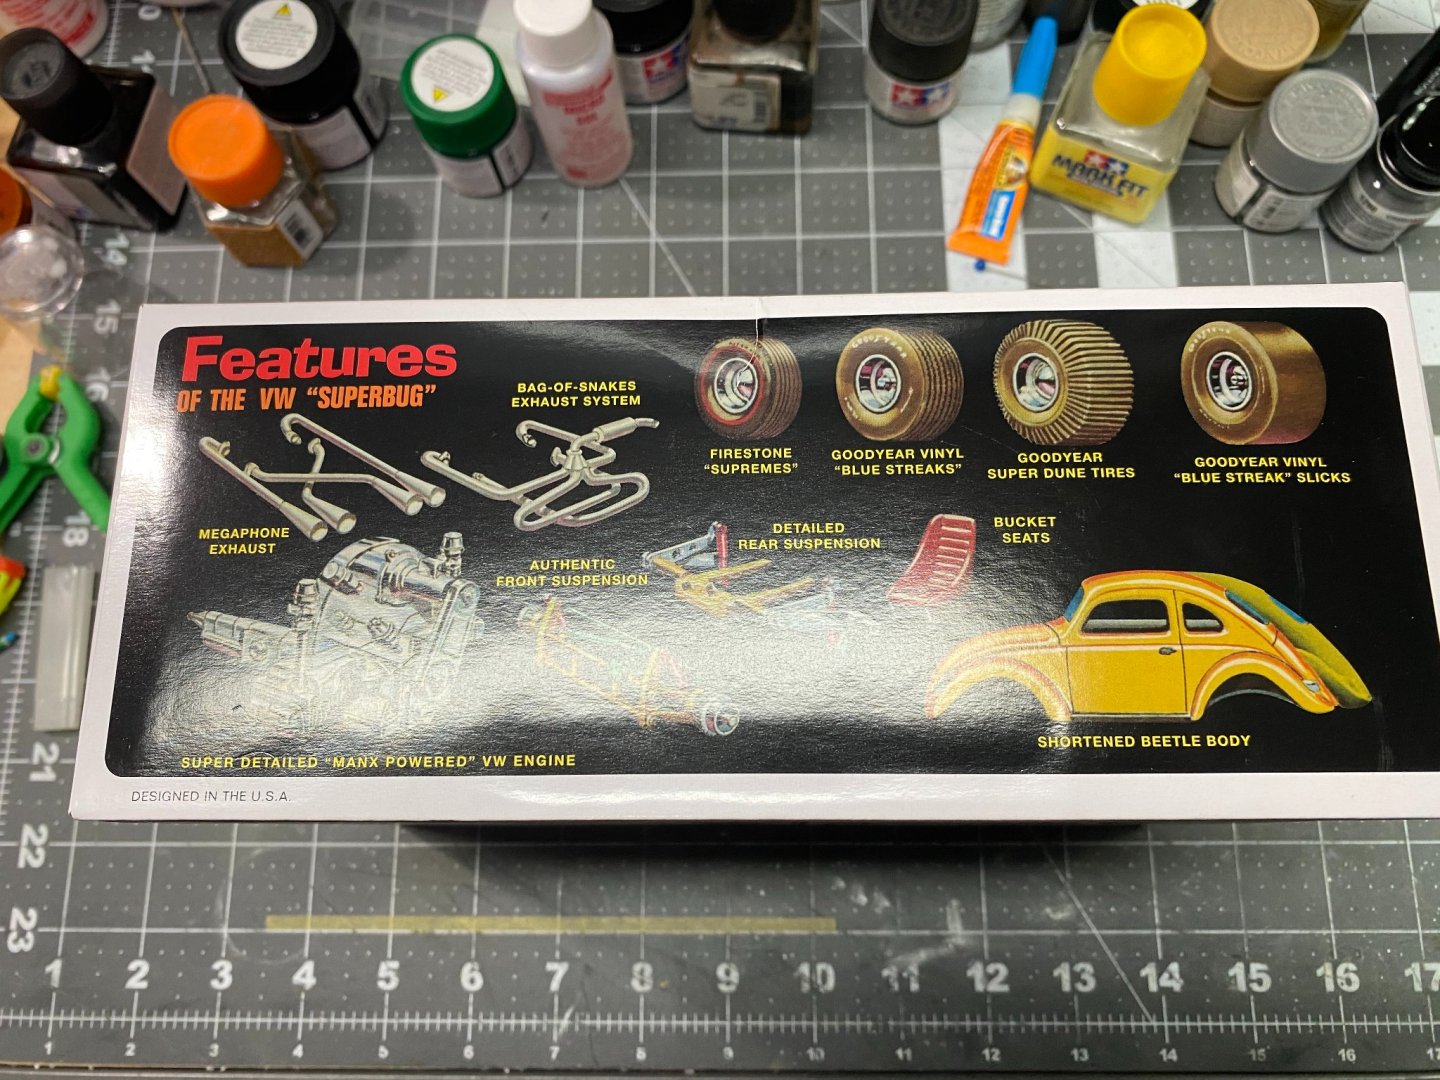
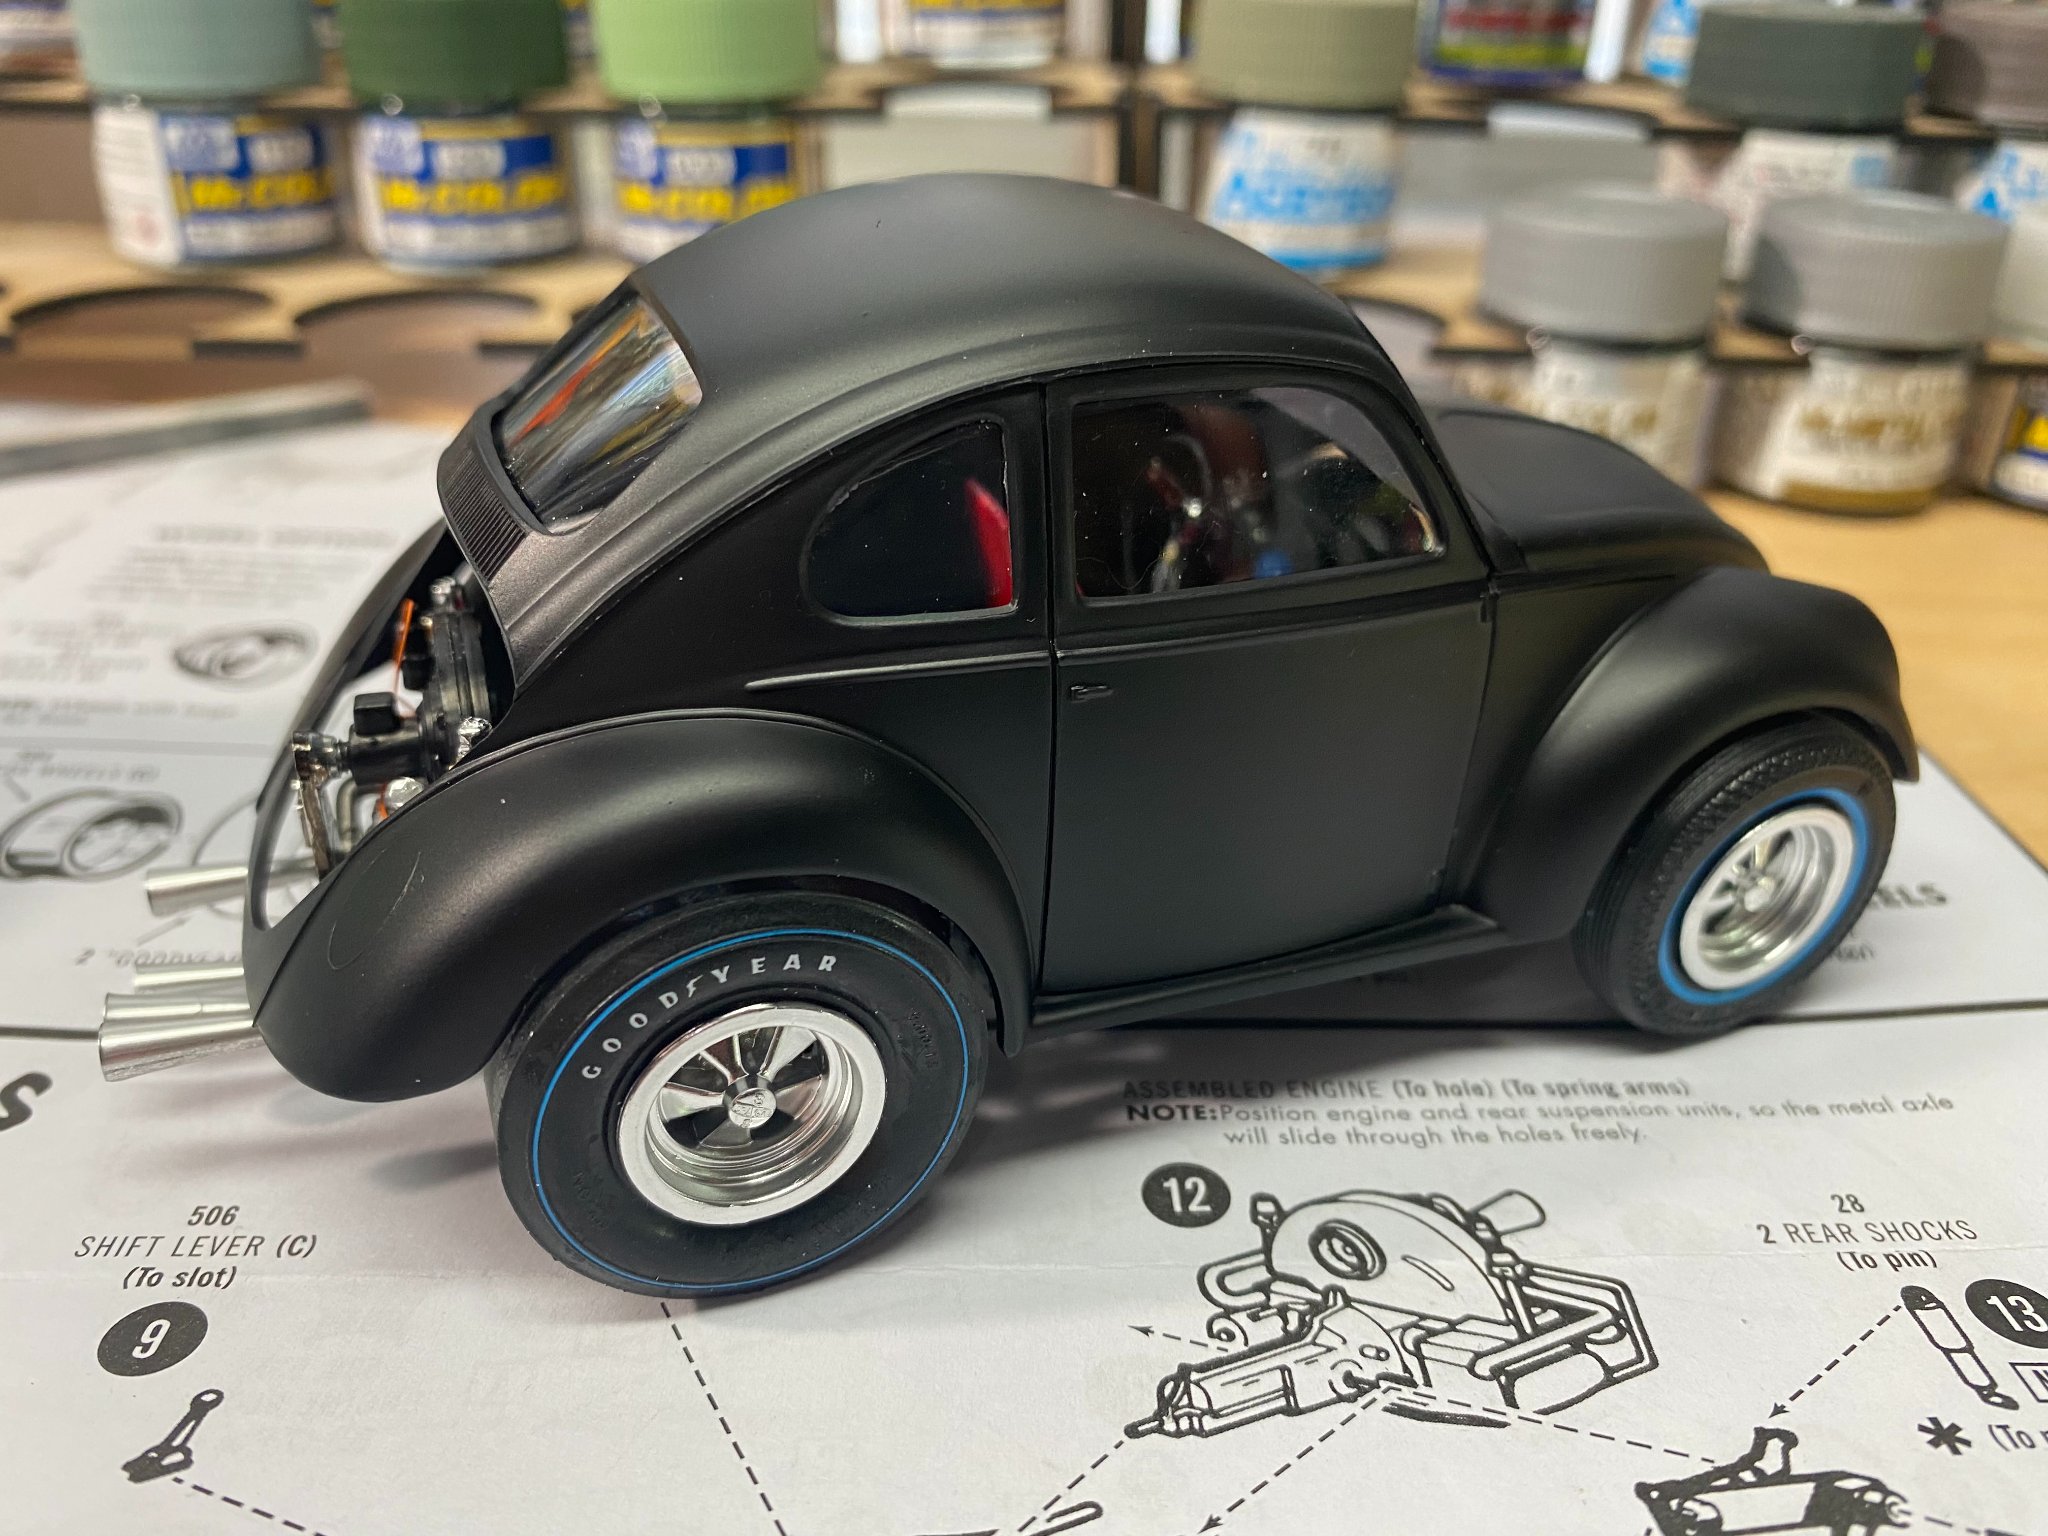
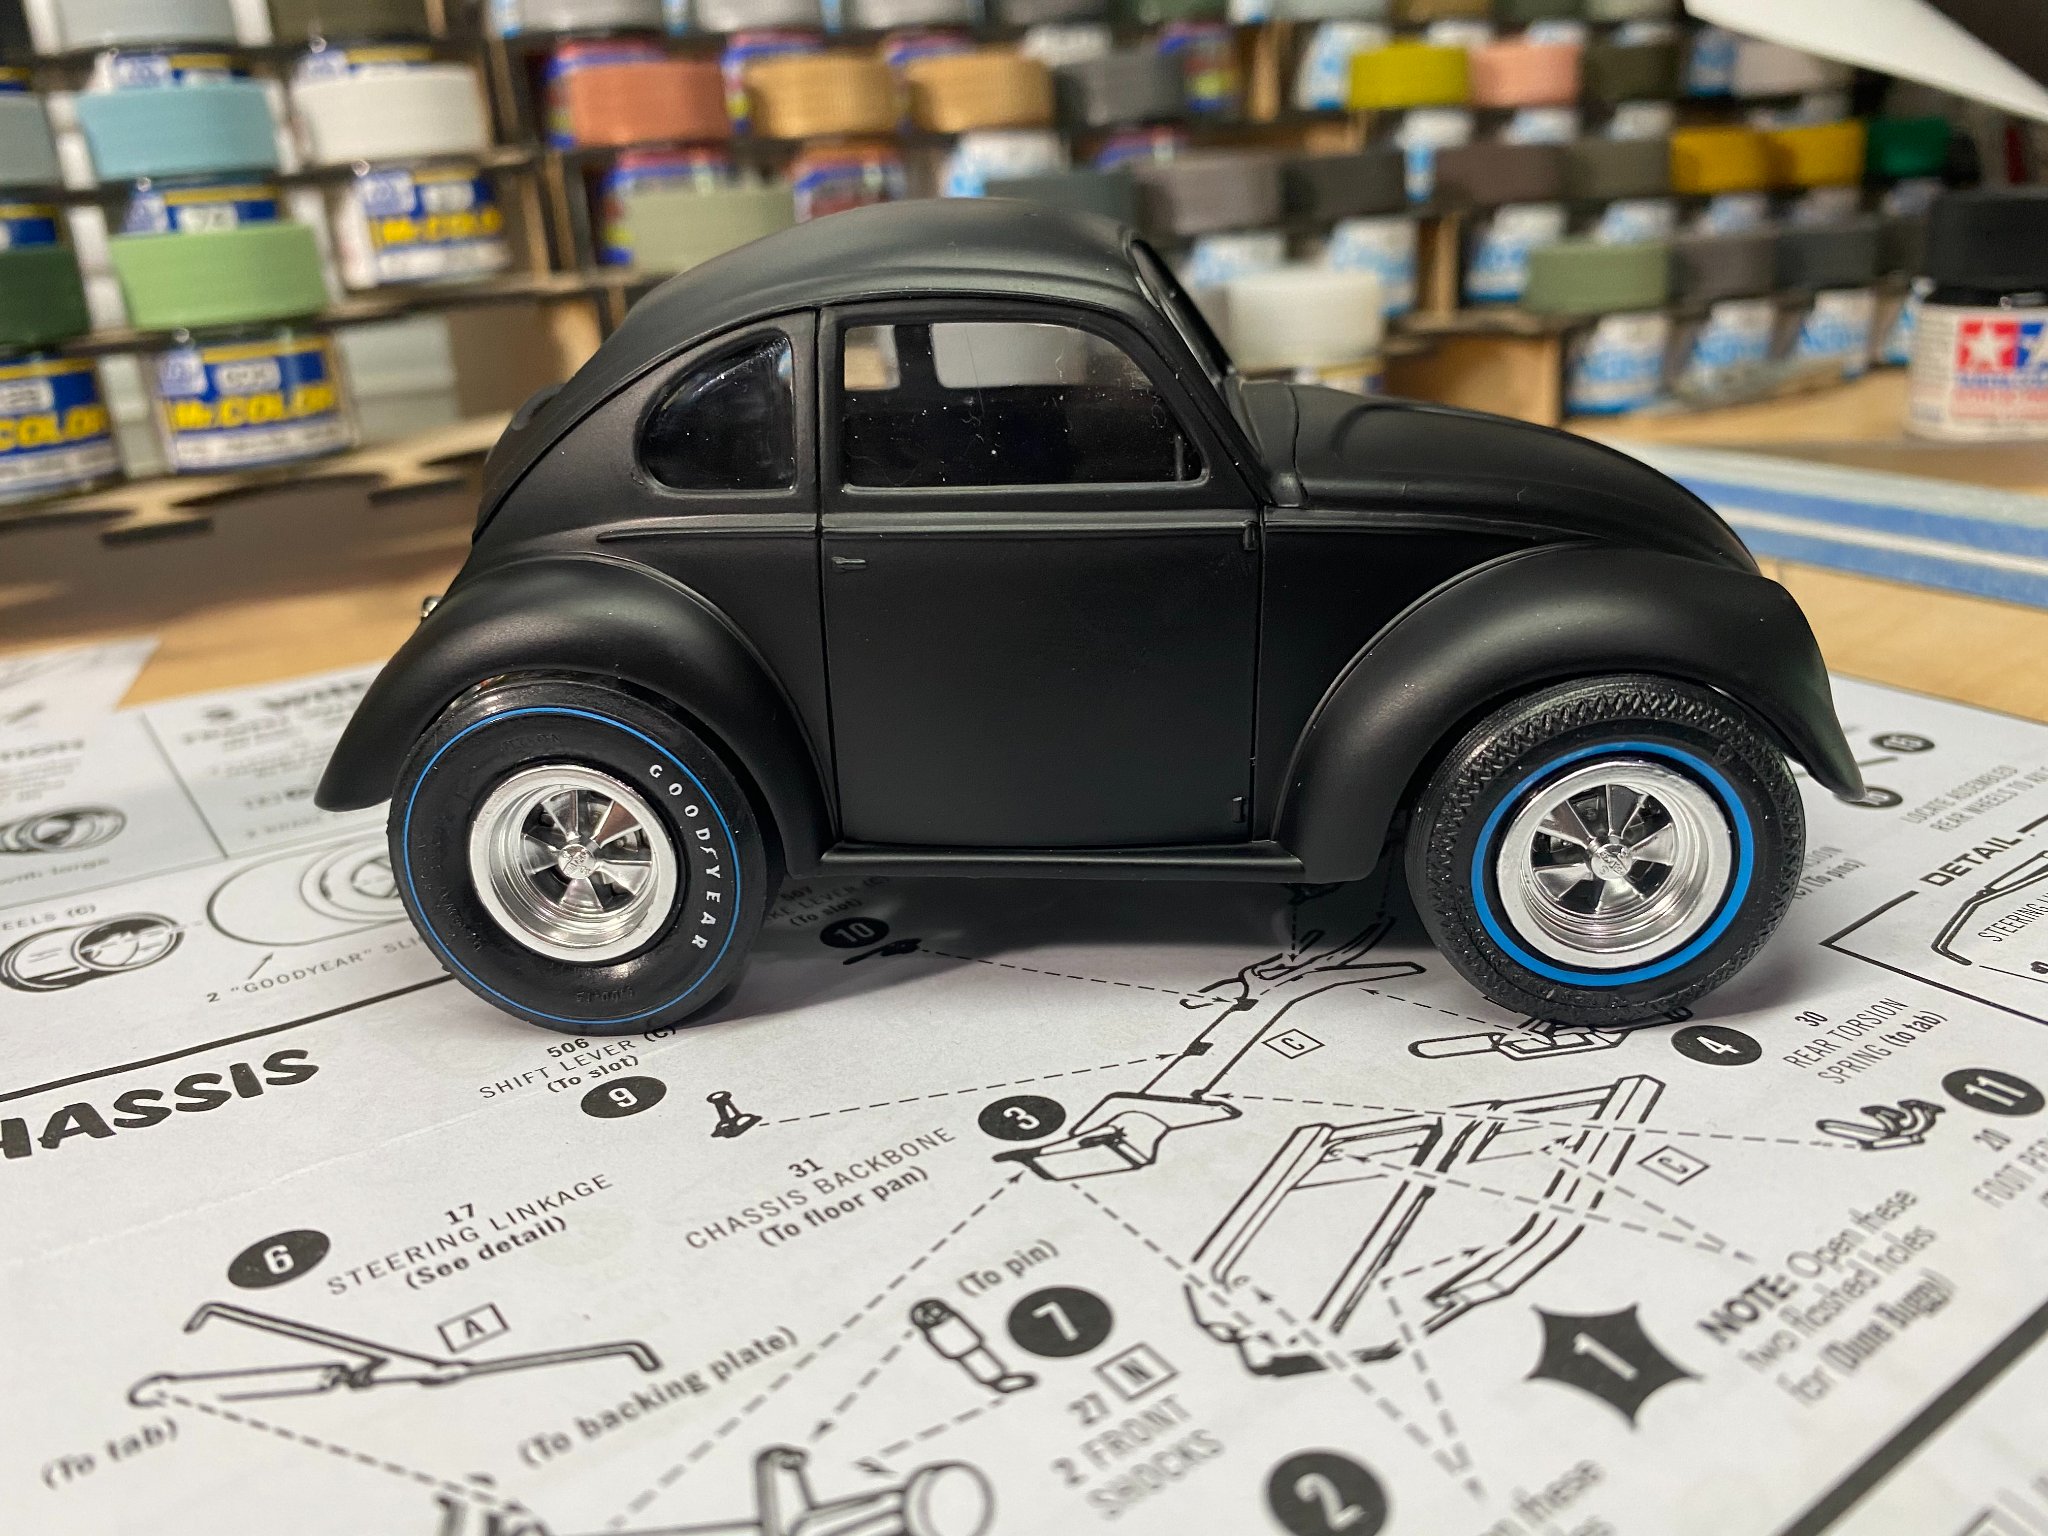
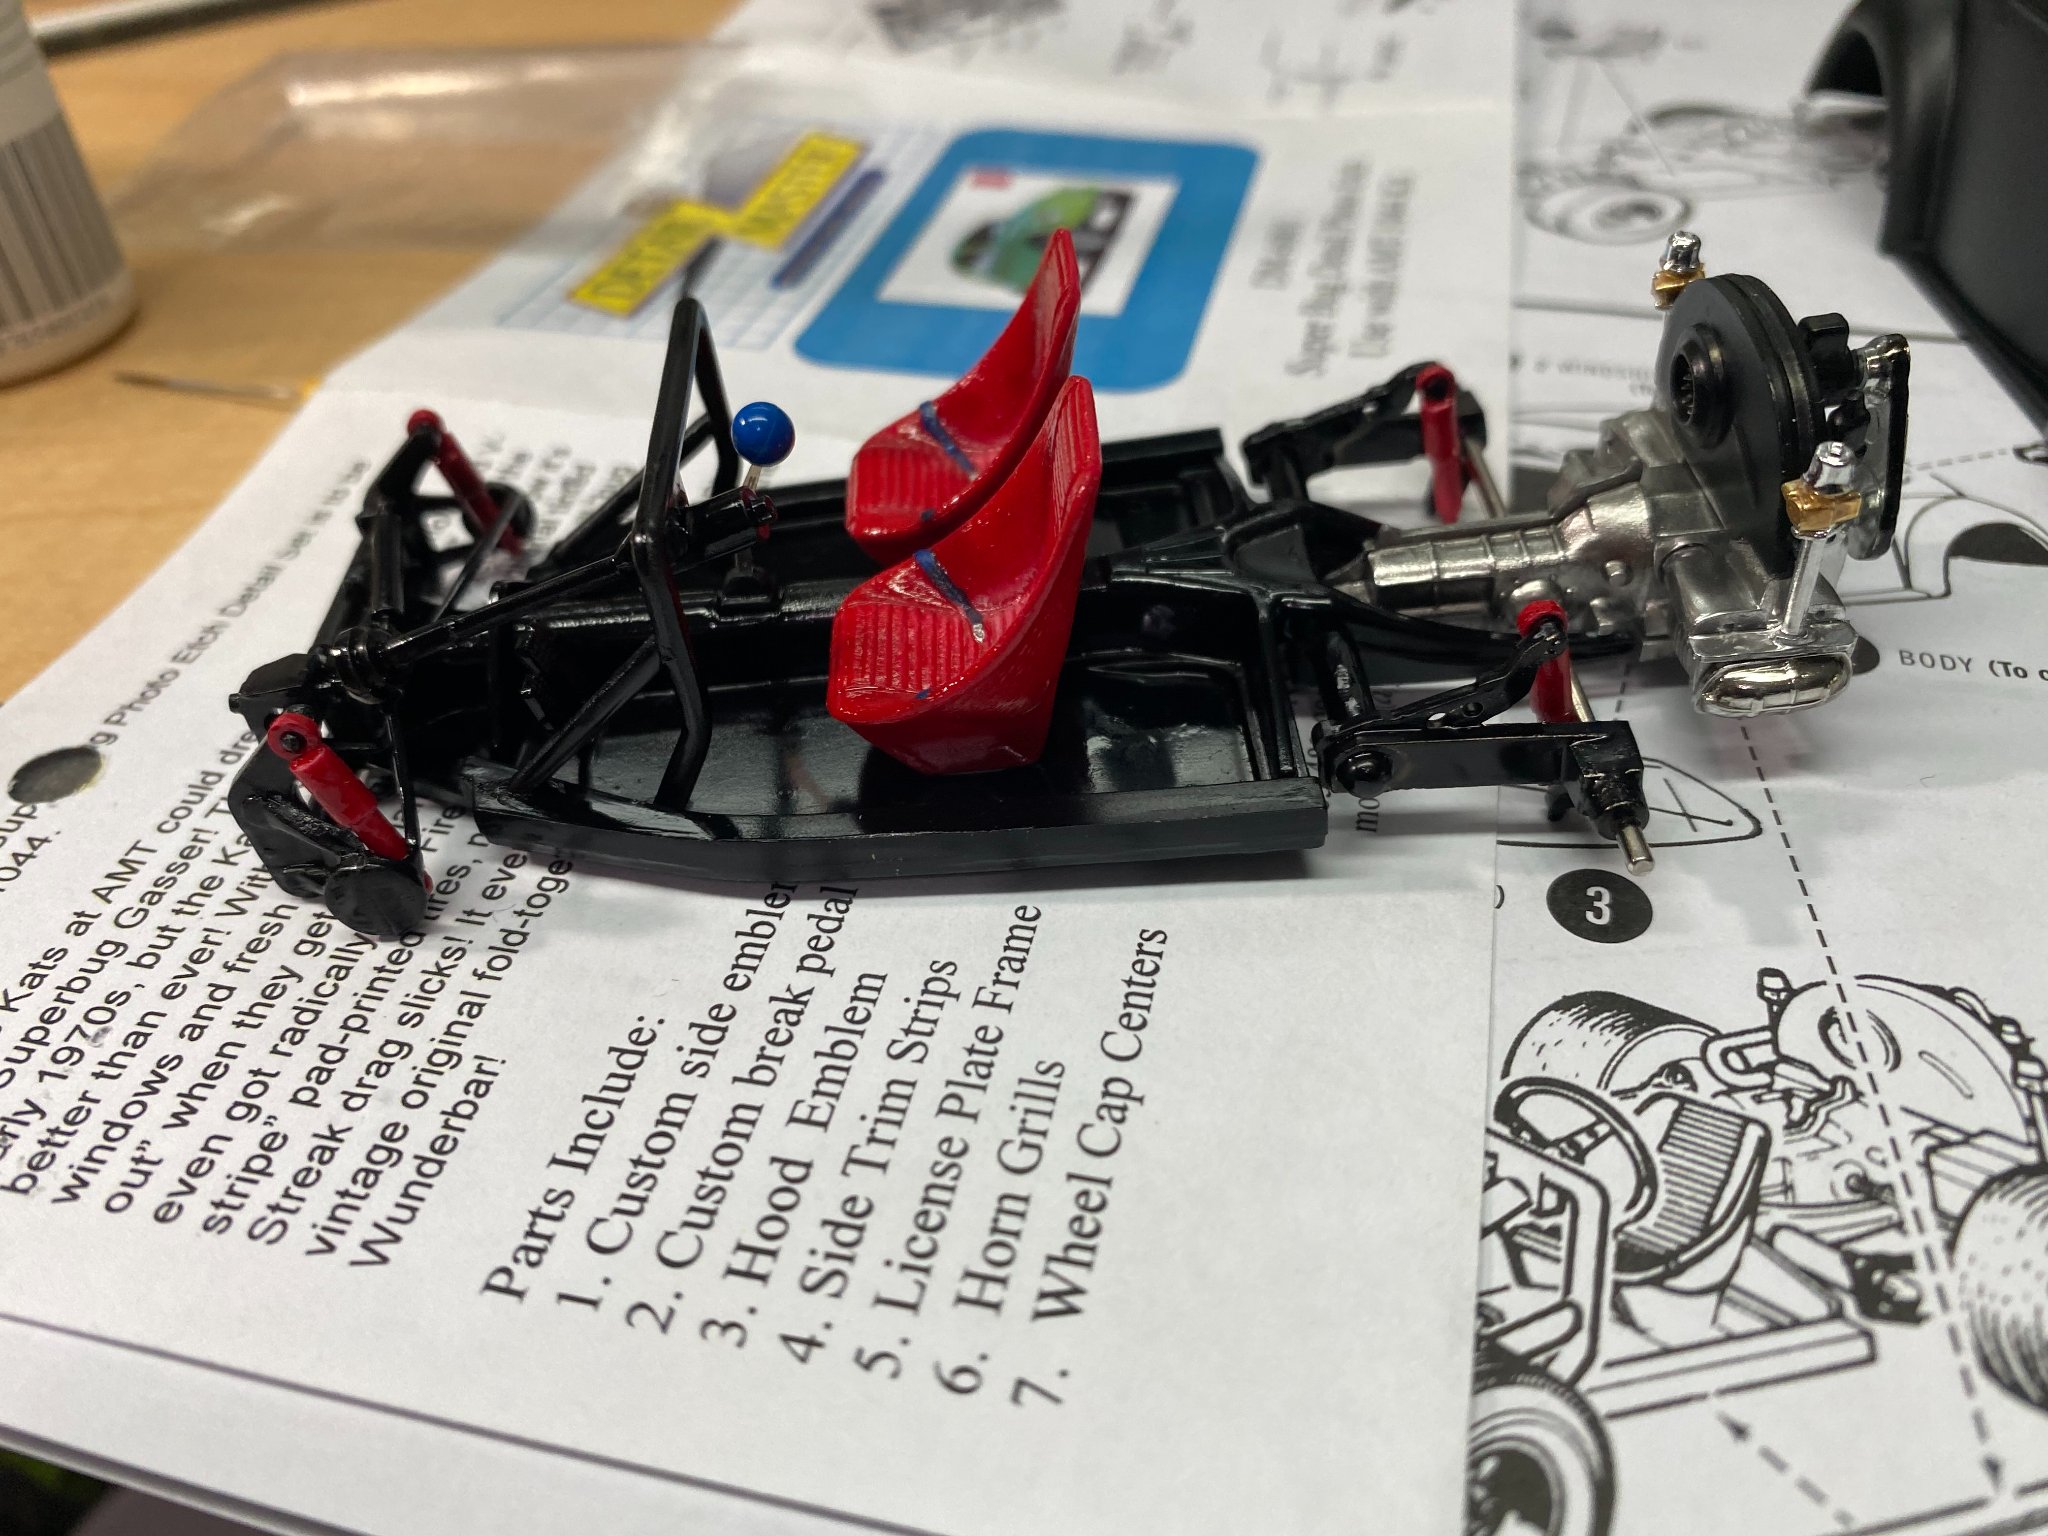
Next project is a neat little "sectioned" VolksWagen dragster/dune buggy/street rod. This AMT kit gives the option to build it in any of those three ways. It's my intention to build it as a dragster since I've never done that before with a VolksWagen. Once revealed, you'll notice the car body is slightly shorter than a standard VW Bug as a section of the car has been removed giving it a shorter wheel base. Without further adieu, I'll get started on this one now.

- 28 replies
-
- 11
-
-
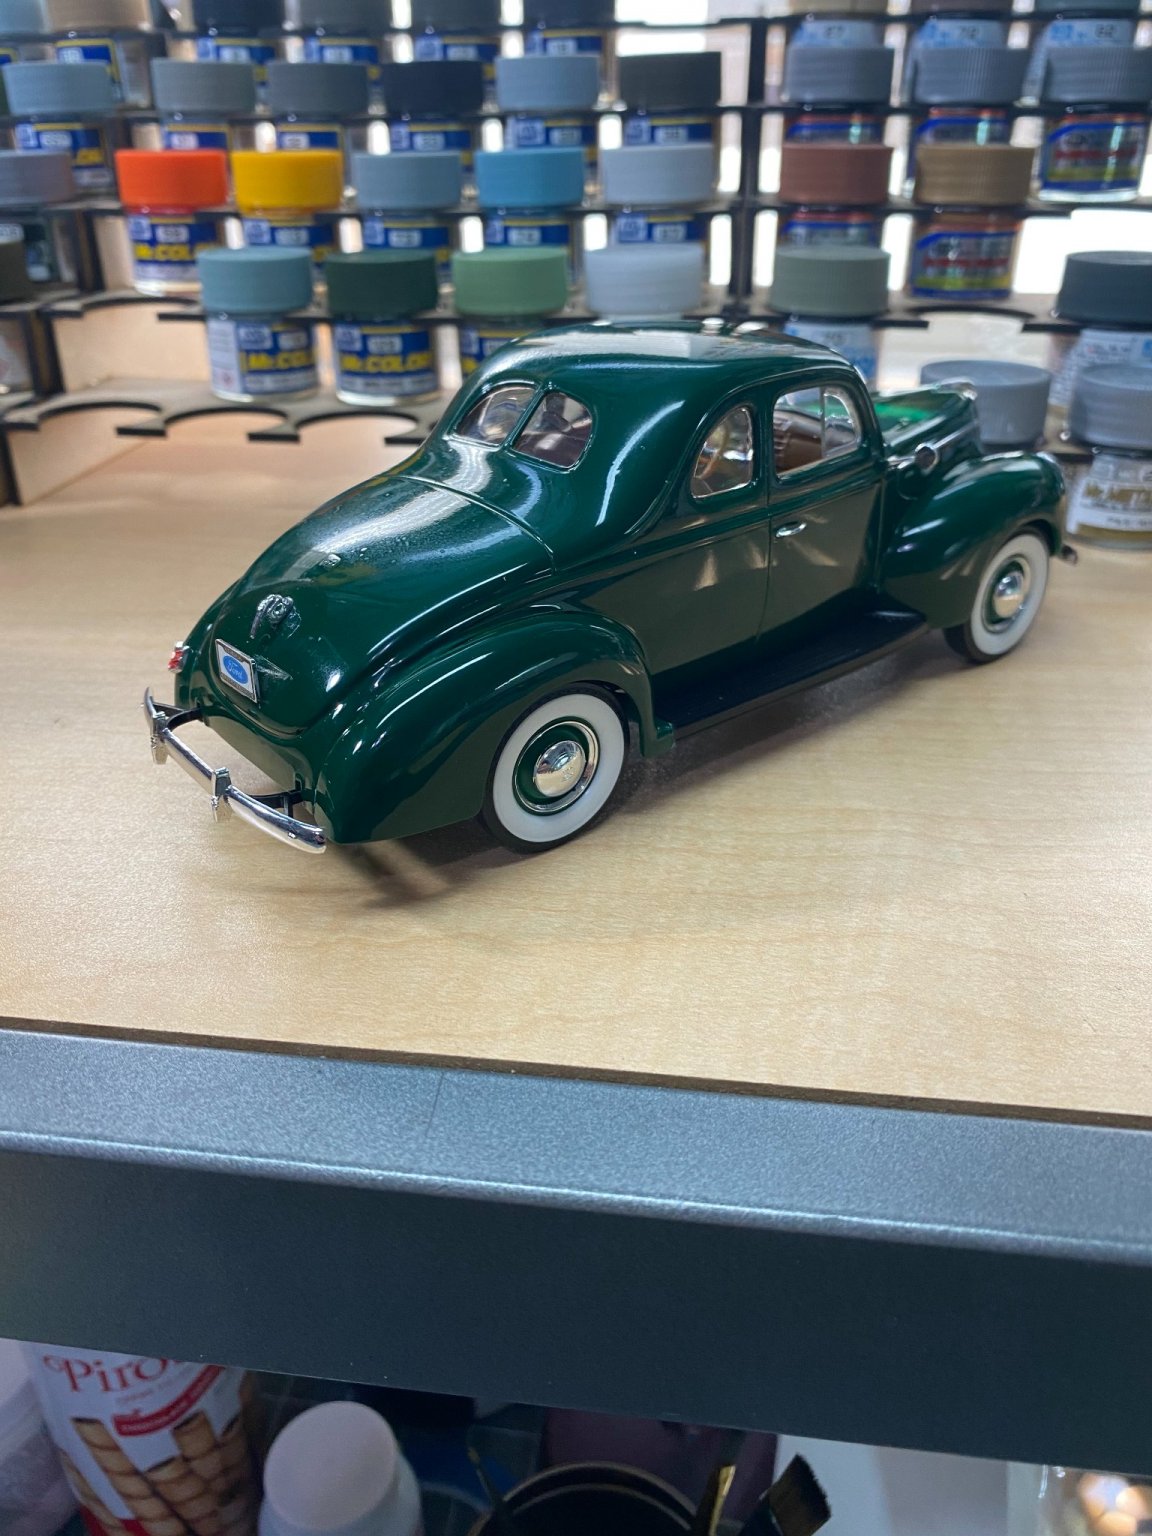
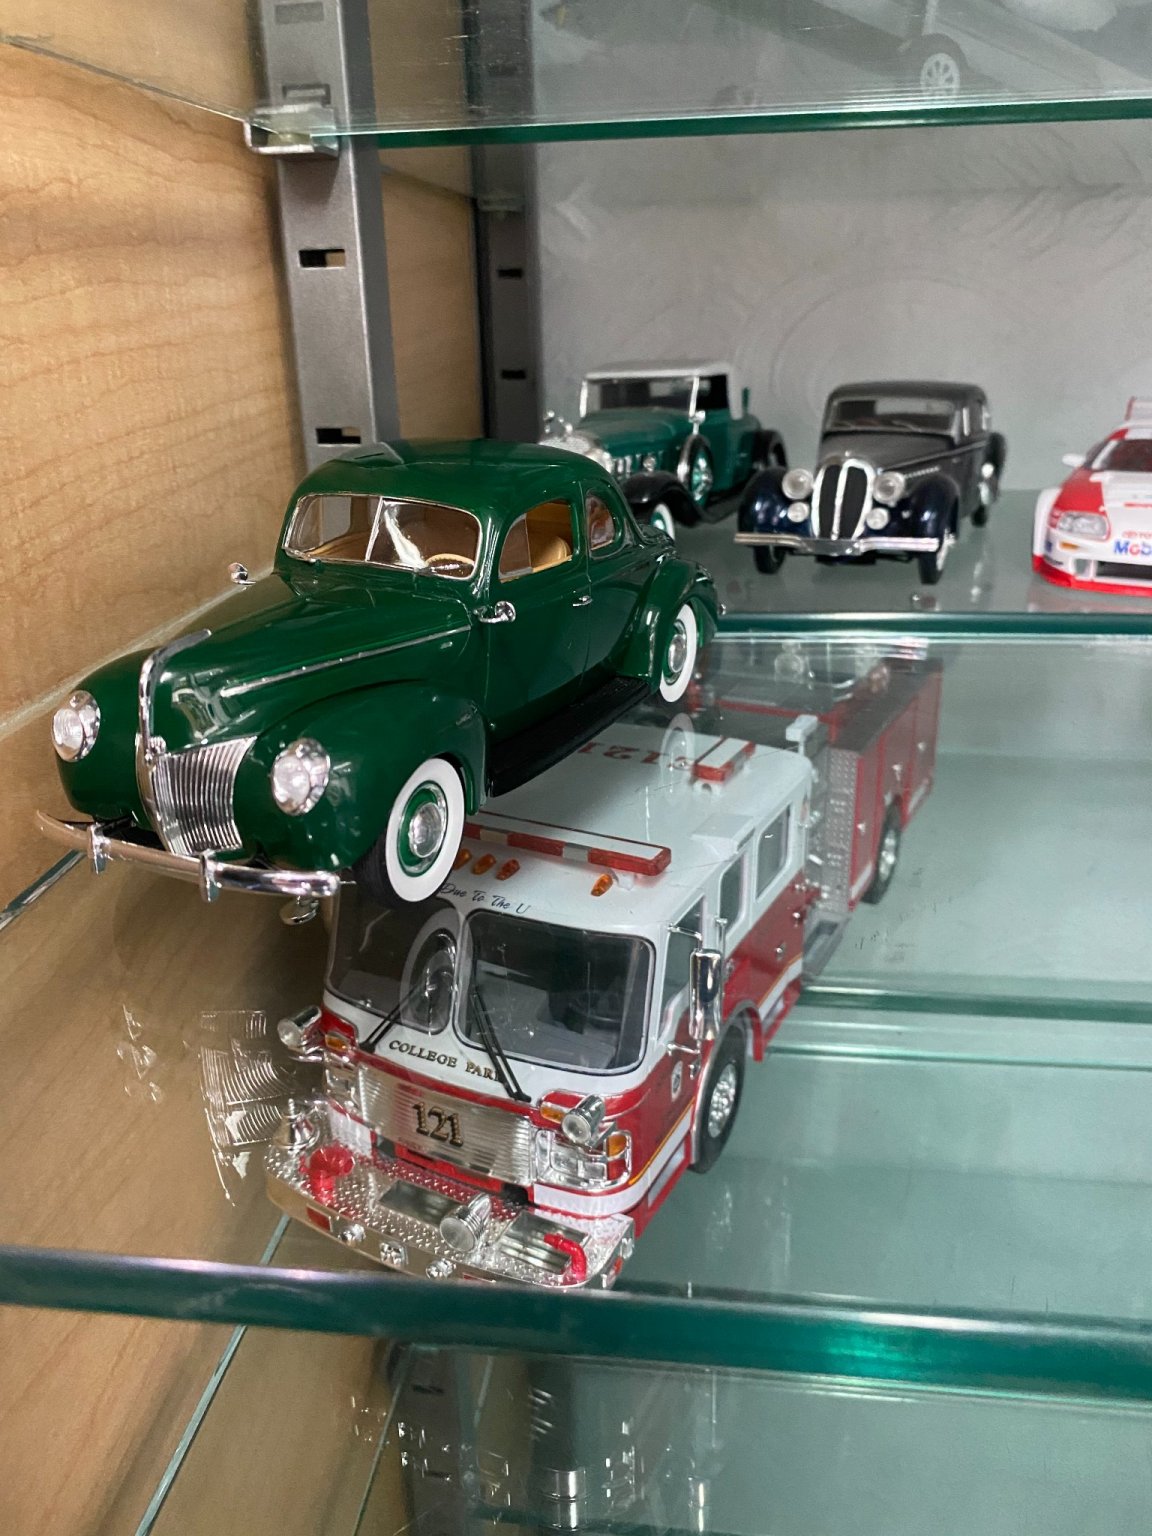
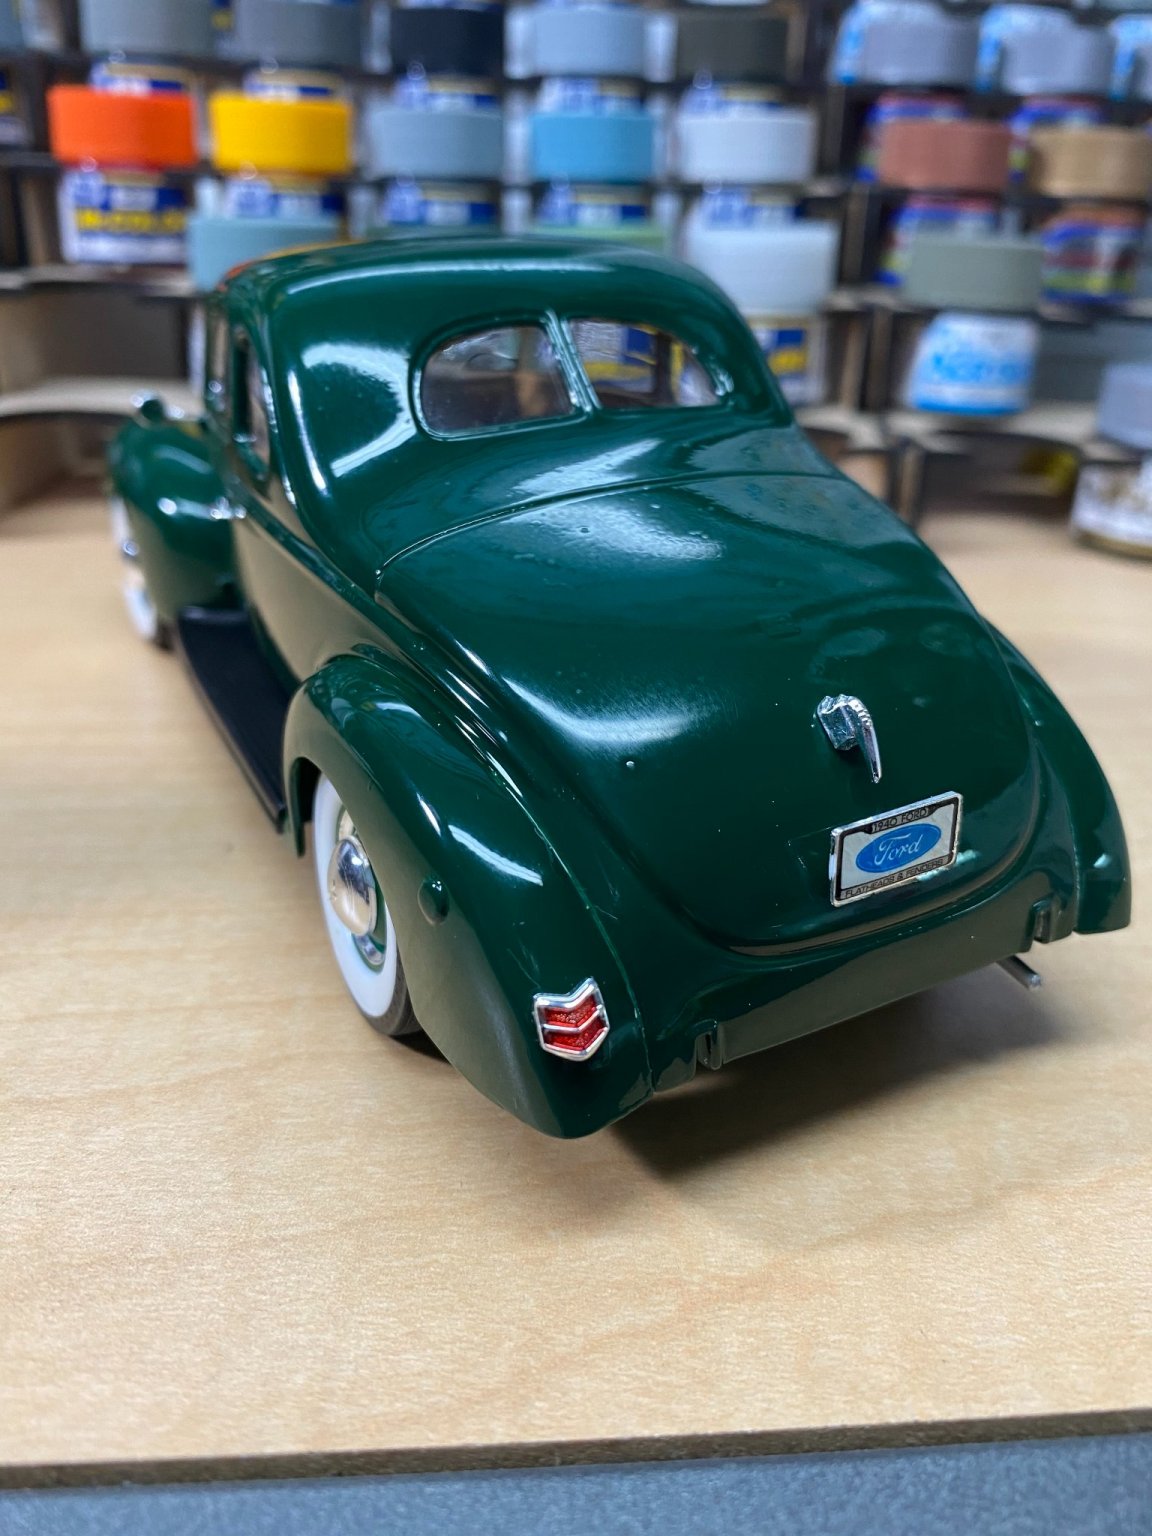
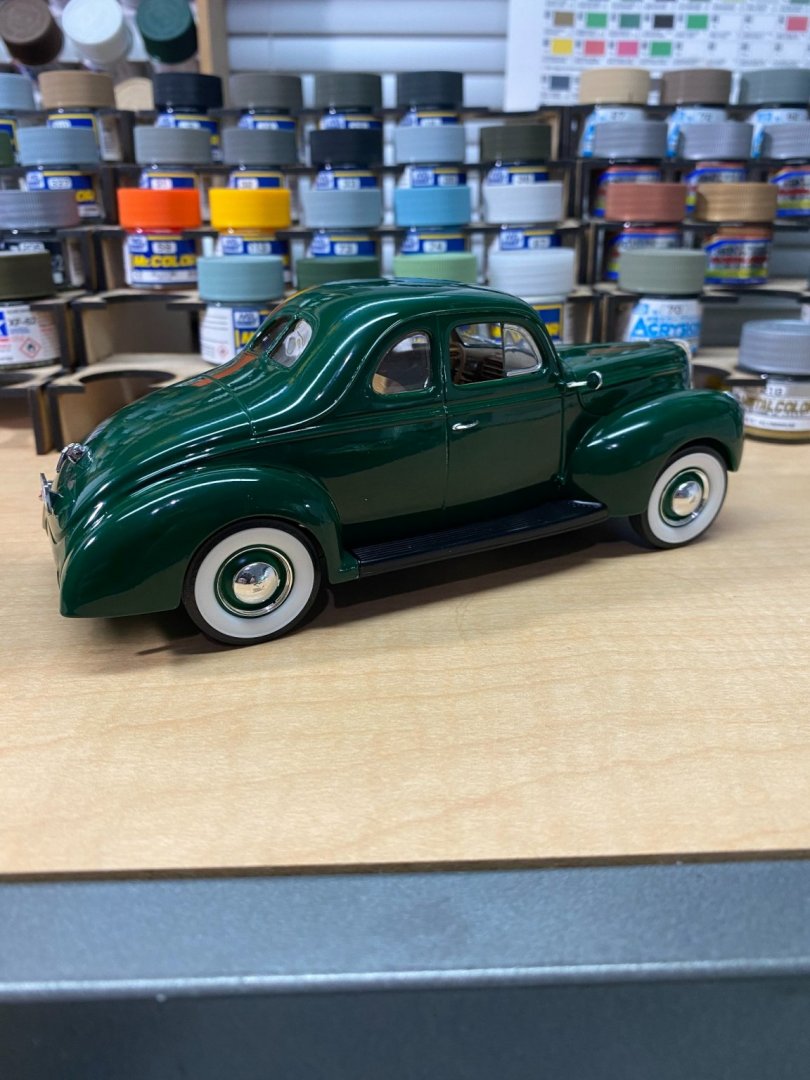
Here she is with her front and rear bumpers mounted, and then last, resting in her new display cabinet "garage space". Final photos as I close this one out for the time being. She will have a hot-rod evil twin sister in the near future parked right along side of her.


- 63 replies
-
- 11
-
-
Thanks gentlemen. Actually, I have a long way to go to fill up this cabinet. Could easily fit another 50 or more cars like this one in there.
-
I didn't like the way my bumper brackets are fitting and need to make some adjustments before I install them along with the front and rear bumpers. Other than that, need to add the chrome trim down the mid section of the body and it's done. All-in-all, these photos are enough to call it finished. I am anxious to get started on the next project. (don't know exactly what that will be just yet)


- 63 replies
-
- 15
-
-
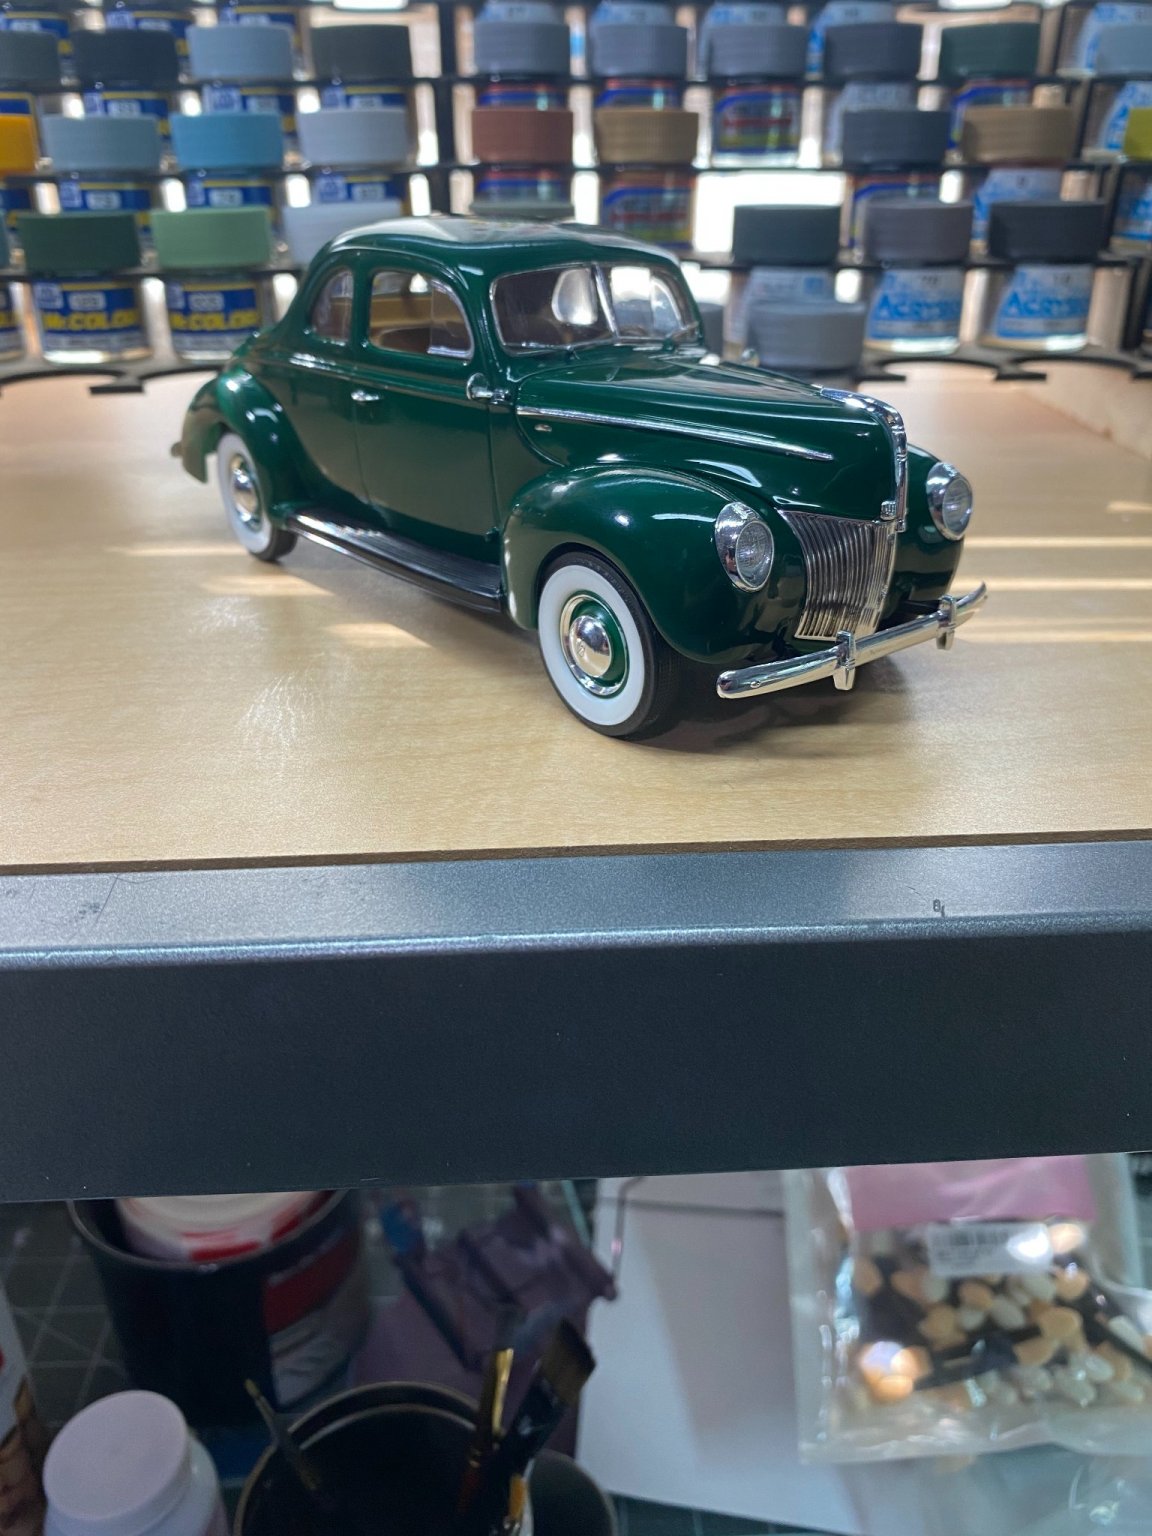
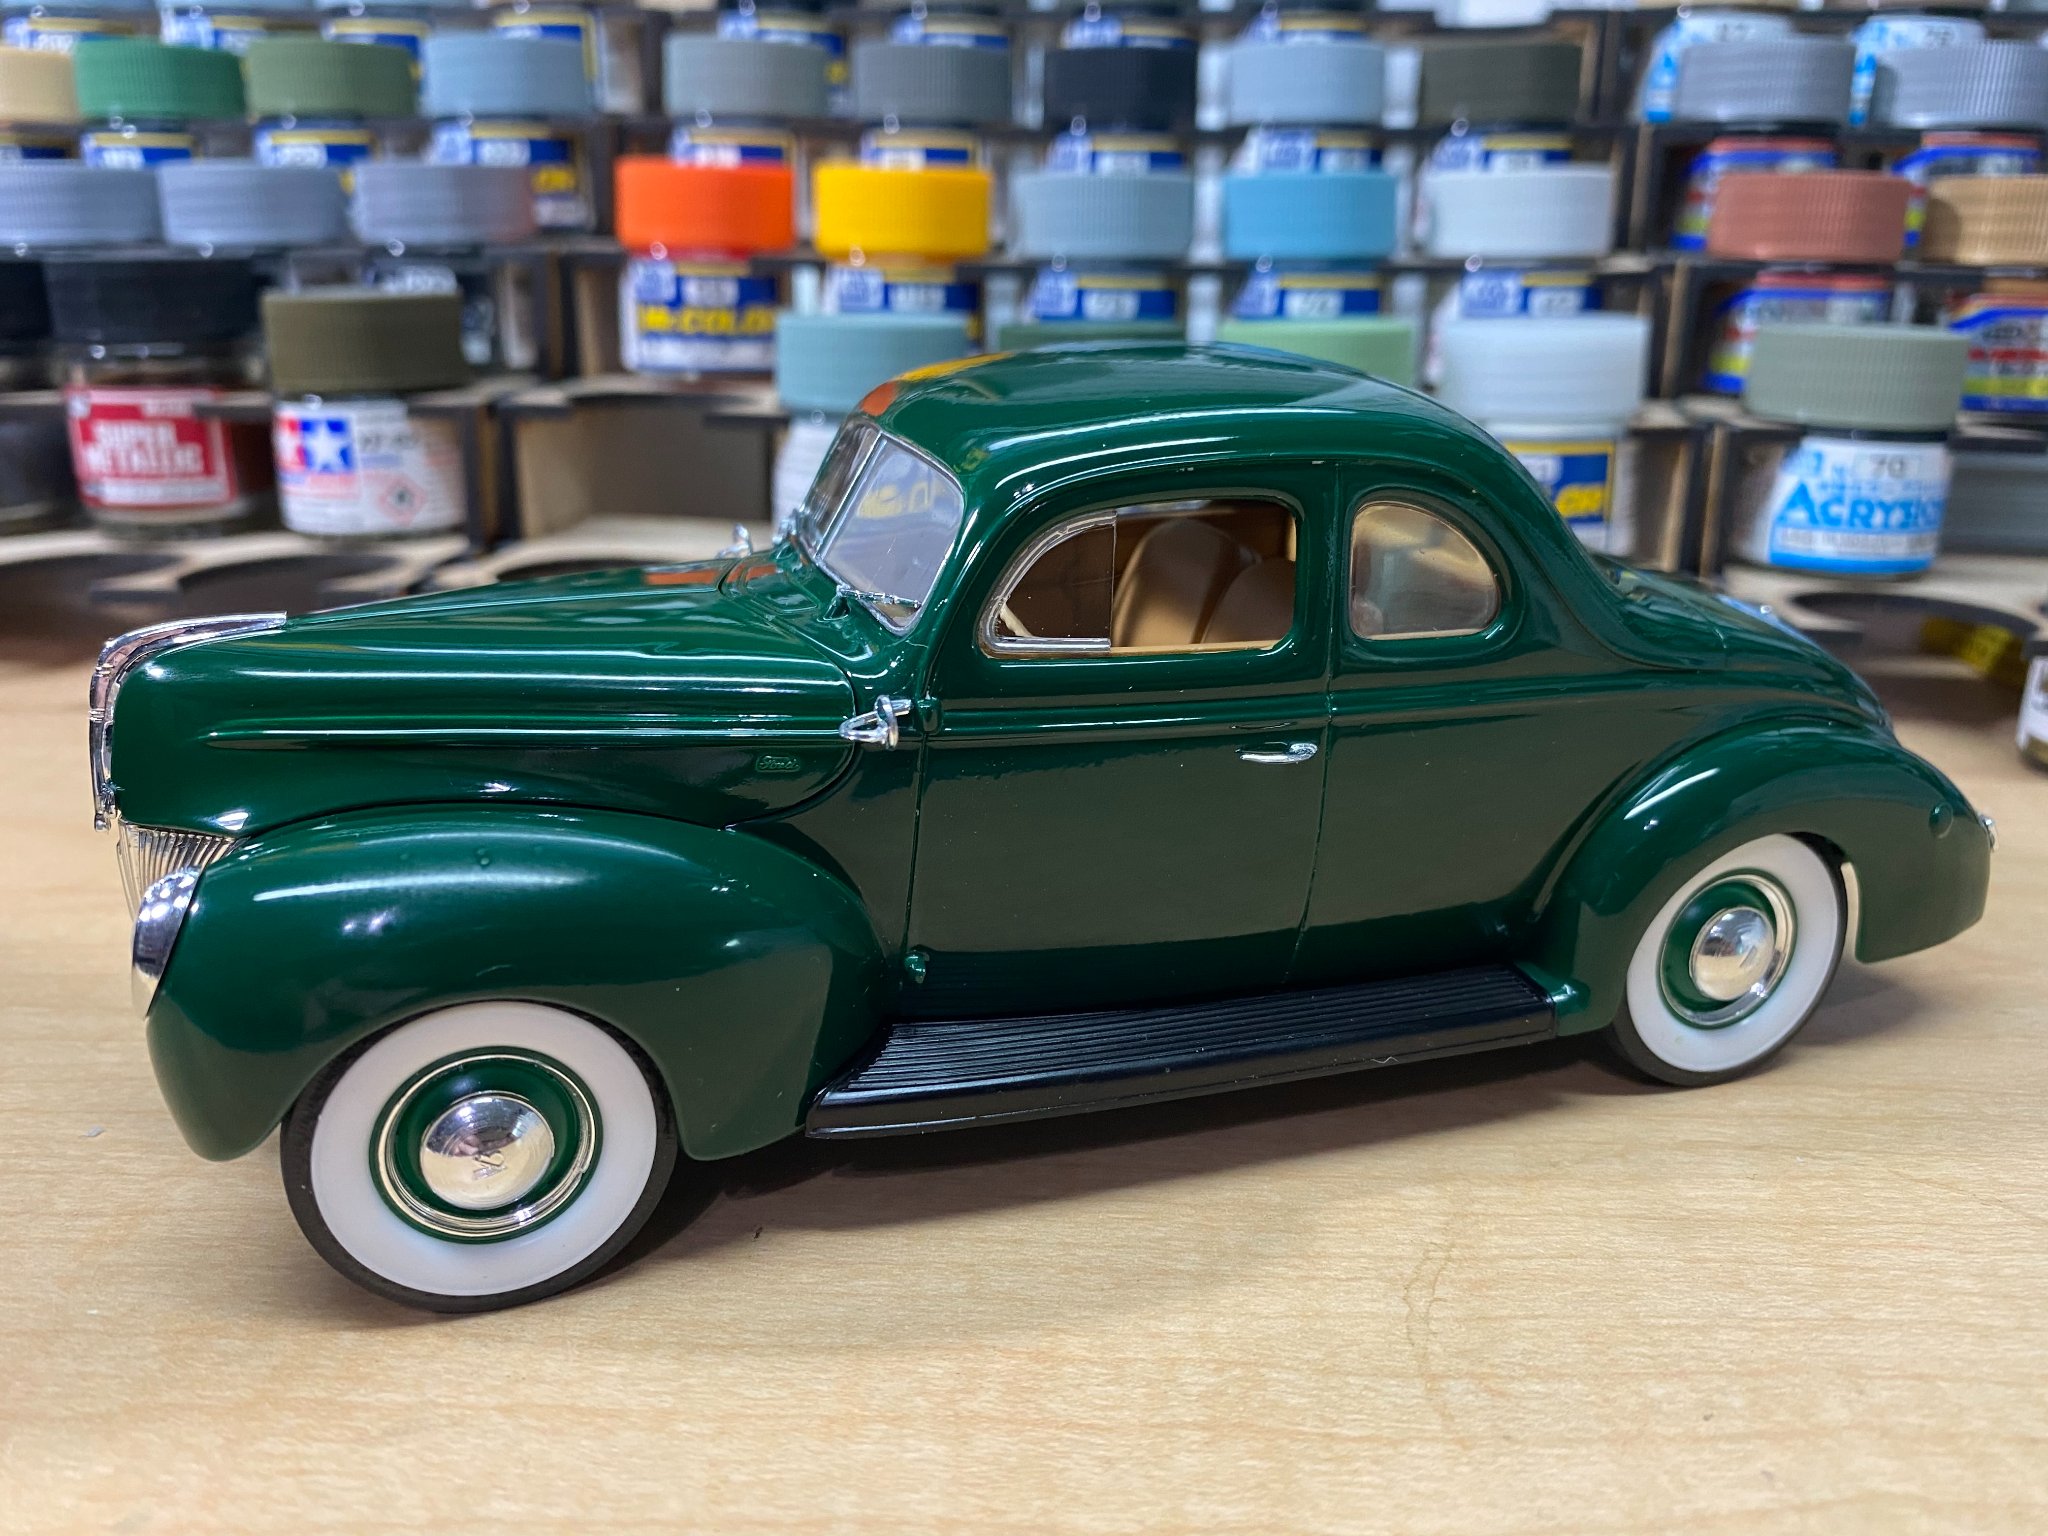
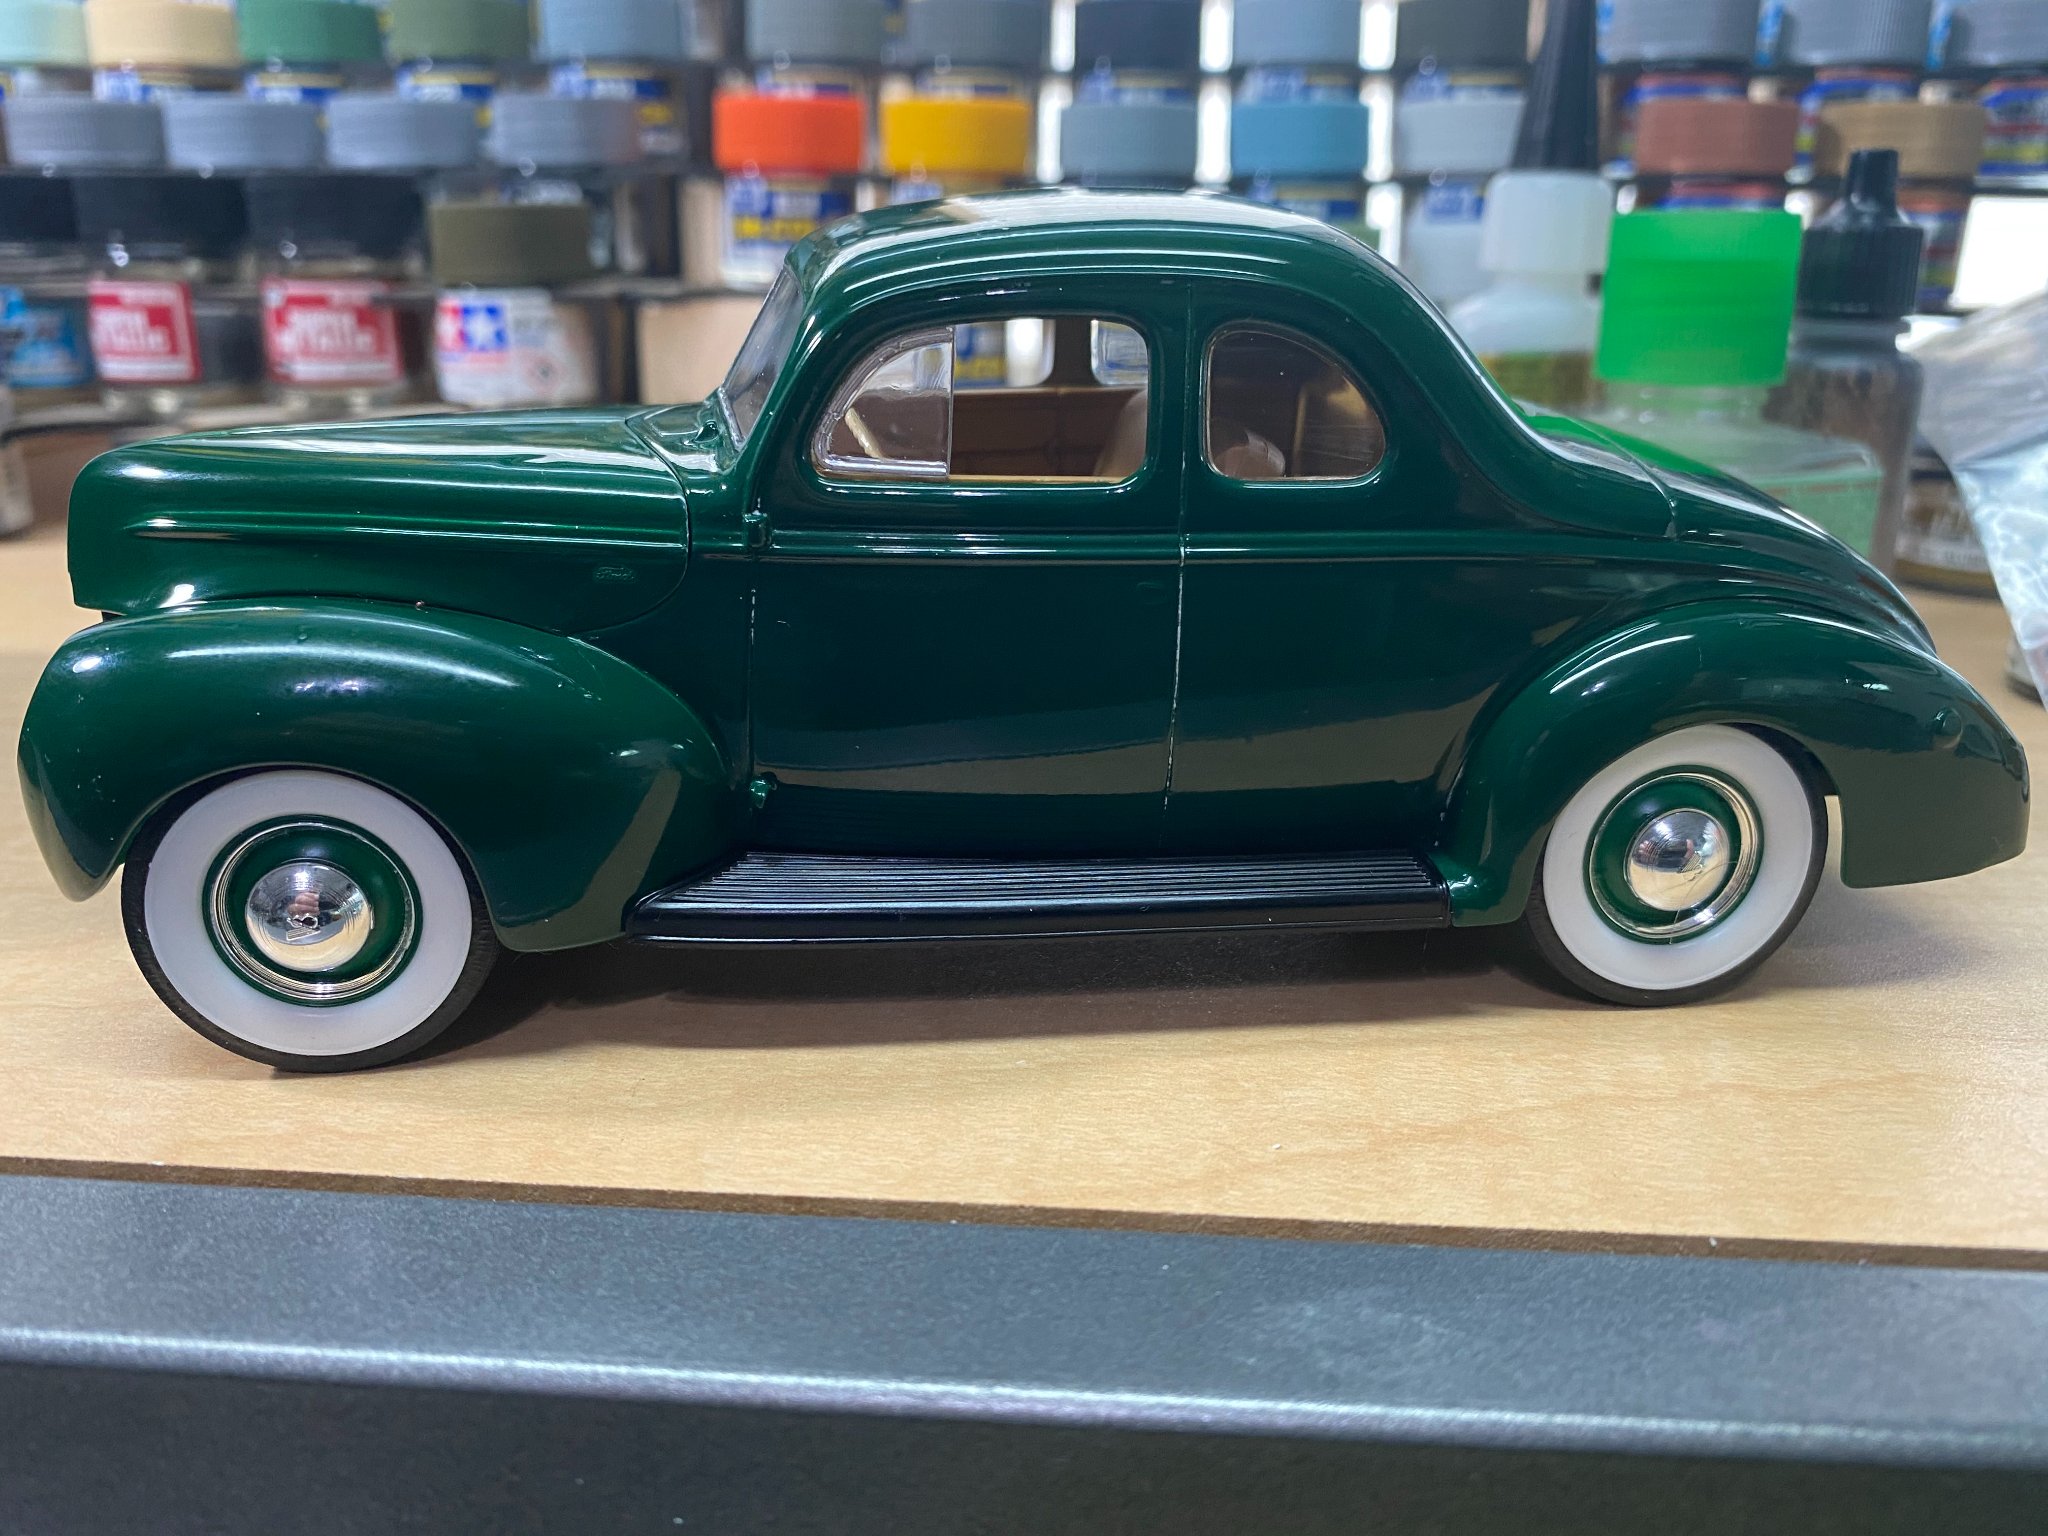
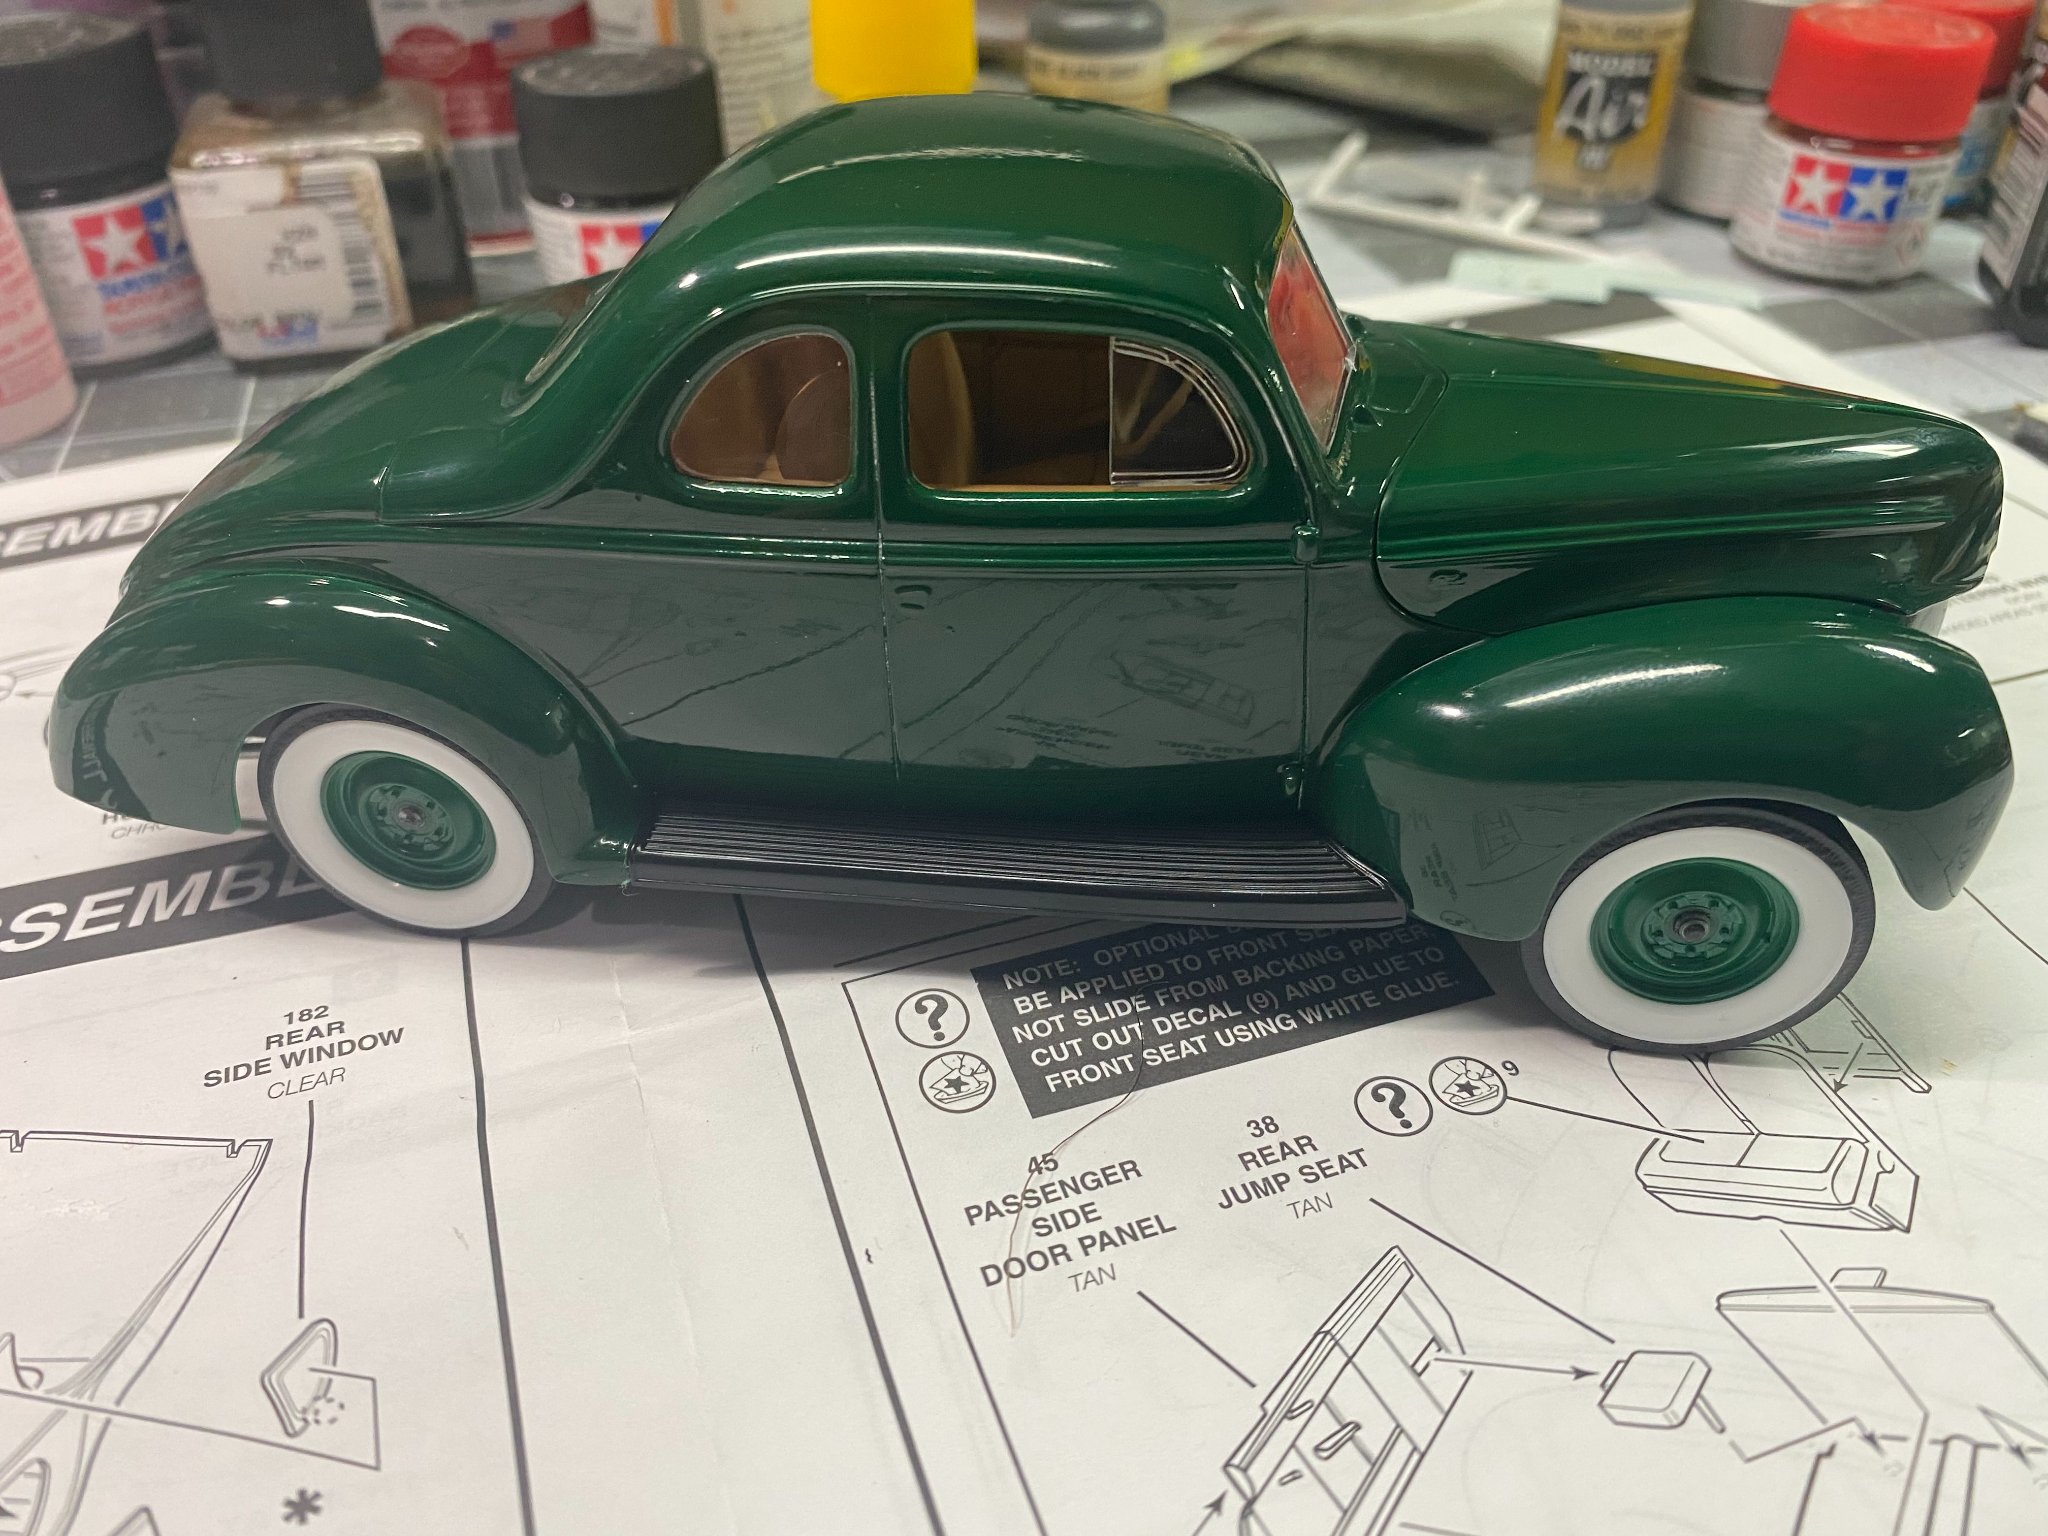
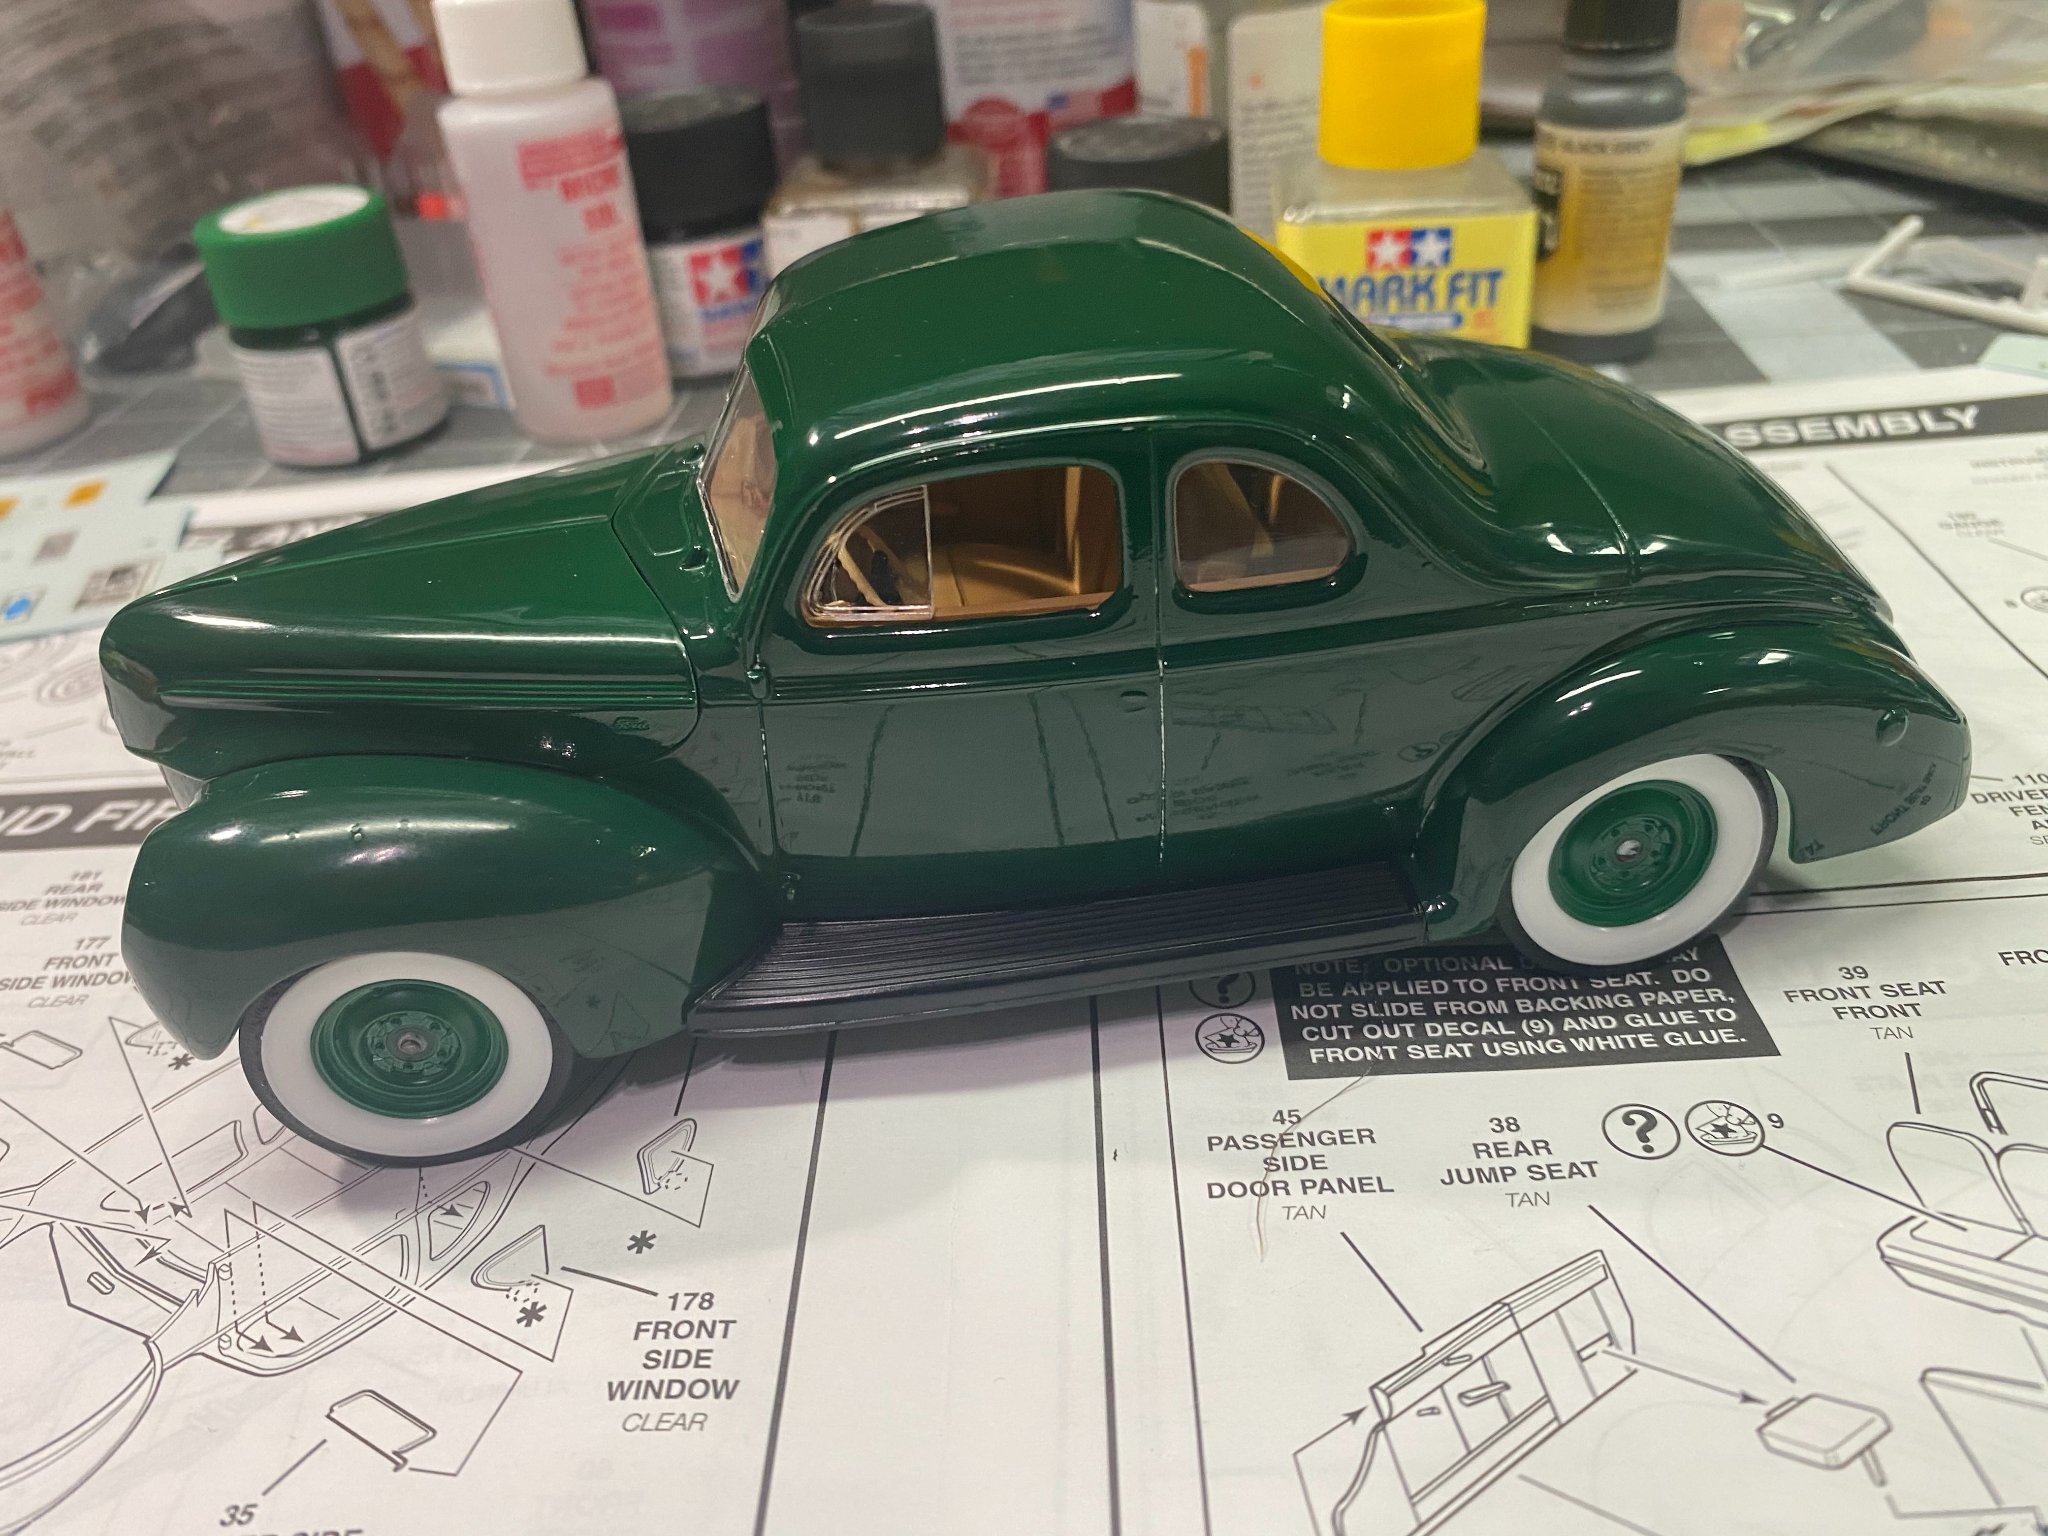
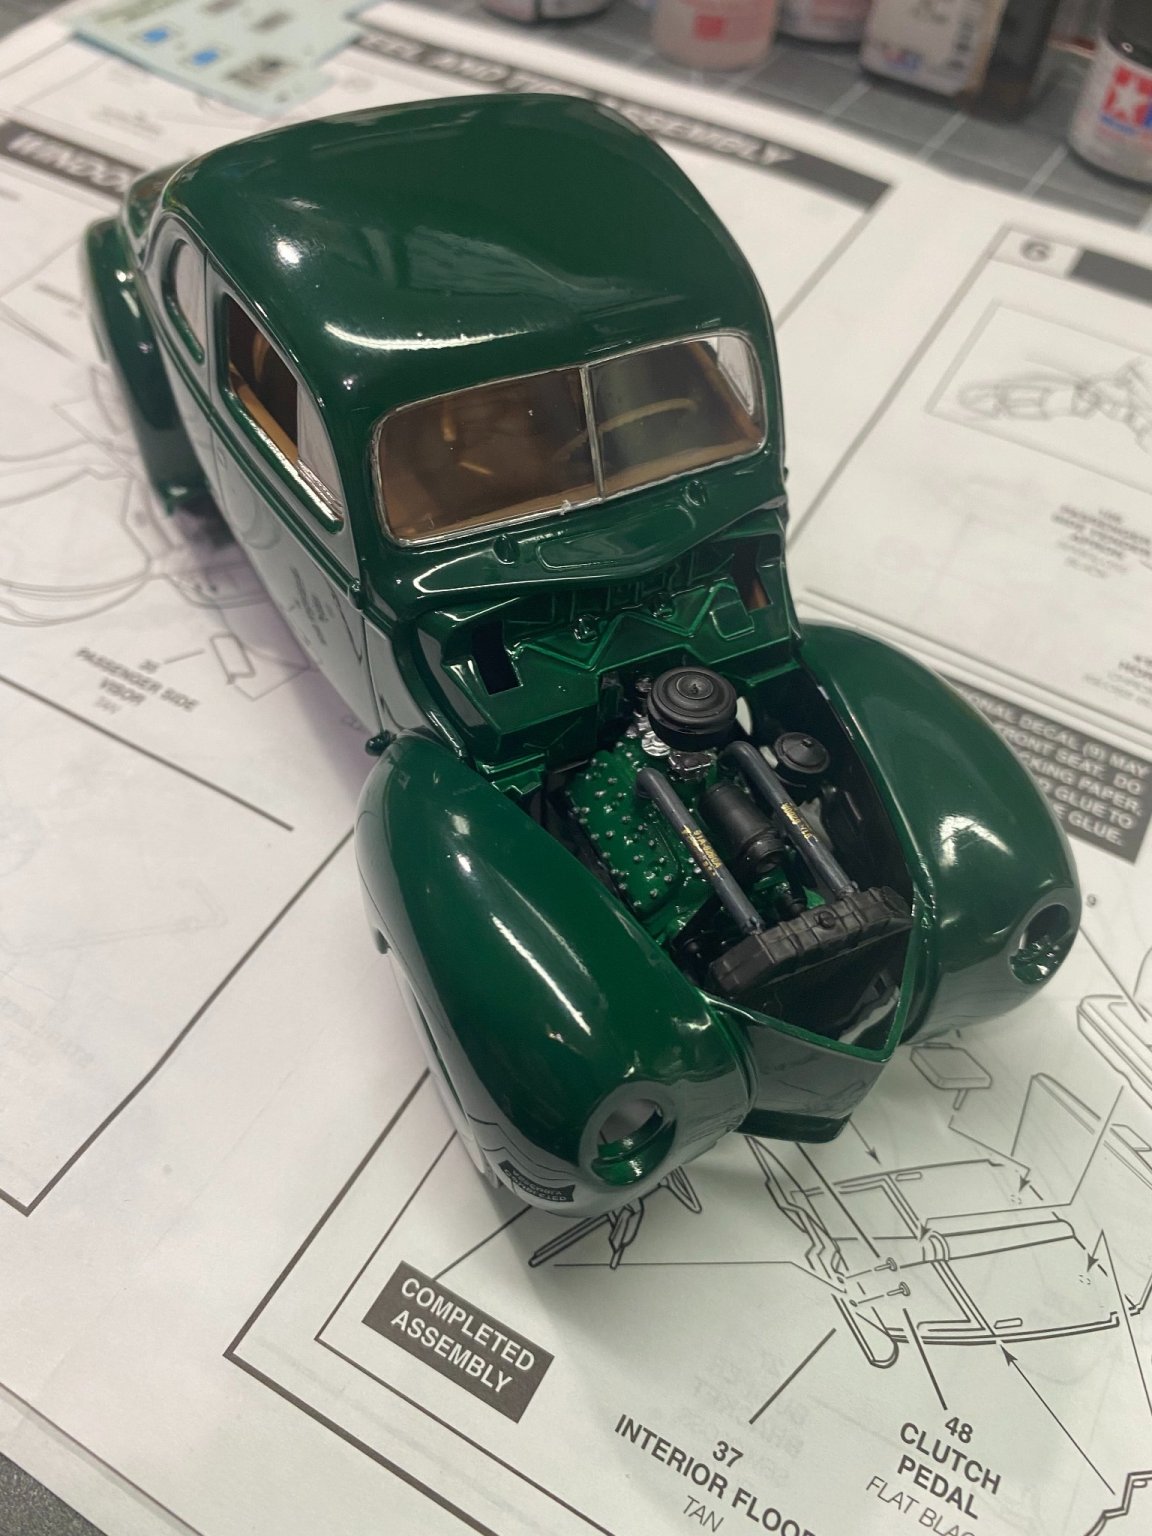
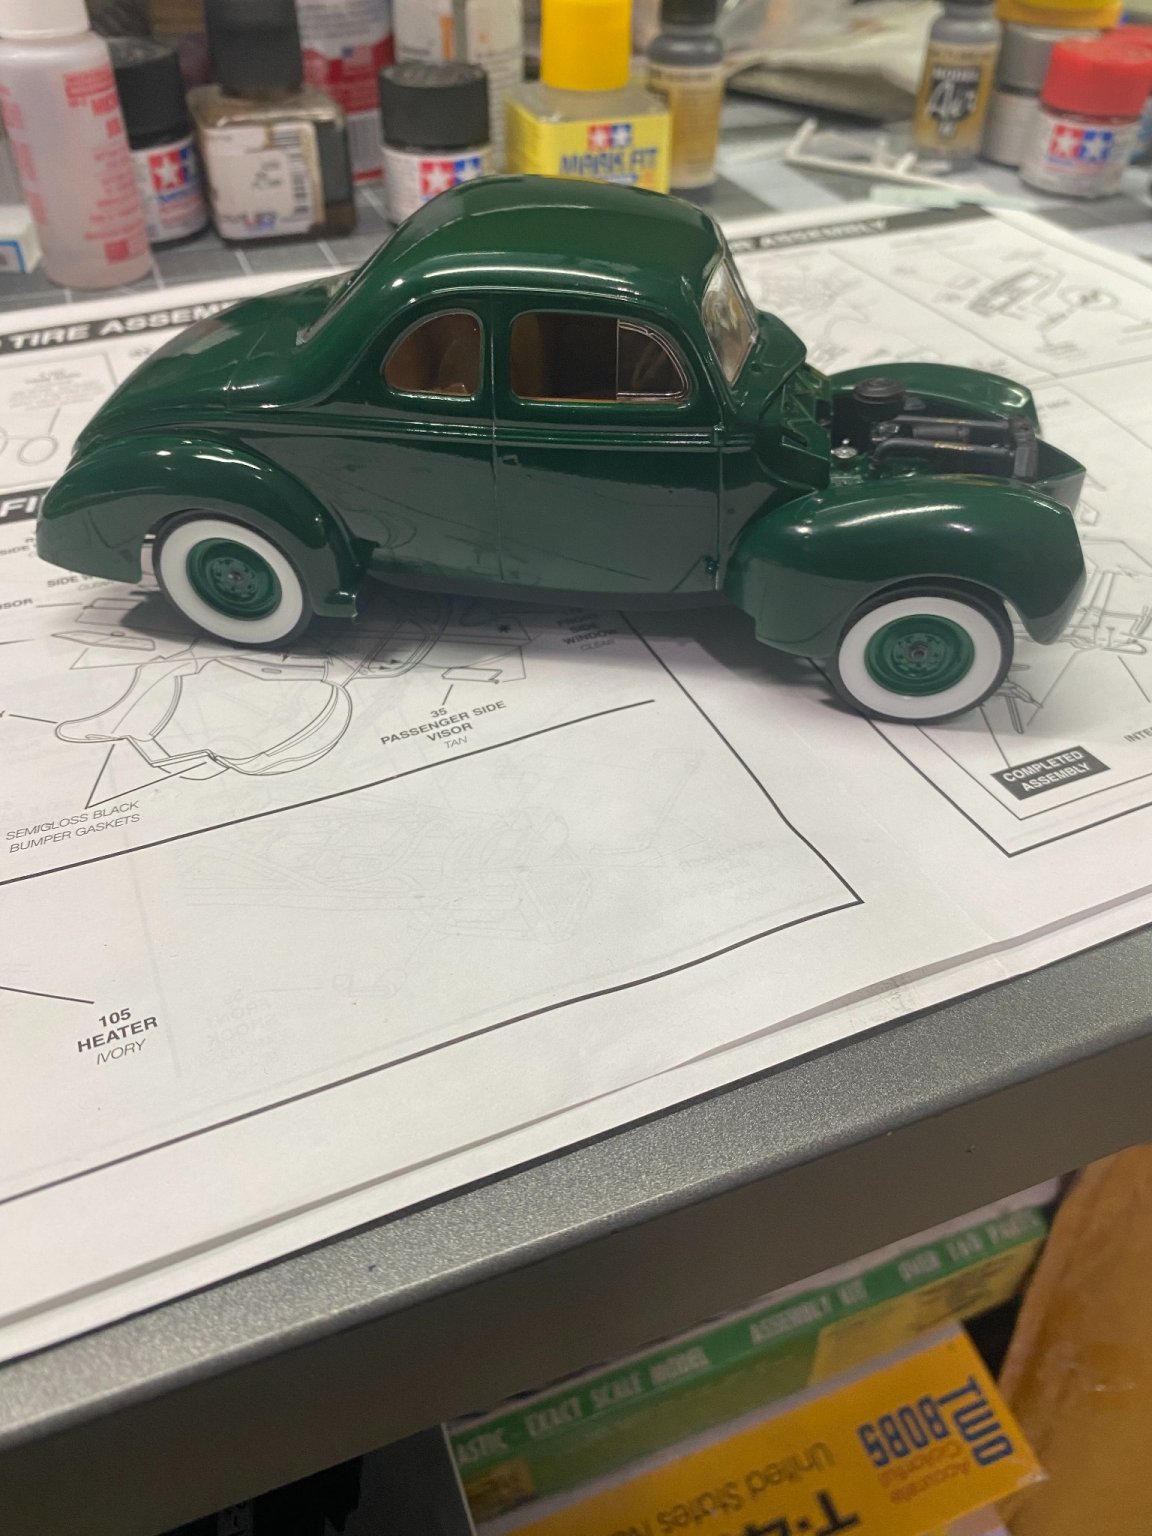
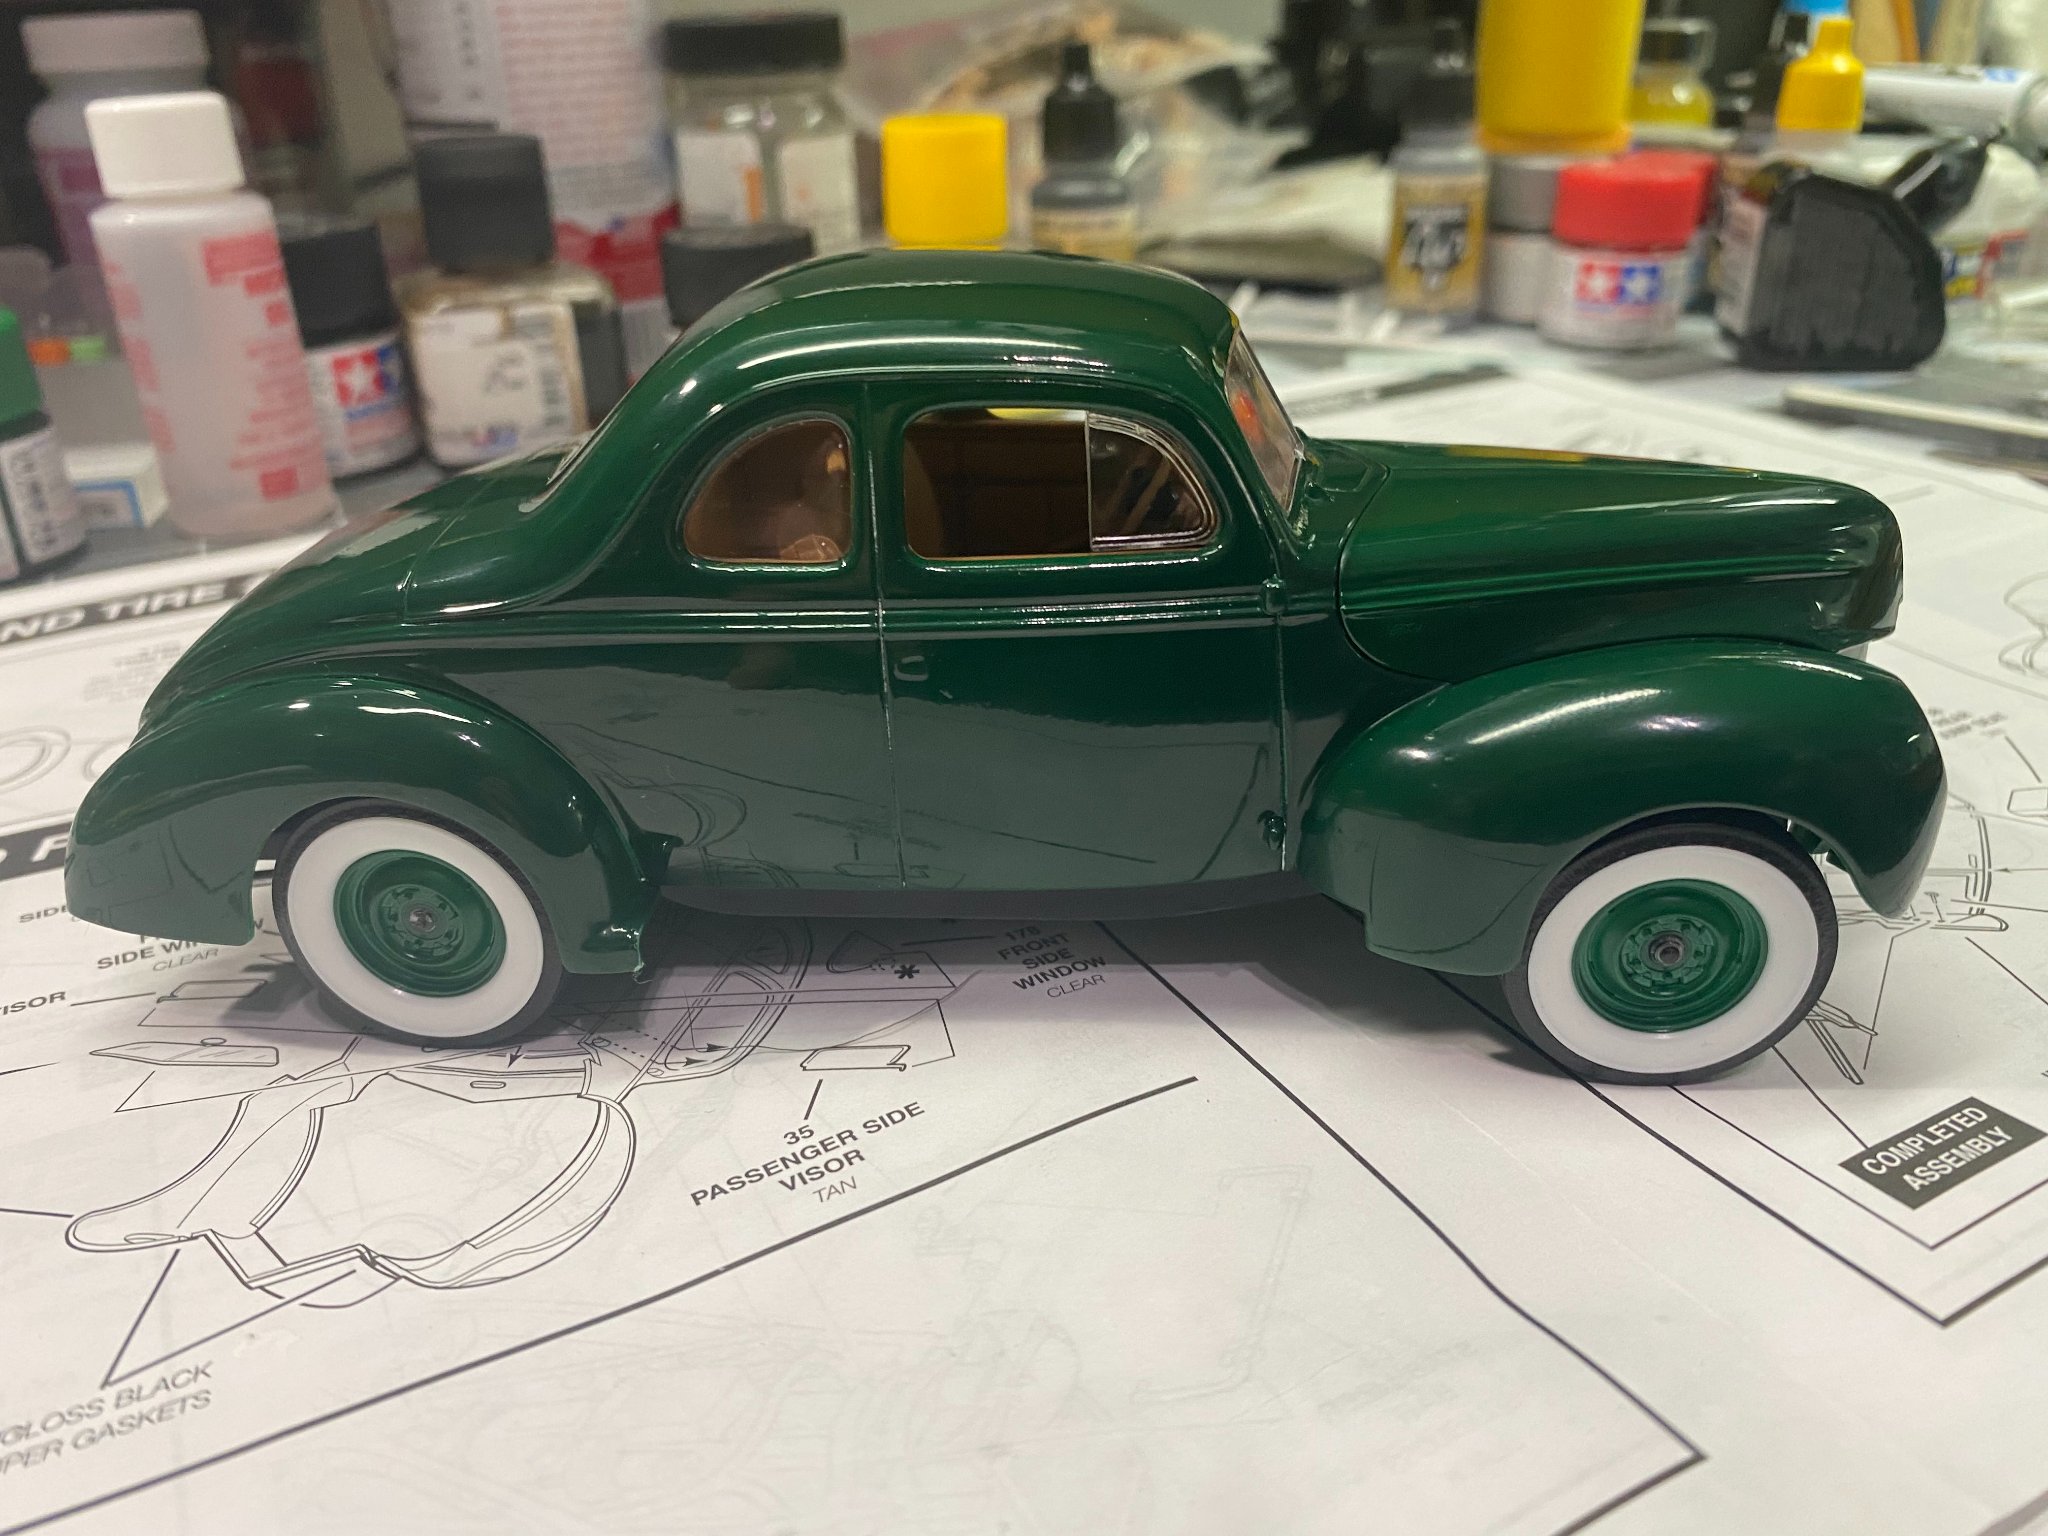
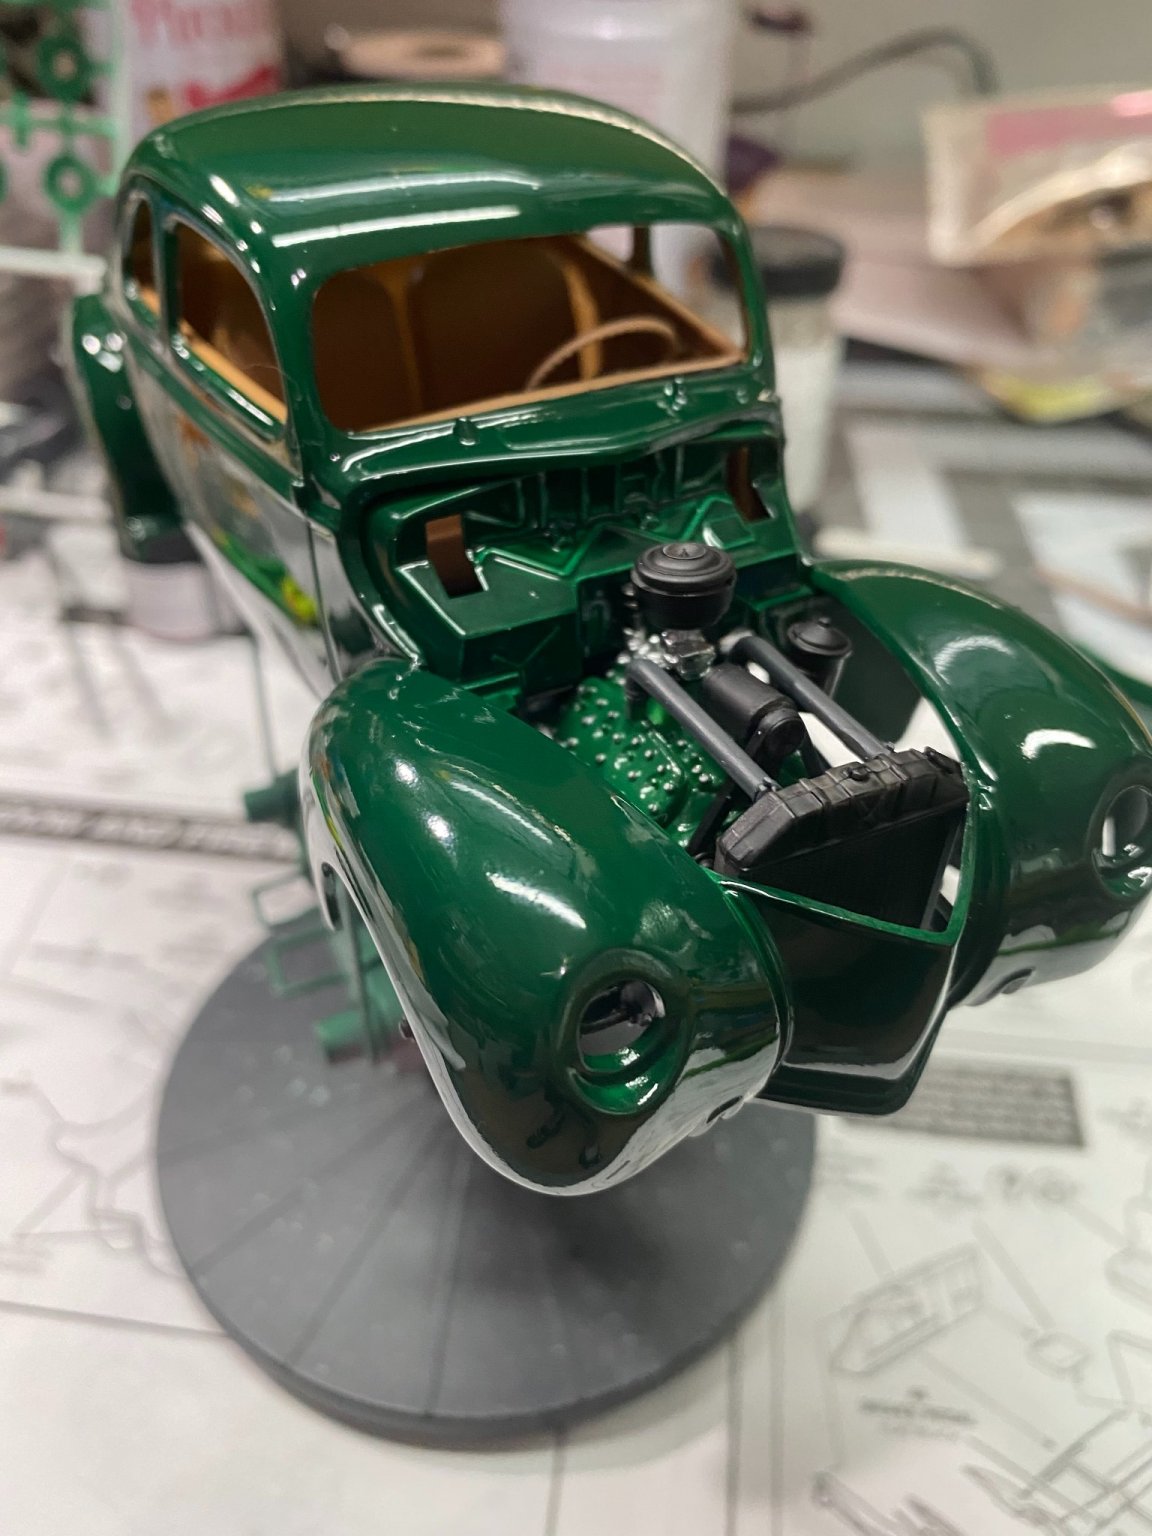
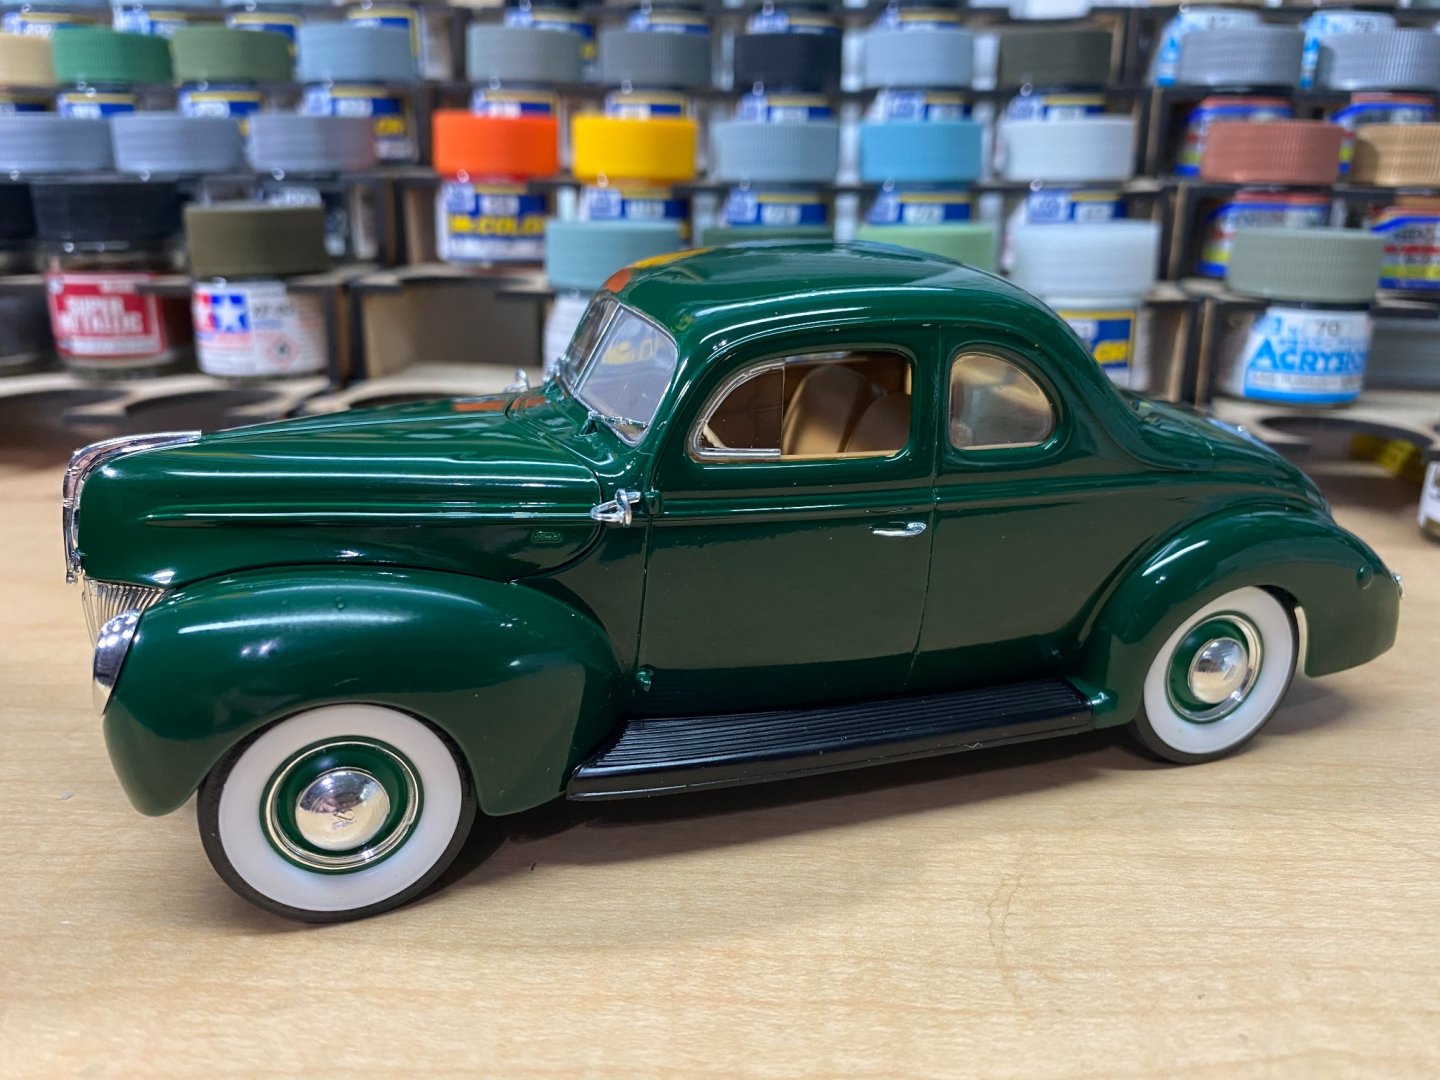
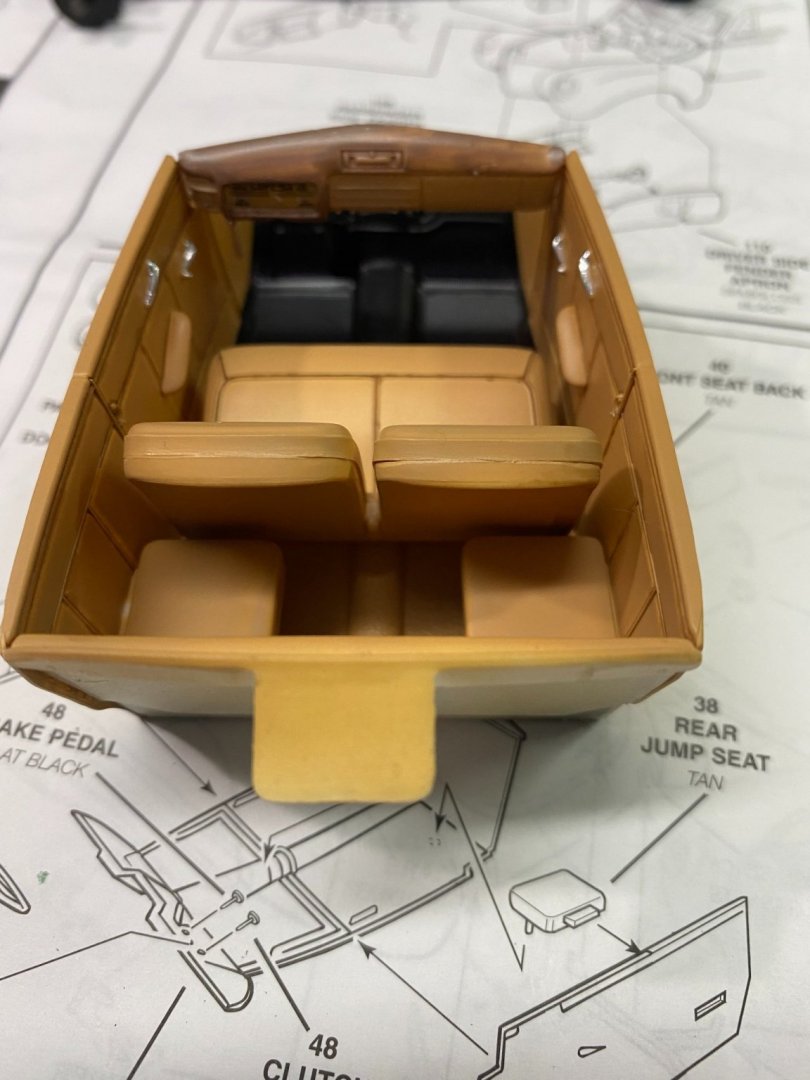
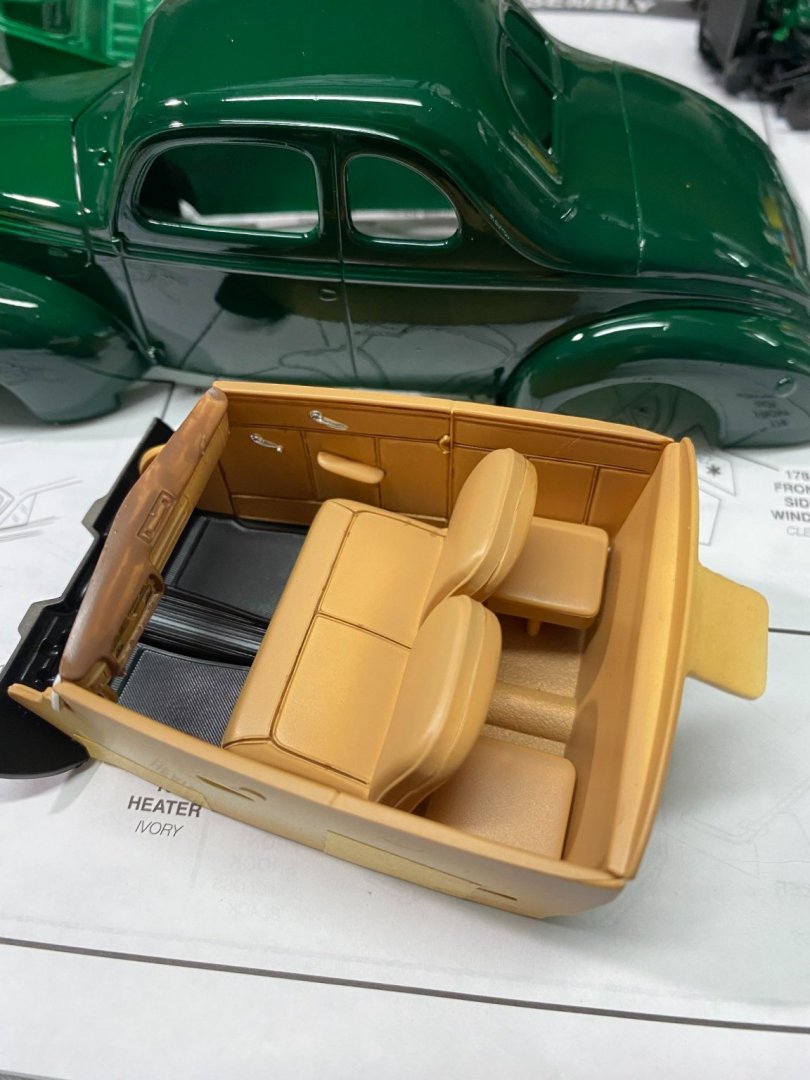
Sometimes, projects that give the most fun are the simpler ones, like this model. The model is very simple to build, not overly complex, but enough detail to make it interesting. Not a lot remains to be done, but the remaining details will add a nice enhancement. Nearing the finish now.
-
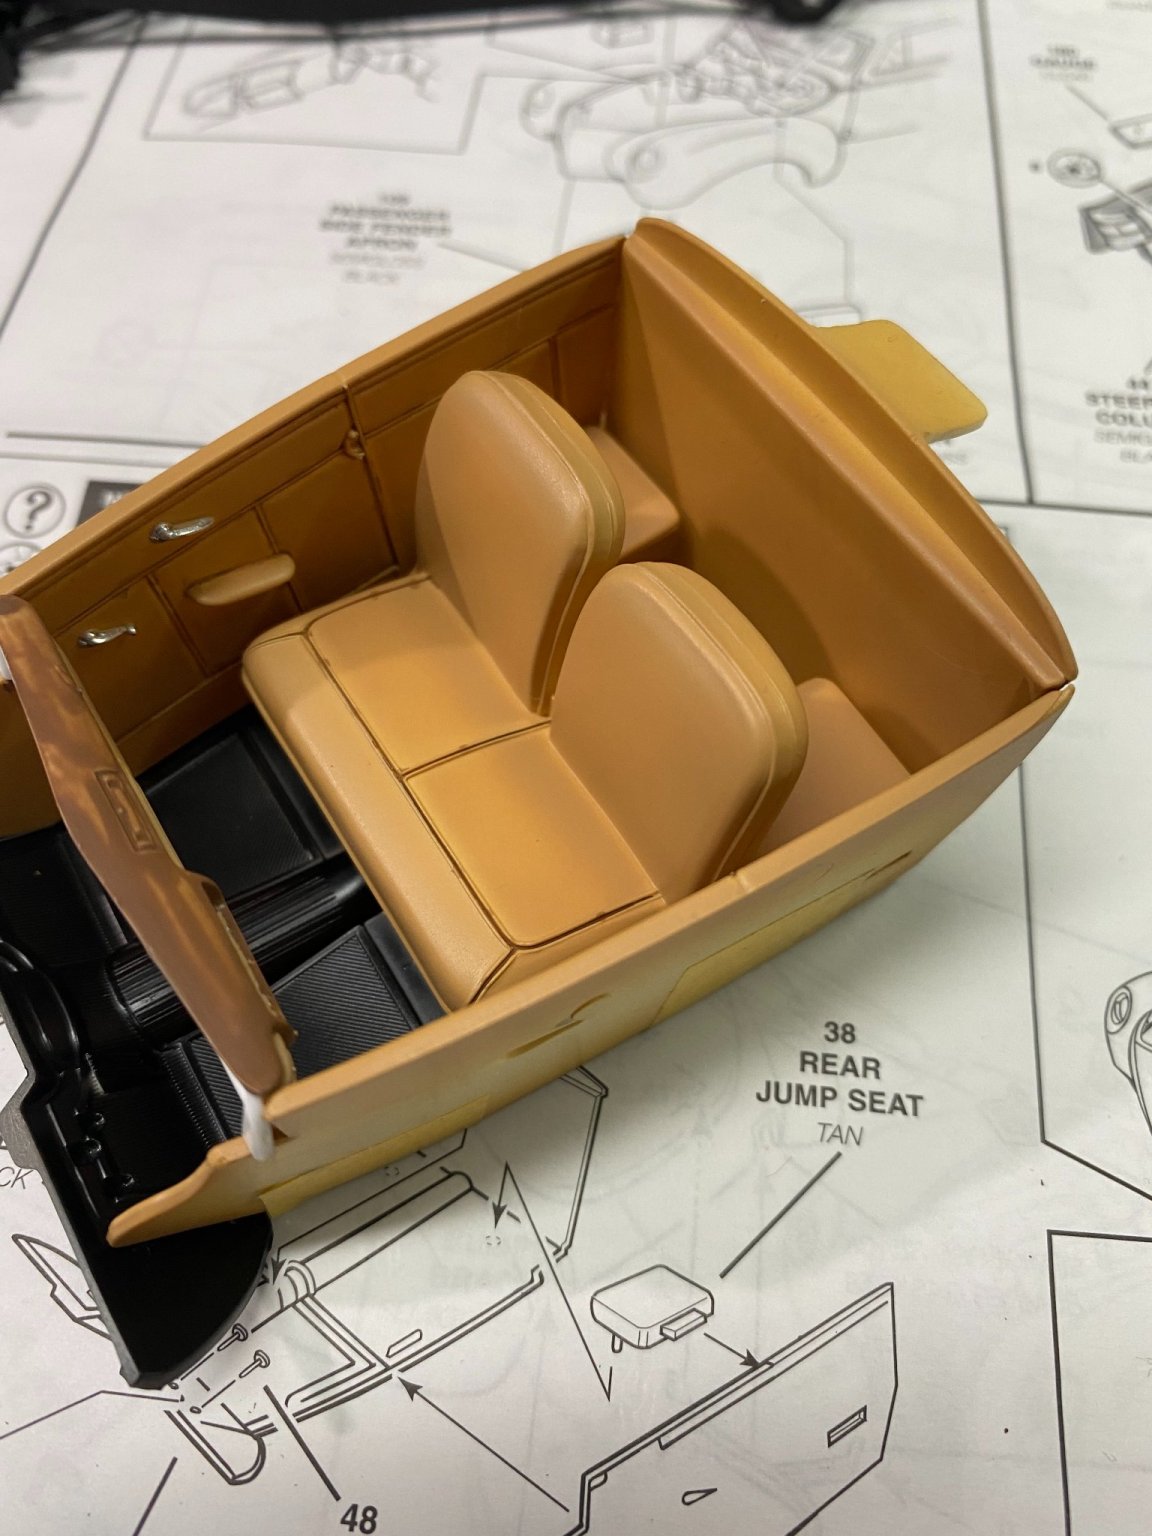
VERY small, but you sit facing each other side to side in those seats, not facing forward.
-
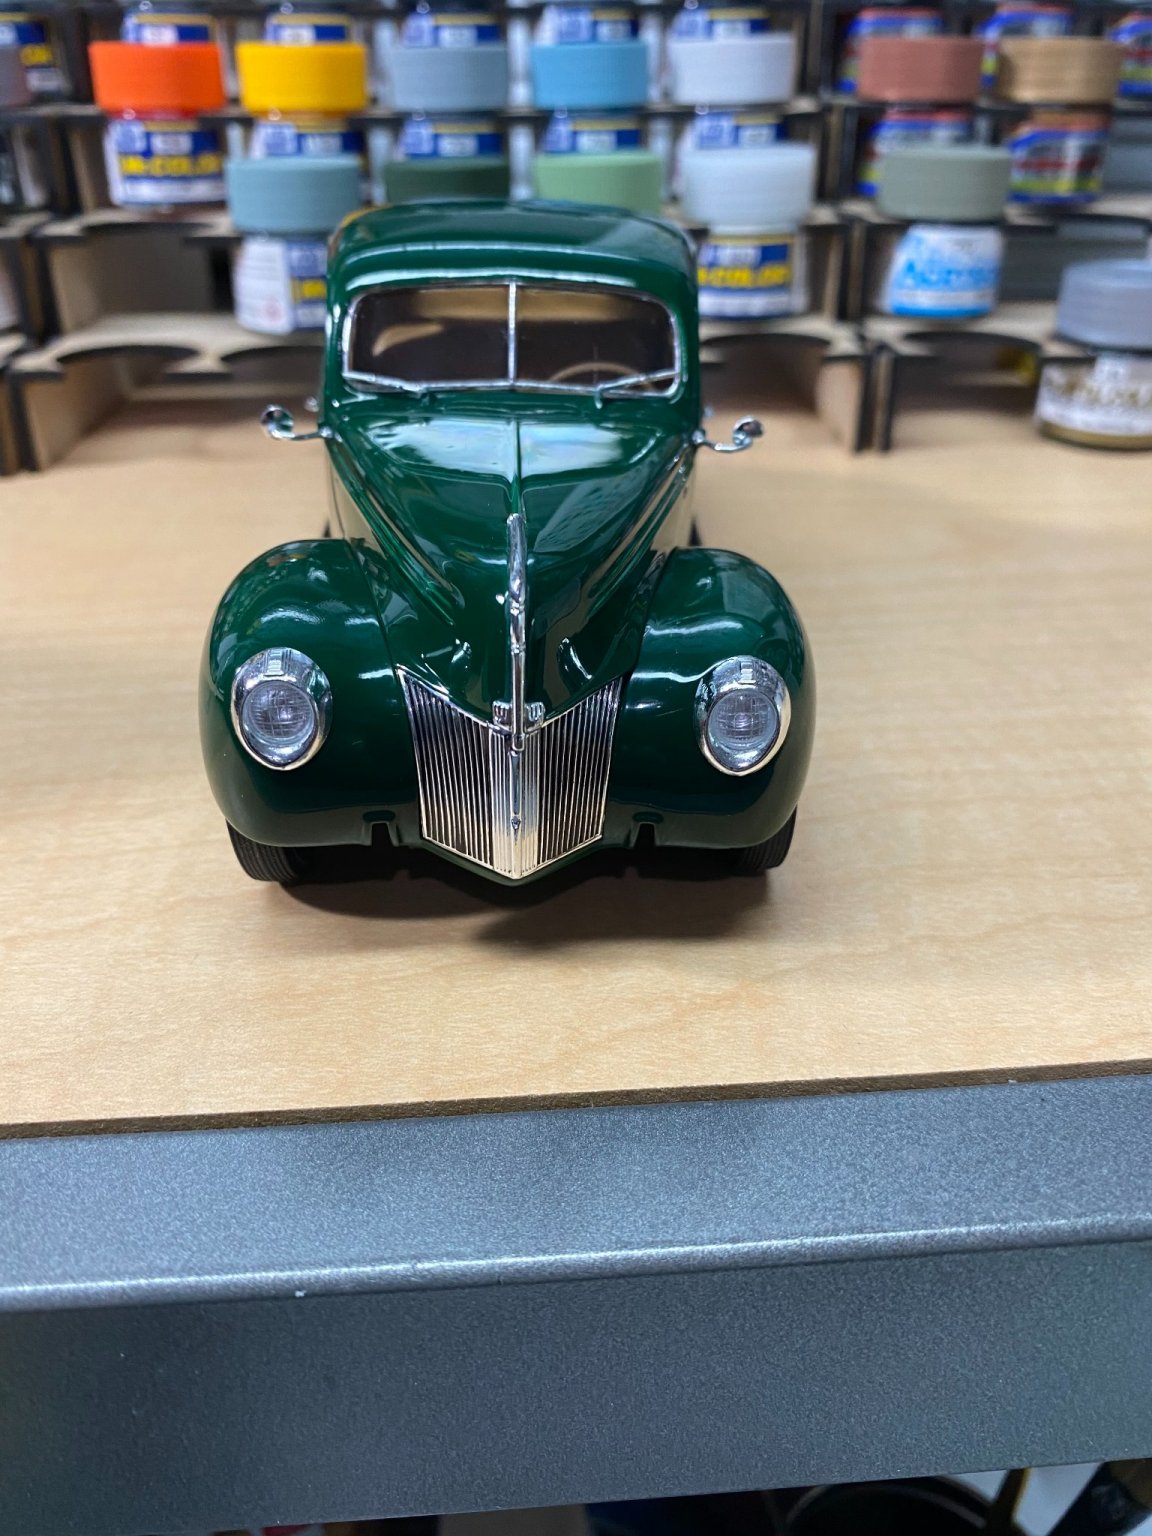
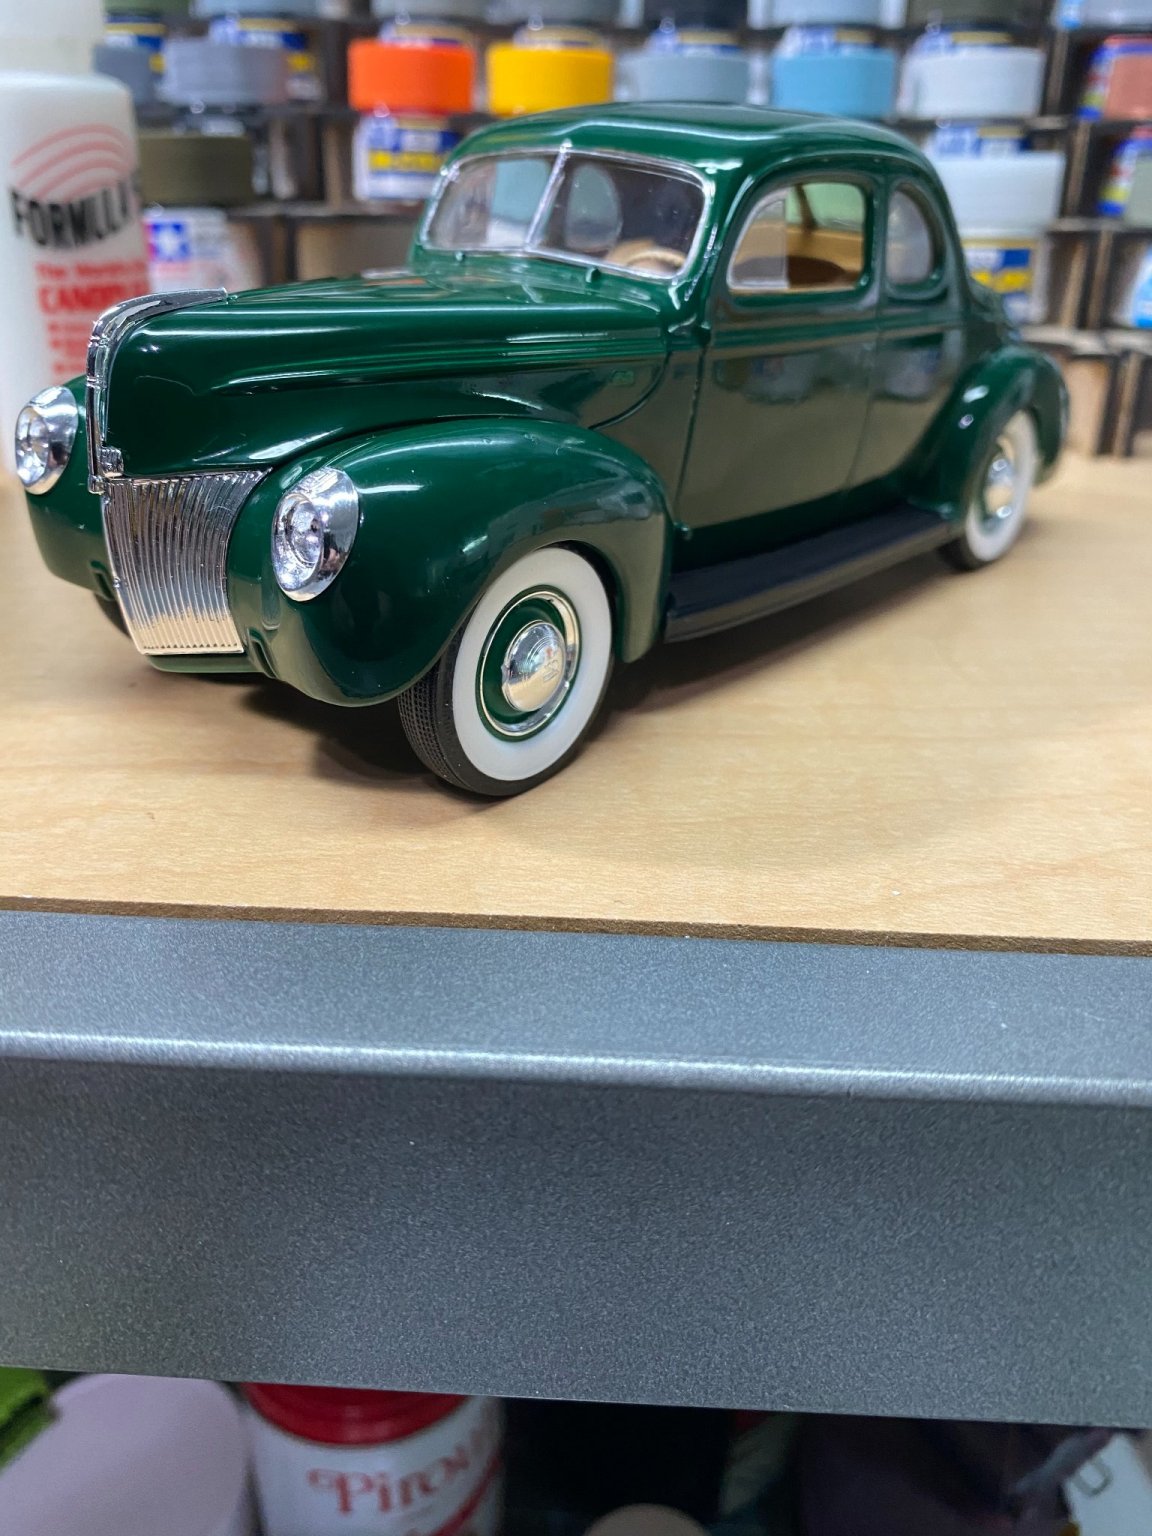
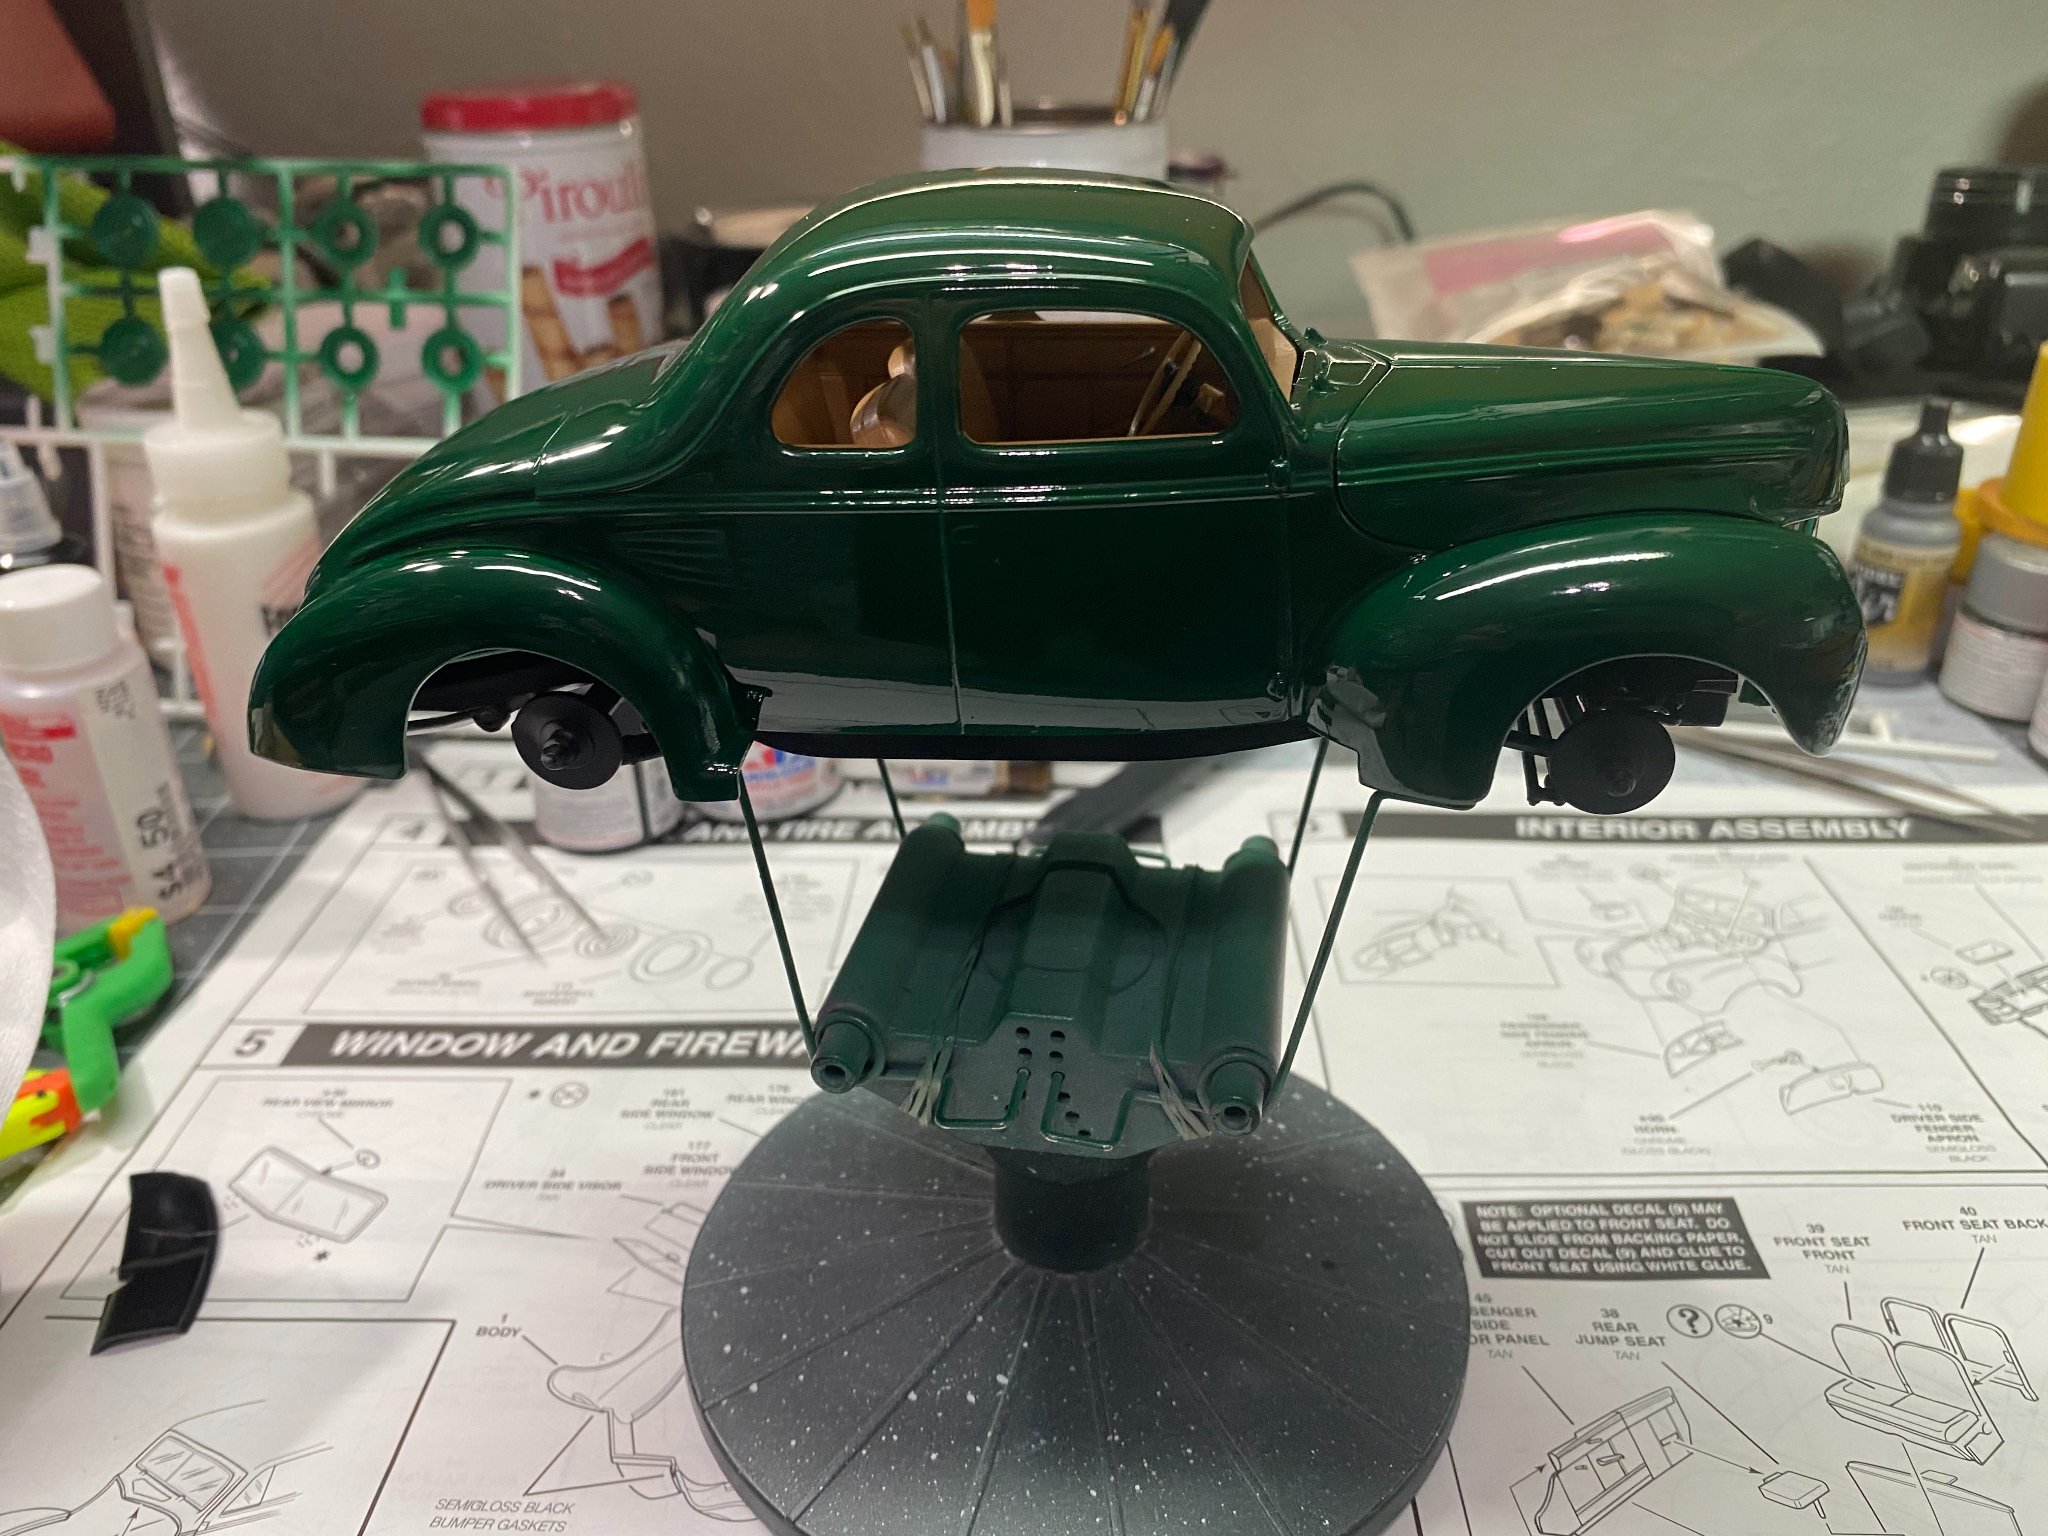
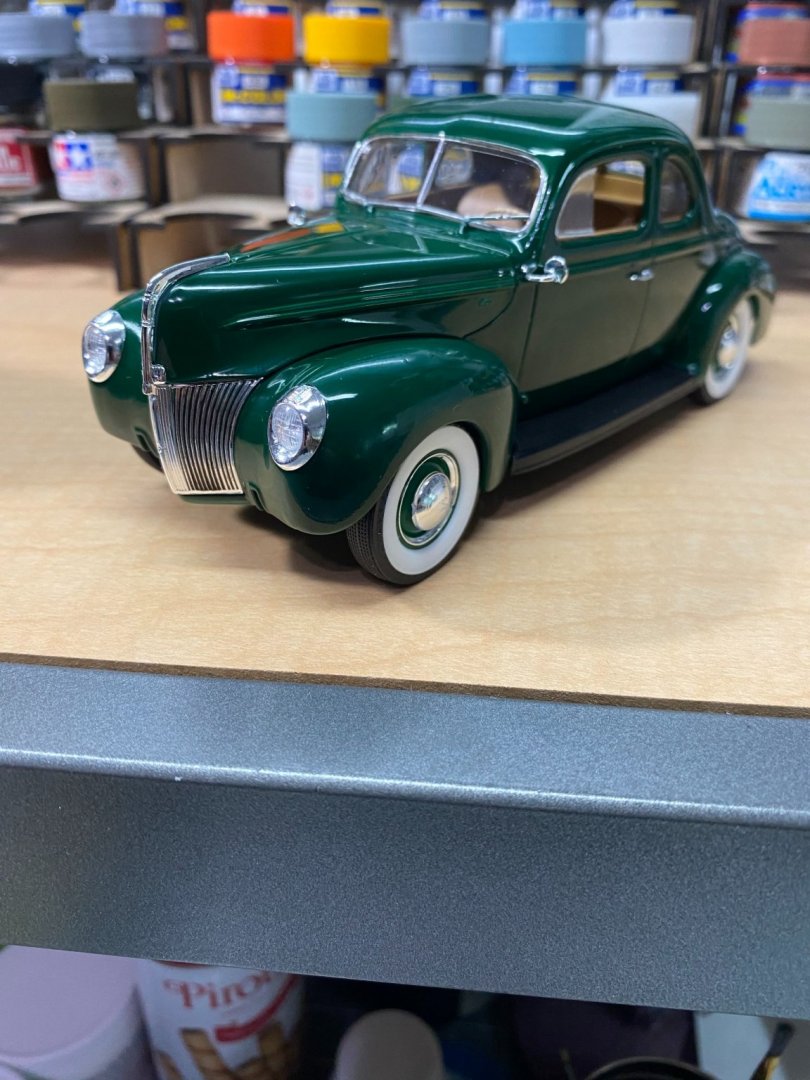
Interior is fairly basic, but decent. This particular model is not an ancient mold from the 60's, rather it was tooled in the 2000's. Details are better than the real old stuff that's hanging around. Some modelers prefer the much older AMT version of the '40 Ford Coupe because the fenders front and rear are molded separate from the body whereas with this tool, the front fenders are molded to the body and only the rear fenders are separate.

- 63 replies
-
- 14
-
-
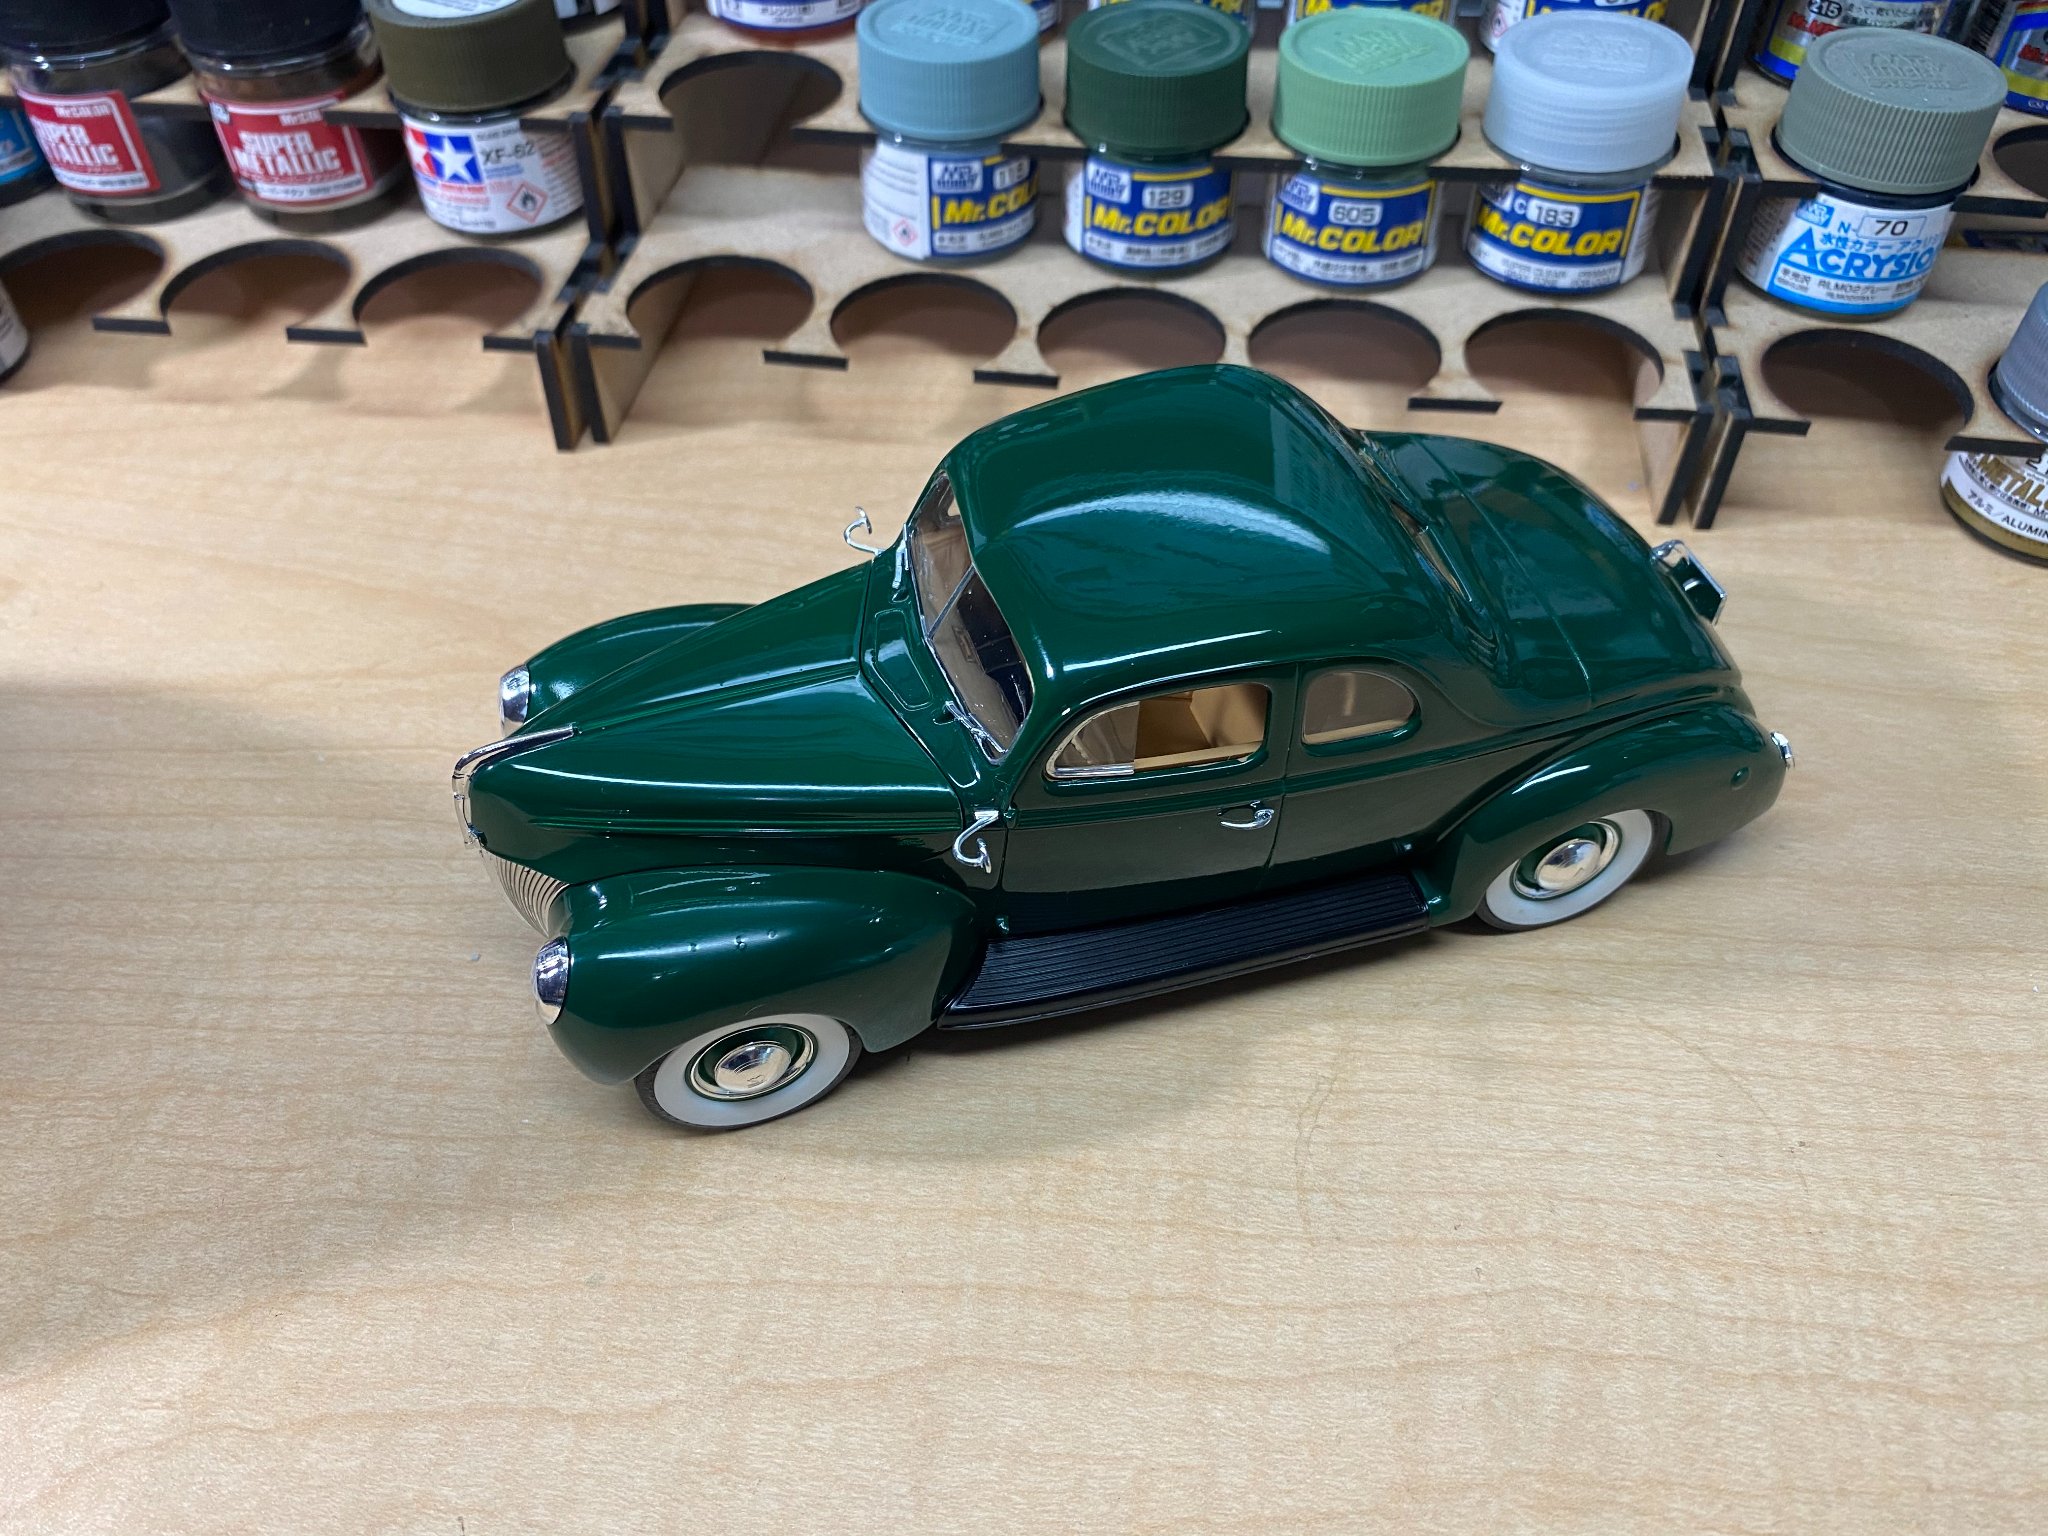
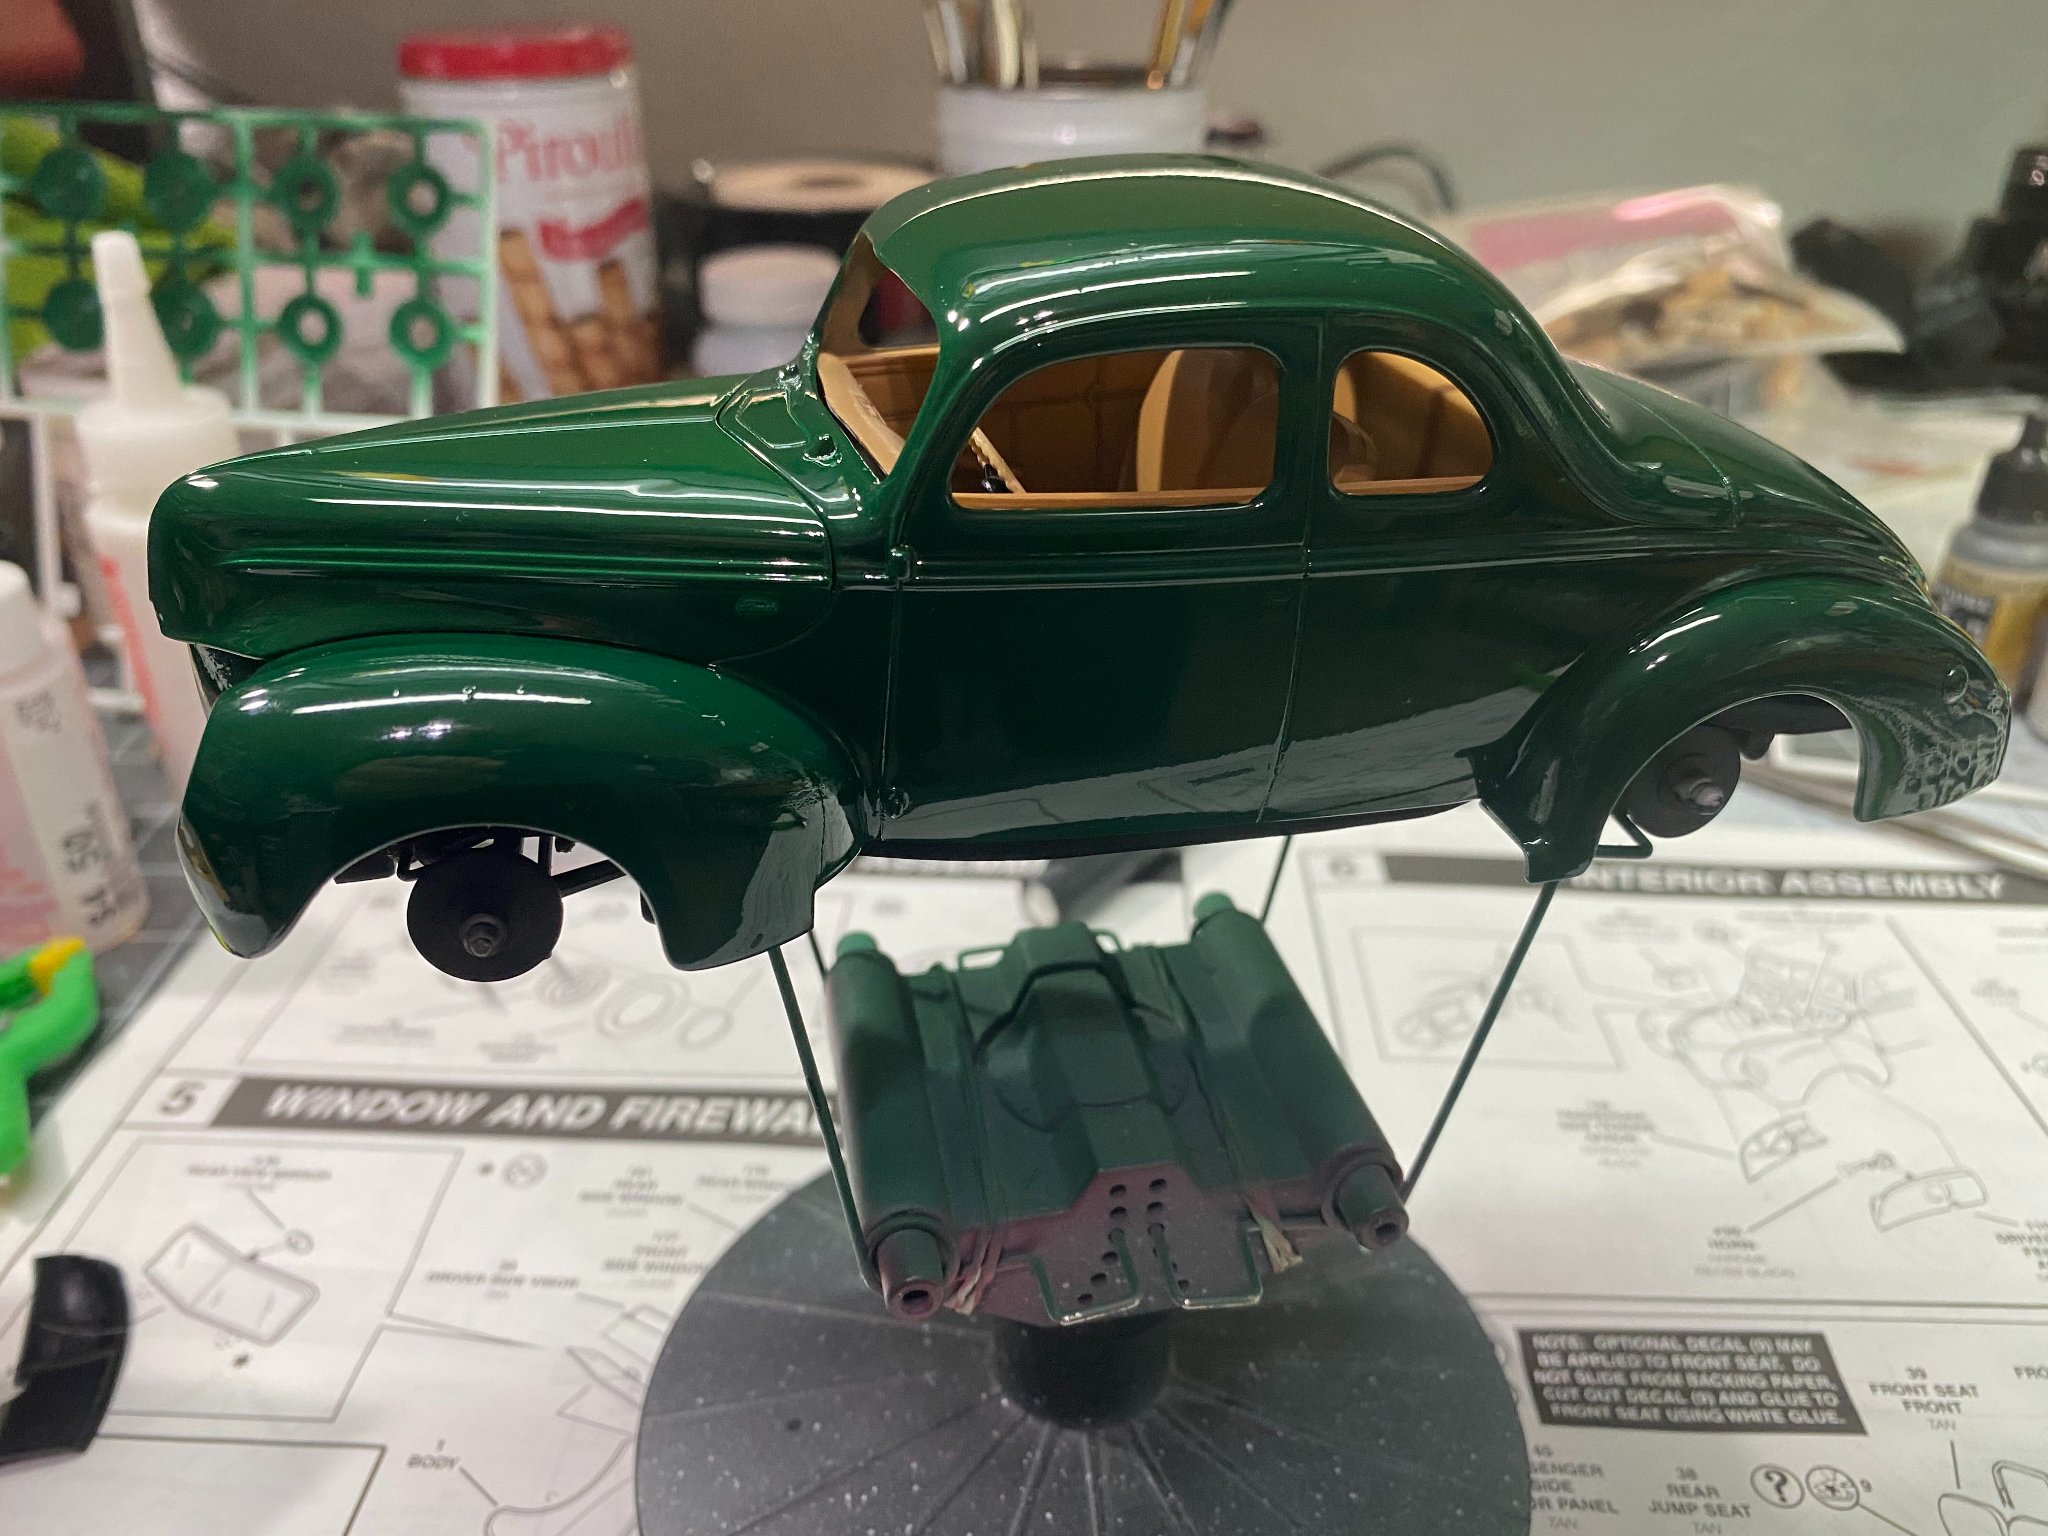
When it cures, I will give it a wet sanding with 1000 grit paper, then buff it out and wax it. I have another identical kit that I plan to do as a street rod. Radius out the rear fenders, fat tires, nice wheels, a souped up V-8 engine, and a set of dual exhaust. I'll name it after a street rod my brother once had and call it "the Shadow".
-
You have quite a bit of time to work with it in your airbrush. At least 45 minutes, probably more. I clean up with standard lacquer thinner.
-
Beautiful work on those guns. At that scale, all I can say is, Wow!
- 179 replies
-
- 8
-
-
- hatsuzakura
- pit road
- (and 2 more)
-
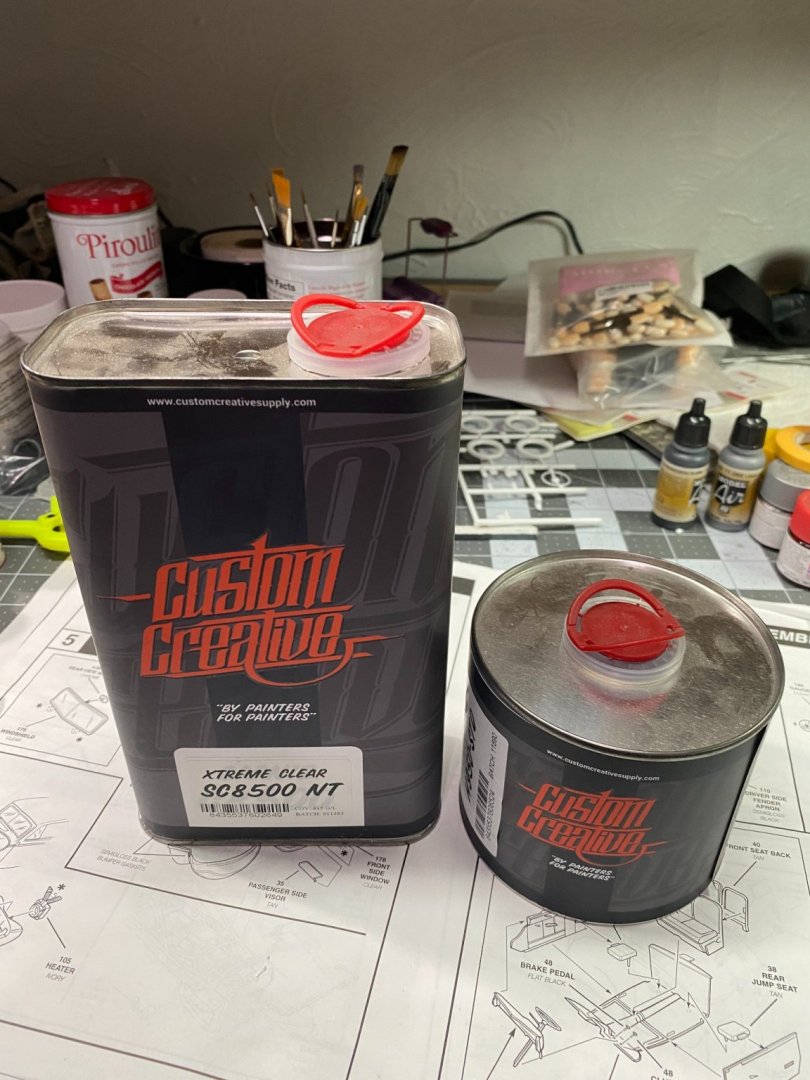
Just a quick word of caution if you ever use 2K clear...you must take precaution not to cross contaminate the clear and the hardener. The slightest amount introduced one to the other will cause the entire batch to harden and end up wasted. Ask me how I know. 😅 Been there, done that, and got the tee shirt.
-
This is the clear coat I used: I buy it from these guys: Air Spray Gun, Airbrush Paint Kit, Paint Compressors - Spraygunner


.jpg.c9998e84901e95d617c2ebd1cfbe28c9.jpg)