CDW
-
Posts
7,725 -
Joined
-
Last visited
Content Type
Profiles
Forums
Gallery
Events
Everything posted by CDW
-

Delahaye 135 by CDW - FINISHED - Heller - 1:24 - PLASTIC
CDW replied to CDW's topic in Non-ship/categorised builds
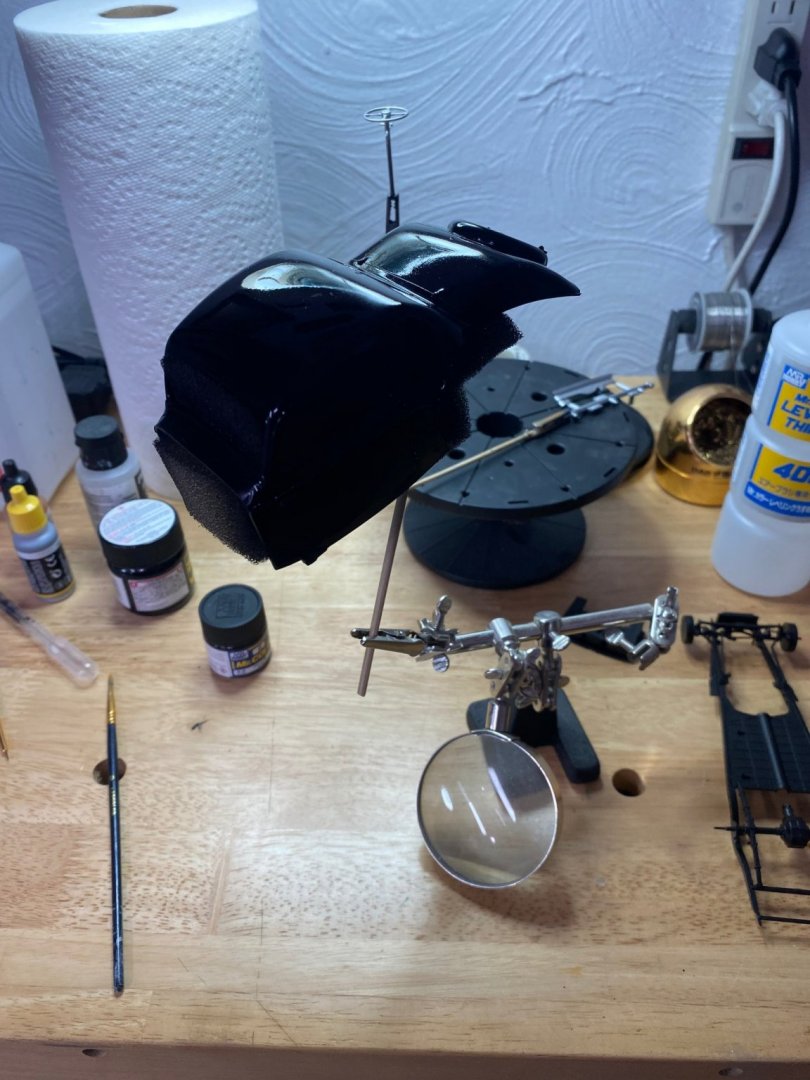
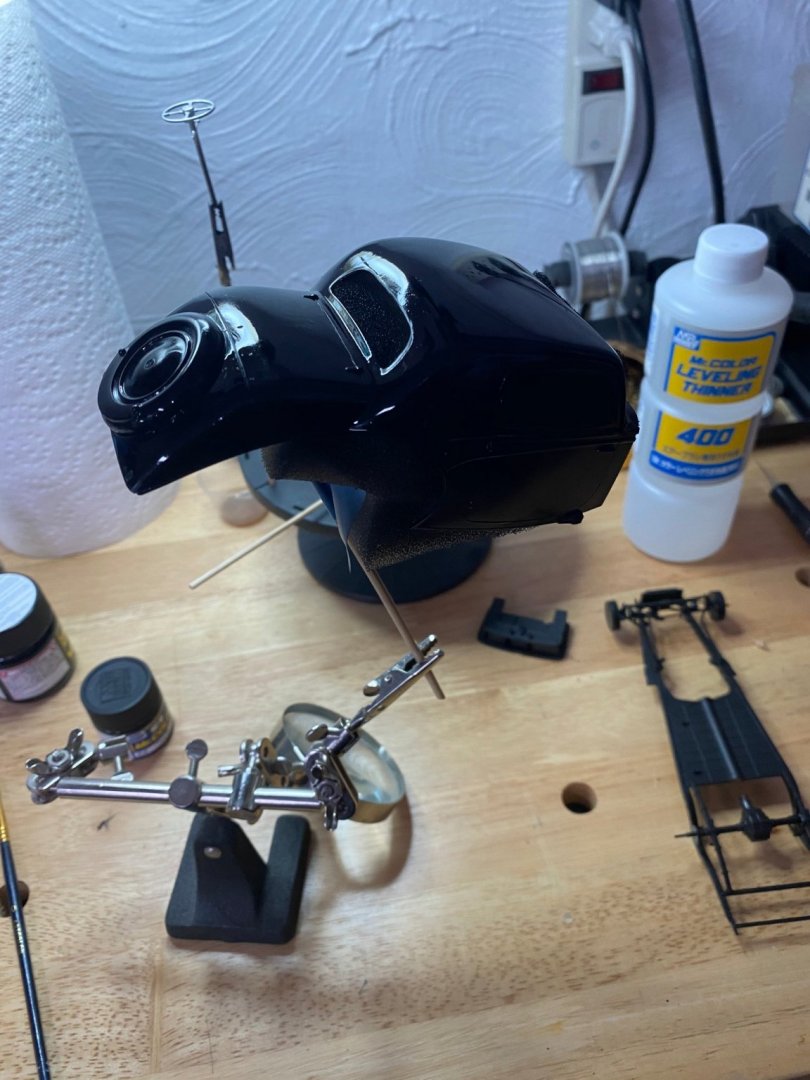
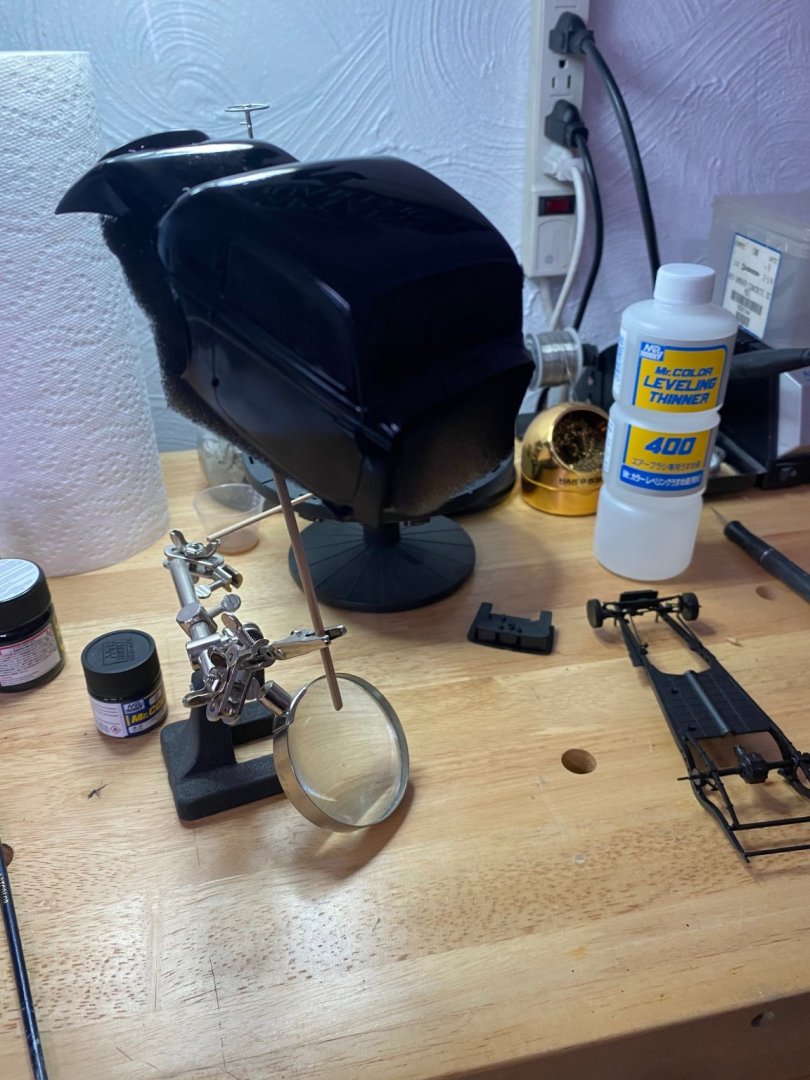
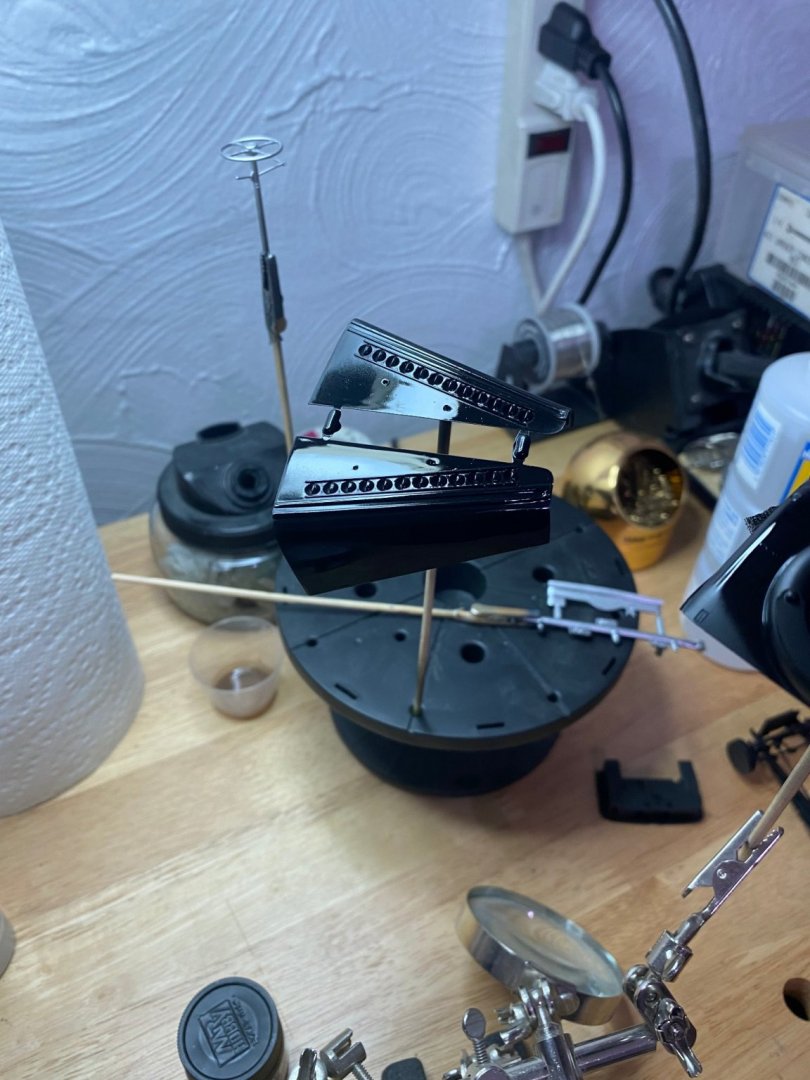
This top coat is Splash paint, the color is Argento Nurburgring. If I remember correctly it's a Ferarri color. Of course, a gloss clear coat goes on top of it all once everything else is finished.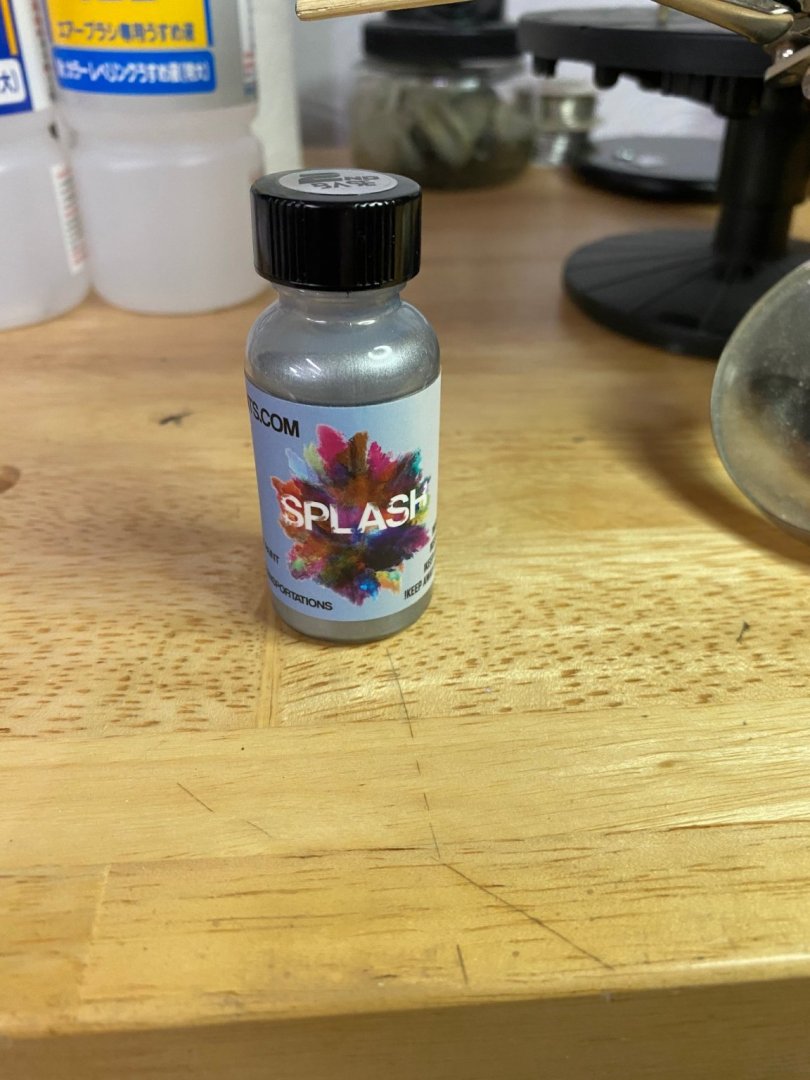
-
Delahaye 135 by CDW - FINISHED - Heller - 1:24 - PLASTIC
CDW replied to CDW's topic in Non-ship/categorised builds
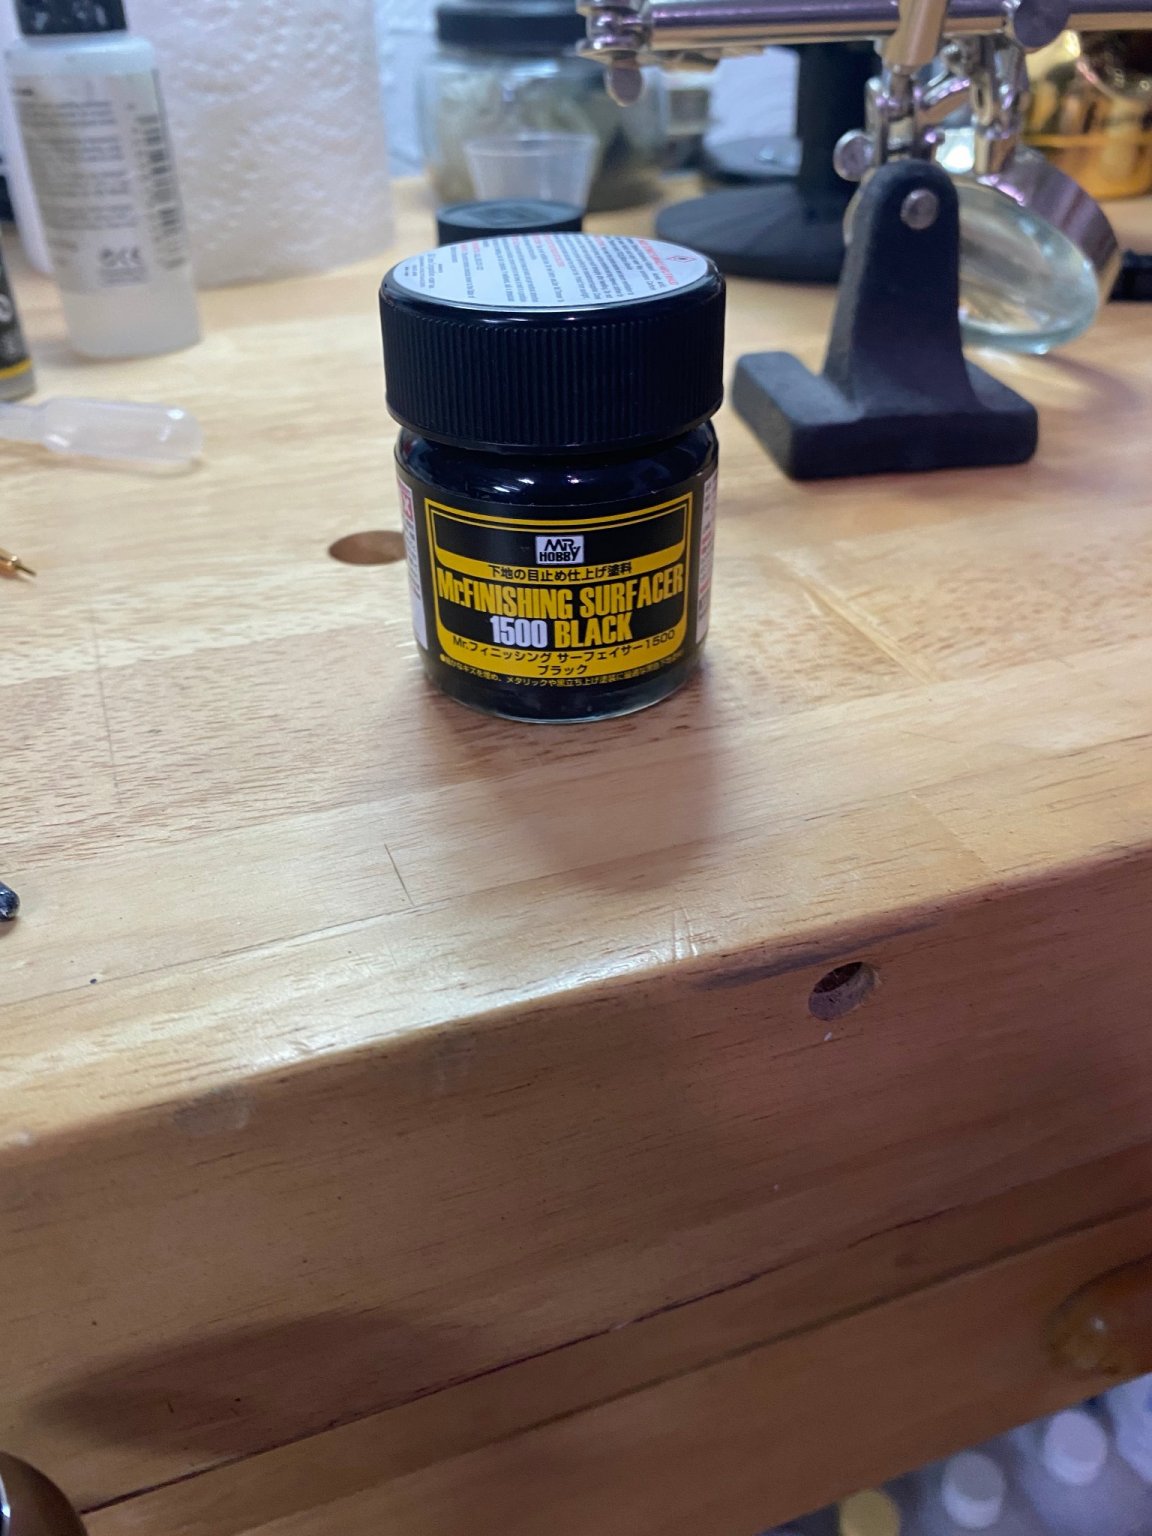
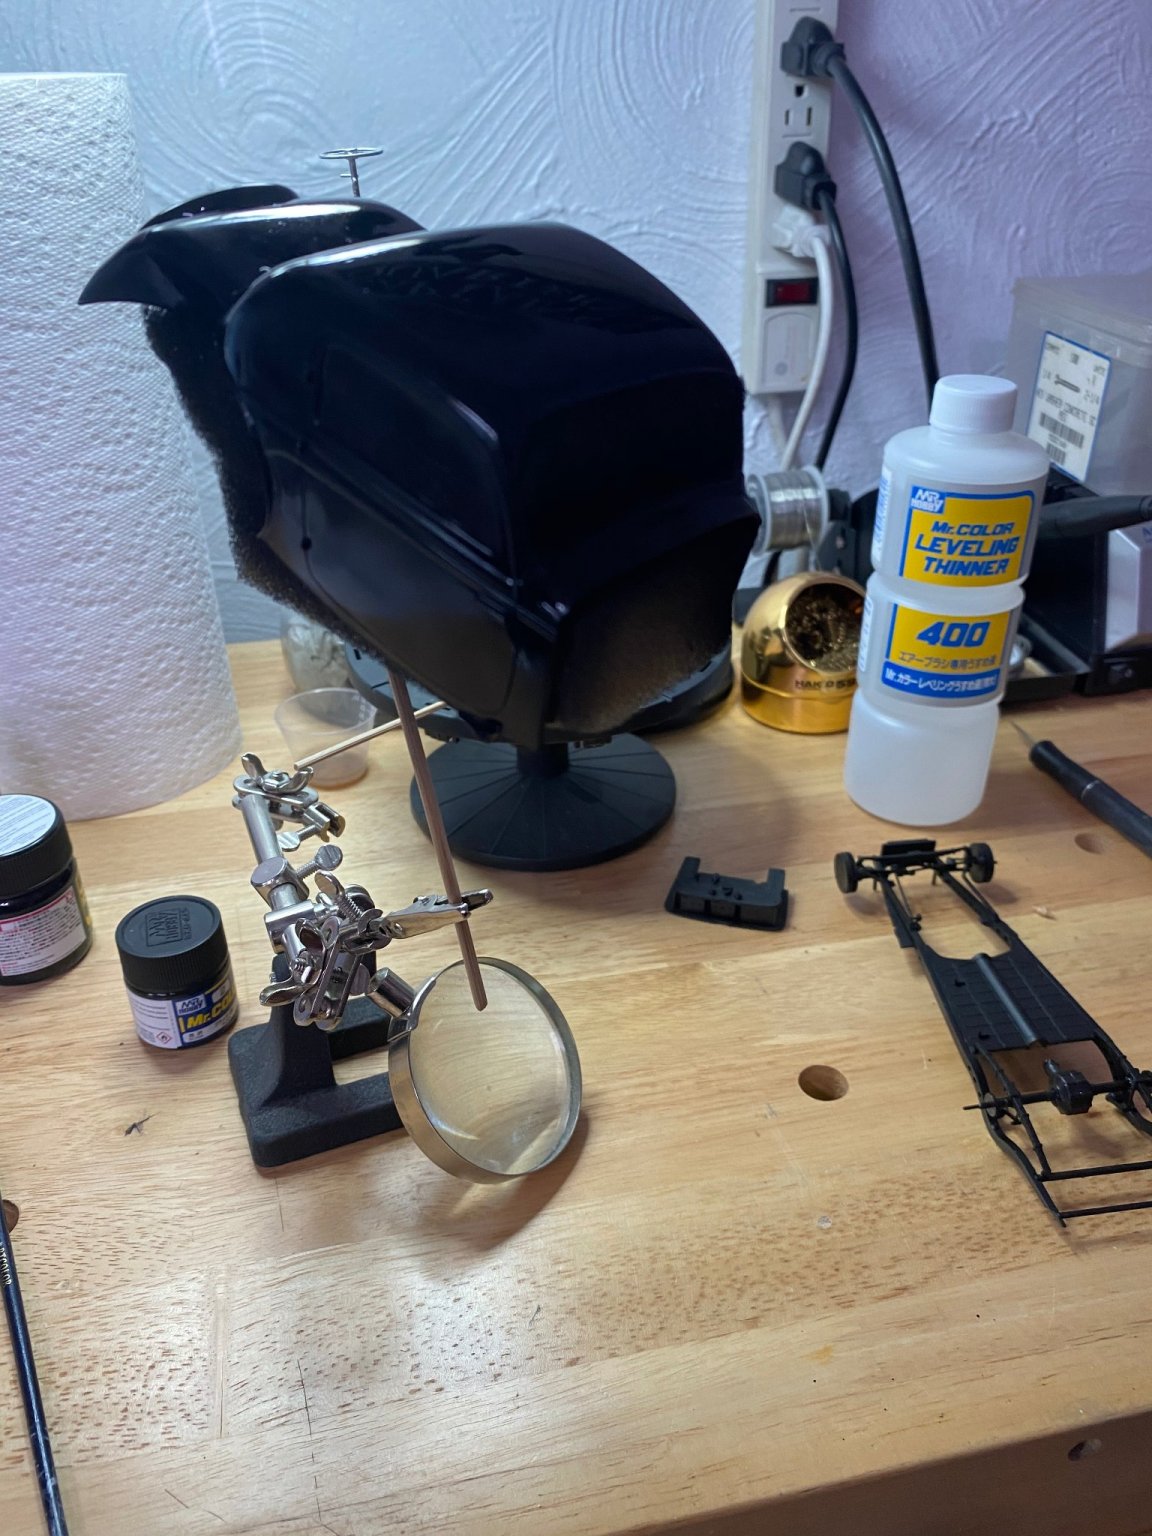
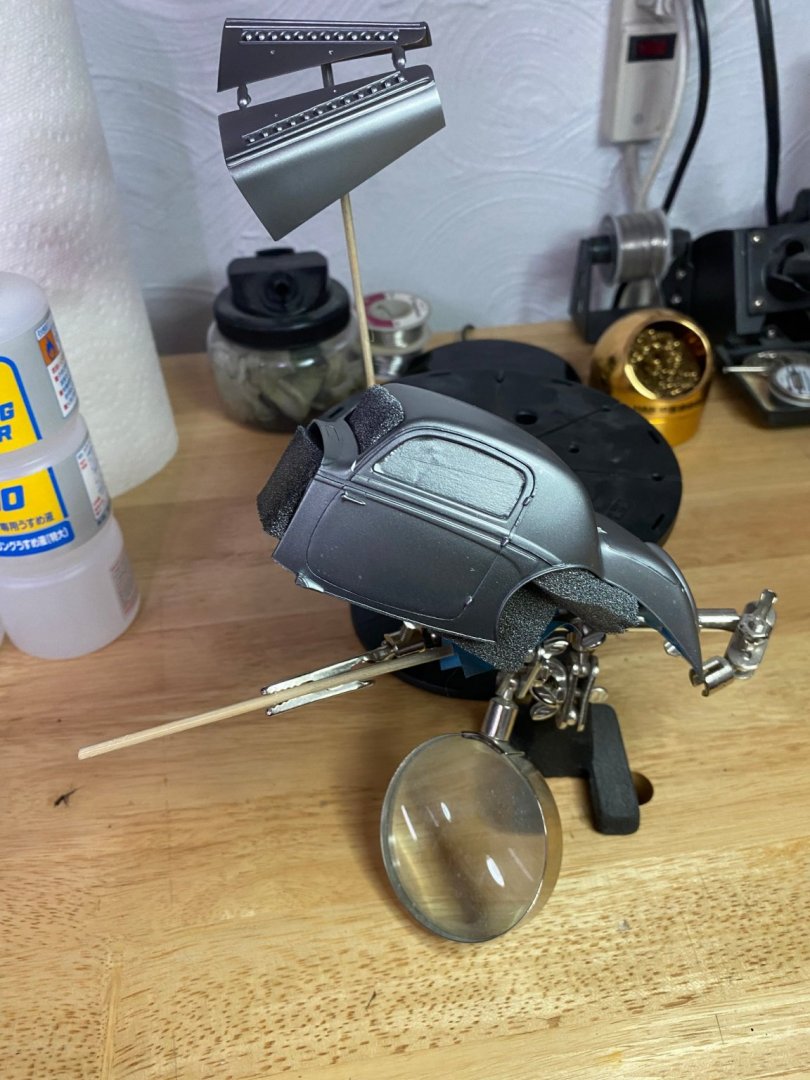
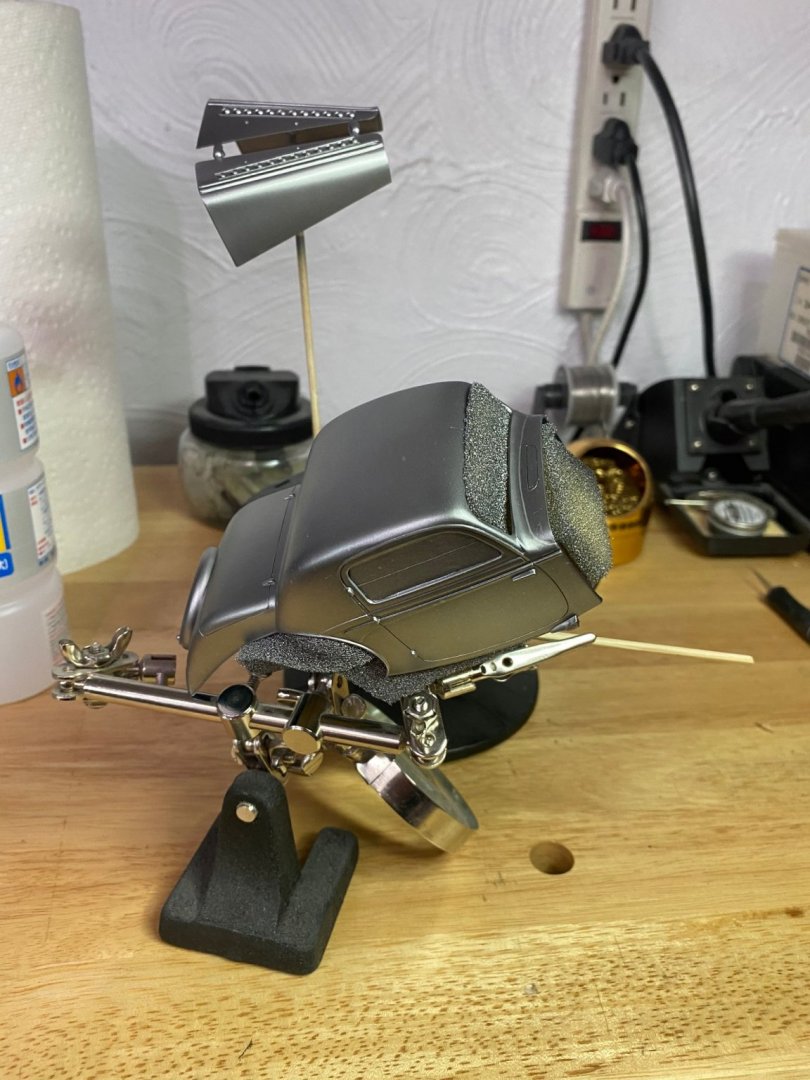
Here I am laying down Mr Surfacer 1500 black primer on the car body. The final color will be silver. For the fr and rr fenders and a stripe that runs down the length of the body, will use a light color Mr Surfacer 1500 primer with a final color of blue.
-
Delahaye 135 by CDW - FINISHED - Heller - 1:24 - PLASTIC
CDW replied to CDW's topic in Non-ship/categorised builds
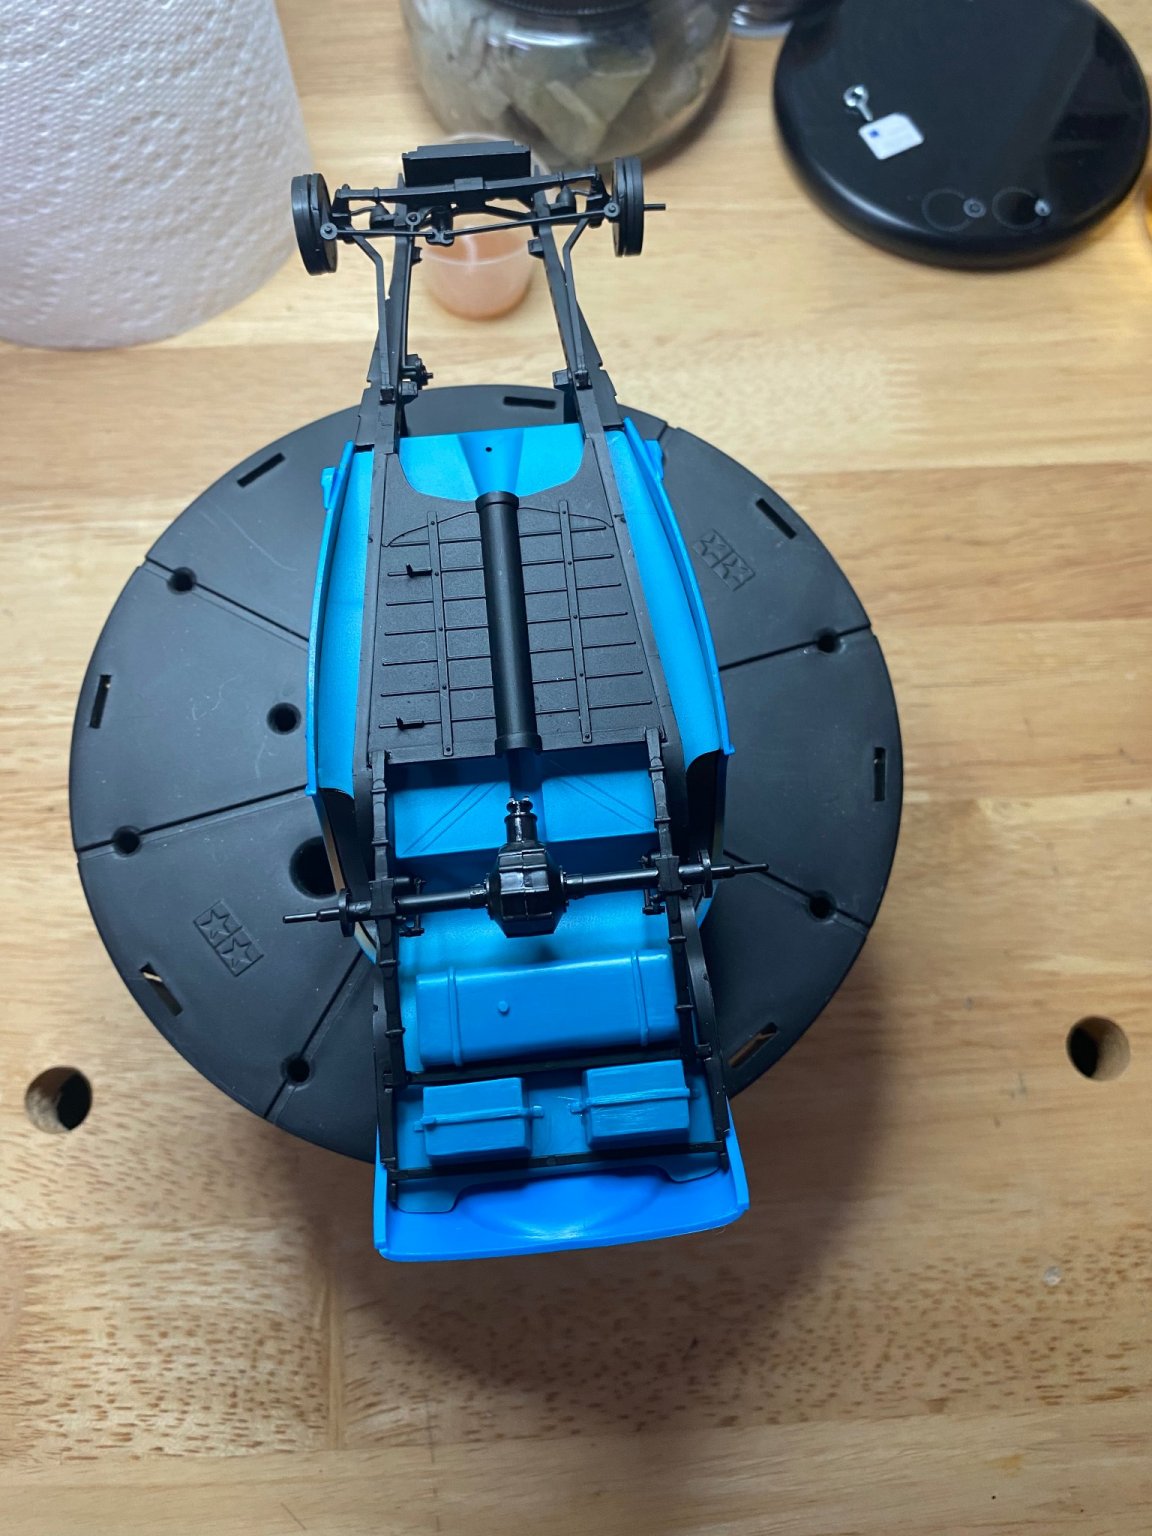
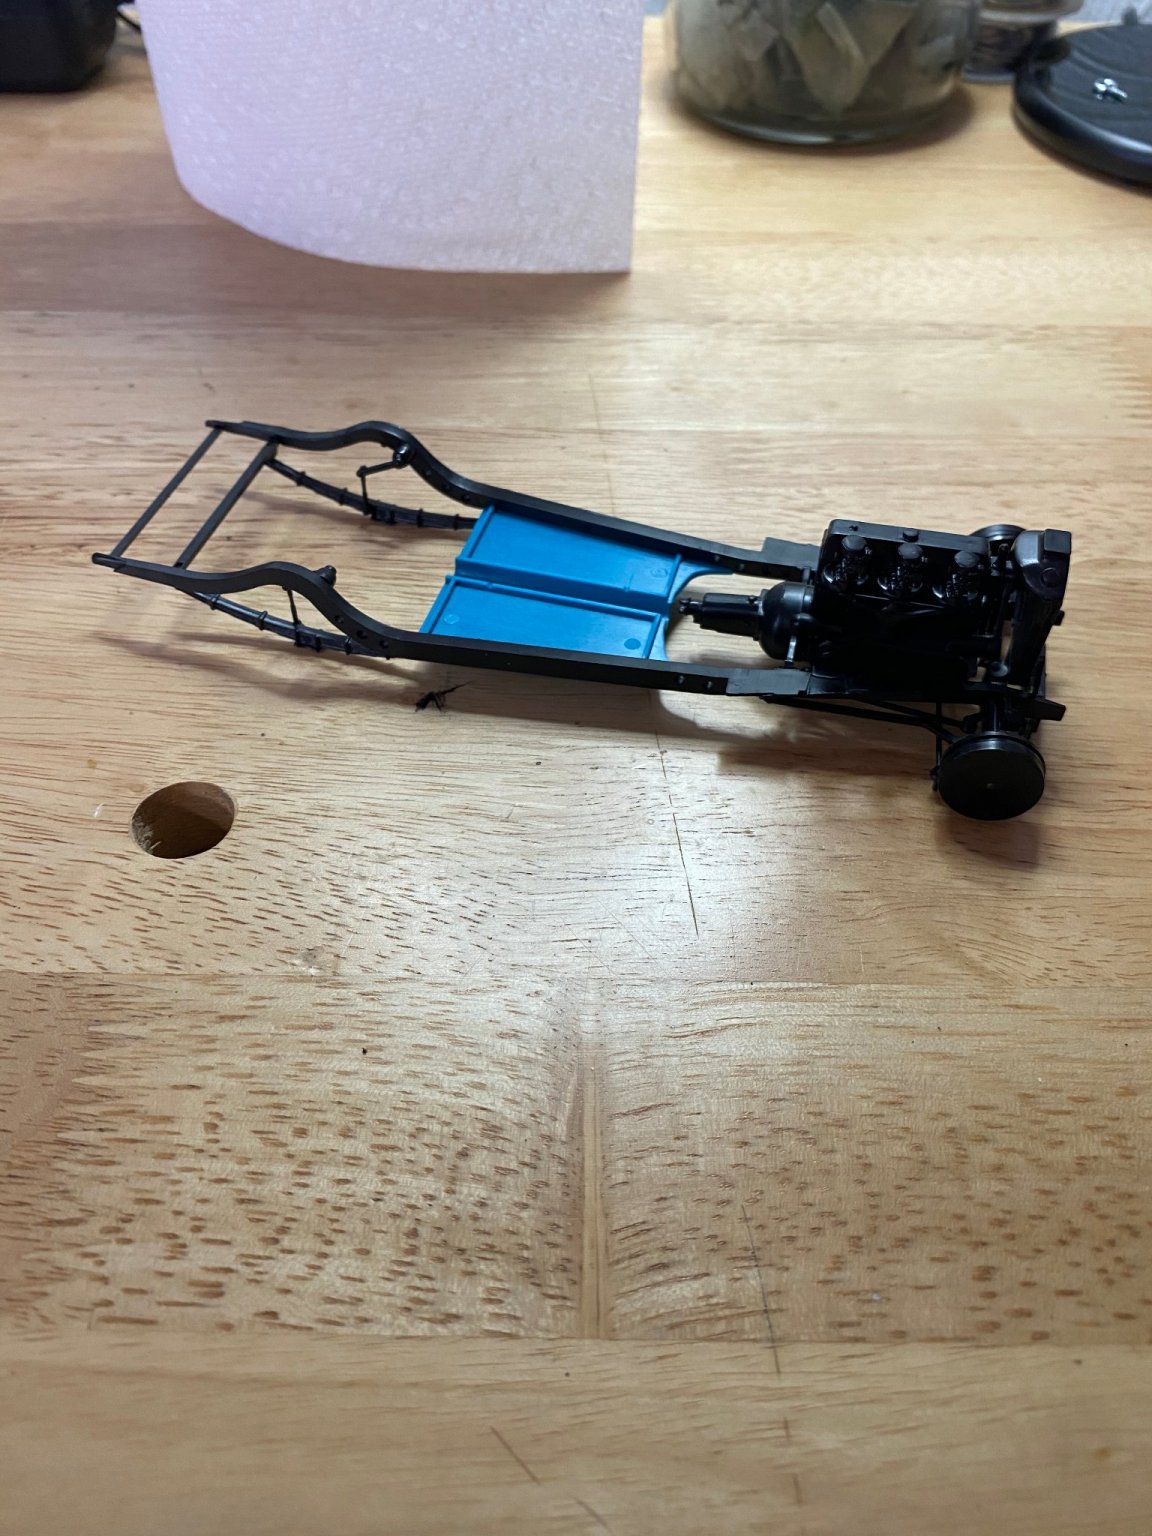
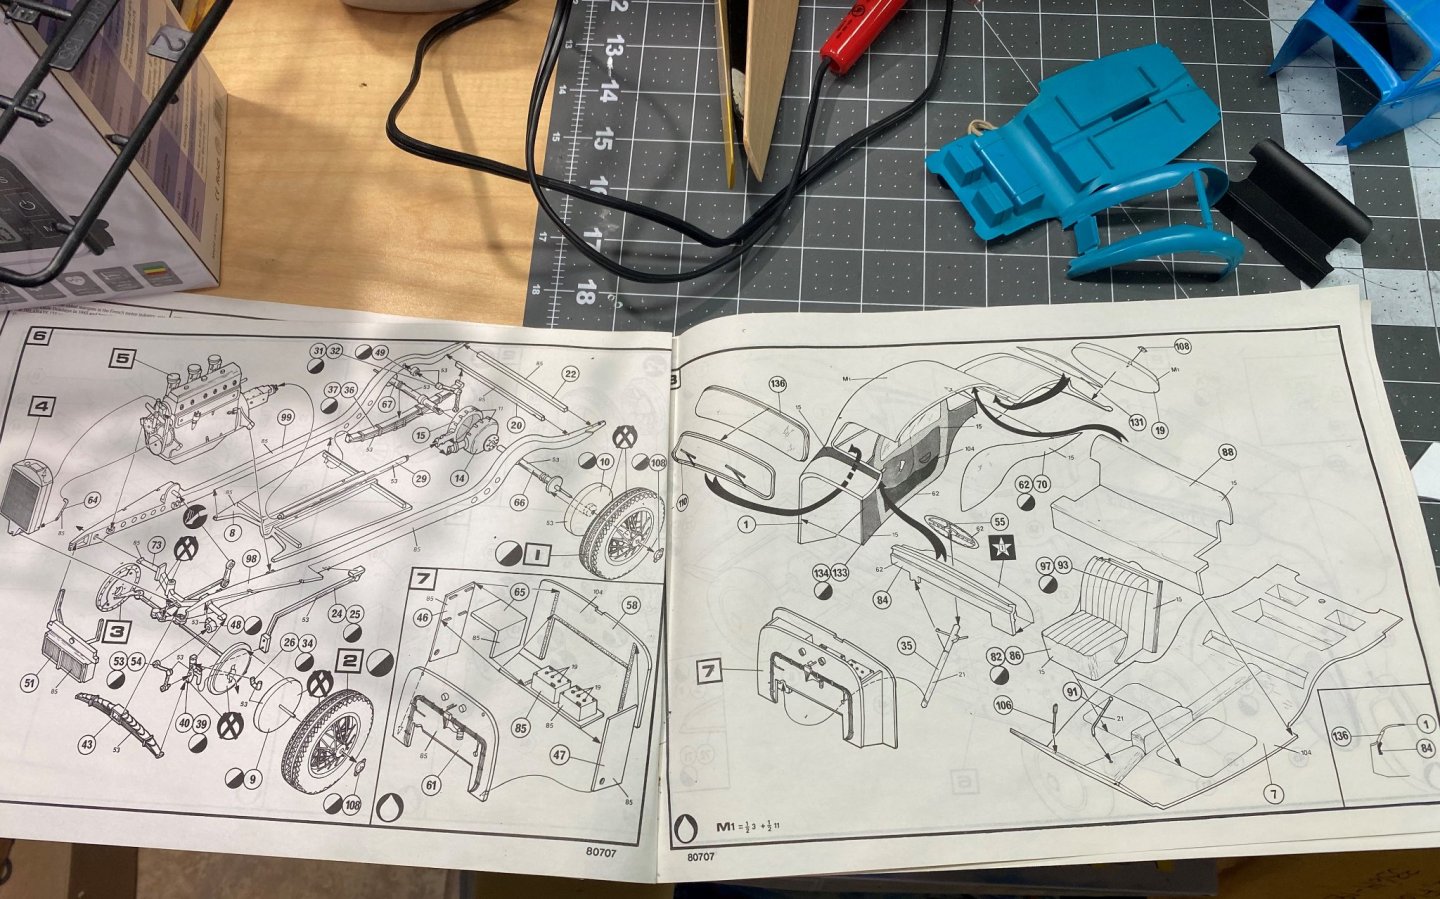
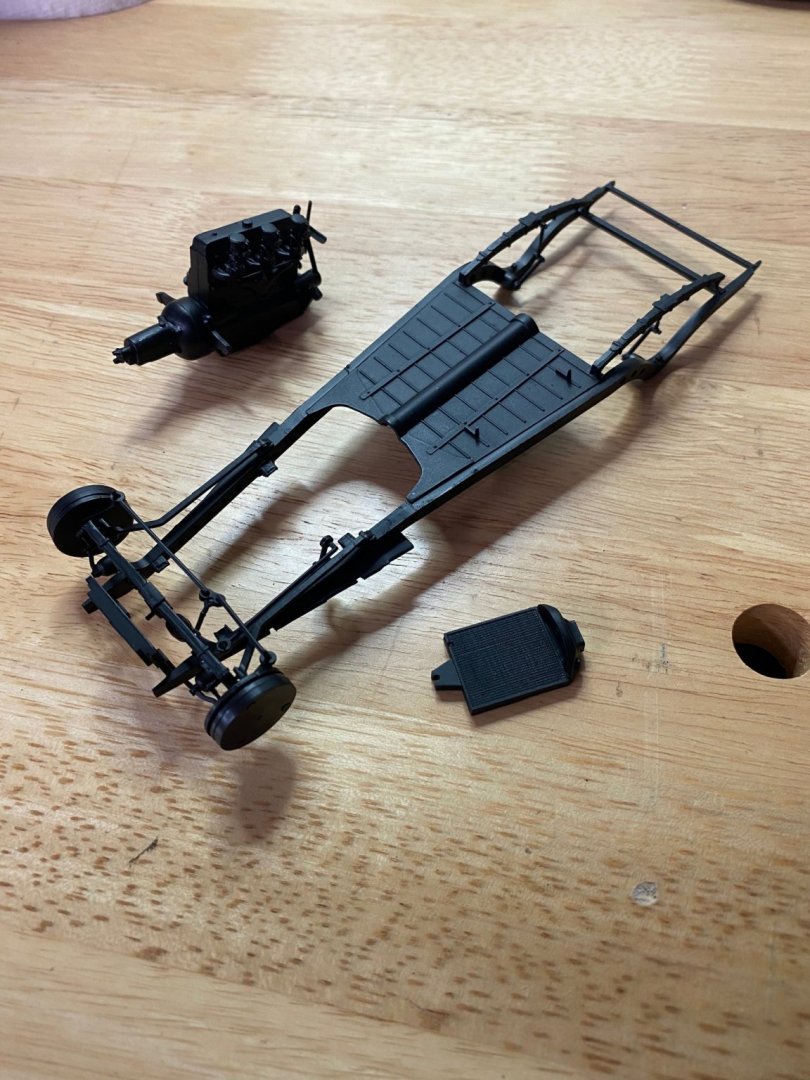
PS: I am also wondering what the two boxes located on the bottom of the chassis behind the fuel tank were used for? They look like battery boxes. -
Delahaye 135 by CDW - FINISHED - Heller - 1:24 - PLASTIC
CDW replied to CDW's topic in Non-ship/categorised builds
I was thinking the same thing about those 2 six volt batteries. There were a lot of times when I wished my old '51 Chevy (my first car) would have had 2 of those batteries instead of 1. Six volt systems were notoriously slow starters and the lights always seemed dim. If I remember correctly, a Nash Metropolitan I once owned also had 2 six volt batteries. They were located under the little rear bench seat. Seems like the Nash batteries were connected in a parallel circuit, but again, my memory may be faulty on that. -
Delahaye 135 by CDW - FINISHED - Heller - 1:24 - PLASTIC
CDW replied to CDW's topic in Non-ship/categorised builds
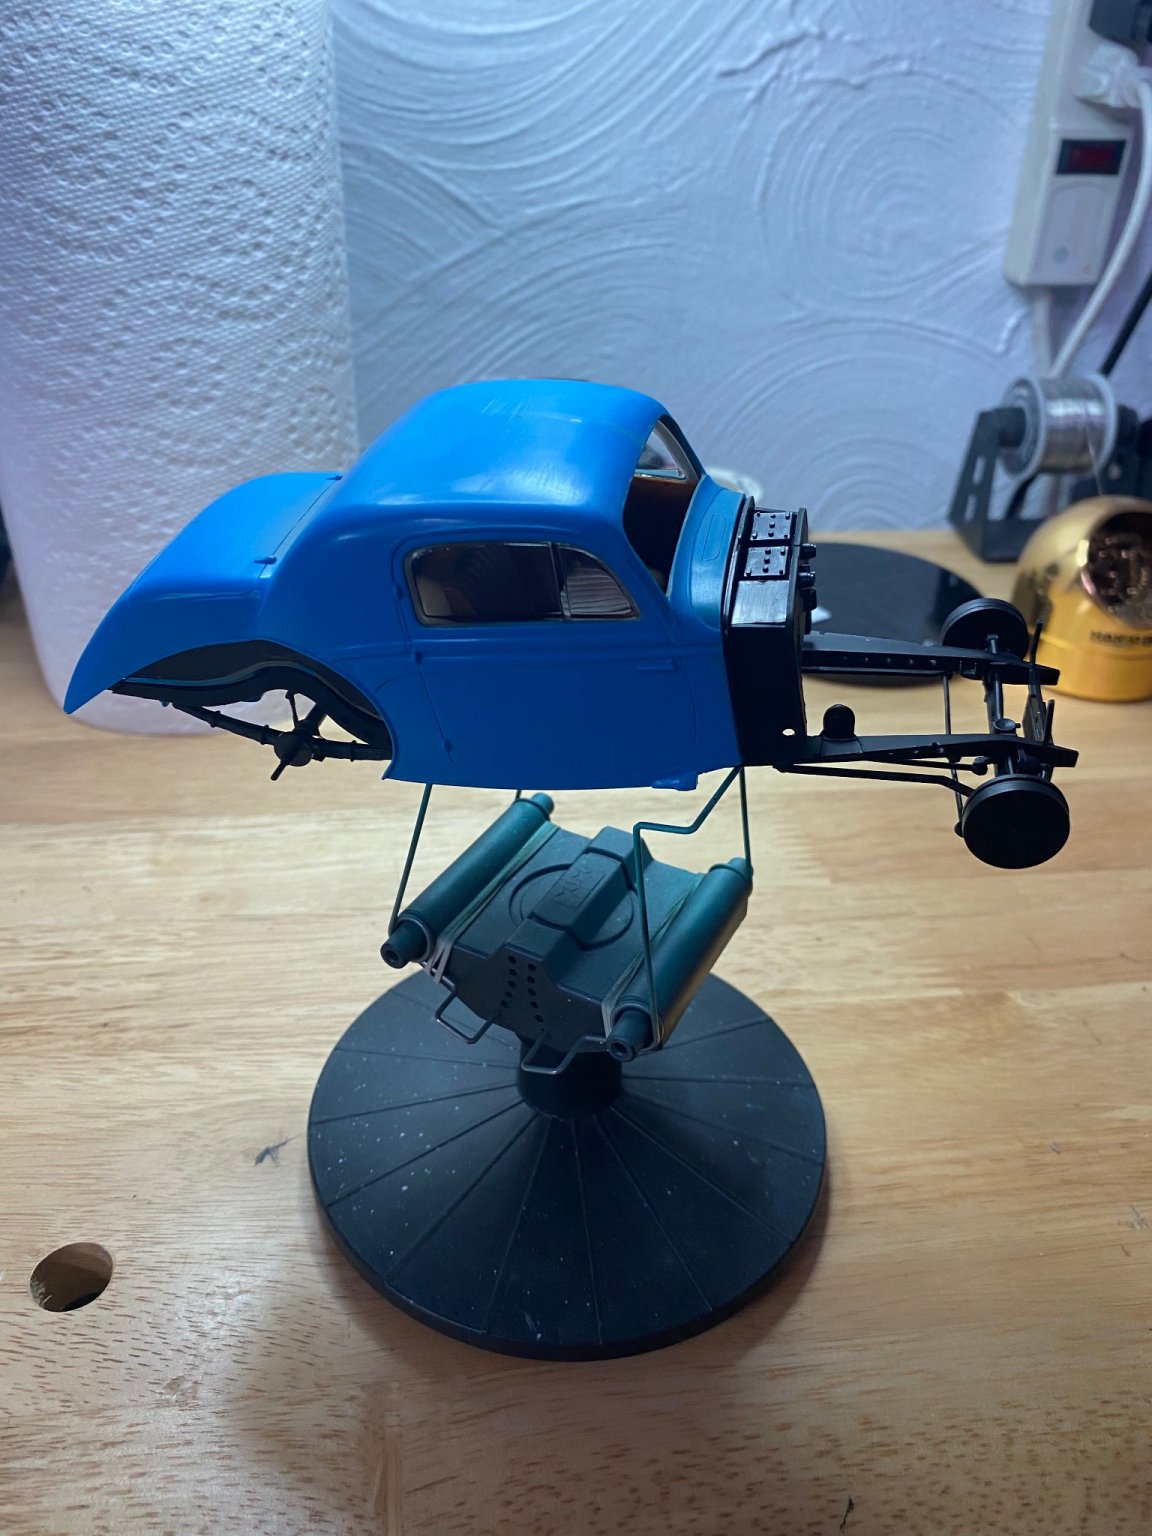
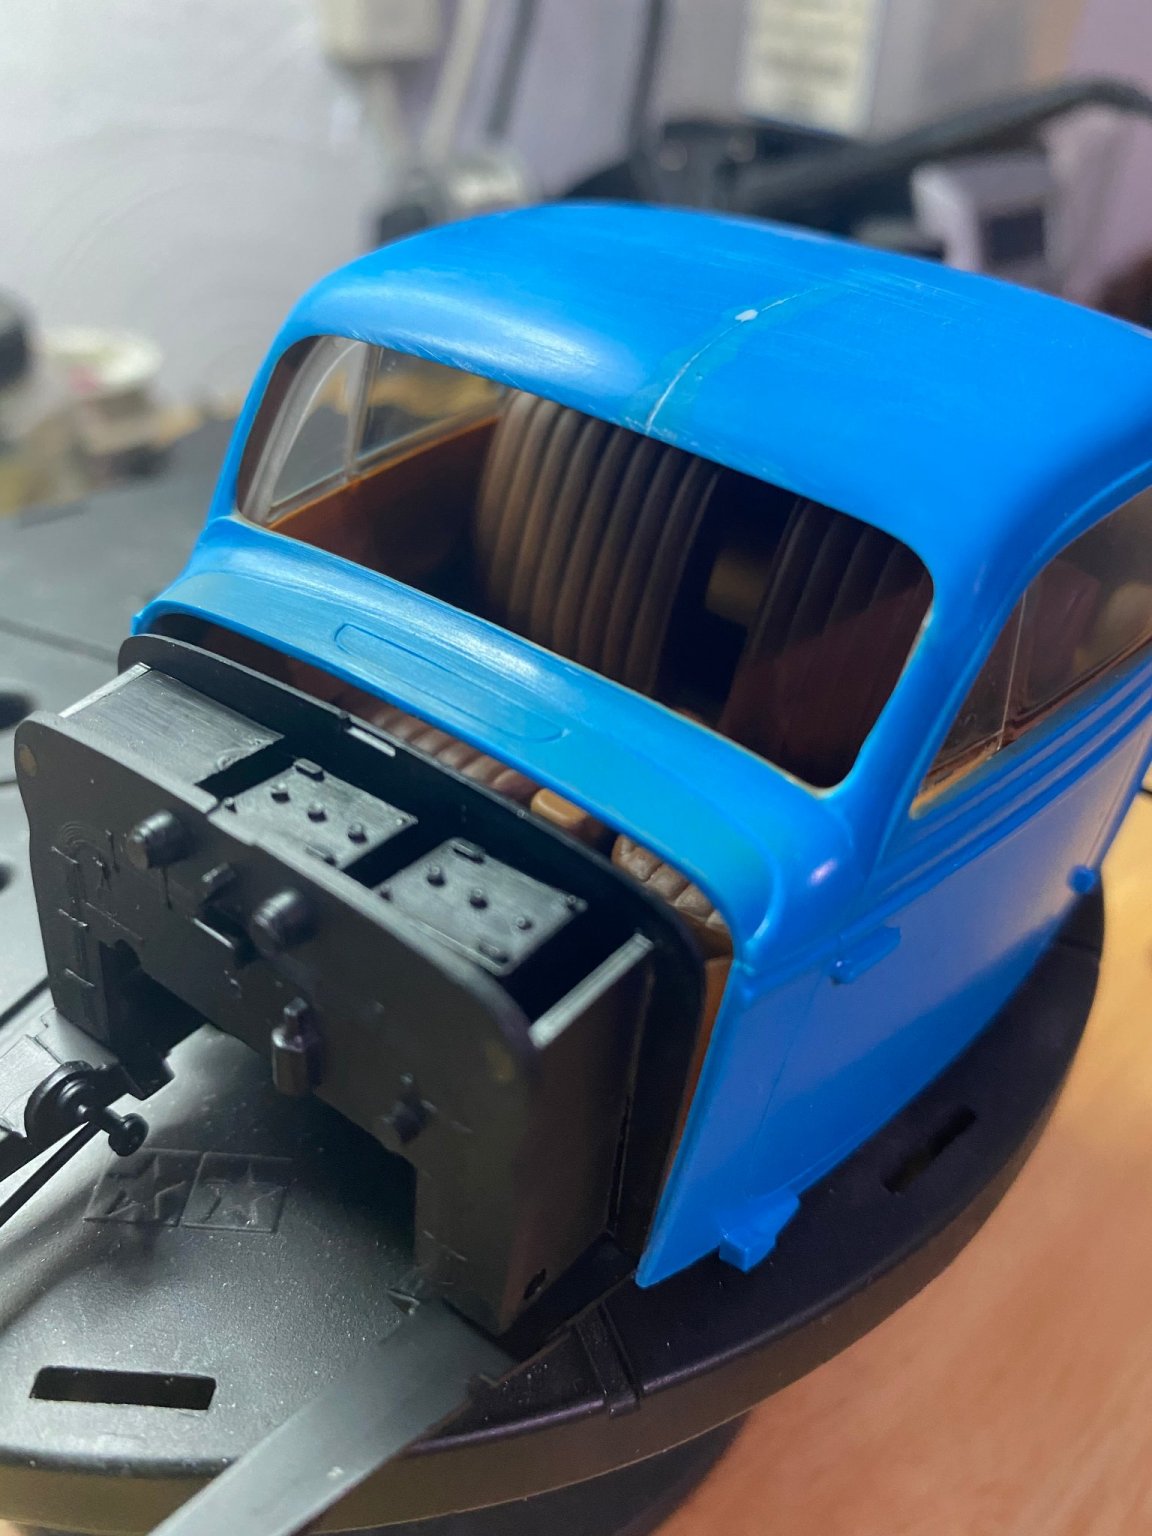
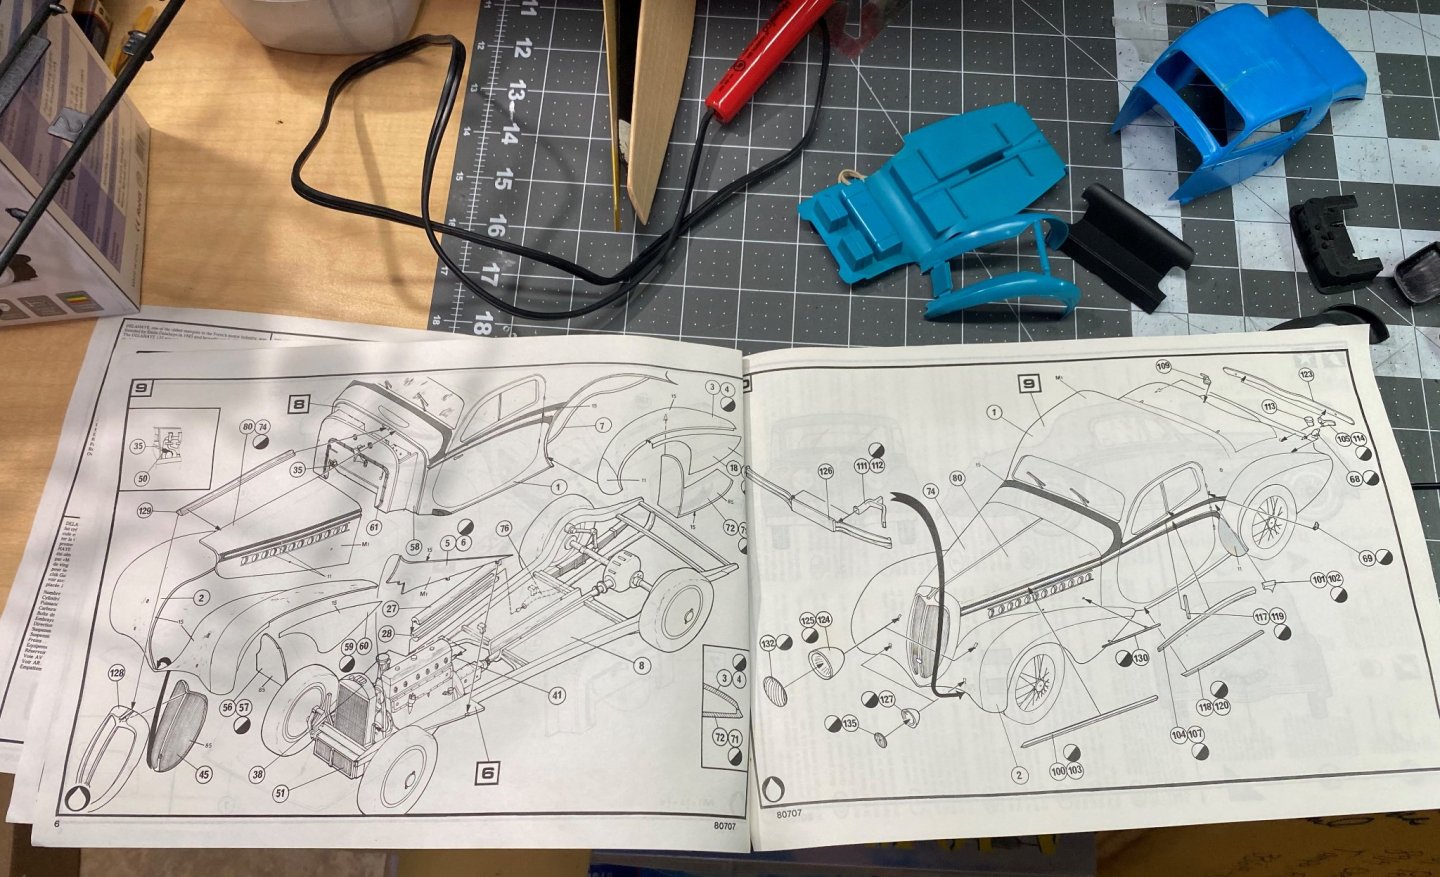
I painted the interior in a basic light brown color with the seats a darker leather brown. I glued the door panels/side windows inside the car body then test/dry fitted it all together before I do some final detail painting in the interior before gluing it all together. As you can see, the interior is not going to be highly visible at all once the model is finished. After gluing the front and rear windshields in place, will have to carefully mask the glass before priming and painting the body.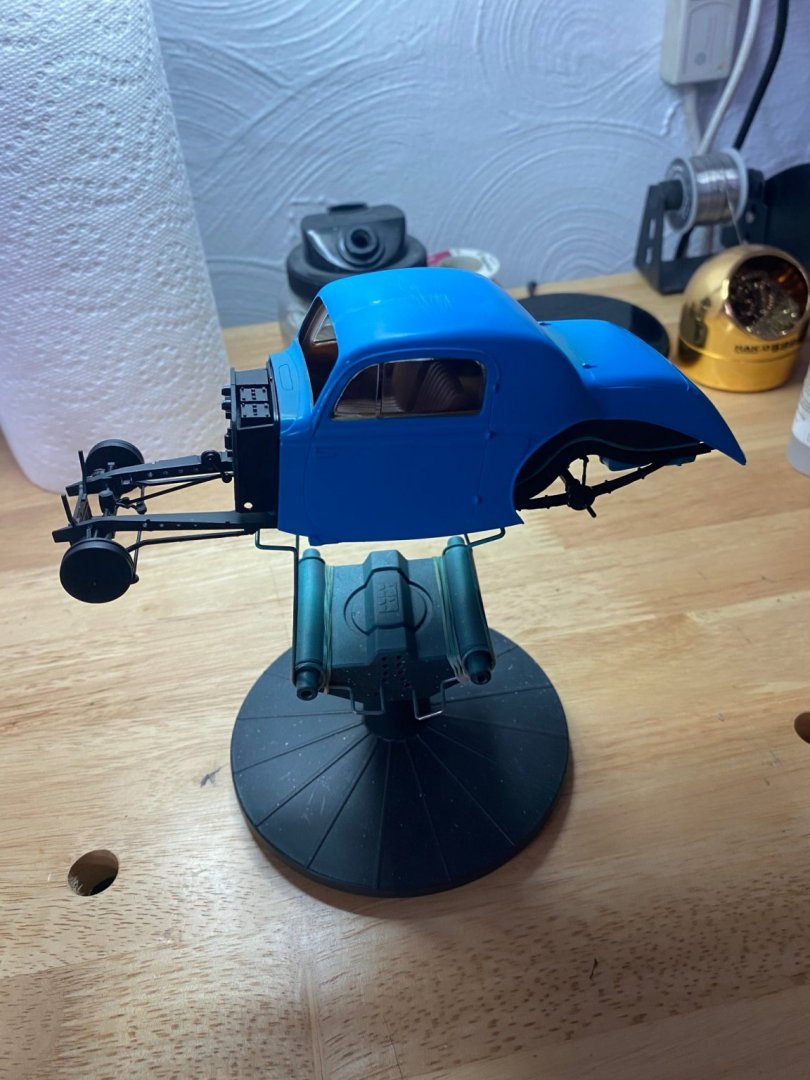


- 85 replies
-
- 11
-

-
Delahaye 135 by CDW - FINISHED - Heller - 1:24 - PLASTIC
CDW replied to CDW's topic in Non-ship/categorised builds
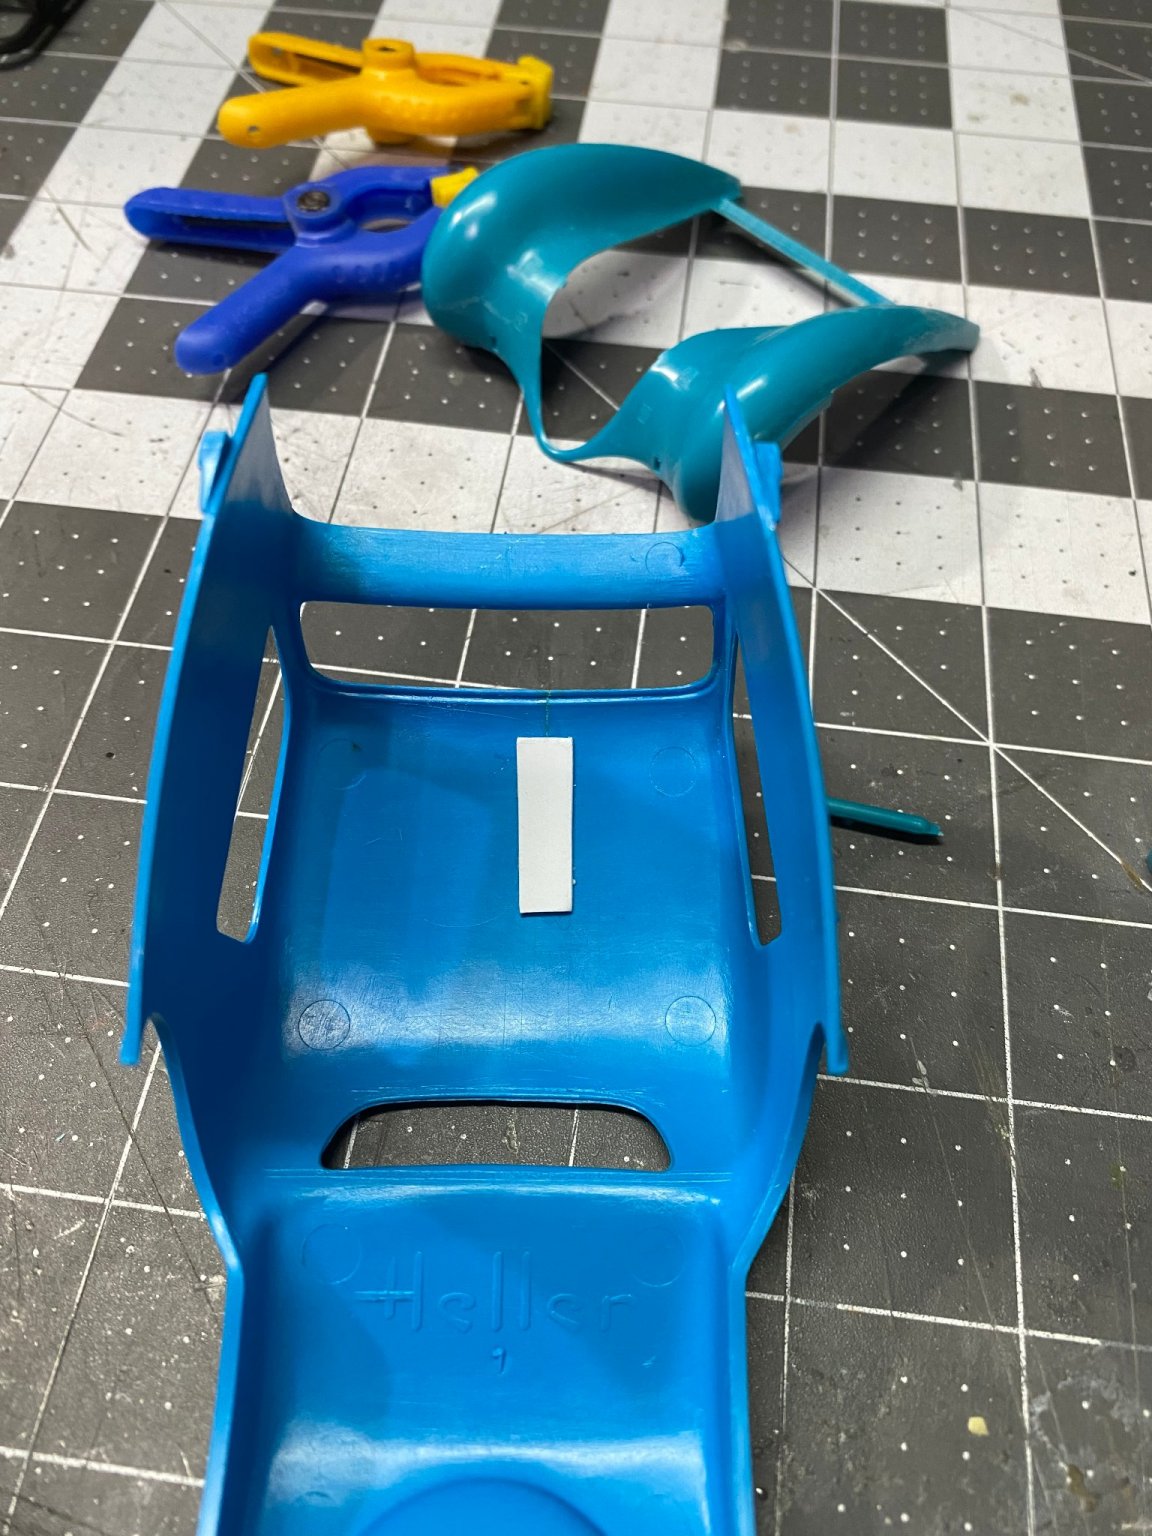
You have to feel your way in the dark with some of this kit's assembly. There are no locator pins so it's trial and error to be certain of the exact positioning of lots of parts. The interior parts along with the fender wells are particularly fiddly. It's interesting how they used the various colors of plastic to mold the kit parts. Not a whole lot of rhyme or reason to it. -
Delahaye 135 by CDW - FINISHED - Heller - 1:24 - PLASTIC
CDW replied to CDW's topic in Non-ship/categorised builds
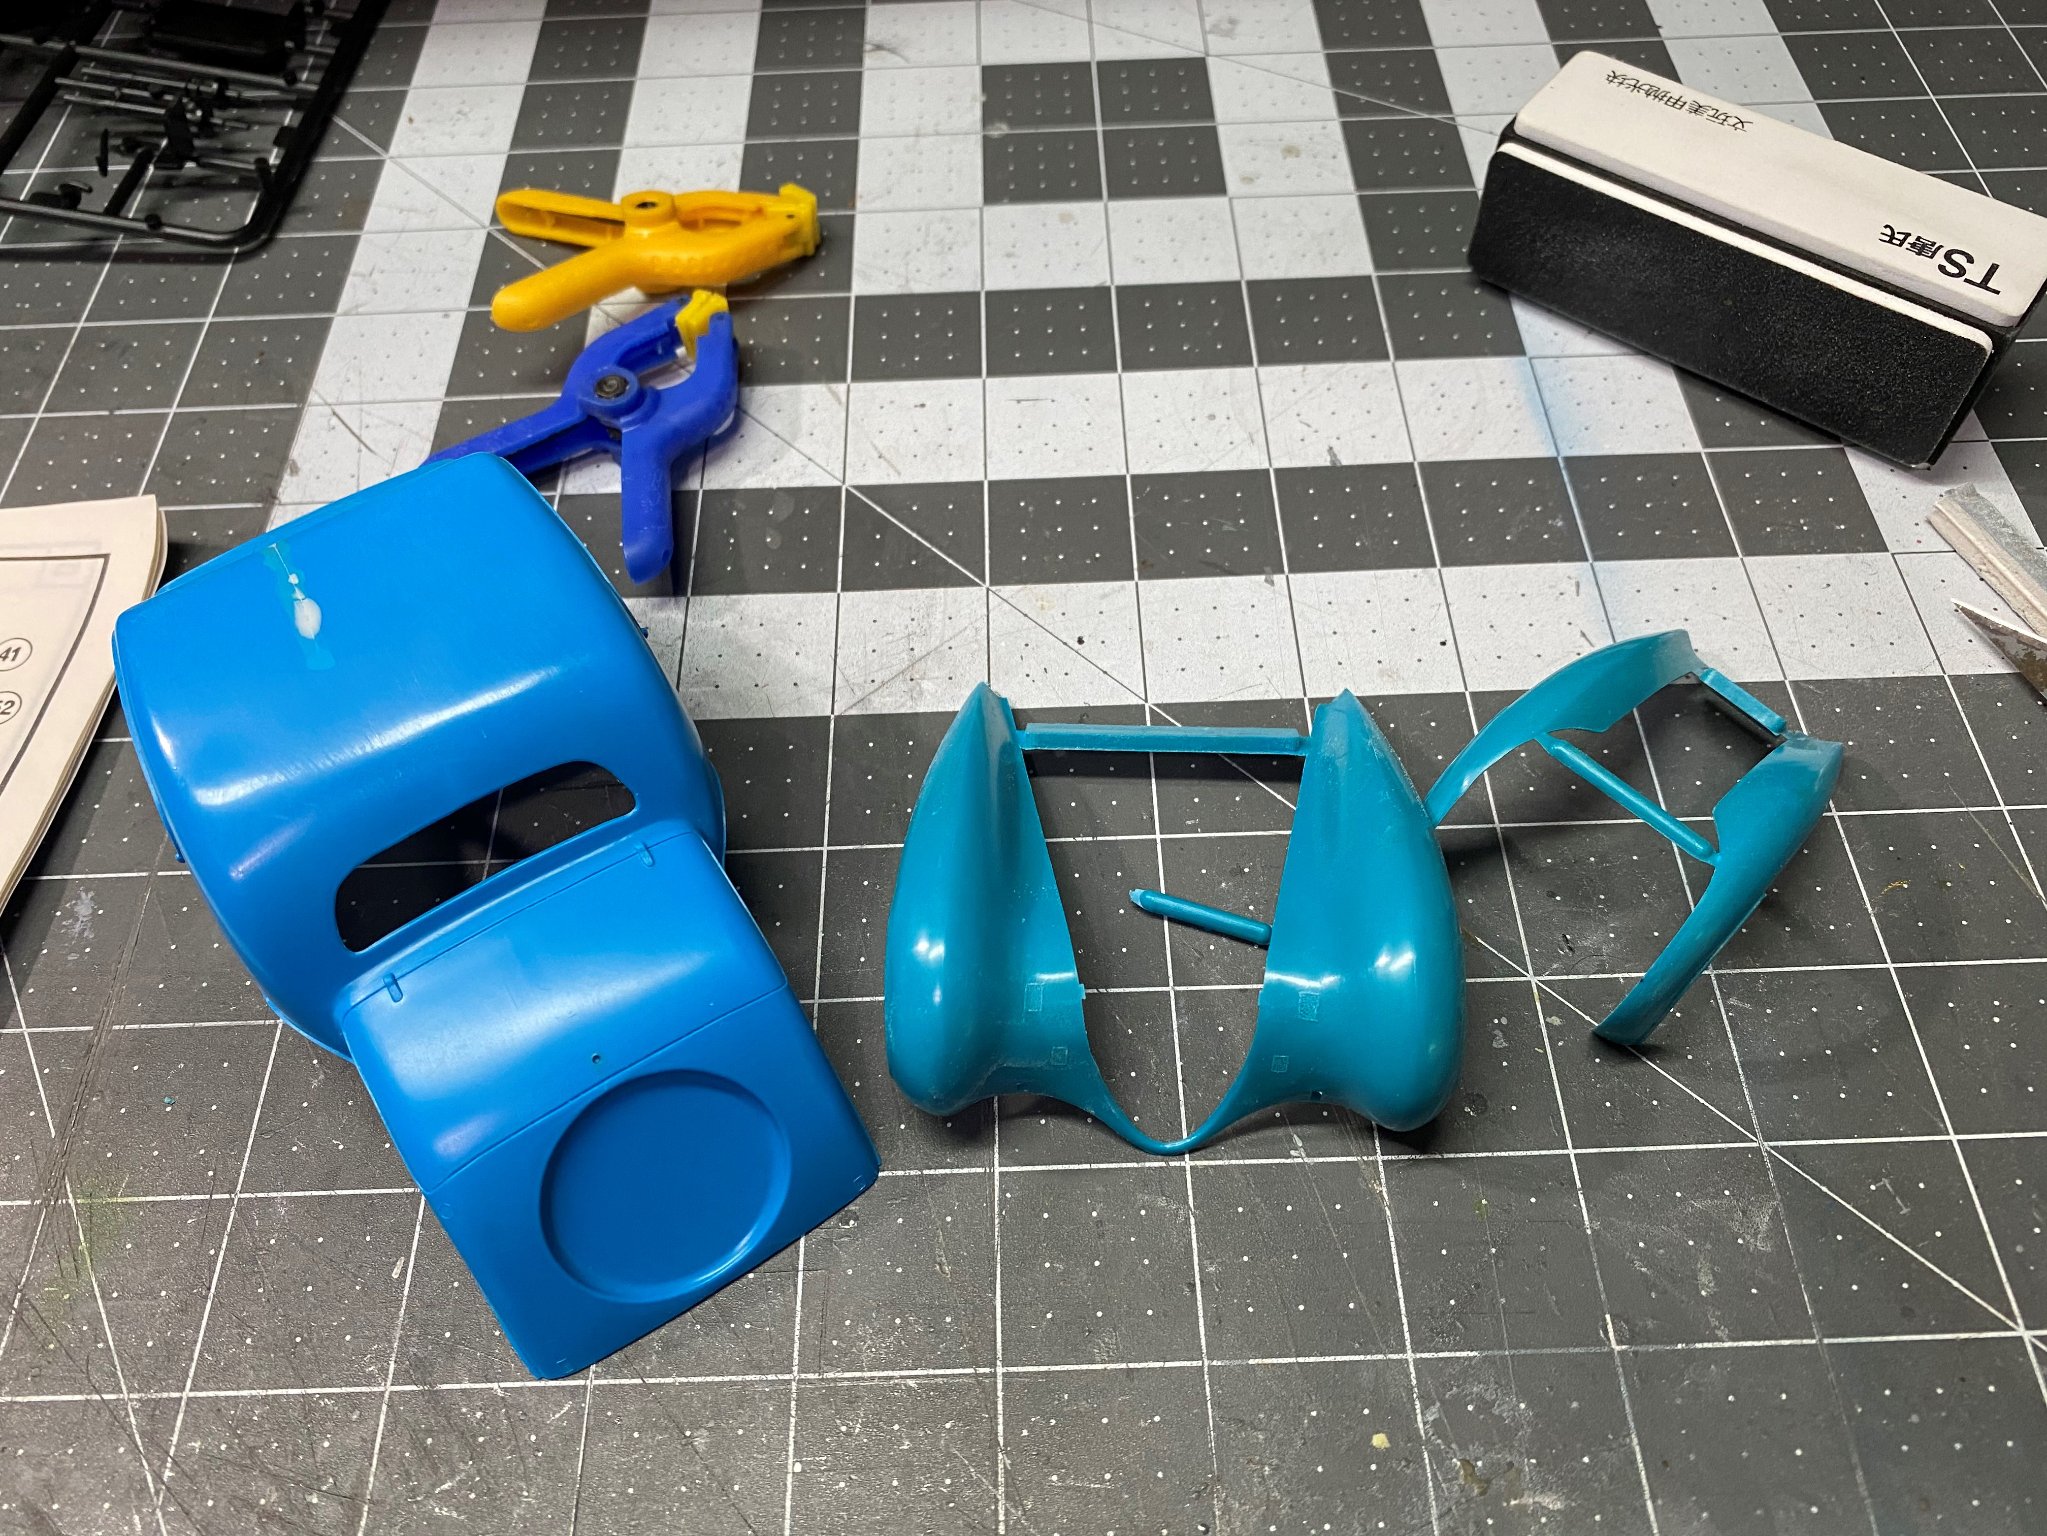
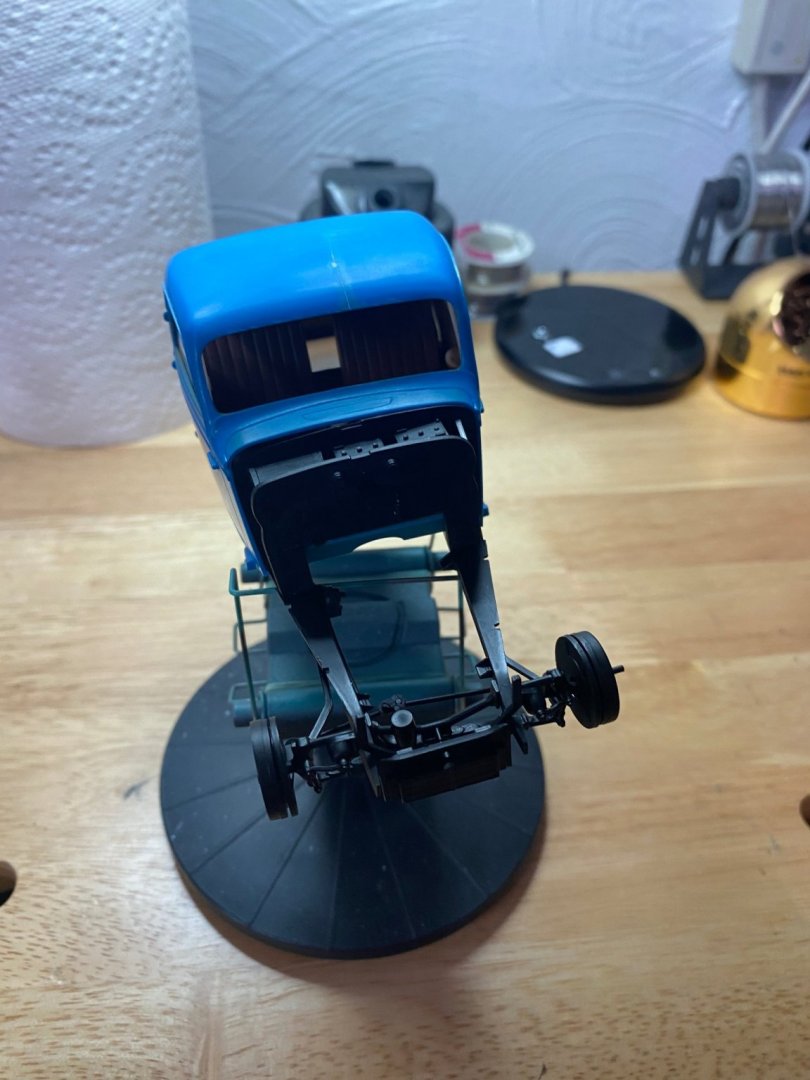
Yes, the alignment did need a little tweak. I think I got it about as close as it's going to get. I keep looking and thinking about about the assembly and painting of the interior, the fender wells, and body of the car. This one is going to be a little tricky. The interior door panels are molded as one piece along with the side windows in clear plastic. I'm going to need to get the whole interior assembled and painted before I paint the body, and I will need to have the fenders and fender wells assembled with the body. Part of the rear fender wells are attached to the interior parts. I'll figure it out, just need to take my time and not rush through it.
- 85 replies
-
- 11
-
-
Delahaye 135 by CDW - FINISHED - Heller - 1:24 - PLASTIC
CDW replied to CDW's topic in Non-ship/categorised builds
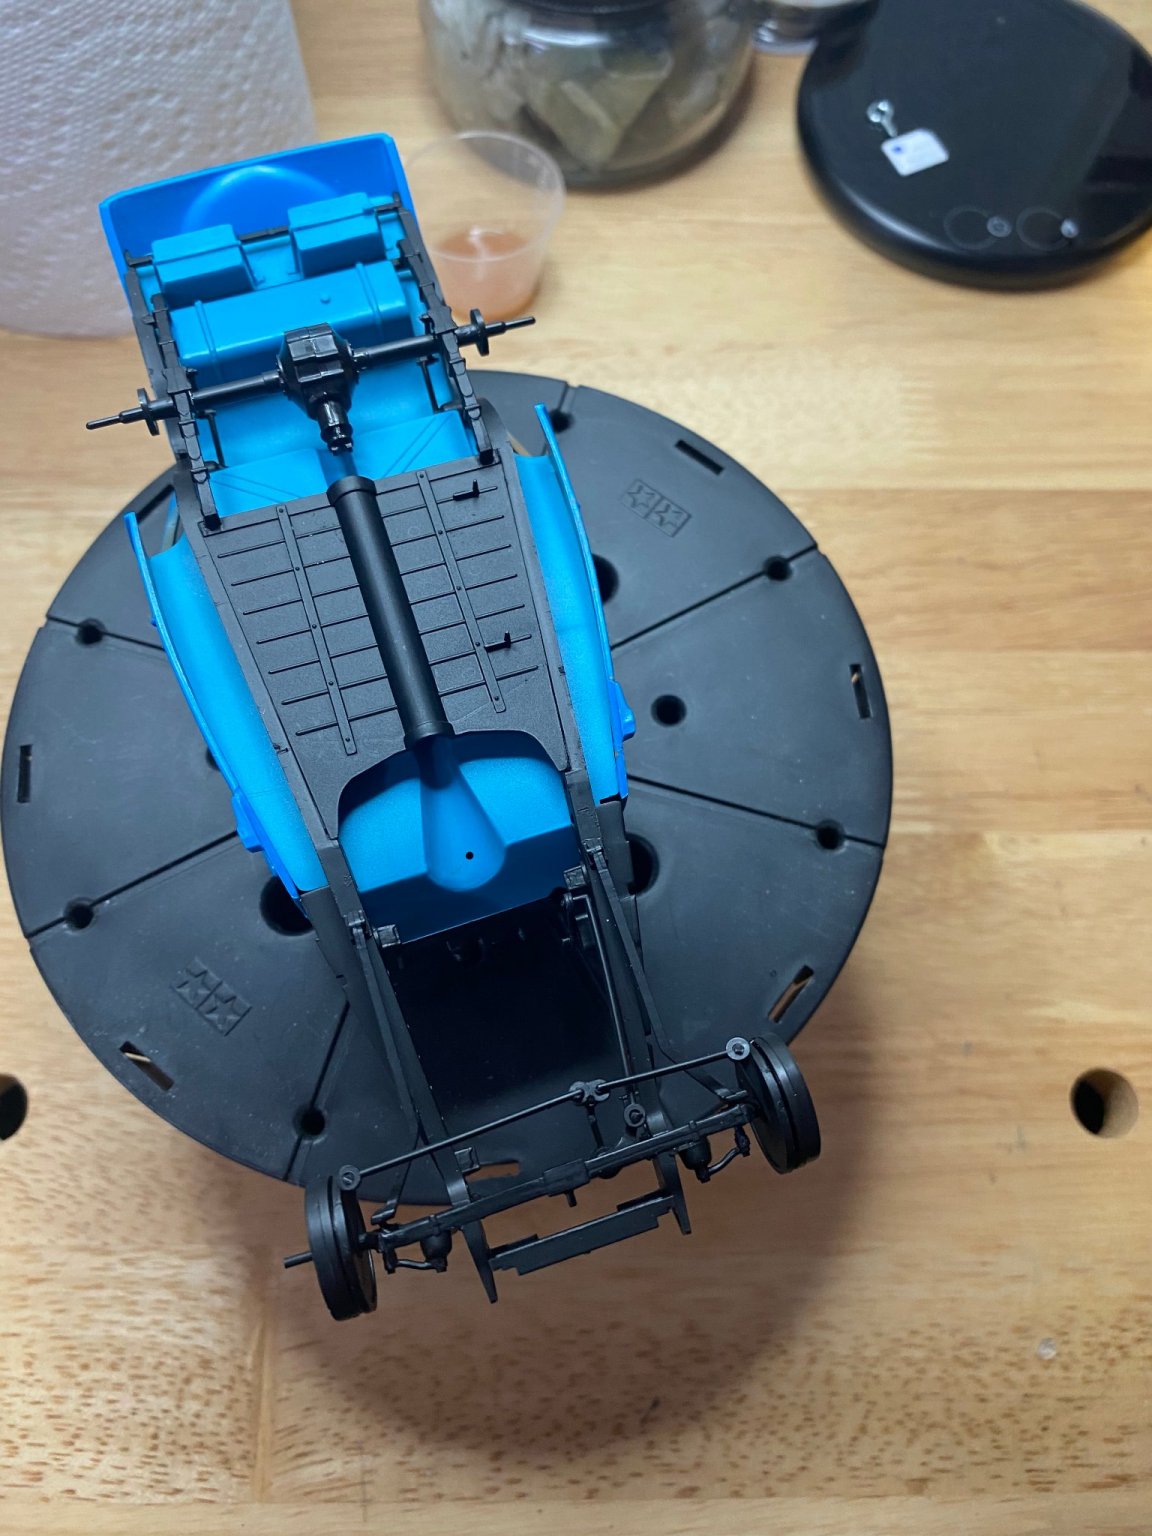
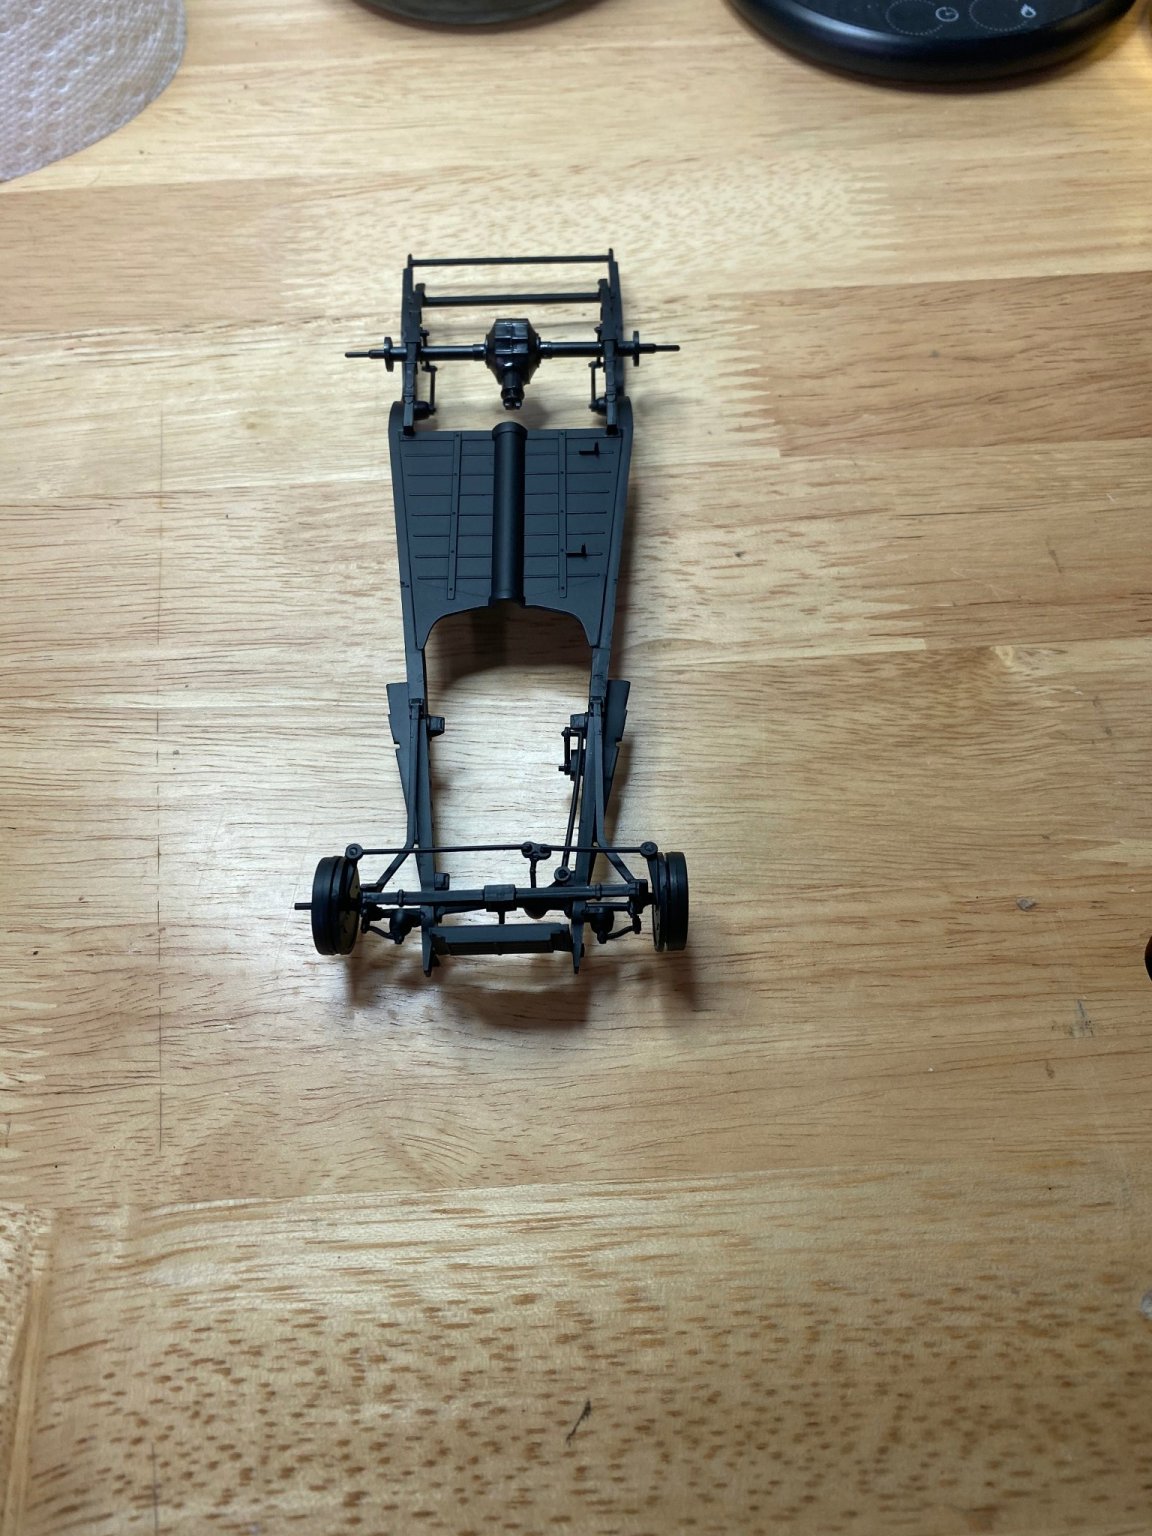
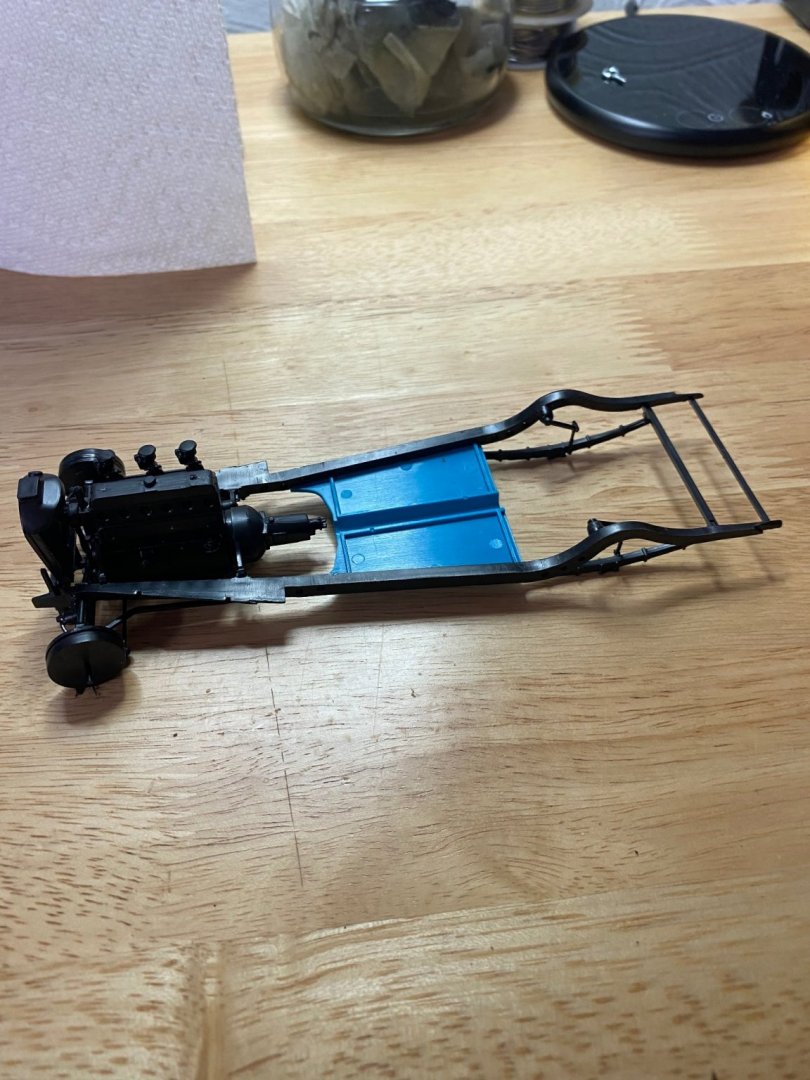
After assembling the chassis, engine, and radiator, everything got a coat of semi gloss primer before any color coats go on. The assembly was a little fiddly, but it looks authentic to me when it's all said and done.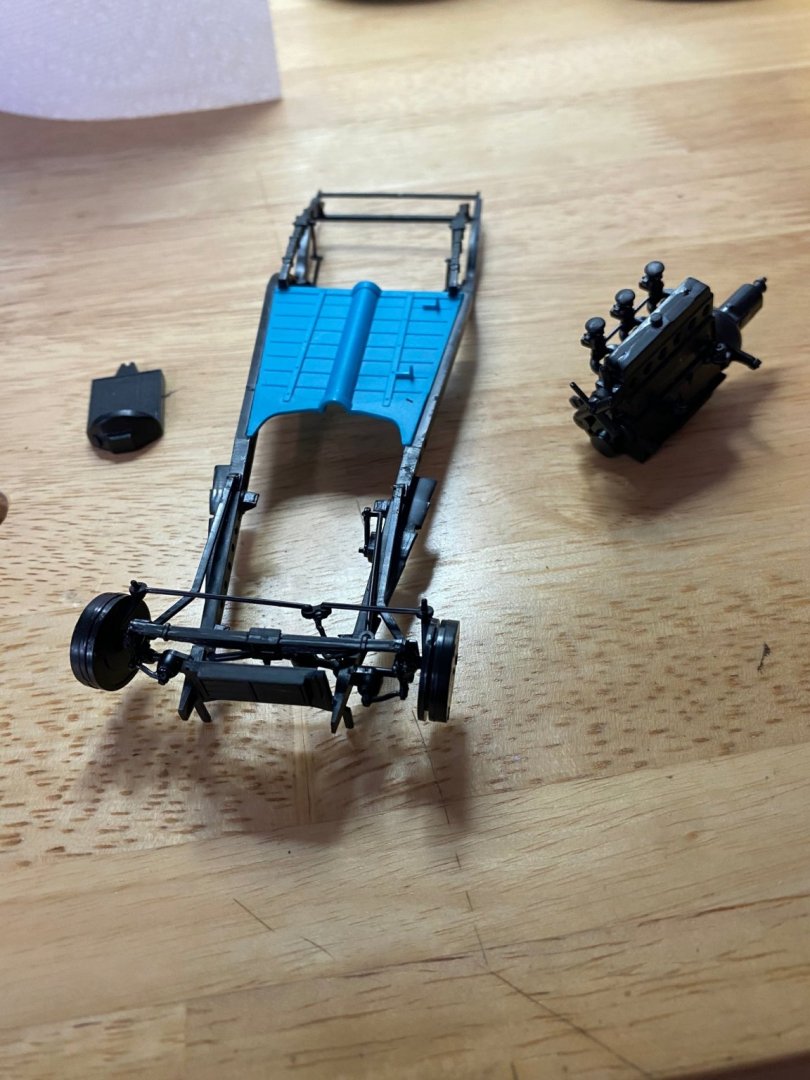


- 85 replies
-
- 12
-
-
Delahaye 135 by CDW - FINISHED - Heller - 1:24 - PLASTIC
CDW replied to CDW's topic in Non-ship/categorised builds
I'm going to slap the 1st guy who tries to look inside the window to see it right on his noggin'. 😄 -
Delahaye 135 by CDW - FINISHED - Heller - 1:24 - PLASTIC
CDW replied to CDW's topic in Non-ship/categorised builds
🤣 -
Delahaye 135 by CDW - FINISHED - Heller - 1:24 - PLASTIC
CDW replied to CDW's topic in Non-ship/categorised builds
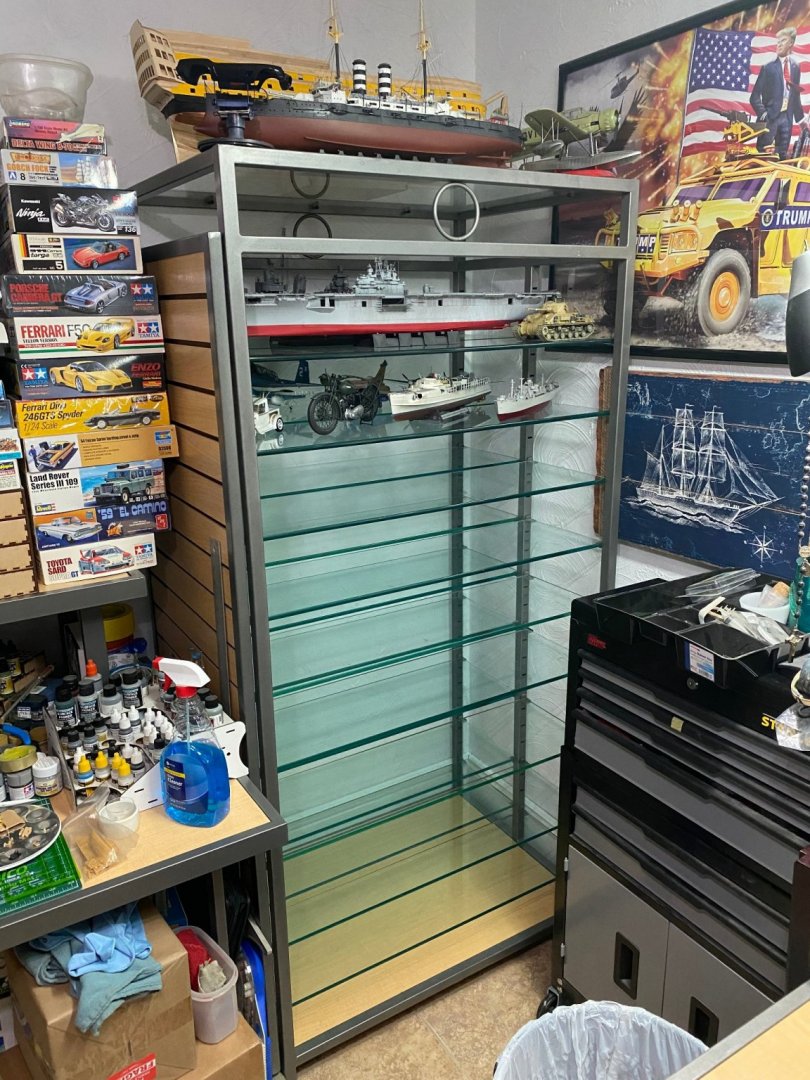
You know the term, "tip of the iceberg"? That's what you're seeing of my model stash. I will whittle it down eventually but will never build all of these. -
Delahaye 135 by CDW - FINISHED - Heller - 1:24 - PLASTIC
CDW replied to CDW's topic in Non-ship/categorised builds
Please don't follow my example, Papa. I am a bad influence in the excess stash department. -
Delahaye 135 by CDW - FINISHED - Heller - 1:24 - PLASTIC
CDW replied to CDW's topic in Non-ship/categorised builds
I have plenty of entertainment subject material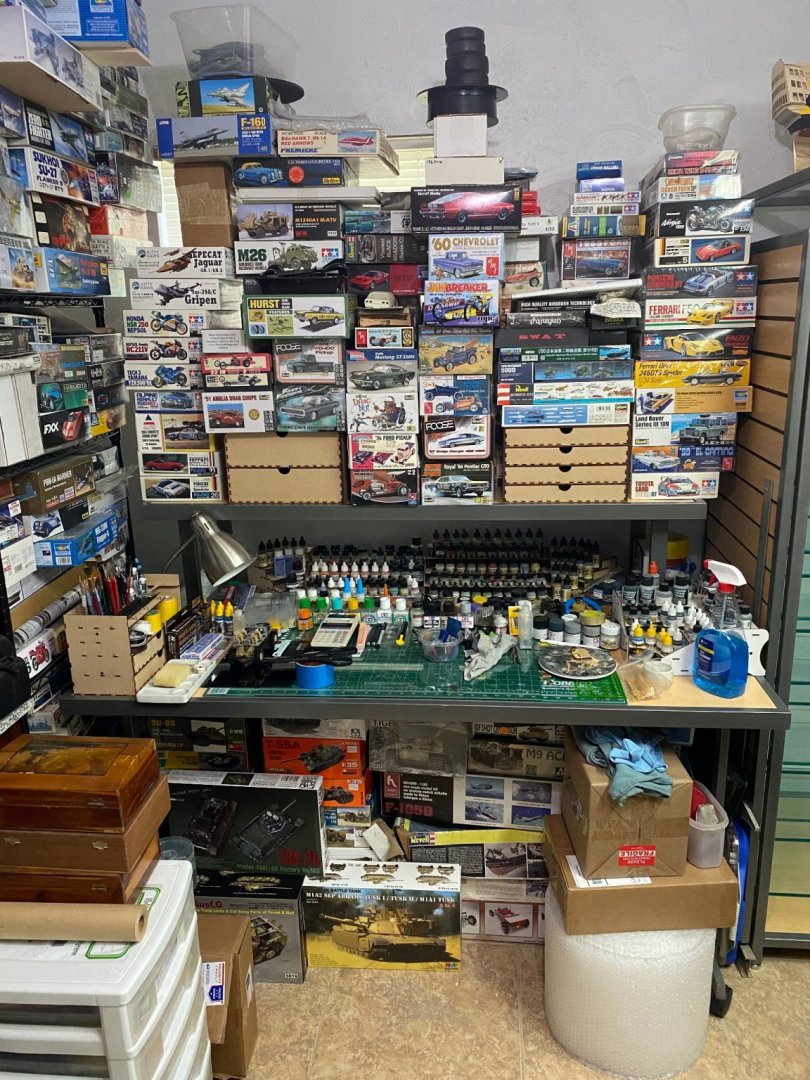
- 85 replies
-
- 14
-
-
Delahaye 135 by CDW - FINISHED - Heller - 1:24 - PLASTIC
CDW replied to CDW's topic in Non-ship/categorised builds
Thanks OC. Got caught up on other matters, all is well. One of the things I did was to pull everything out of my hobby room then cleaned it all spic and span, repainted the walls, hung everything back on the walls, put in new work tables and a display cabinet before moving everything (almost) I had cleared out and put it back in the room. Taking advantage of a store closing sale at a major department store, bought the big work tables and display cabinet at an extremely favorable price. Just the way I like it. -
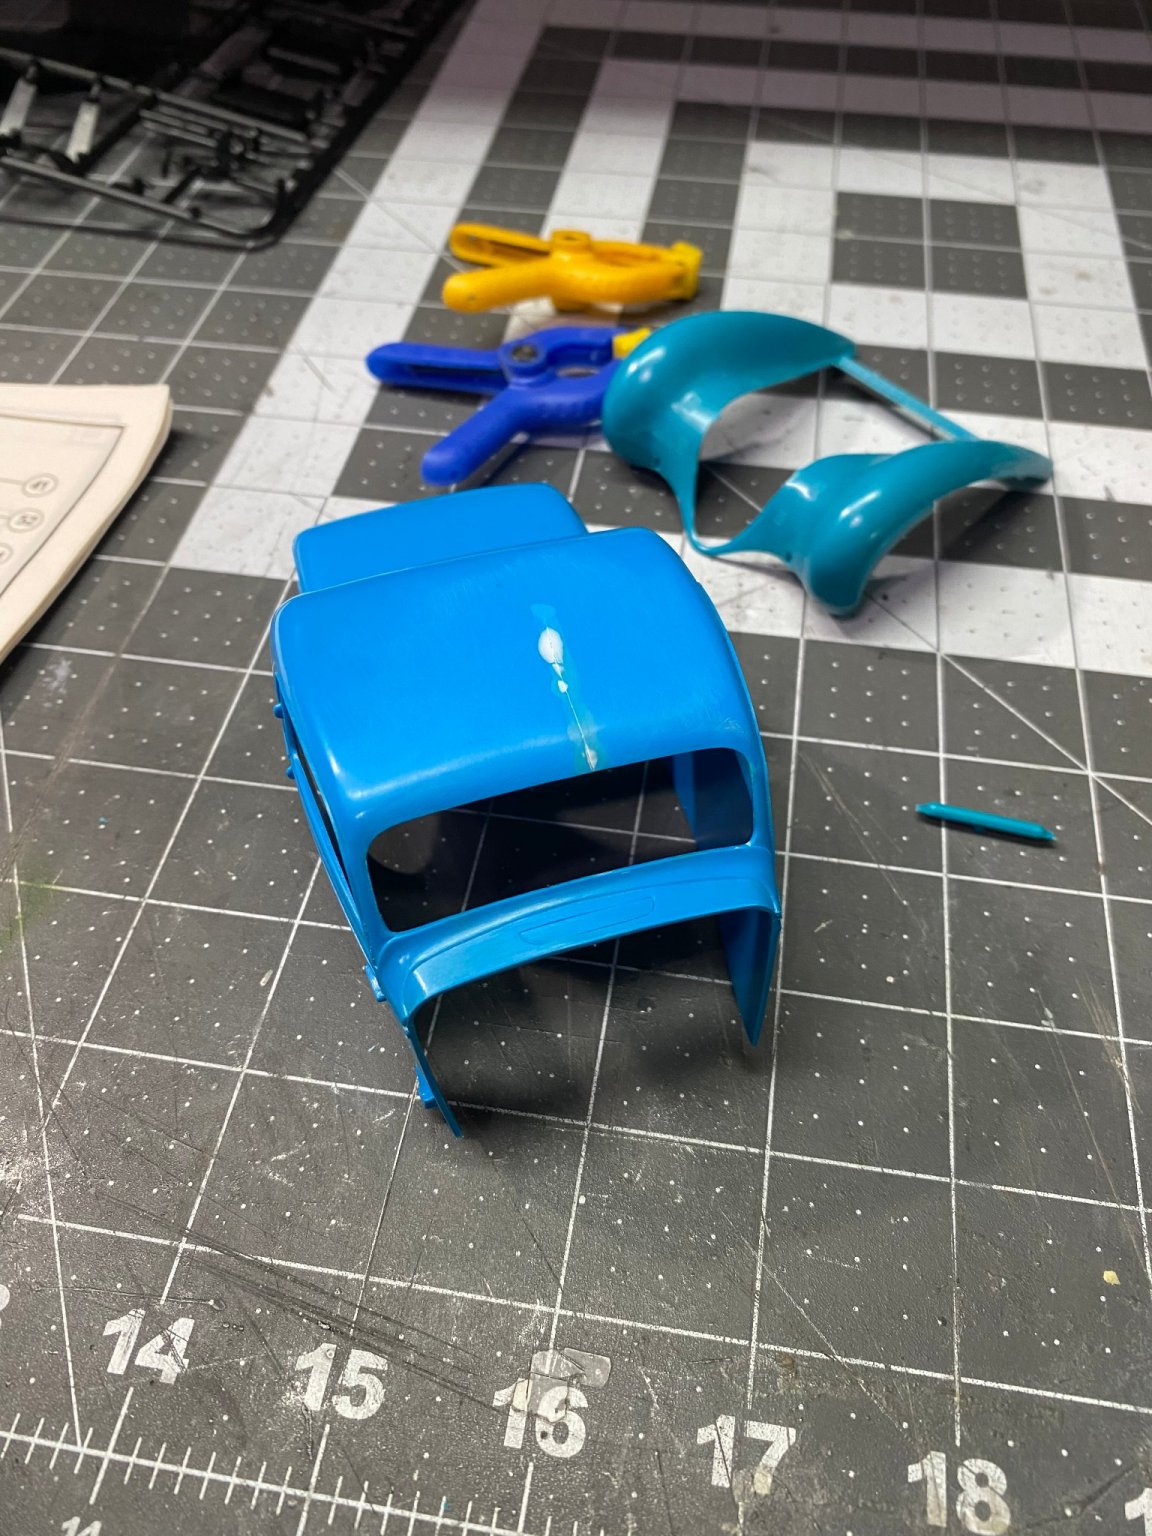
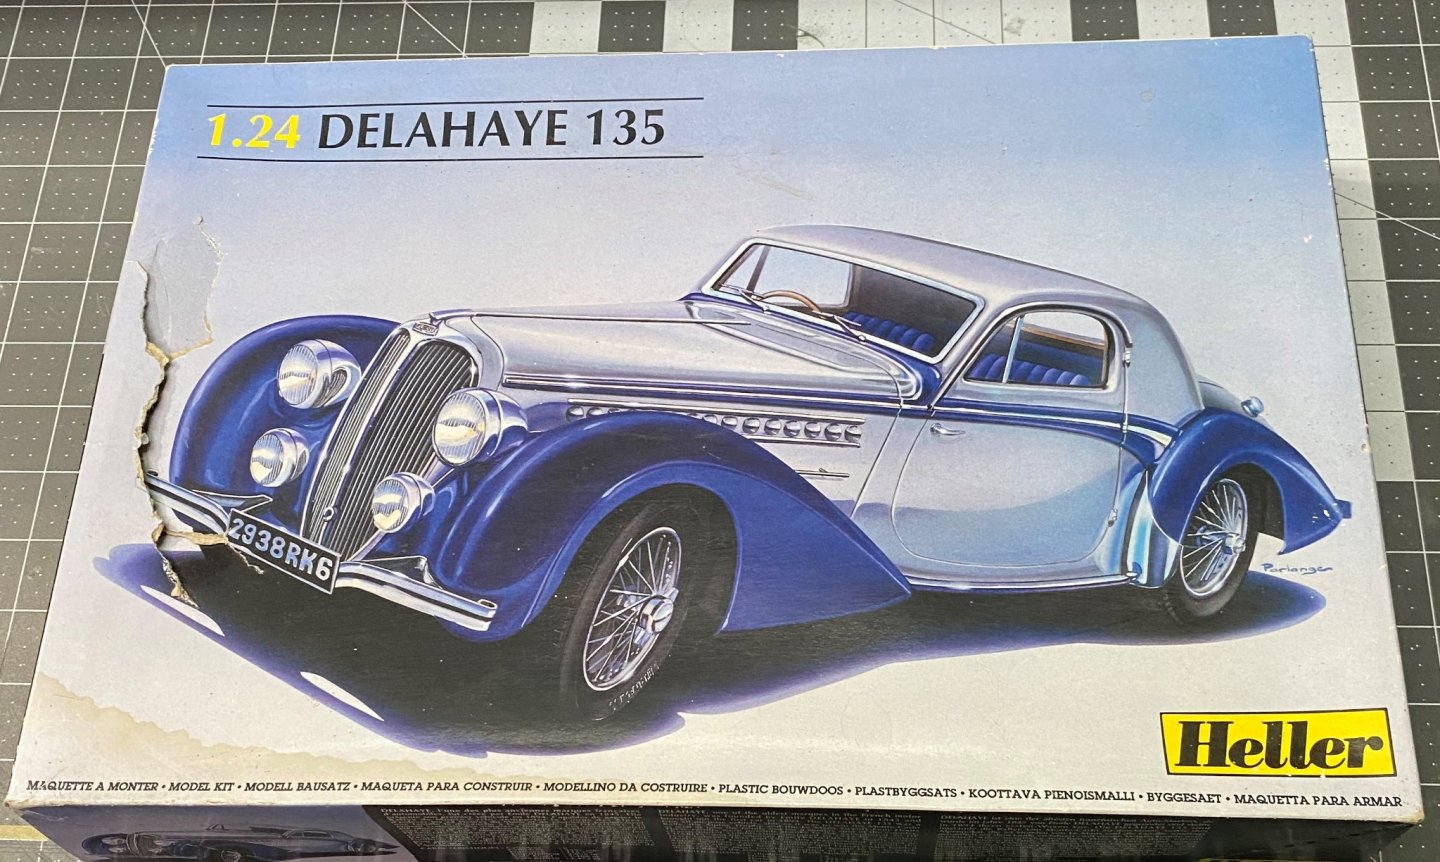
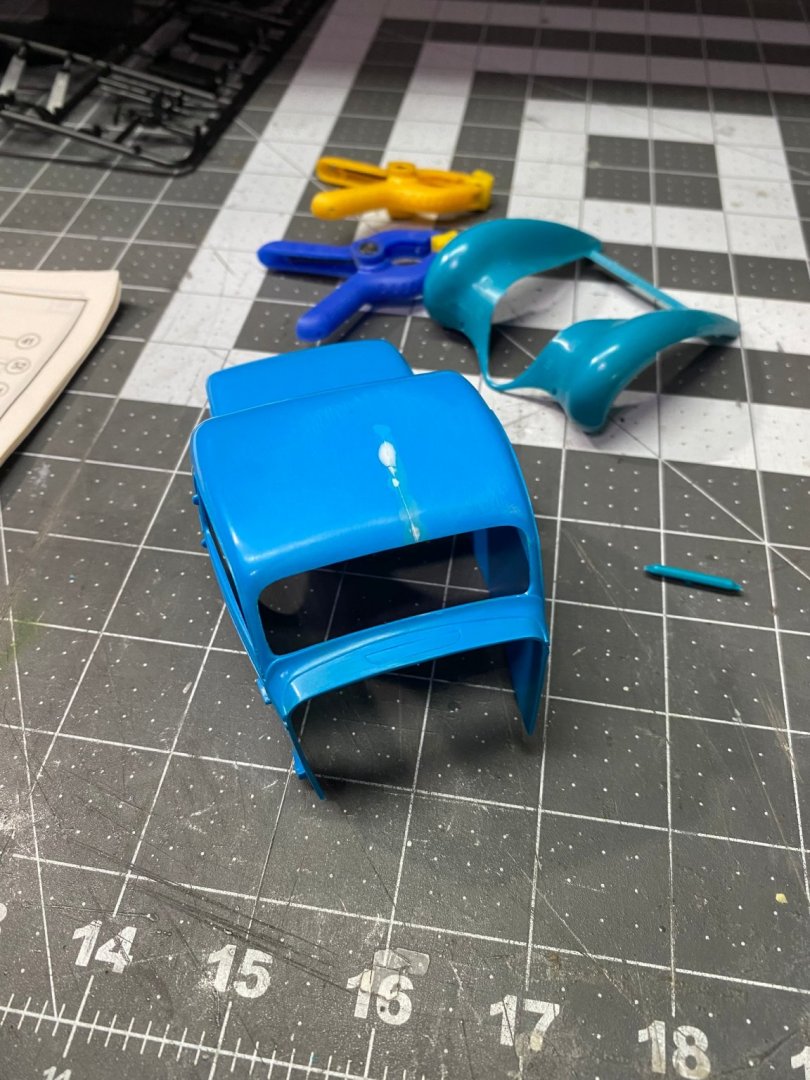
After taking off the entire summer from model building, decided to kick off with a build of the 1:24 Heller Delahaye 135. Don't know anything about the 1:1 car, but like the body styling, looking quite 1930's in appearance. Long hood and a sharp coupe top. My copy was damaged in transit long ago with a crack on the top. I patched up the crack using a piece of sheet styrene plastic on the inside and some putty, sanding on the outside. Will build the various sub components then paint them all before final assembly. It's interesting the various shades of blue colored plastic Heller uses in the manufacture of this kit.
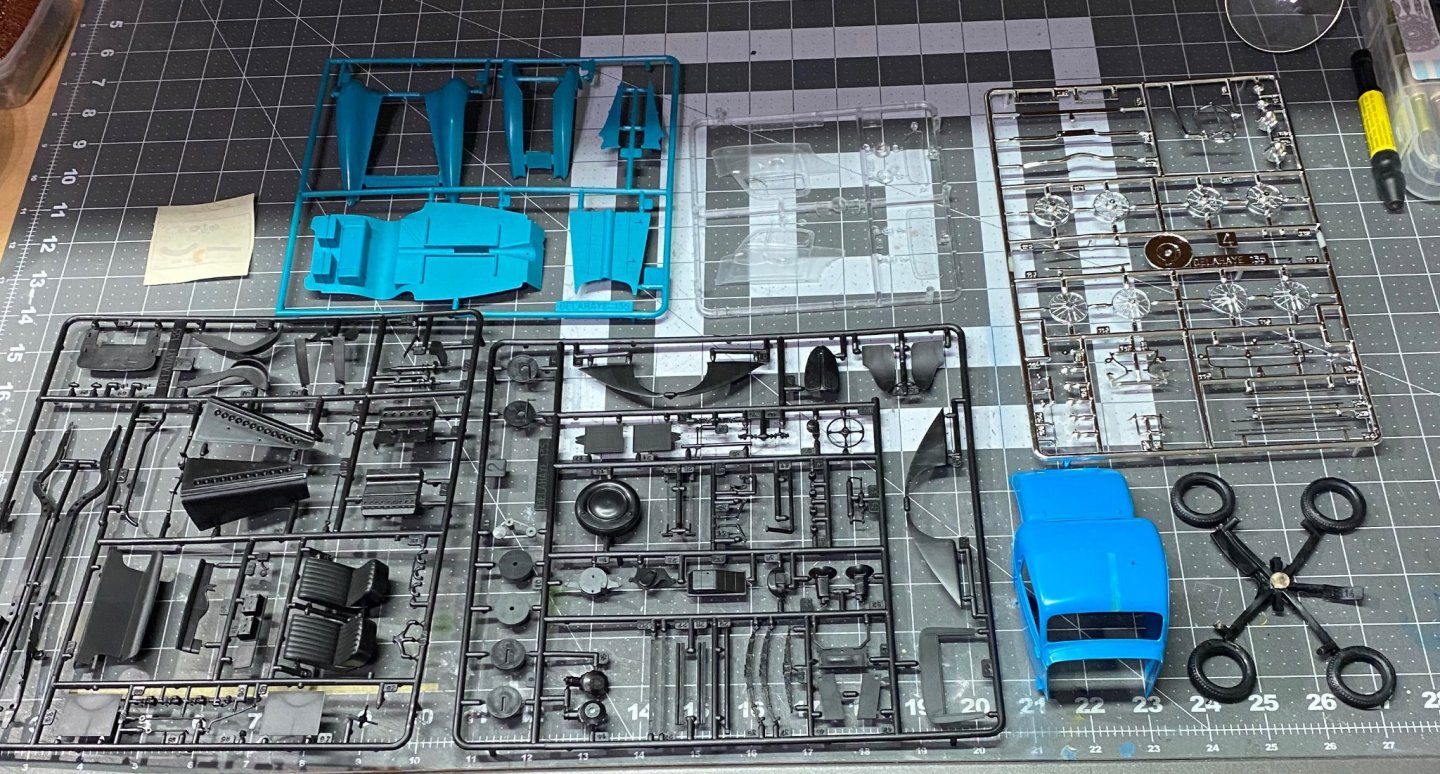


- 85 replies
-
- 10
-
-
Wow Mike! Your planes turned out spectacular. Great job on those. The real professional model builders carefully cut the excess clear carrier film along the color separation of the decal before placing it in water. They do this with a straight edge and a new scalpel blade, only cutting lightly, just enough to separate the clear film from the colored. It's painstaking and tedious, but it gives the best results without any silvering. In addition, the pros don't use a clear coat under the decal either. They just rub the area where the decal is to be placed to polish it a little before applying the decal.
-
1930 BENTLEY 4.5 LITRE by MadDogMcQ - AIRFIX 1:12th Scale
CDW replied to MadDogMcQ's topic in Non-ship/categorised builds
Beautiful work. I love your Bentley. What a classic! The chrome/aluminum plating on the model is exceptionally nice. -
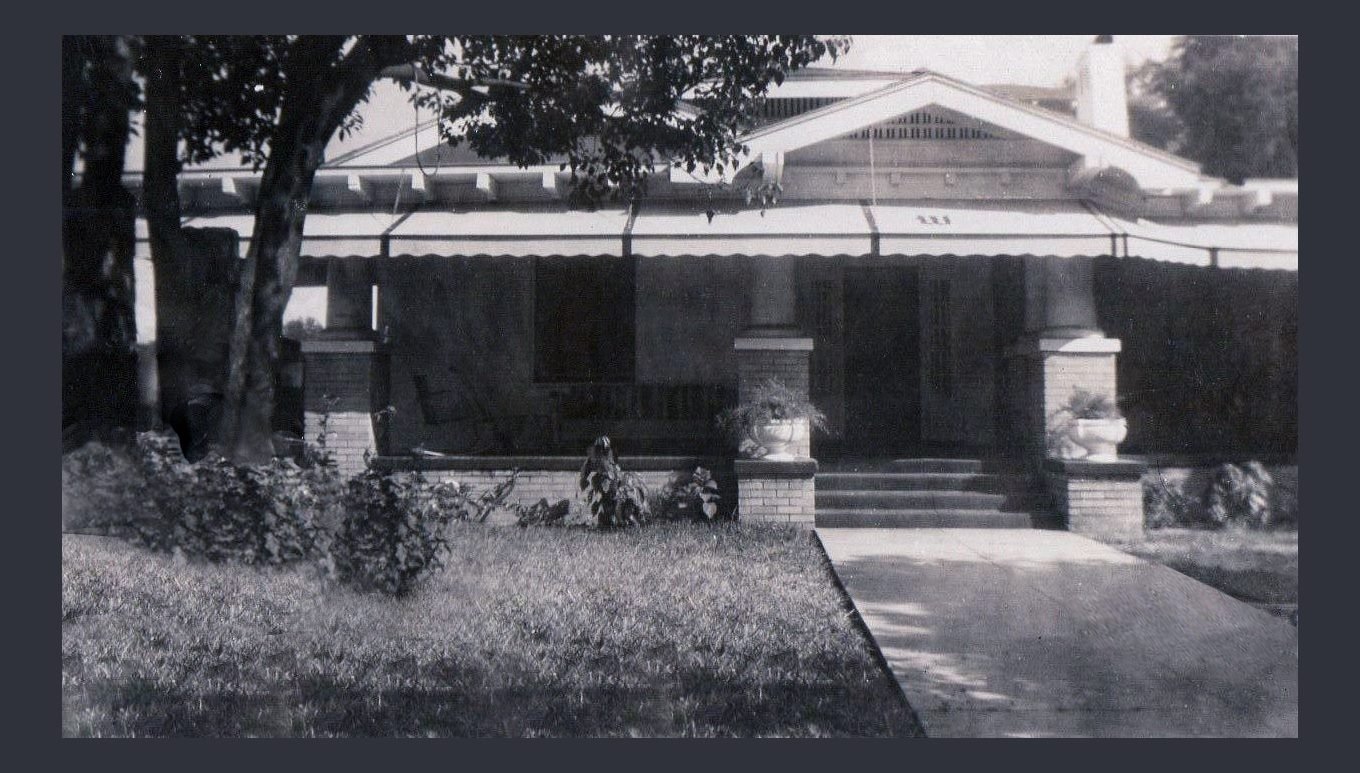
My old house I grew up in (in Tampa, Florida) had a large cellar/basement with dirt floors. It was filled with wine racks, but don't recall any wine being stored in the racks. We also had a huge attic in that old two story house where my big brother had his Lionel train layout.
-
Love that ice yacht.
-
Hobby Wing makes great ESC's. Good choice! Your work is fast and high quality, looking so nice.
-
Sounds like you and I attended the same institution, the school of hard knocks. Shaping up nicely, Mike.
-
We all have a long way to go, Mike. The journey is the fun of it. 🙂 You are doing just great!
-
1965 Ford Mustang by fnick - FINISHED - Revell - 1:24 - PLASTIC
CDW replied to fnick's topic in Non-ship/categorised builds
So, did you spray the clear coat with an airbrush? It looks to me the orange peel is in the clear coat, yes? Anyway, spraying with an airbrush can get the same orange peel issues if too far away from the target. Depending on whether you are using a single or double action airbrush, you may or may not have control of the flow. But too far away can cause issues, as well as too lose, just like a spray can.