-
Posts
7,747 -
Joined
-
Last visited
Content Type
Profiles
Forums
Gallery
Events
Everything posted by CDW
-
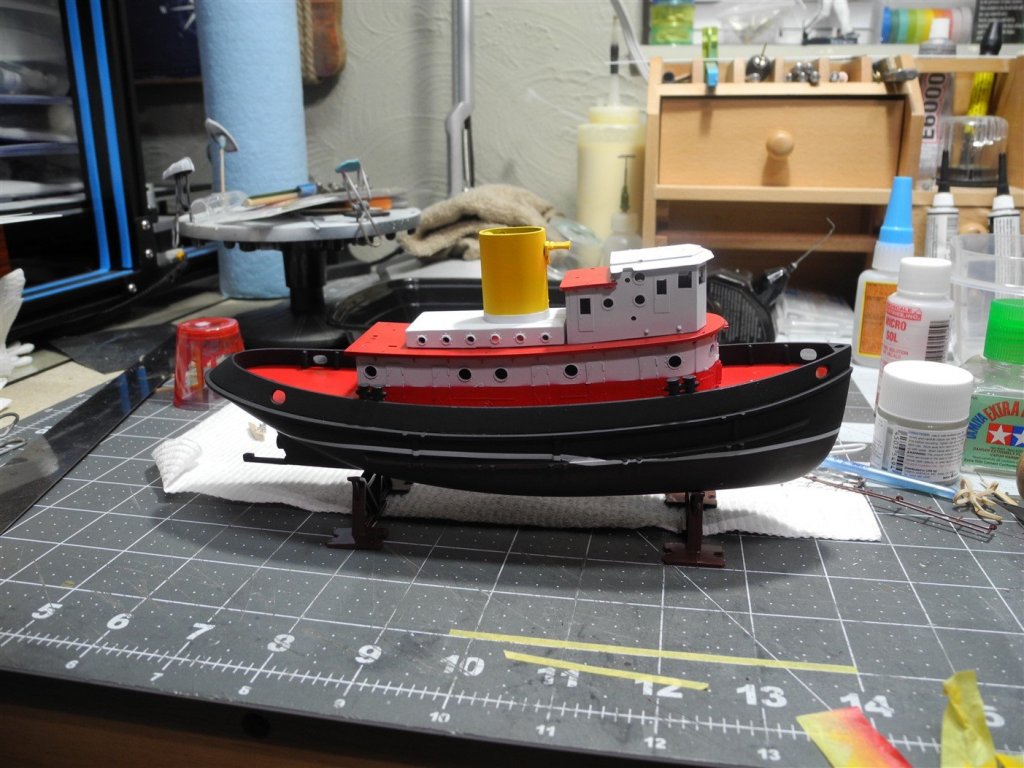
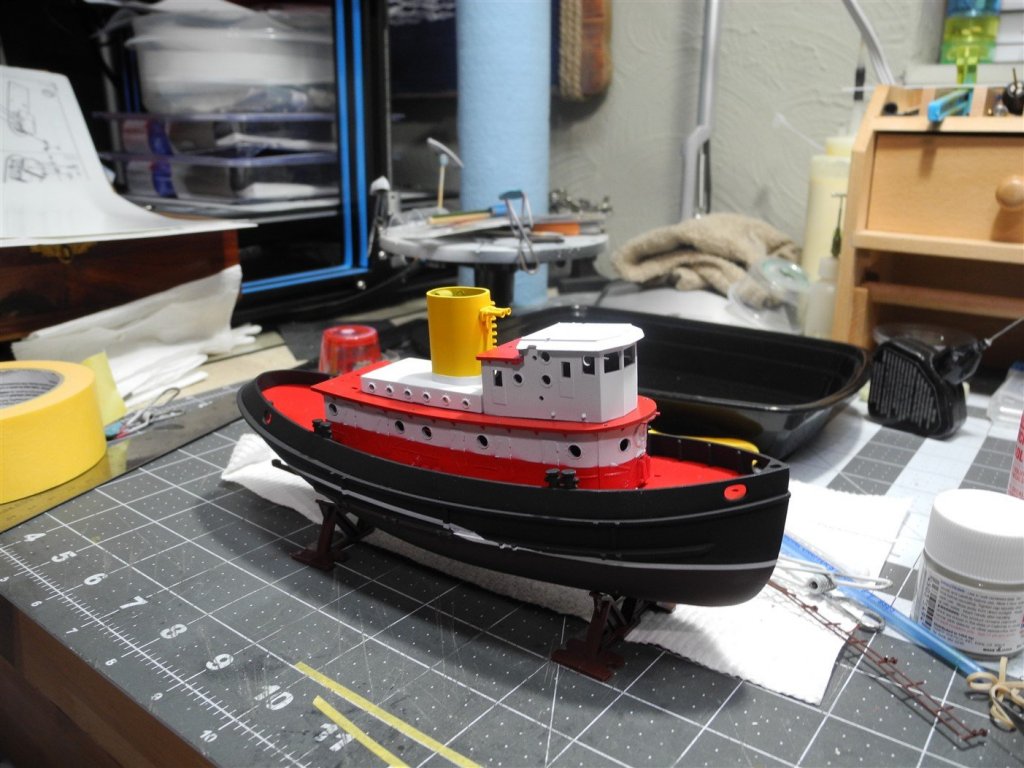
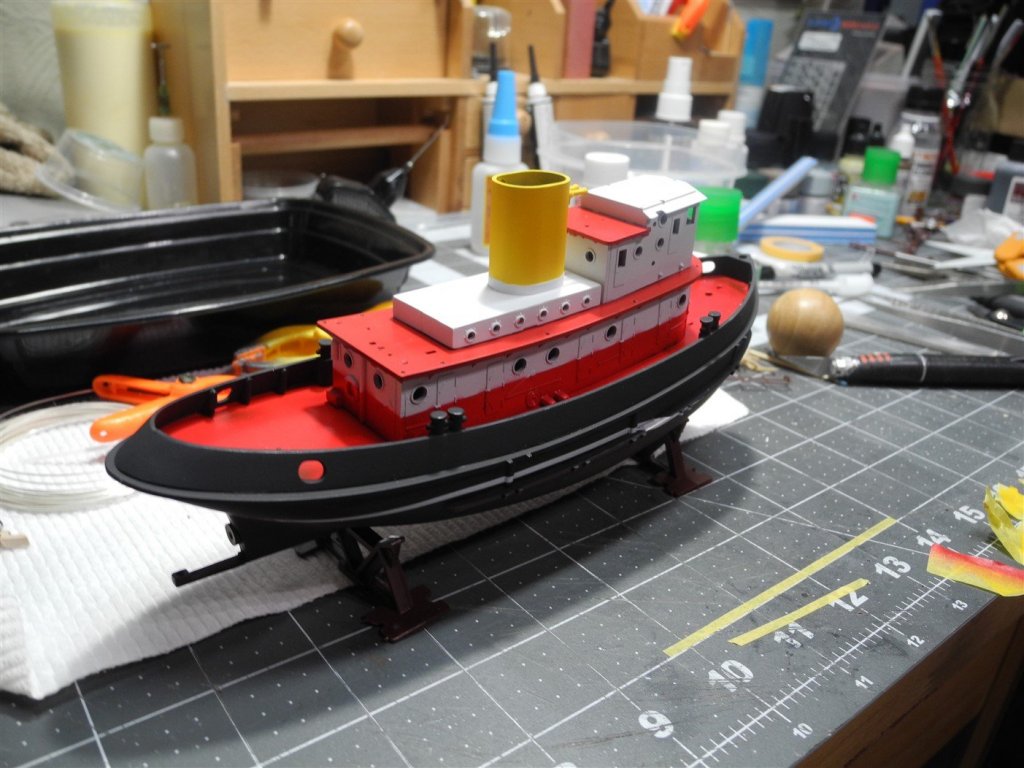
Here, I've masked and painted the lower half of the lower superstructure red, and the funnel yellow. The red is Mr Color Acrysion flat red, the yellow is Tamiya flat yellow.
- 63 replies
-
- revell
- harbor tug
-
(and 2 more)
Tagged with:
-
- 63 replies
-
- revell
- harbor tug
-
(and 2 more)
Tagged with:
-
I bought the 1:144 Revell Snowberry a few months ago, but held off on starting it until detail sets came out for it. Today, the upcoming Pontos detail set came up for pre-order and I snagged one before they get sold out. These Pontos sets come and go quickly sometimes and I didn't want to miss it. It will add a lot to the Revell Snowberry kit. https://freetimehobbies.com/1-144-pontos-model-hmcs-snowberry-flower-class-super-detail-set-for-revell-preorder/
- 63 replies
-
- revell
- harbor tug
-
(and 2 more)
Tagged with:
-
That ice breaker model comes complete with all the Pontos details as best I can tell.
- 63 replies
-
- revell
- harbor tug
-
(and 2 more)
Tagged with:
-
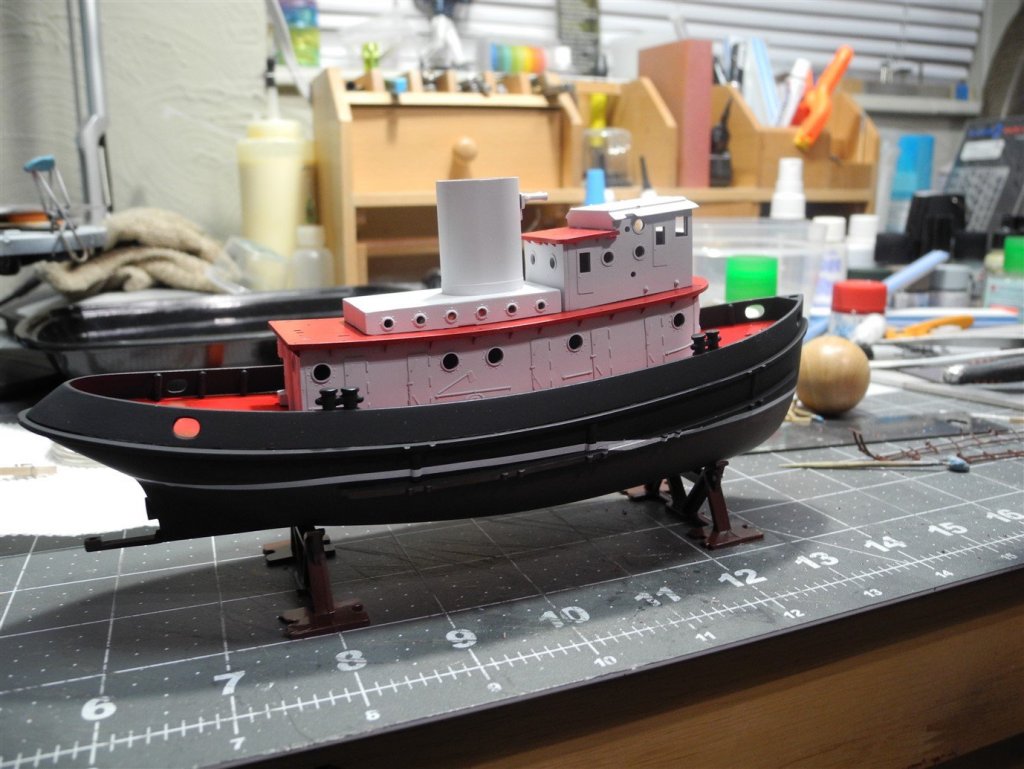
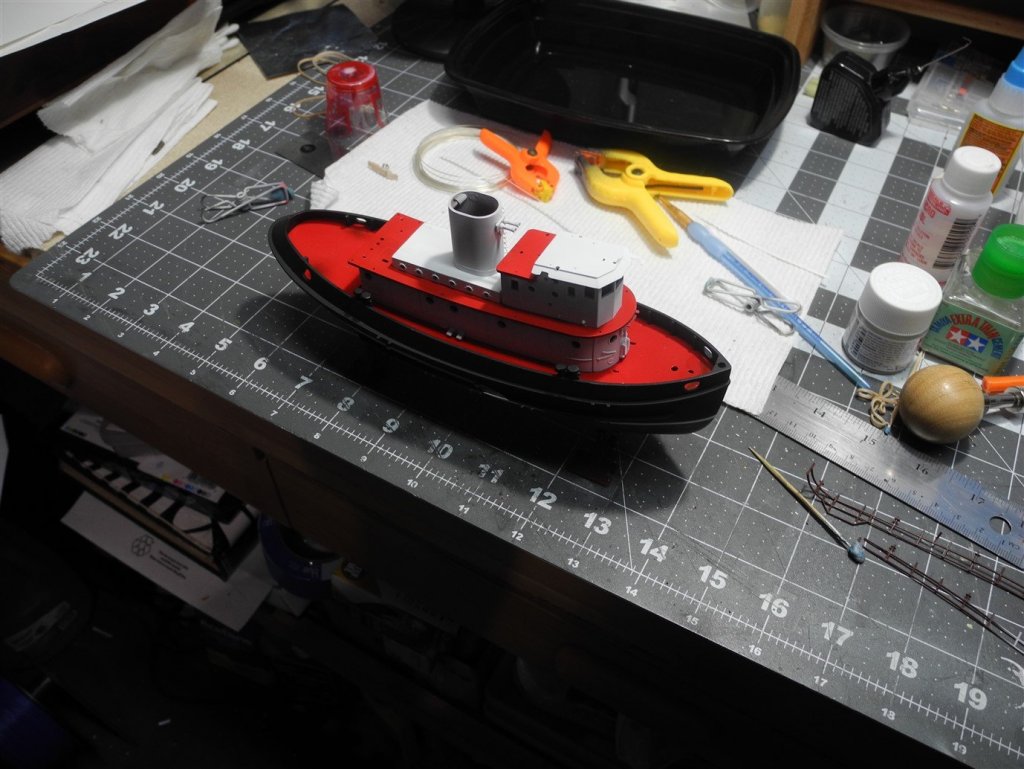
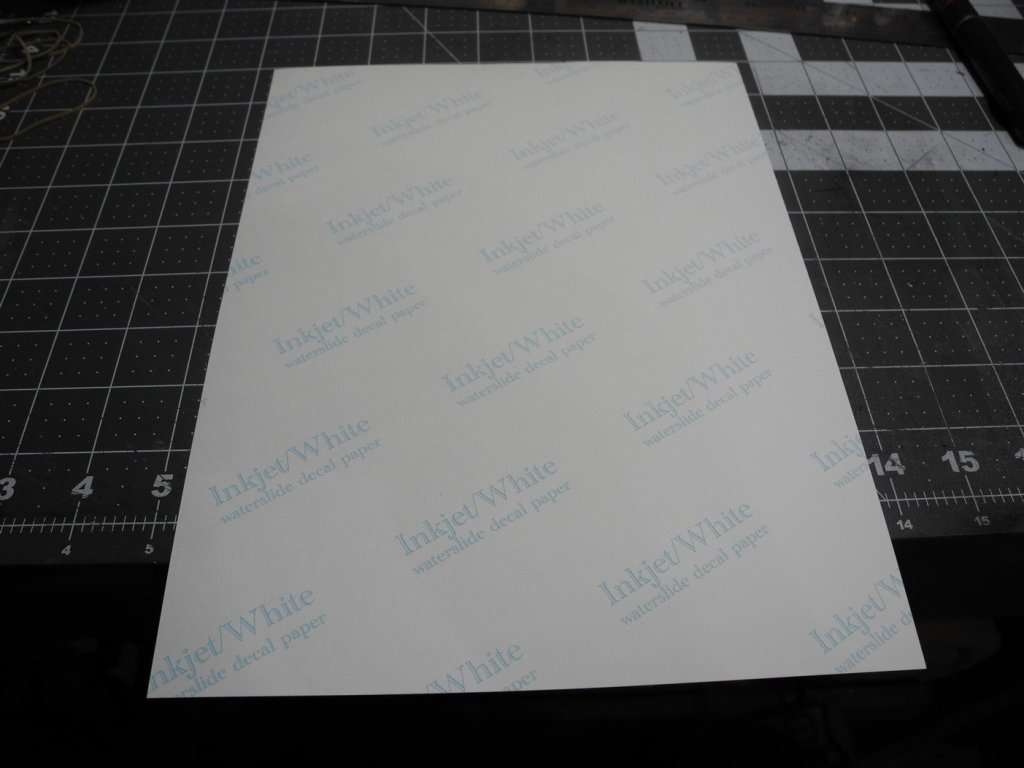
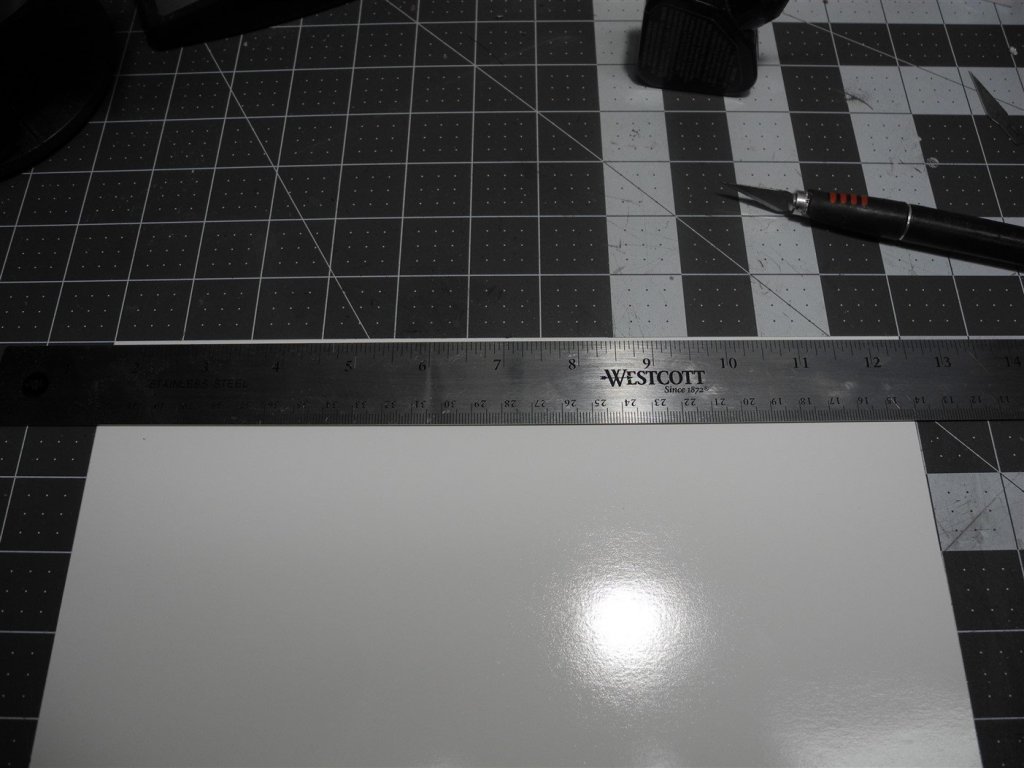
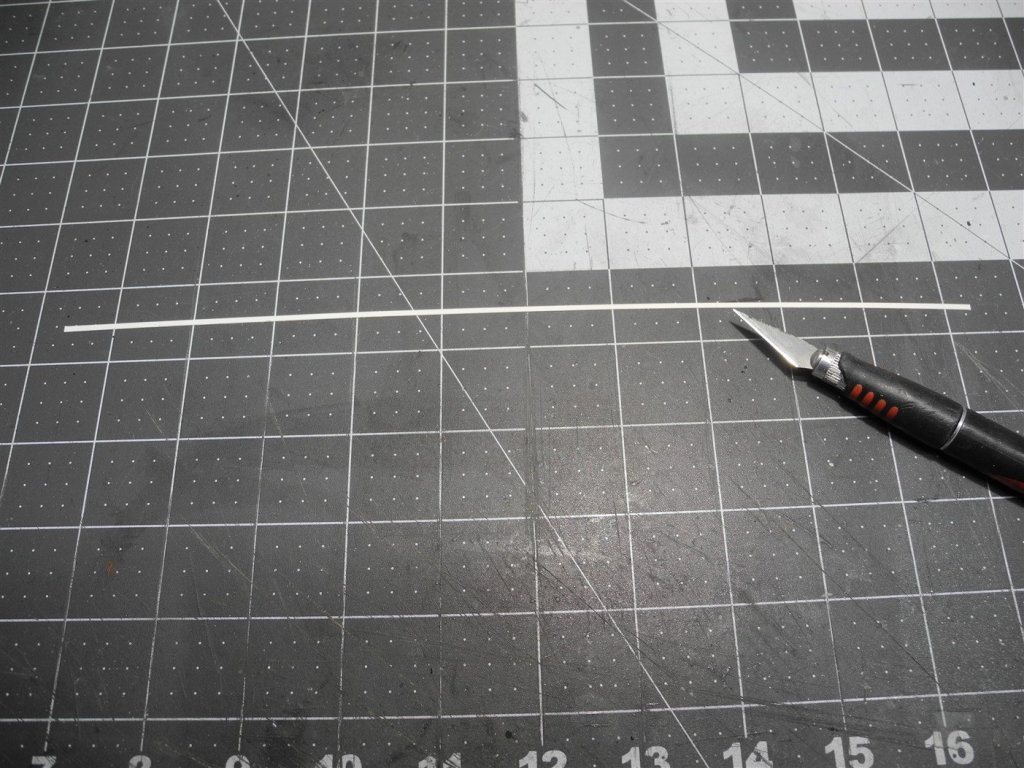
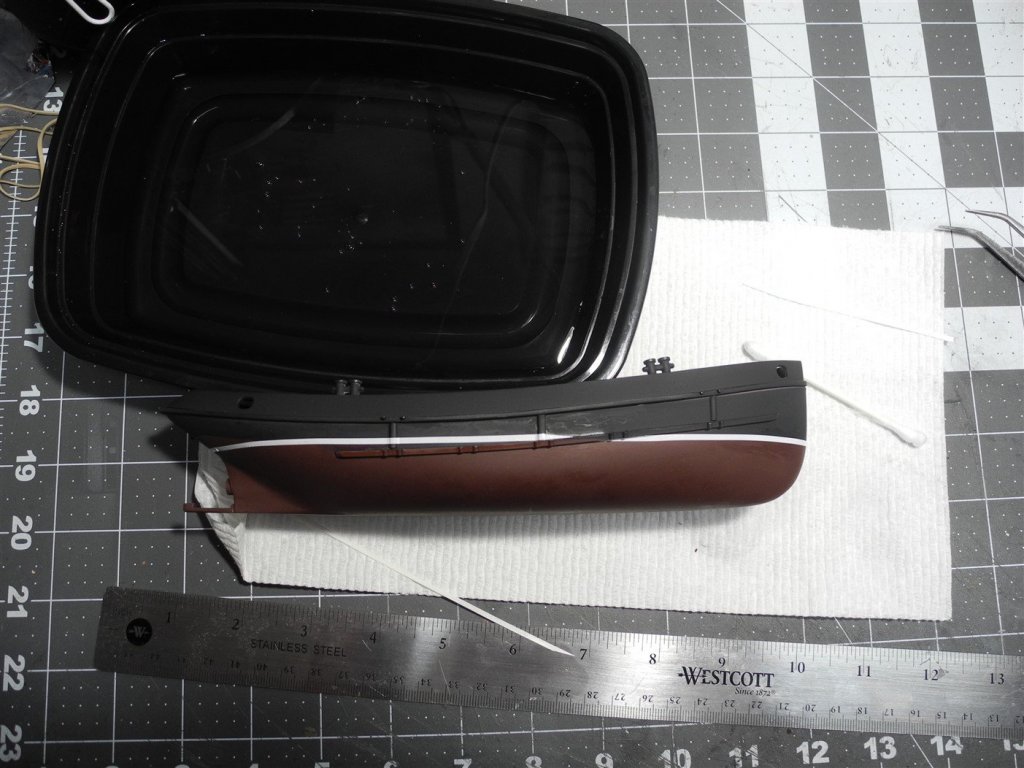
The hull red and black hull colors do not lend well to a defined water line. So I thought it might look better if I created a thin white later line. To do so, I cut a thin strip of white decal paper to a width that looks suitable and apply it along the waterline. The decal paper is ink jet waterslide paper sold by a company that's now defunct, Bel Decals. I was sad to learn they went tango uniform, but fortunately for me, I bought white and clear decal paper in bulk packs of 25 each, 8 1/2" x 11" sheets, before they went the way of the Dodo Bird.
- 63 replies
-
- revell
- harbor tug
-
(and 2 more)
Tagged with:
-
The model's hull had a raised, molded on water line mark that looked to be in an identical position as the waterline in the picture. It's what I followed in any event.
- 63 replies
-
- revell
- harbor tug
-
(and 2 more)
Tagged with:
-
I believe this 1:250 ship model that's coming out soon has my name written all over it. Man, this thing is so darned tempting! https://freetimehobbies.com/1-250-lighthouse-models-antarctica-observation-ship-soya-plastic-model-kit-preorder/
- 63 replies
-
- revell
- harbor tug
-
(and 2 more)
Tagged with:
-

Green Elephant funny car by jct - FINISHED - 1/24 - PLASTIC
CDW replied to jct's topic in Non-ship/categorised builds
Really nice save/reconstruction of that chassis. Great looking green color on the sheet metal as well. What color/paint is that? Almost looks like a clear green over aluminum. -
Another round of masking and painting this morning after adding the fenders to the sides of the hull. Tamiya rubber black + Mr Color leveling thinner
- 63 replies
-
- revell
- harbor tug
-
(and 2 more)
Tagged with:
-
- 63 replies
-
- revell
- harbor tug
-
(and 2 more)
Tagged with:
-
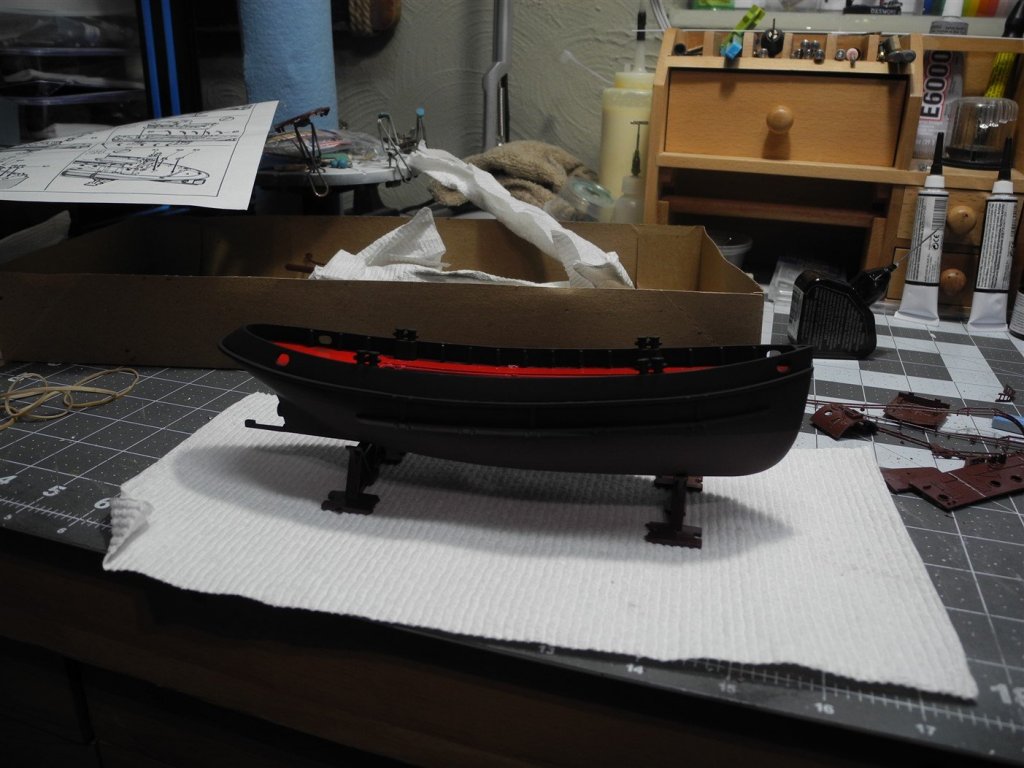
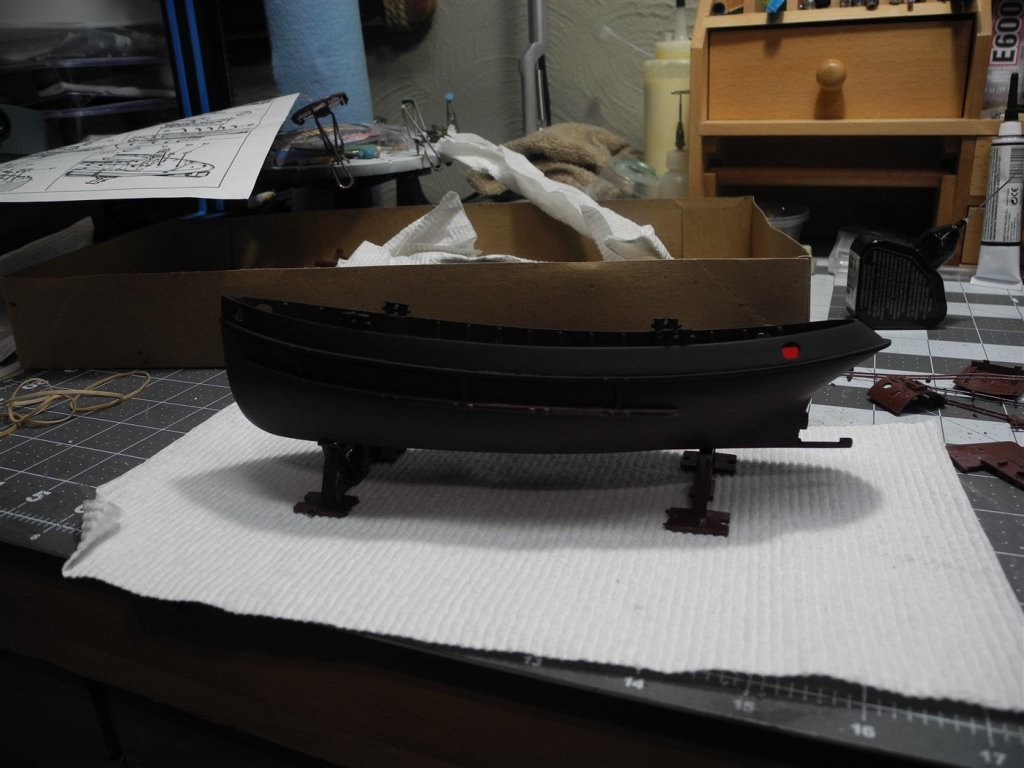
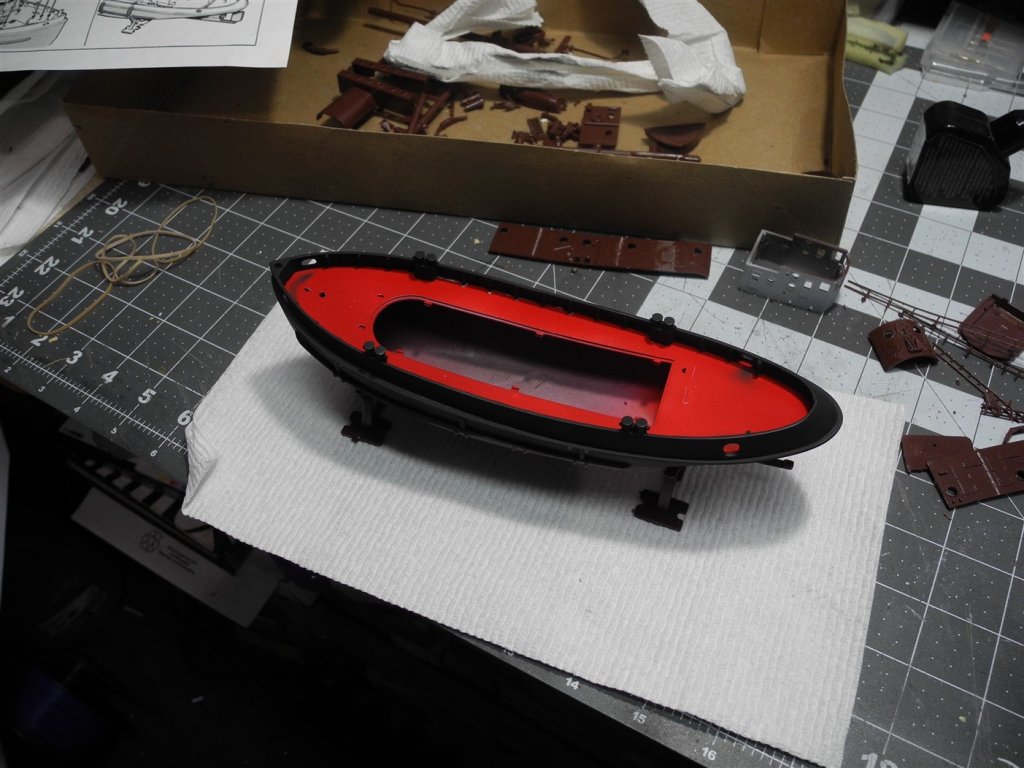
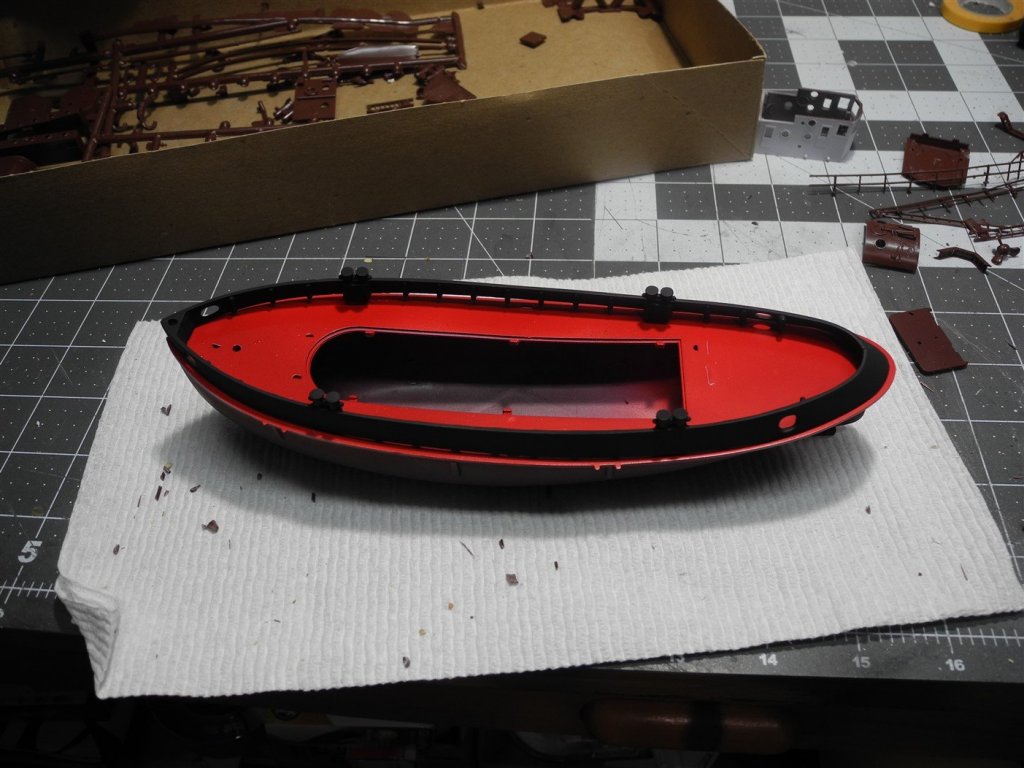
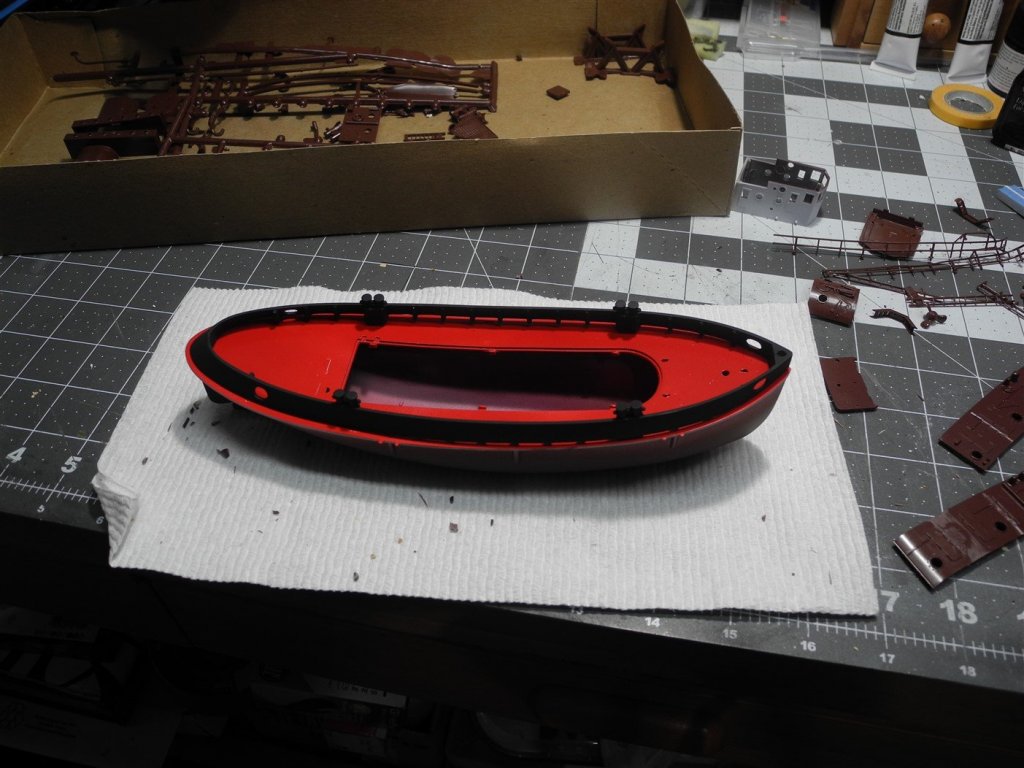
Deck is Mr Color Acrysion red + Mr Color Leveling Thinner, bulwarks are Tamiya rubber black + Mr Color Leveling Thinner. Bulwarks are just sitting on deck, not cemented in place yet.
- 63 replies
-
- revell
- harbor tug
-
(and 2 more)
Tagged with:
-
My color scheme for the tug will be a black hull and bulwarks, red upper deck and lower main deck, white main superstructure, red bottom and white top upper superstructure, red railings, yellow and black funnel. Everything will be weathered and detailed to look like a well worn tug. Will probably use a fictitious name of my own choosing for the boat with waterslide decals of my own making.
- 63 replies
-
- revell
- harbor tug
-
(and 2 more)
Tagged with:
-
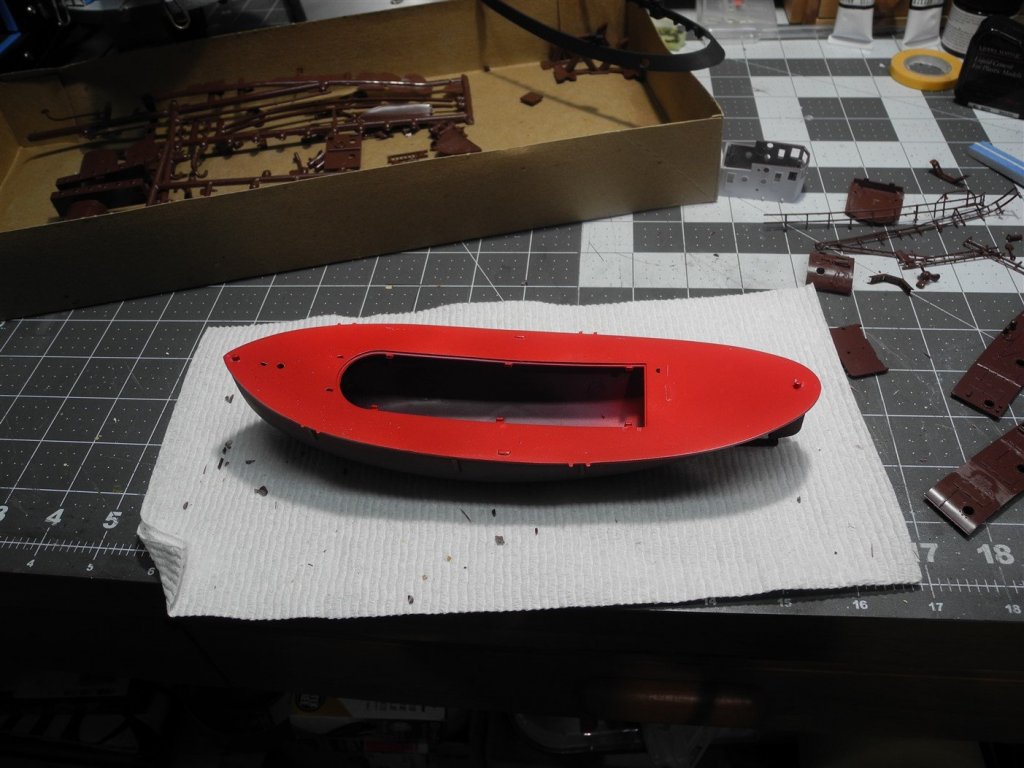
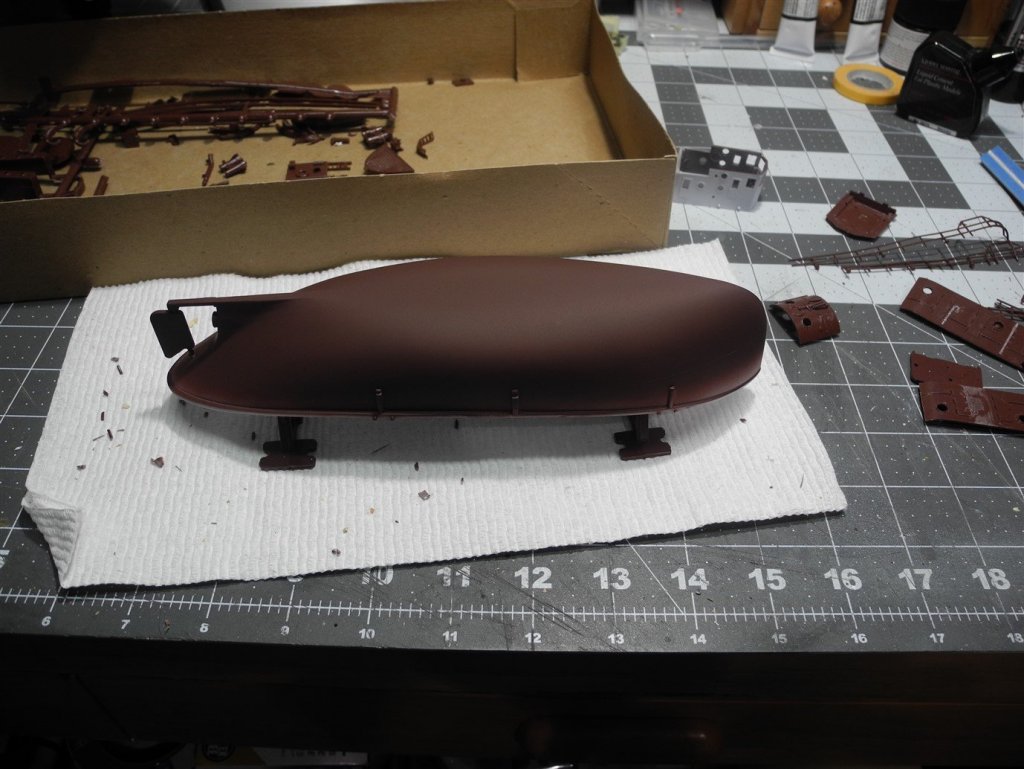
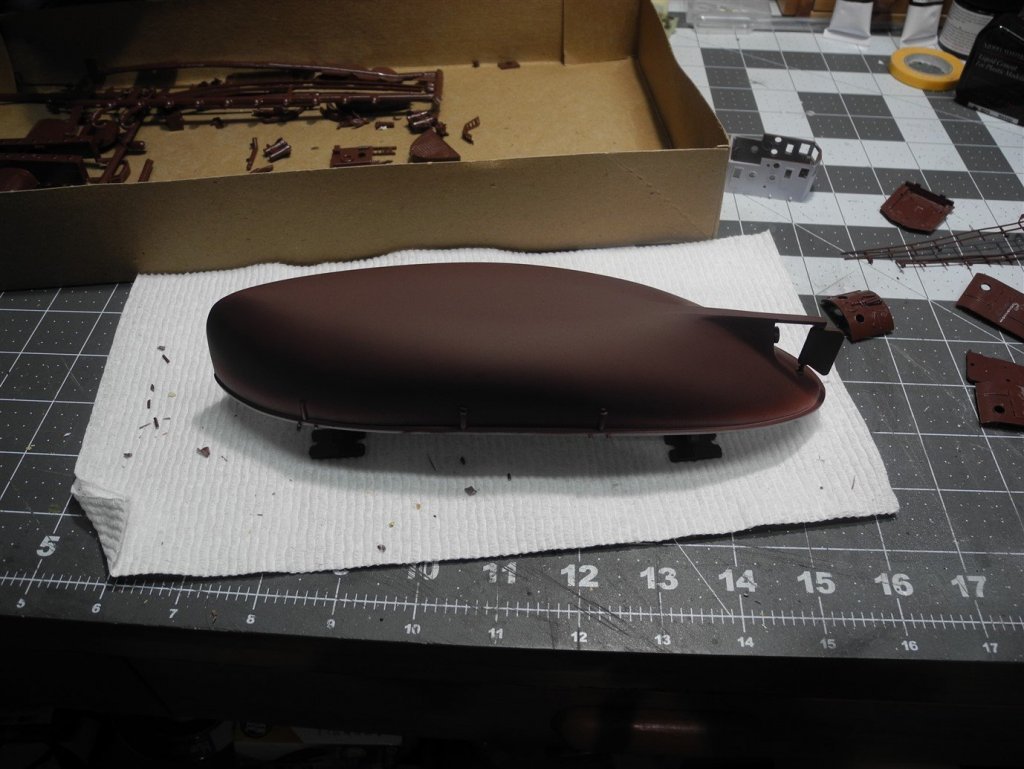
After the Tamiya White primer, the hull bottom got 2 coats of Tamiya Hull Red reduced with Mr. Color Leveling Thinner. Above the water line will be black. Prior, the rudder support was glued to the hull before adding the rudder and prop shaft bearing. Some Tamiya fill and sanding was needed on the hull-rudder support join. To be expected on an old kit like this. Fit is often sloppy. I will look through my spares box to try and find a replacement prop. The prop supplied with the kit looks horrible.
- 63 replies
-
- revell
- harbor tug
-
(and 2 more)
Tagged with:
-
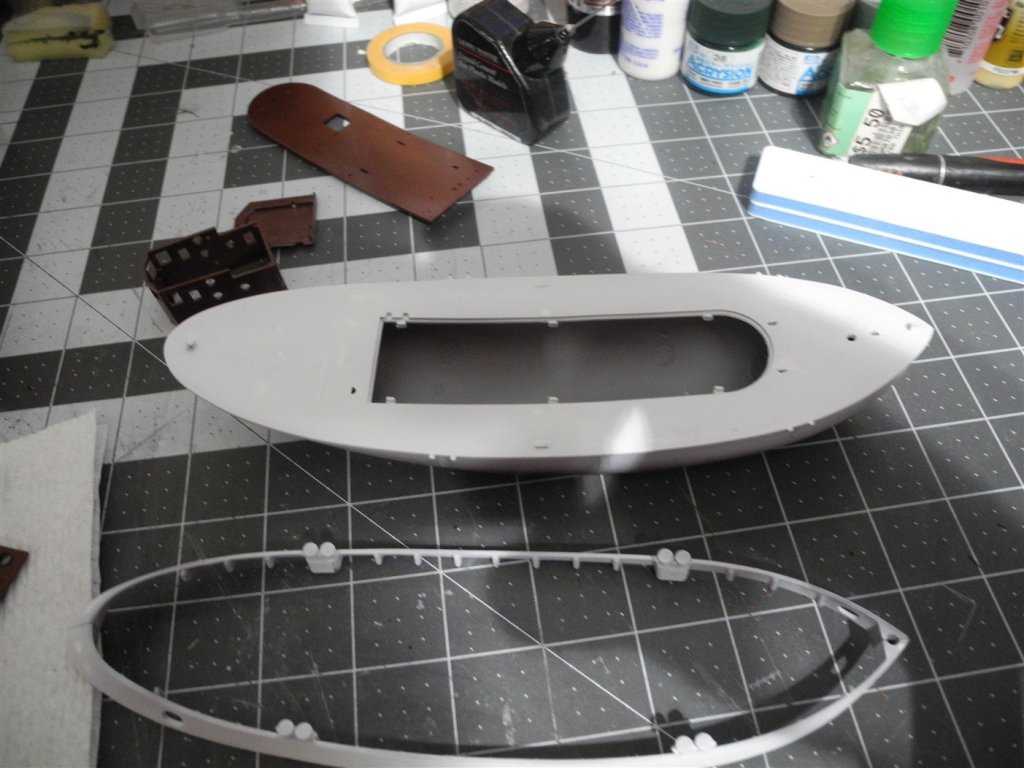
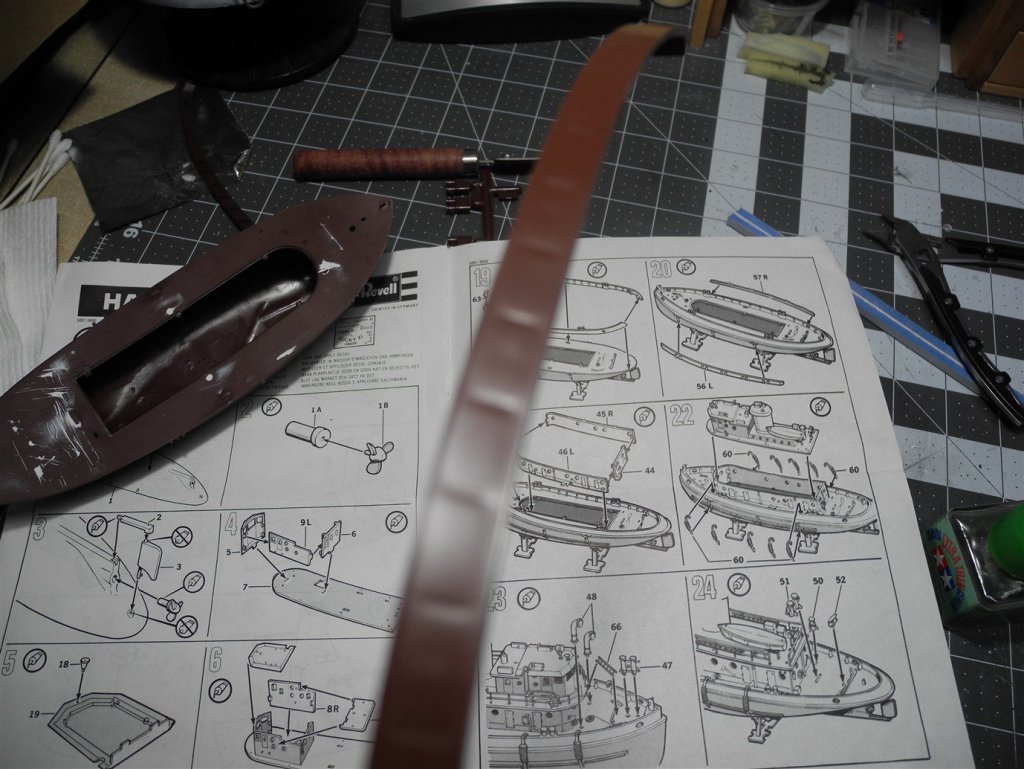
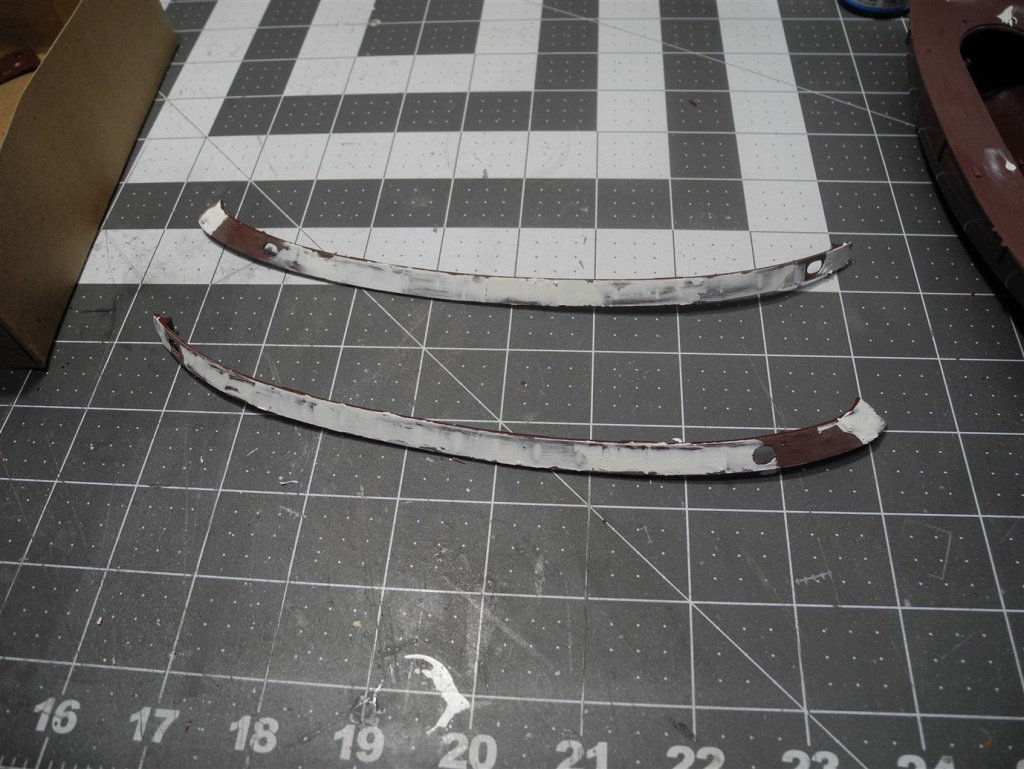
I shot some flat white Tamiya paint reduced with alcohol as a primer on the hull and deck, and on the bulwarks. The halves on the bulwarks were glued together before they were primed and will be installed after the main deck has been painted red. The bulwarks will be black. This will help avoid a tricky masking job on the bulwarks.
- 63 replies
-
- revell
- harbor tug
-
(and 2 more)
Tagged with:
-
If you take on an old kit like this, you will spend time sanding and filling to get a presentable finish.
- 63 replies
-
- revell
- harbor tug
-
(and 2 more)
Tagged with:
-

Ki-45 Nick by CDW - Zoukei-Mura - 1:32 scale - PLASTIC
CDW replied to CDW's topic in Non-ship/categorised builds
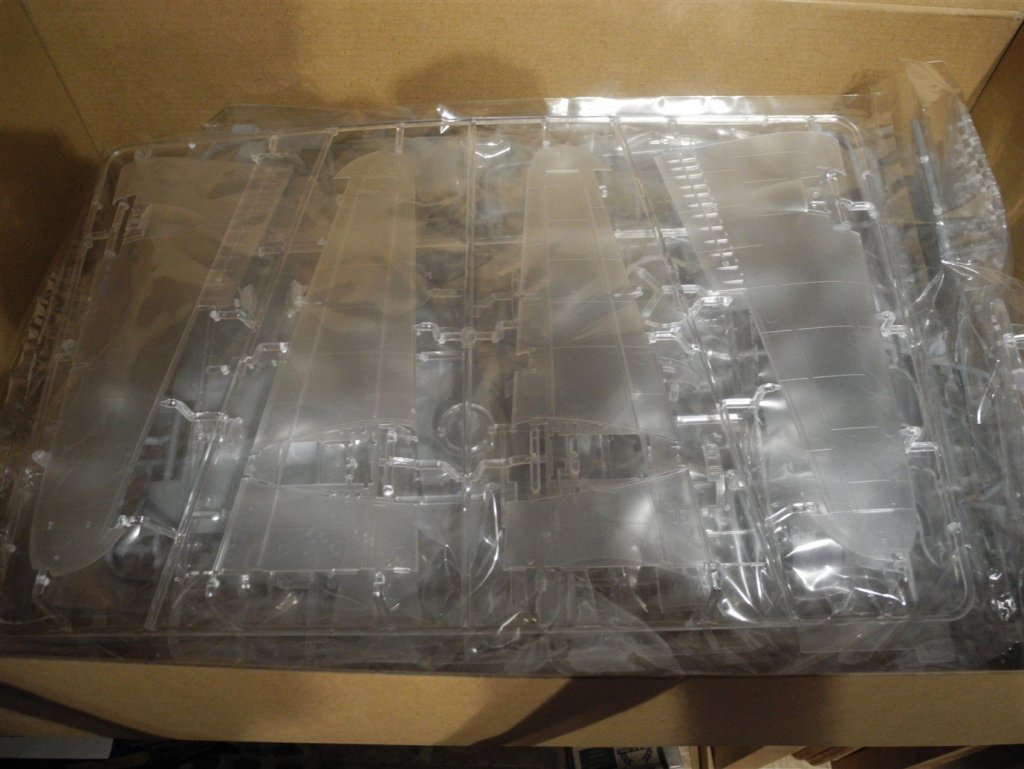
I am not a fan of clear. -

Ki-45 Nick by CDW - Zoukei-Mura - 1:32 scale - PLASTIC
CDW replied to CDW's topic in Non-ship/categorised builds
-
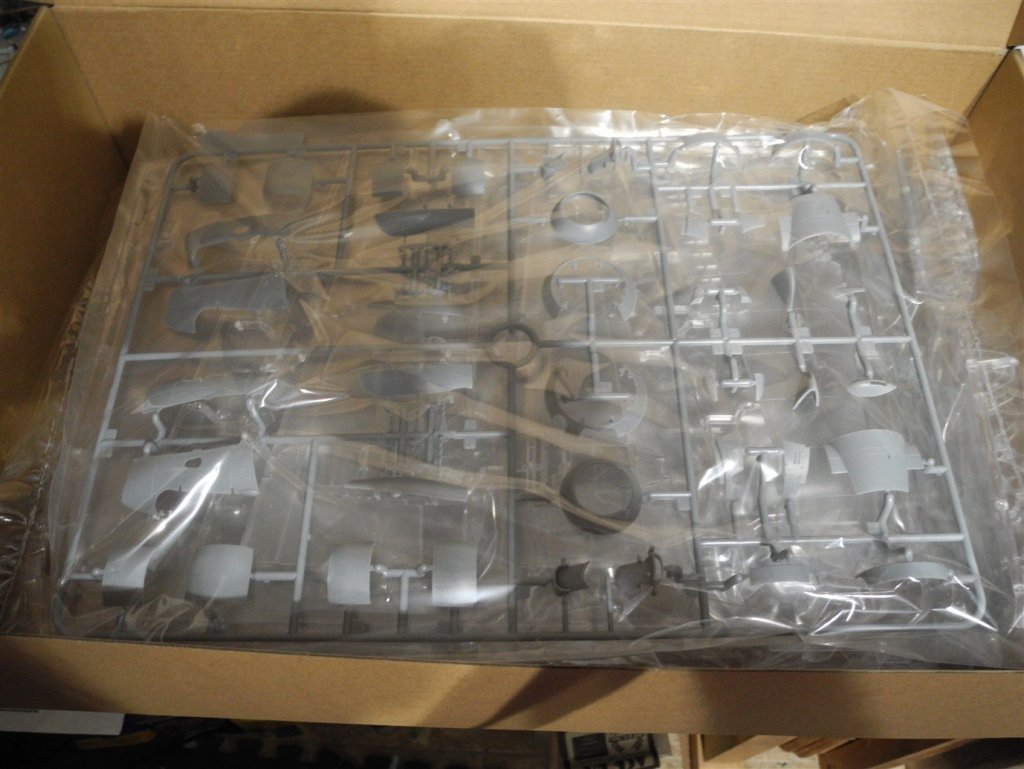
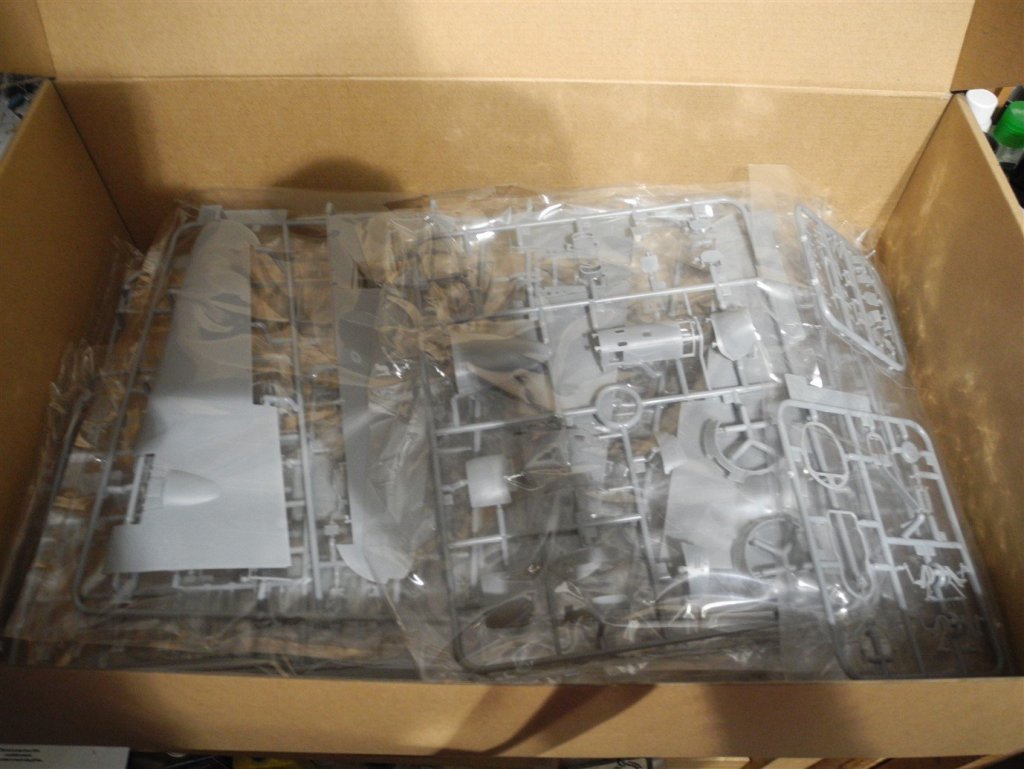
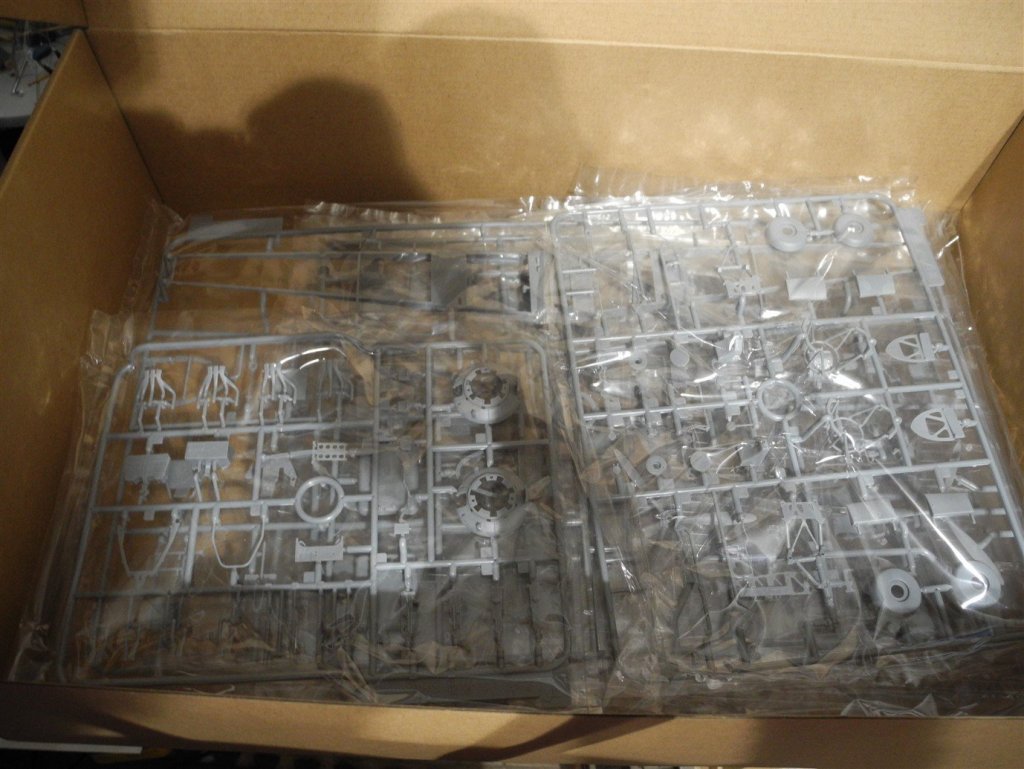
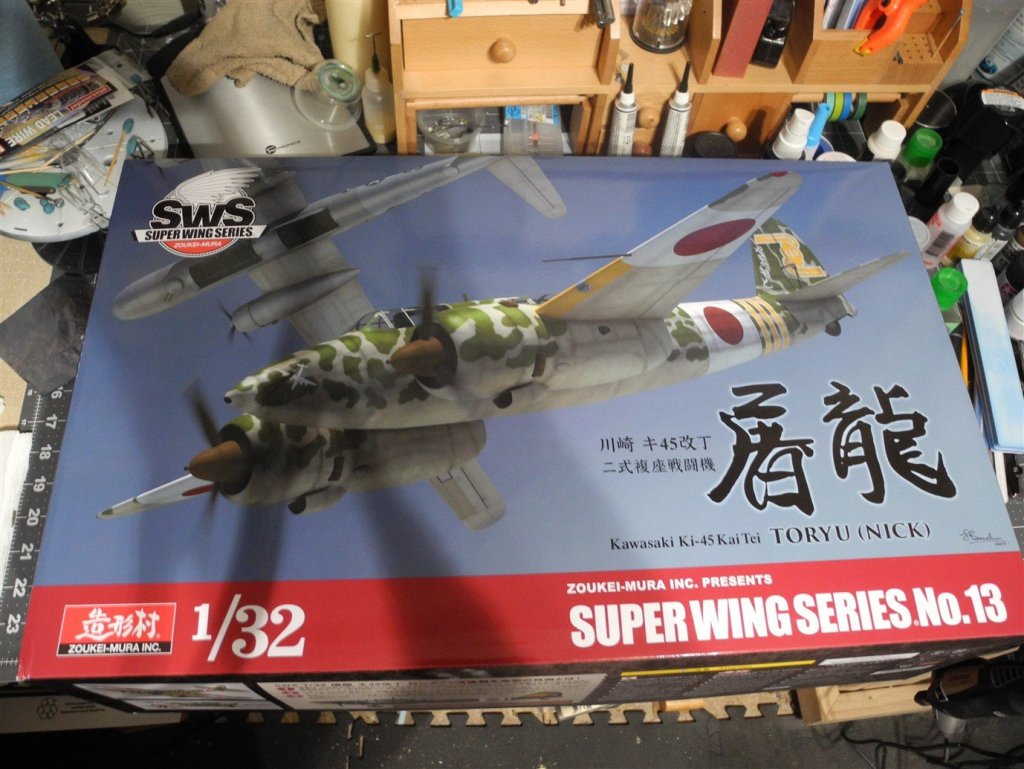
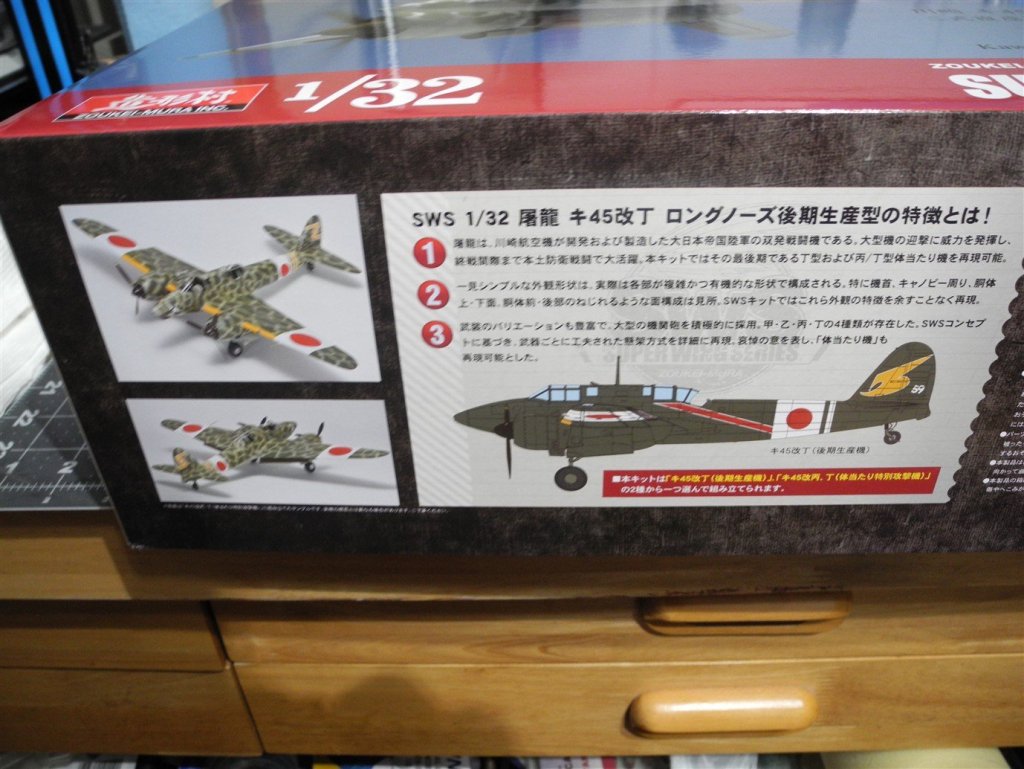
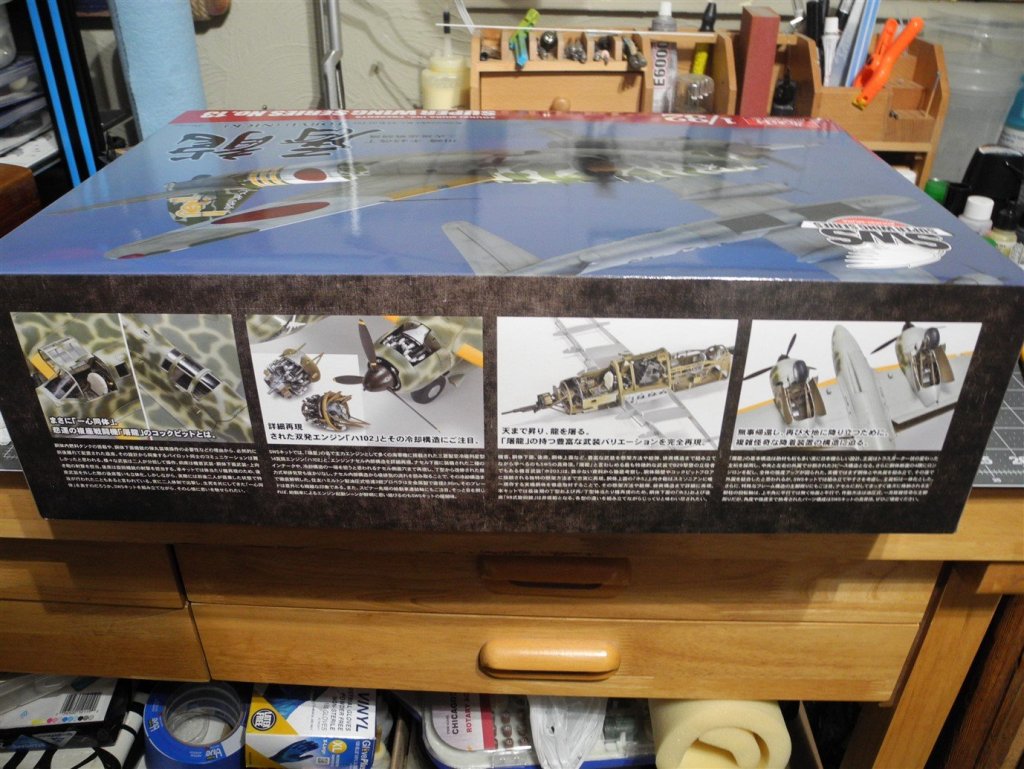
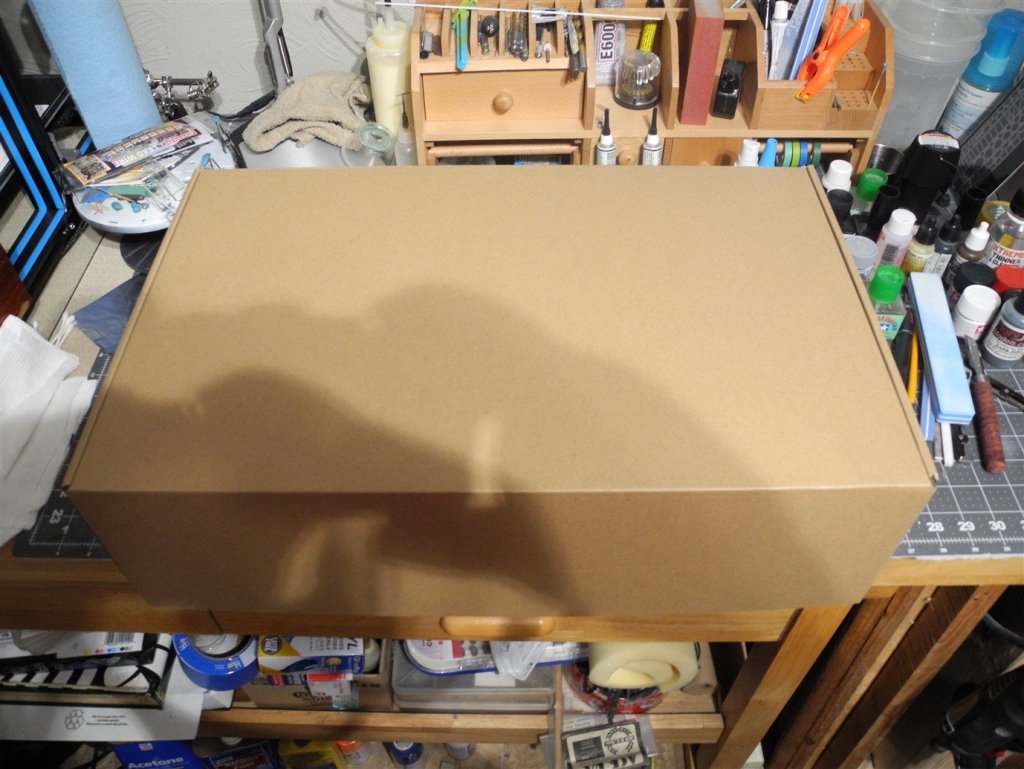
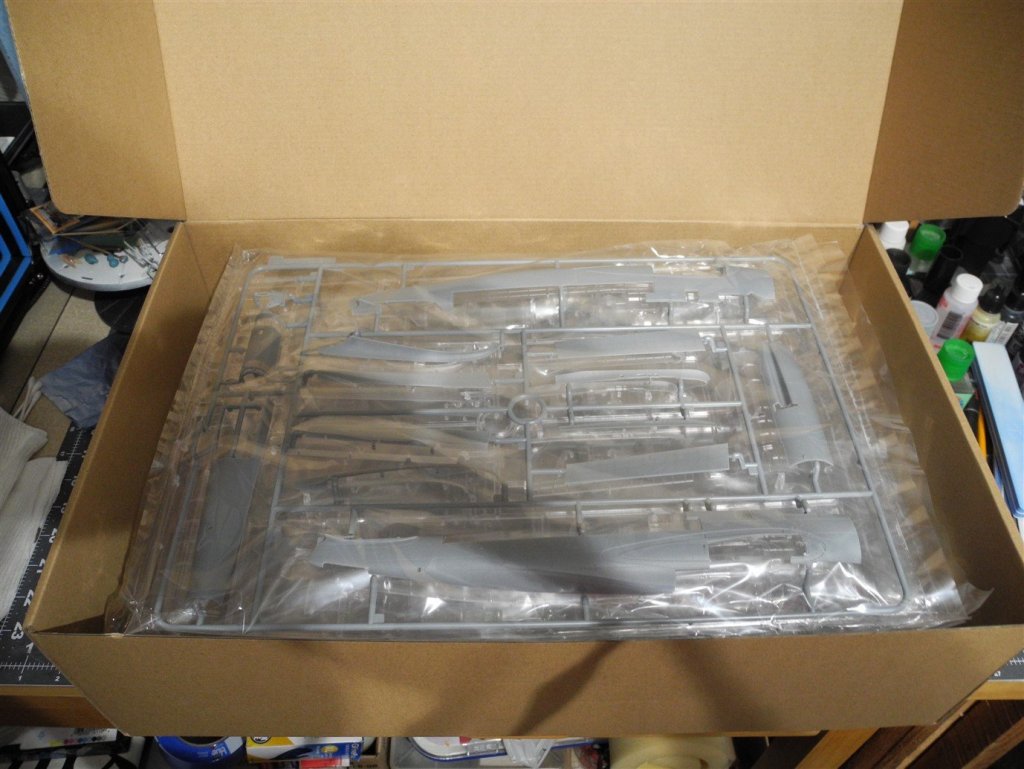
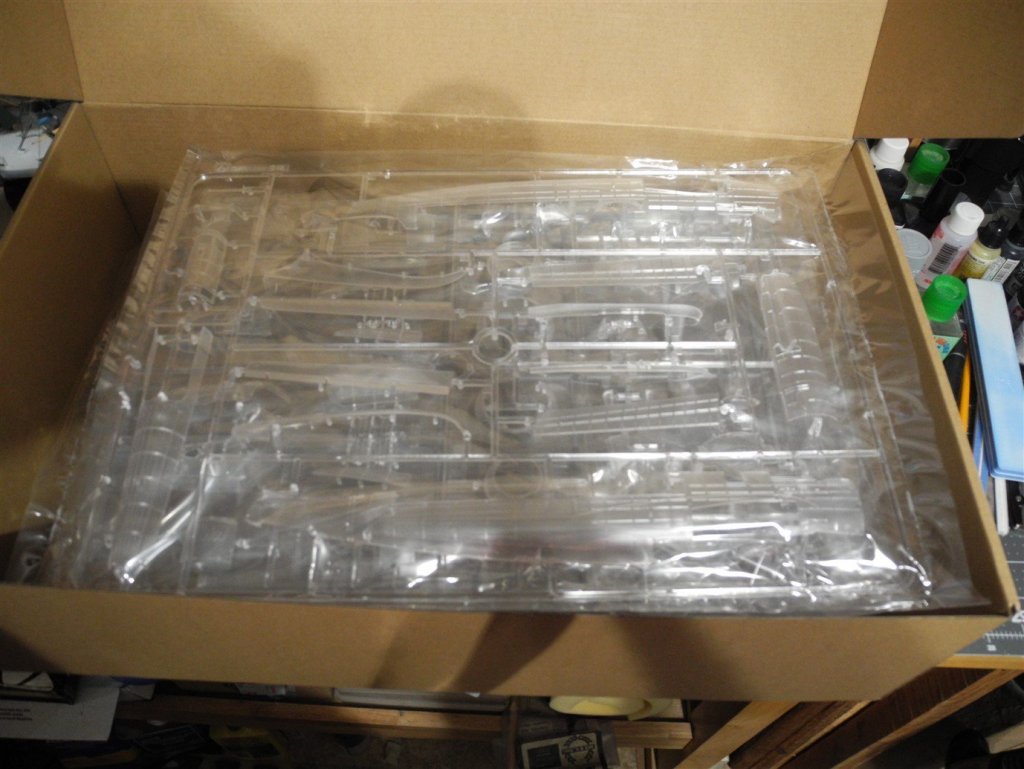
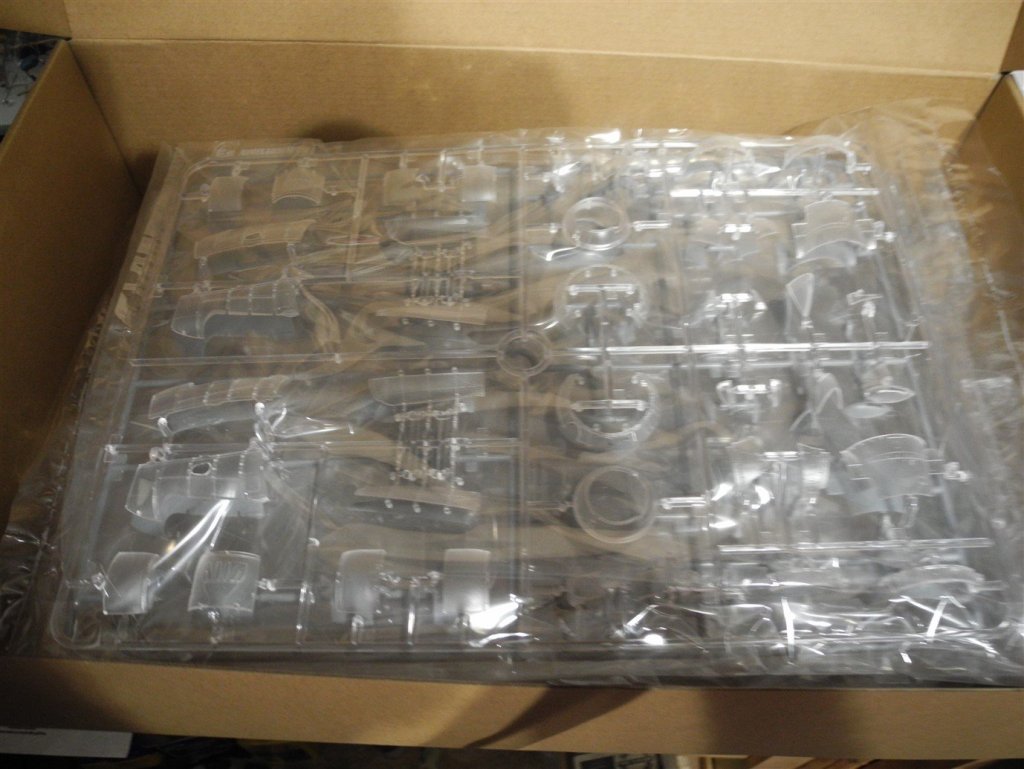
I pre ordered the 1:32 Zoukei-Mura Ki-45 Nick. Today it arrived on my doorstep via FedEx. The shipping box was very large and at first I thought they used an oversized box to help protect the model kit inside, but once I picked it up, immediately knew from the weight of it there was a whole lot of plastic inside this box. Taking it inside and opening the shipping box, it dawned on me what a huge kit this is. Opening the kit box, you find another box inside that one - for extra rigidity. When you get inside that box, you find tree after tree of model airplane parts...almost 600 of them. One of the reasons for the high parts count is that Zoukei-Mura decided to mold the outer skins in both clear plastic as well as opaque, giving the modeling the option to decide whether he wants a clear outer skin to show off all that amazing inner detail or use the opaque skin and just concentrate on getting a beautiful painted finish. Either way, this model is just loaded with detail and looks to be nothing short of amazing in the details it offers. I am going to start this build thread by showing about half the parts trees inside the box. In a later installment, I'll show the other parts, the instruction booklet, and the decals. I will slowly start this thread, then gradually build up momentum once I finish a couple of other small projects. Maybe it's pie in the sky, but I hope to have this model finished by mid April 2019. We'll see.
-
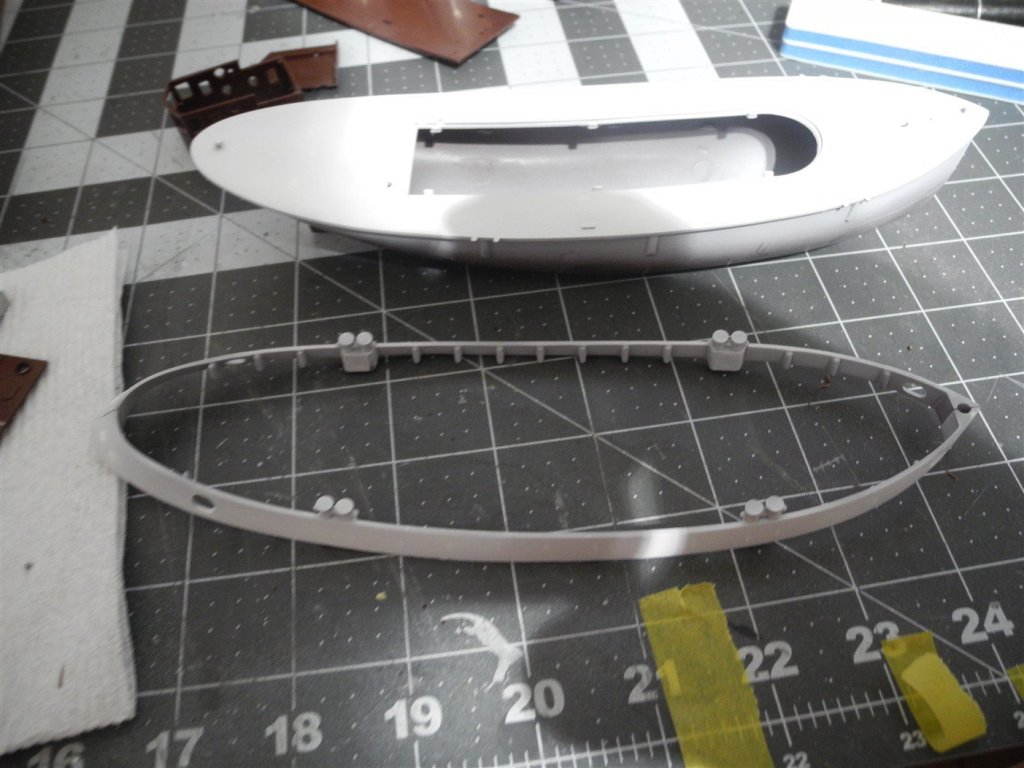
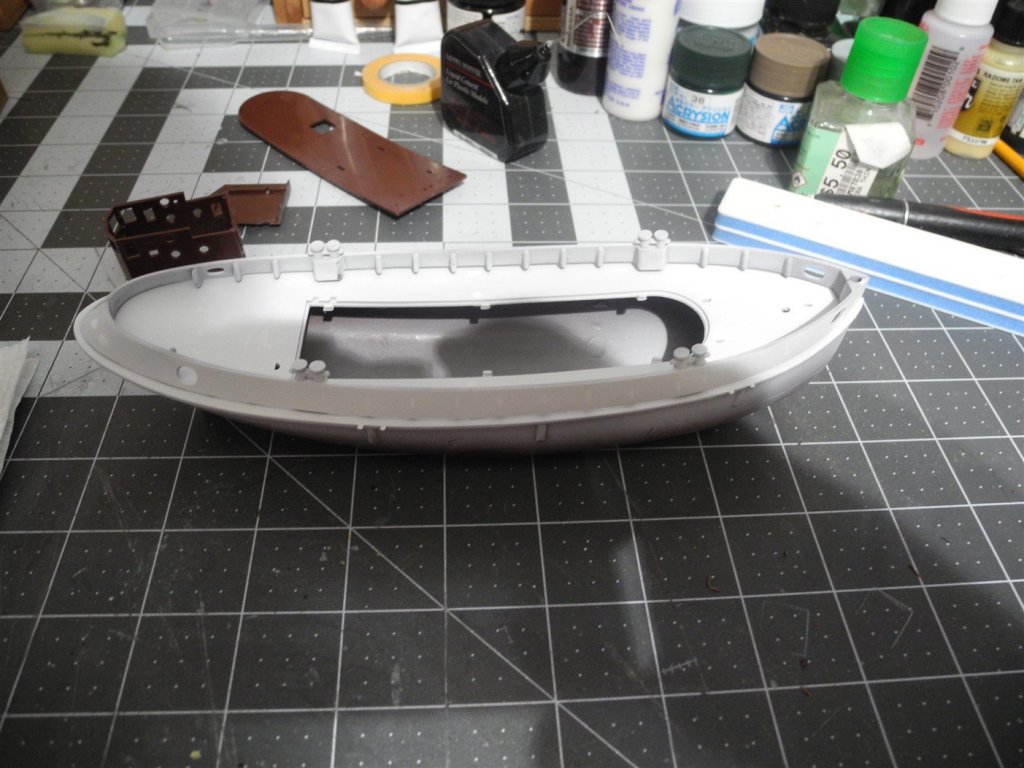
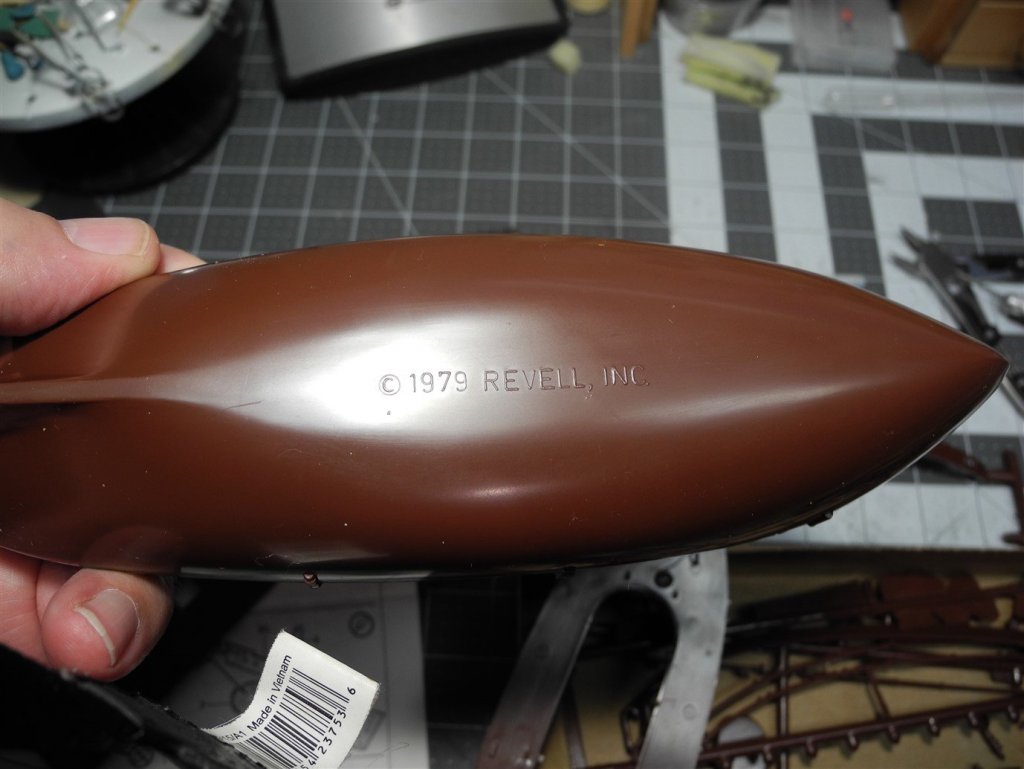
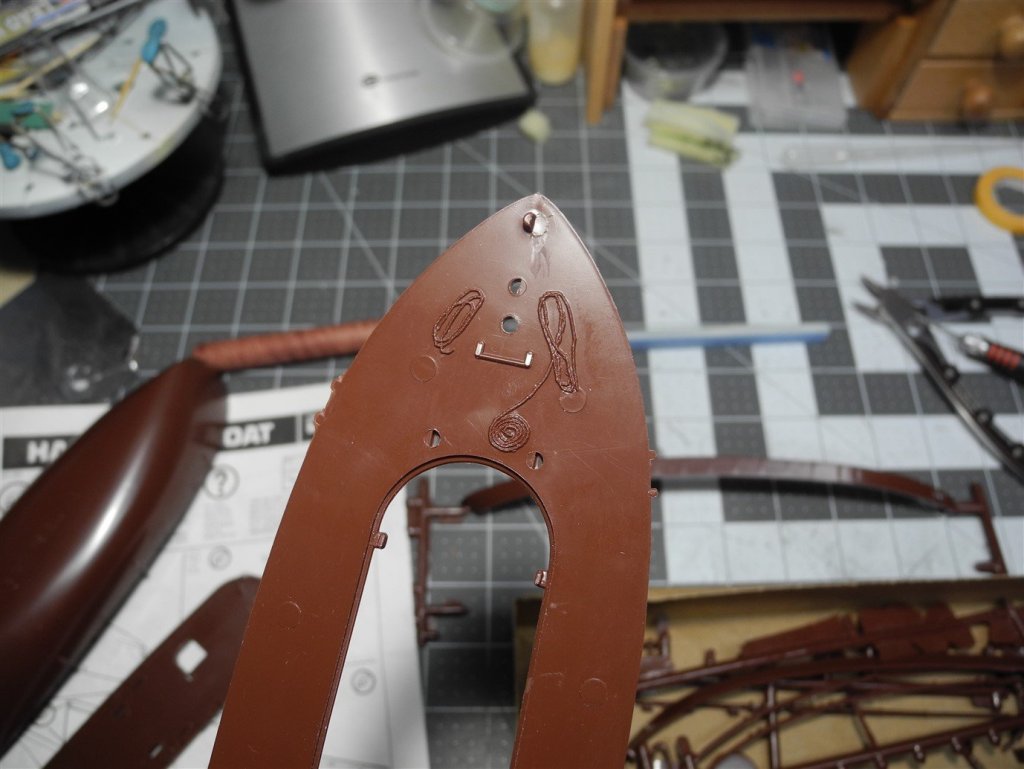
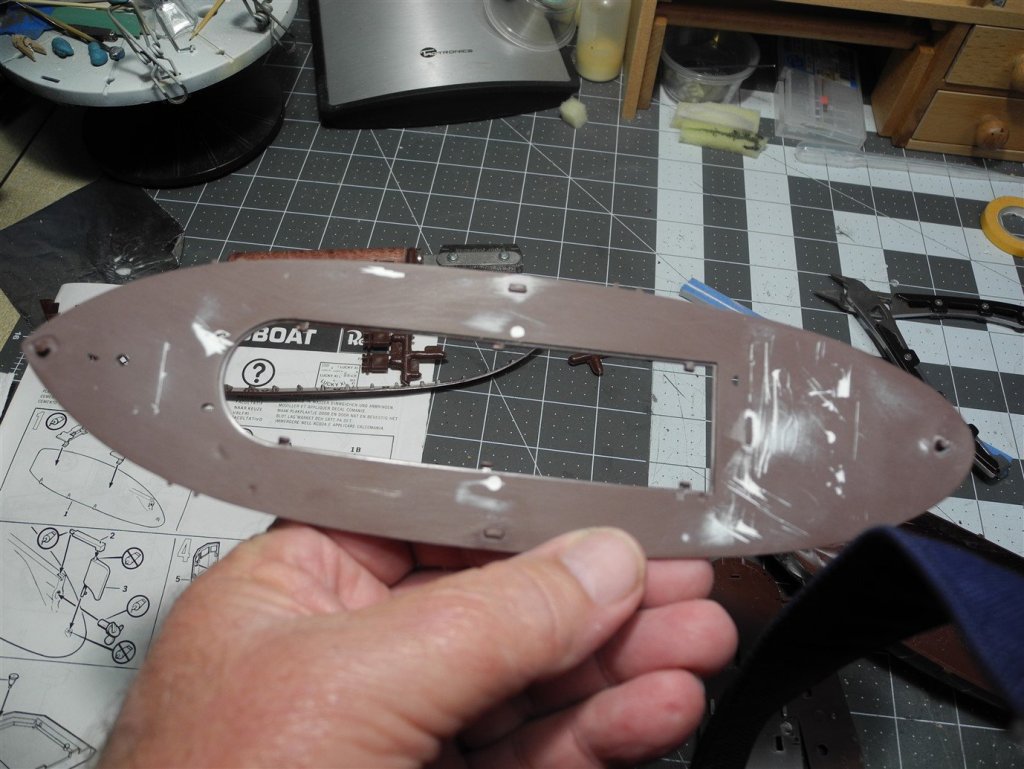
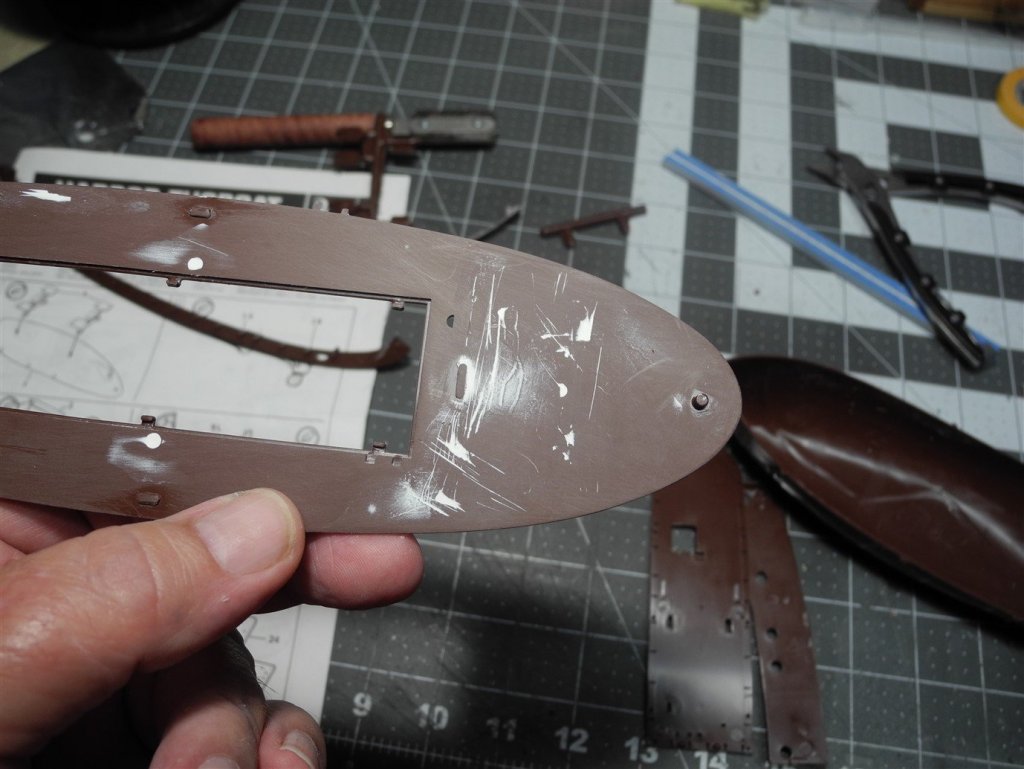
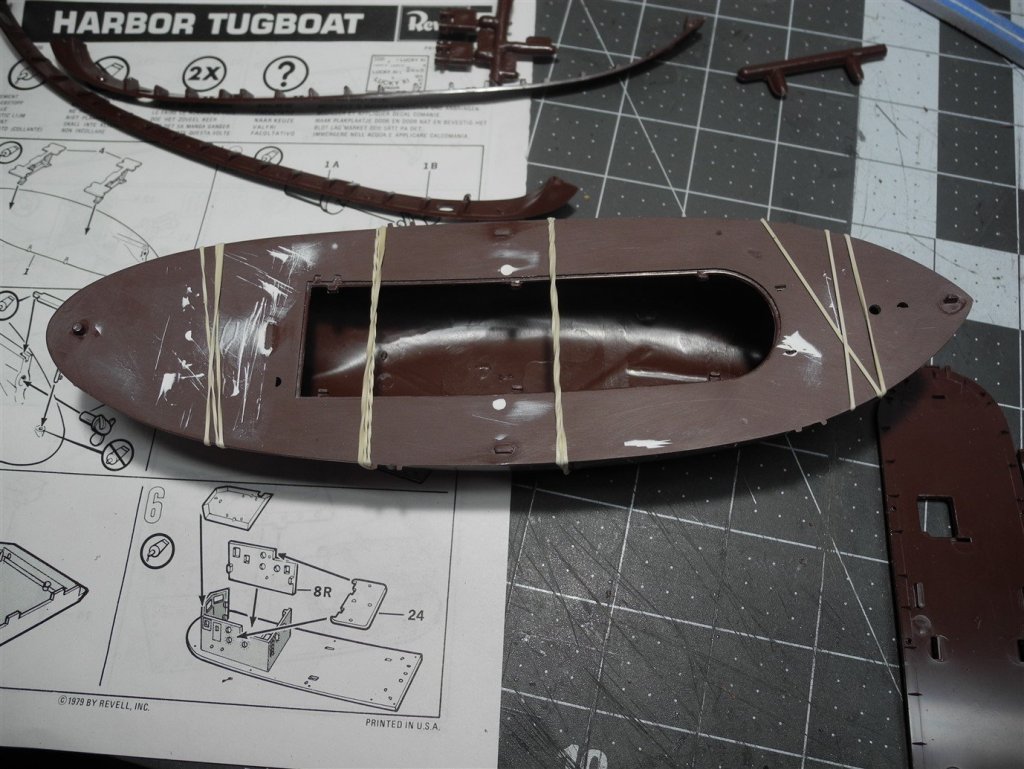
The hull had the typical raised letters used by Revell and others in that era to indicate their copyright date. The main deck had raised details that needed to be removed along with some other extraneous and unsightly irregularities. After cutting those away, I had some gouge marks that needed a quick swipe of Tamiya White Putty then a sanding after the putty dried. The deck was then attached to the hull with Tamiya thin liquid cement and held in place to dry with rubber bands. I believe those removed raised details (mostly coils of rope) will be easy to recreate with appropriate sized thread and will look much better at the end of the build.
- 63 replies
-
- revell
- harbor tug
-
(and 2 more)
Tagged with:
-
Oh yeah, a vent makes sense. The model has several of these molded onto the superstructure. I will sand away the molded ones and scratch build those. Some of the molded on details look pretty crappy on this kit to be honest about it. It's gotta go.
- 63 replies
-
- revell
- harbor tug
-
(and 2 more)
Tagged with:
-
Pack a small lunch or snack, OC. I plan to make this one as short and sweet as possible. Don't want to get OCD'd or otherwise carried away with it. Will try to make it look presentable, but not go overboard.
- 63 replies
-
- revell
- harbor tug
-
(and 2 more)
Tagged with:
-
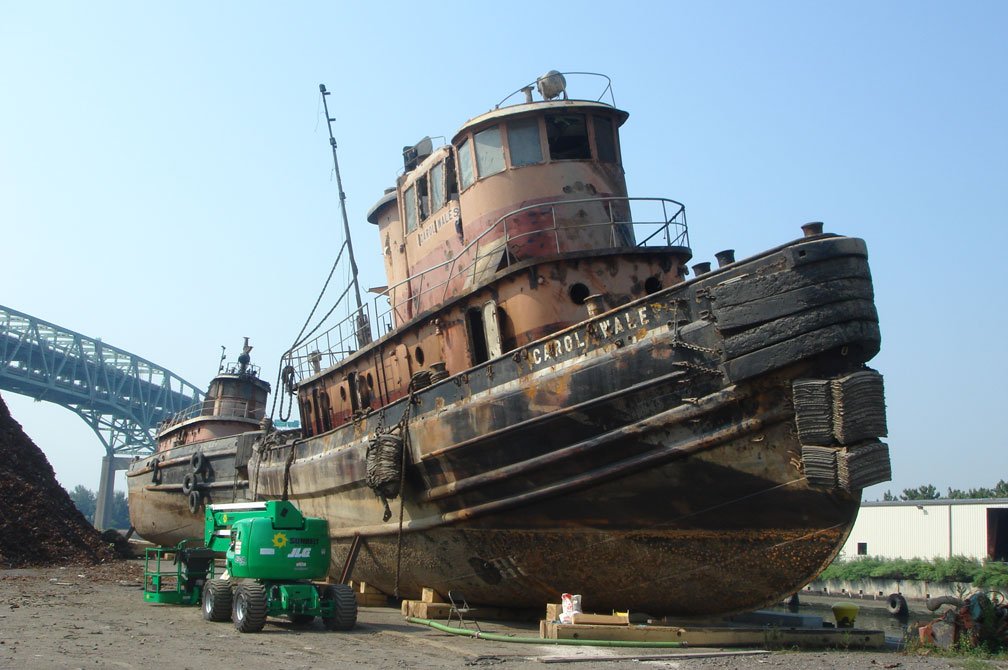
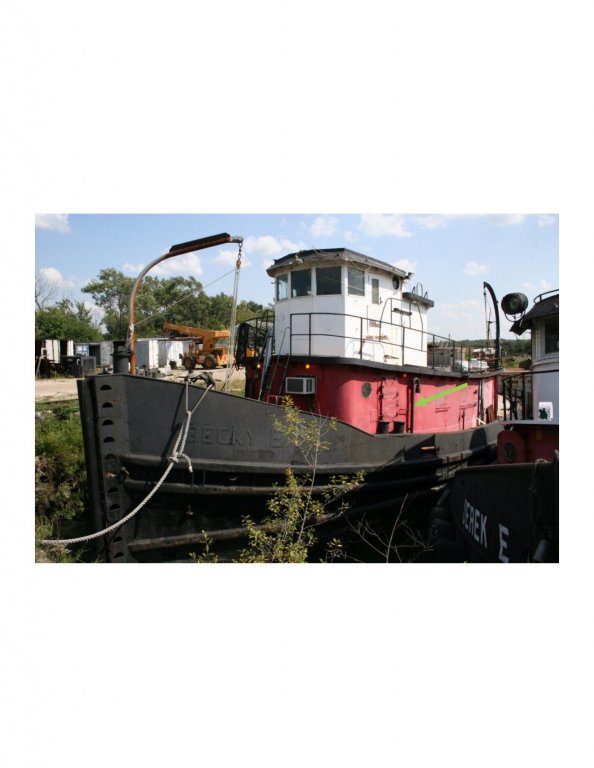
Thank you Kurt. The history and particularly the photos help me a lot! Seems I remember reading a little about this long ago but had forgotten. Being nautically challenged, please tell me what these are called (see highlighted items in the photo)?
- 63 replies
-
- revell
- harbor tug
-
(and 2 more)
Tagged with:
-
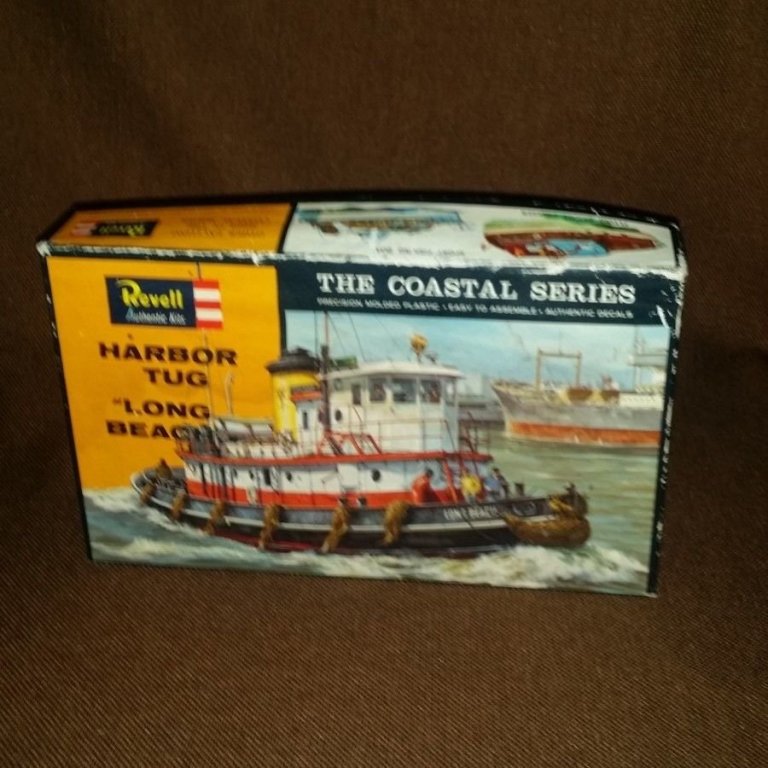
With the micro servos and RC equipment available today, making this a working model like that would be cheap to do. A very small lipo battery and brushless motor could power it. Way back when you and I first built this model, it looked like this:
- 63 replies
-
- revell
- harbor tug
-
(and 2 more)
Tagged with:
About us
Modelshipworld - Advancing Ship Modeling through Research
SSL Secured
Your security is important for us so this Website is SSL-Secured
NRG Mailing Address
Nautical Research Guild
237 South Lincoln Street
Westmont IL, 60559-1917
Model Ship World ® and the MSW logo are Registered Trademarks, and belong to the Nautical Research Guild (United States Patent and Trademark Office: No. 6,929,264 & No. 6,929,274, registered Dec. 20, 2022)
Helpful Links
About the NRG
If you enjoy building ship models that are historically accurate as well as beautiful, then The Nautical Research Guild (NRG) is just right for you.
The Guild is a non-profit educational organization whose mission is to “Advance Ship Modeling Through Research”. We provide support to our members in their efforts to raise the quality of their model ships.
The Nautical Research Guild has published our world-renowned quarterly magazine, The Nautical Research Journal, since 1955. The pages of the Journal are full of articles by accomplished ship modelers who show you how they create those exquisite details on their models, and by maritime historians who show you the correct details to build. The Journal is available in both print and digital editions. Go to the NRG web site (www.thenrg.org) to download a complimentary digital copy of the Journal. The NRG also publishes plan sets, books and compilations of back issues of the Journal and the former Ships in Scale and Model Ship Builder magazines.

.jpg.7e80607770d9078b2f0b470e8c9c33ac.jpg)
