CDW
-
Posts
7,730 -
Joined
-
Last visited
Content Type
Profiles
Forums
Gallery
Events
Everything posted by CDW
-
 There was an elderly gentleman at the IPMS show I attended earlier in the year who told me some facts concerning the Arado 234 that is part of the Smithsonian Museum in Washington DC. He said he had worked there helping to restore that particular aircraft. I wish I had written down everything he told me as he was explaining facts about how the canopy parts fit together but I could not follow without a clear visual image of what he was talking about. Maybe one day I will run into him again and have him tell me about it one more time. This time I will take notes. He had donated a 1:48 Hasegawa Arado 234 and detail sets which I won in a raffle held at the show. Maybe one day I'll get around to building the 1:48 version. Your model looks great at this stage. Keep up the beautiful work.
 -
Pontos only provides photos of the model with the photo etch attached. Sounds a lot like Mk-1 in that sense. Indeed, you are correct, reference materials are needed.
- 154 replies
-
- 1
-

-
- Enterprise
- Trumpeter
- (and 1 more)
-
Vincent Black Shadow by CDW - Revell - 1:12 Scale
CDW replied to CDW's topic in Non-ship/categorised builds
Great to see/hear from you, Lou. I decided to give it a try after I saw an Asian modeler reveal his technique for it. Other methods had you building a jig and using a different type of flexible wire. While both methods had merit, the one I chose seemed the path of least resistance. The trick became sourcing the stainless-steel wire and aluminum tubing of sufficiently small gauge. I found that insect specimen pins came in a variety of small sizes from 5-0 all the way up and readily available on Amazon. The micro aluminum tubing I found from a hobby shop on Ebay. -
Vincent Black Shadow by CDW - Revell - 1:12 Scale
CDW replied to CDW's topic in Non-ship/categorised builds
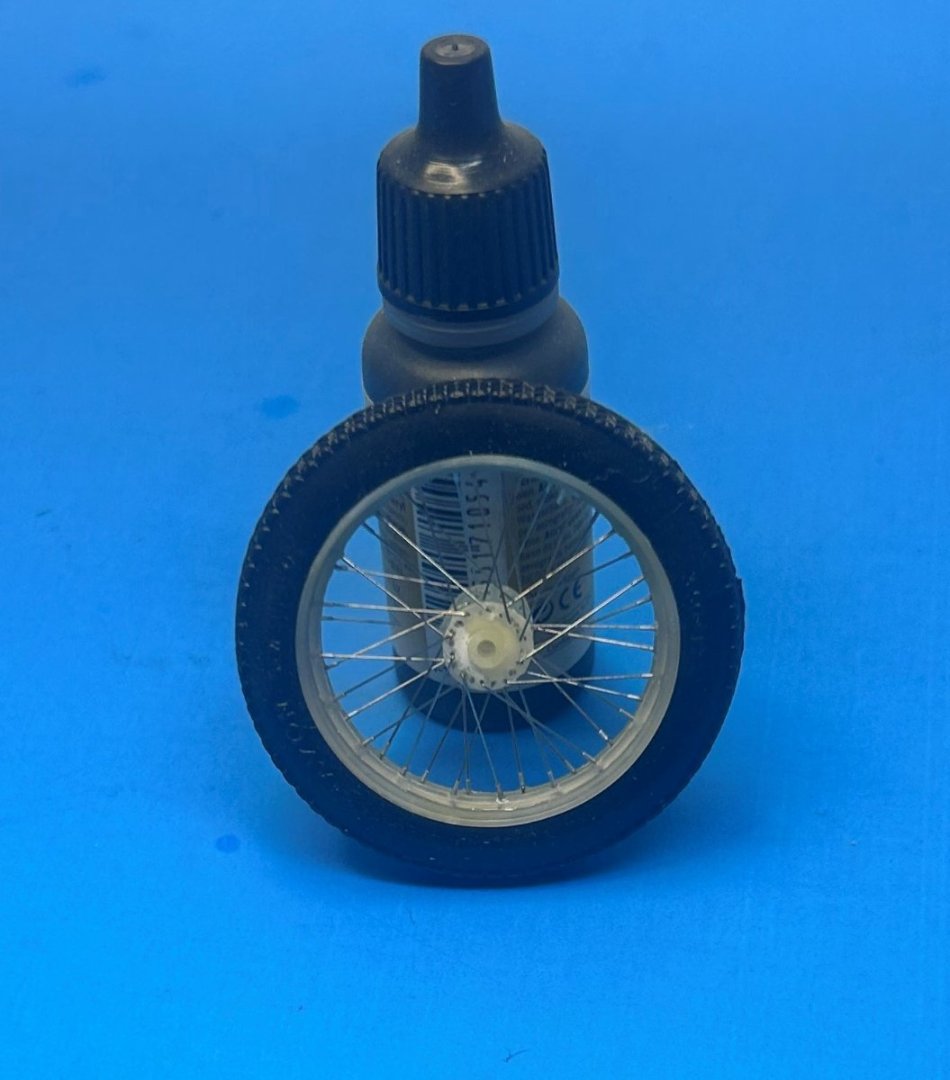
Overall, I am satisfied with the way the rear wheel came out given it's a first try. Practice makes perfect and I've learned a few things giving this method a try. Will move on to other areas of construction and continue with the front wheel later.

- 62 replies
-
- 20
-
-

-

-
Maybe try Mr Color metallics. Theirs are some of the most durable paints I have discovered. Super Silver has a very fine pigment and looks convincing.
-
The challenge of masking over metallic paint is always there. It's so frustrating to invest all the time and effort then see the paint underneath the mask deformed by the tape. I feel your pain.
-
Looks excellent with that wash.
-
Vincent Black Shadow by CDW - Revell - 1:12 Scale
CDW replied to CDW's topic in Non-ship/categorised builds
Oh, it's way better than that. It's 4.19 per bottle (Tamiya thin cement) VS: 1.20 per bottle (when refilled using the Tamiya airbrush cleaner). It's less than 1/3 the cost. -
Vincent Black Shadow by CDW - Revell - 1:12 Scale
CDW replied to CDW's topic in Non-ship/categorised builds
The bottles of Tamiya airbrush cleaner contain the exact same active ingredient as Tamiya thin cement. The airbrush cleaner contains 240 ml while the thin cement contains 40 ml. My supplier sells the airbrush cleaner for 7.29 per bottle while thin cement sells for 4.19. You can refill your thin cement bottle over 6 times with one bottle of airbrush cleaner. It all does the same thing only at a fraction of the cost. Just thought you might want to know how to save a few bucks.
- 62 replies
-
- 13
-
-
I admire your work and patience. I bought one man army masks for my Border Models Lancaster. Now I’m wondering how complex those are going to be.
-
Vincent Black Shadow by CDW - Revell - 1:12 Scale
CDW replied to CDW's topic in Non-ship/categorised builds
Hey, don't be sorry. Beauty is always in the eye of the beholder and I make no pretense of the fact that my model will be less than perfect. If I wanted/demanded closer to scale perfection, I would spend $600 for a Model Factory Hiro kit. Instead, I'll enjoy this old, much less costly Revell kit and dress it up a bit. Rivet counters may be disappointed but none ever visit my humble abode to peruse my model shelves anyway. I don't mind you criticizing my long nipples, just don't try to rub them.😄- 62 replies
-
- 14
-

-
-
Vincent Black Shadow by CDW - Revell - 1:12 Scale
CDW replied to CDW's topic in Non-ship/categorised builds
Now that's something I never tried, letting the decals soak in water that long. It makes sense and surely is worth a try. It will be a while before I actually need the decals, just thinking ahead. Decal sheet says, printed in Italy, so they could possibly be Cartograf. I'll let you know how the Cricut adventure goes. -
Vincent Black Shadow by CDW - Revell - 1:12 Scale
CDW replied to CDW's topic in Non-ship/categorised builds
I agree with your assessment. I will do just that but hold little/no hope for a Microscale Decal Film resurrection from the dead. My batting average with this is near-zero once the decals have reached the state this sheet is in. The glue/adhesive is dead underneath the film. I'm also going to give my daughter a crack at making a stencil for me with her Cricut machine. Not sure it can handle lettering this small though, but she thinks it can. We shall see. In the meantime, I wrote Revell Germany on the off chance I may be able to acquire a replacement from them. Over 20 years old, I kinda doubt it but it's worth a try. -
Vincent Black Shadow by CDW - Revell - 1:12 Scale
CDW replied to CDW's topic in Non-ship/categorised builds
I’m wondering how to handle my need for decals/lettering. Decal sheet is kaput. Gold metallic colors. Not printer friendly.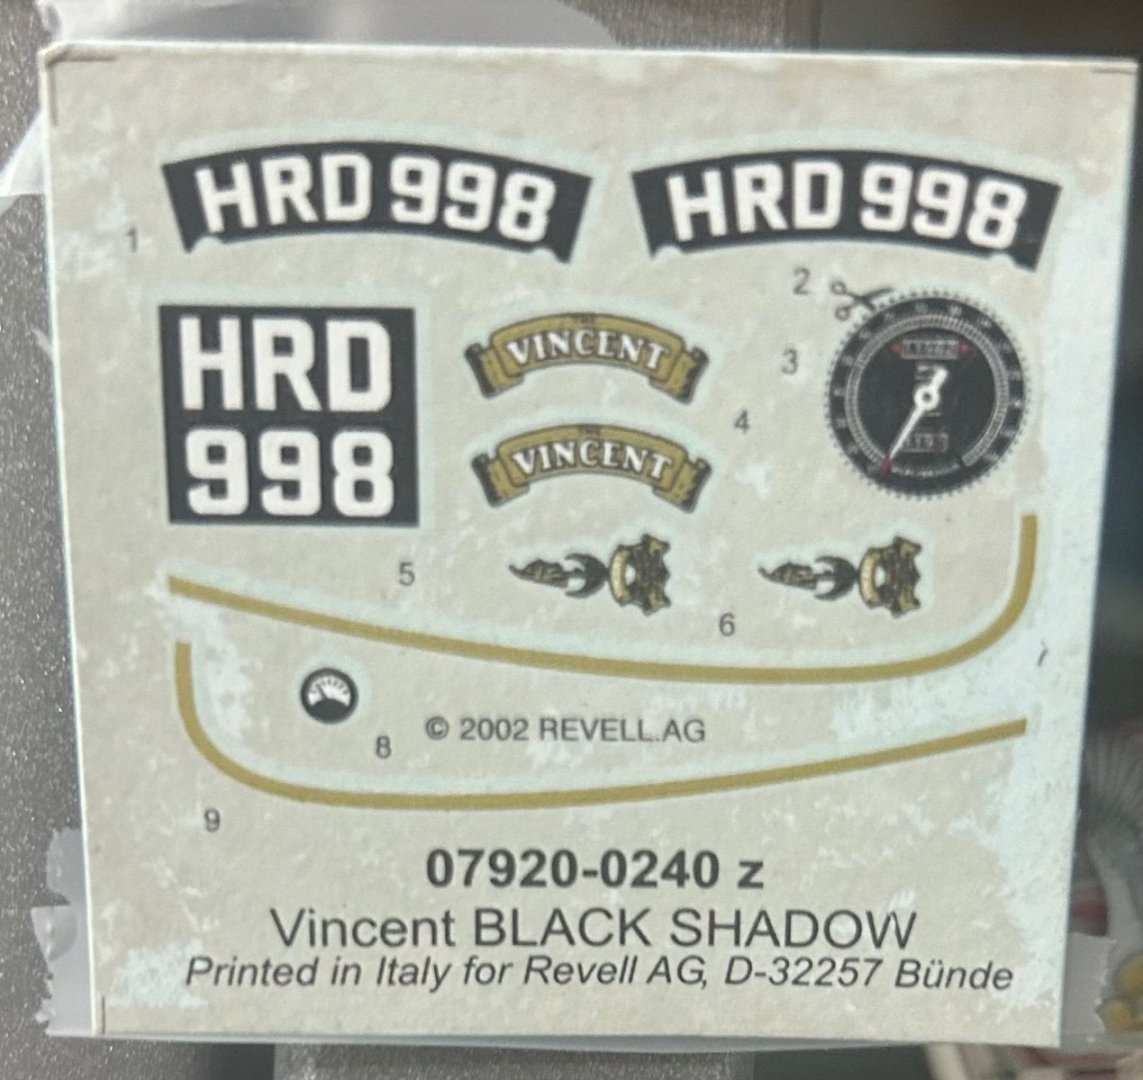
-
Vincent Black Shadow by CDW - Revell - 1:12 Scale
CDW replied to CDW's topic in Non-ship/categorised builds
Some of the South American immigrants coming into the USA are very proficient tree climbers/trimmers. A much needed skill set here in Florida. Impressive balance at heights.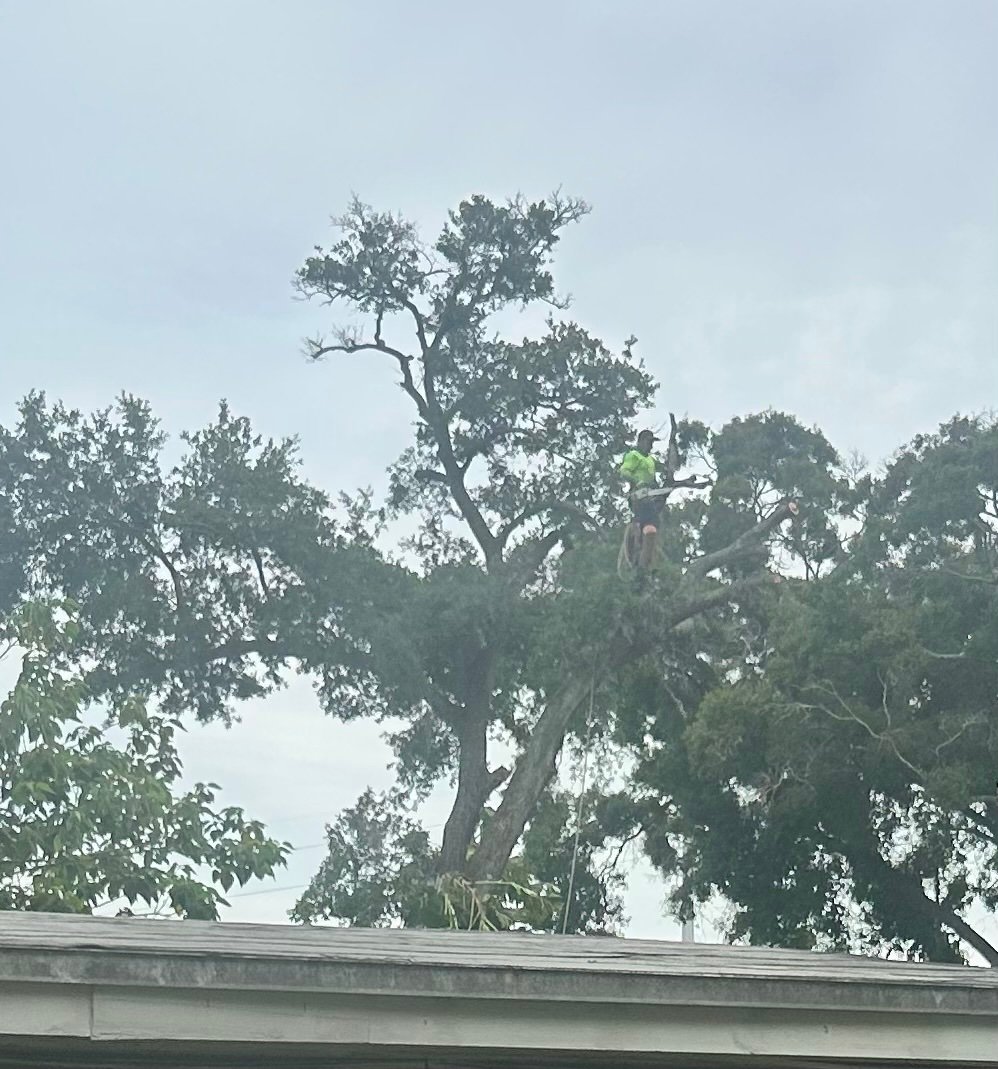
-
Vincent Black Shadow by CDW - Revell - 1:12 Scale
CDW replied to CDW's topic in Non-ship/categorised builds
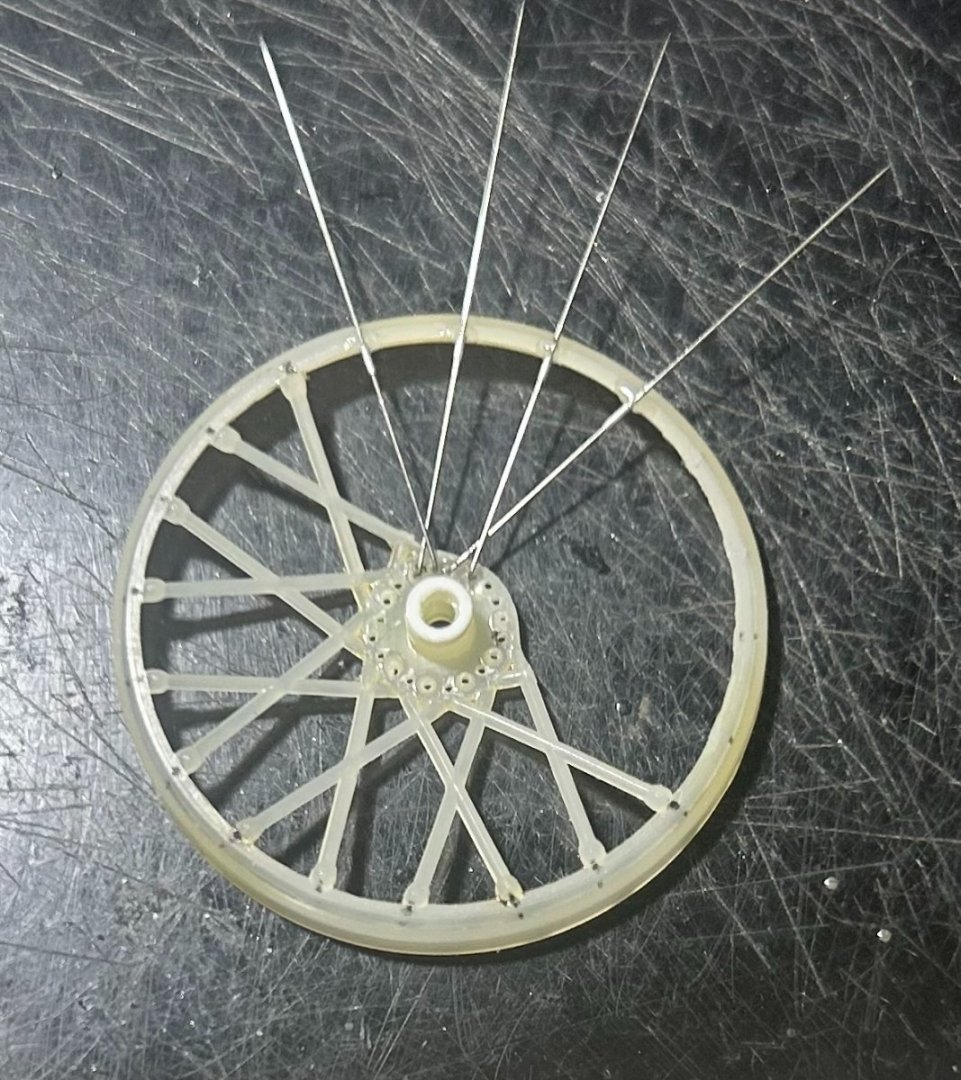
Utilizing that helpful MFH spoke lacing diagram, I think I have the spacing sequence correct now. Making slow but steady progress in between “honey-do’s”. You know the old saying, “happy wife, happy life”.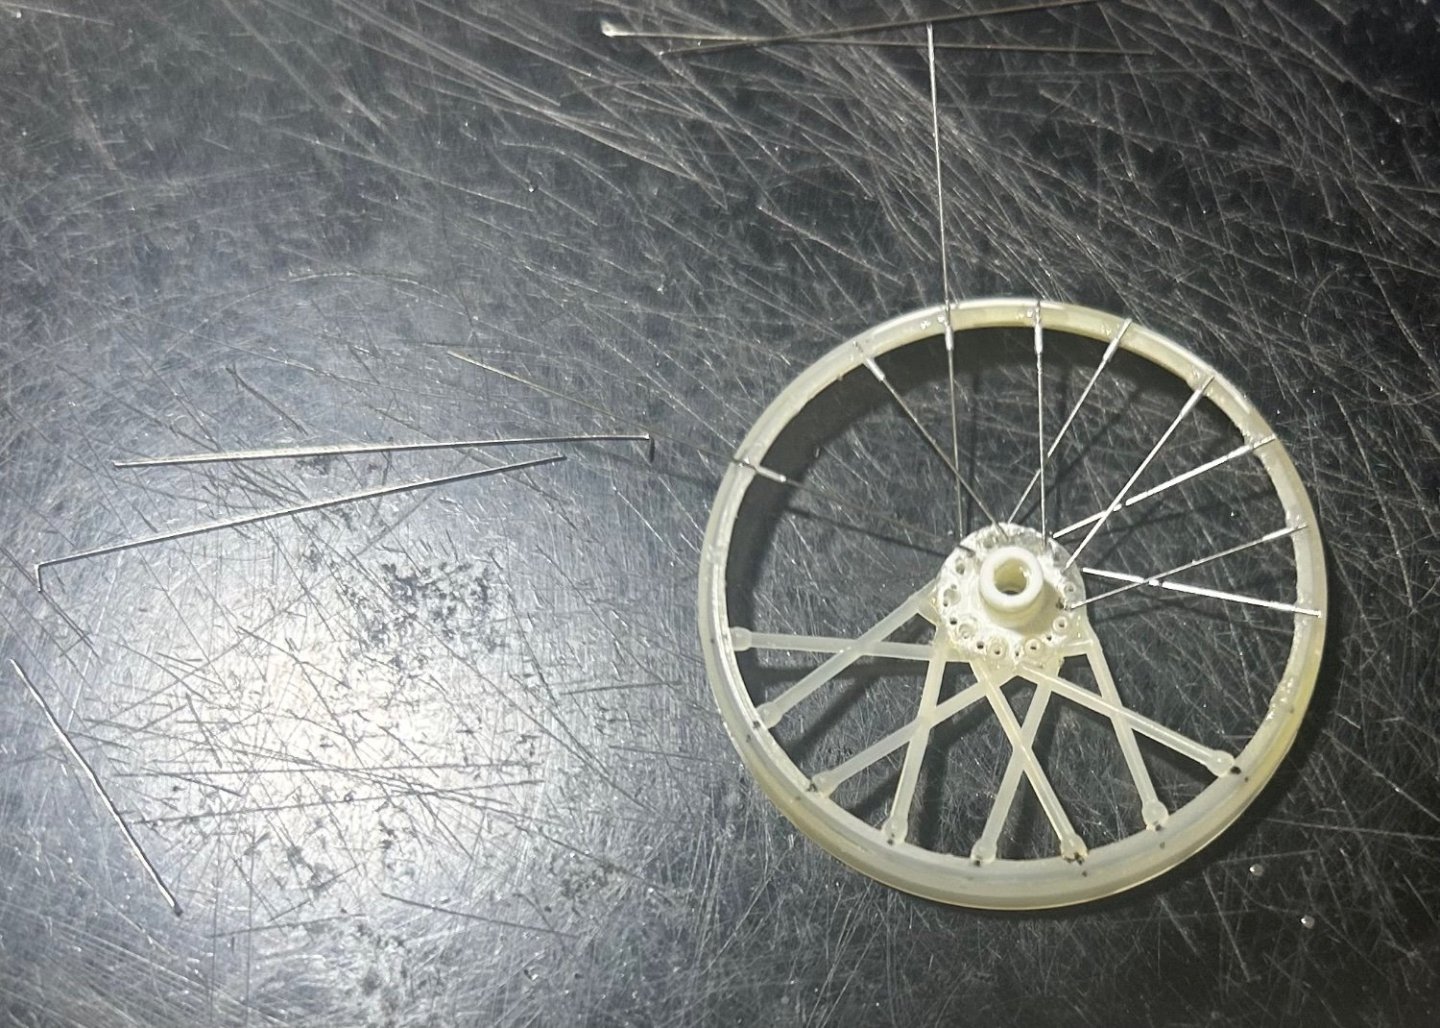
-
The masking looks fantastic, Rob. Love it!
-
Vincent Black Shadow by CDW - Revell - 1:12 Scale
CDW replied to CDW's topic in Non-ship/categorised builds
Thanks for the heads up on that. That's the most helpful diagram I have seen for the spoke pattern. Thanks! I've got the opportunity to sort mine out at this juncture. Later on, not as much. I knew there was something I was missing, but this shows me everything. If I was going to shell out the money for a MFH kit, I would be hard pressed to decide which one. A 1:12 '58 Ferrari Testarossa is one of the most tempting.- 62 replies
-
- 10
-
-
Vincent Black Shadow by CDW - Revell - 1:12 Scale
CDW replied to CDW's topic in Non-ship/categorised builds
Where each spoke attaches to the hubs, will run a small bead of superglue or maybe epoxy all around to insure a strong bond. The outer portion of the spokes at the rims get sandwiched between each rim half so there is little worry about those becoming dislodged later on. -
Vincent Black Shadow by CDW - Revell - 1:12 Scale
CDW replied to CDW's topic in Non-ship/categorised builds
After the spokes are assembled, will paint the wheels in a metallic silver to simulate polished metal. Probably will use Mr Color Super Silver as it's got very fine silver pigments and looks convincing. Will need to first do a black undercoat as the super silver responds well to that. -
Vincent Black Shadow by CDW - Revell - 1:12 Scale
CDW replied to CDW's topic in Non-ship/categorised builds
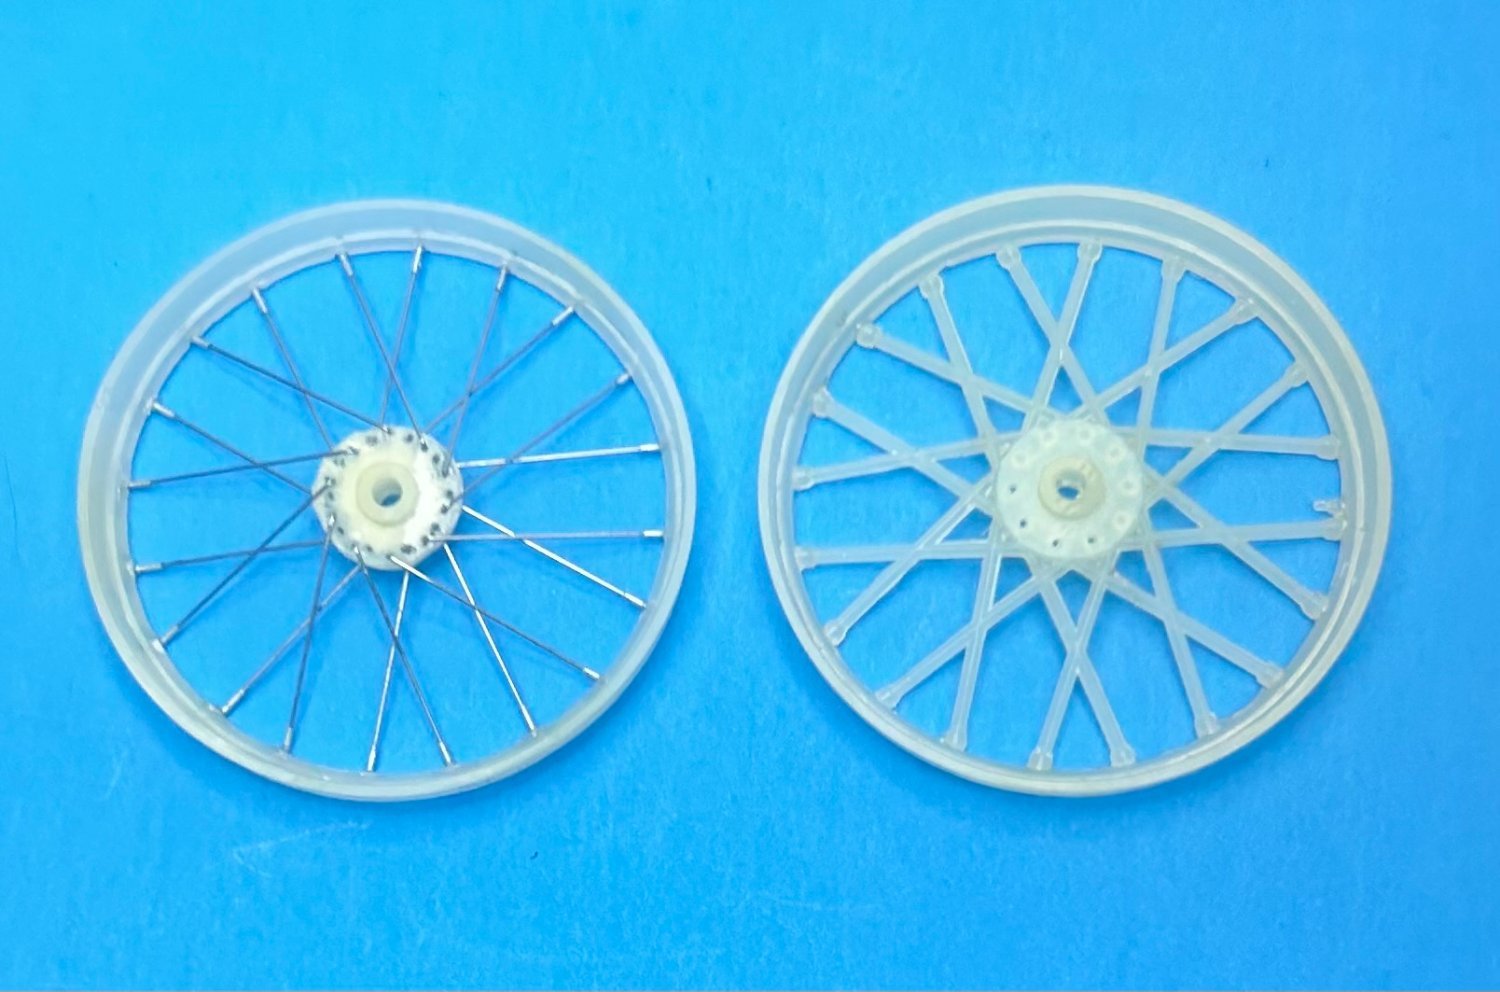
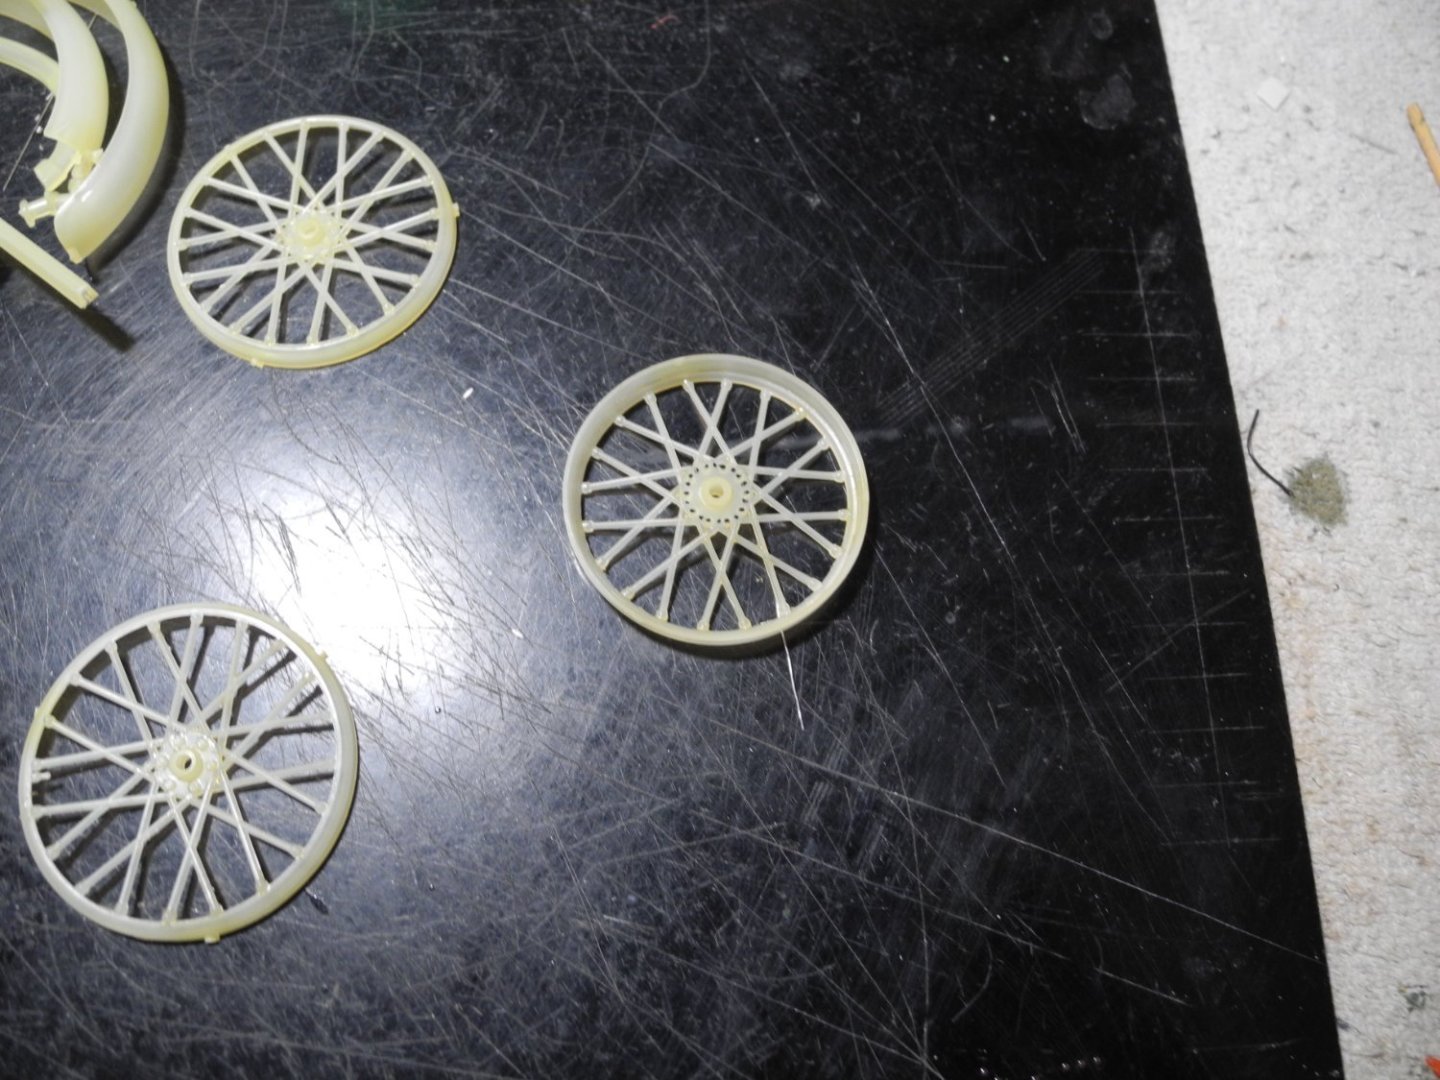
I started by stripping the plating from the chrome tree, then started removing the thick out of scale spokes in order to replace them with micro thin stainless steel wire using micro aluminum tubing as the spoke nipples. Each wheel half carries 20 spokes for a total of 40 spokes per wheel. I have never used this particular method to replace the plastic spokes but after seeing others do it decided to give it a try. Those thick plastic spokes really put me off.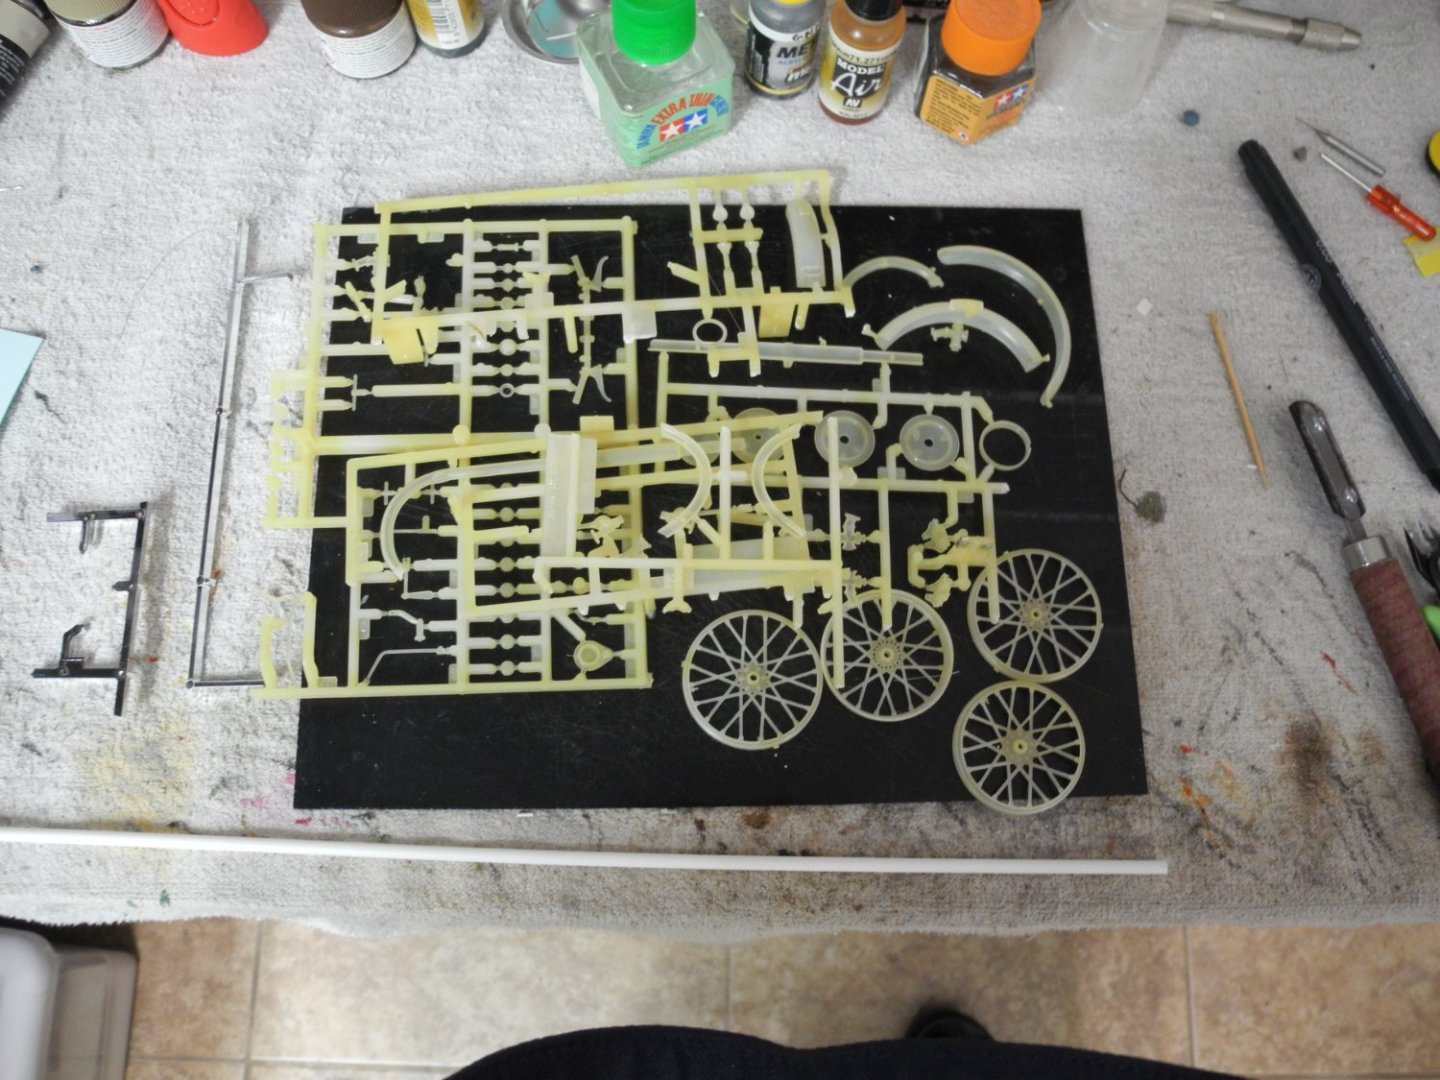
- 62 replies
-
- 17
-
-
I've got two of the models unbuilt in storage. Don't recall exactly how I ended up with two of them, but here they are. Best I recall, their construction and general qualities are more robust though not as finely detailed as more modern Trumpeter kits. They are an oddball 1:125 scale. Several or more detail improvement sets are available for them if somebody wanted to go a more highly detailed route. Next time I get a chance, I'll drag one out of storage and send it to you if you want to do one. I'd just like to see somebody build the thing and use it.
-
Have you ever built a Lindbergh Blue Devil destroyer? It crudely represents a Fletcher class destroyer and is suitable for RC. It’s somewhere around-about 3 feet long when completed.
-
Yes, what Andrew said. You've done an outstanding job on this little jewel Mike.