


JeffT
-
Posts
2,550 -
Joined
-
Last visited
Content Type
Profiles
Forums
Gallery
Events
Everything posted by JeffT
-
 They look like bats hanging there
 -
Welcome back!
-
Looking good. Happy to see another Granado log.
-
HMS Granado by ir3 - CAF - 1:48 - POF
JeffT replied to ir3's topic in - Kit build logs for subjects built from 1501 - 1750
Glad to hear that. -
I think the Surprise would be a great choice
-
HMS Granado by ir3 - CAF - 1:48 - POF
JeffT replied to ir3's topic in - Kit build logs for subjects built from 1501 - 1750
I definitely understand. Its not an easy one to build. -
Thanks for looking in. I've seen your build and its an impressive model. i agree on Tom, he has been great
-
I haven't looked ahead to the hinges yet. Think I should take a look at that
- 426 replies
-
- 2
-

-
- Vanguard Models
- Sphinx
- (and 1 more)
-
HMS Granado by ir3 - CAF - 1:48 - POF
JeffT replied to ir3's topic in - Kit build logs for subjects built from 1501 - 1750
Nevermind. Looks like you got it figured out -
HMS Granado by ir3 - CAF - 1:48 - POF
JeffT replied to ir3's topic in - Kit build logs for subjects built from 1501 - 1750
Ah. Ok. I'll check that. -
HMS Granado by ir3 - CAF - 1:48 - POF
JeffT replied to ir3's topic in - Kit build logs for subjects built from 1501 - 1750
Here are the parts for frame 8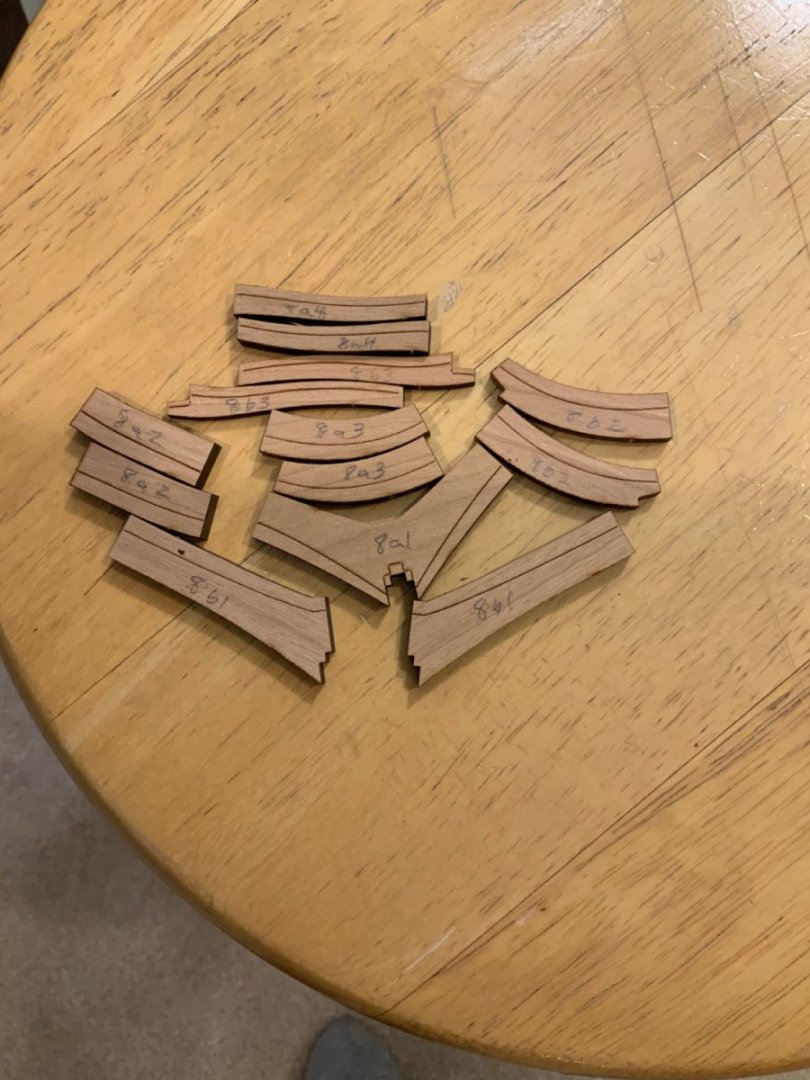
-
HMS Granado by ir3 - CAF - 1:48 - POF
JeffT replied to ir3's topic in - Kit build logs for subjects built from 1501 - 1750
Happy to see your build! Thanks for posting. I'll check those part 8s later today. -
I'll take a look when I get home tonight.
-
Its testing my skills even though I don't have to cut out the parts myself
-
I agree BT. I would like to see some more build logs of the CAF Granado too.


