


shipcarpenter
-
Posts
72 -
Joined
-
Last visited
Content Type
Profiles
Forums
Gallery
Events
Posts posted by shipcarpenter
-
-
Hello, thanks for comments
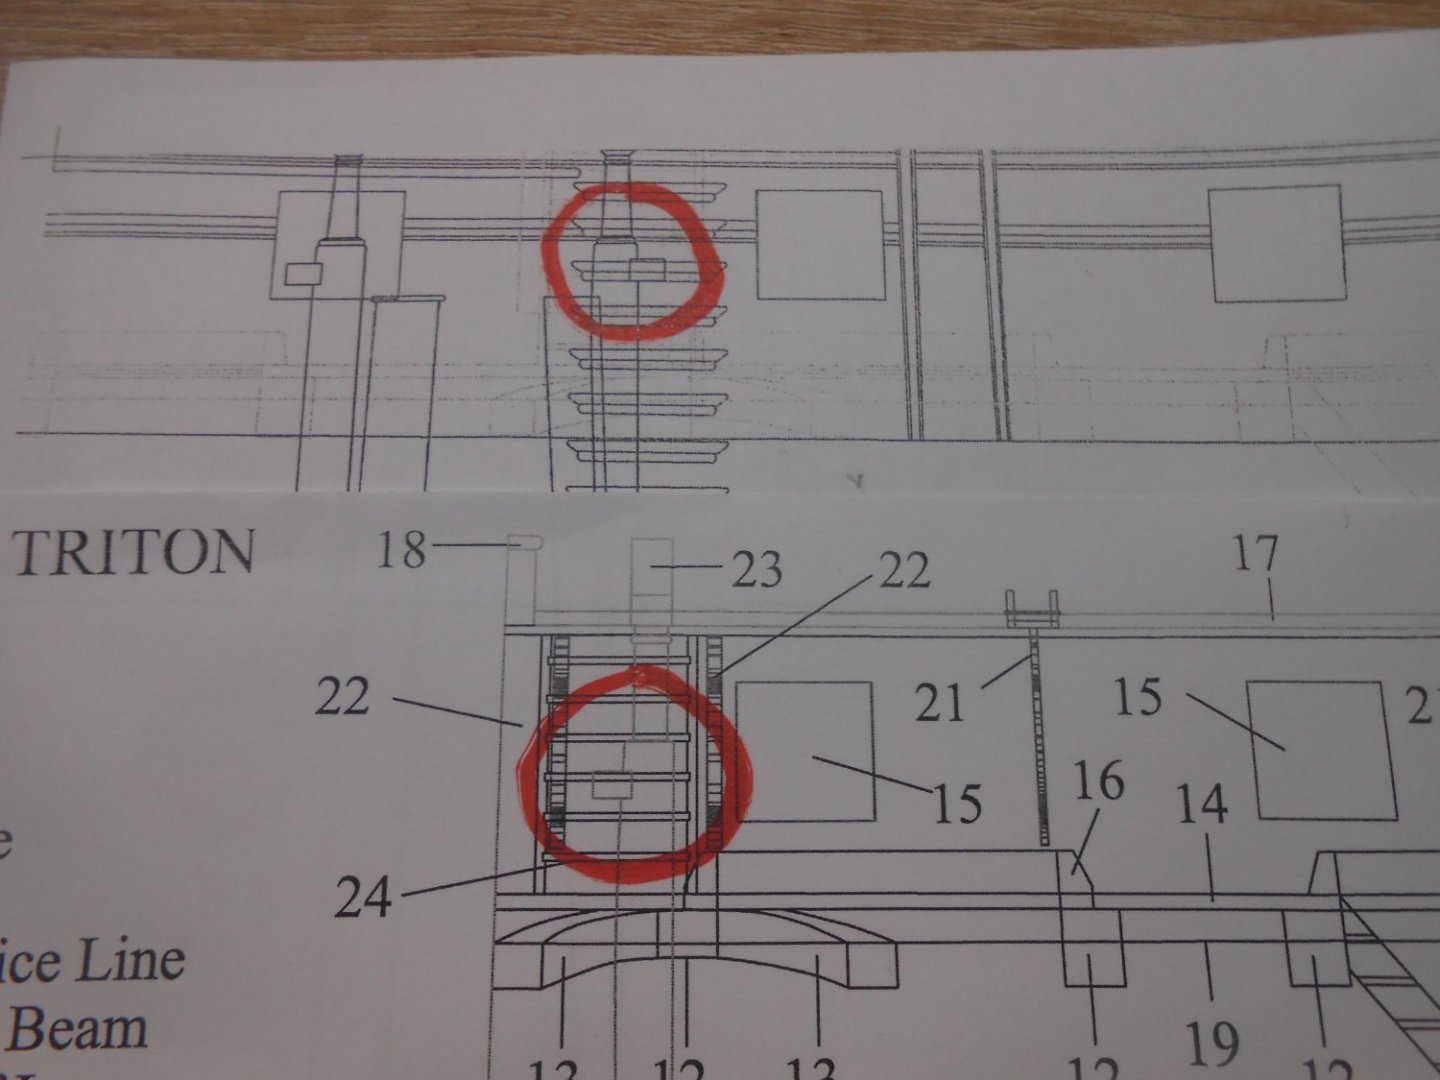
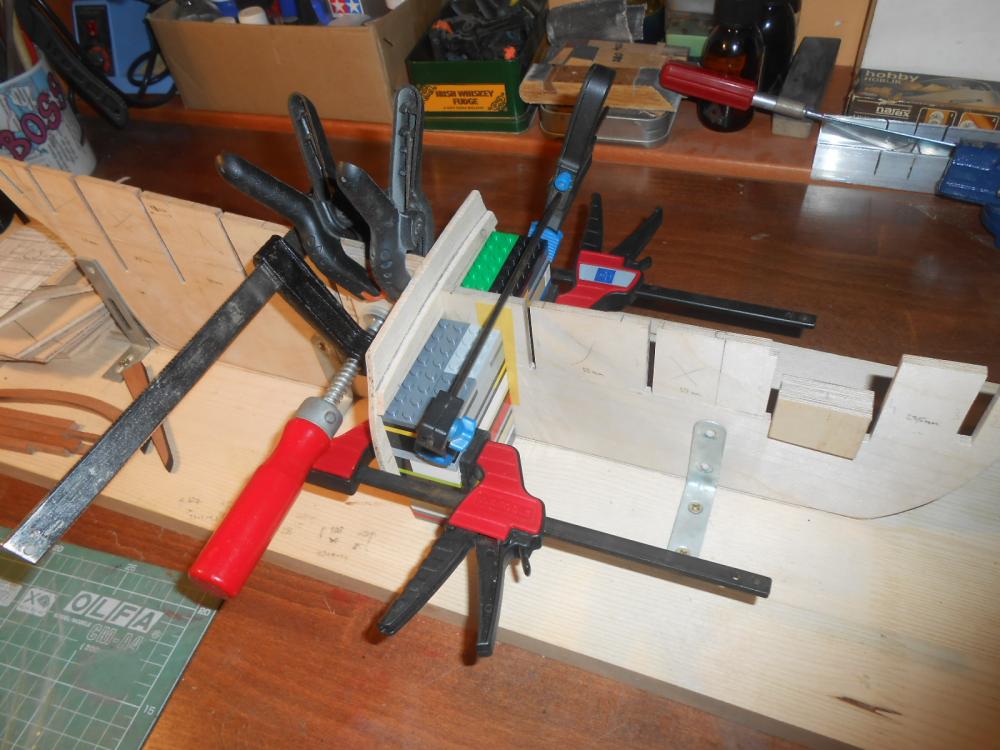
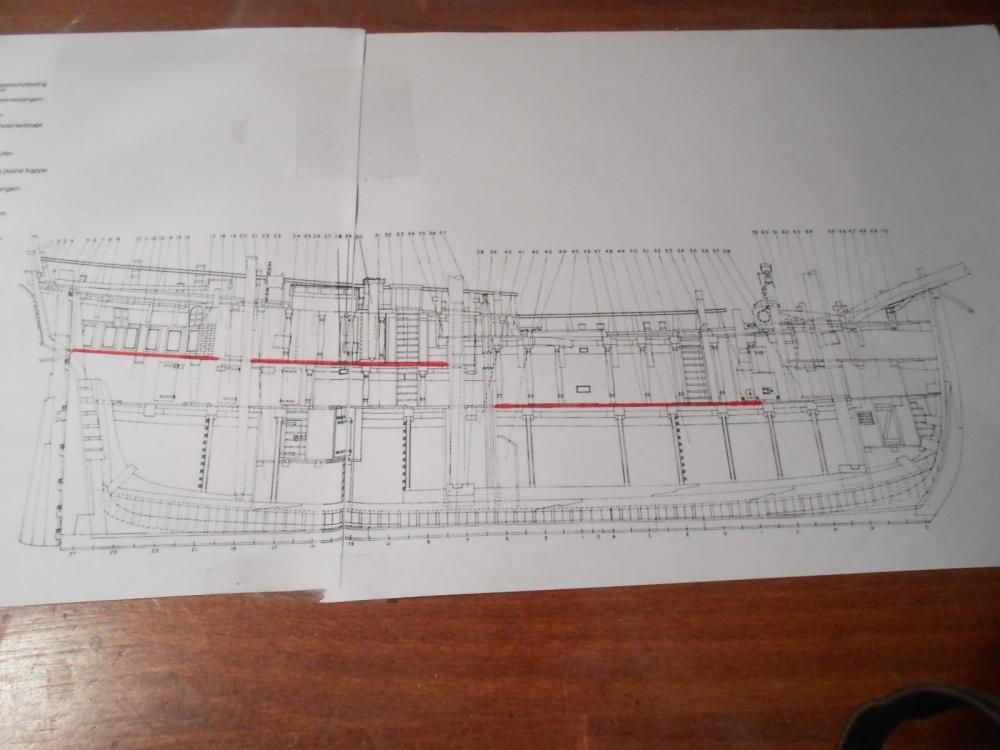
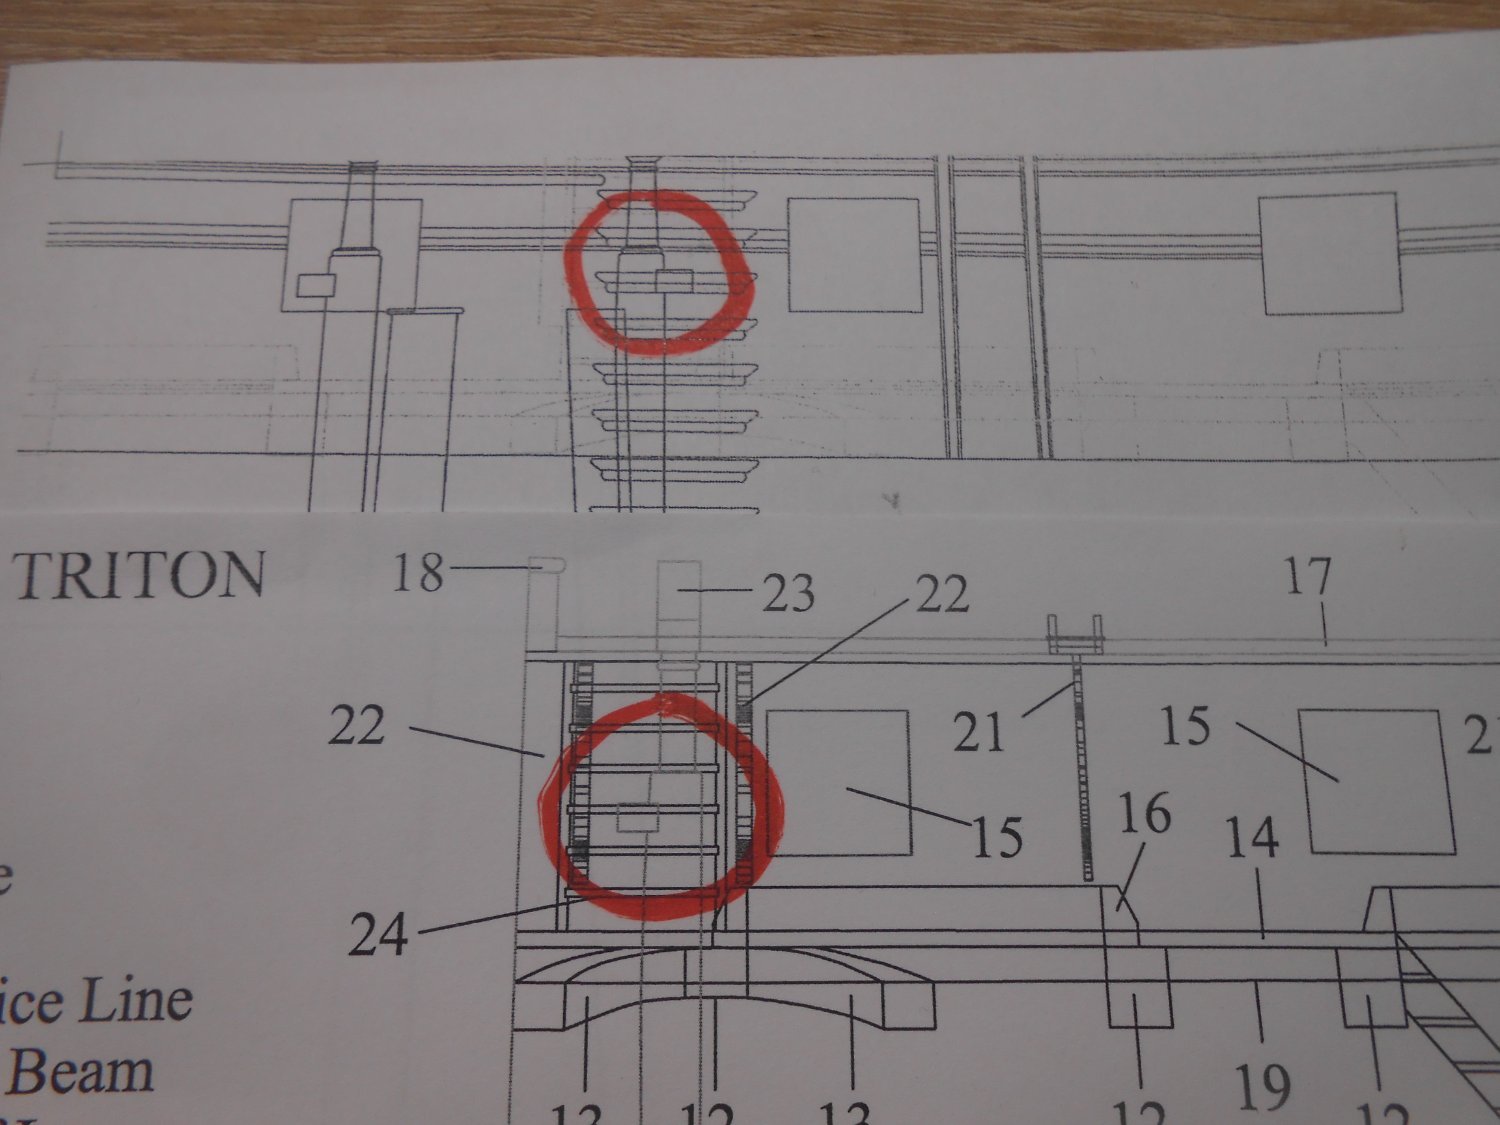
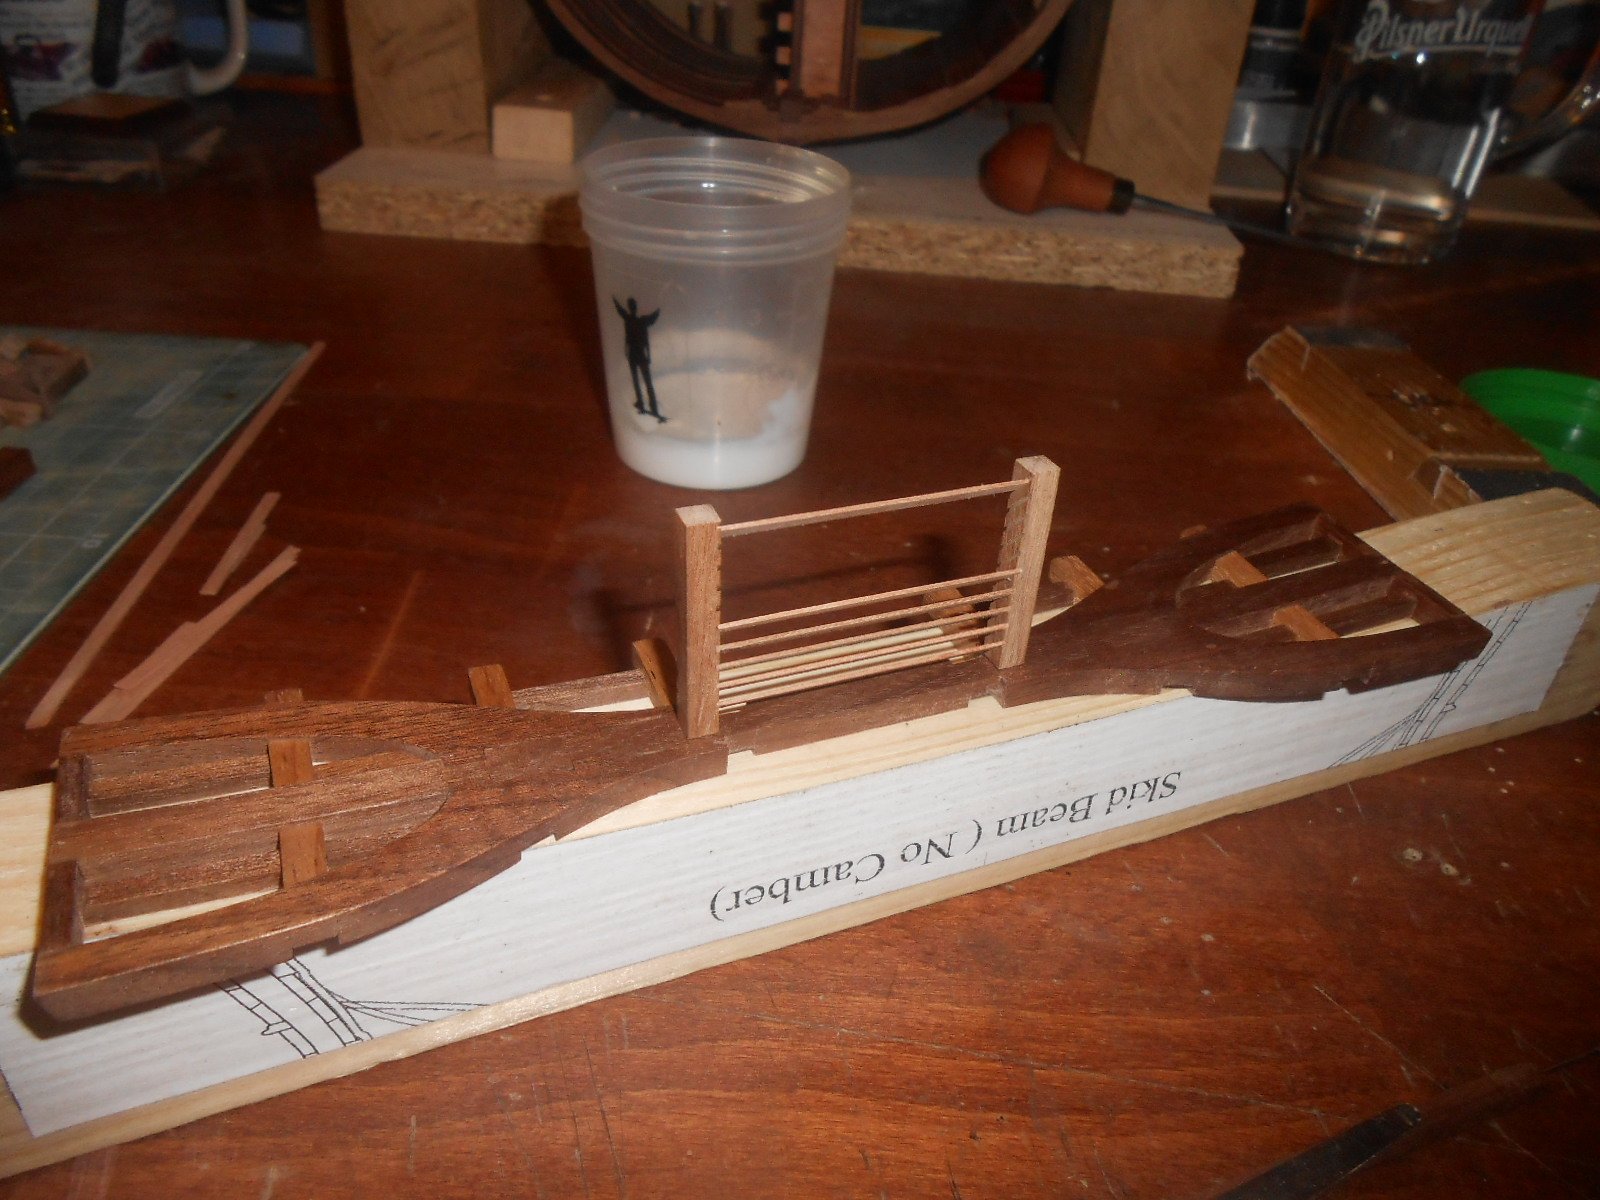
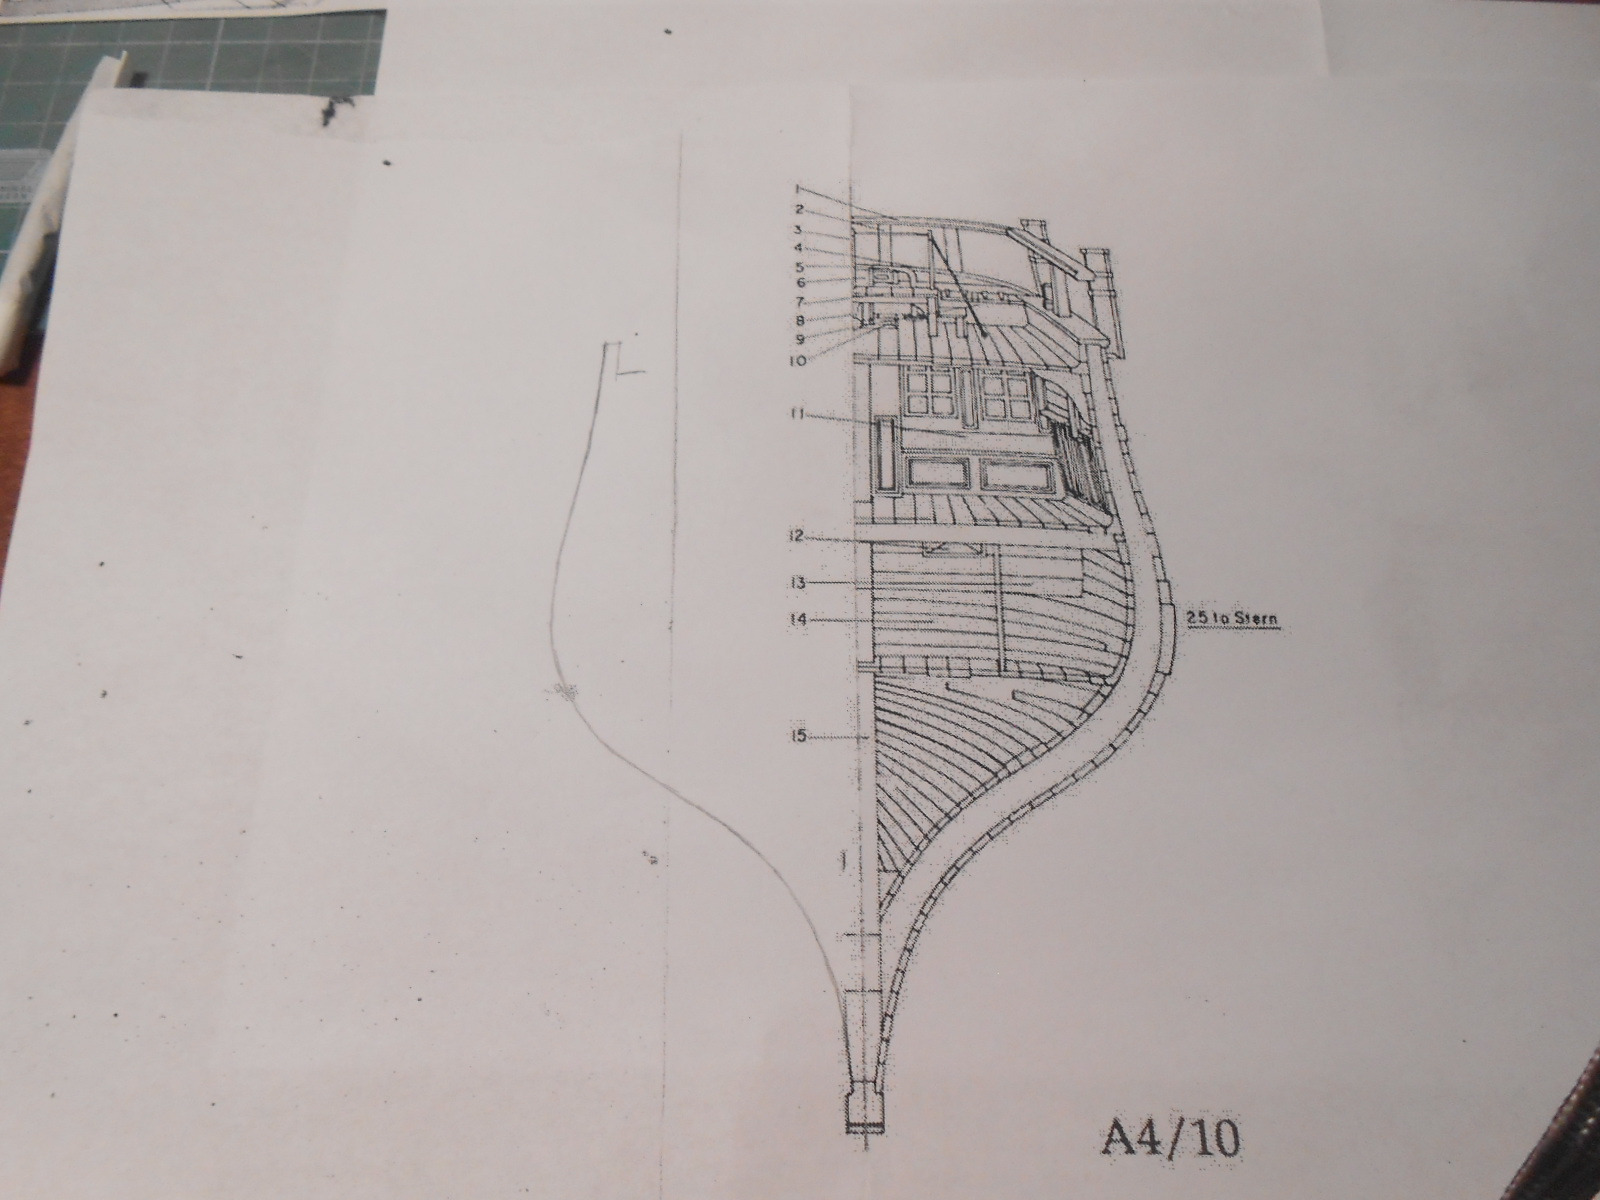
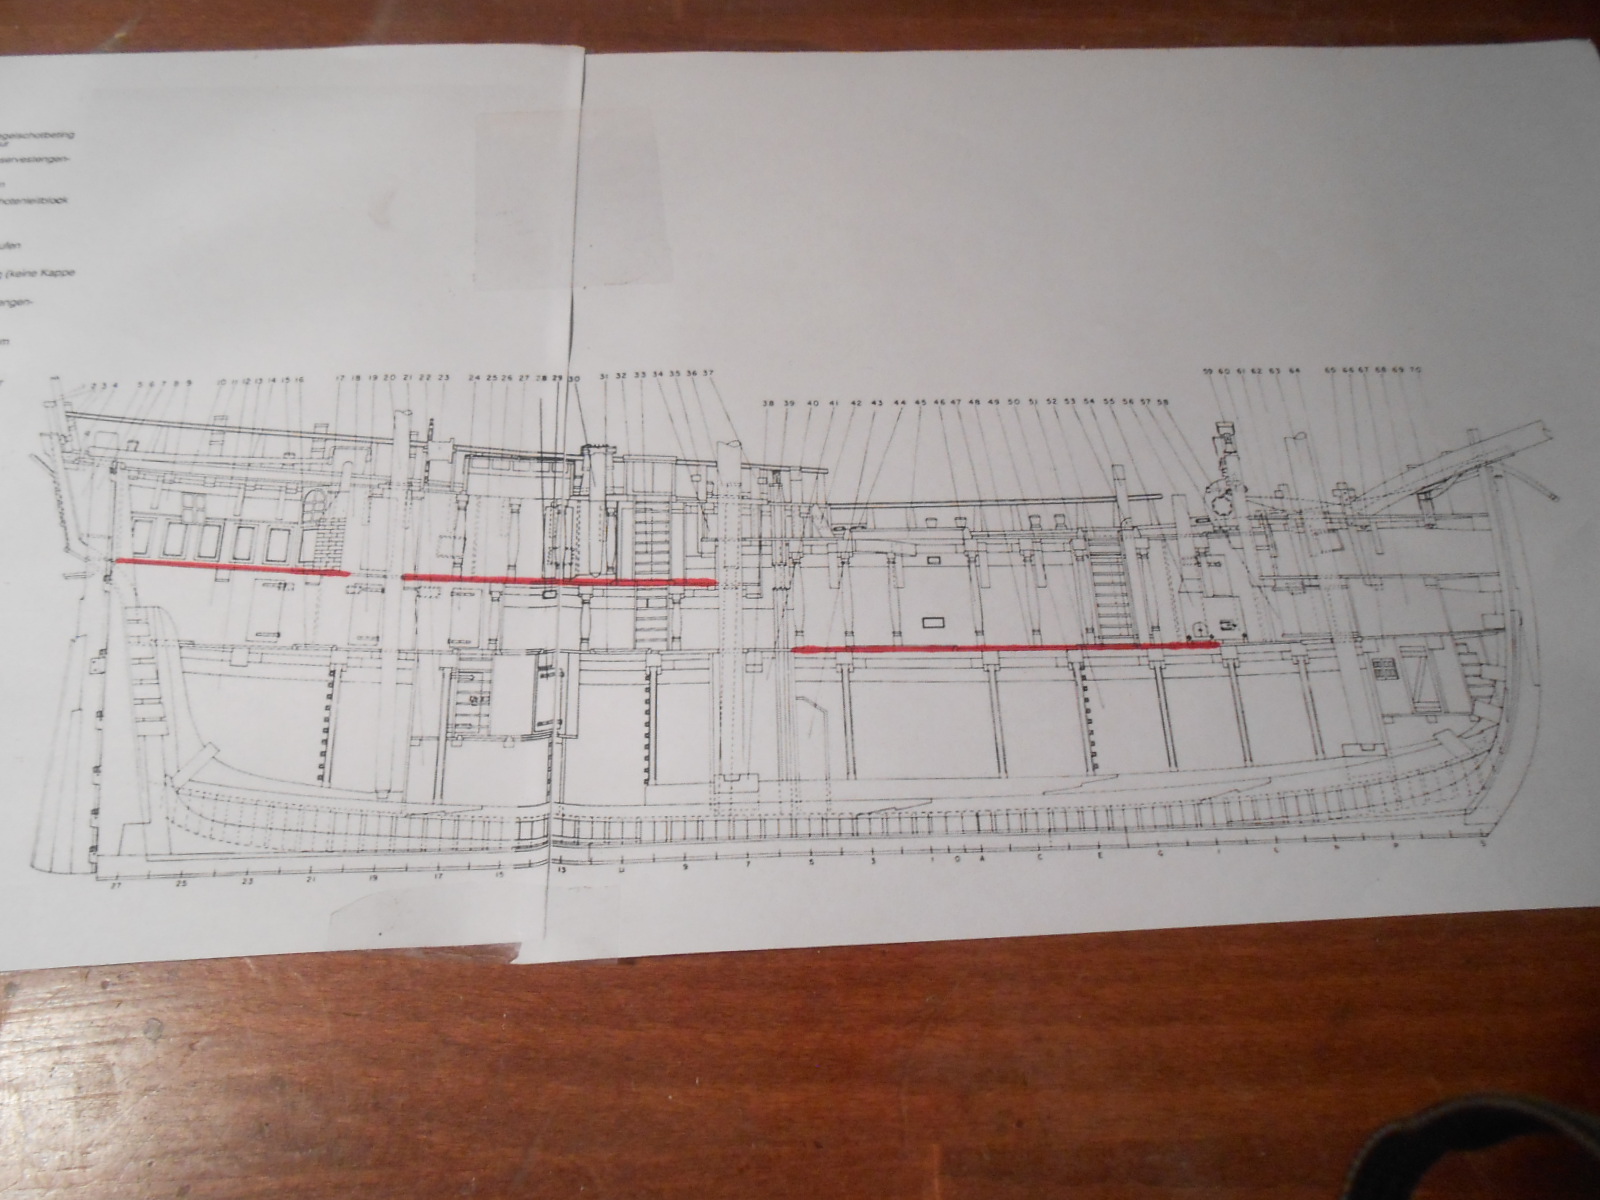
I am back and I have one question. I found difference between plans for cross section and full build (see photo).
On main topsail sheet bitts there is crosspiece close to main mast (cross section) but in full build plans is on the opposite side from mast.
Can somebody tell me what is correct?
-
-
-
Hello,
nice color combination and very clean work. I bought my barrels for cannons but turned your own it is a different level - yours look super.
- Seventynet, mtaylor and Canute
-
 3
3
-
Thanks Dupree for your words. Thanks for likes too.I am now working on the "second floor" or gun deck and then I will add some photos again.
- Gabek, mtaylor, AnobiumPunctatum and 1 other
-
4
-
-
-
-
-
Hello thank you very much Christian.


- AnobiumPunctatum, Pete38, tkay11 and 9 others
-
12
-
-
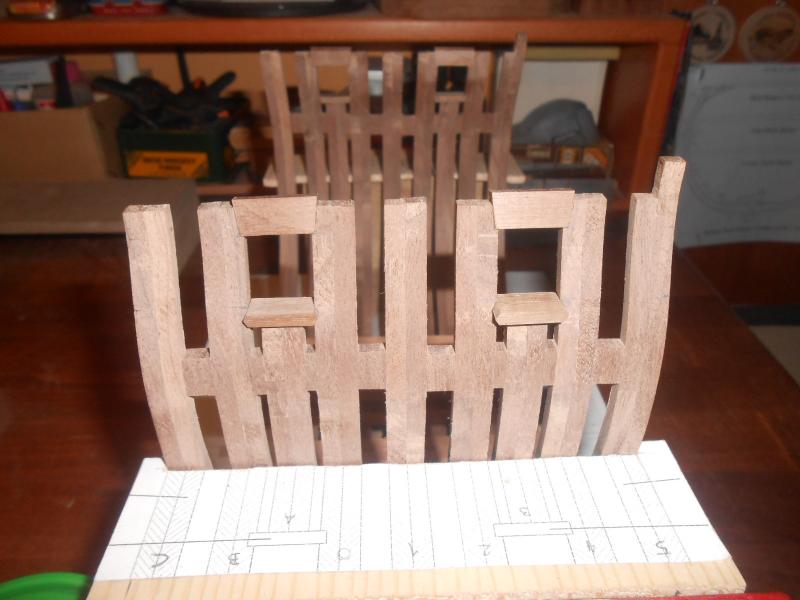
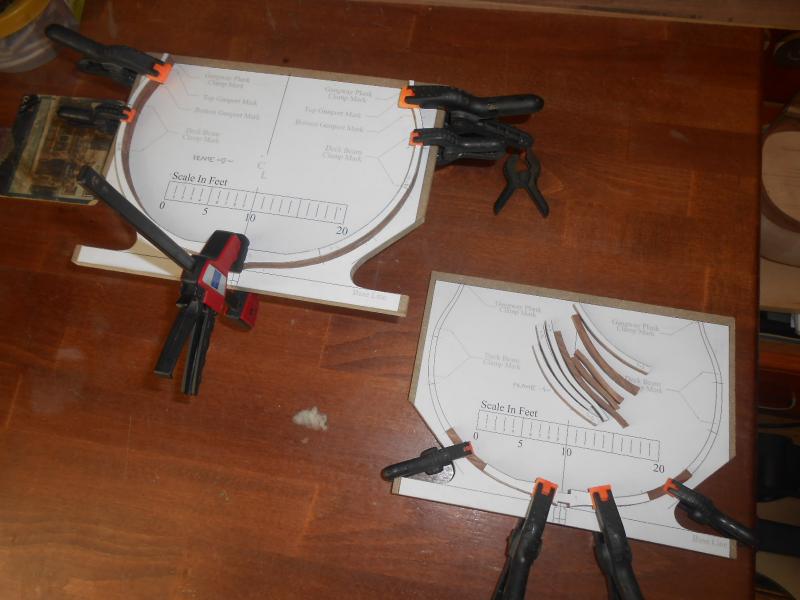
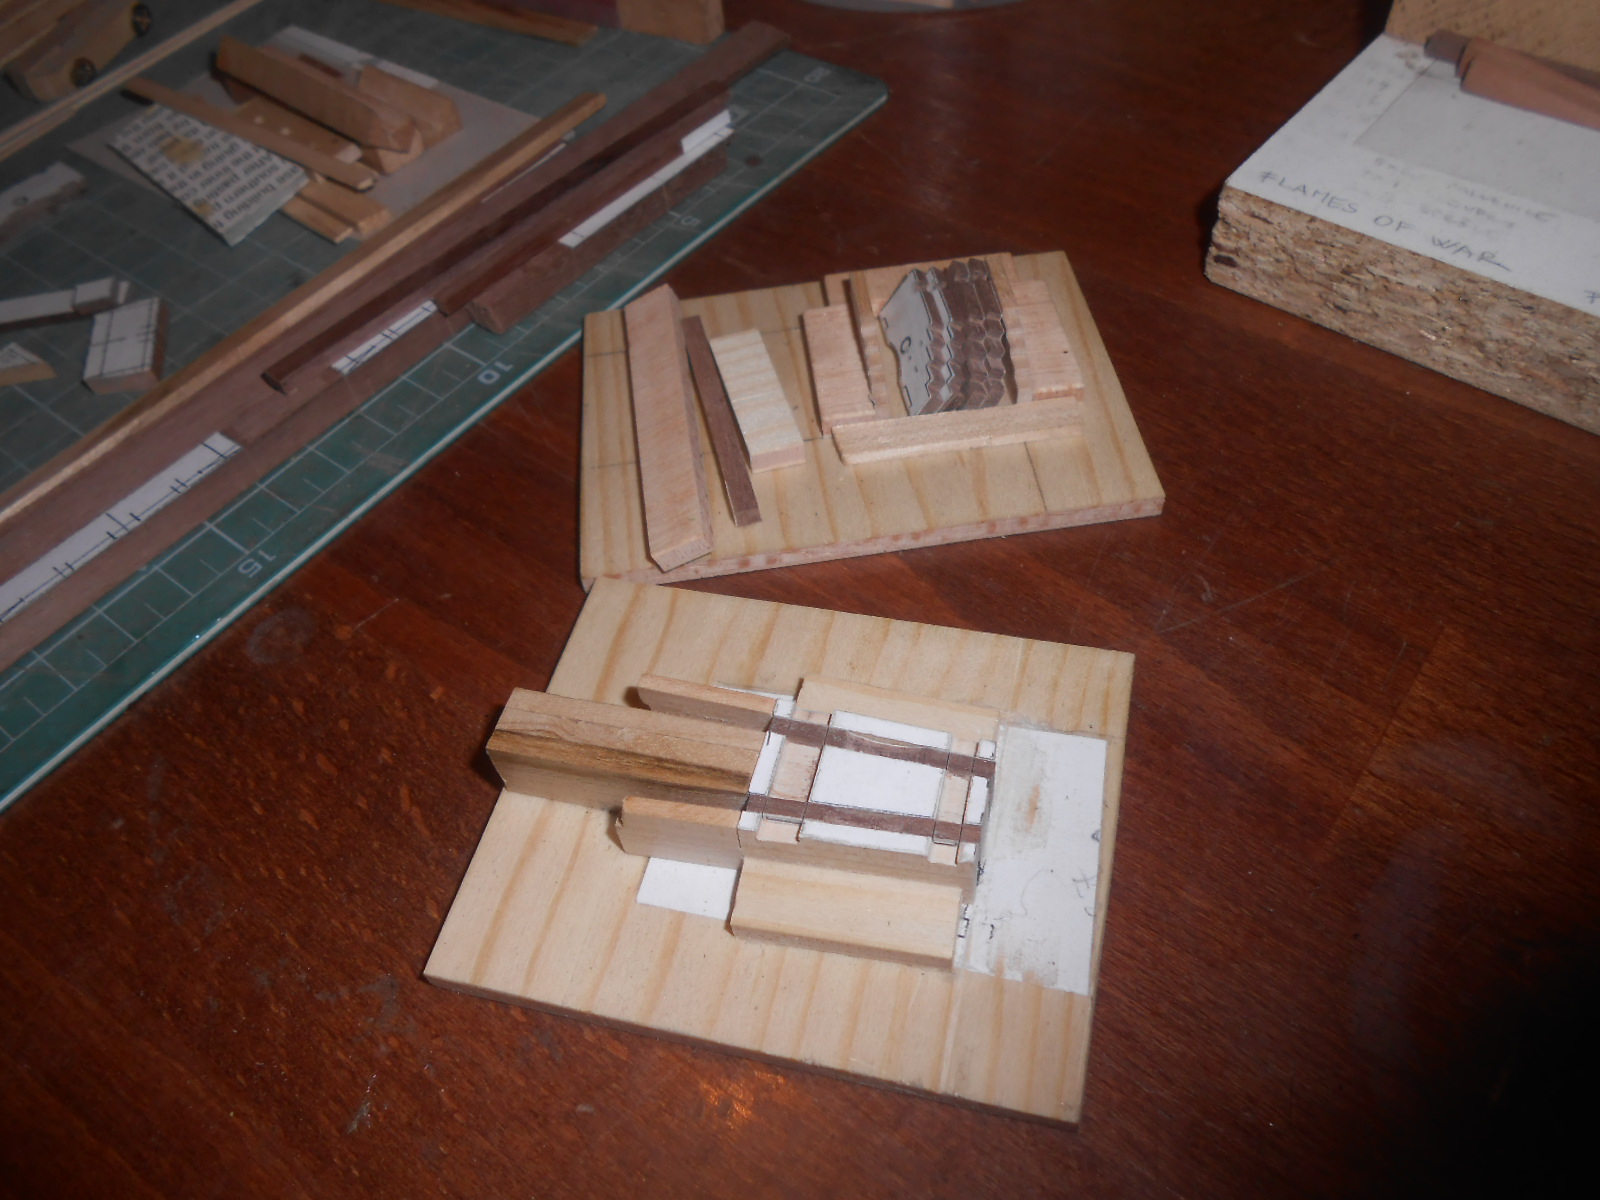
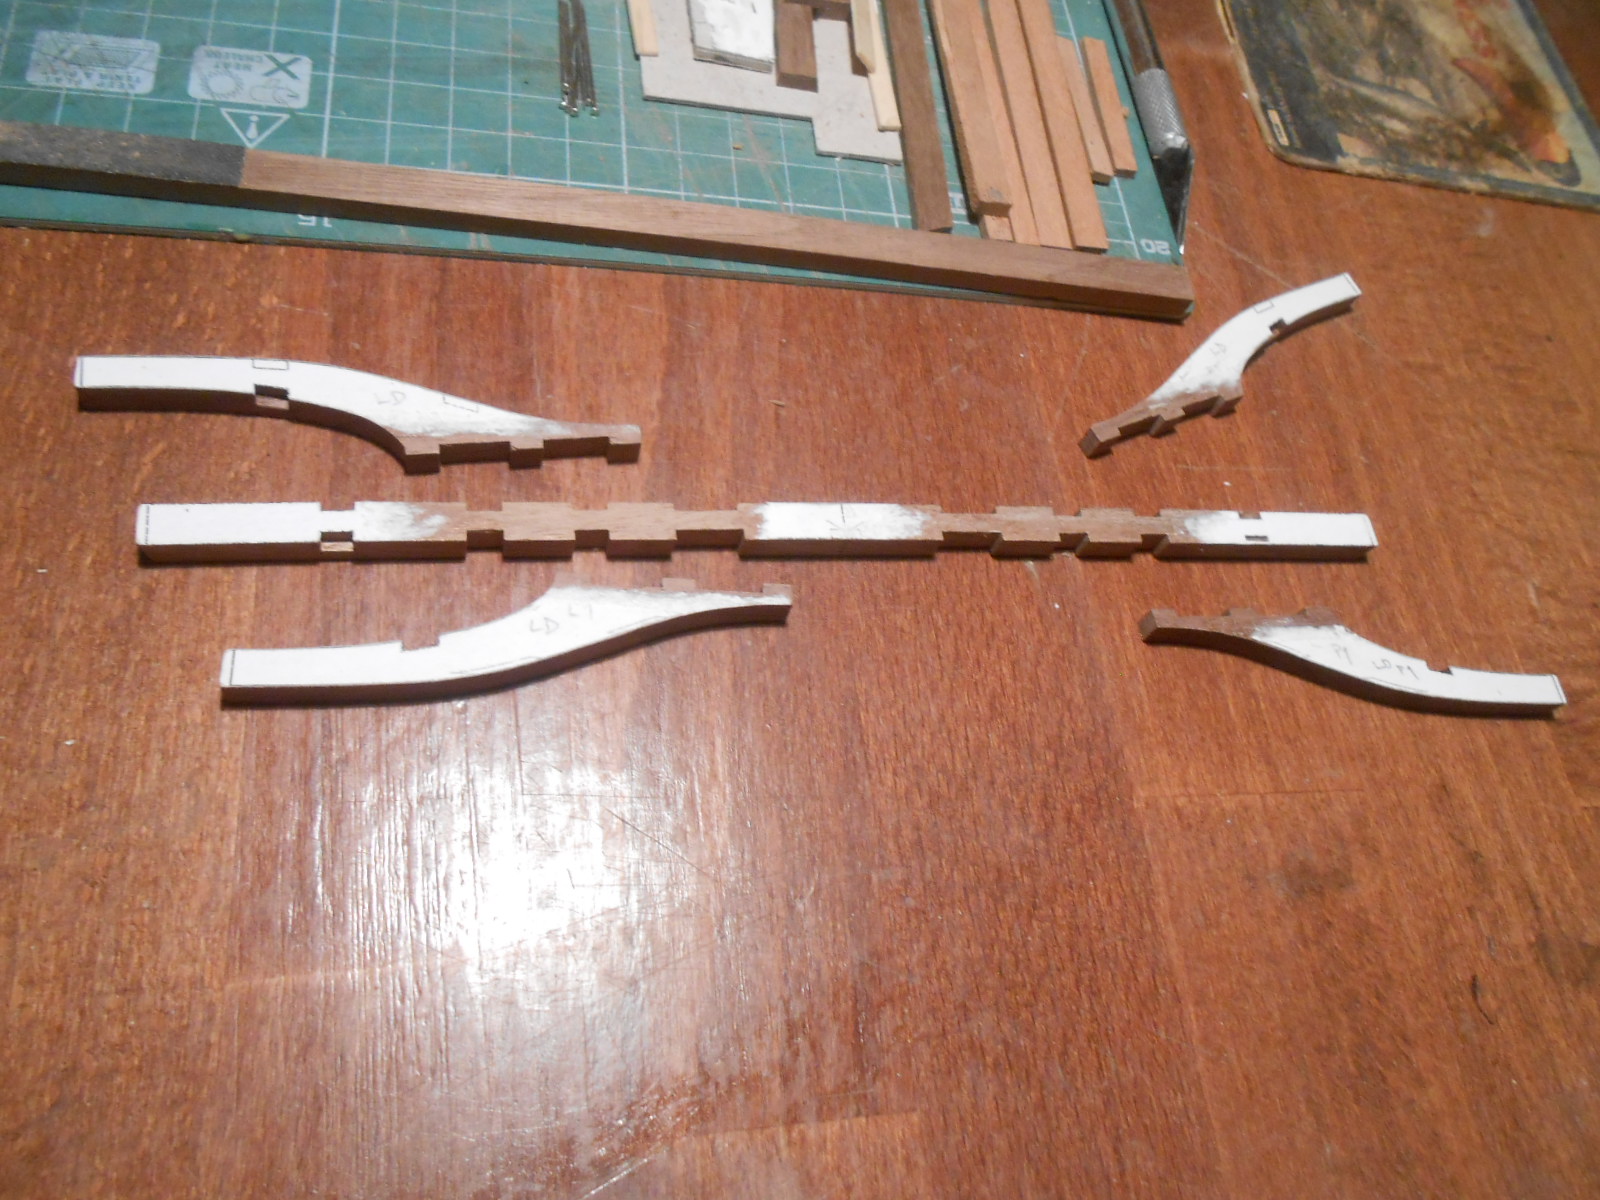
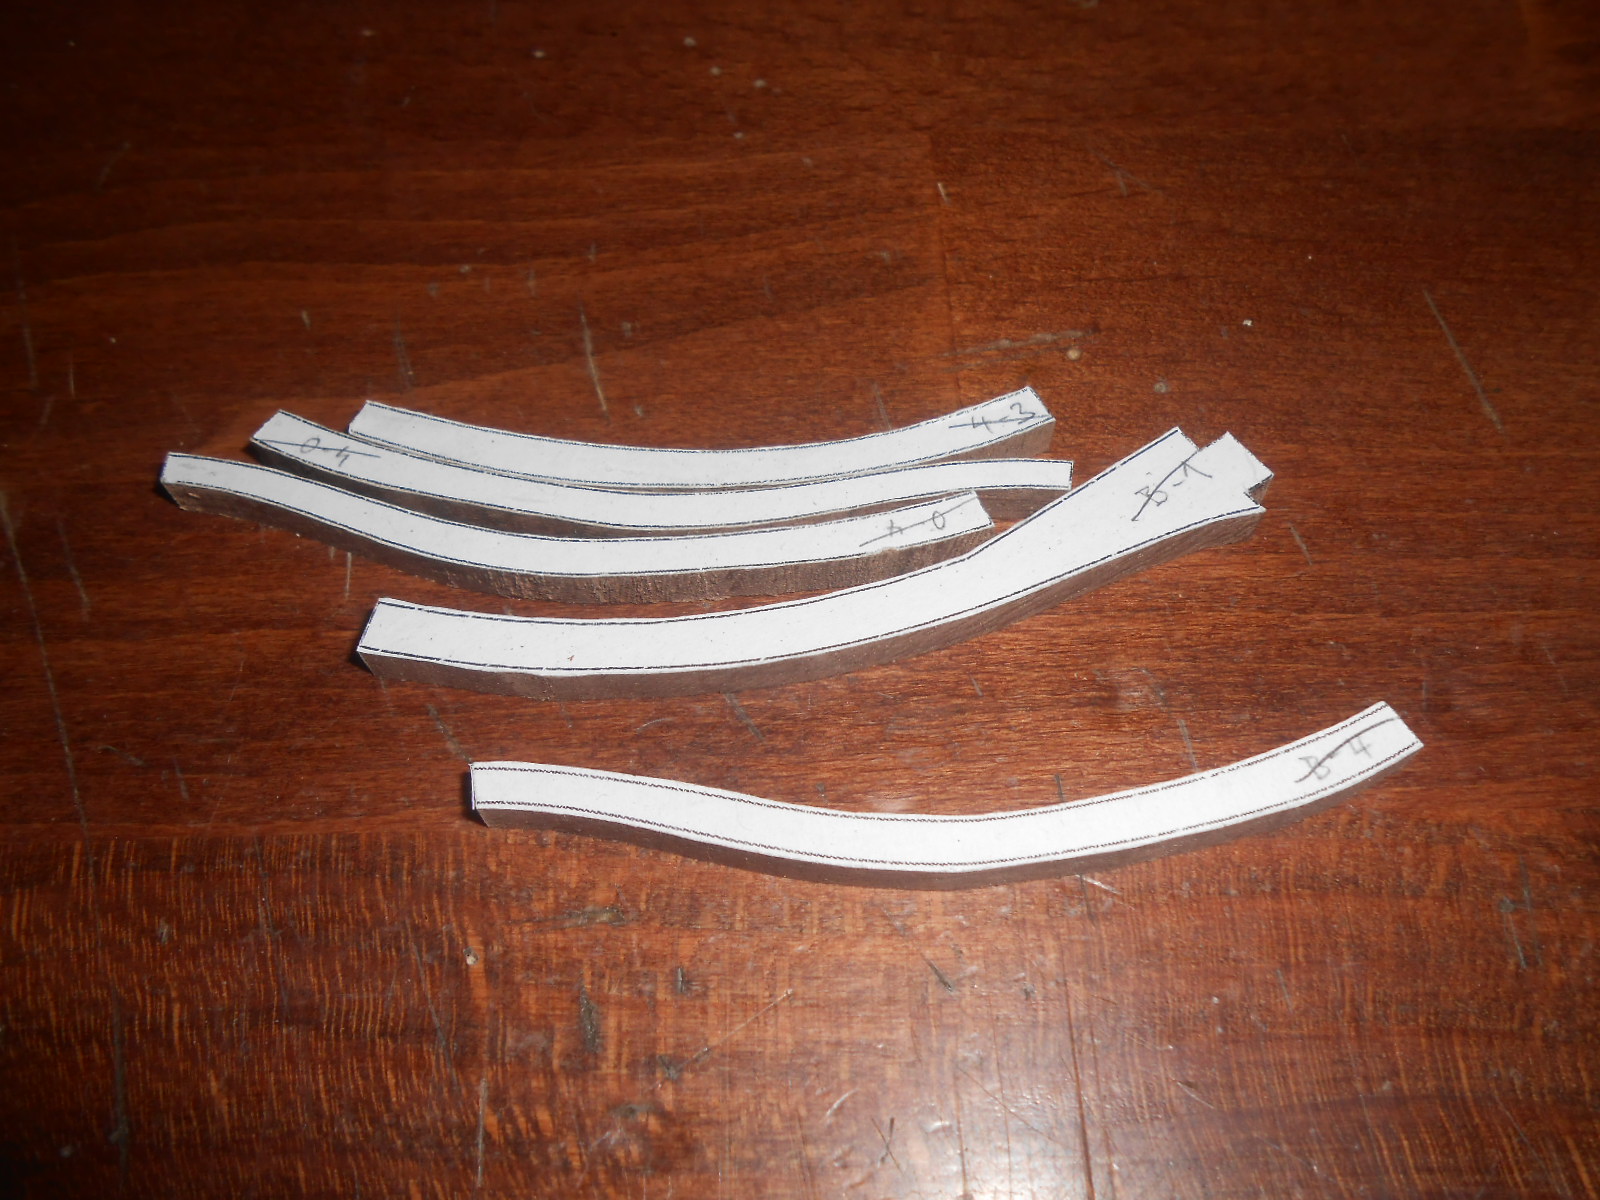
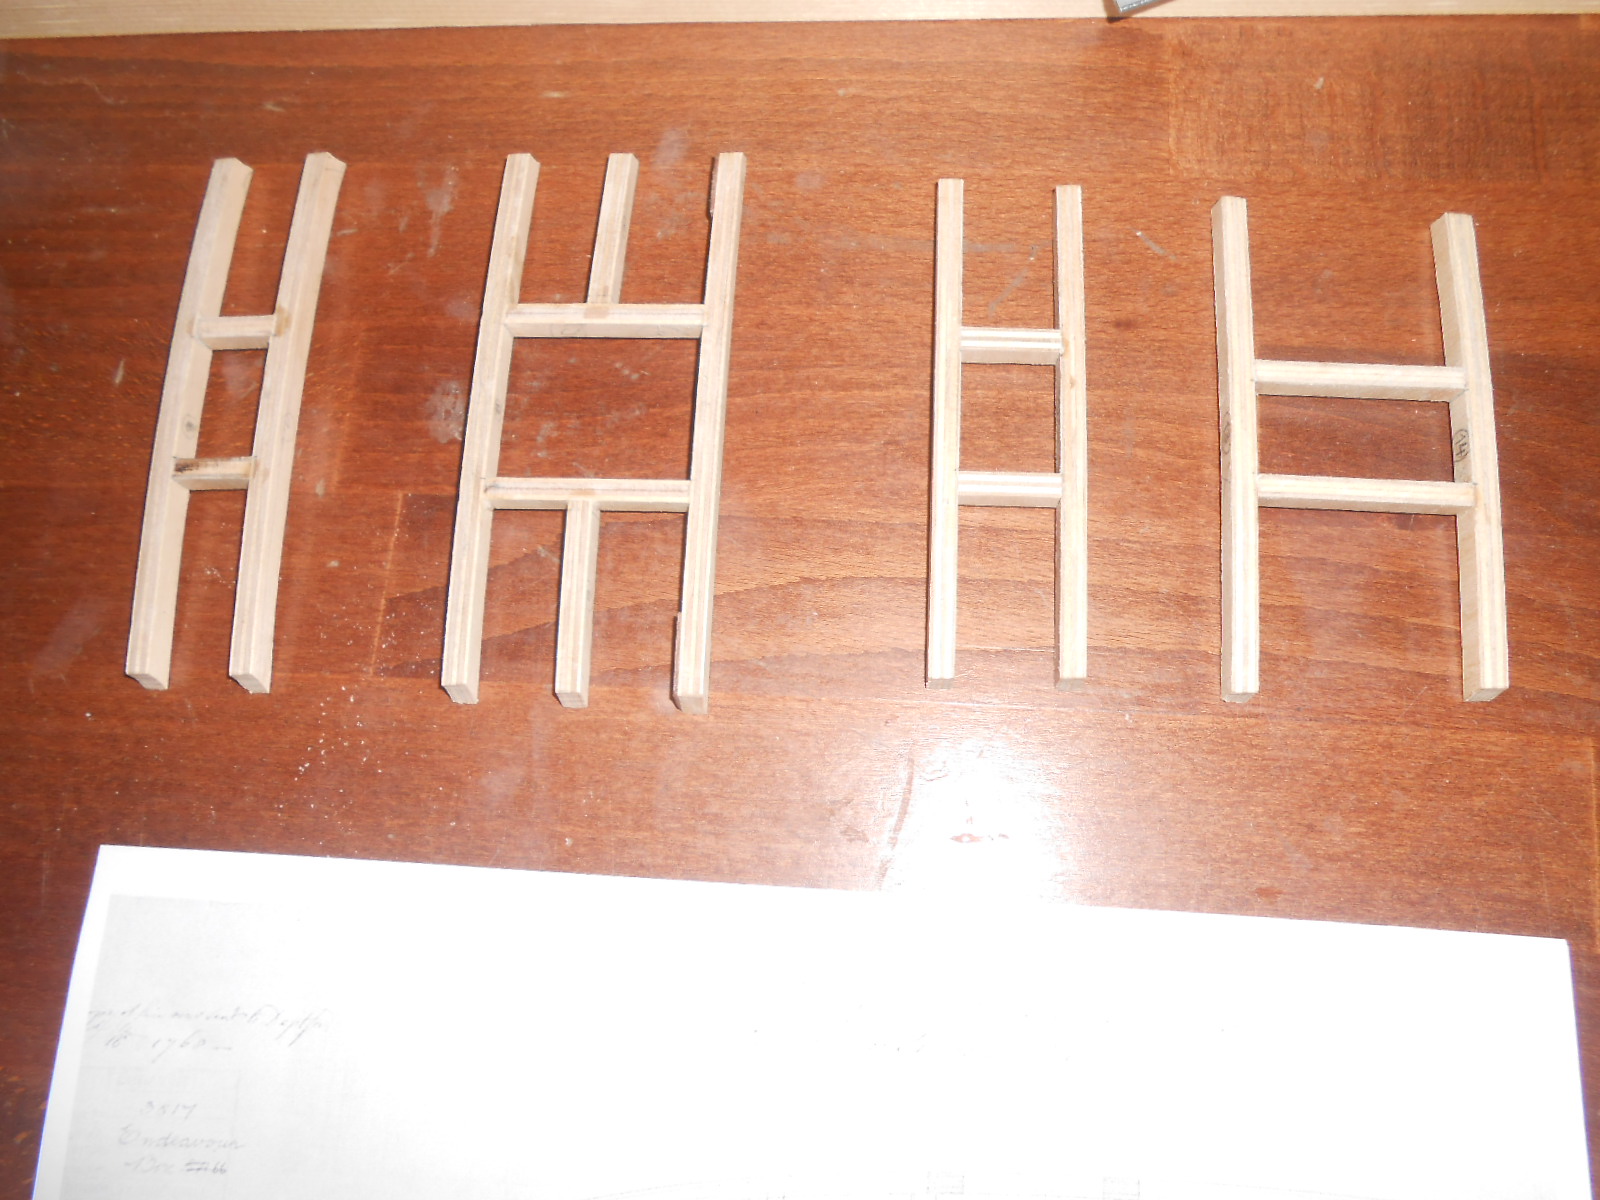
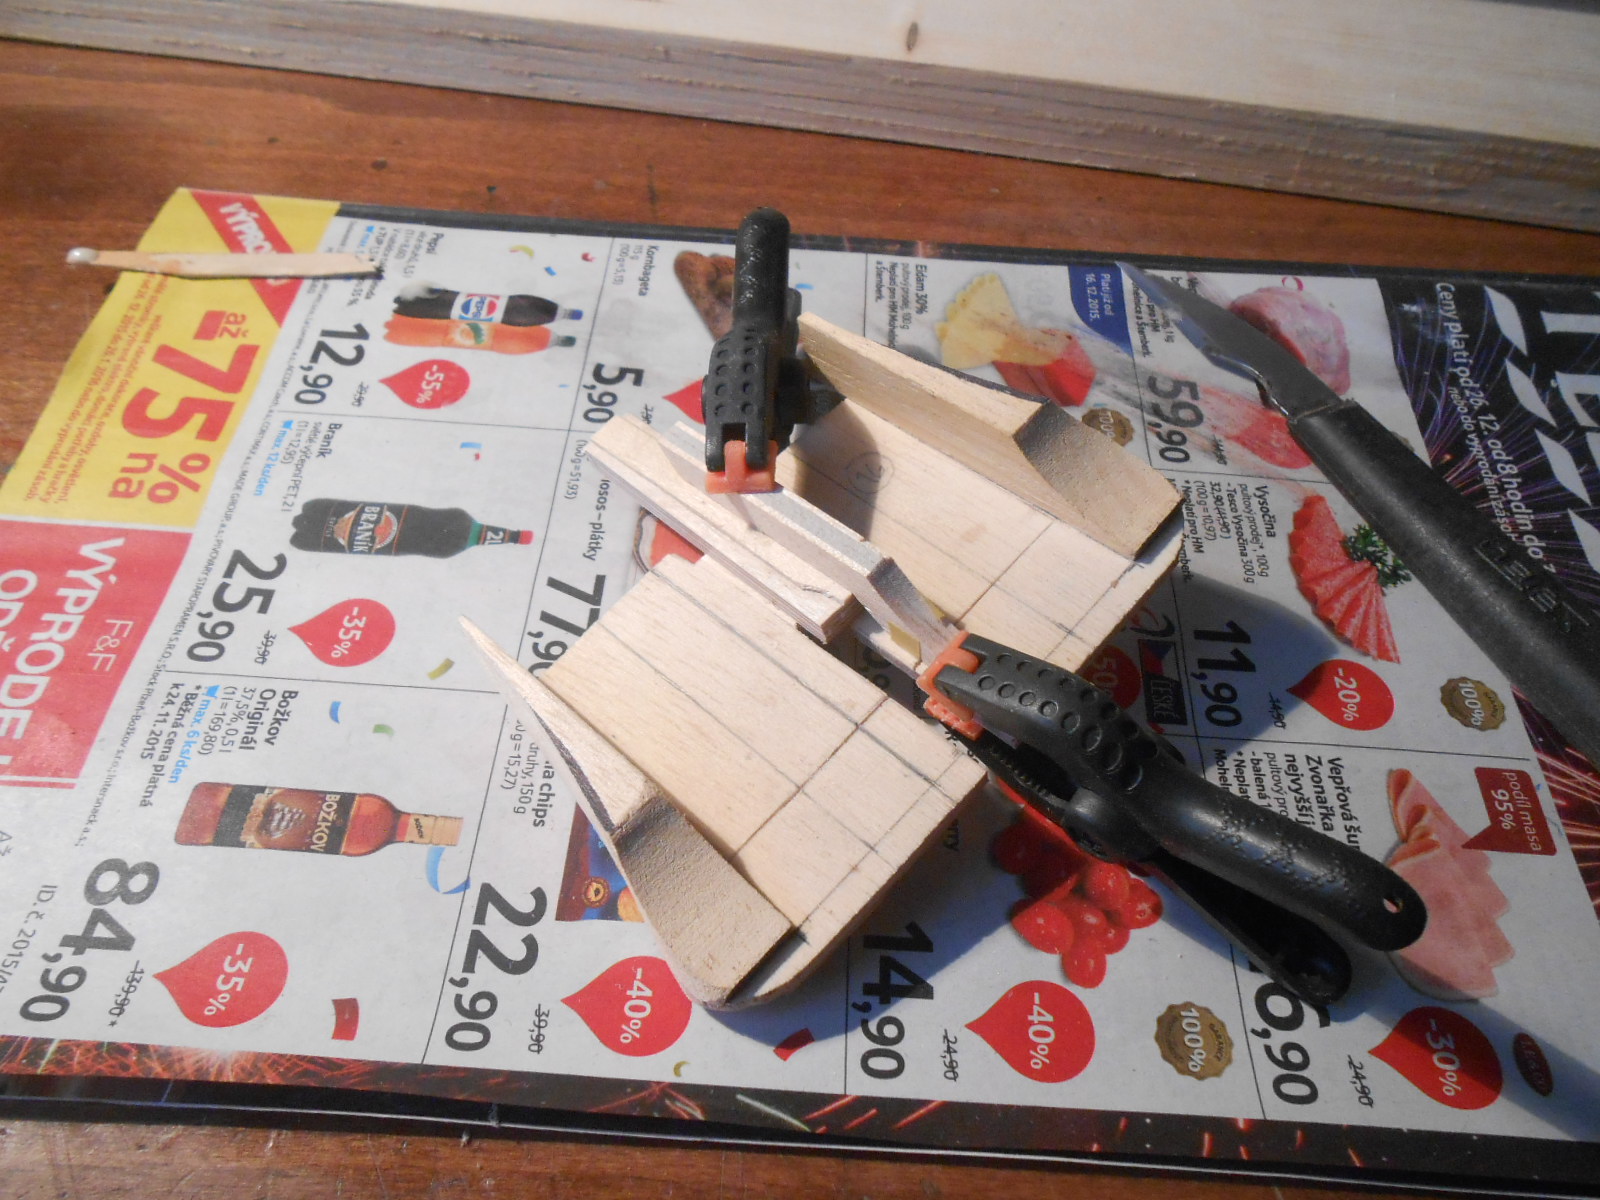
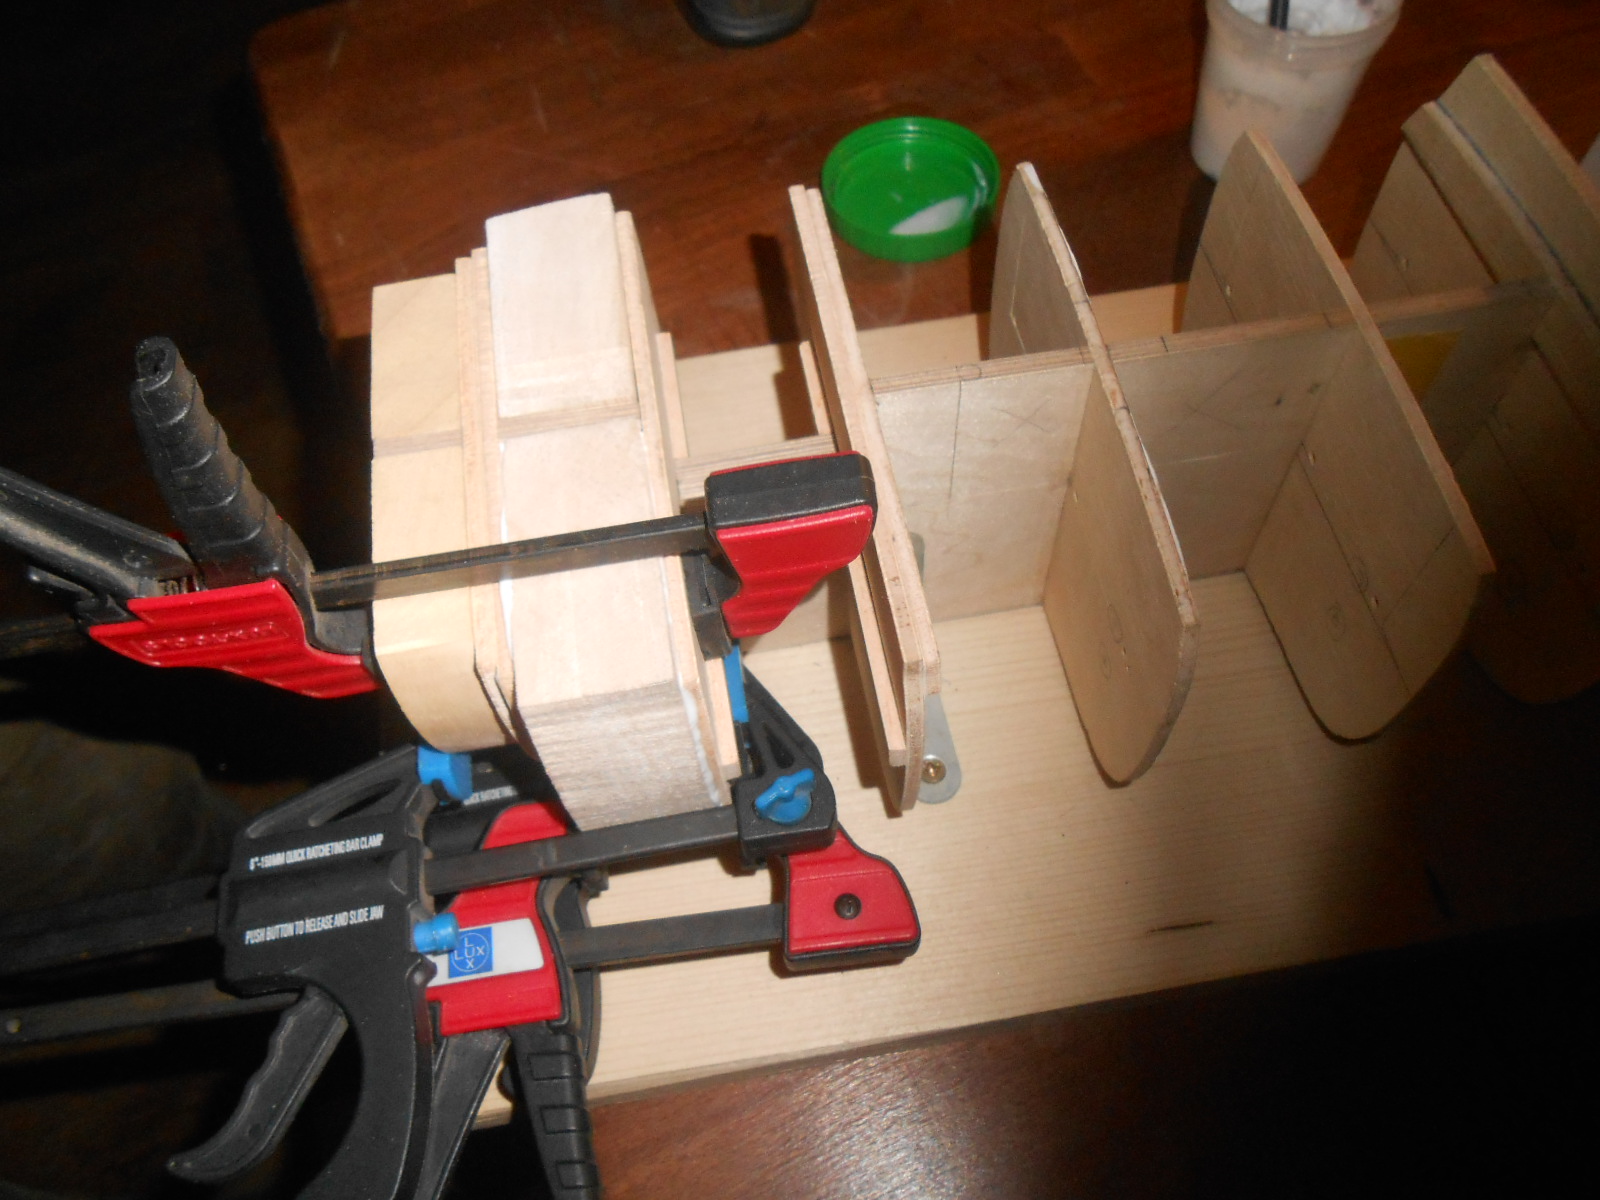
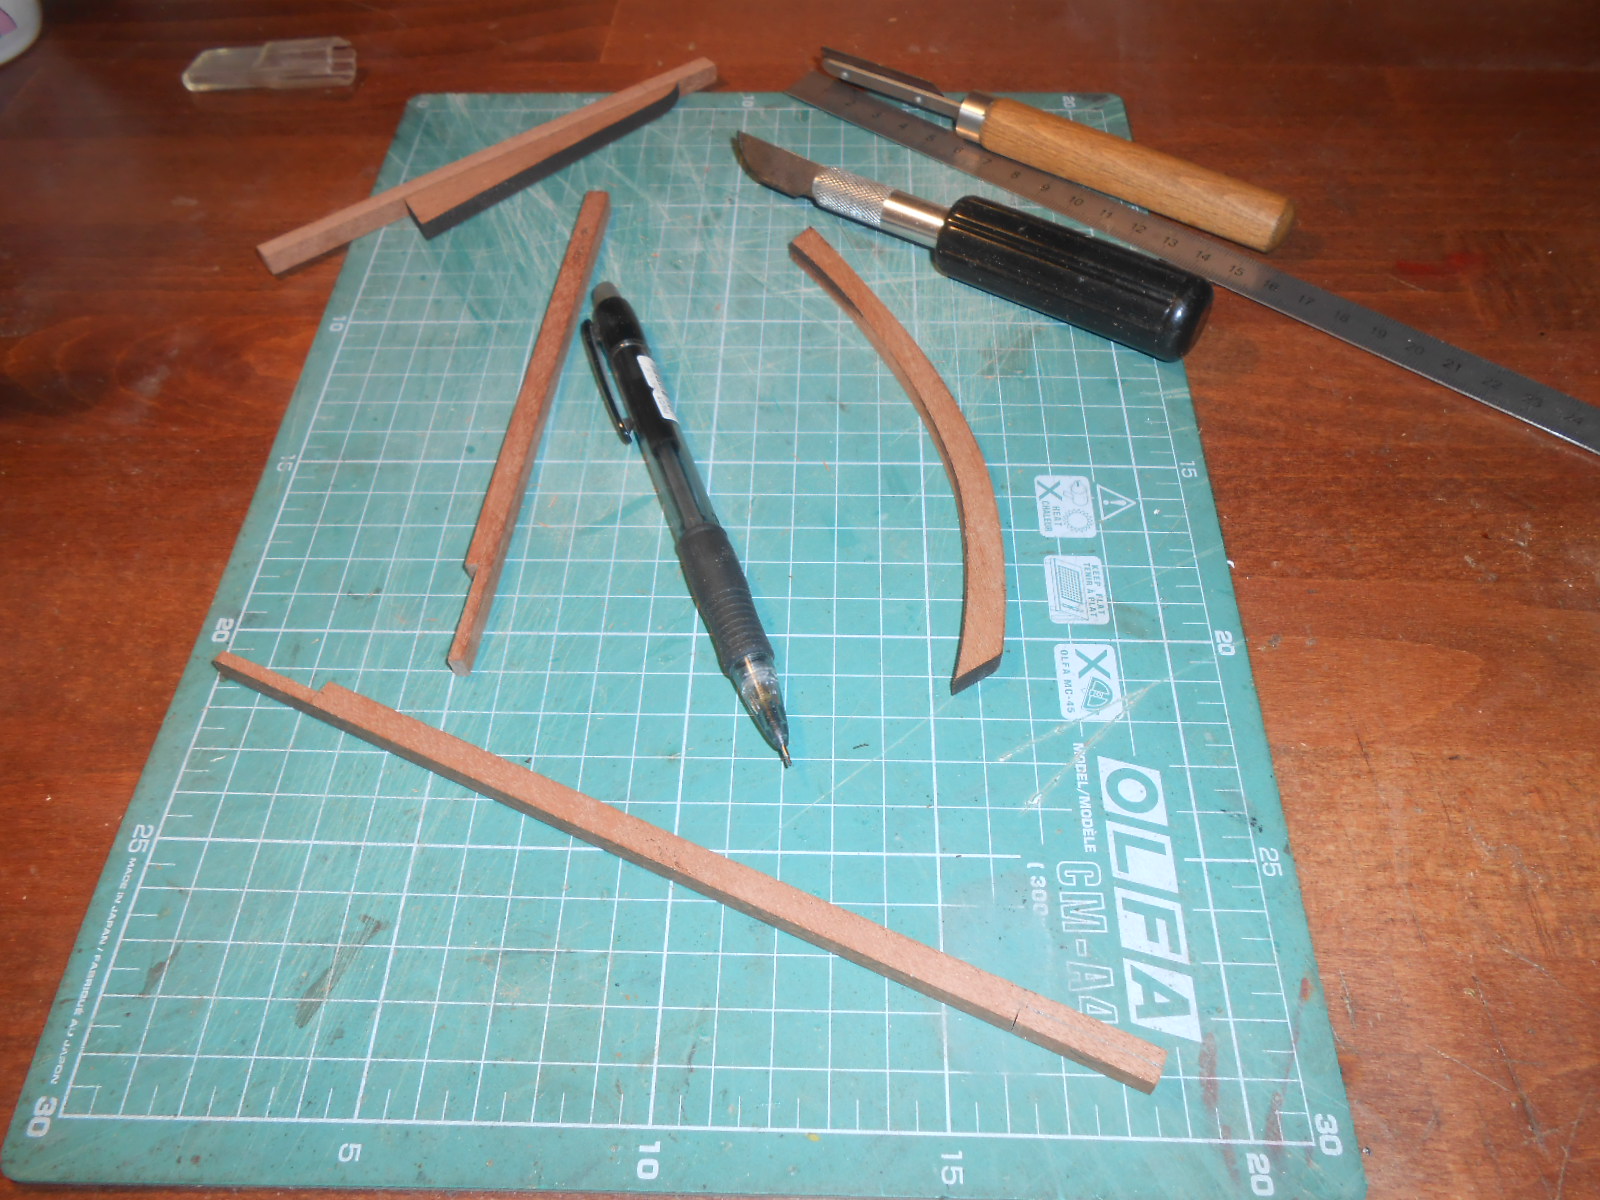
Hello,
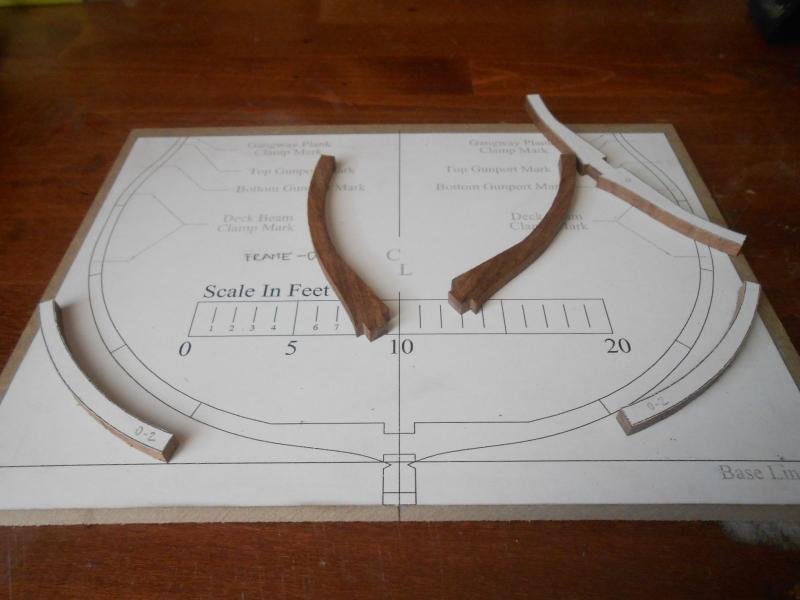
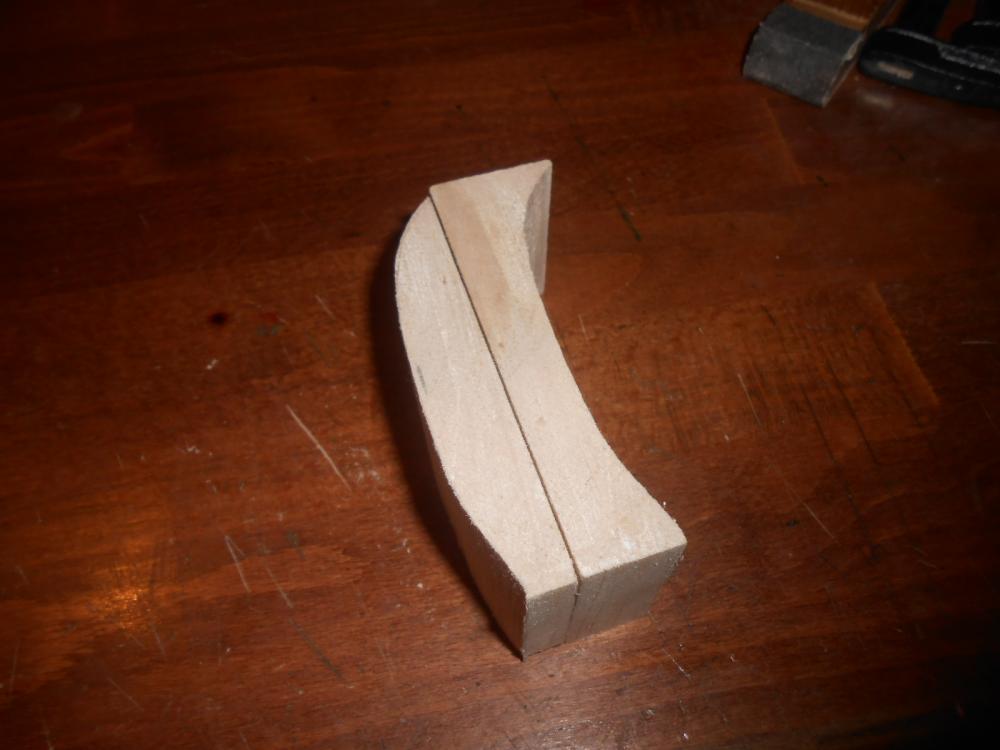
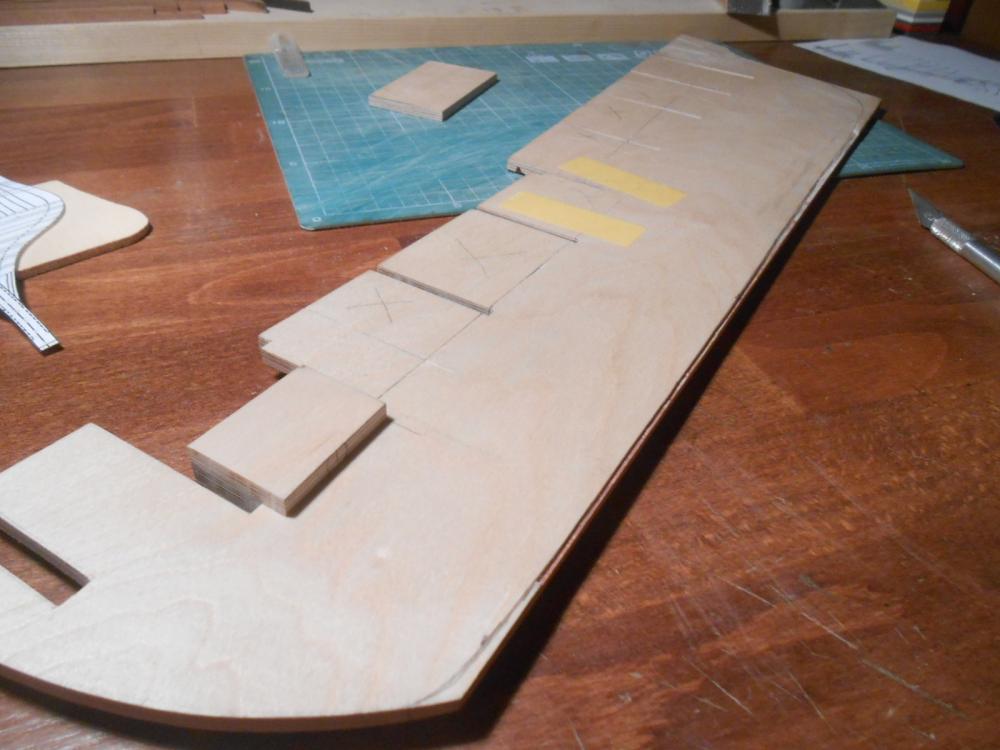
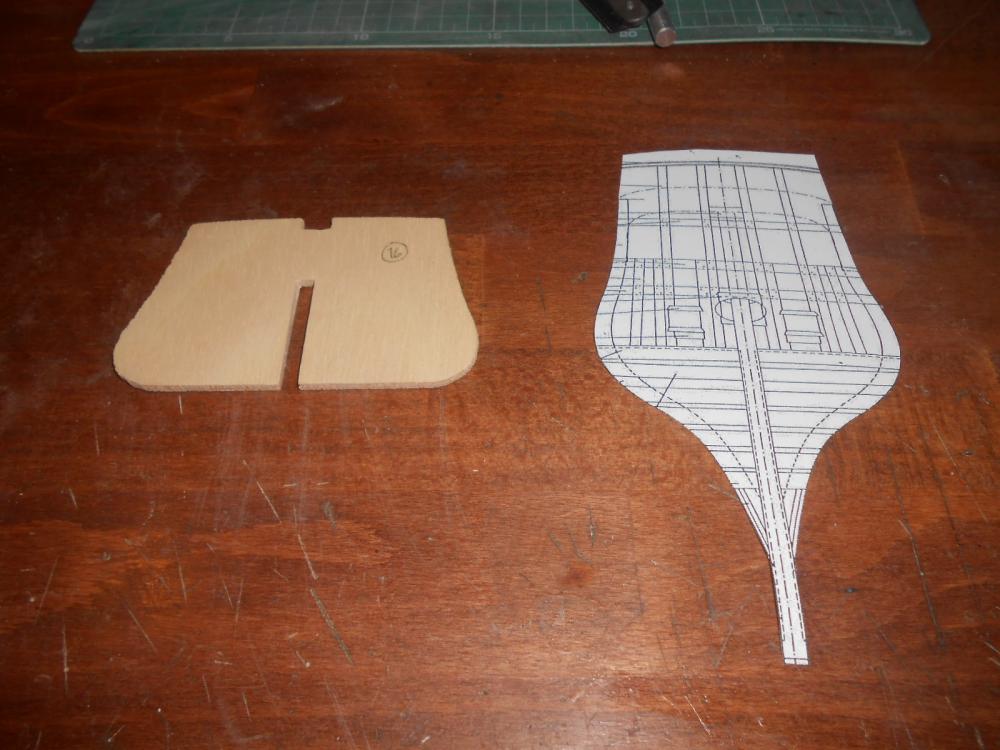
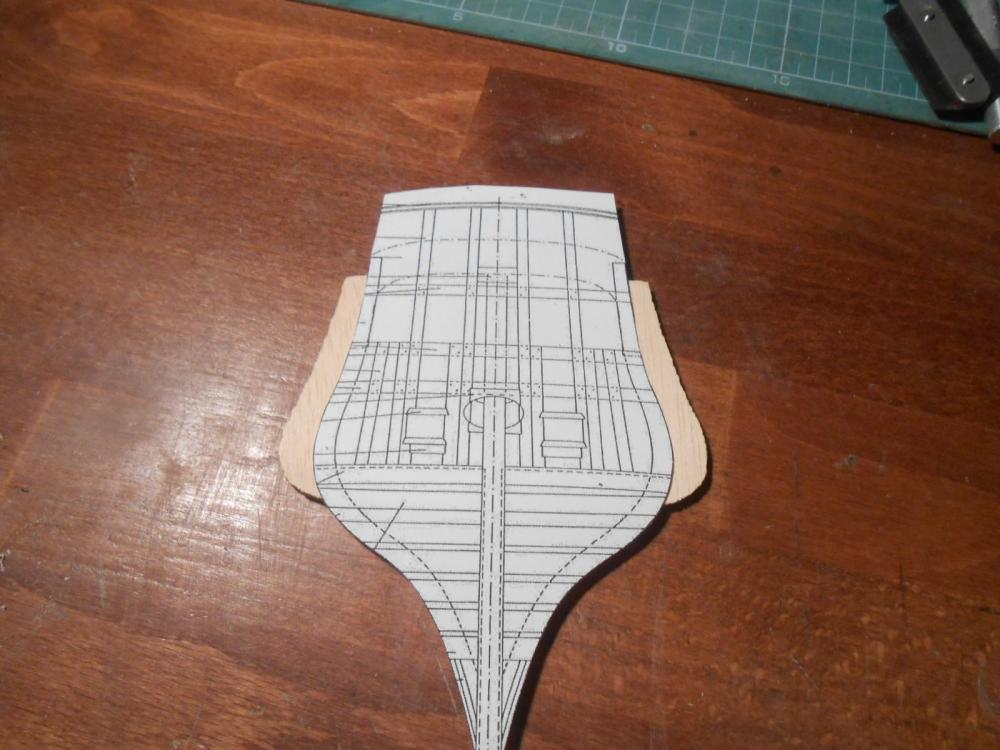
little update, here are the wrong pieces I must replaced with better ones.
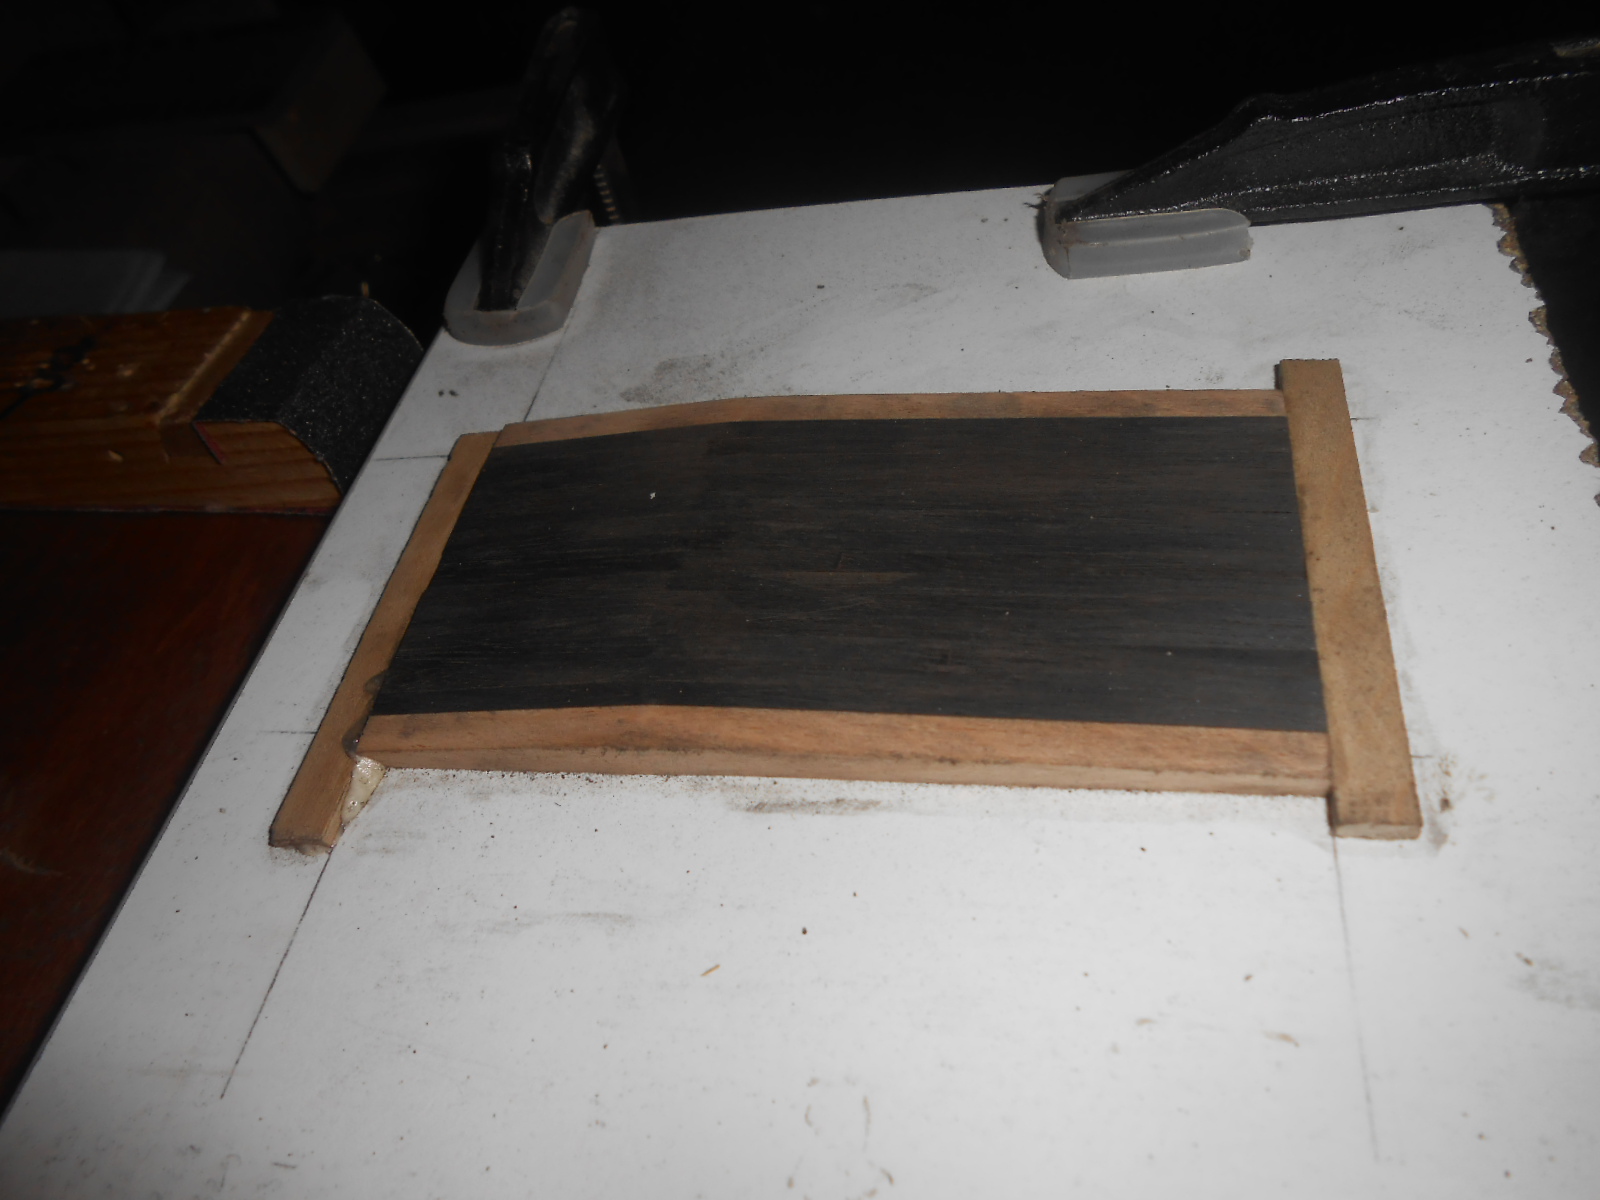
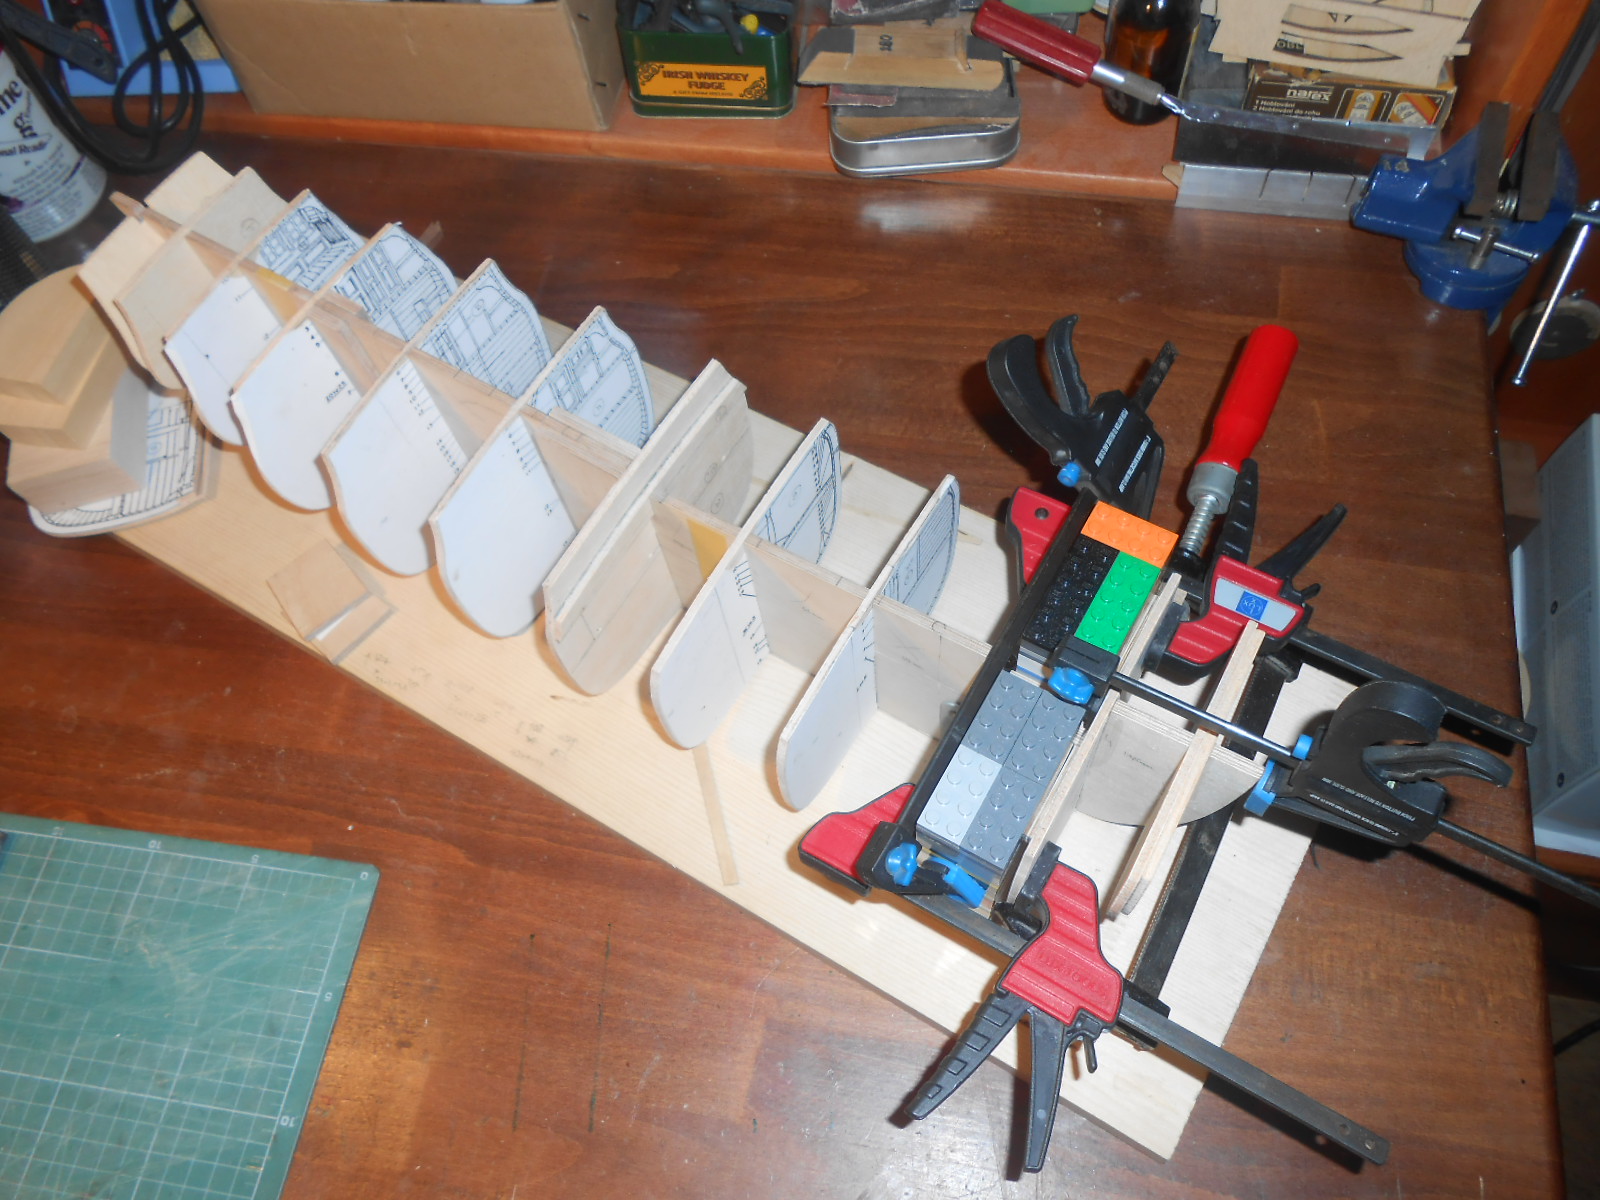
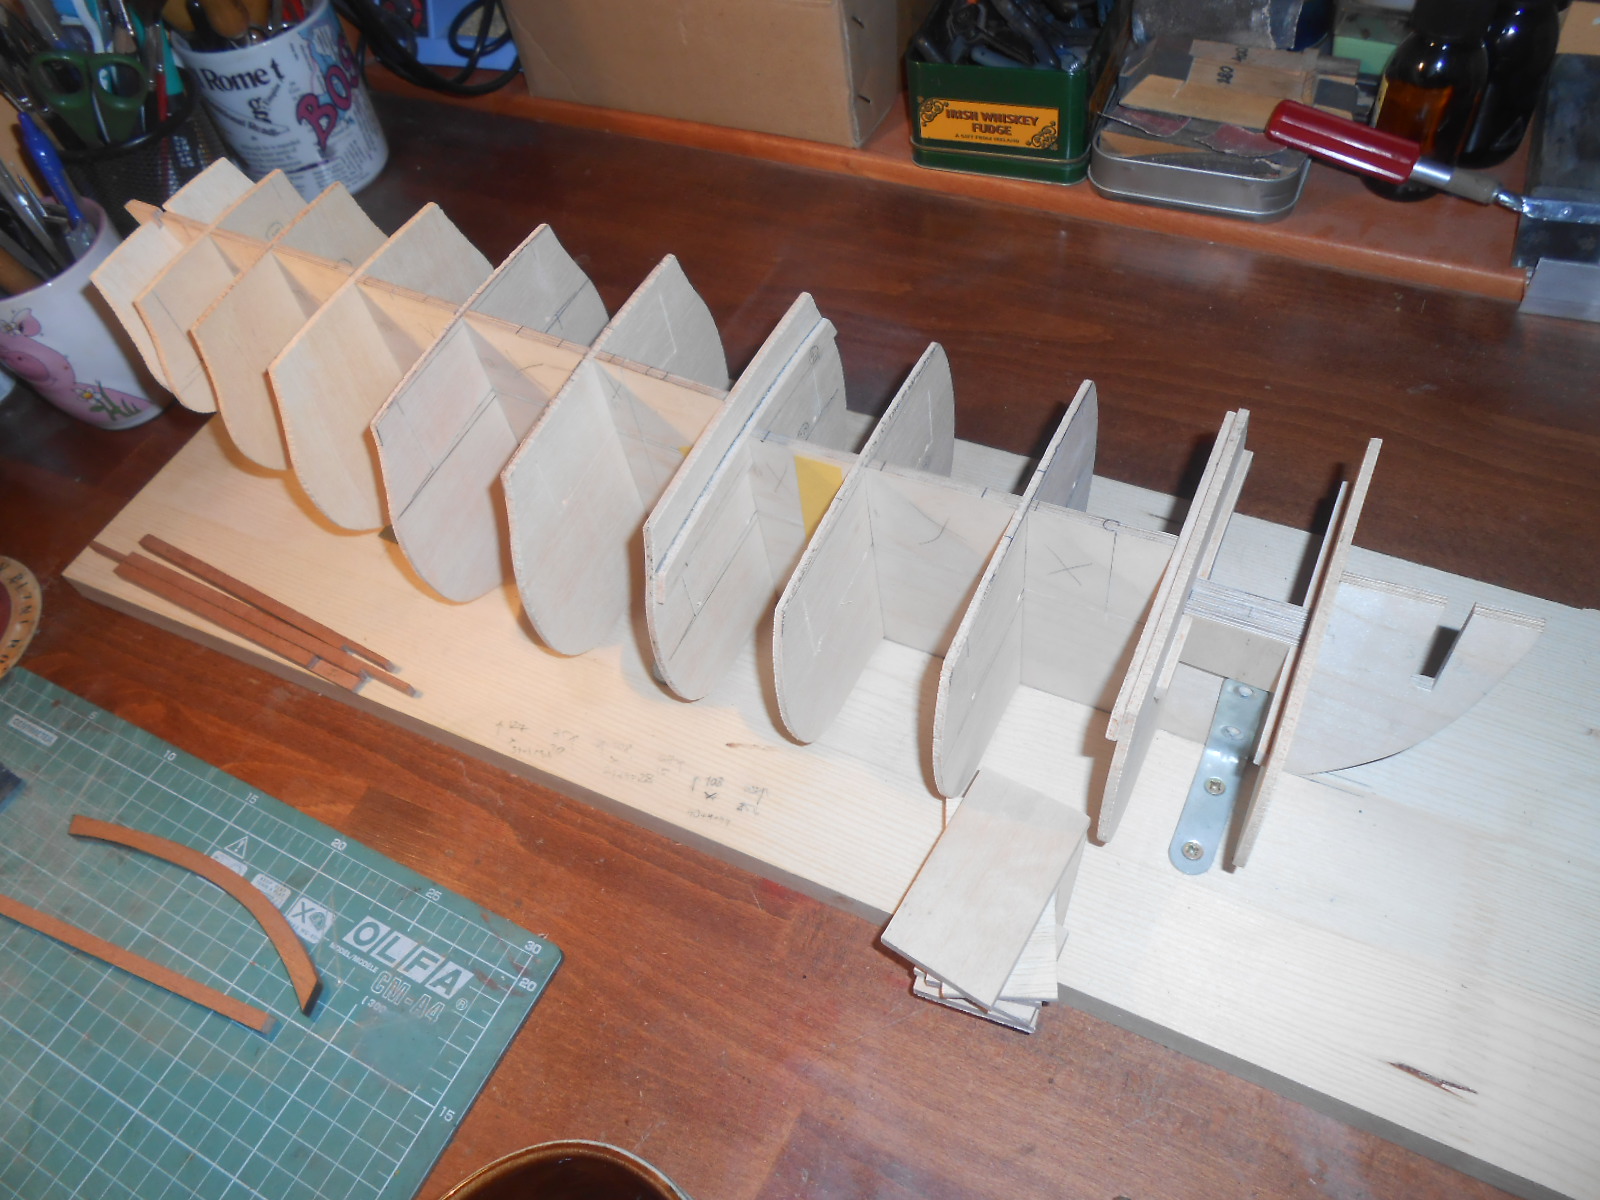
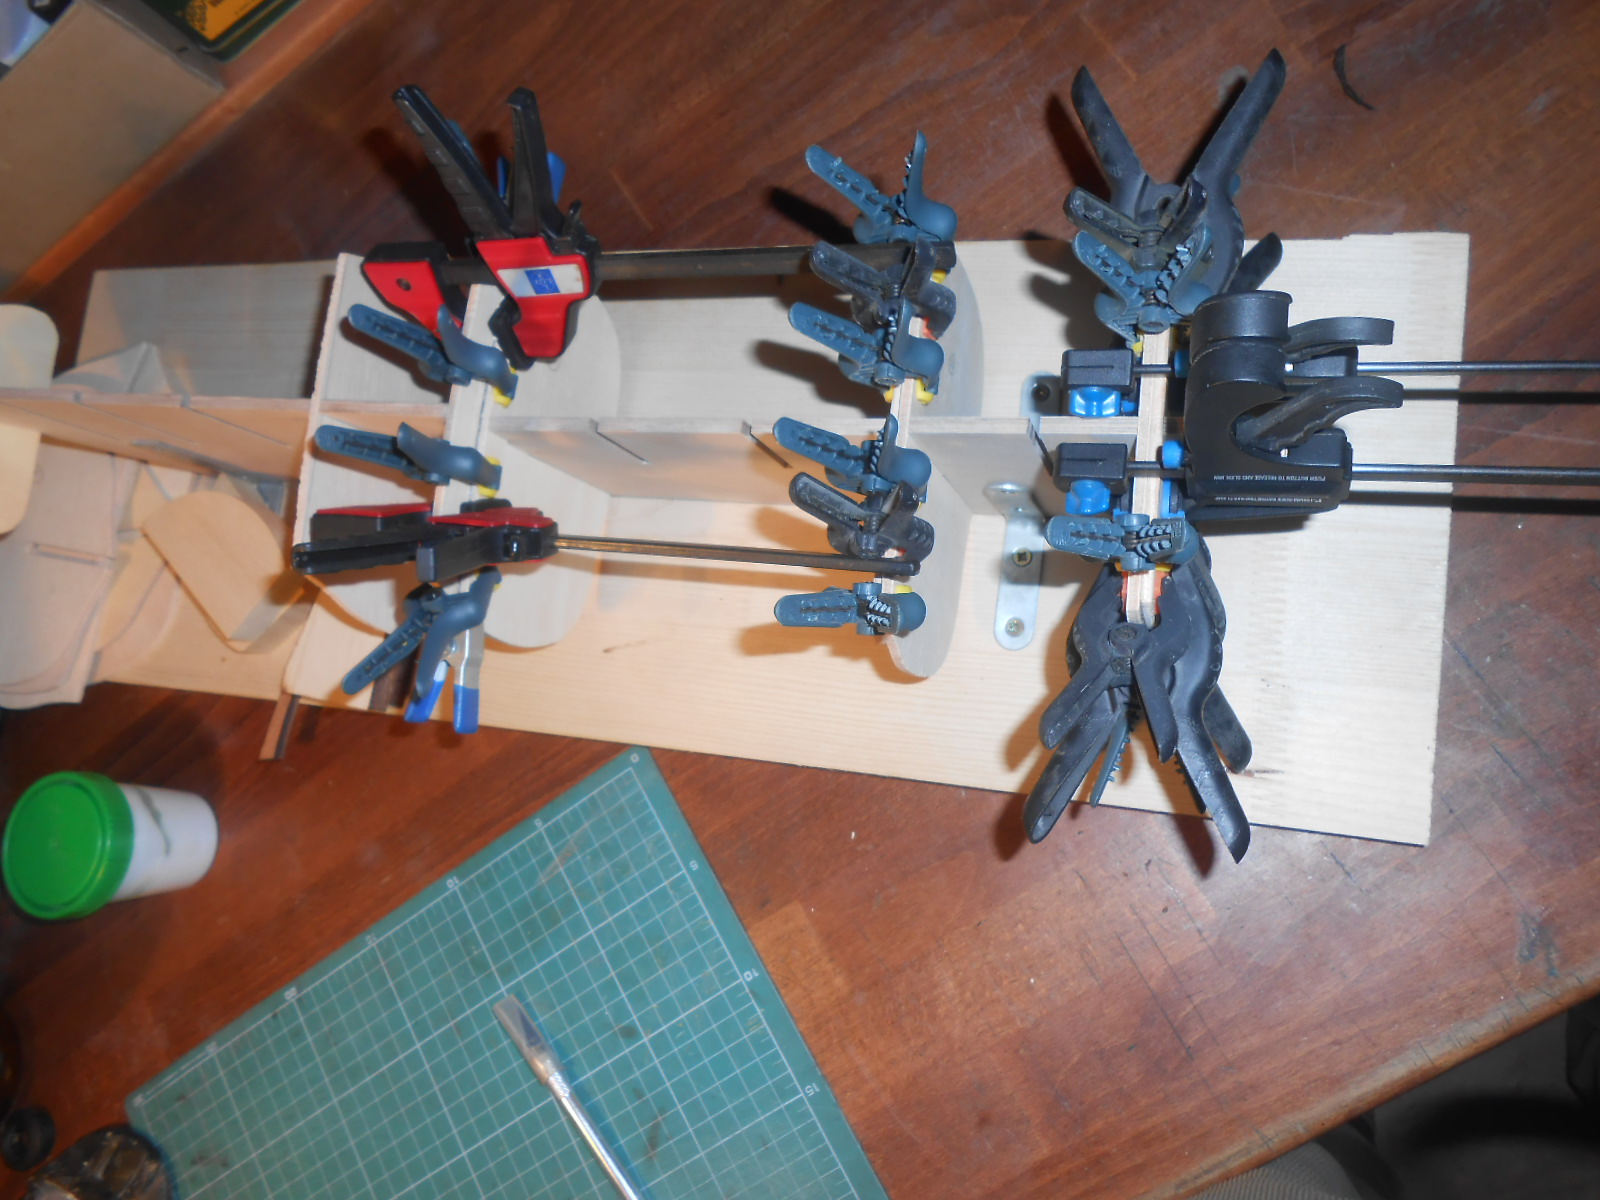
I made building board of old furniture board. Also marked off space for keel( false keel).
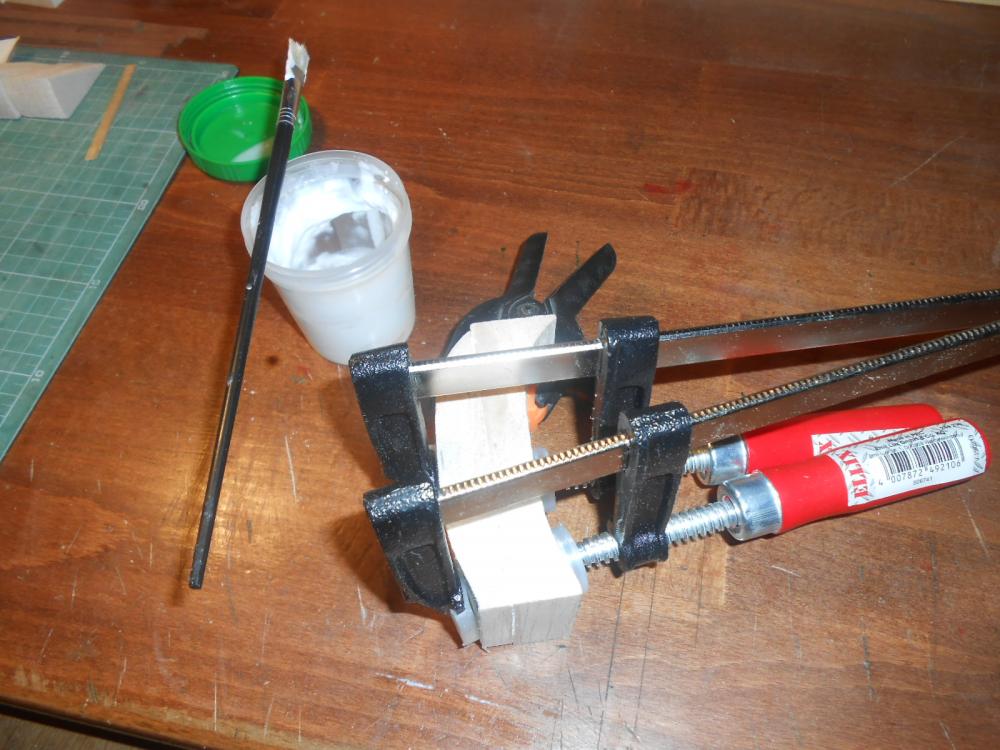
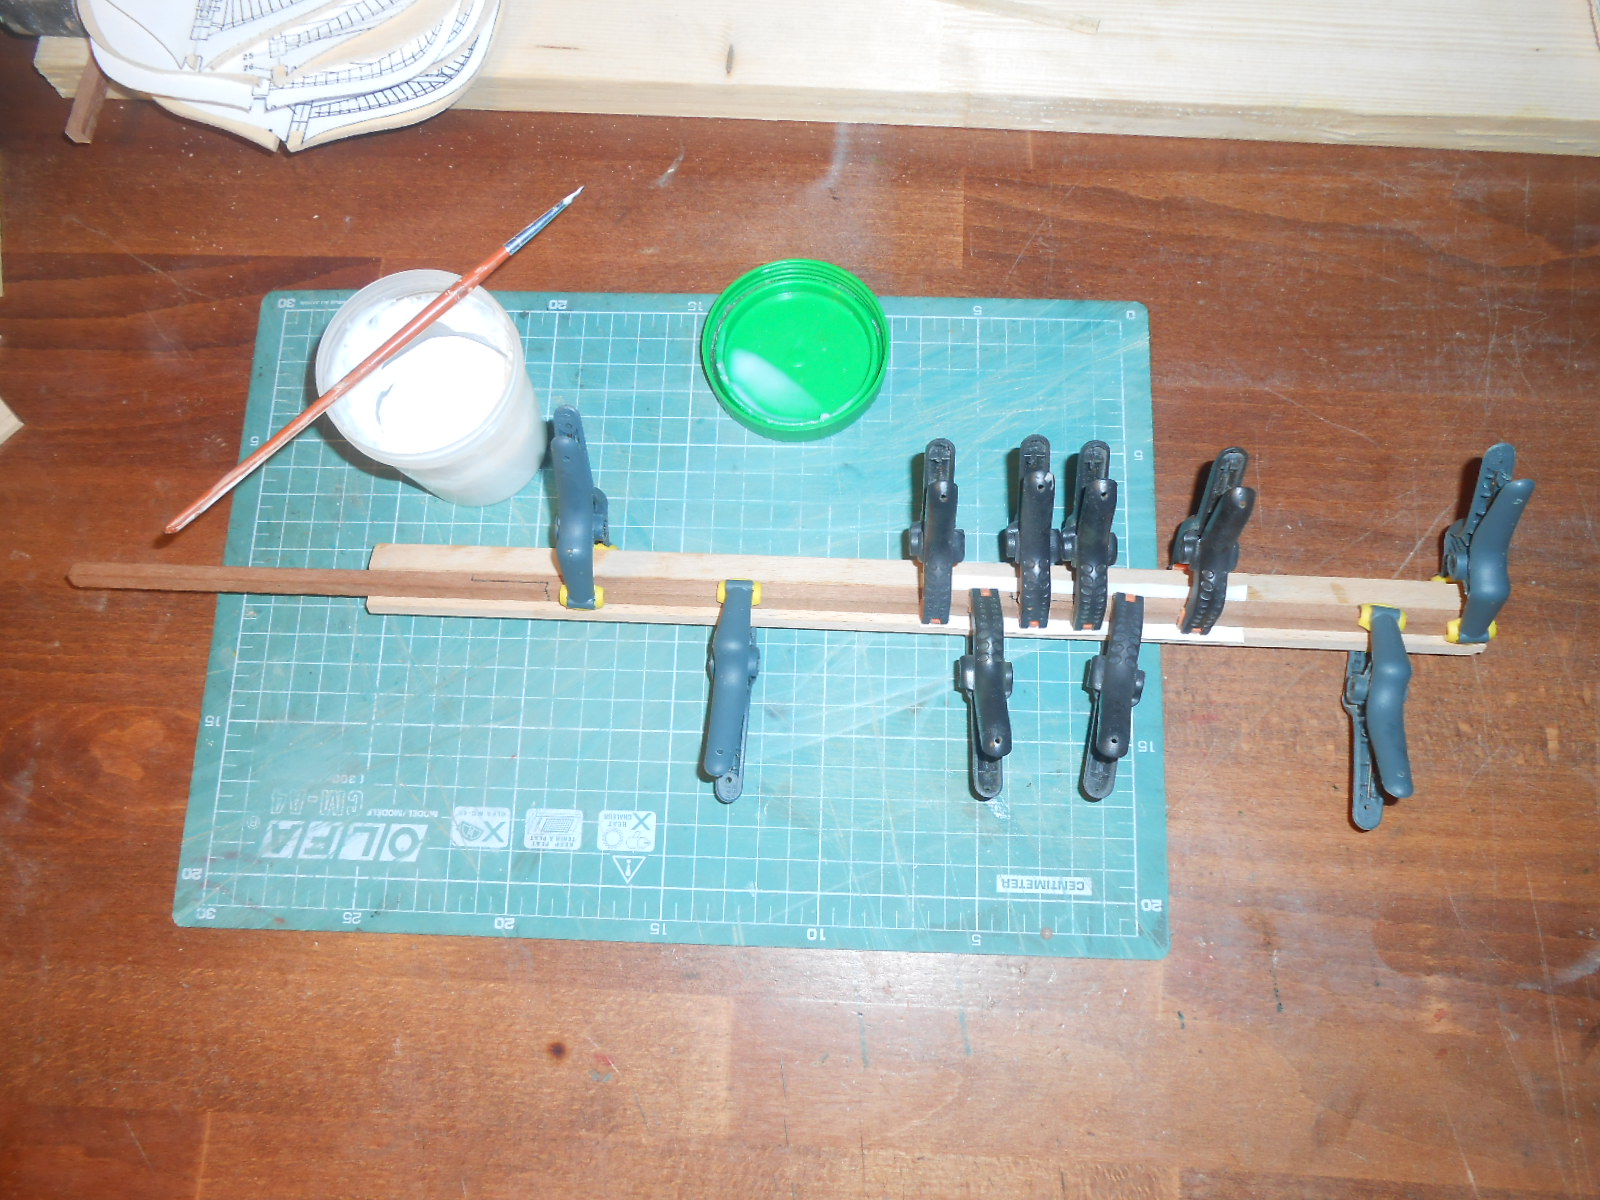
Glueing keel with false keel together - I used PVA glue with black acrylic paint - It is not so good visible but maybe it come out with coat of varnish.
Last thing is unify joints for keel in every frame, I fixed frames on board with rectangular attached pin which fits to the groove for keelson. Then sanding until keel fits perfectly to the rabbet.


-
-
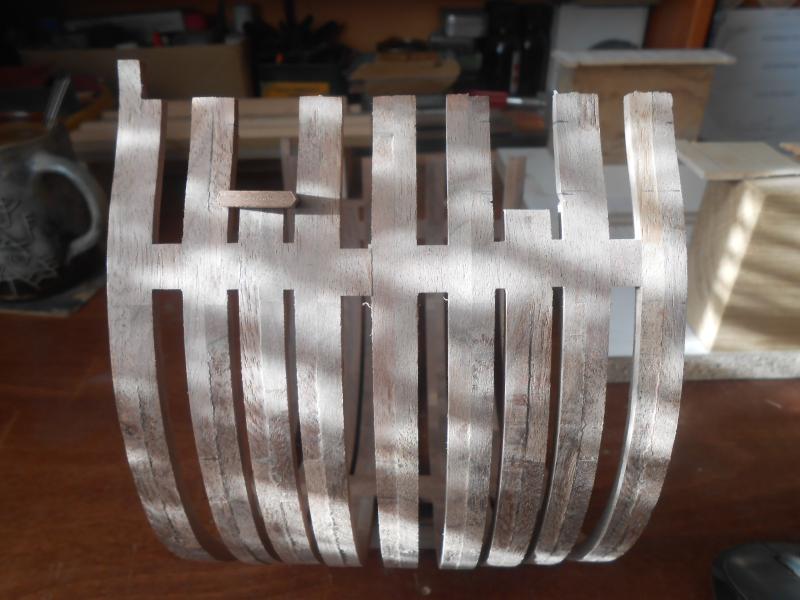
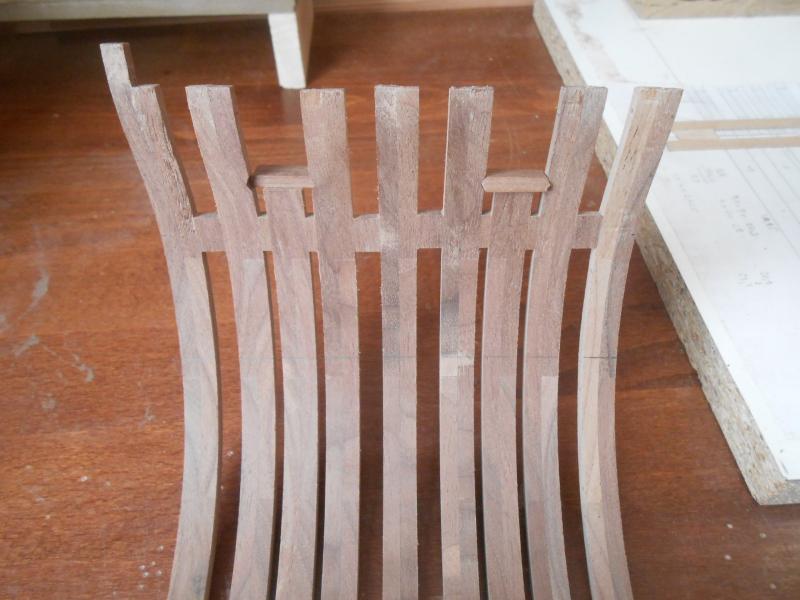
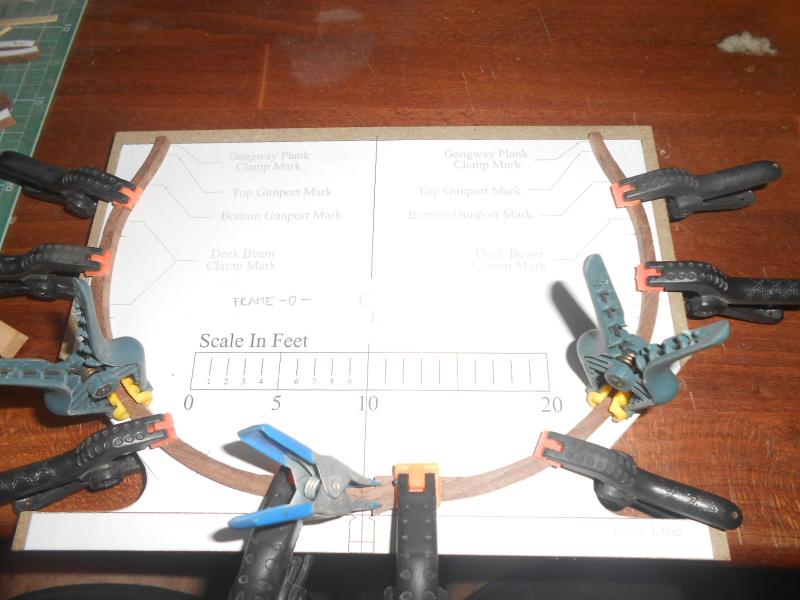
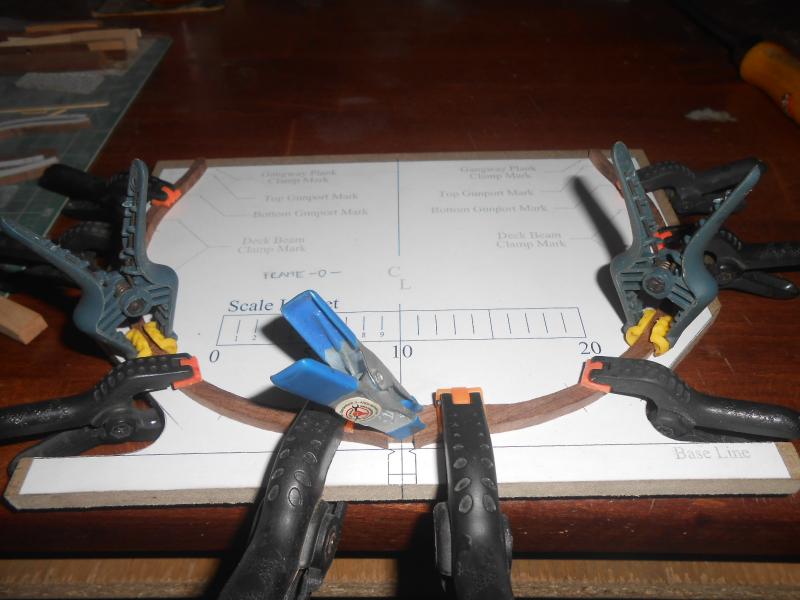
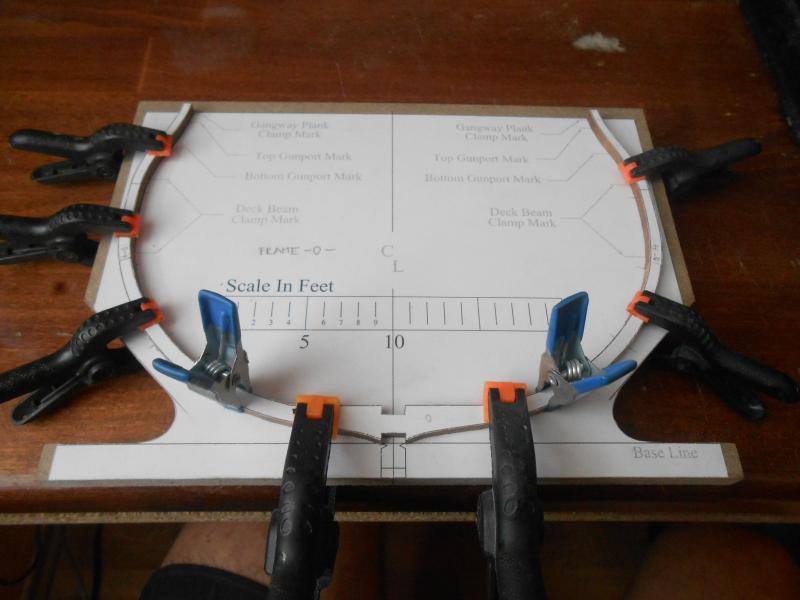
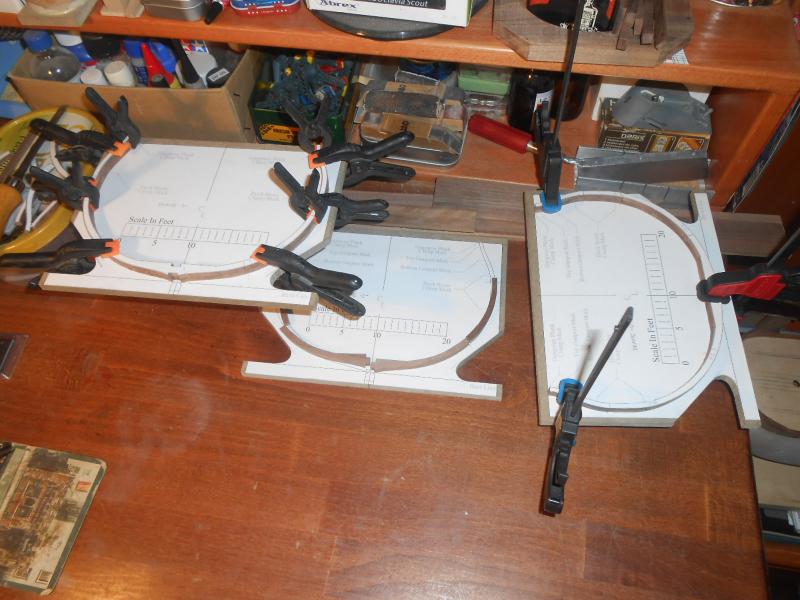
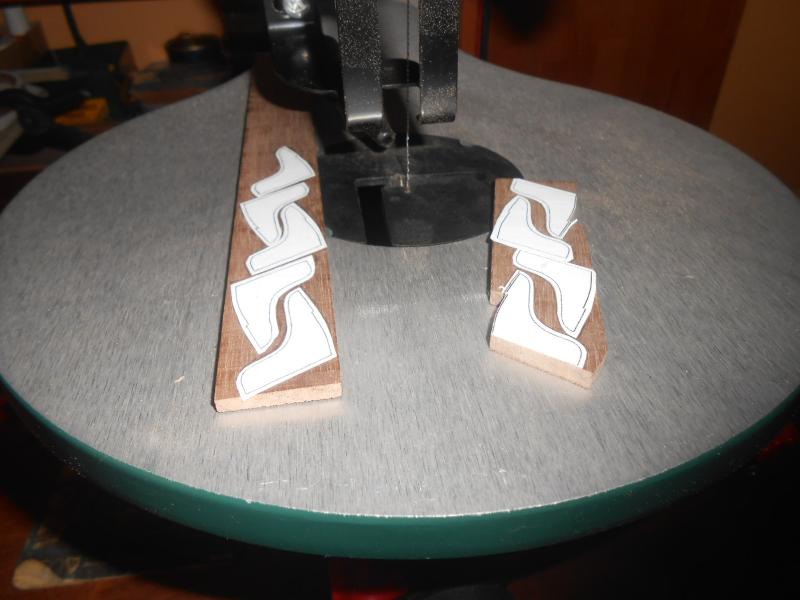
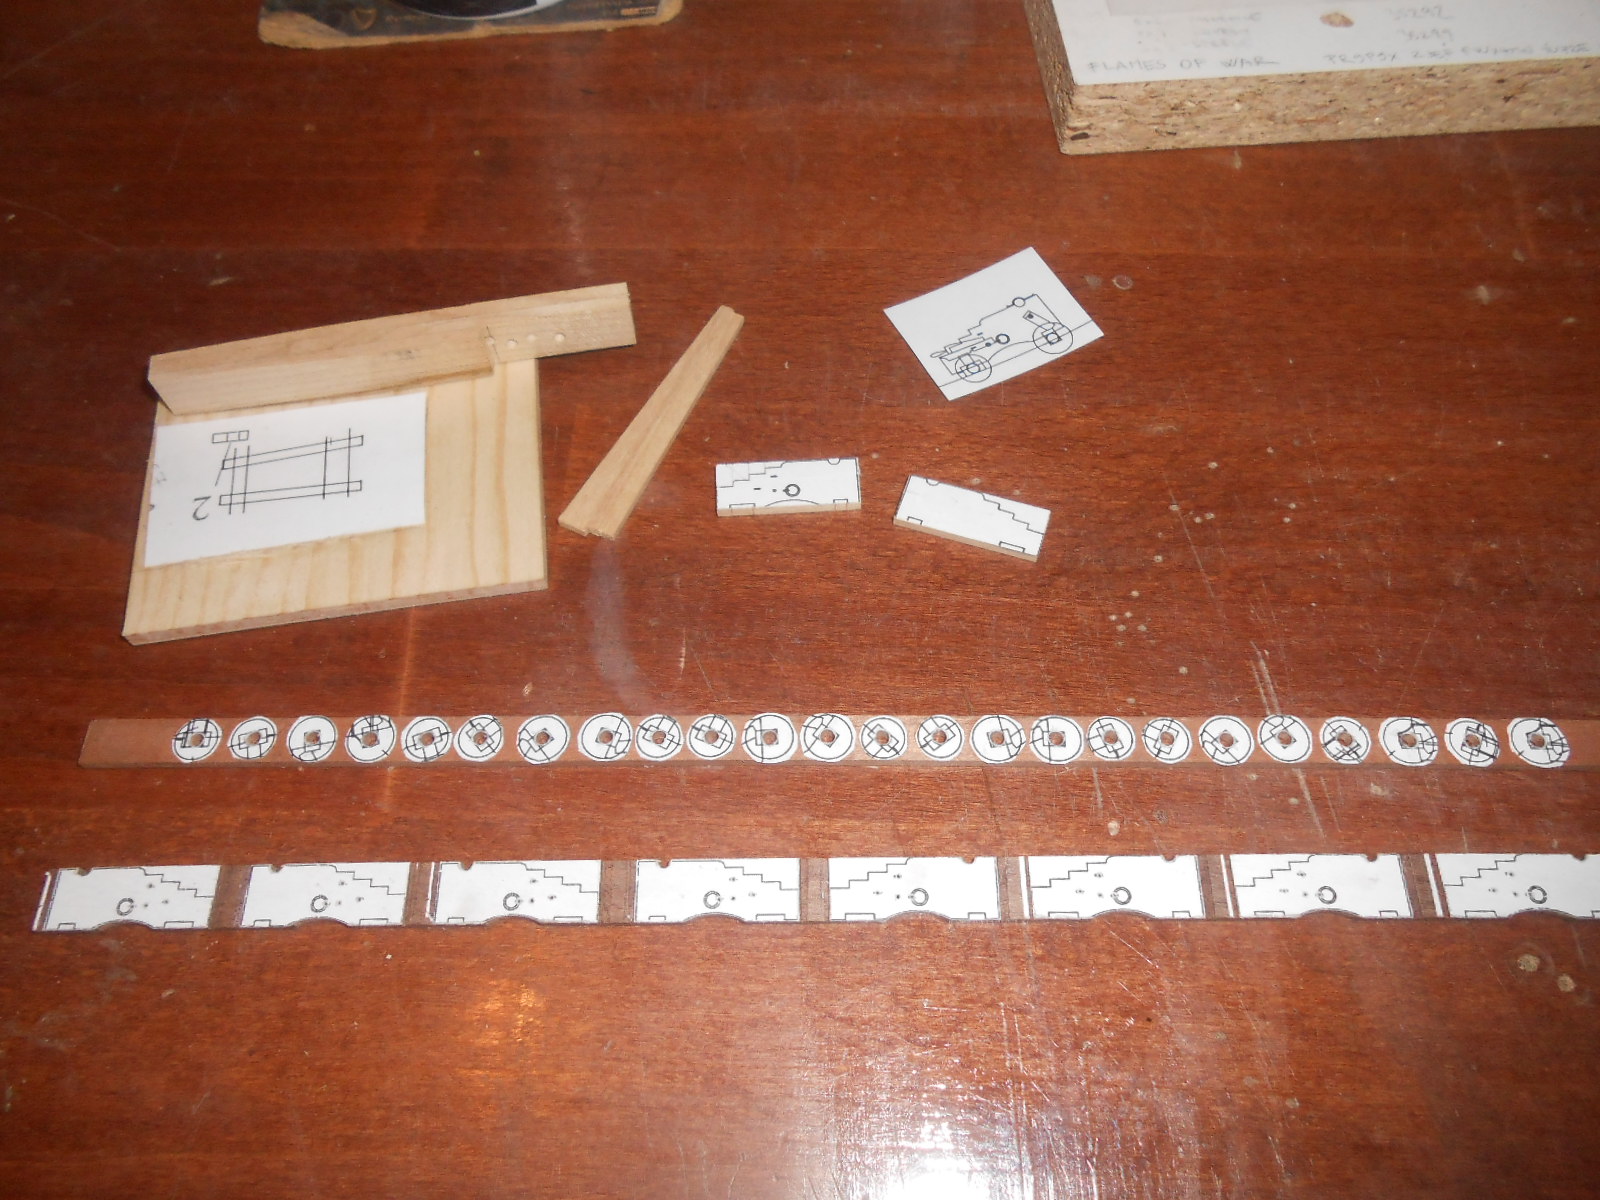
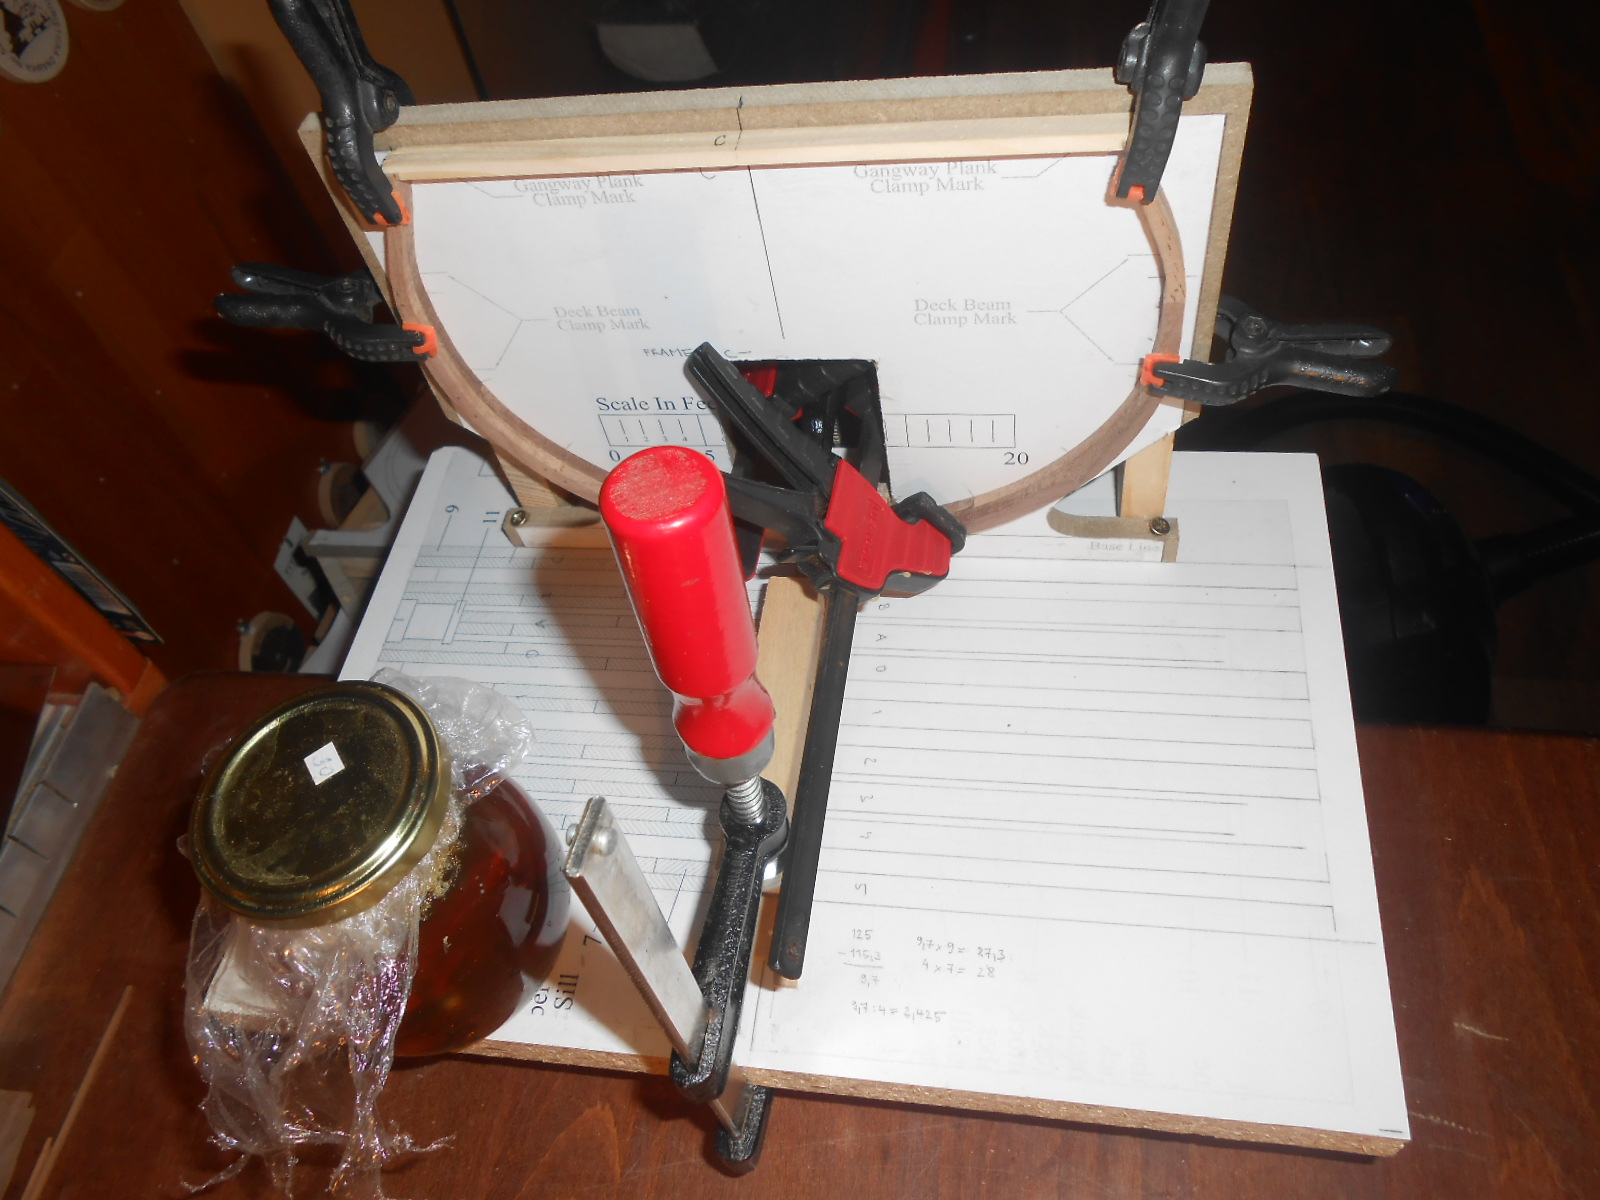
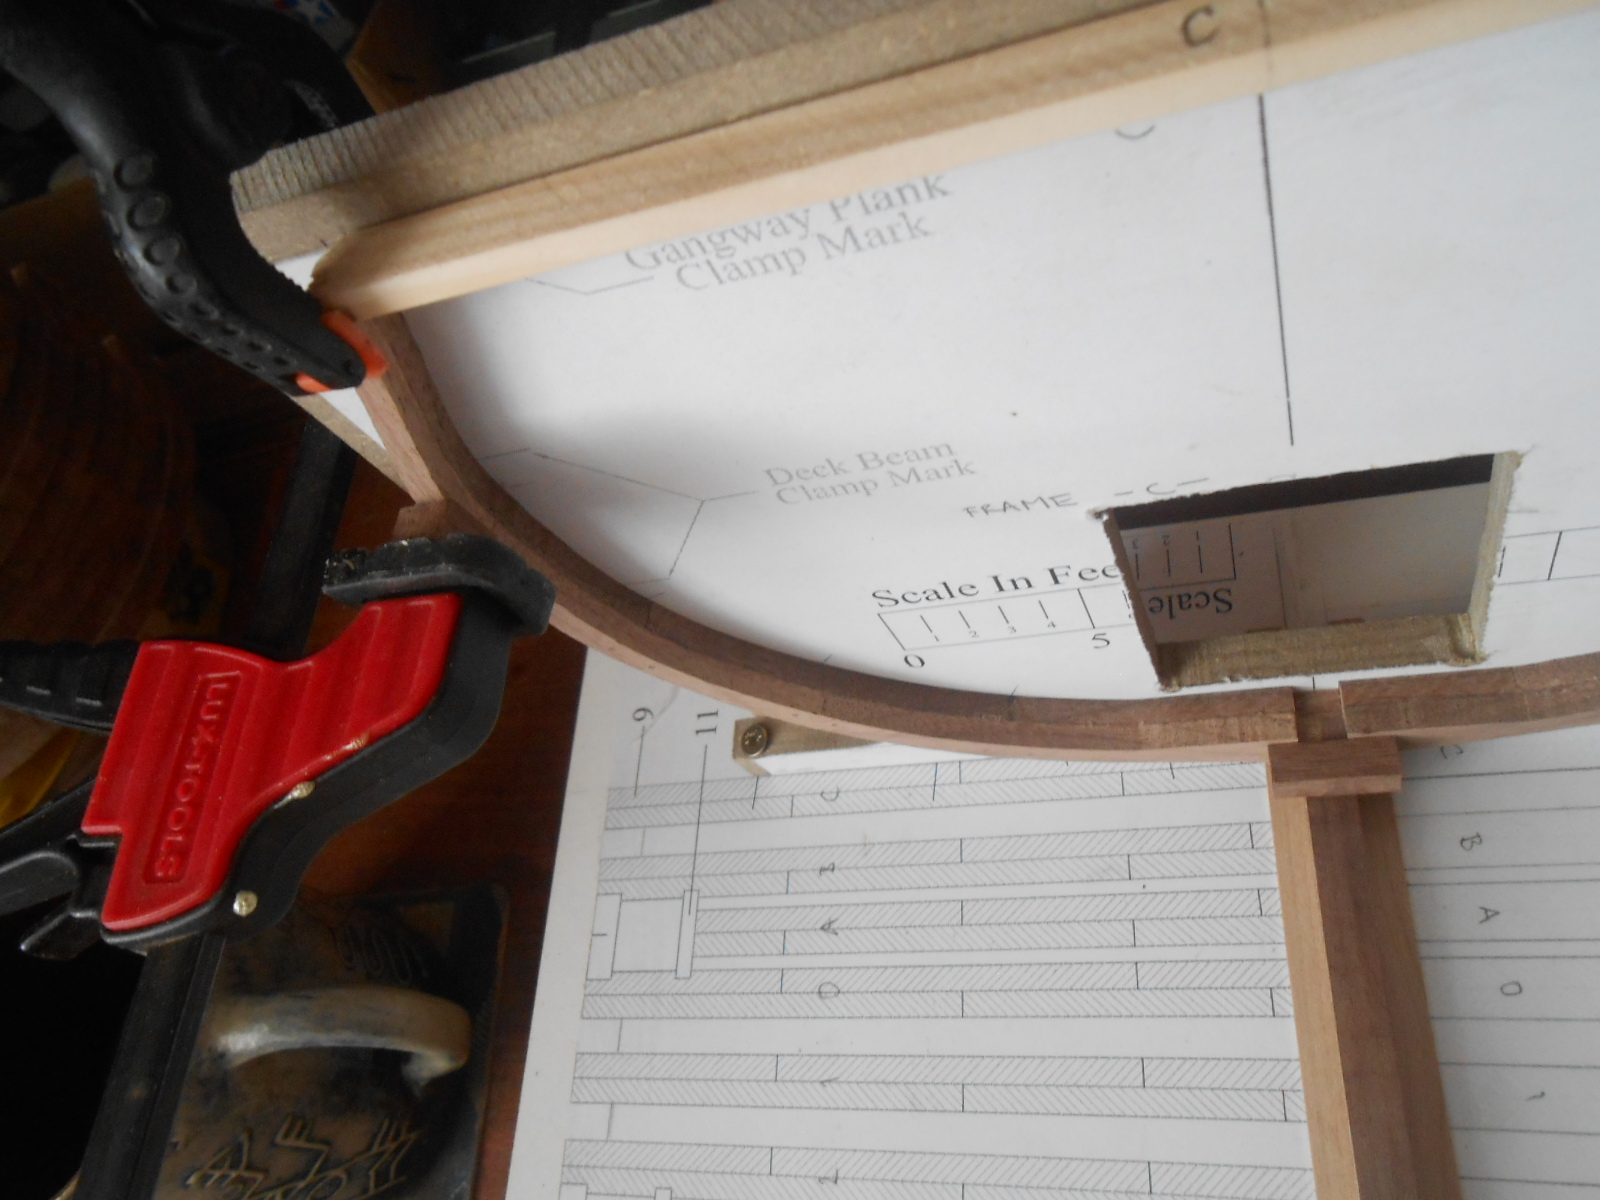
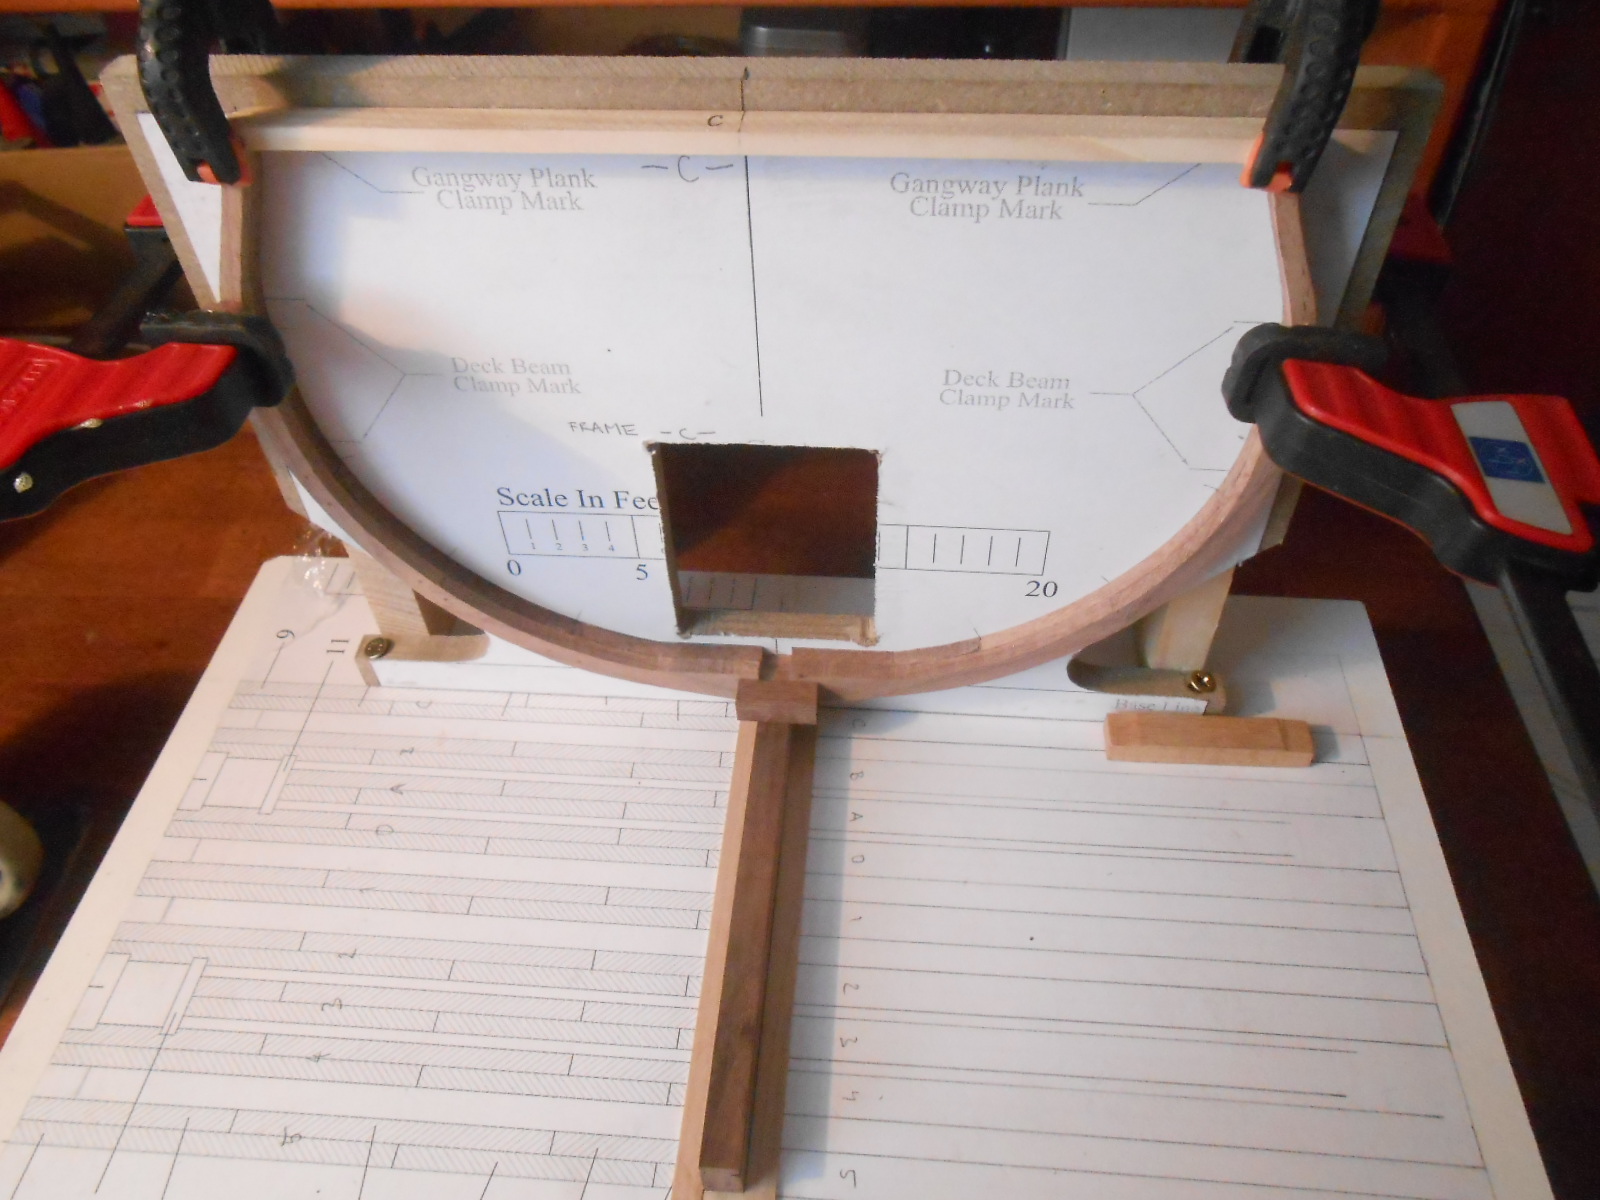
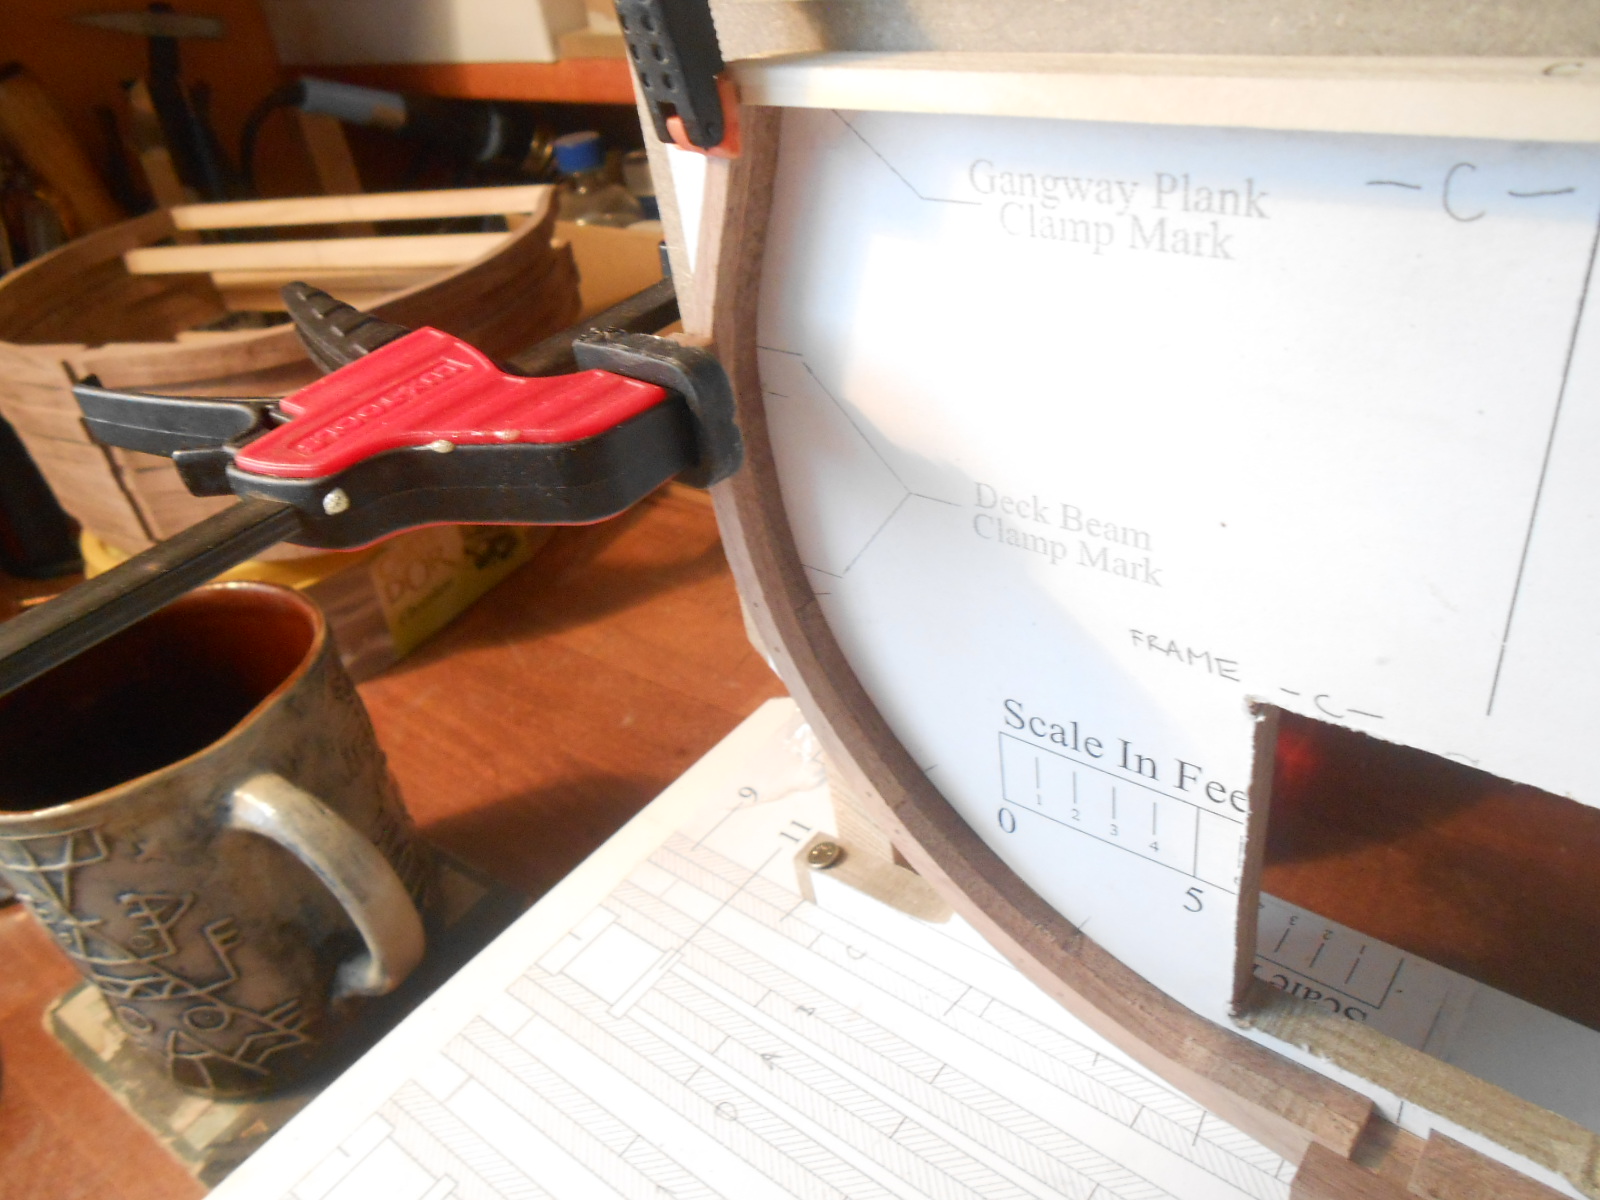
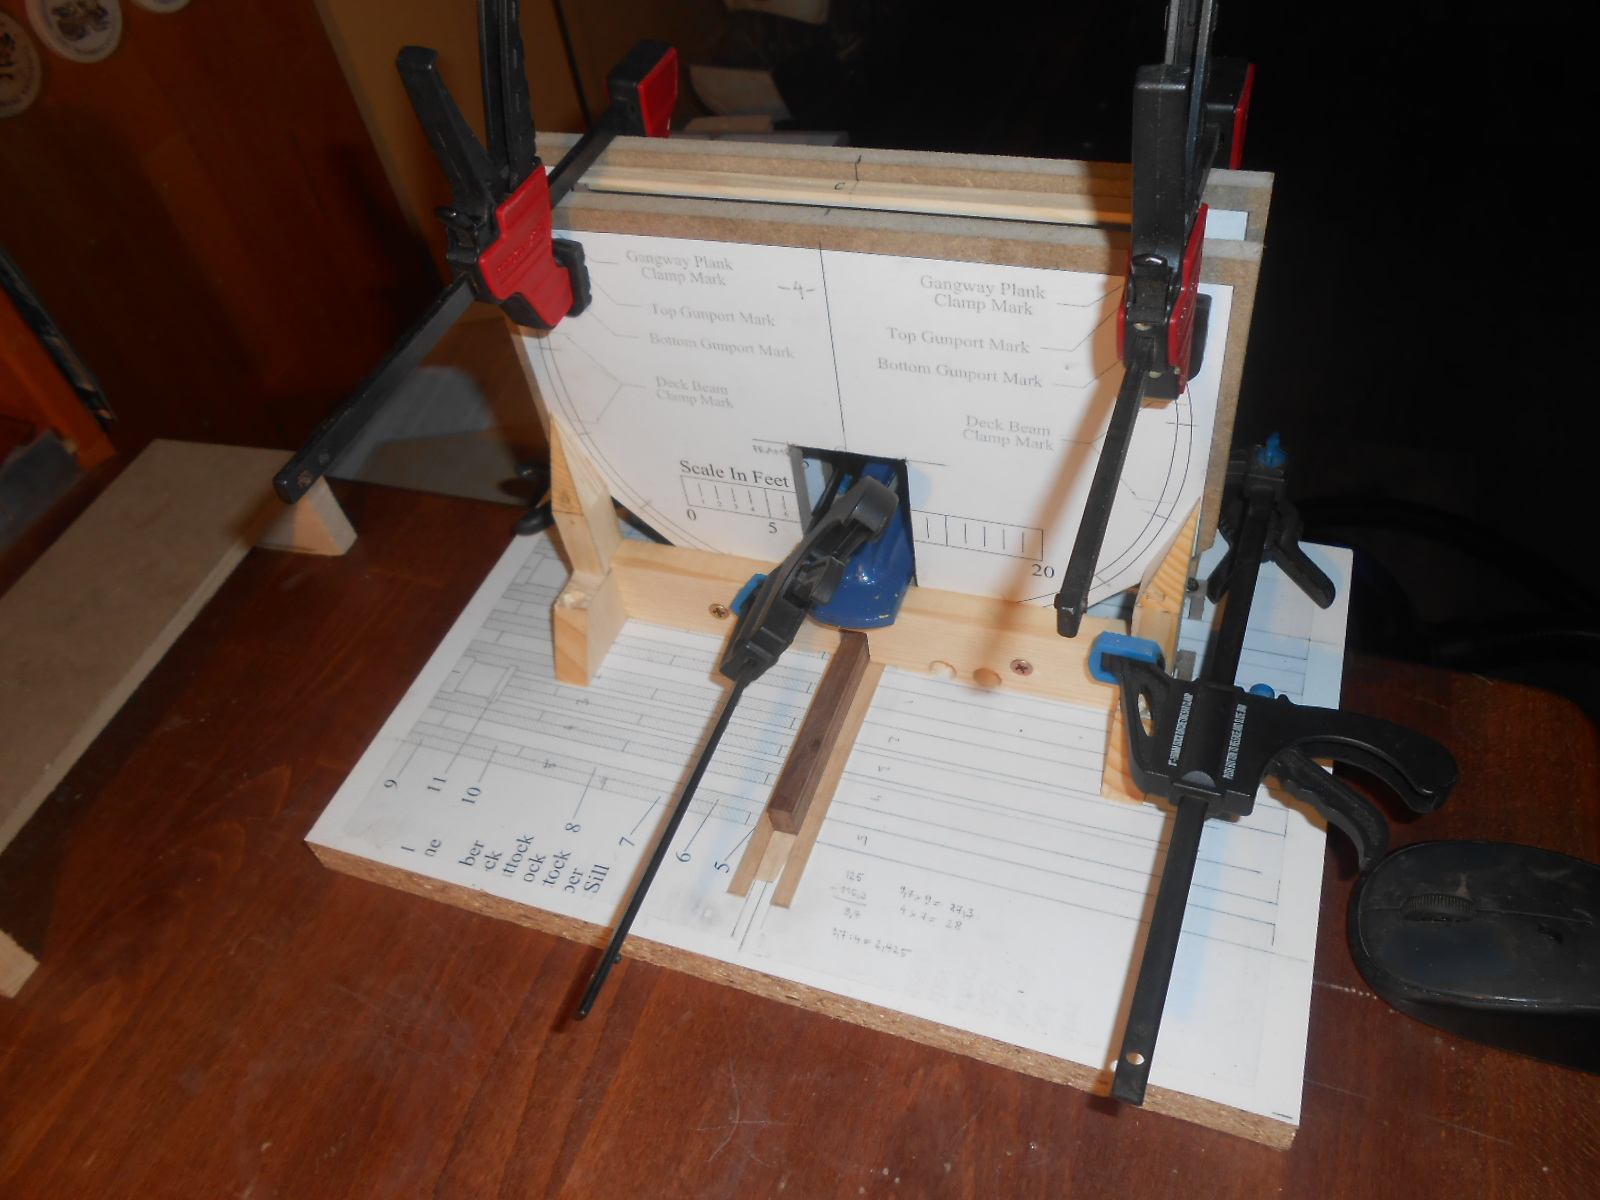
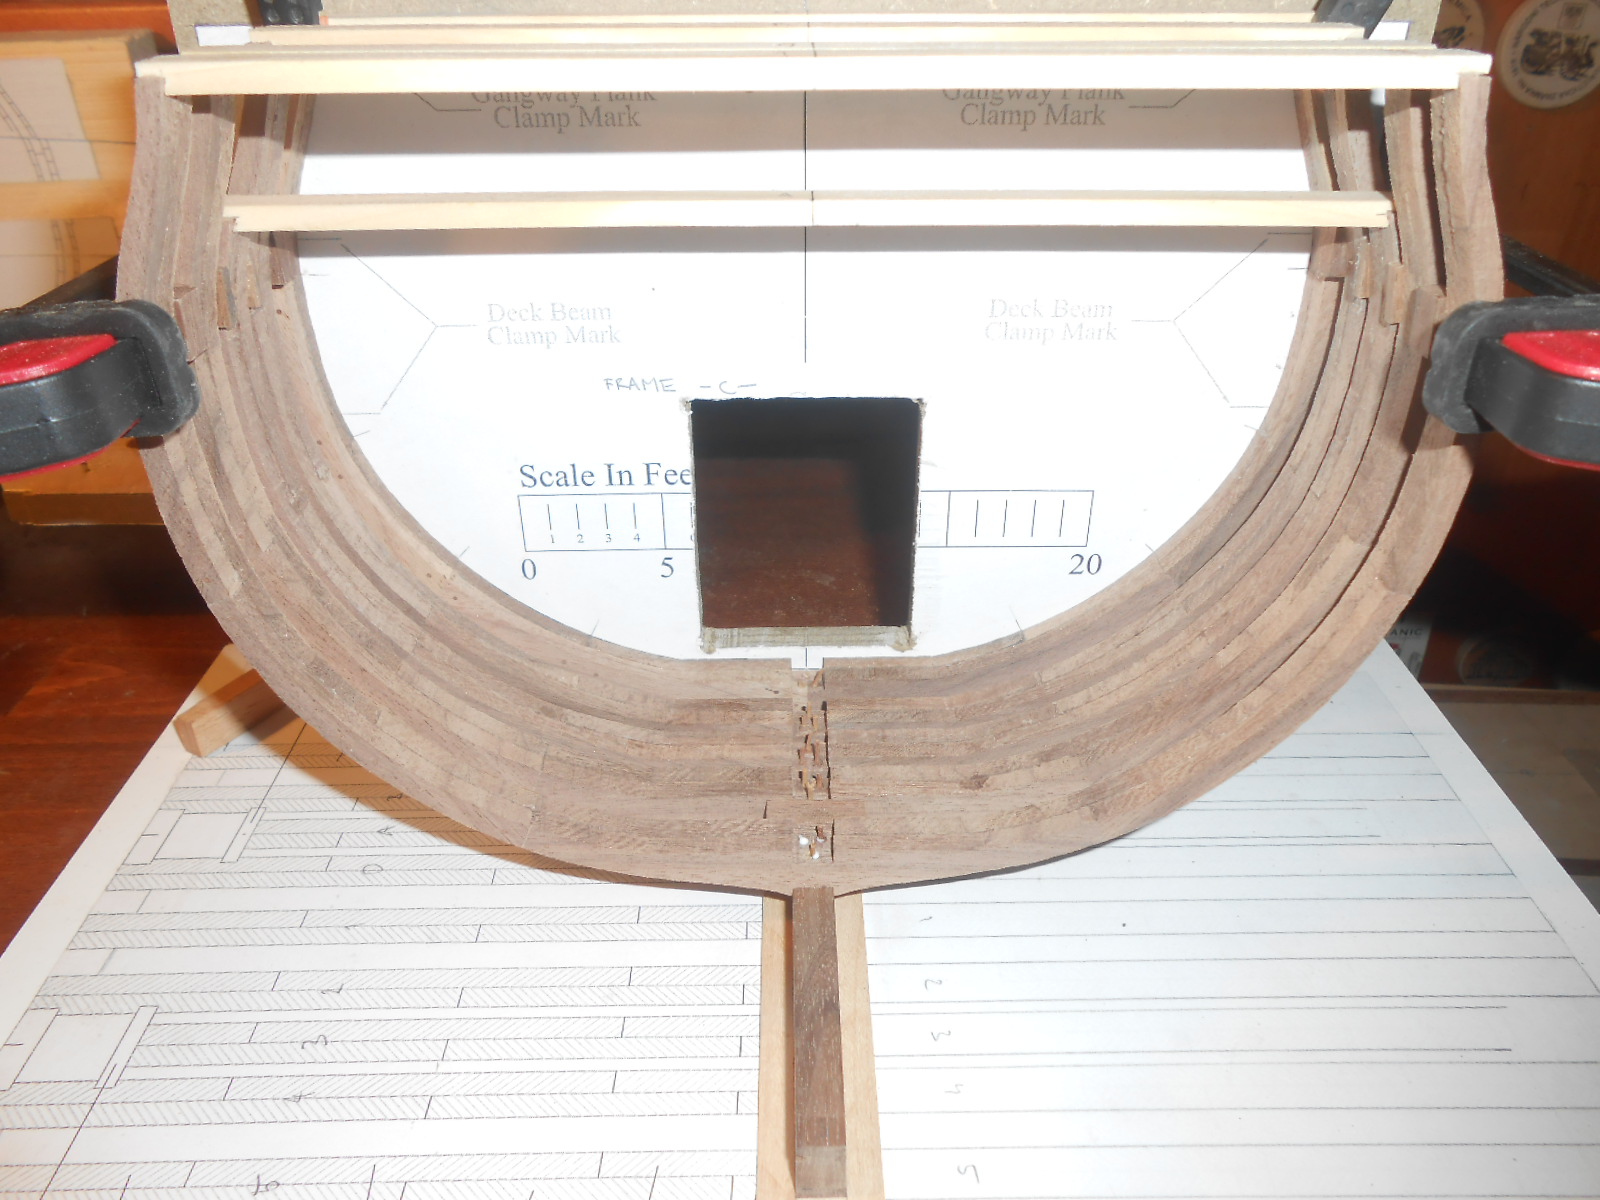
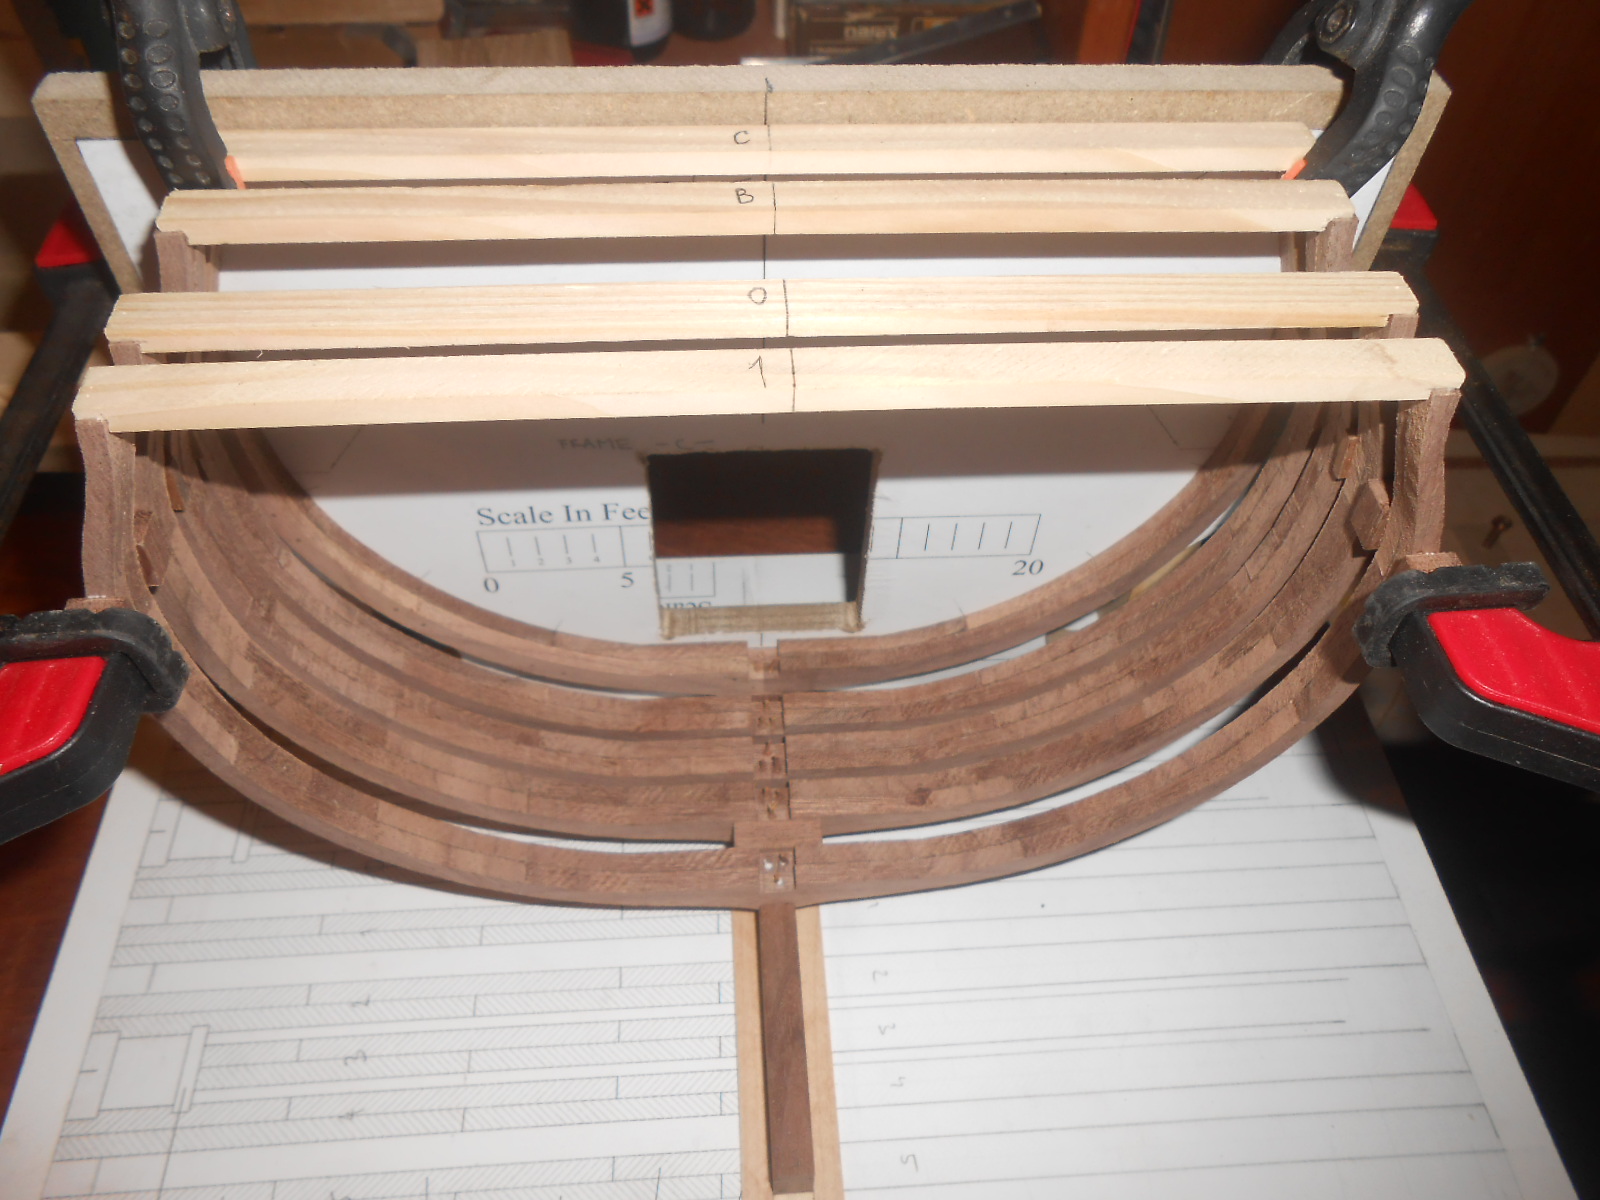
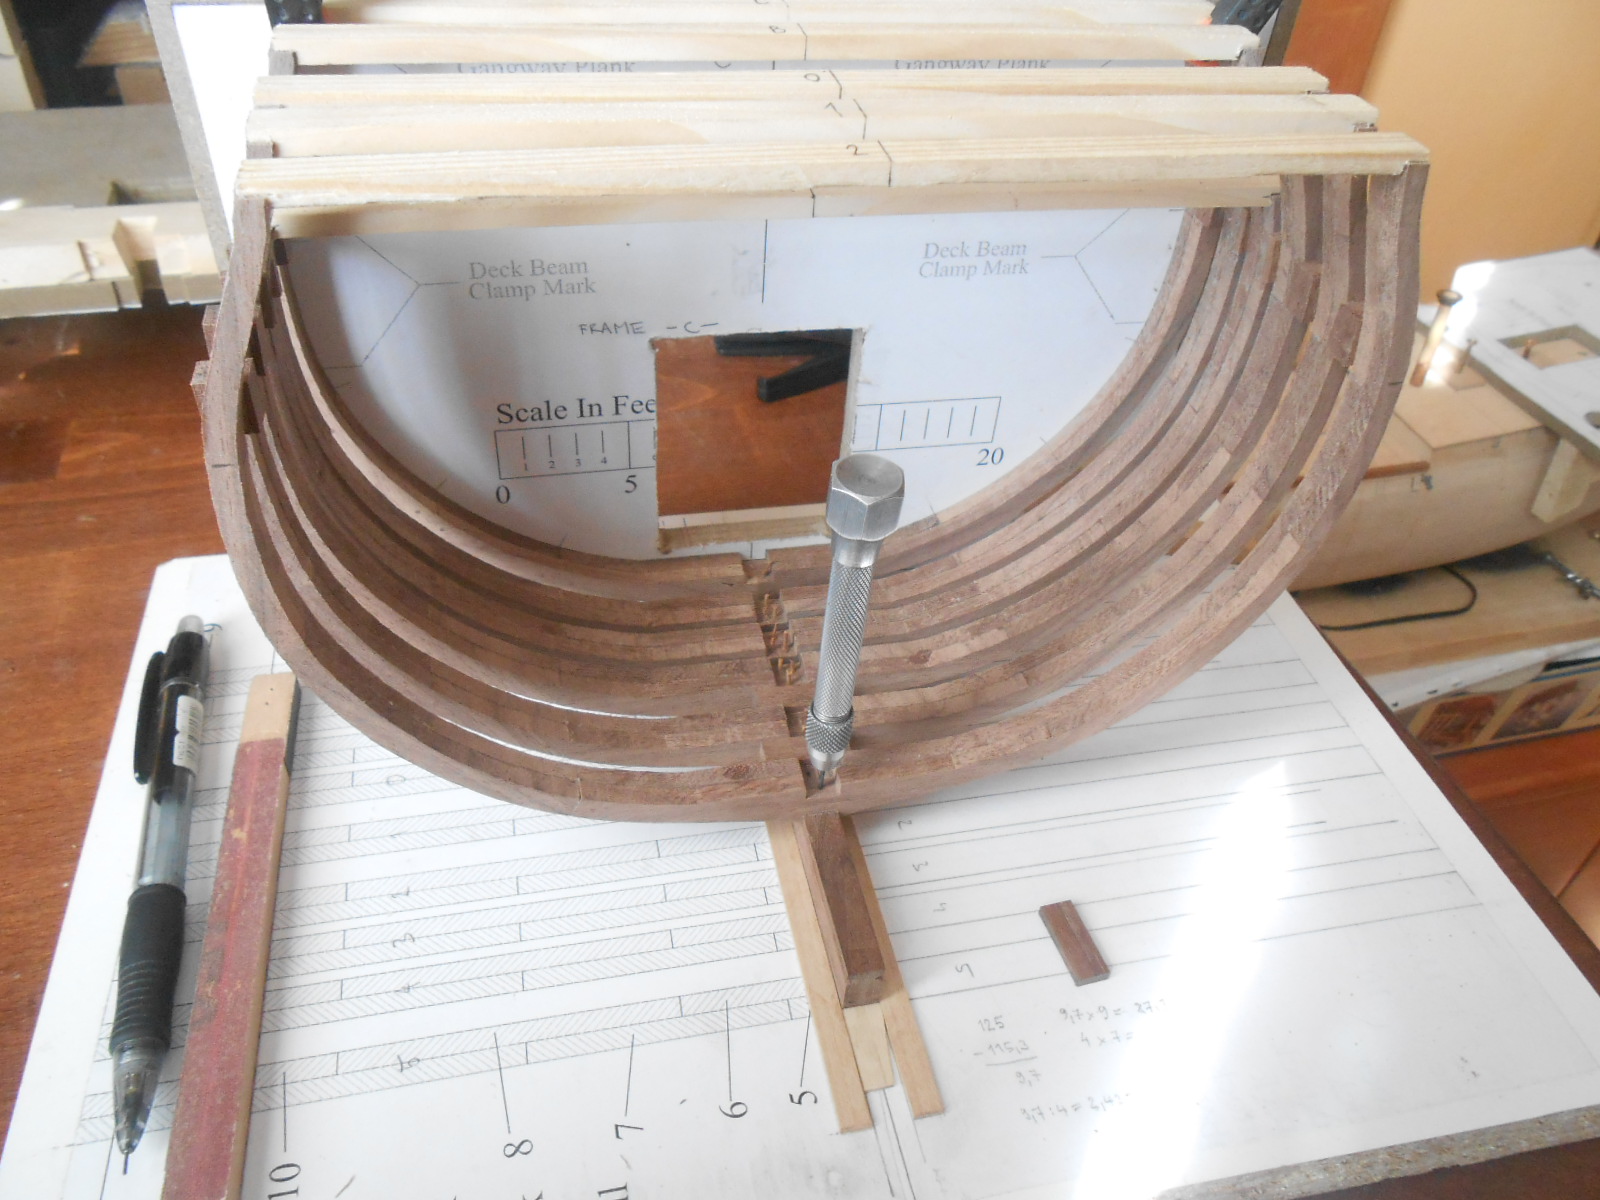
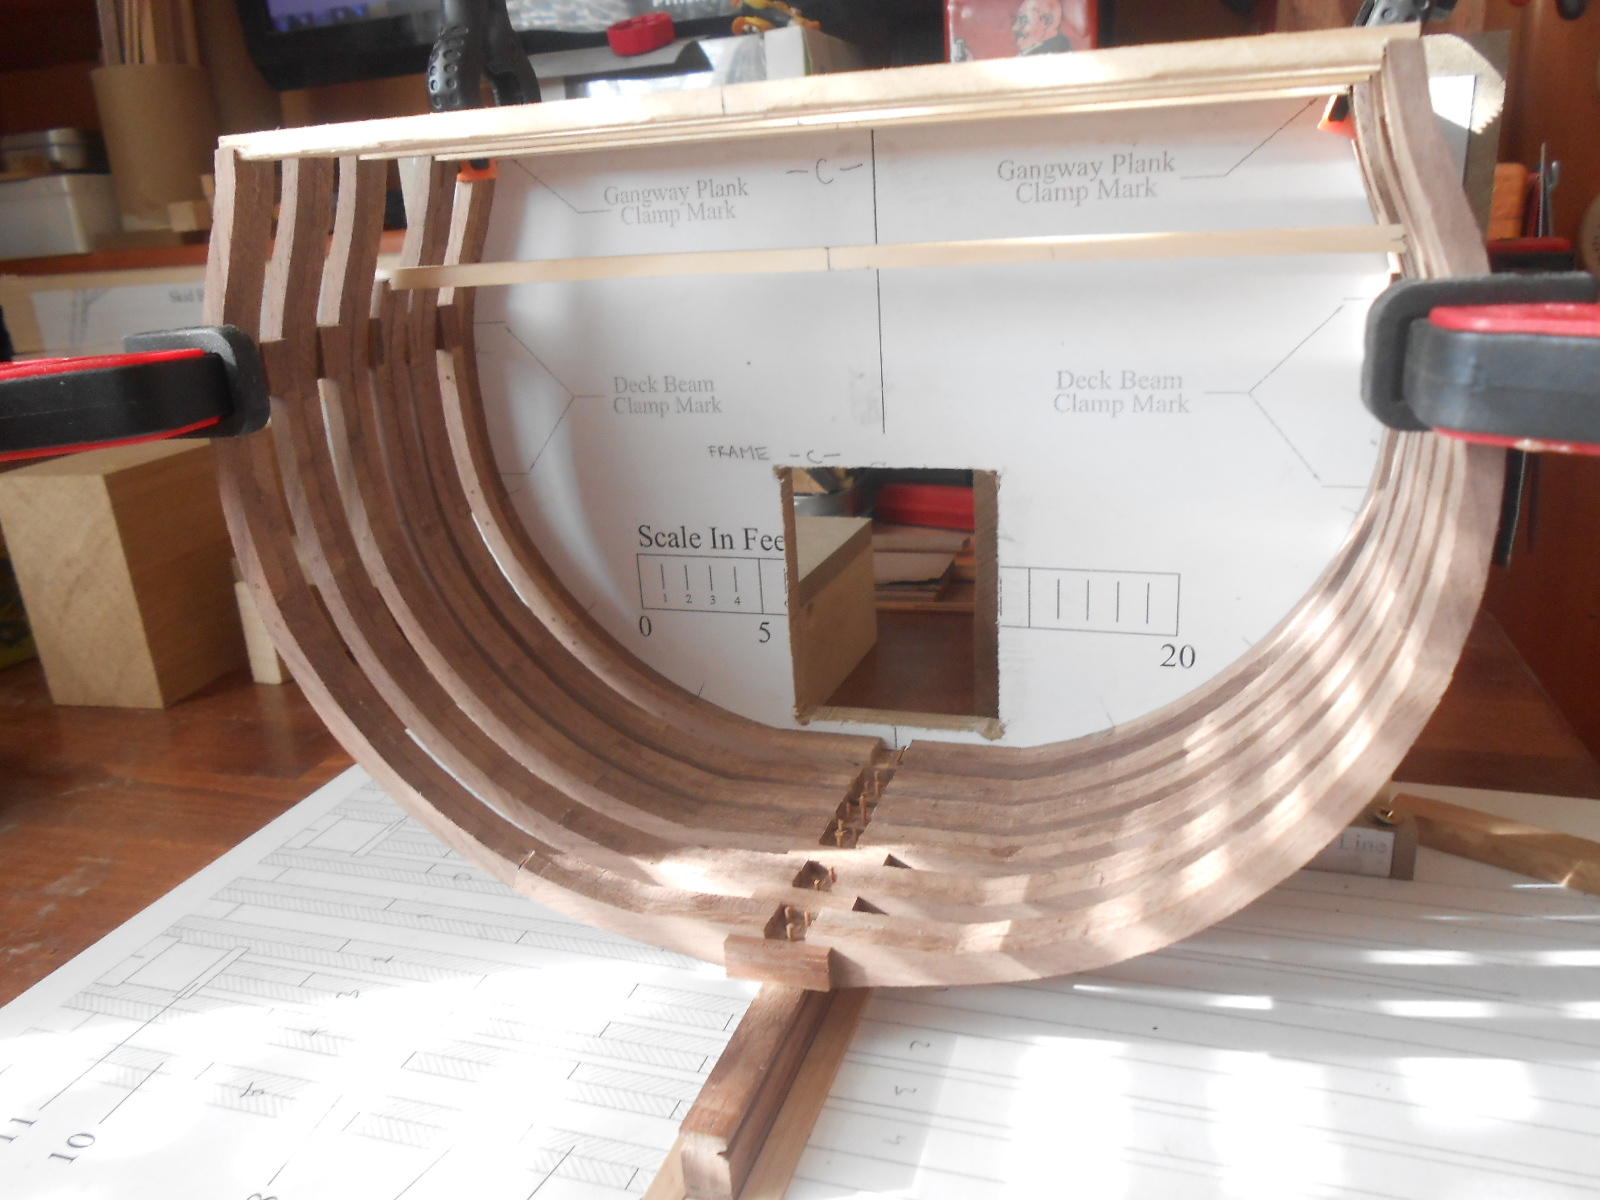
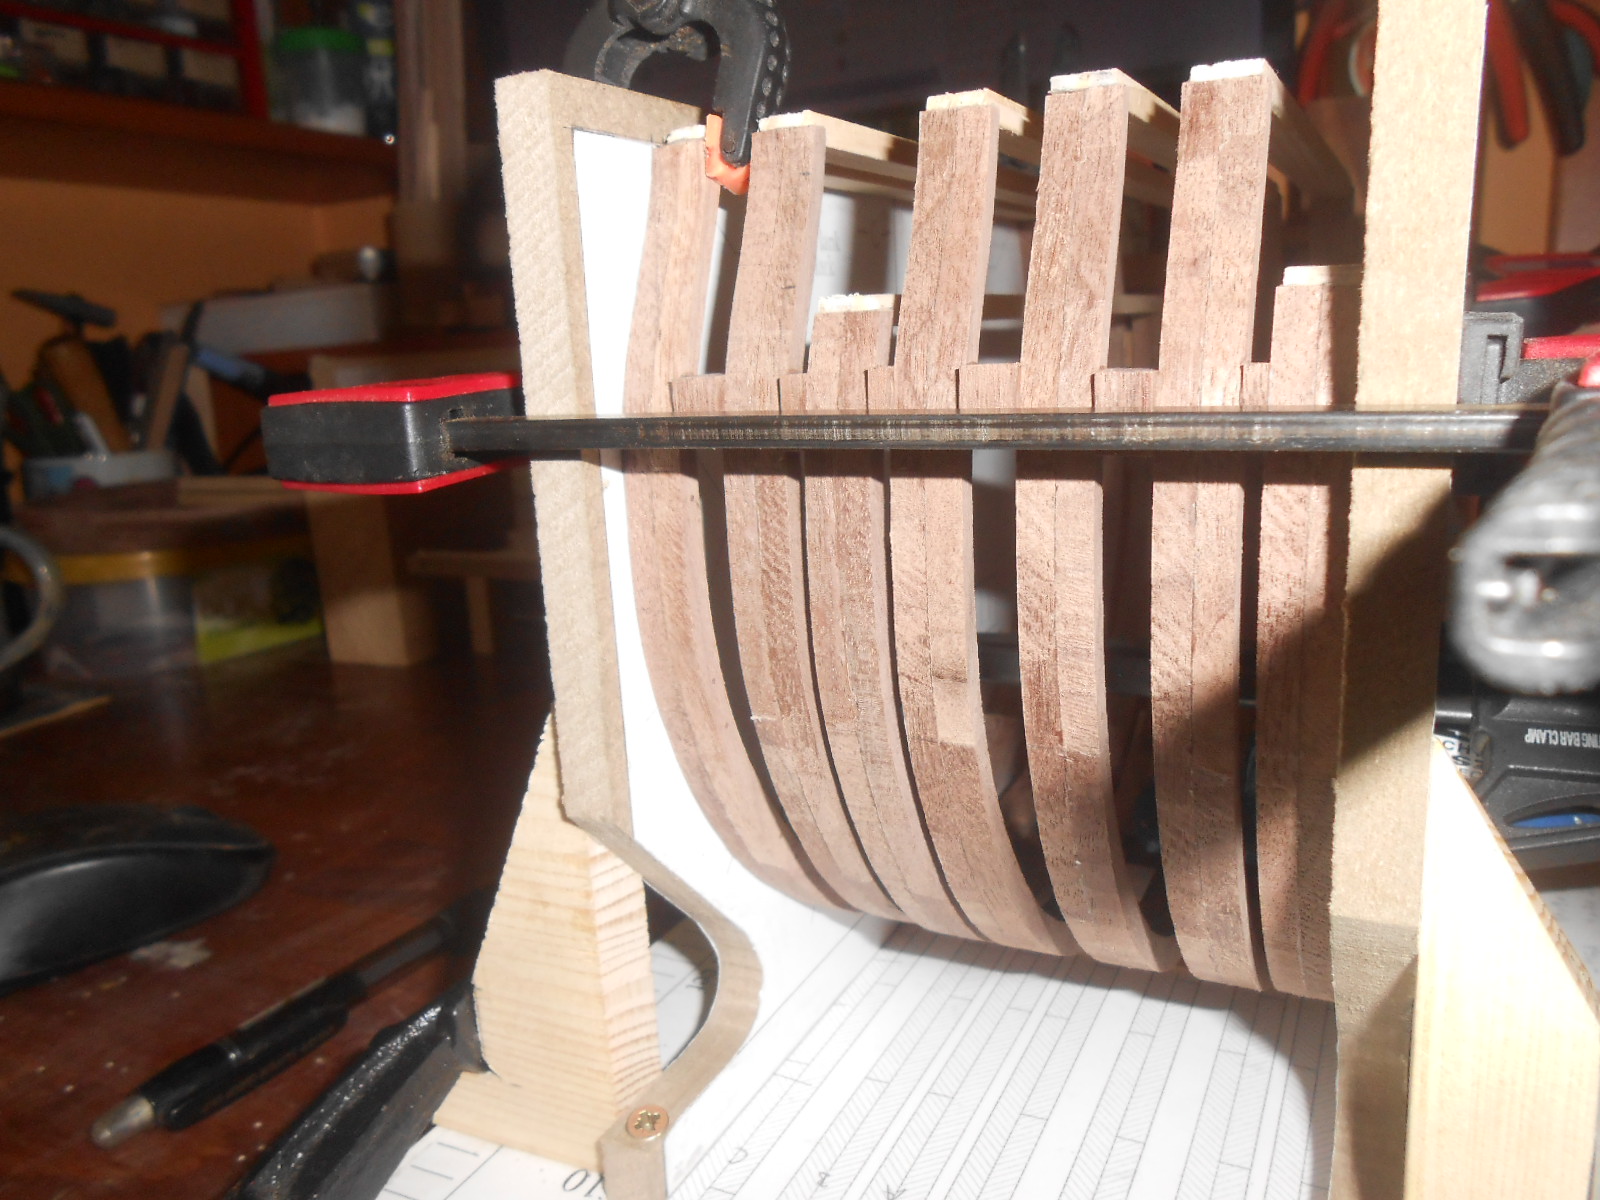
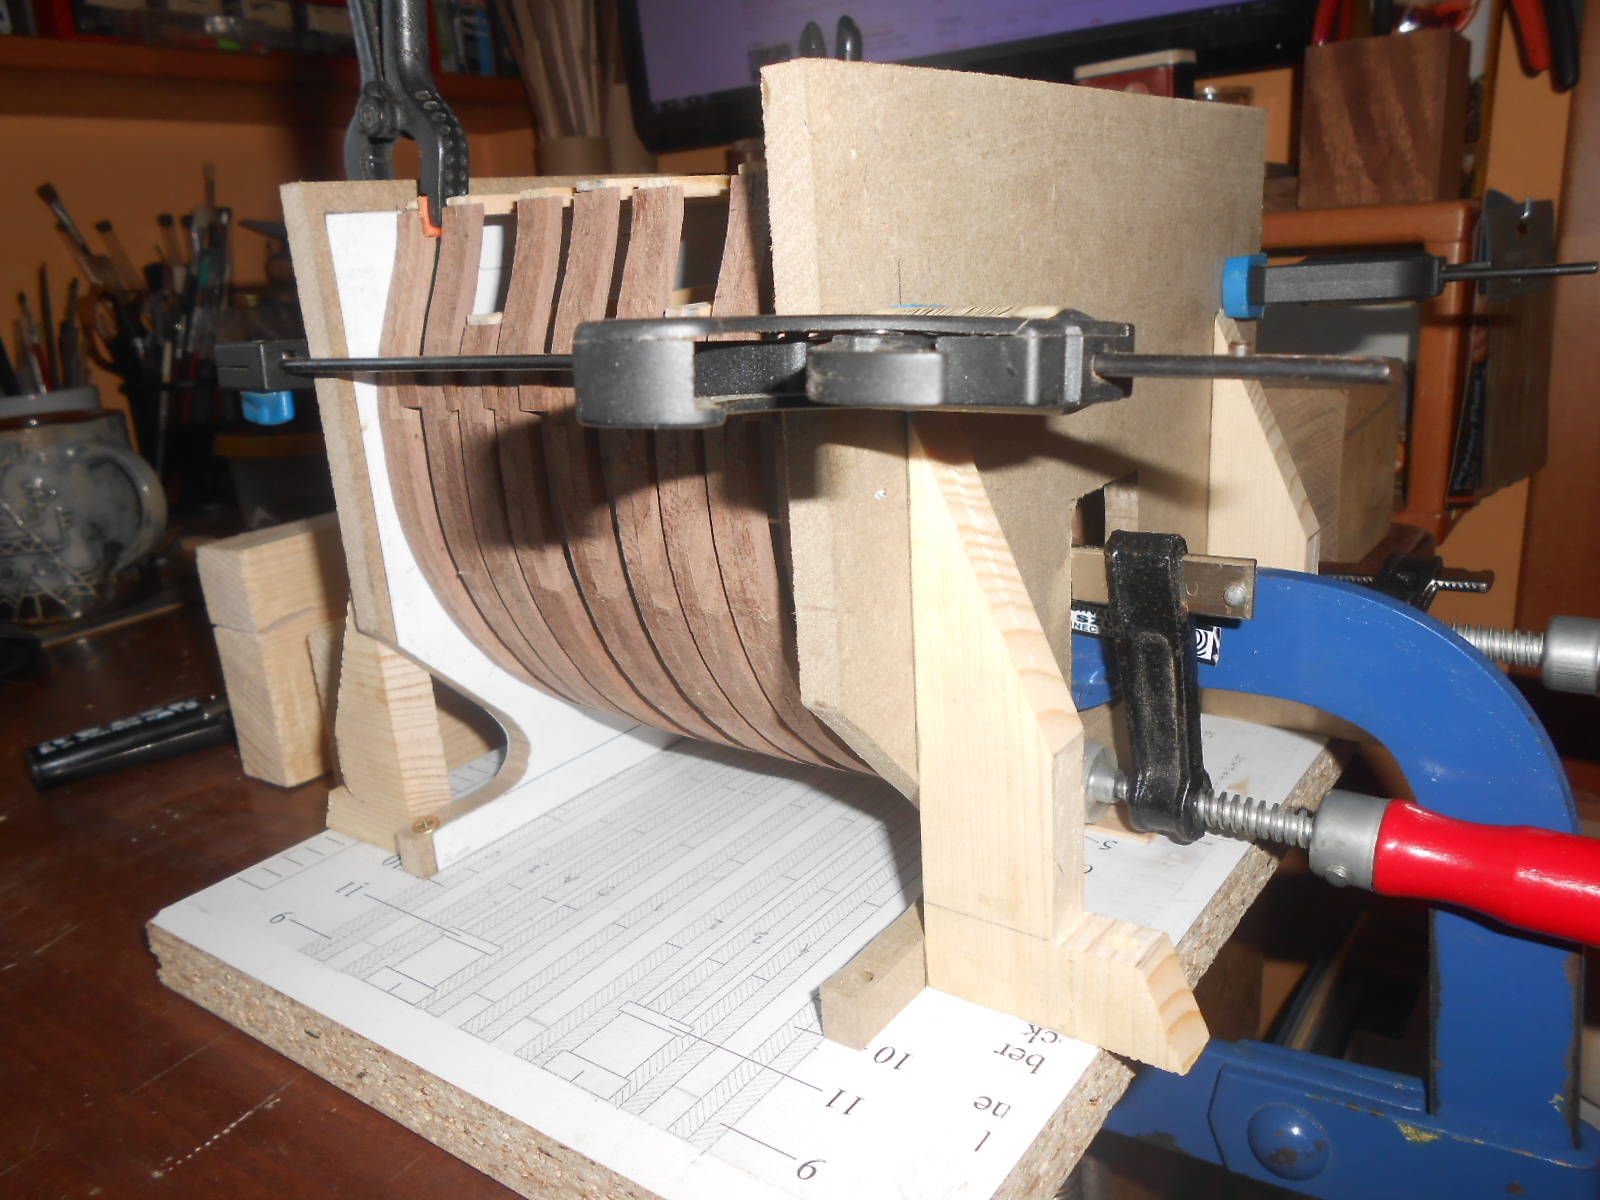
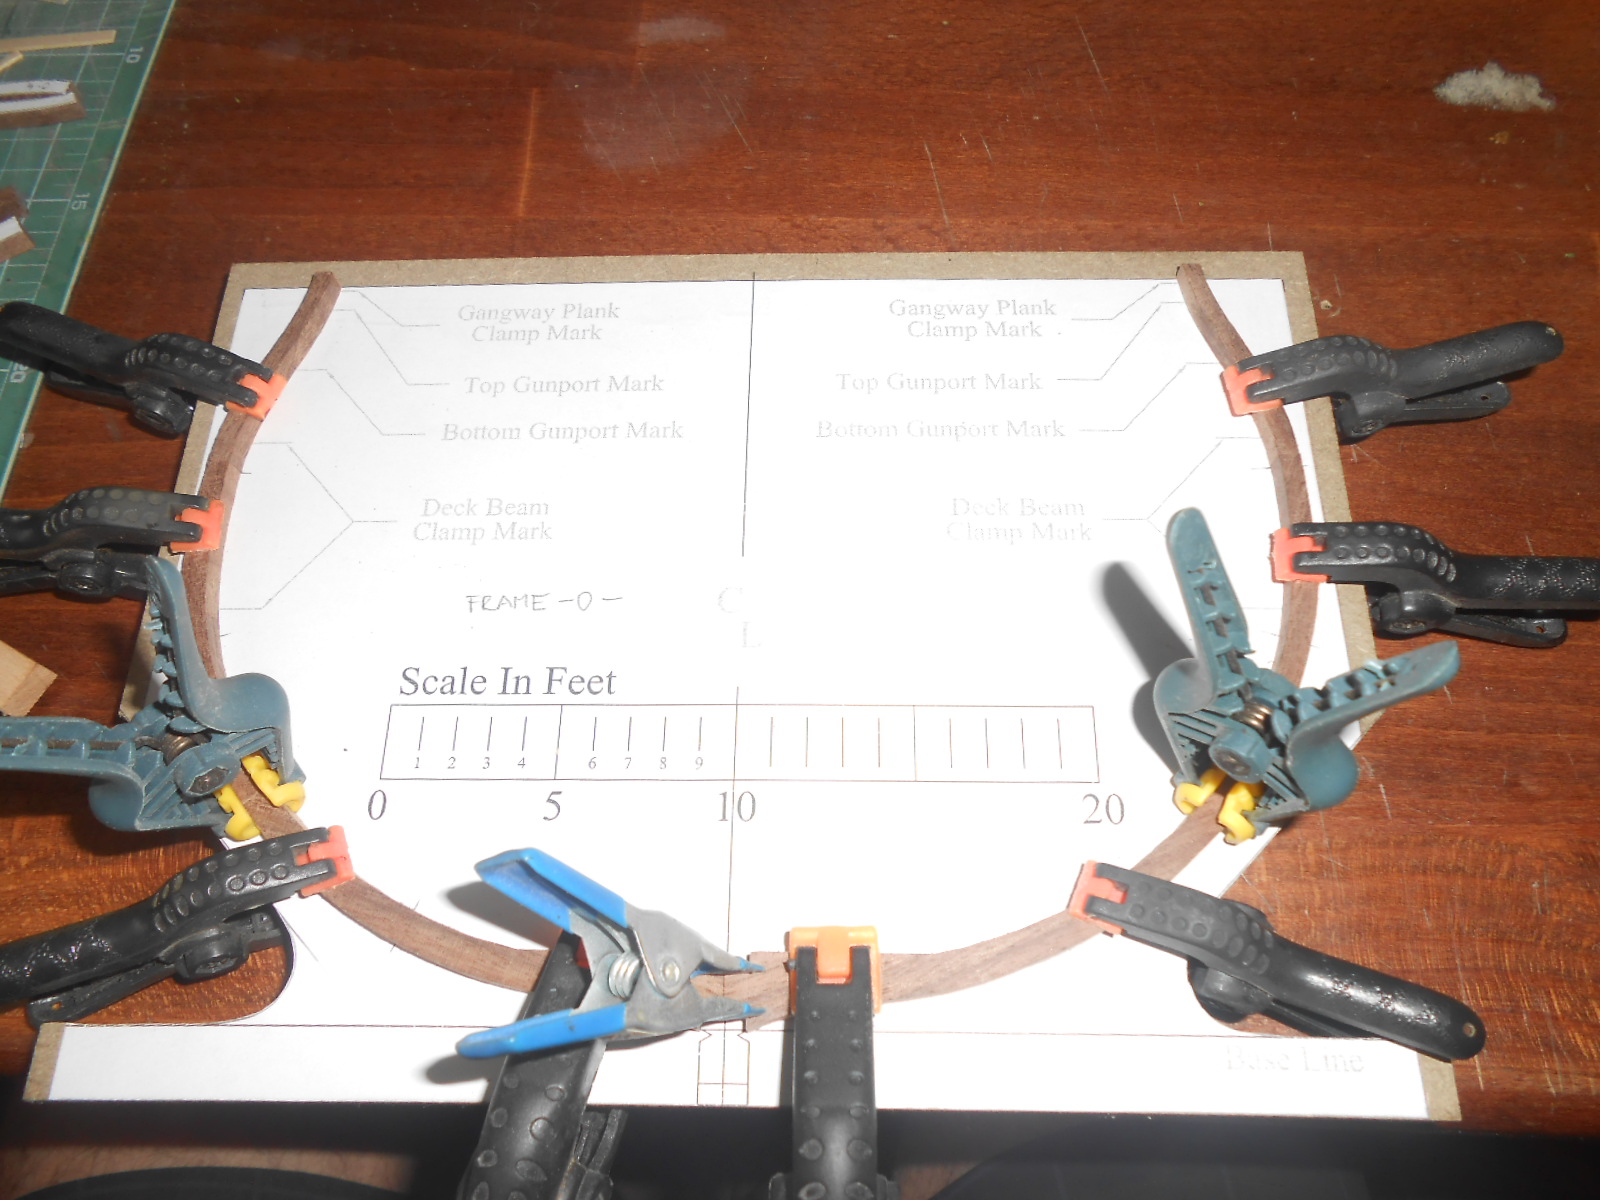
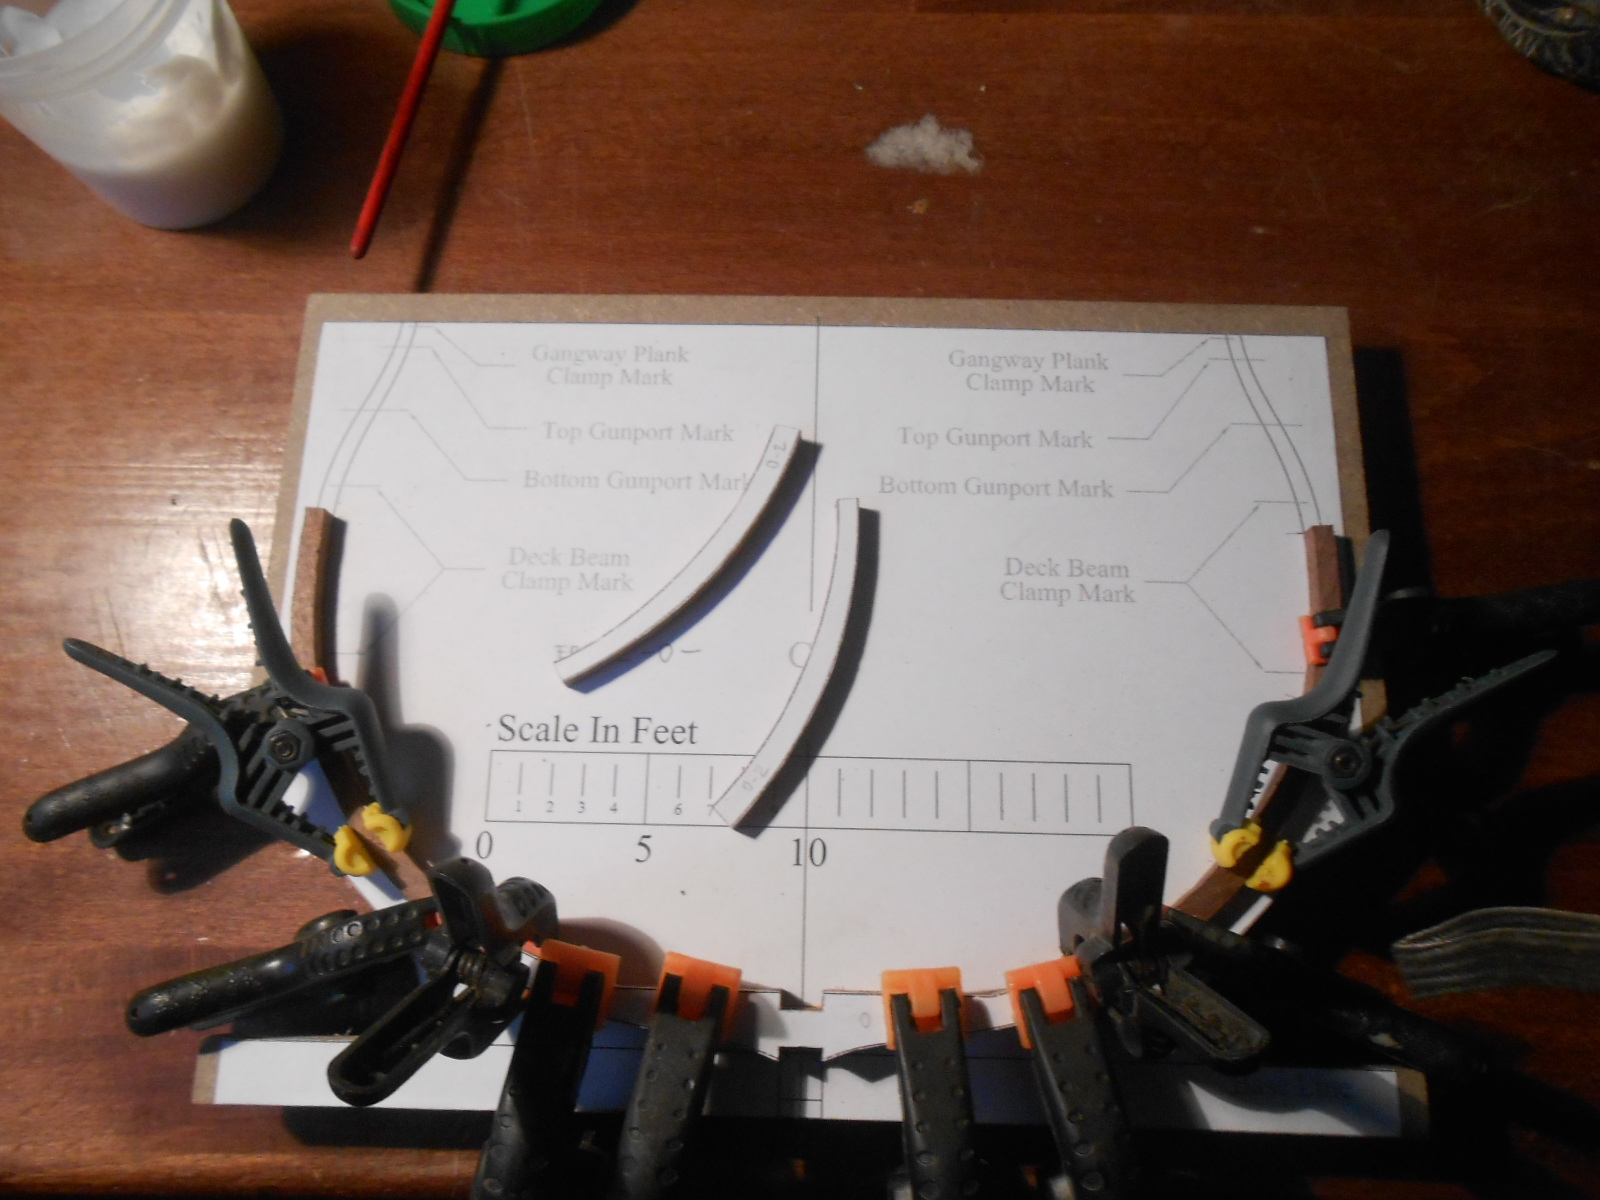
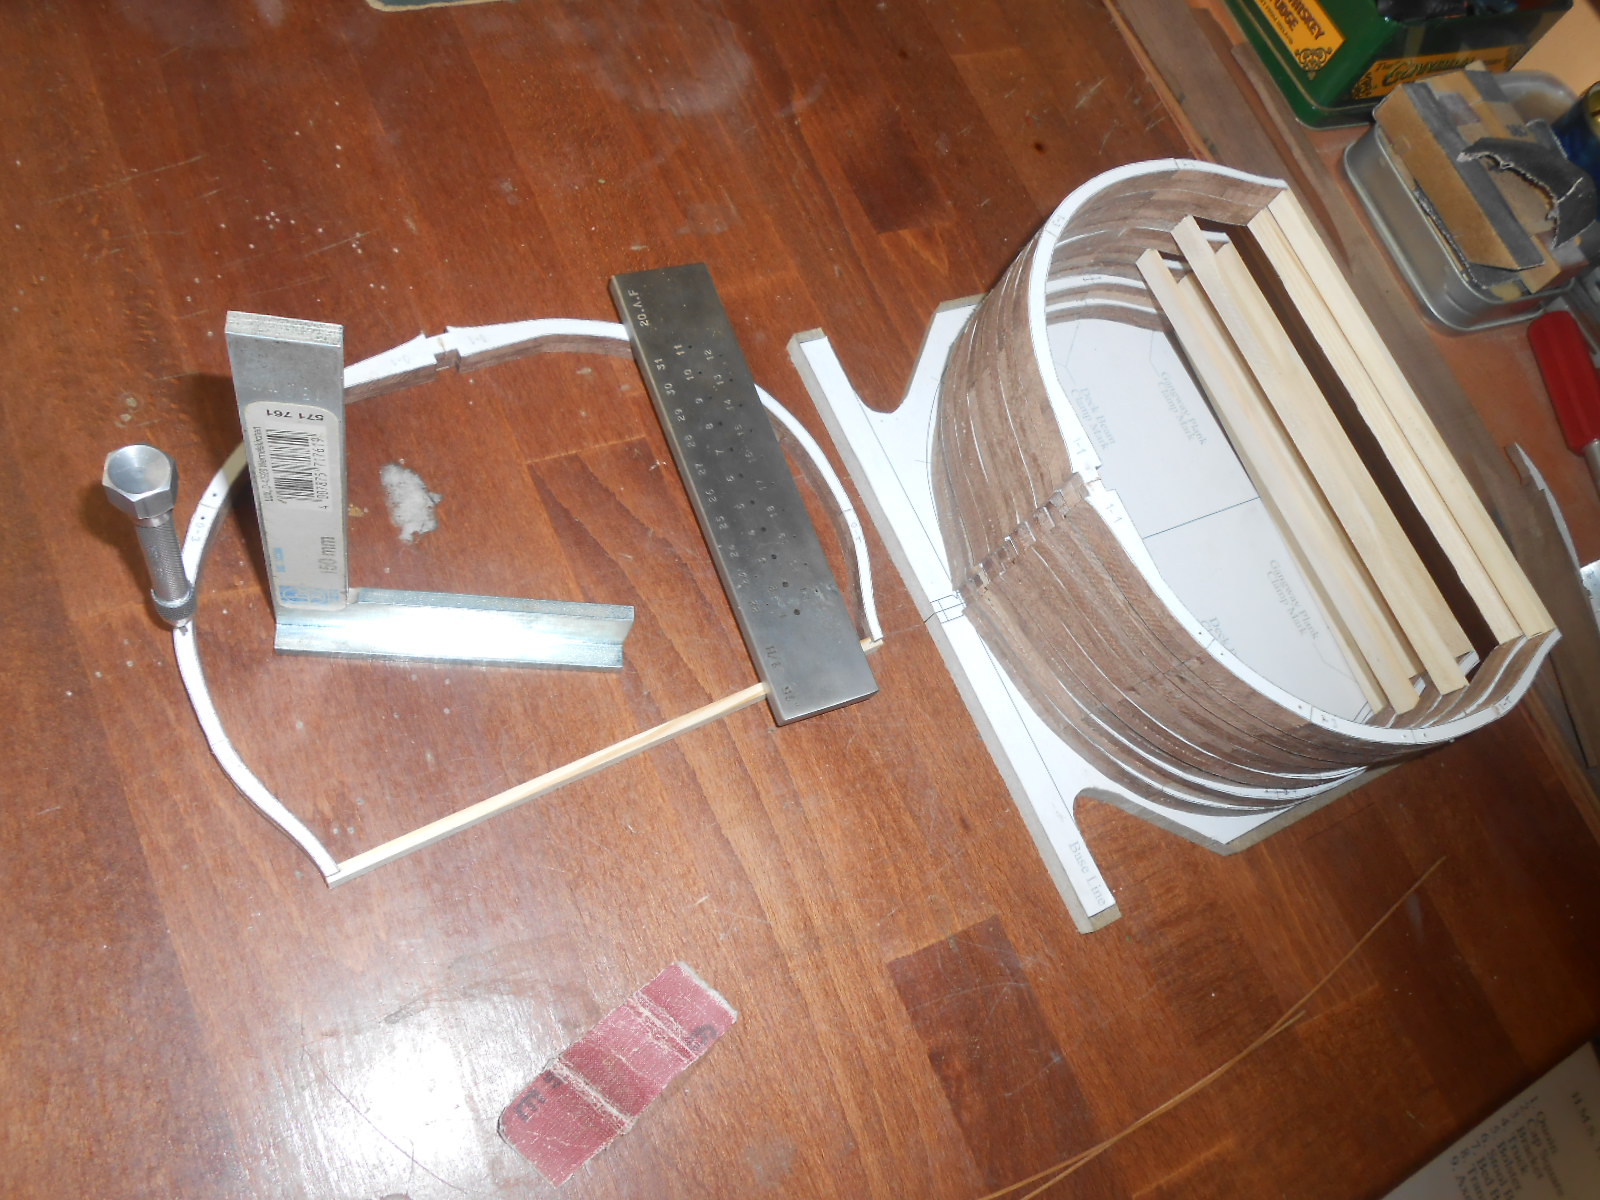
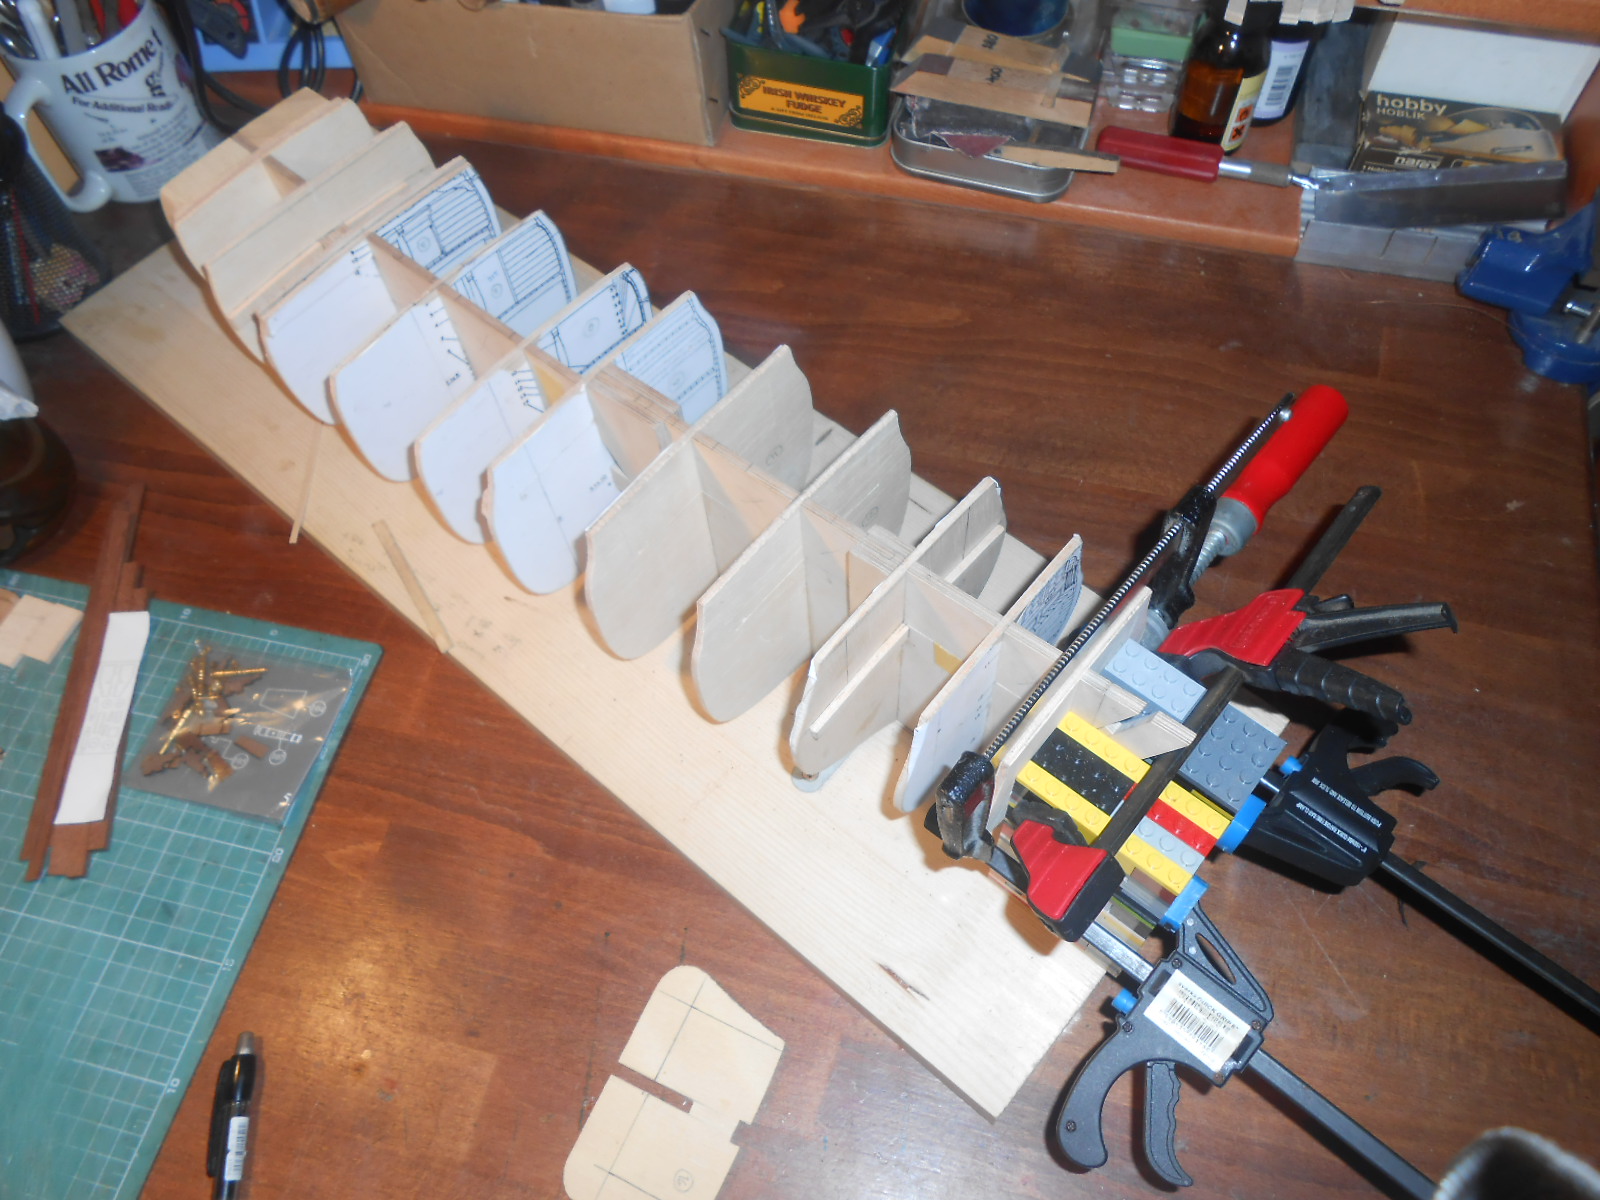
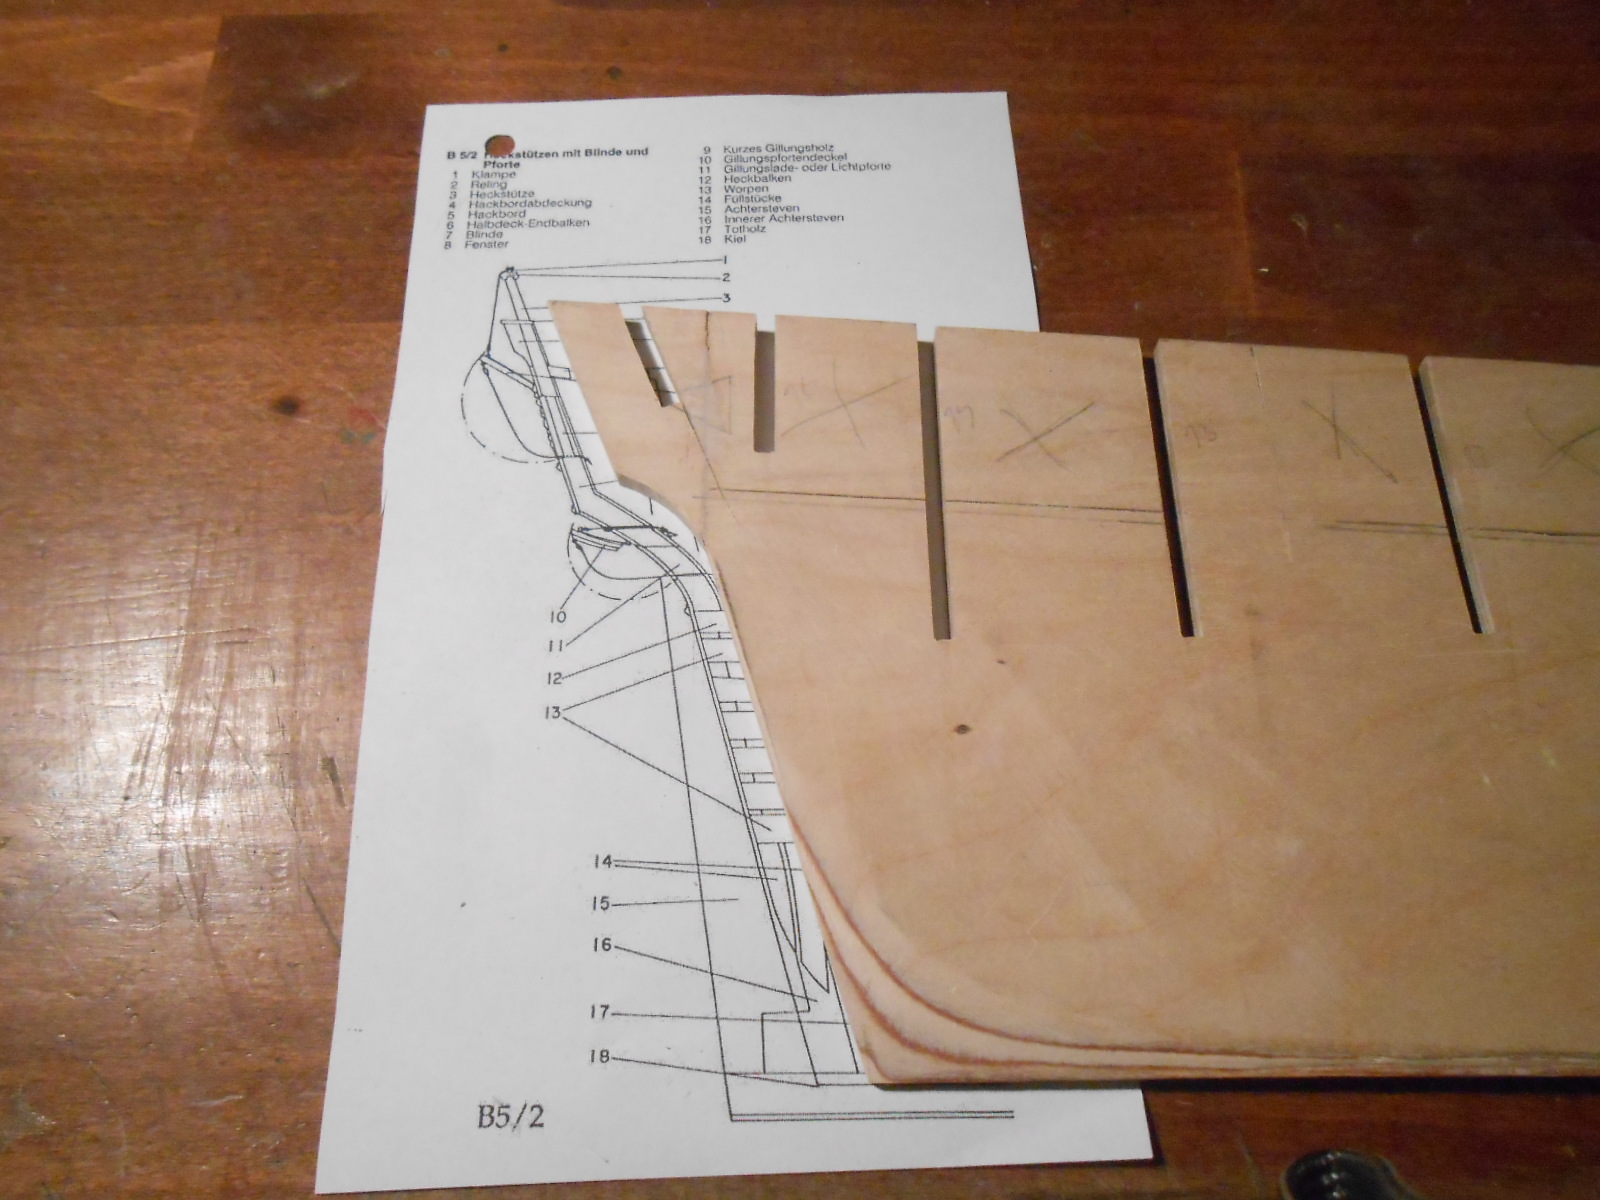
Hello,
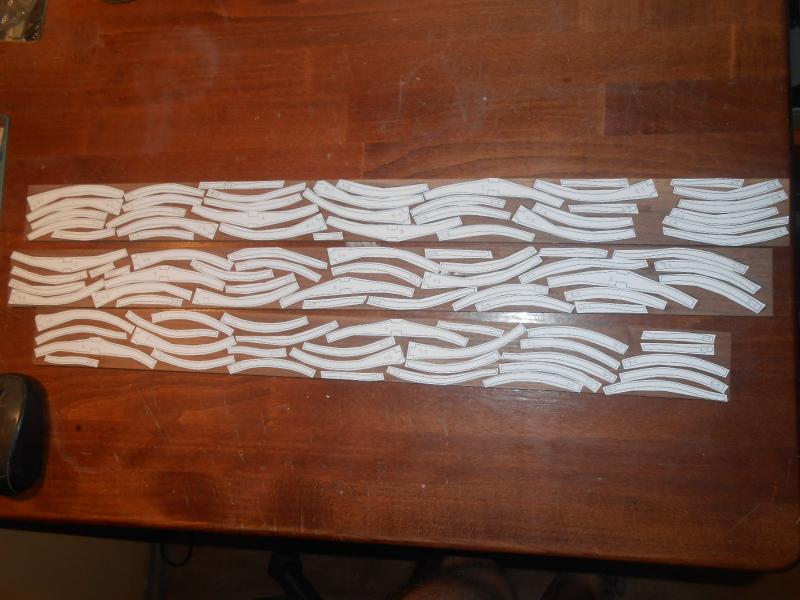
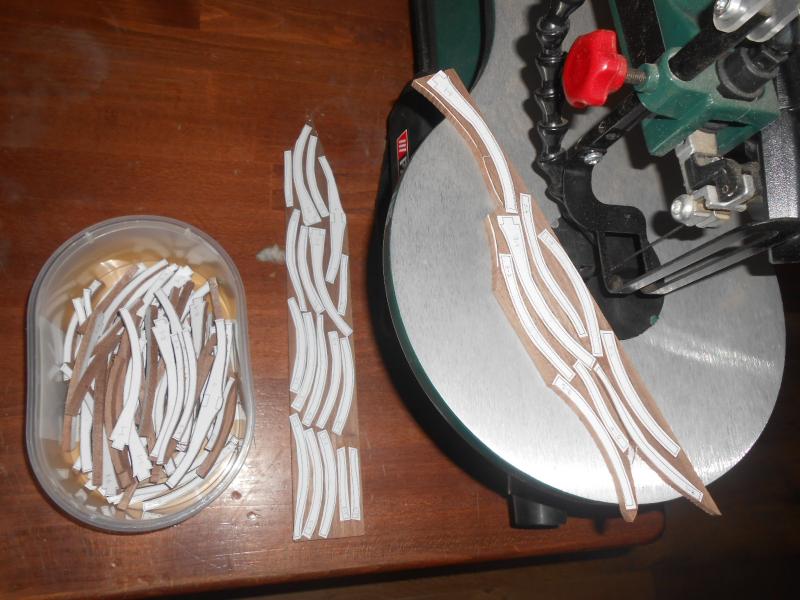
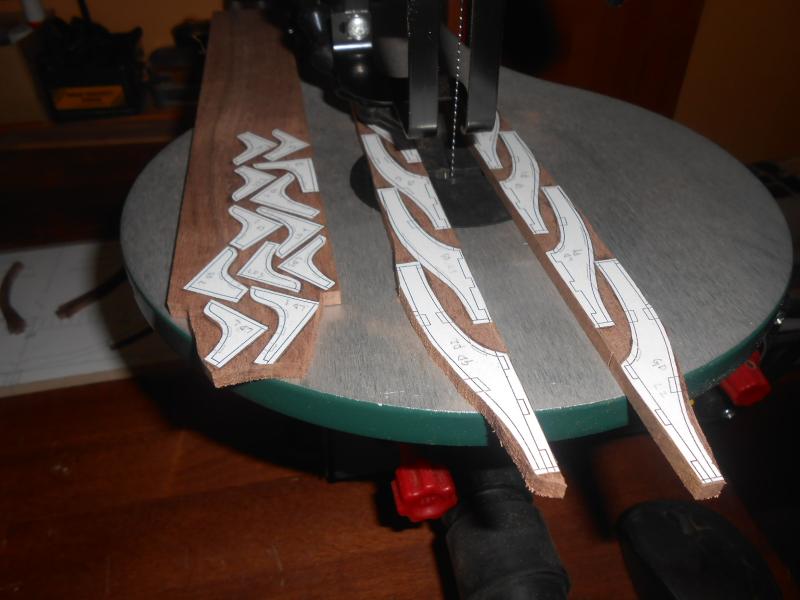
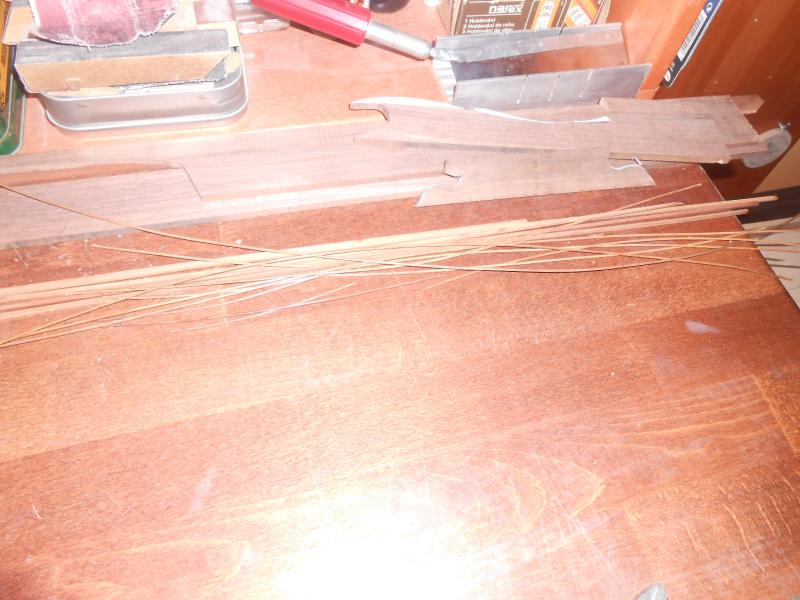
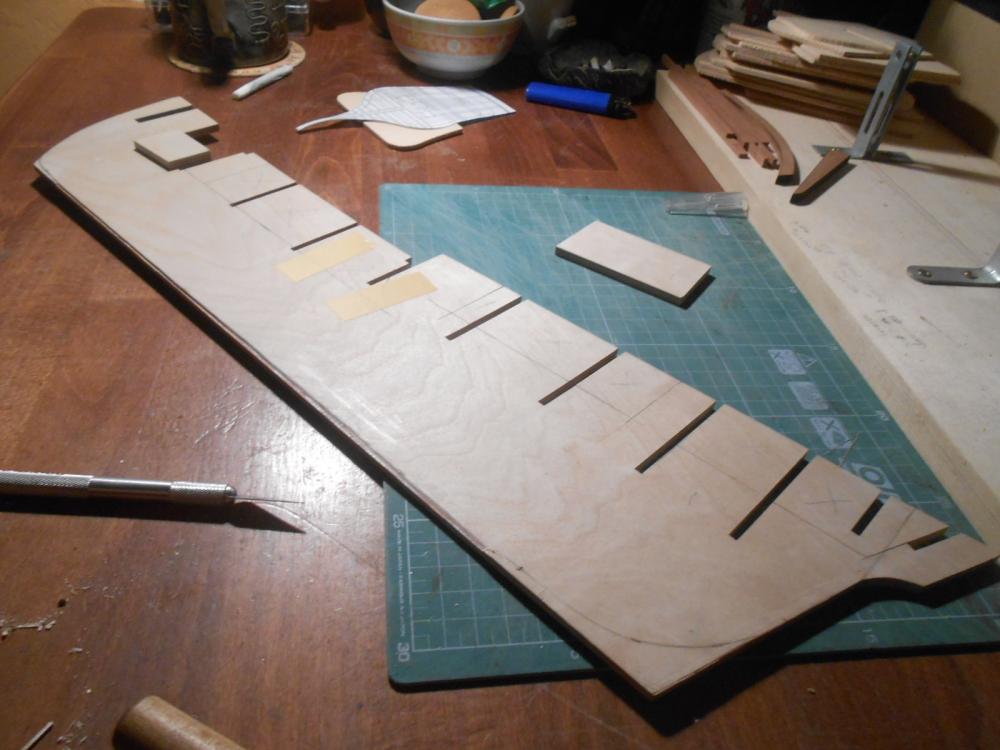
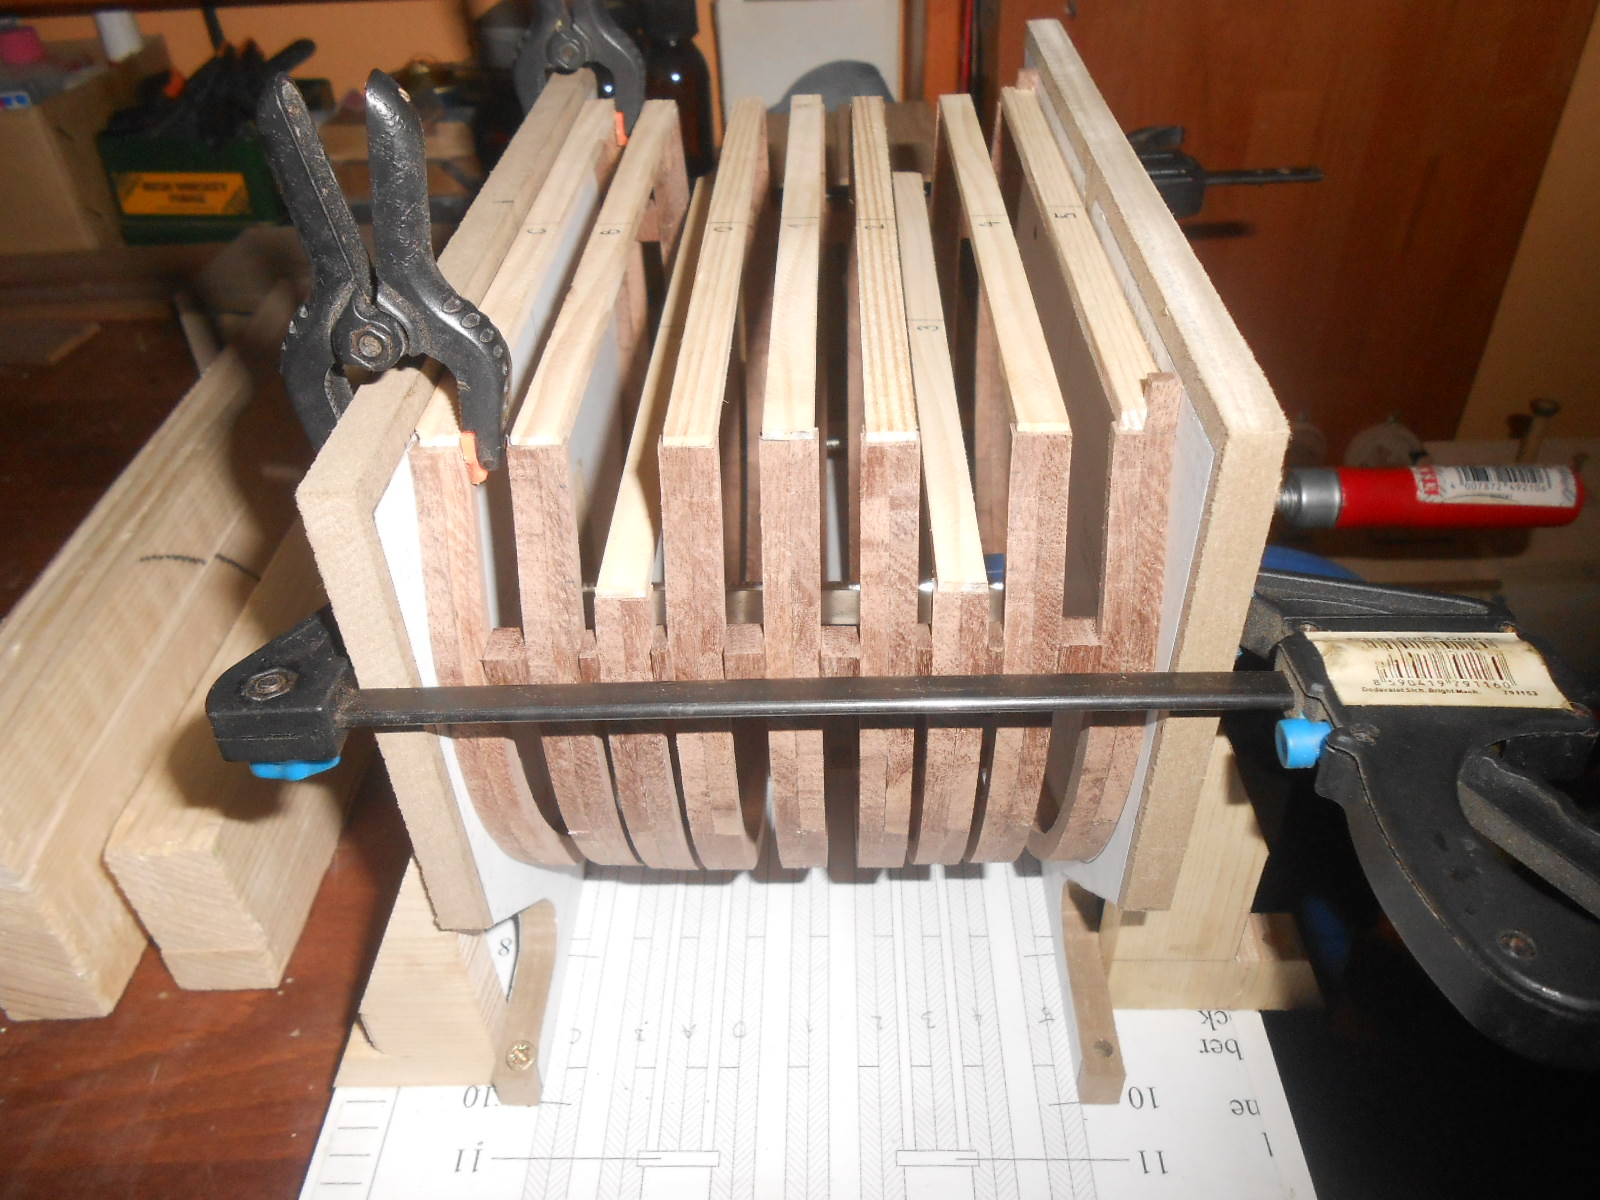
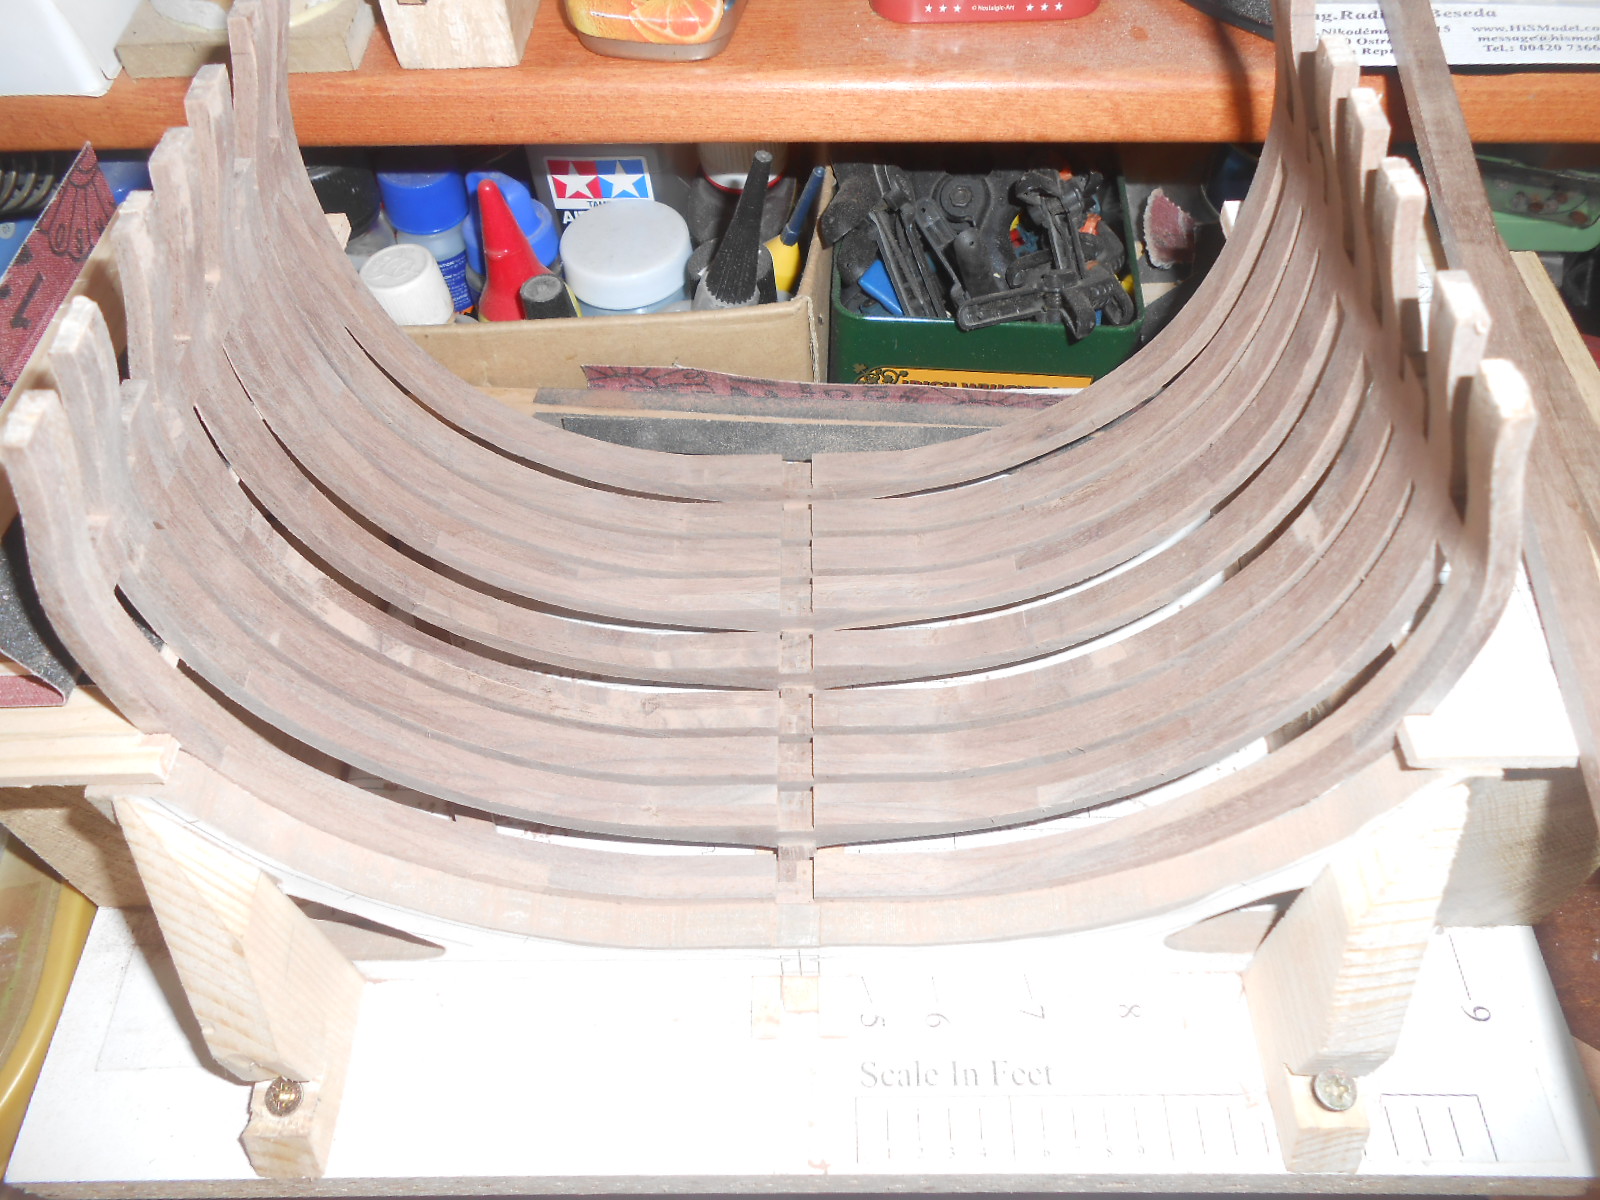
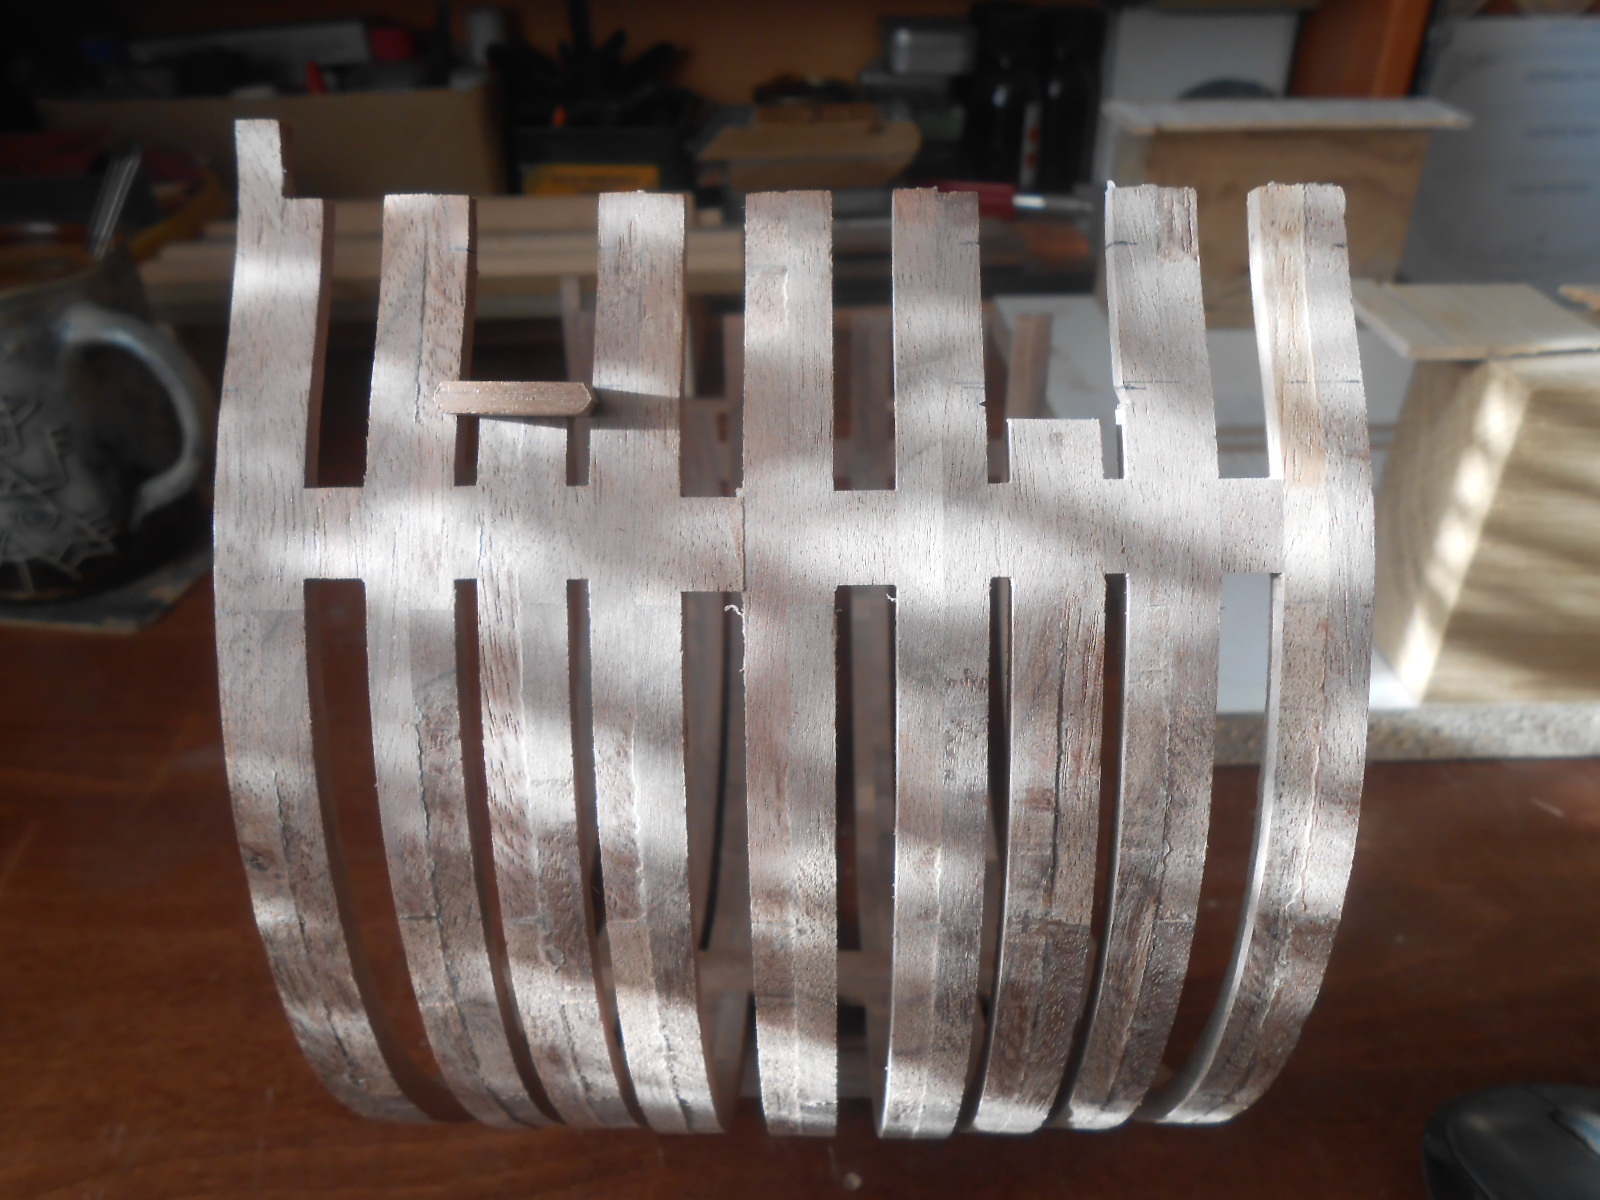
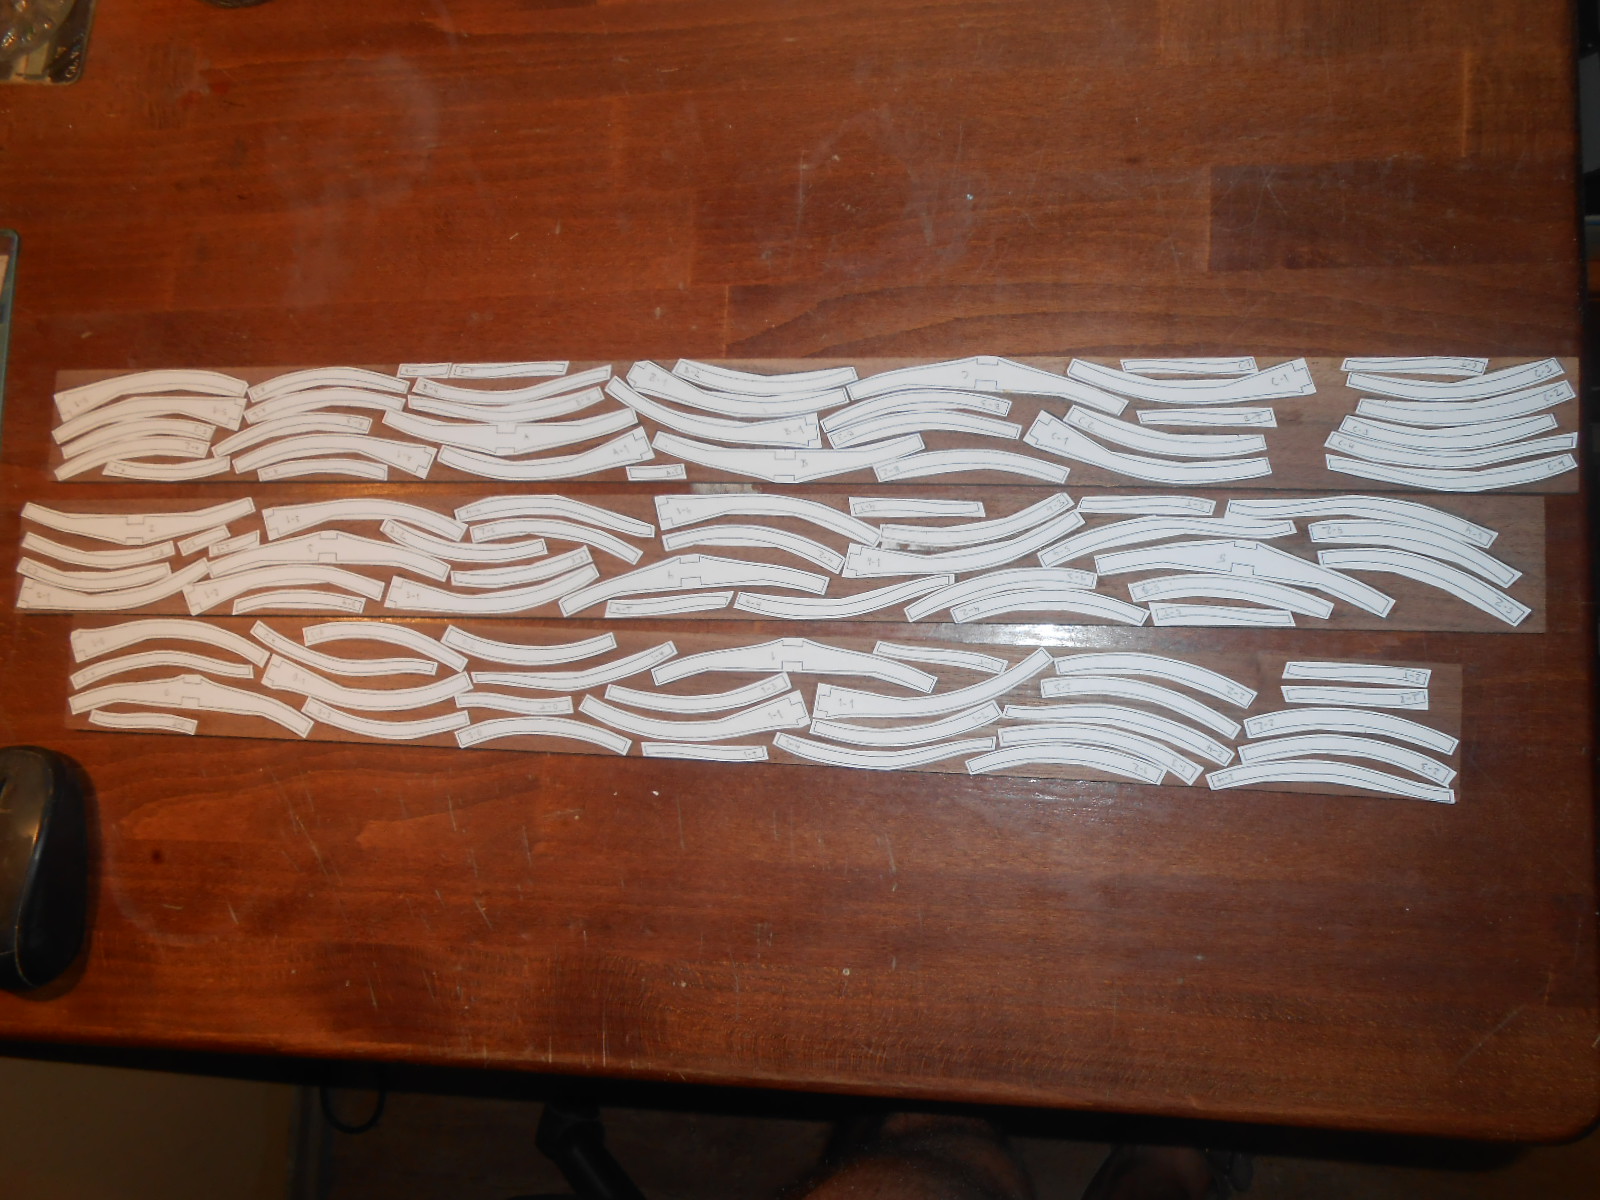
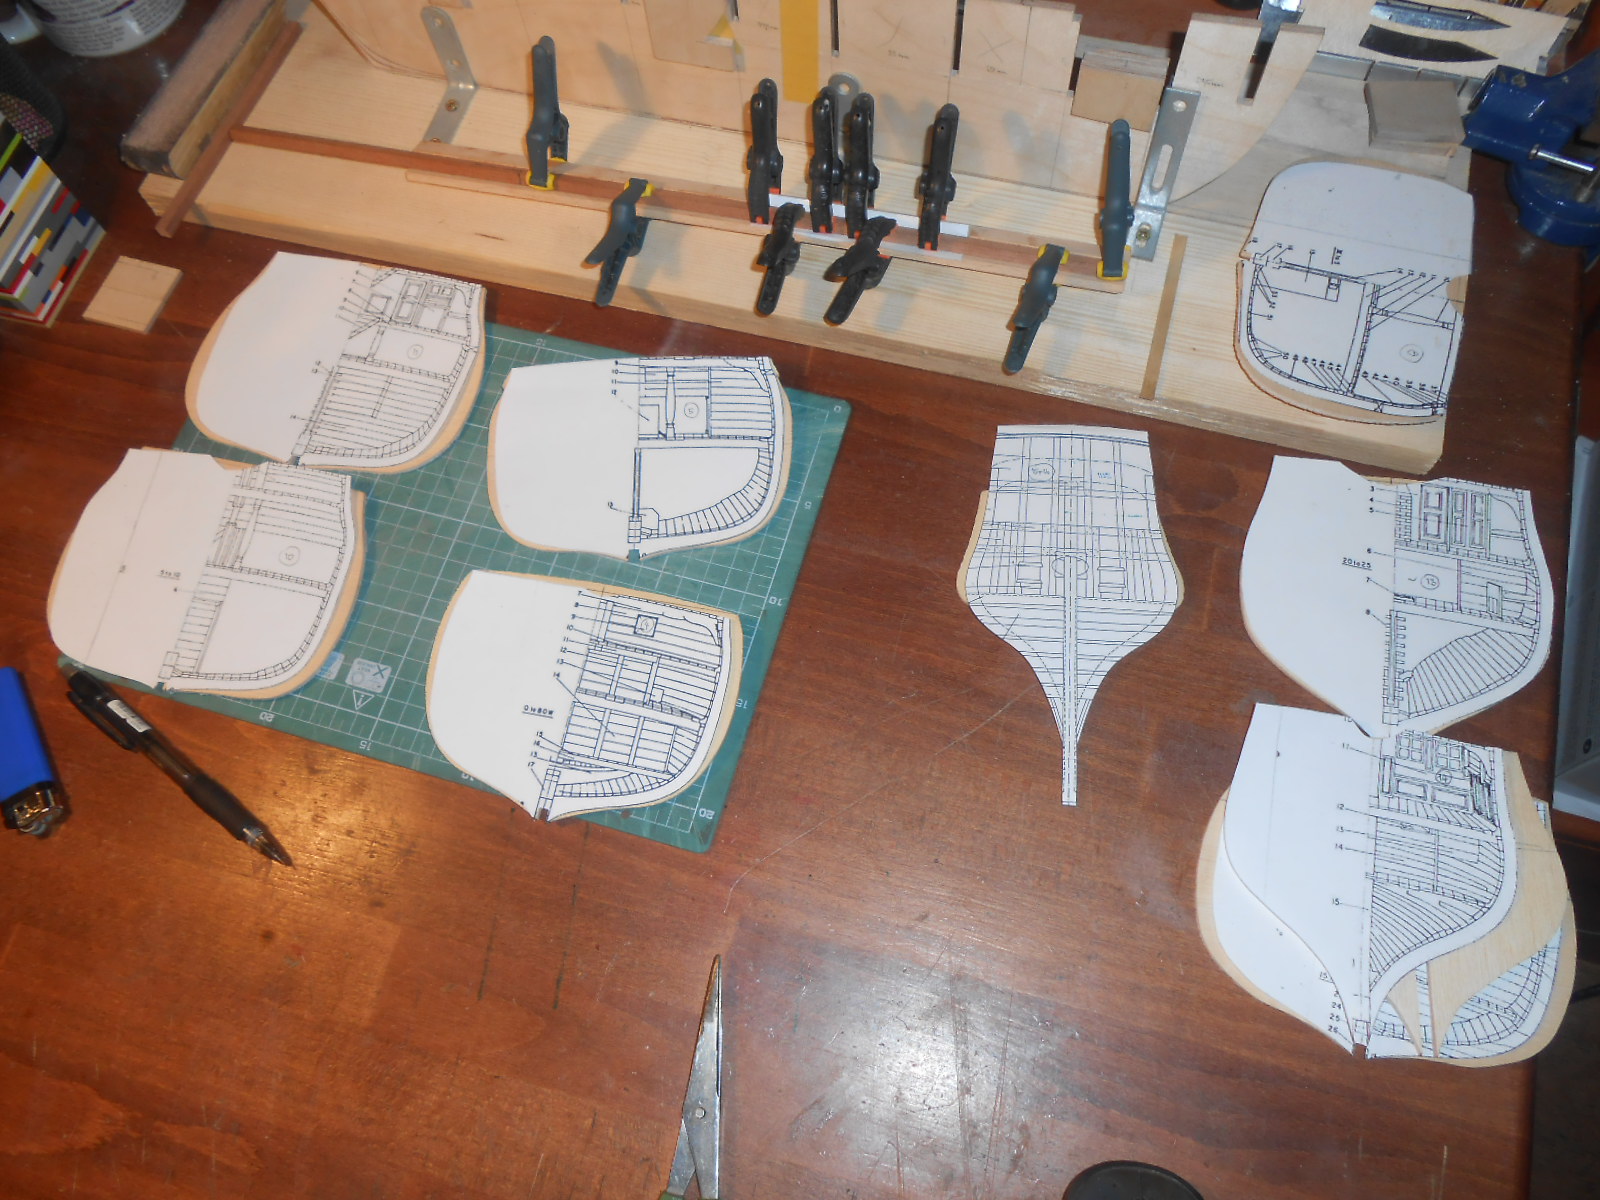
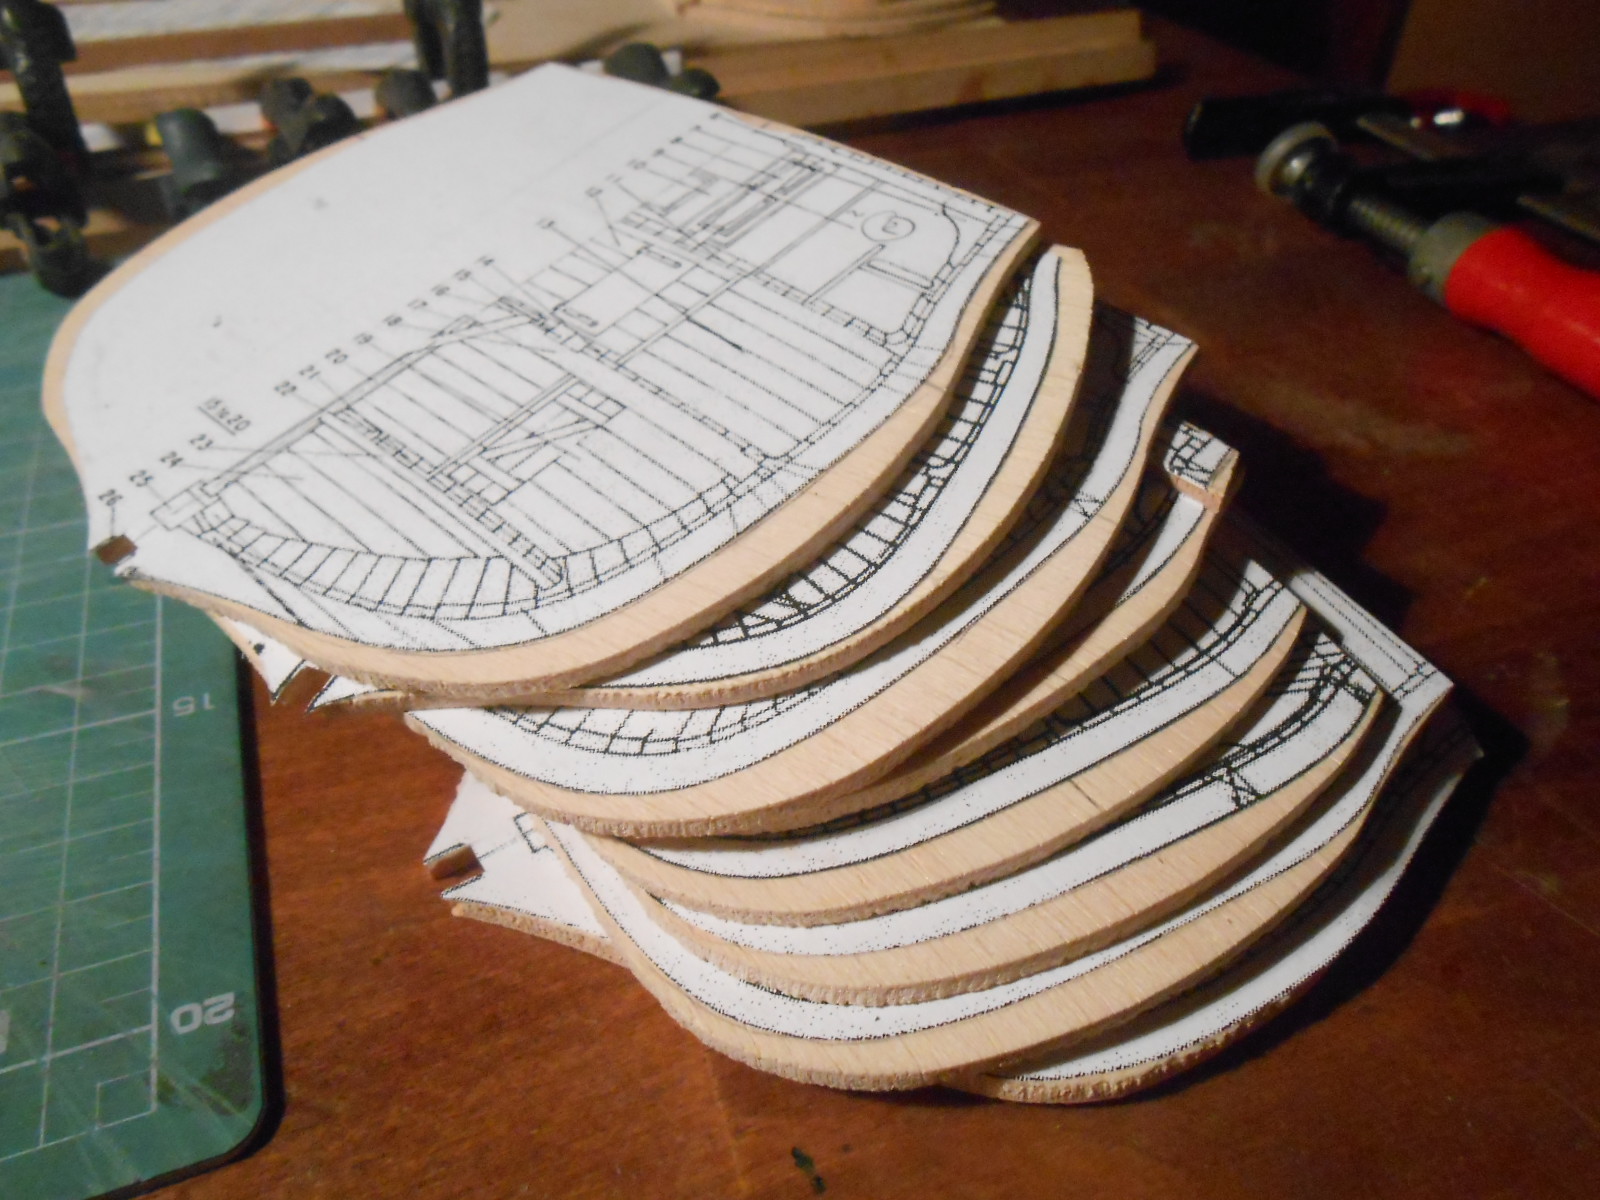
So I printed plans of frames, numbered them and glued them on 5mm thick wallnut sheet. here was important to glue the pieces straight and correct - as I later recognized and must redo 5 pieces, but with 9x11 pieces it was ok.
And then made a little dust in my living room with scrollsaw. I enjoyed this work and with my proxxon saw blades it was quickly.
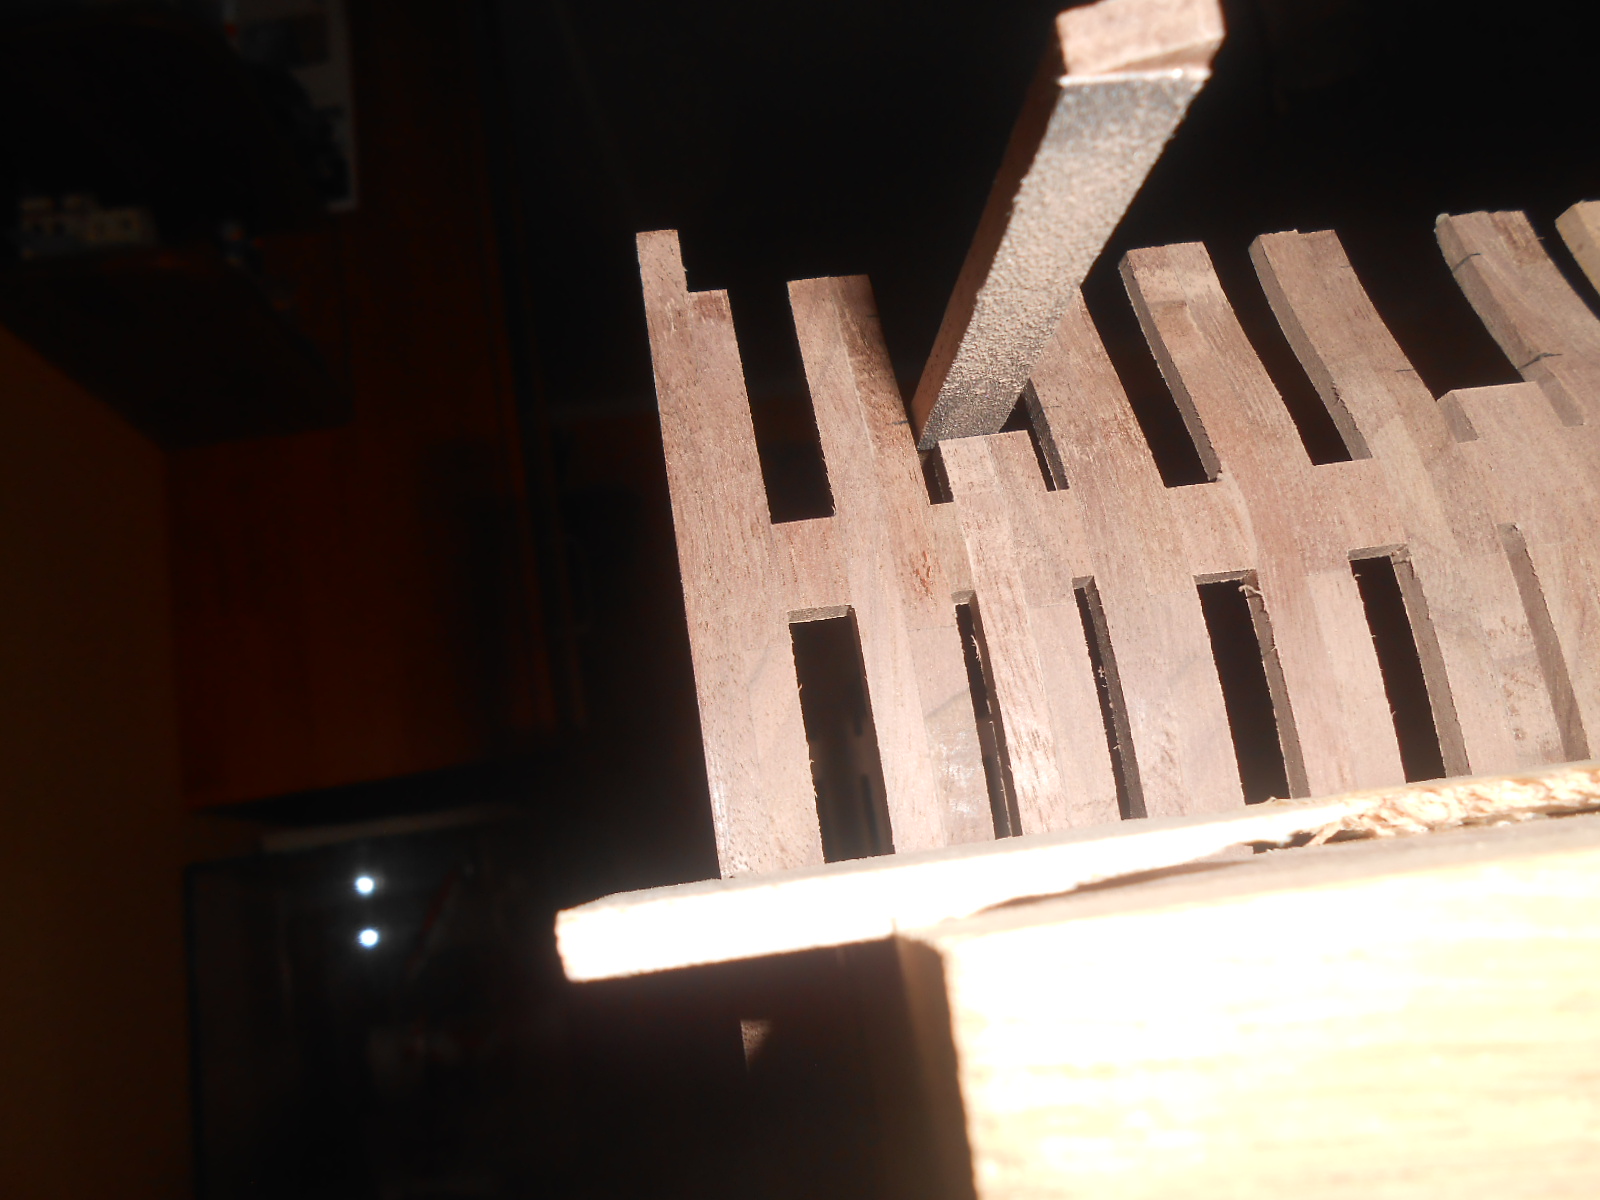
I clean up ends of every piece , for this I has no machine, but for this was enough chisel and sandpaper glued on small rectangular wooden stick.
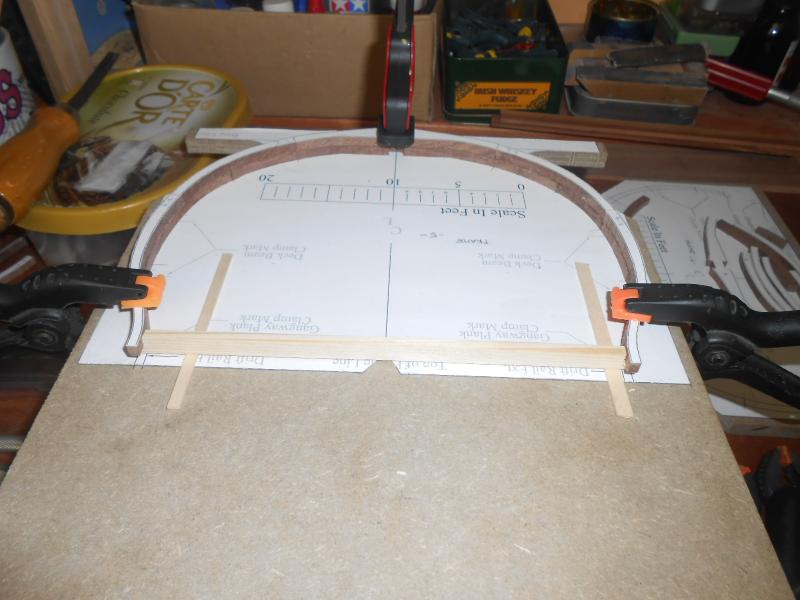
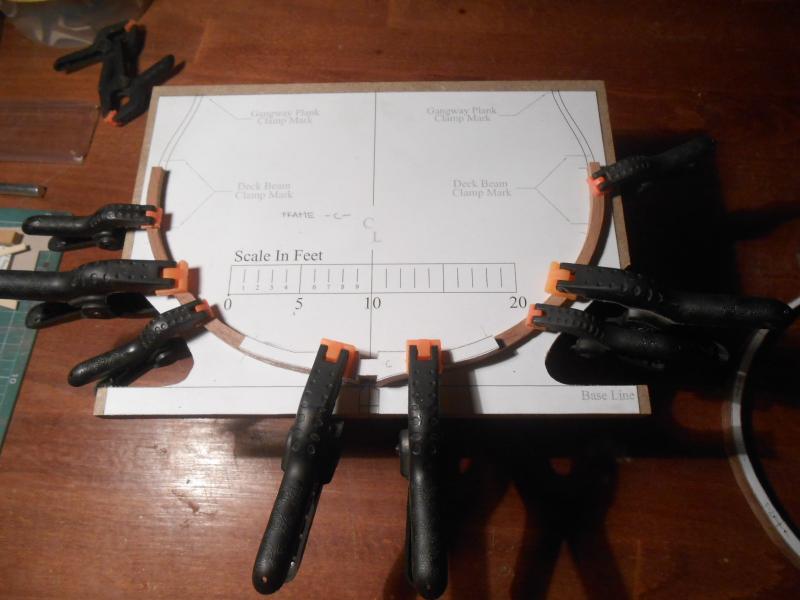
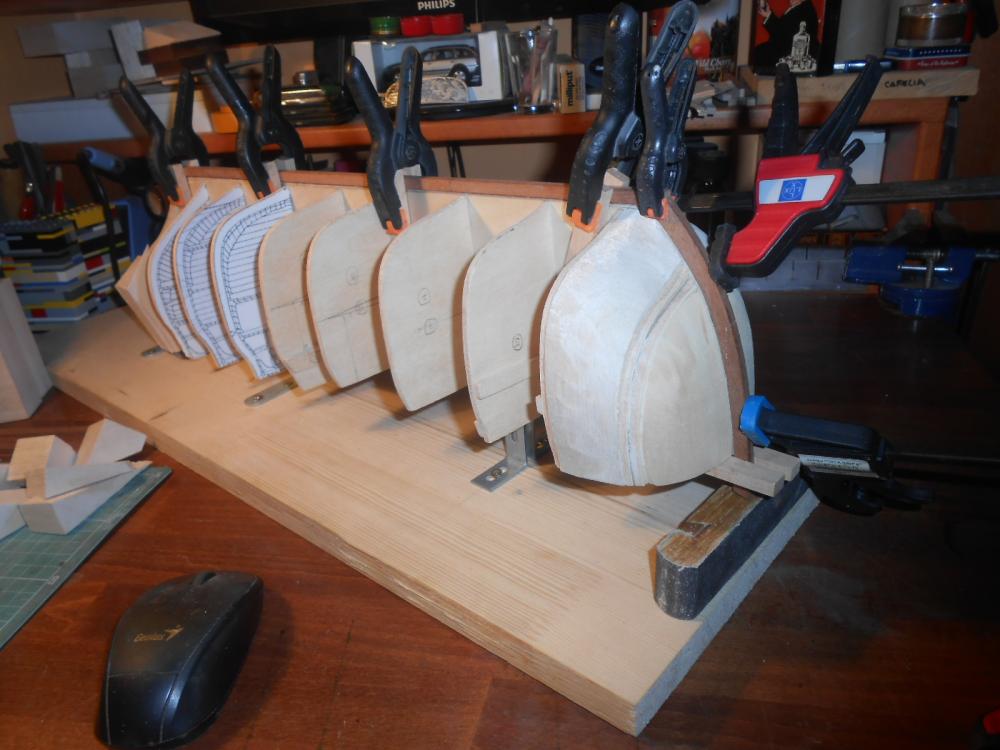
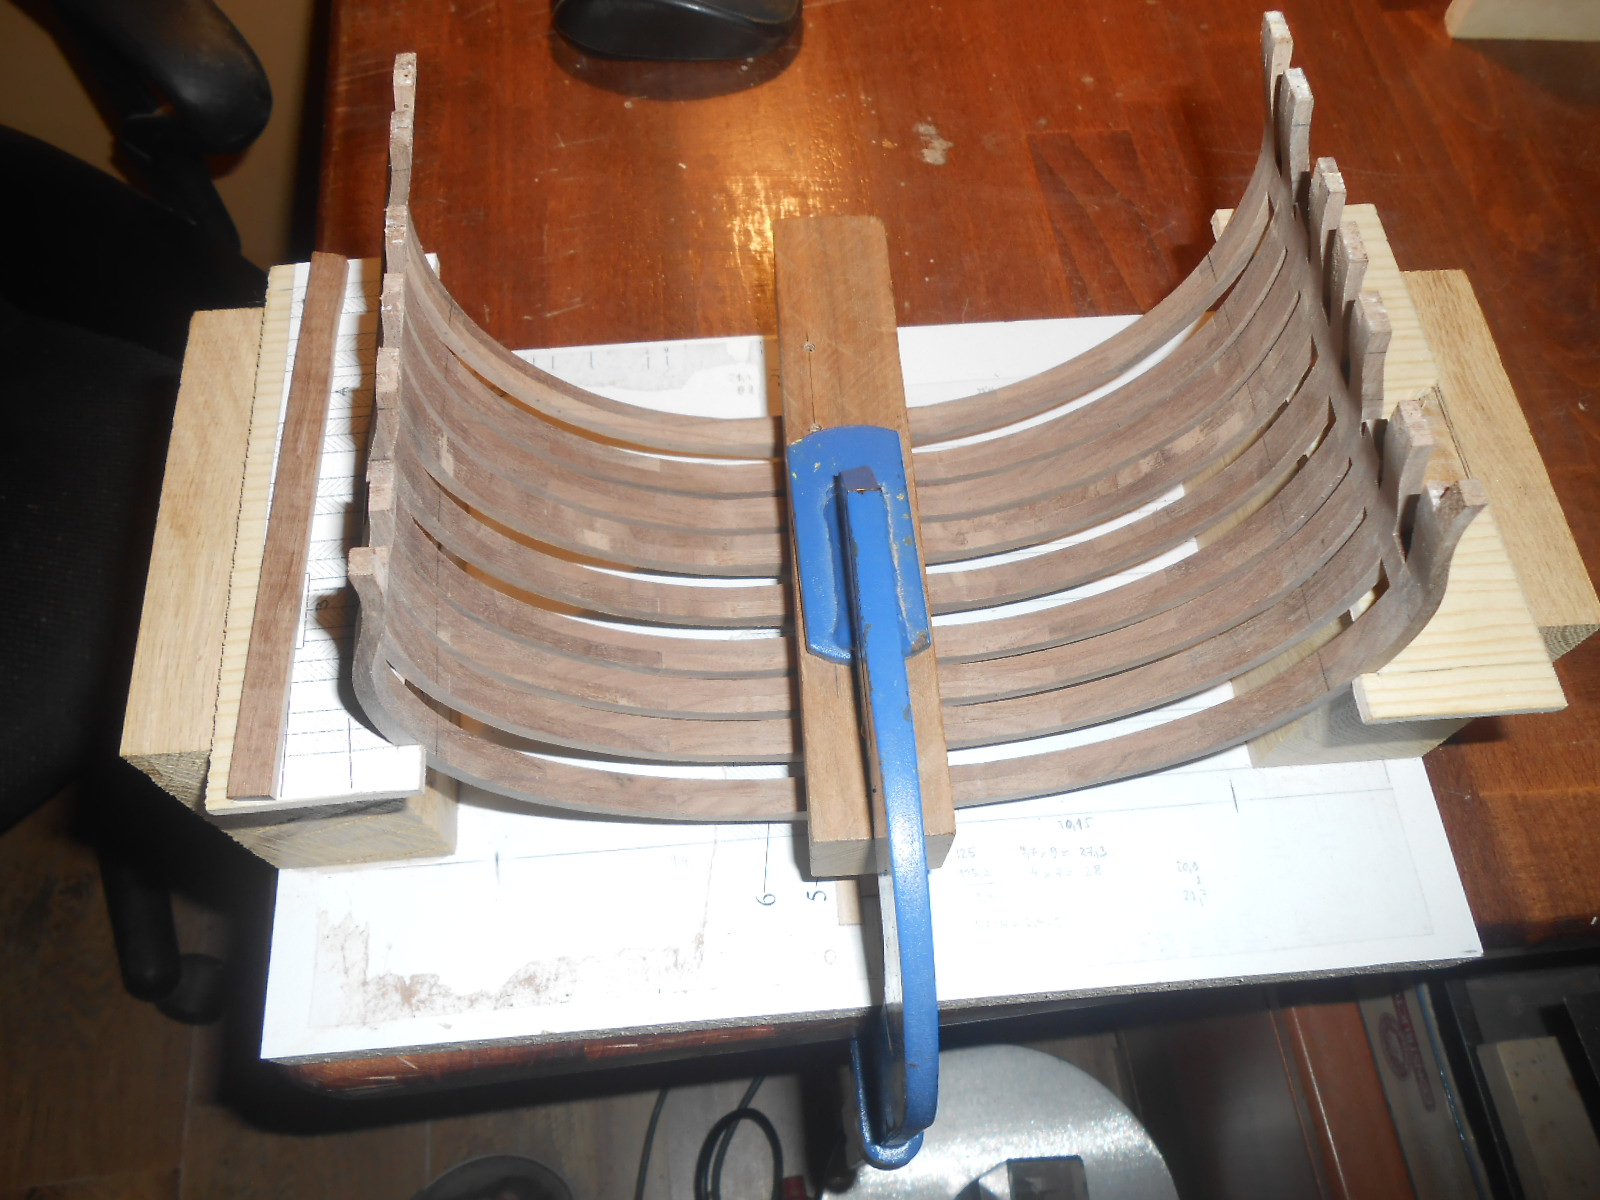
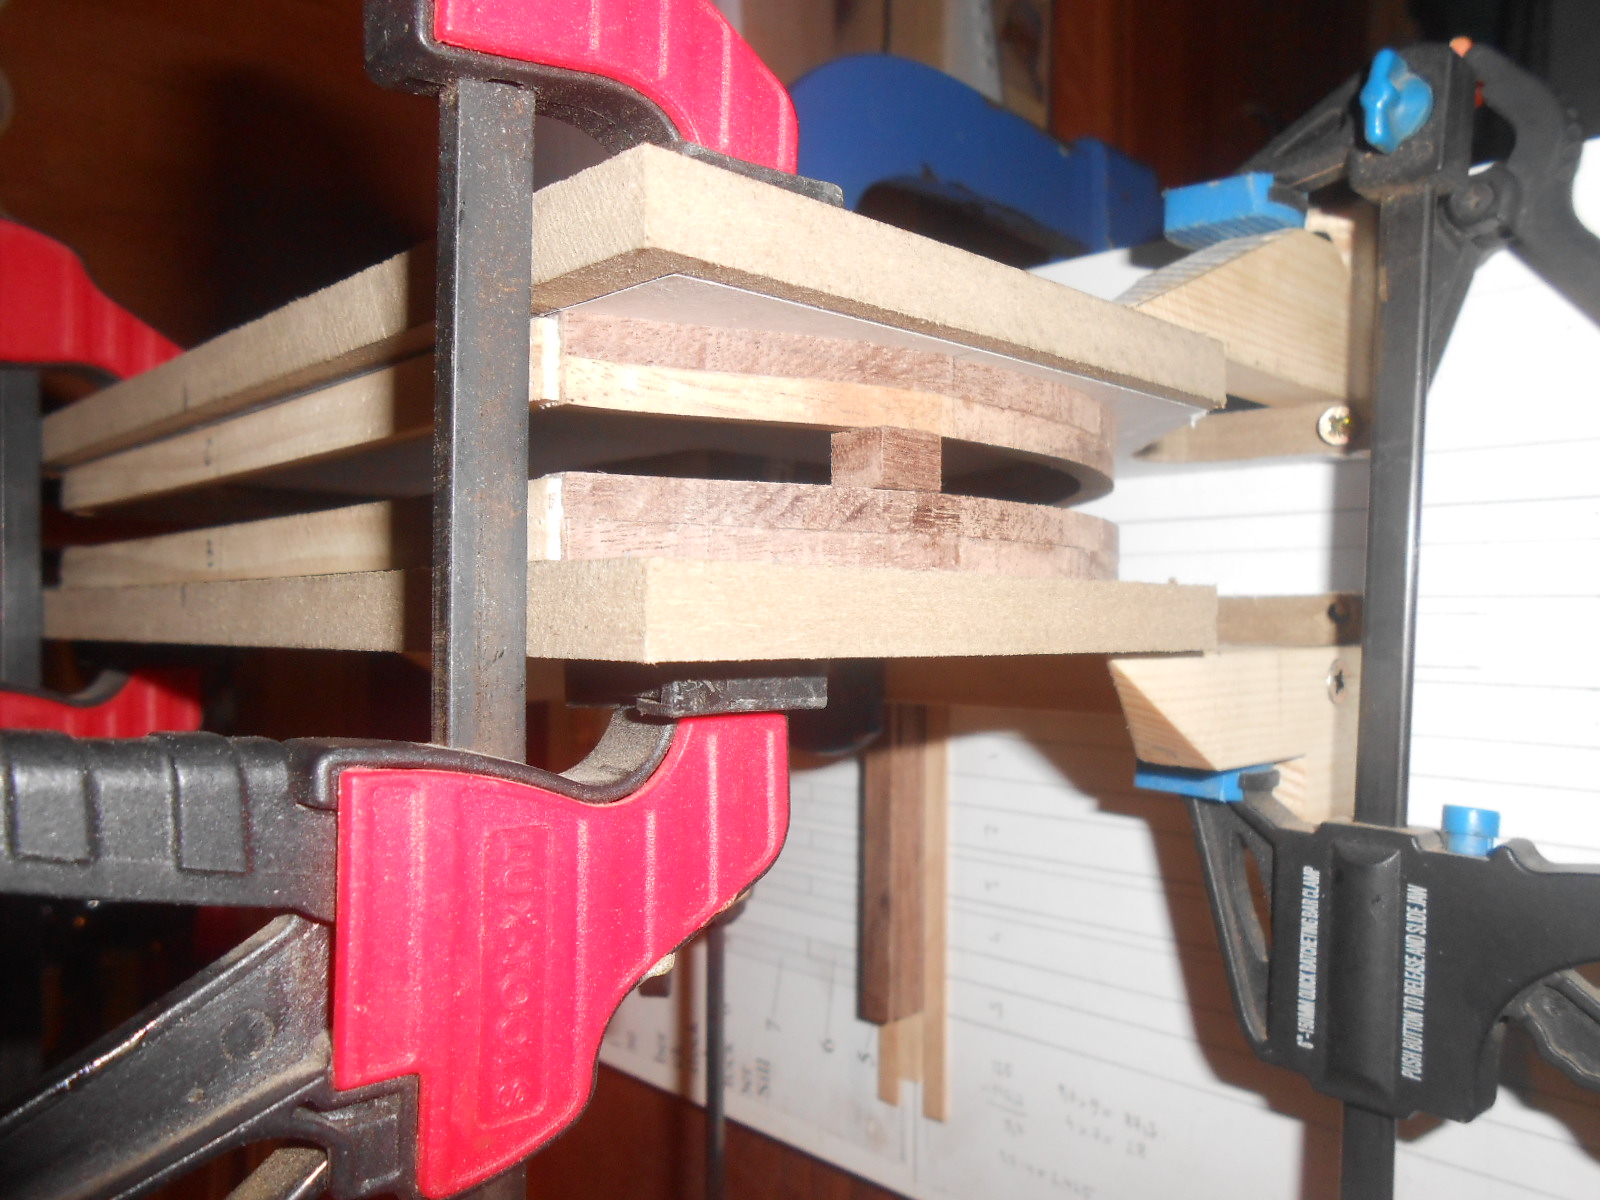
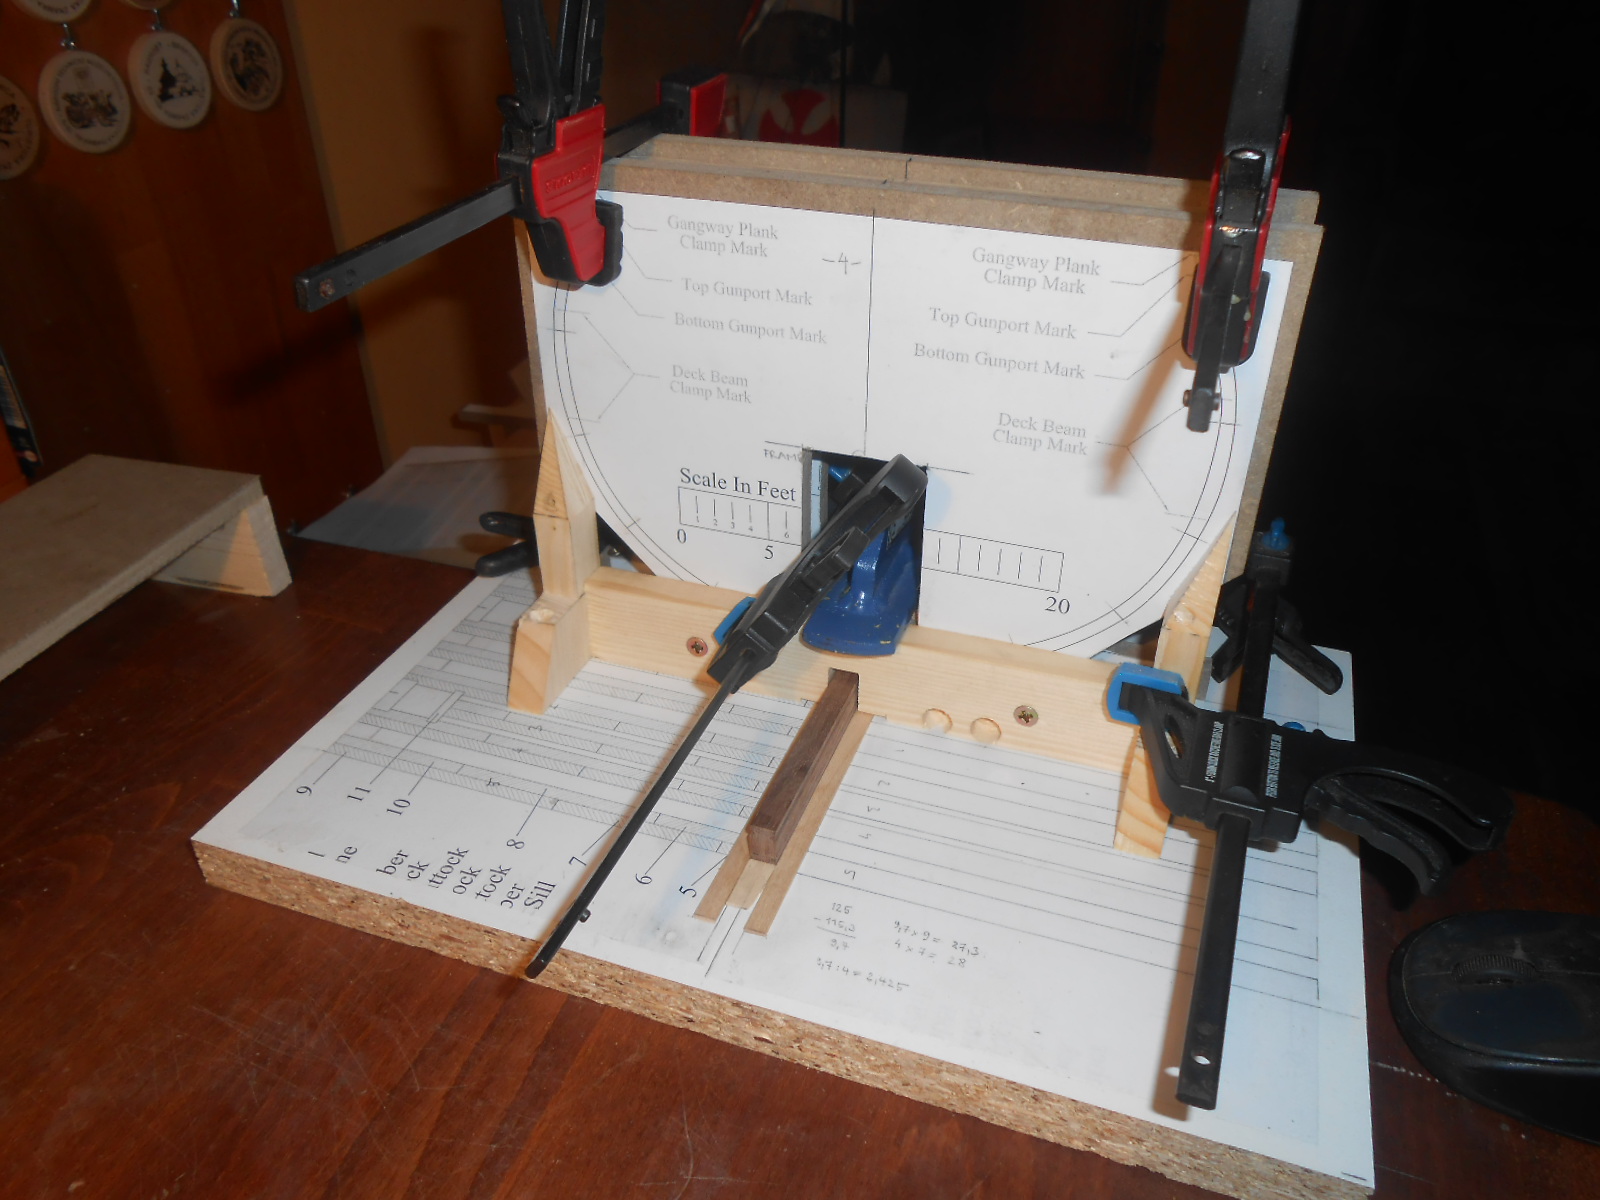
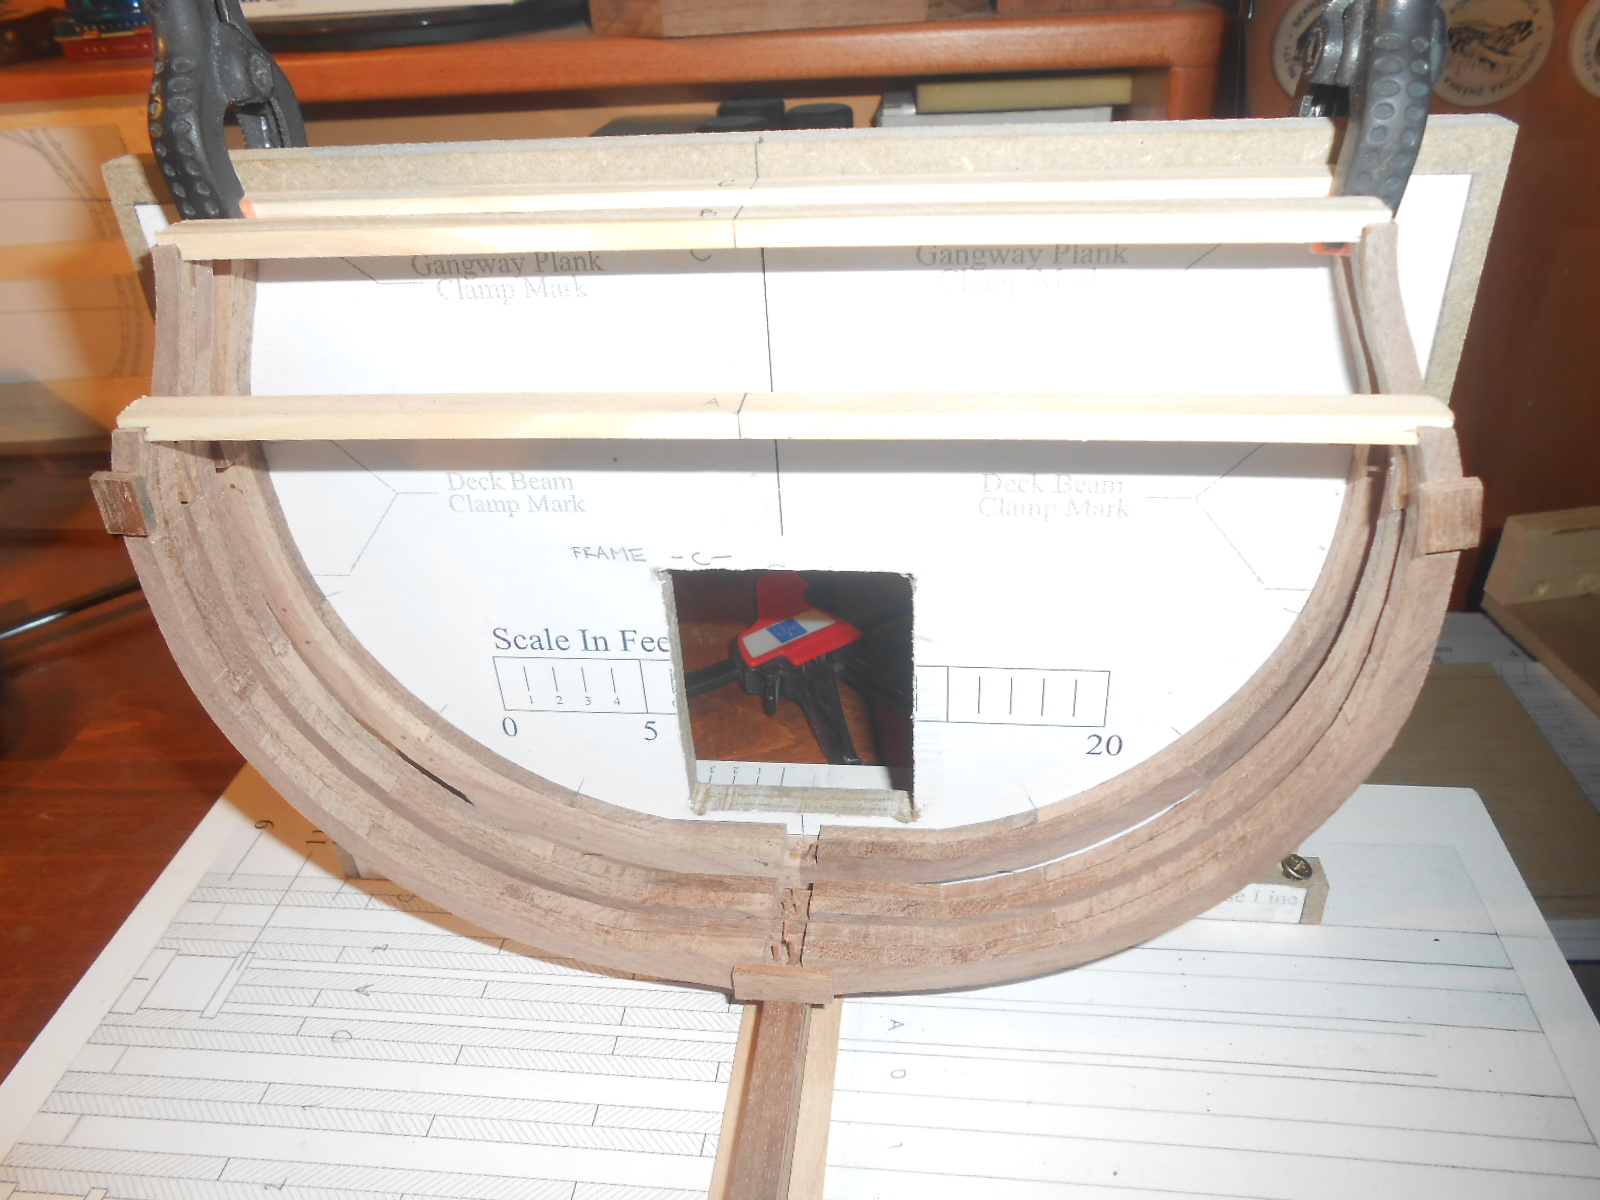
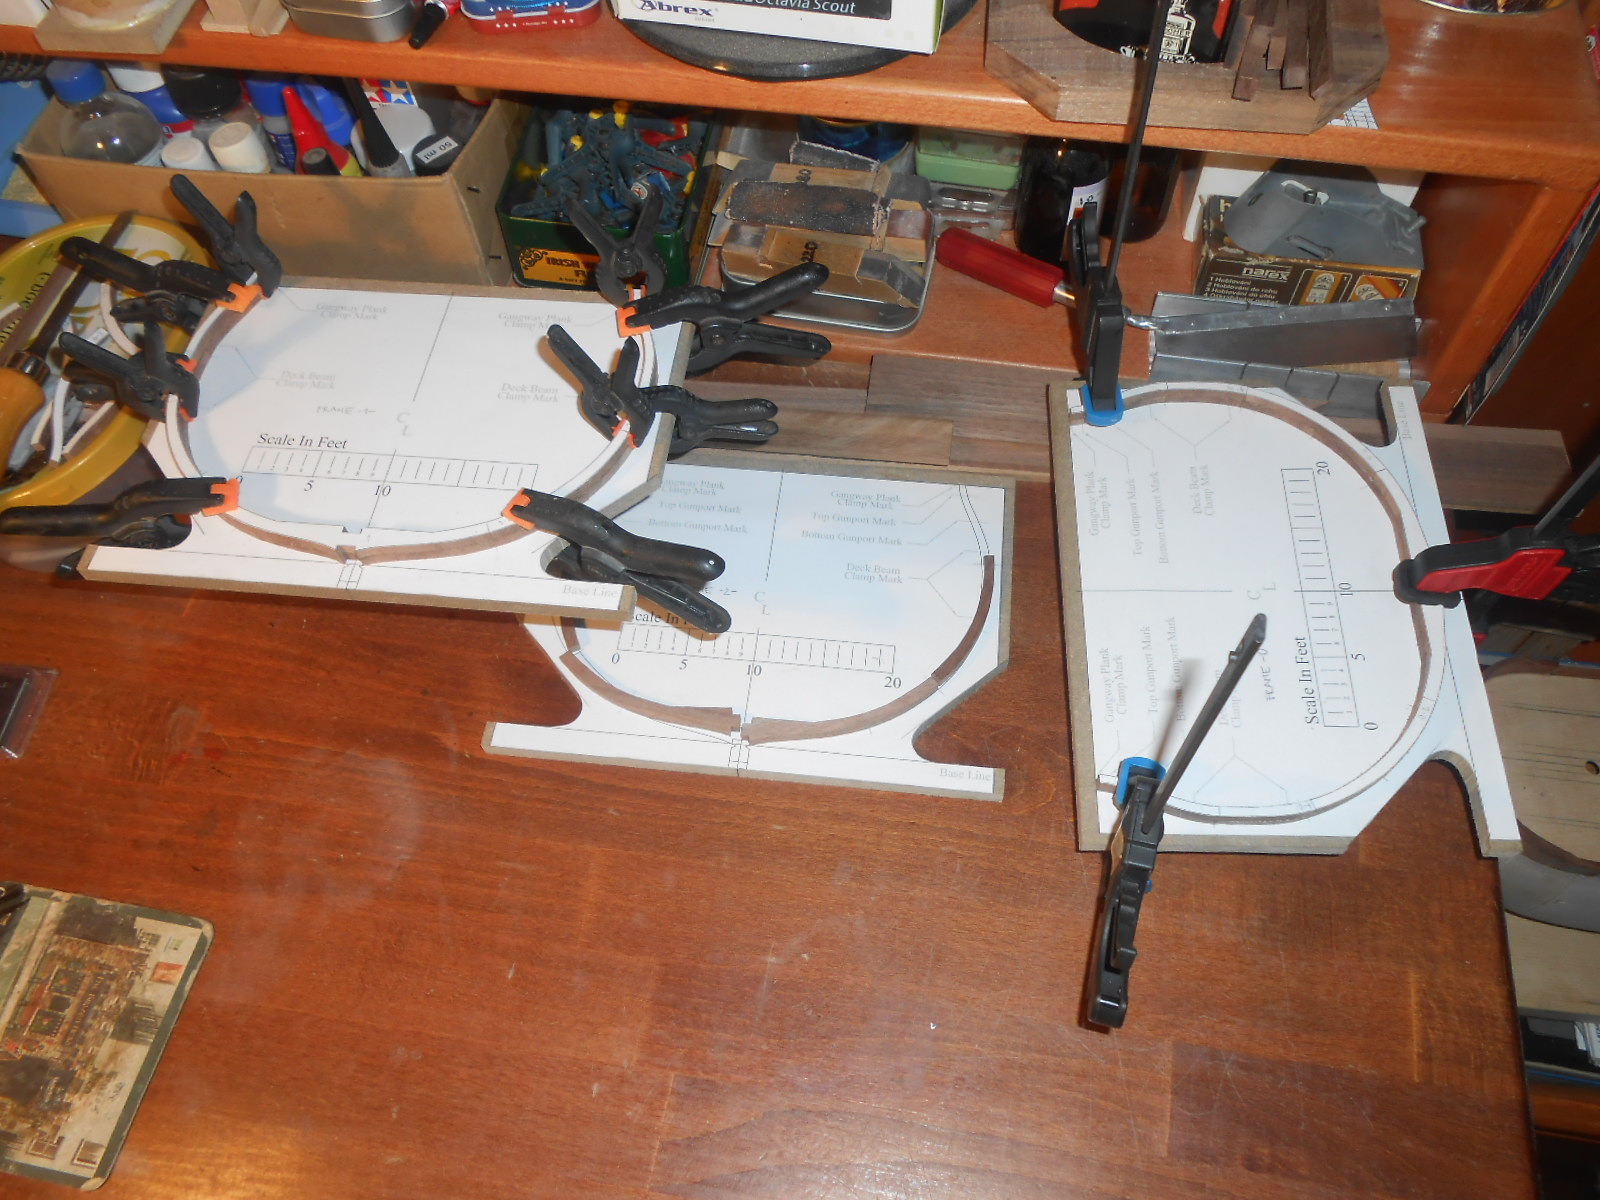
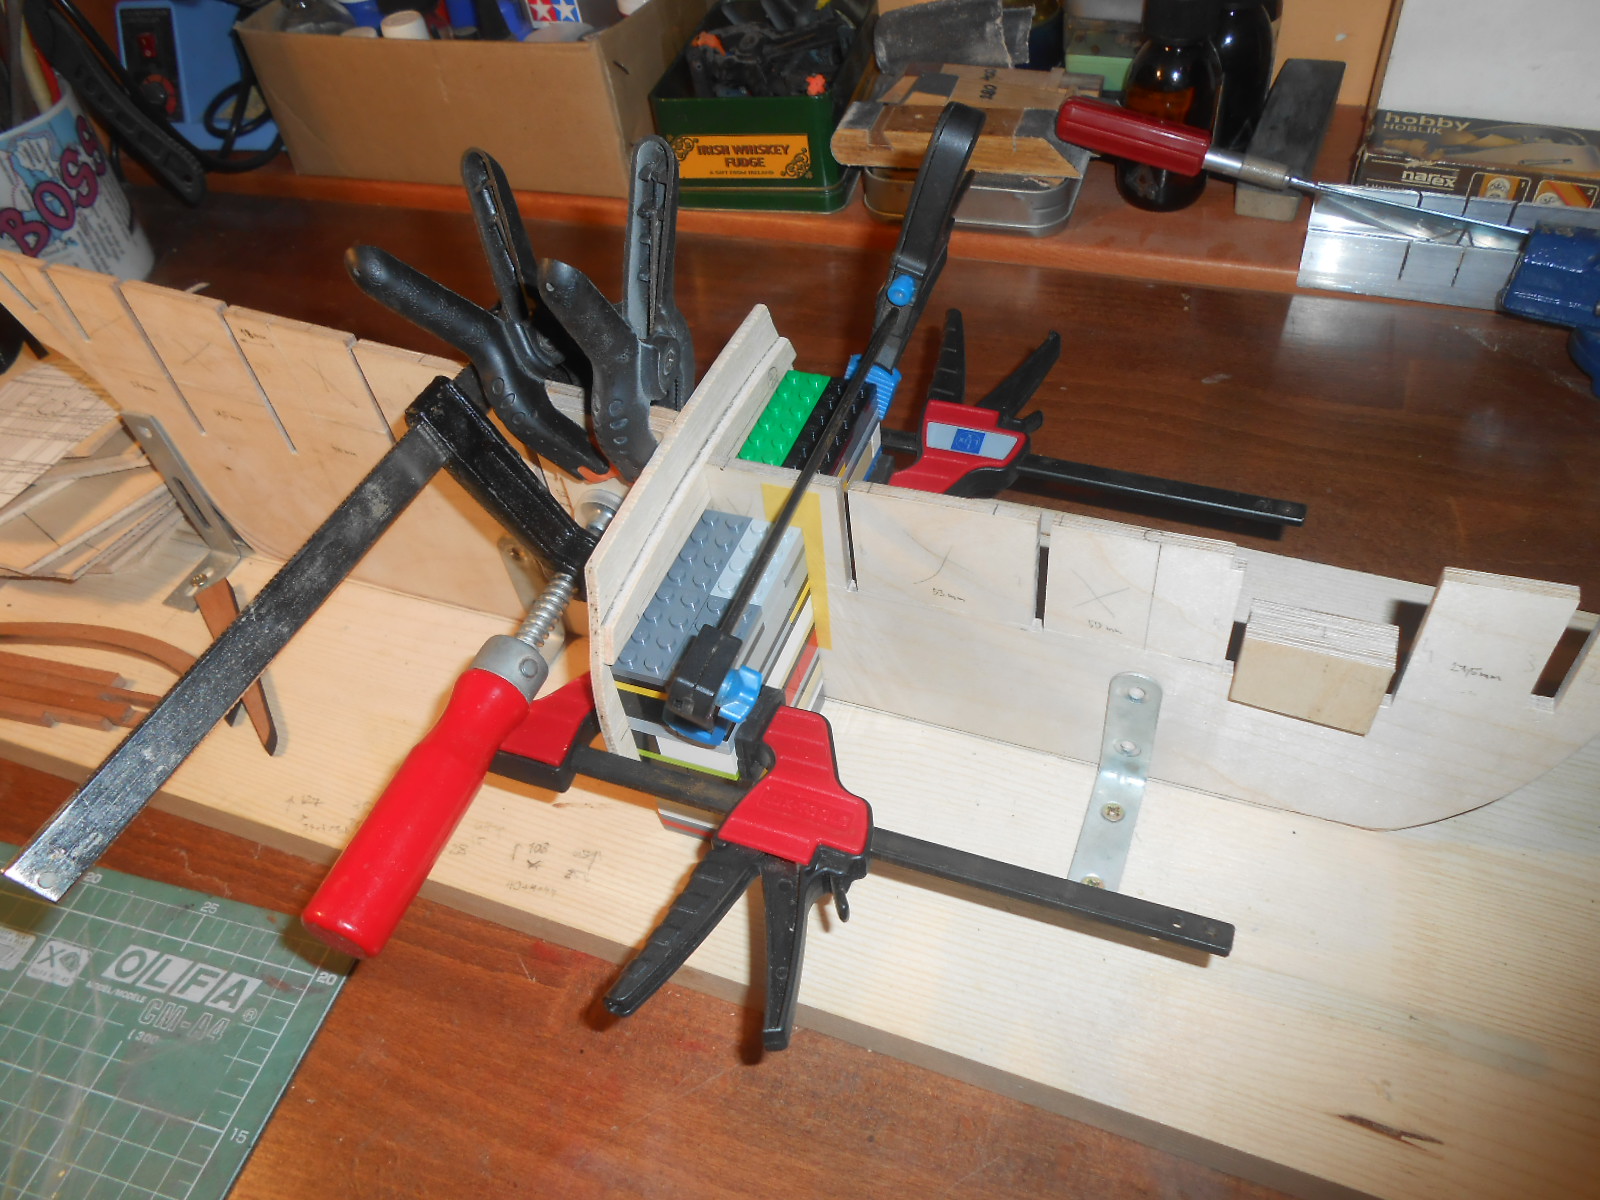
I glued each plan of assemly on a small platte 9mm MDF. And then try and adjust the pieces until it finally clicked together.
I glued them step by step I let the glue to dry and then added other pieces.
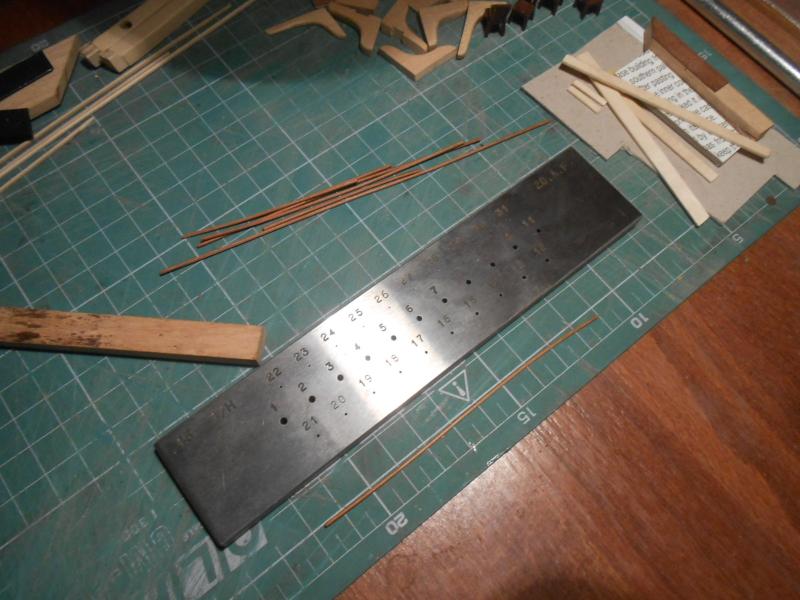
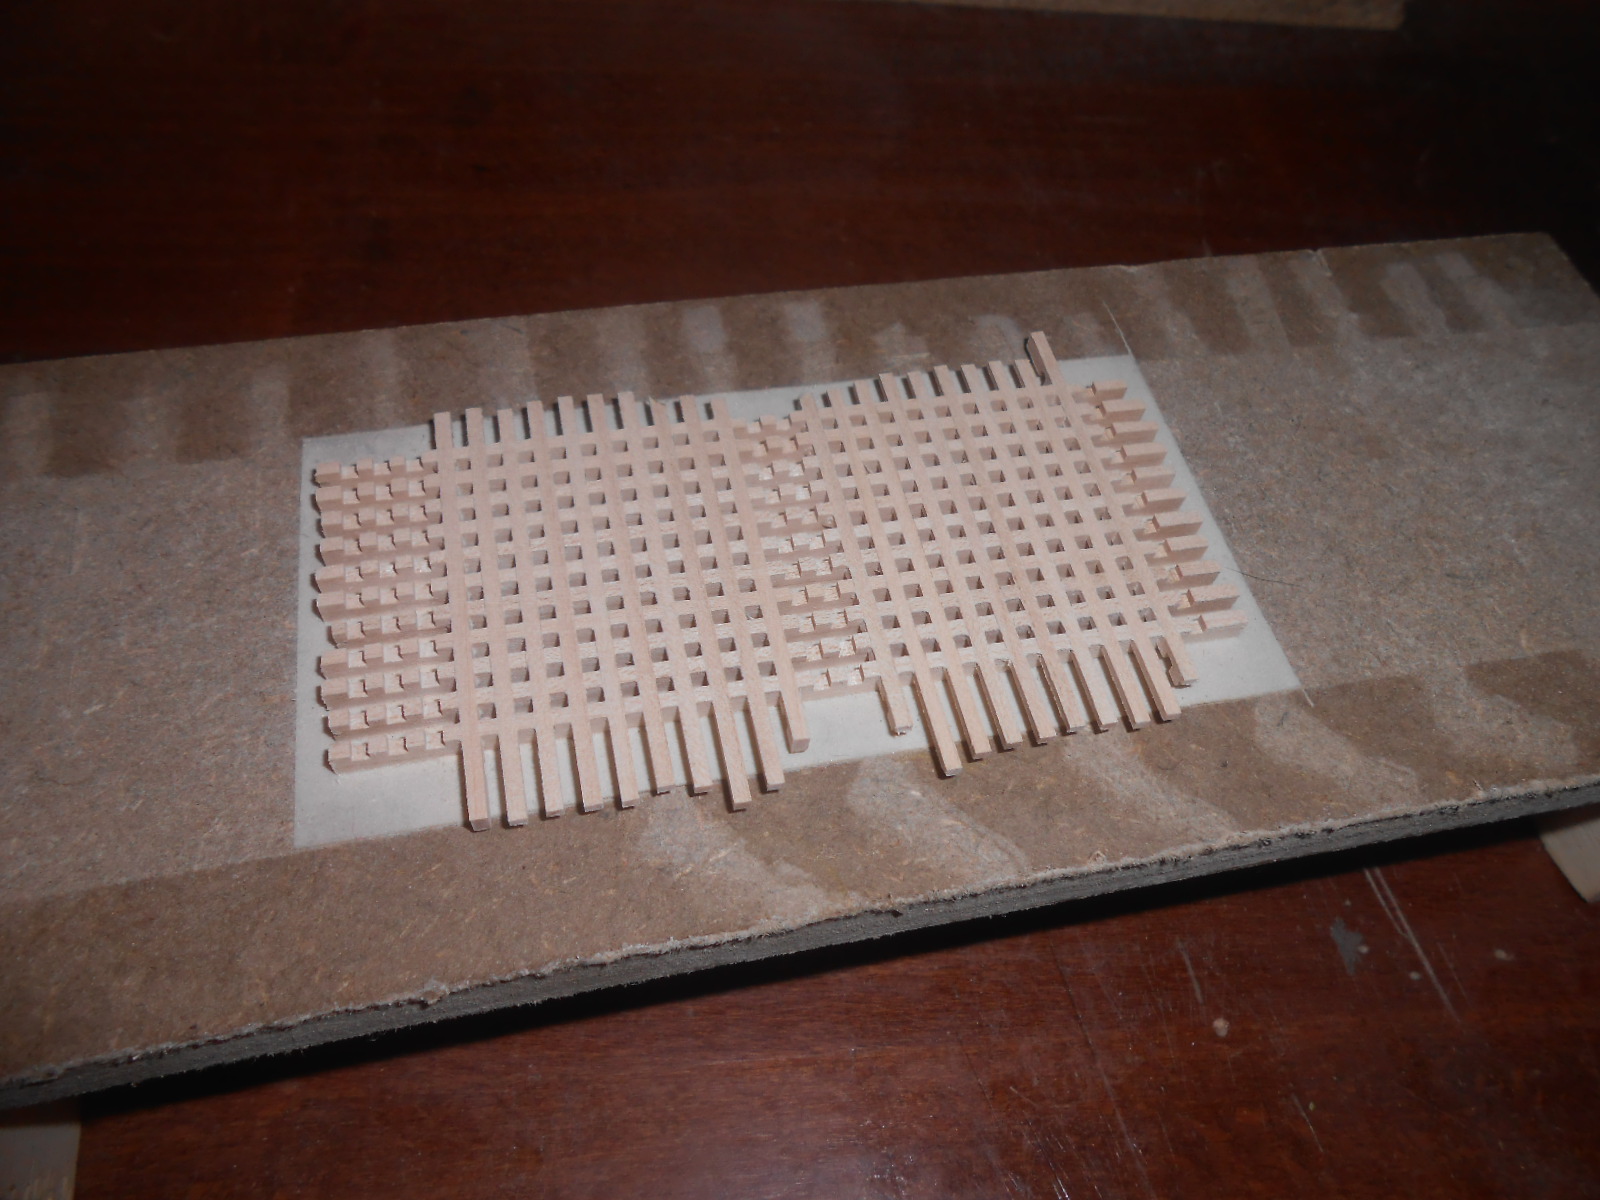
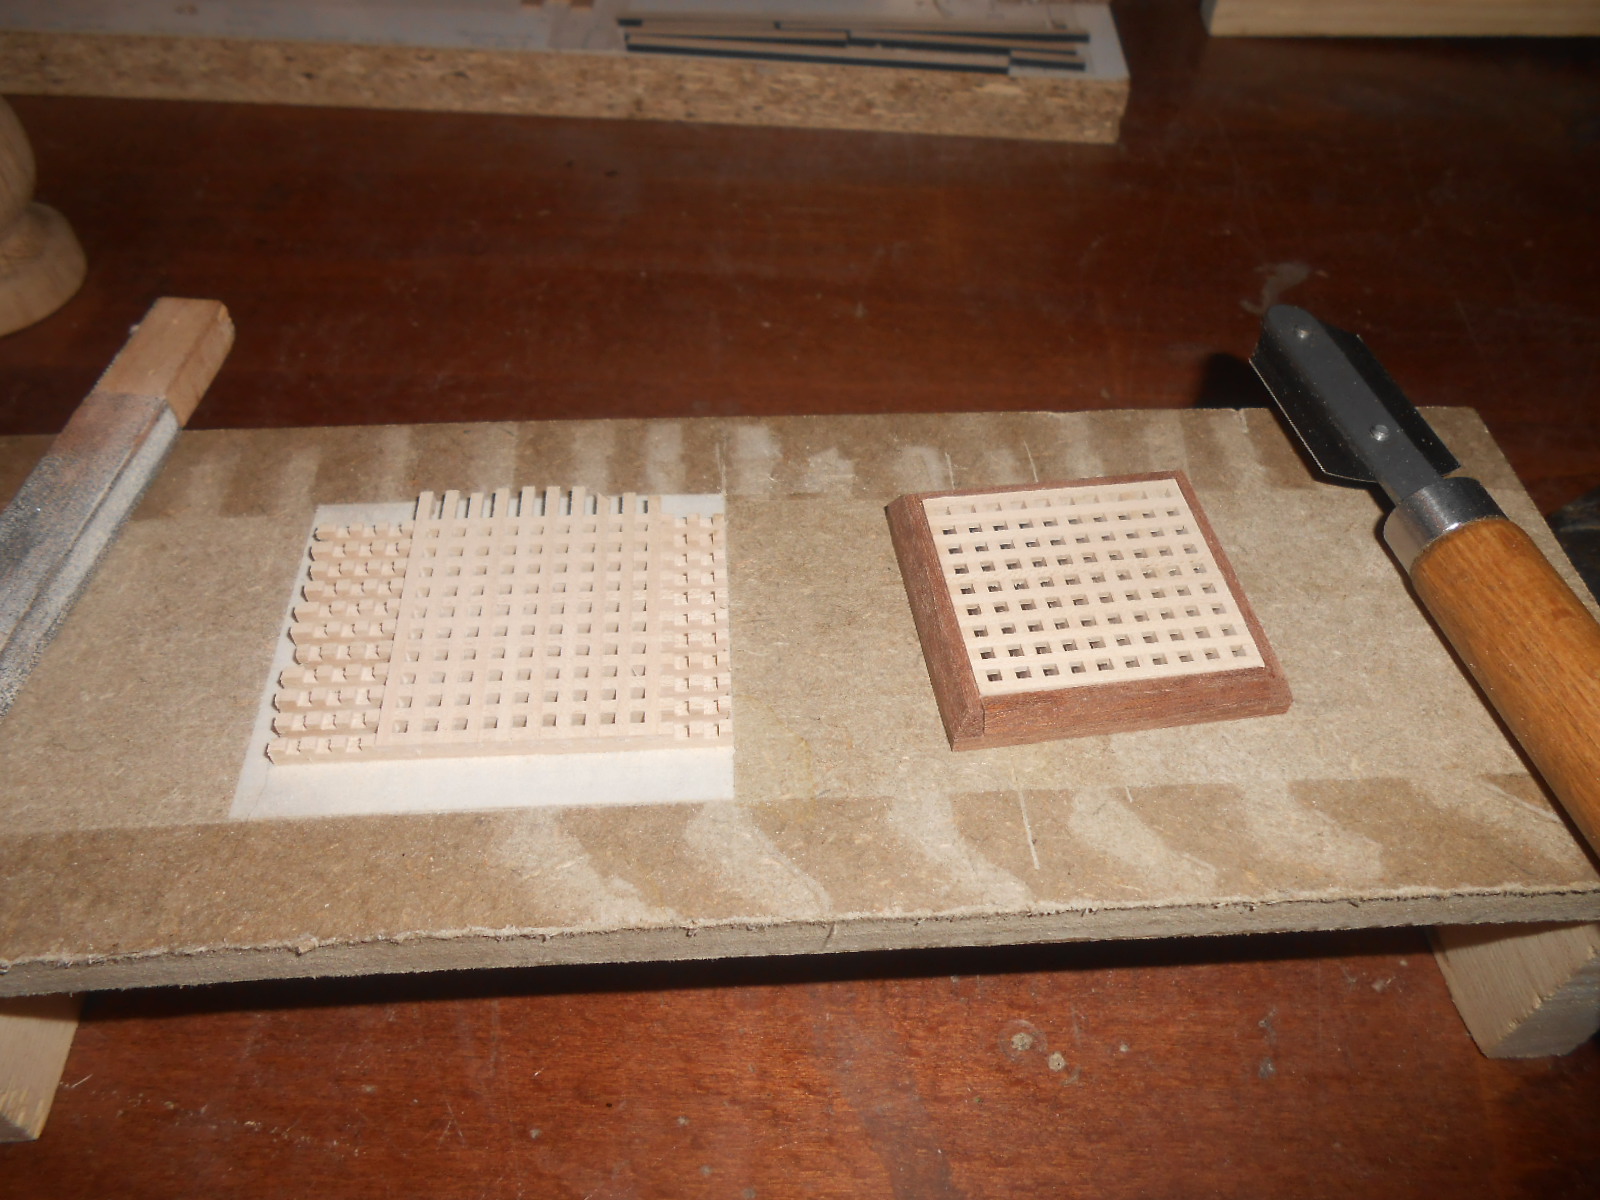
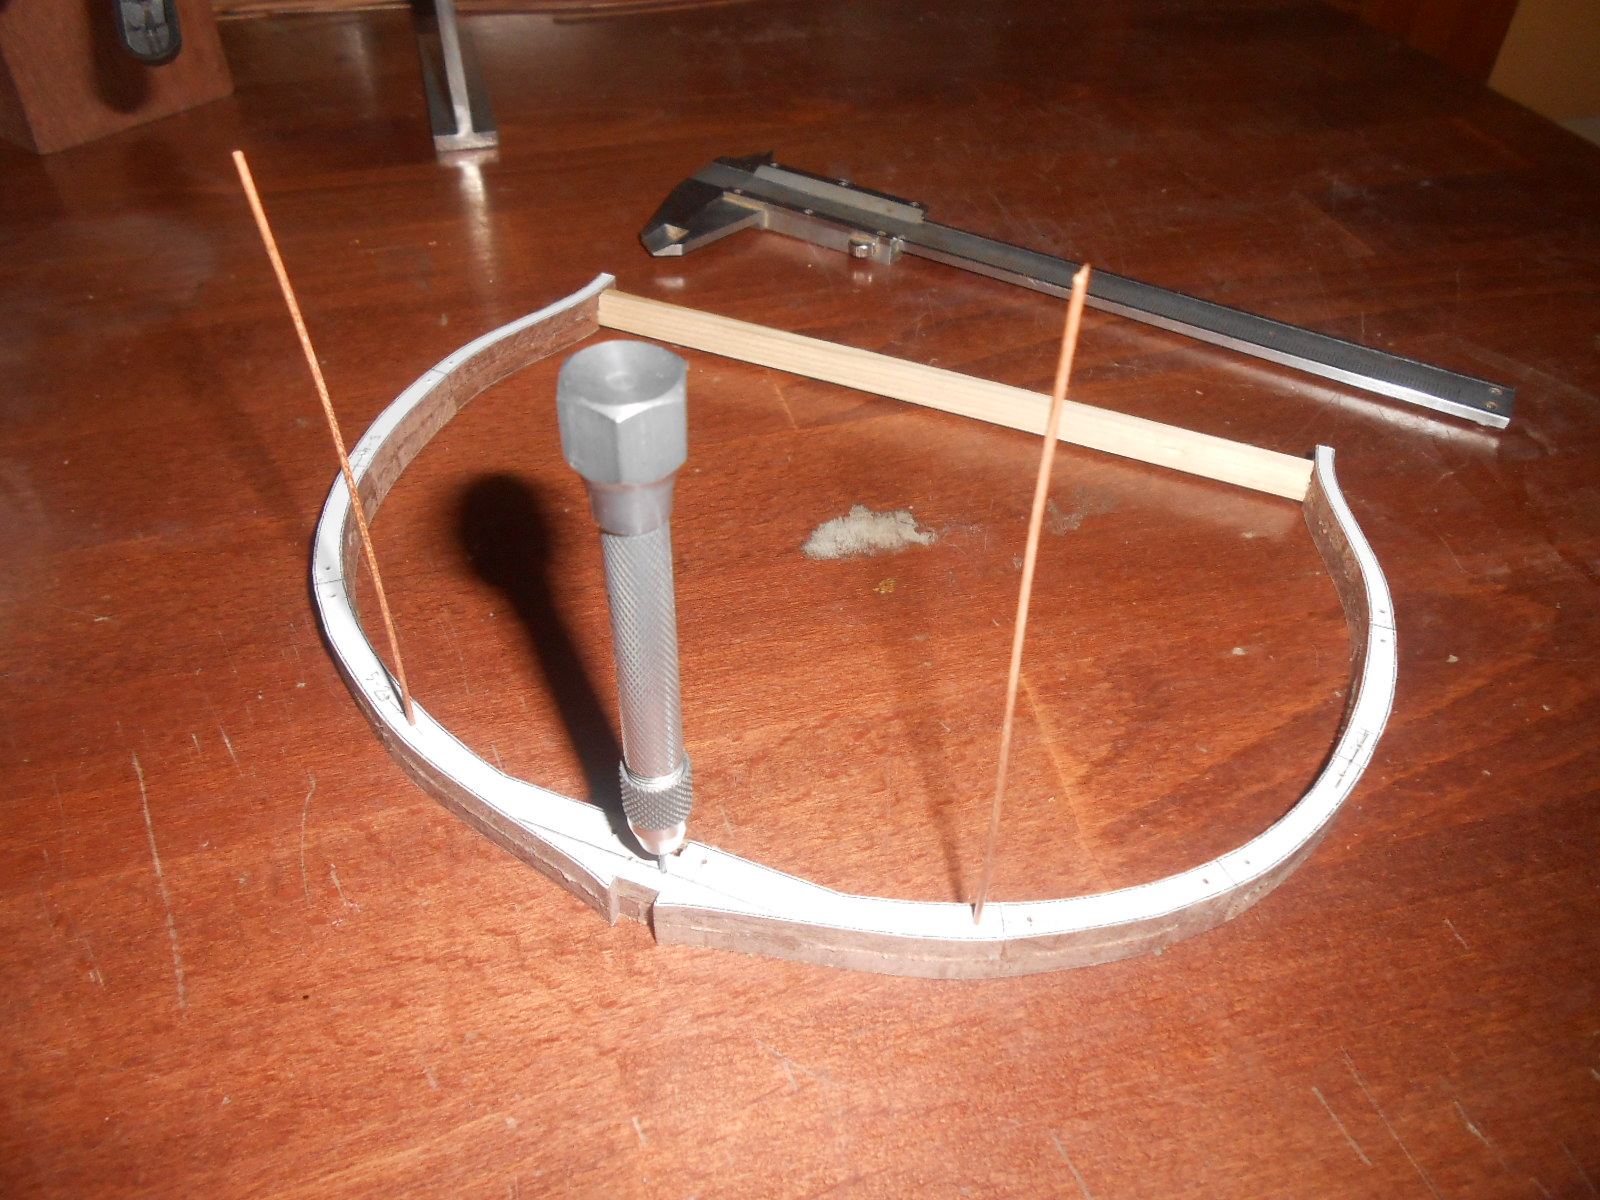
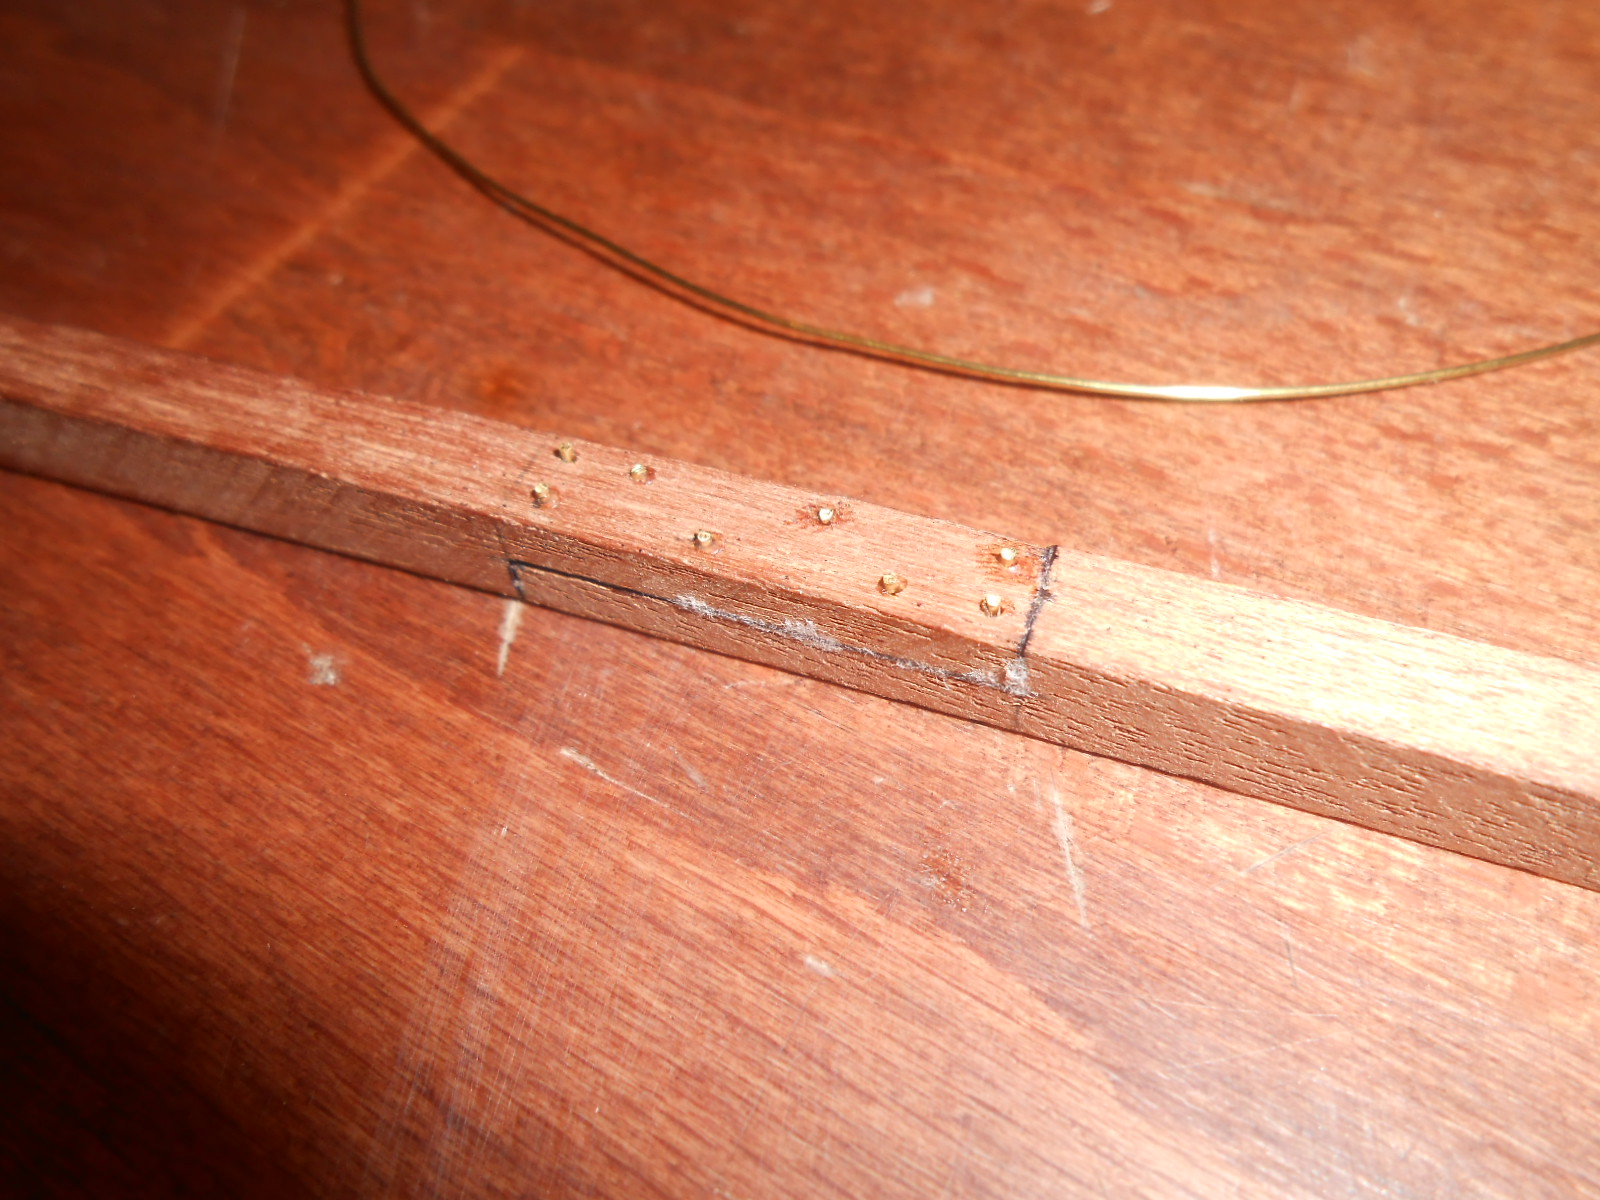
Little training with treenails.


-
Hello,
thanks for access to plans and for welcome to Triton builder´s club.
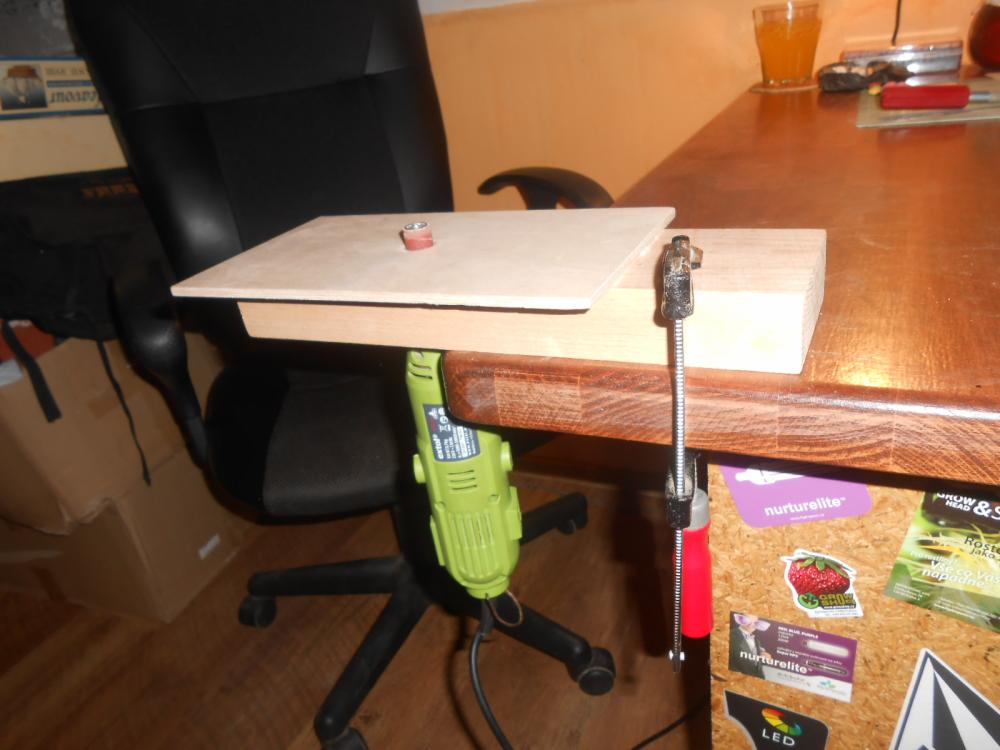
Mike thanks for looking and comments - it is not my idea with this scratch tool I saw it in some Triton full build here.
Exacto blade was not ideal (very brittle)- it was only try on photo - better is blade from snap-off knive.
I am working on frames - next time I add some photos of this work.
-
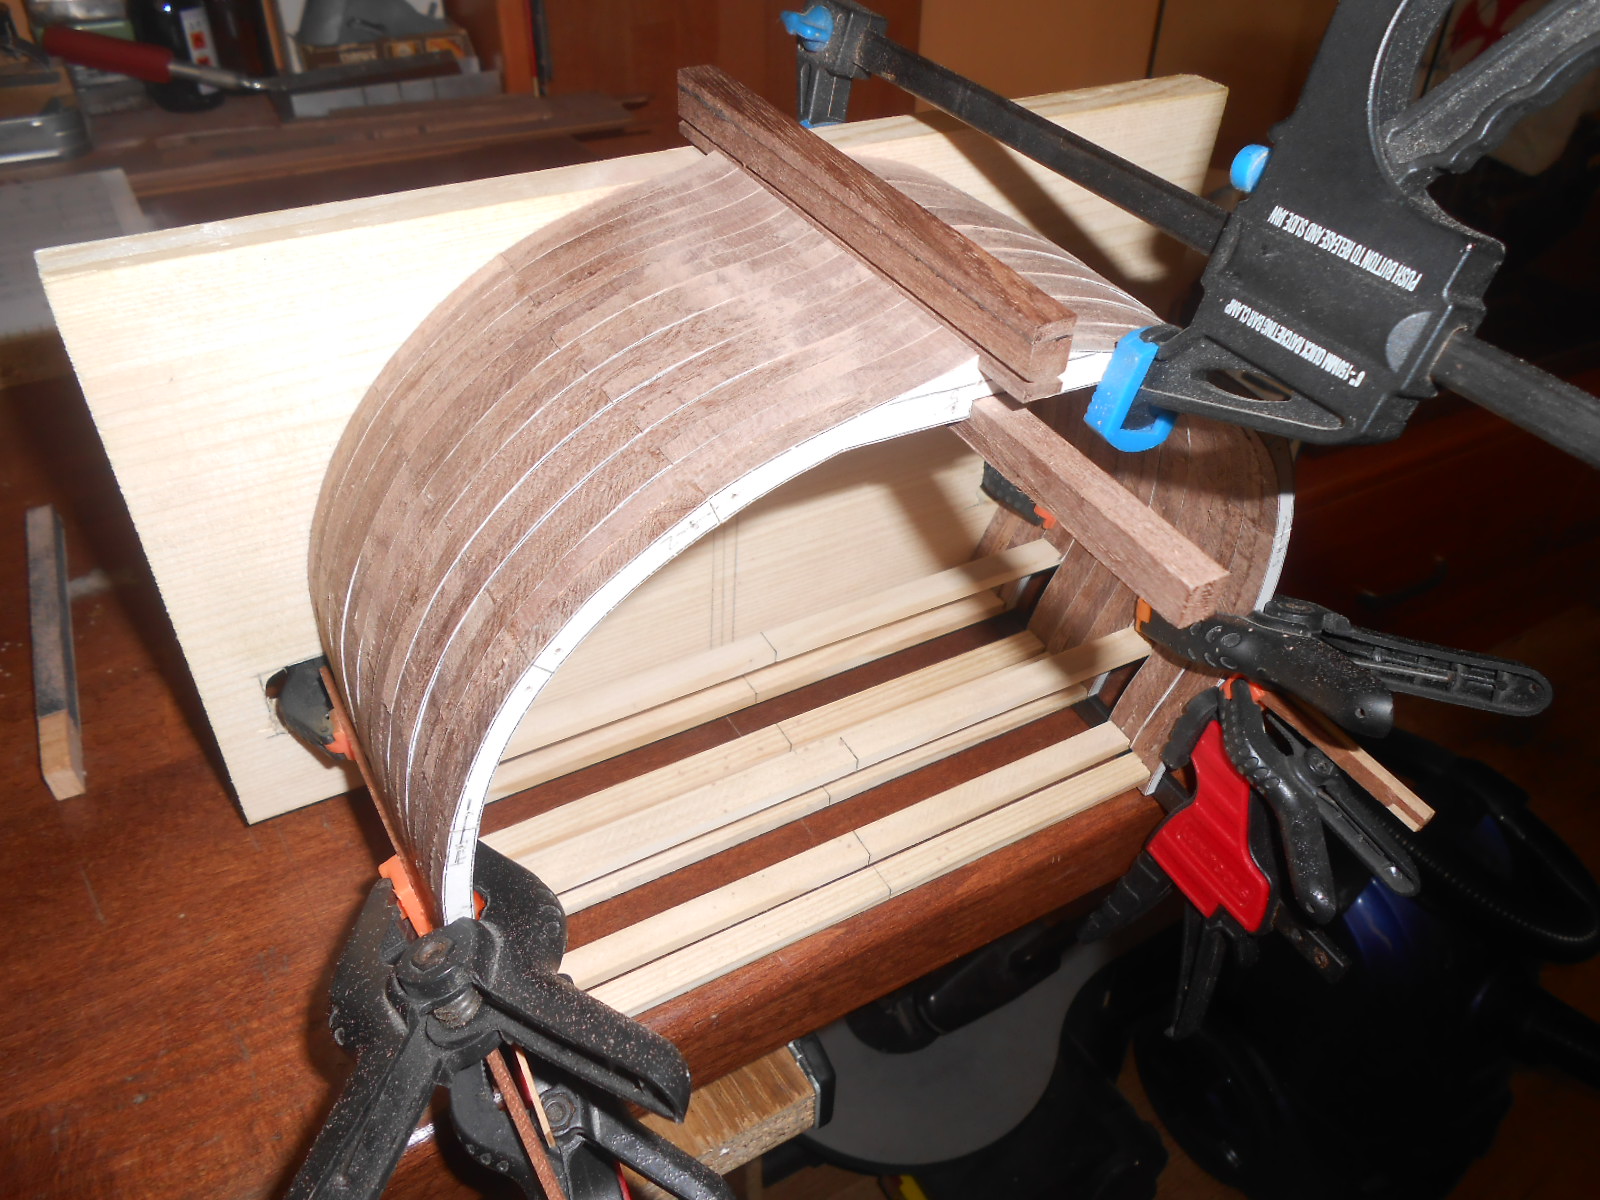
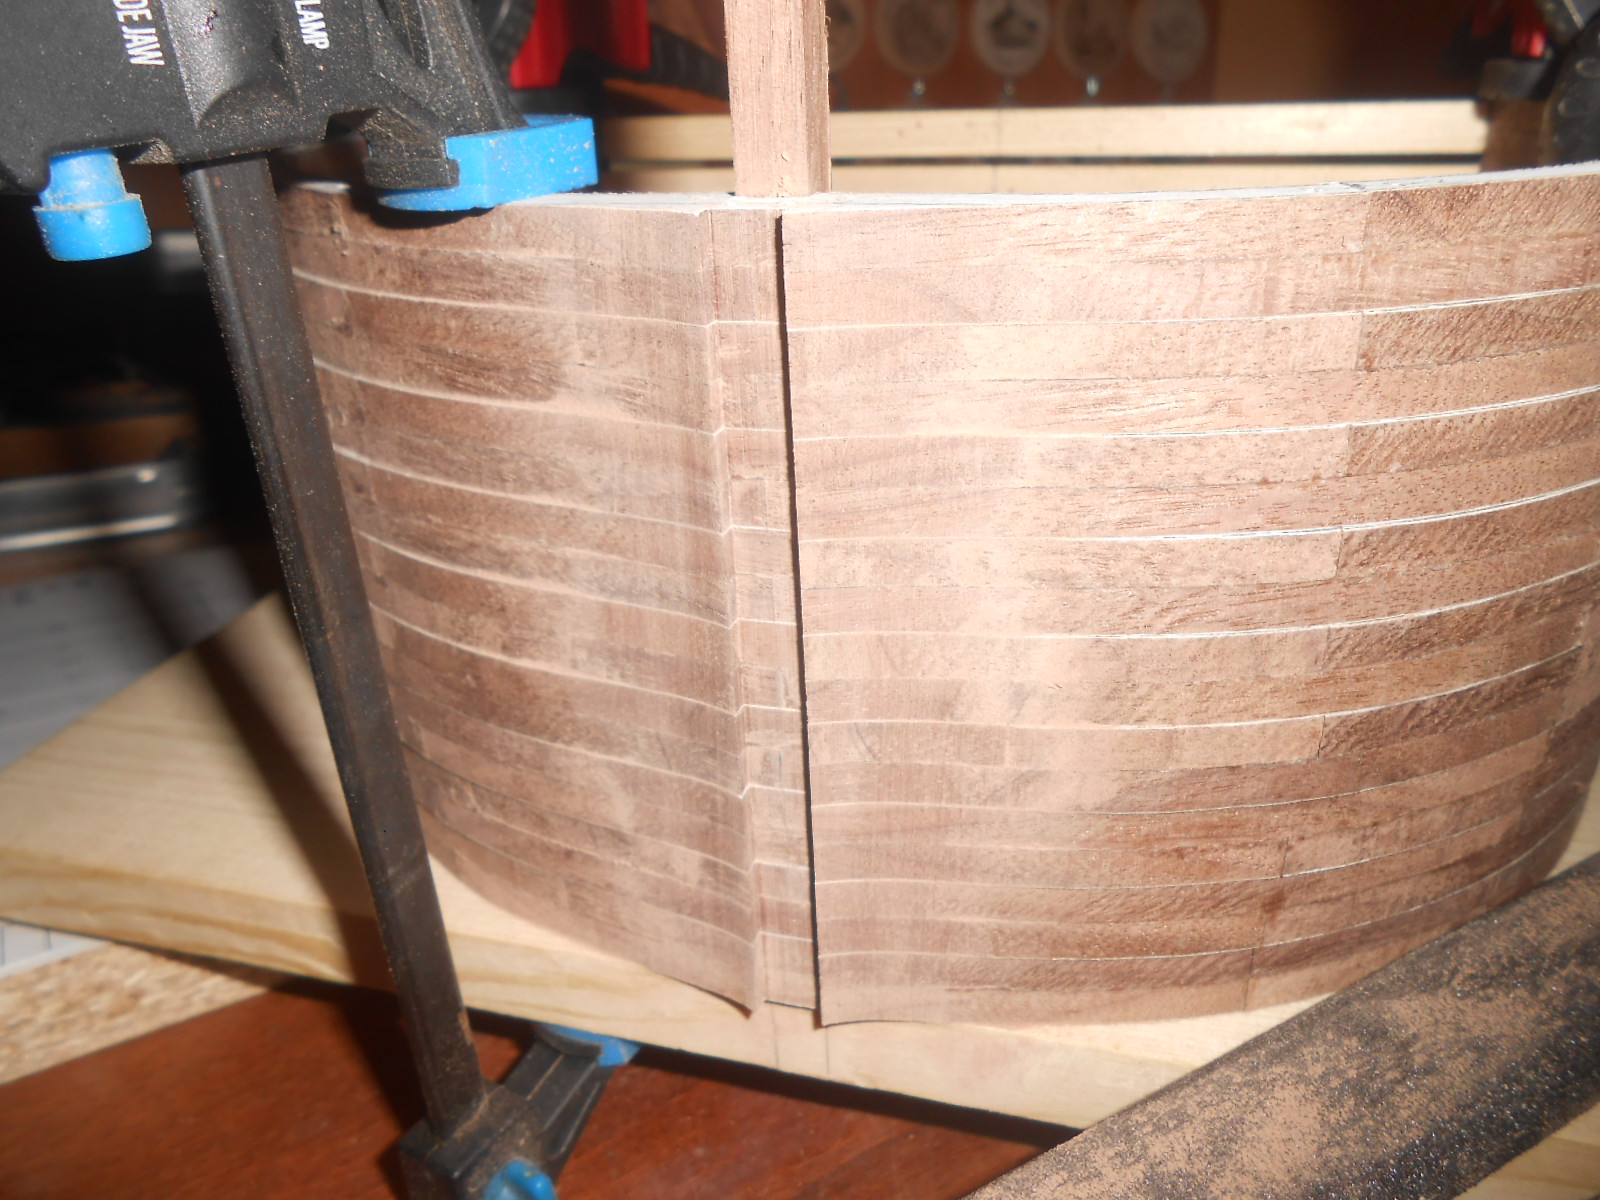
Hi Chris, thank you very much for your comments. I´m preparing for planking, It will be hard job with 2x6mm sapeli planks,
but it is challenge.
I thought it is a slow way of constructing a shipmodel but you come with better name for it - methodical, thanks.

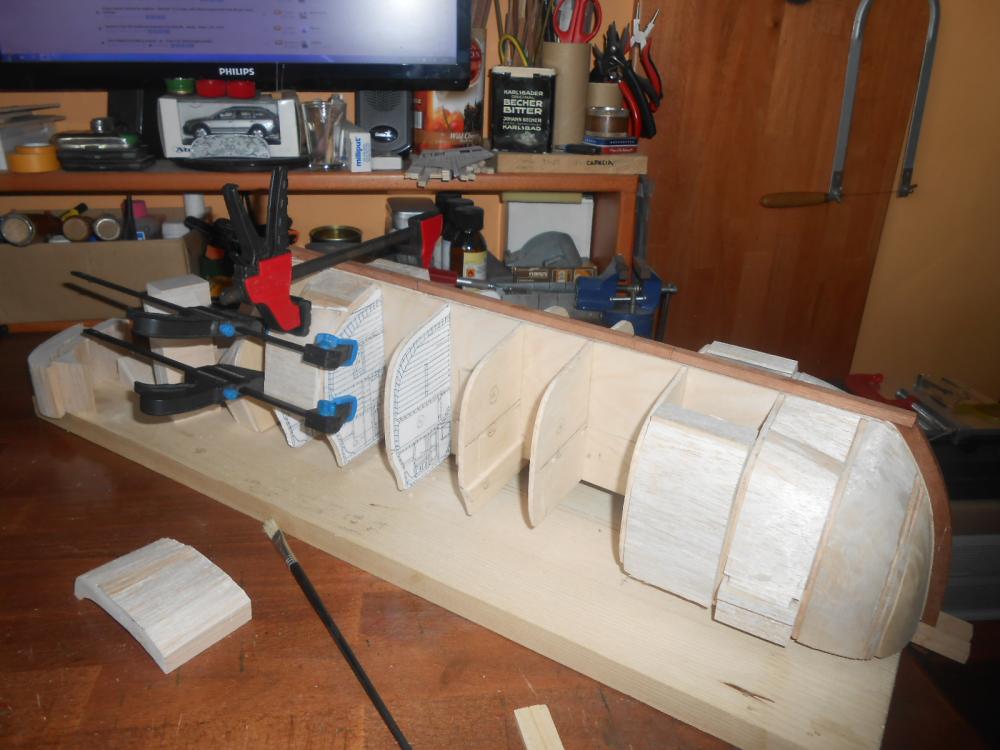
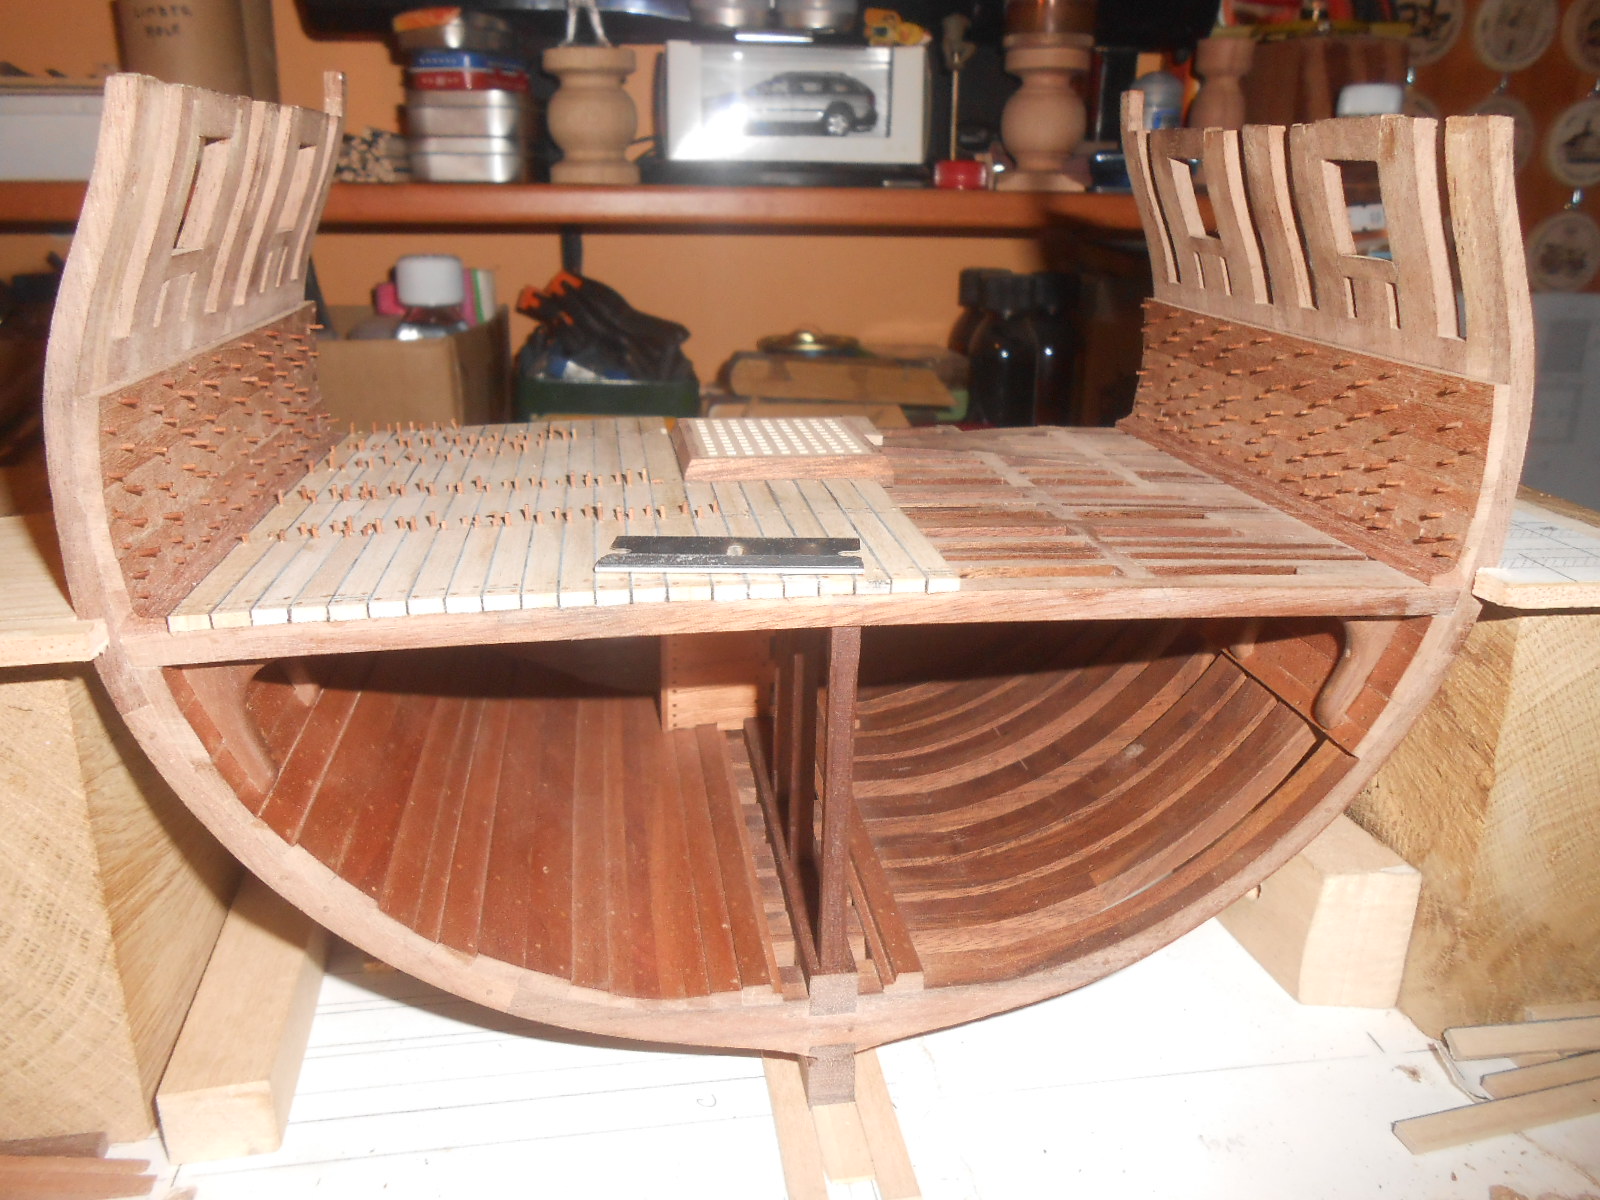
All this things I made moreover (against plans),is because I want to show the lower deck through hatches and captain cabin through windows.
Same I made with my Santa Maria, but this time will be more lights under deck beams - but this is for next update.
-
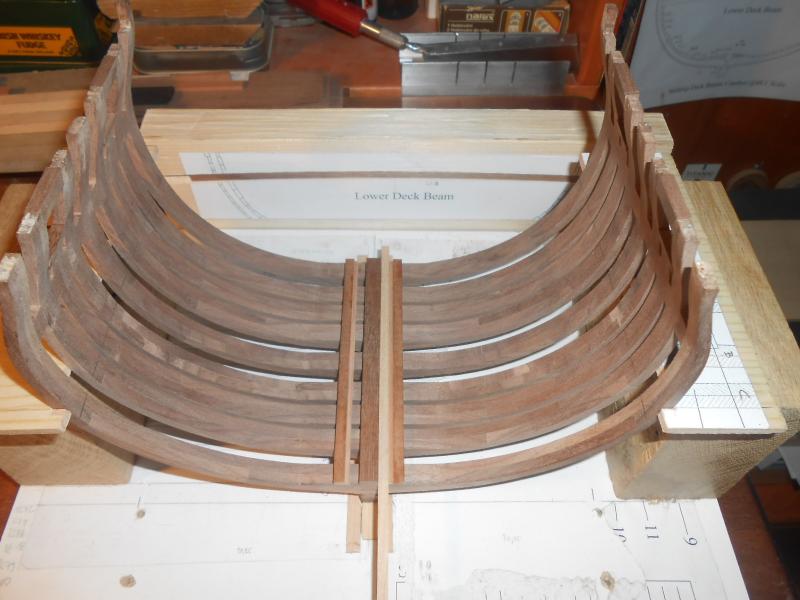
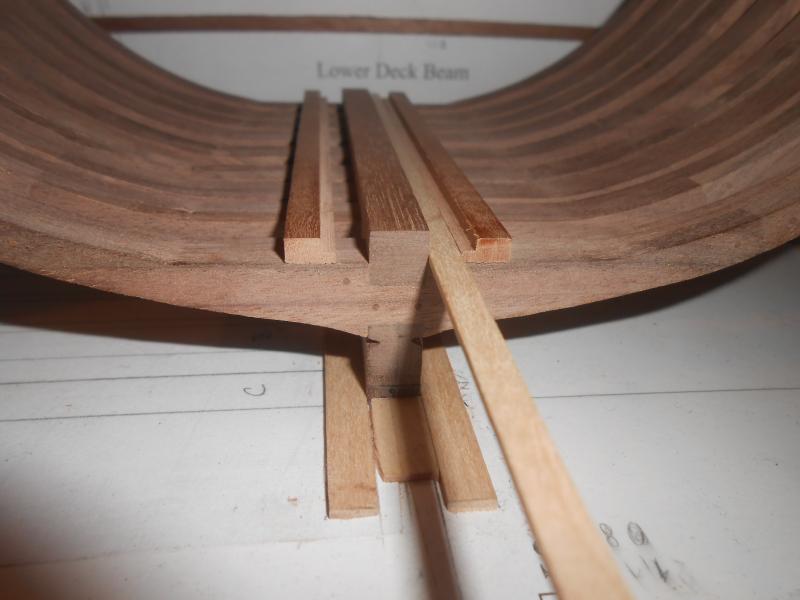
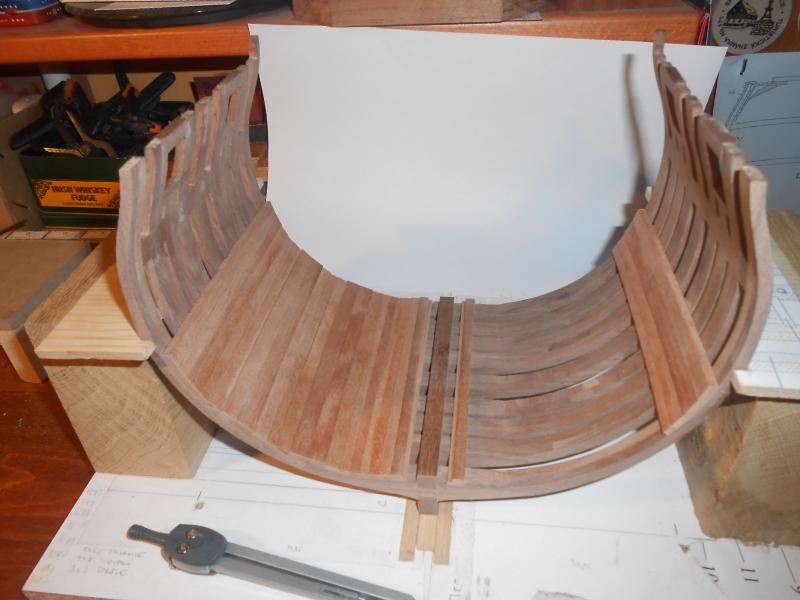
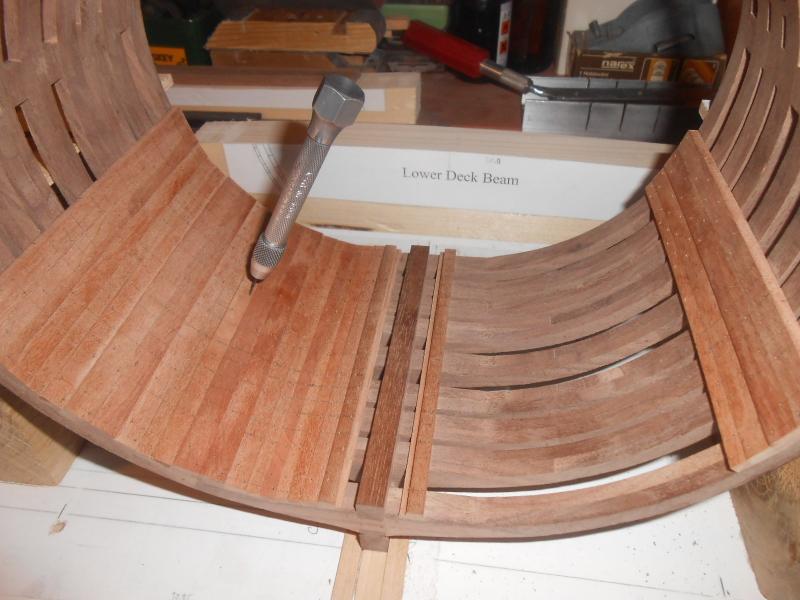
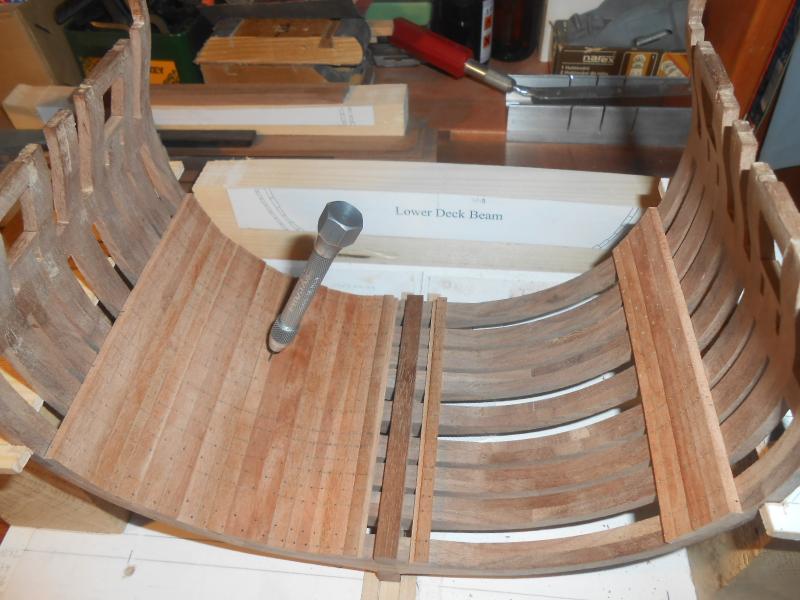
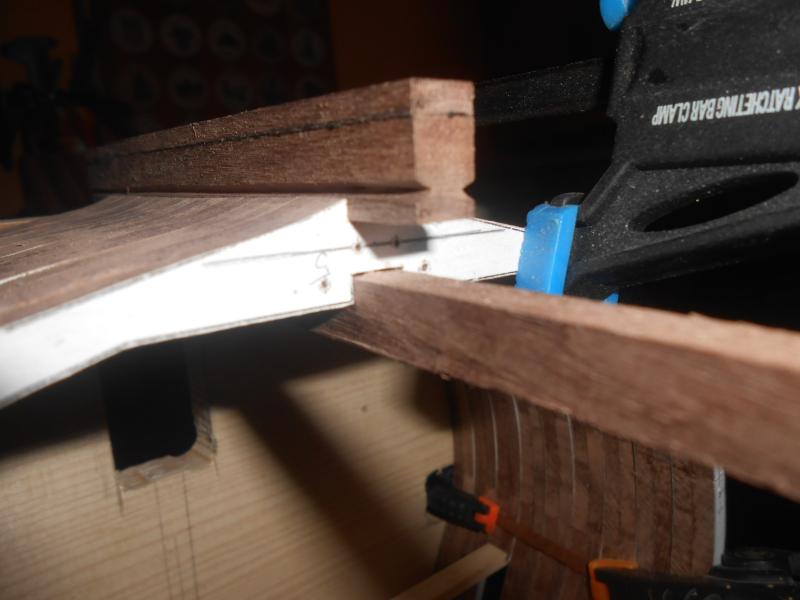
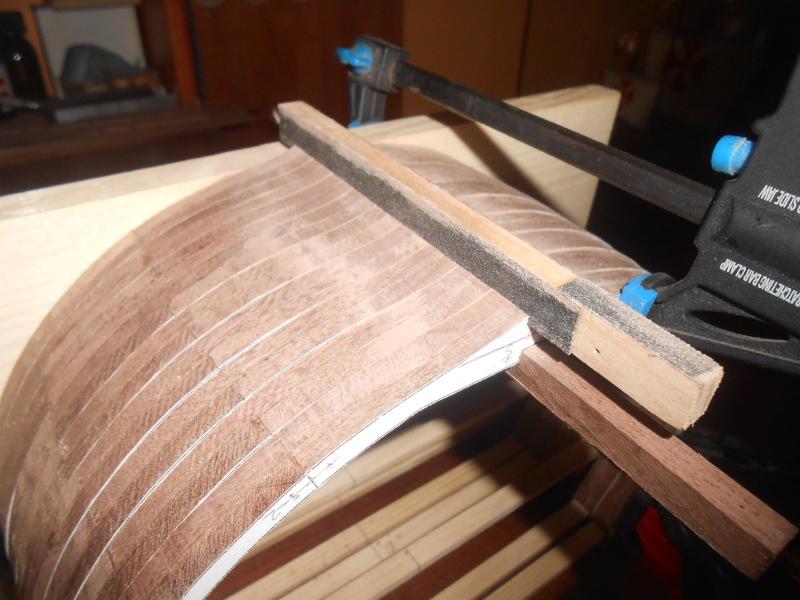
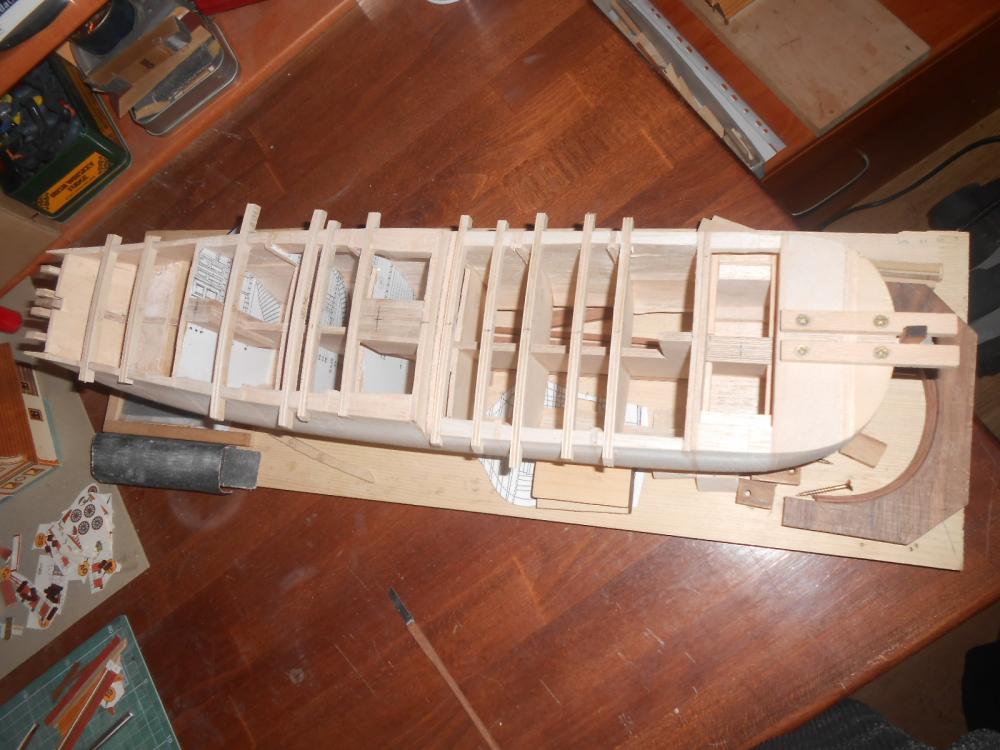
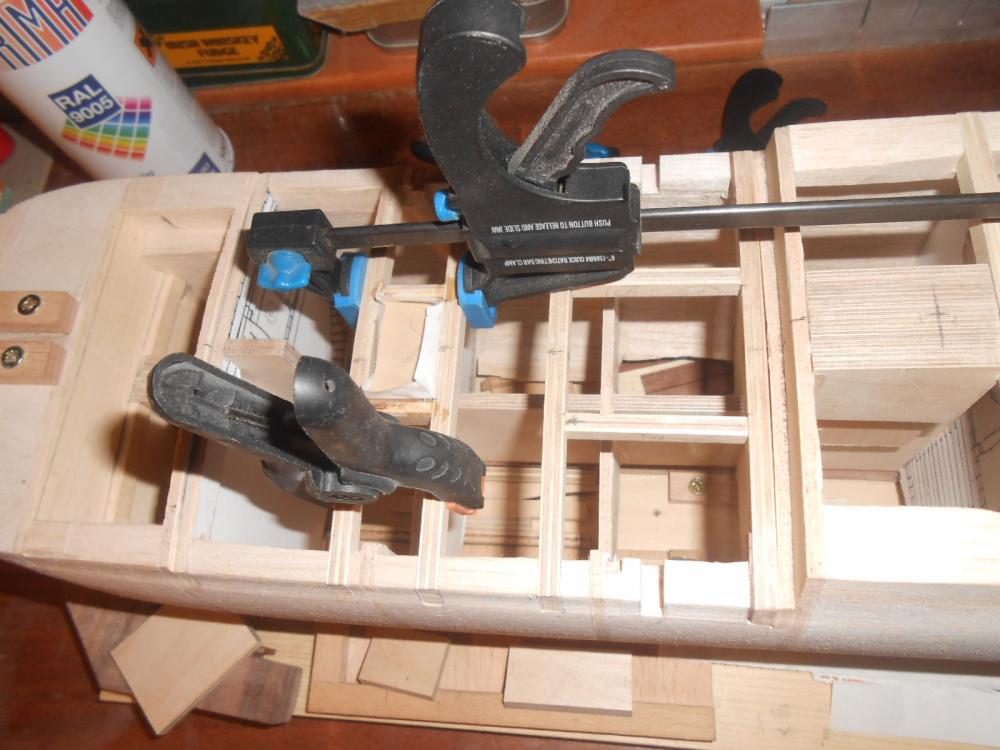
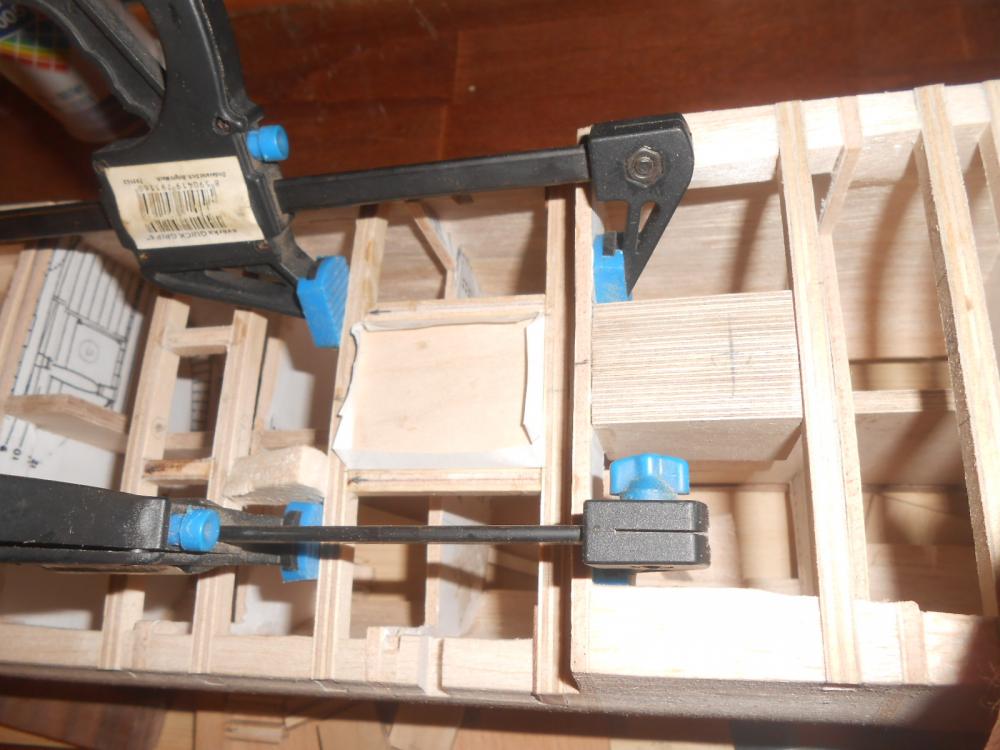
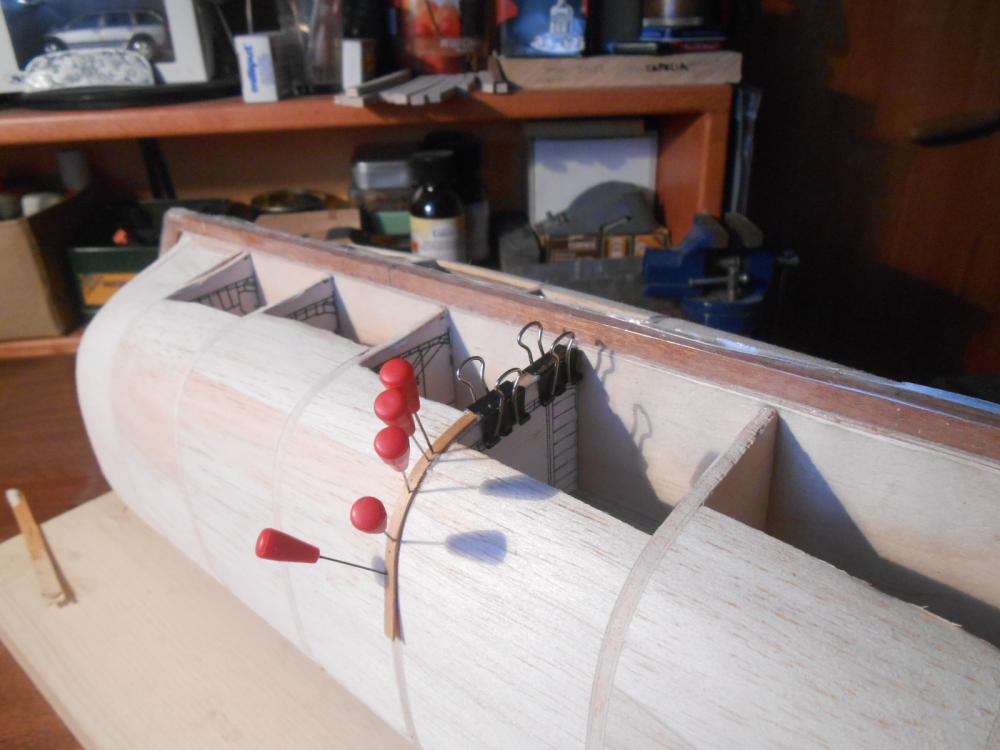
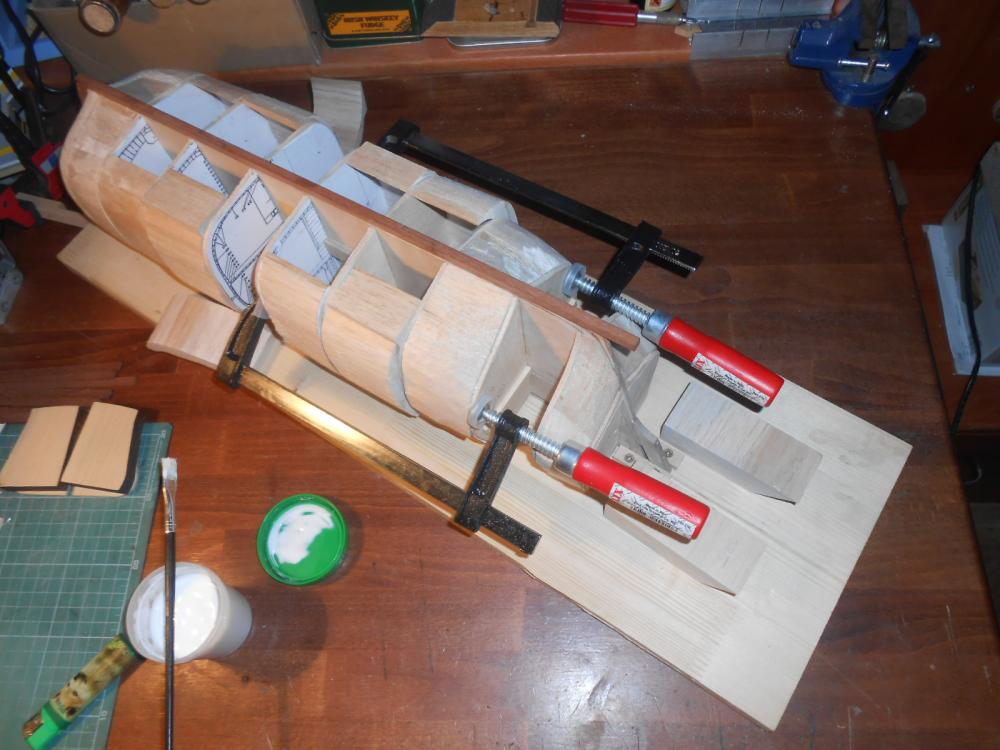
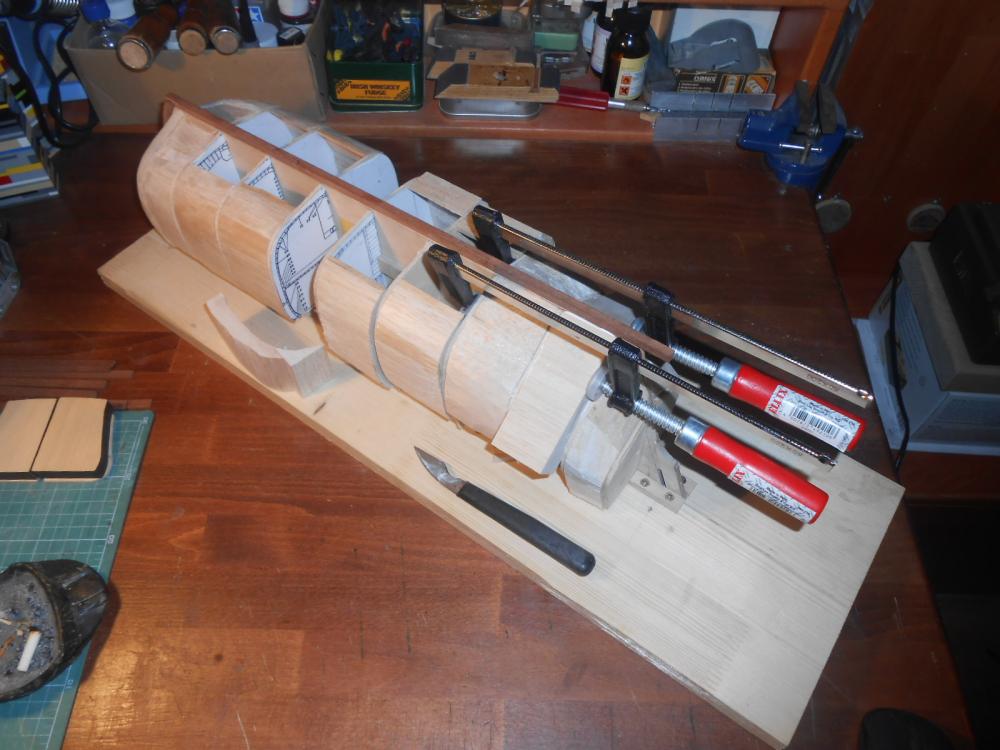
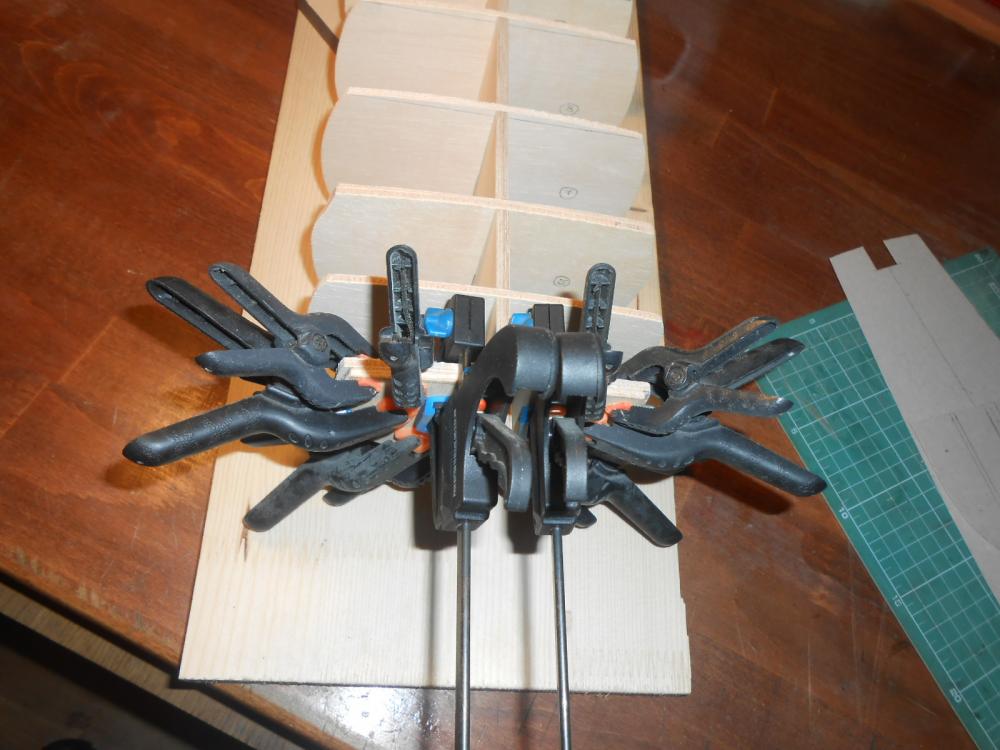
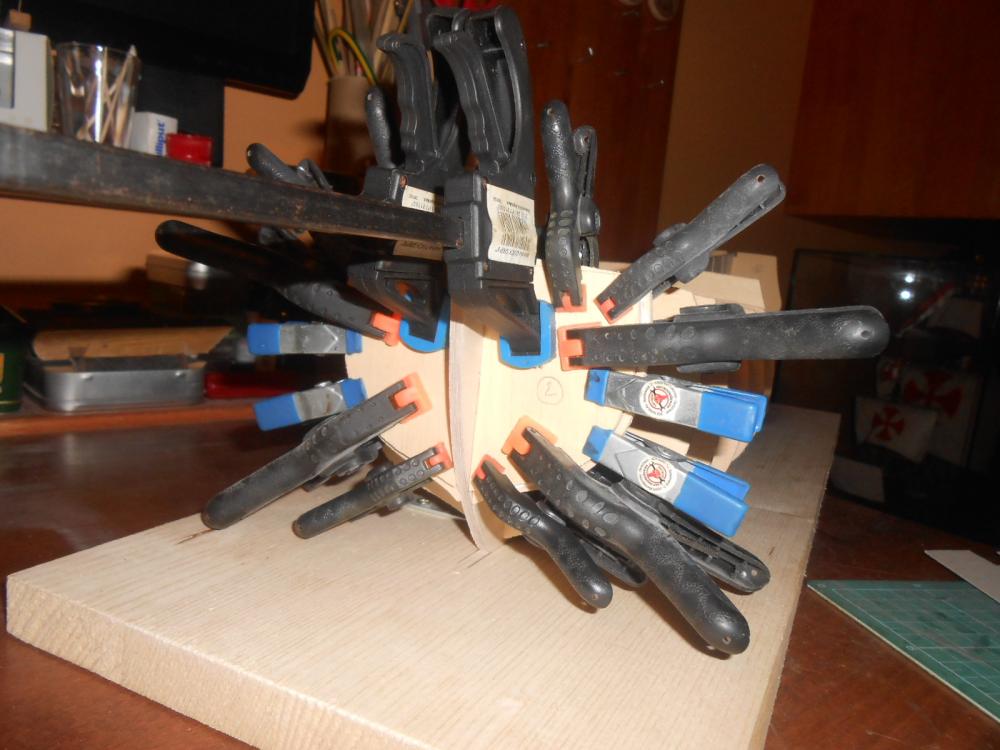
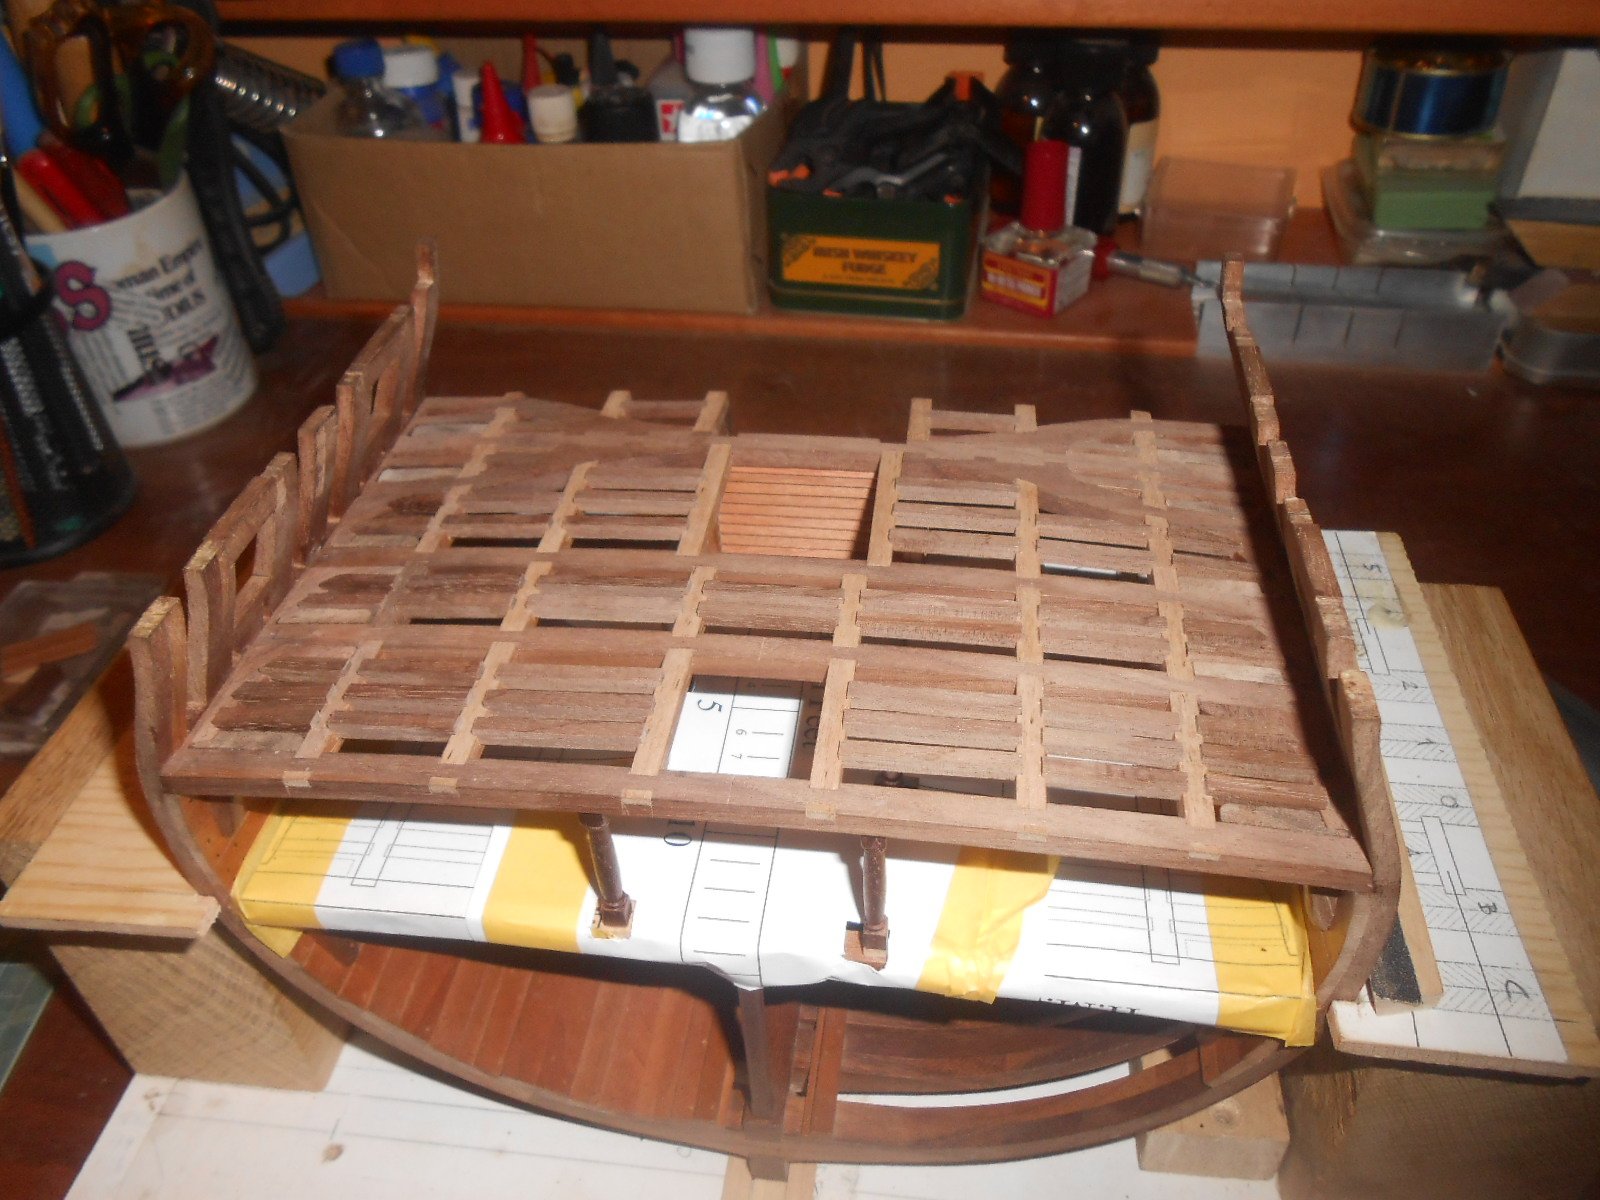
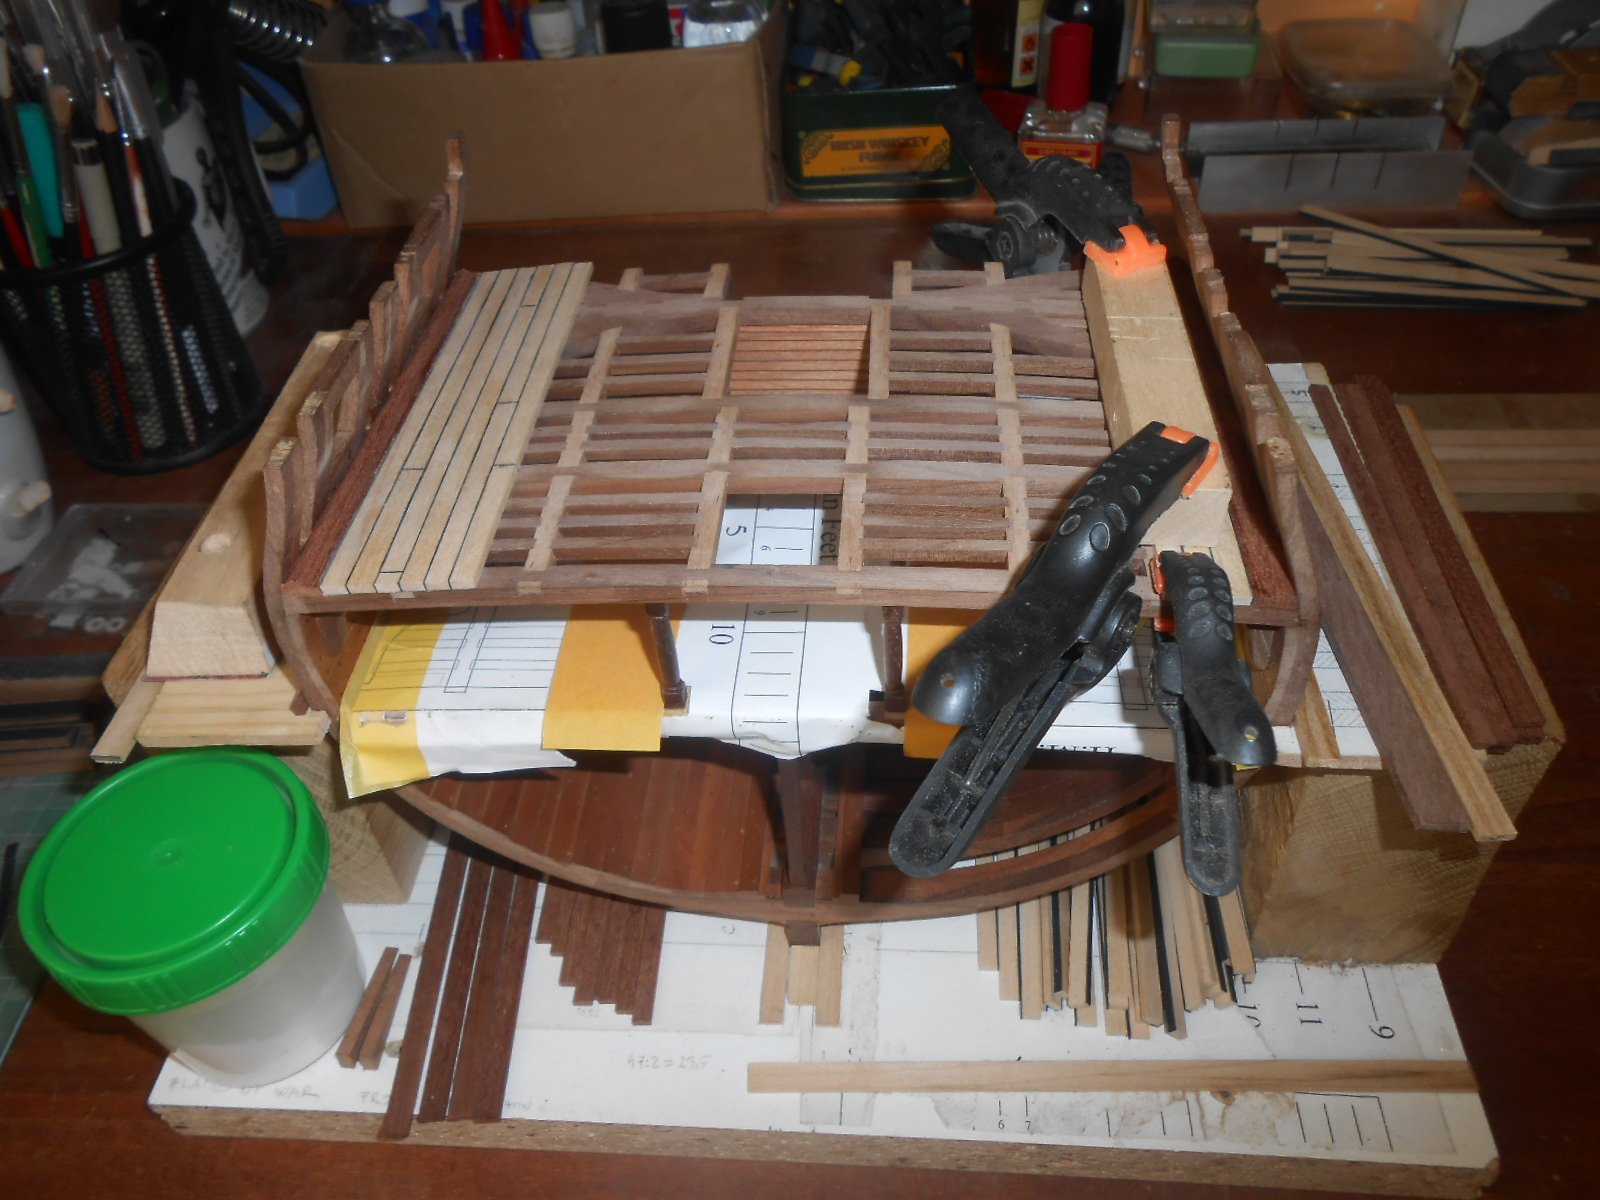
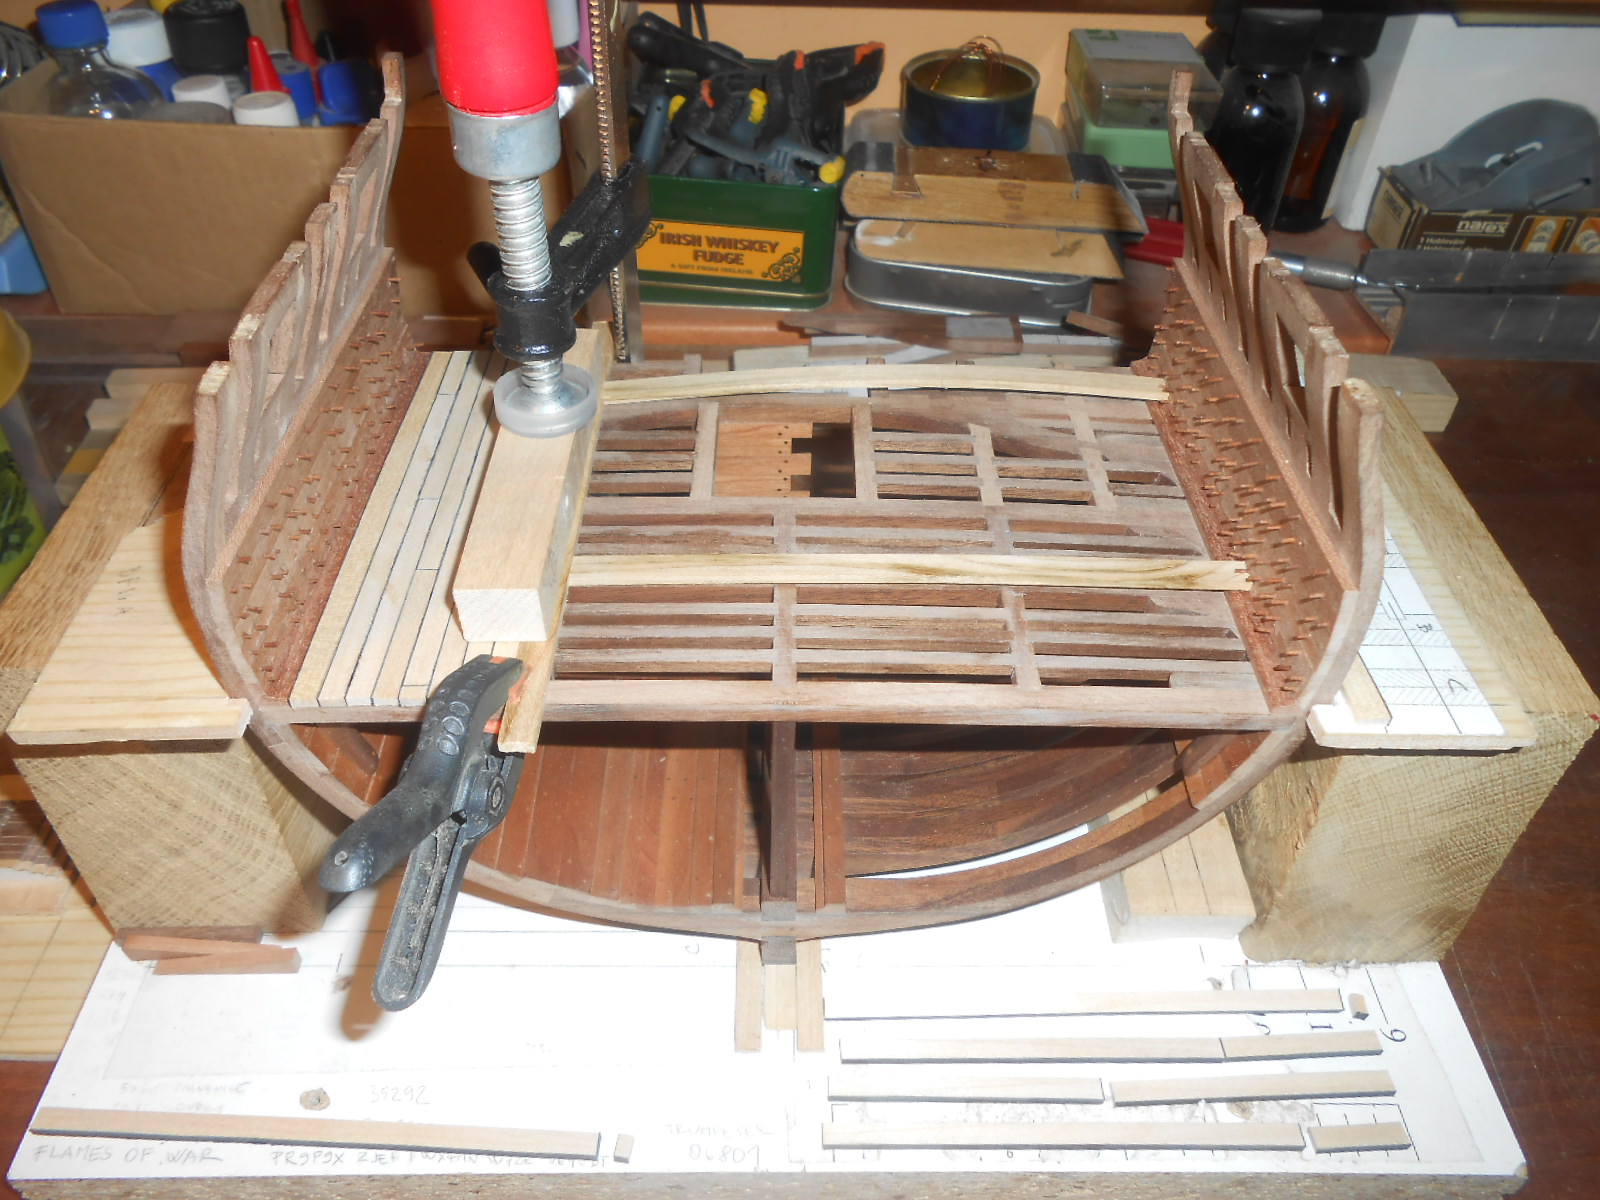
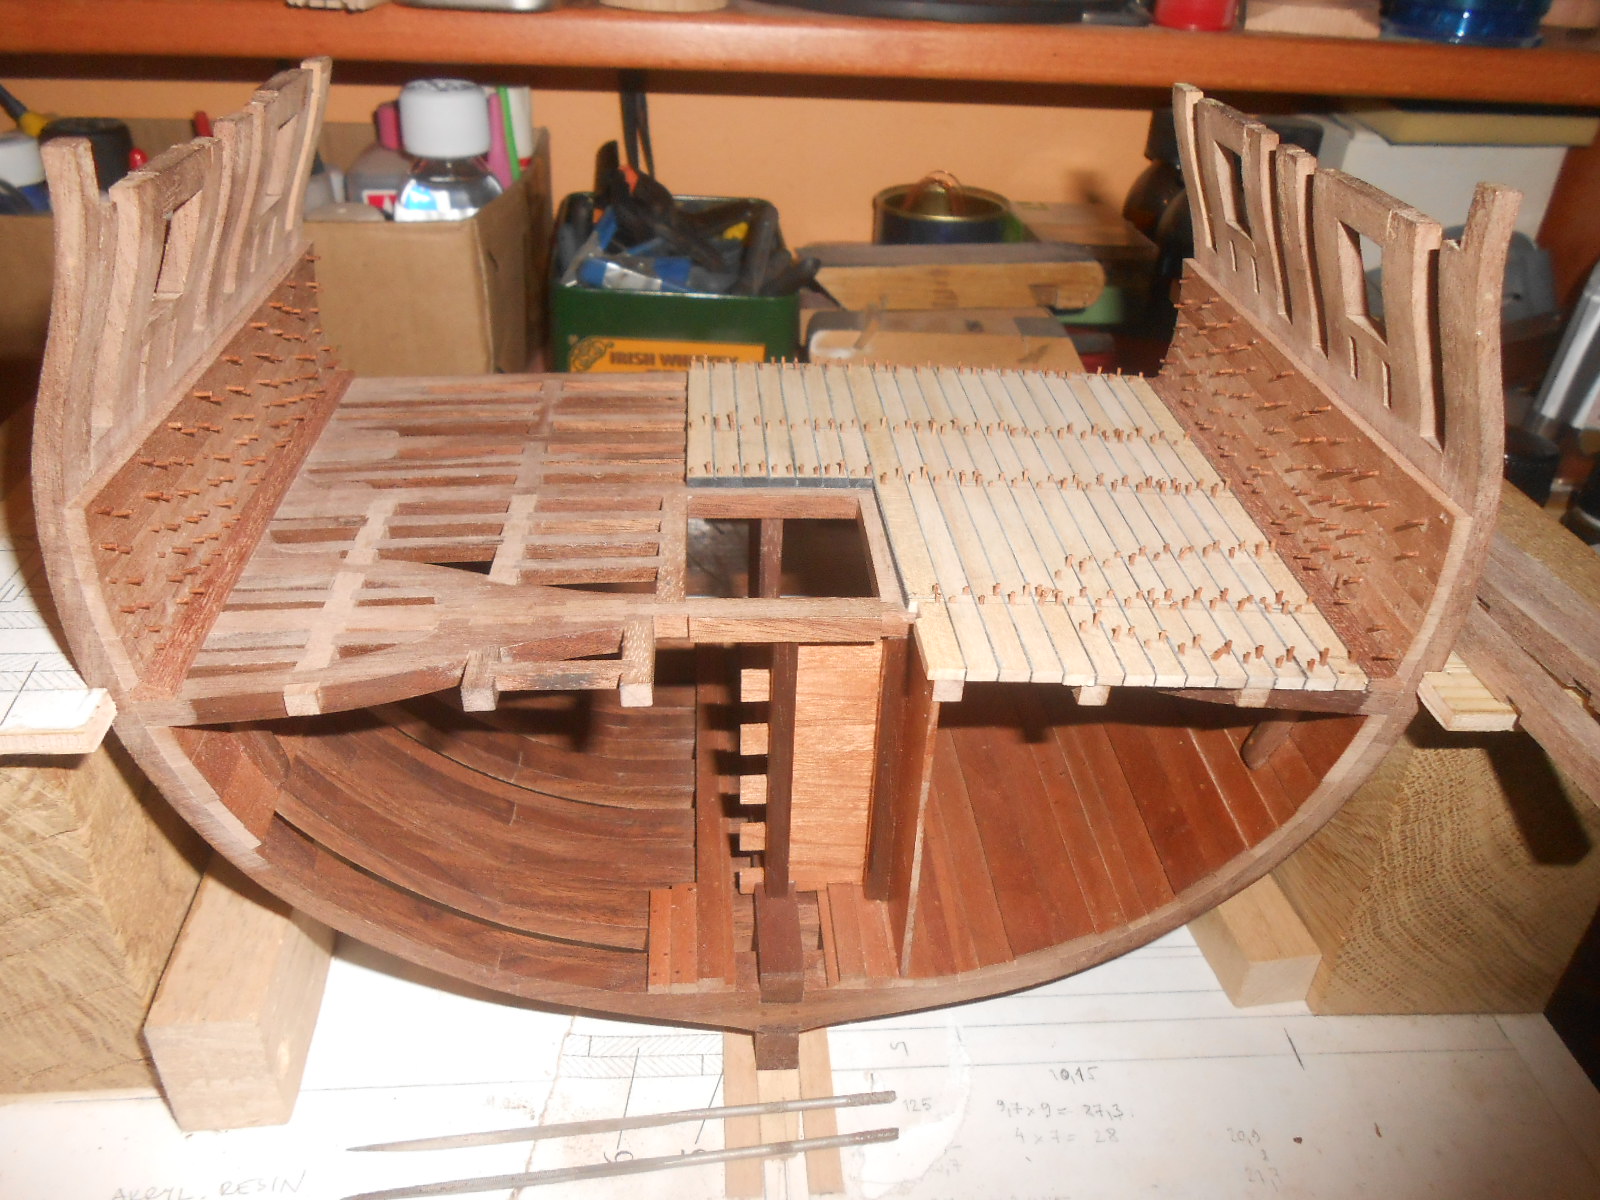
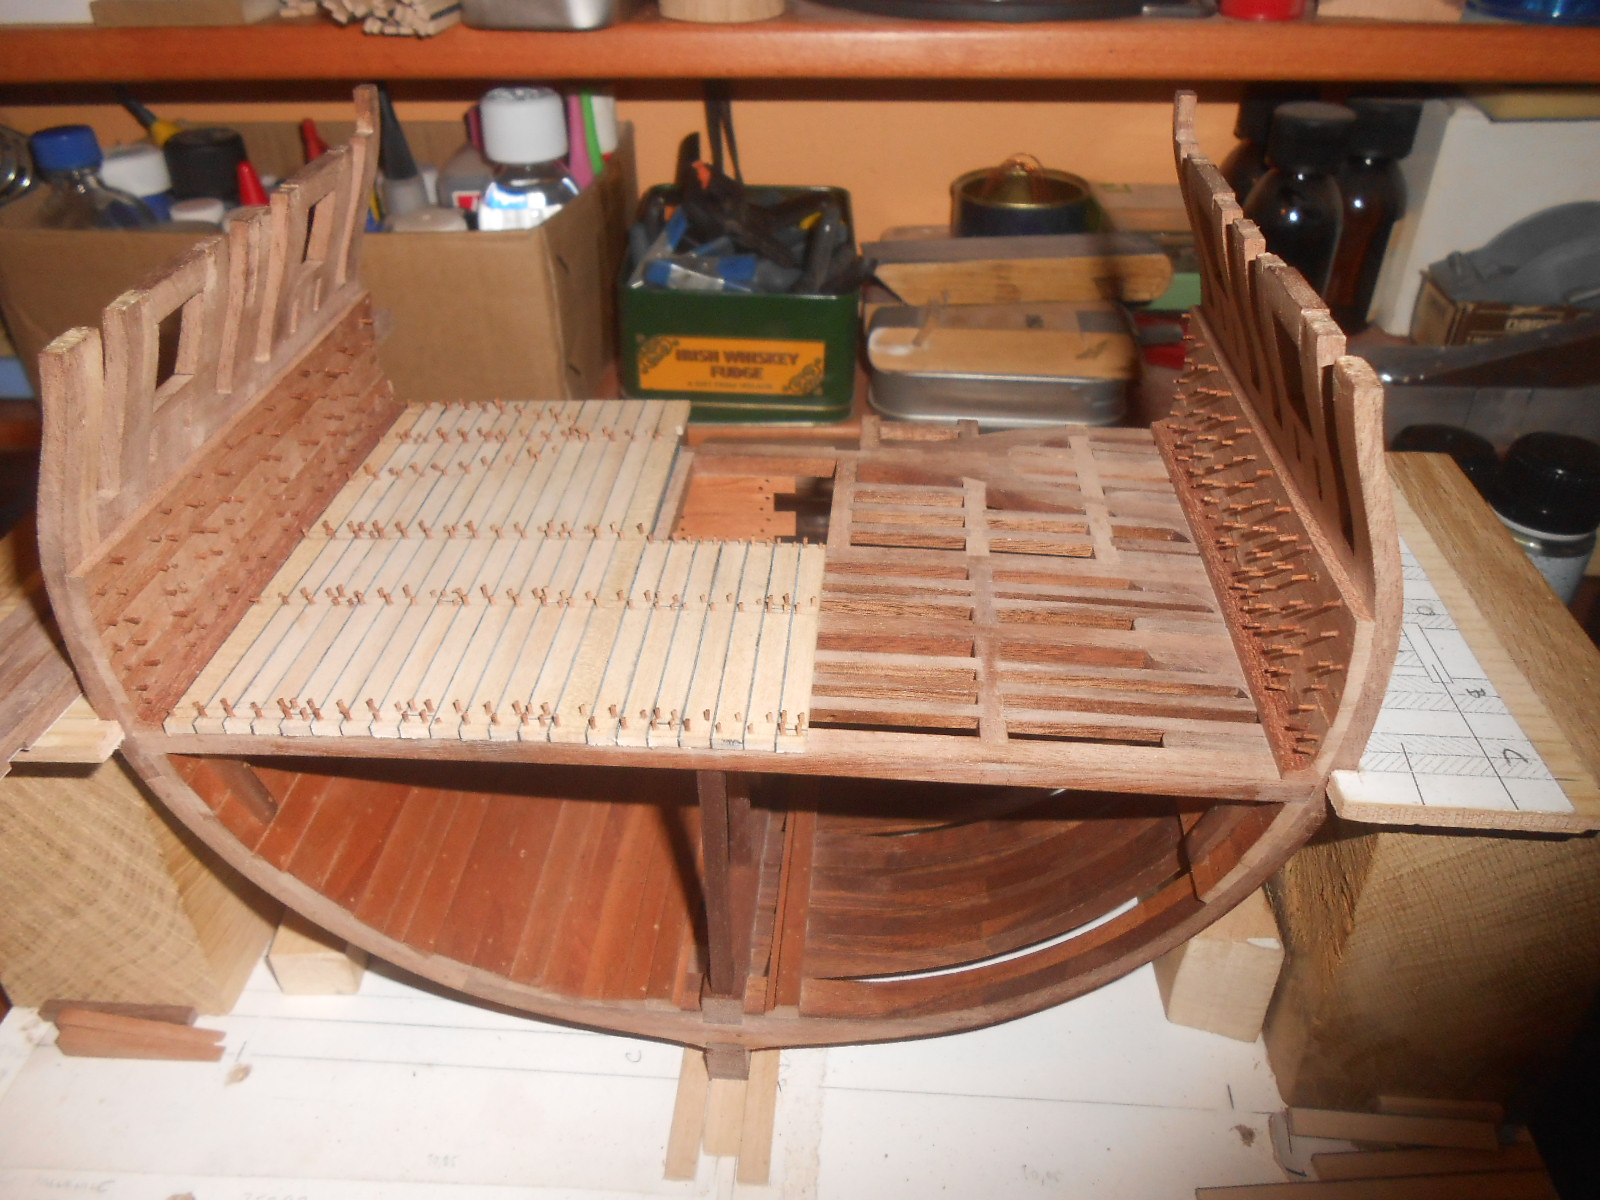
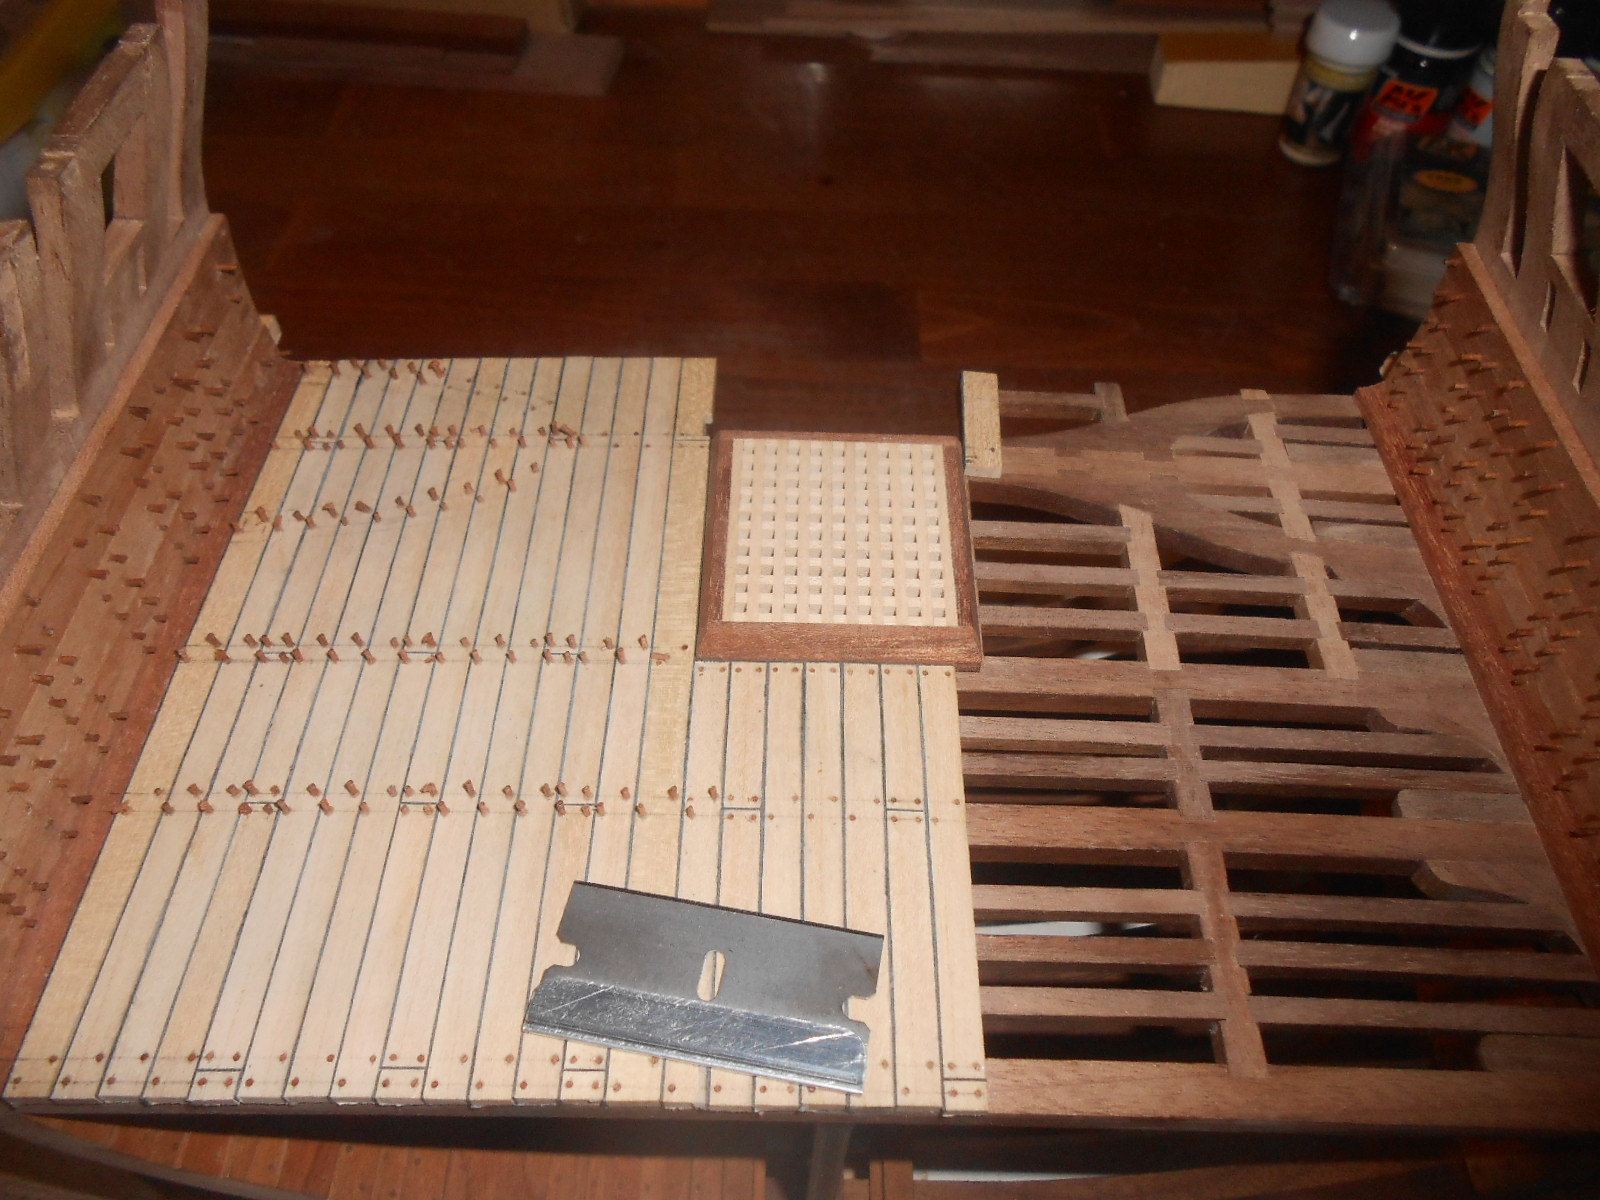
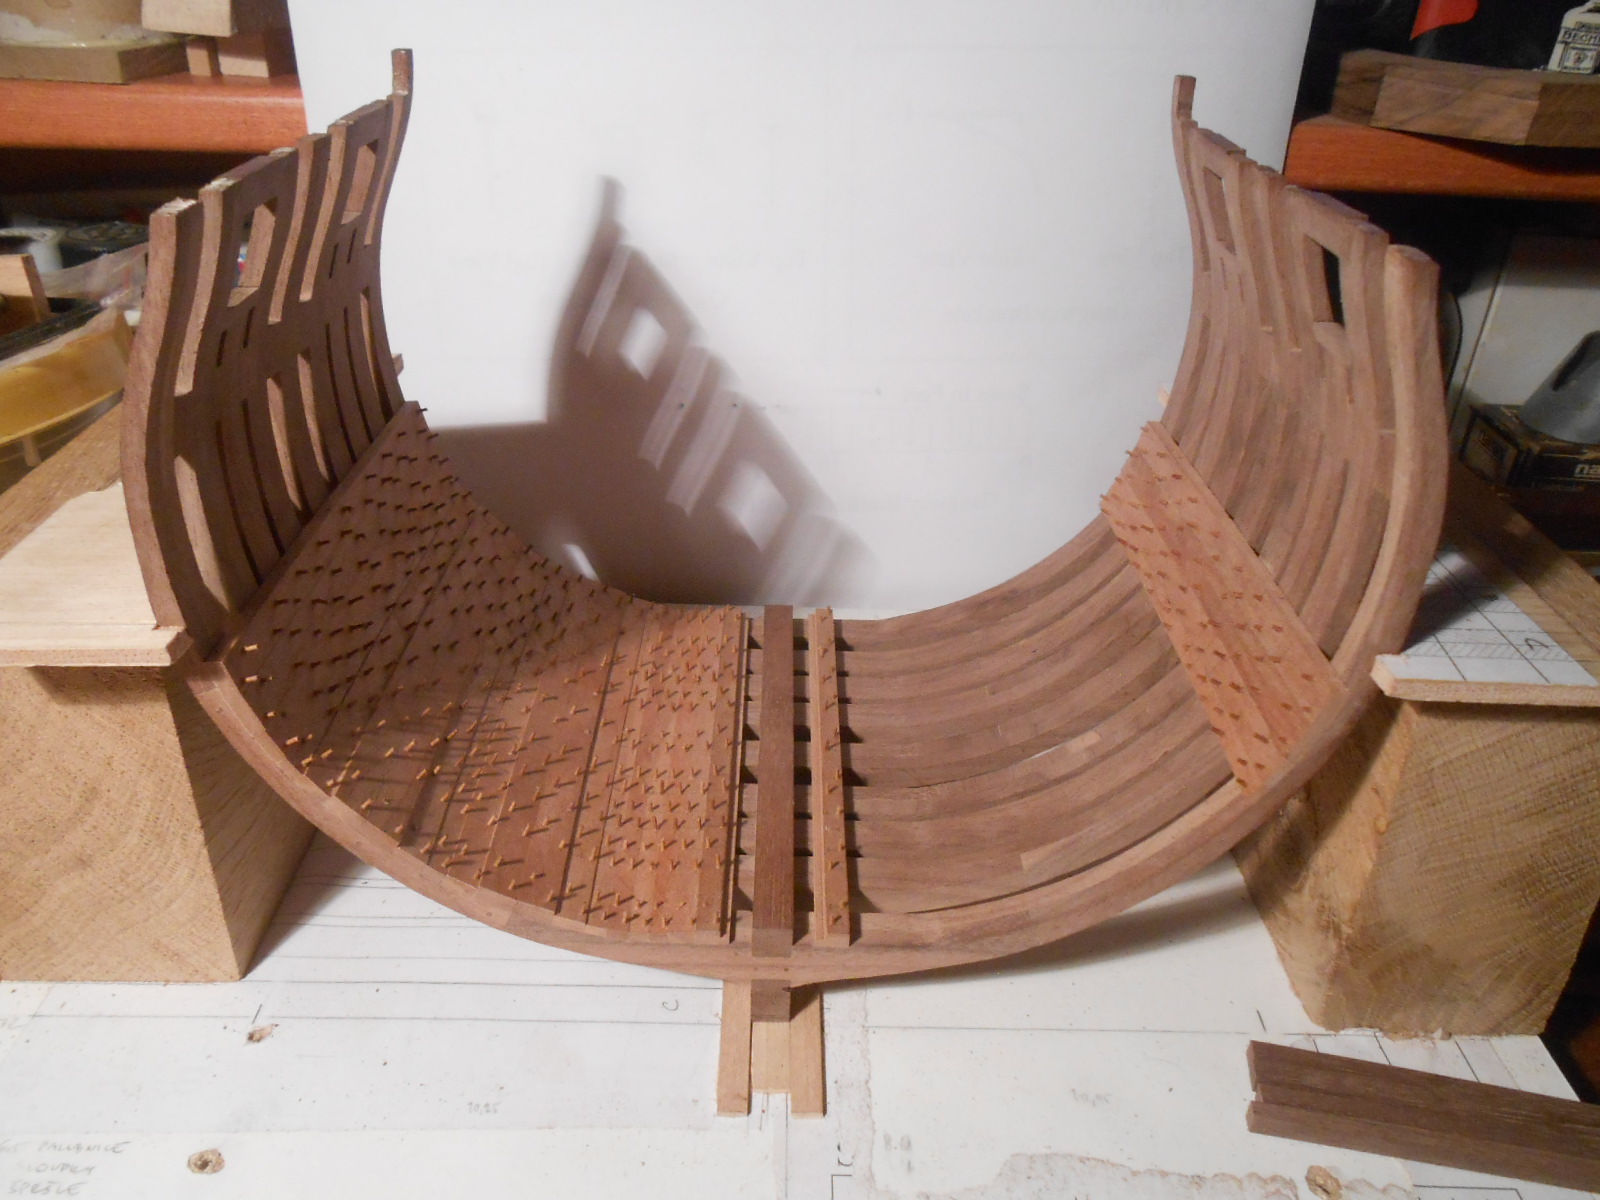
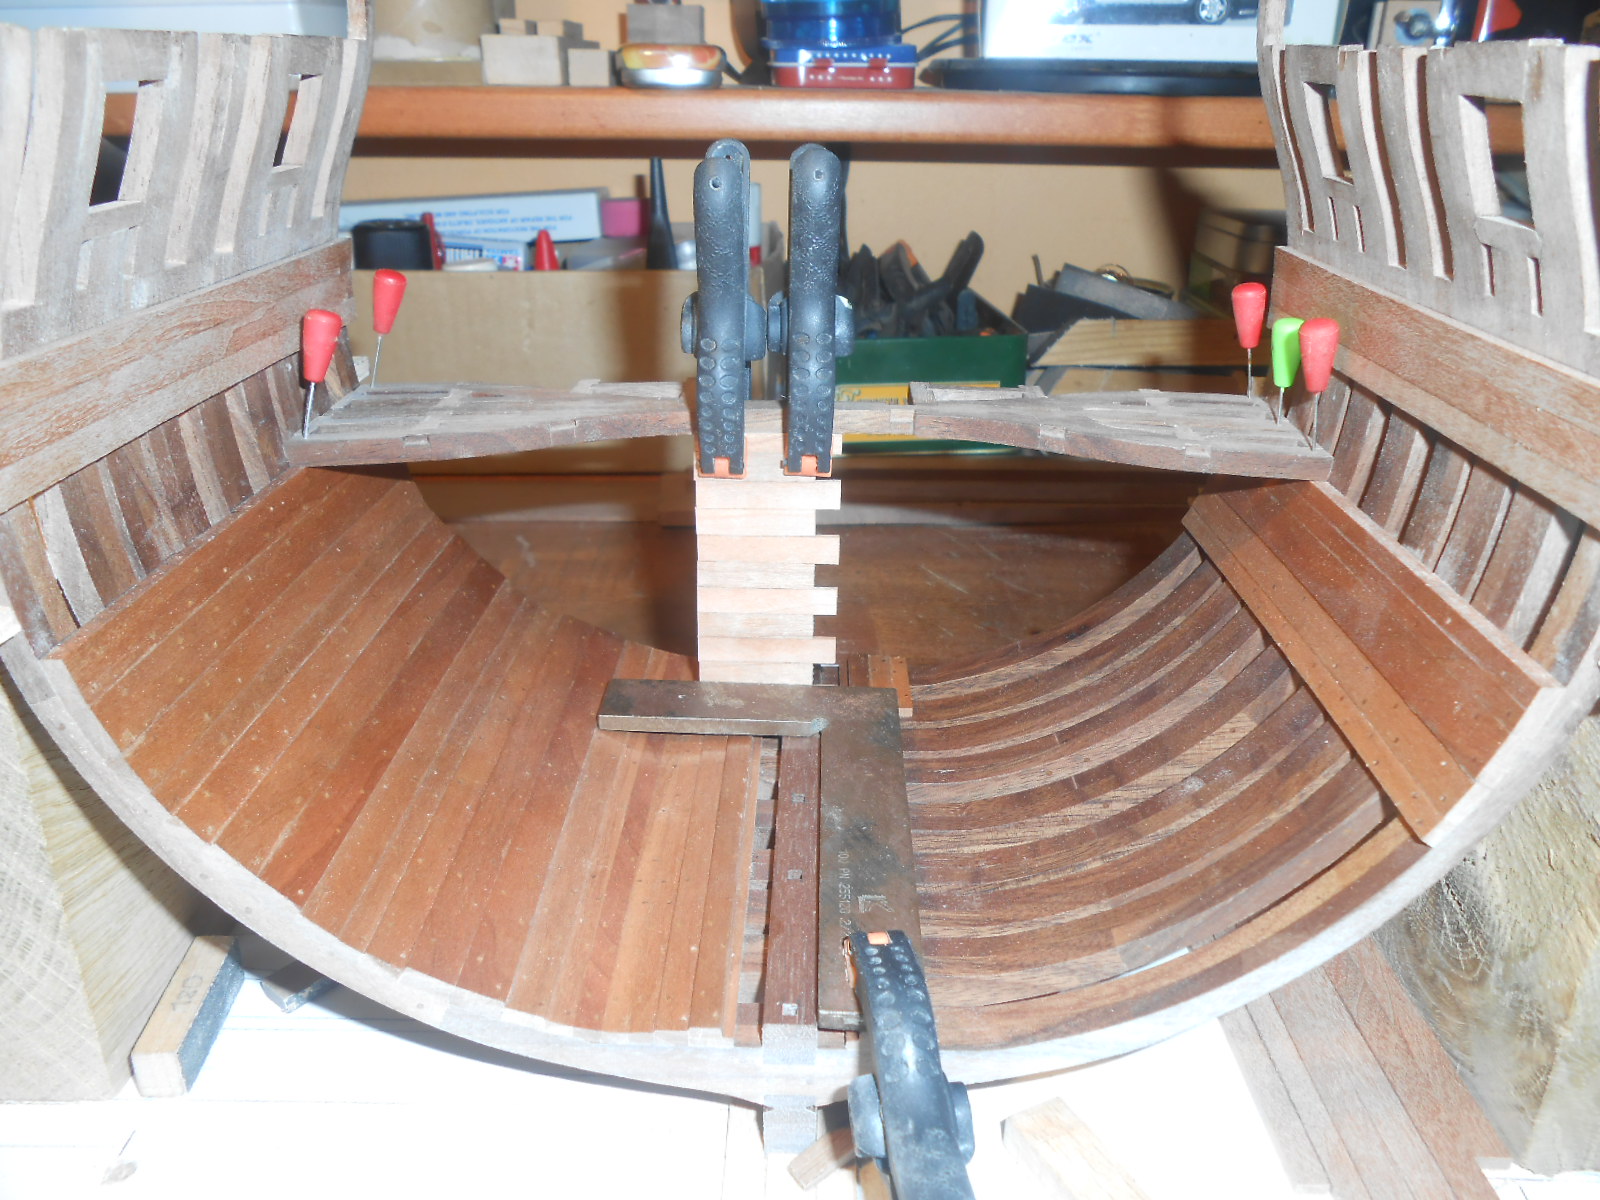
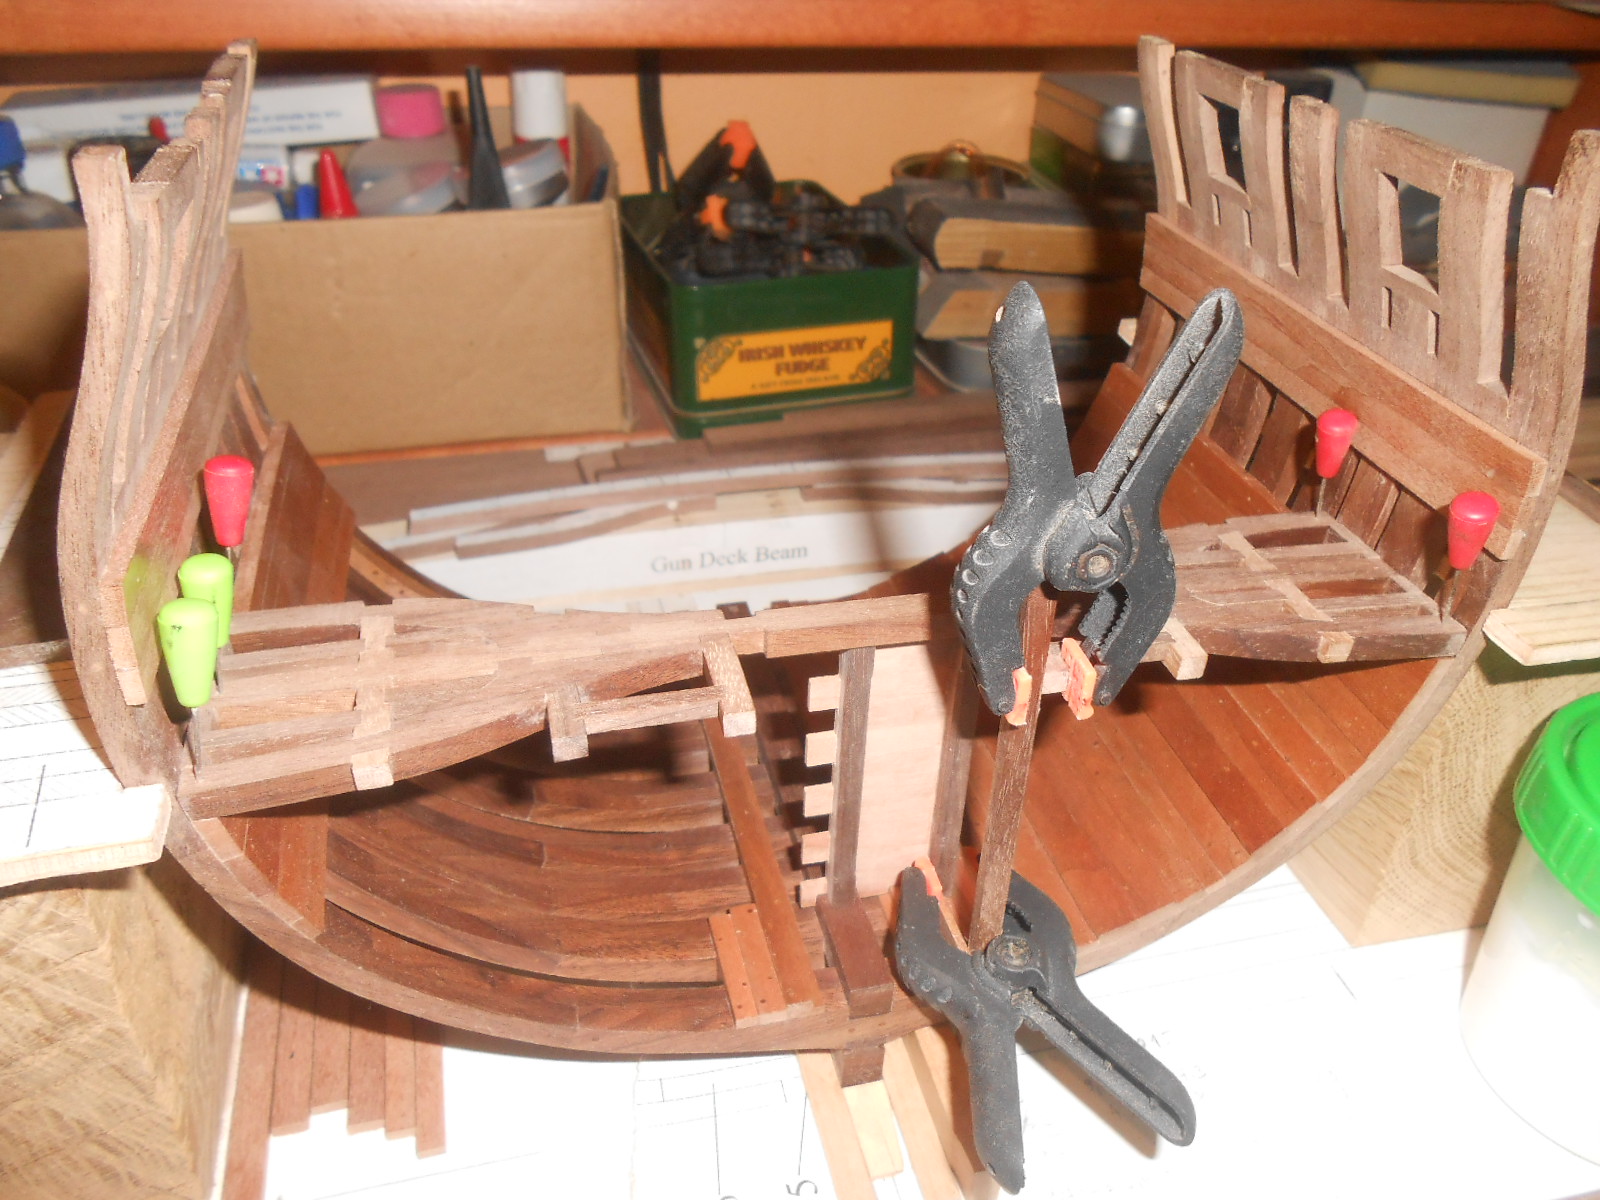
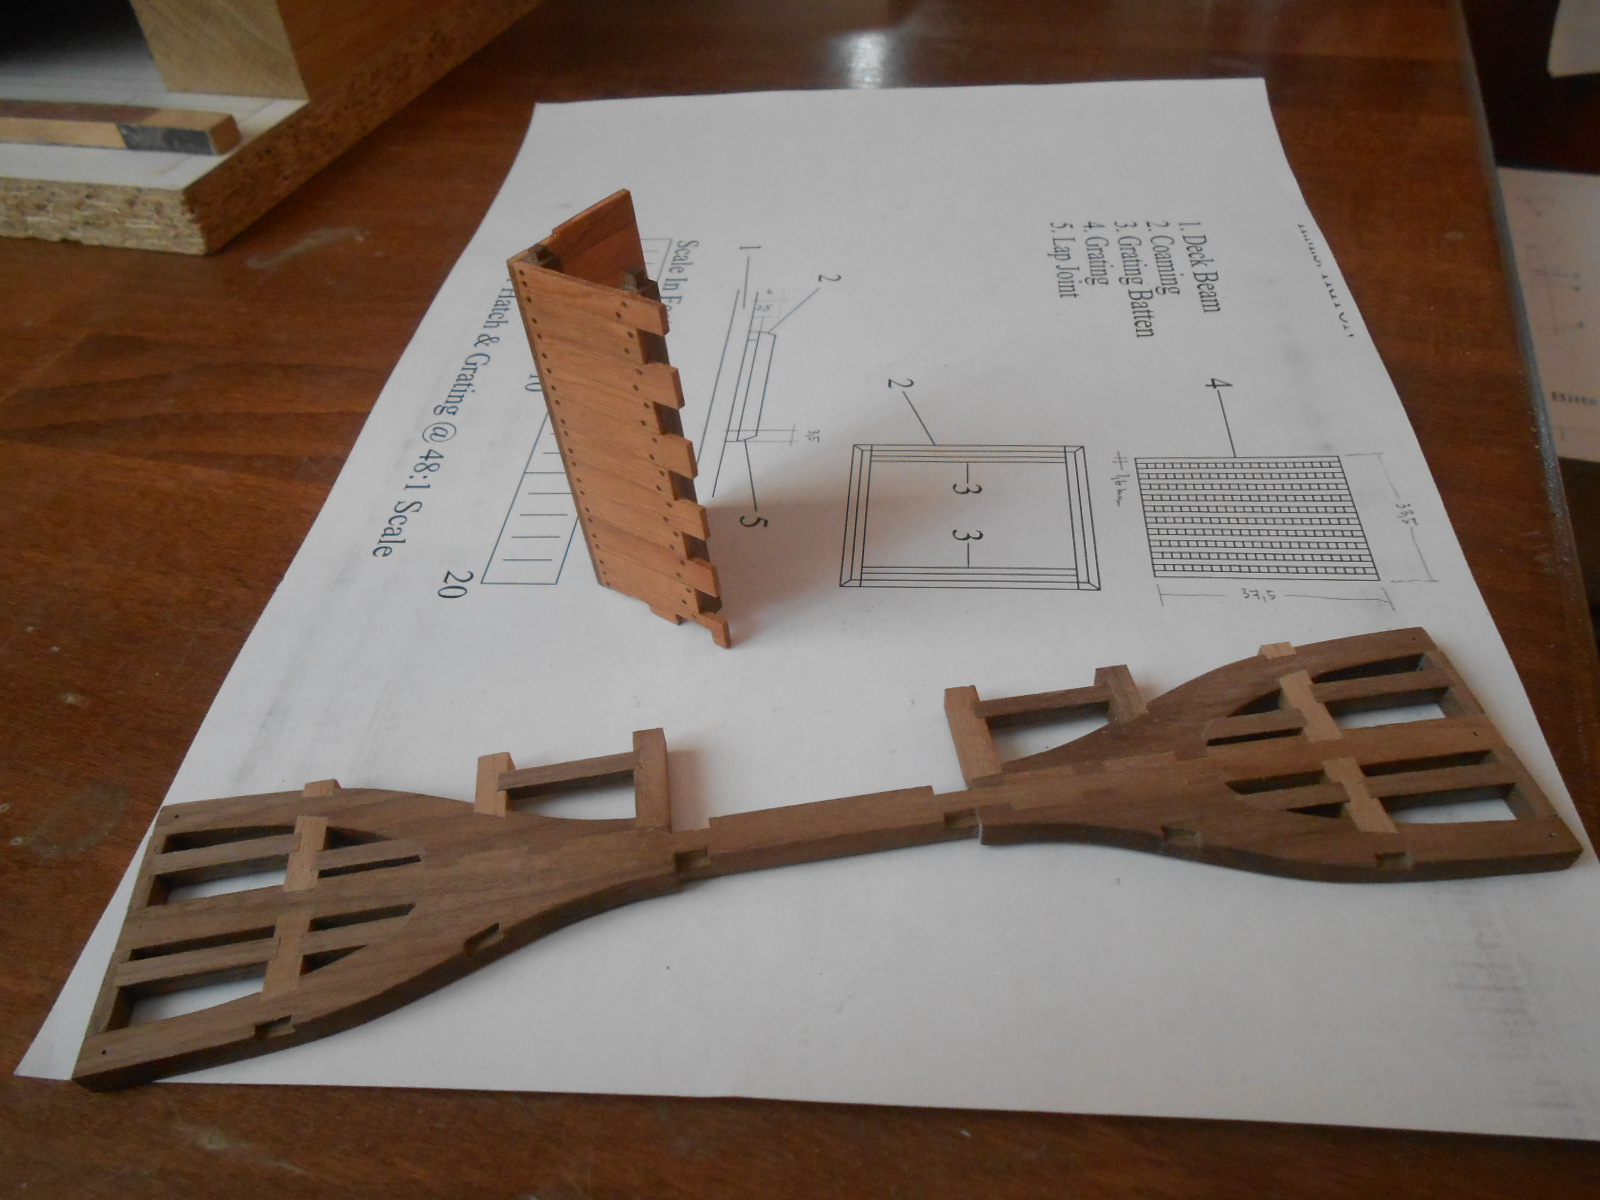
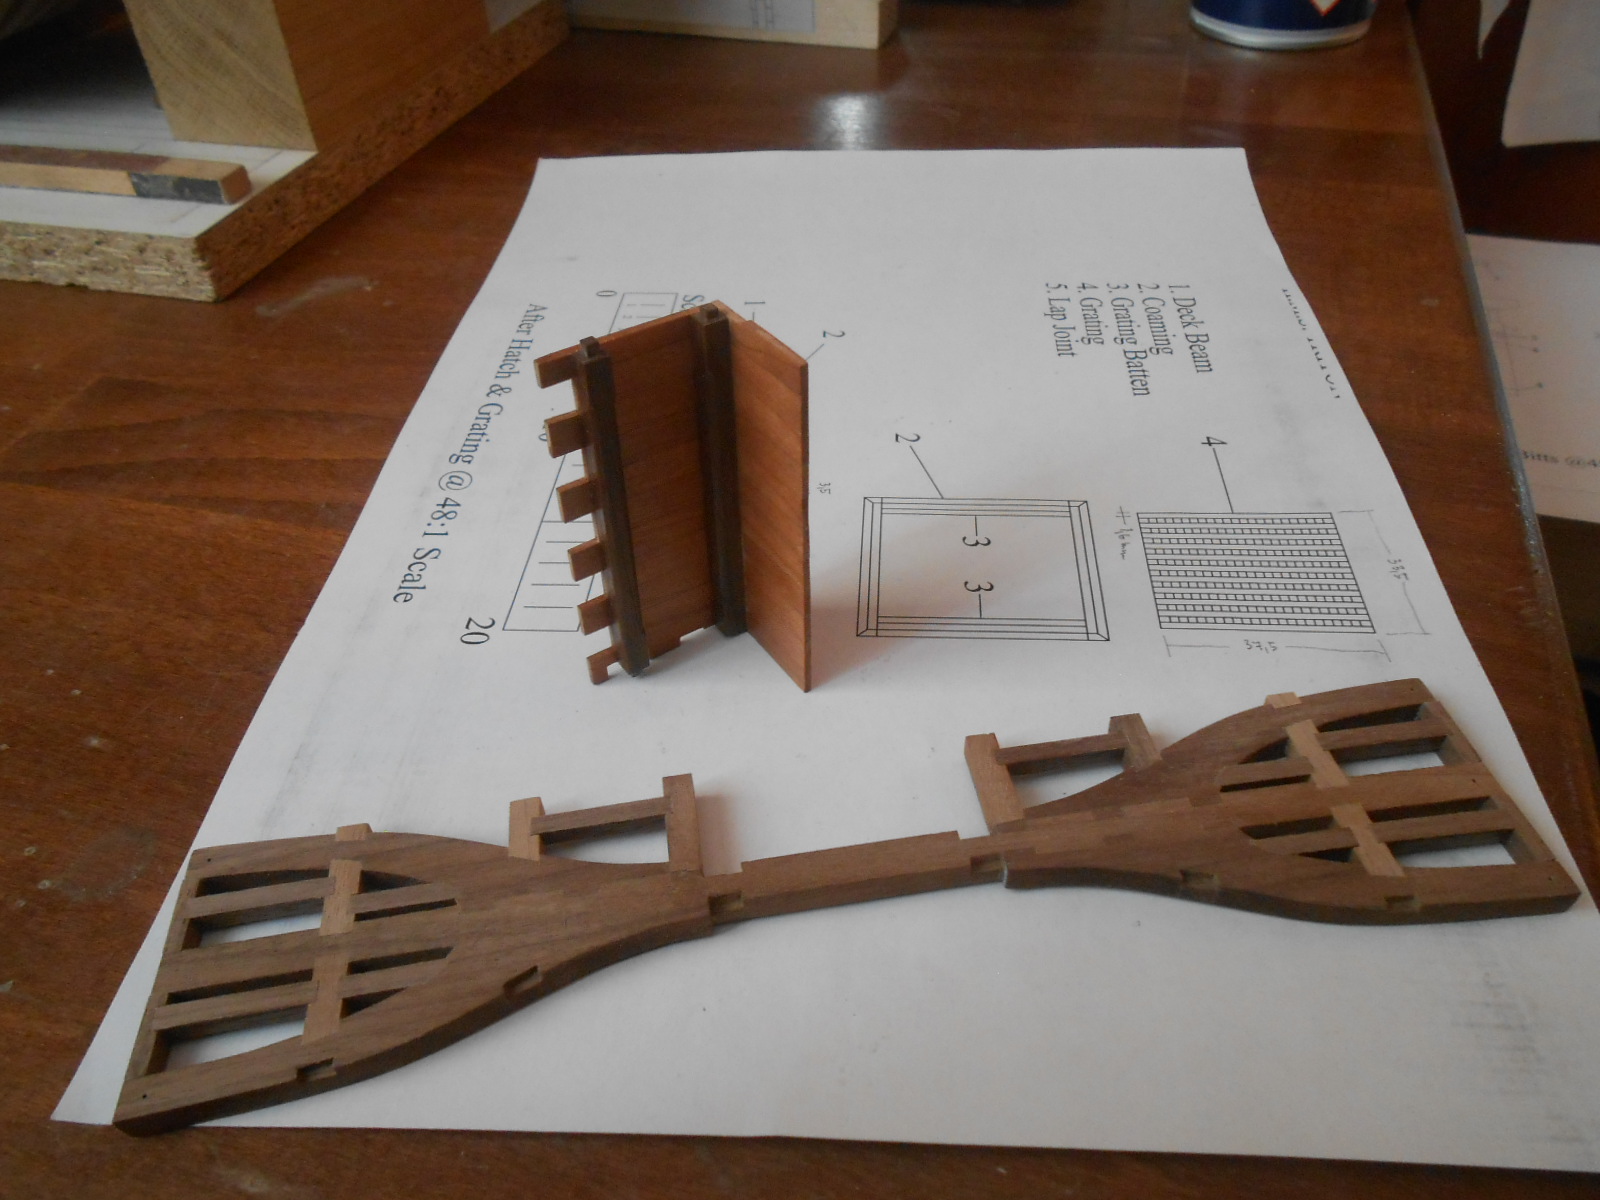
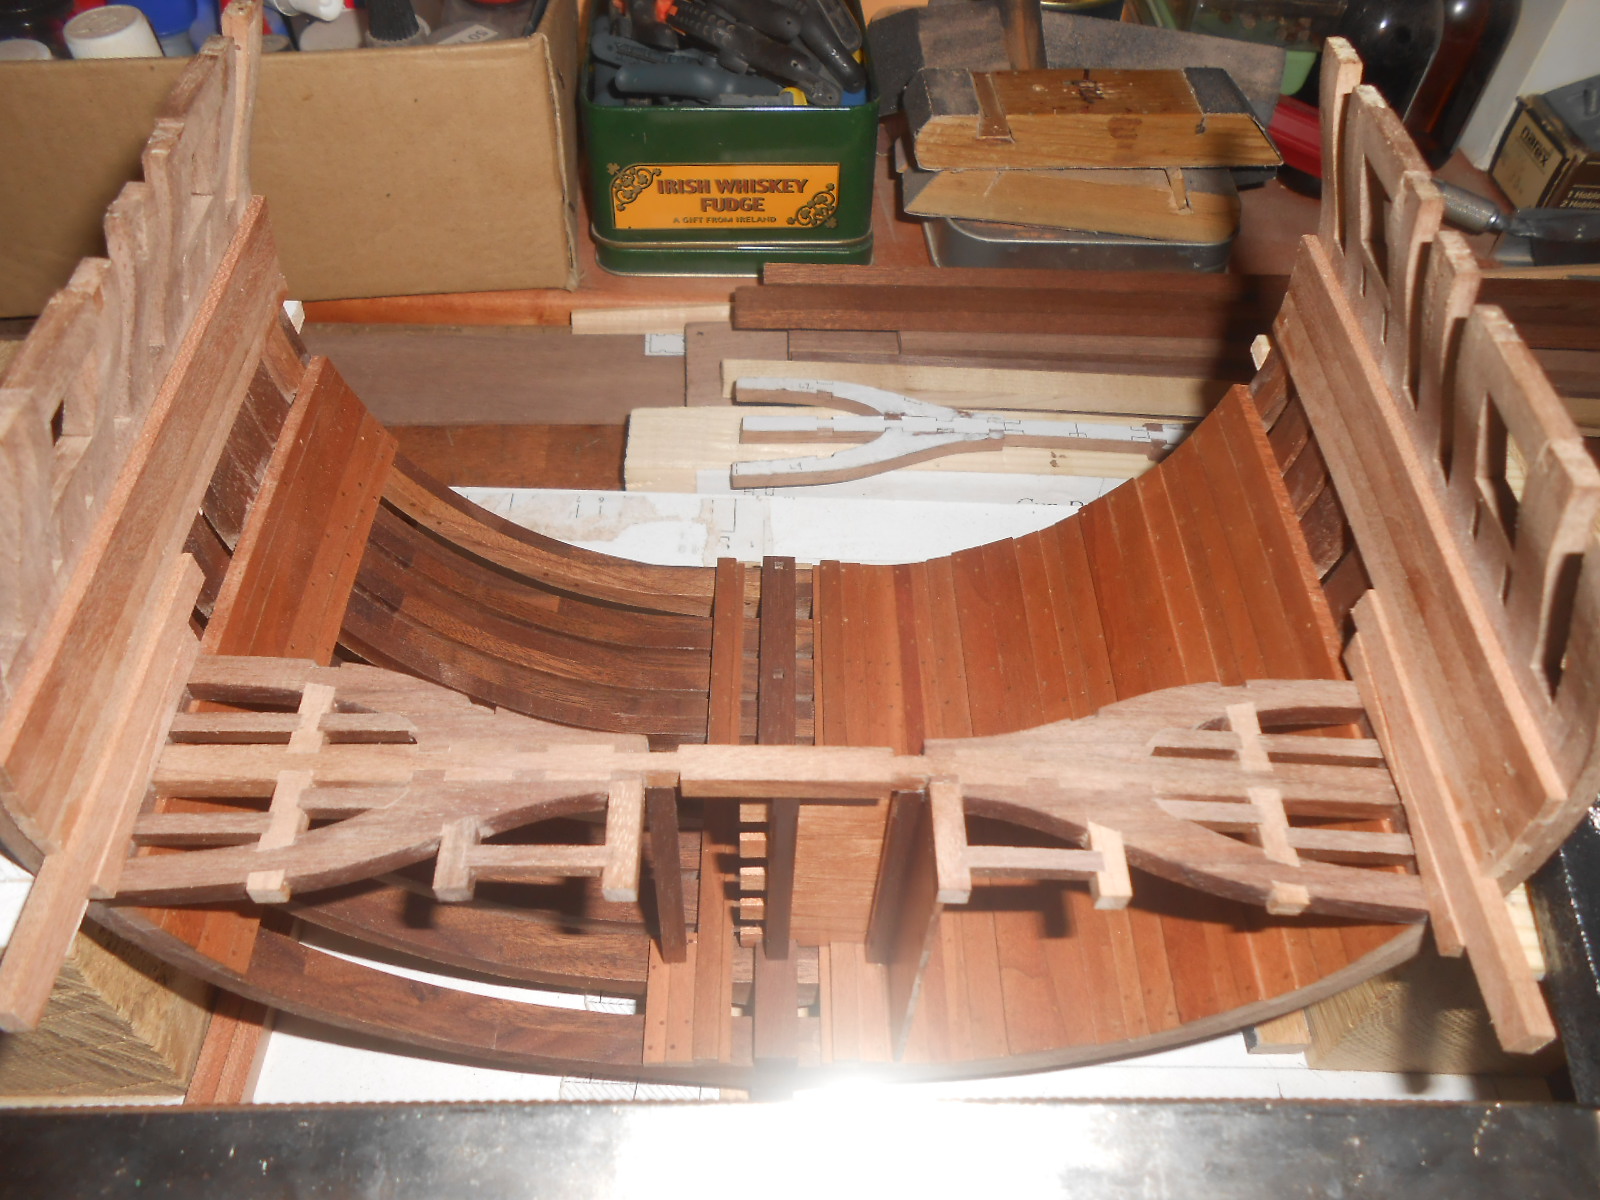
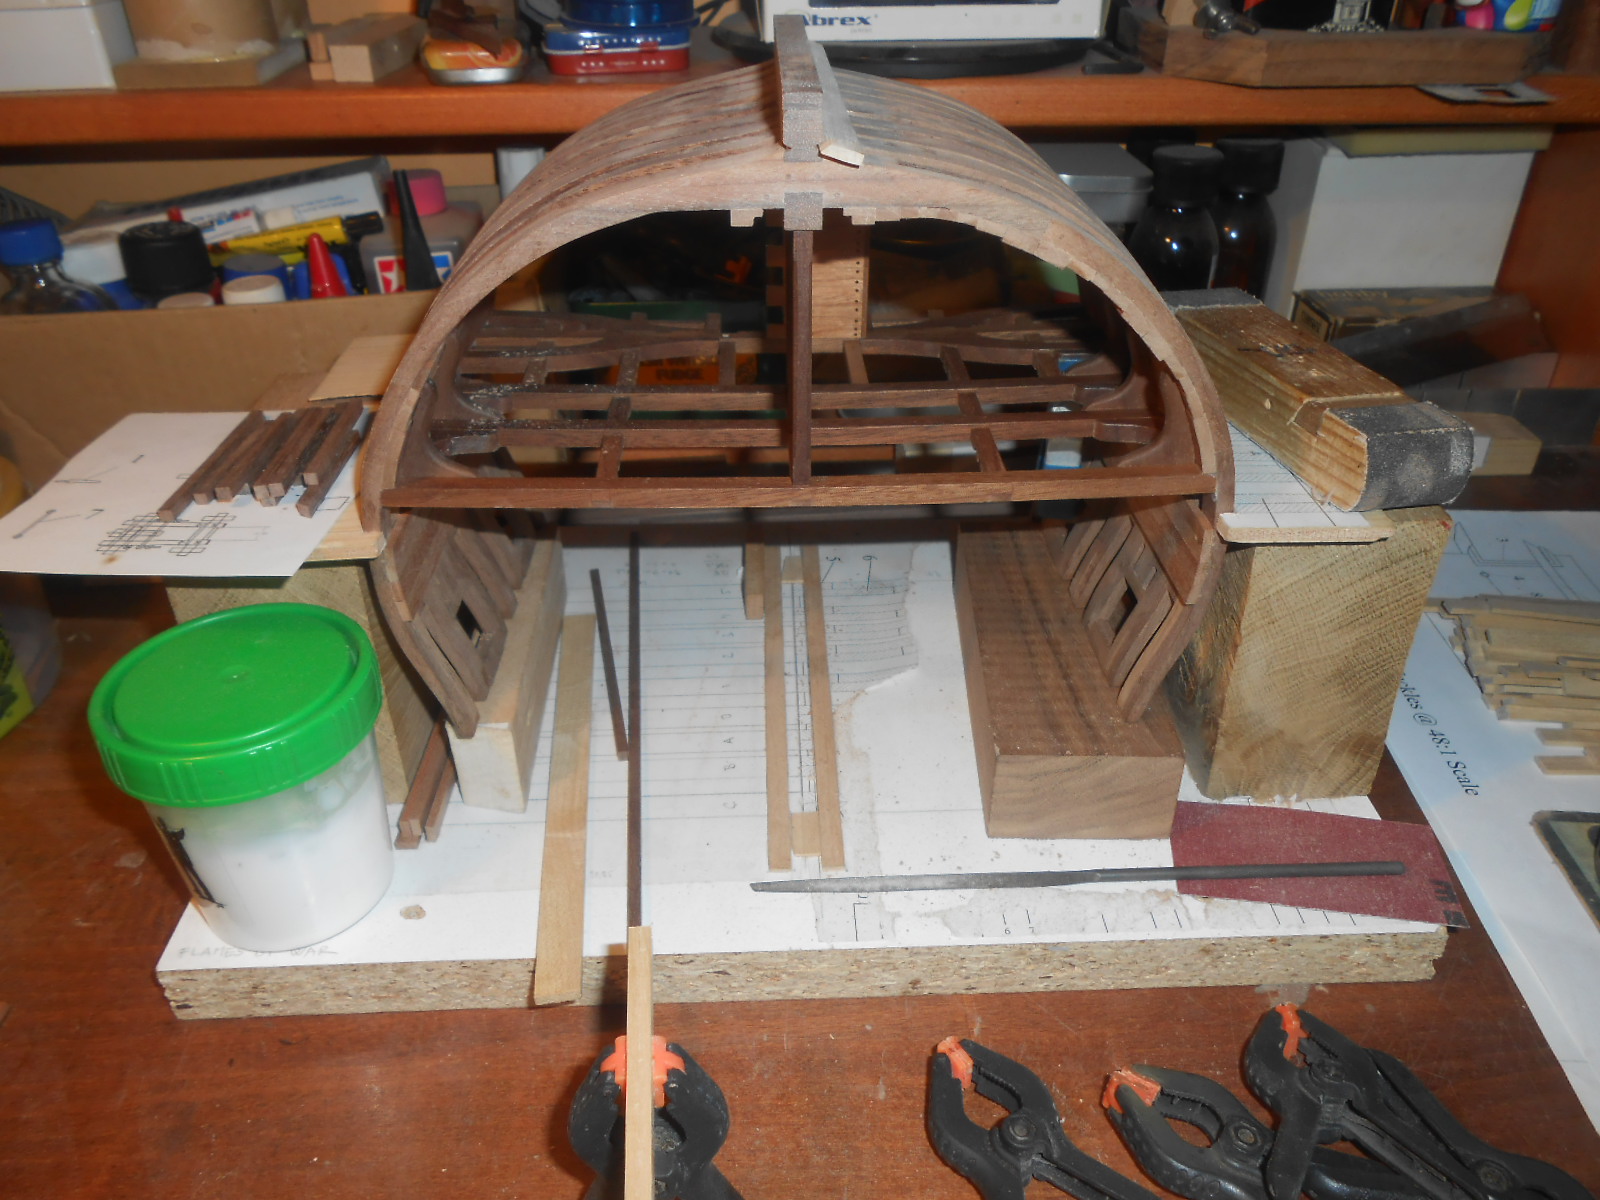
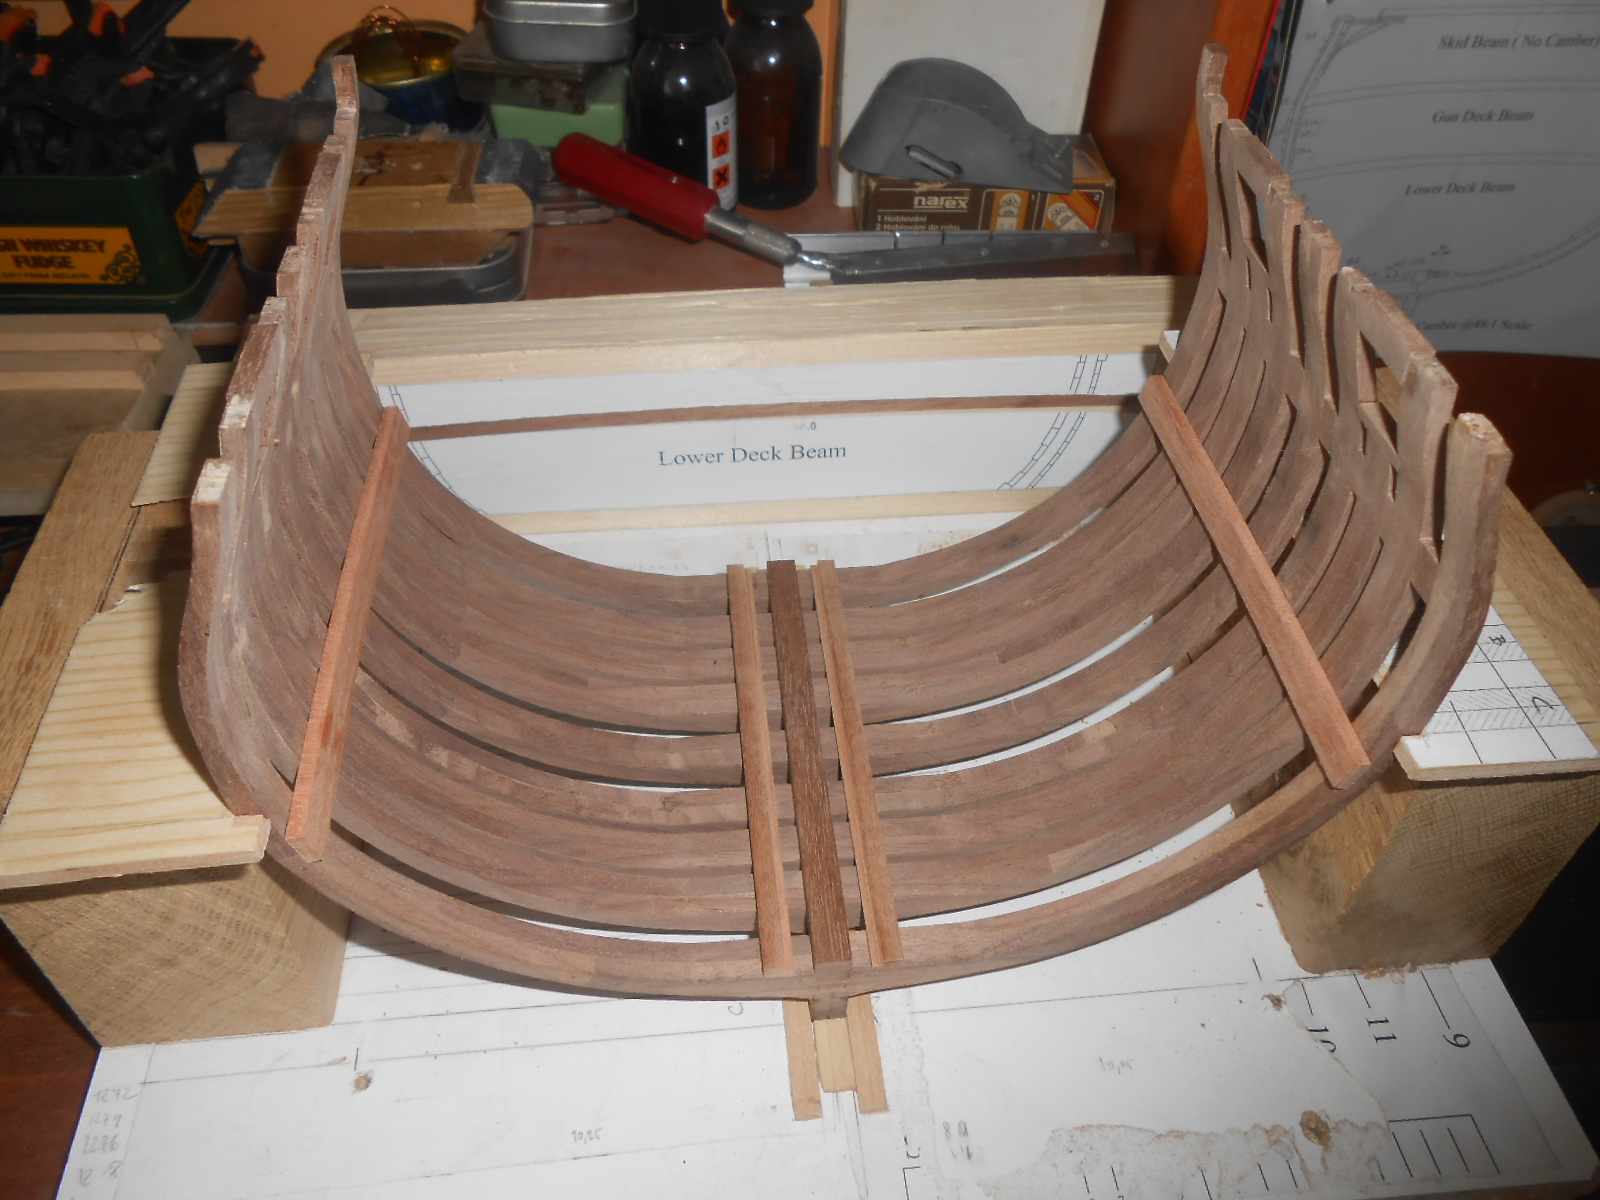
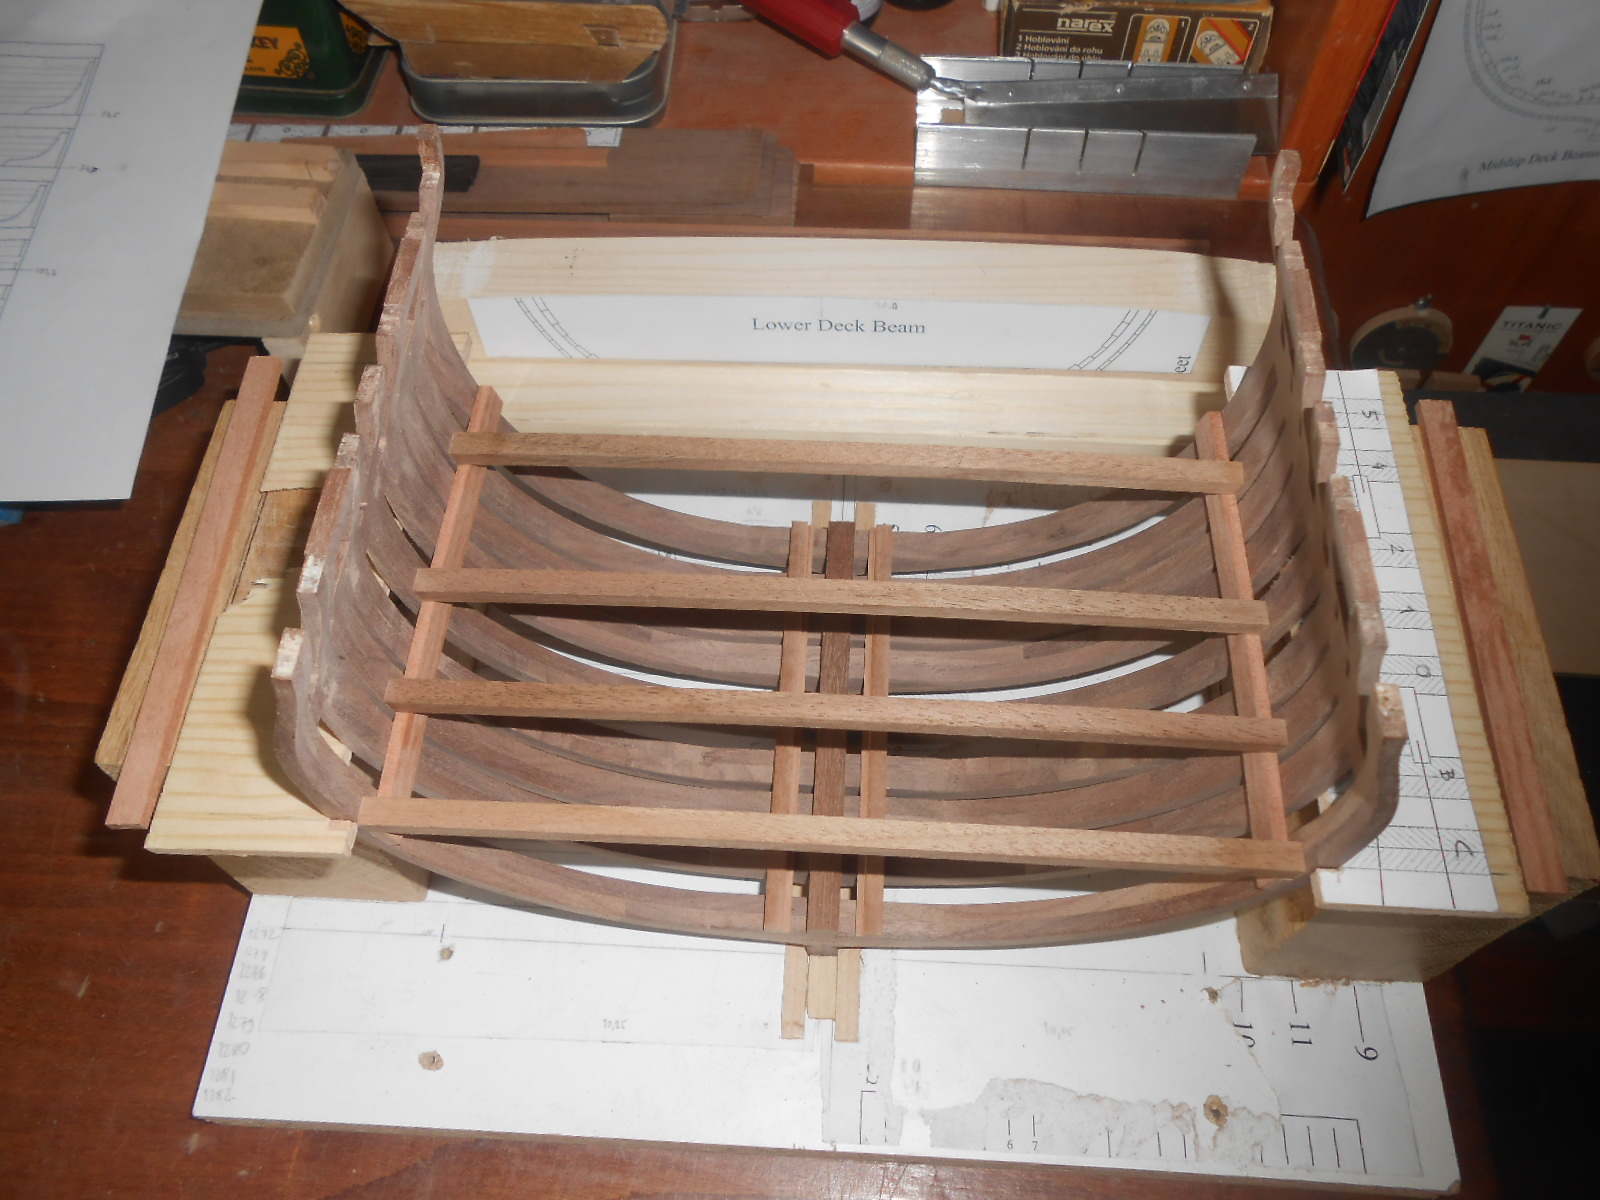
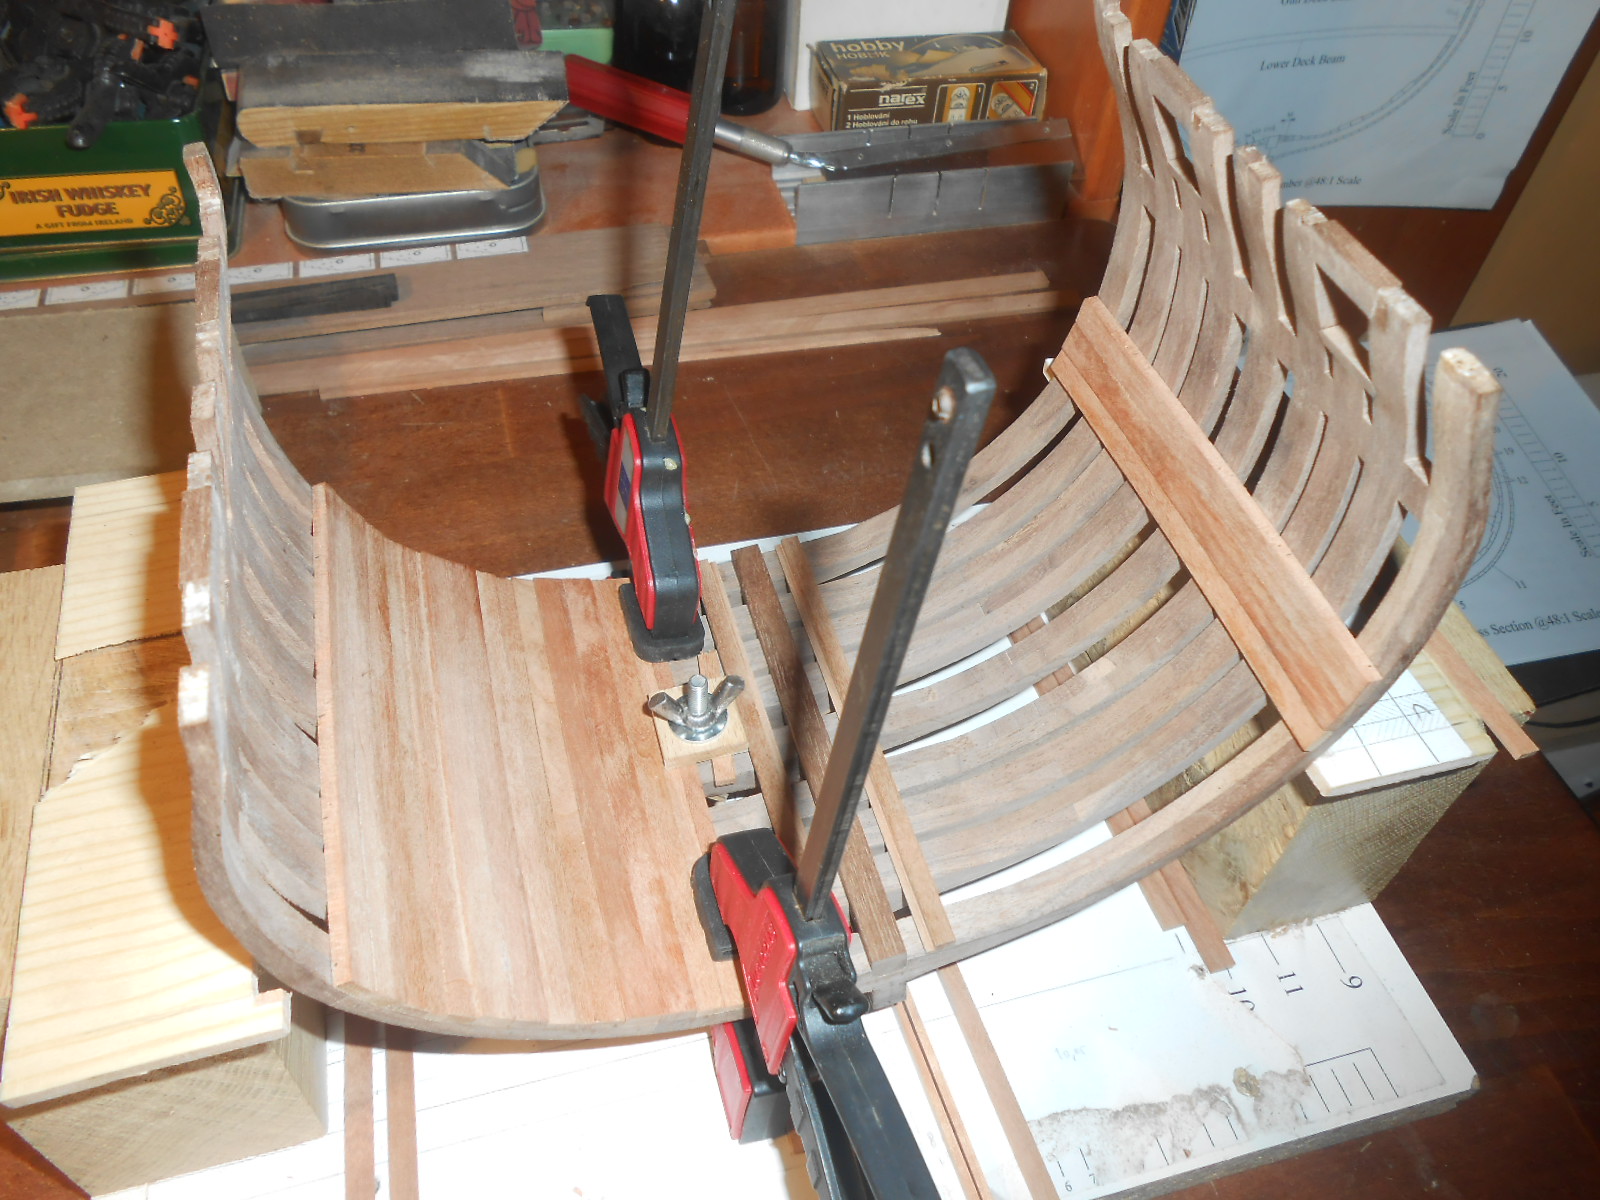
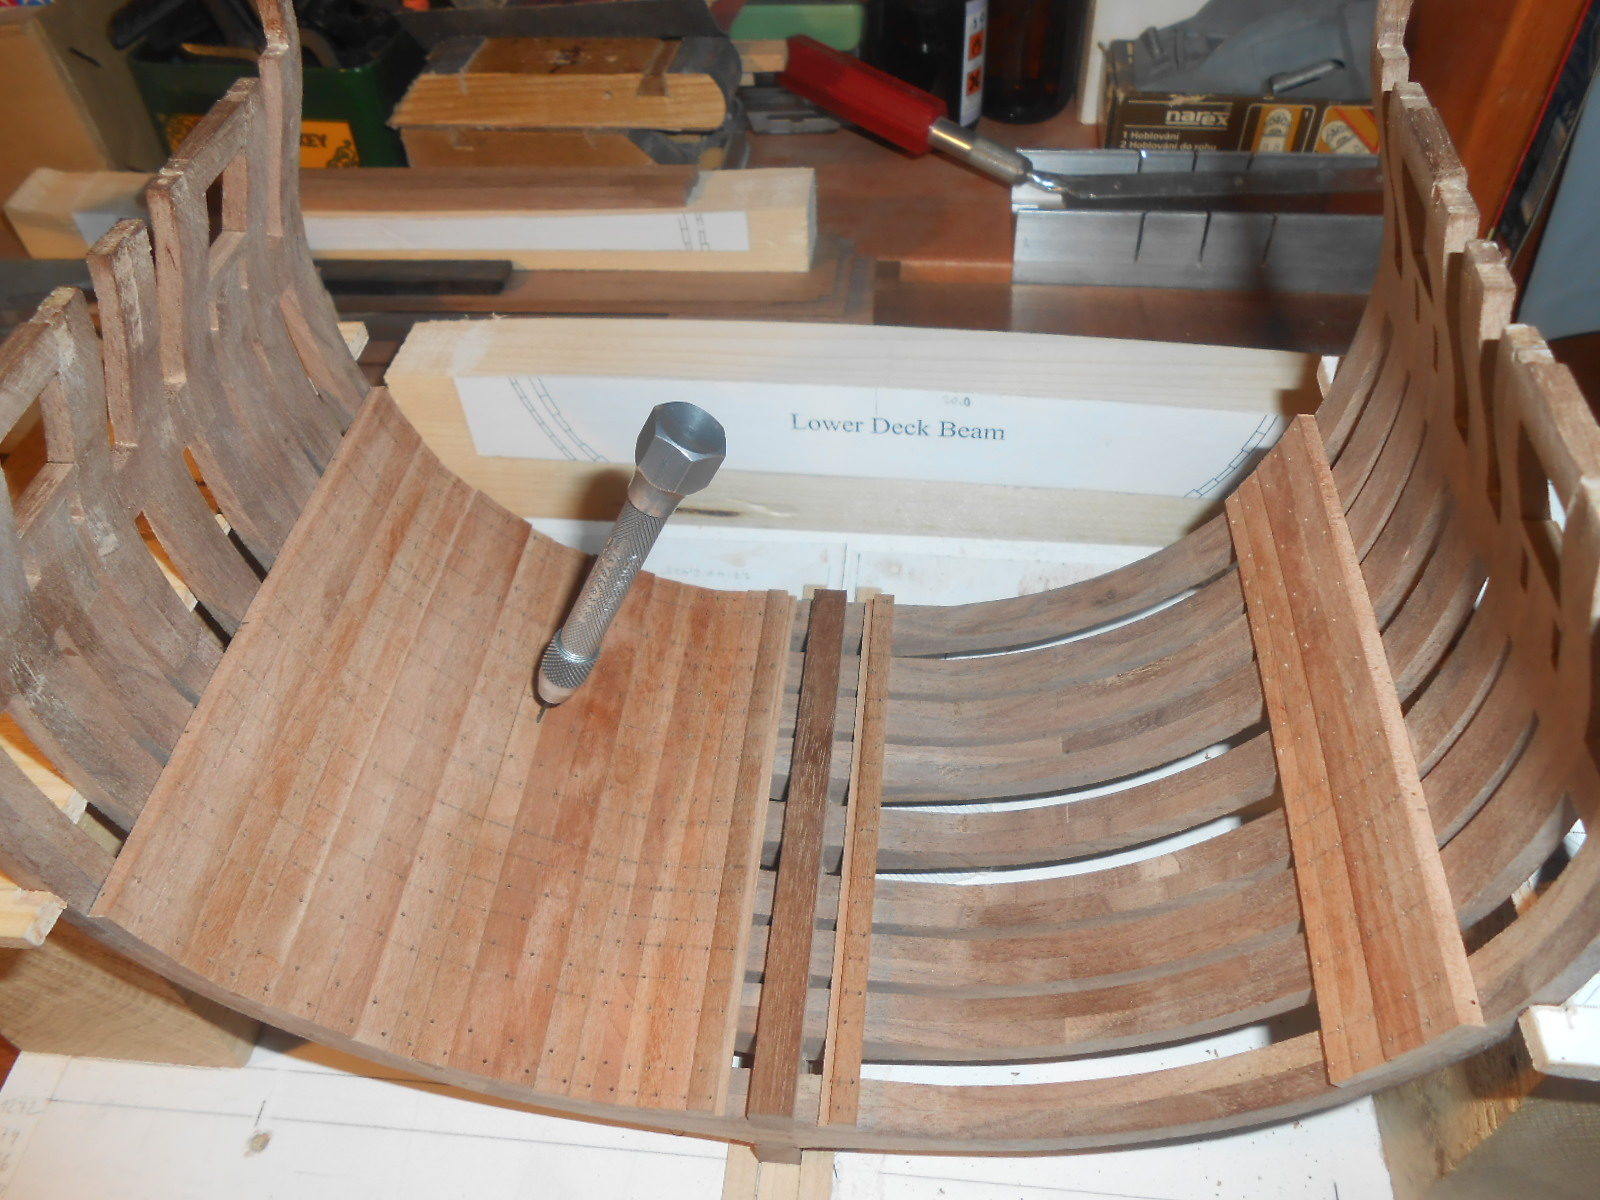
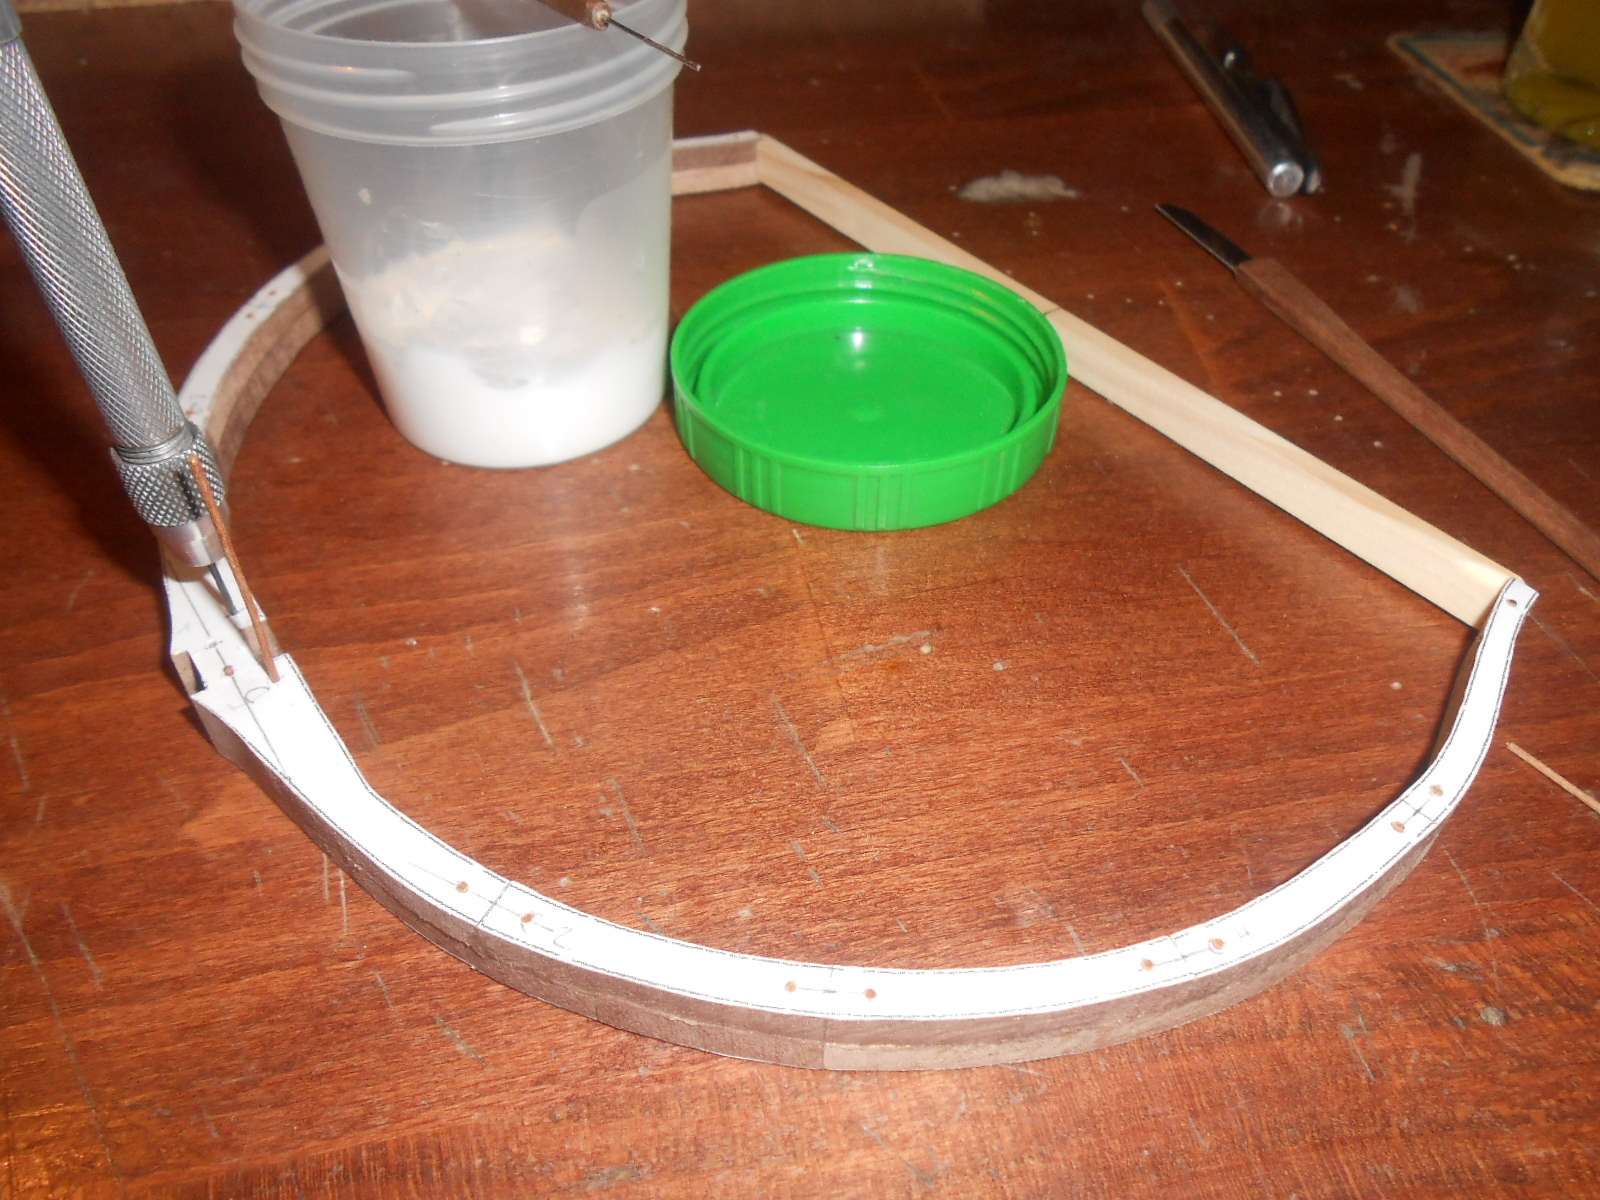
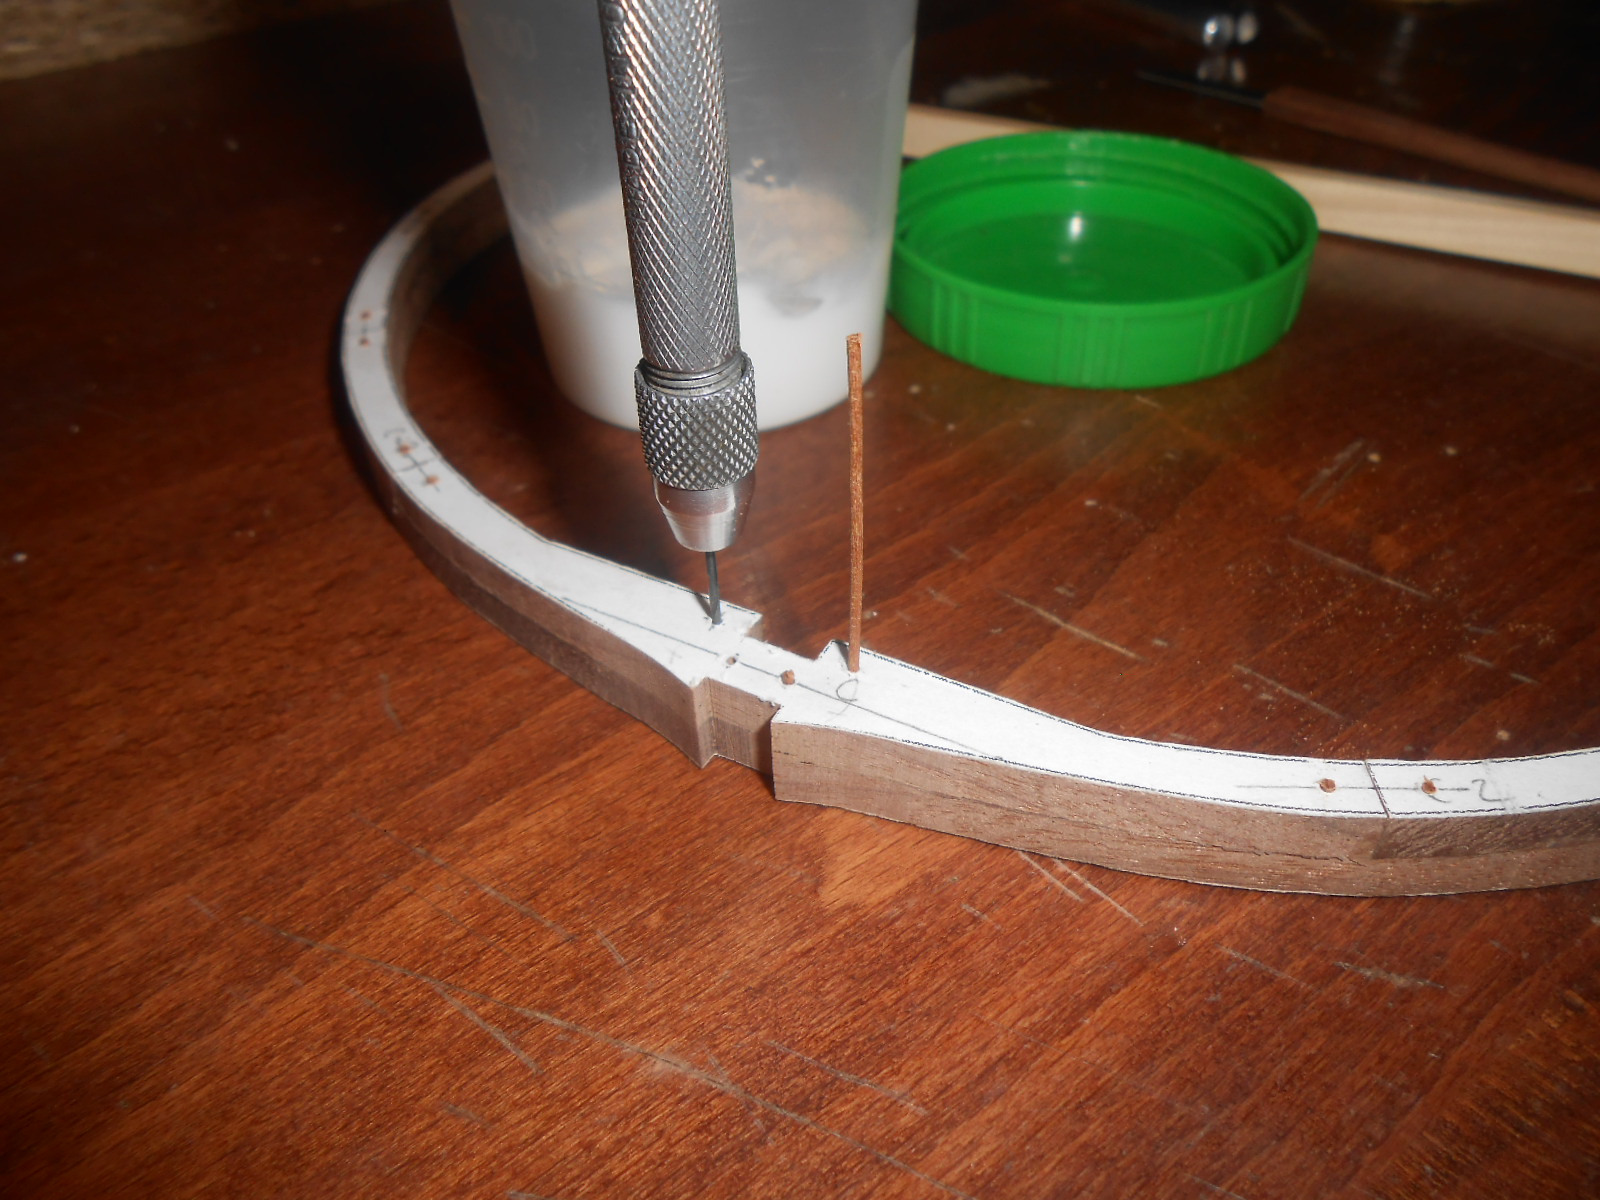
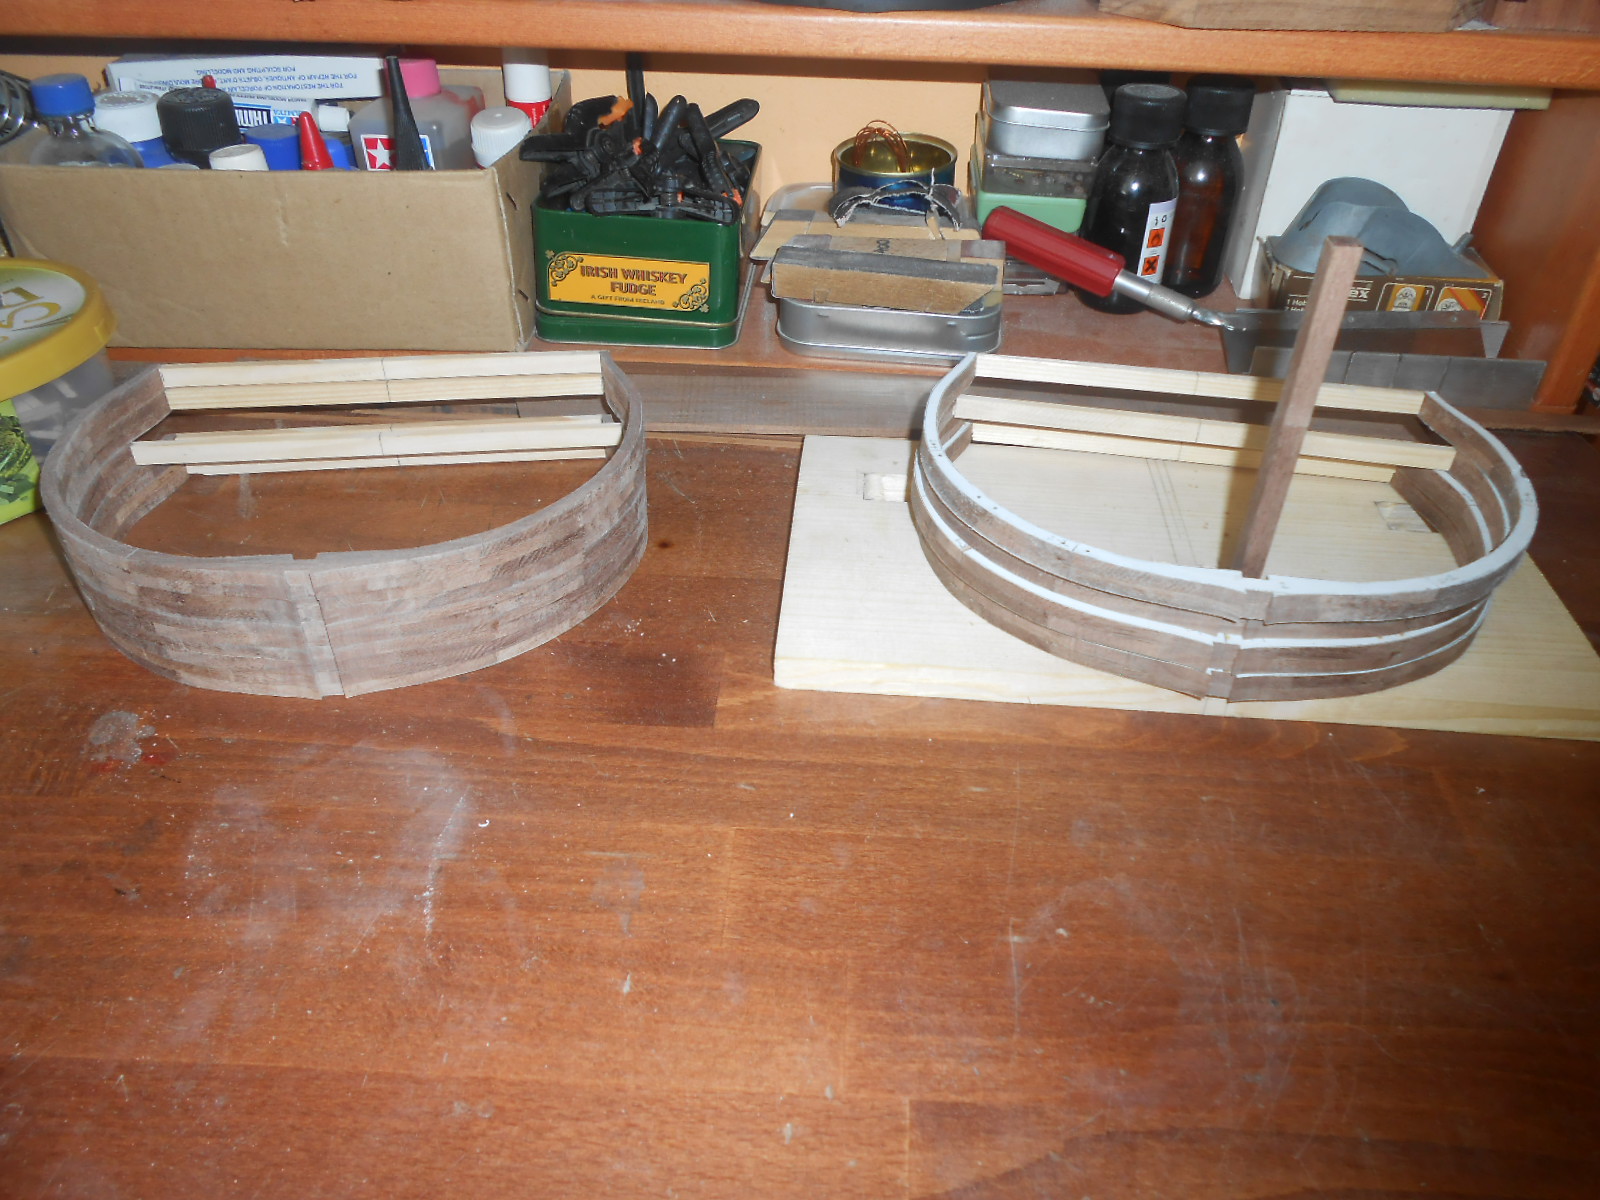
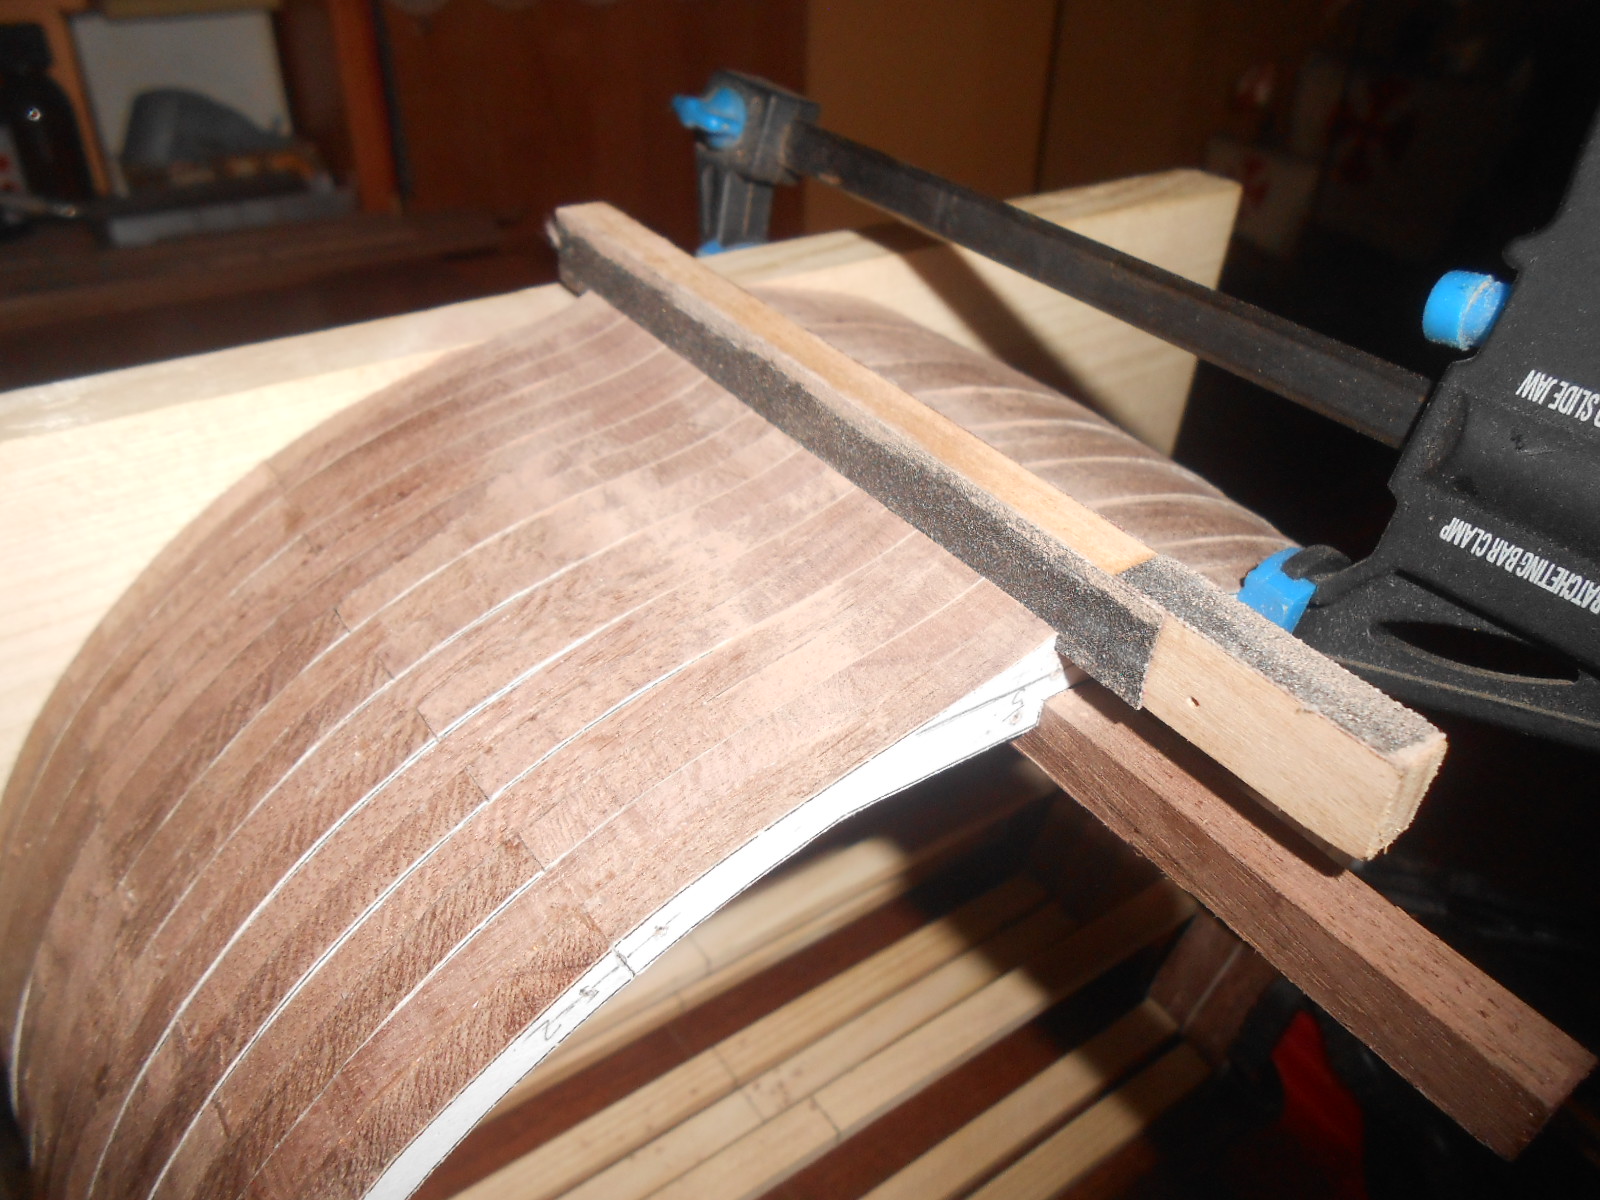
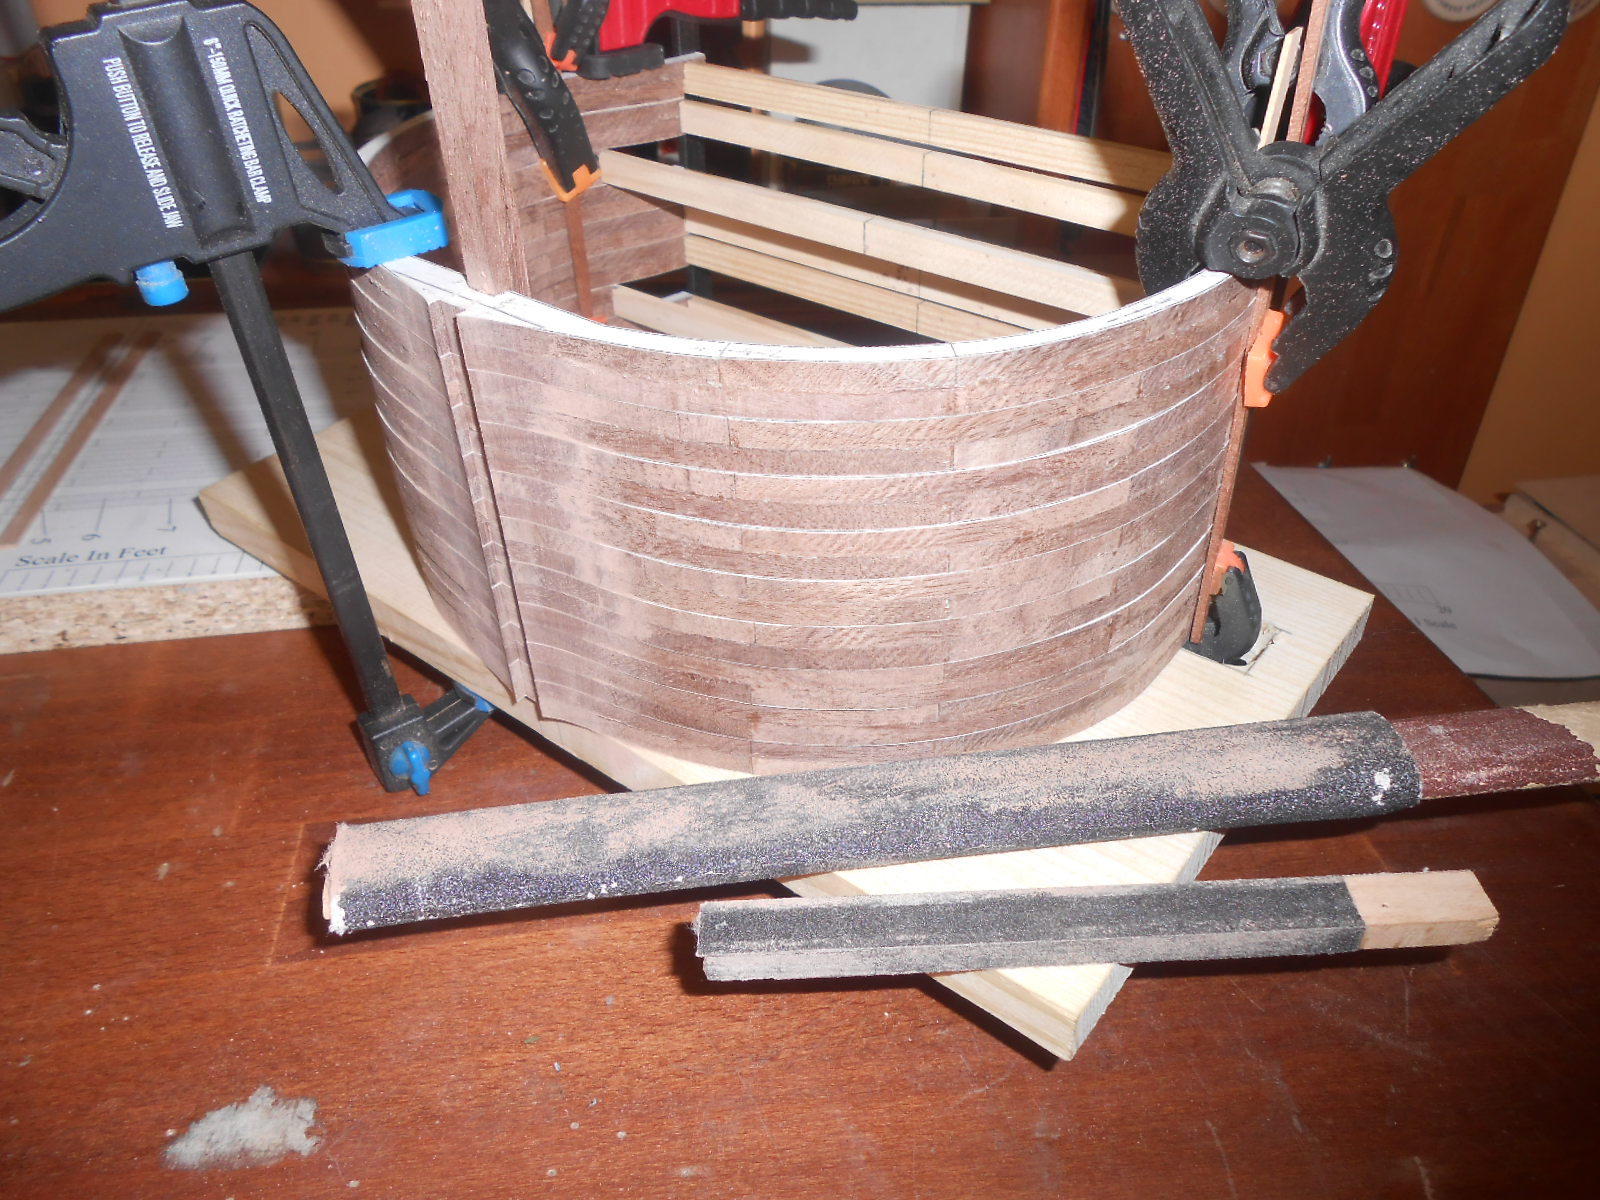
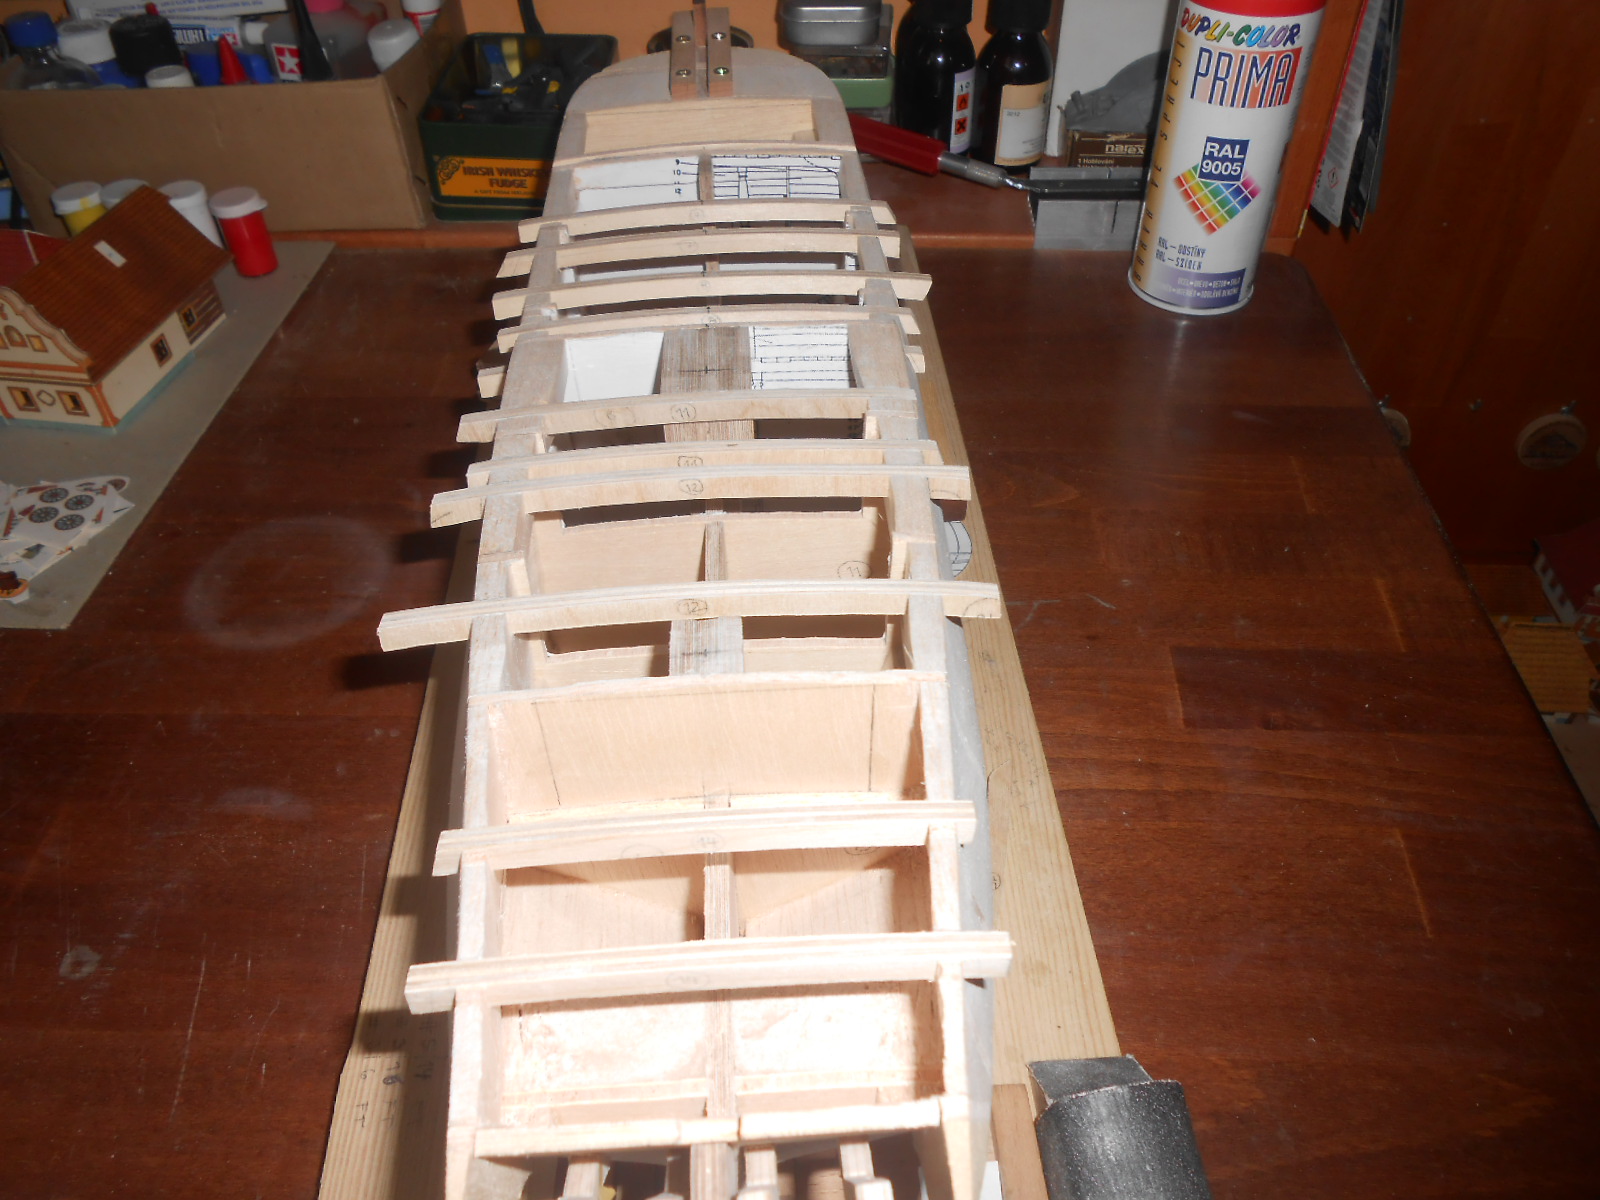
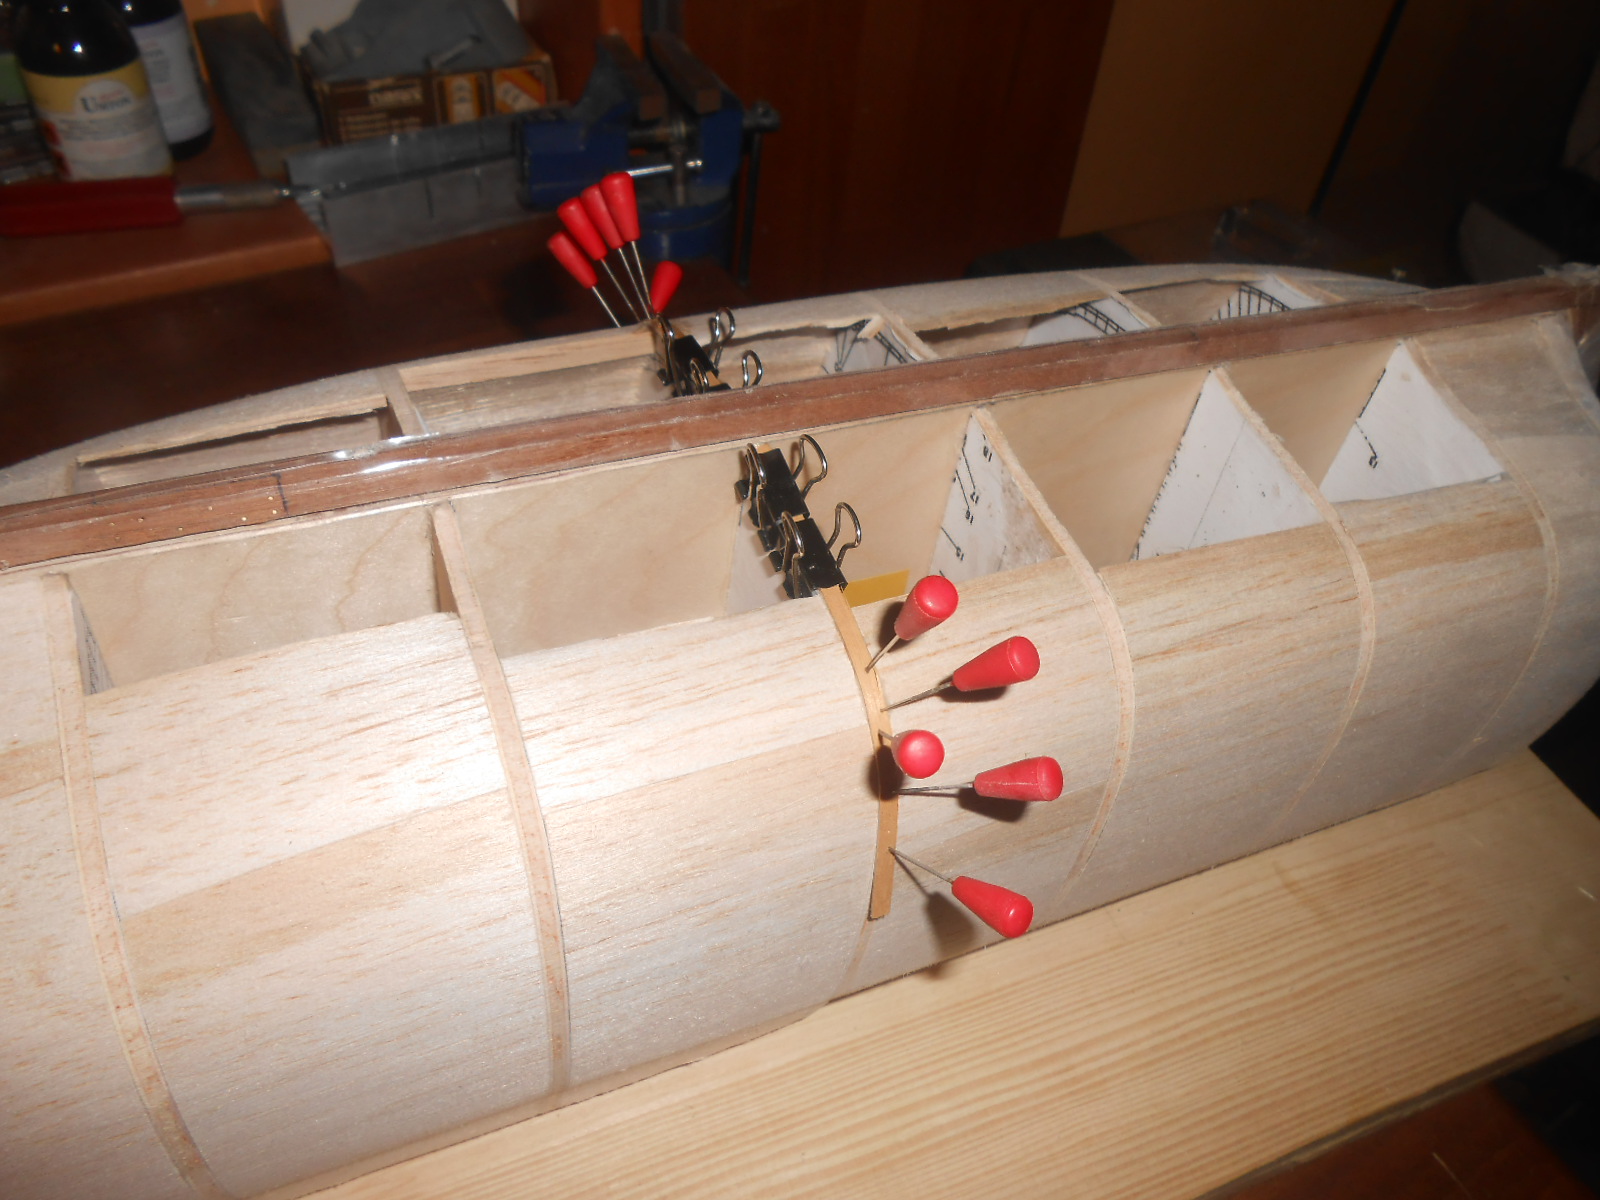
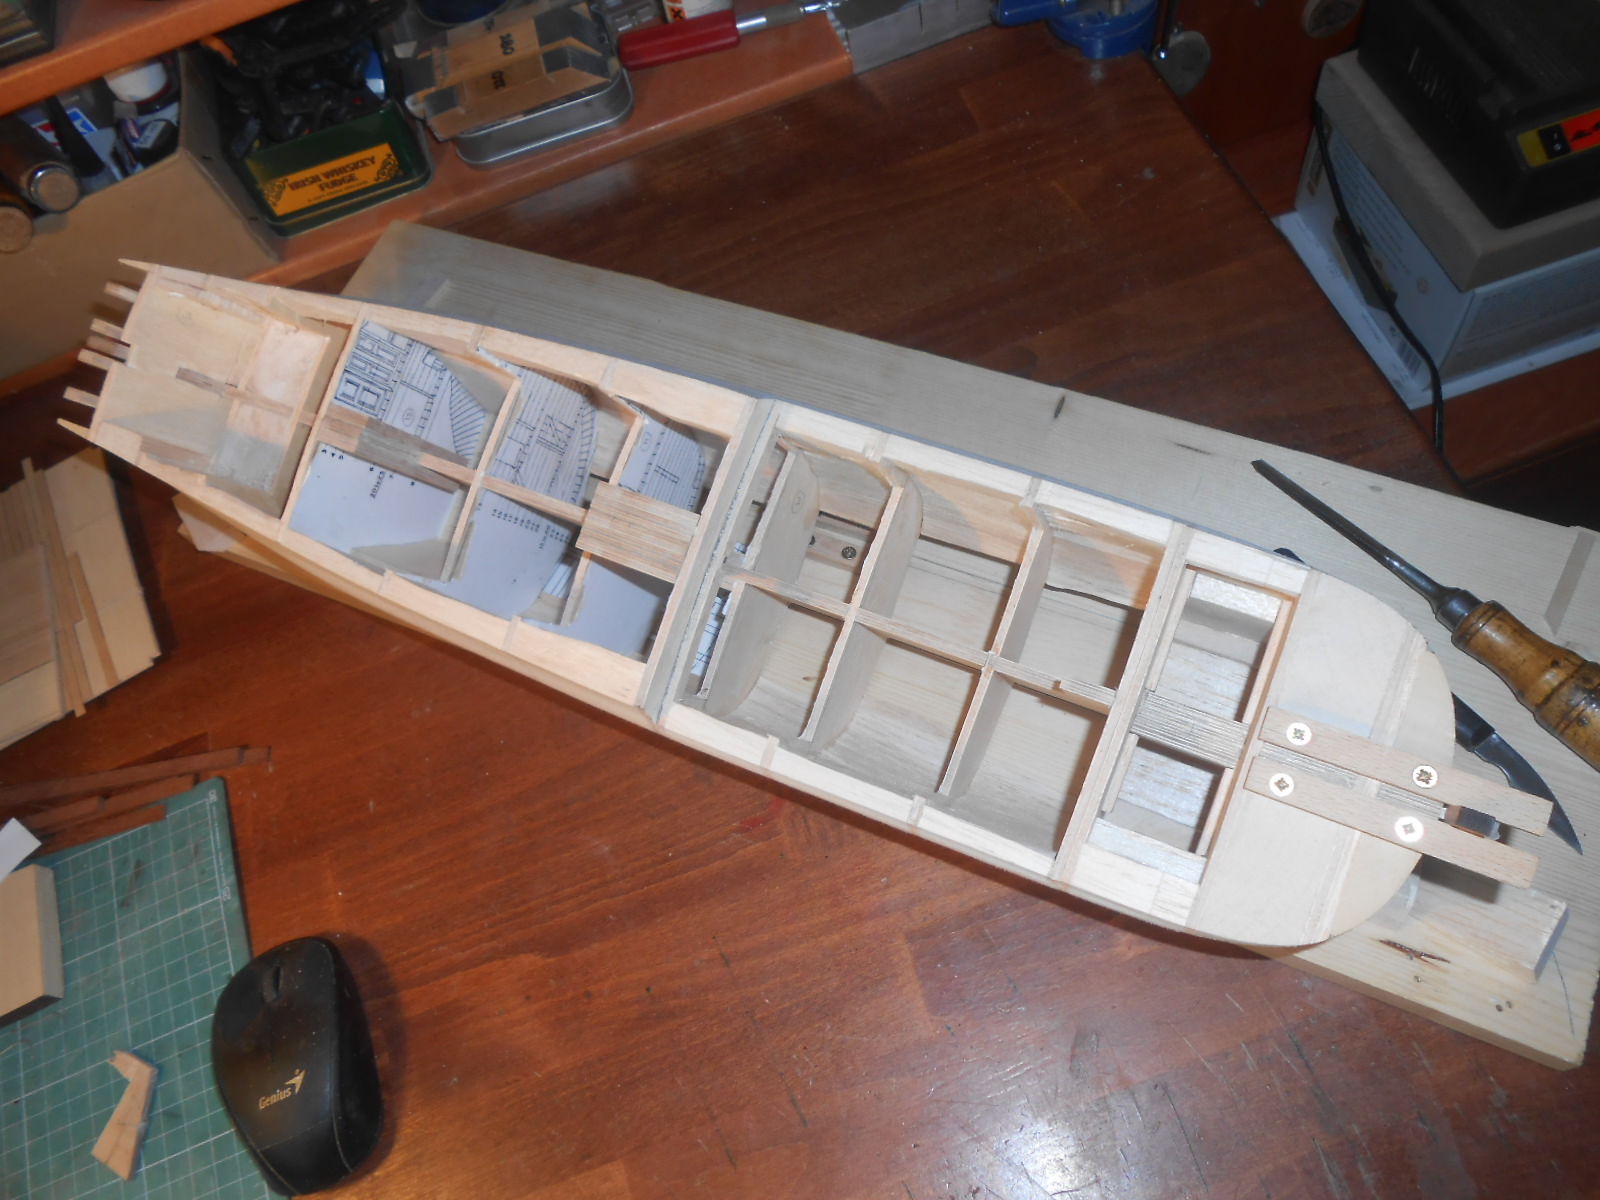
Thanks EJ_L you are welcome to my shipyard. Some more photos from here.
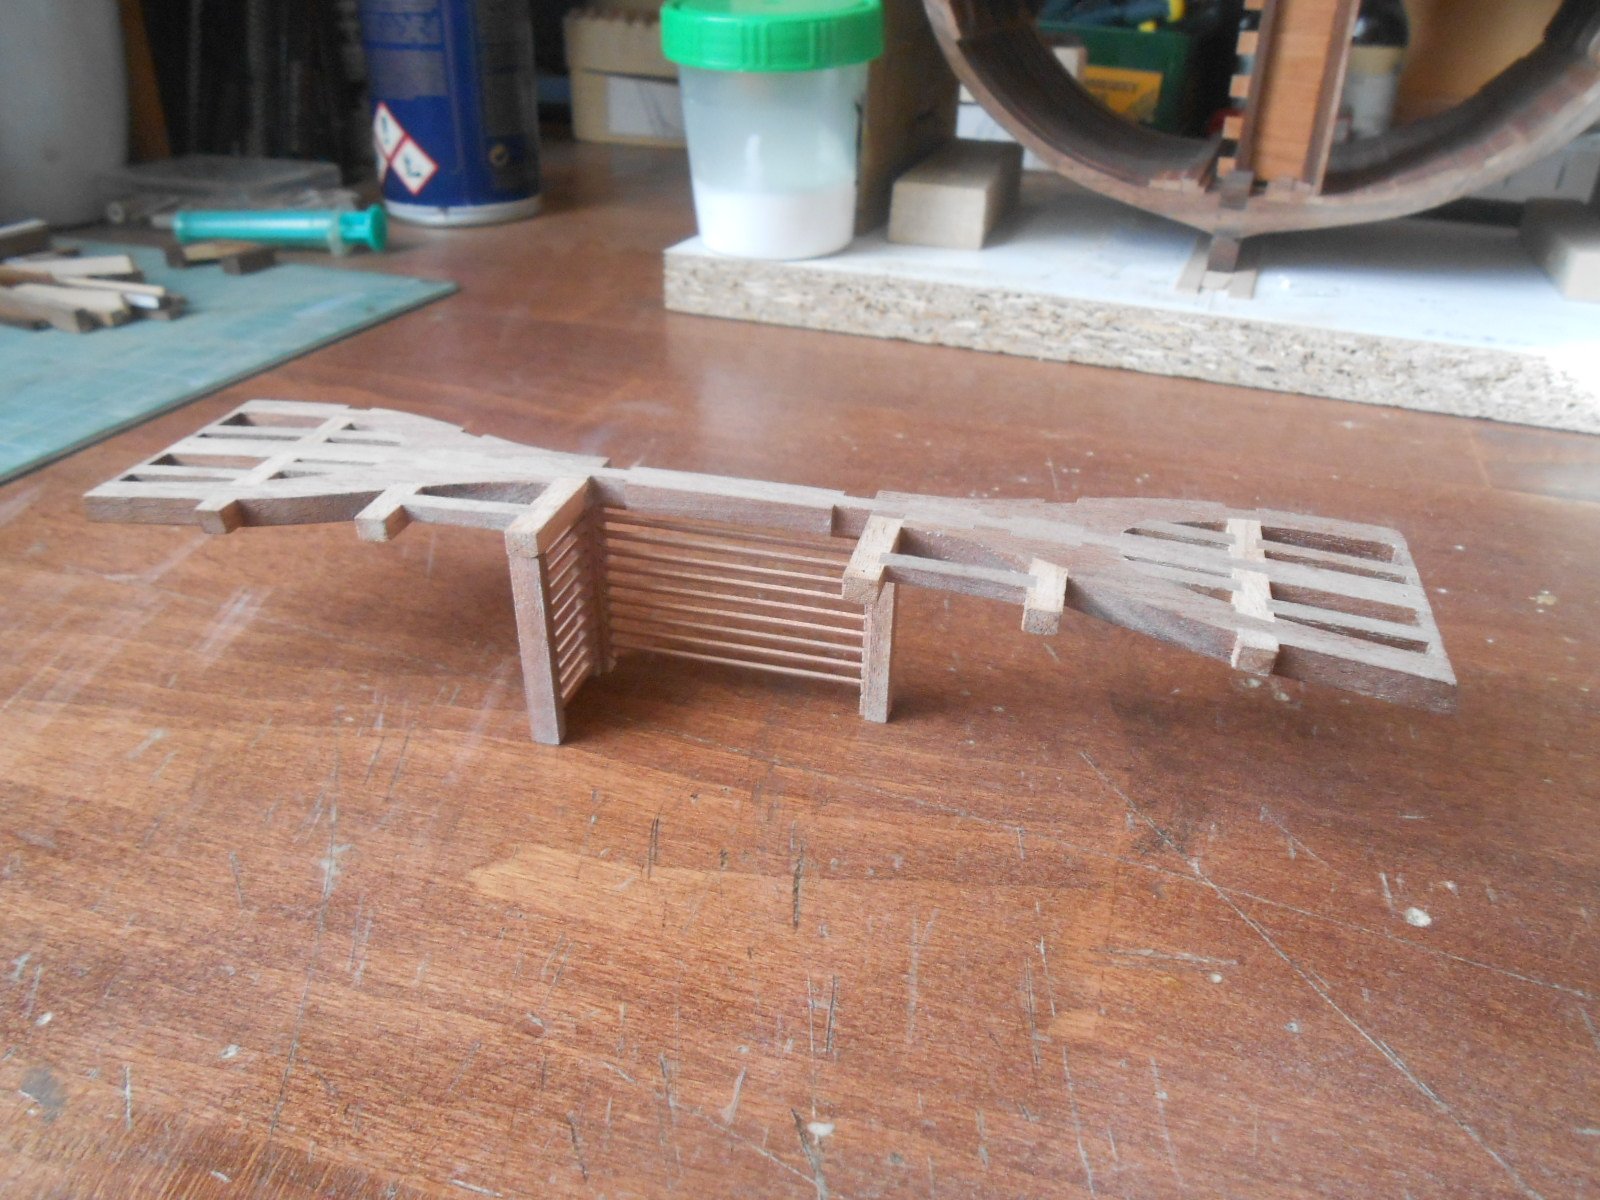
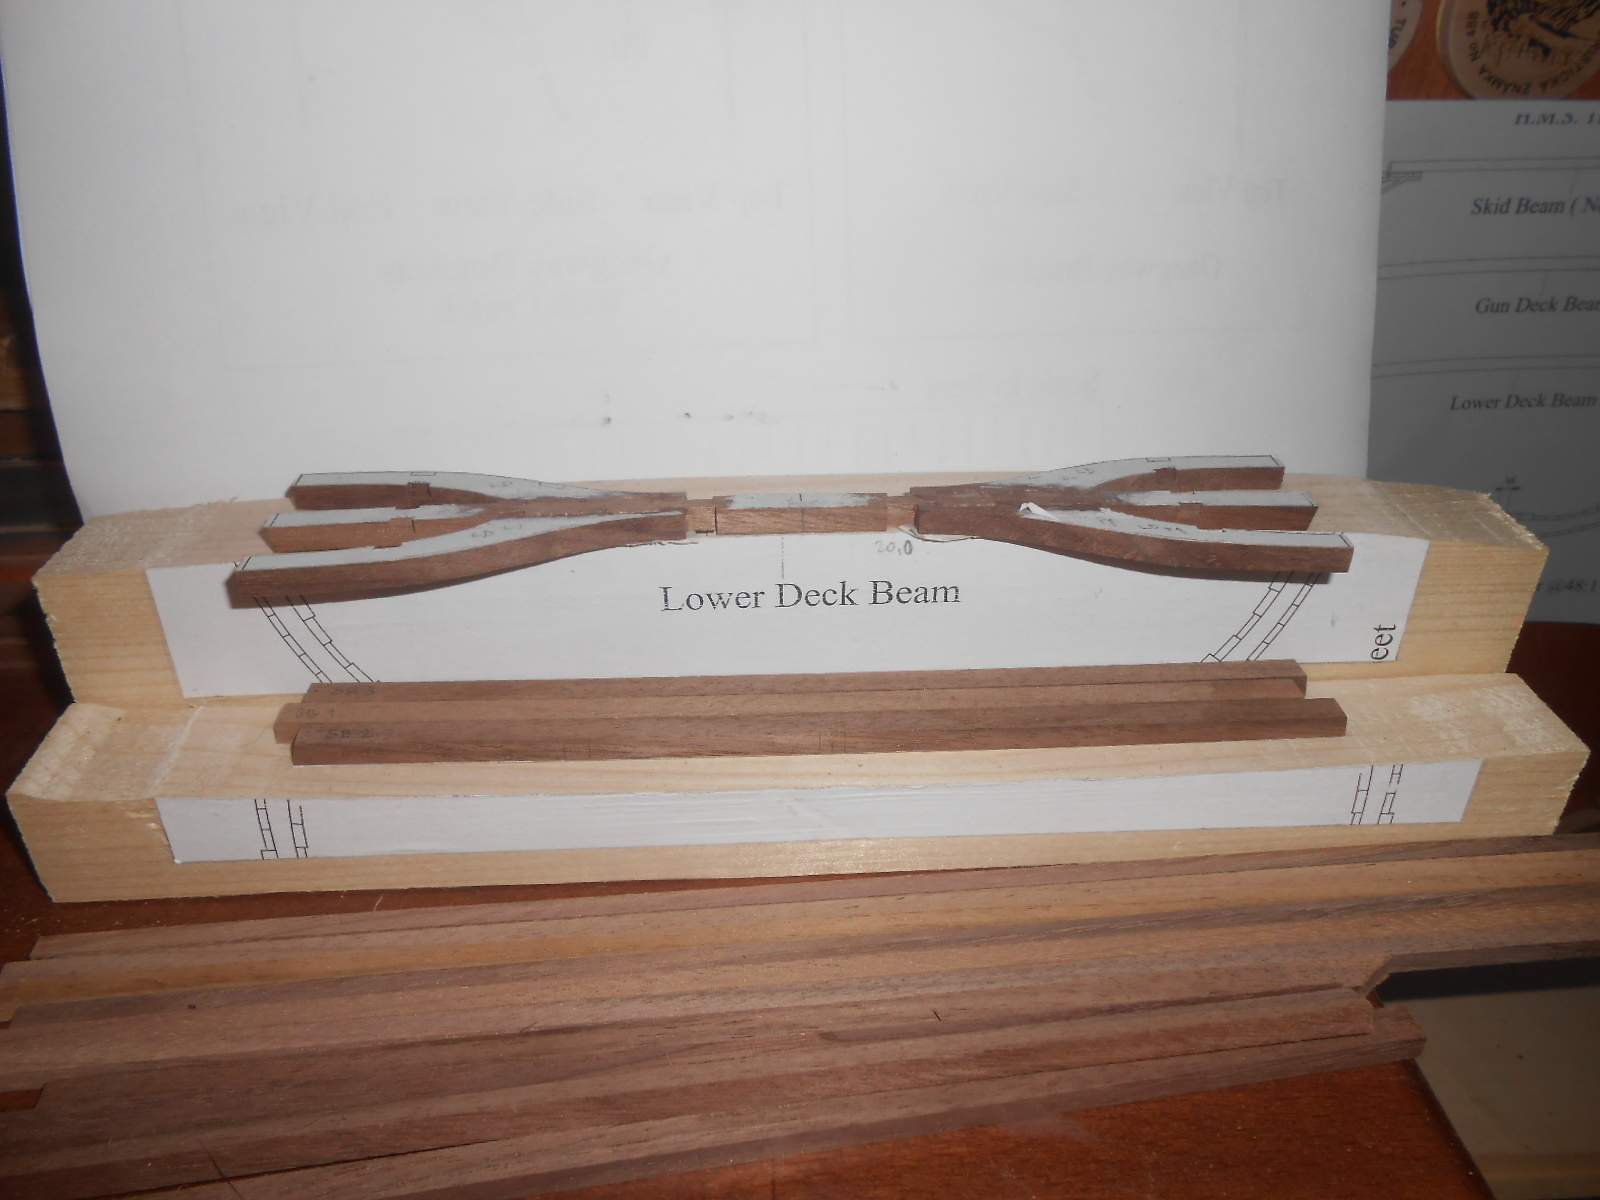
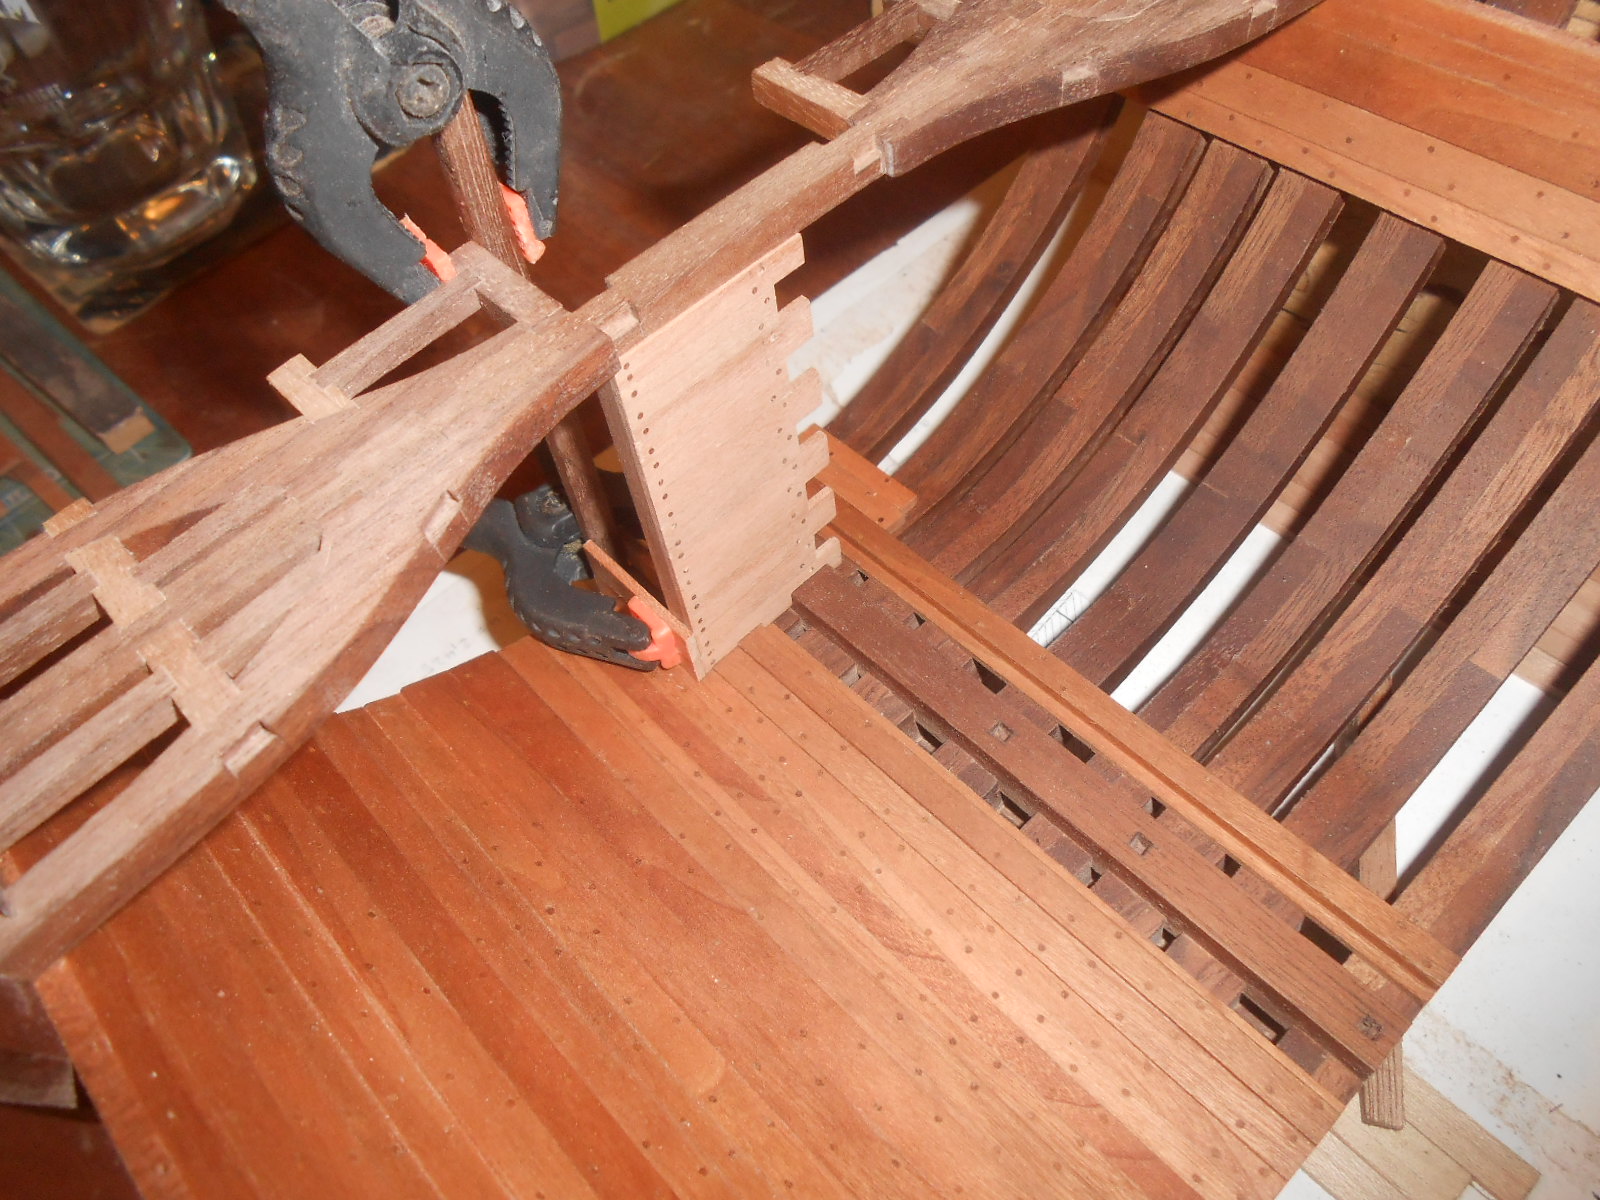
Making deck beams, hatches and wale for bow.


- DaveRow, EJ_L, Captain Slog and 2 others
-
5
-
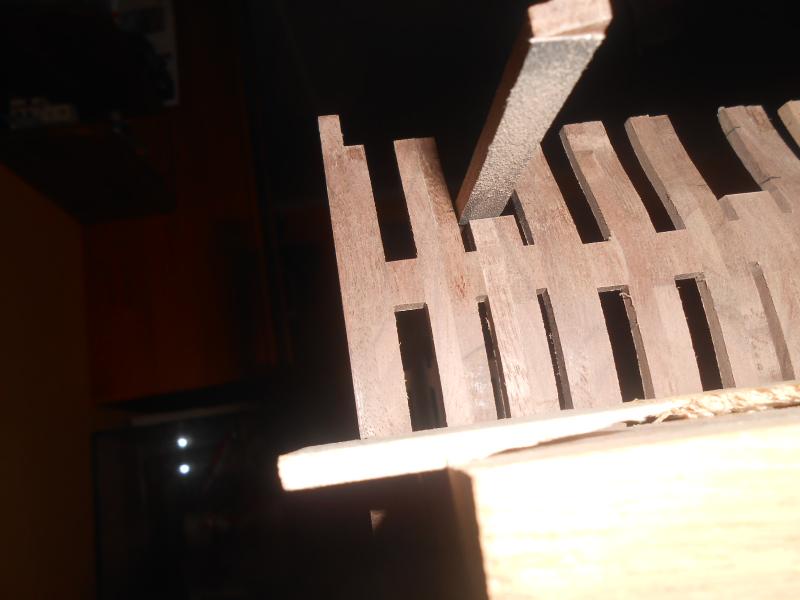
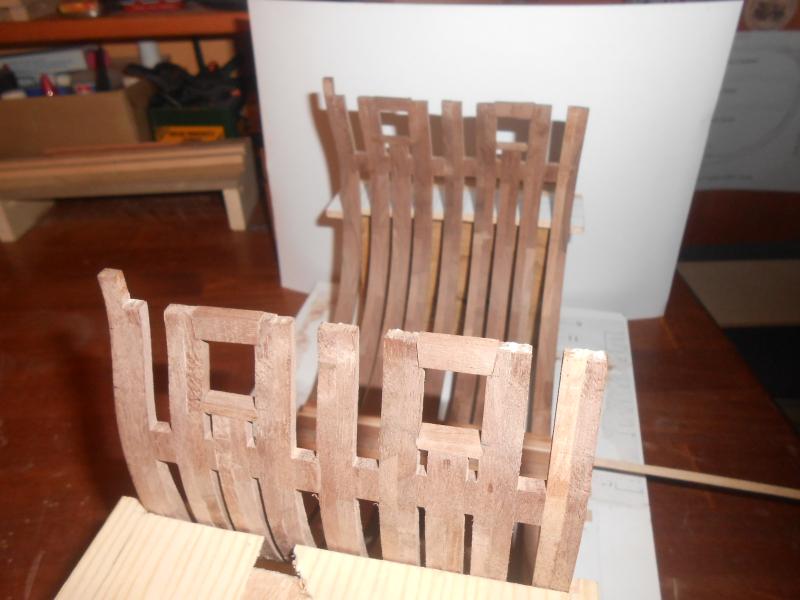
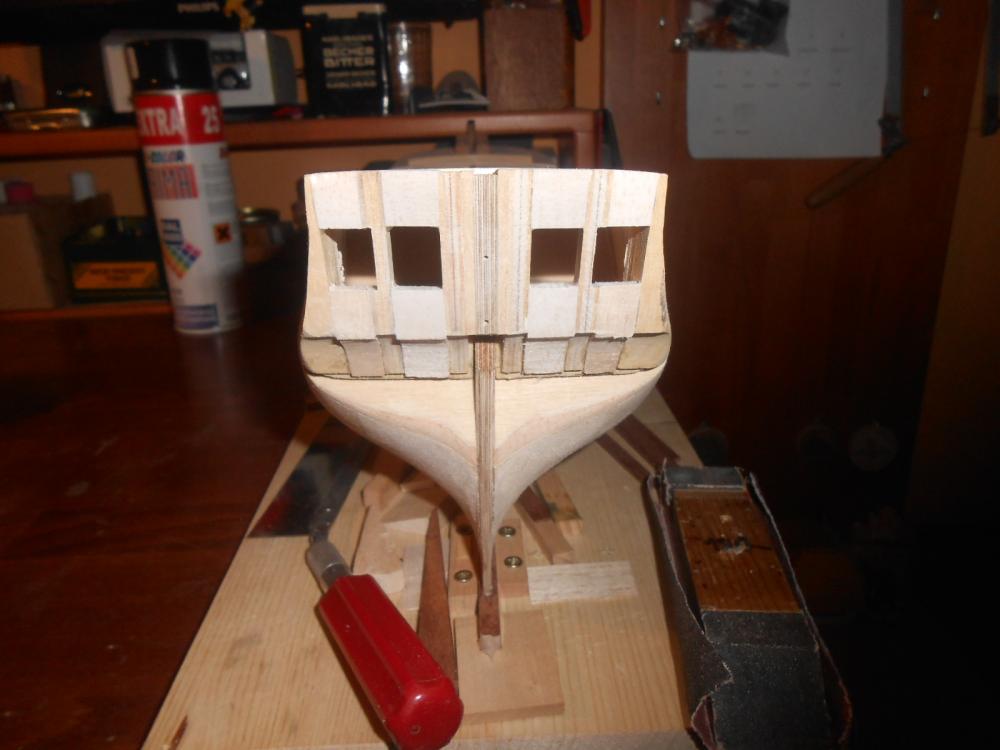
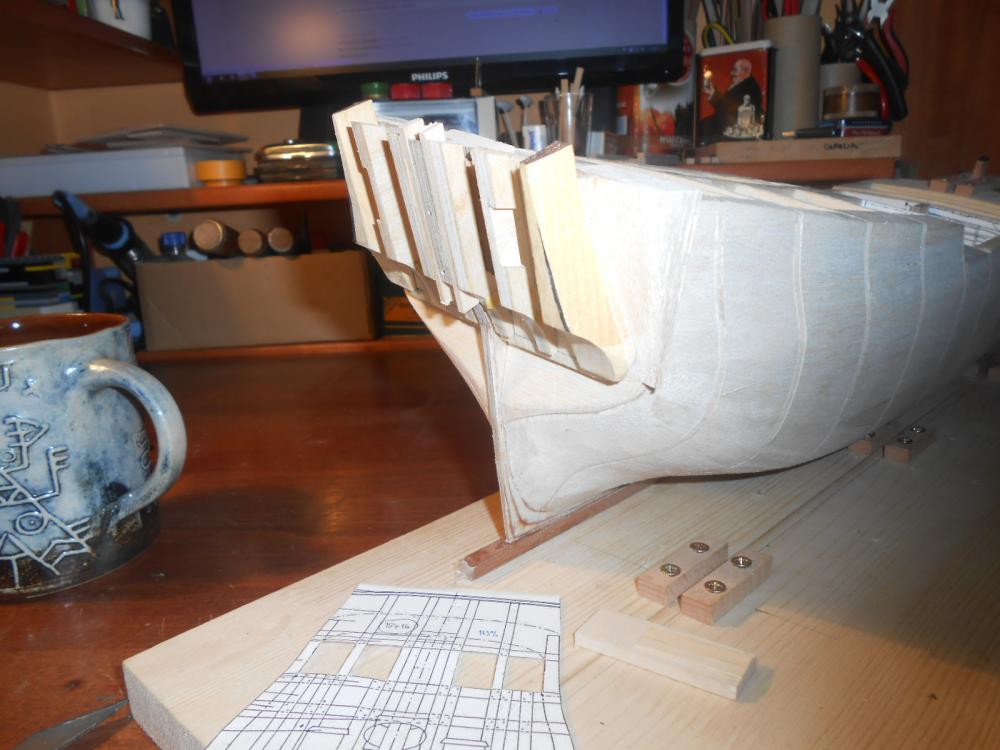
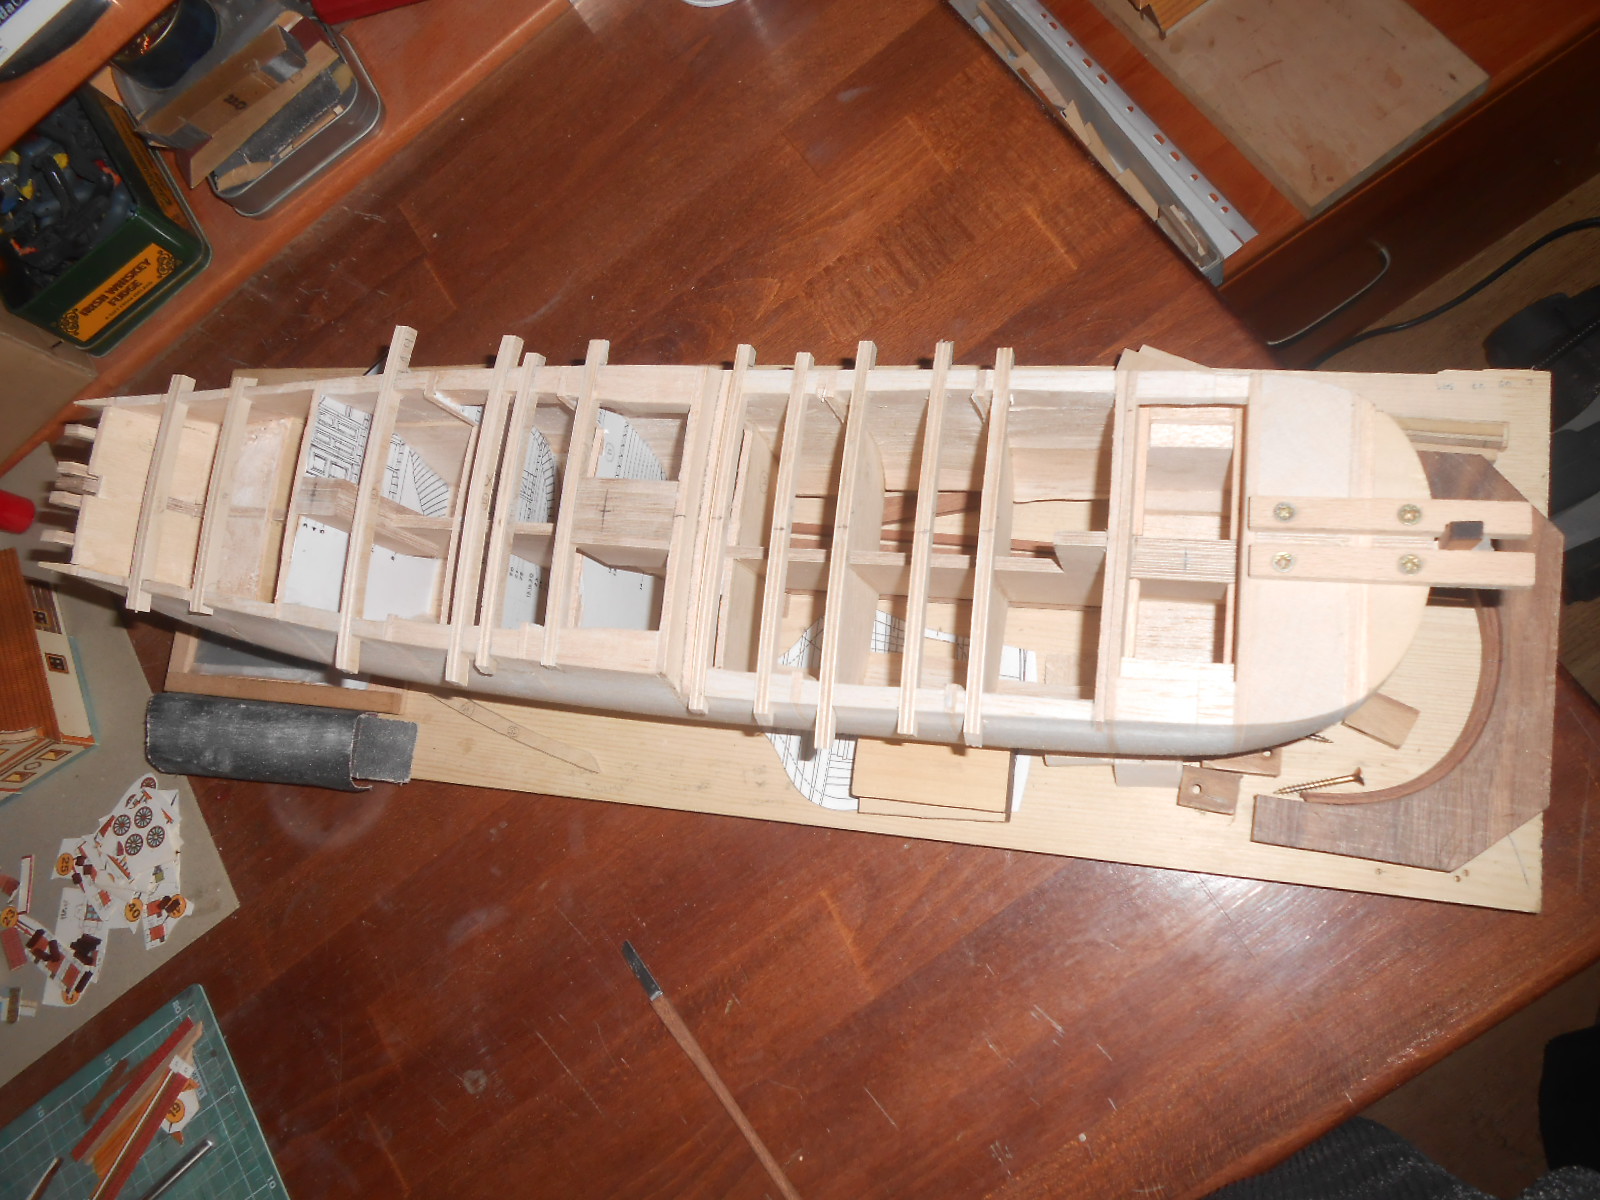
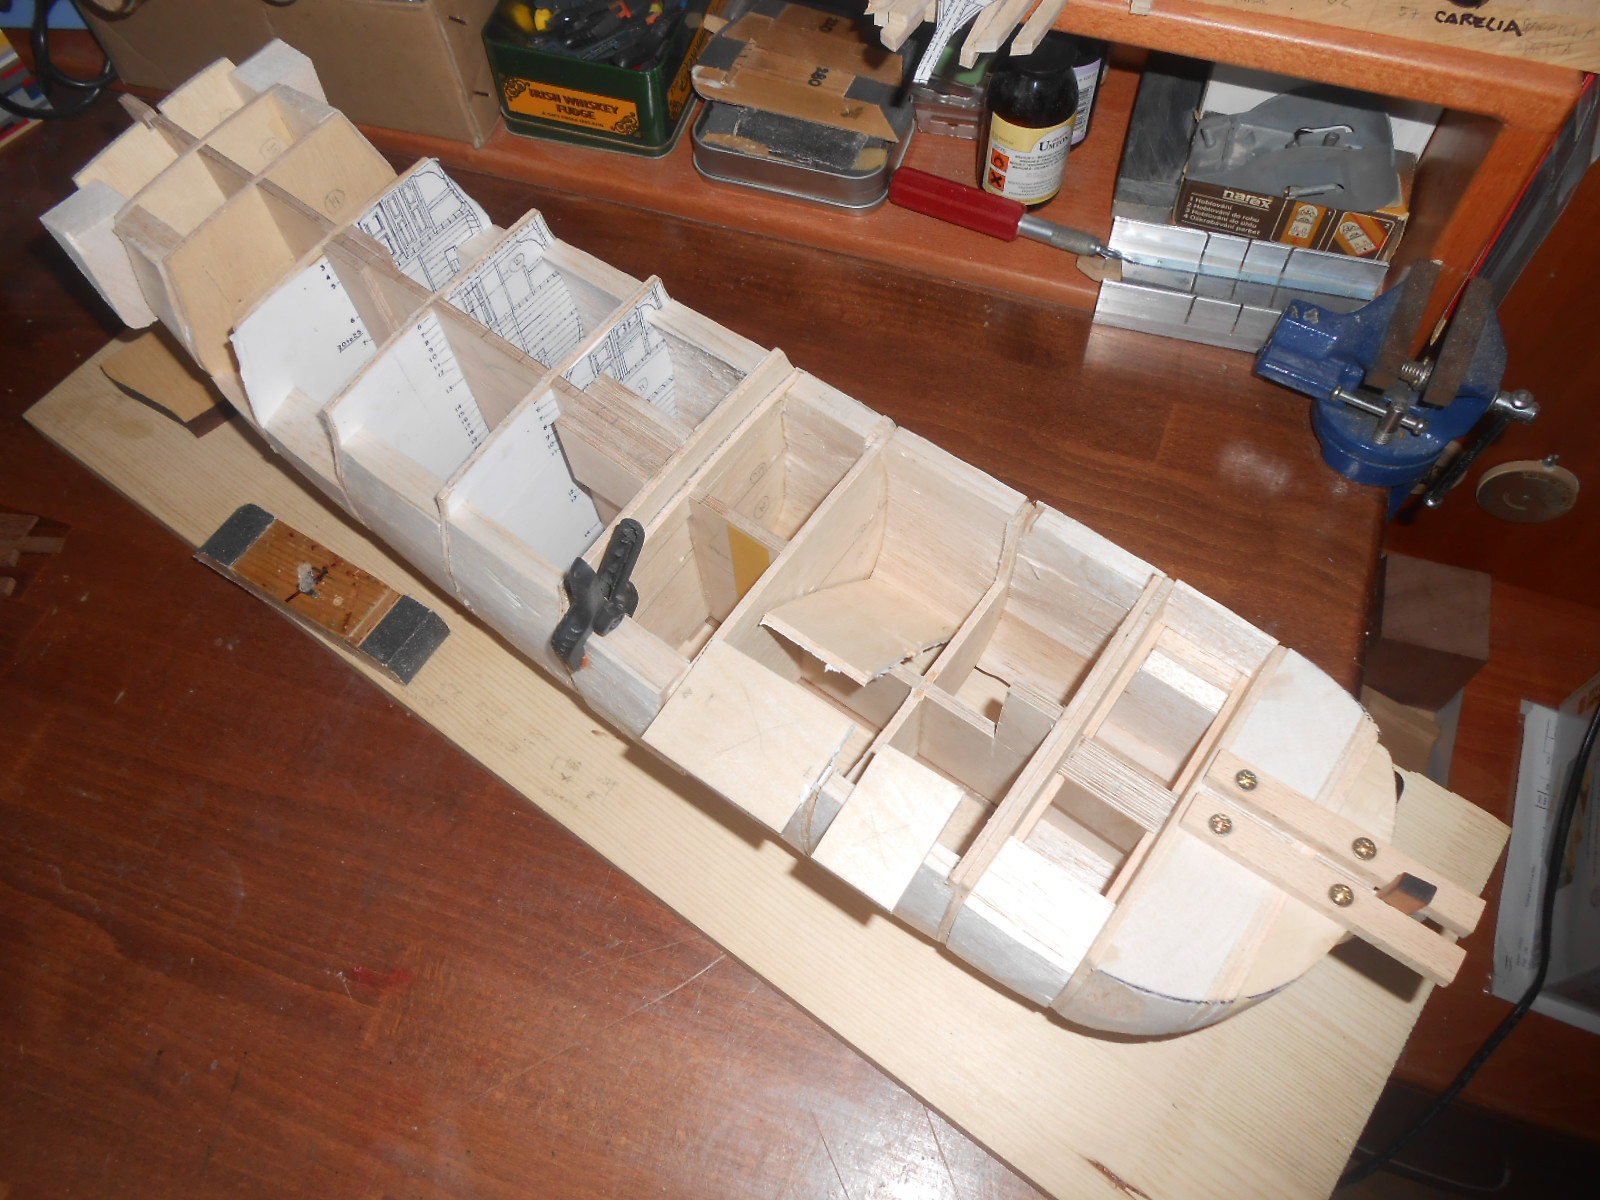
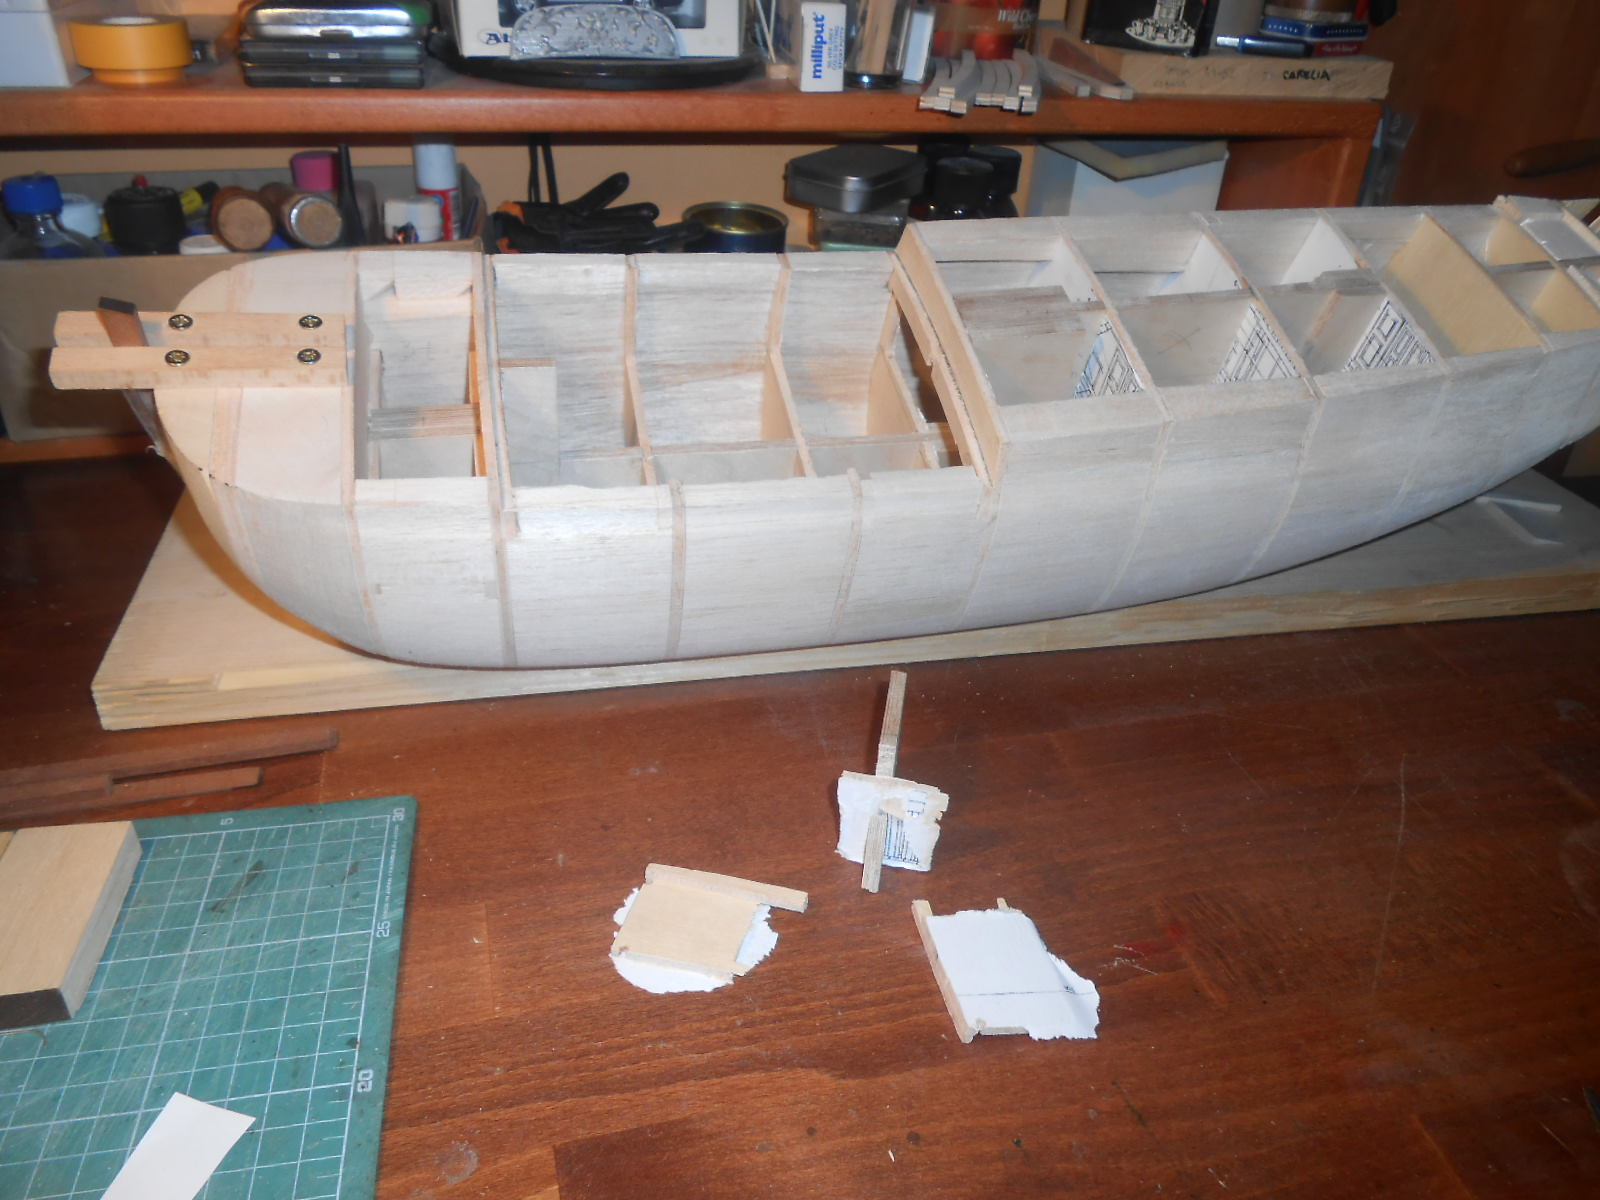
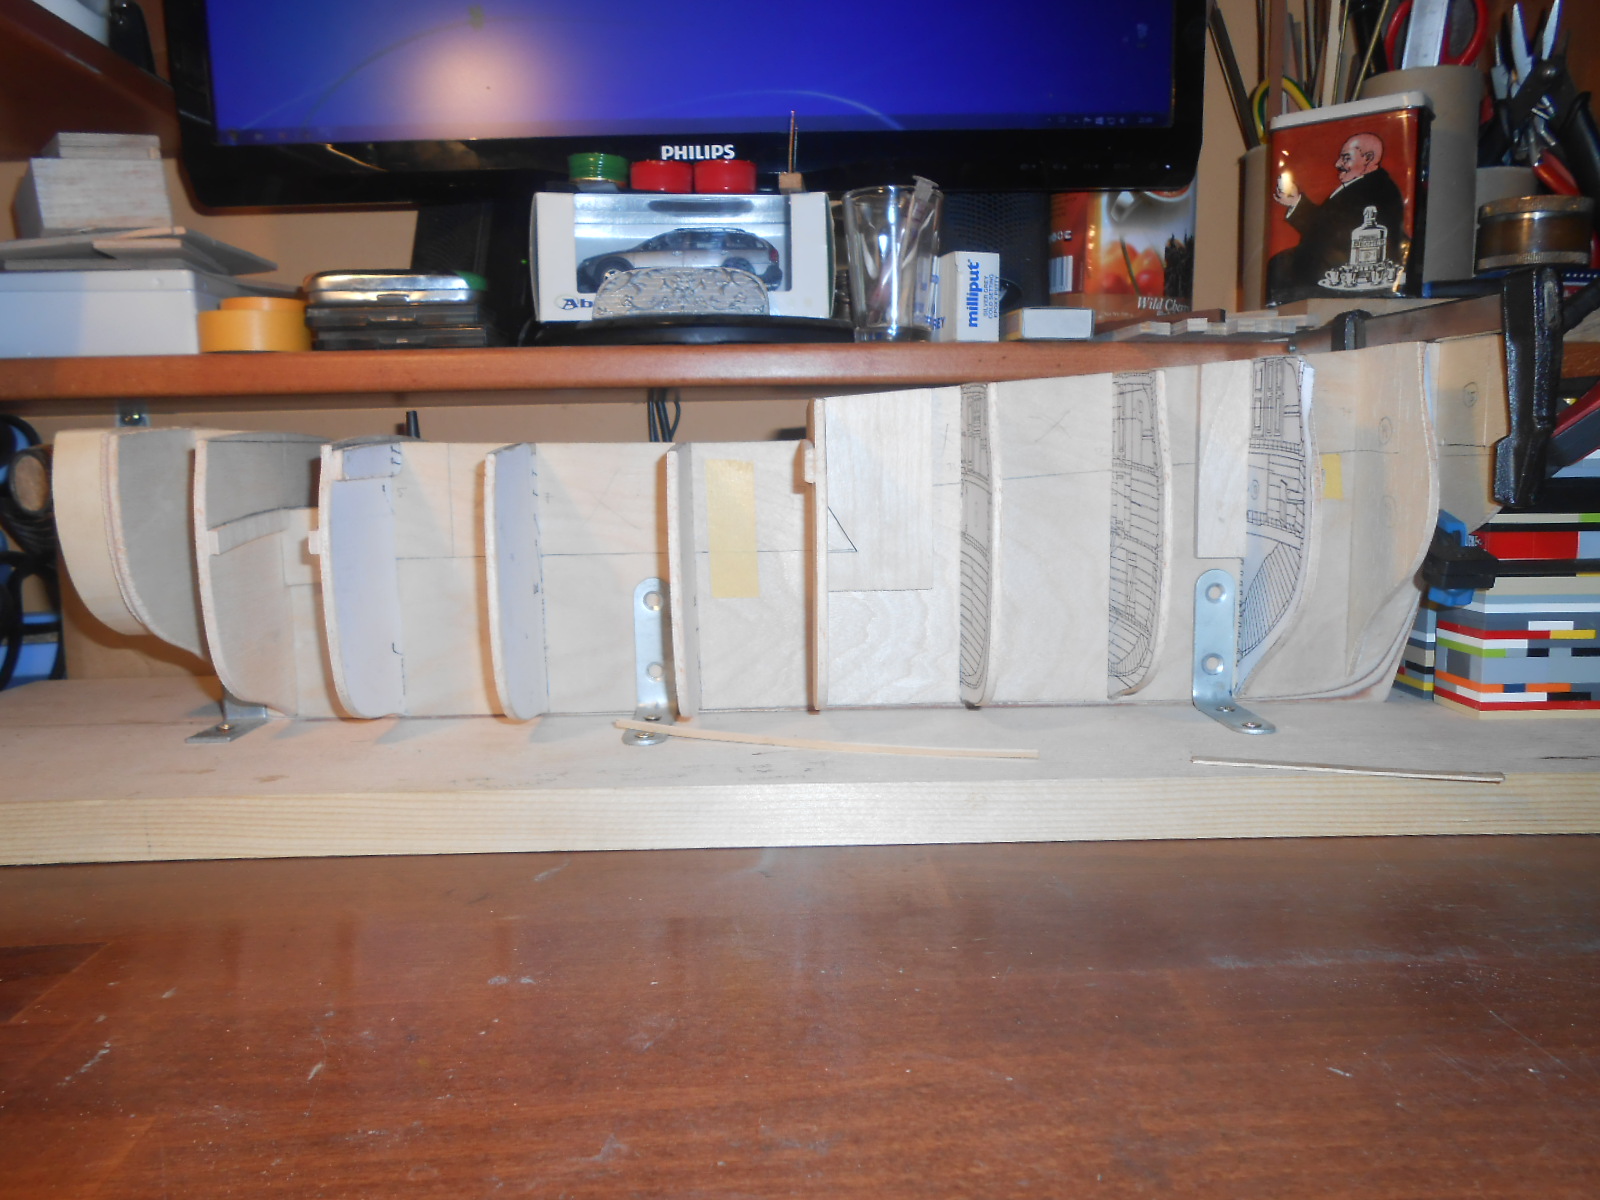
Hello Dave and ca.shipwright, thanks for comments and for looking.
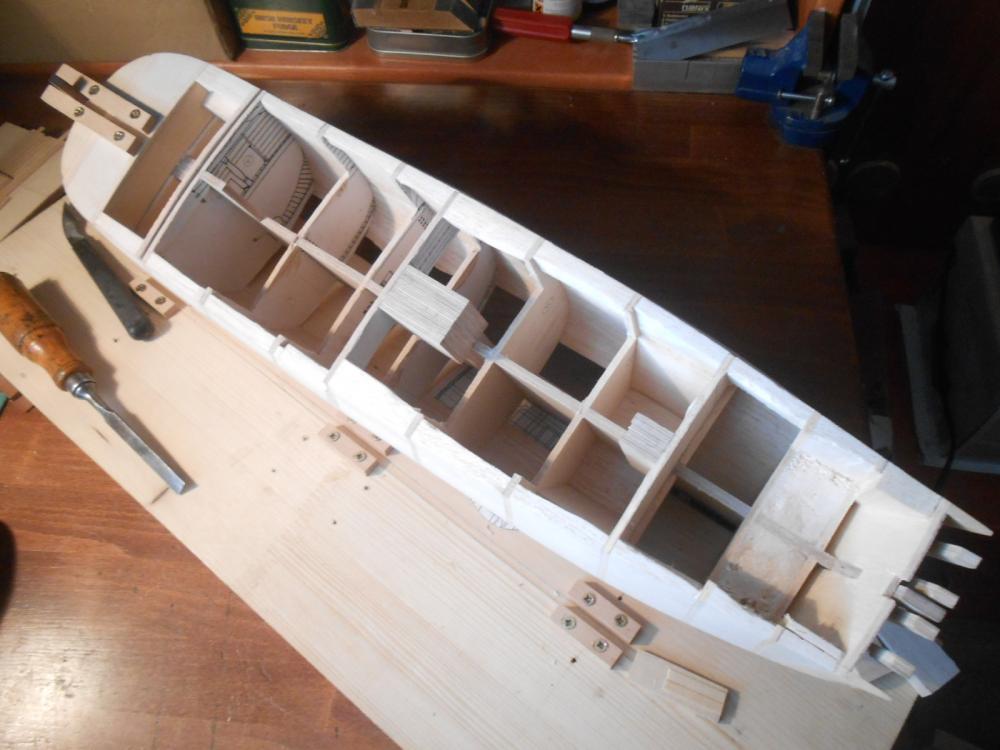
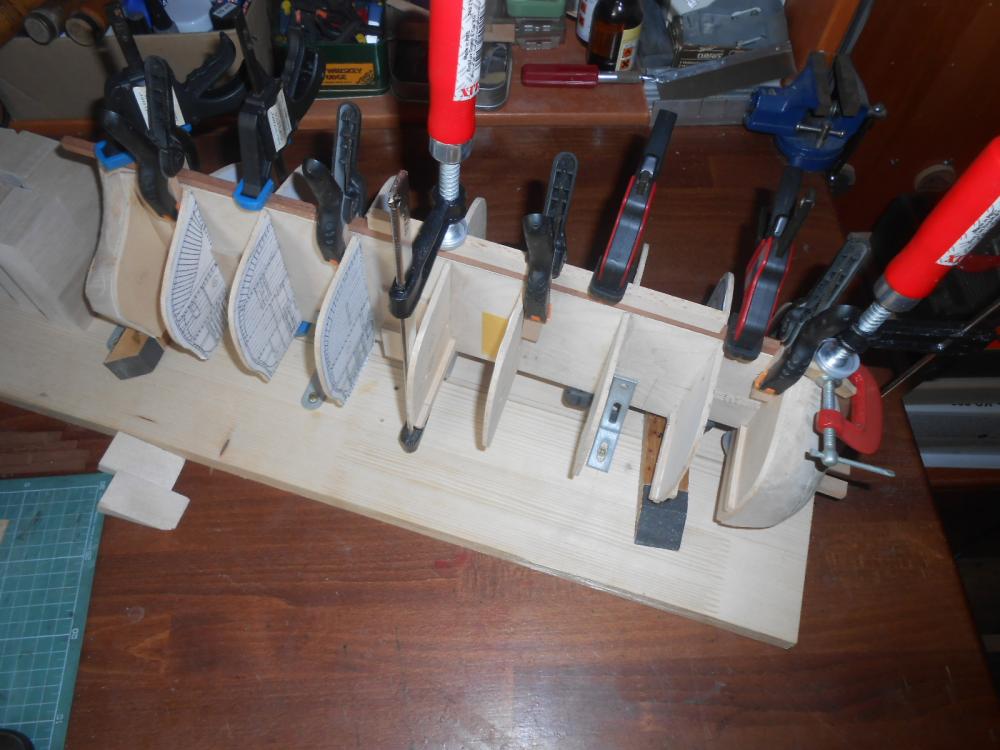
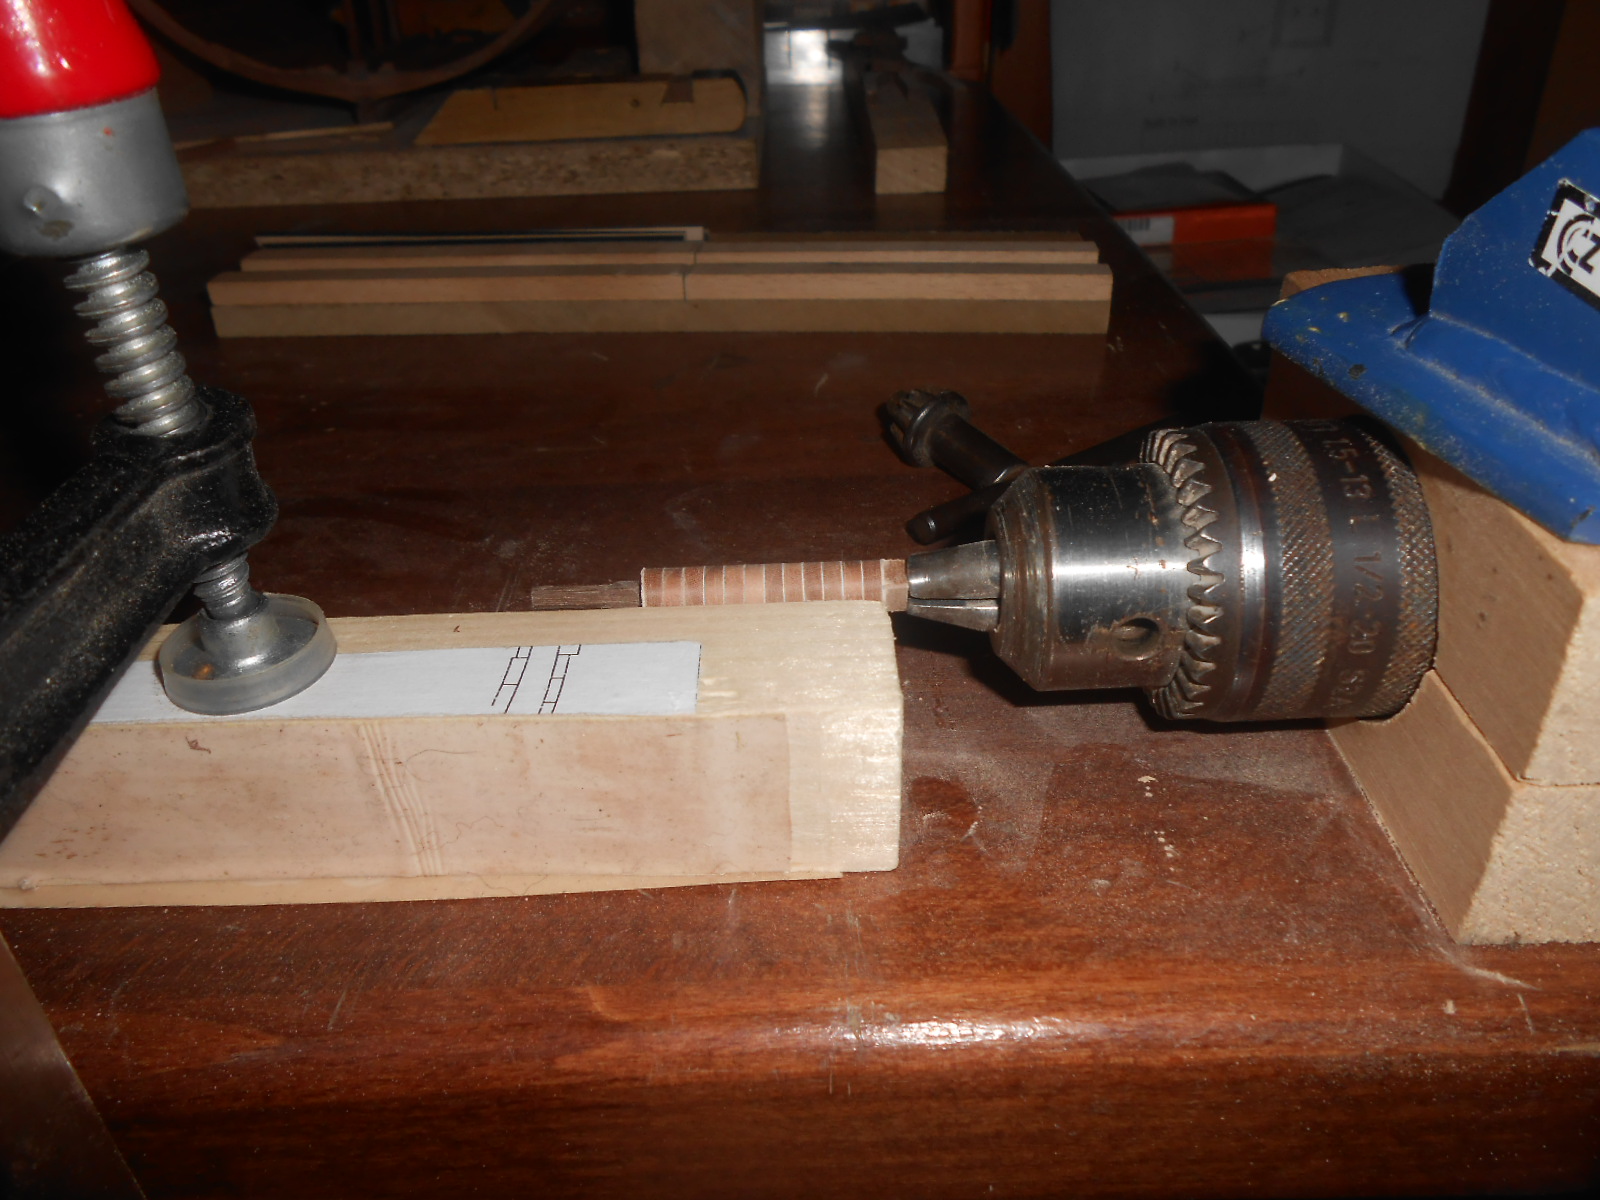
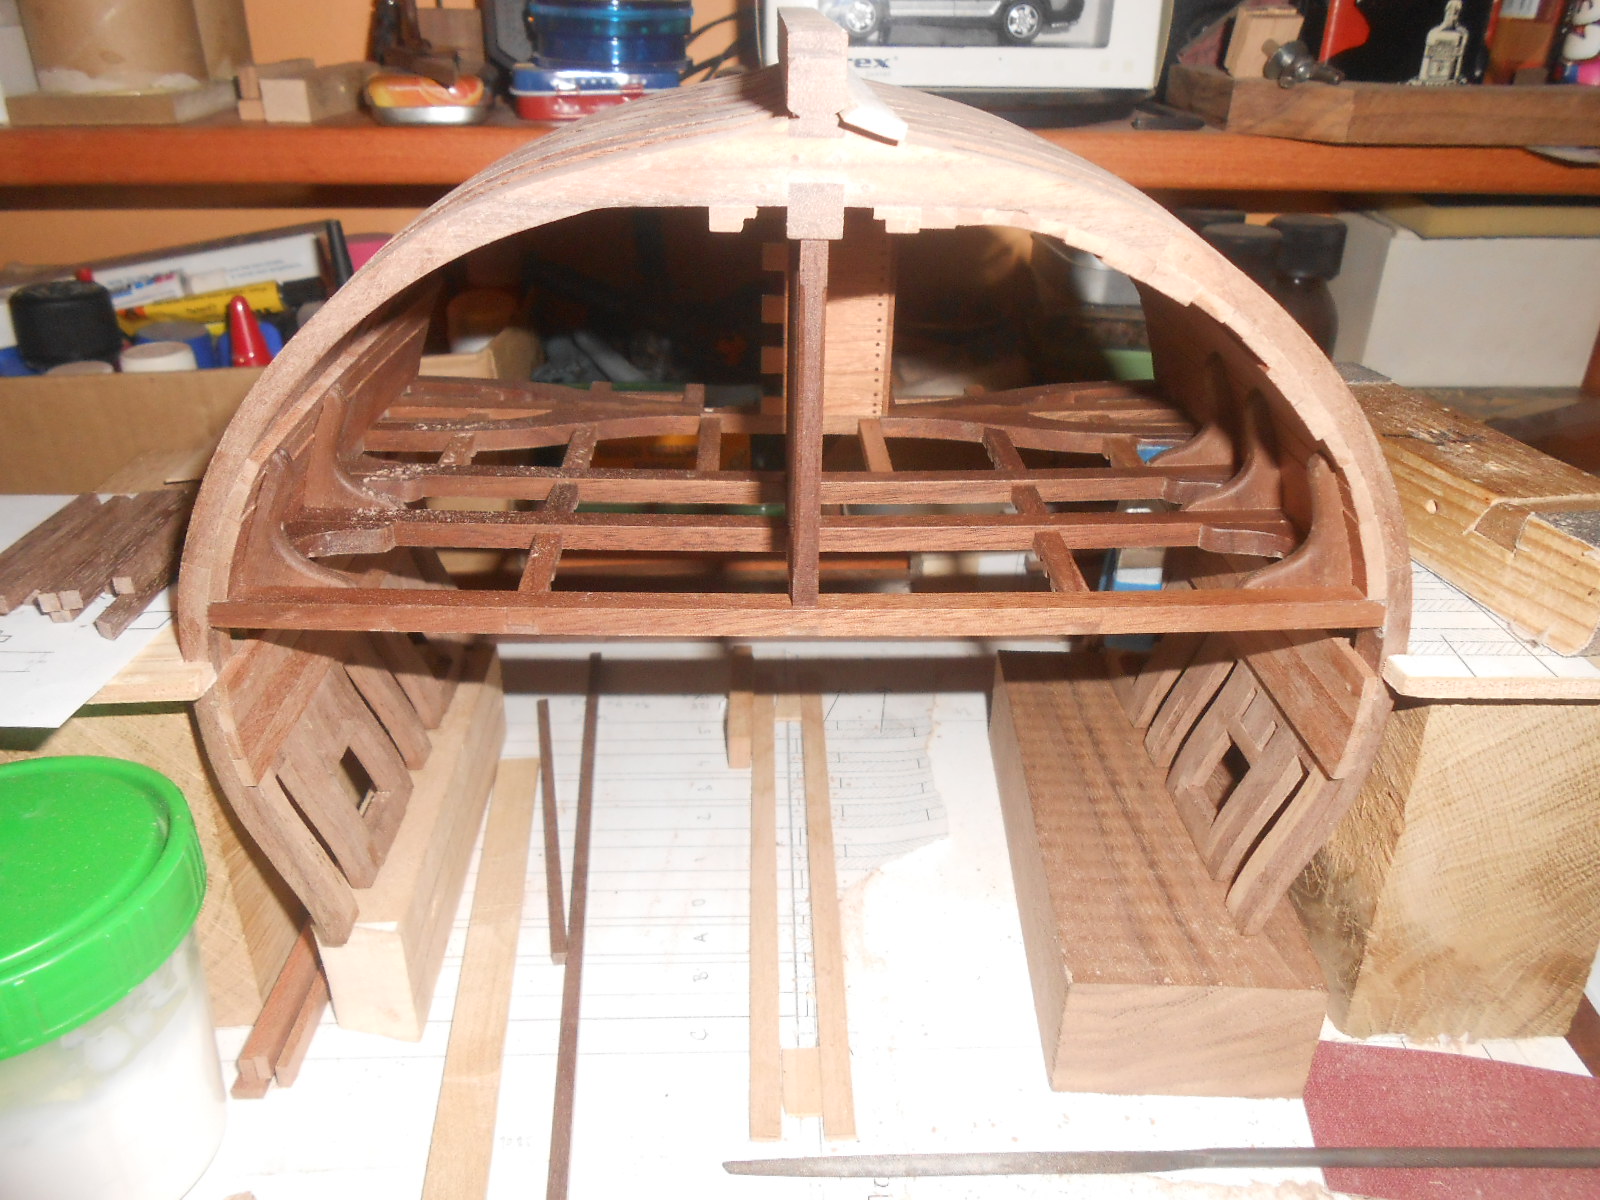
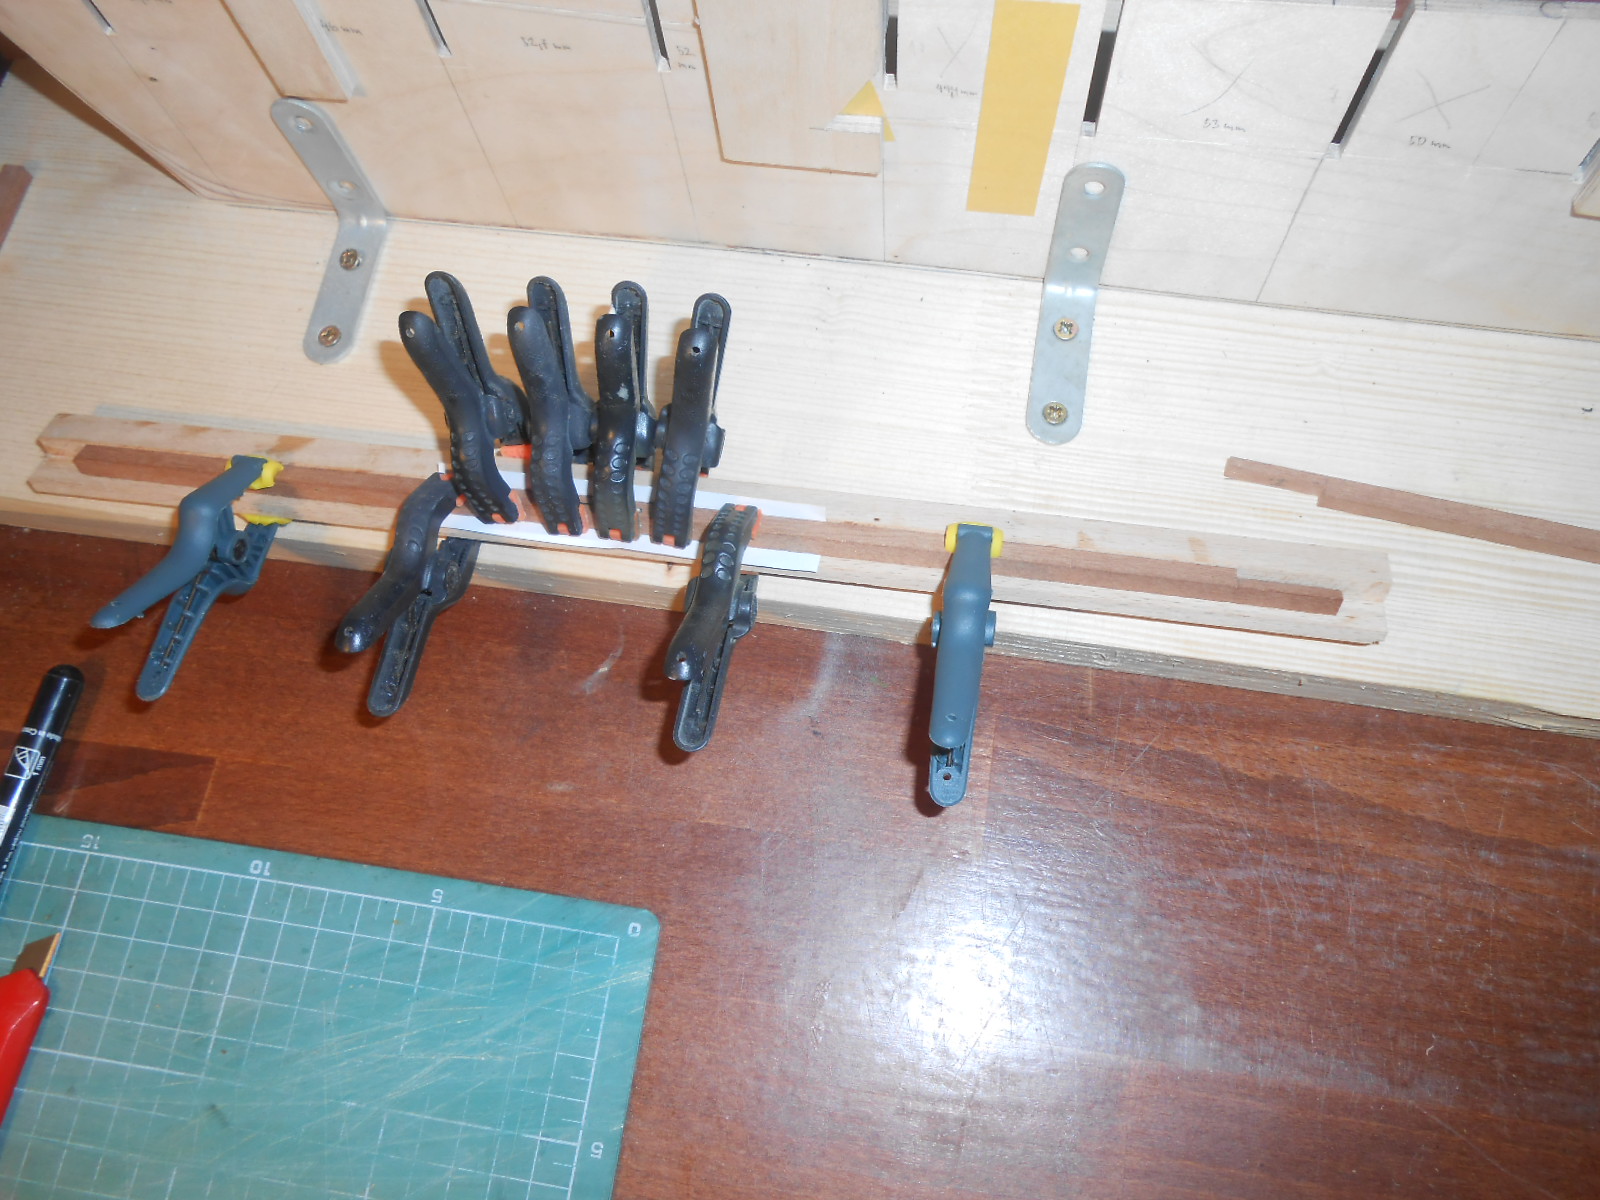
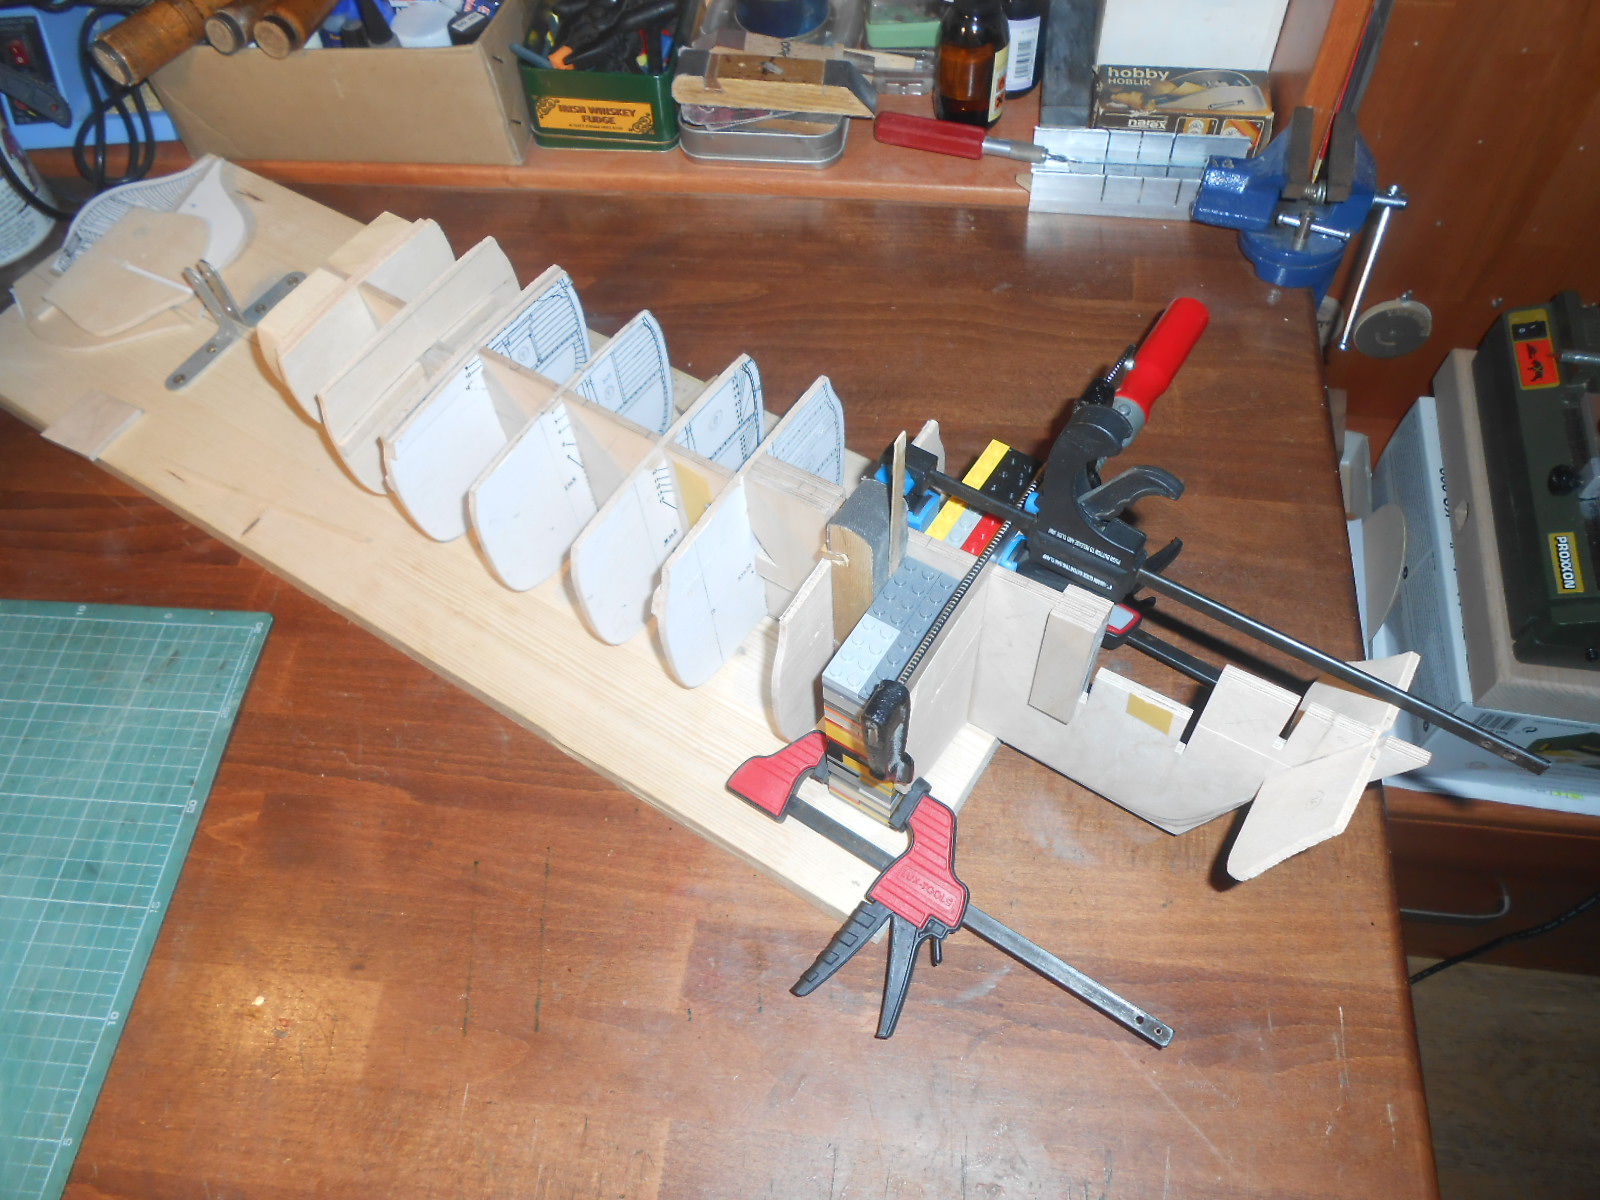
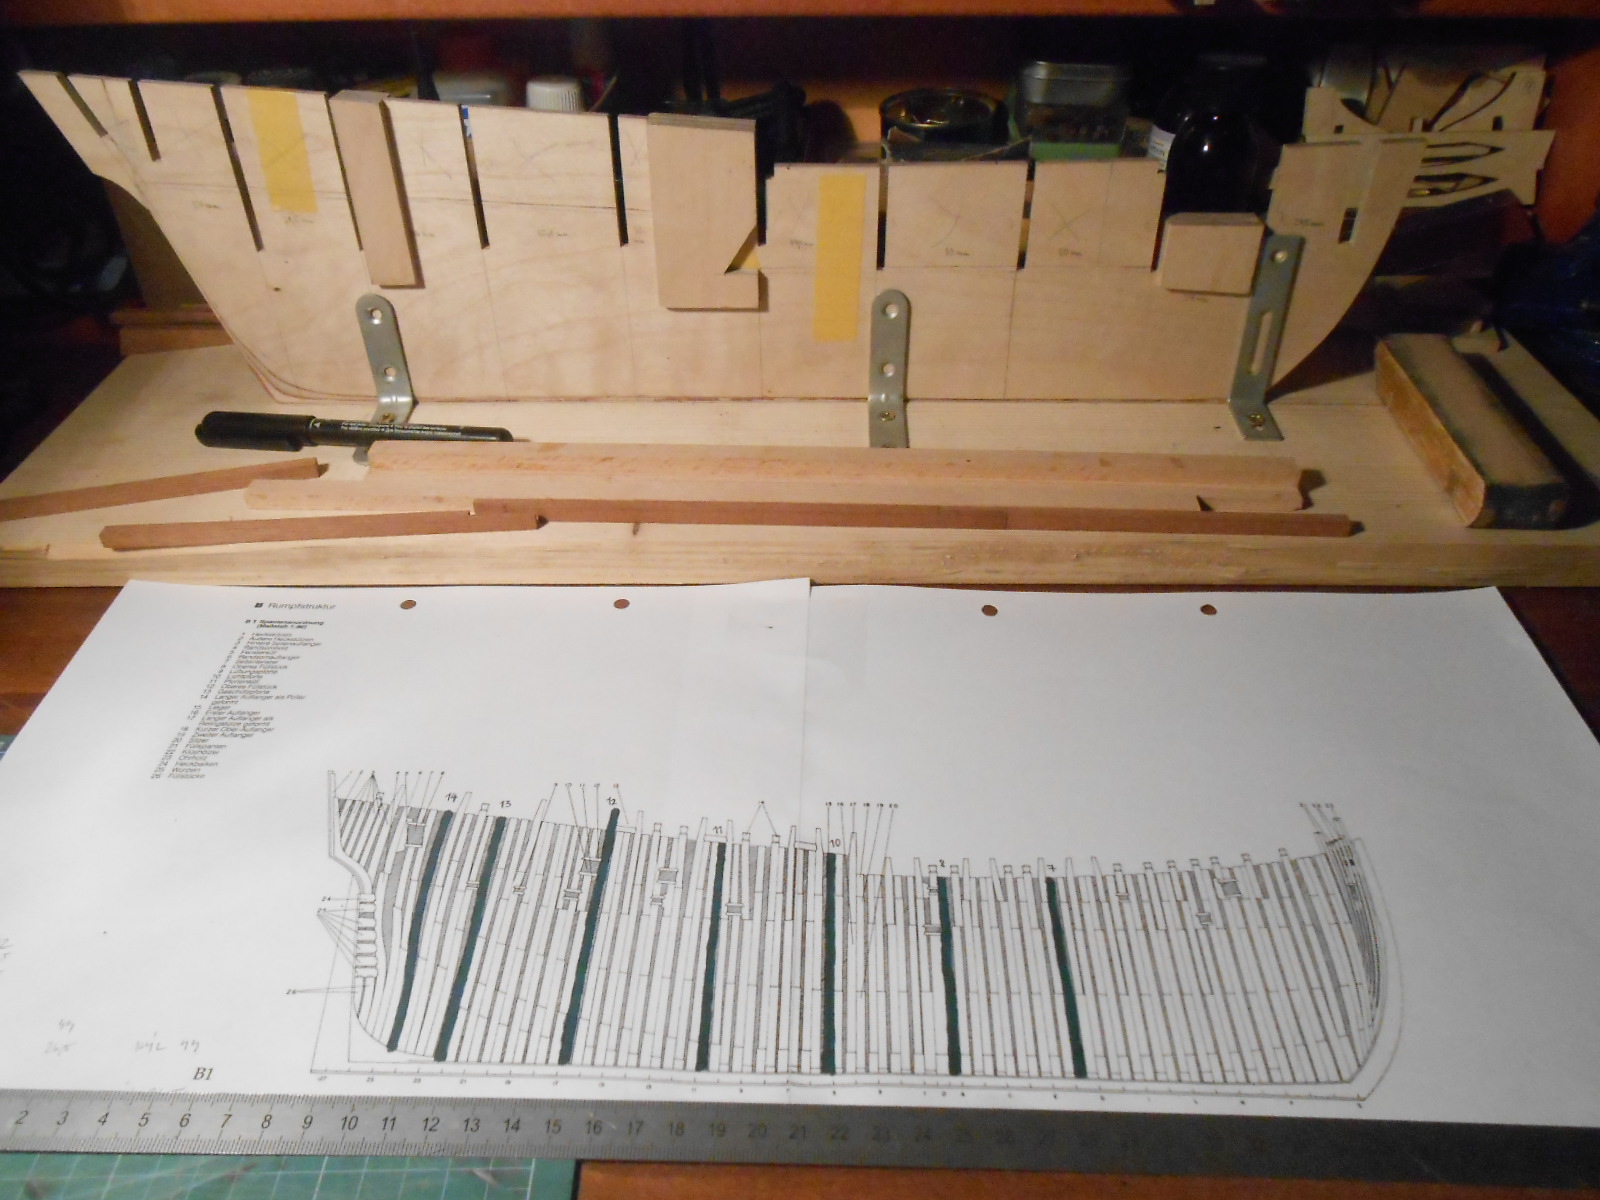
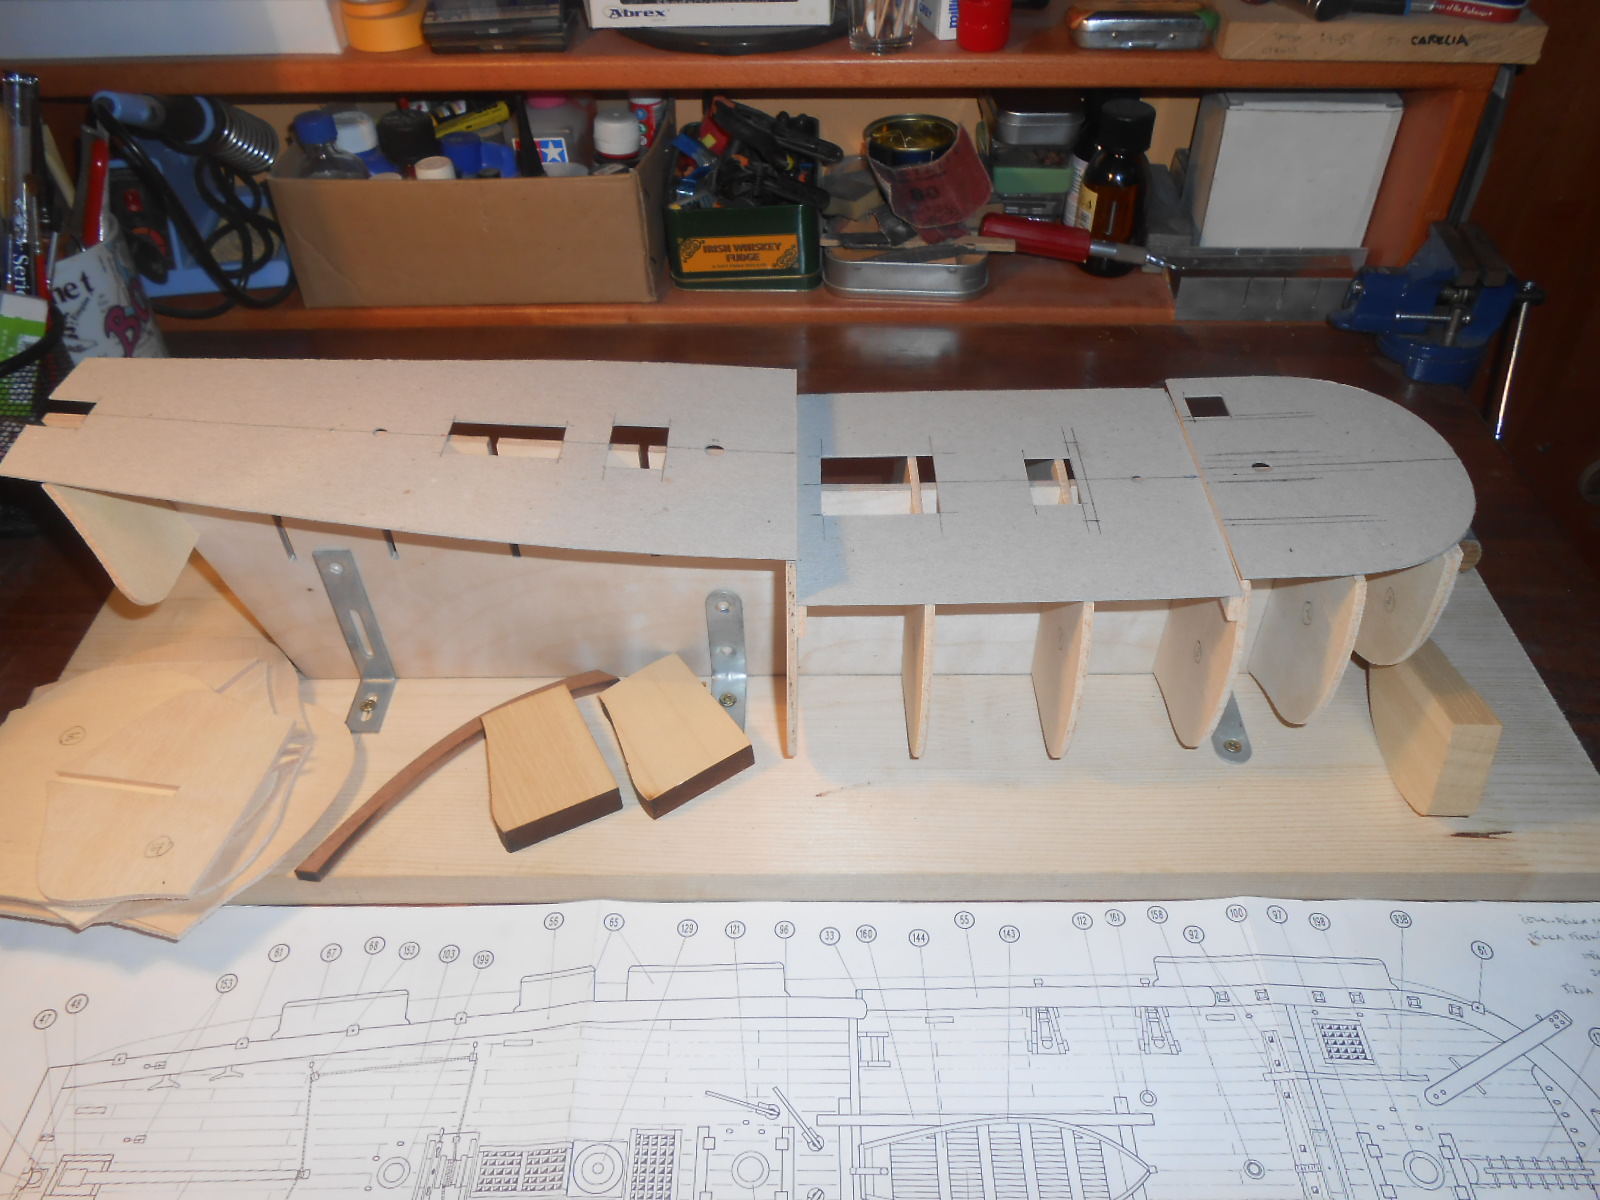
If you think the extension of the false keel in places for masts, I did it with pieces of scrap-plywood,
same material like keel. For main mast I add 2x5mm plywood on both sides. foremast and mizenmast only1 on both sides.
Slots for masts will be done with drills with corresponding diameter. You can see it on folowing pictures.
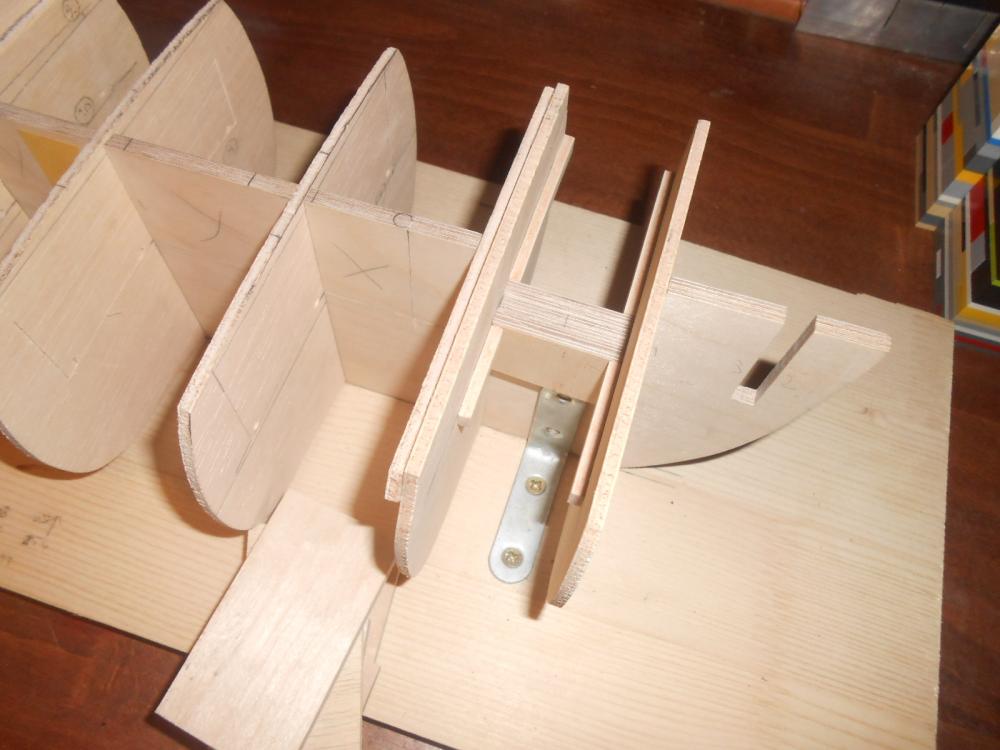
One of the bulkheads was repaired by short planks.
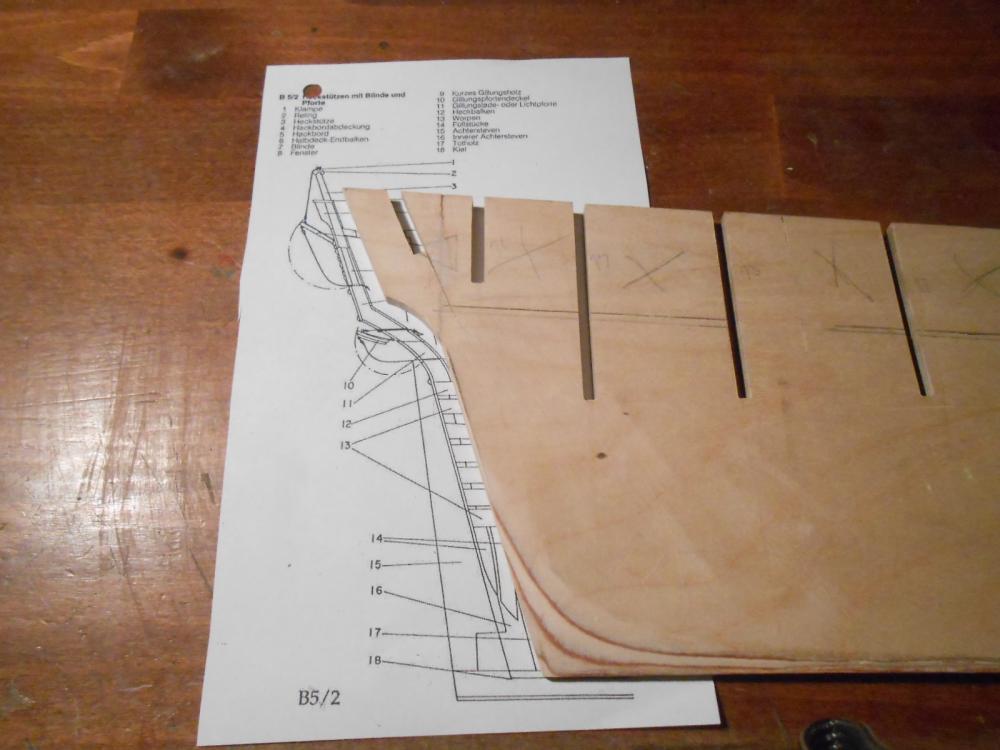
I made aft with places for windows and I removed pre-cut parts of plywood in places, where are the holes in the deck.


-
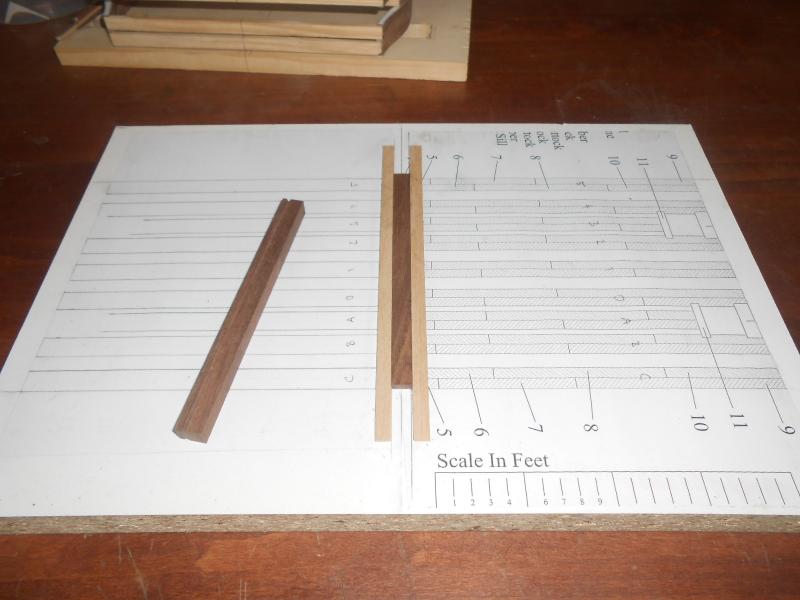
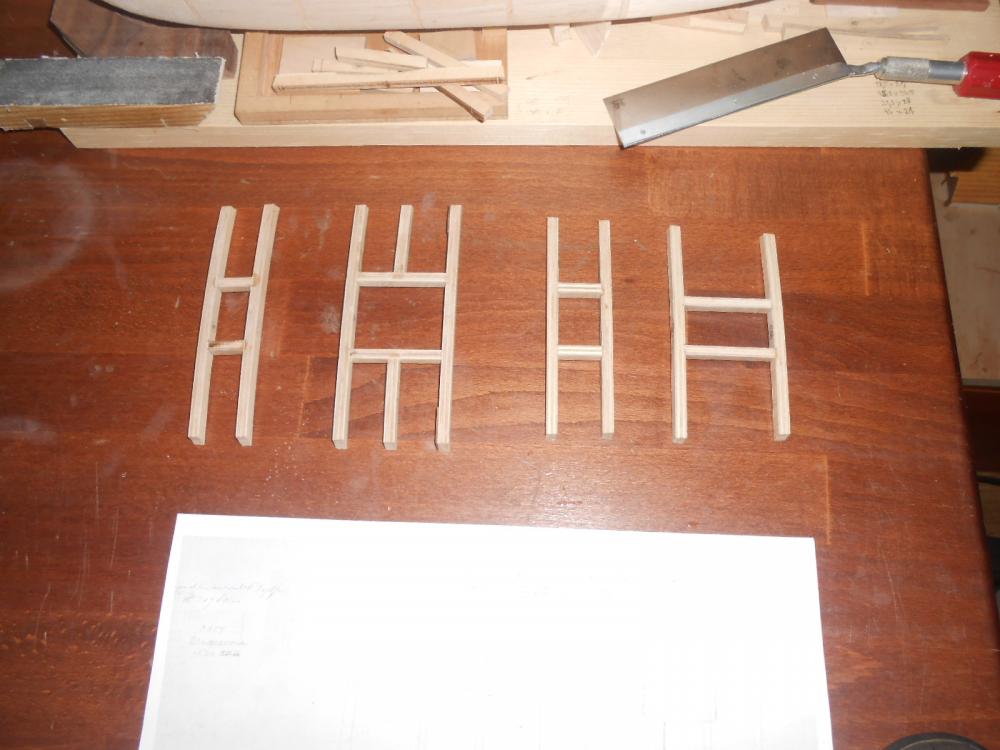
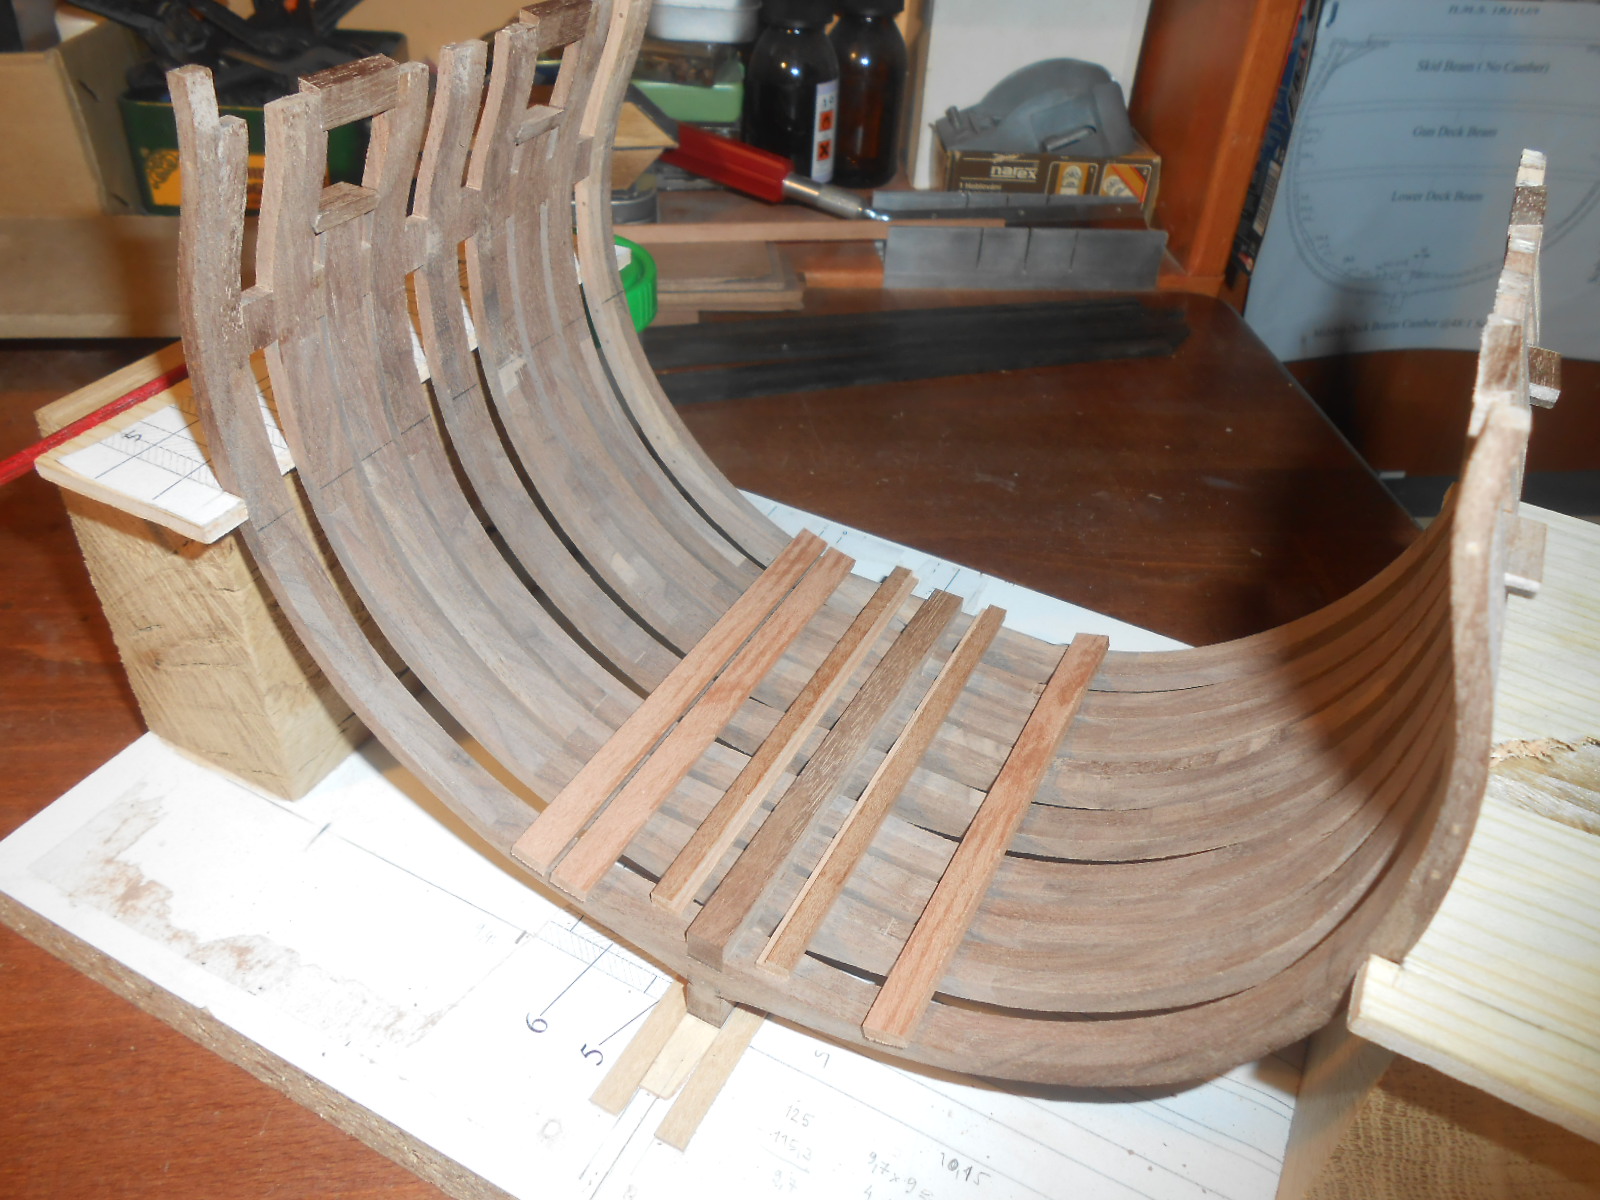
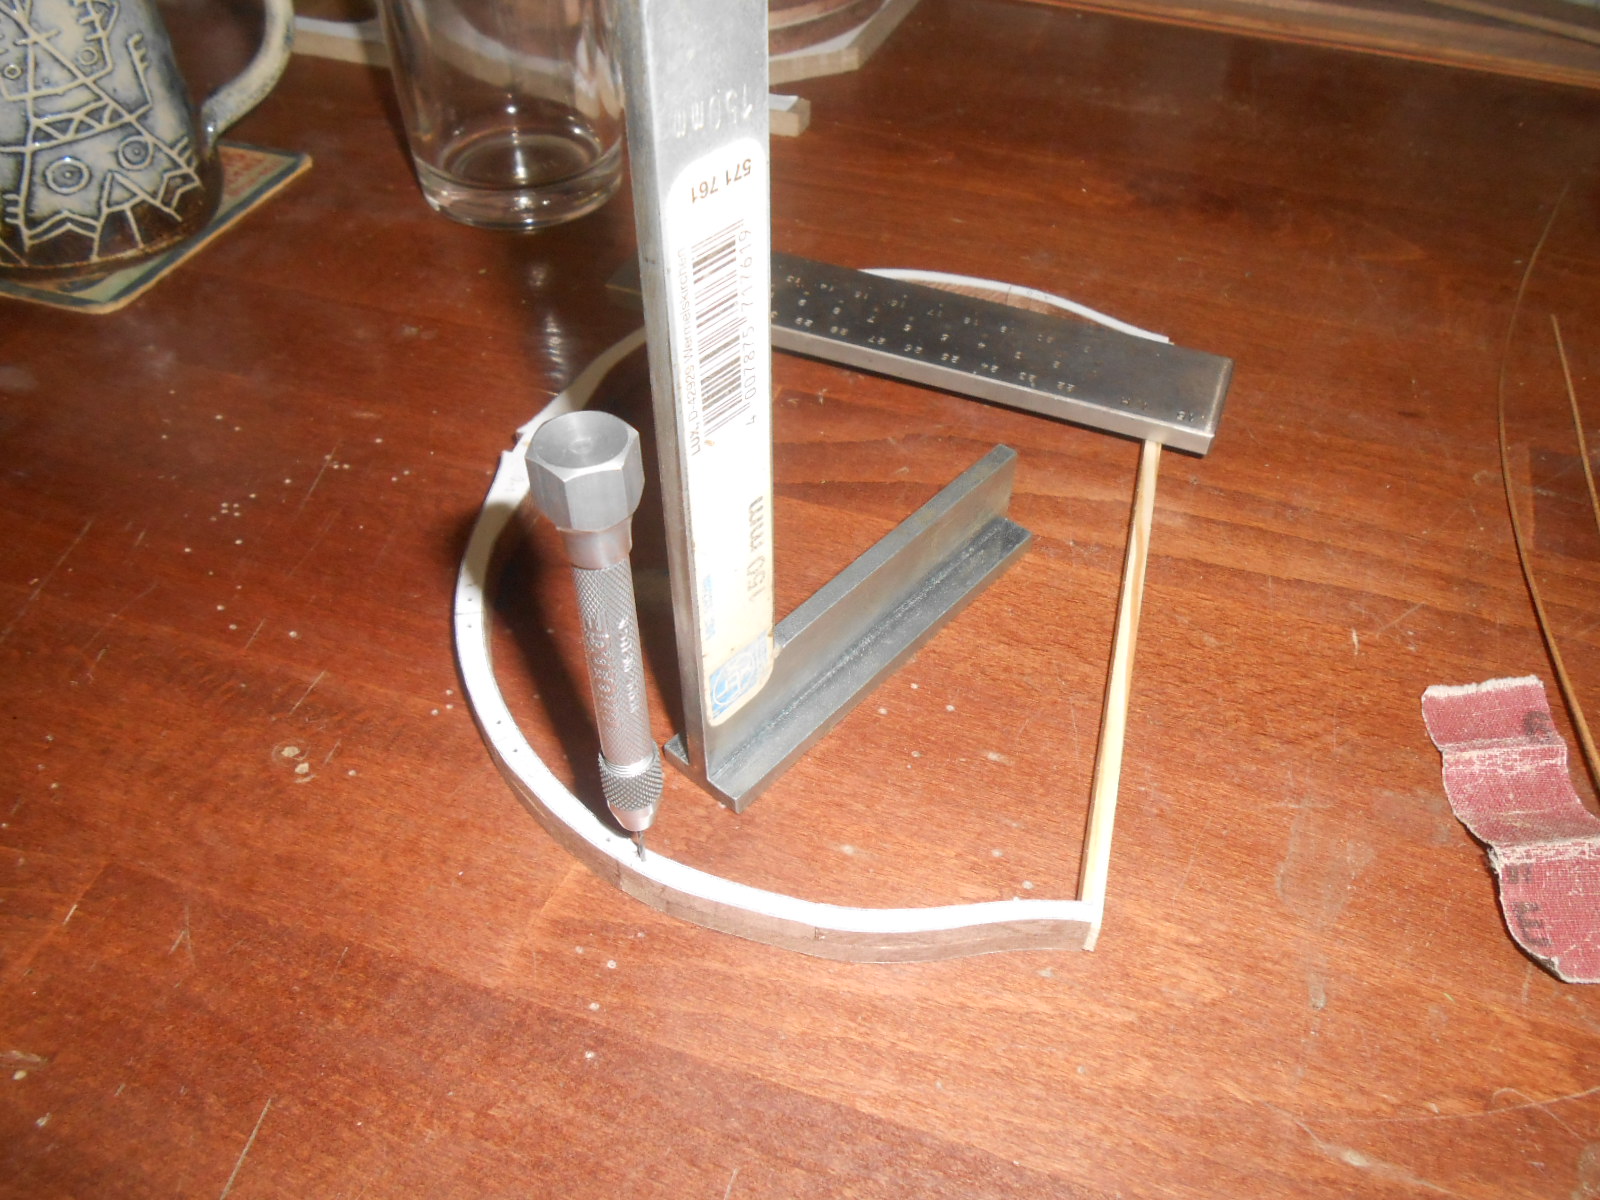
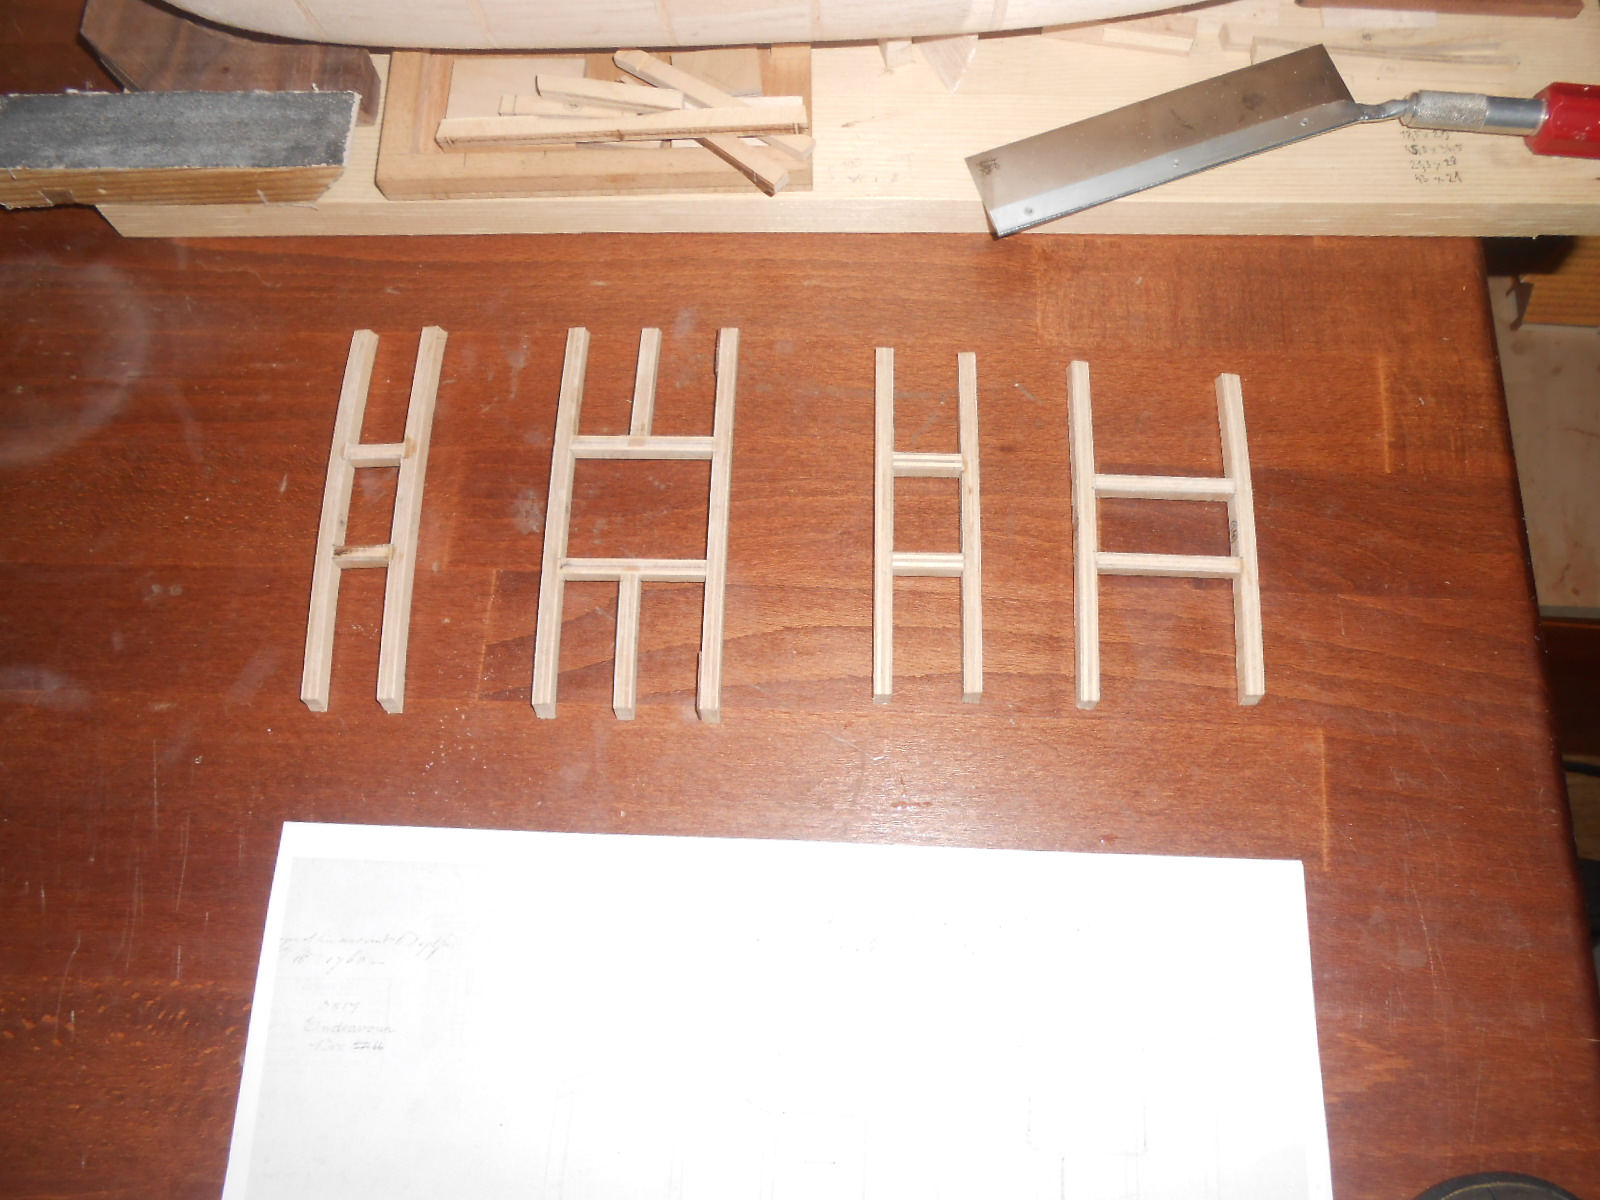
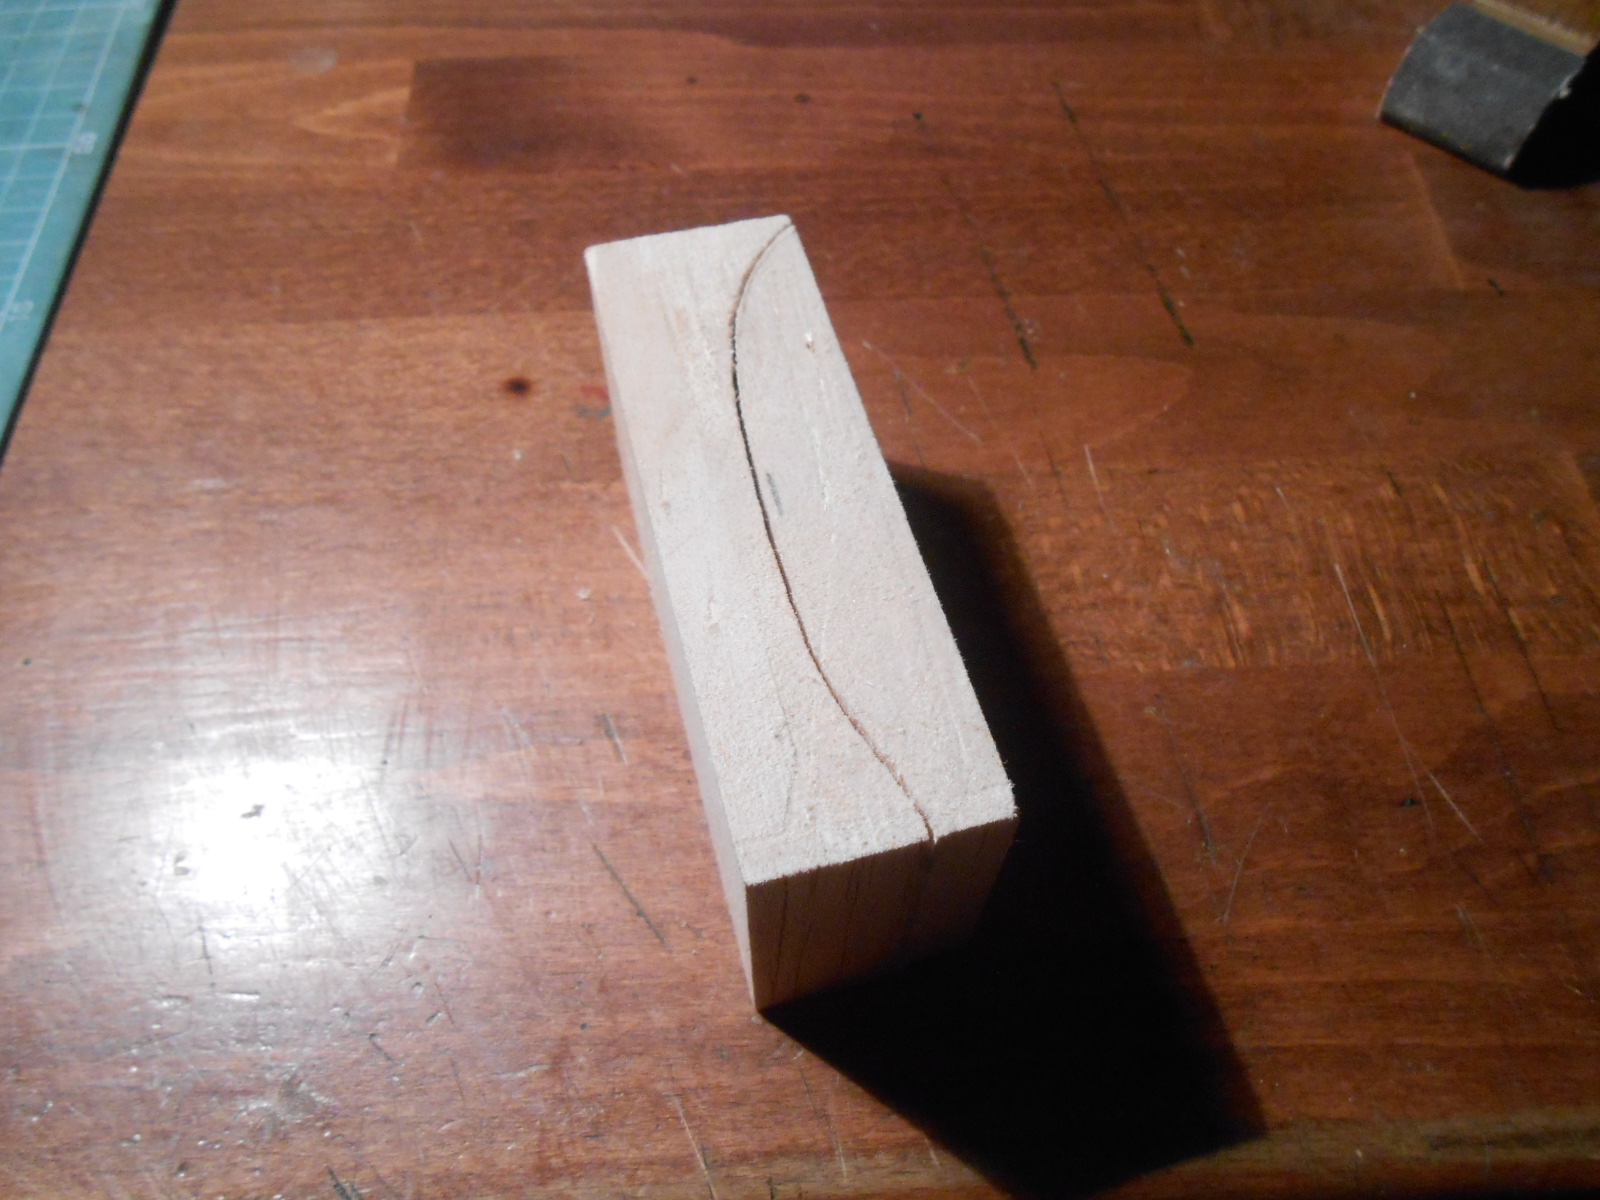
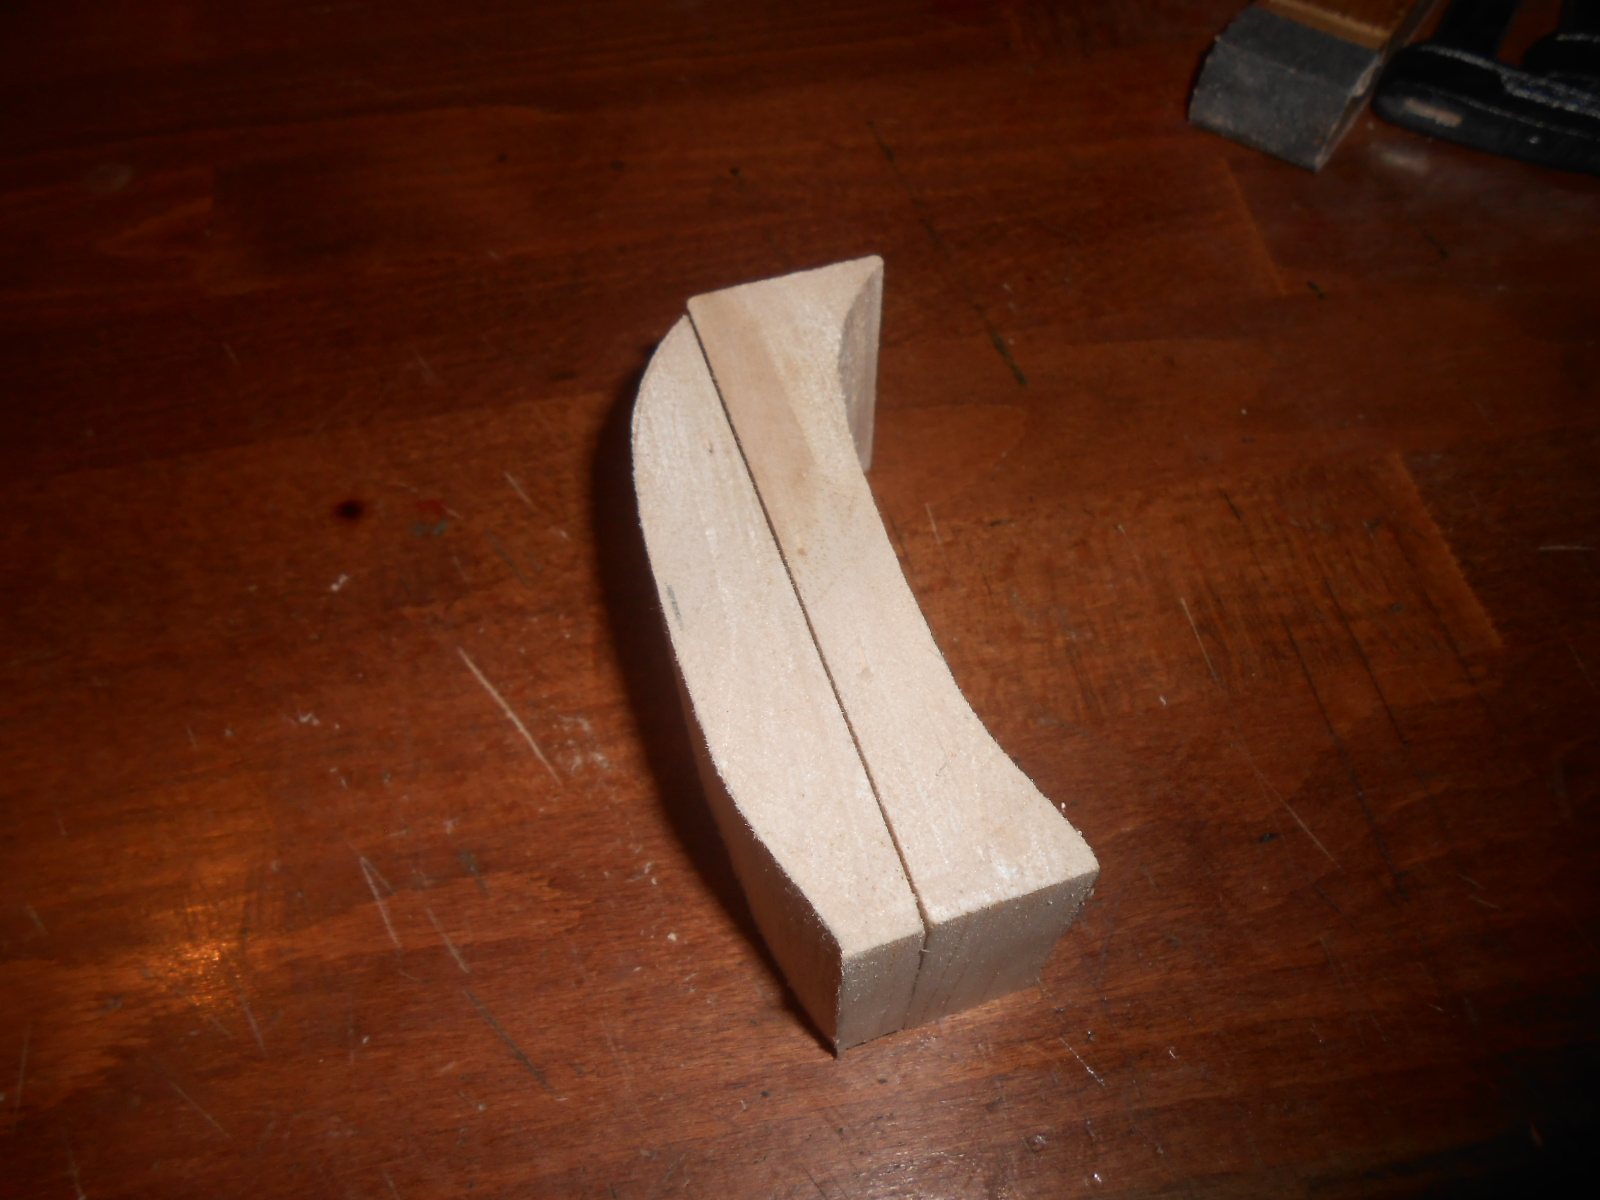
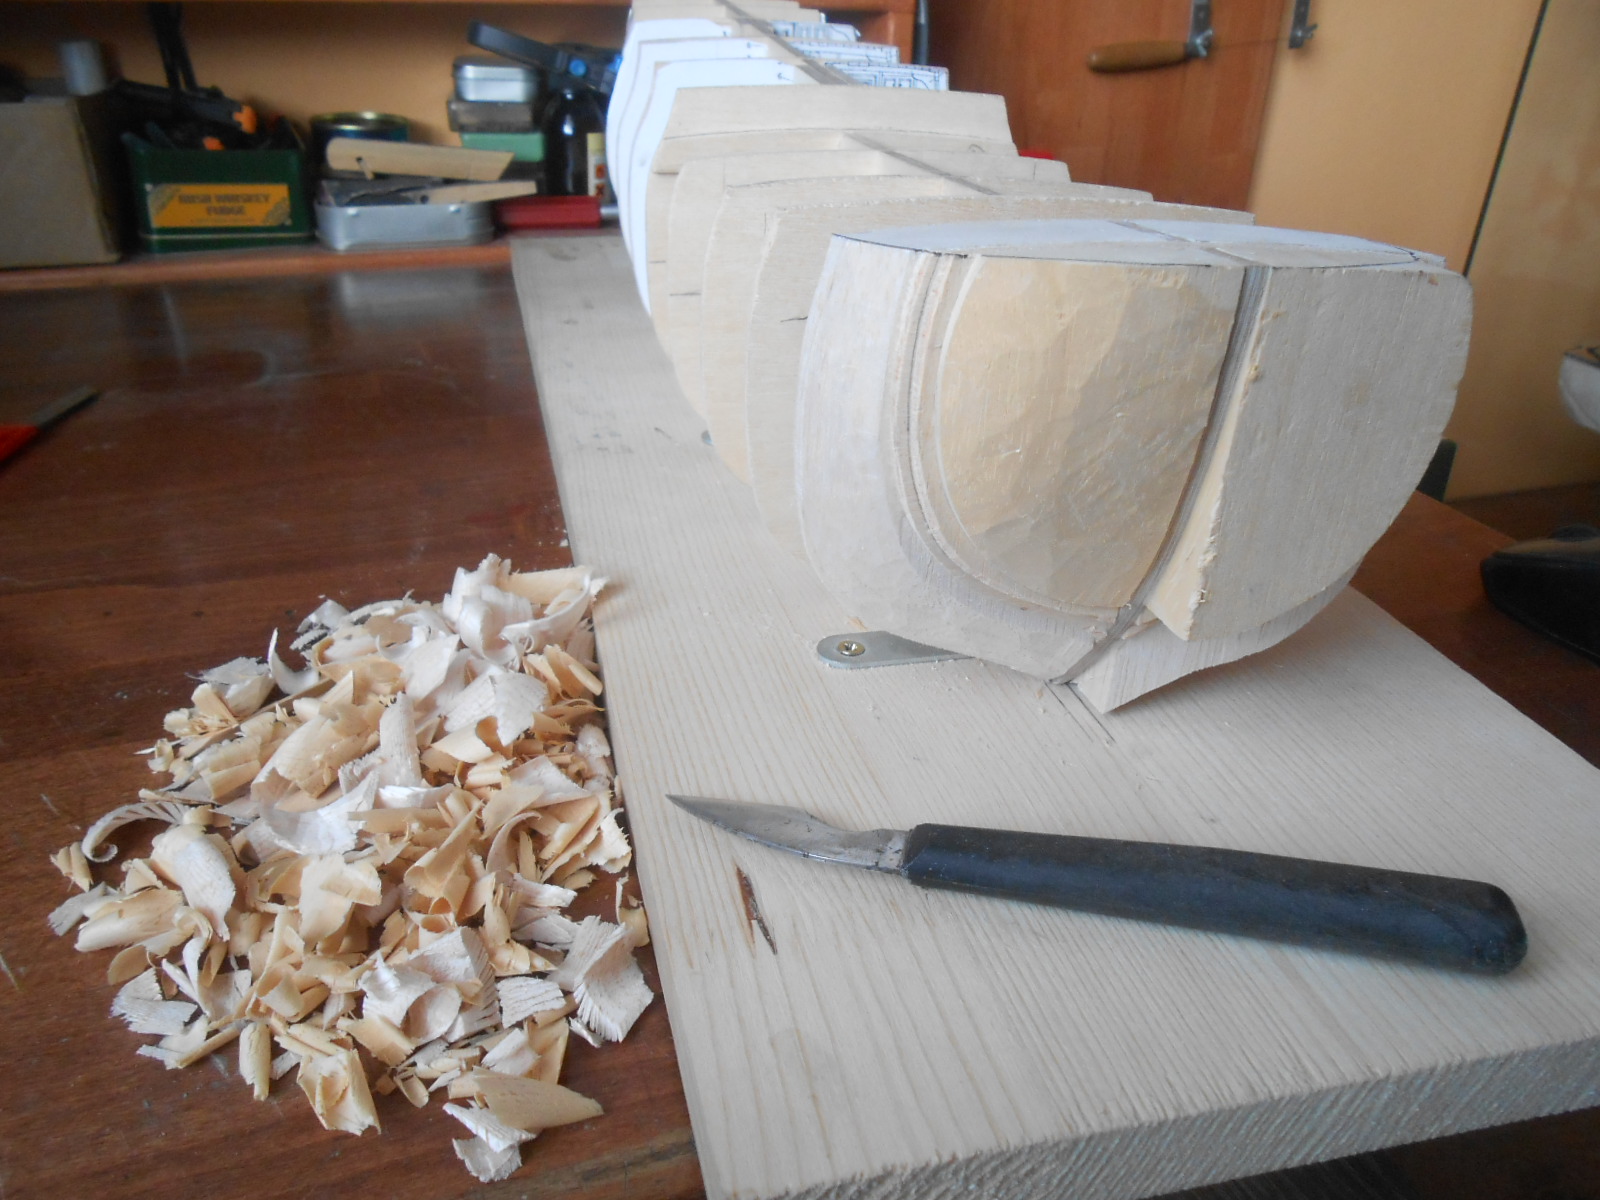
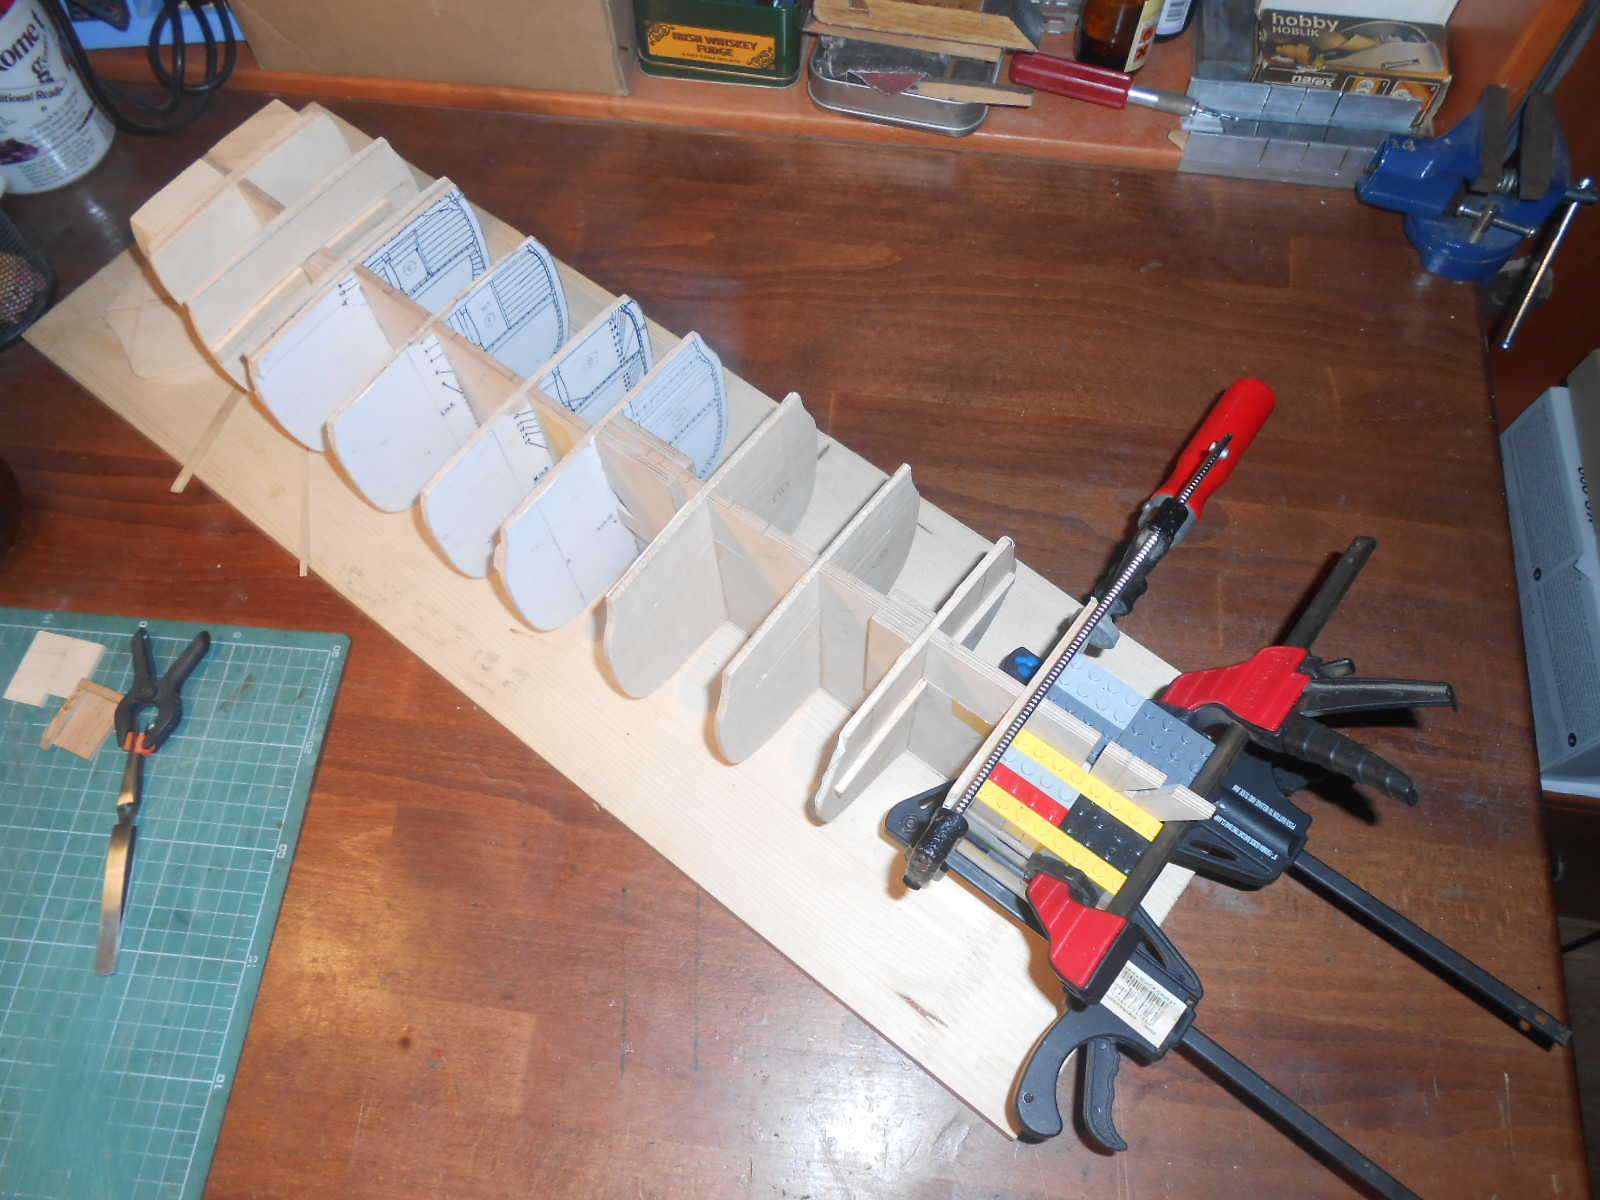
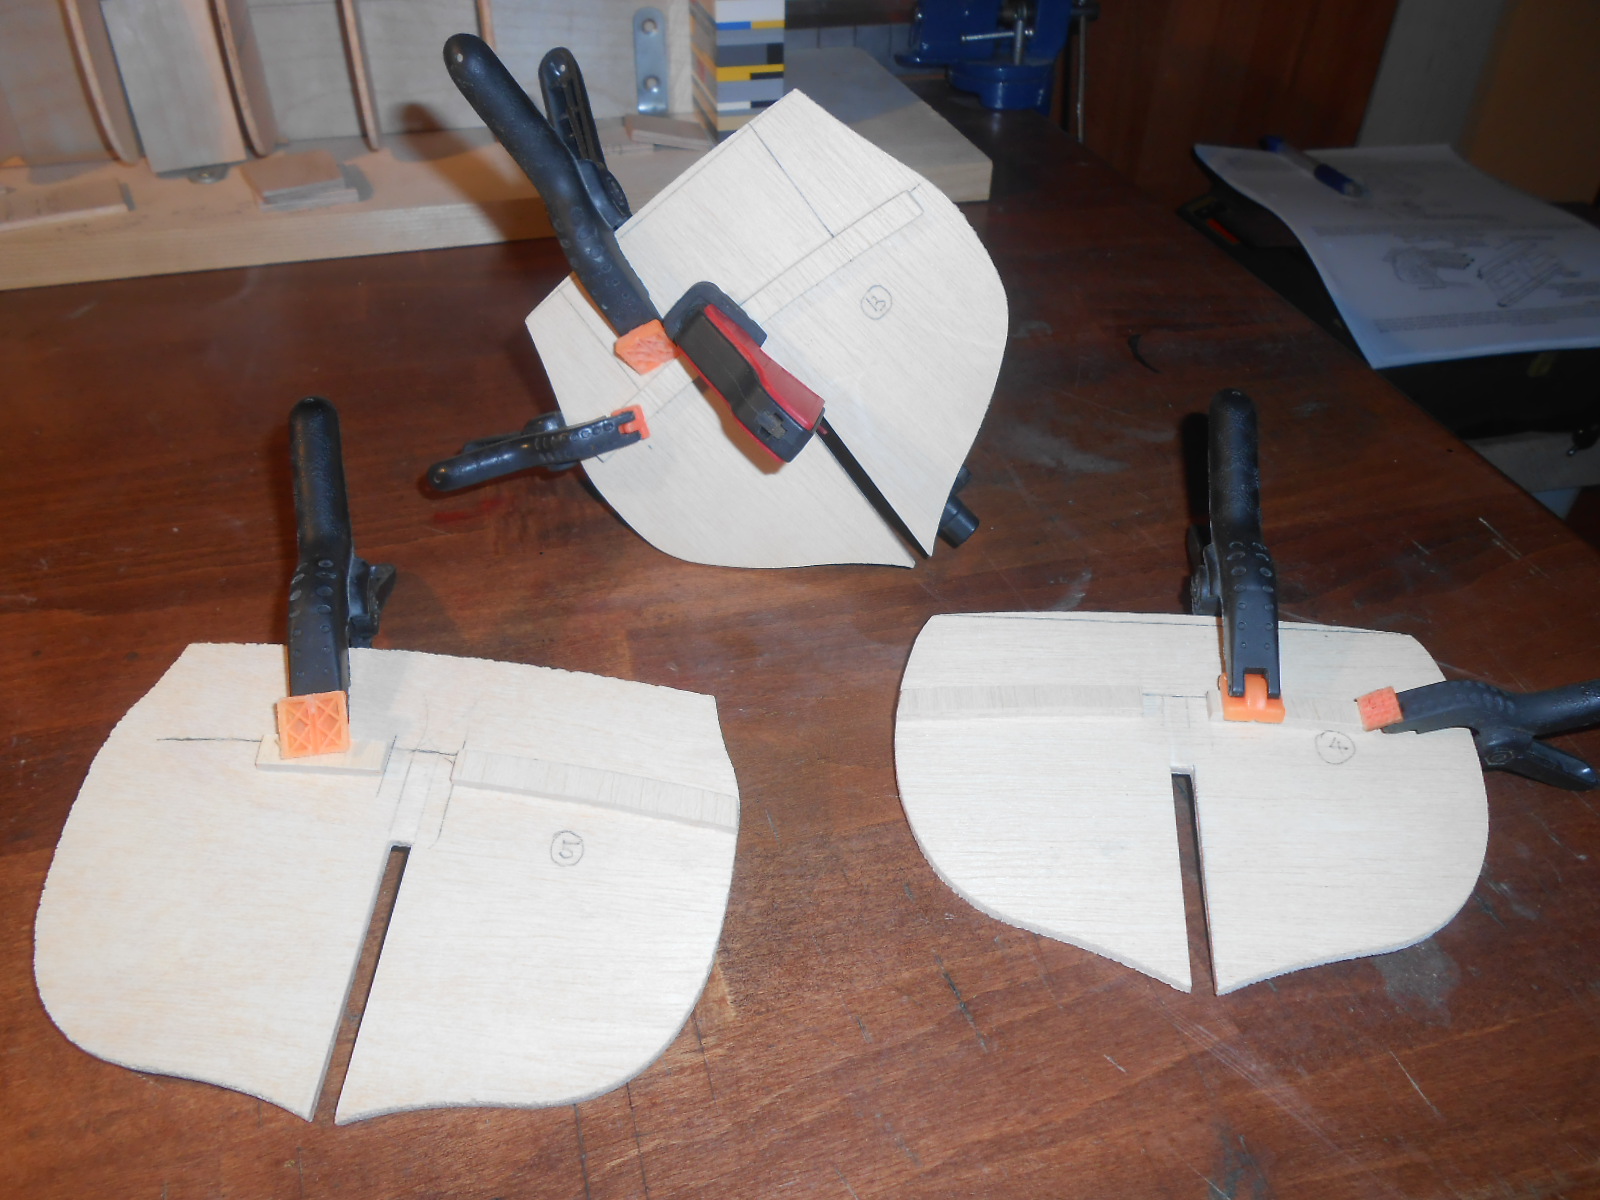
Hello,
this is my first attempt at building ship (ok part of ship) from scratch. I think it will be a good practise for beginning.
I dare not to build whole ship yet and I also do not have so much space at home for 1:48 ship.
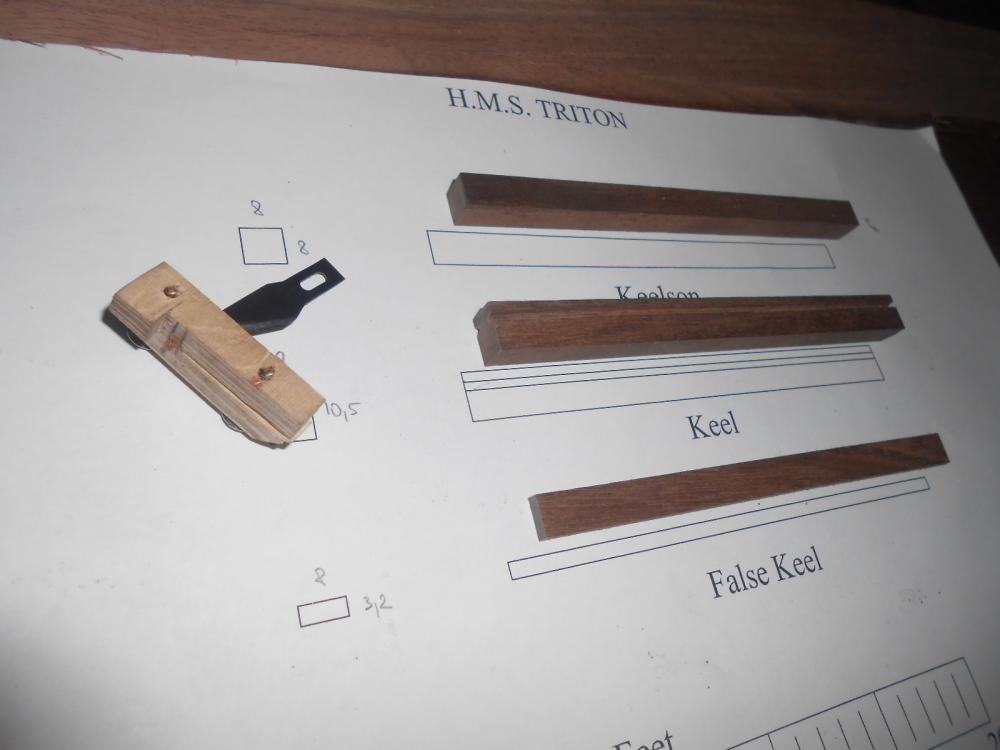
I choose american walnut for main parts. I got this wood from my work - it is not a common species here in Europe.
It is hard and has a beautiful dark colour. I made the first 3 pieces according to plan.
-
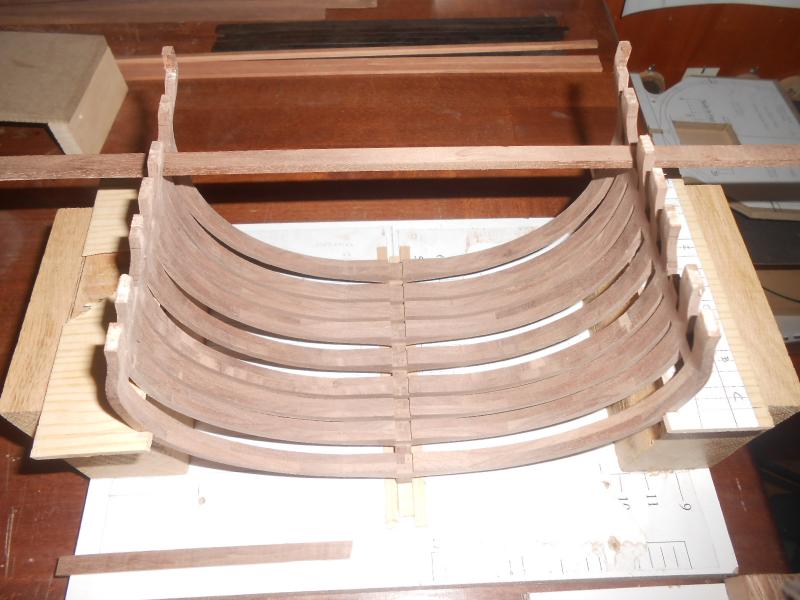
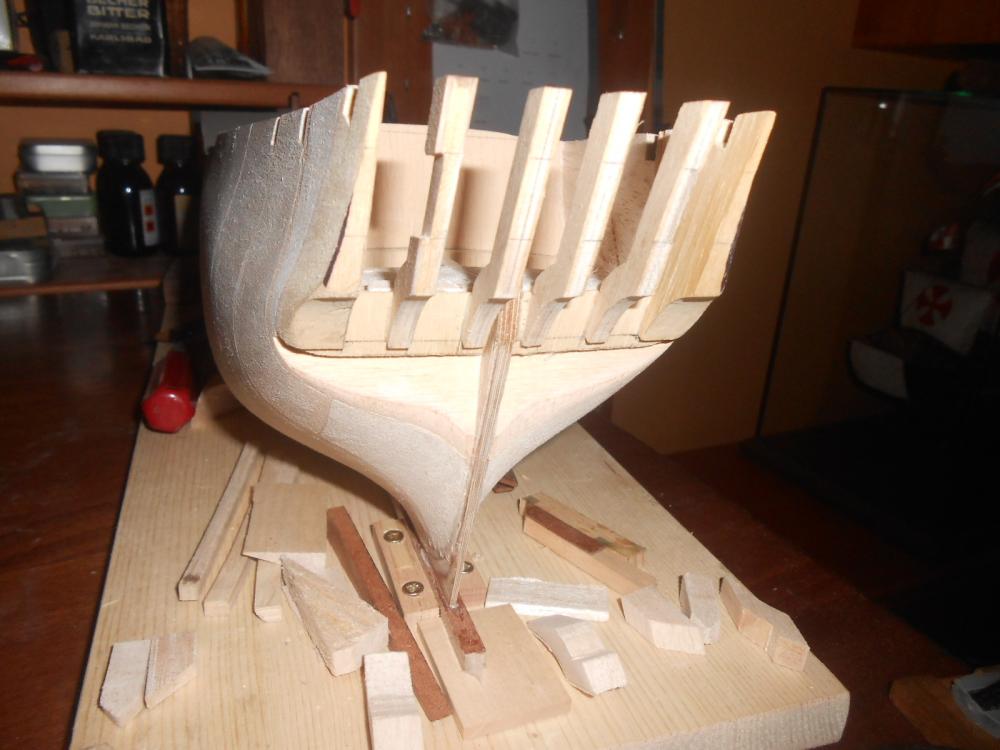
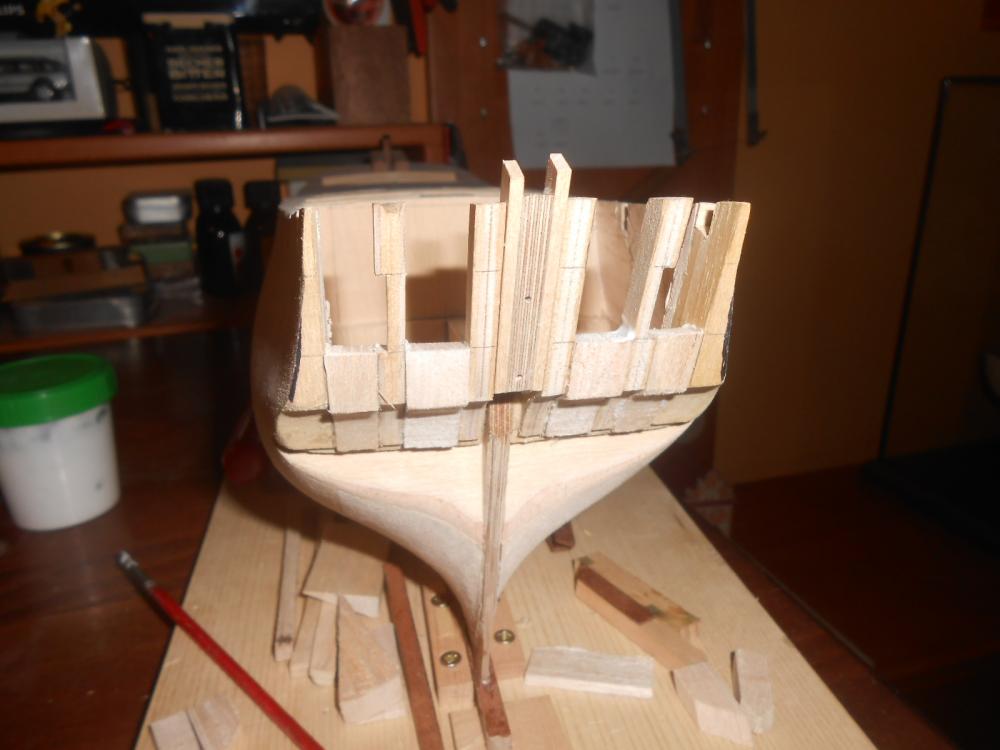
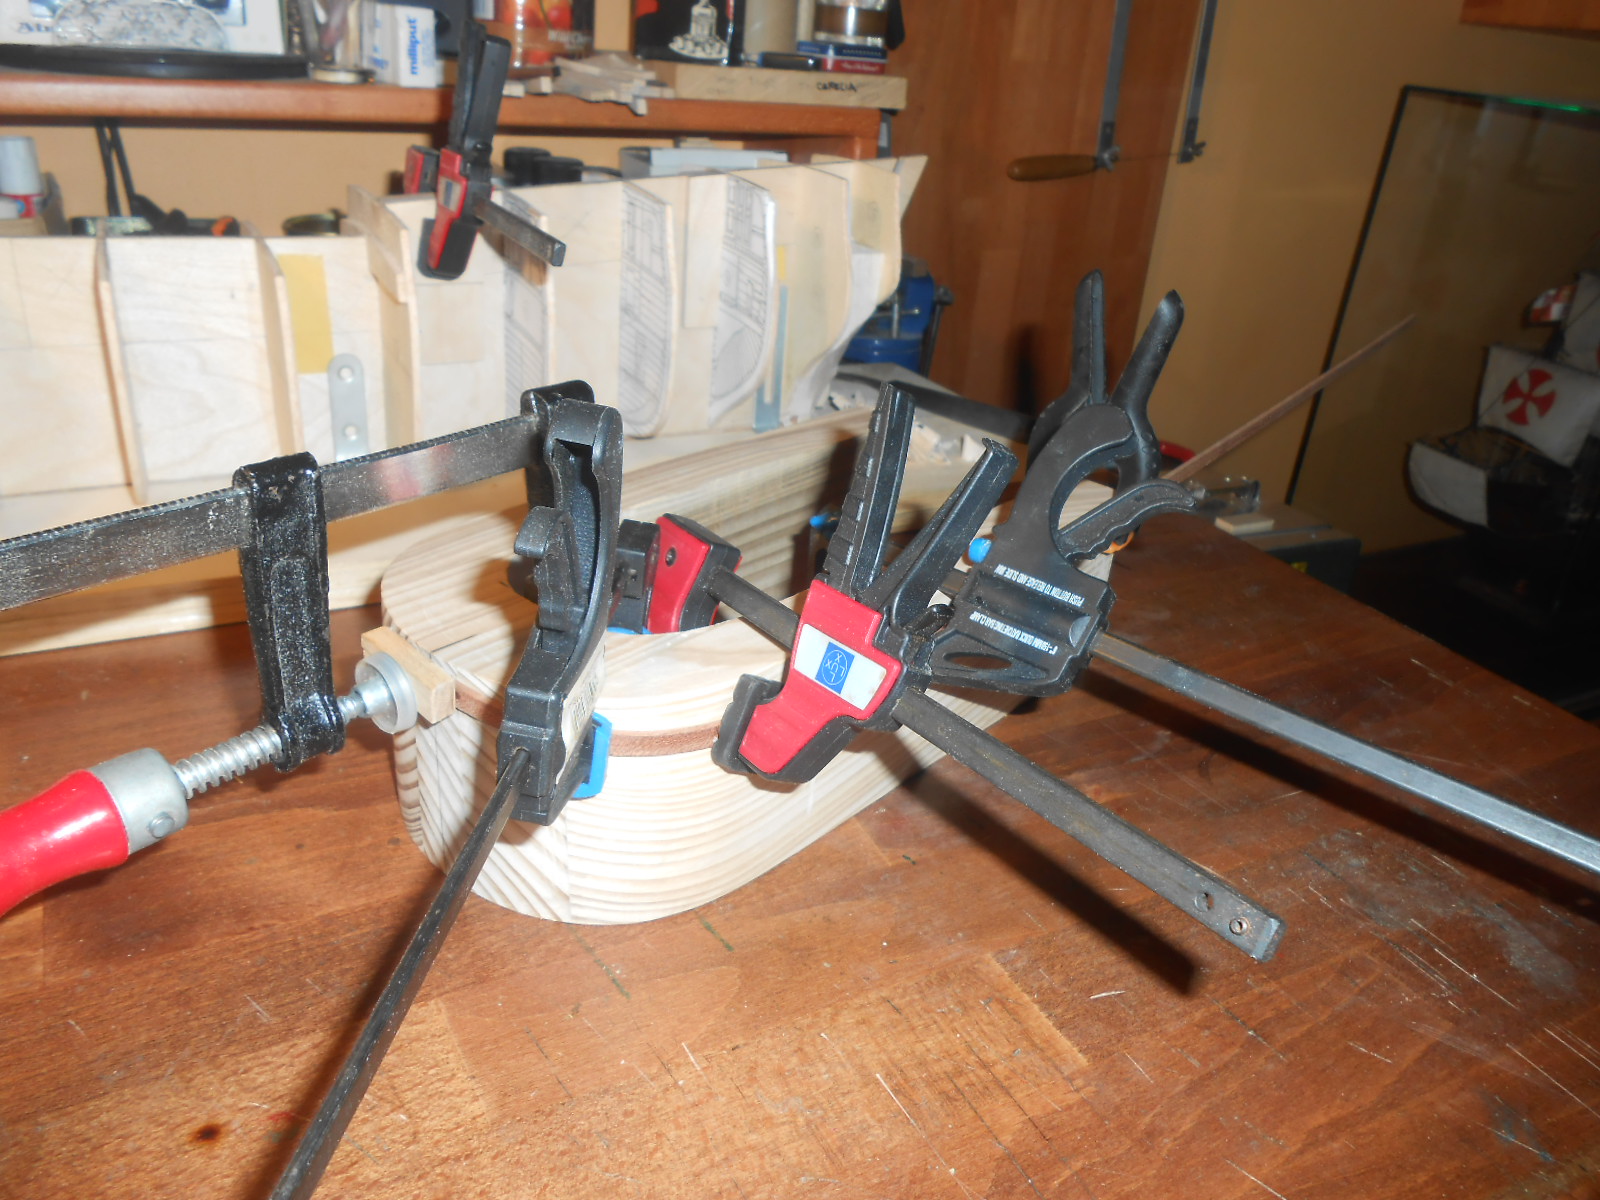
Hello,
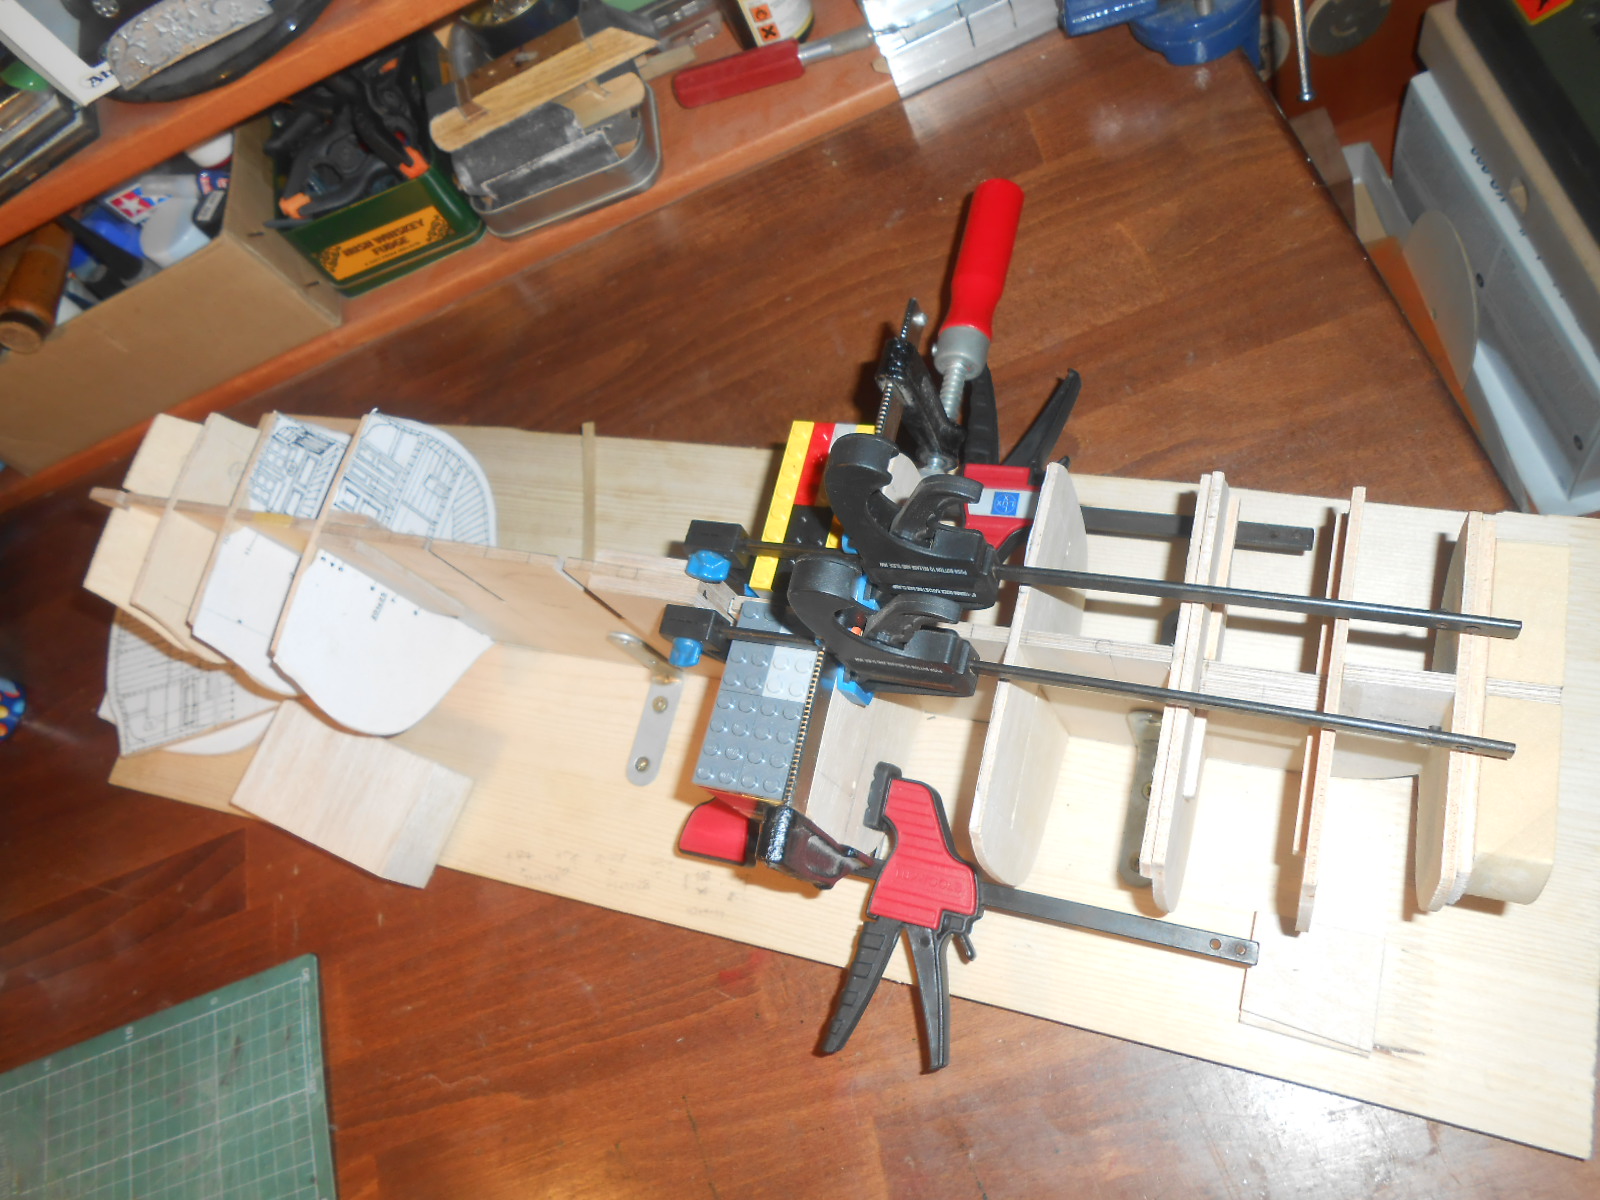
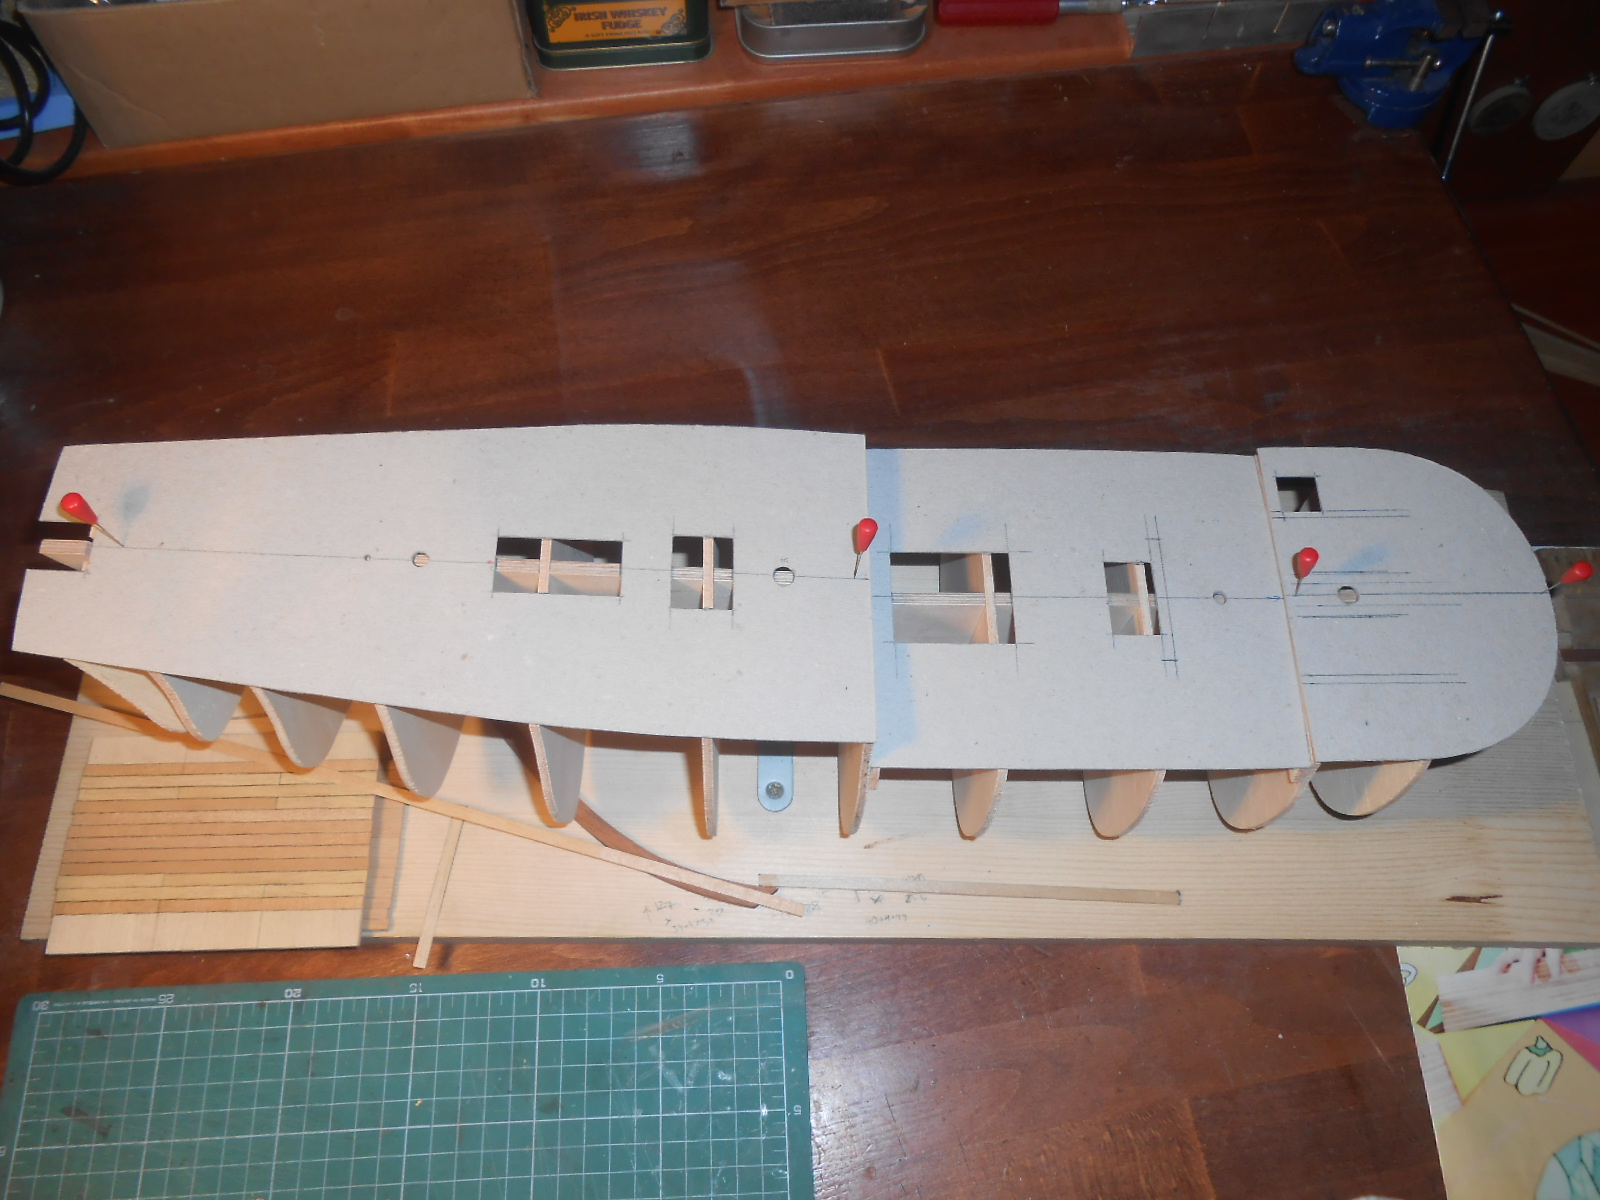
filing progress and keel added.

- Captain Slog and EJ_L
-
2
-
-
-
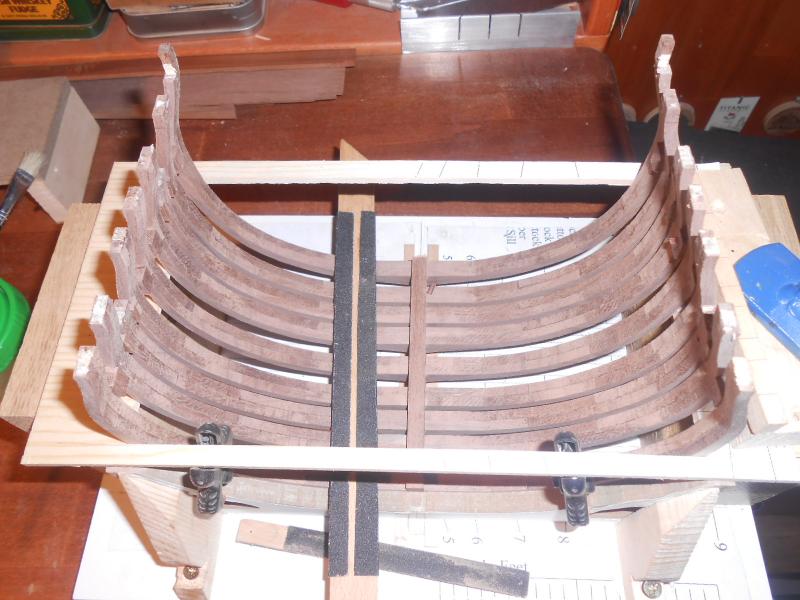
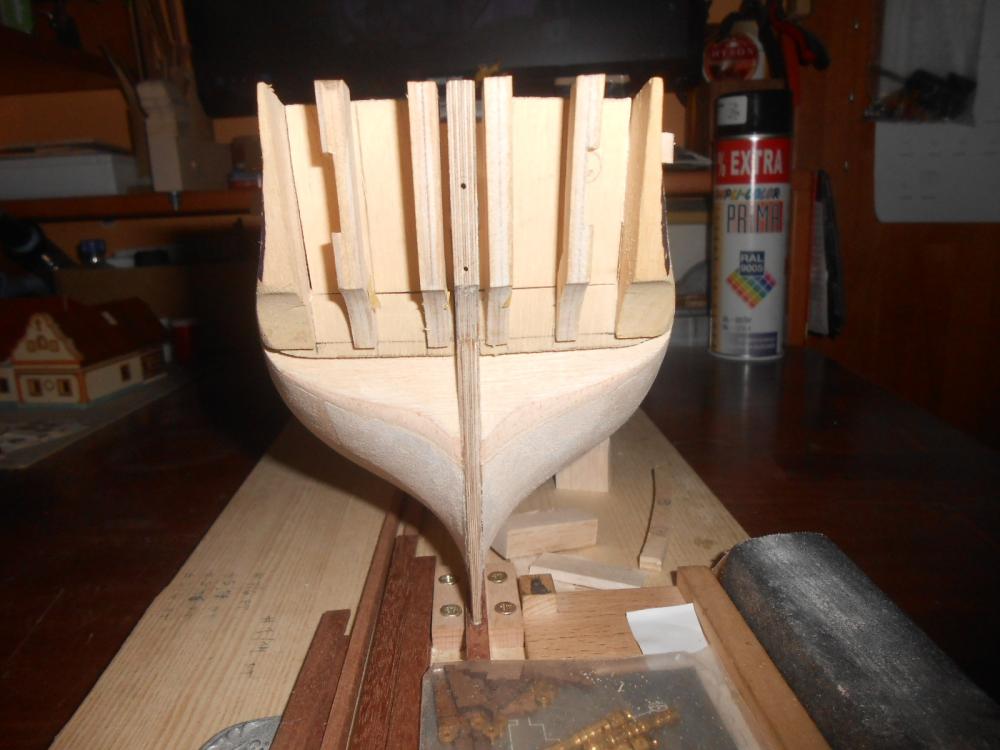
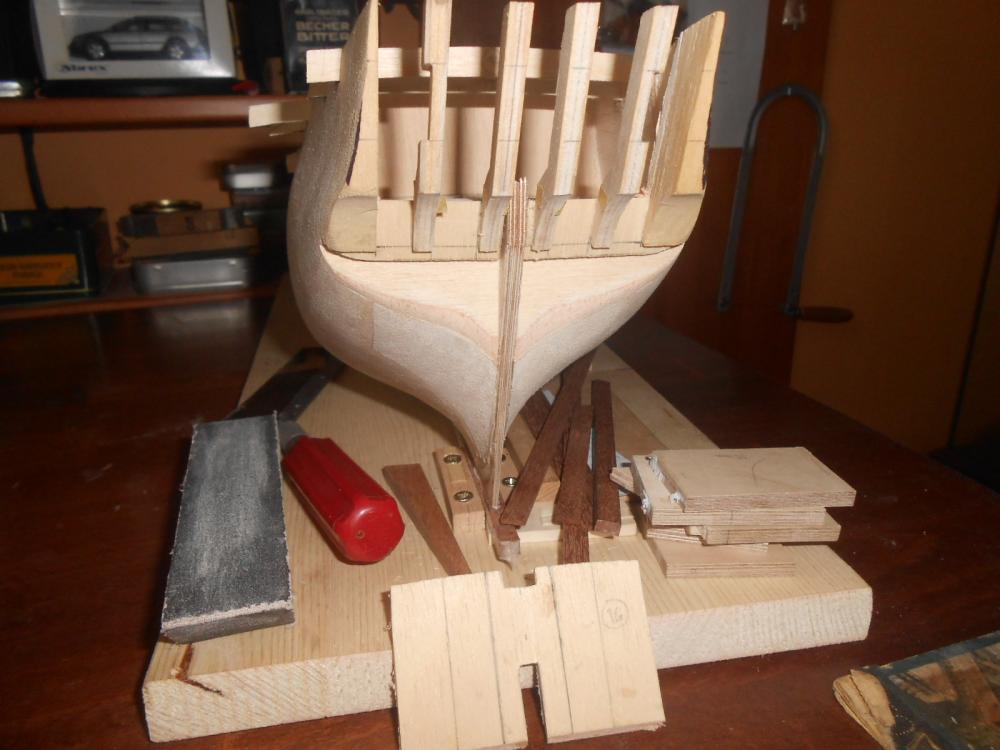
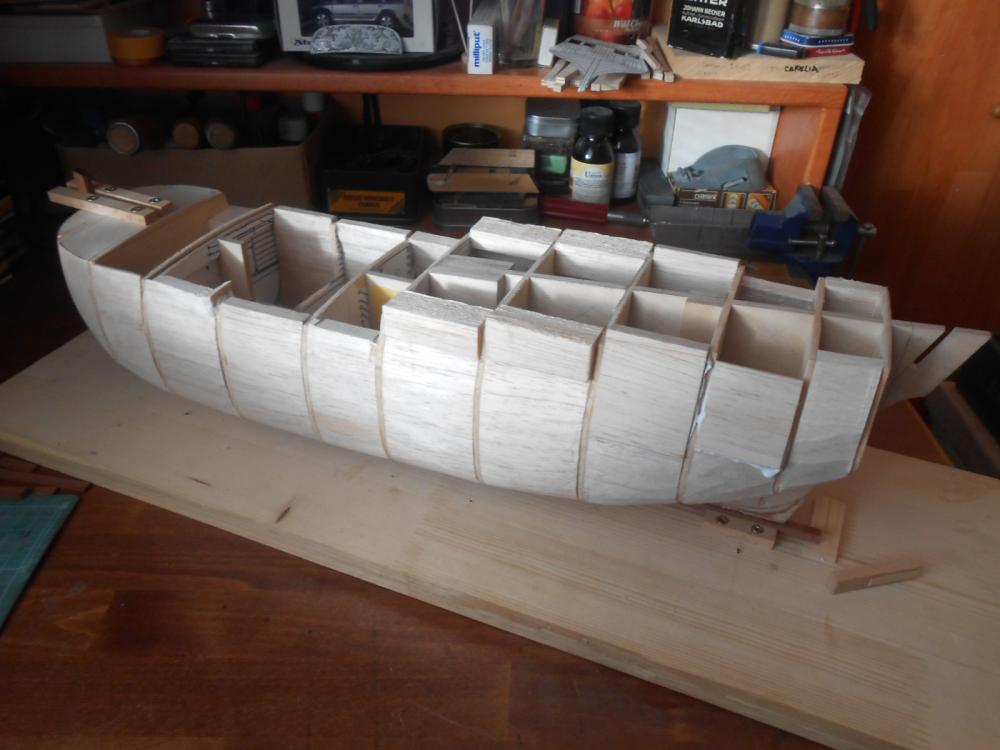
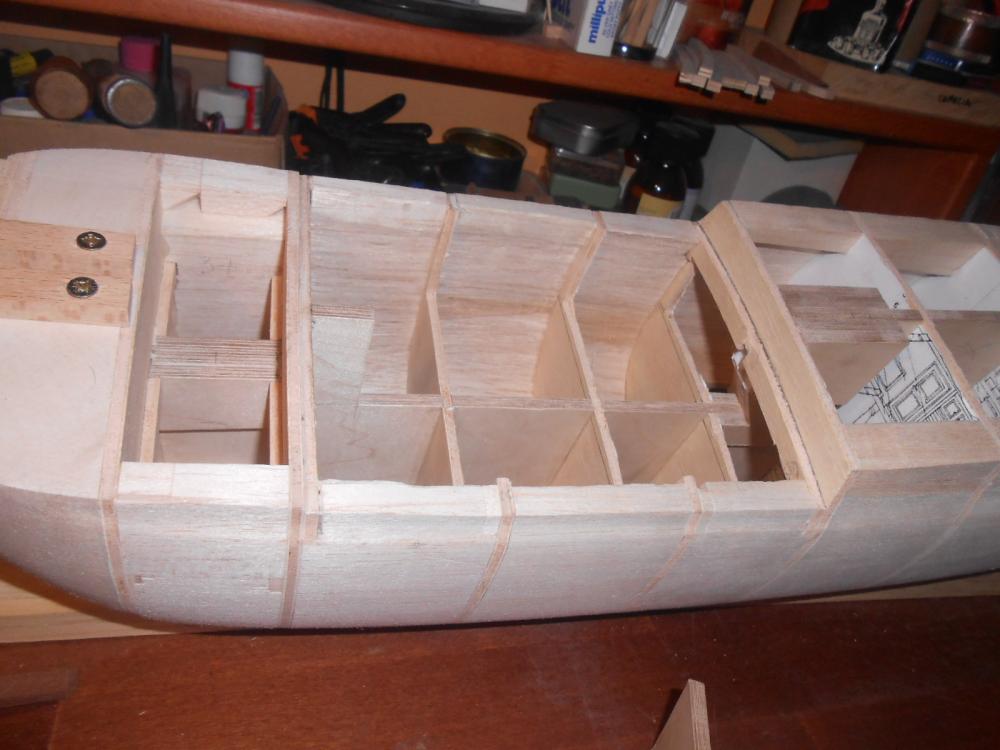
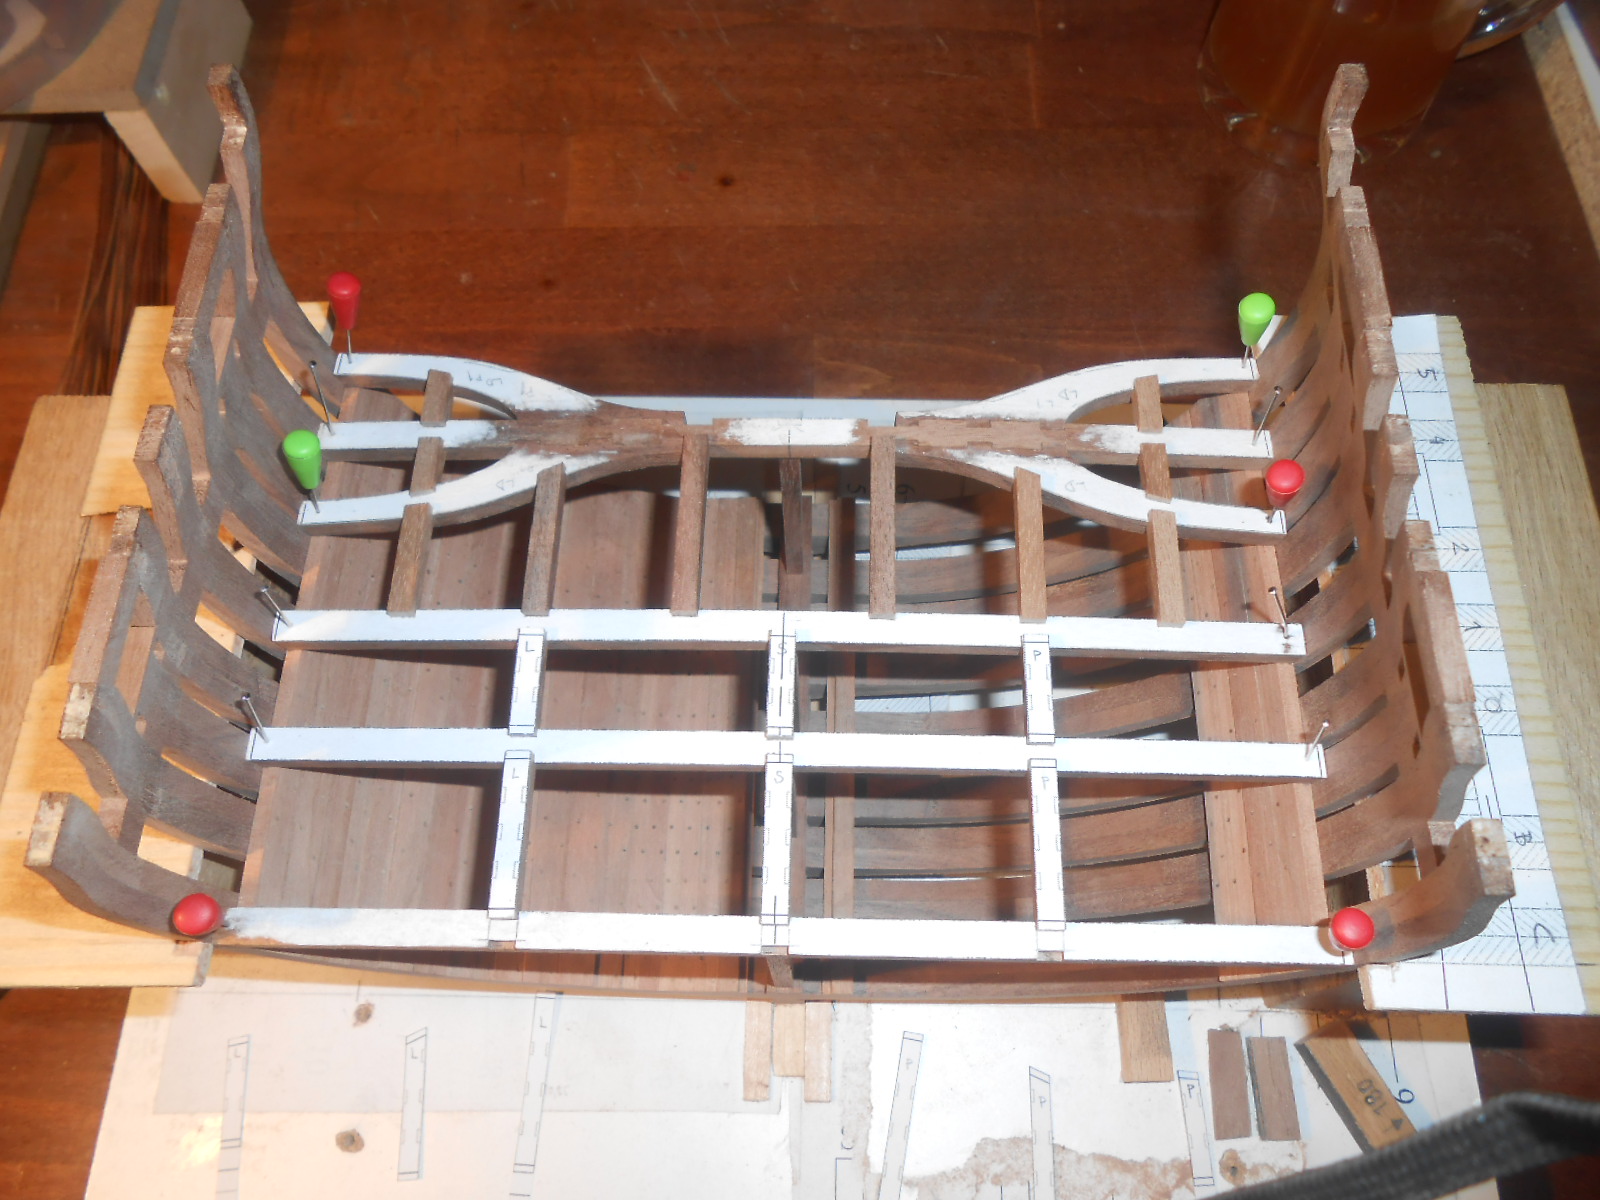
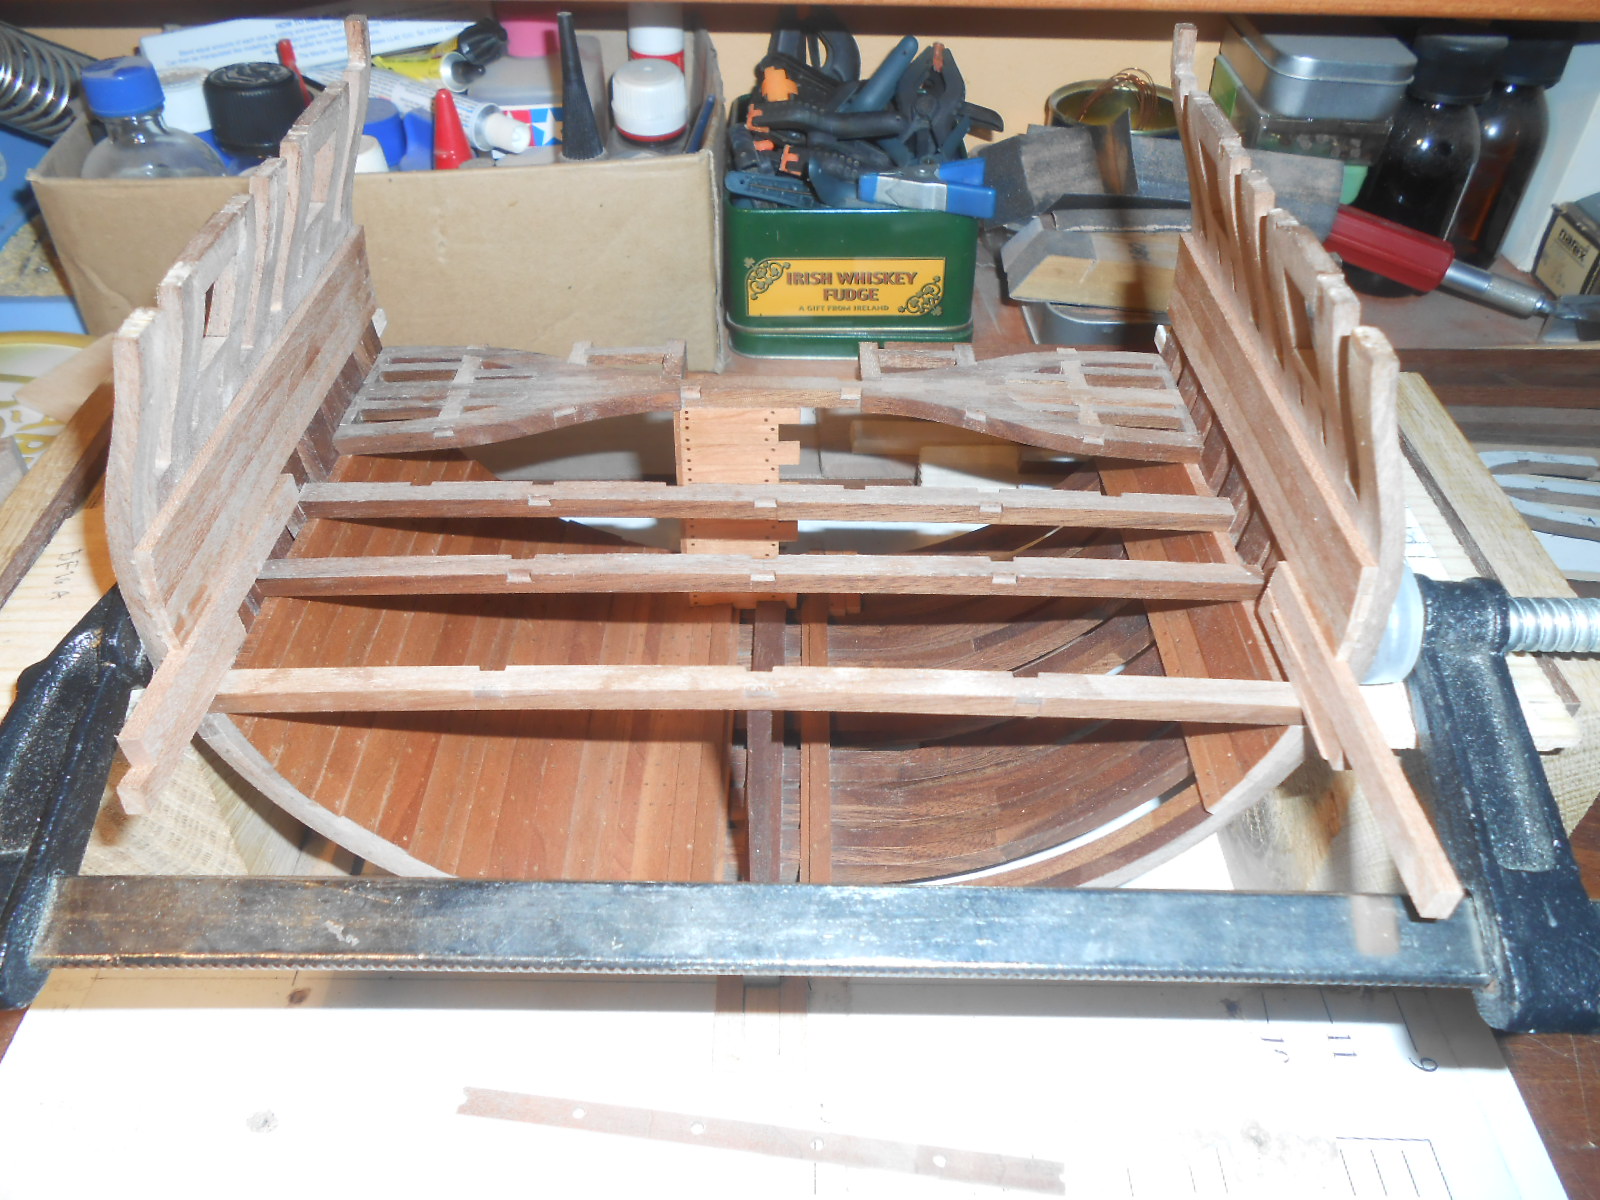
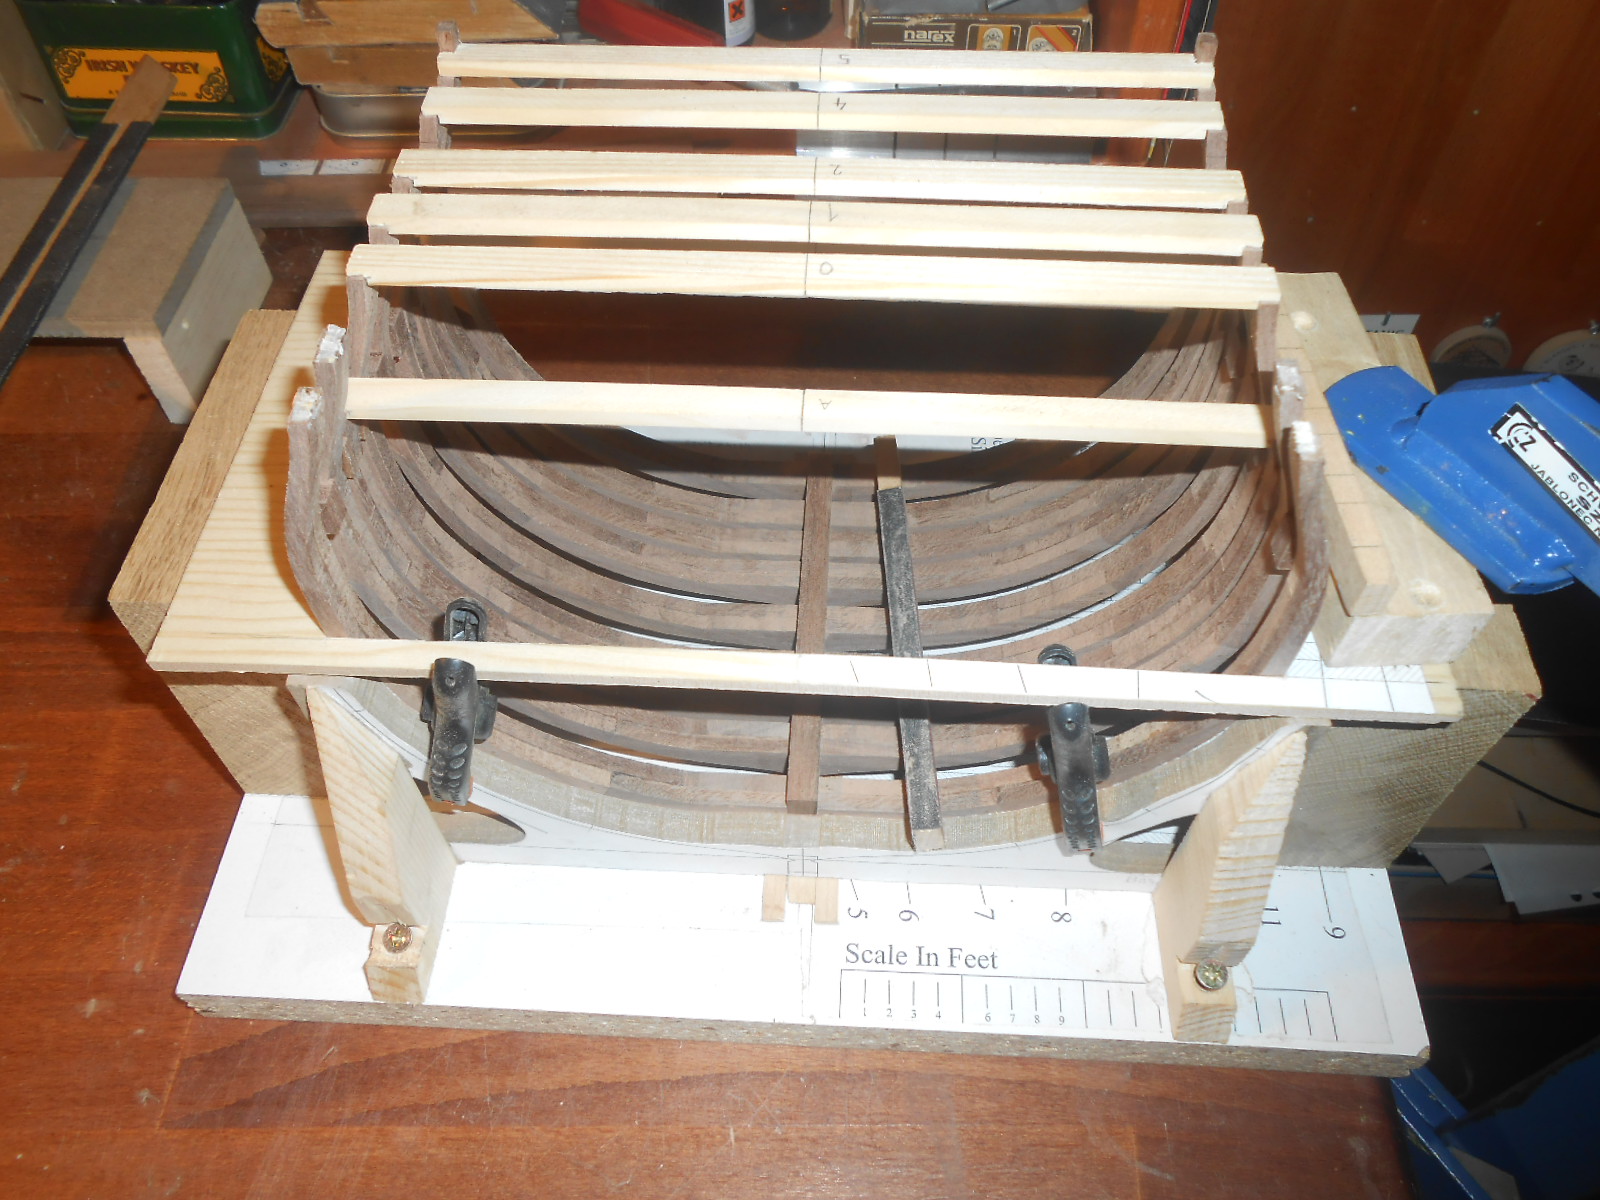
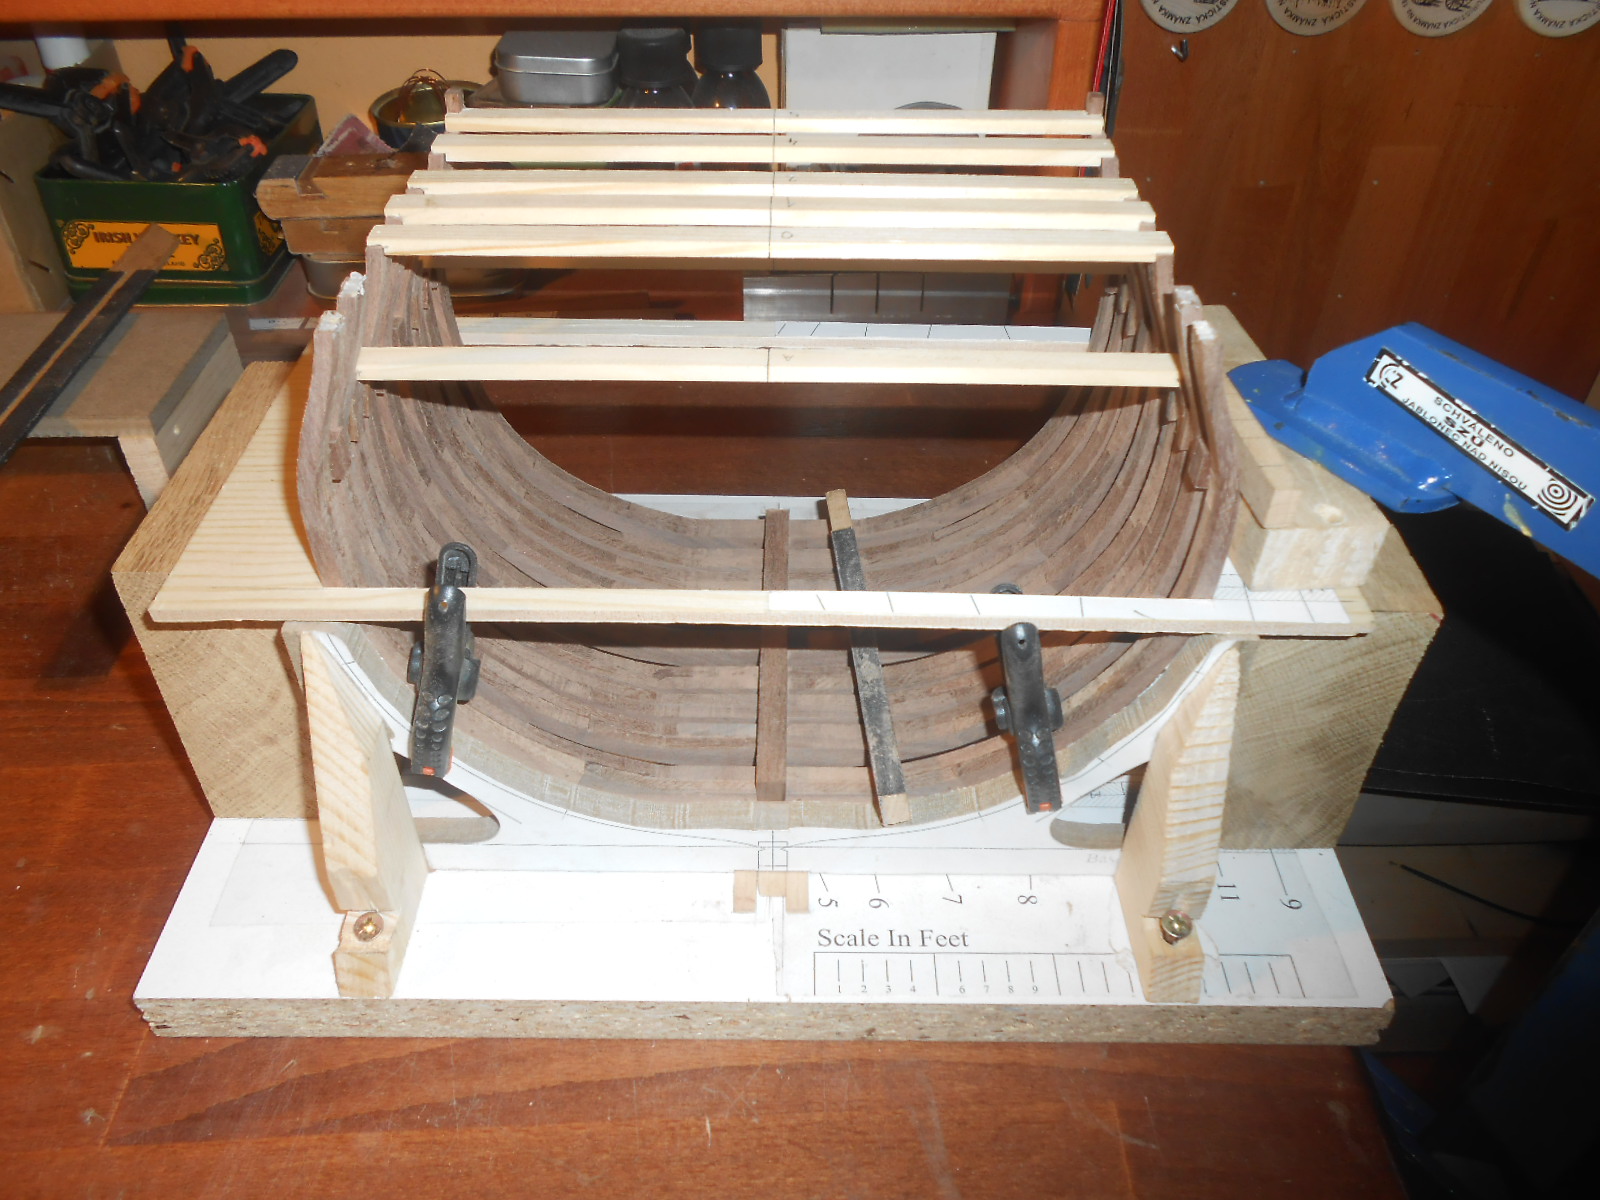
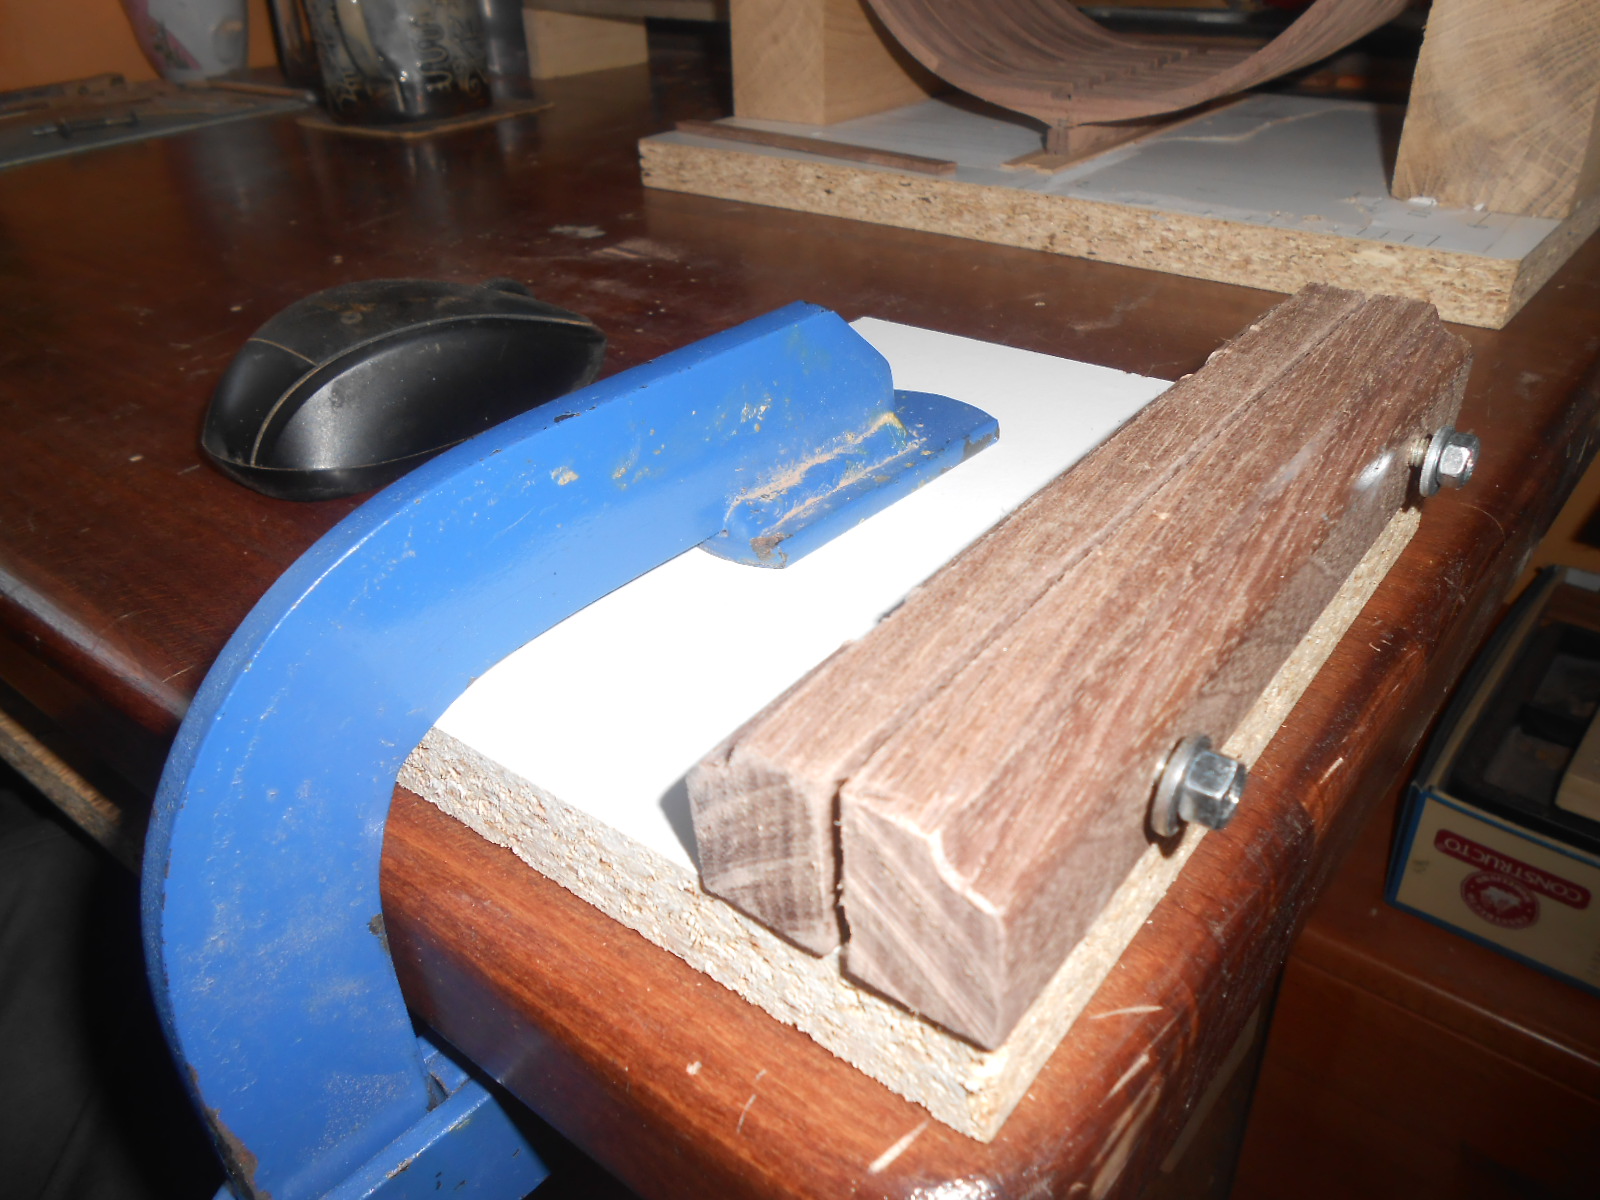
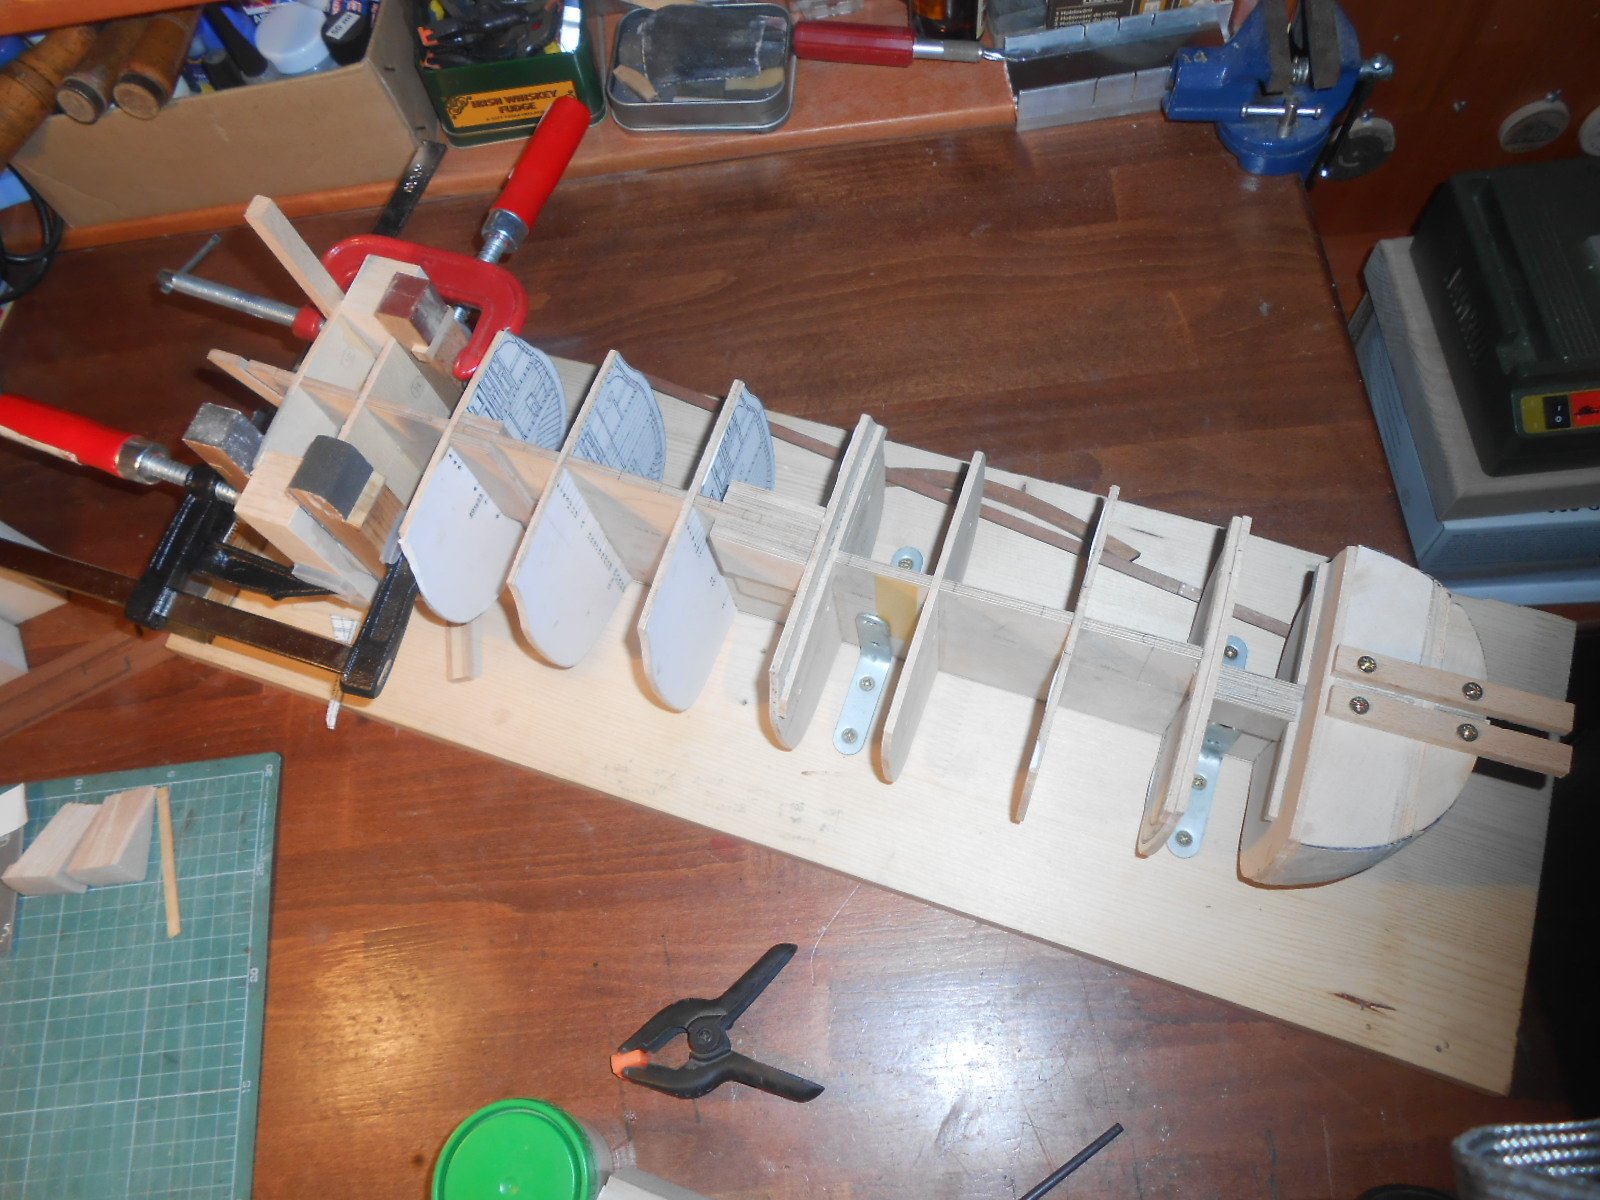
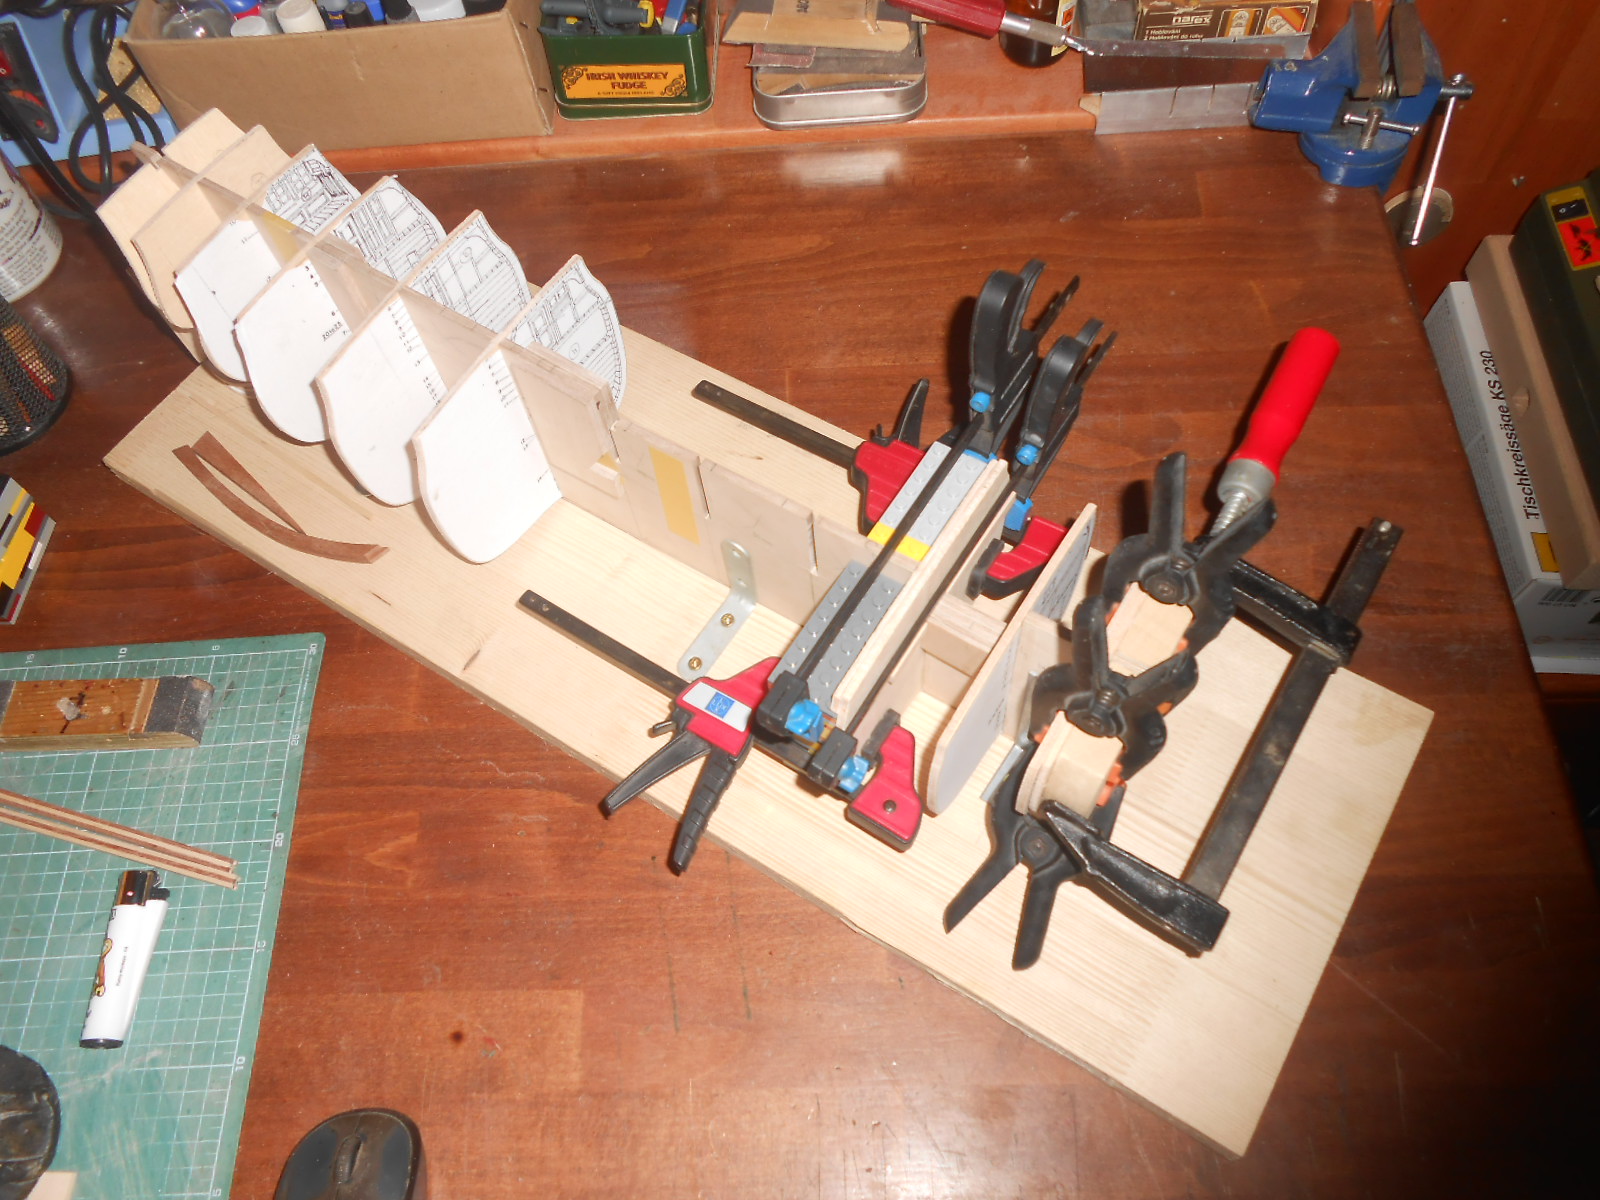
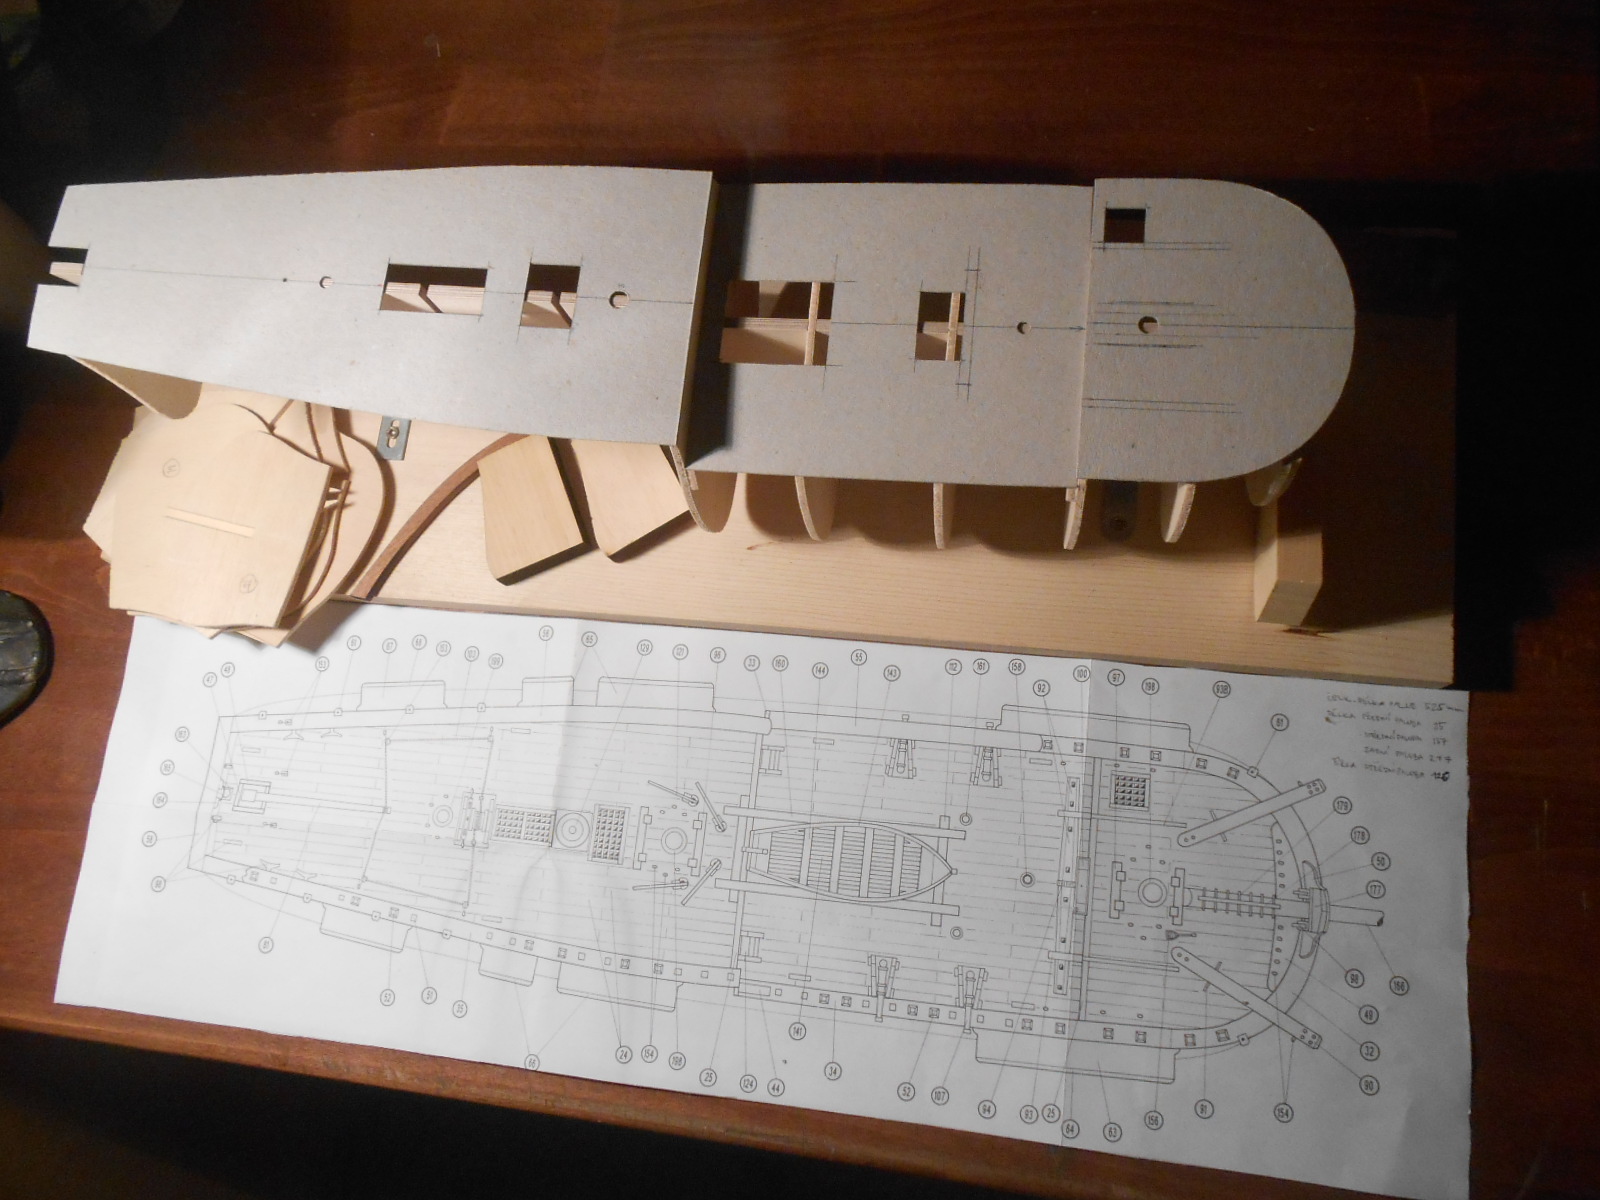
Another photos of progress - preparing for glueing, making keel, modification shape of bulkheads.


- MEPering, cristikc, Captain Slog and 1 other
-
4
-
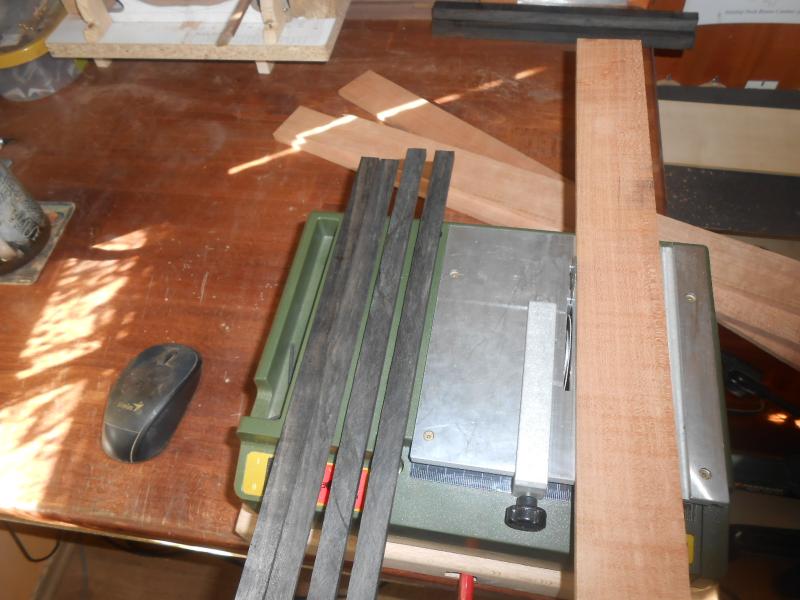
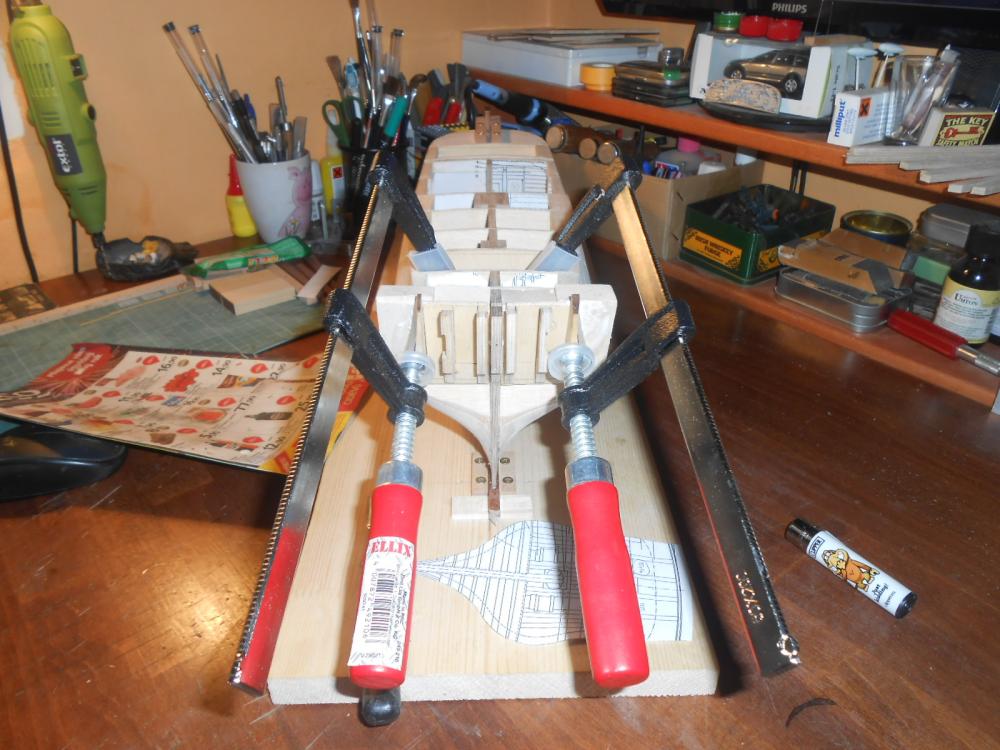
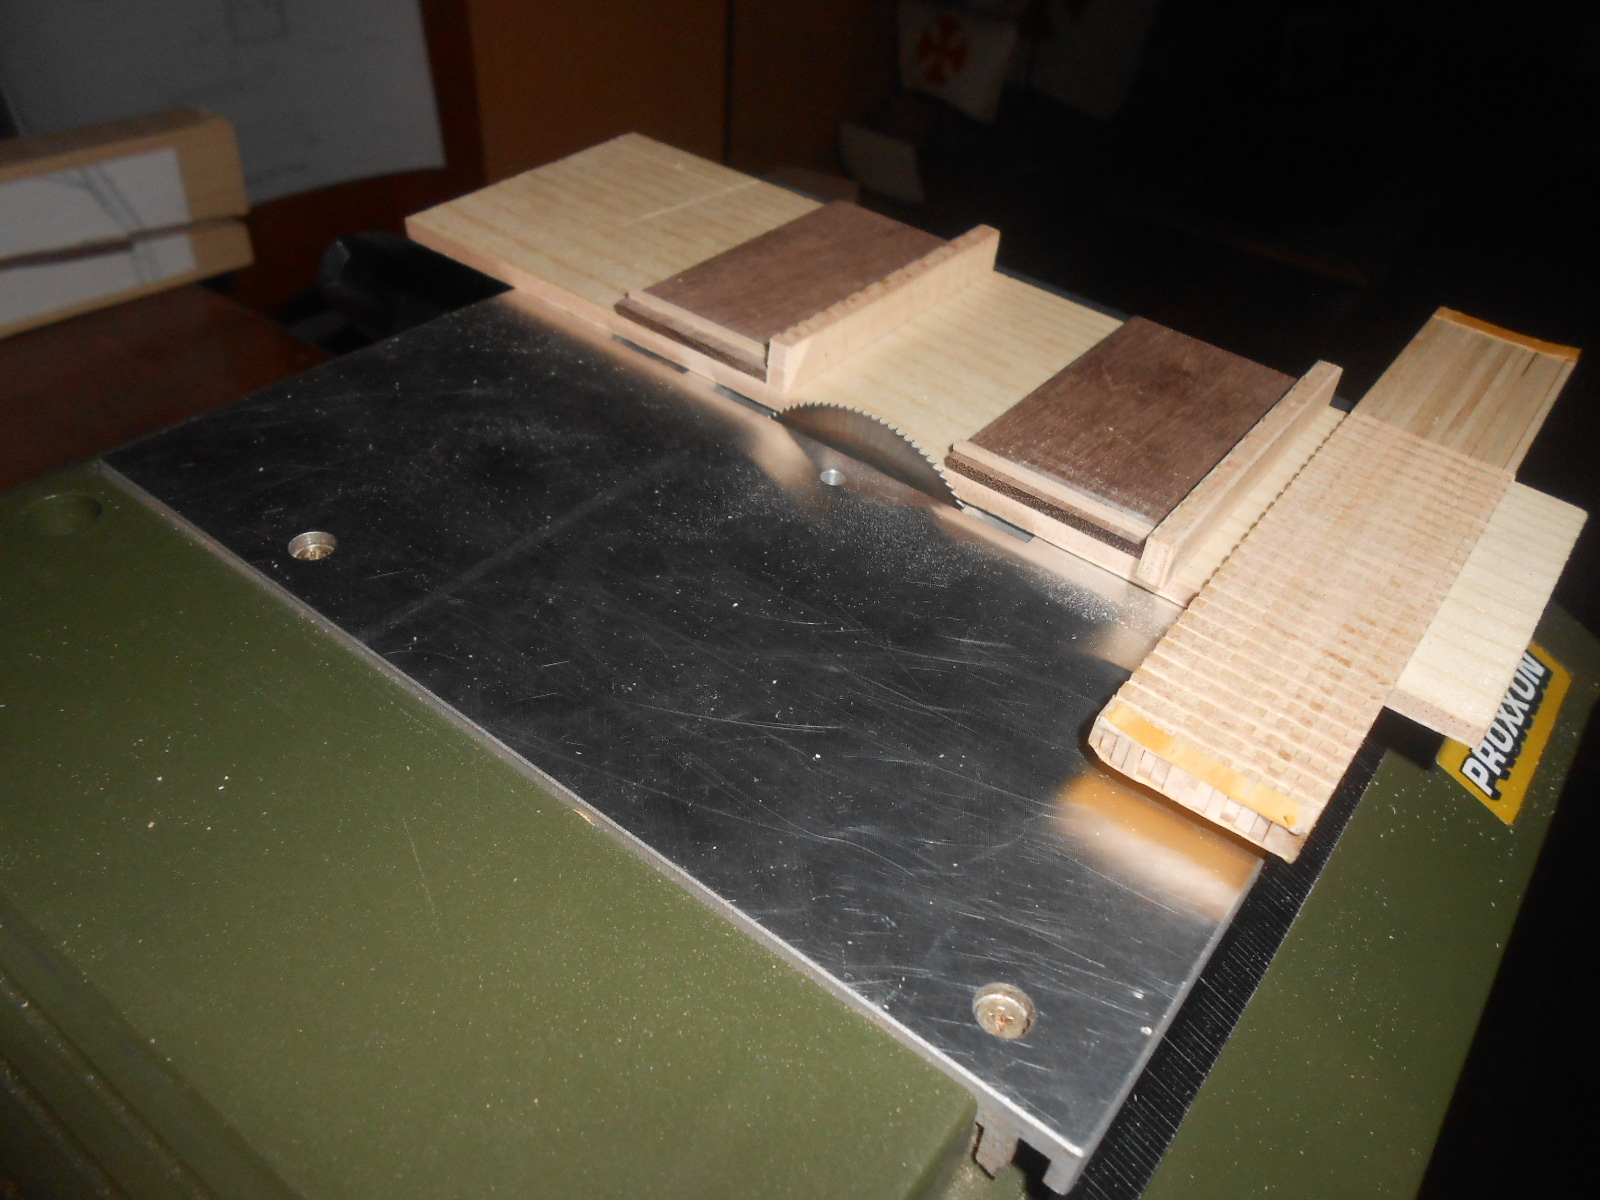
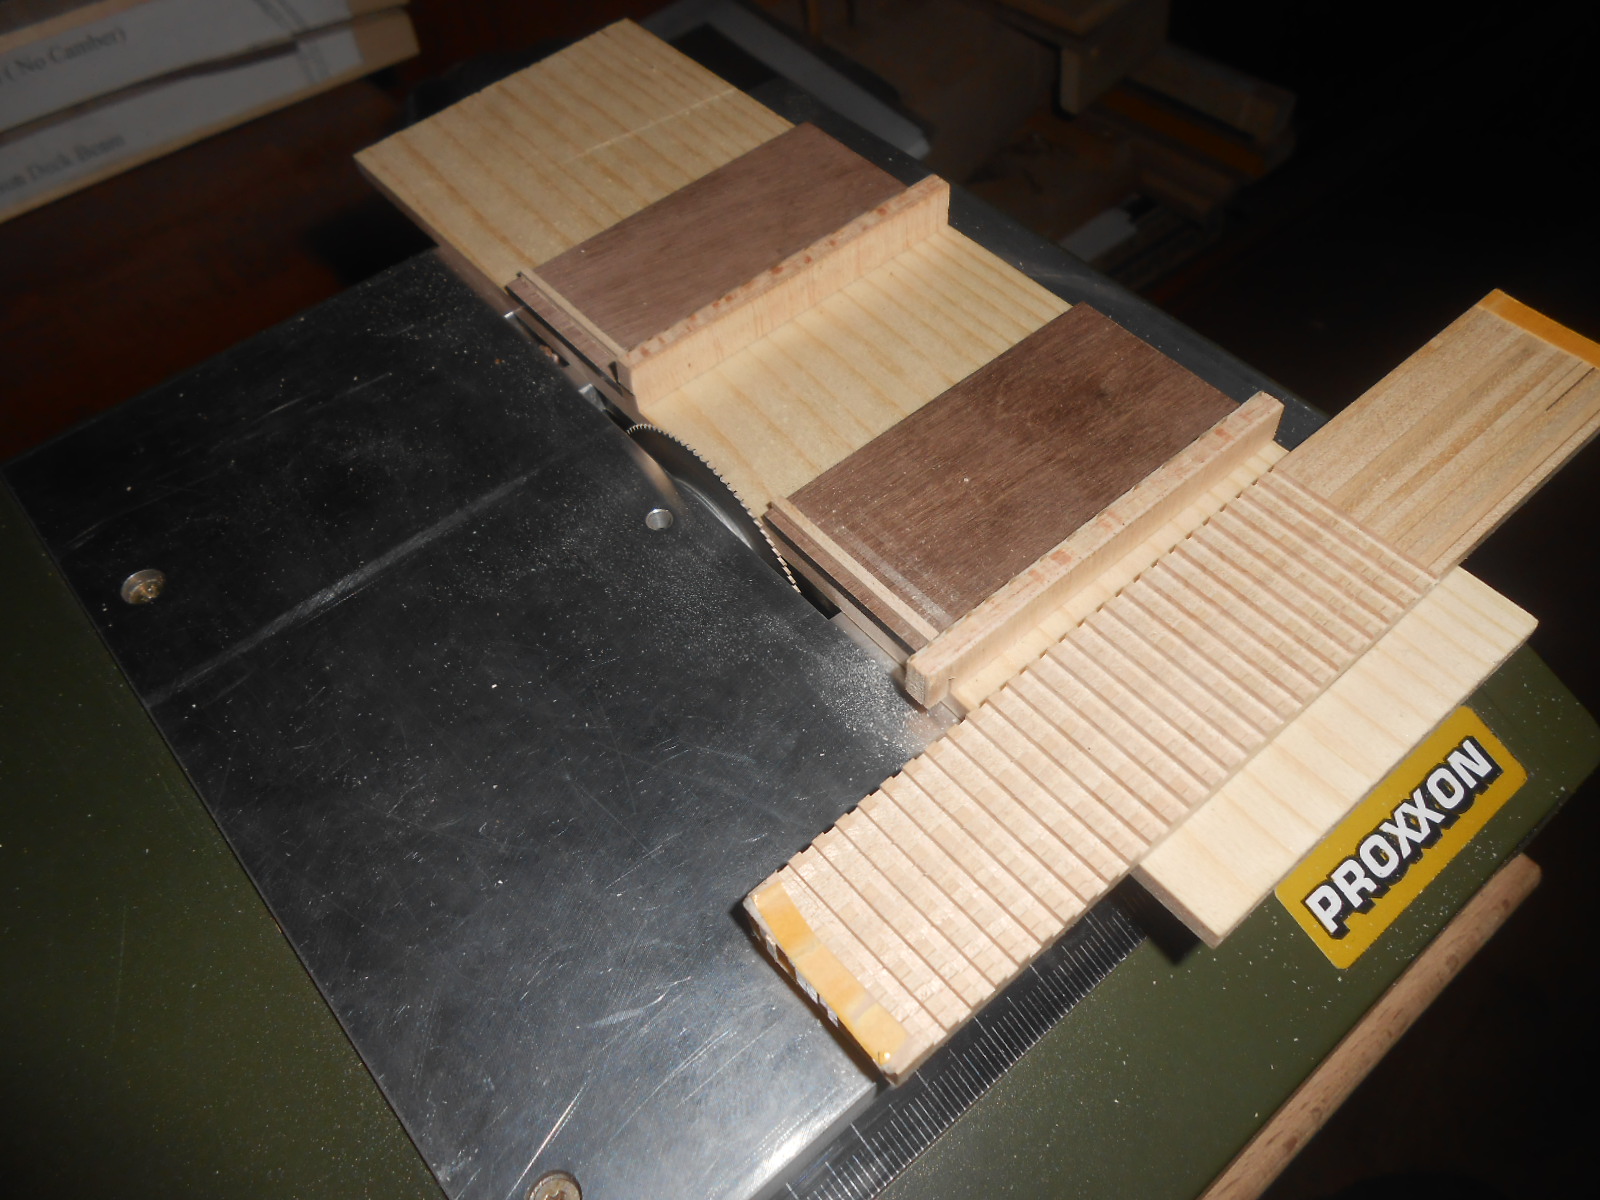
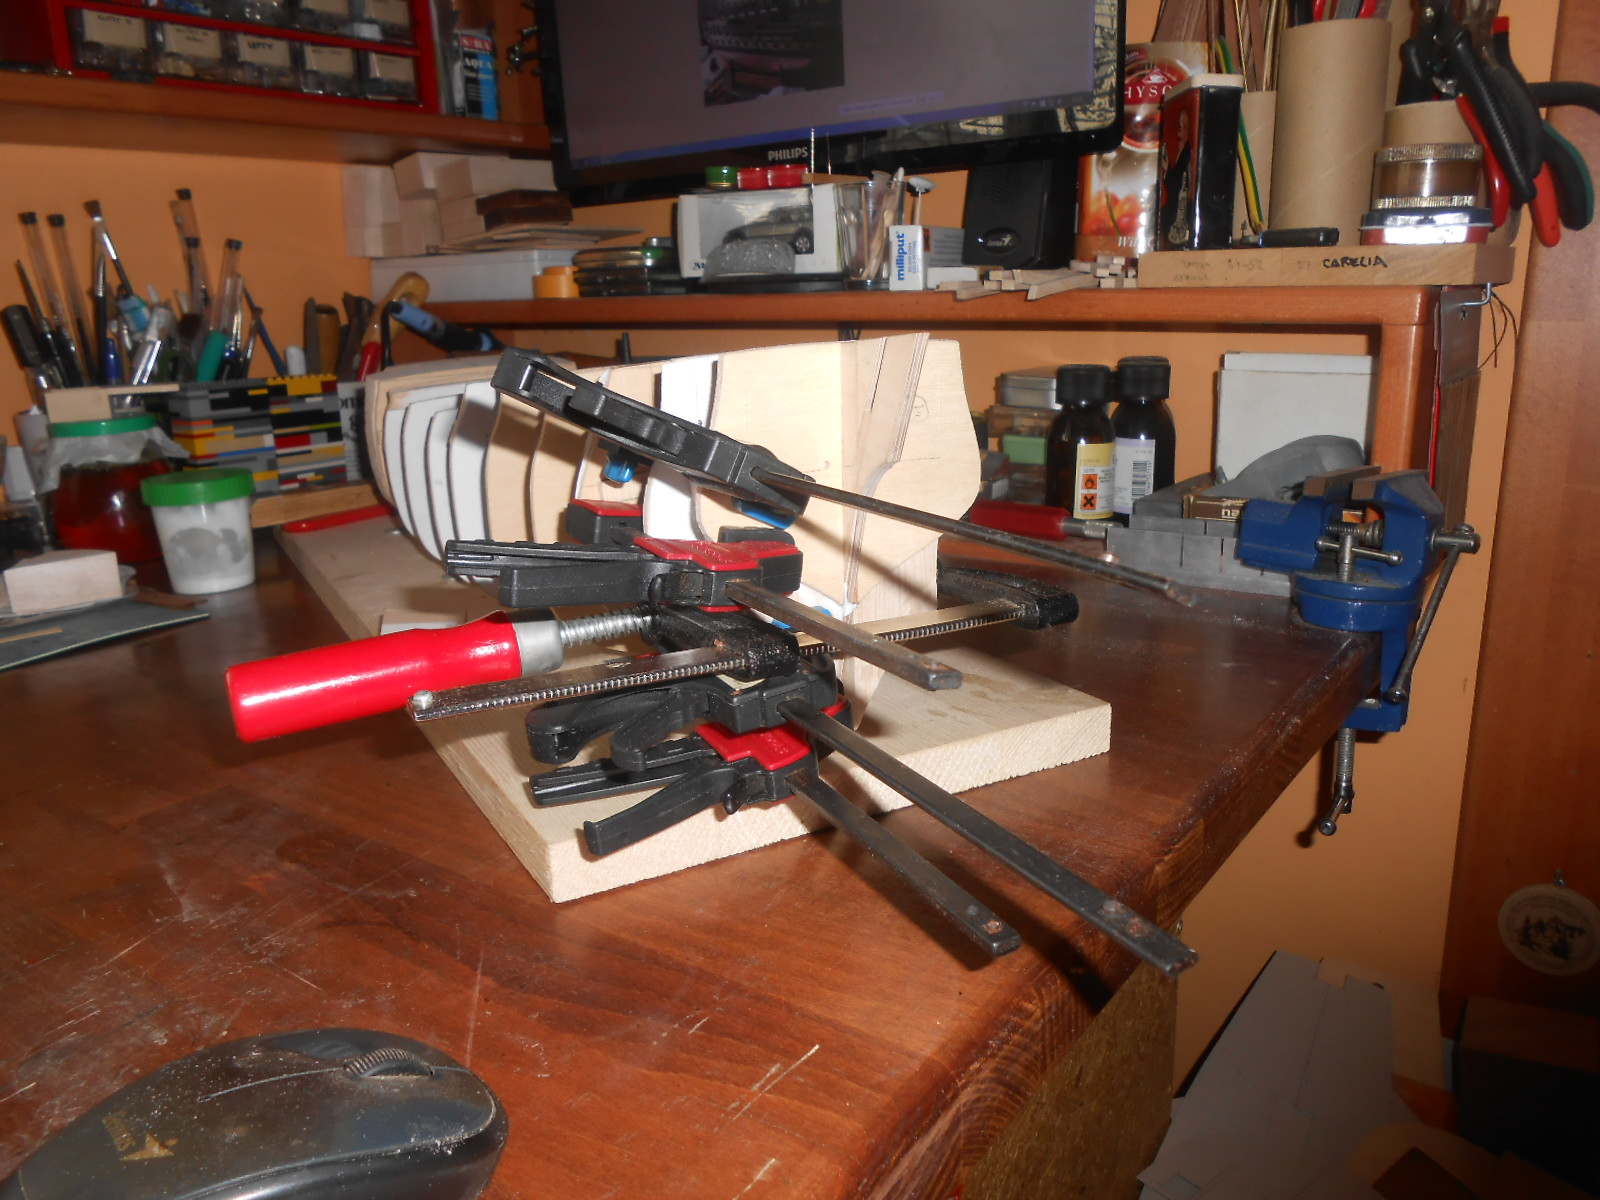
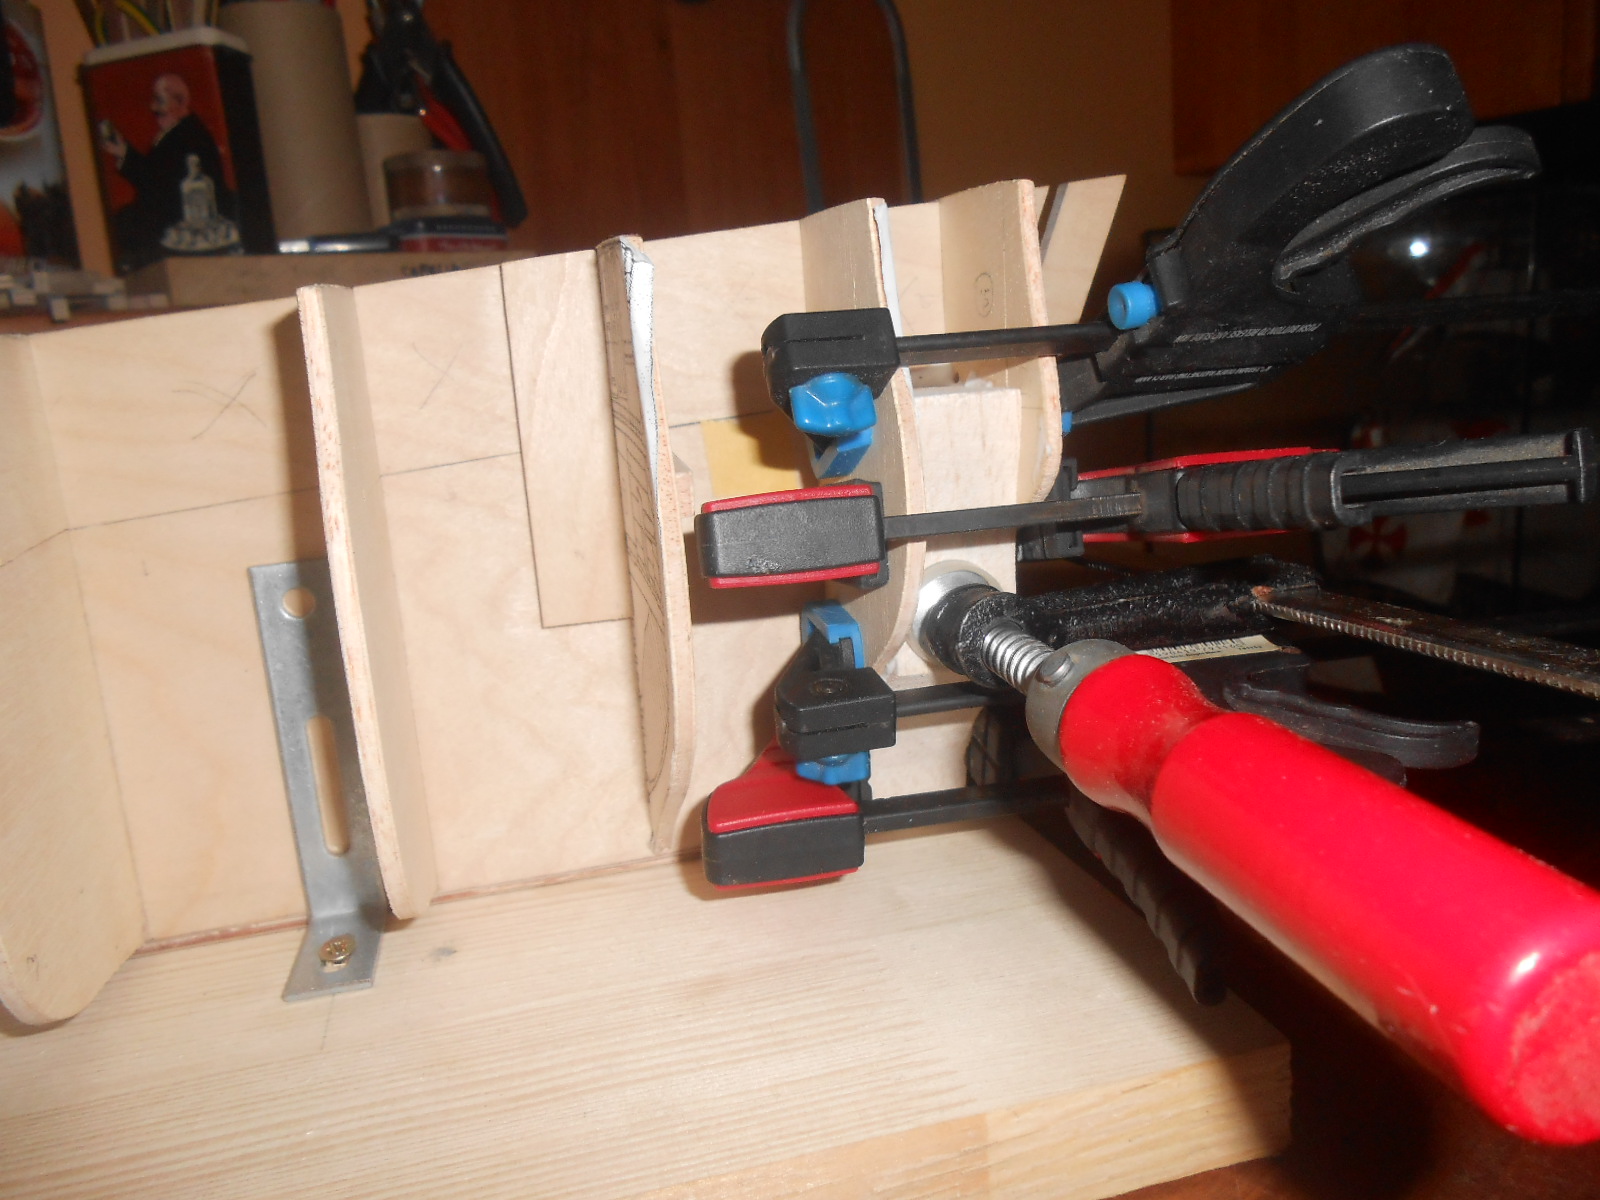
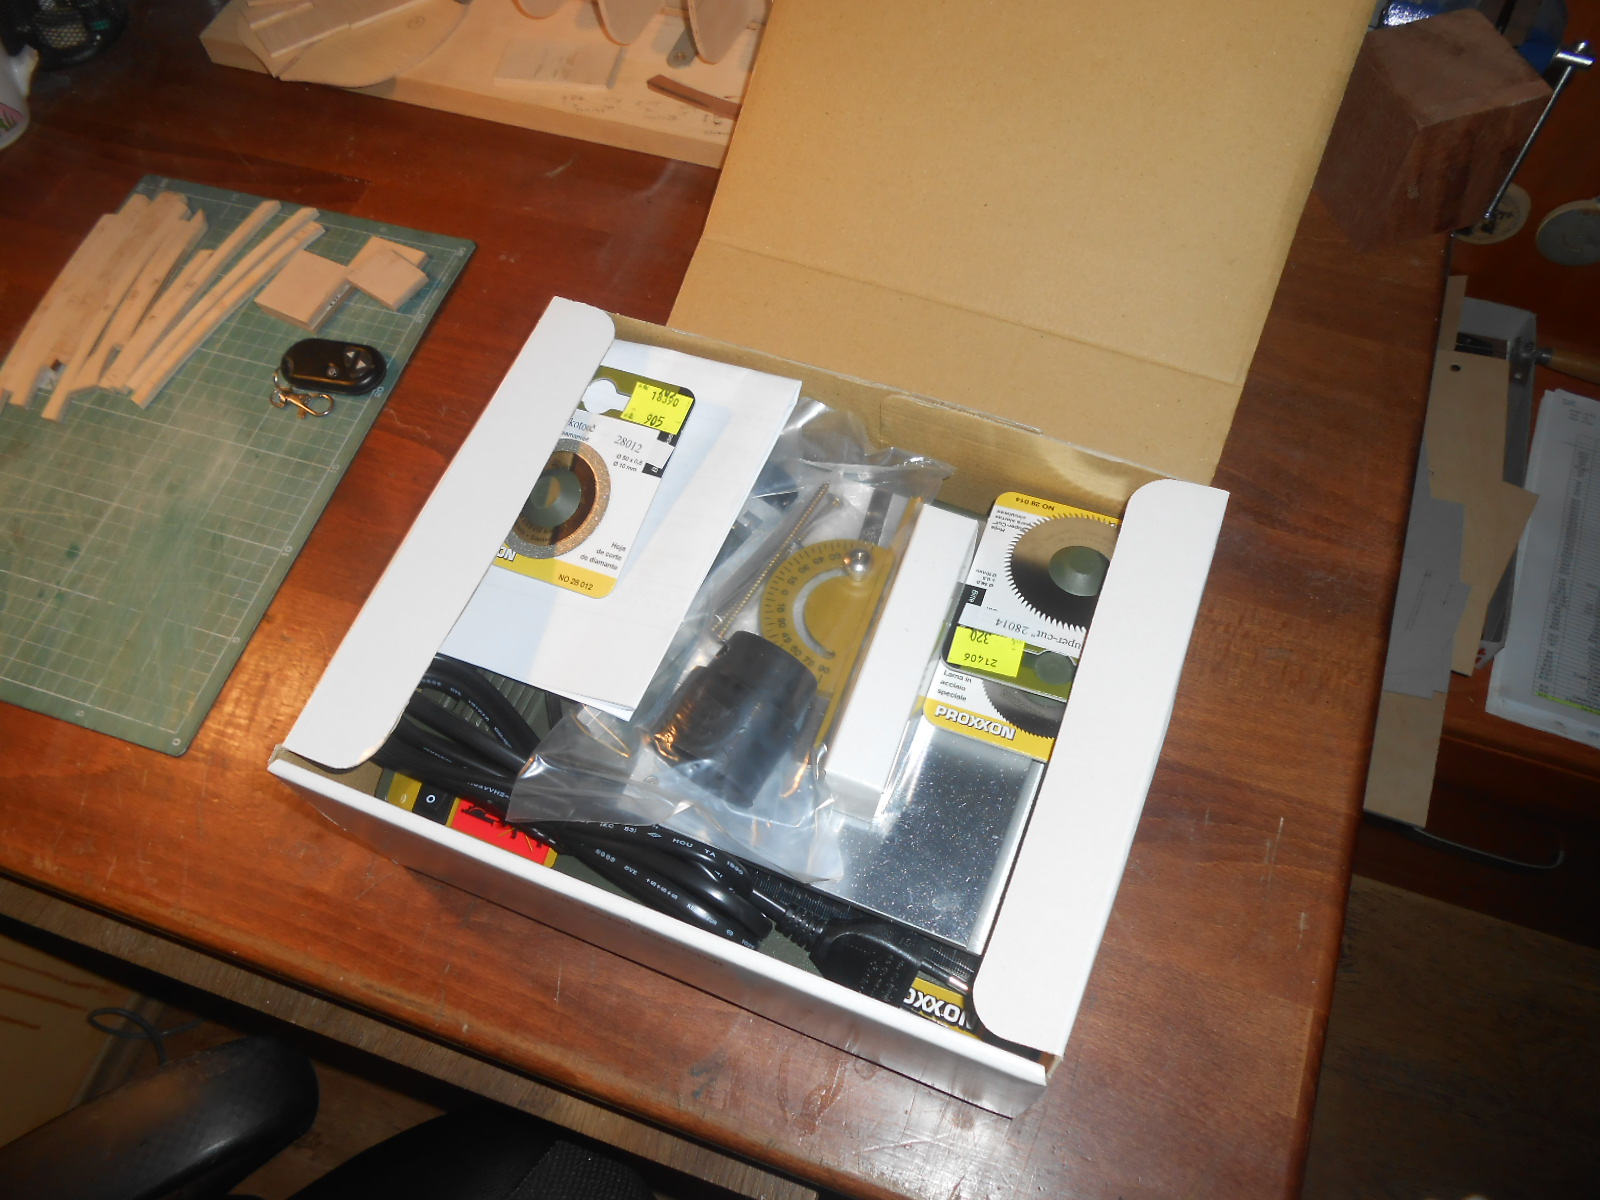
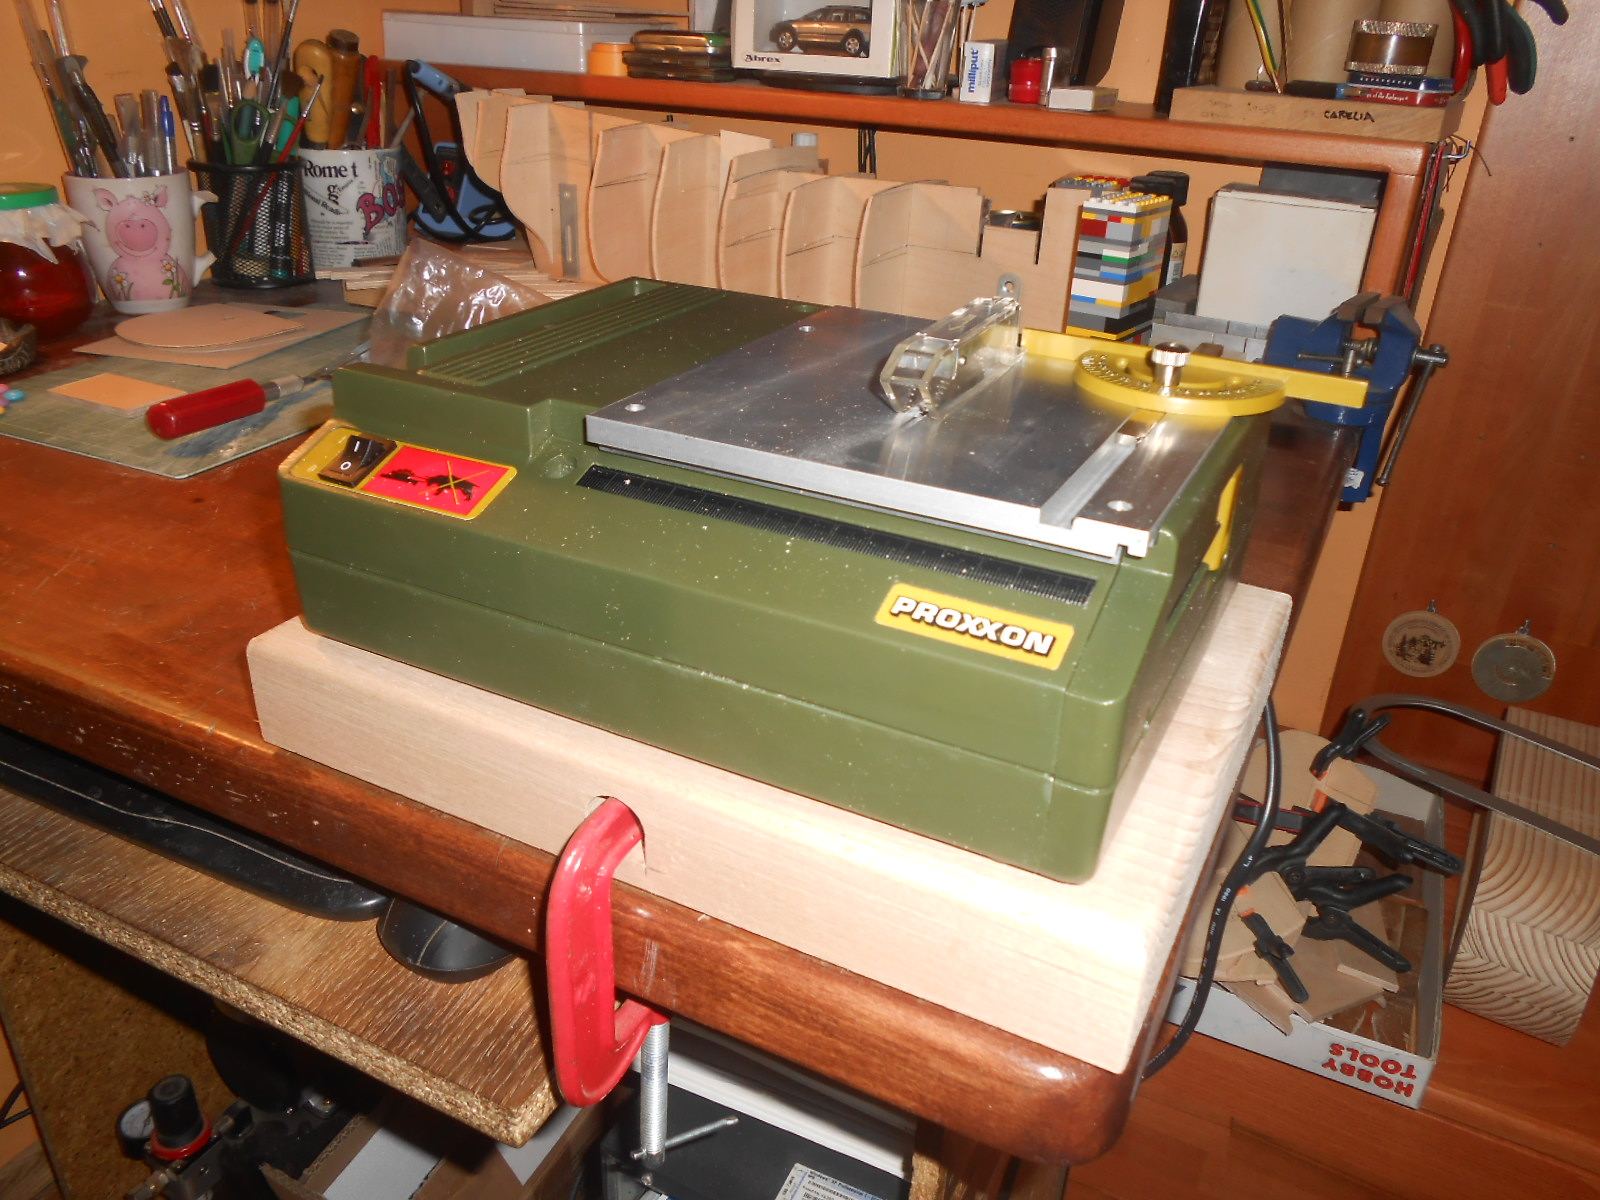
Hello,
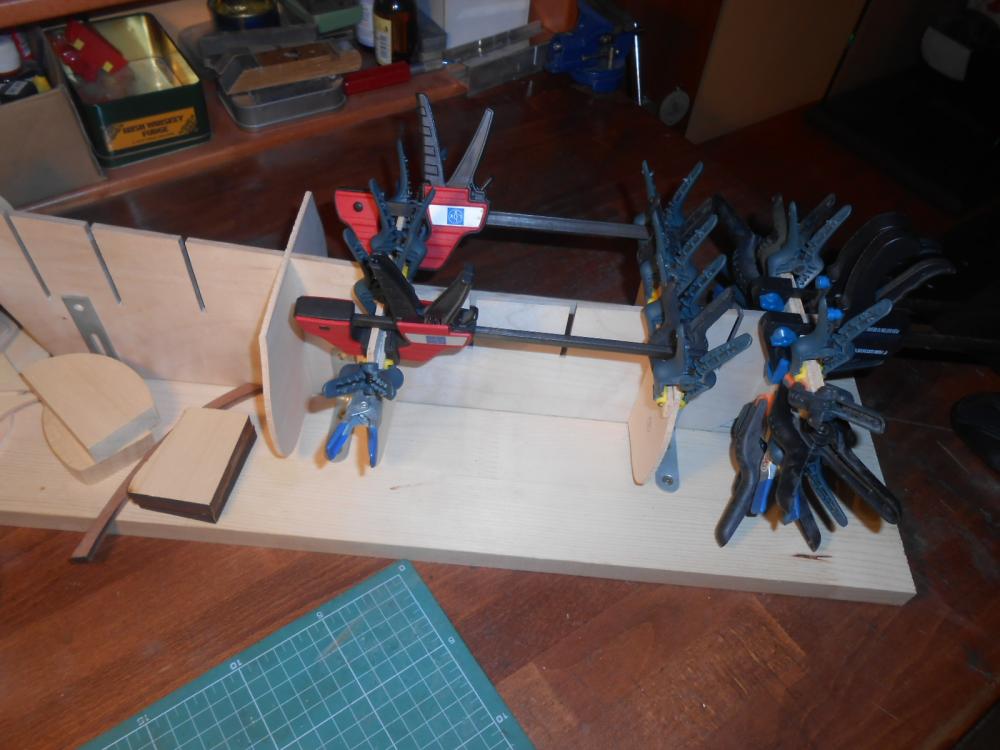
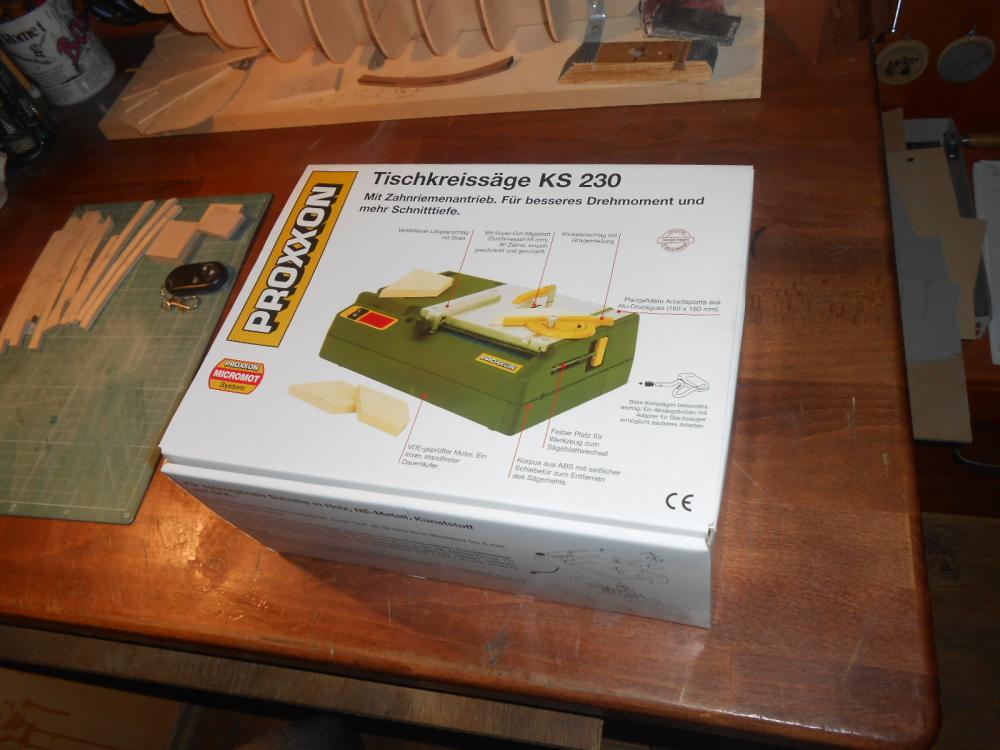
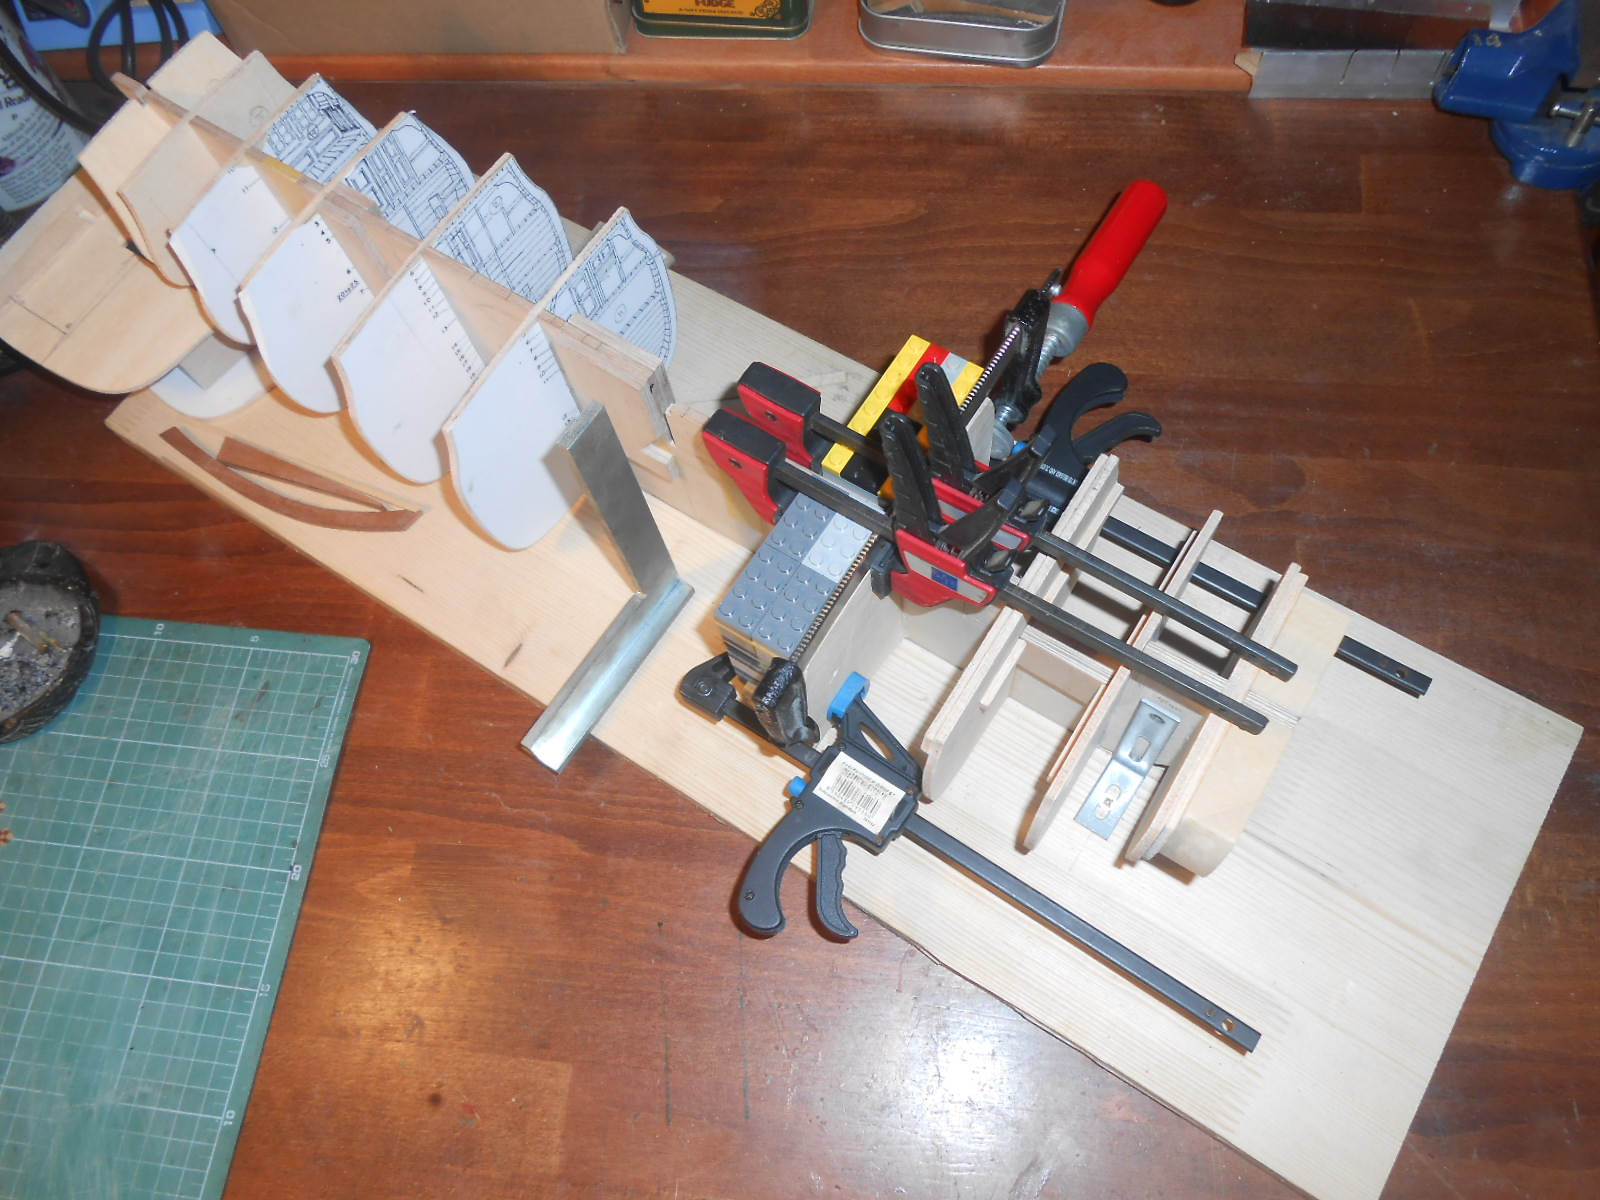
not sleeping - working on ship. My new toy is also on pictures.


- Captain Slog, cristikc, MEPering and 1 other
-
4


Triton by shipcarpenter - 1:48 - Cross-section
in Cross Section Build Logs for HMS TRITON
Posted
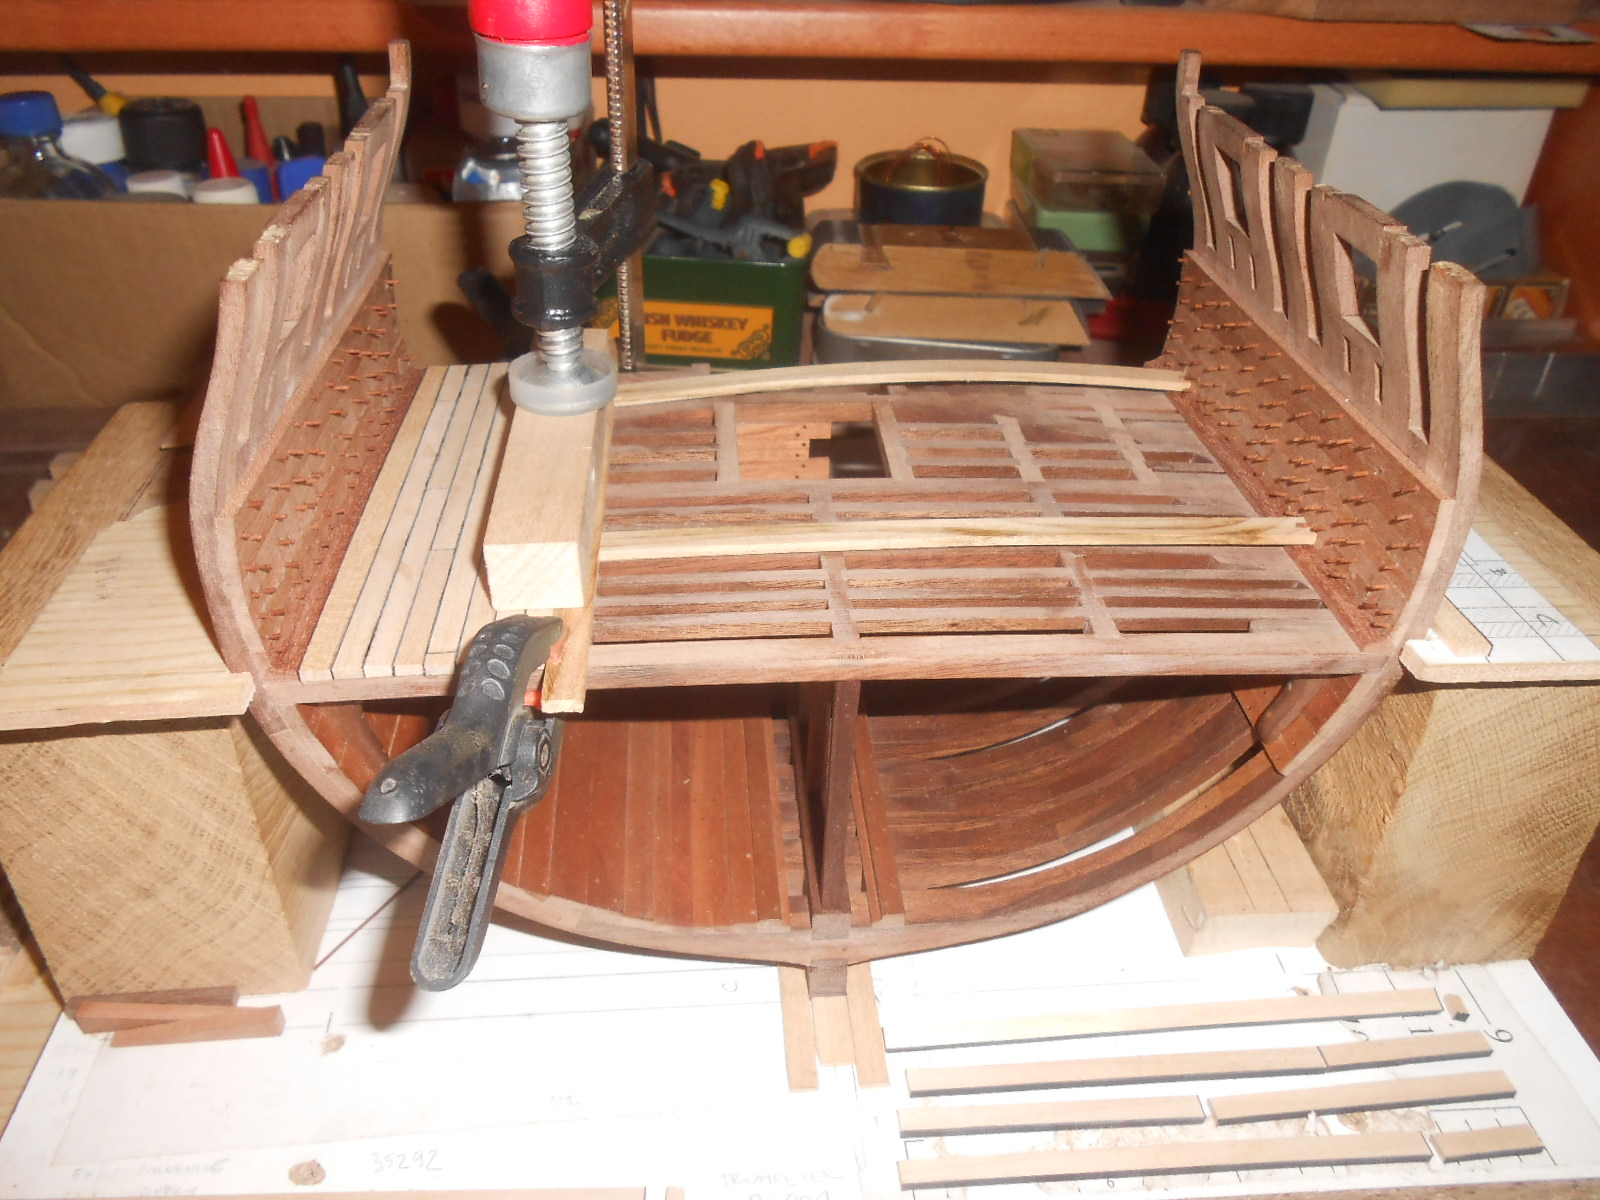
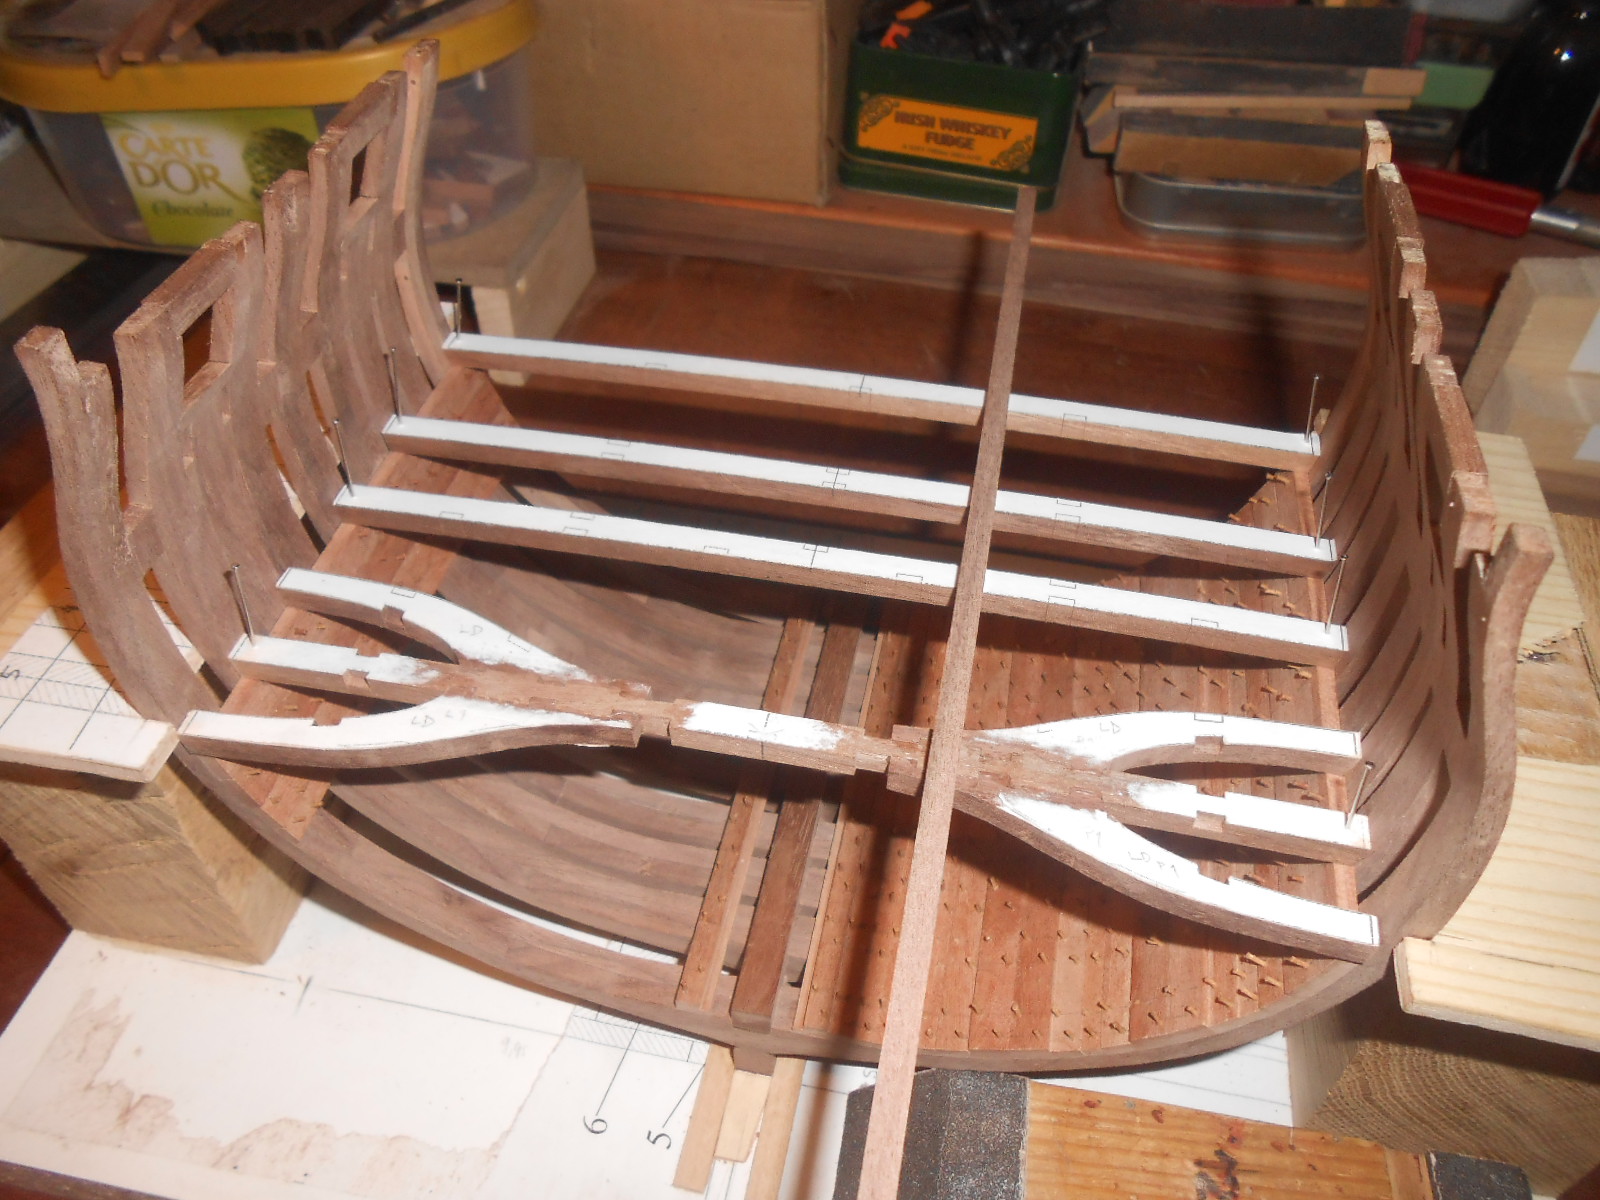
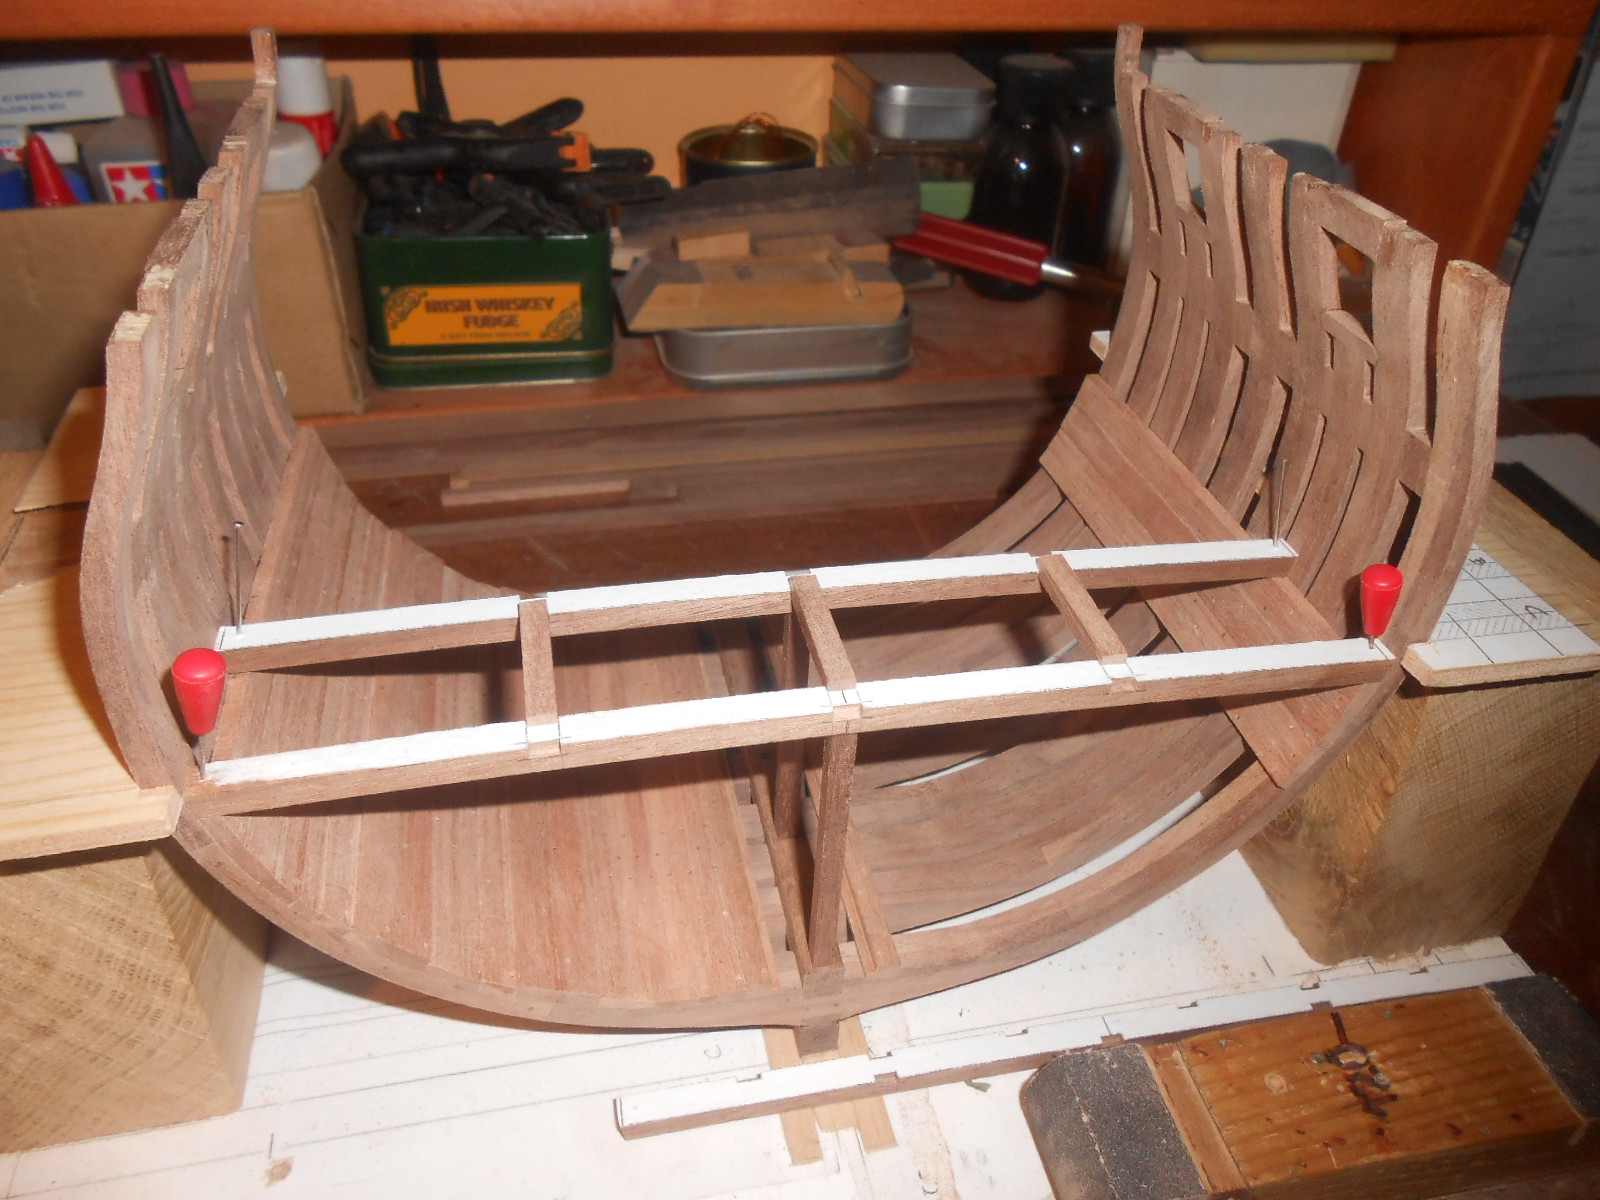
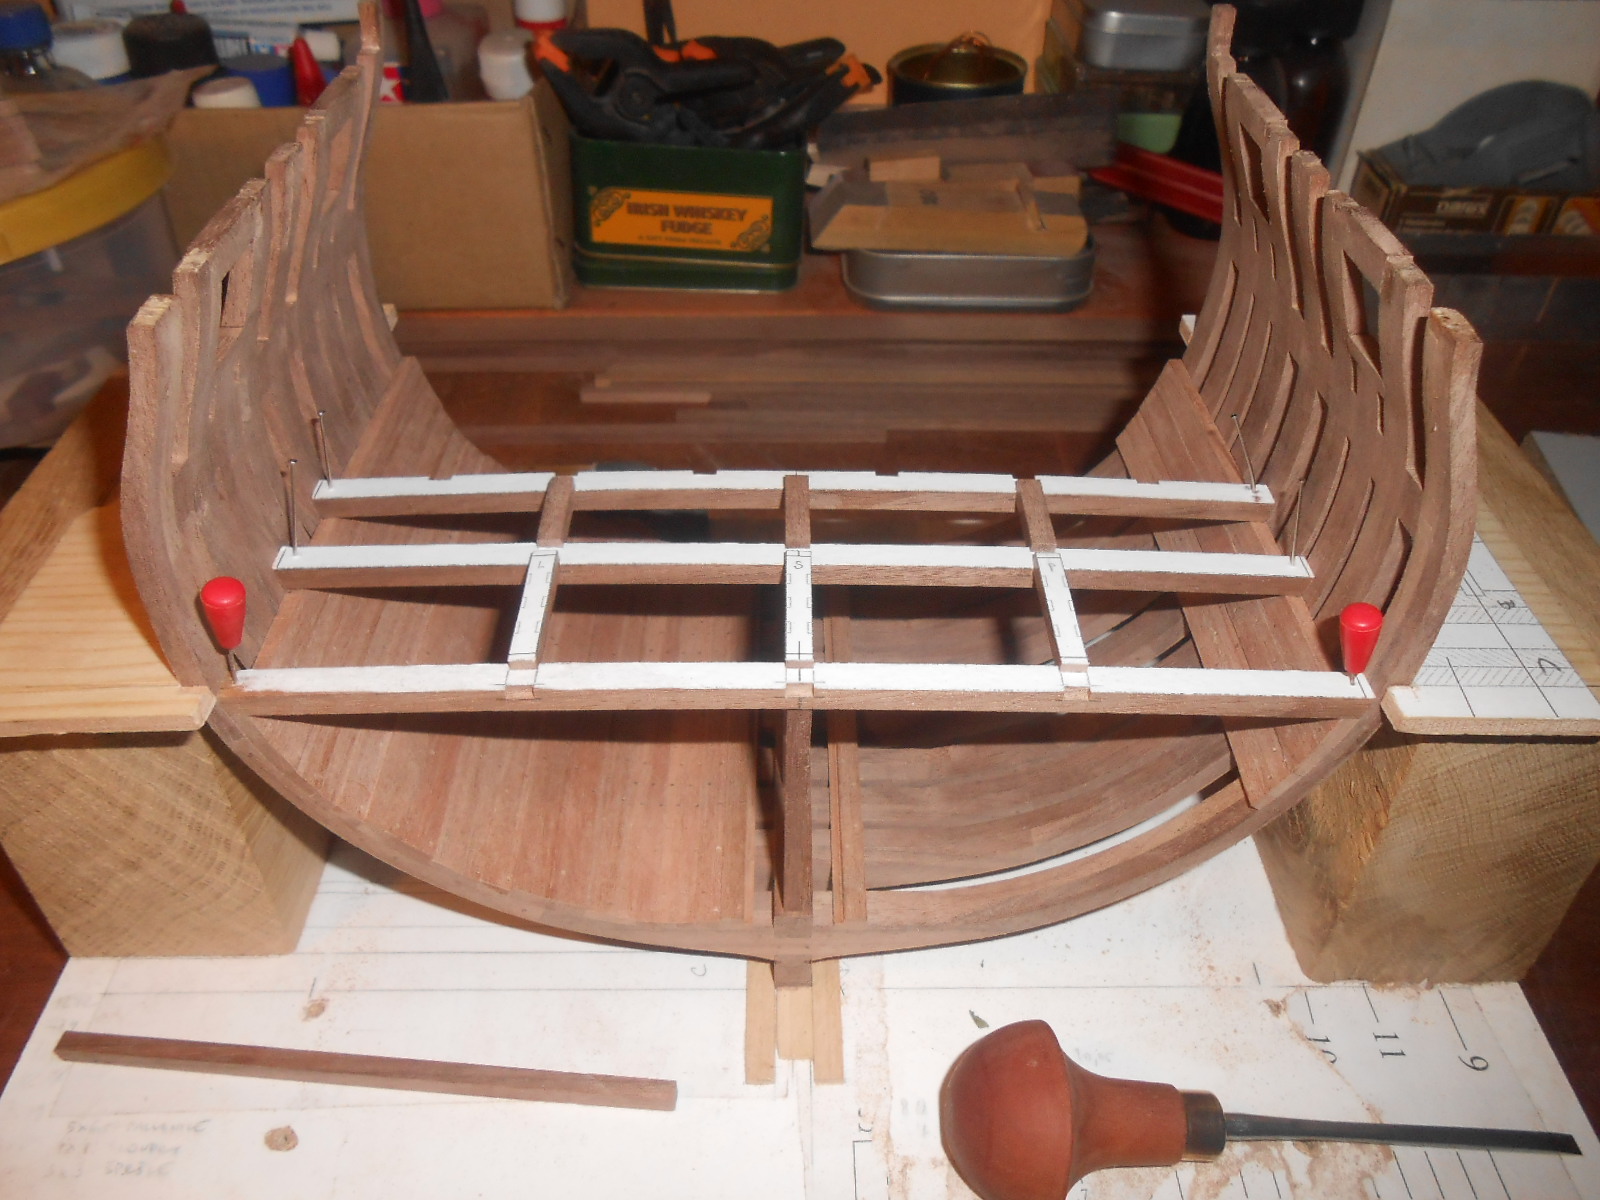
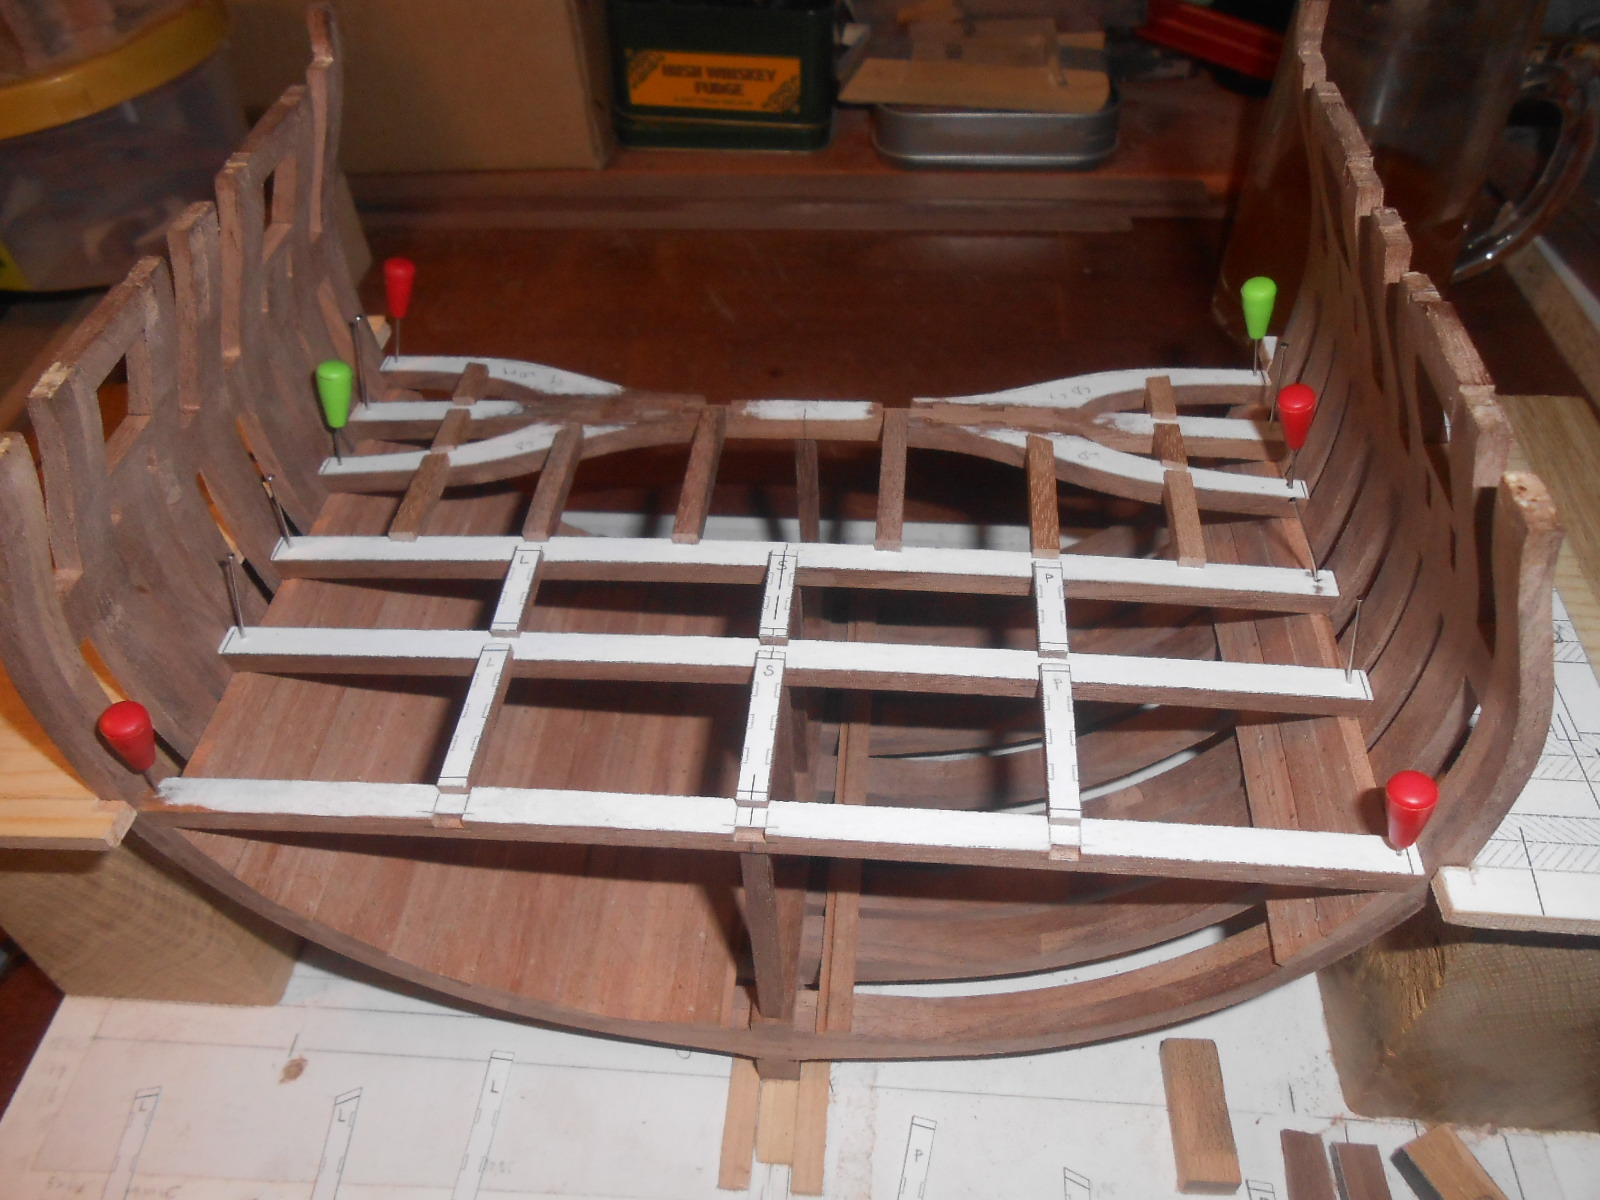
Hello,
thanks Gabe for this pictures, now it is clear for me.
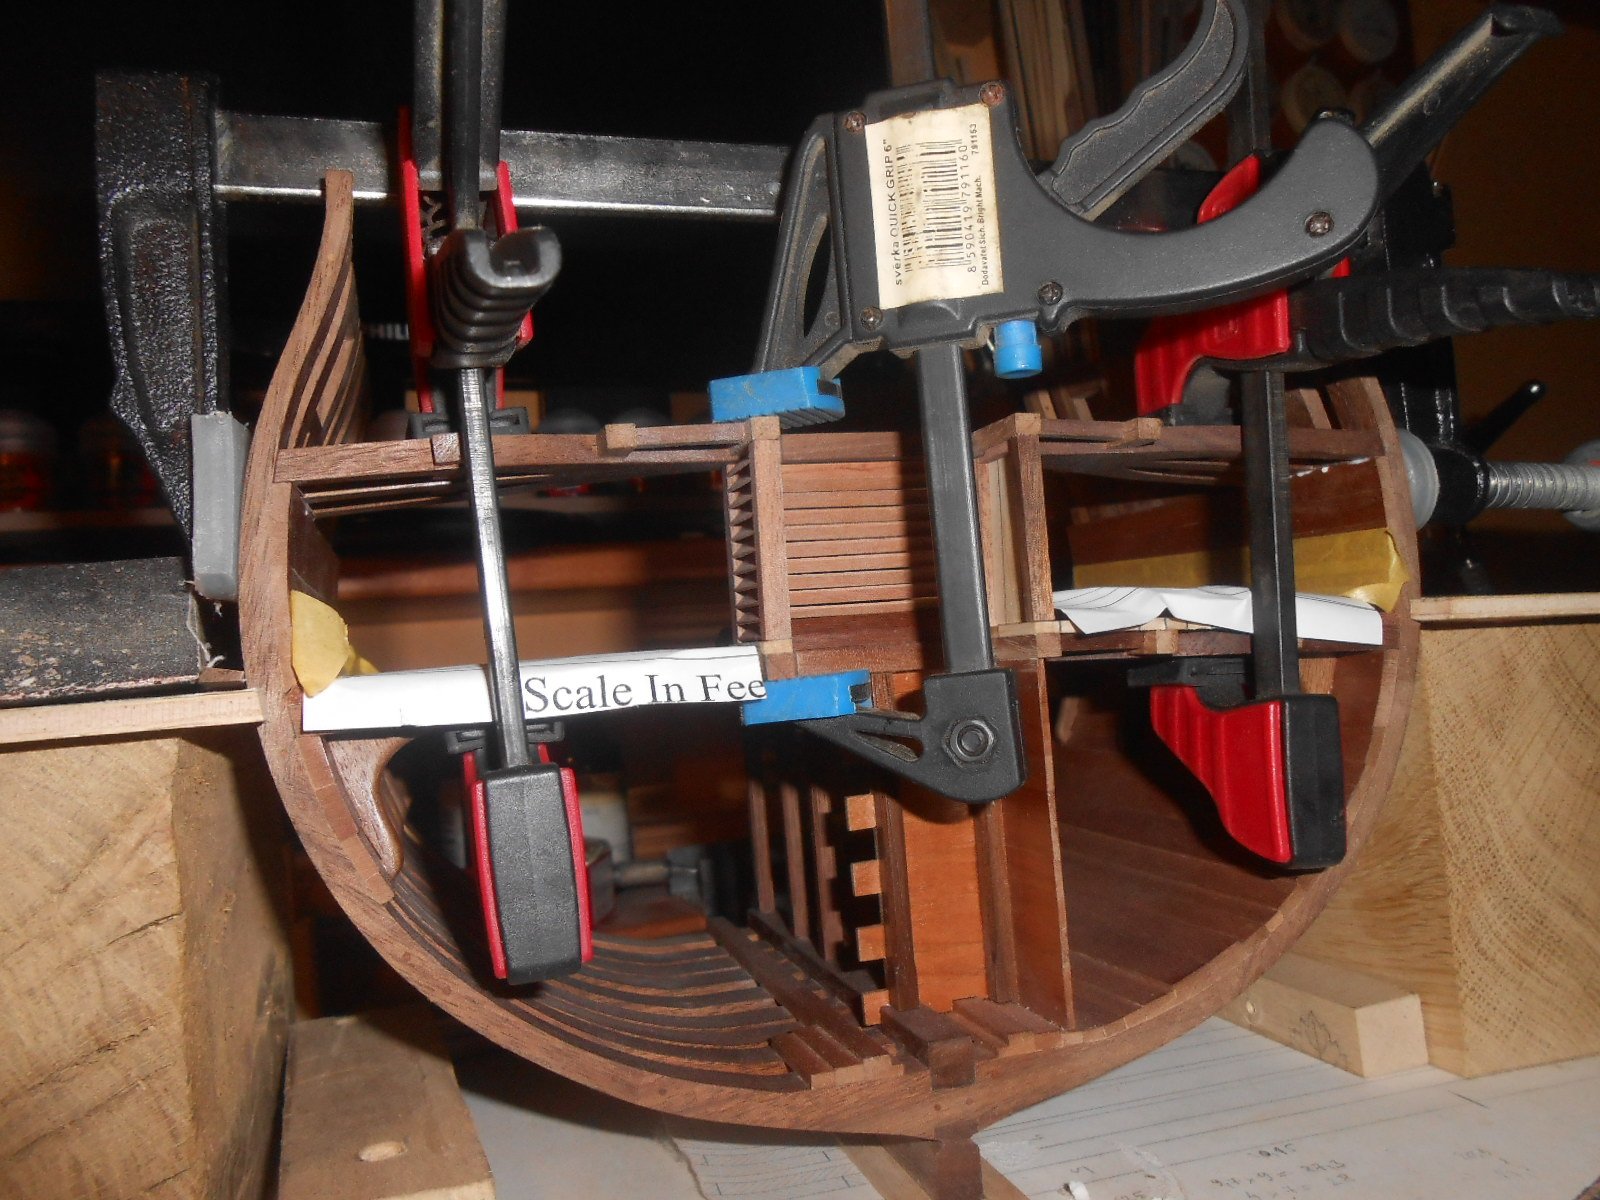
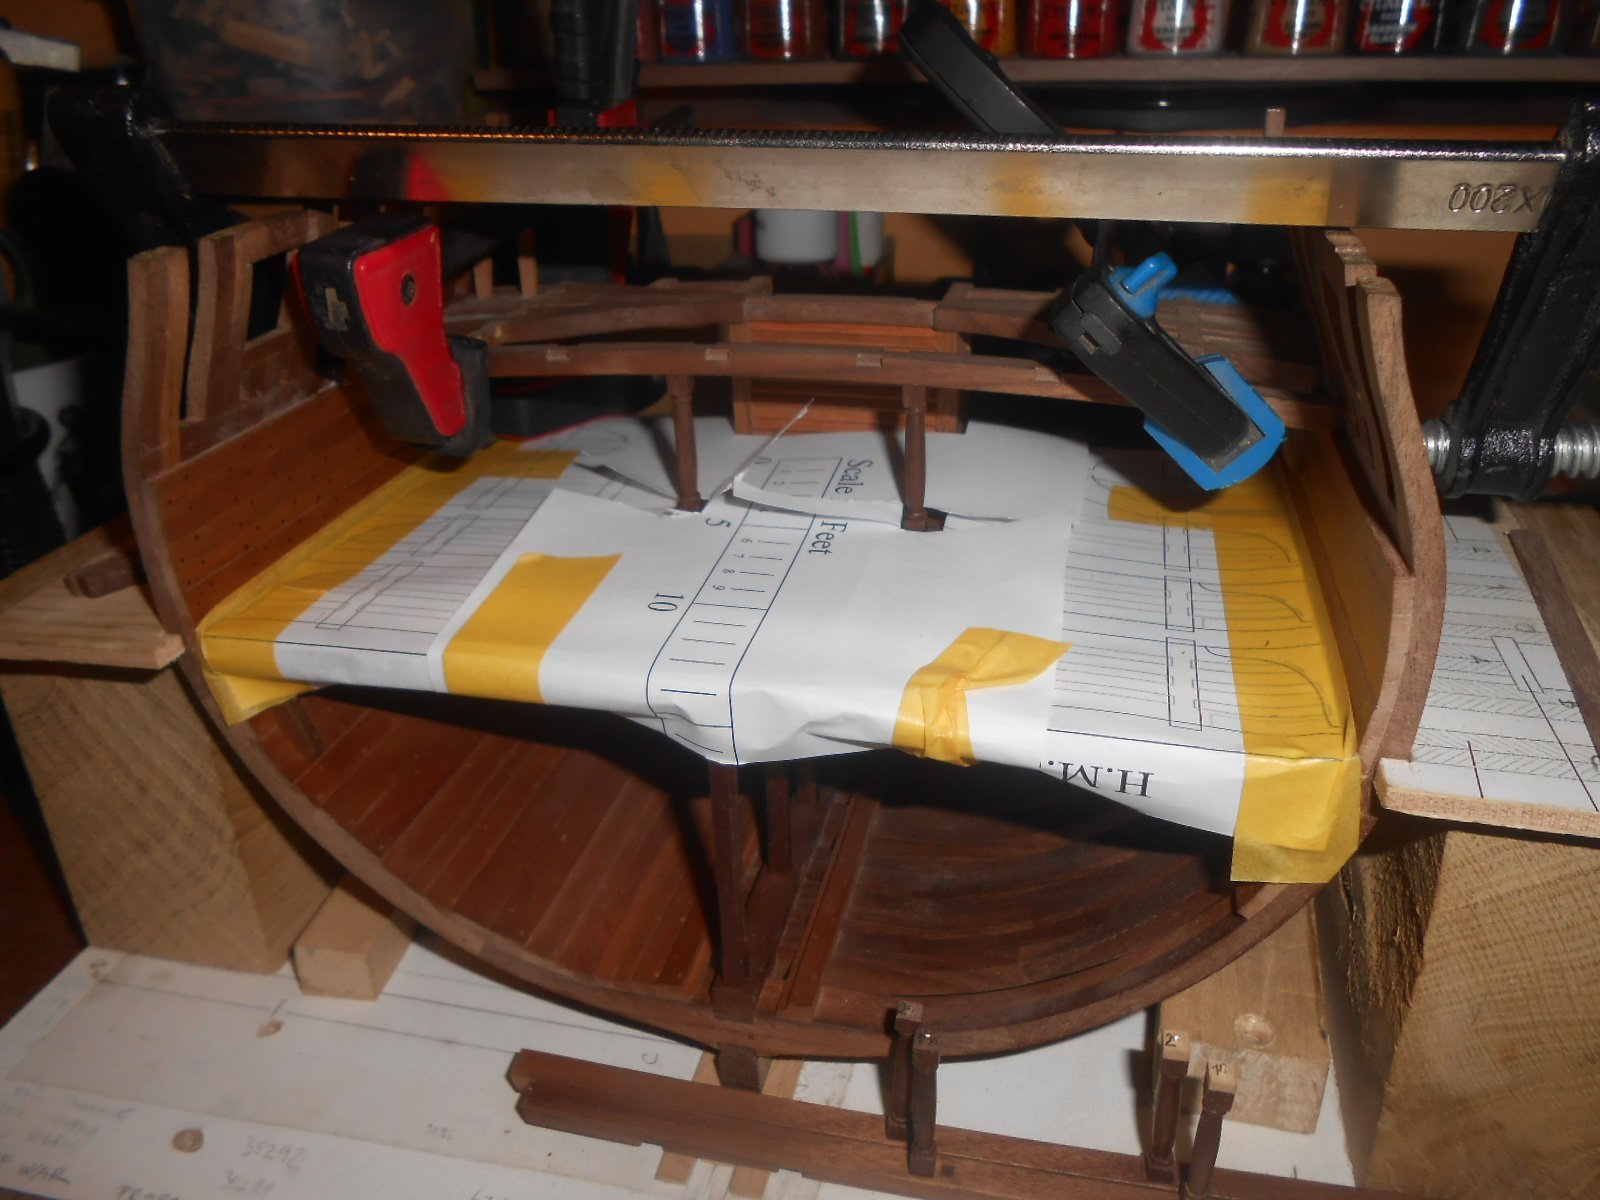
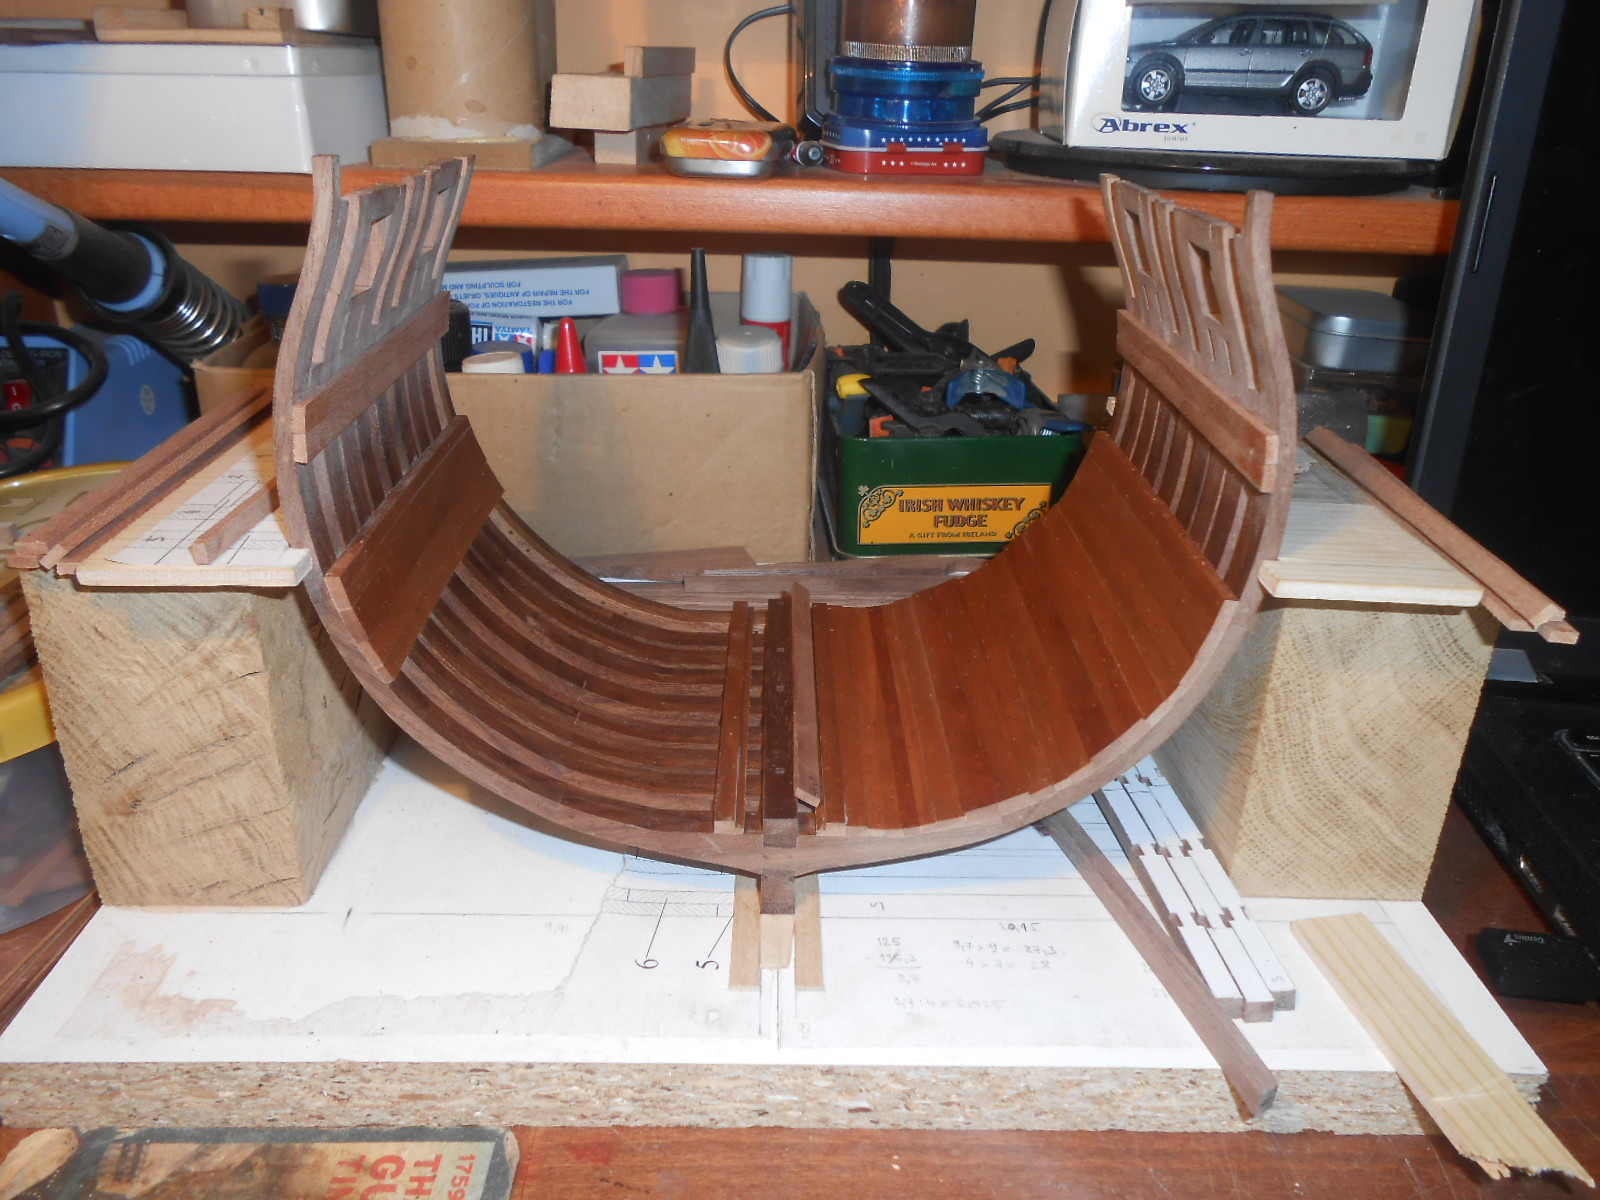
Some photos of my progress: