

Michiel
-
Posts
236 -
Joined
-
Last visited
Content Type
Profiles
Forums
Gallery
Events
Posts posted by Michiel
-
-
Good to see you back Jan,
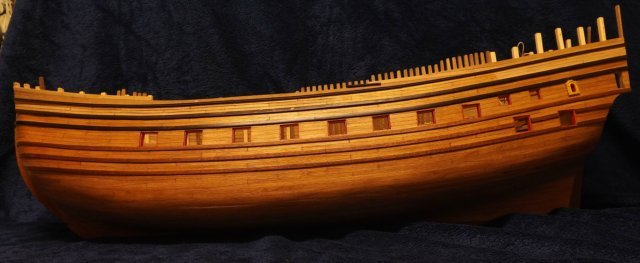
One Thing I still wanted to ask you, I think I can see it here on tha last picture, The white on the underwater ship did you completely polish out all wood structure, or did you leave some traces of it visible. I'm working on this on mine at the moment and I can't really make up my mind...
Happy building.
Michiel
-
-
-
She is just marvelous...
-
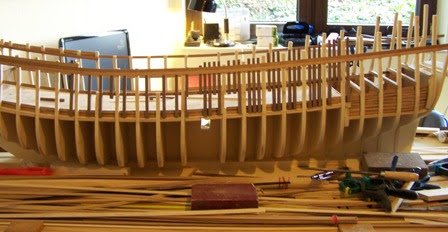
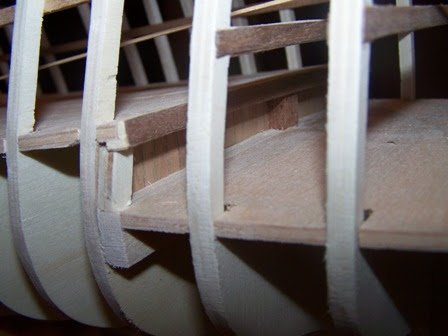
For planking the second layer in a doubly planked hull I recently "discovered" (I probably invented the wheel again
 ) a very effective way to bend finer strips laterally. For an other forum I already made a movie of the process. You just make the strip wet and use the iron...
Afterward the strip is perfectly dry ready to be glued on. In the movie the strip is actually not so good, it splinters a bit, see 15th s, but that's just this strip, noting to do with the method.
All planks you see here have been bend in this way.
Best,
Michiel
-
Thanks guys, your words are much appreciated,
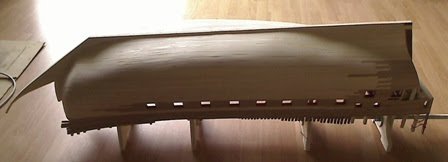
I started painting the underwatership yesterday, there may be some updates later this week.
Best,
Michiel
-
Good to see you back as well, Looking forward to see the continuation of you monster
-
Thanks Mark, I had not yet looked whether that part of the site had survived.... luckily it did.
-
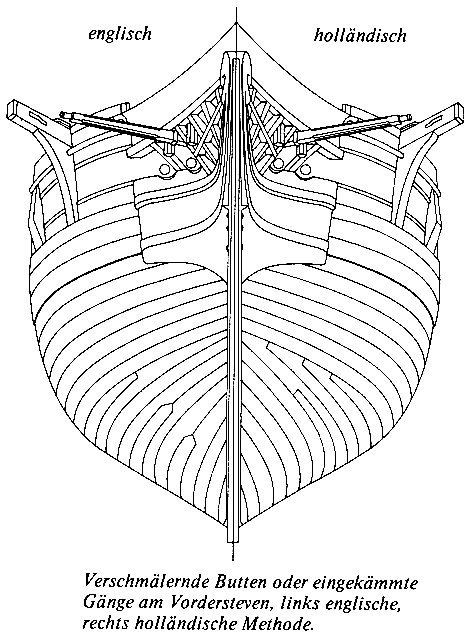
Aaron,
I'm building the Prins Willem, she actually has a much less round bow below the lowest wale. There the technique shown in the diagram called "Hollandisch" works perfectly fine. You don't need to go to less than half the plank width to work it out completely without stealers.
(Hope that answers you question
)Best,
Michiel
-
-
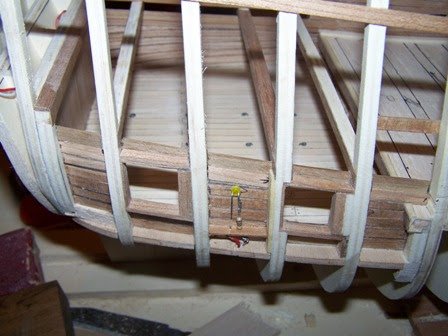
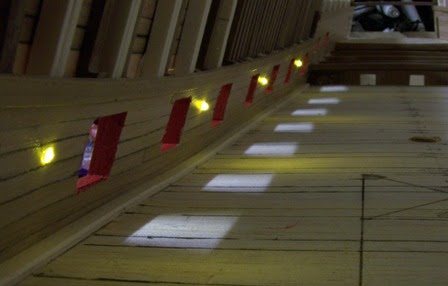
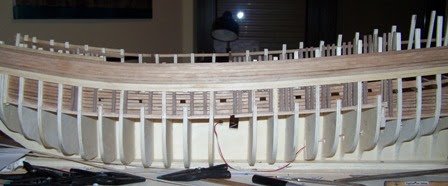
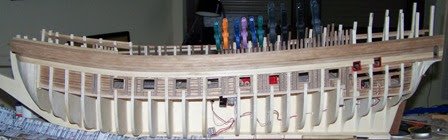
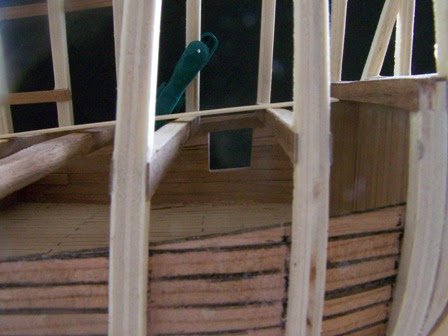
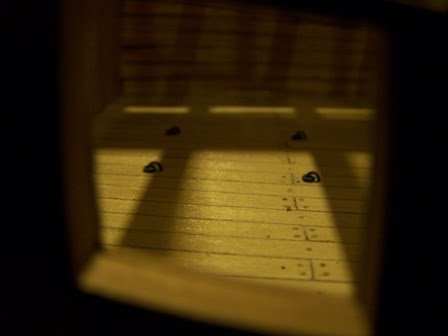
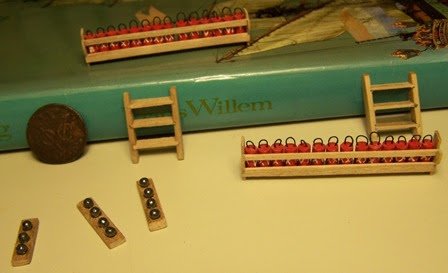
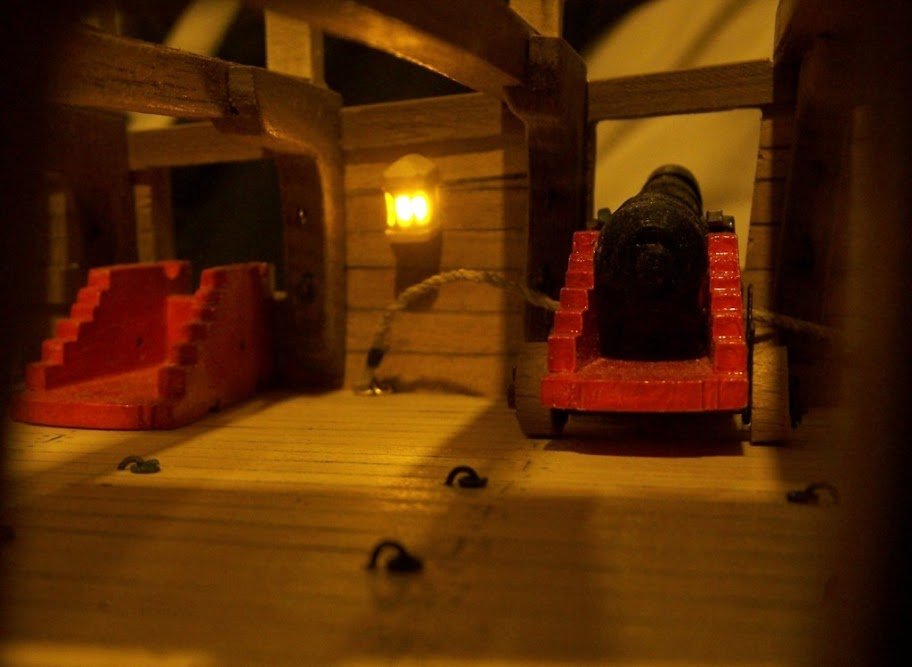
Most of them are 3mm normal shape LEDs mounted between the inner and outer planking
Between every other gun-port I place one
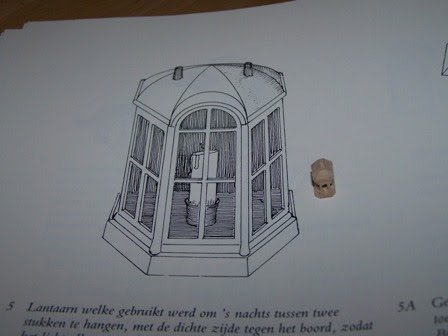
They are coverer up with lanterns.

Finally looking like this

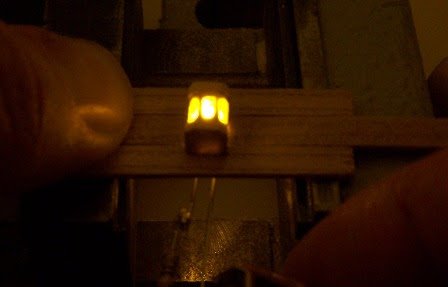
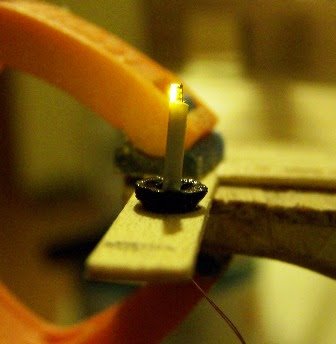
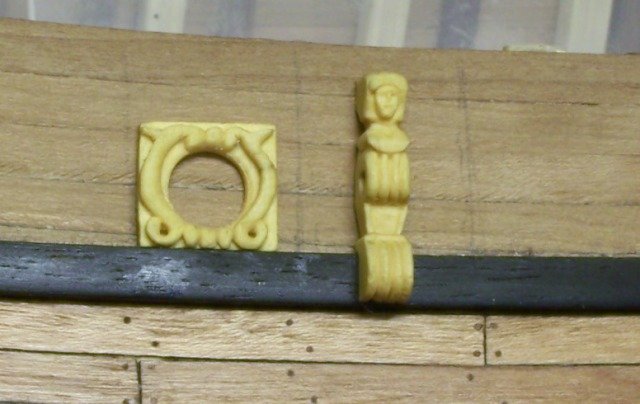
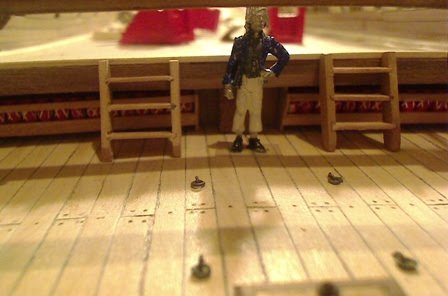
One other type
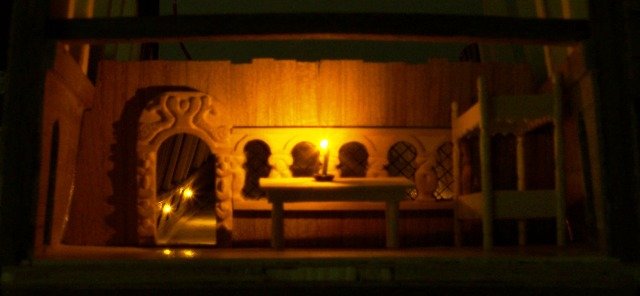
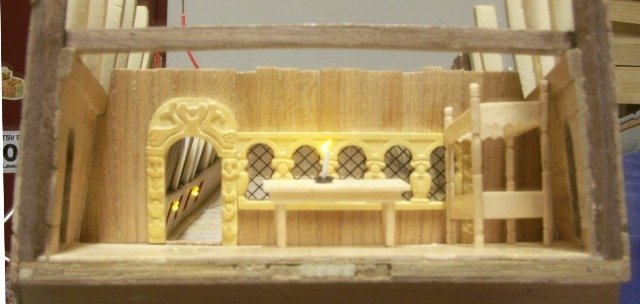
And a candle on the table on the cabin
The last two were made using the smalles one I could get 1x0.5 mm with 0.1mm wiring already attached.
Best,
Michiel
- itsme74, zeptraderUK, CaptainSteve and 3 others
-
 6
6
-
This topic existed already in 1.0, And I think it's worth to revive it.
For those models that also have interior parts being fully modeled installing some LED's may provide a useful way of keeping some of that work visible.
The advantage is that they are small. One can currently get them below 1 mm with wiring (< 0.1 mm) already attached.
Secondly they do not produce heat and come in many colors.
Finally because of their small power consumption long-lasting powering by batteries is possible.
The basic thing you need to know is that LED also need a resistance in series and that pair's, LED + resistance, need to be put in parallel. Many sites that sell them have online calculation tools to determine the value of you resistanc.
I got mine from this site http://www.leds.de but there are many...
In the next post I'll show some pictures of my application, maybe others can also add some of theirs..
Have fun
-
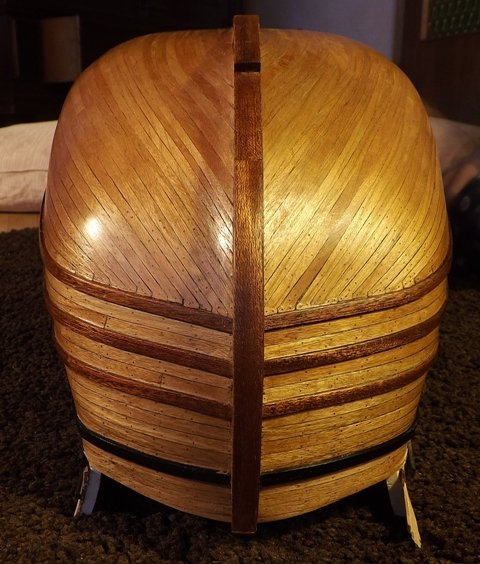
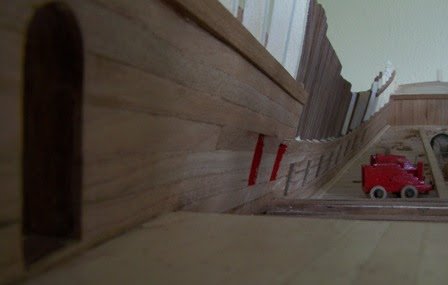
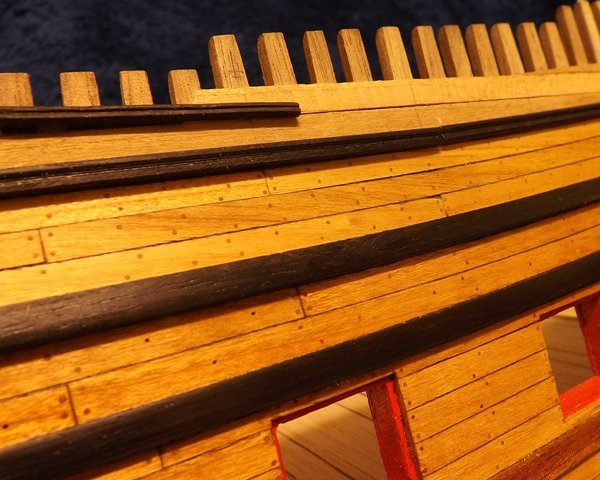
I don't see any staelers in that build (its not mine), So you may not necessarily need them
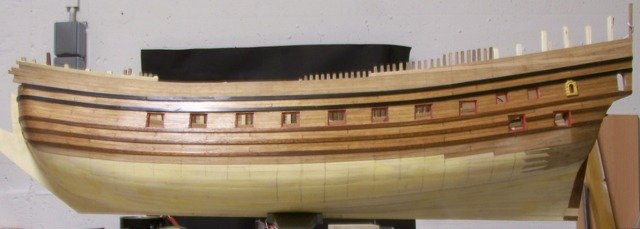
I just finished my second layer without:
(but that's the Dutch way of planking; the wales do actually meet 180 degrees this picture is just not taken straight on)
I did put some at the stern though..
Here's one of those other pictures you could find on this site before the crash:
-
you could have a look here
http://www.modelships-beagle.eu/smf/index.php/topic,1174.0.html
the forum is in Dutch, so you may not be able to read much, but there are many pictures there..
-
Thanks Arjan, I actually started on this forum, and Jack and Jan dragged
 me over to the Dutch one as well...
 -
well, and the best wishes, hope you had a nice day
-
you for sure belong in this section, good to see you back,
Best,
Michiel
-
well I guess that will still take a while
, but that's the good thing about this hobby ...good to hear you enjoy my build
Best,
Michiel
-
What was done before part 4:
Lighting
-
What was done before part 3:
some more details shots:
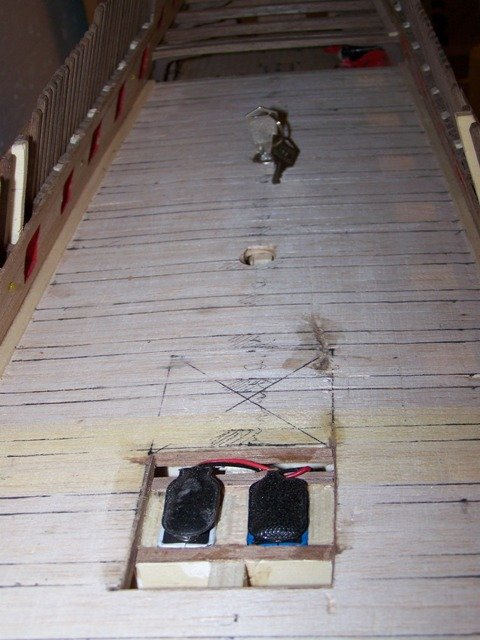
batteries and switch for the lighting
inner planking
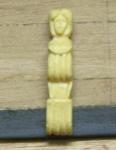
First carving
Cabin
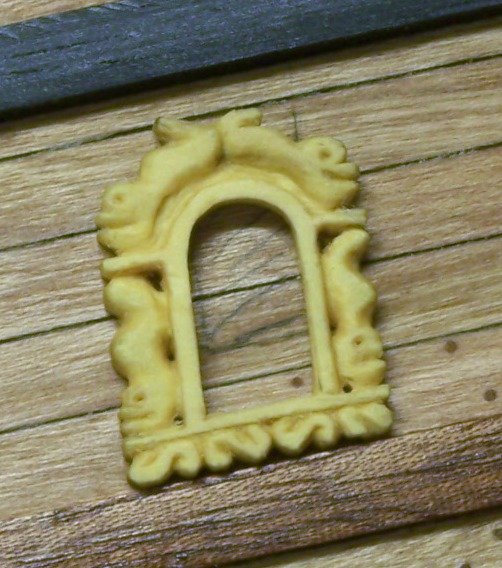
More carving
just before painting...
Have fun,
Michiel
- avsjerome2003, Mirabell61, EdT and 12 others
-
15
-
-
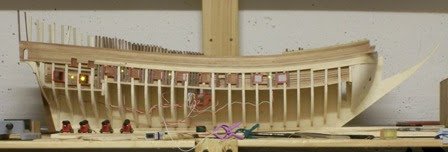
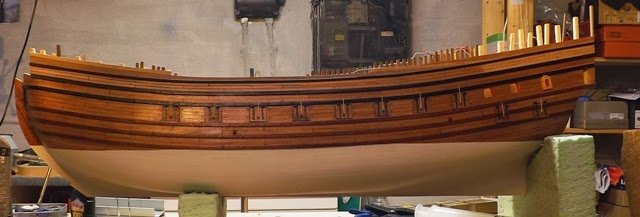
from here the log continues, but I'll keep updating this post with new side views:
4. march 2013:

november 1st 2013:

-
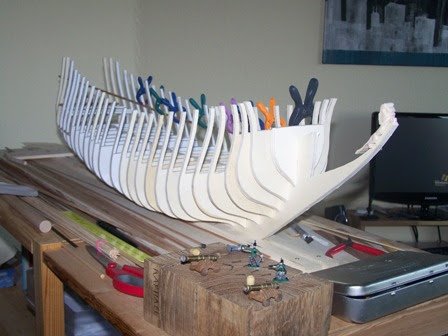
What was done before part 1:
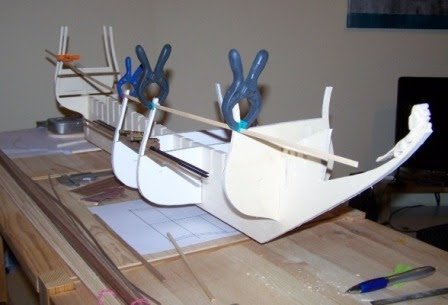
The development of the hull:
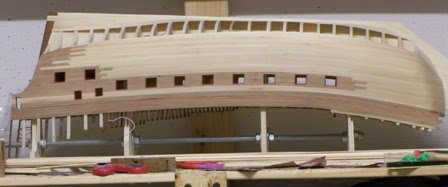

Prins Willem by amateur - Corel - 1:100
in - Kit build logs for subjects built from 1501 - 1750
Posted
Thanks for the details, I'm using acryl called pastel white, nicely off white. I still have the tape on I hope it'll come of cleanly...