-
Posts
683 -
Joined
-
Last visited
Content Type
Profiles
Forums
Gallery
Events
Everything posted by Gerhardvienna
-
Hi Nils The Kaiser Wilhelm is a really big ship, i would never intend to build that in 1:50 measure. My nonmarried wife would send me far far away with that. Highest length I can build is the DANZIG, she will have around 1,90 meters over all, including all masts. But if I had space eough, I could try..............just dreamin` I`m just waiting to see more of your build, and will read this report from page 1 to the latest, I need more time!
- 2,625 replies
-
- kaiser wilhelm der grosse
- passenger steamer
-
(and 1 more)
Tagged with:
-
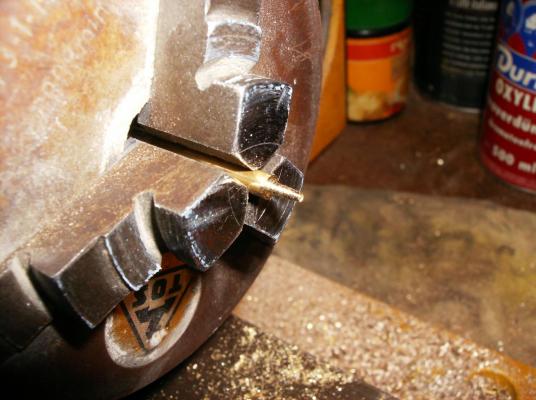
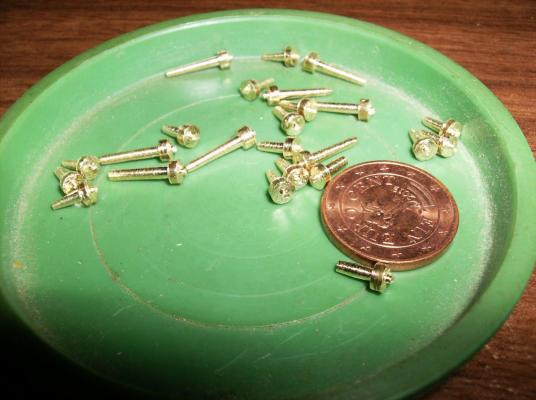
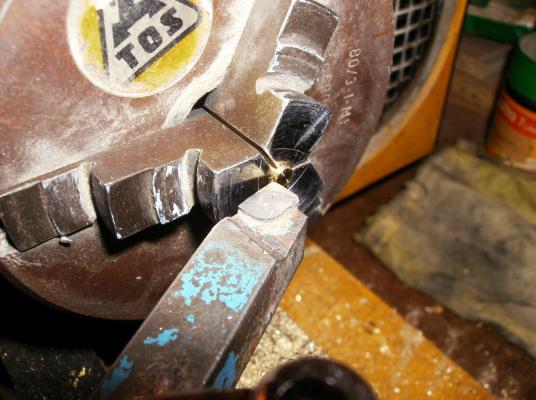
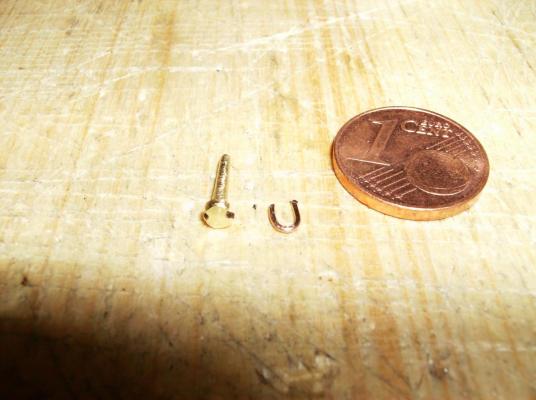
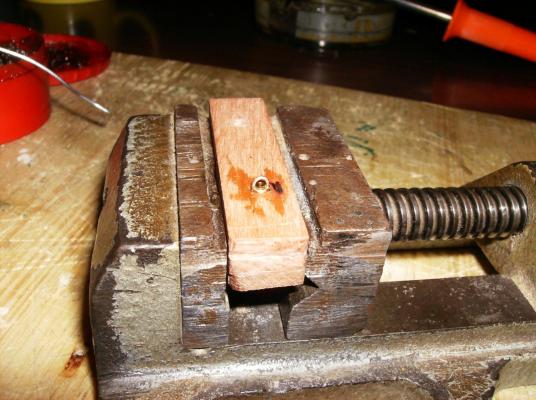
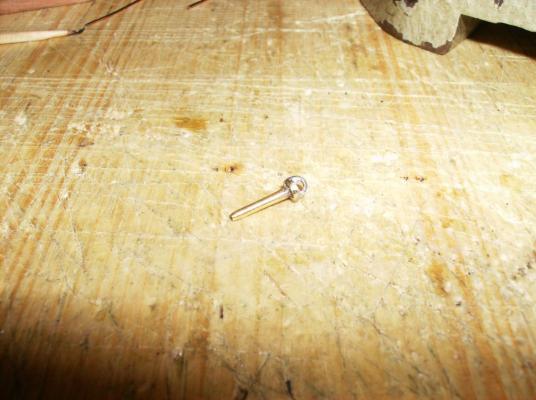
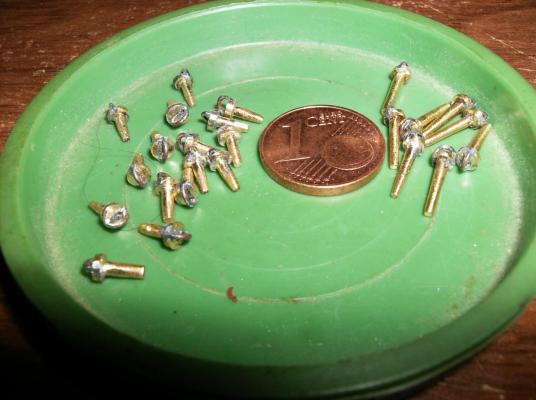
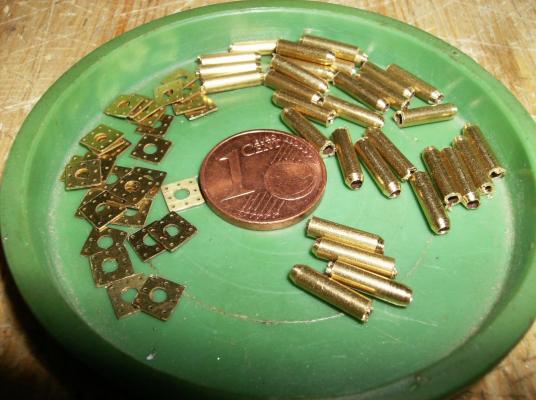
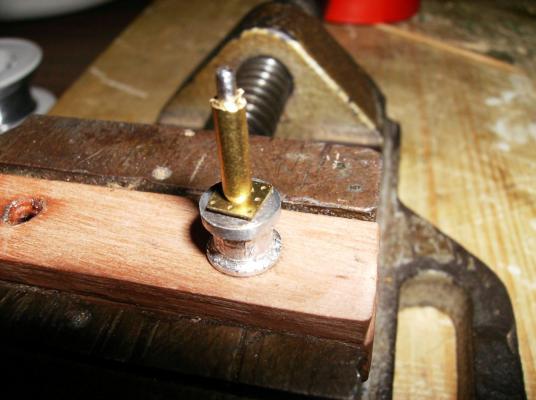
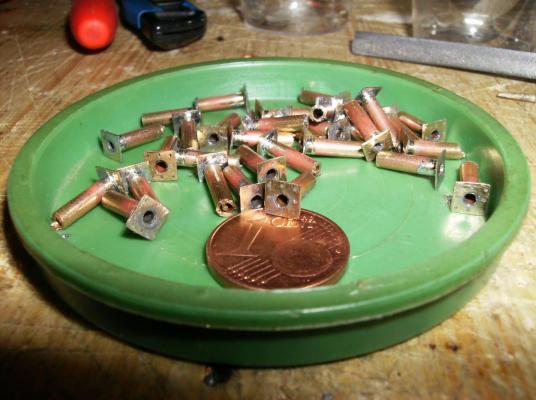
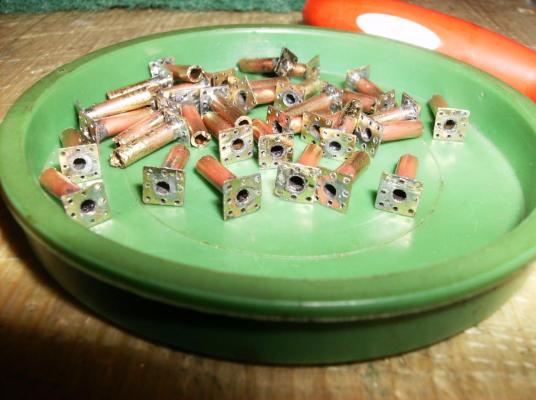
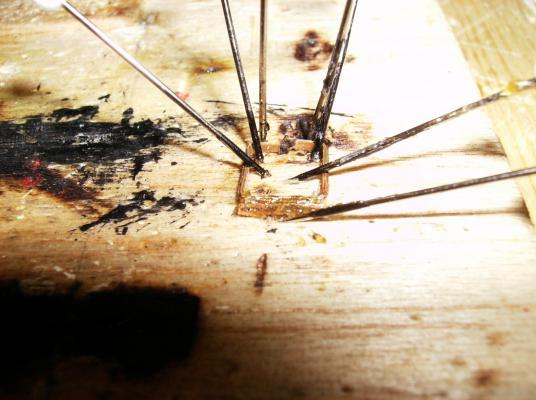
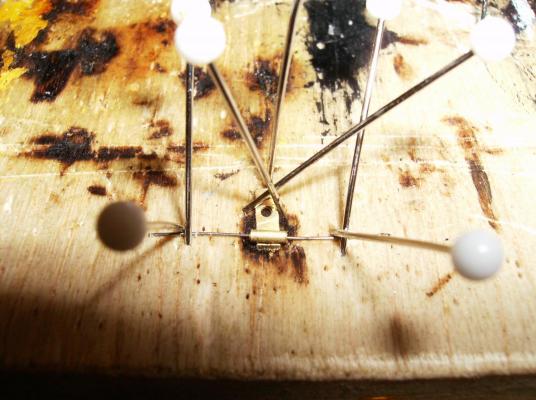
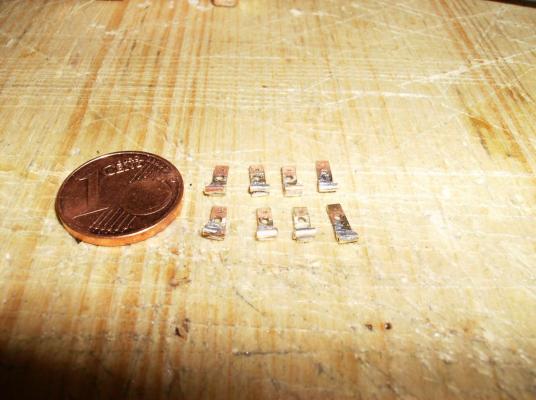
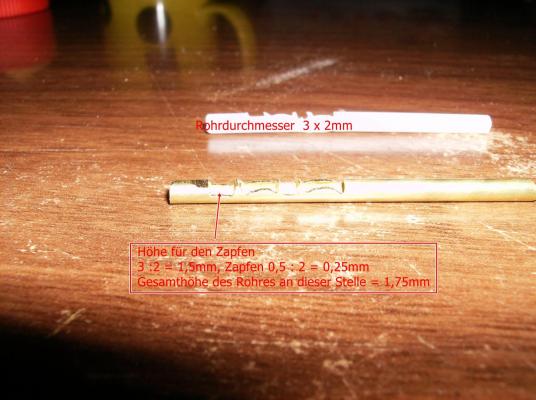
Hello again, and thank you for your nice likes! Today I will continue with some of the fittings. The SMS Danzig had pivot-guns abord so there were a lot of fittings to make. The pivot bolts are turned in the lathe, made fron 3mm diameter brass. The handles are made from 0,3mm coppered iron wire from christmas hooks . So you can see, materials for our hobby are everywhere to find! Pivot bolts in the lathe, first turn the shaft, then the heads Then 2 grooves were filed into the heads, and the wire was bend Sodering the wire to the bolts heads Then the bolts were filed to their final shape Also the pivot seats had to be made, I had ordered some photo etched plates, and took a piece of brass tube 2 x 1mm, cut that to a lenght of around 10 mm, and soldered them together, see the pics..... Photo etched plates and brass tube Soldering the pivot seats, the lower silver part of the soldering form is made from aluminium, the thorn was made from stainless steel, this will not solder to the brass parts! All seats are soldered, but OH MY GOD(!!!!! ) All of the small holes are closed now! So I had to reopen all the holes, took a needle and had work for hours................. Best regards Gerhard
-
Hi Nils Just "flew" over this report, I see great things and a master at work. Congratulations, I would be glad to do it that good in 1:50 measure! Regards Gerhard
- 2,625 replies
-
- kaiser wilhelm der grosse
- passenger steamer
-
(and 1 more)
Tagged with:
-
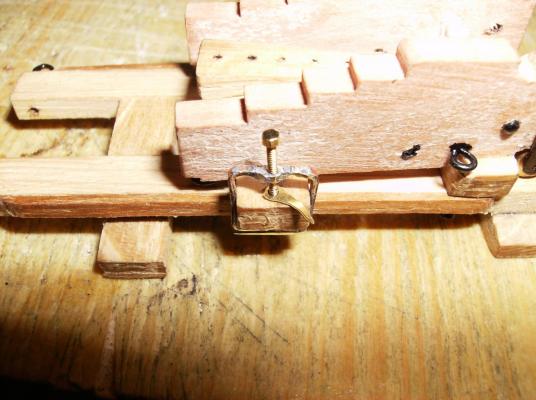
Hi Joe Thank You.... and thank you all for your likes Today is a bit less pictures, just the recoil brakes for the upper carriages. They are made from photo-etched parts and M 0,6 hexnuts. I have ordered some 1 x 0,5mm brass stripes with around 25 mm of length, they were bend around a piece of wood with 6 x 10mm. Then the brake bar was soldered to the frame, and as last step the hexnut soldered to the upper side. All breaks work fine, they will be fitted to the carriages, when they are painted. Braking bar soldering to frame Hexnut M0,6 soldering to frame 24 brakes for 12guns Mounted to upper carriage just for a test Most important is at this work, to keep the threads clean. I use normal needles, and stick them as hard as possible into the threads. but even with that I ruined some of the nuts, maybe 5 or so. So; best to order some more than you think you need, you will use them................... Best regards Gerhard
-
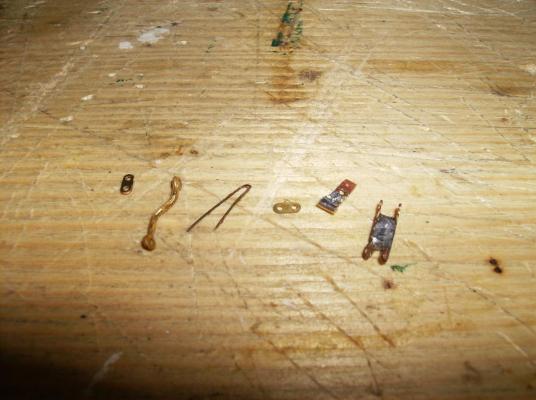
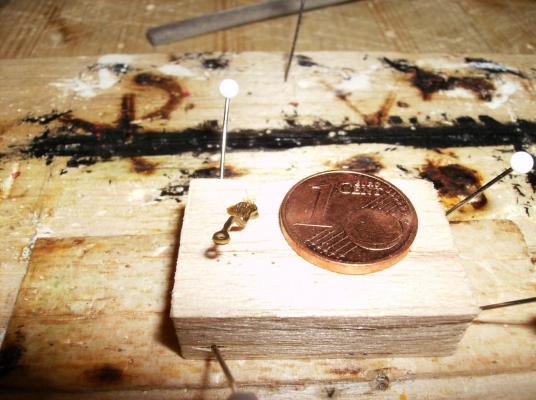
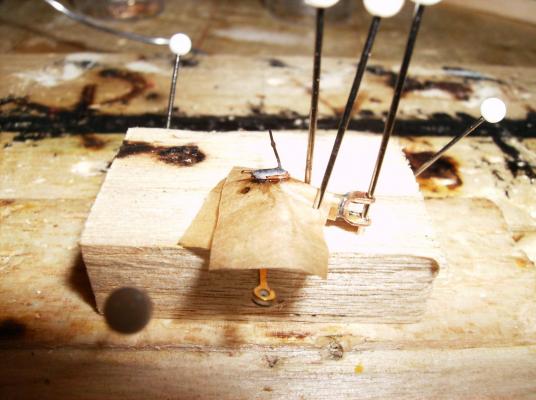
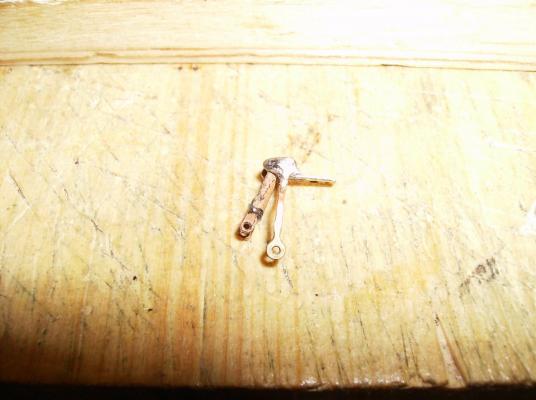
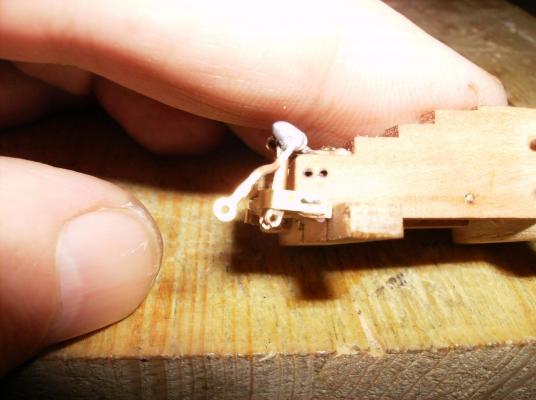
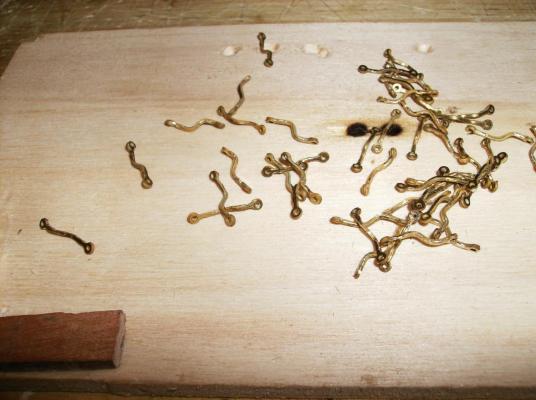
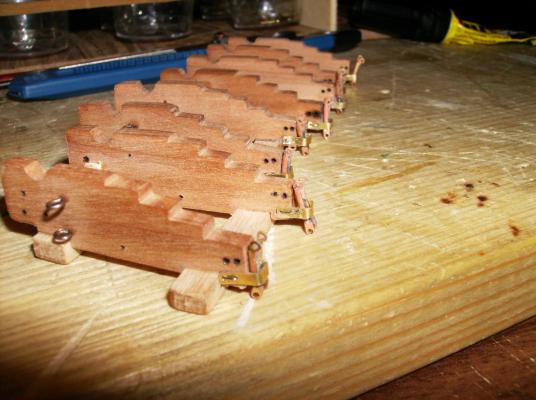
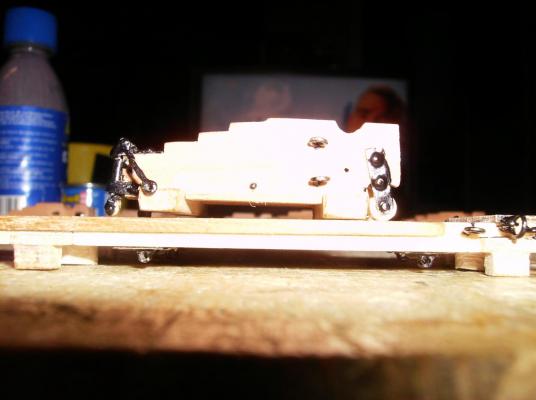
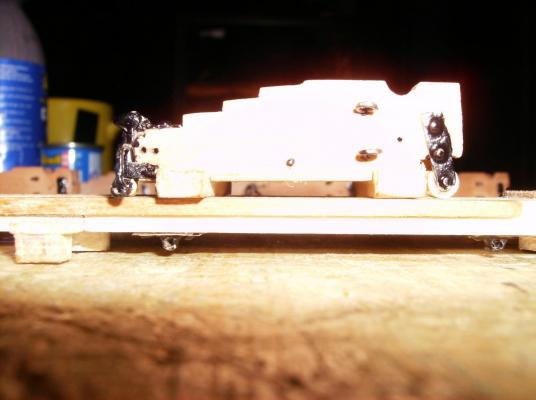
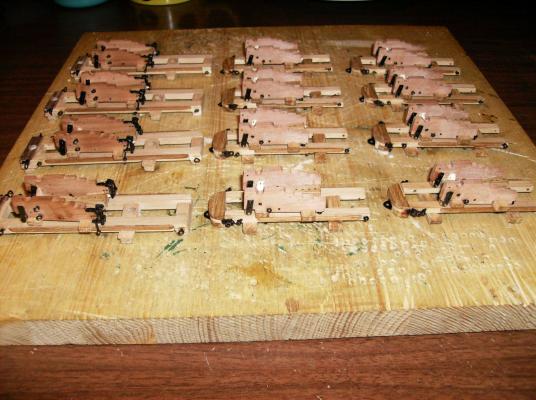
So well, here comes a bit more to watch How did i keep the lifter mechanics work? I use a small piece of baking paper between the brass parts, so I can avoid, that the parts I need to move free are solderd to the fixed things. But see the pics............. One set for one lifter, just the wheel missing Lifter mounting plate before soldering All 8 plates soldered Lever soldering to the axle, the axle is "invisible", it sits deep in the balsa wood plate Soldering the lever to the lifter arms, use baking paper between arms and mounting plate!! Best to use double sided paper, no need to search for the "right" side! Lifter completed for one side of carriage Mounted lifter on gun carriage Best regards Gerhard
-
Hi Joe That`s what i will do, some more explanations will follow, when my pics at. There are some tricks I used to keep the mechanics for the carriage-lifters working. This pictures will come in the next post, till then Regards Gerhard
-
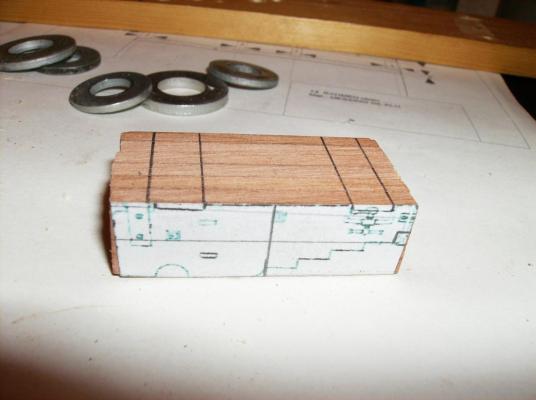
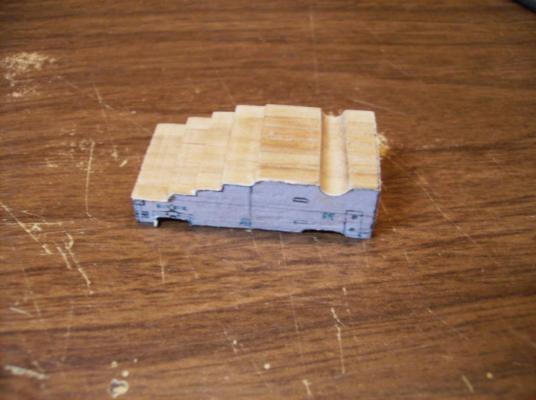
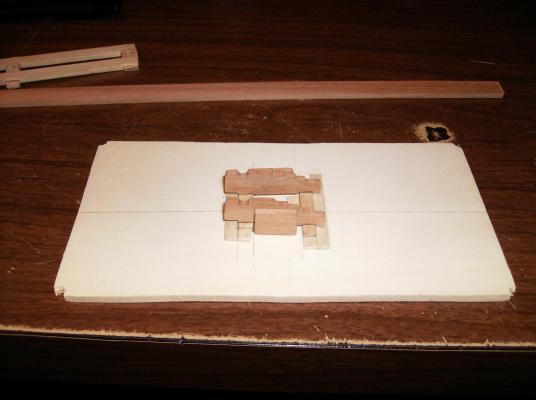
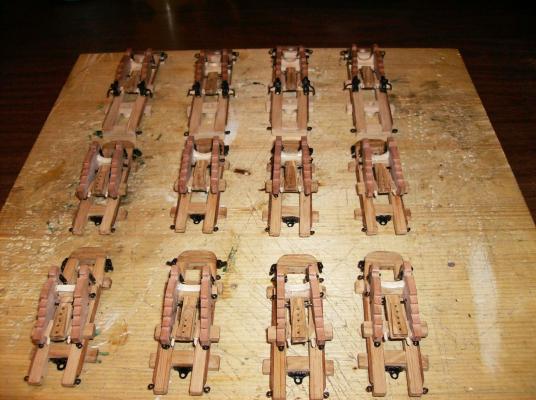
Back again for a bit more review First of all, THANK YOU for your so many spended Likes Next things to do were the gun carriages. The DANZIG had 12 pivot guns of three different weights on board, all in 20,4cm caliber. The weights were 95 - 60 - and 52 hundredweights. First to build was the upper carriages, they are made from birch wood of 3mm thickness, milled as 4 pairs at once, and then glued together in a glueing form After glueing this parts I drawed some photo etched parts and gave them to the etching fabric, all blue drawn parts are for that. When the etched parts were ready, I had to bend some of them for mounting them to the carriages, most of the parts were for the largest upper carriages. They have lifters at the rear, and they even work in my model carriages. Also the pivot carriages are "ready for use" on deck, when this is built, some brass parts are not etched, but handmade. All eyelets are made from 0,5mm brass sheet, or from 0,3mm brass wire. Every single part that is shown in the drawings is mounted to the carriages, so I can rig them in original way at the ship. This was only shown in a very short form, requests and critics are always welcome! Best regards Gerhard
-
Hi Keith You are welcome! But it will take some time until I can start with the engine build, but there is so much more I have finished at the moment, as I wrote above, there are almost 400 pics made from current stages, including the gun carriages, the cooks house,(it would take me weeks to write about everything). Before I start with the engines I will build the hull, and the full removable deck, masts and rigging. The gunbarrels will be casted from low-temperature metal, no part will be bought as as ready-to-assambly part. So i will have to learn a lot by doing things I`ve never done before, and also report some misfortune by times. Regards Gerhard
-
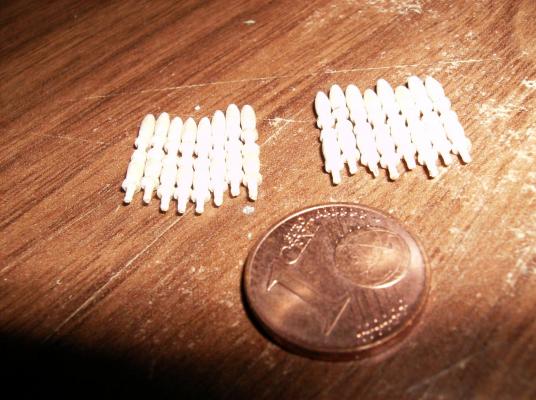
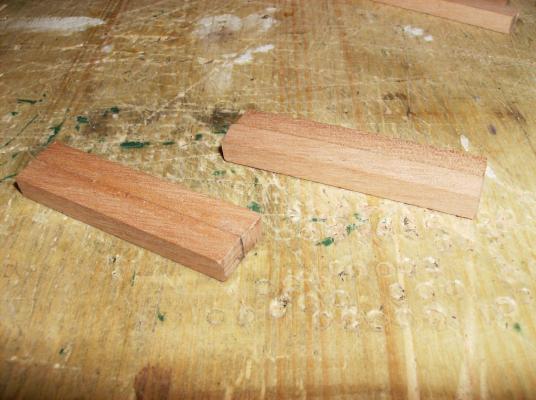
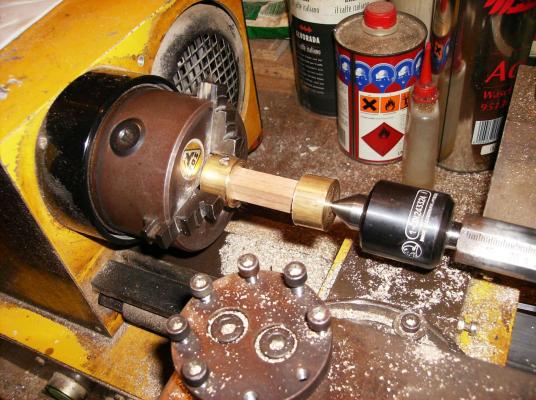
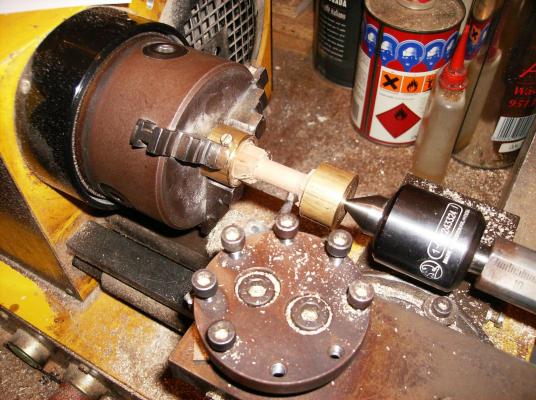
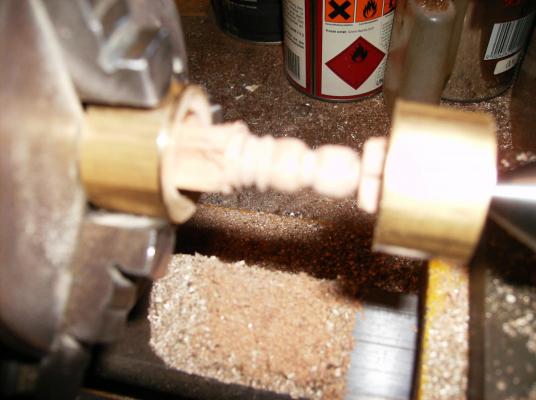
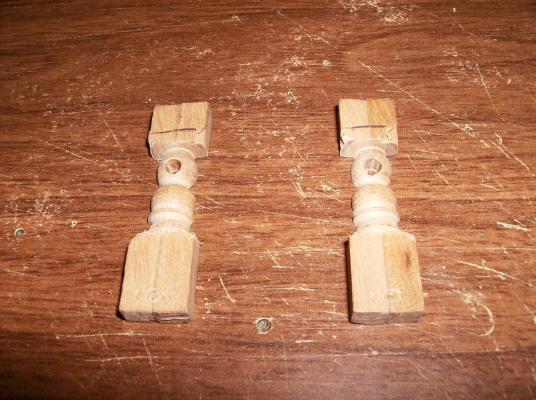
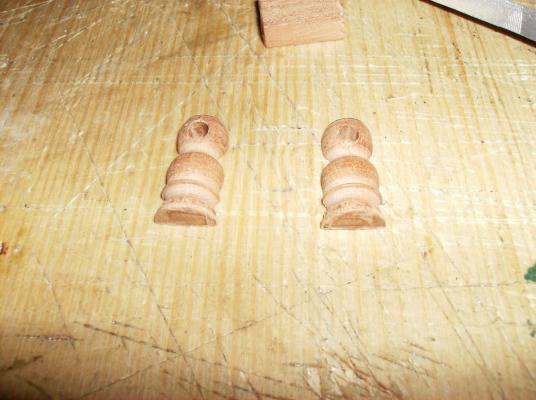
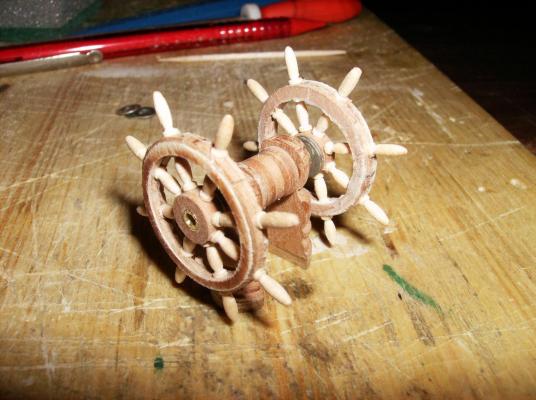
Ready for a bit more?? Take your seats, no belts required! But food and drinks should be there, this will be a long way ............. You`r all welcome One important step was to turn the spokes for the steering wheels, I did it with Archjofo`s trick. http://modelshipworld.com/index.php/topic/1029-la-cr%C3%A9ole-by-archjofo-scale-148-french-corvette-of-1827-scratch-build/page-29and I have made a short video to this method. SORRY for the not so great quality, this is done with a very cheap camcorder from TV-commercial https://www.youtube.com/watch?v=eaSHWI8qp8s And the steering stand was done as well, the wheels will follow the rudder when the ship turns! I will have to make some kind of mechanics! But that is for the future.......... The guiding tube, one cutout is measured for better understanding All 16 spokes turned The steering stand is made from 4 pieces of 6 x 5 mm oak wood. They were glued together in pairs, and turned in the lathe. turned to round, and the slightley grinded with a file (sorry again for bad pic quality) The turned stands, holds removed and axle holes drilled The stand completed See you soon, there is even more to show! Best regards Gerhard
-
Just take place folks! There is much more to come, I have made until now almost 400 pics, next things will come tomorrow. It was a long way before I could start, I had a over 2 years time to spend for research. But its on the way now, and will continue. This project is planned as a long time project, not under 4 years of building. The engine was built by Hartmut, a close friend to Georg, I do have the full set of plans and will make my own set of two engines. Also the boilers will be drawn and built from me, there will be two boxed boilers with circa 1 liter volume each, and feeding pumps for extra long driving time. So there is a lot of work to do, get some time, coffee and a Sacher Torte Best regards Gerhard
-
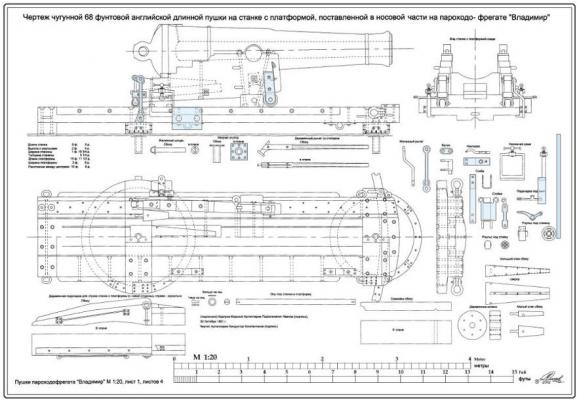
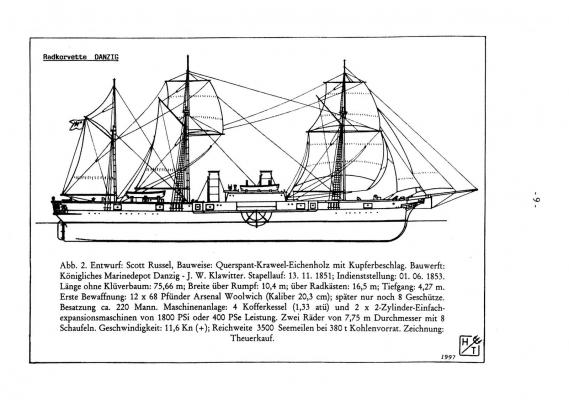
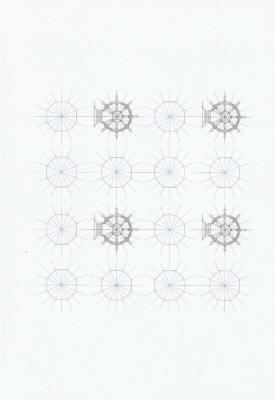
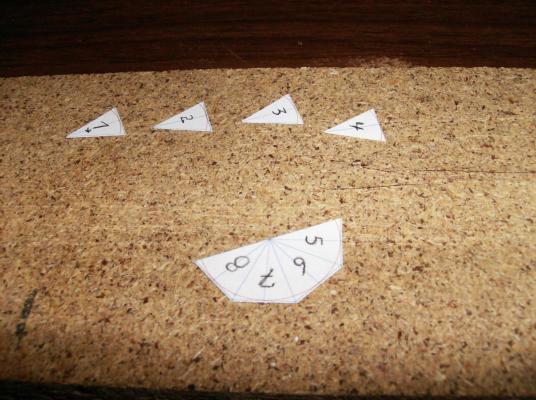
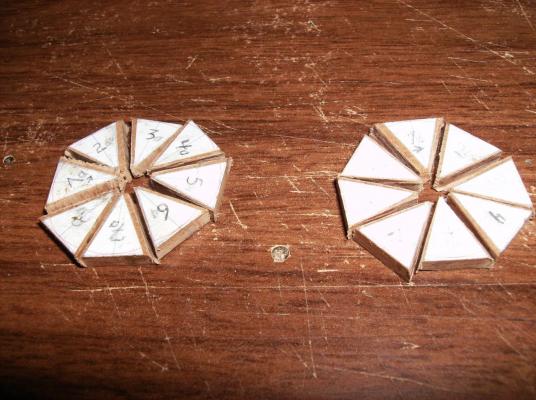
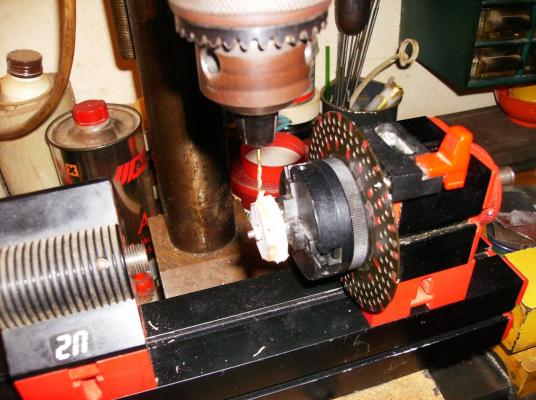
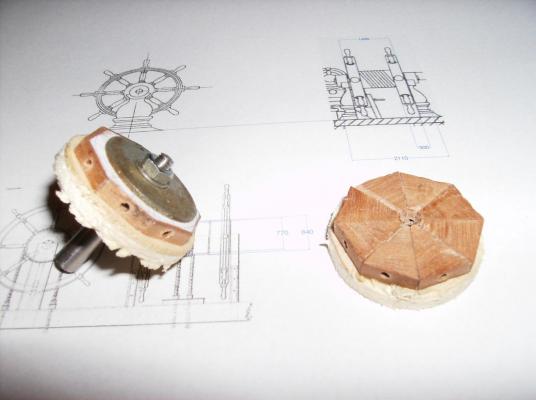
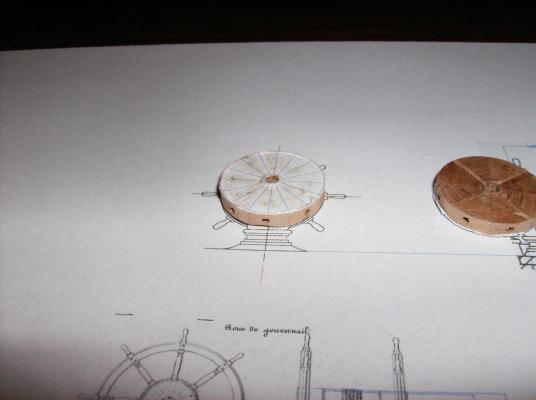
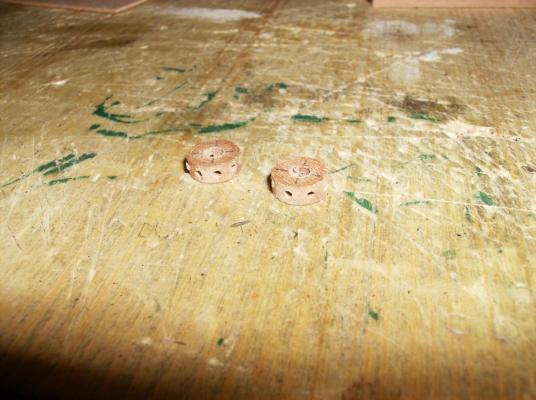
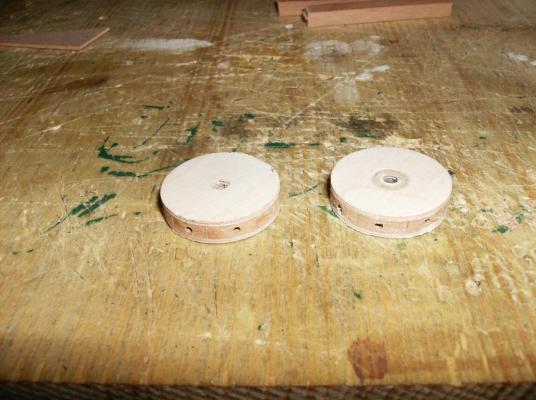
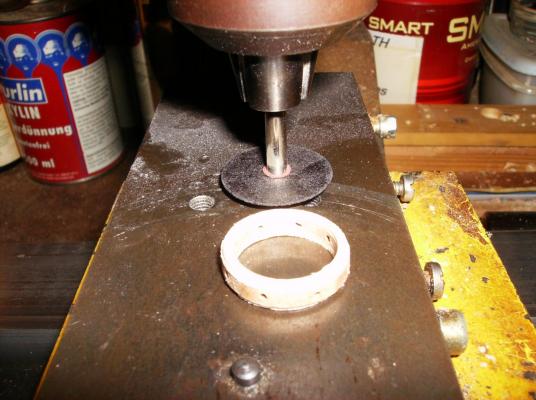
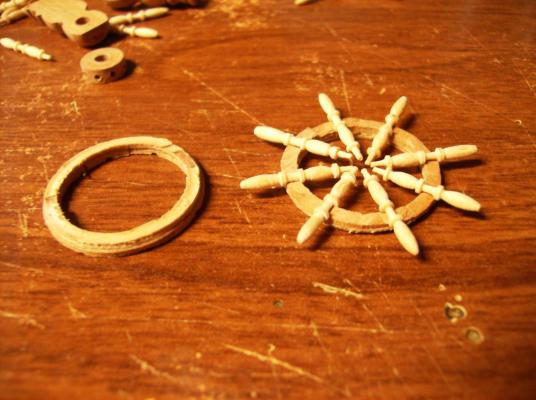
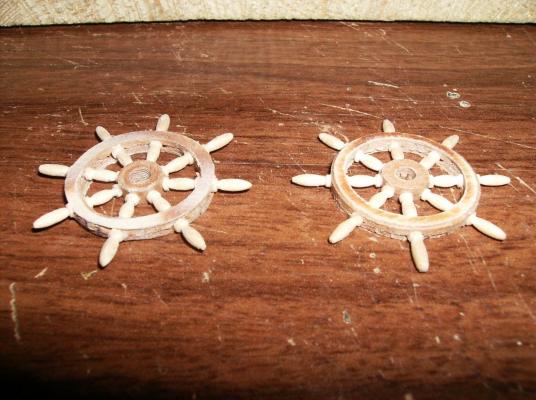
Hi to All As I mentioned in my introduction thread, I`m building a model of the SMS DANZIG from the prussian navy. How did I get to this ship? I was on a search for a not too small paddleship, if possible a warship, and after a while of searching in the www. I saw what I was looking for. The original ship was about 76 Meters long, and had 2 steam-engines as well as full rigging as a corvette. But: there ae absoluley no plans to get, so I had to make a decision, how to do it. The only plan that comes close to the DANZIG is from the russian Vladimir, and by great luck i could get one set of them. The only smaller problem was, the russian ship is about 10 meters shorter than the prussian, so I had to stretch the plans. But things went well, the rest I have still to do, is to redraw some parts, as the wheel houses for example. But now to the real build. The model will have two steam engines, the plans were drawn from Mr. Georg Held and me, here is a short video from the prototype: an I will make the full rigging, as it was shown at a drawing from John Scott Russel, see the pic below. I started with some accessories, as I always do, the first thing was the steering wheels. As a first step to make the wheels, I printed a template on normal paper, cut that into triangles, and glued them to the wood, I used smoked oak wood for the wheels . The wood was then cut into triangles, and glued together as a octagon. This was set into the milling machine, and the holes for the spokes were drilled. The octagons are then tightend into the lathe, and turned to round at the outside. Important: Always use a wooden shim as a rest for the octagons, they will break fast, if you forget that! Then the center parts are turned on the lathe The next step is not easy to do, the inner shape of the rim needs to be turned. ALWAYS glue some thin Plywood on both sides of the rims, this must be grinded away later. Turn this yery careful, the rings are tending to break, if you are too fast! Now the finished rings need to be cut in halves, so the spokes and centers can be mounted, and glue the complete set together. Will be continued................ Regards Gerhard PS.: As this is a review, there is a lot more to show, until we come to the presence!
-
Hi Daniel I`m learning with every step you do on your Vic! Thank you for showing all this hints &tricks! Regards Gerhard
About us
Modelshipworld - Advancing Ship Modeling through Research
SSL Secured
Your security is important for us so this Website is SSL-Secured
NRG Mailing Address
Nautical Research Guild
237 South Lincoln Street
Westmont IL, 60559-1917
Model Ship World ® and the MSW logo are Registered Trademarks, and belong to the Nautical Research Guild (United States Patent and Trademark Office: No. 6,929,264 & No. 6,929,274, registered Dec. 20, 2022)
Helpful Links
About the NRG
If you enjoy building ship models that are historically accurate as well as beautiful, then The Nautical Research Guild (NRG) is just right for you.
The Guild is a non-profit educational organization whose mission is to “Advance Ship Modeling Through Research”. We provide support to our members in their efforts to raise the quality of their model ships.
The Nautical Research Guild has published our world-renowned quarterly magazine, The Nautical Research Journal, since 1955. The pages of the Journal are full of articles by accomplished ship modelers who show you how they create those exquisite details on their models, and by maritime historians who show you the correct details to build. The Journal is available in both print and digital editions. Go to the NRG web site (www.thenrg.org) to download a complimentary digital copy of the Journal. The NRG also publishes plan sets, books and compilations of back issues of the Journal and the former Ships in Scale and Model Ship Builder magazines.


