Baker
-
Posts
4,287 -
Joined
-
Last visited
Content Type
Profiles
Forums
Gallery
Events
Everything posted by Baker
-
 A finished hull, congratulations looks great
 -
Thank you for the nice comments
-
There was an anchor david found. Something like this will be build later
-
Very nice work. A shipmodel on a shipmodel 😉
-
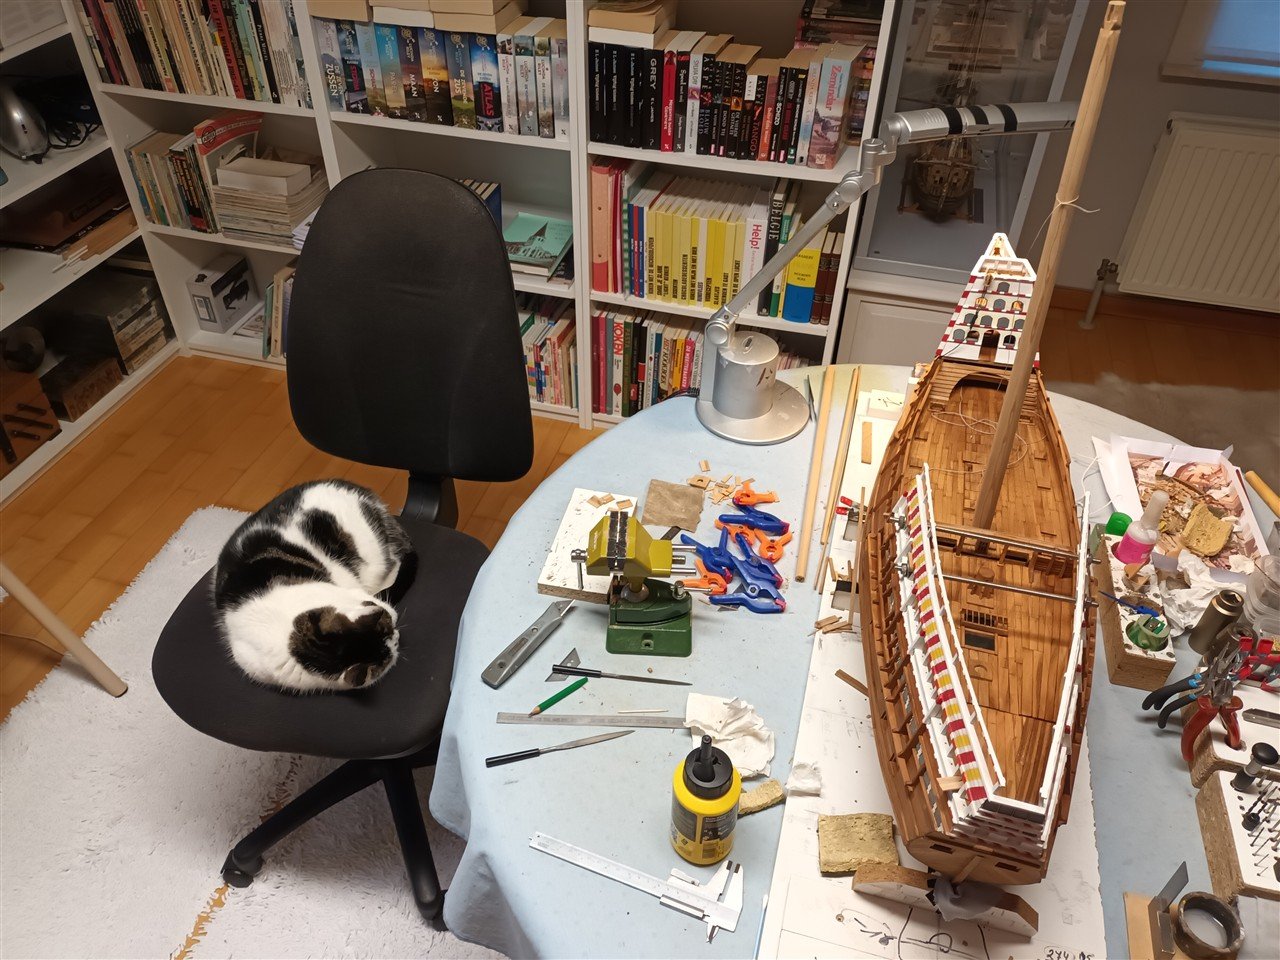
Thanks all Cats : no jumping allowed in the hobby room (he loves this rule)🤣 And catheads. The only cathead i can find on drawings, etc is on a 21st century drawing. Not on older drawings. So no cathead for Mary And also thanks for the likes

-
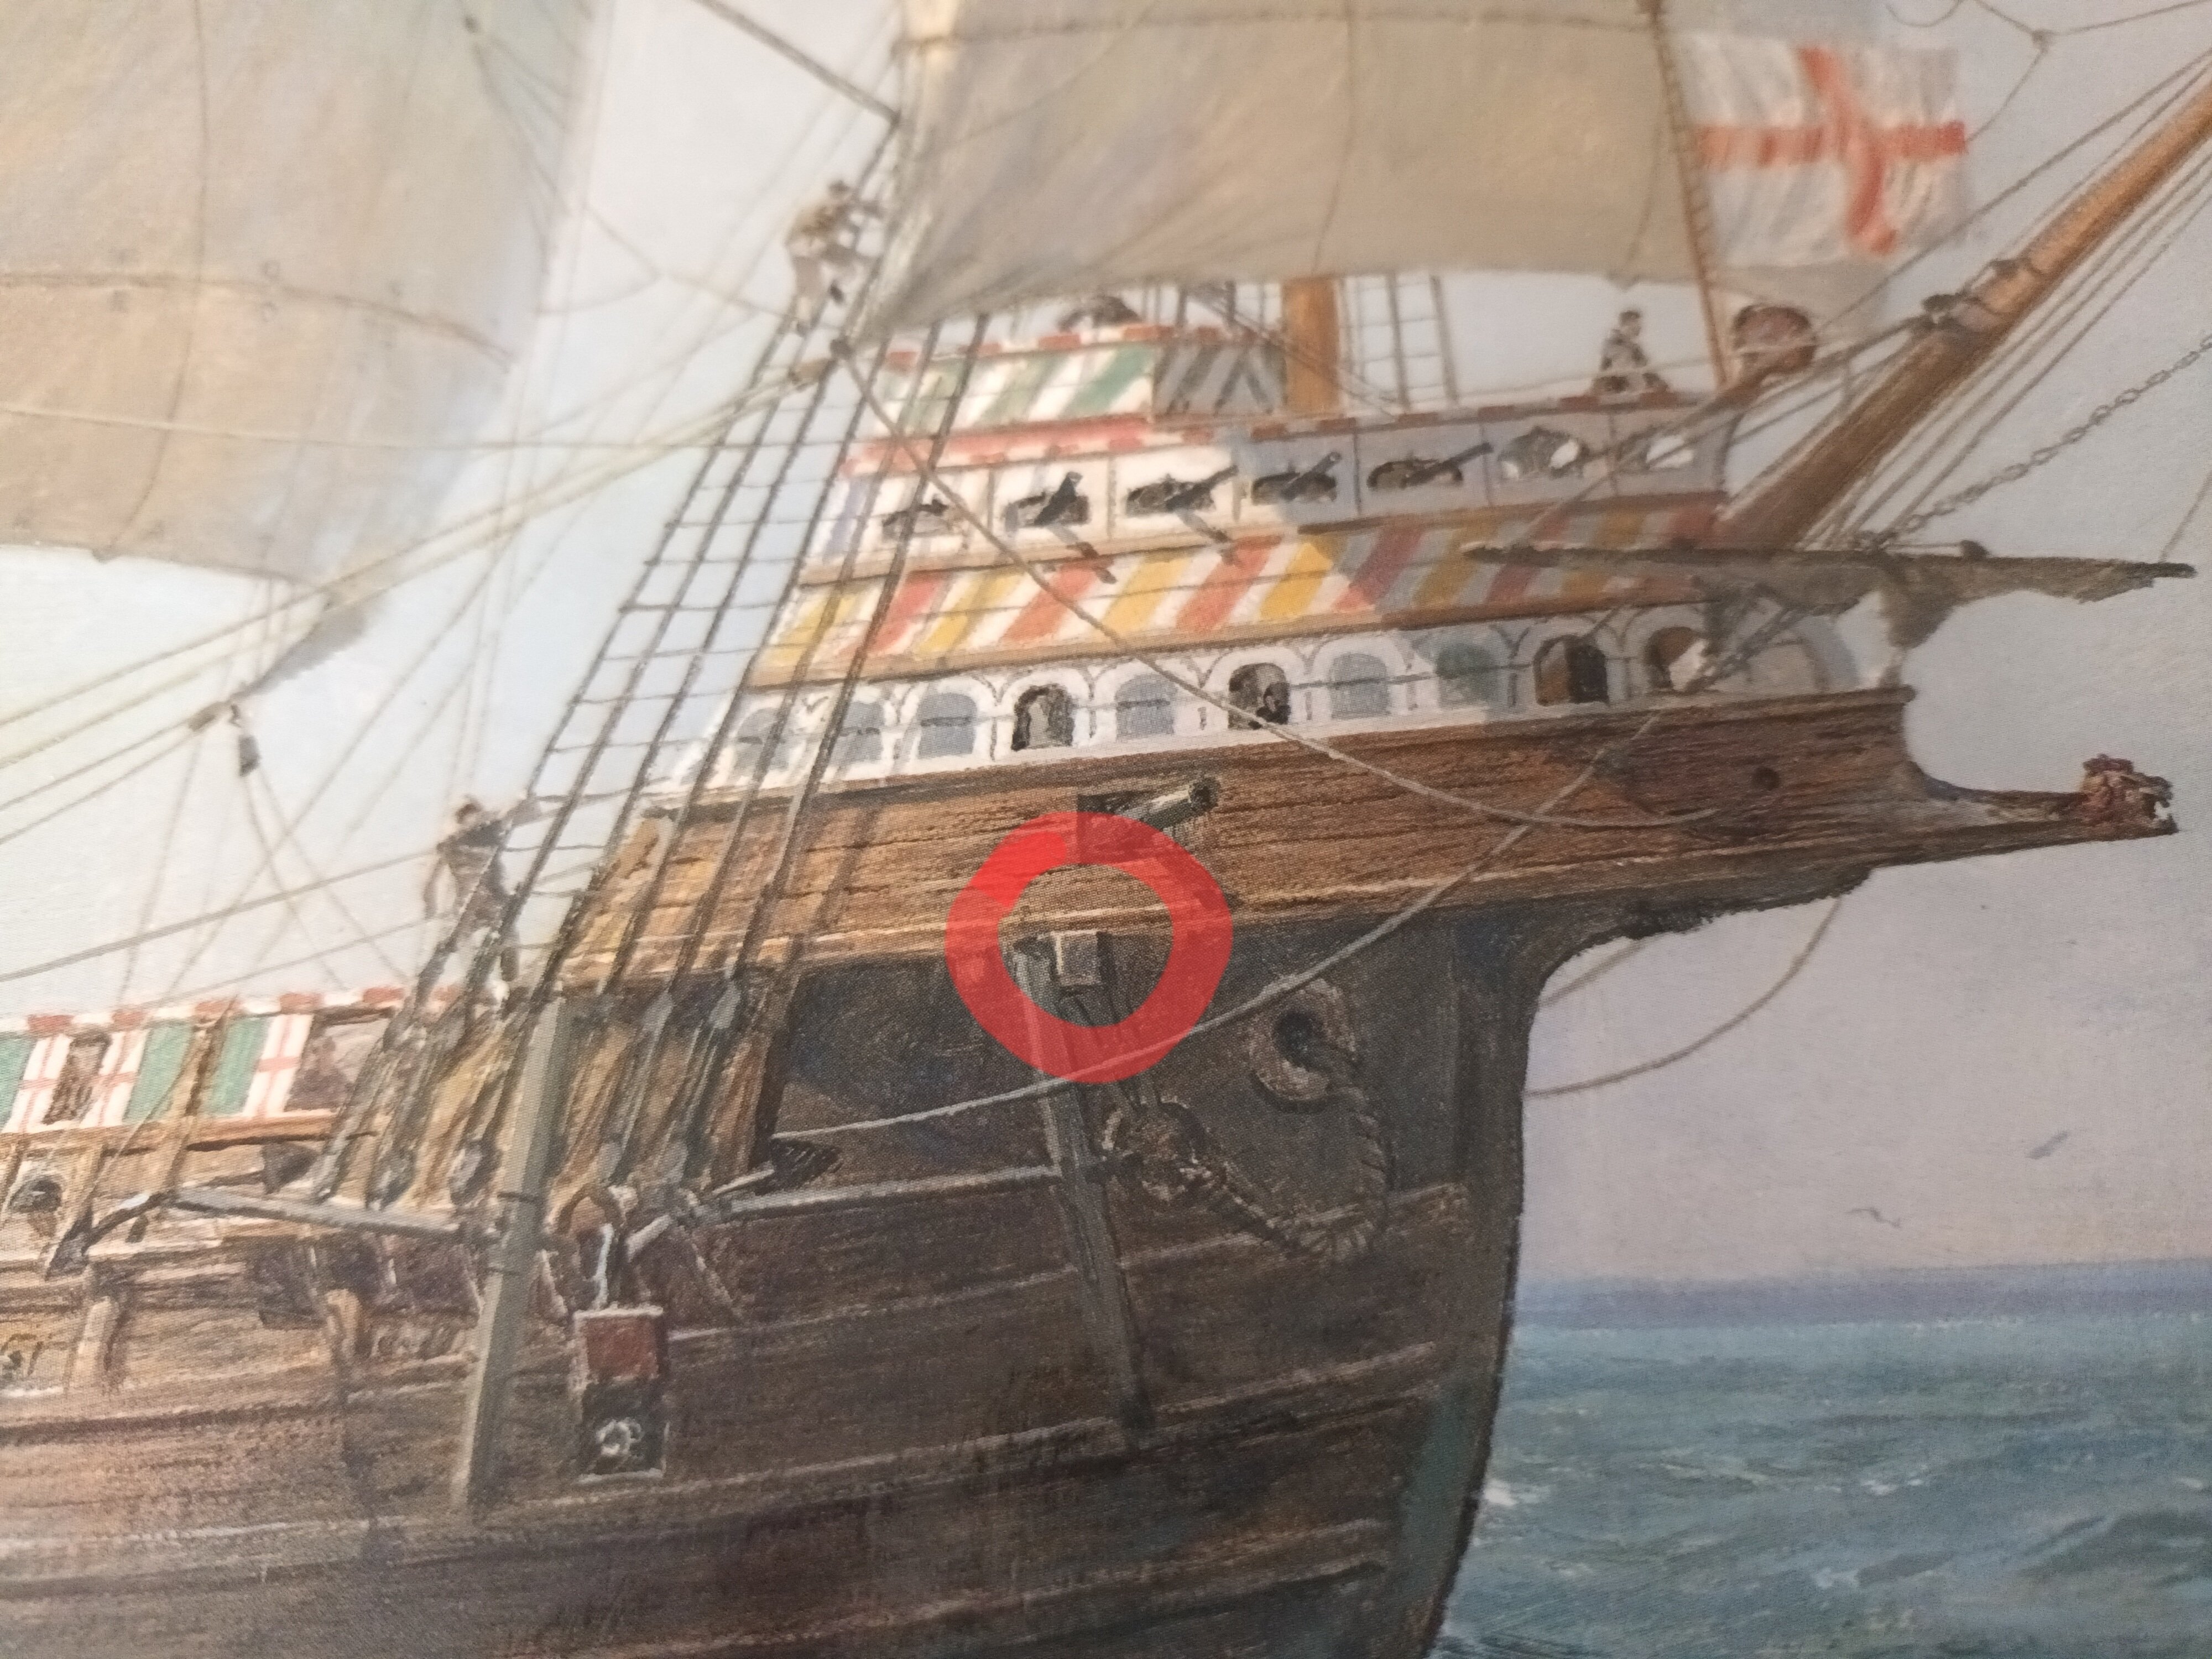
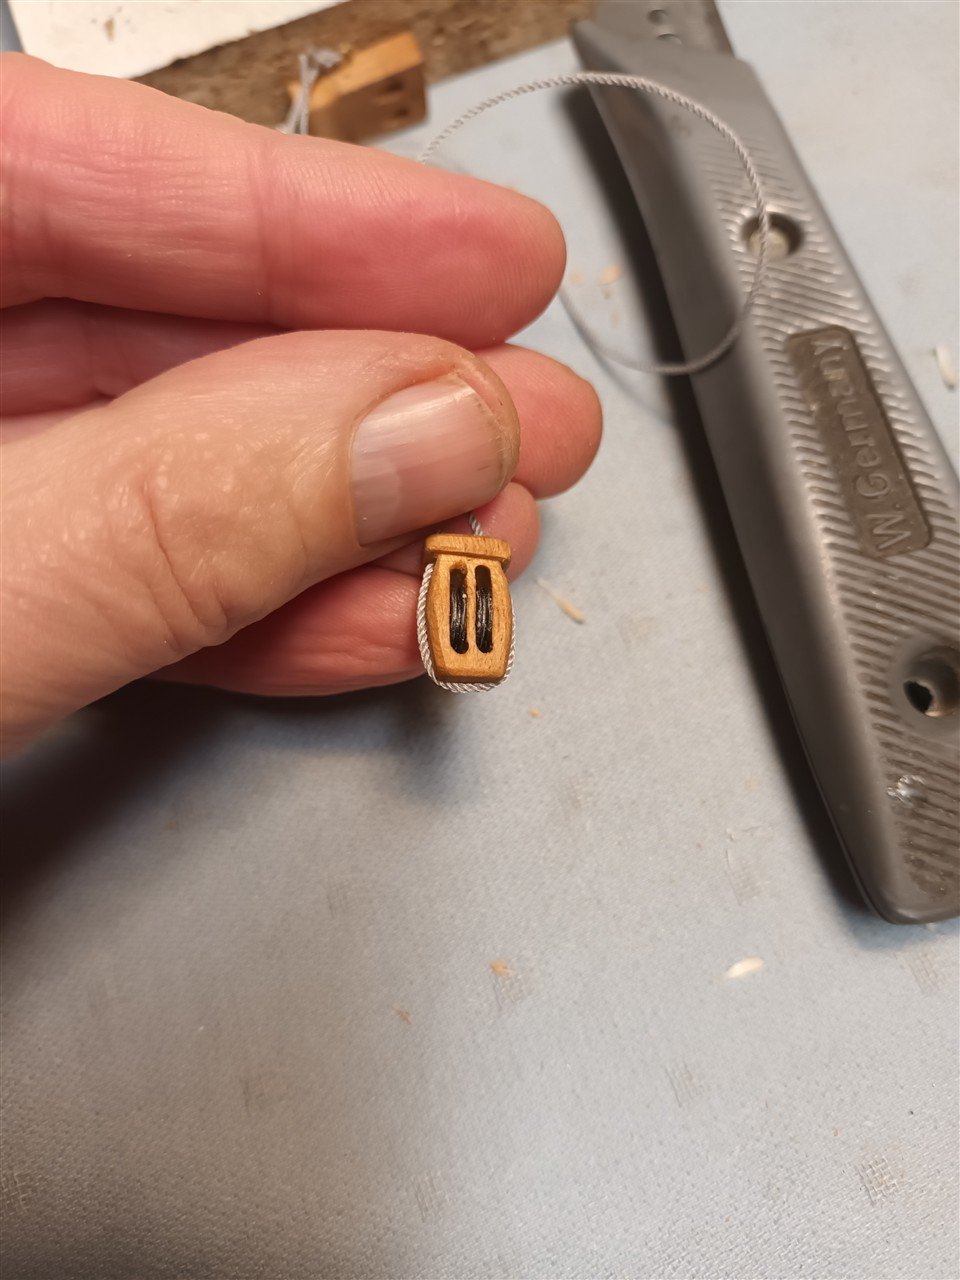
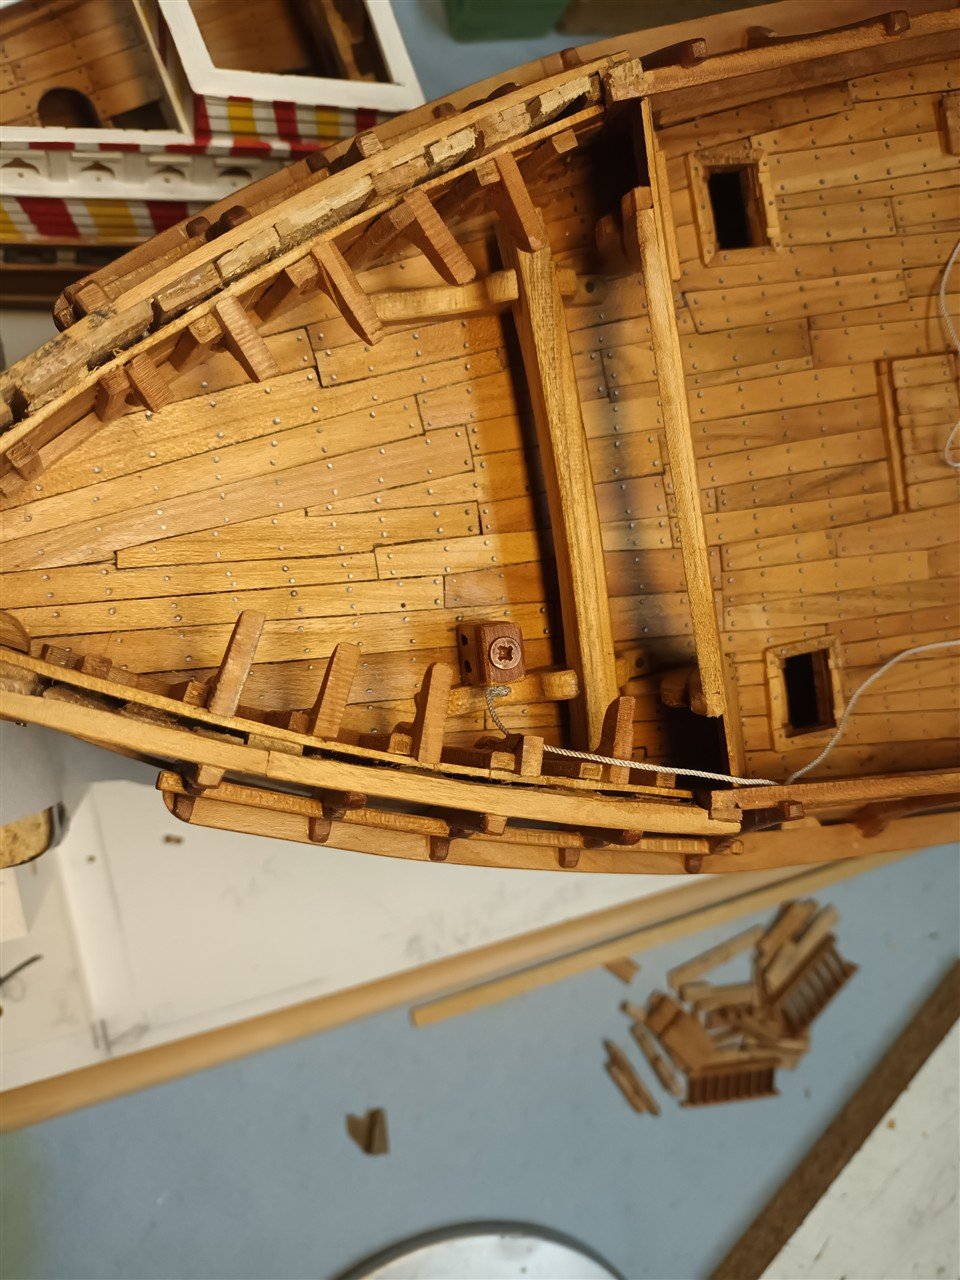
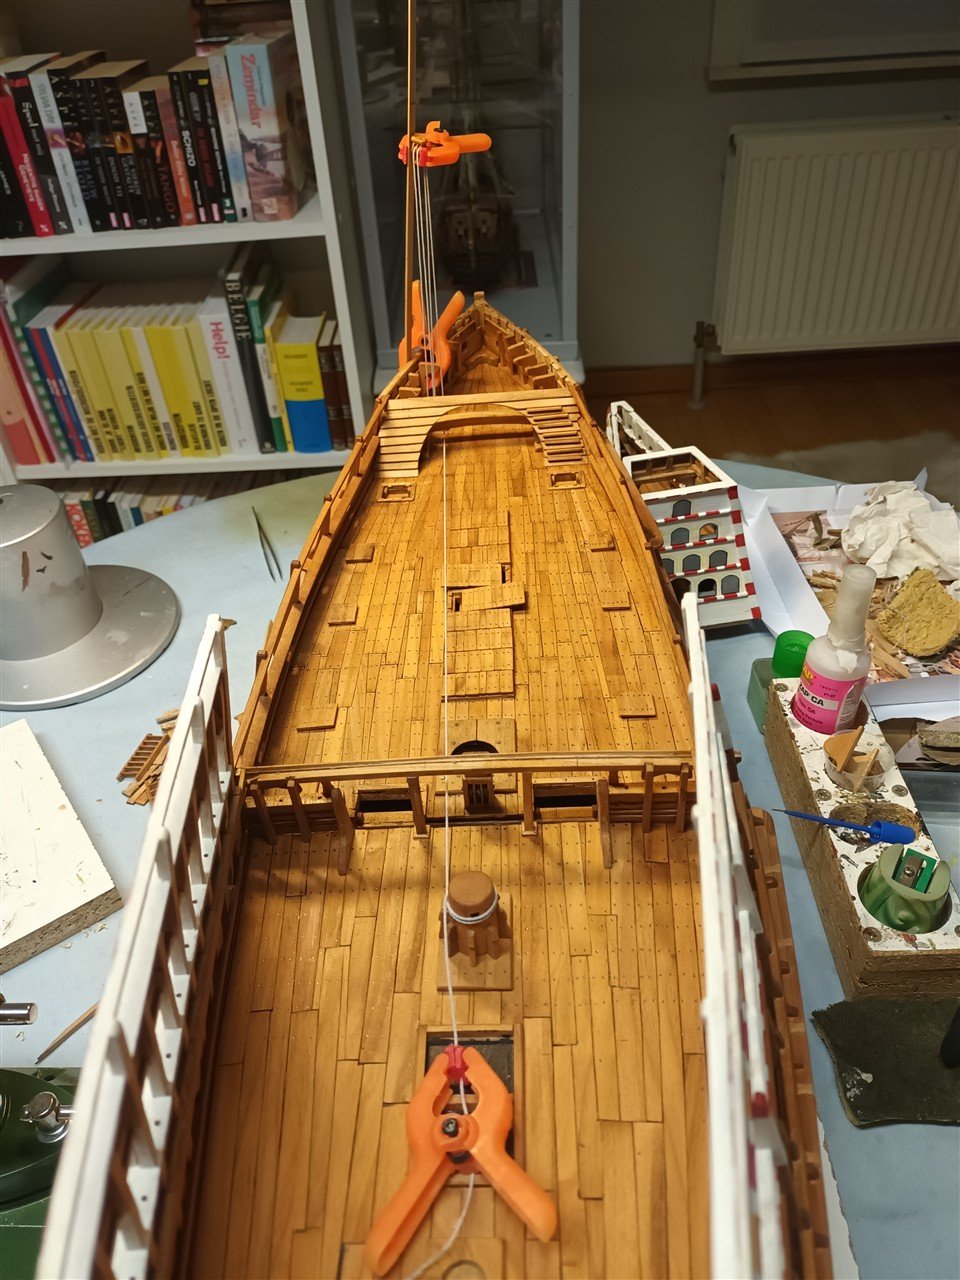
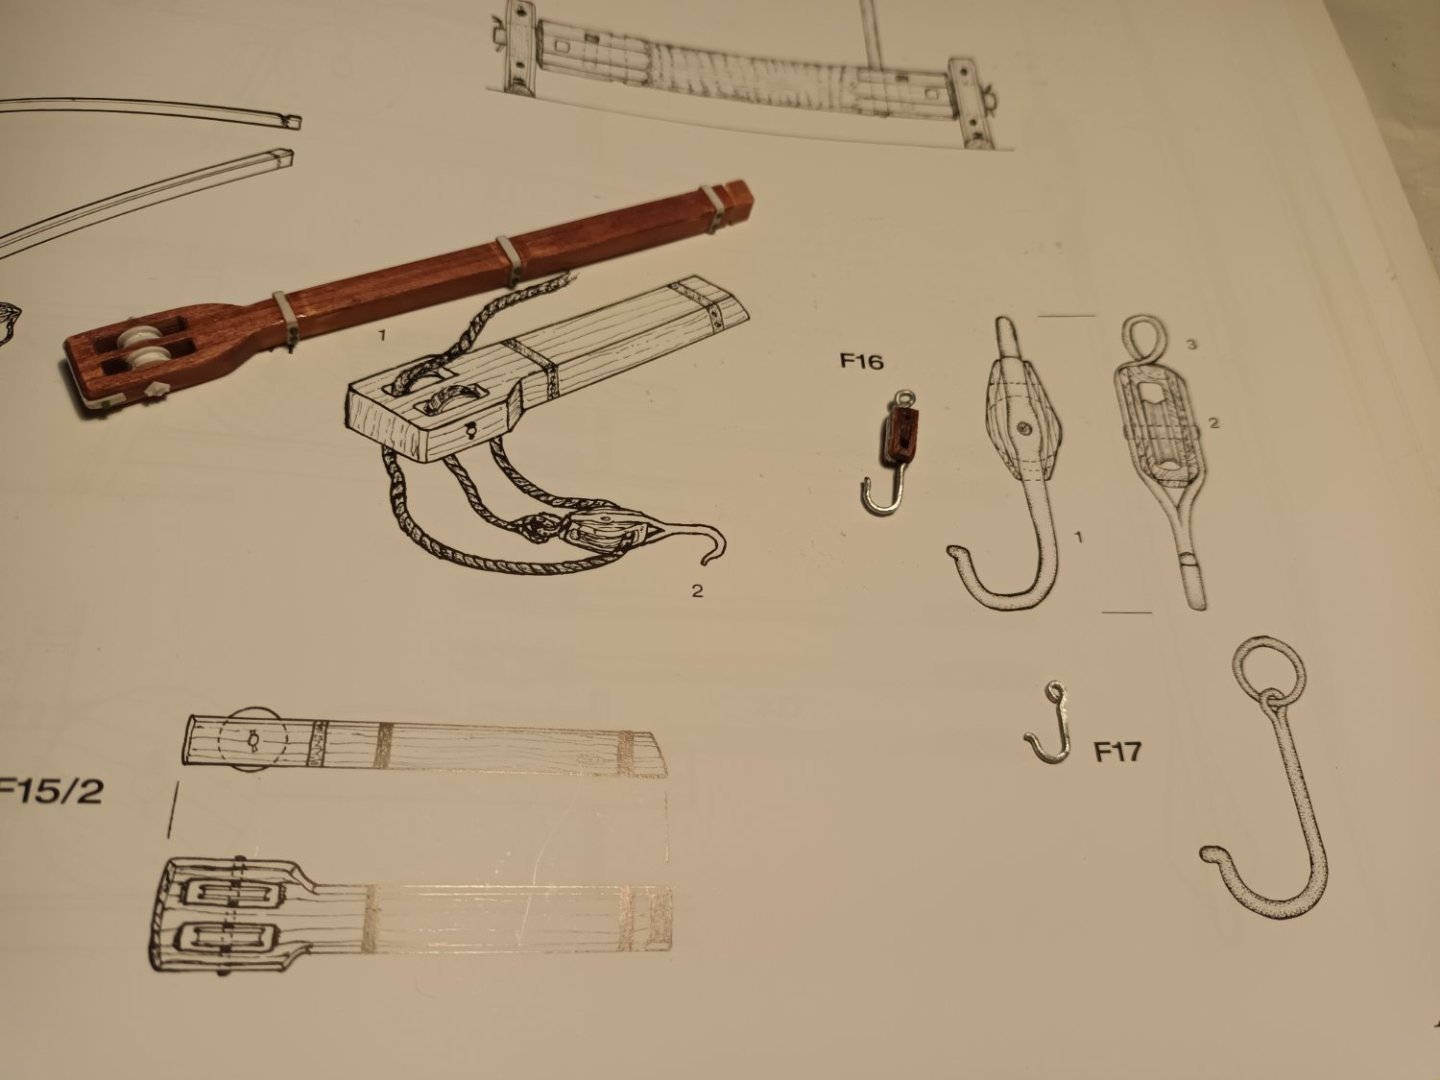
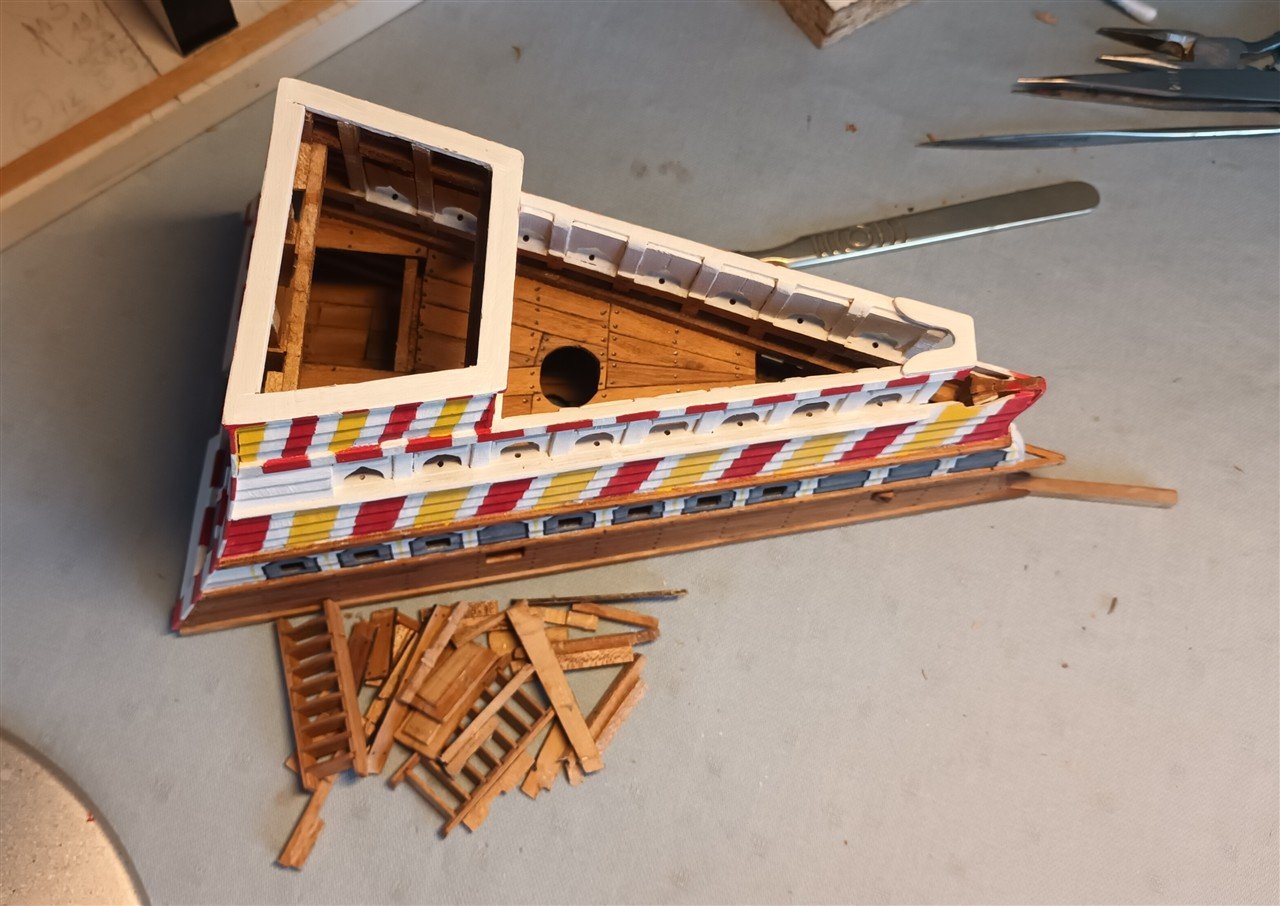
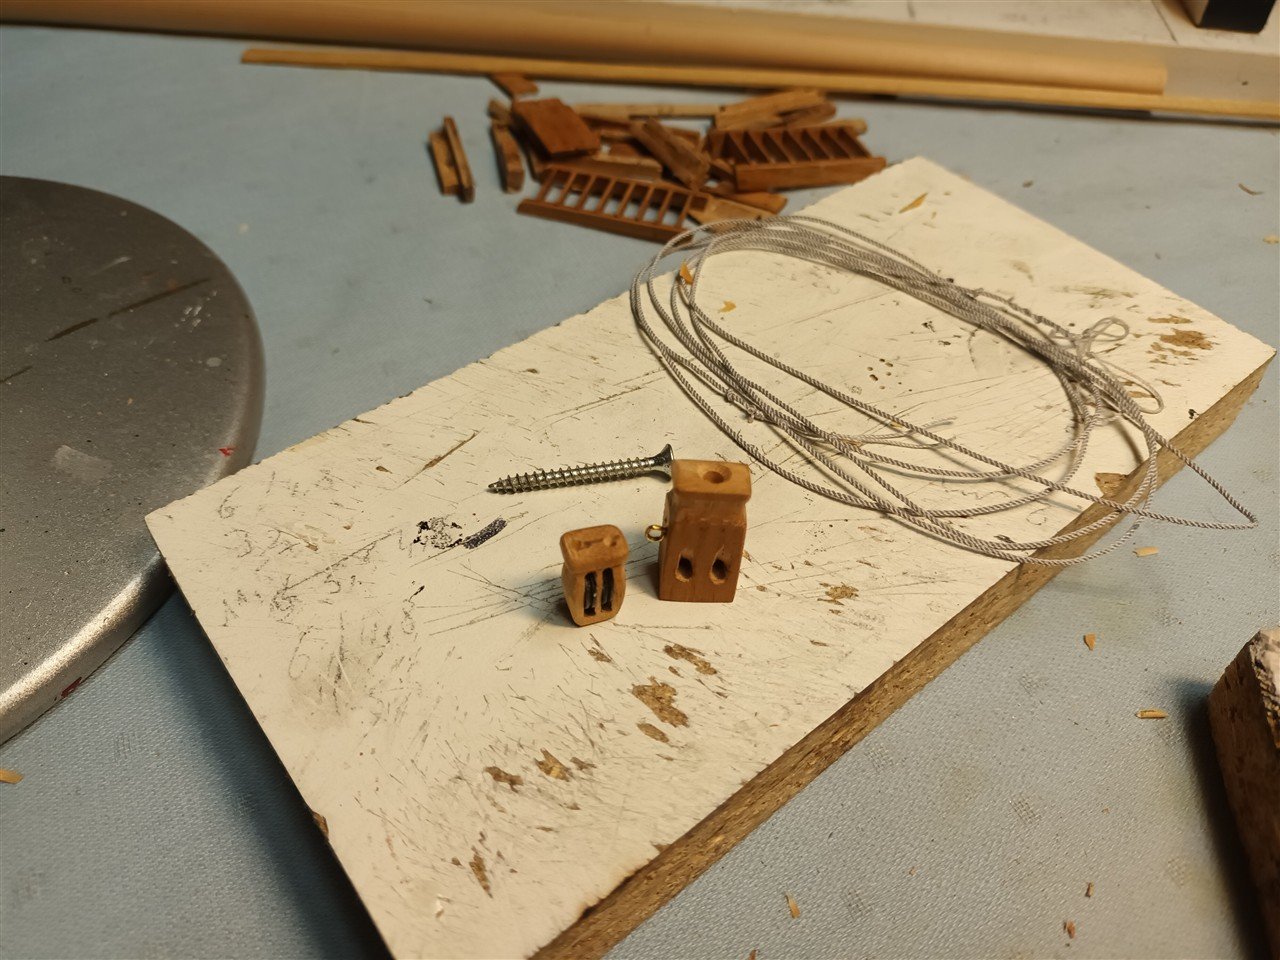
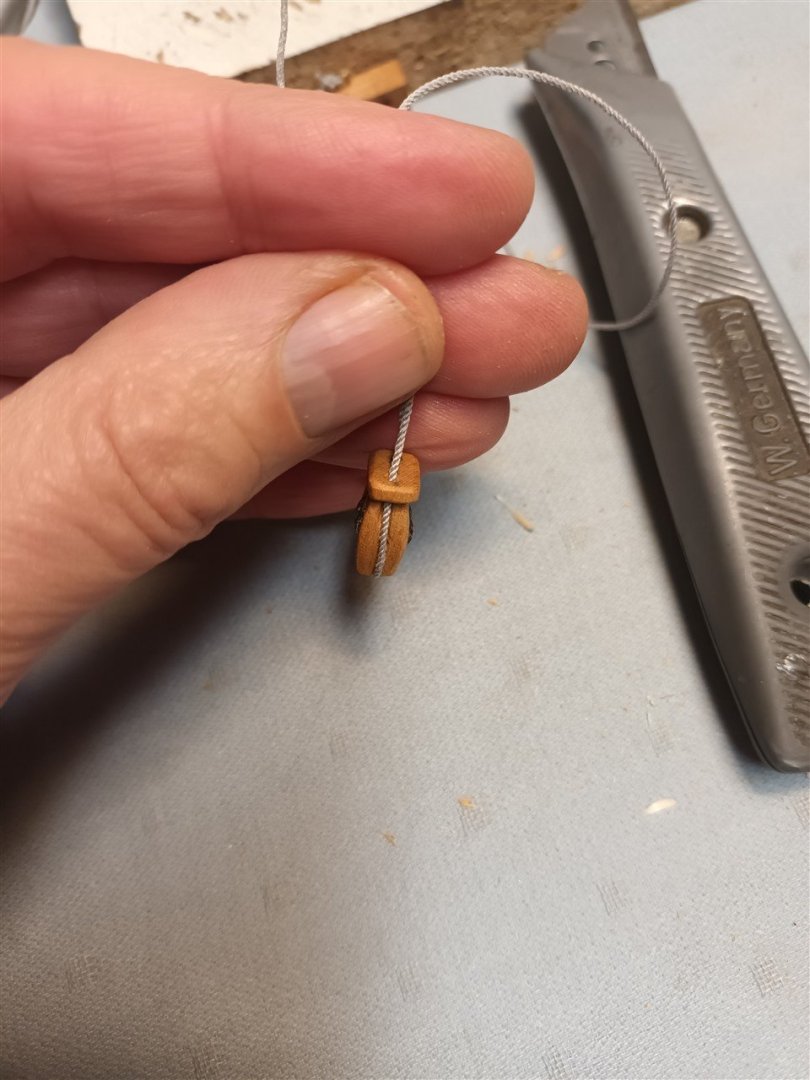
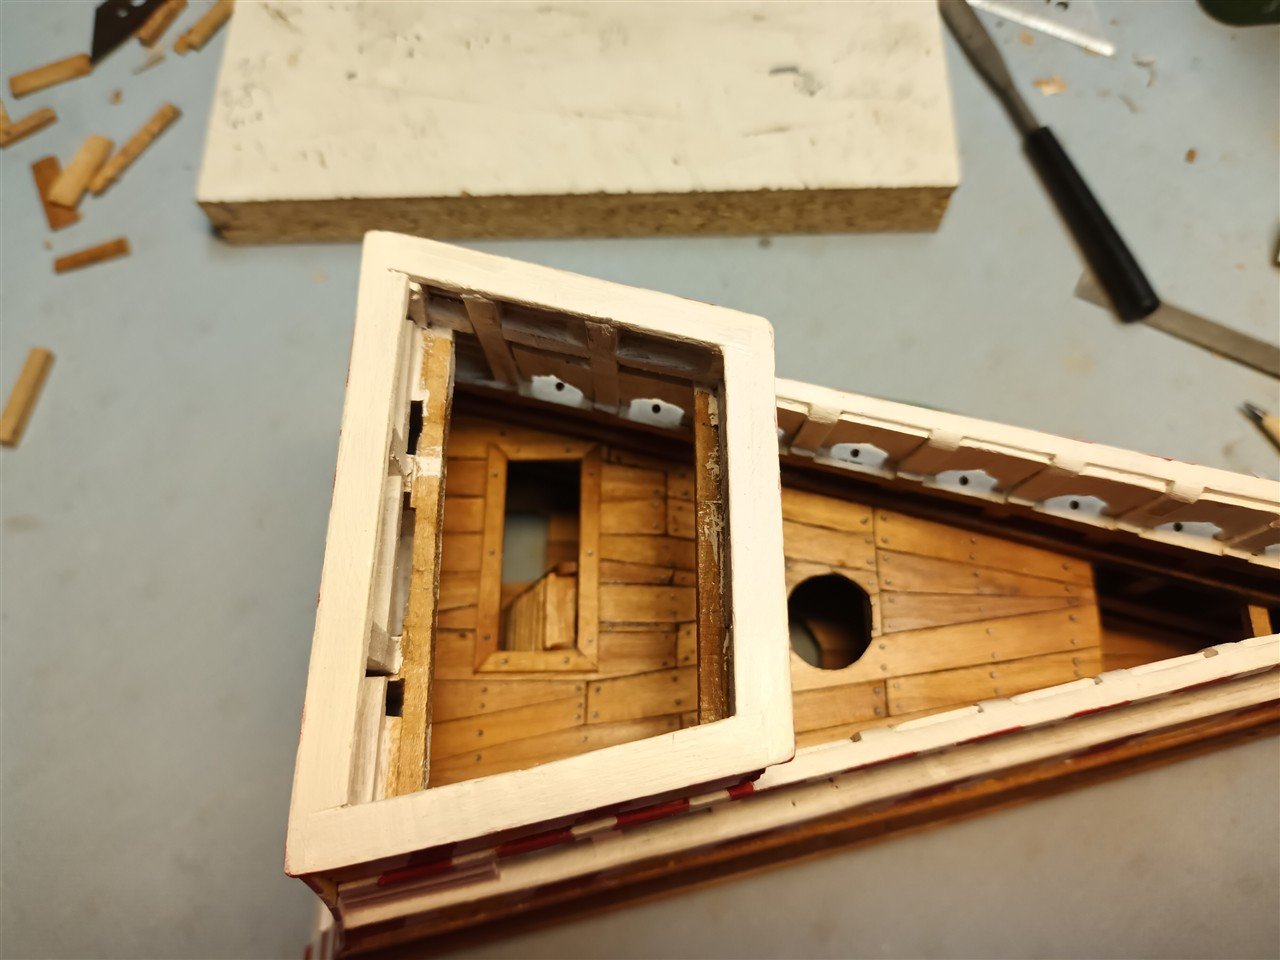
Welcome back, The Corel yacht is finished (learned a lot of new things) and the problem with the foresail knight is solved. 2026 started with "demolition work". And overtired staff (again). But, a knight (basic), a block and rope was made. Early 16yh century blocks are "special" and complicated to build. Knight in place (with the screw) Test. This setup can be operated with the capstan. Deck one back in place Deck two also Mary Rose is back on track


-
Refurbishing an old model ship built from scratch.
Baker replied to lawrence101's topic in New member Introductions
Welcome back -
Also my condolences about your mother. Nice work on the Beagle.
-
Your first model looks very good. Good luck with the next one.
-
Very nice model And
-
Narrow base or not Looks 👍to me
-
A very nice planking
-
Thank you very much.
-
First Mary Rose. And, starting maybe next winter, a "kannoneerboot"

- 97 replies
-
- 3
-

-
- Corel
- Große Jacht
- (and 2 more)
-
Thank you all, for following and nice comments
-
Thank you very much
-
nice models and