Baker
-
Posts
4,298 -
Joined
-
Last visited
Content Type
Profiles
Forums
Gallery
Events
Everything posted by Baker
-
My condolences for your loss. Just saw your progress on the model, great work.
-
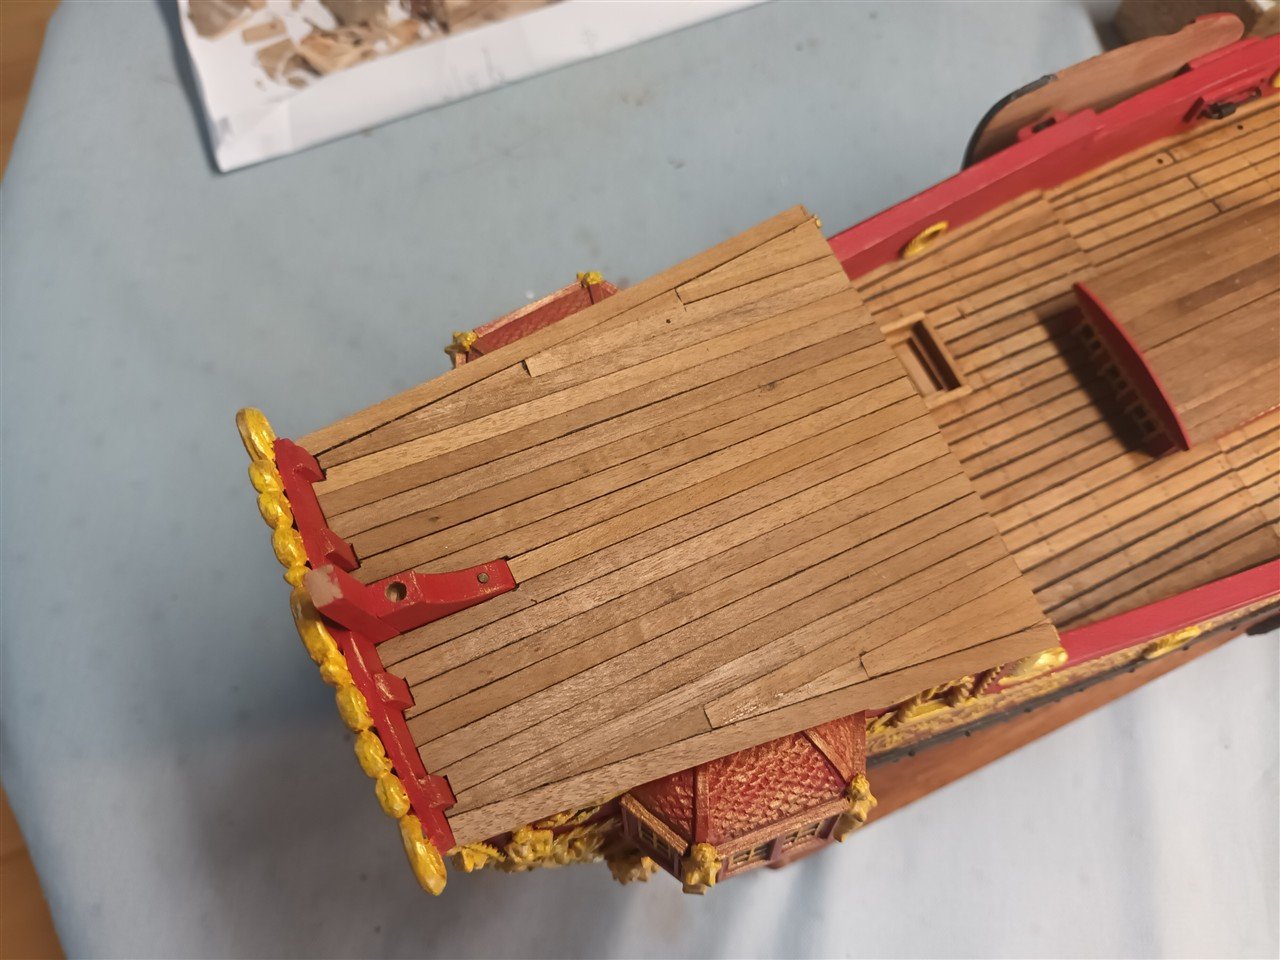
 The next step is gluing the forecastle to the model. Since I still haven't found an answer to the question of how the yard of the fore sail was raised, should I do it with or without a knight? Without a knight is easiest, but then I'll be stuck later. With, I'll first have to adjust the forecastle decks. I'm currently enjoying building the Corel yacht the most. And I'm learning things on this (practice) model that I can later apply to Mary Rose. Please be patient, to be continued.
 -
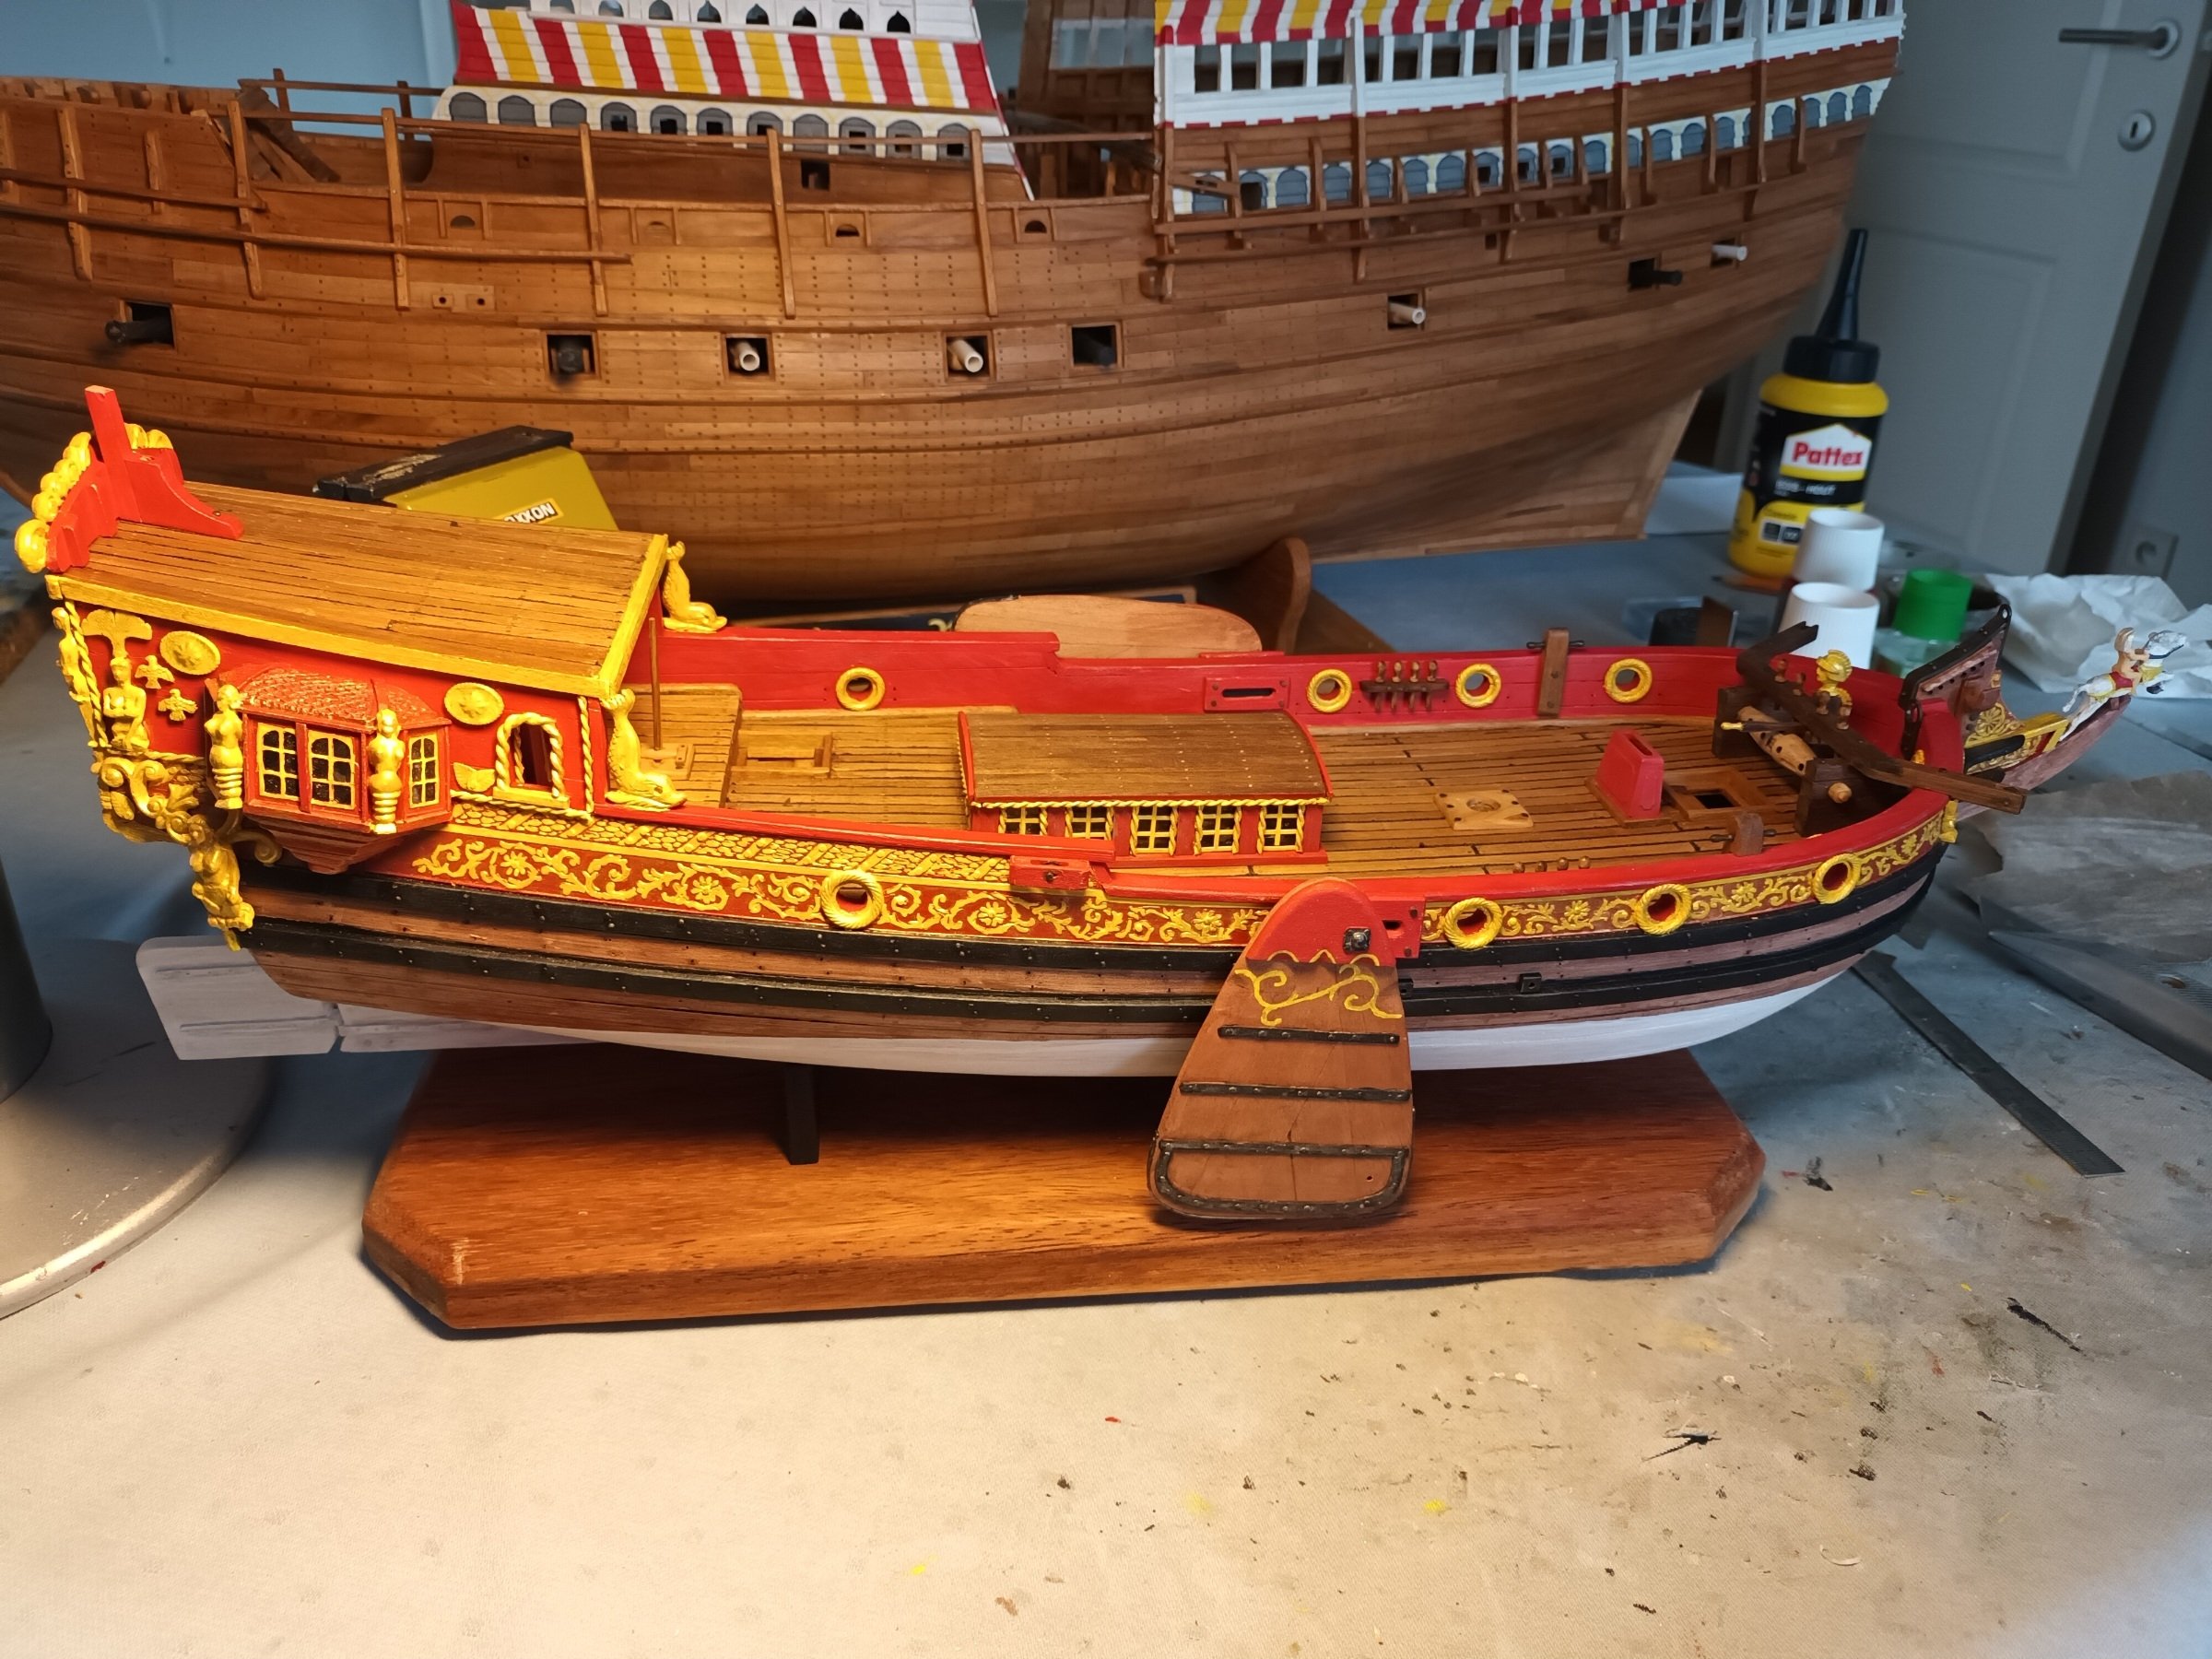
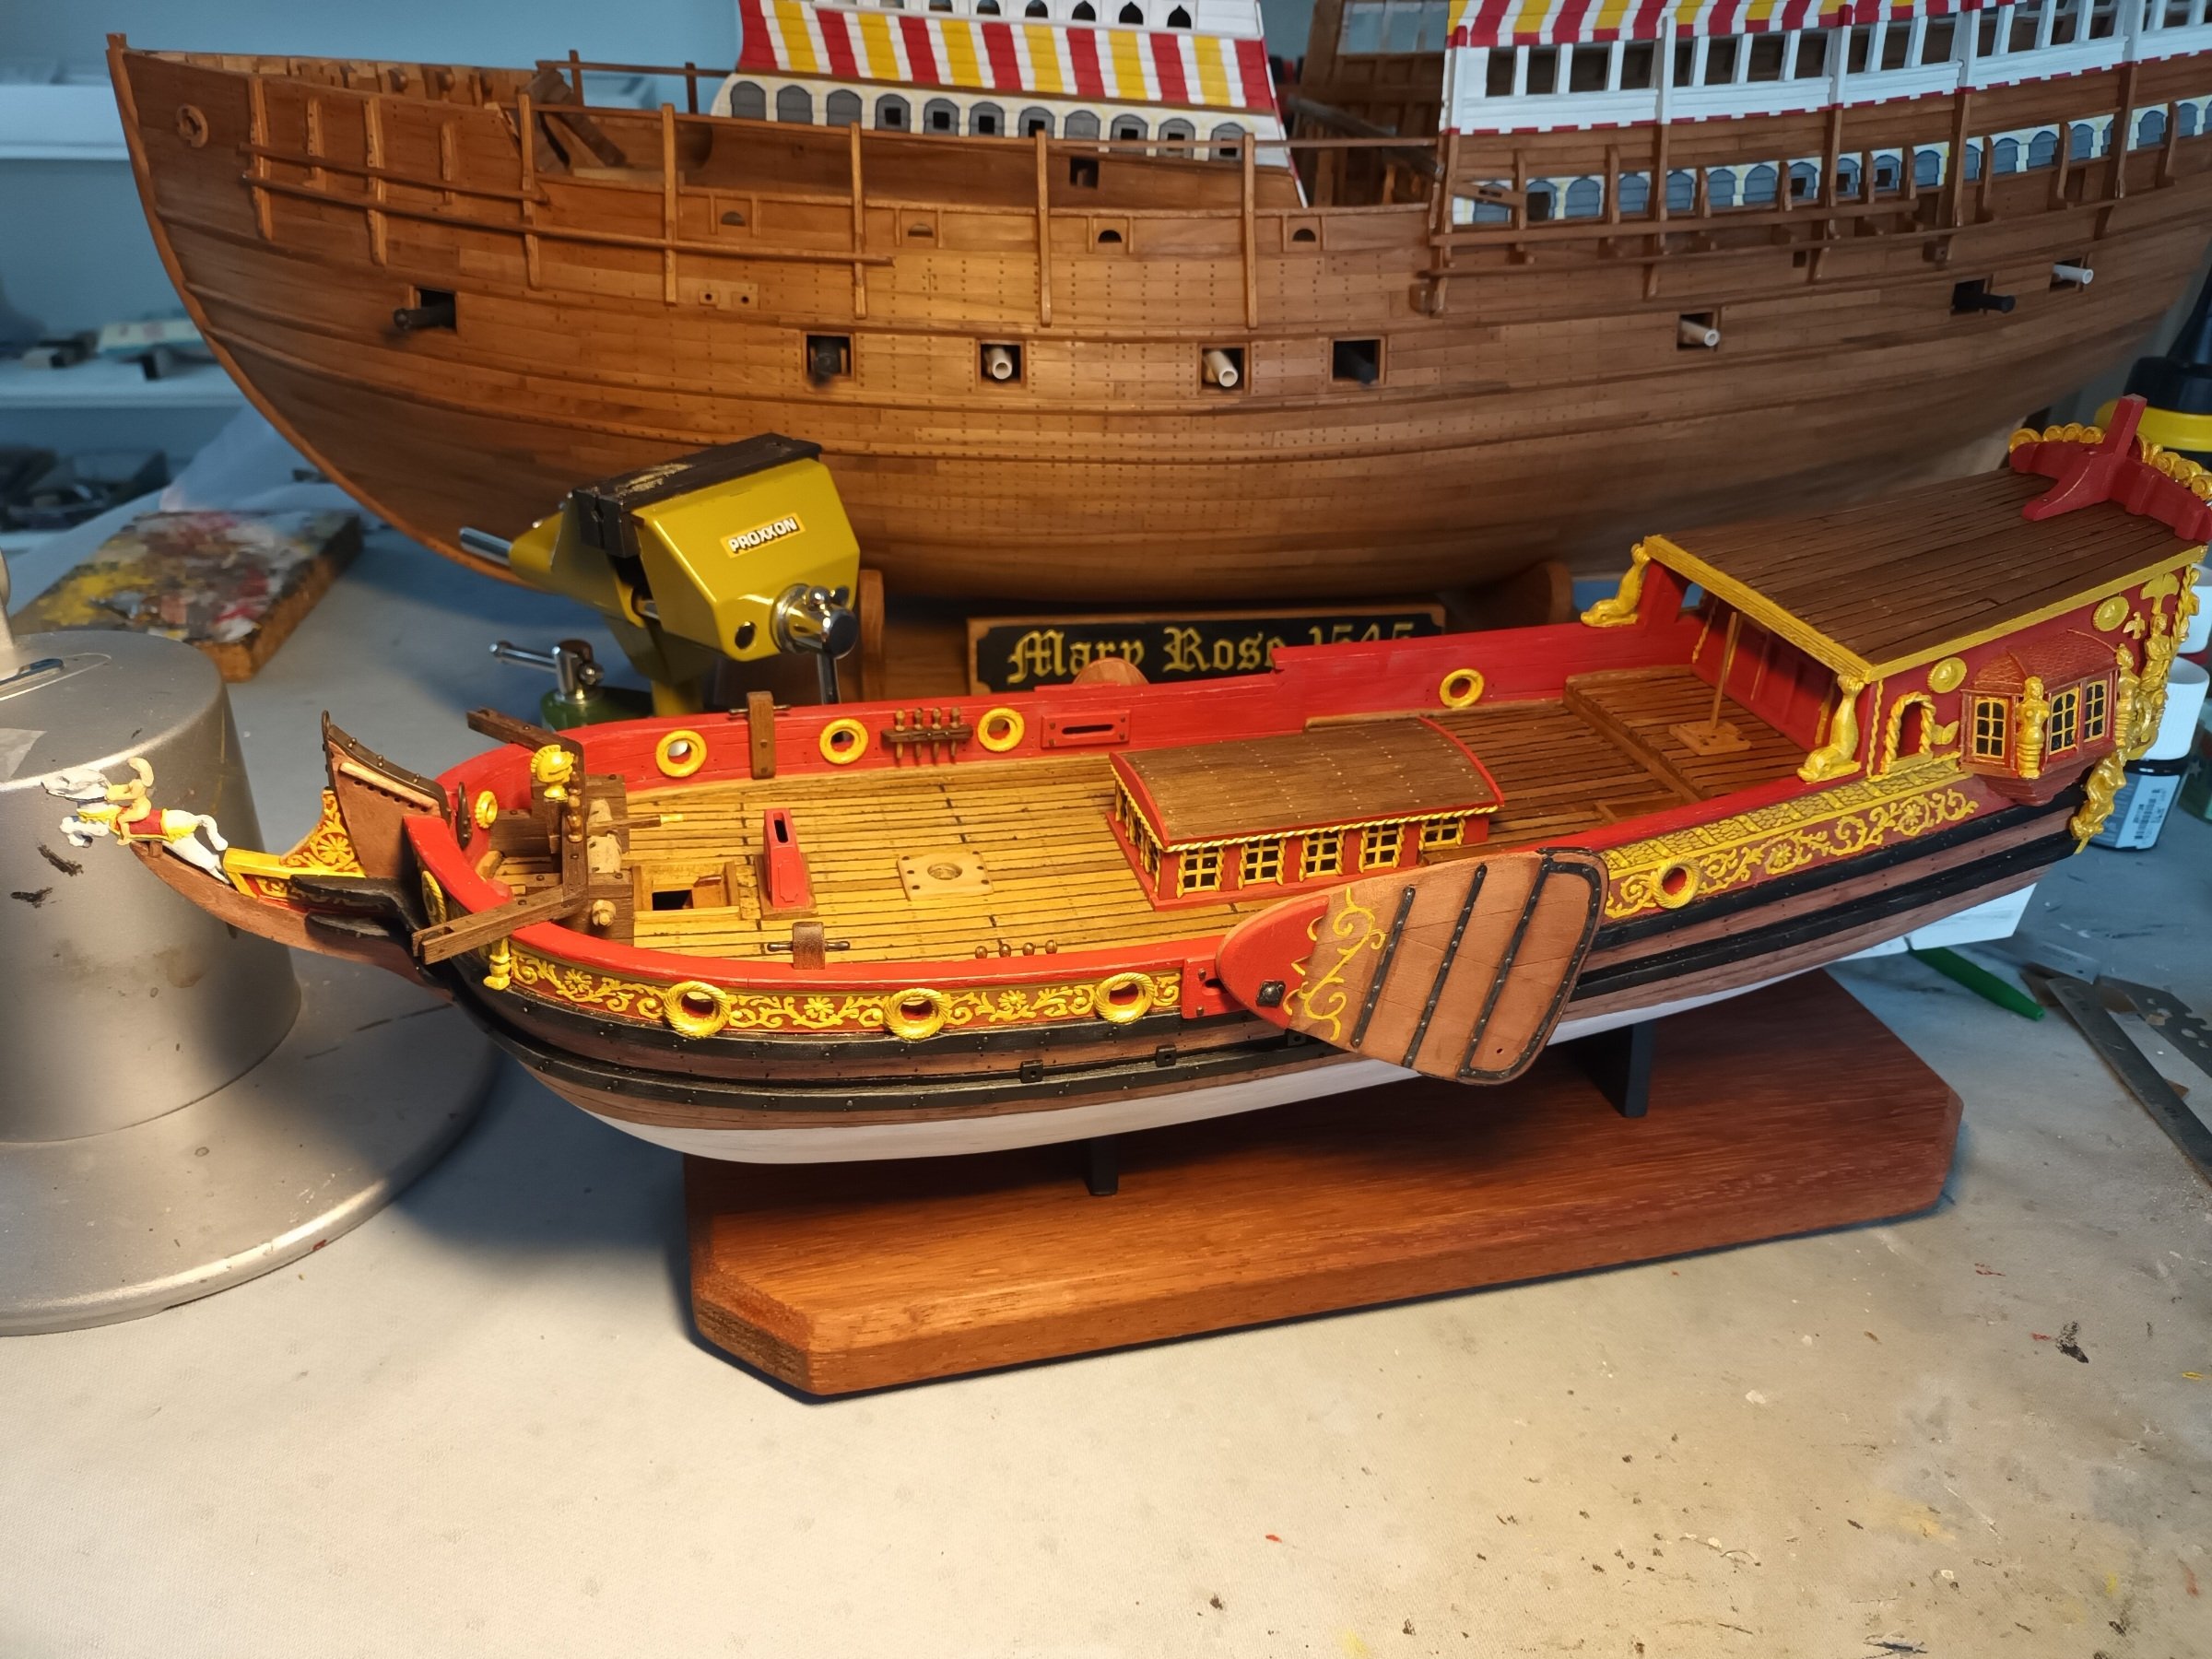
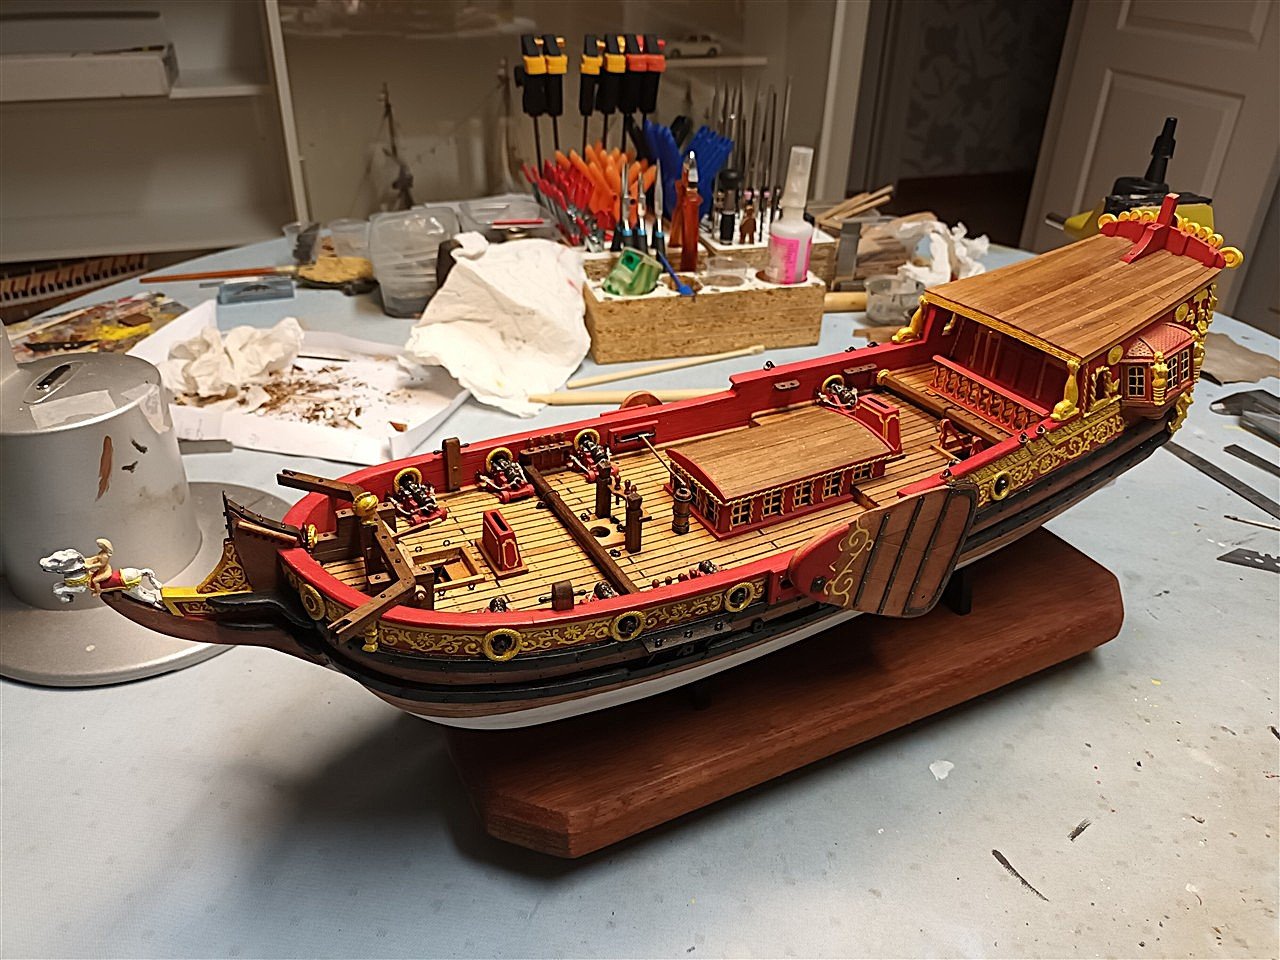
And after a few more extra details I think the hull is now complete Next : mast, yards, rigging, sails...

- 97 replies
-
- 10
-

-
- Corel
- Große Jacht
- (and 2 more)
-
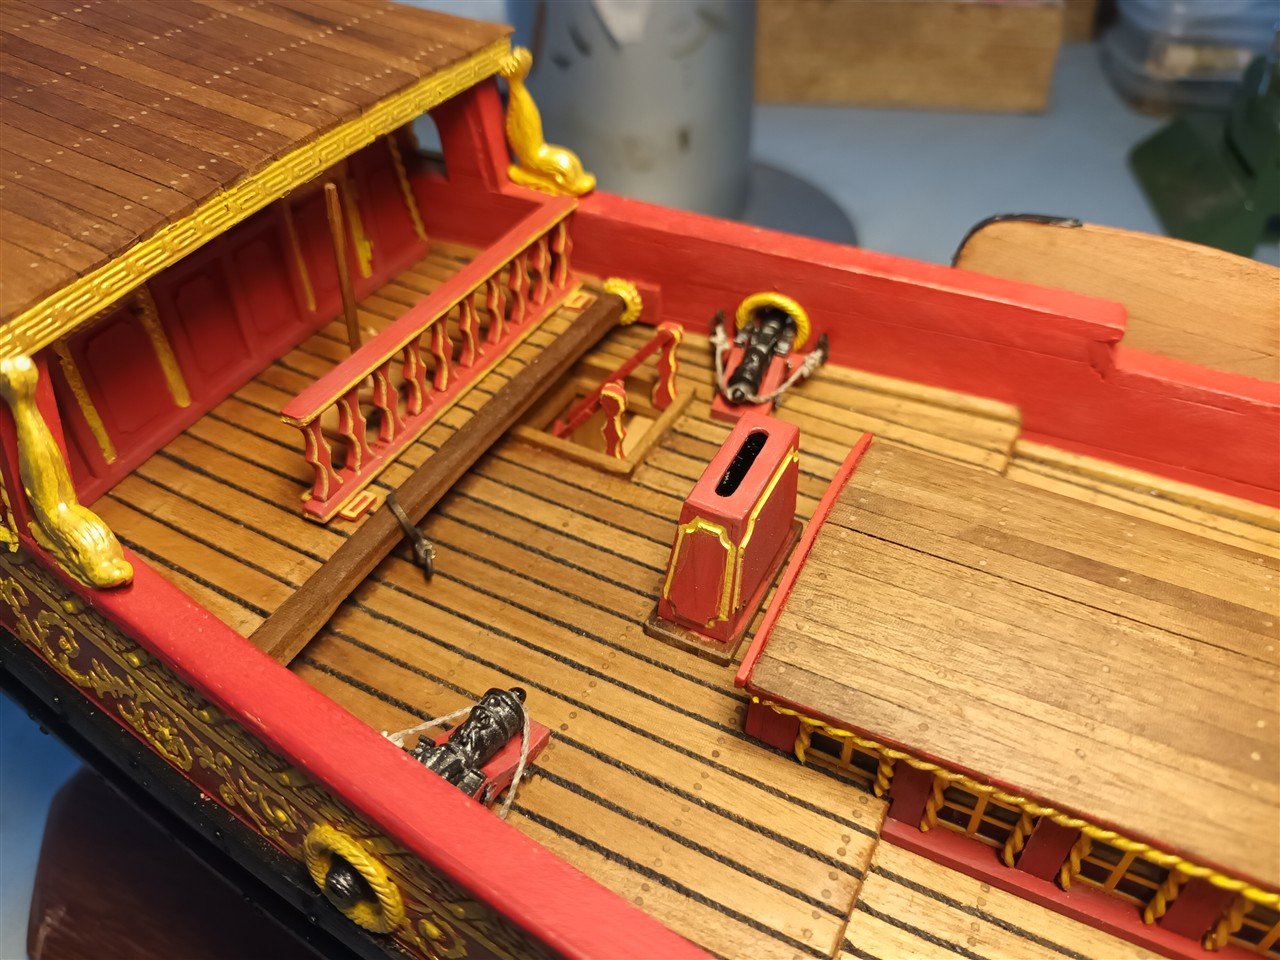
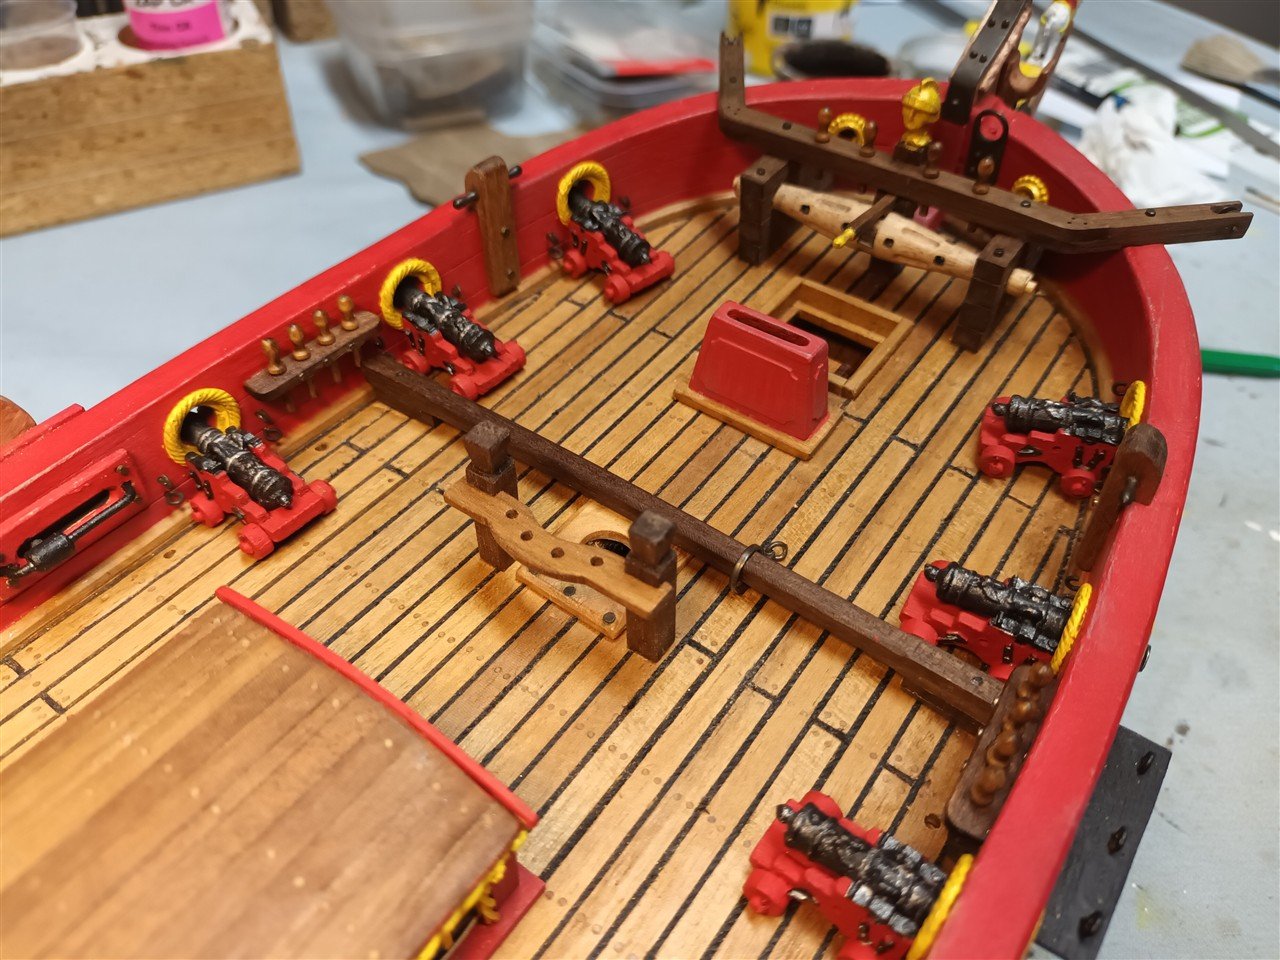
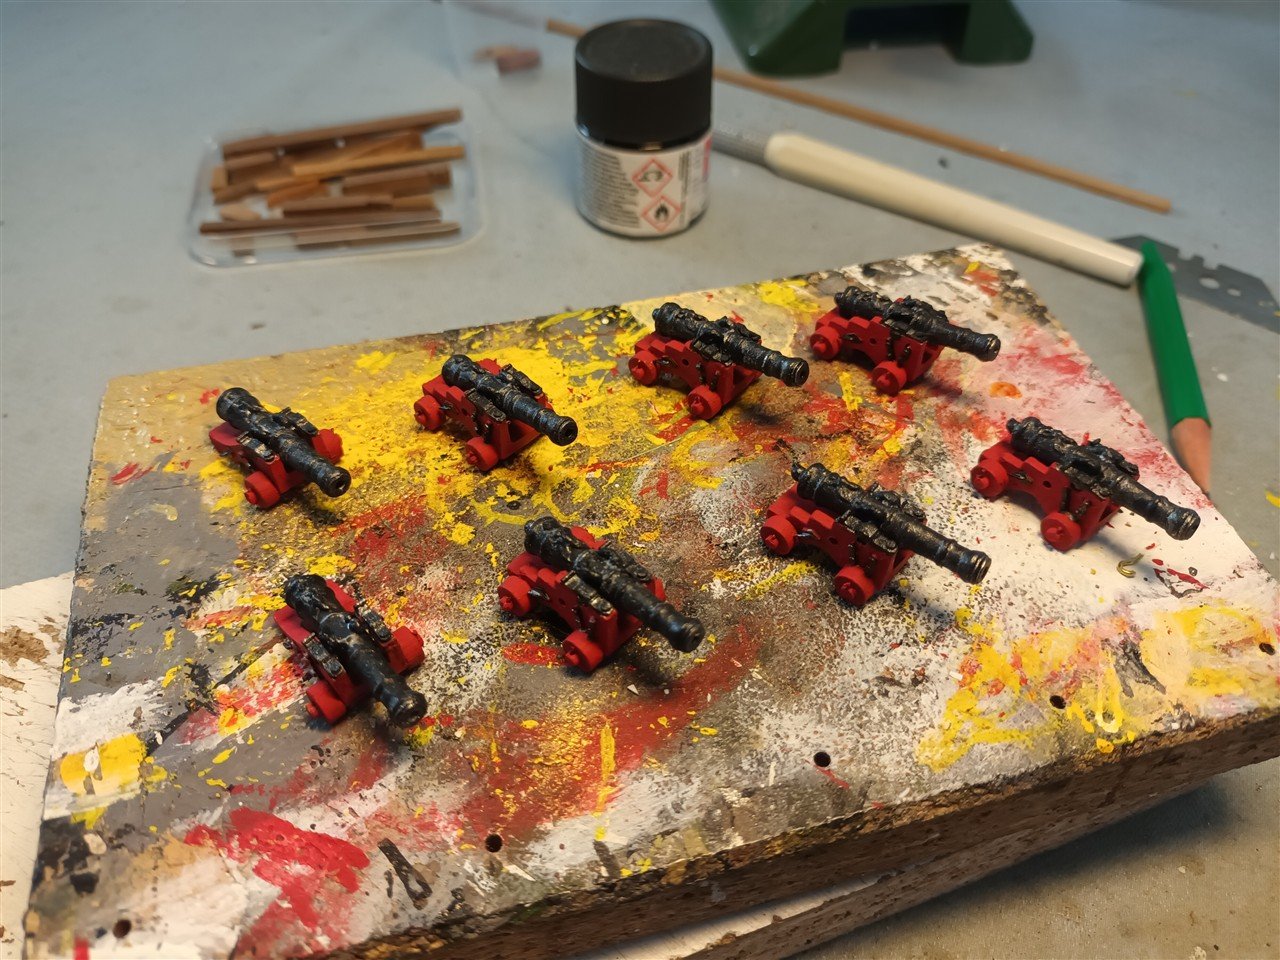
Smal update, Rigging the cannonns And a new pump and an extra chimney
- 97 replies
-
- 5
-
-
- Corel
- Große Jacht
- (and 2 more)
-
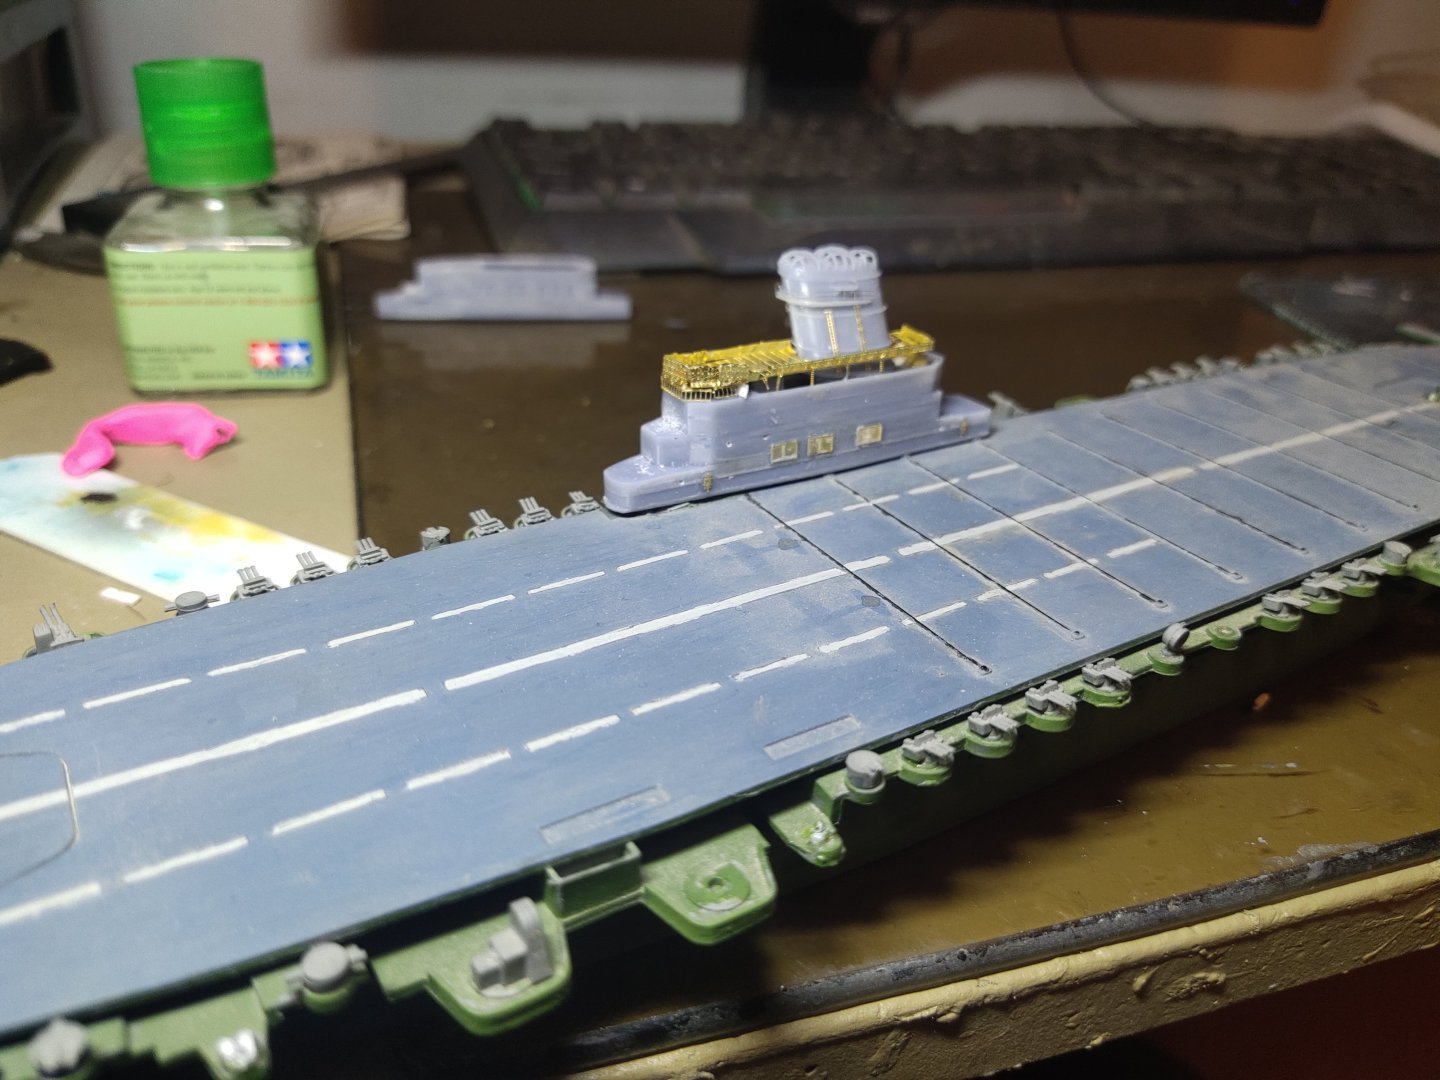
Thank you. As mentioned before, "zero" knowledge about carriers. But again, very interesting to follow this rebuild 👍
-
I have zero knowledge of 20th century shipbuilding... But Funnel facing to the rear ( i think) Funnel facing forward? Taking into account the sailing direction I would think, towards the rear.
-
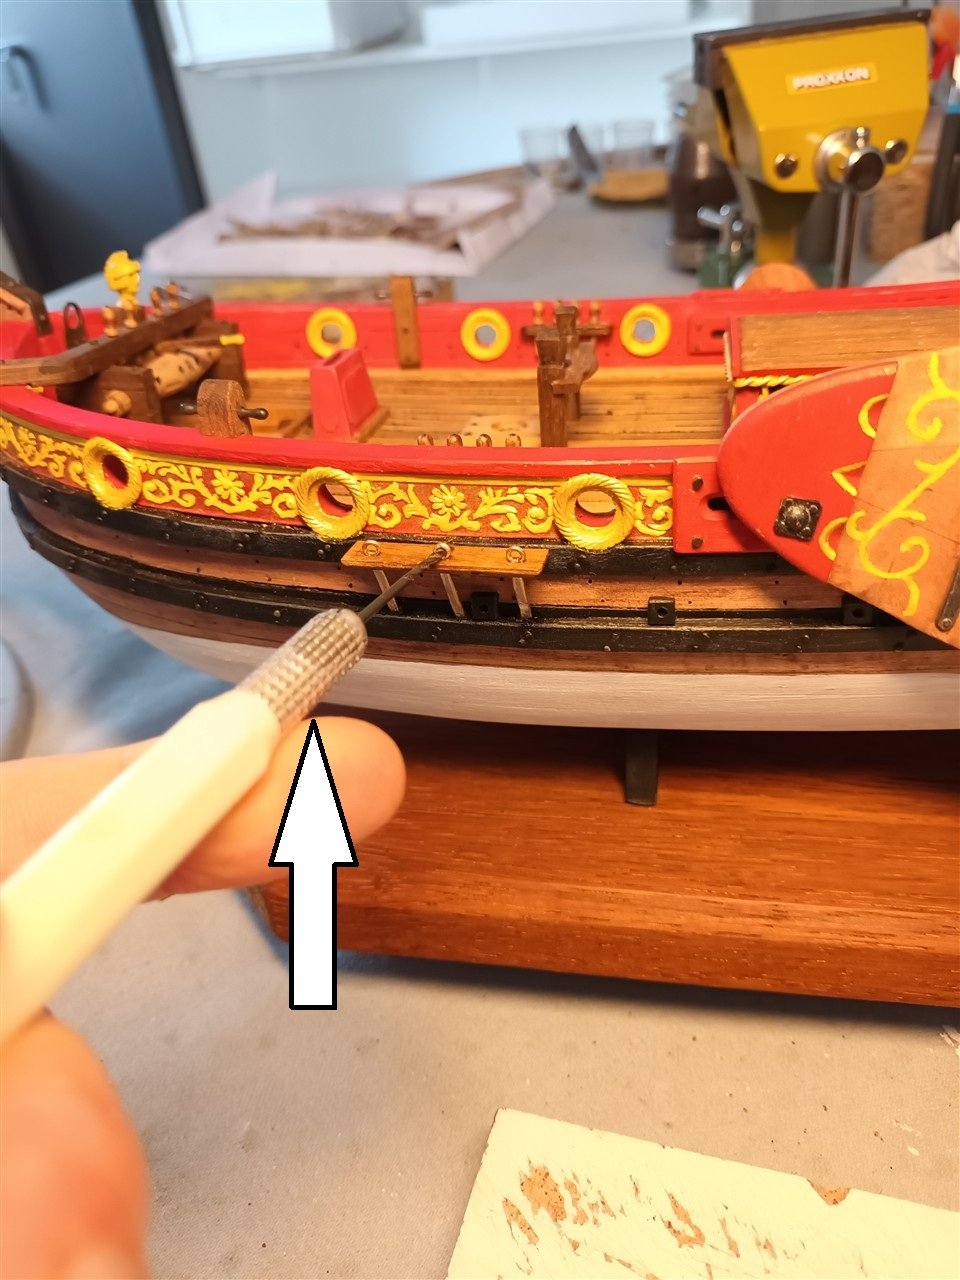
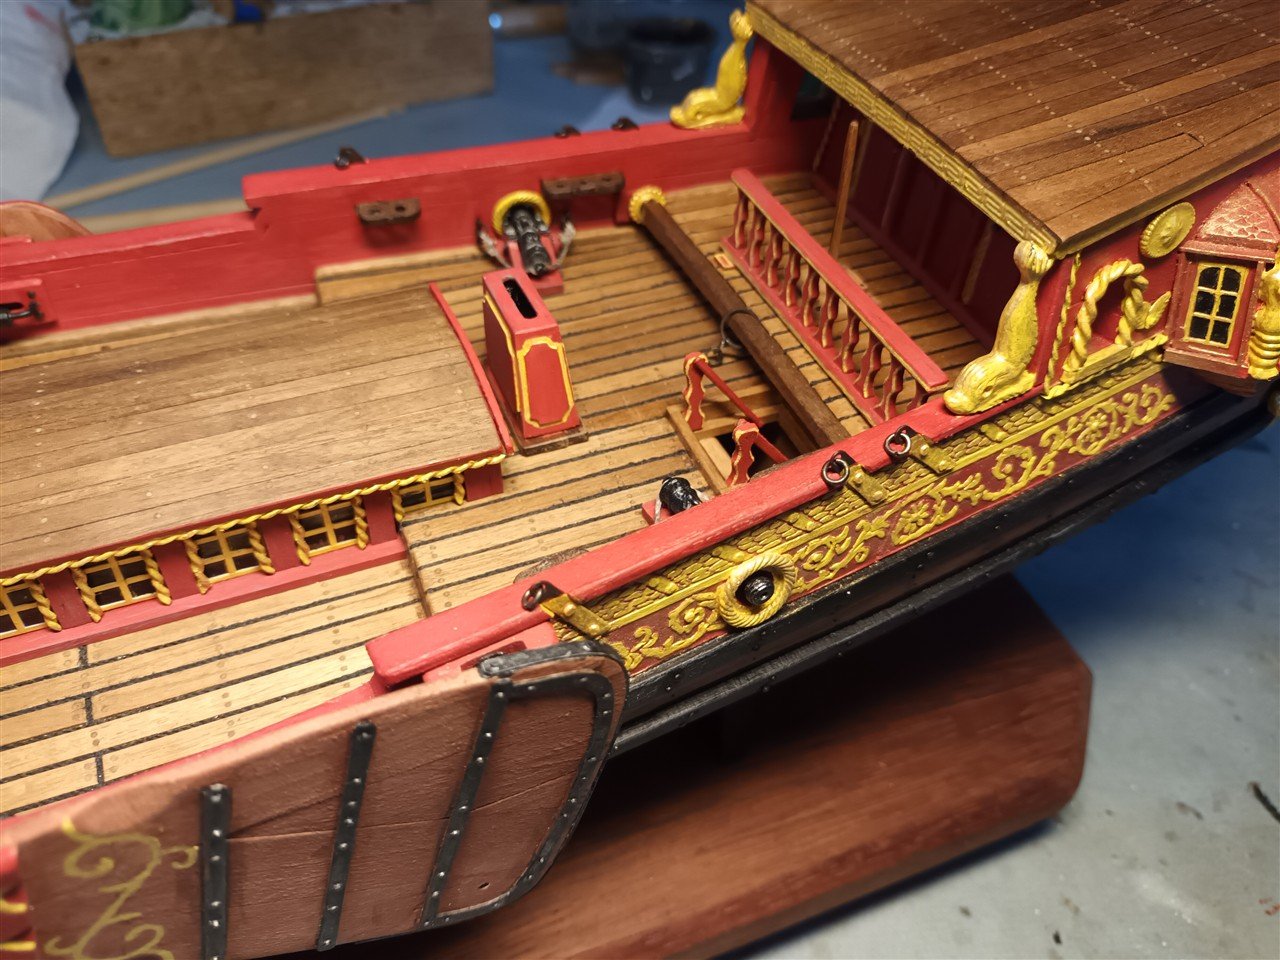
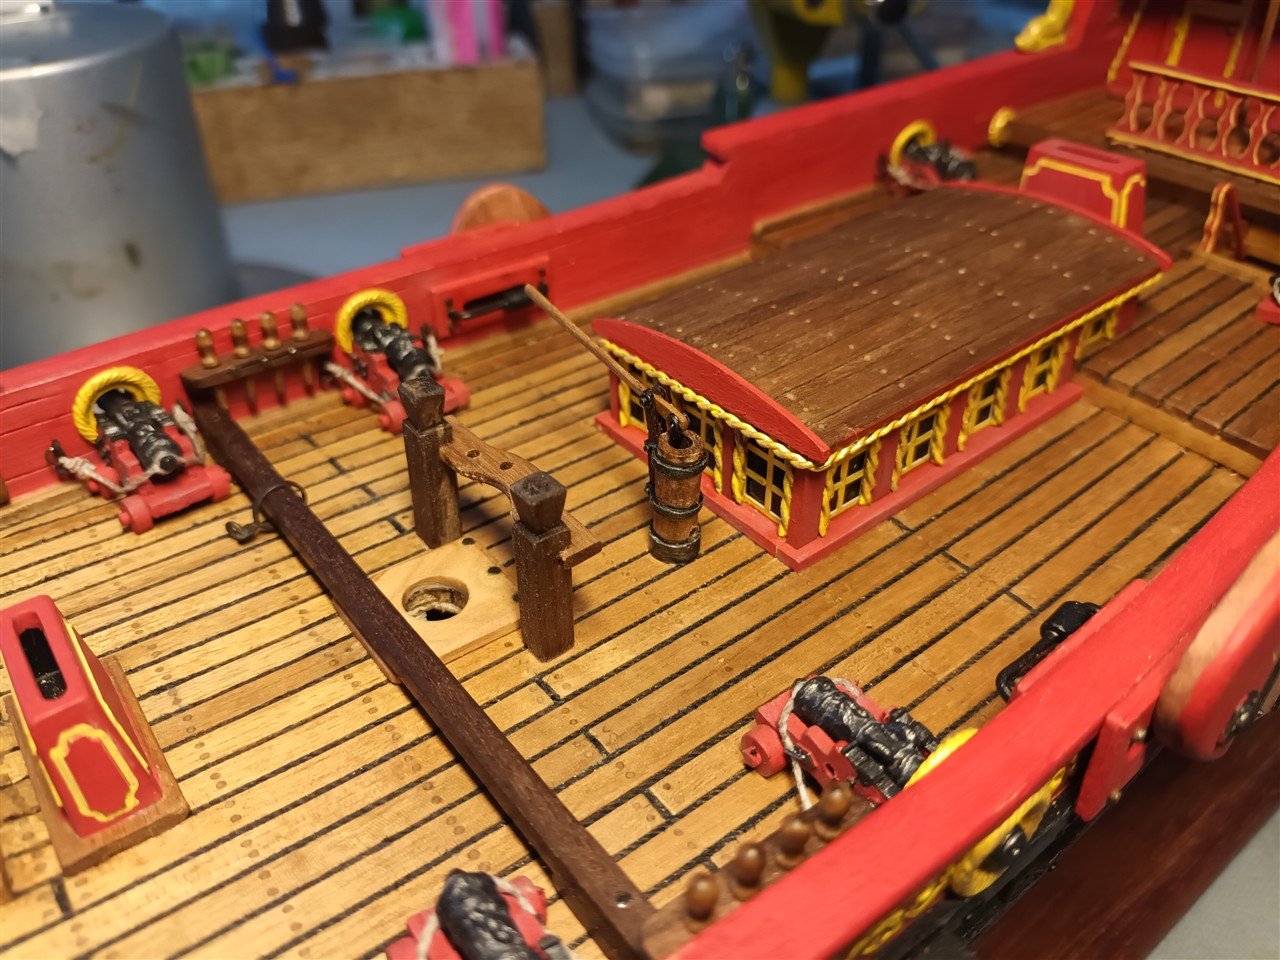
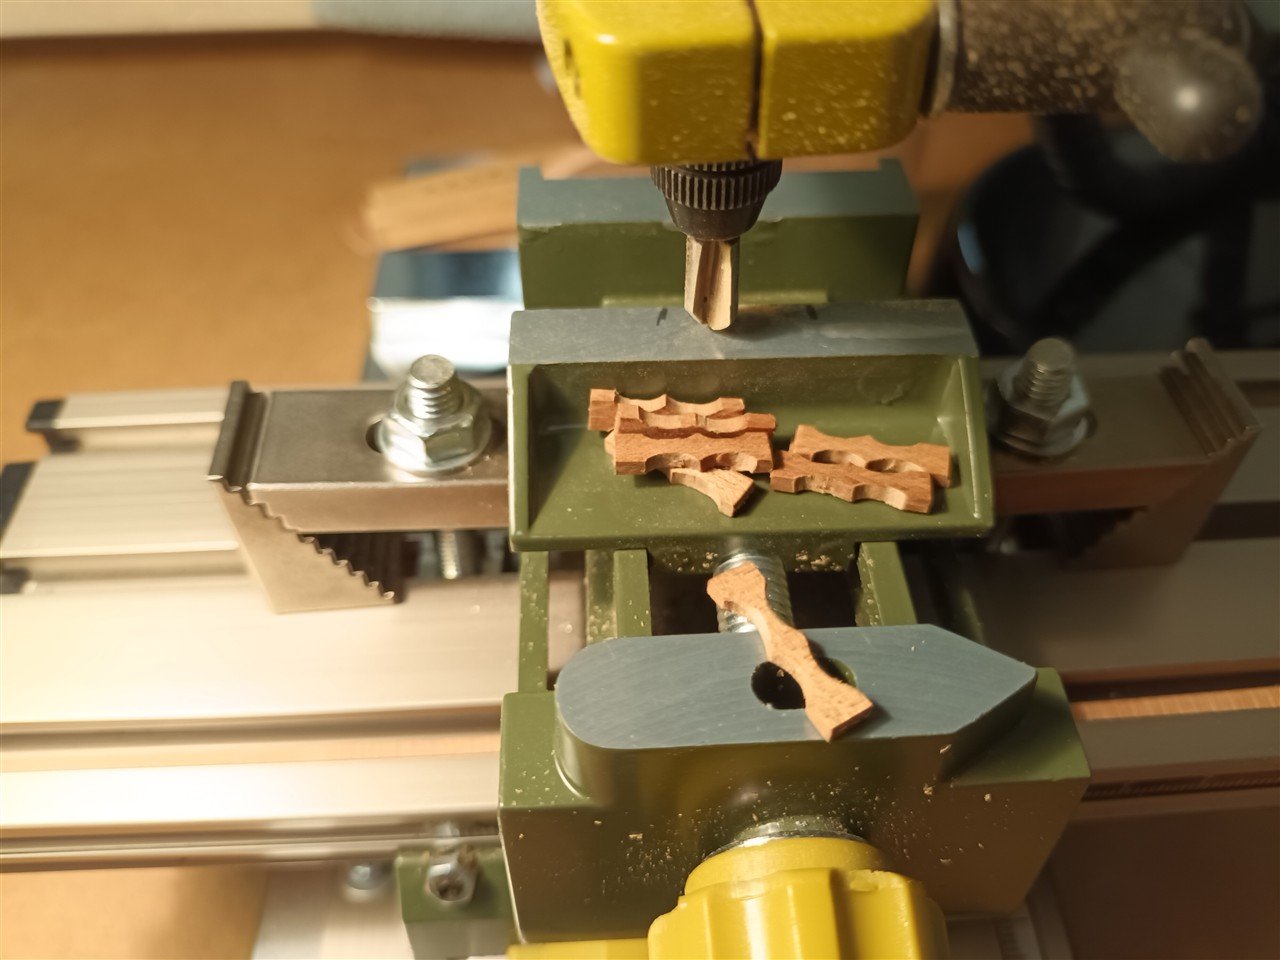
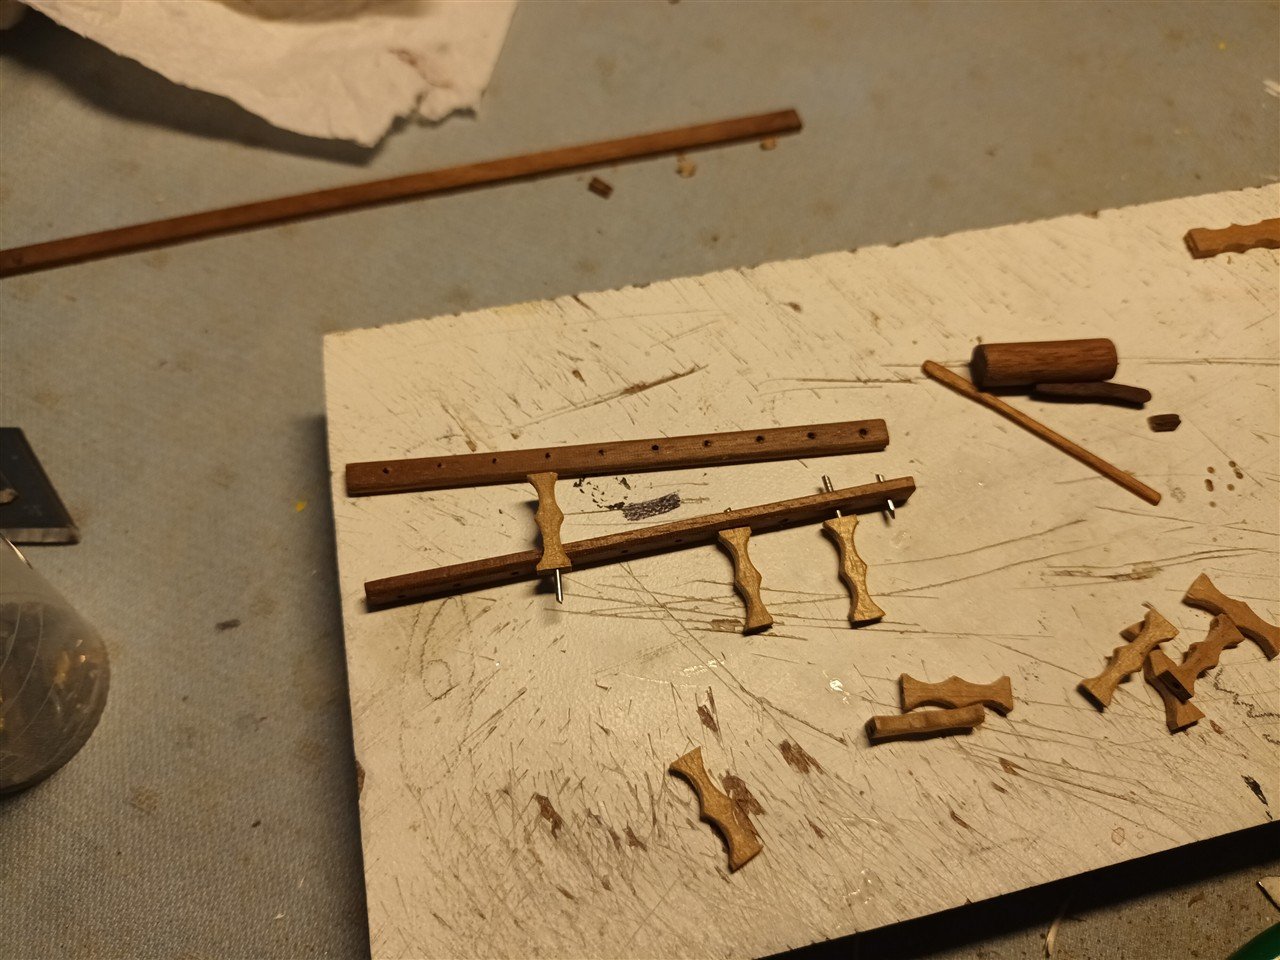
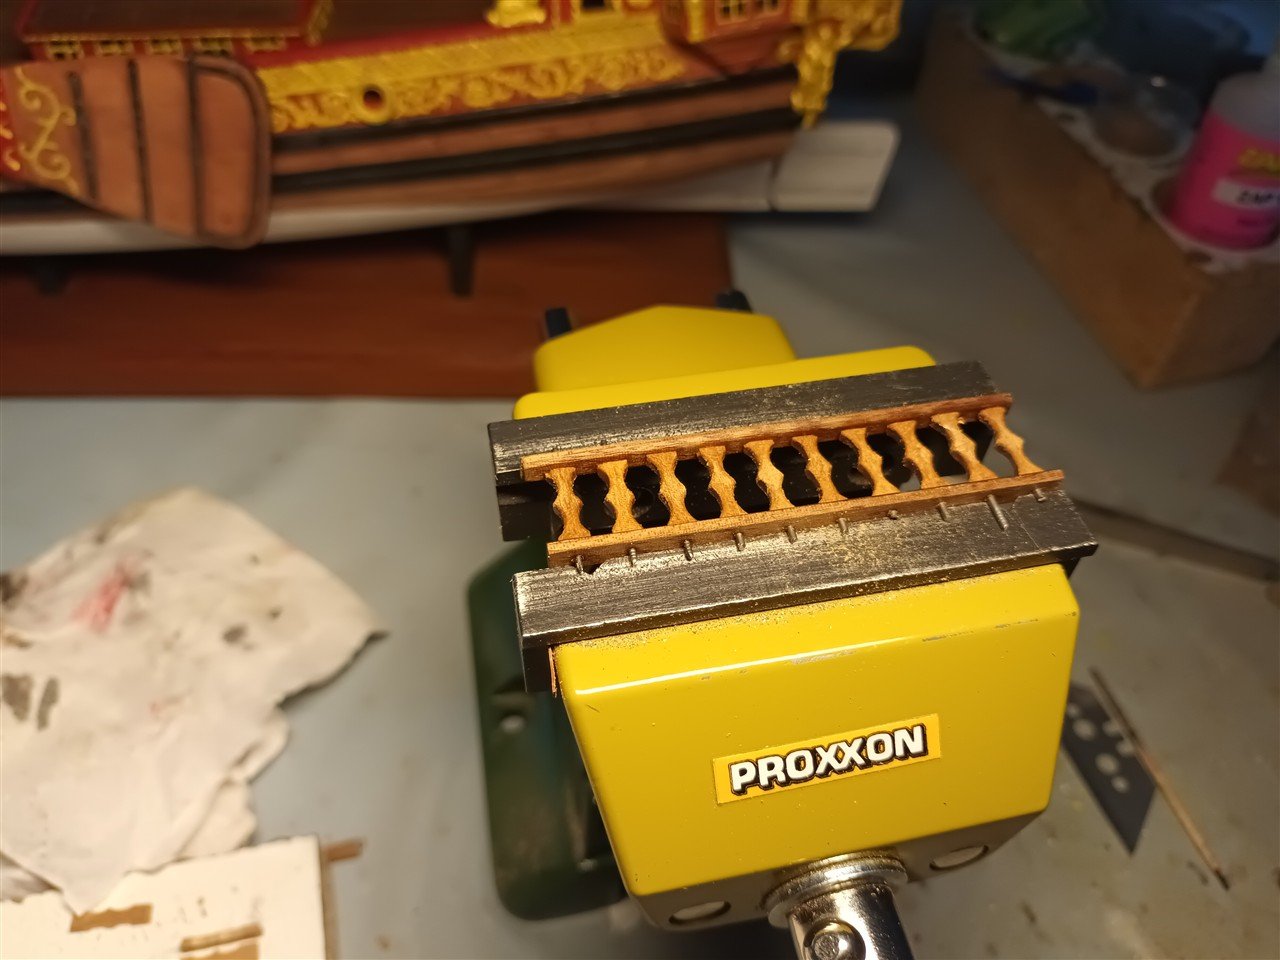
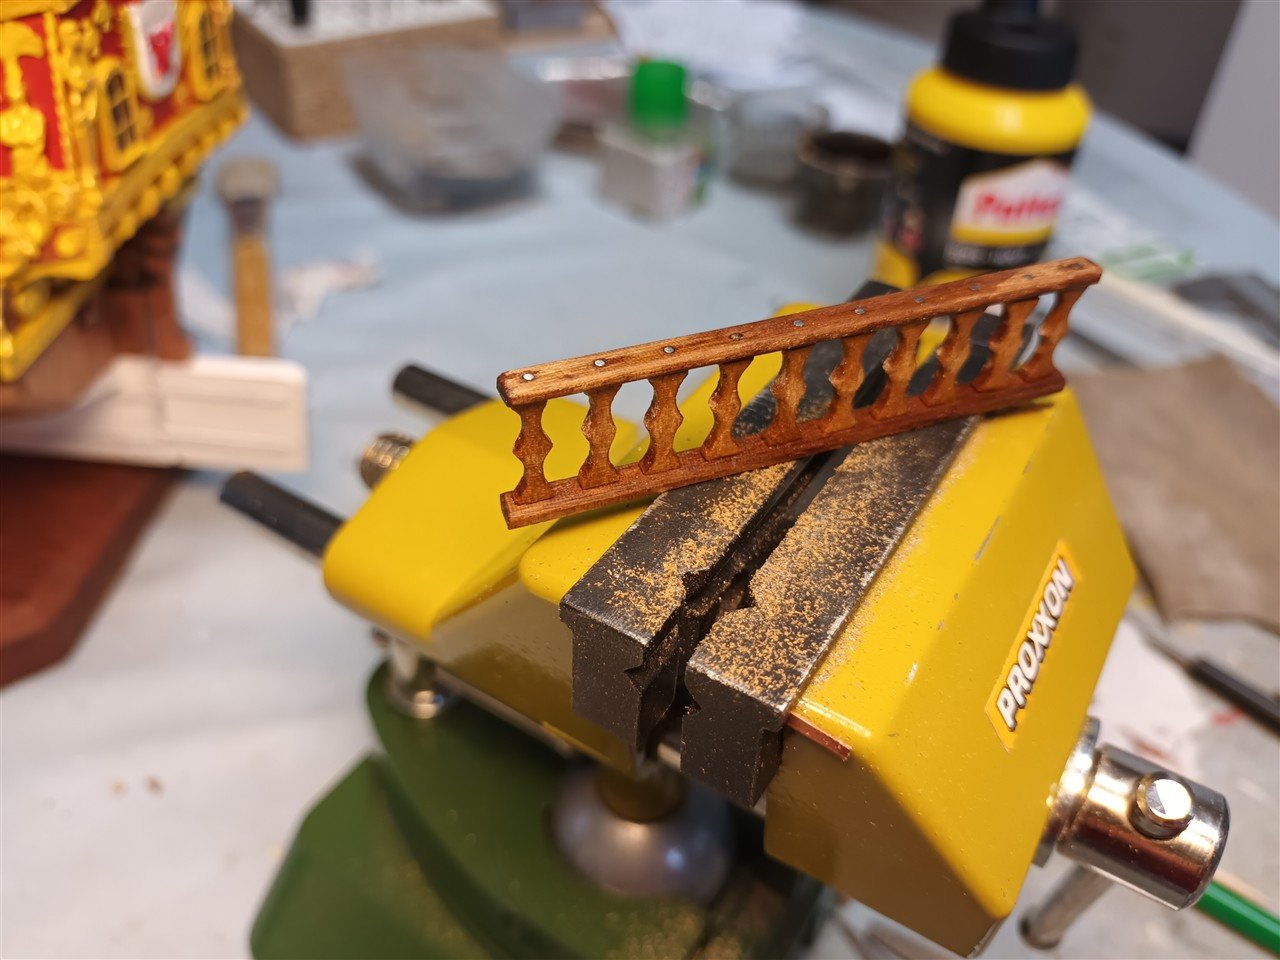
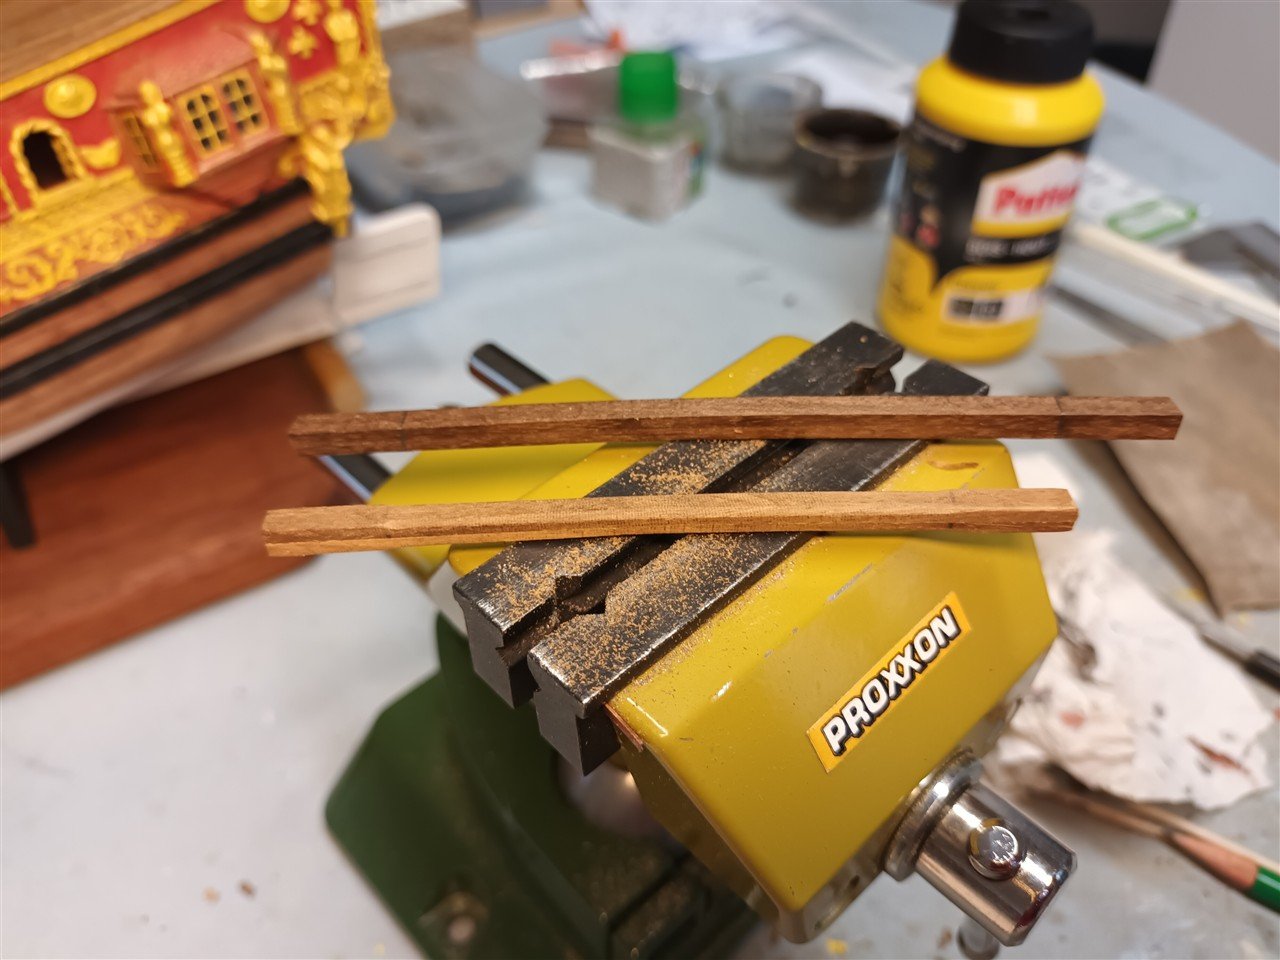
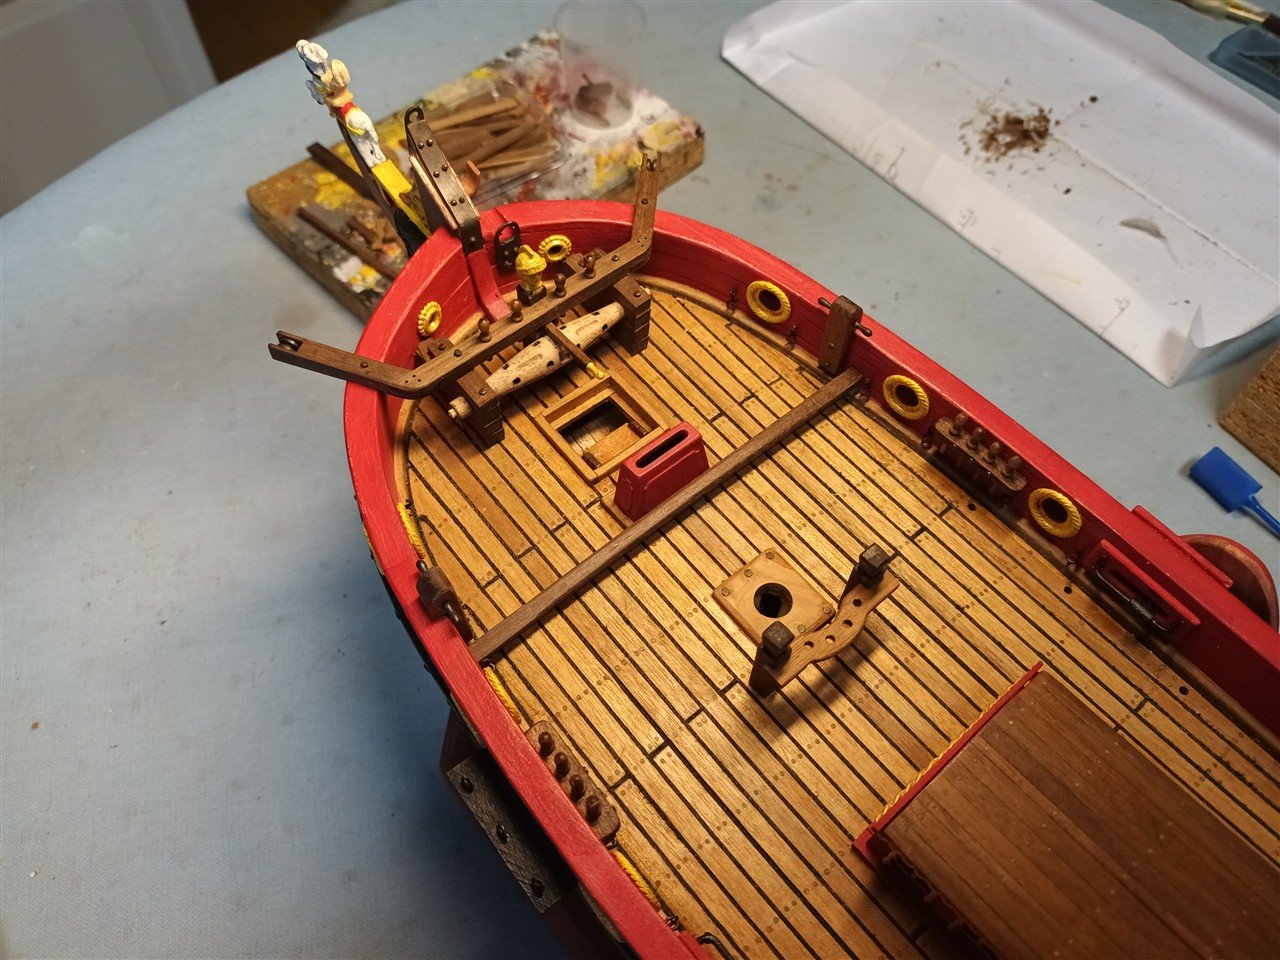
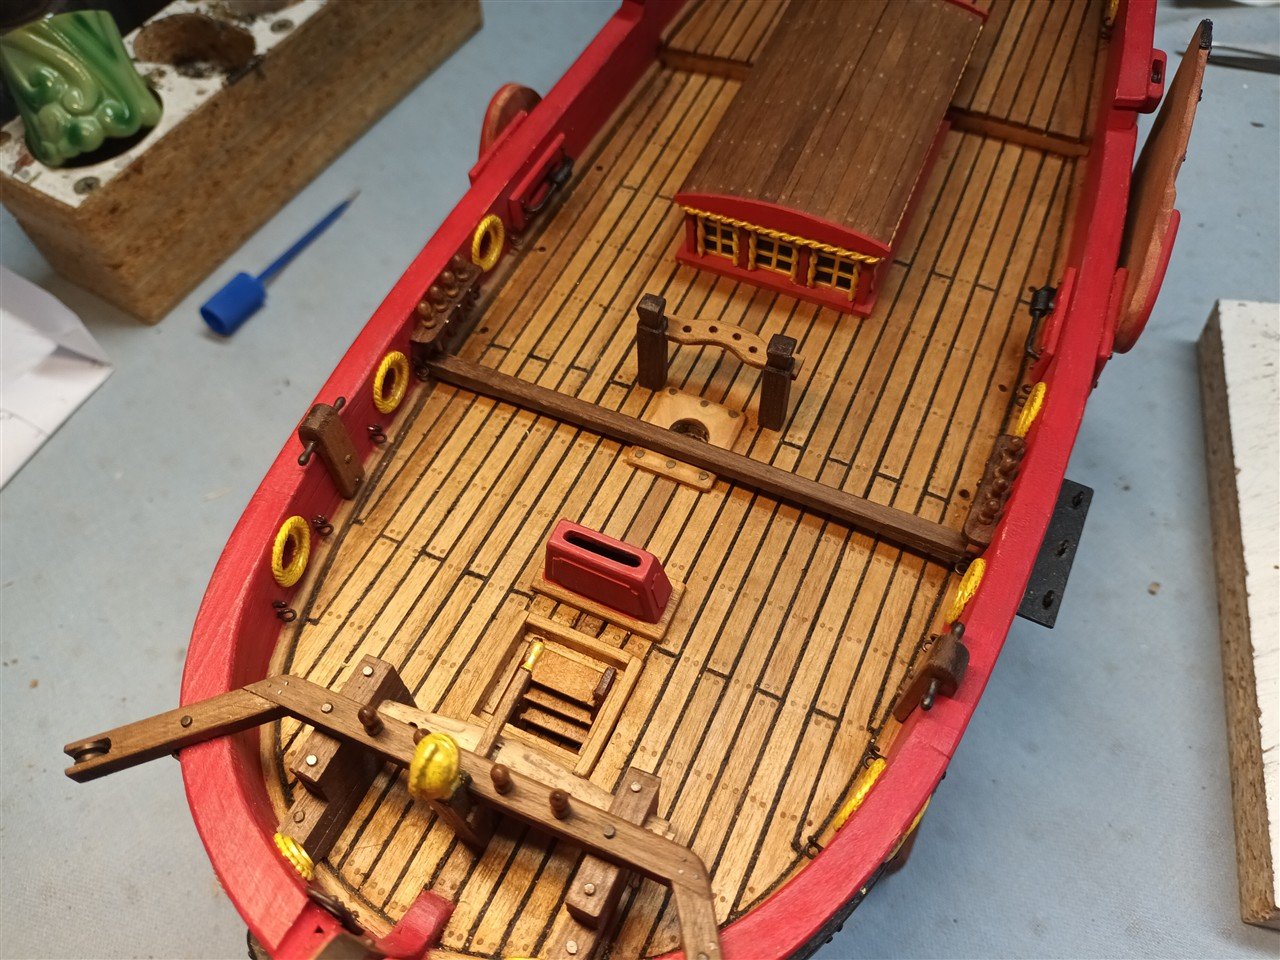
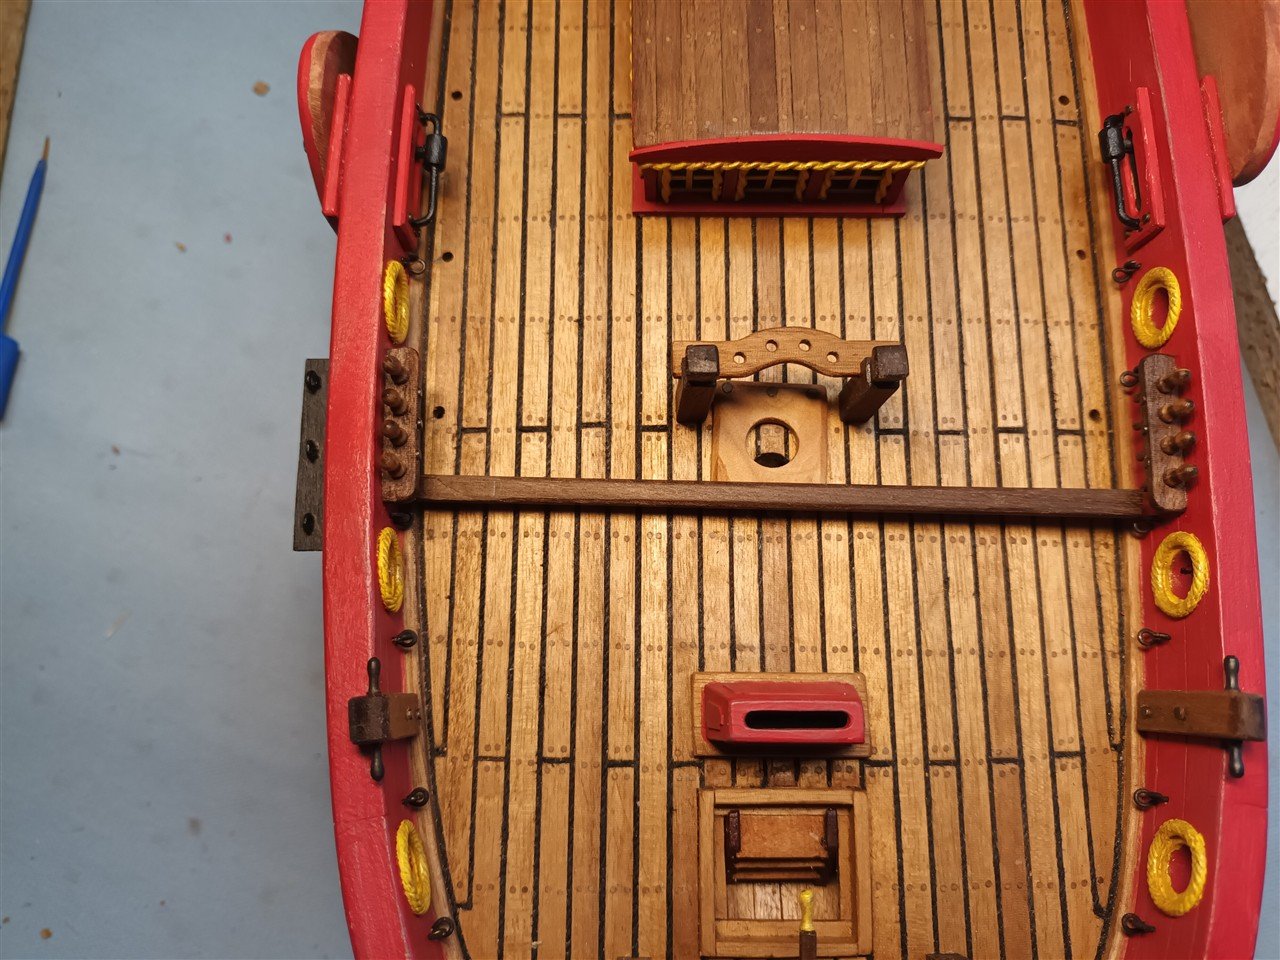
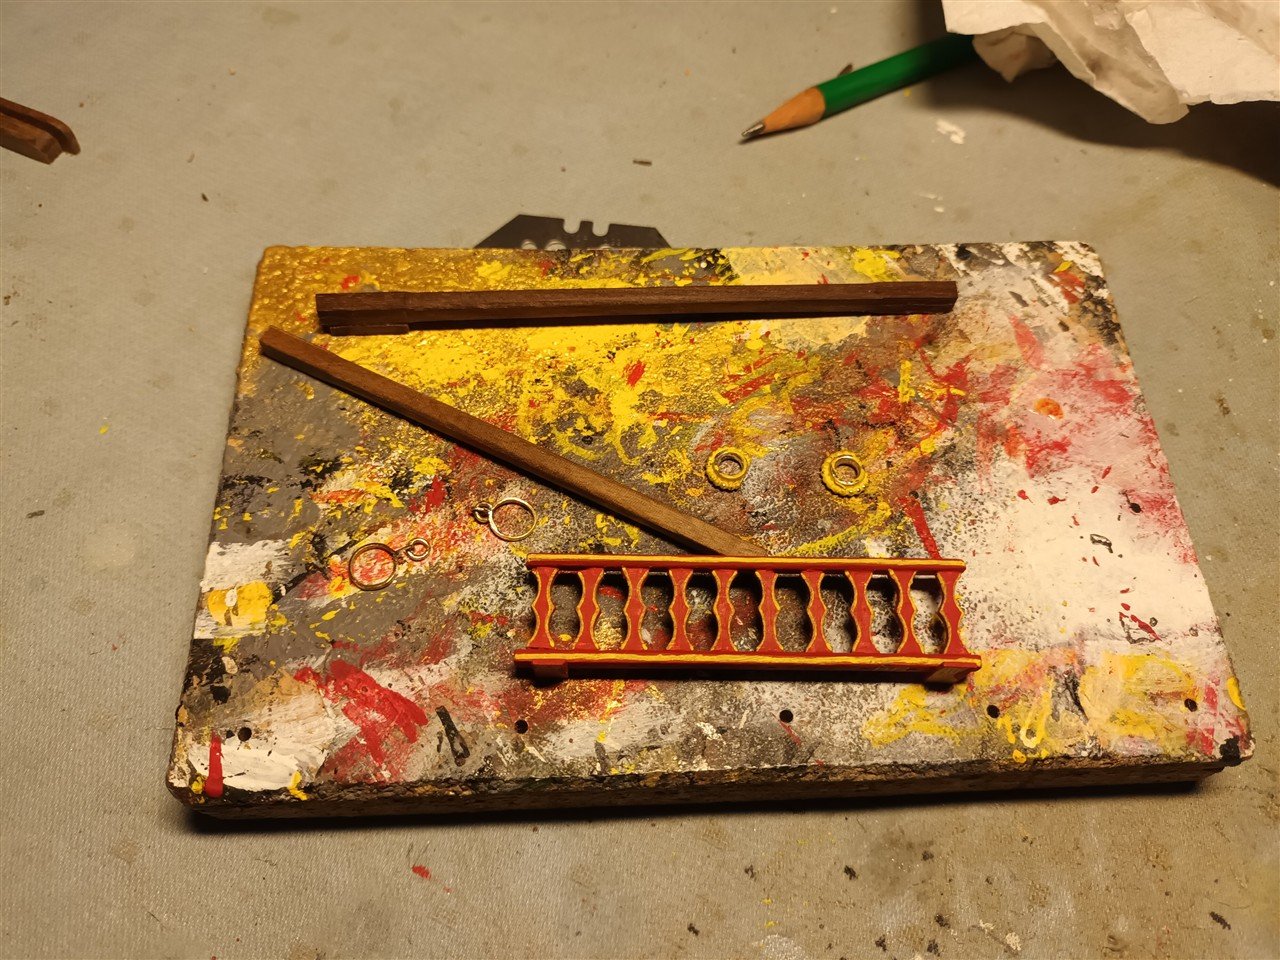
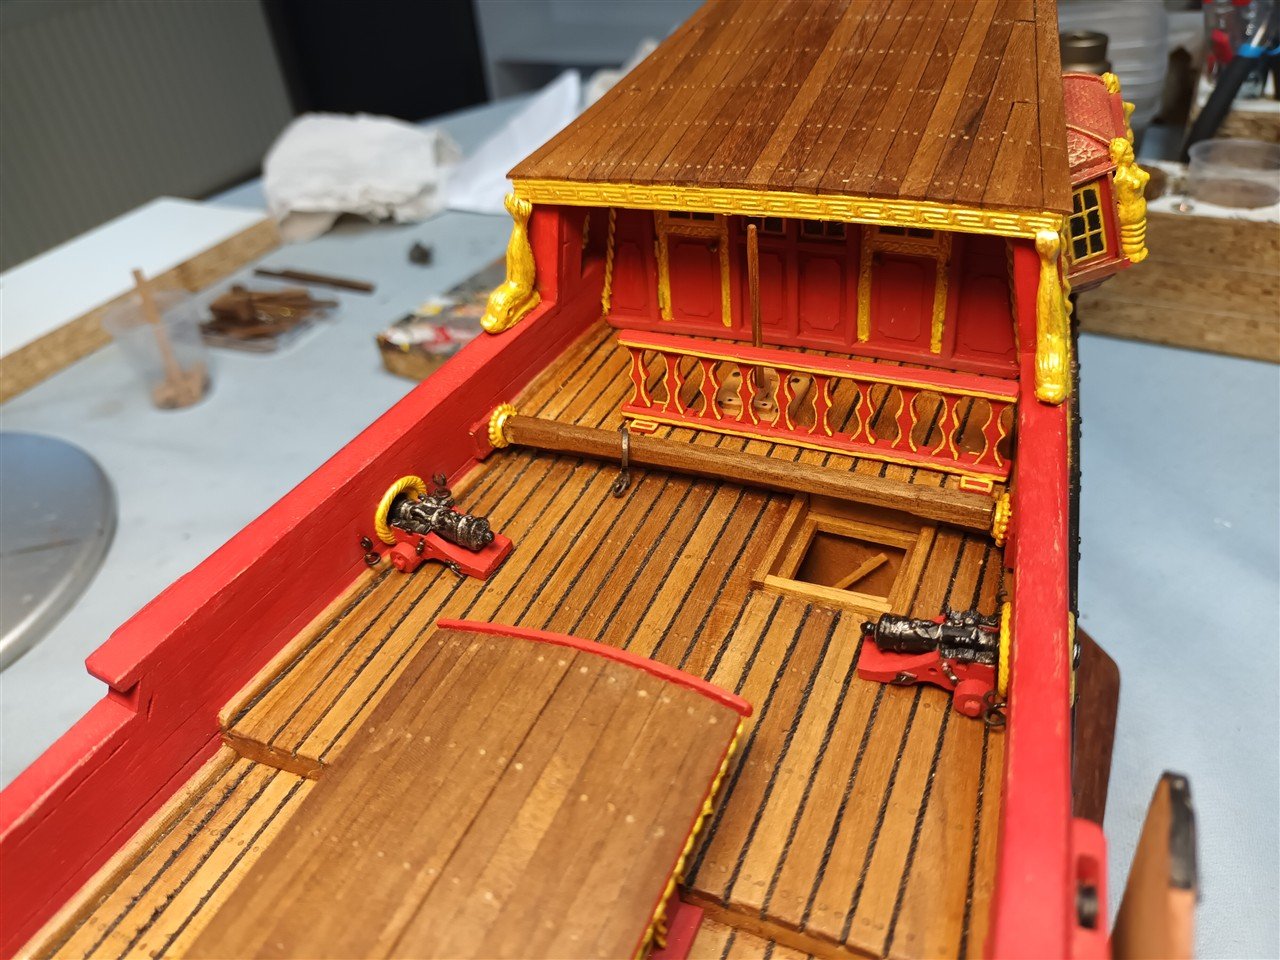
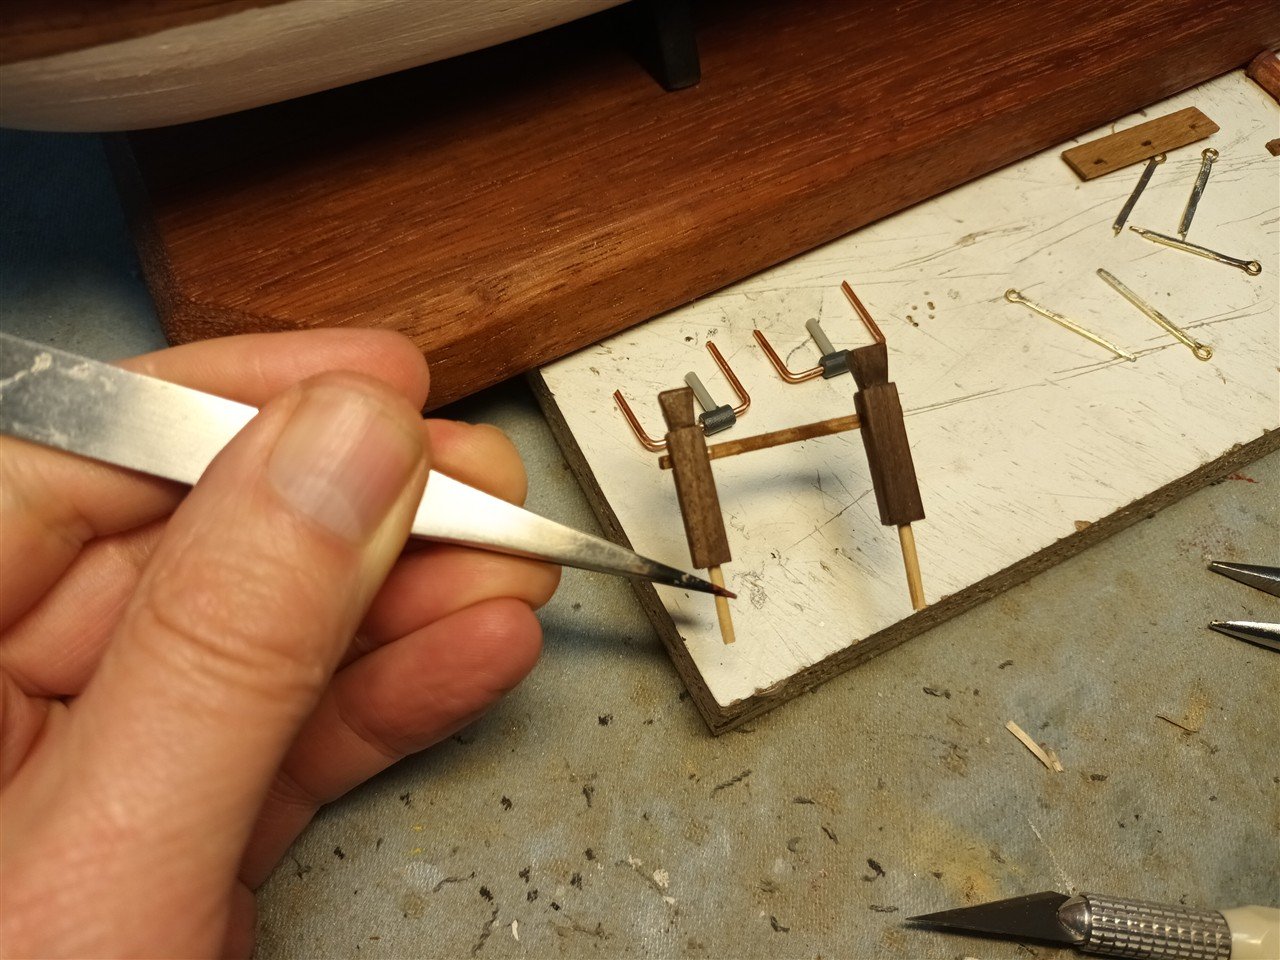
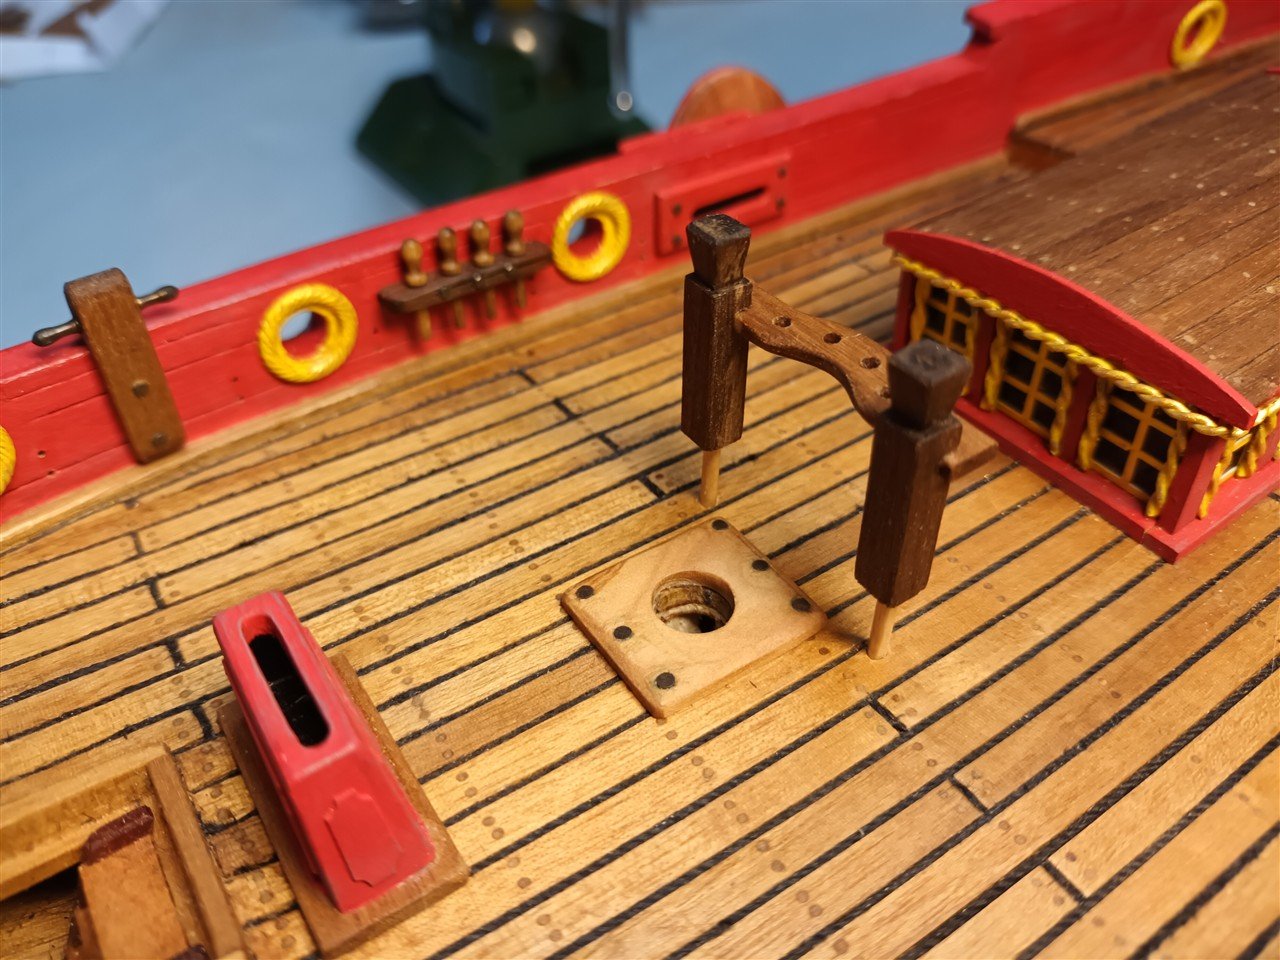
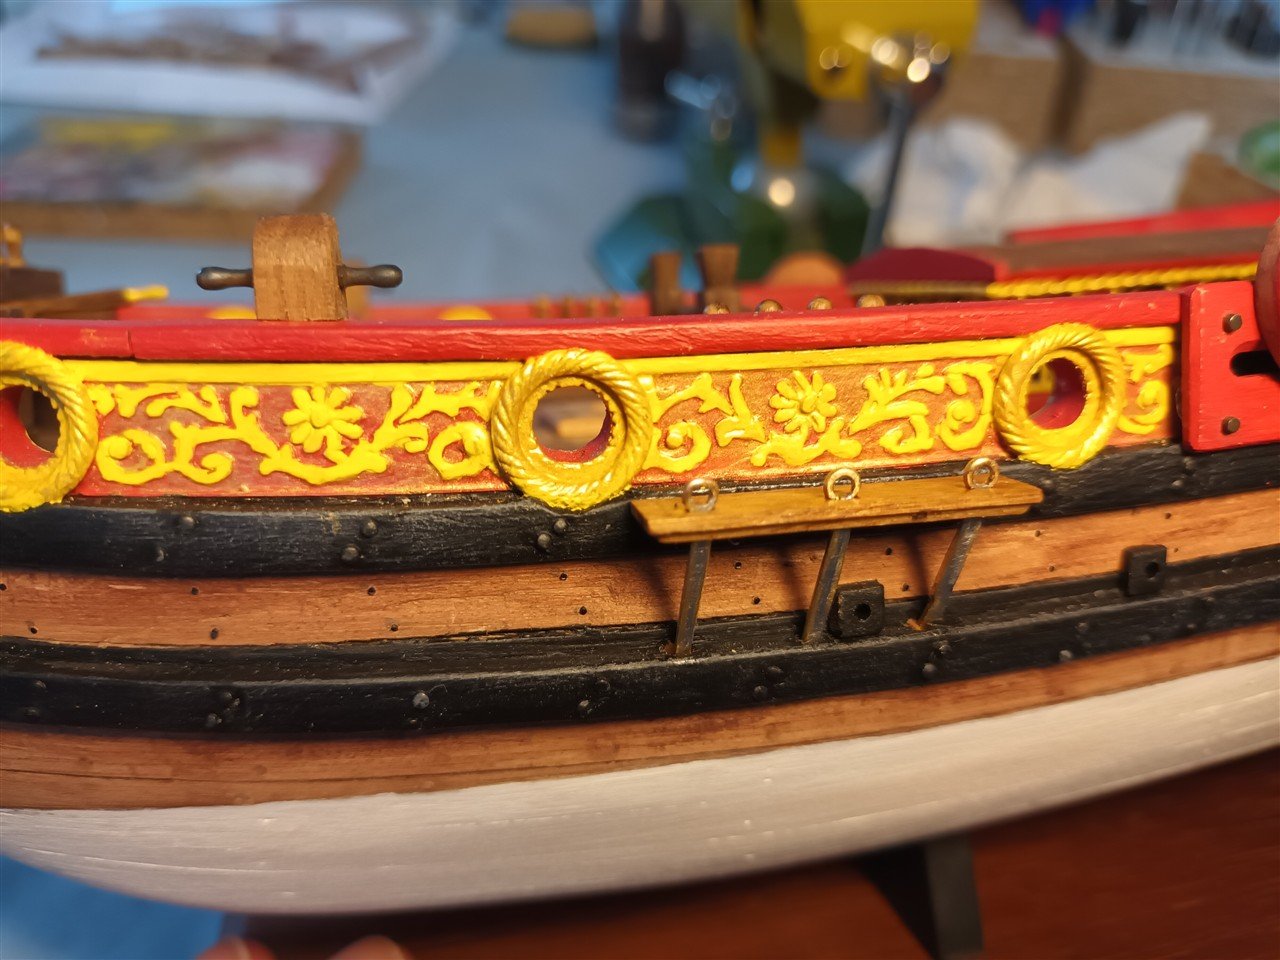
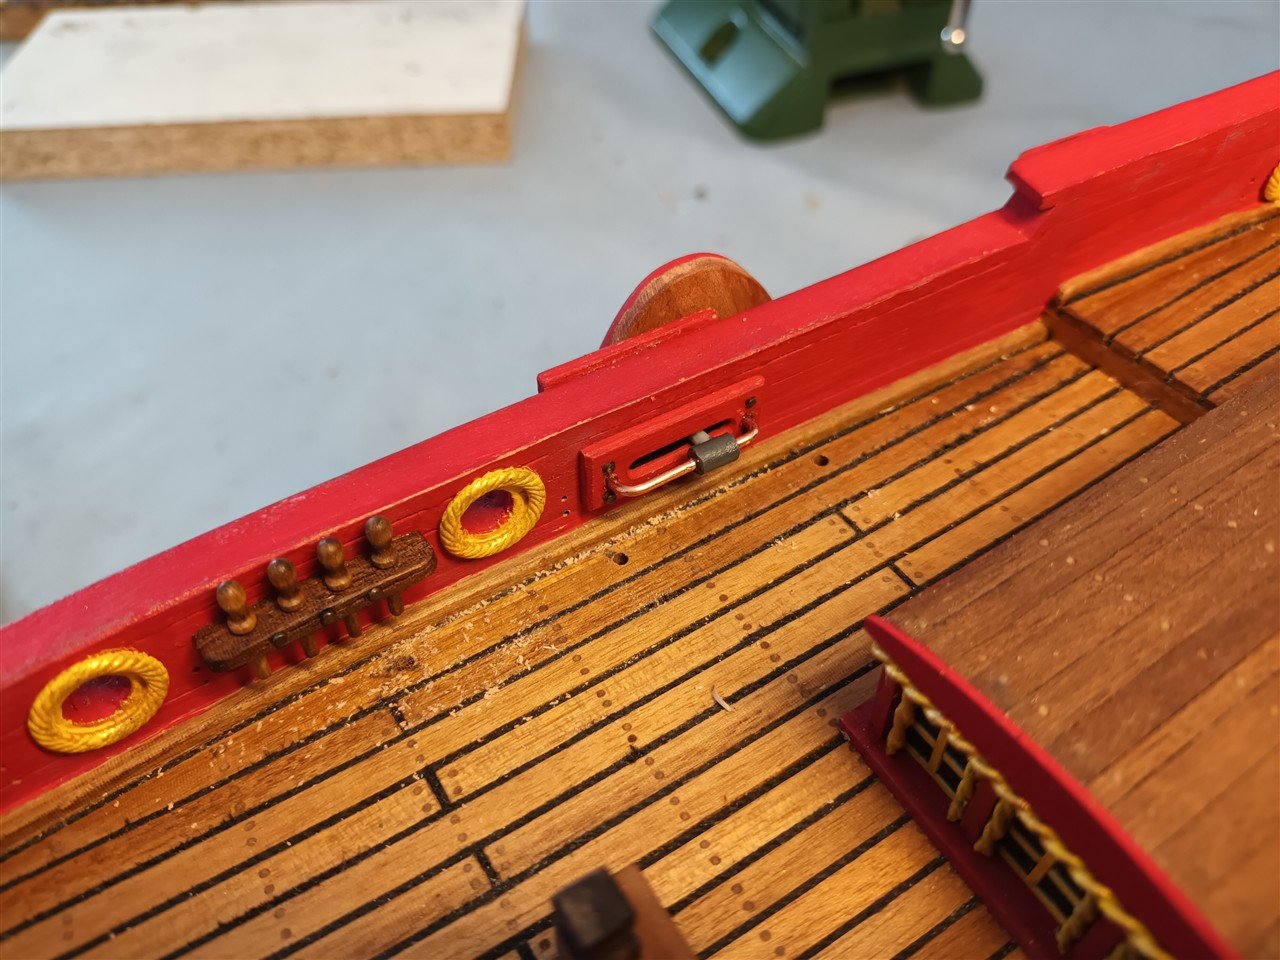
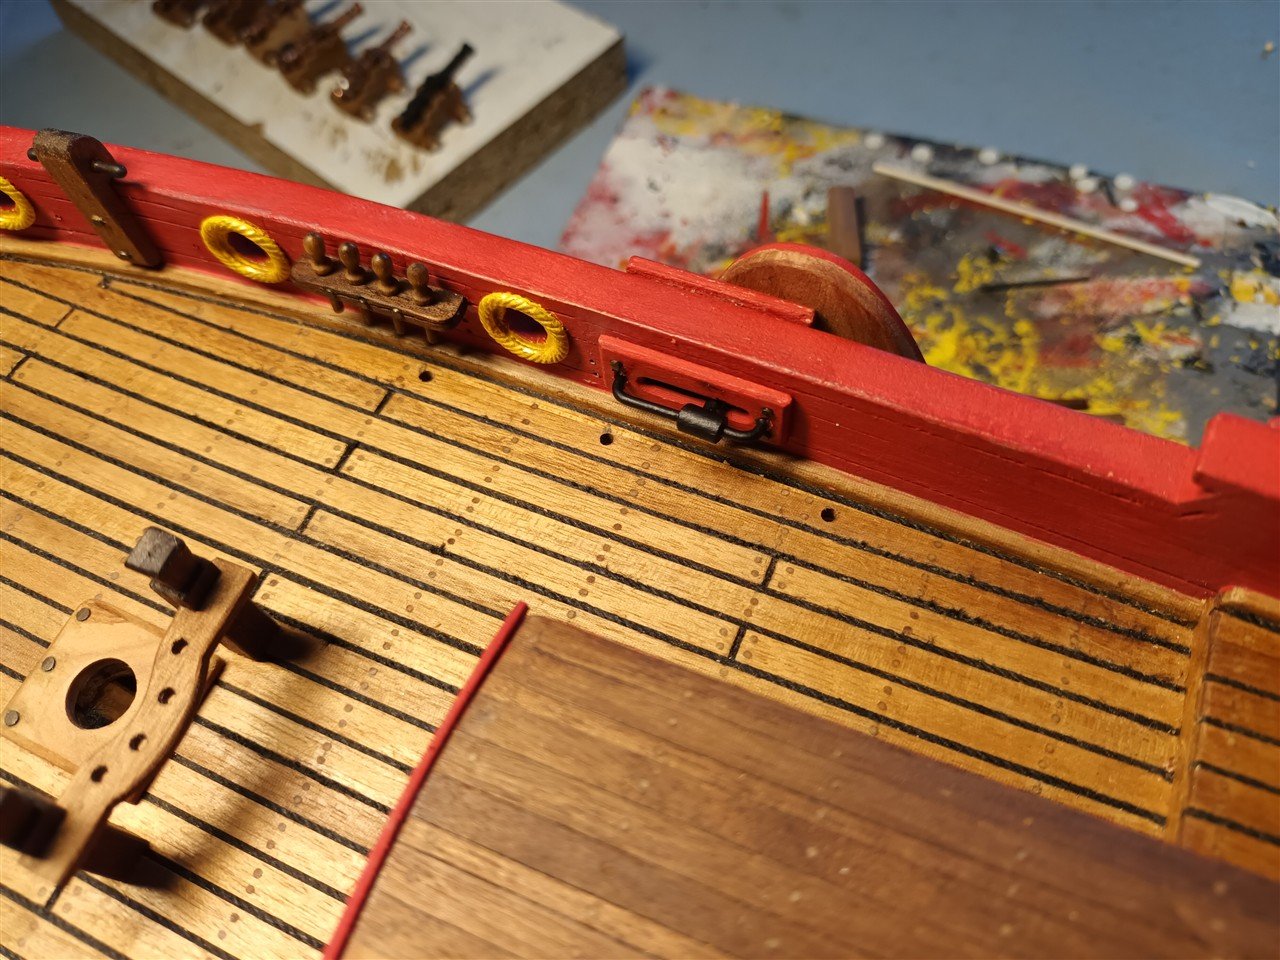
Making a railing for the quarterdeck. Drilling all the holes for the metal pins seems excessive. But it makes for easy installation later. Clamp the parts in the vice and glue with CA. Ready Making the "overloop" (I don't think there's an English word for this). These are for attaching the main and fore sail sheets. Corel doesn't provide this for the fore sail. So, no room. Too far forward Or in the mast So, the mast needs to be moved aft... Work in progress. Railing in place (and the main sail "overloop"). The renovated deck on the cabin is also ready Fore sail "overloop" in place.
- 97 replies
-
- 7
-
-
- Corel
- Große Jacht
- (and 2 more)
-
Beautiful work Olli
-
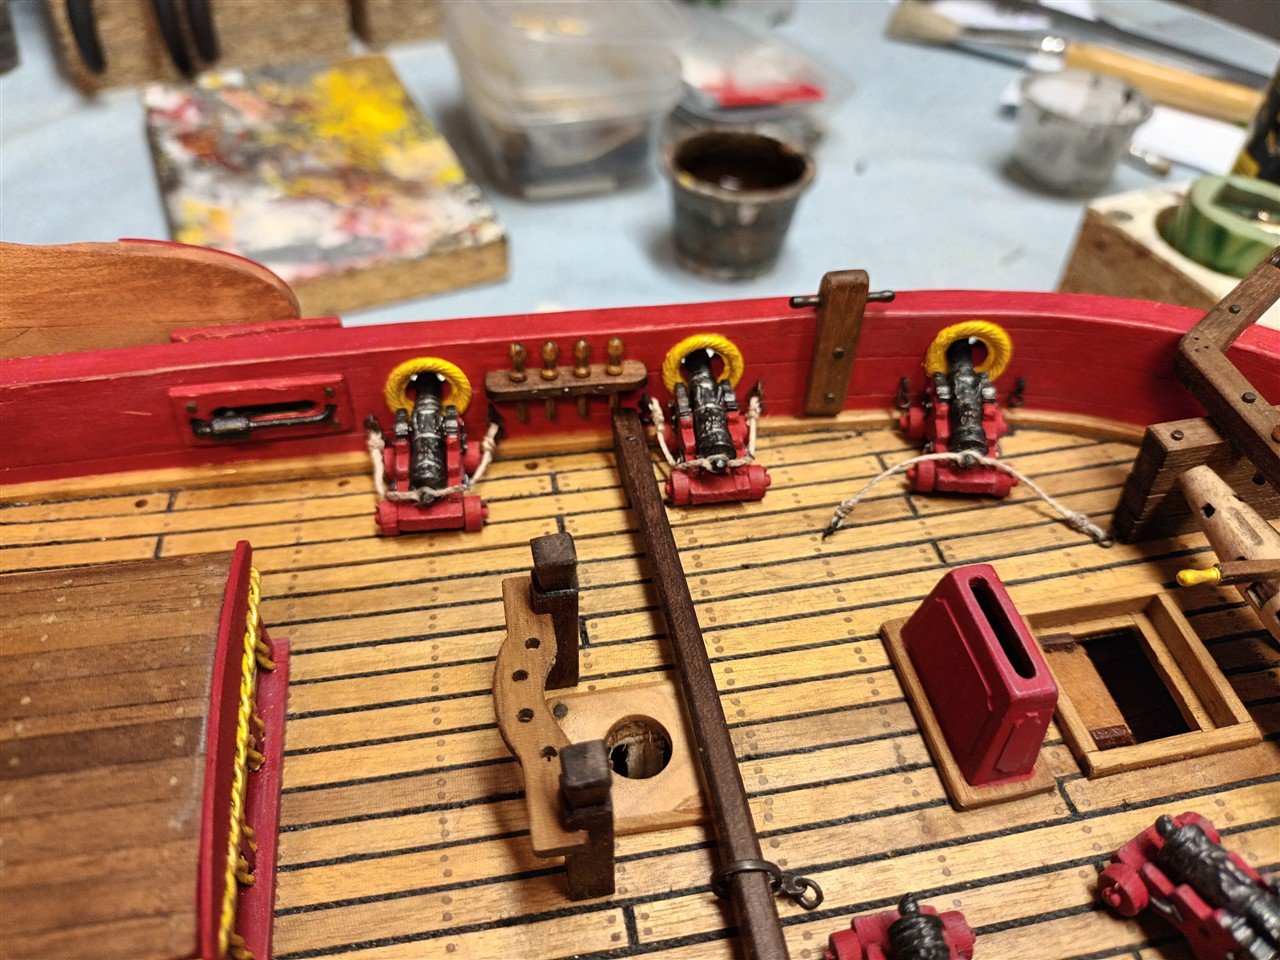
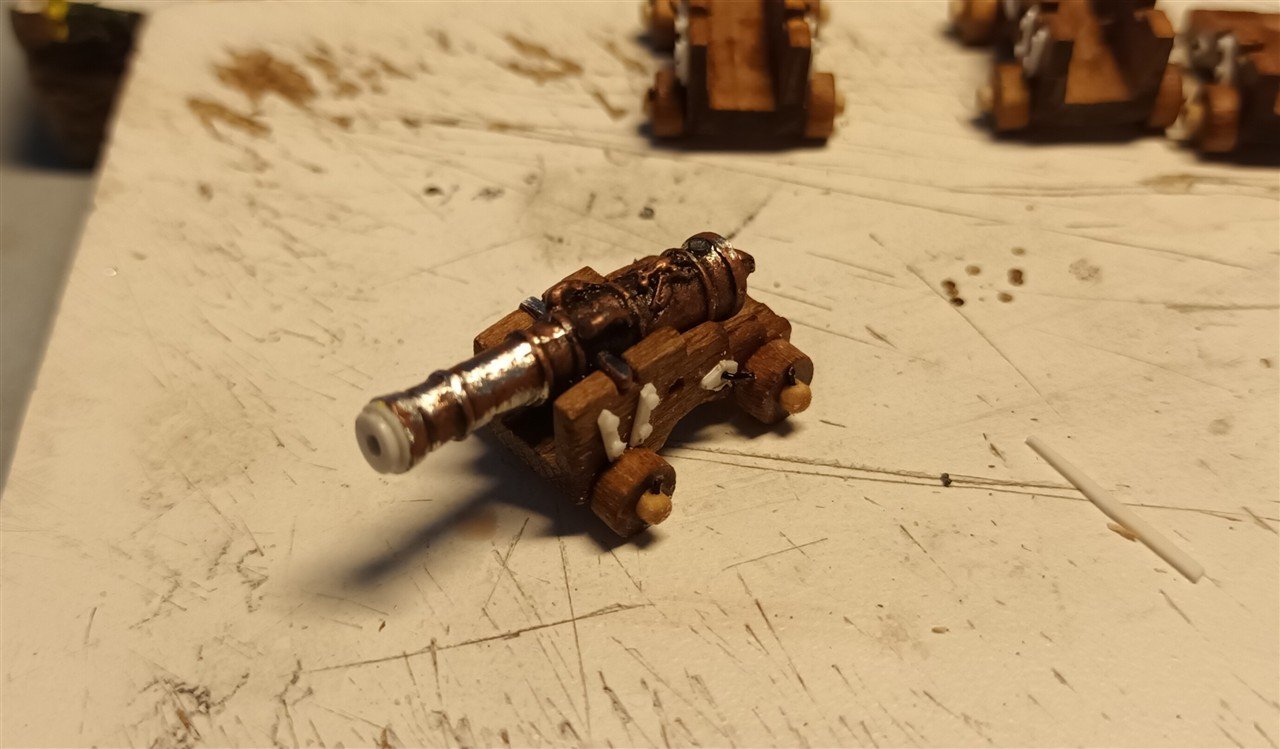
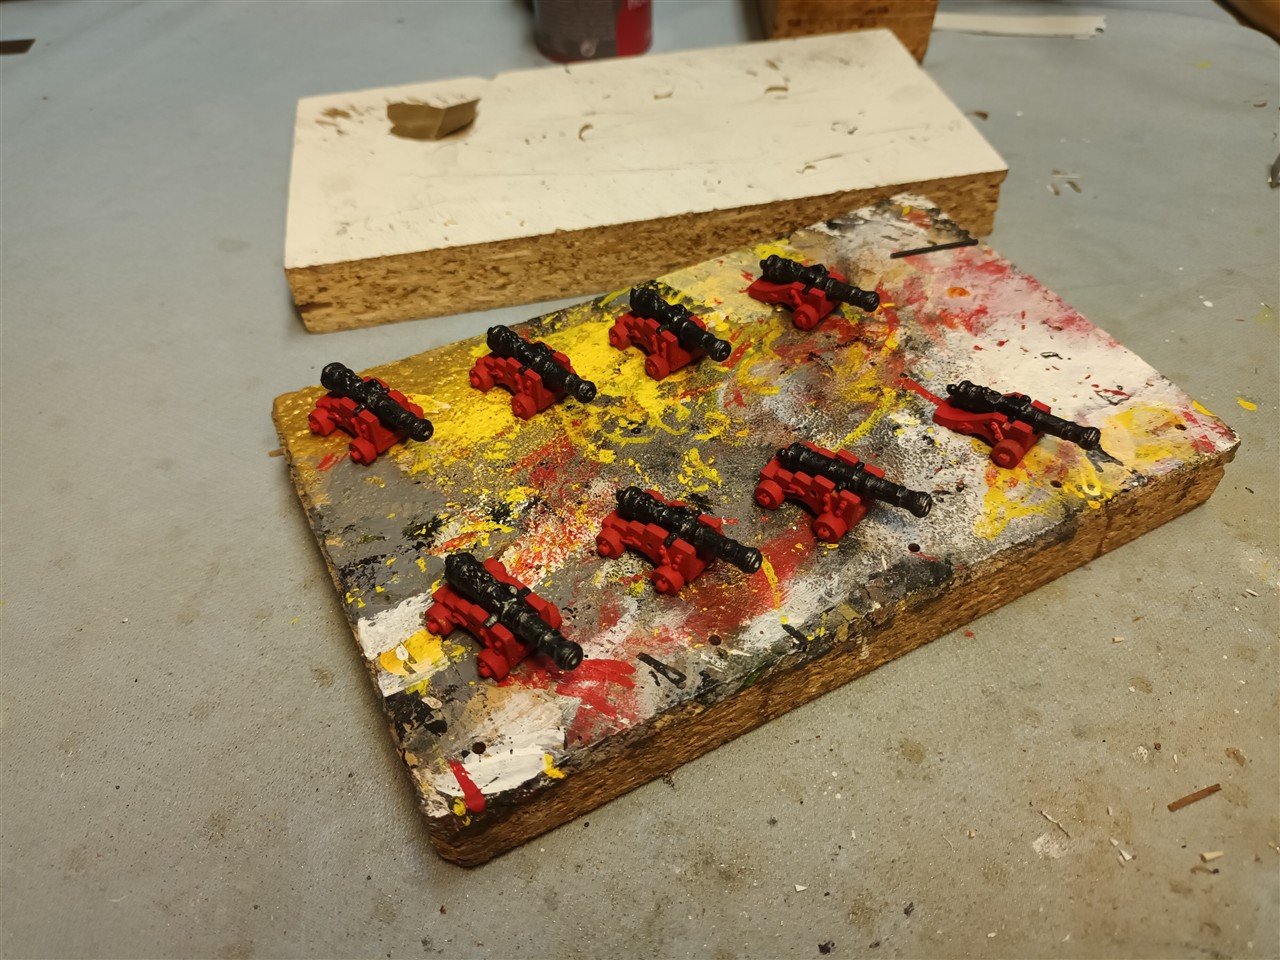
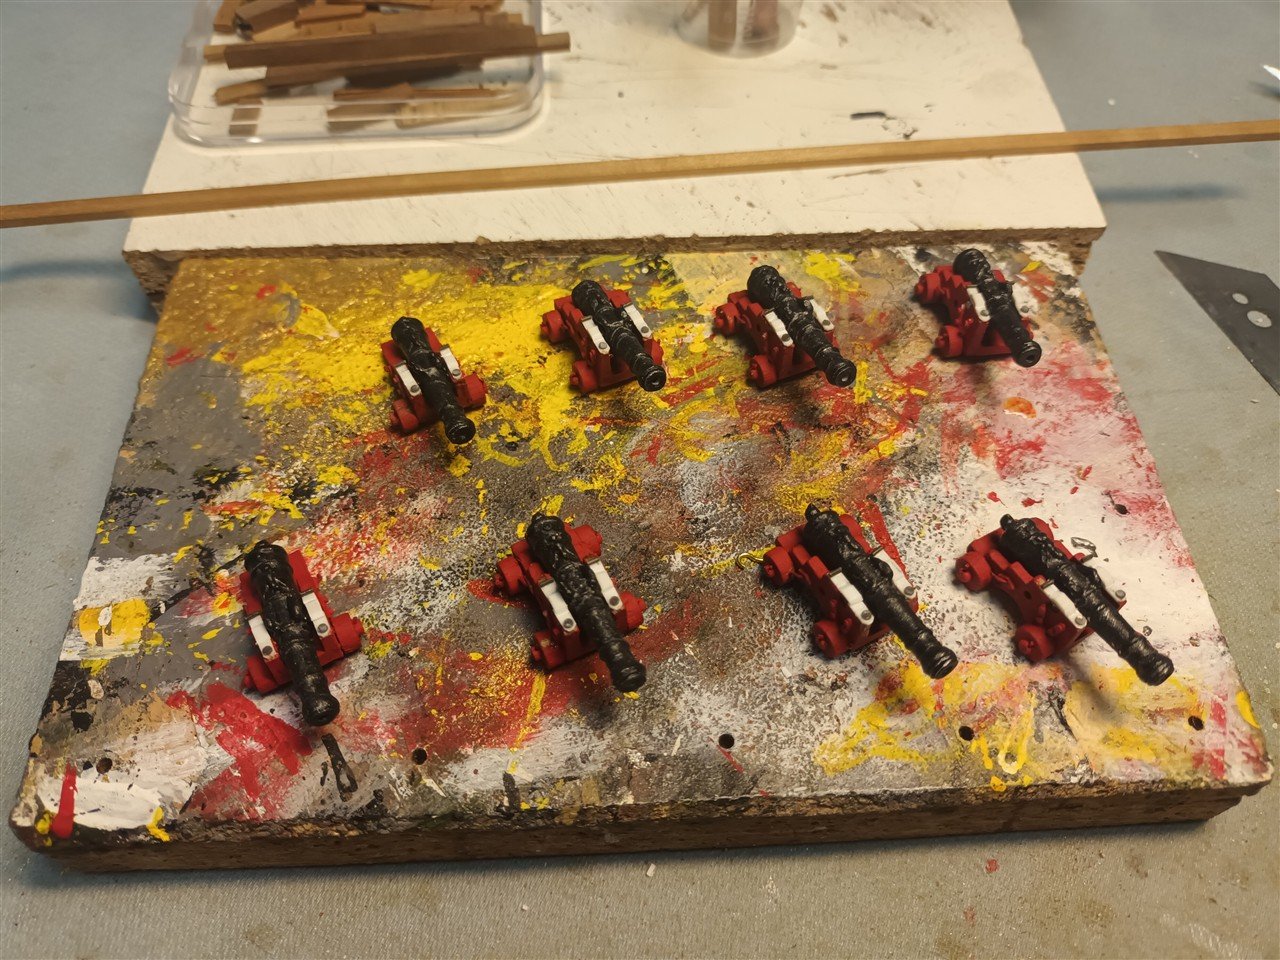
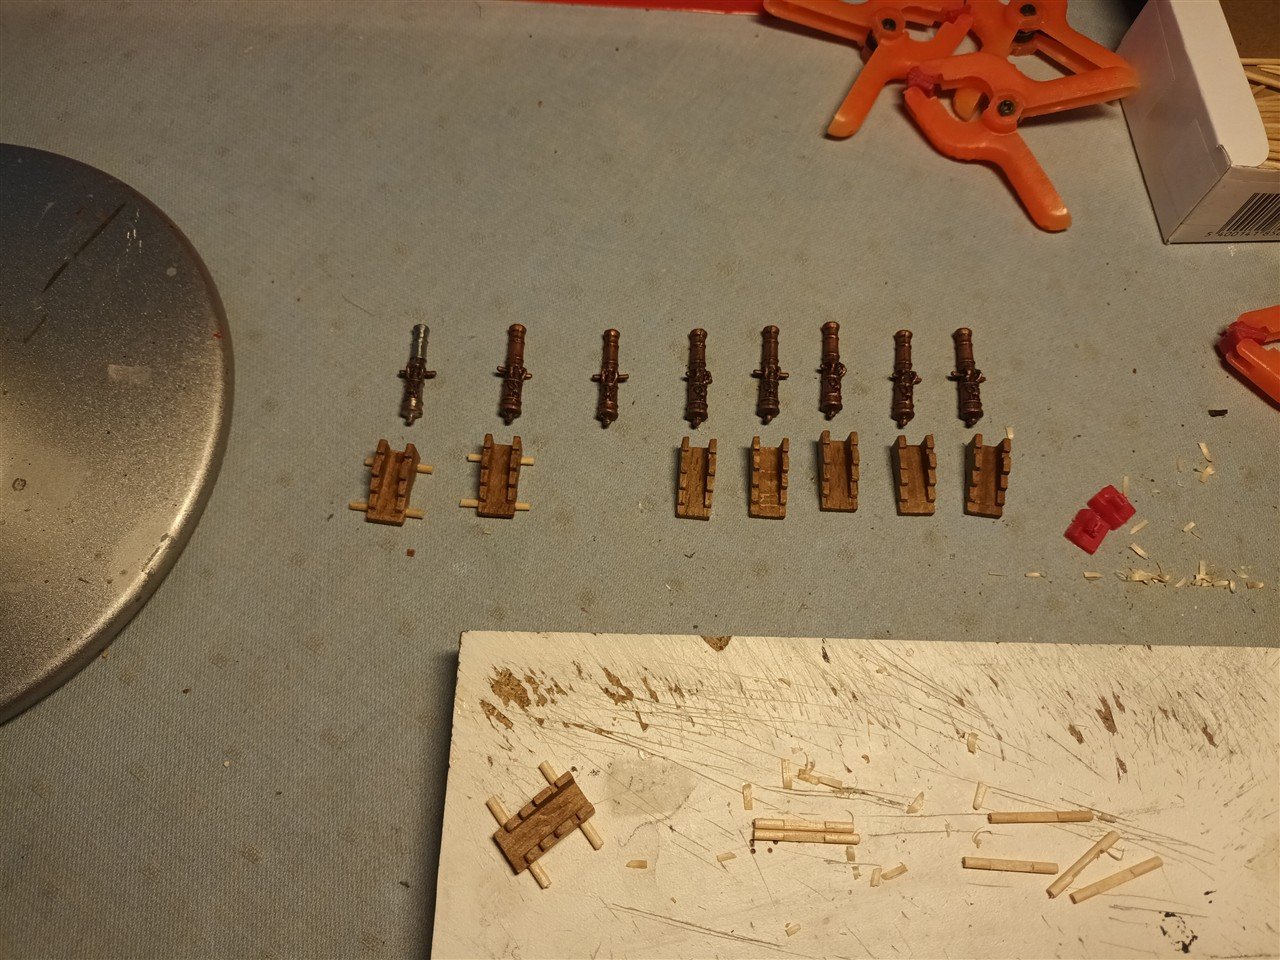
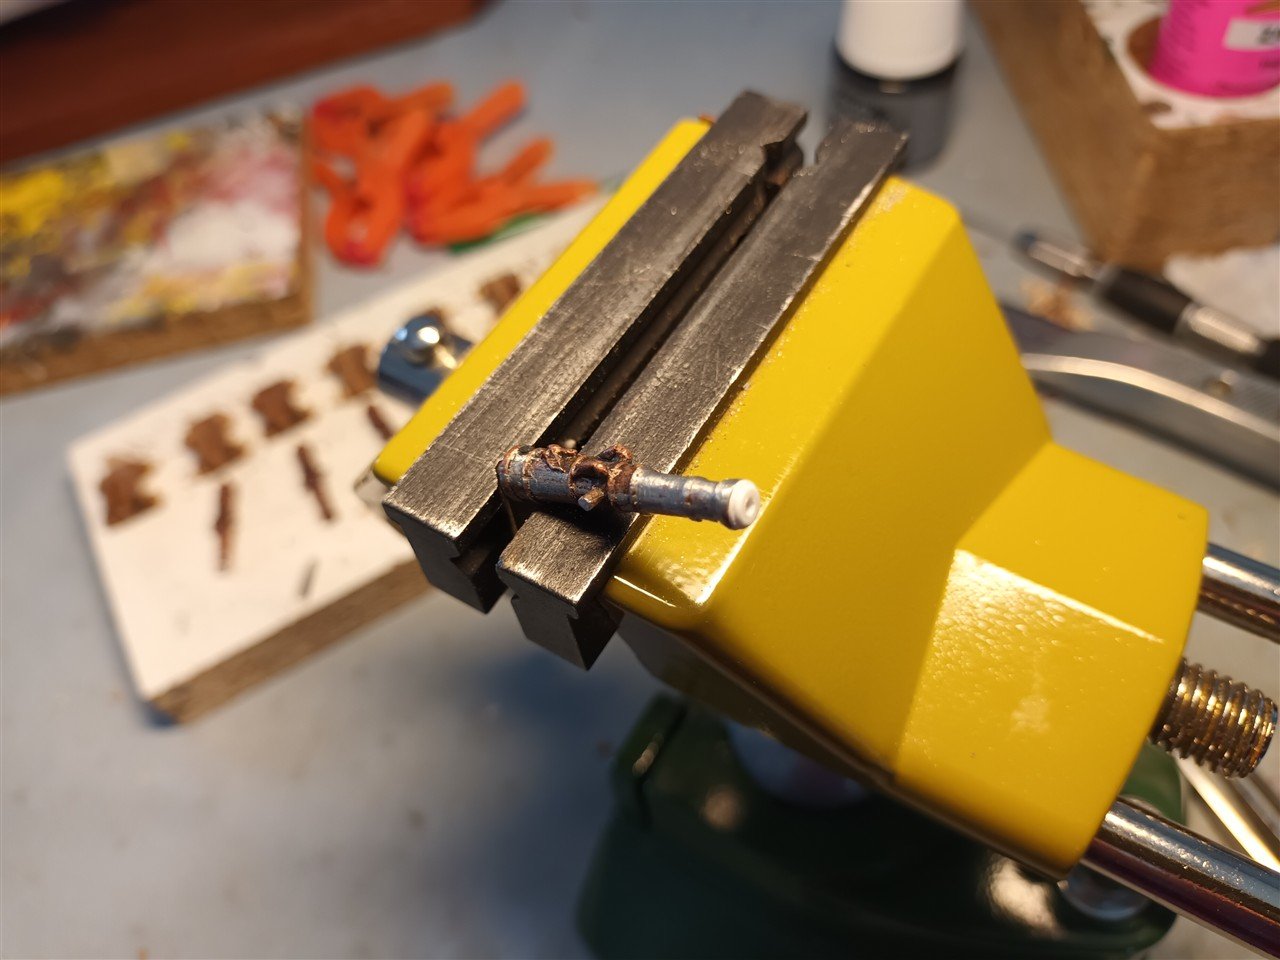
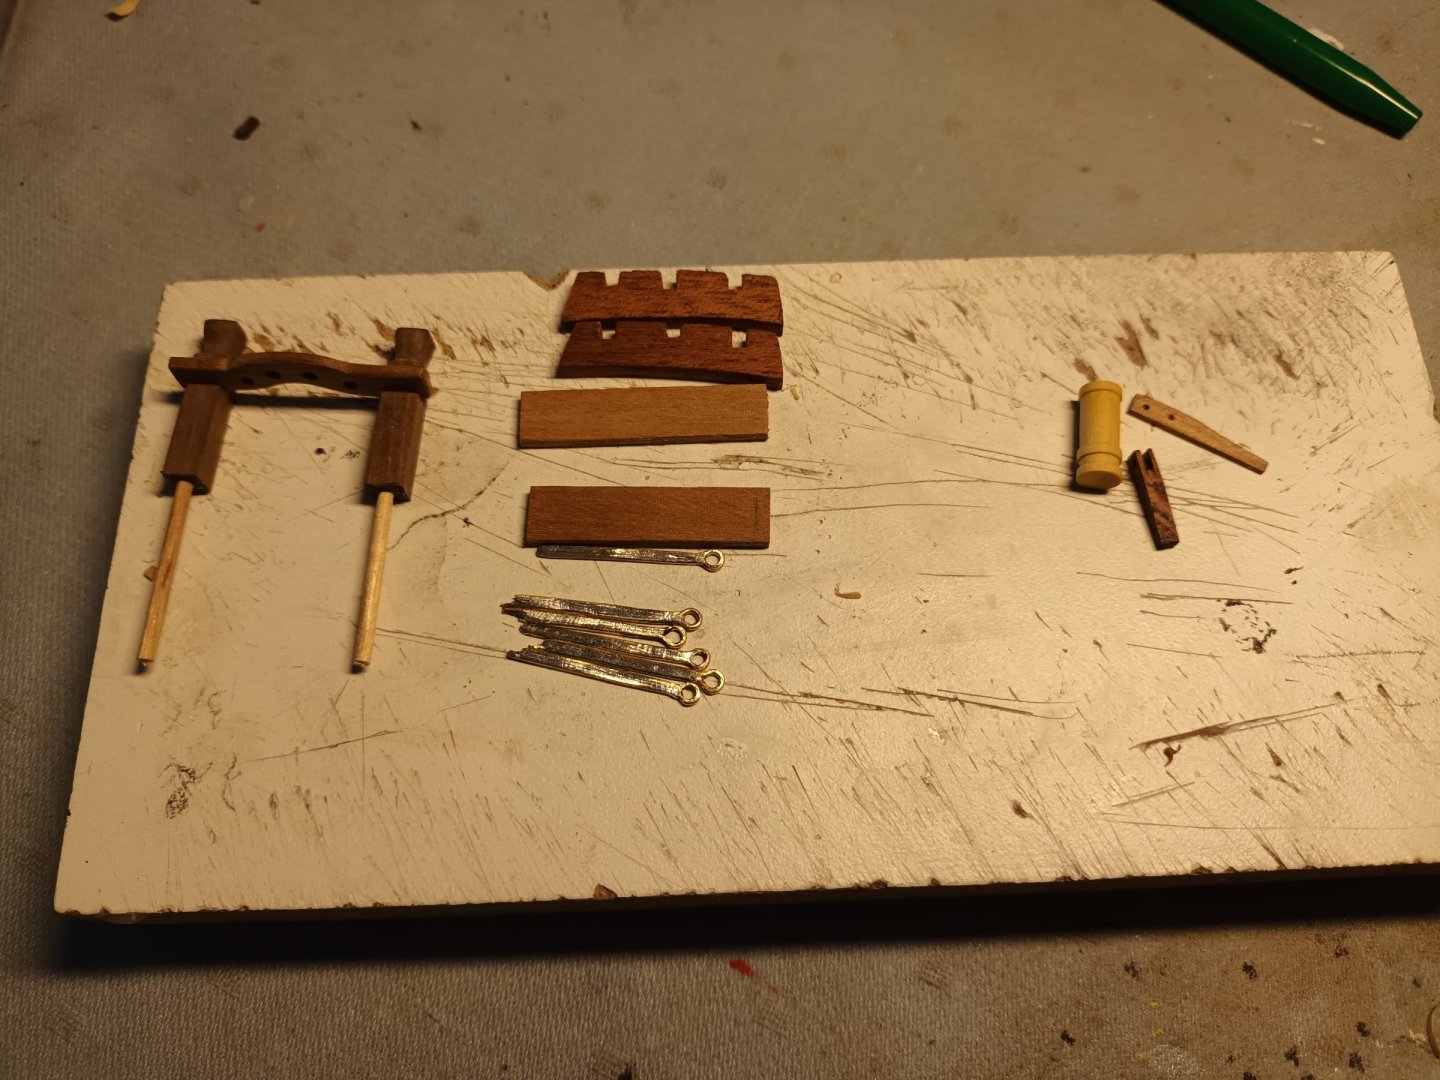
Cannon production Step 1: prototype Step 2: carriages painted and barrels in place Step3: ready for last painting Step 3 ready I didn't like the first method of planking in this area. So I cut the 2mm planks from the kit to 1mm. And planked again.
- 97 replies
-
- 5
-
-
- Corel
- Große Jacht
- (and 2 more)
-
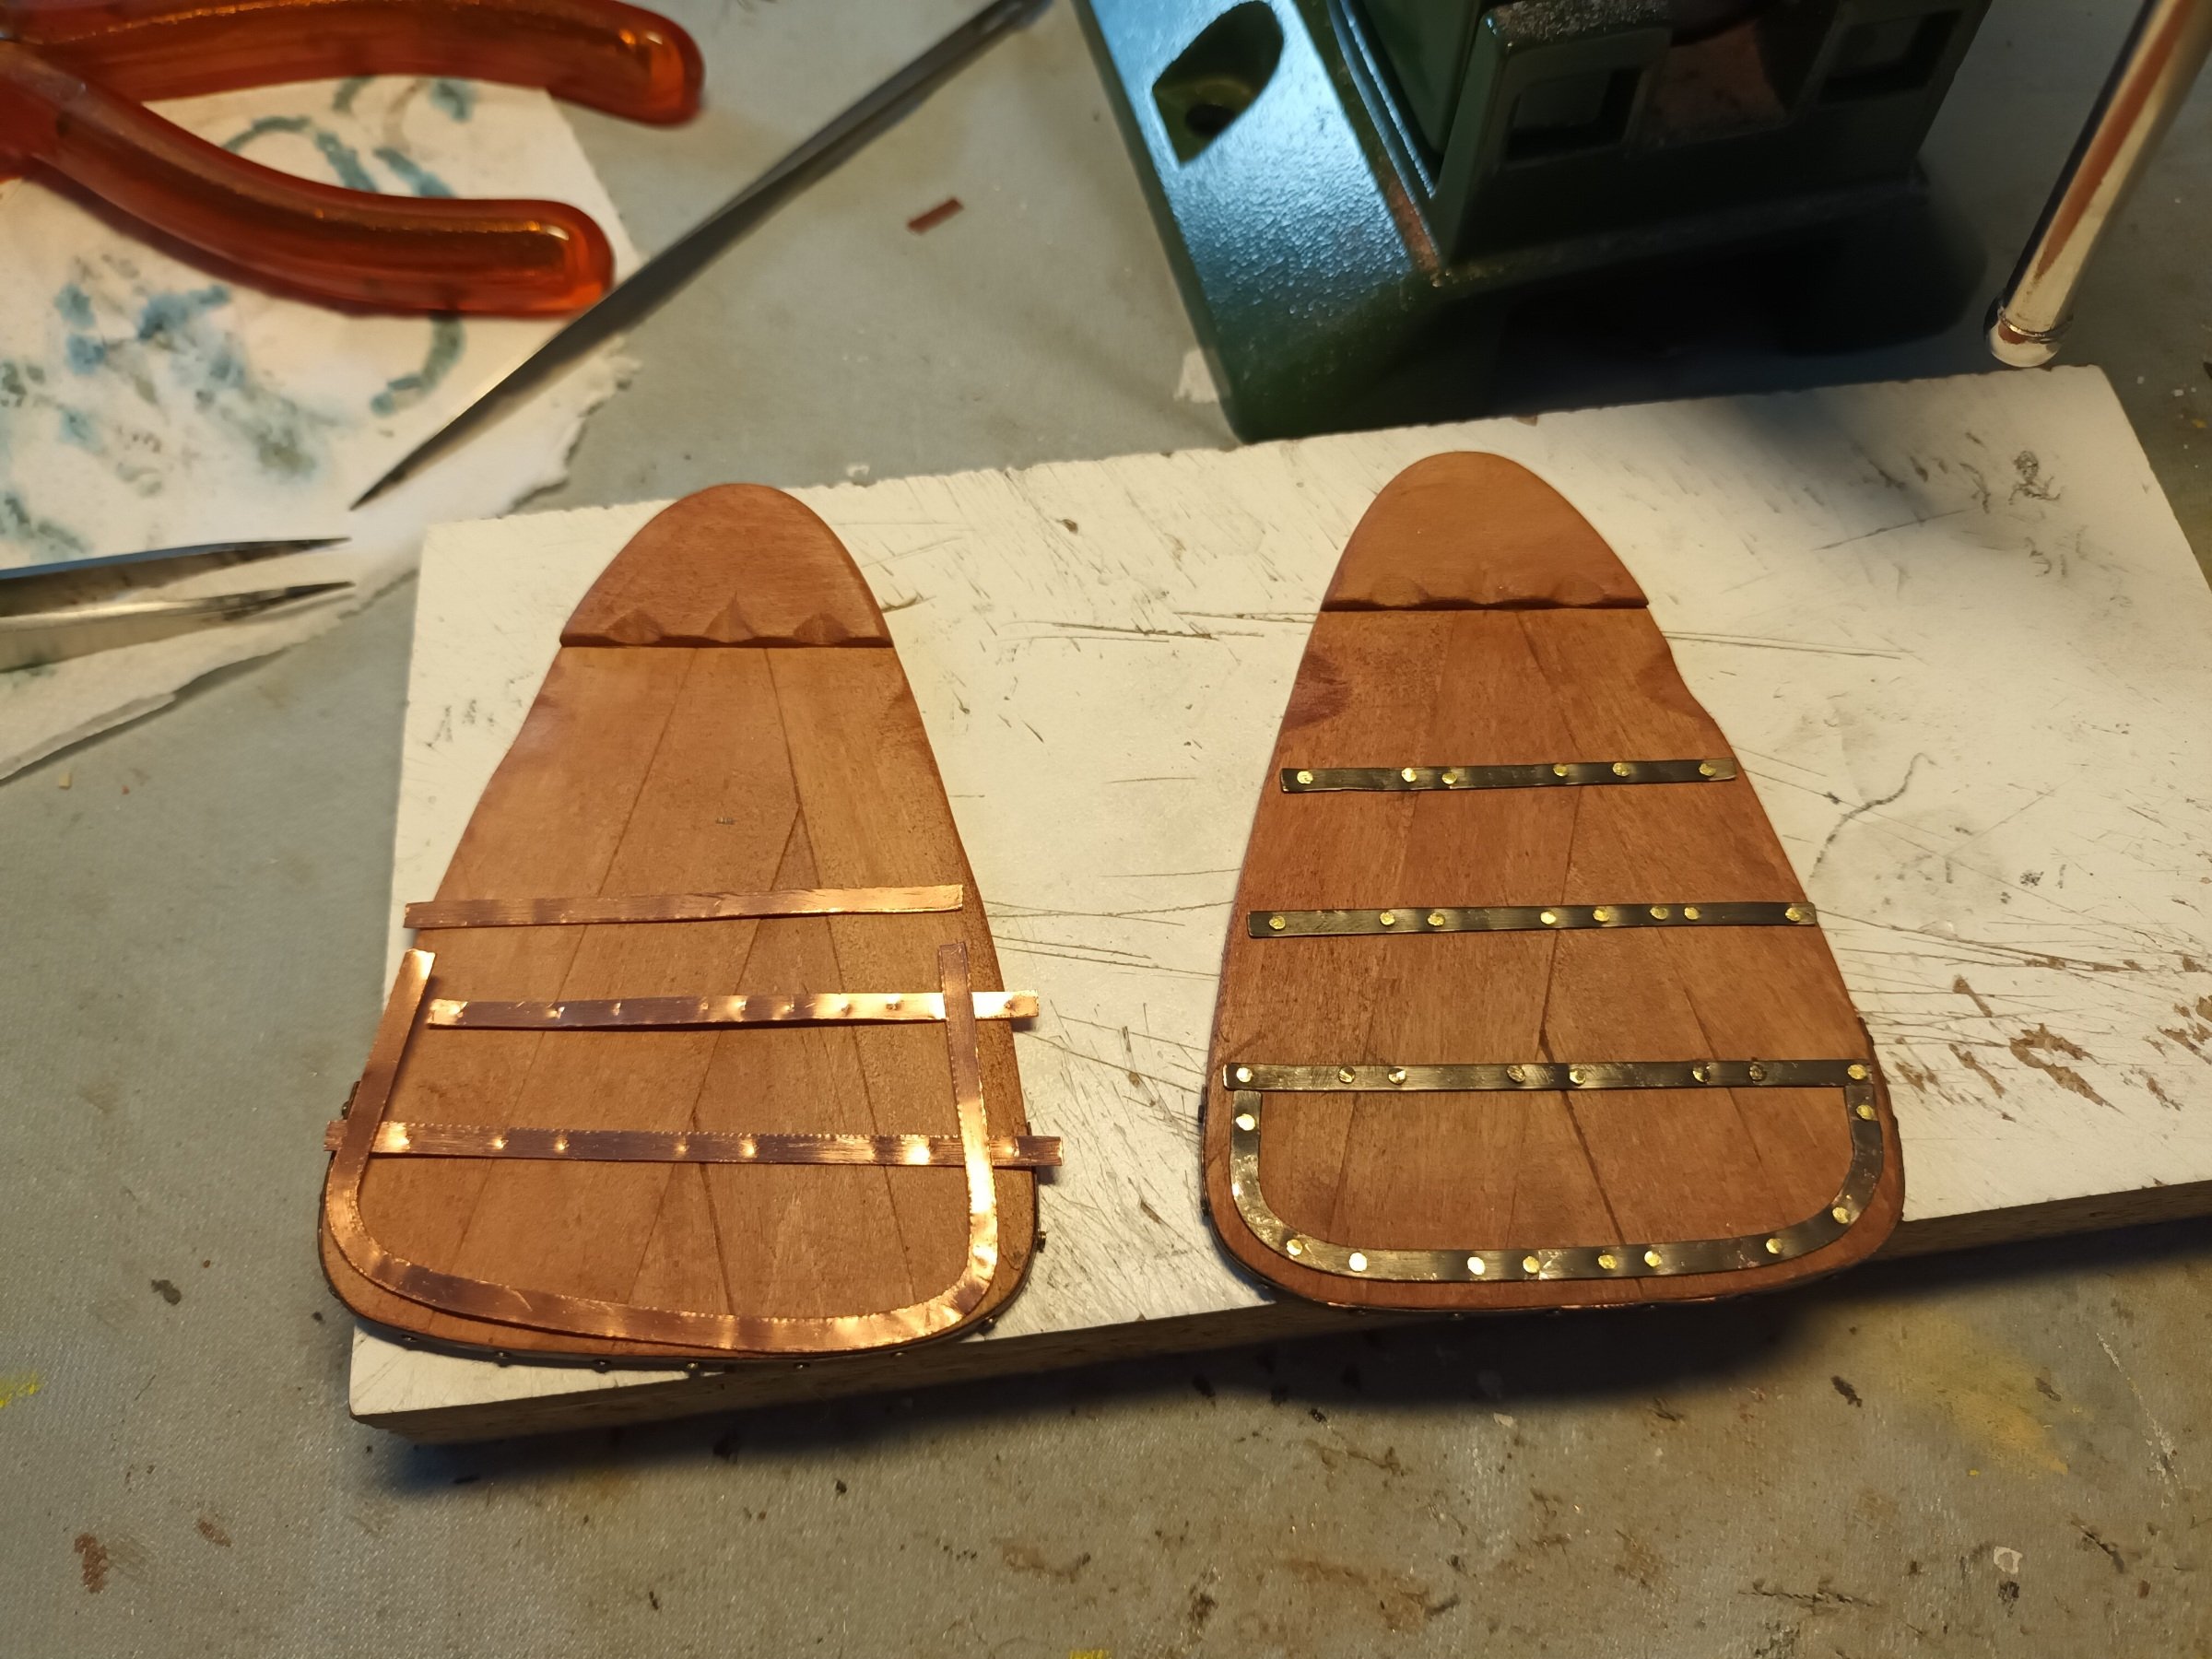
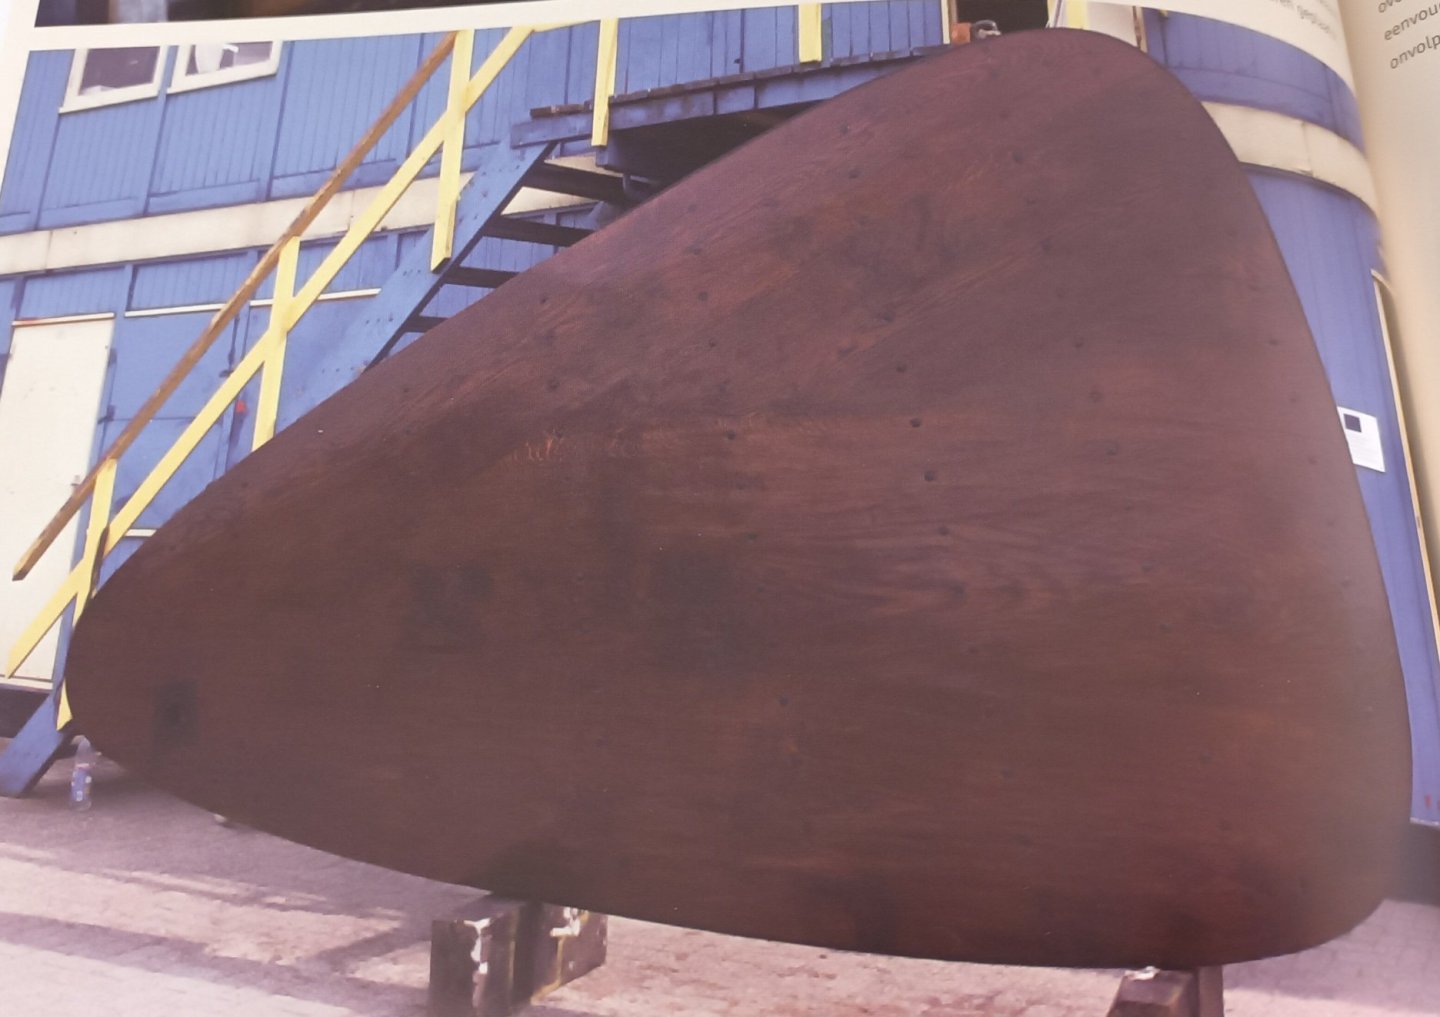
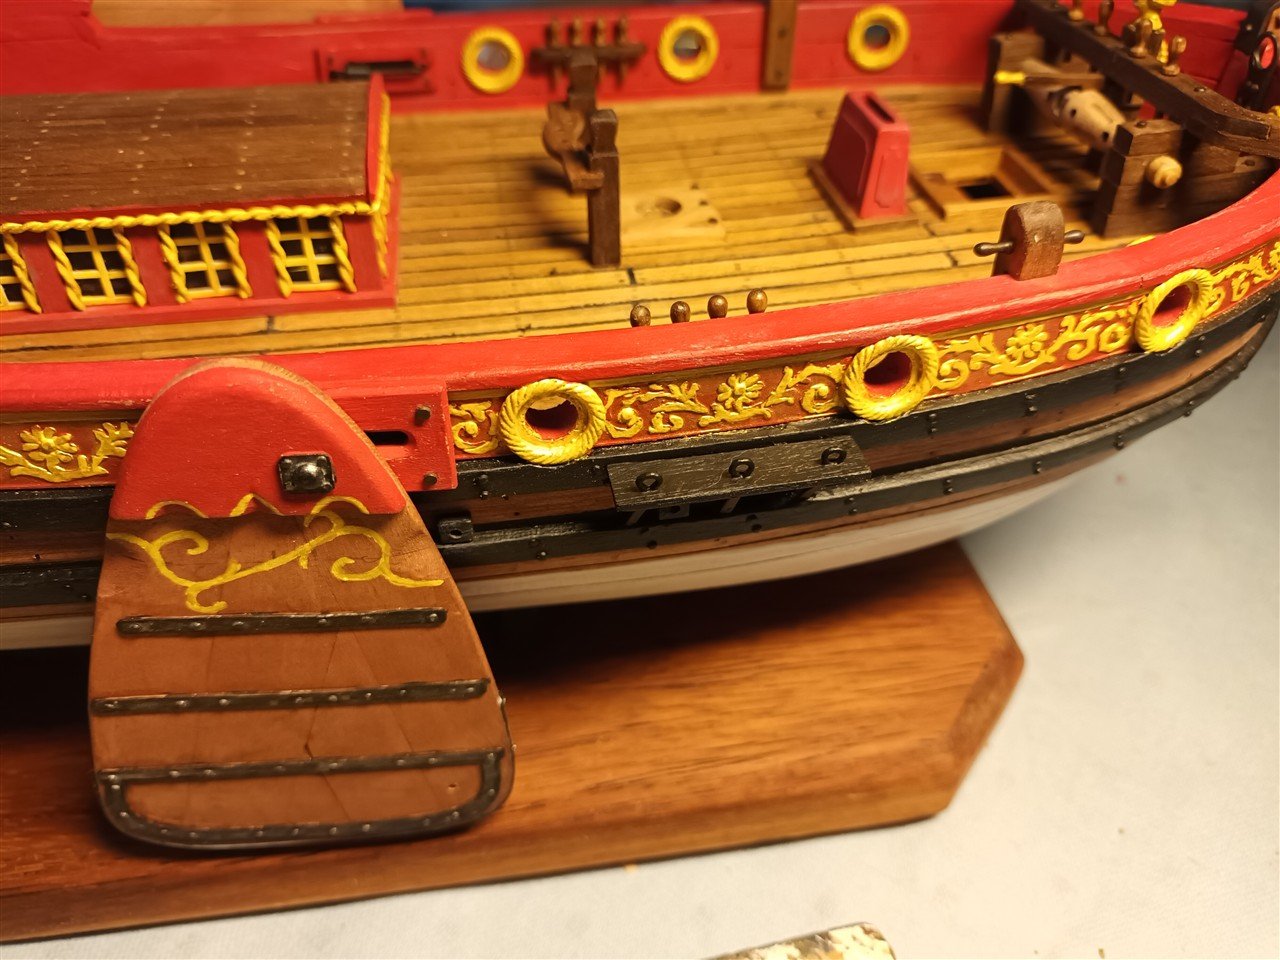
There is indeed no support on the rear side. A brand new replica leeboard on the rear side. And years later during a maintenance, you see also no supports on the port side leeboard. It is possible that the separate pieces were held together with one or more long bolts, don't now.
- 97 replies
-
- 3
-
-
- Corel
- Große Jacht
- (and 2 more)
-
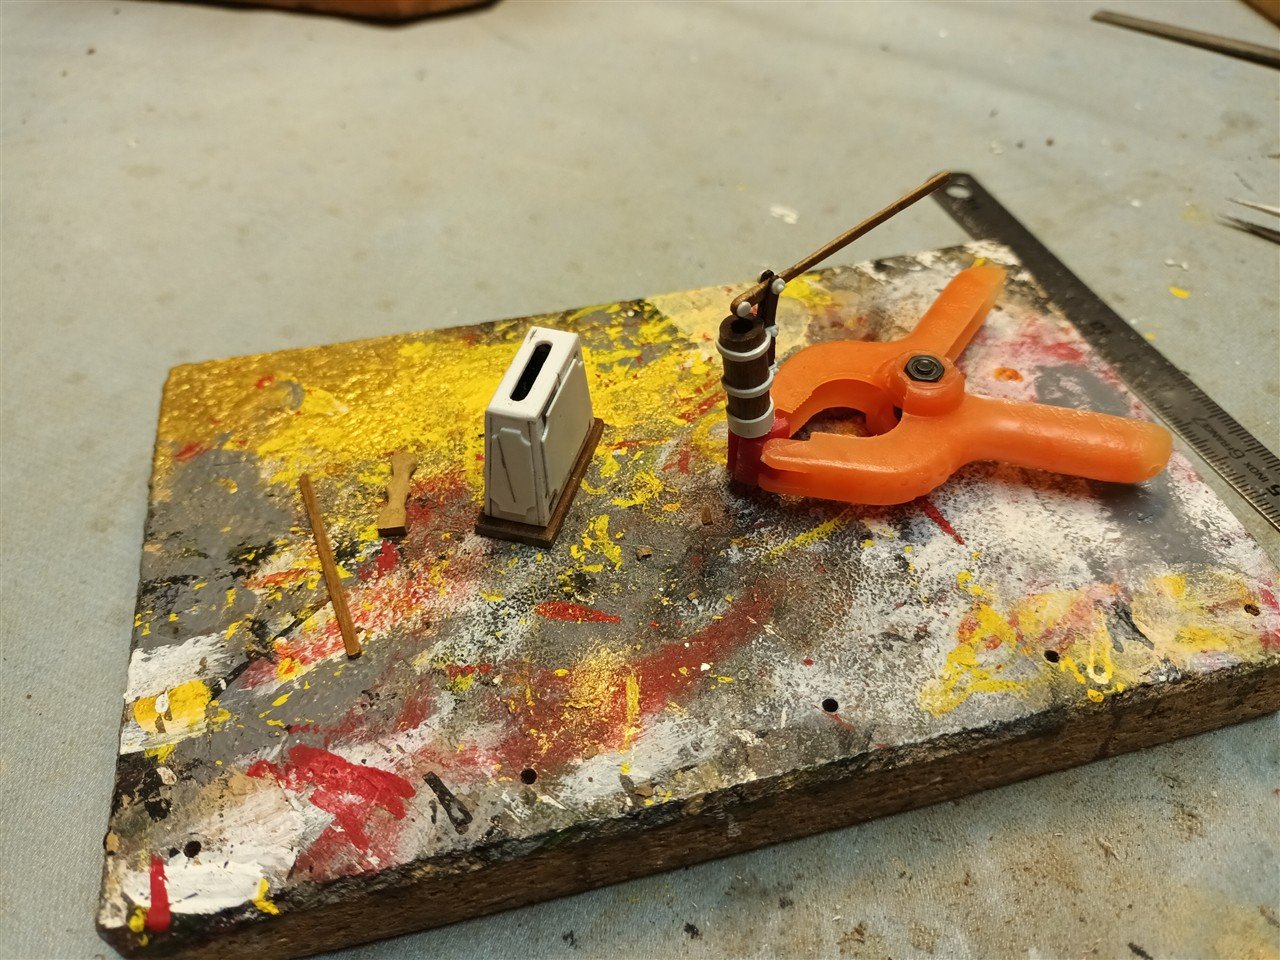
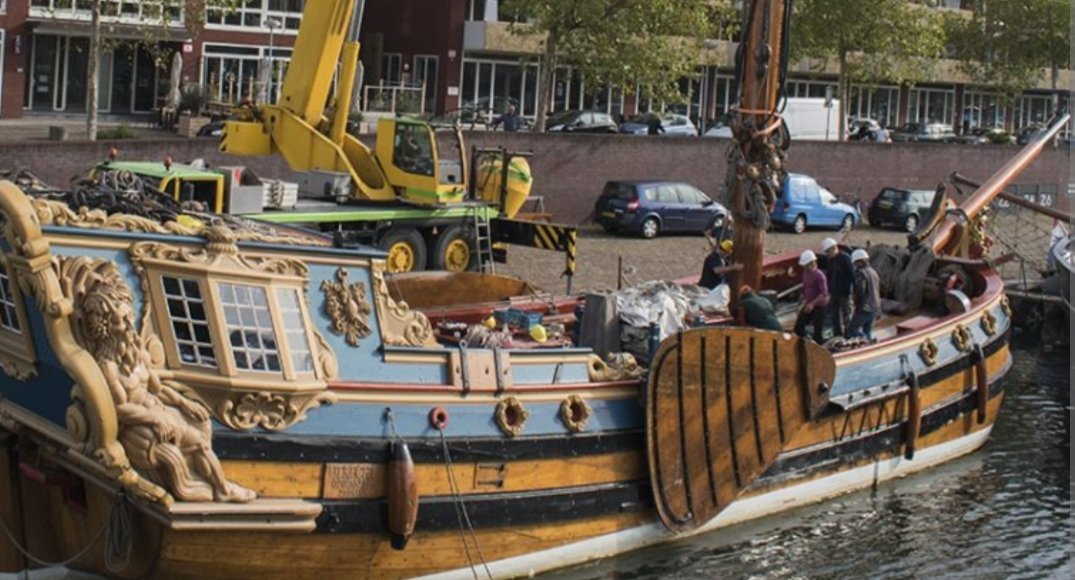
Further continuation, Toothpicks are for a stronger hold Channels The model is lifted up for each eyebolt to test for proper attachment (test passed six times). Painted Leeboard attachment painted The cannon production line Need on some cleening And some pictures from the exhibition in Amsterdam, last Saturday https://photos.app.goo.gl/ZsUupvtHr4EuuigN7

- 97 replies
-
- 5
-
-
- Corel
- Große Jacht
- (and 2 more)
-
Great work
-
There are regulations for the thickness of ropes on Dutch ships from this period. But I haven't found any records of these ropes. I was in Amsterdam last Saturday at the Maritime Museum and took this photo there. Too thin is better than too thick, I think.

-
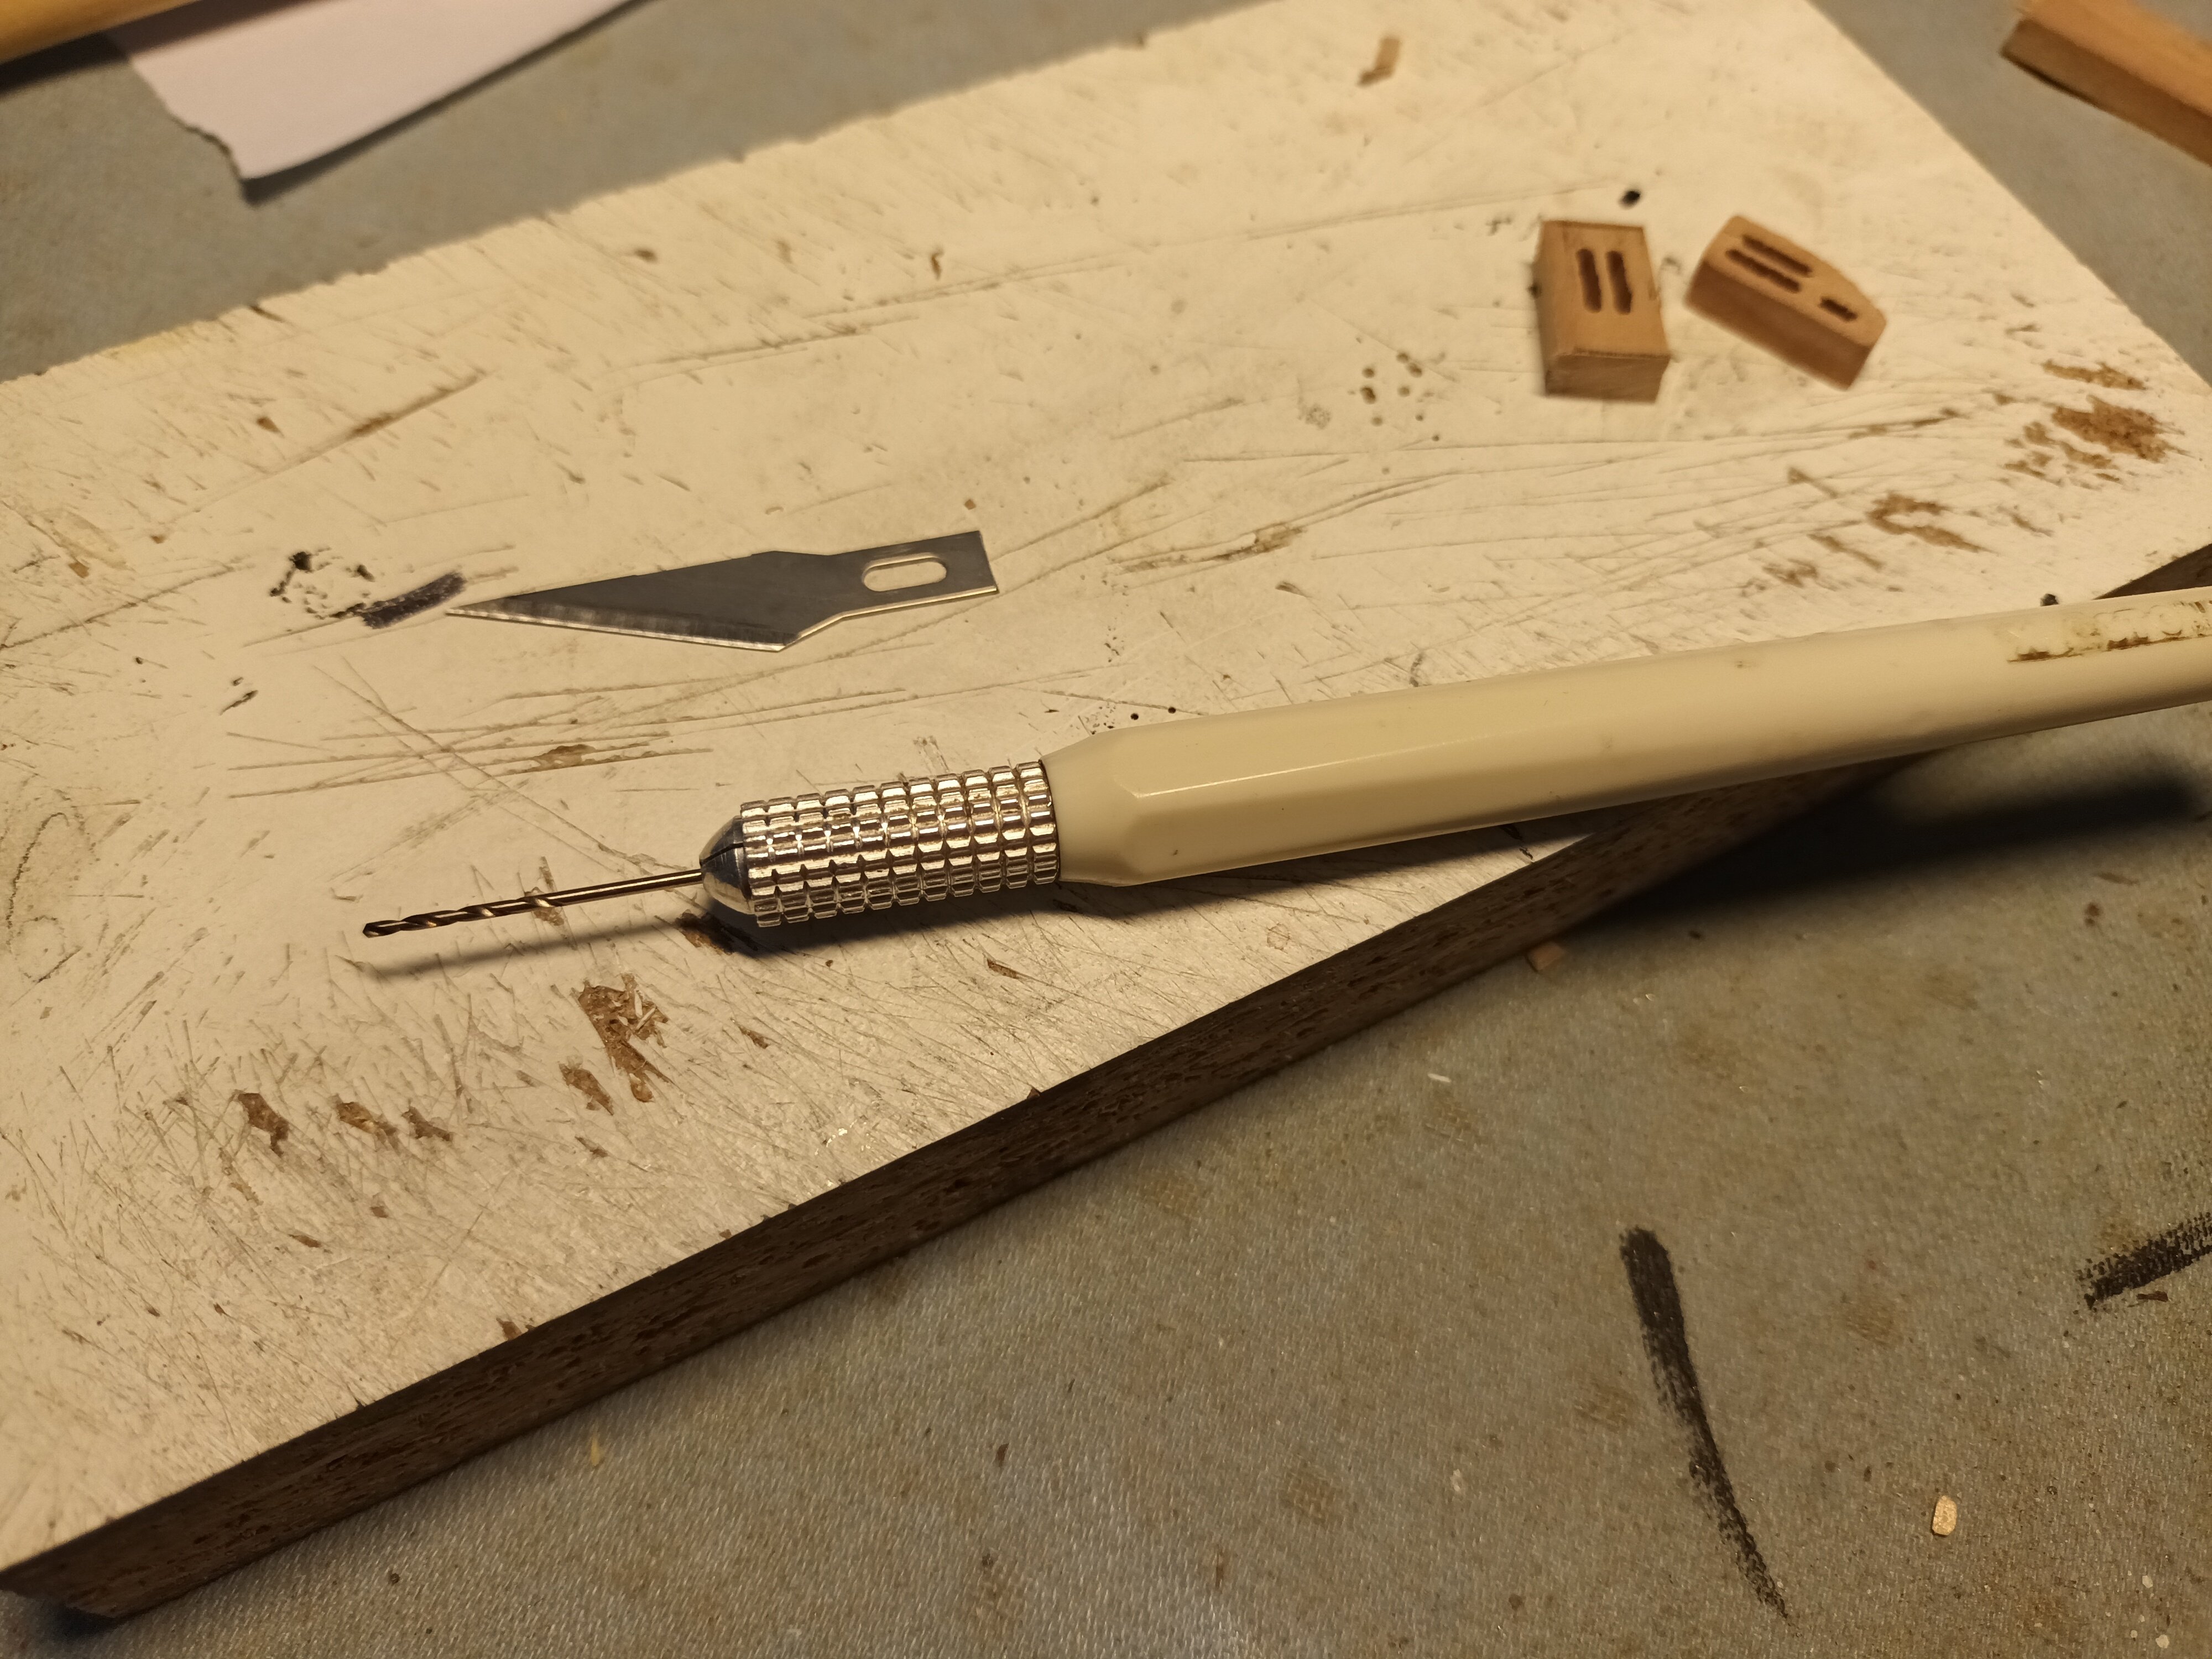
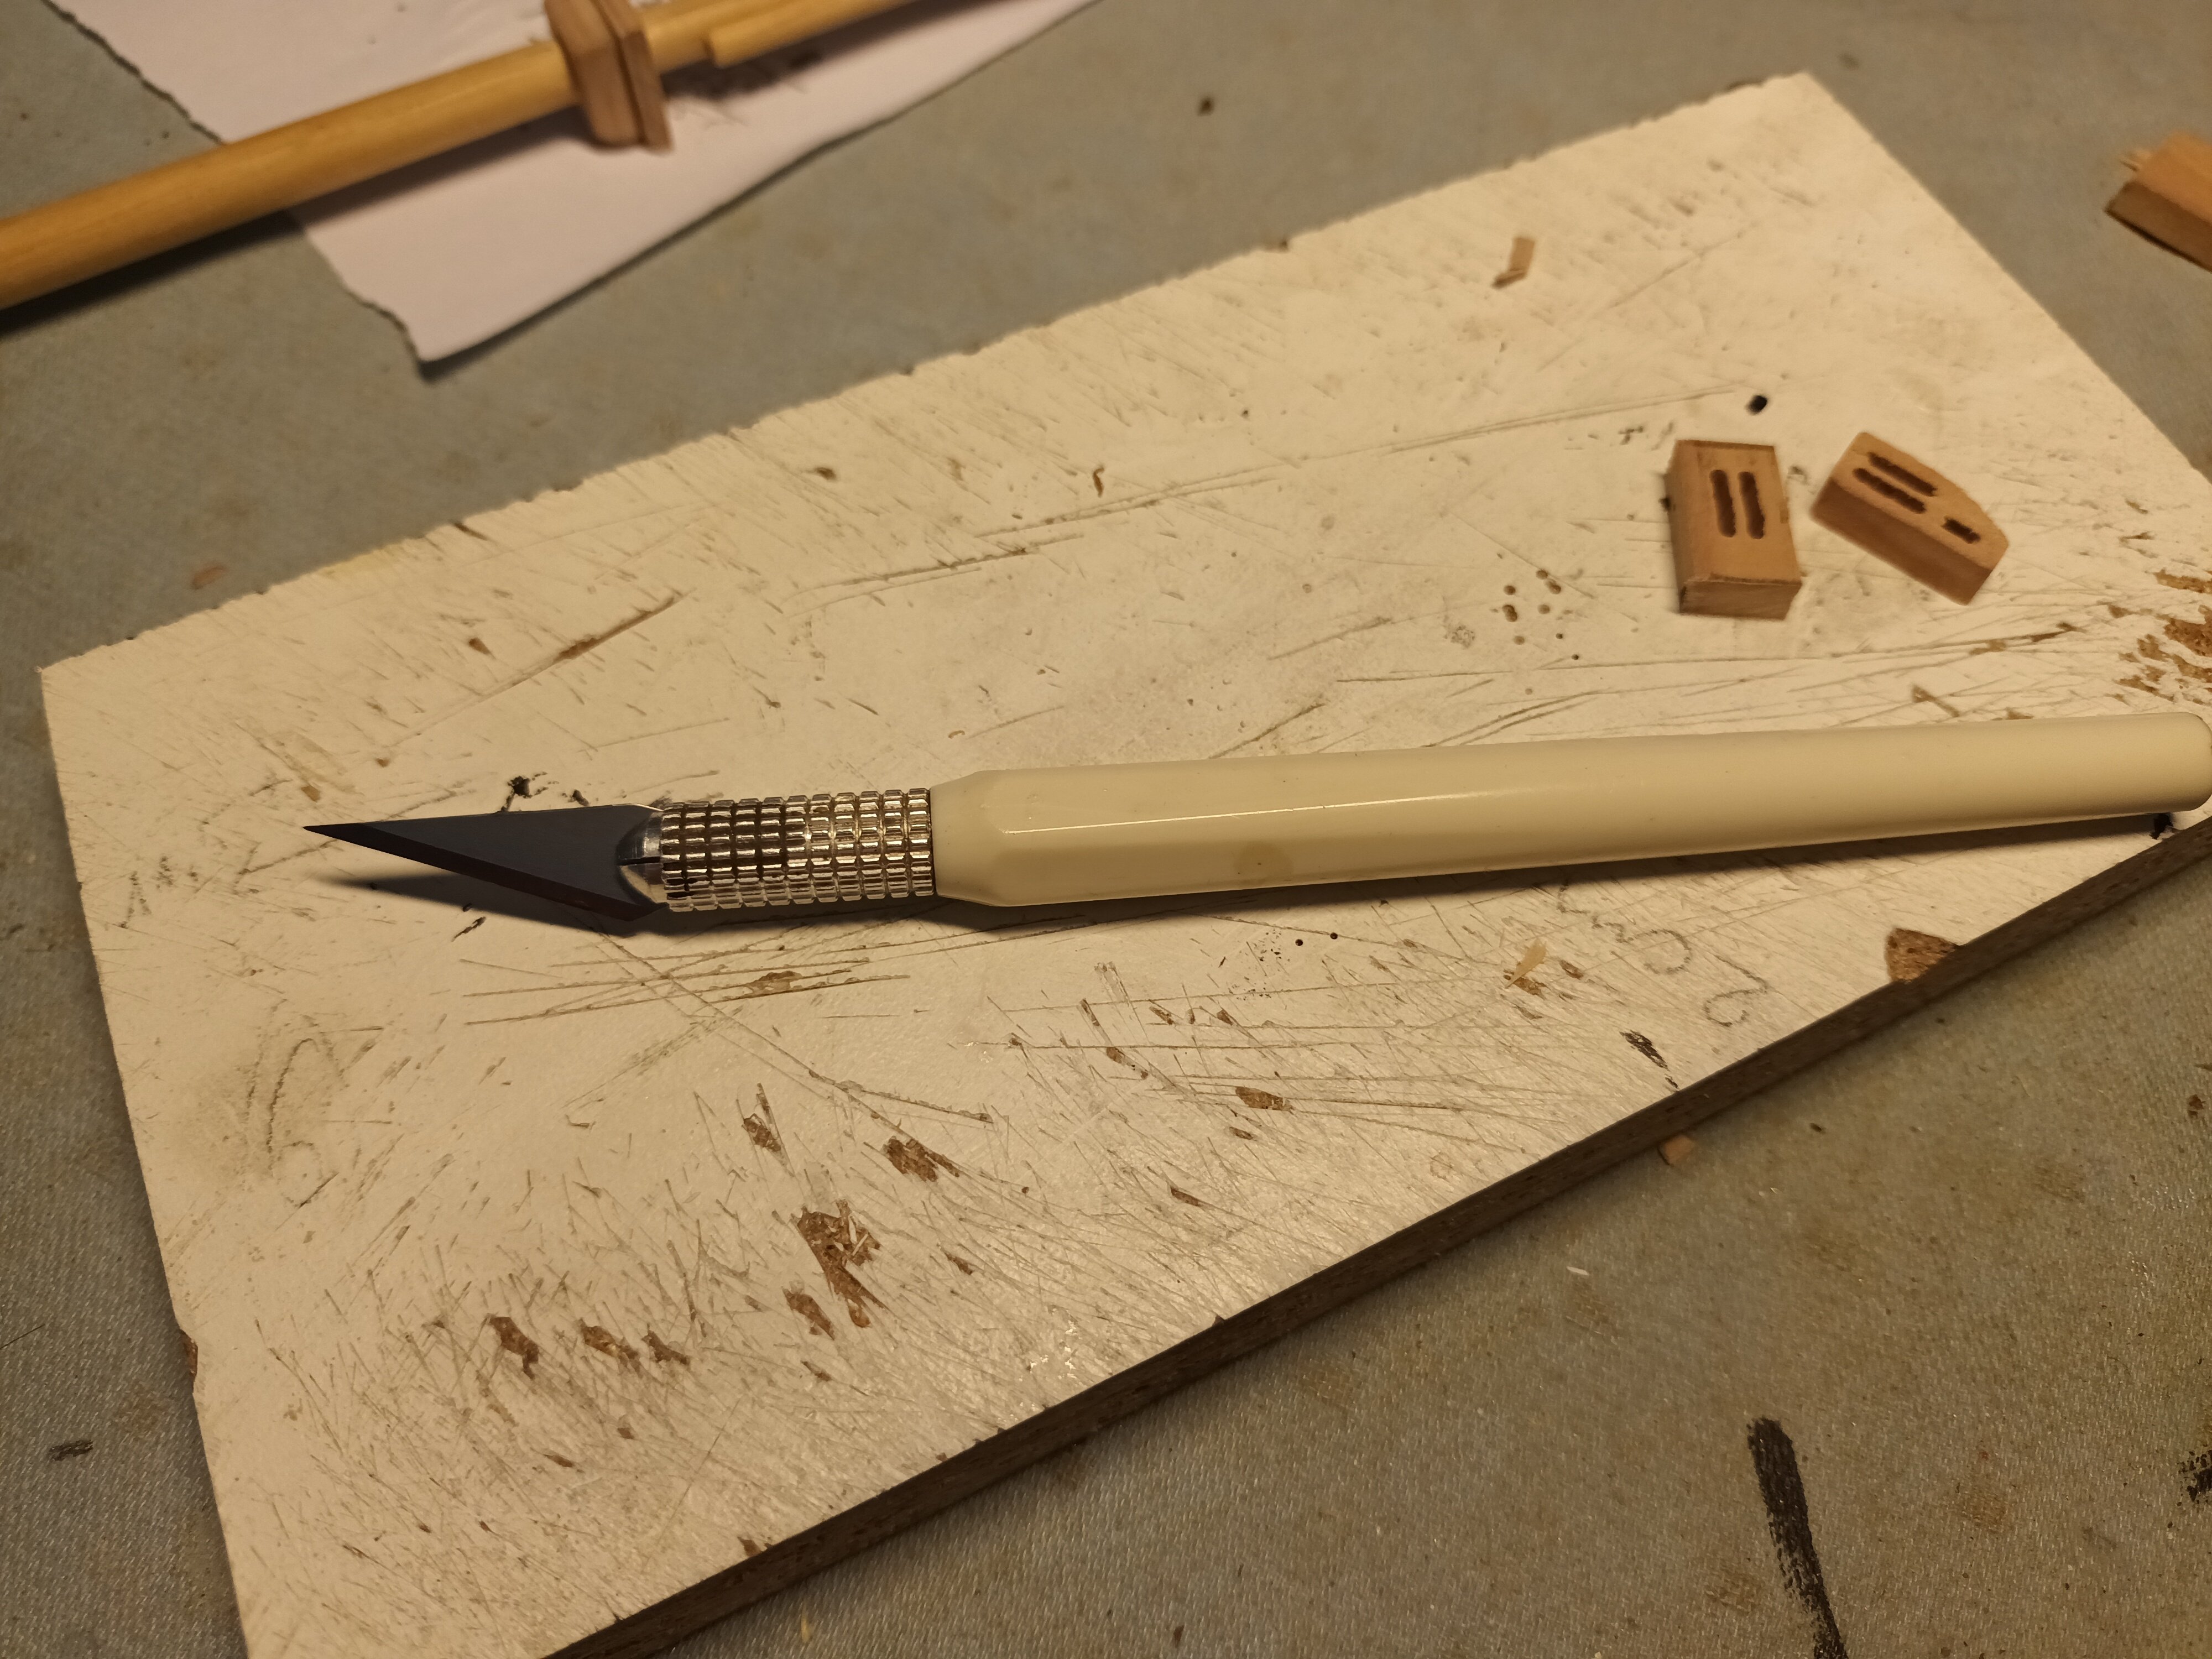
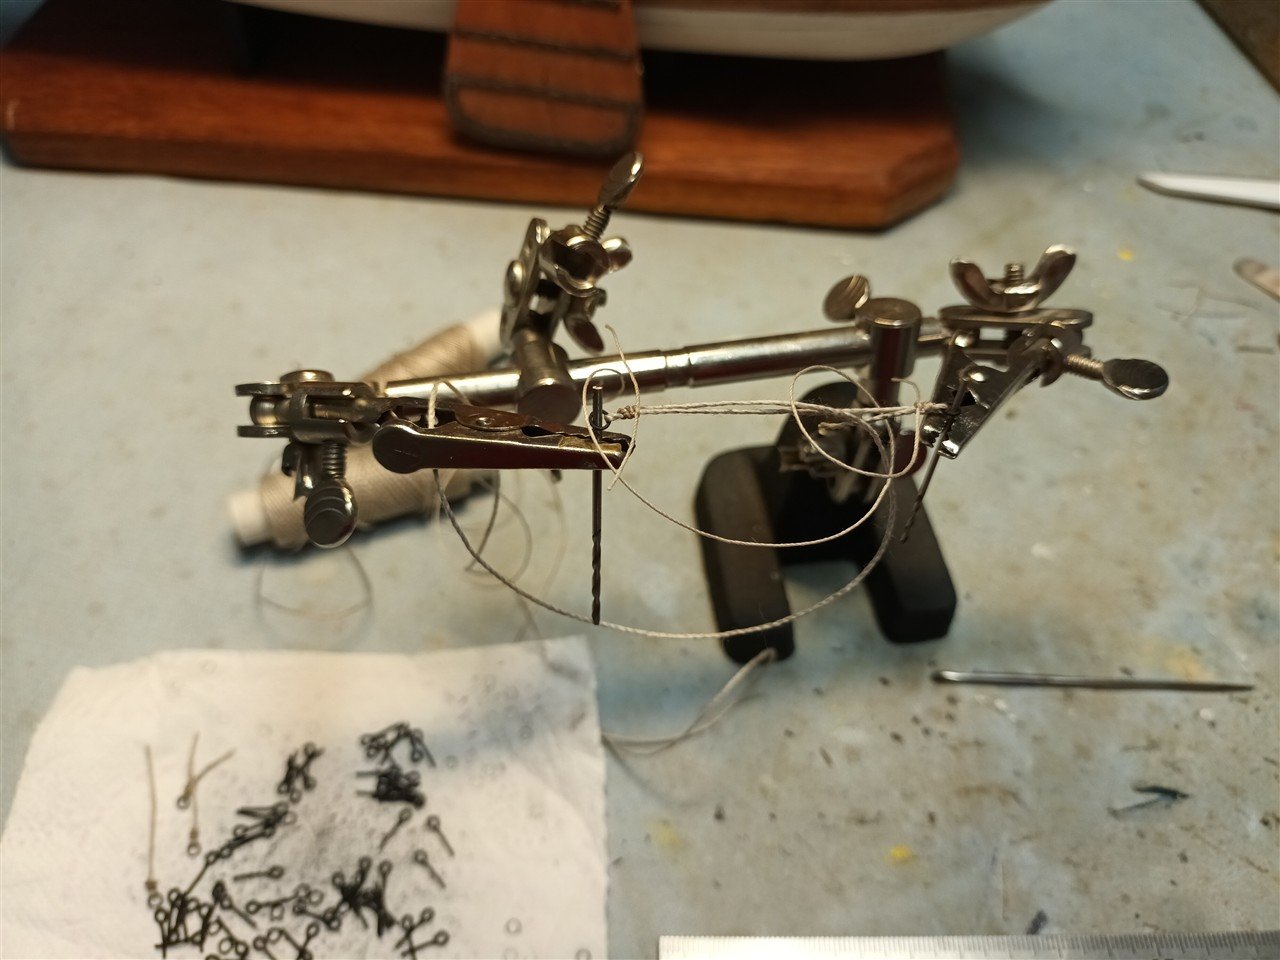
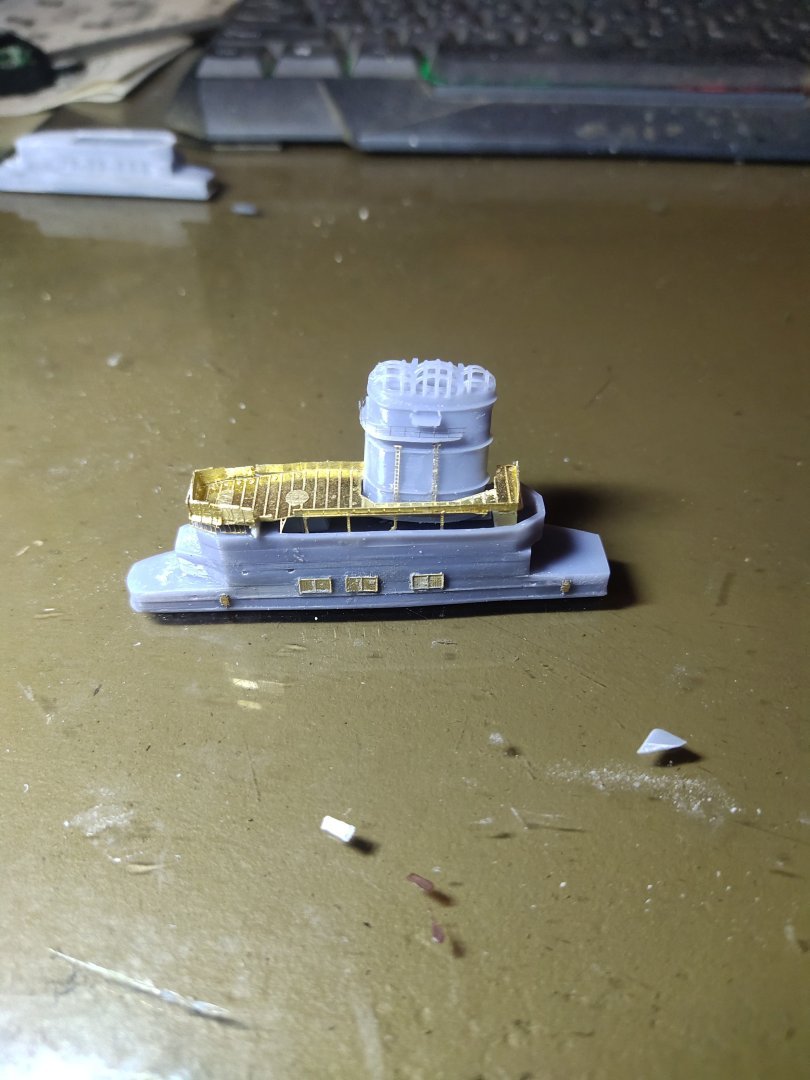
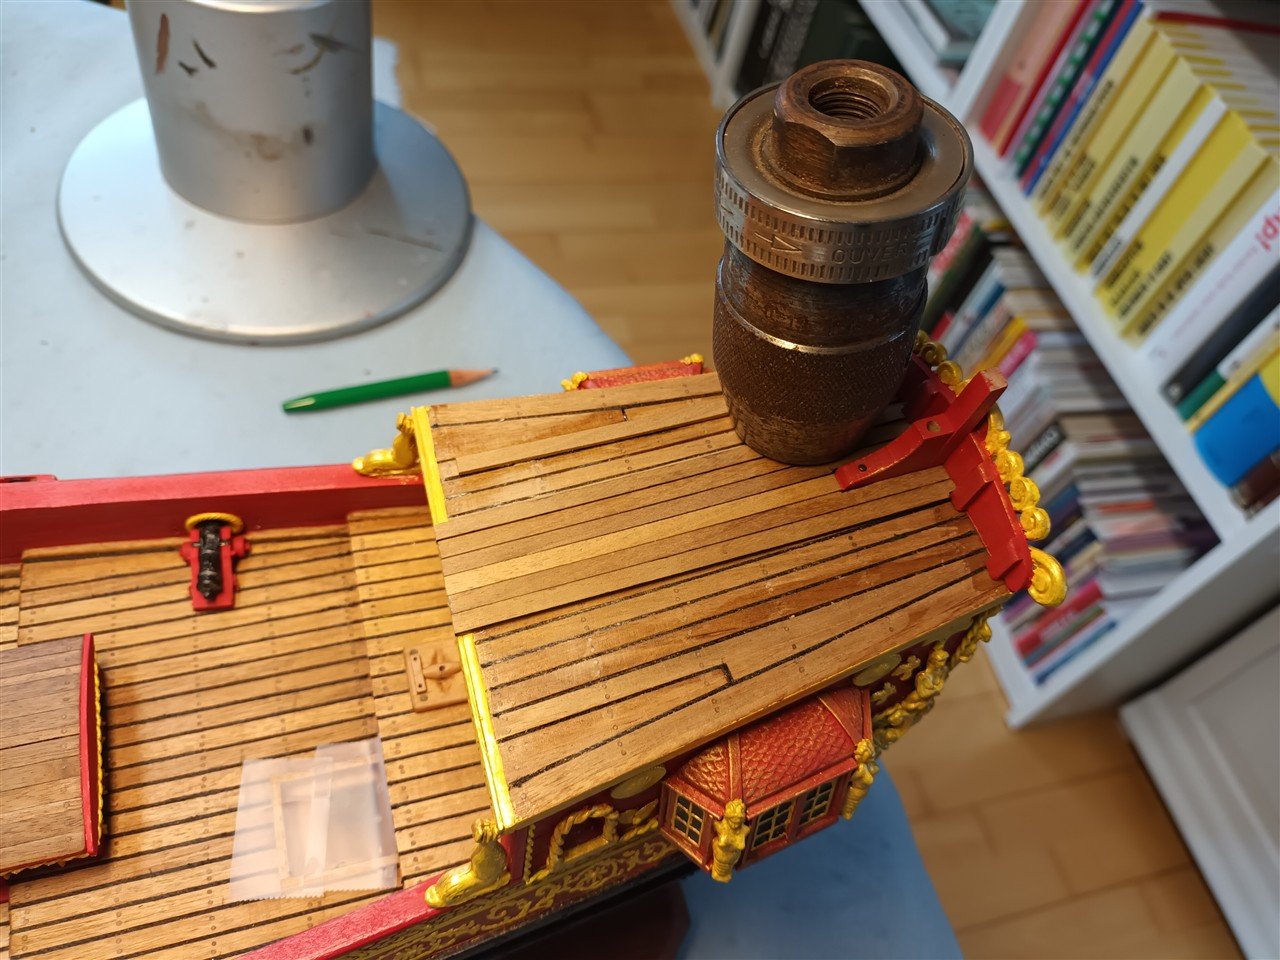
High-tech equipment 😉.
-
-
-
-
Good luck, i follow. Another statenjacht build https://www.modelbouwforum.nl/threads/statenjacht-ad-1678-hans-groenenberg.293584/
-
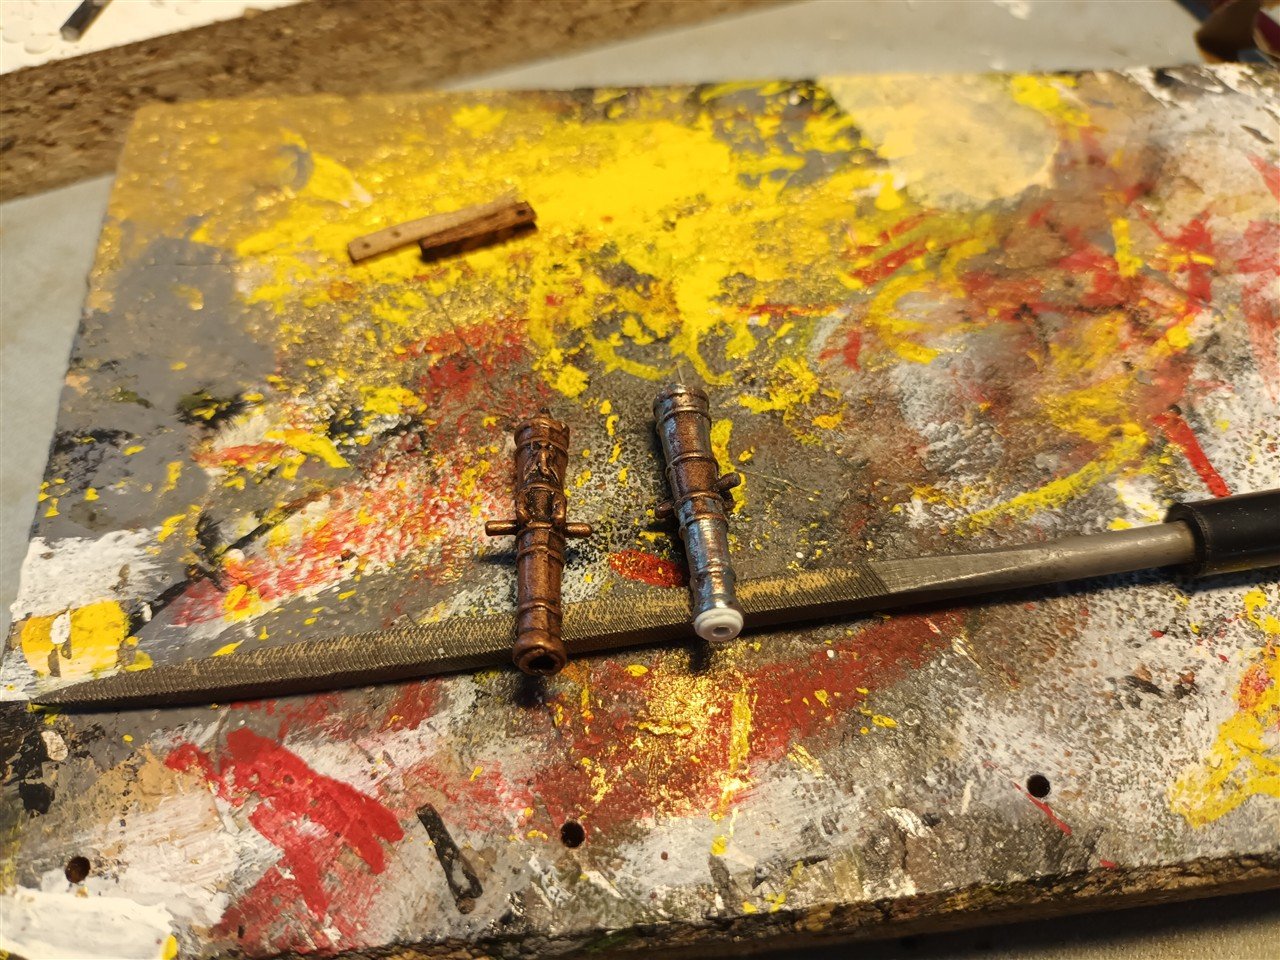
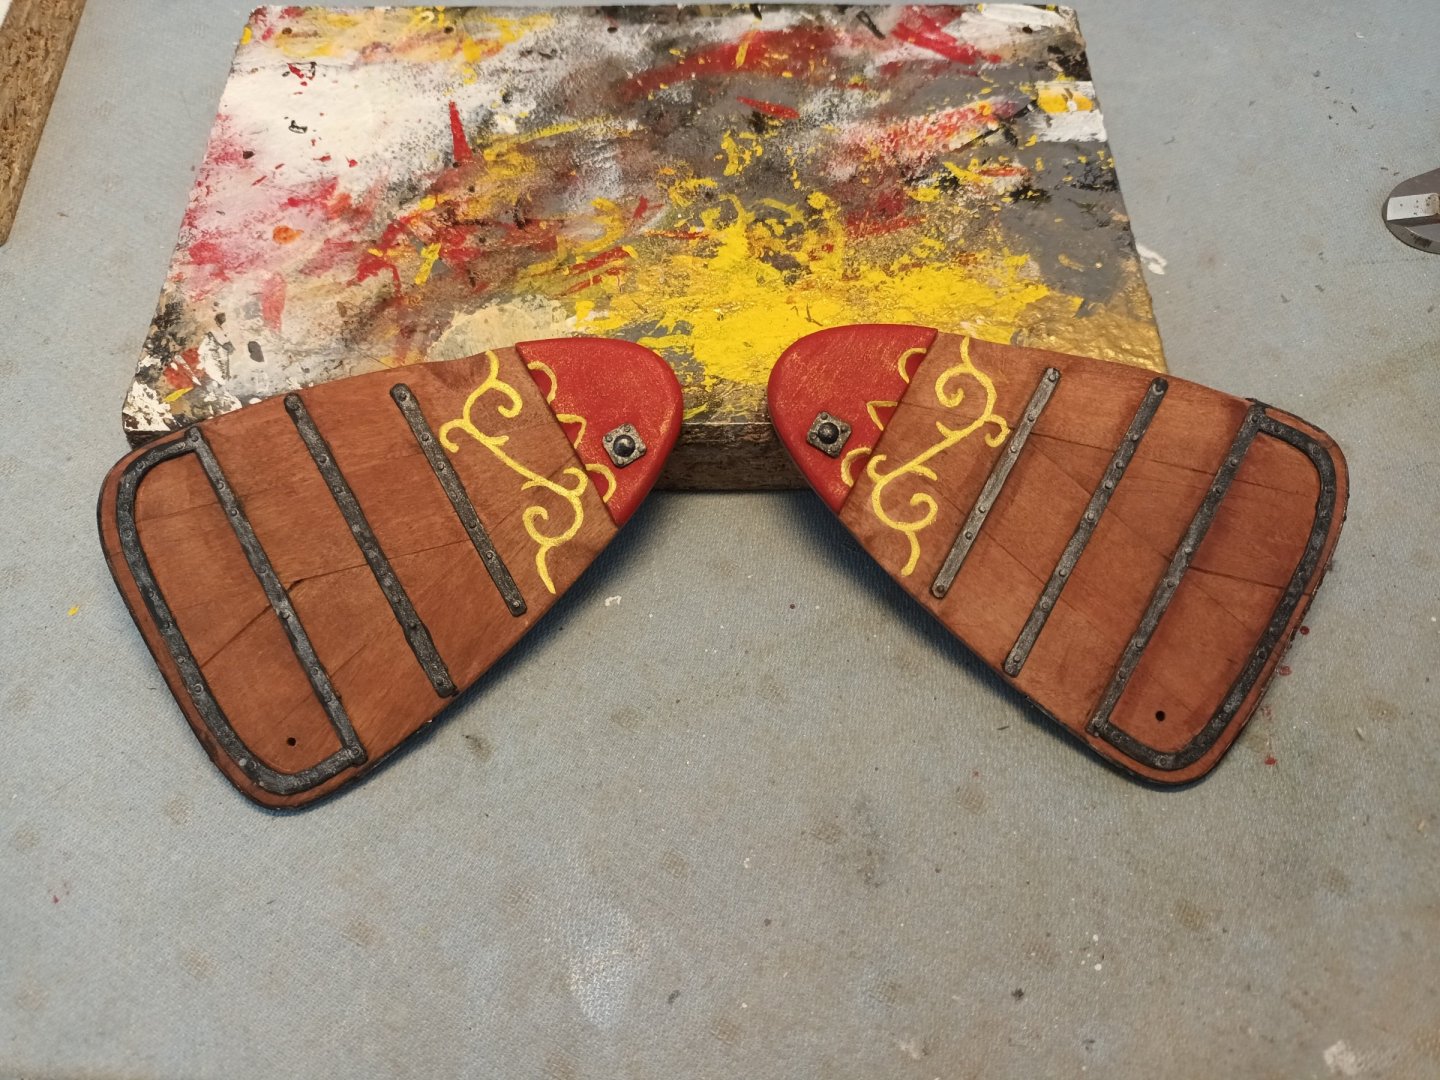
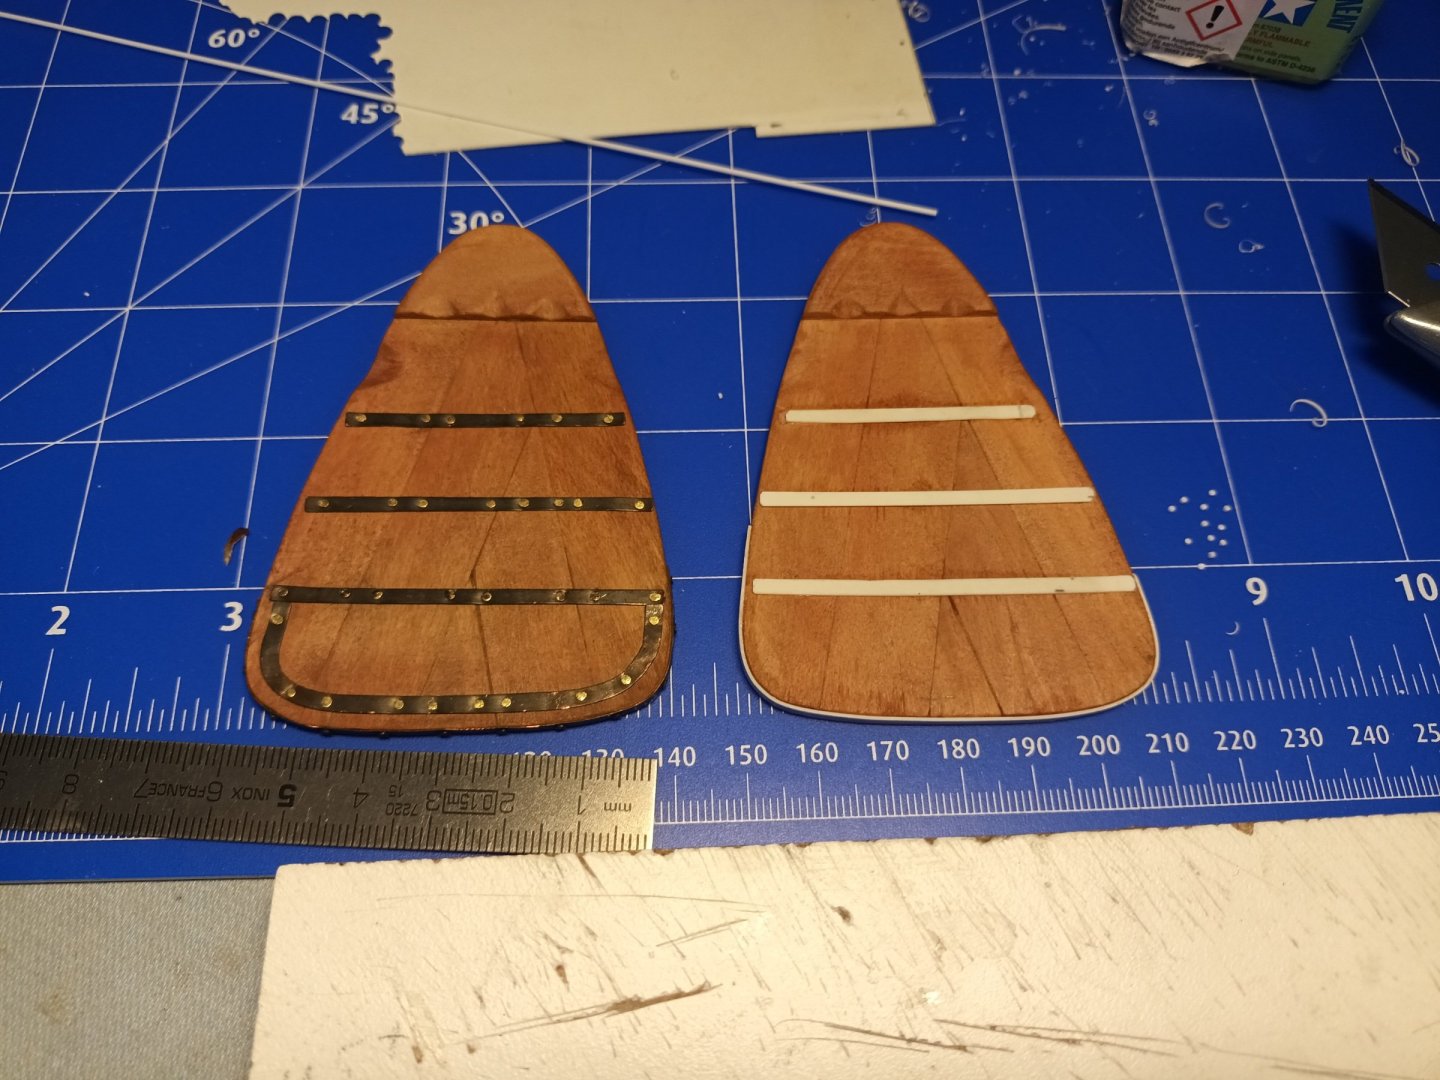
Finishing the leeboards. Part of this project was to try out new techniques for me. I've discovered that copper and brass aren't my thing. The heads of the copper nails are also too large for scale. So, I removed the copper and continued with polystyrene sheet, strip, etc. The result: the painted version with plastic fittings.

- 97 replies
-
- 7
-
-
- Corel
- Große Jacht
- (and 2 more)