DONATION DRIVE - SUPPORT MSW - DO YOUR PART TO KEEP THIS GREAT FORUM GOING!
×


RGL
-
Posts
5,539 -
Joined
-
Last visited
Content Type
Profiles
Forums
Gallery
Events
Everything posted by RGL
-
 I think if I’d planned this build a bit better I’d probably just disregard the PE non stick and use some very coarse brush on primer with mask. This was only ever supposed to be a sorbet between my next major build as I collect bits and pieces. One thing I do notice is how heavily invested people are in destroyers more than any other ship.
 -
Just remember the nets were dropped (unfurled) from the torpedo net shelves. Gravity did the work, The booms were then pulled out via ropes to the capstans. In reverse, the capstans pulled the booms back in, then the brails were used to pull or furl them up. You can see from the pulleys on the deck attached to the rope that runs along the deck would be used to do that via the Brails. So brail, rope, capstan.
-
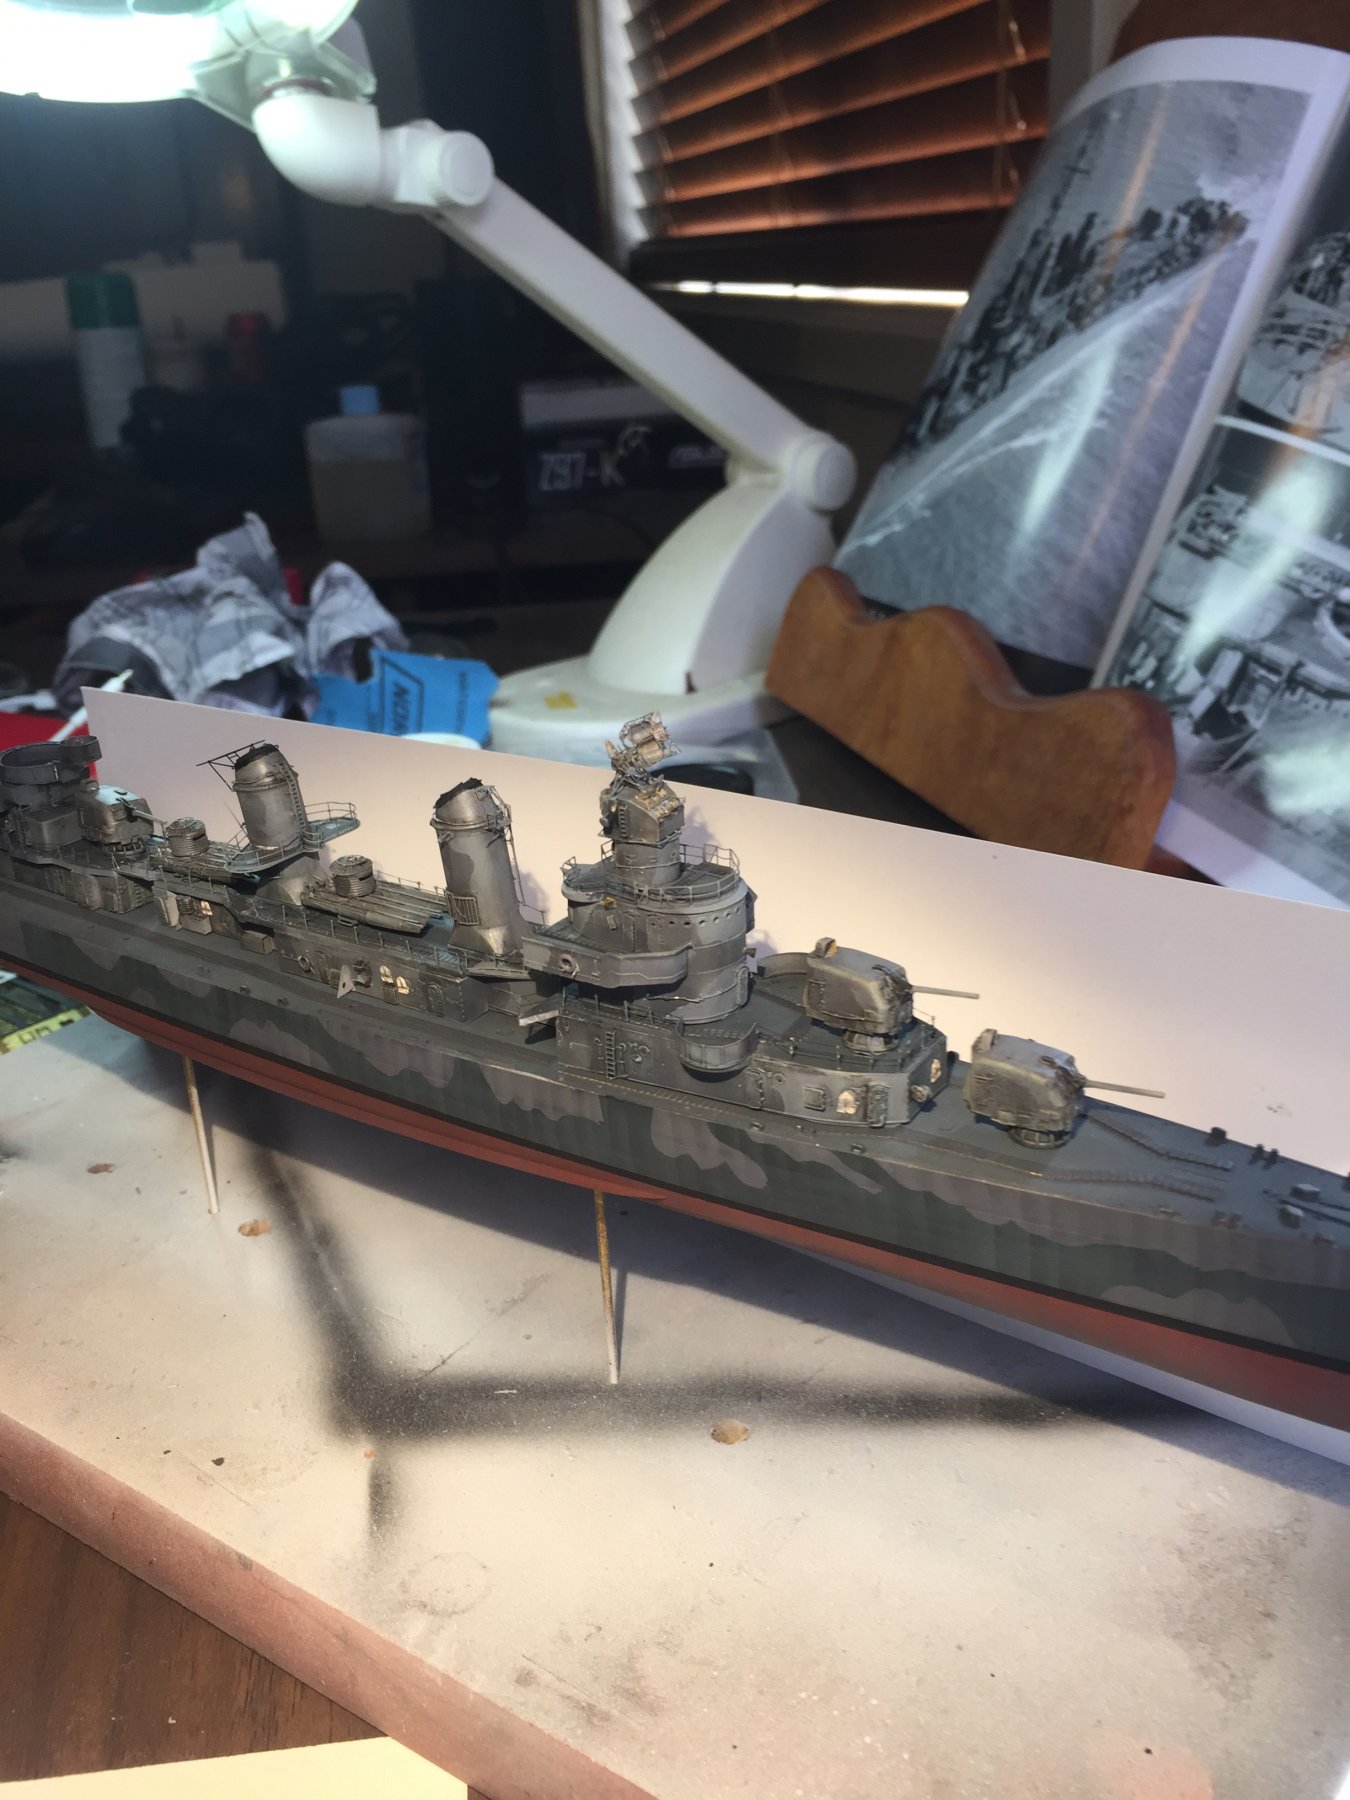
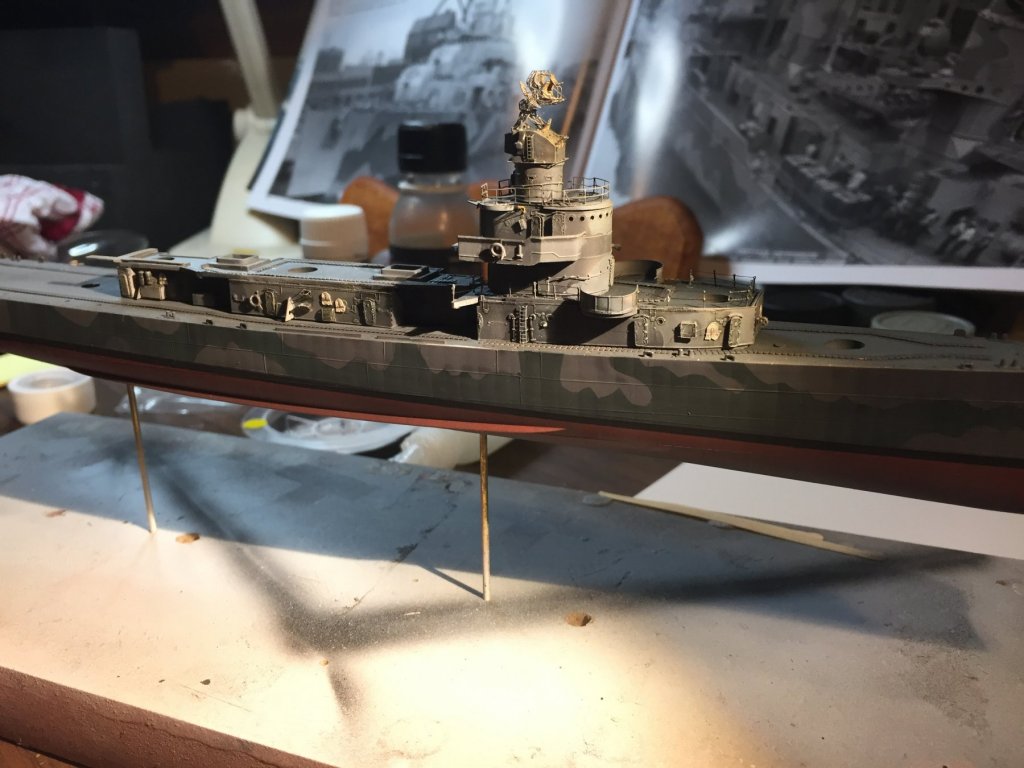
Thanks for the feedback, I put the second round house on really because it was that complicated to construct this piece it just would have looked ramshackle. I’m reasonable at PE, but this one really needs a it 10 attempts to get right. The deck is always hard, and it’s a balancing act and if it wasn’t ‘42 it would have been a lot more faded. That being said, there is so much detail to be added yet not that much will be visible. Whats 04 level?
-
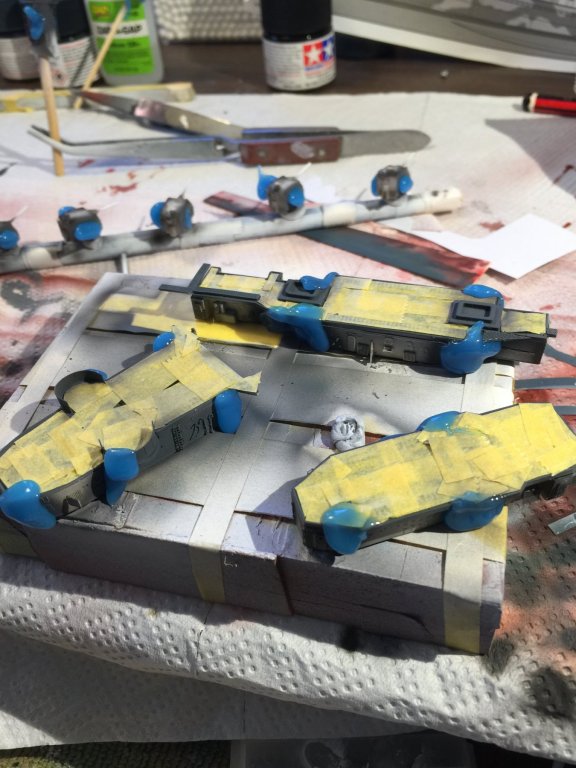
So I tried this new modeling putty. Nope, don’t like it. This is now really fiddly and slow as I’m using individual stanchions. Fading done with an airbrush and then dry brushing to bring out the details. None of this is glued yet, there are a heap of details to go.
- 194 replies
-
- 20
-

-
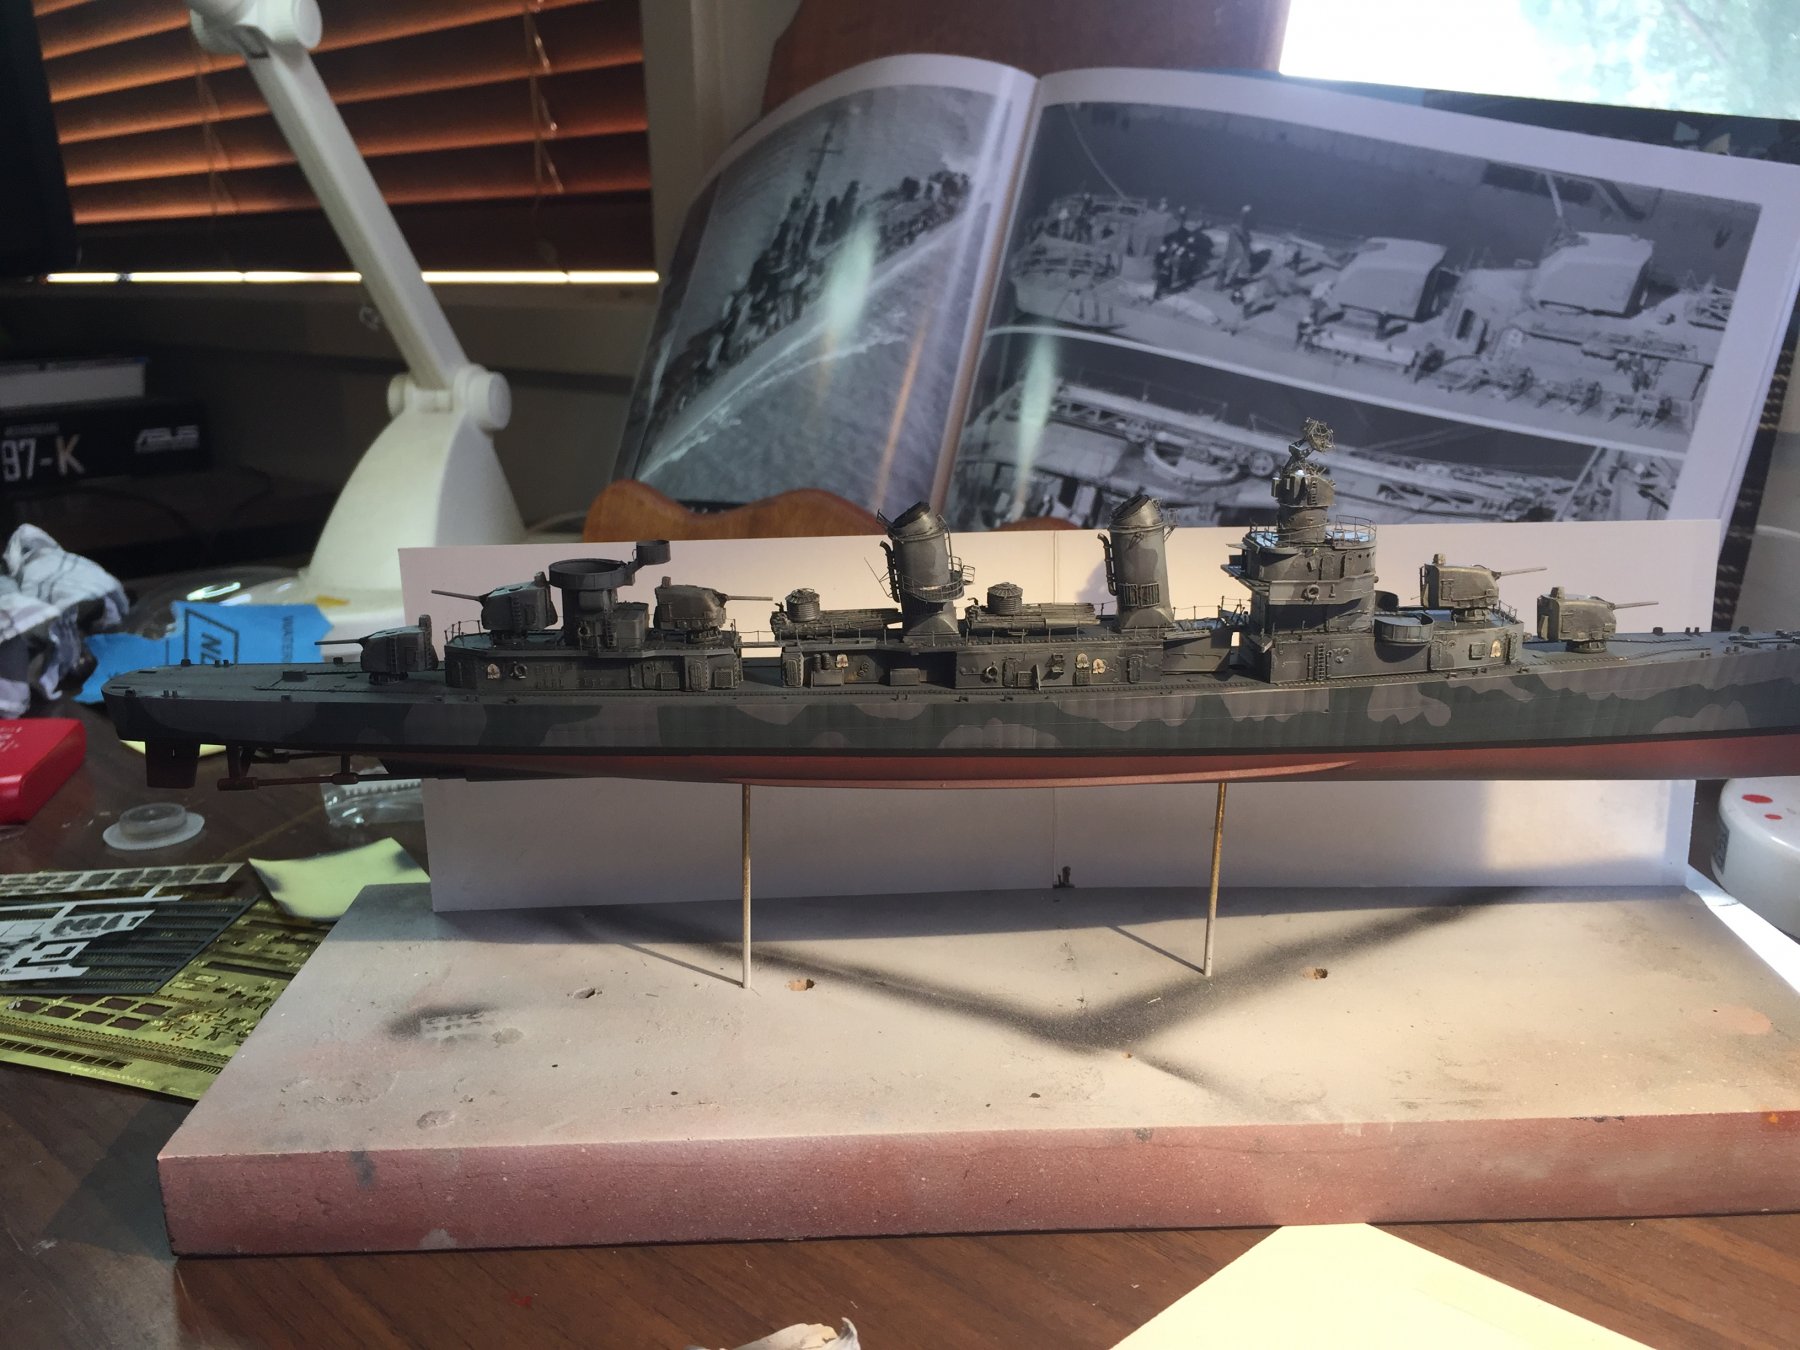
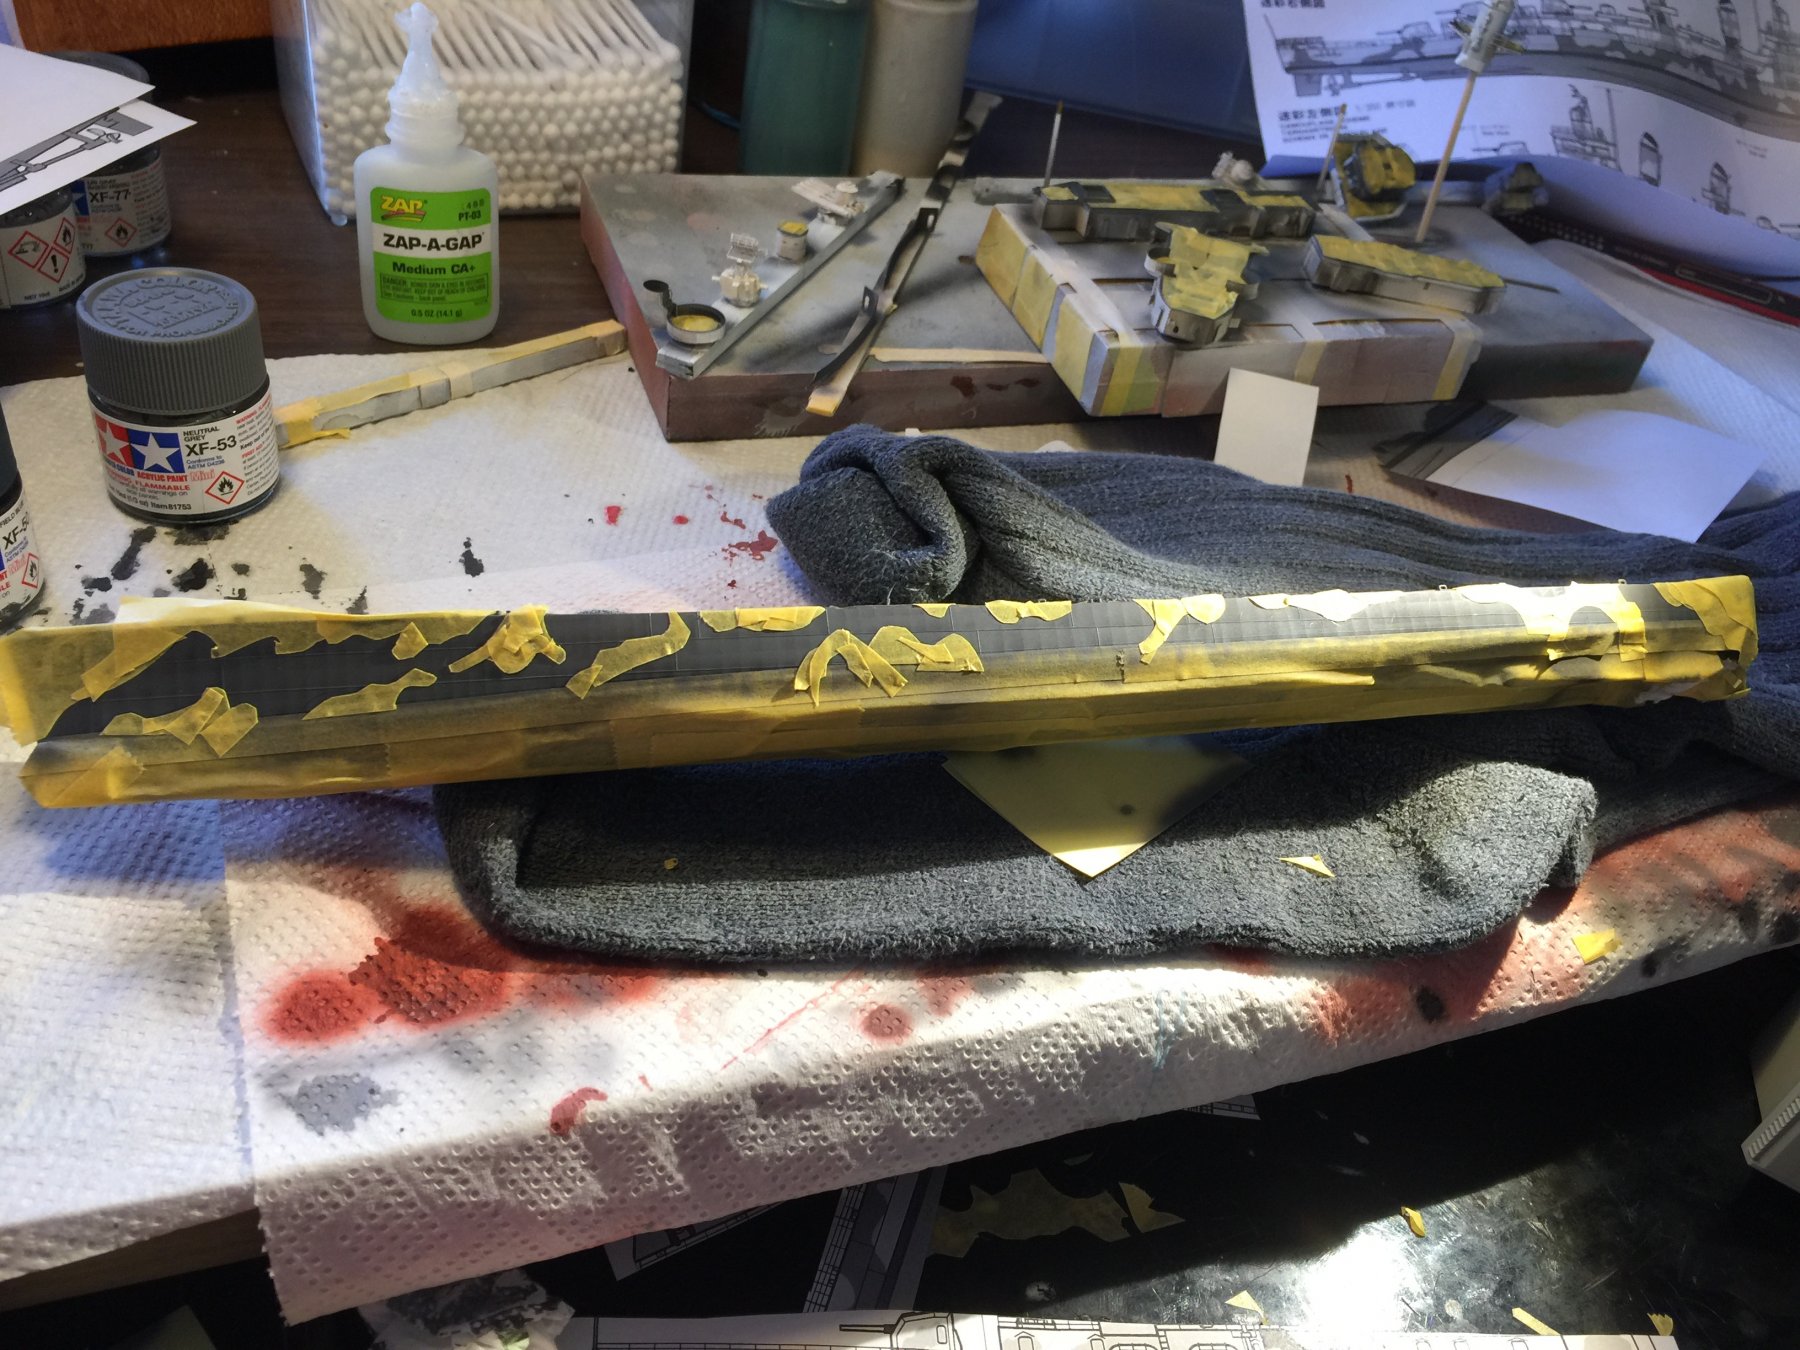
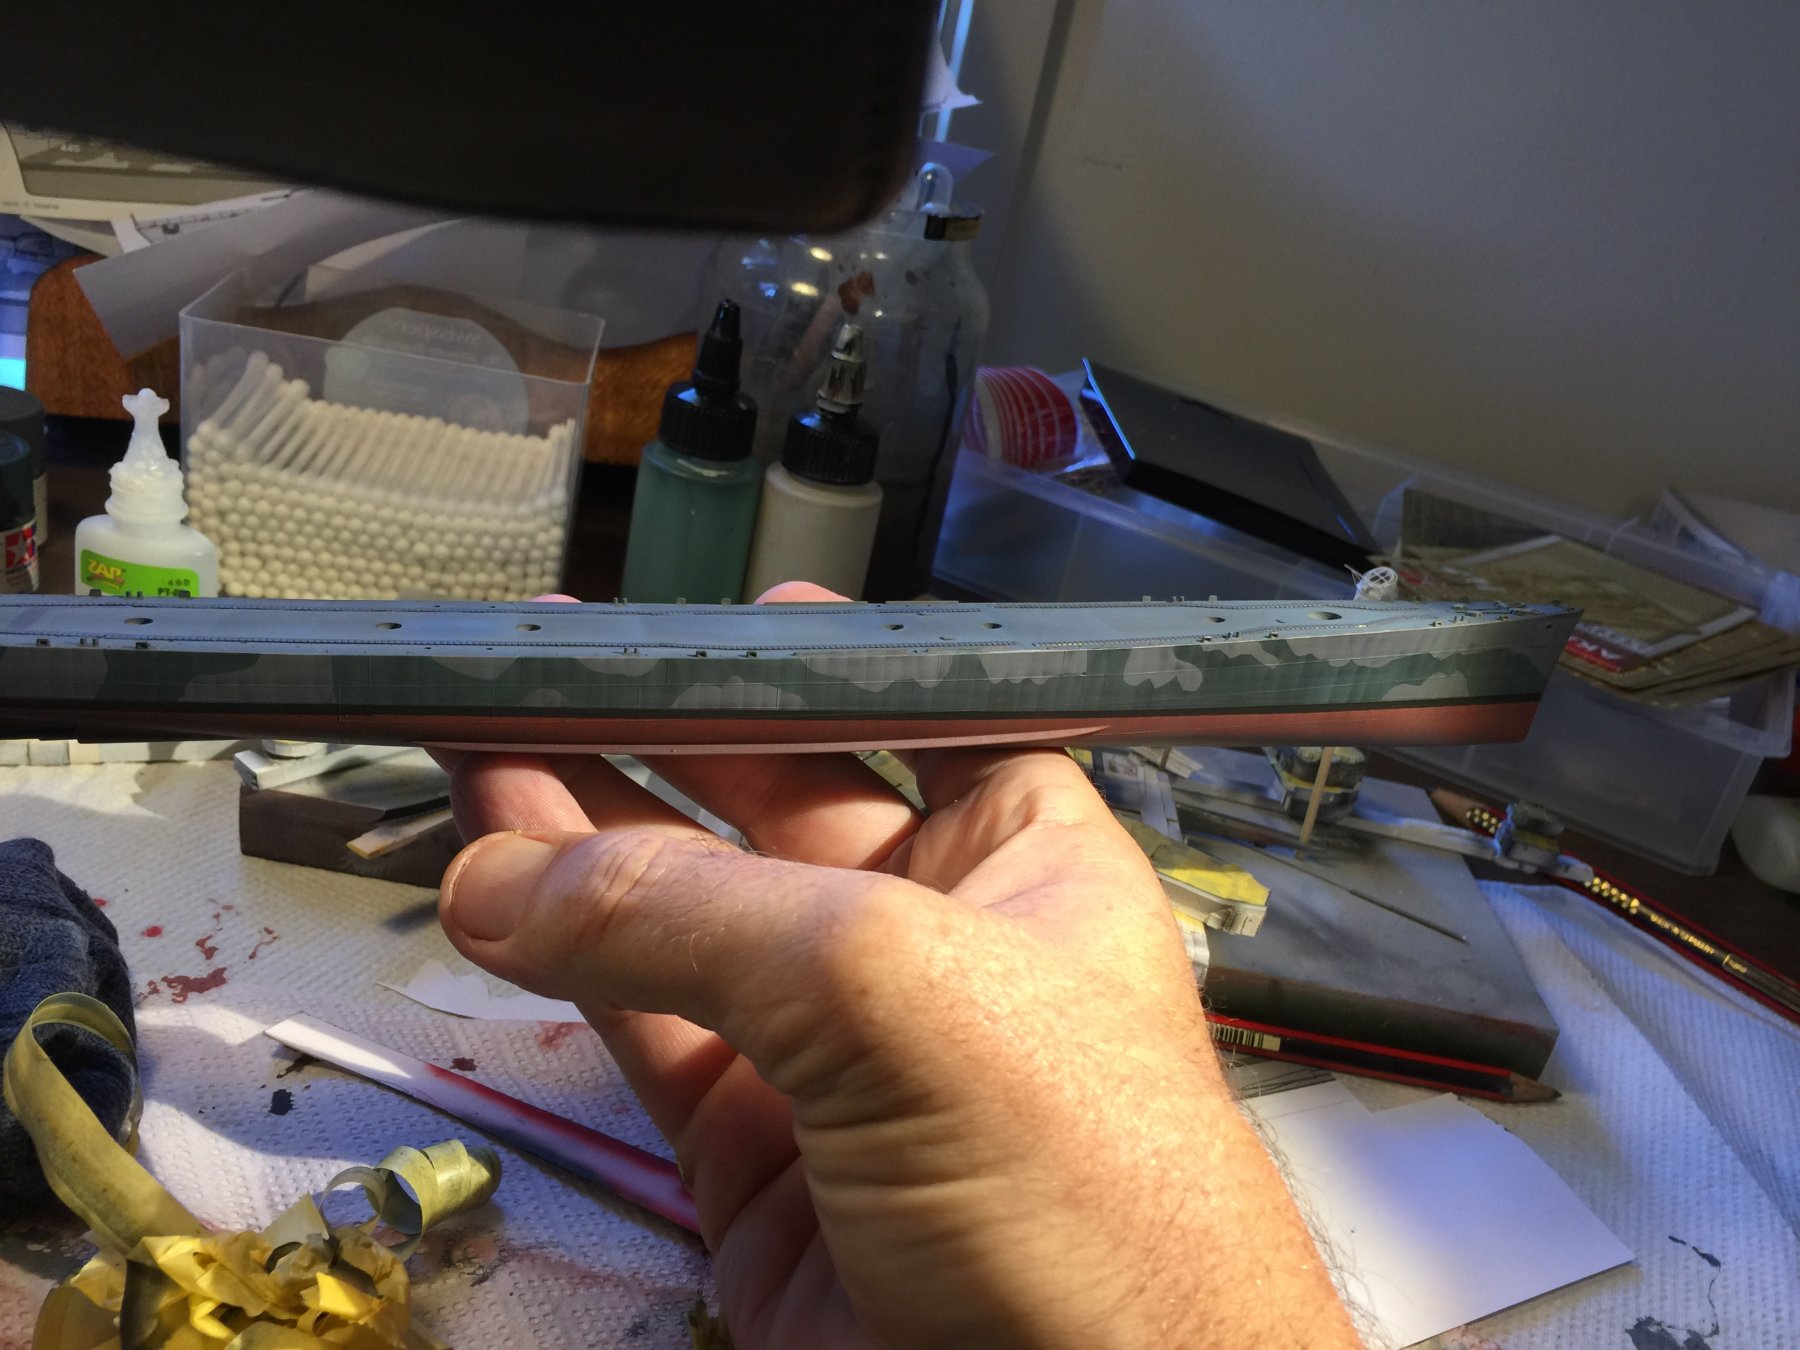
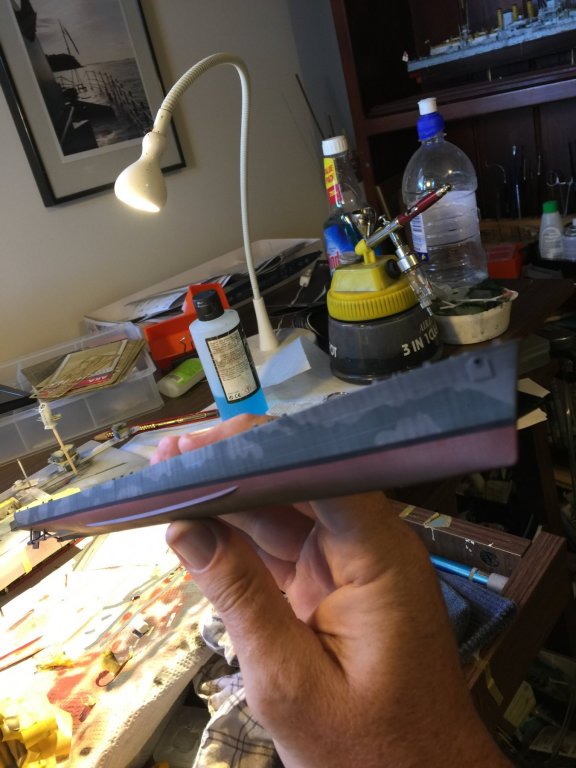
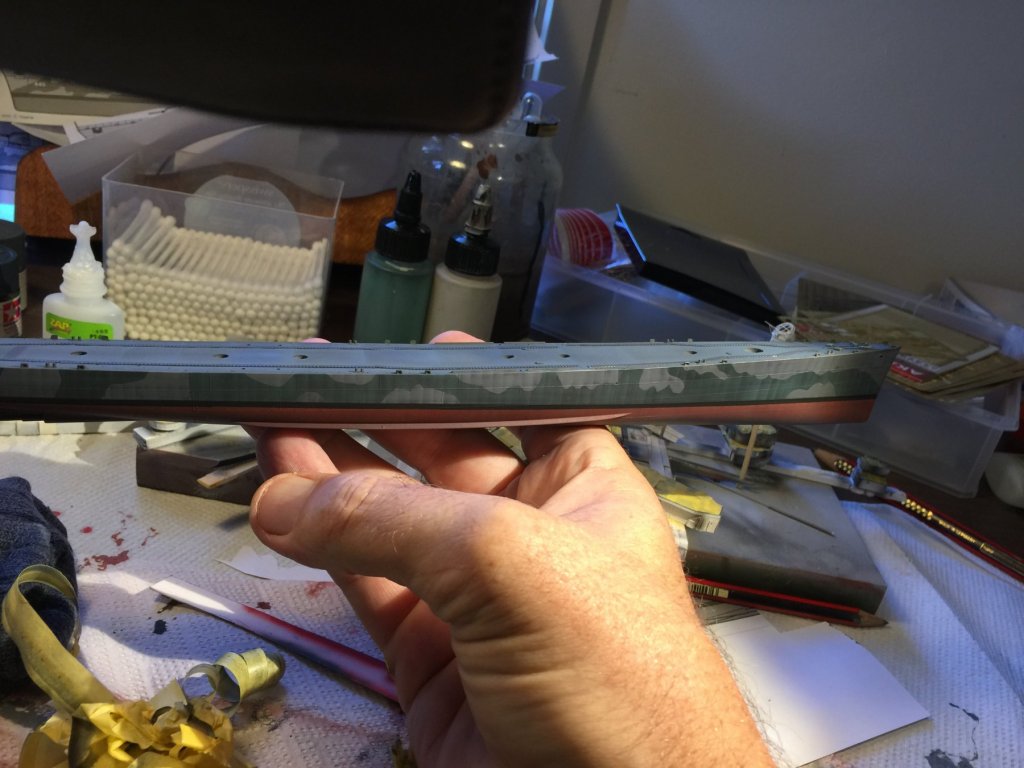
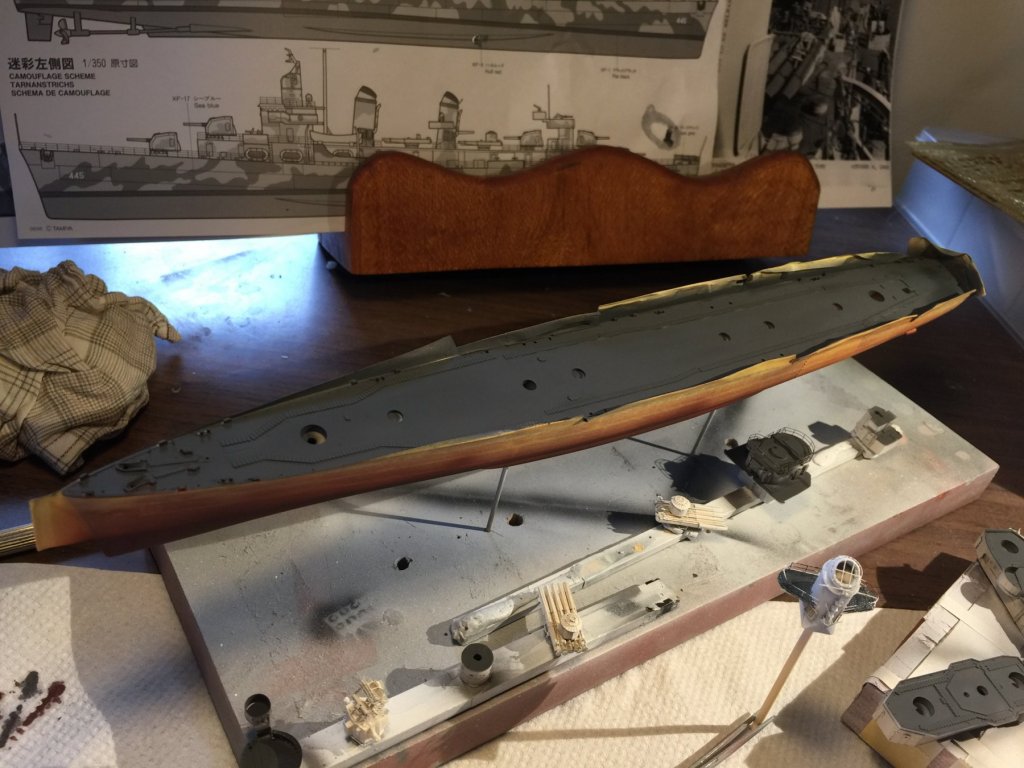
About 3 hours of masking, using a pencil on the masking to ensure the oilcanning lines up, sea blue, and the same process as with grey, I’m pretty happy with the outcome so far.

- 194 replies
-
- 21
-
-
It’s not finished yet but I always try to have the line forward of the bow and above the gunnels. I use post it notes, as they come in lots of sizes and are thick enough that the paint won’t soak through but still soft. When an very five opeque overspray 20% colour/ 80% thinner it will give it more depth. That’s tomorrow’s job, as there was rugby watch this afternoon plus beer to be had.
- 194 replies
-
- 14
-
-
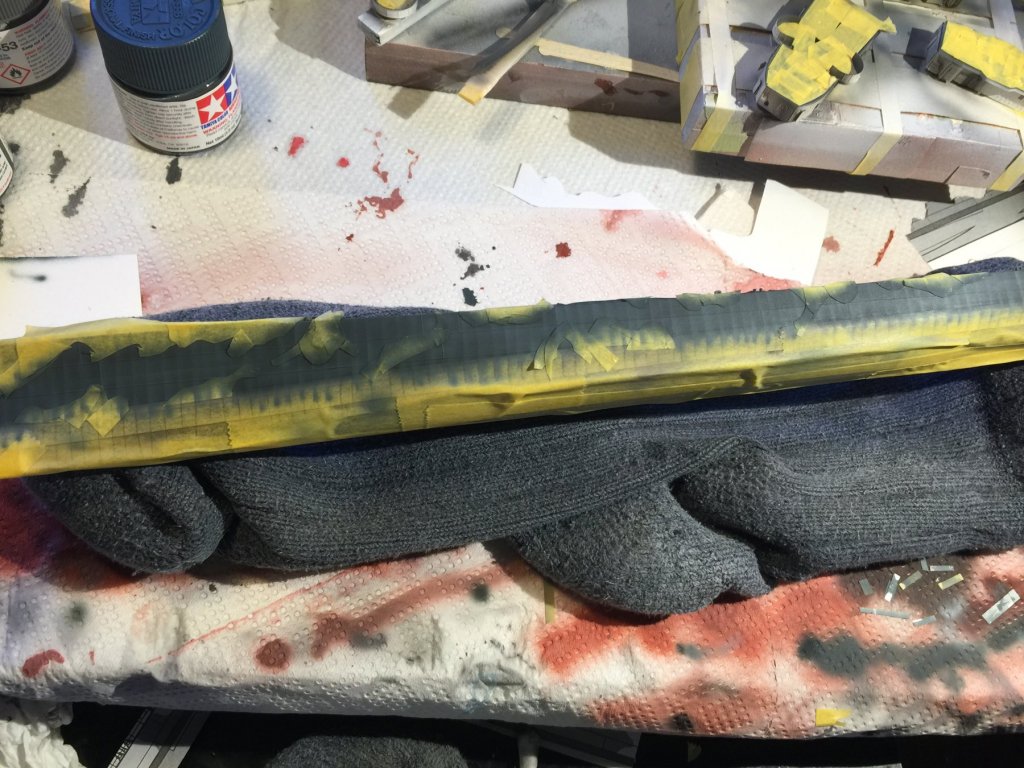
Side plates pre shaded, a few shades of grey and oilcanning. I need to put another diluted coat over the top then cut some templates and overspray with dark blue for the camo.


- 194 replies
-
- 14
-
-
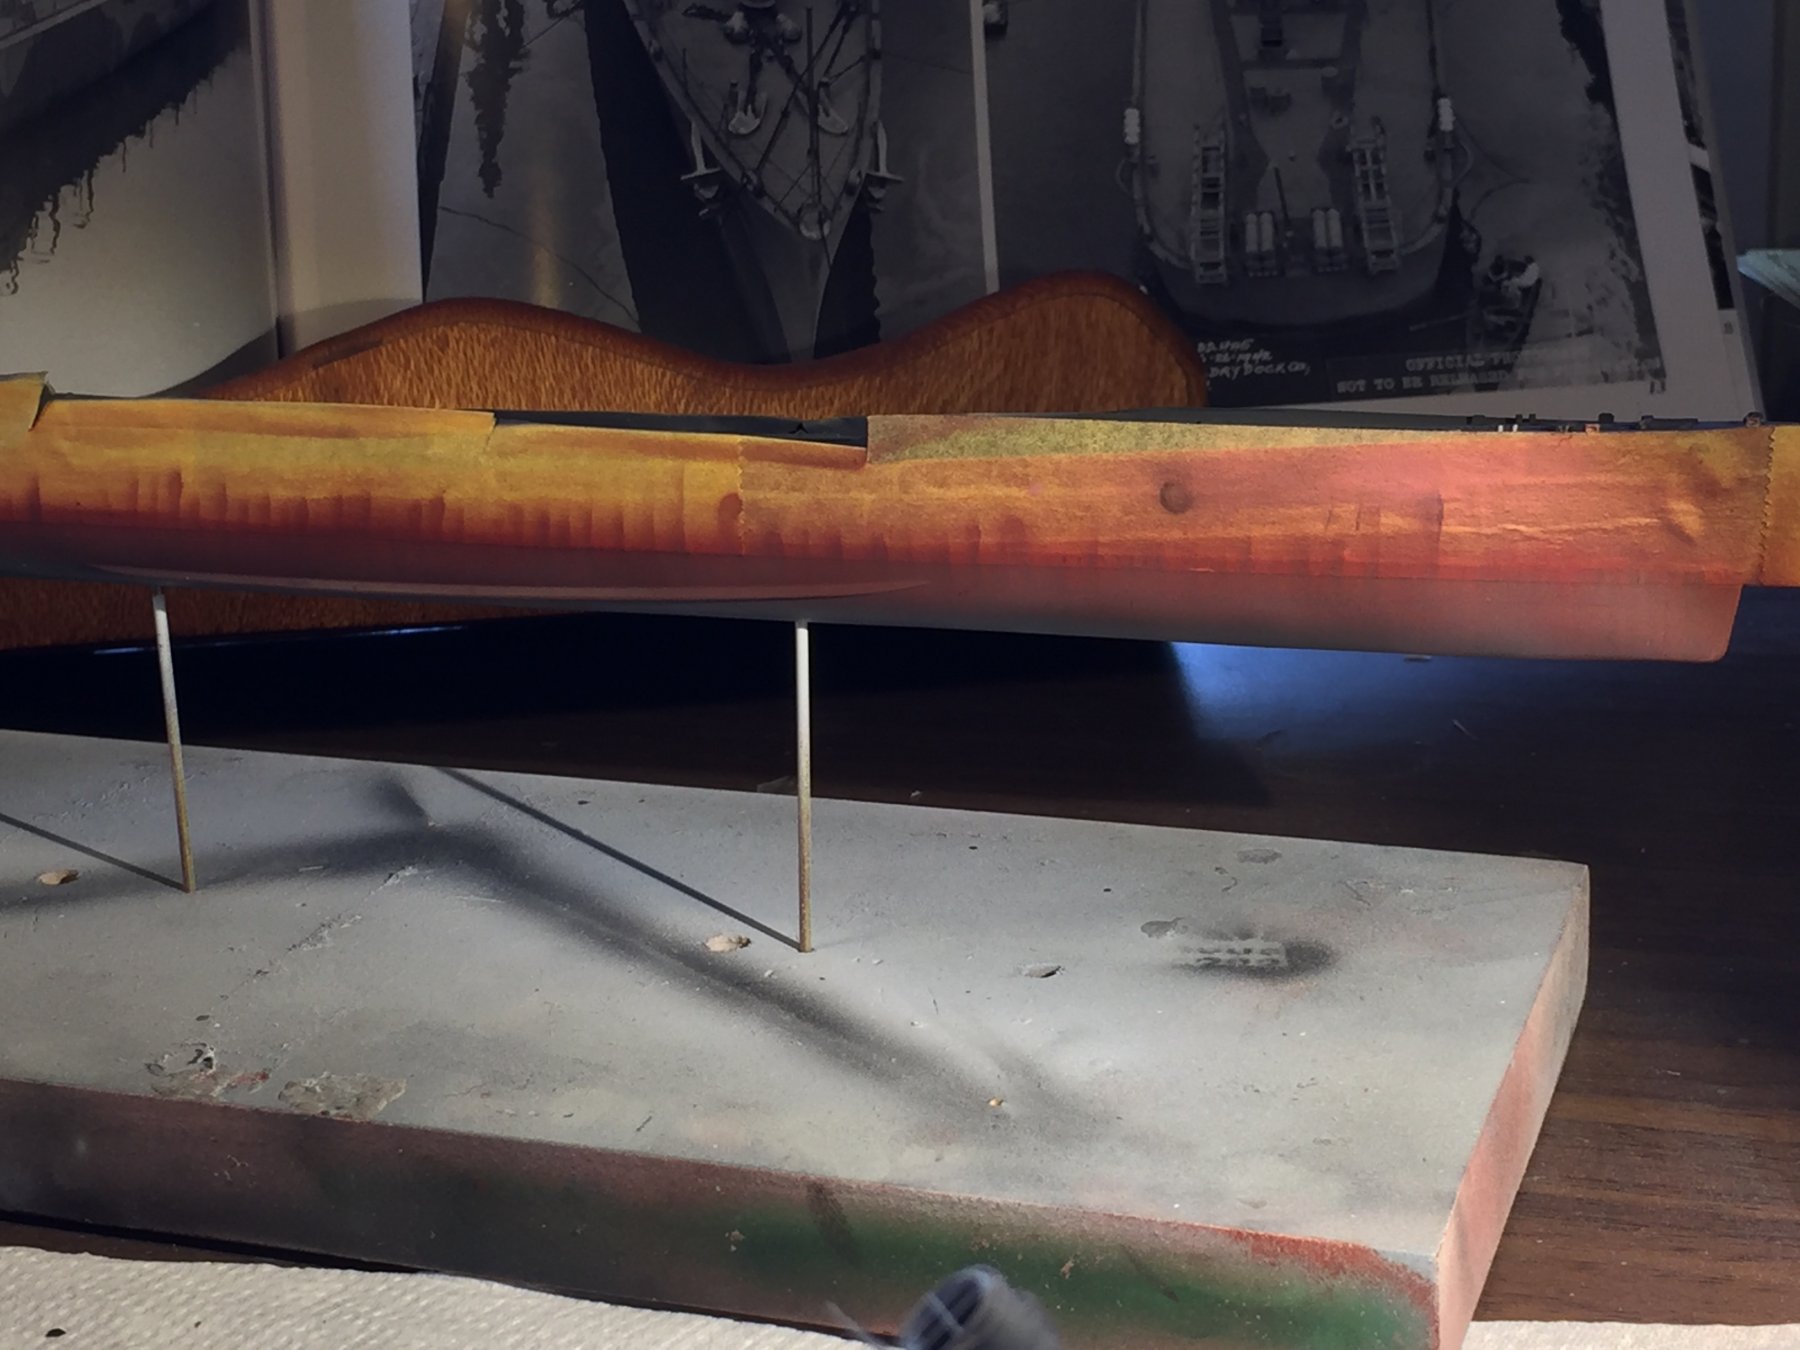
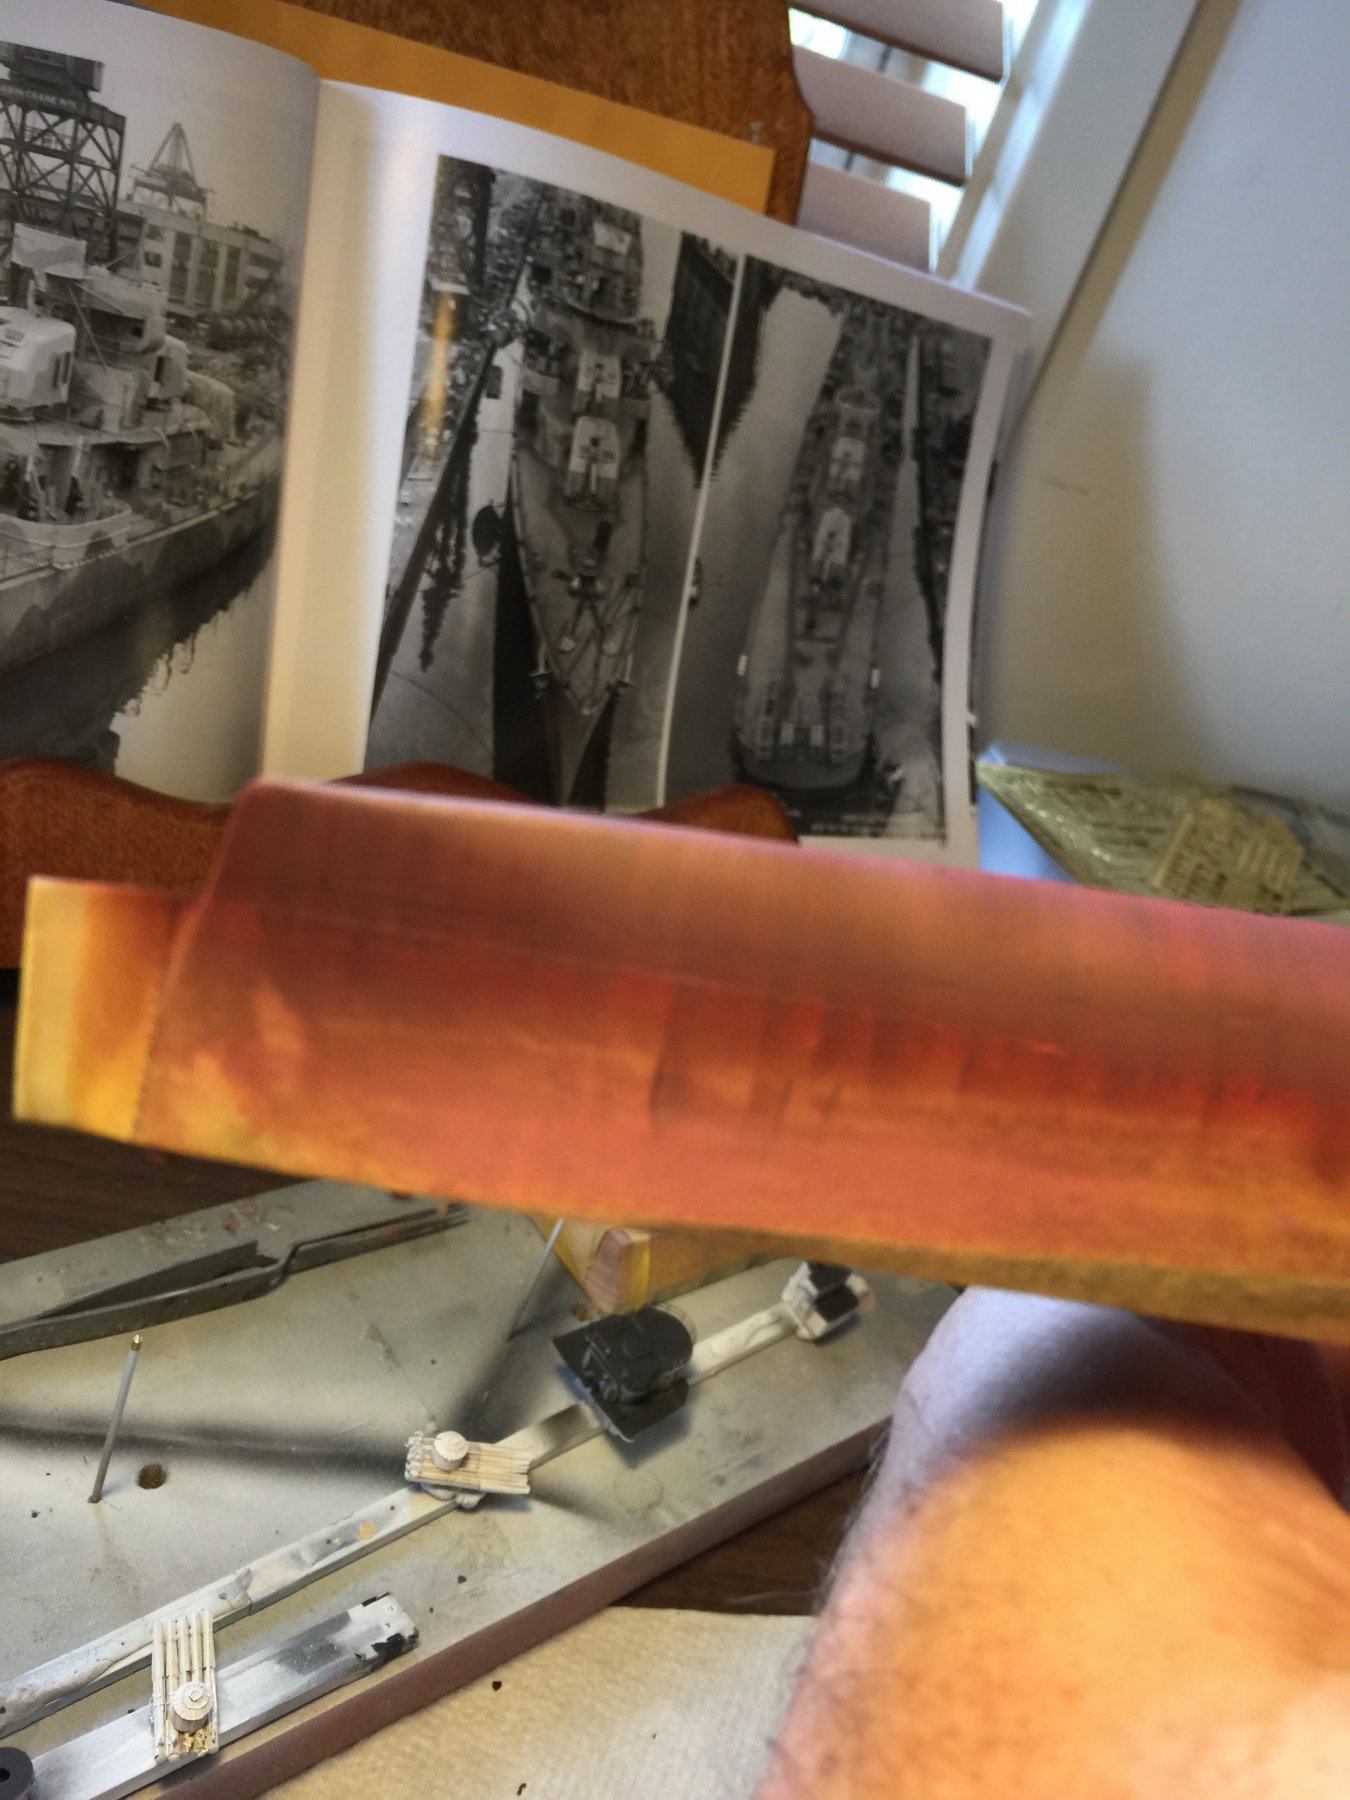
It’s near impossible to find any contemporary photos, there is a website dedicated to the restoration of a Fletcher class destroyer where the hull is covered in barnacles and almost rusted through but it would be sitting fallow for years and years. The oilcanning would (I expect) get worse as the years and pounding into big waves over and over.
-
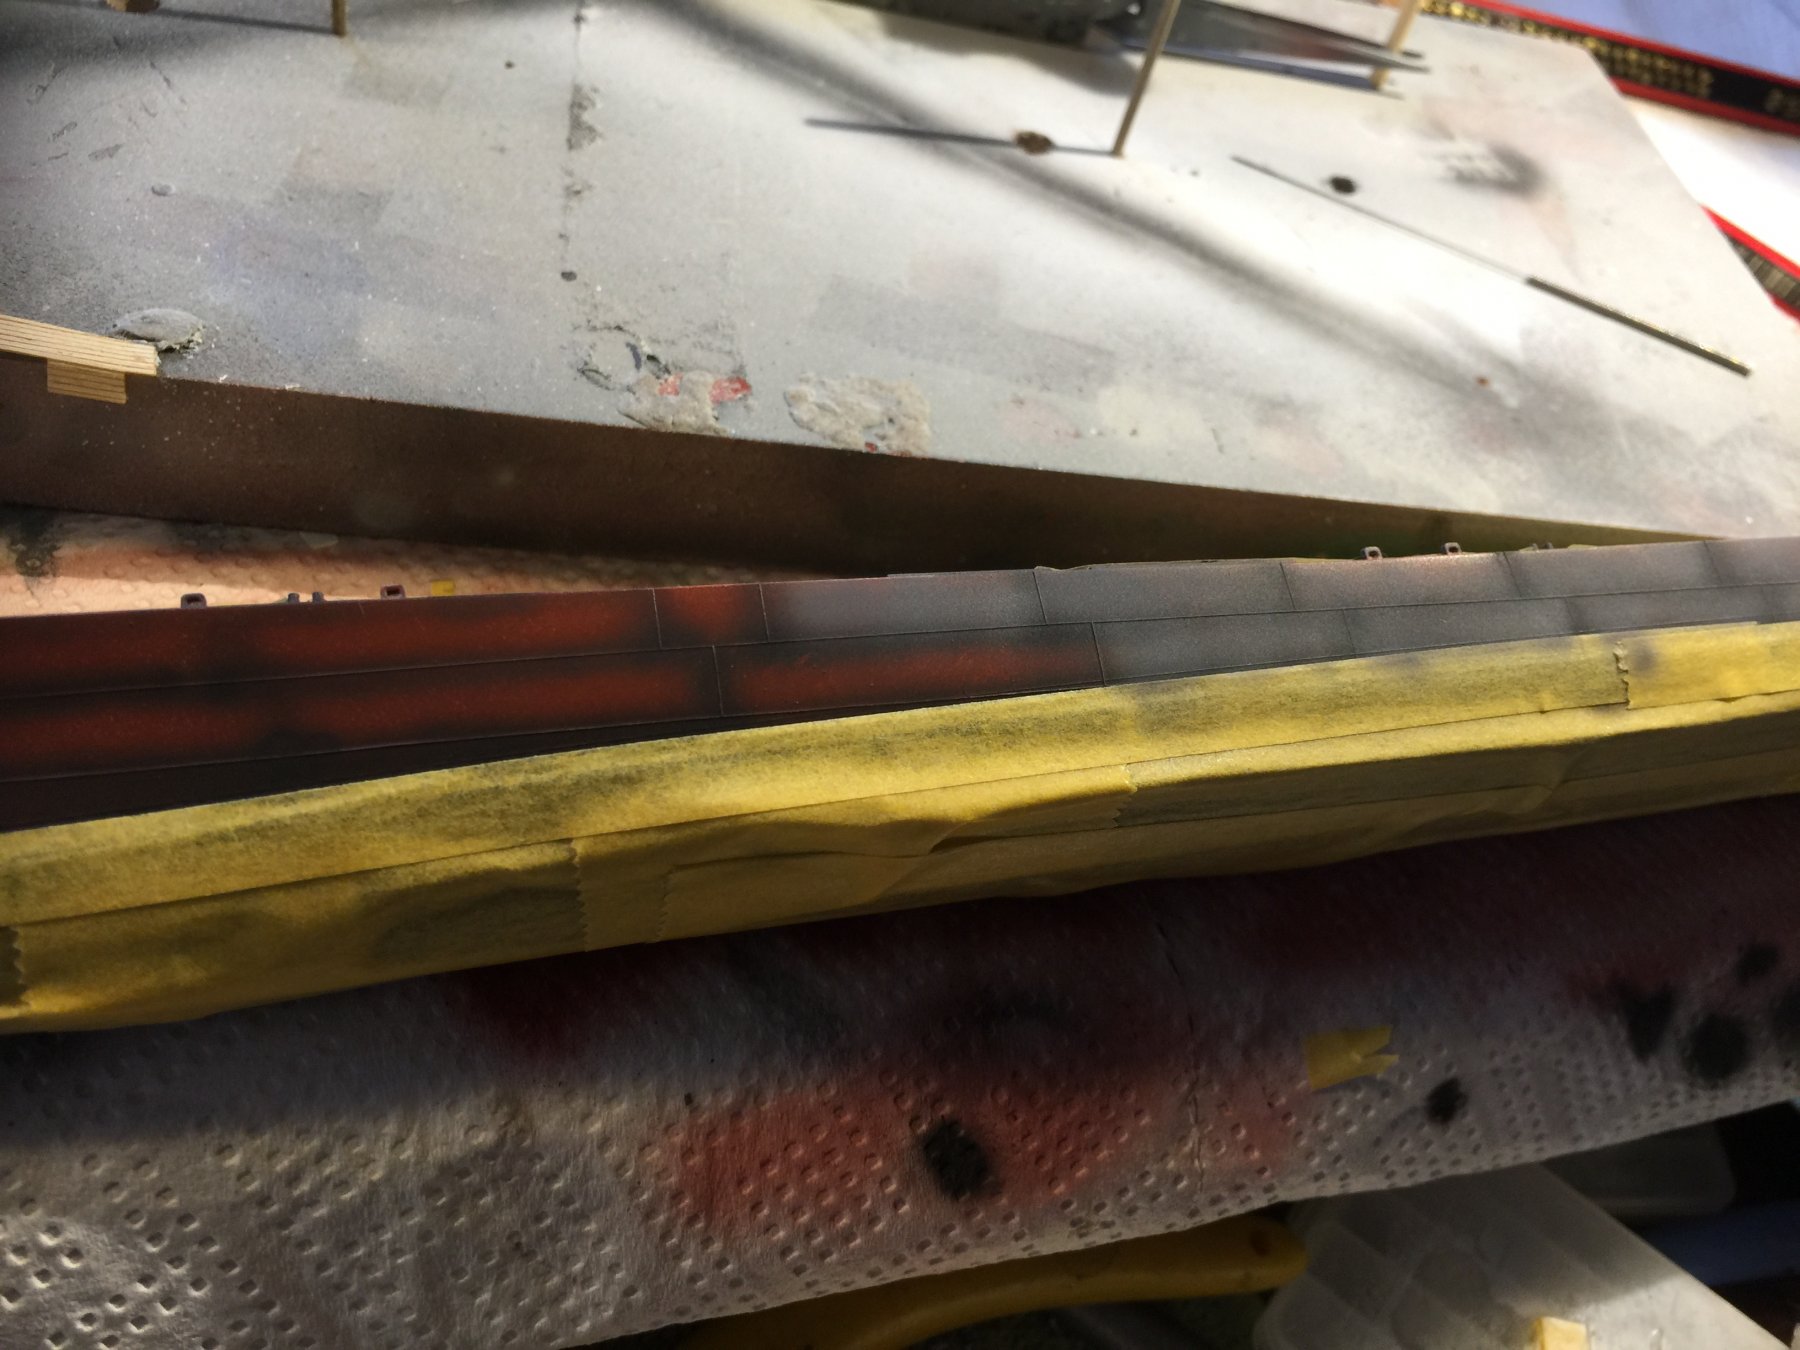
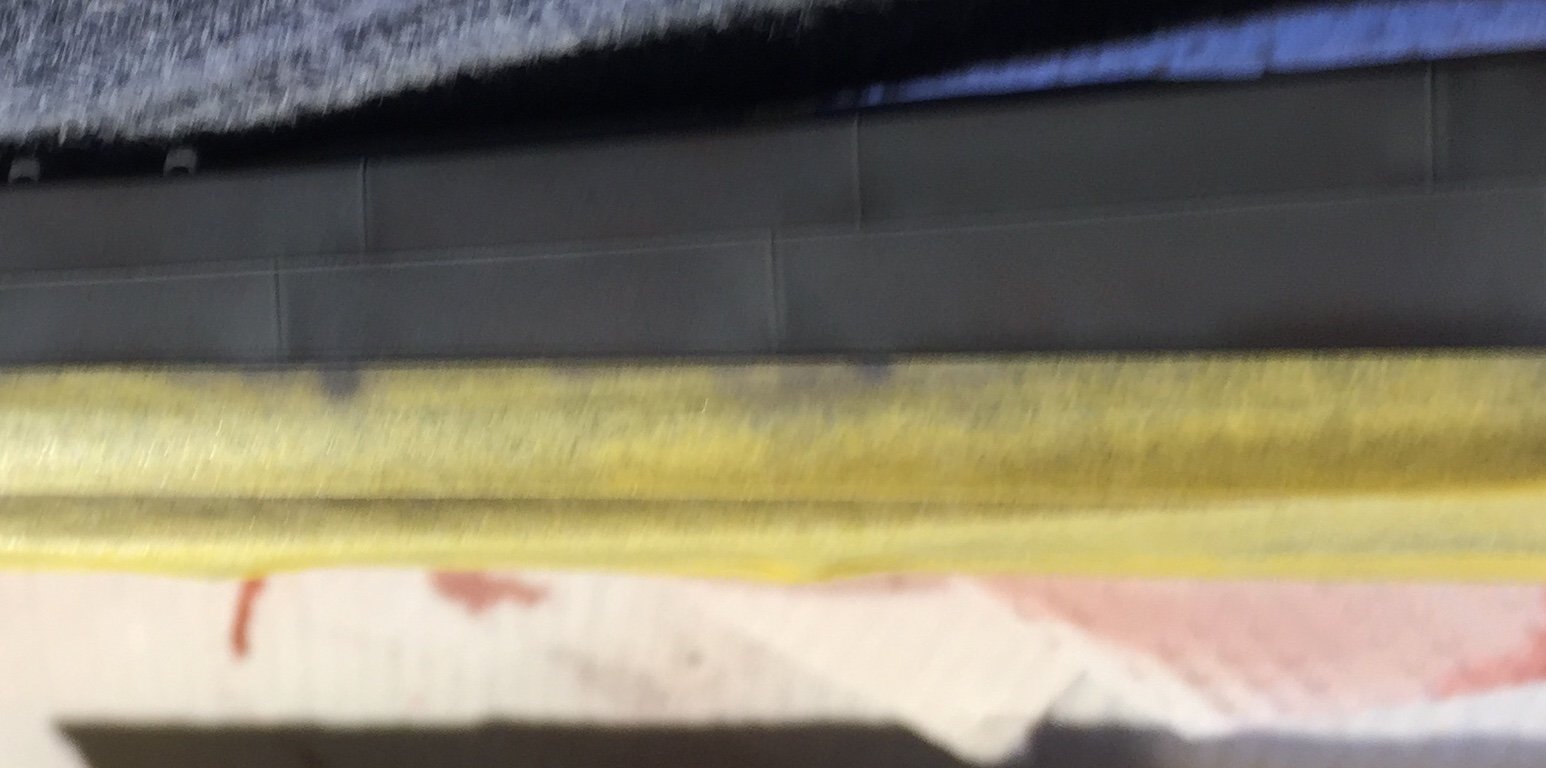
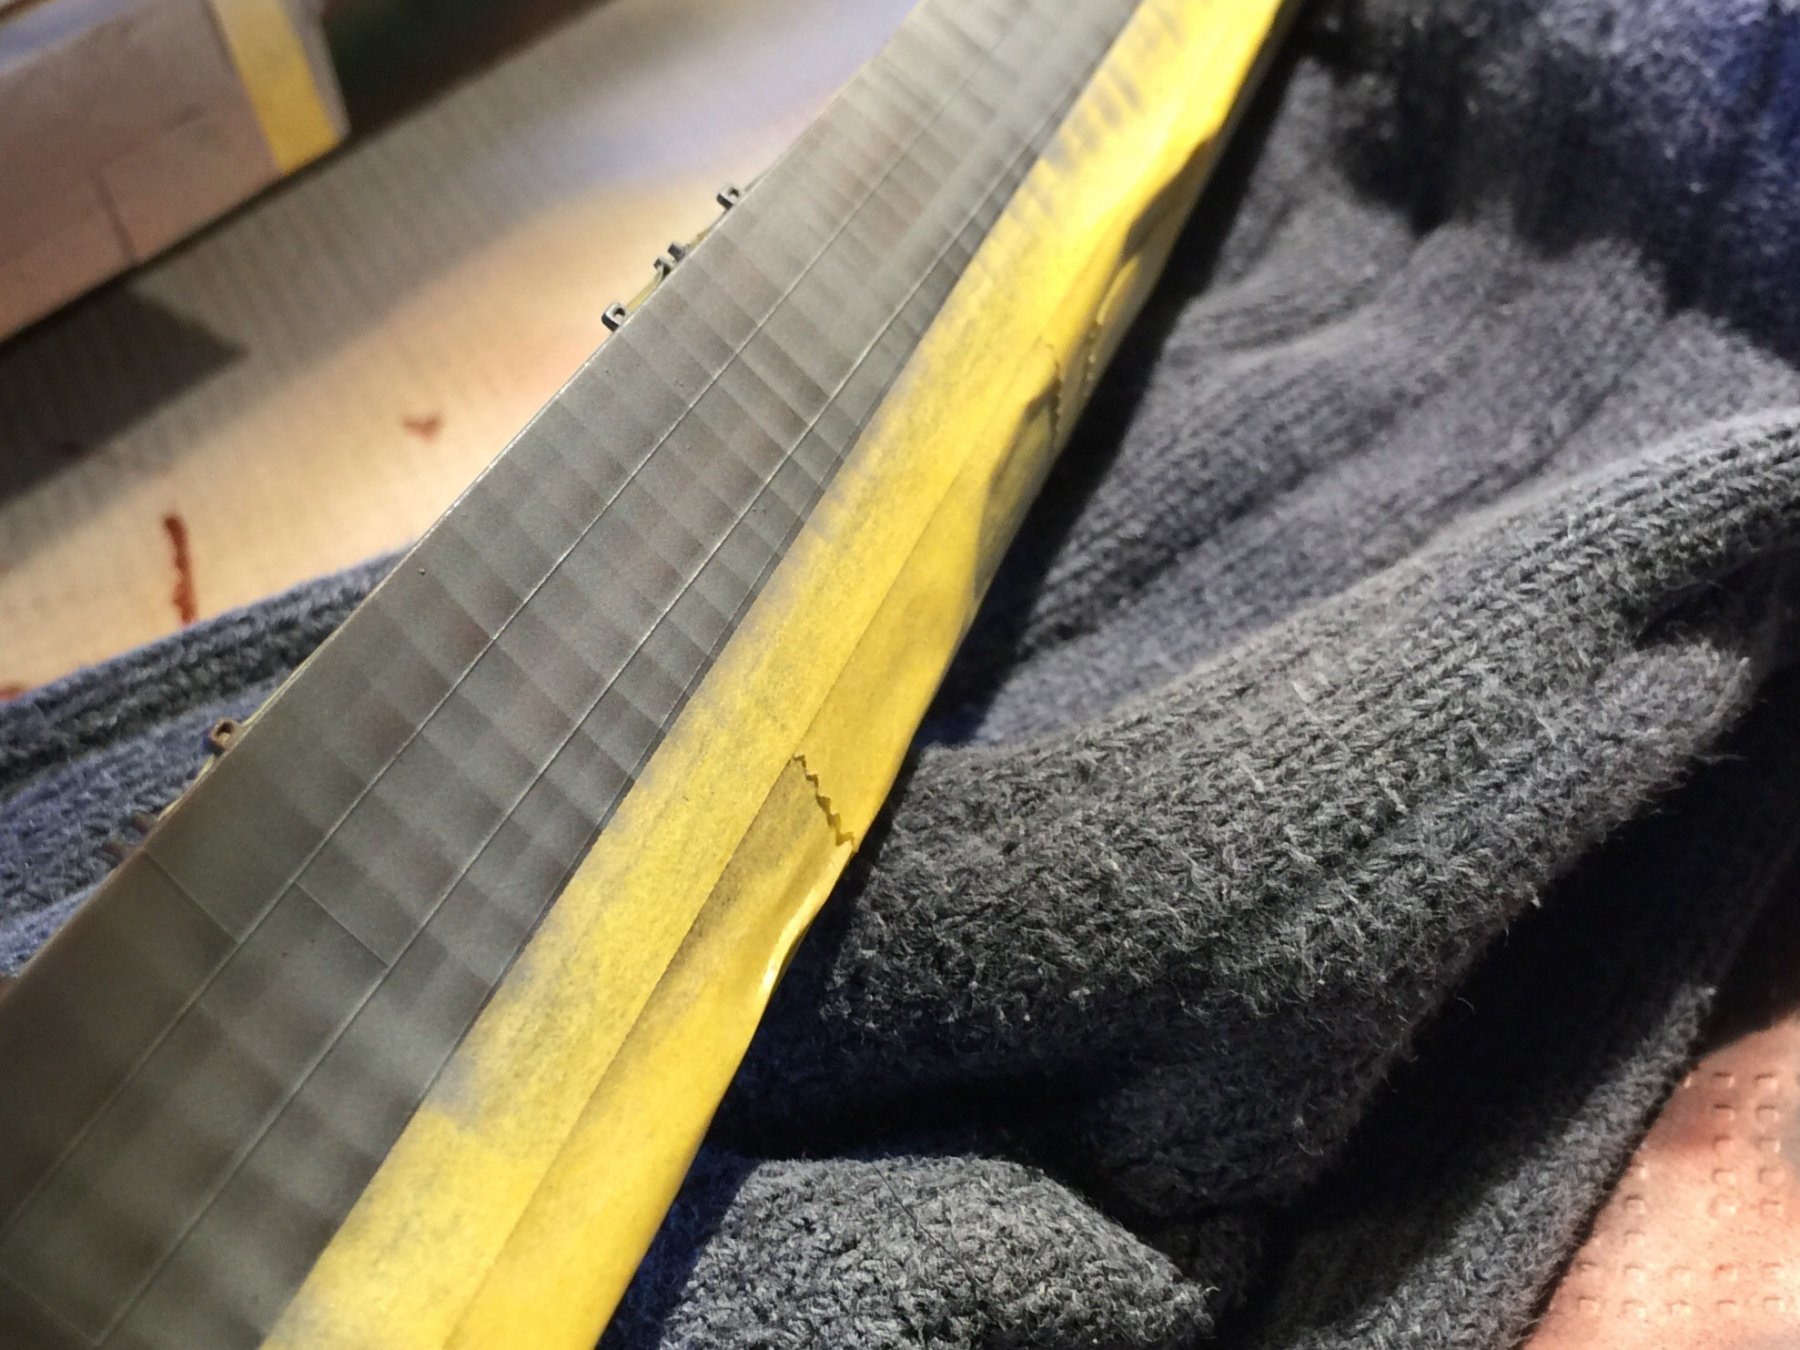
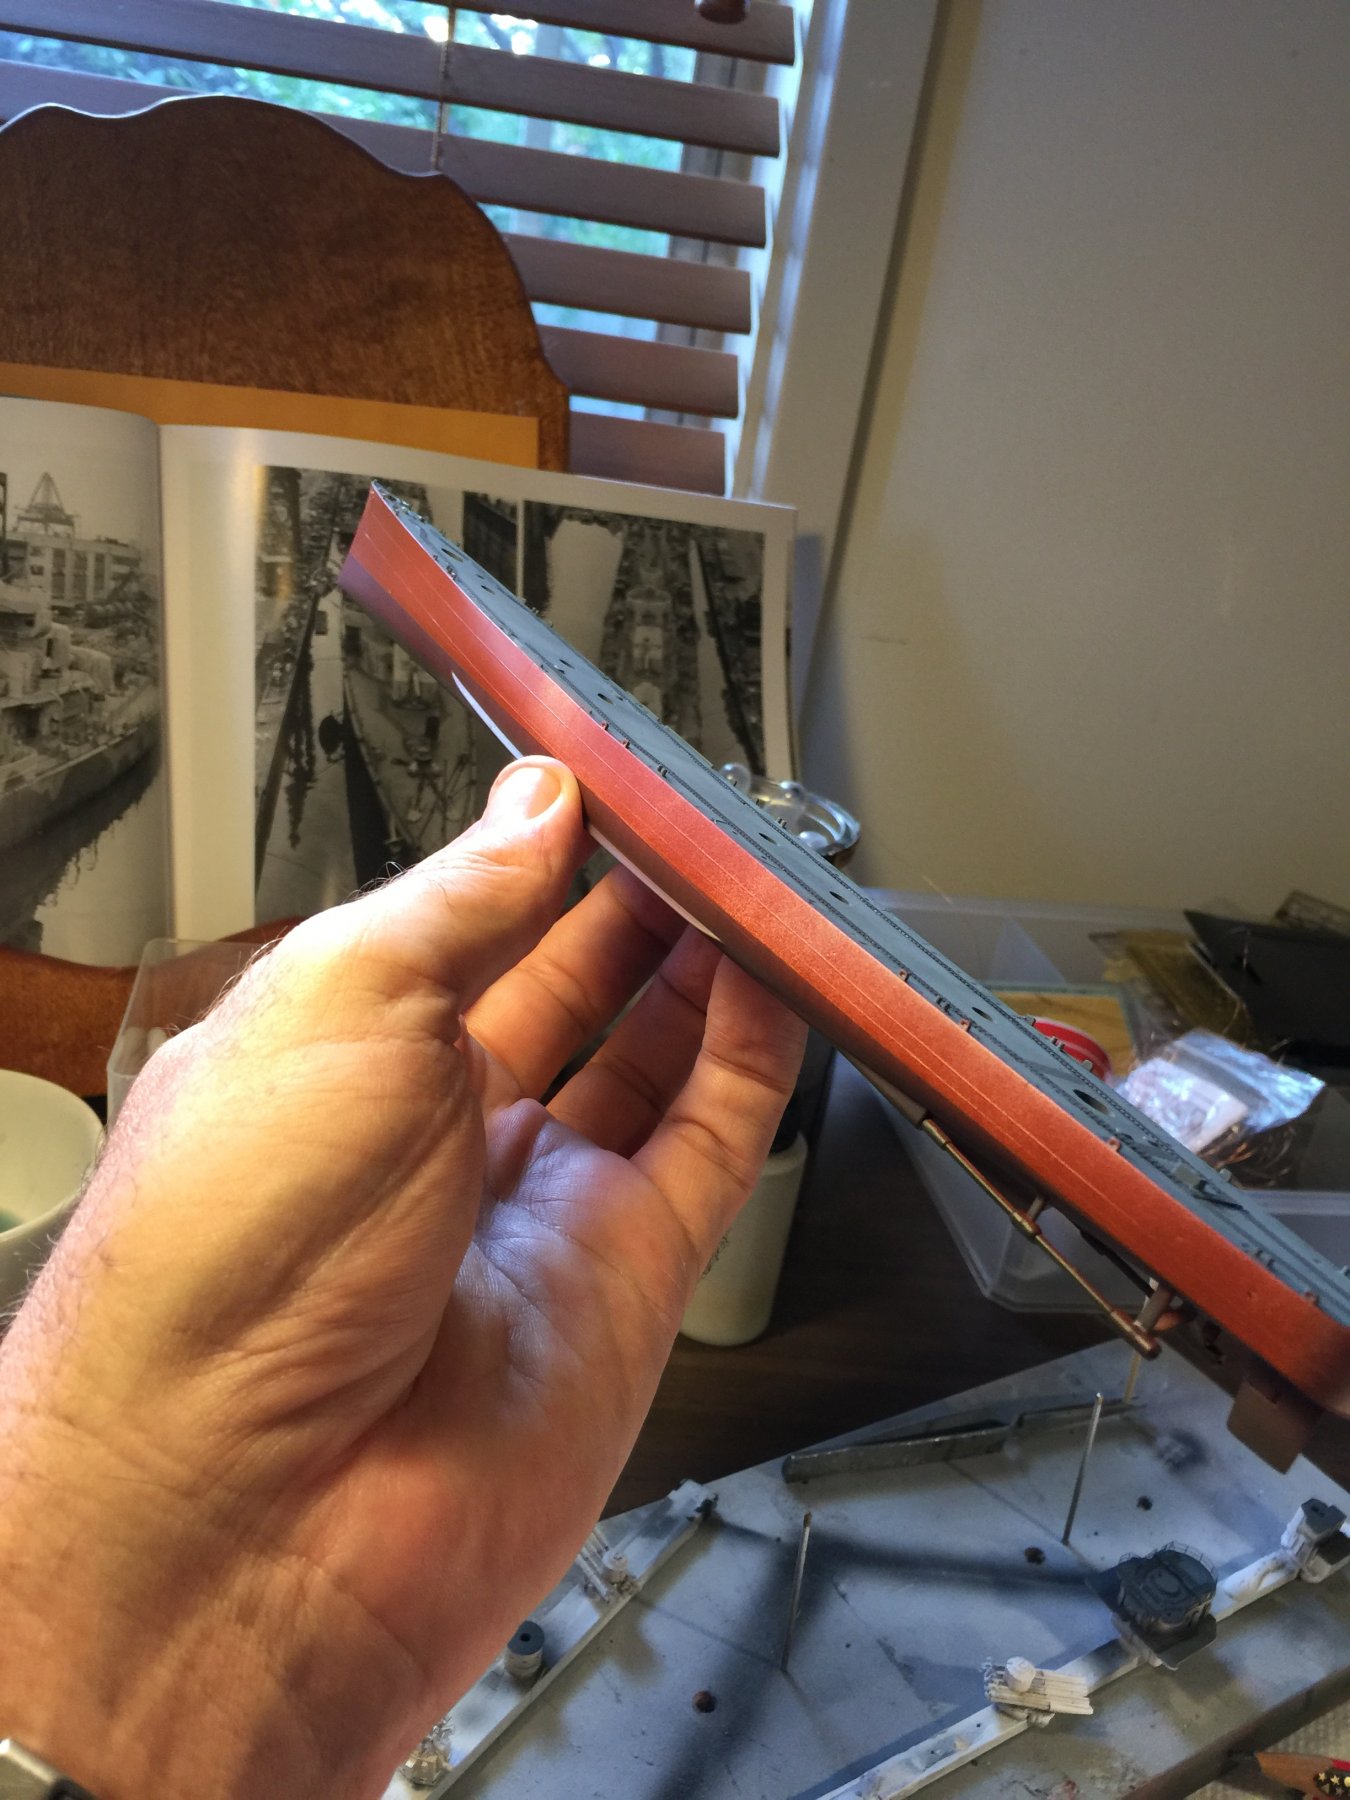
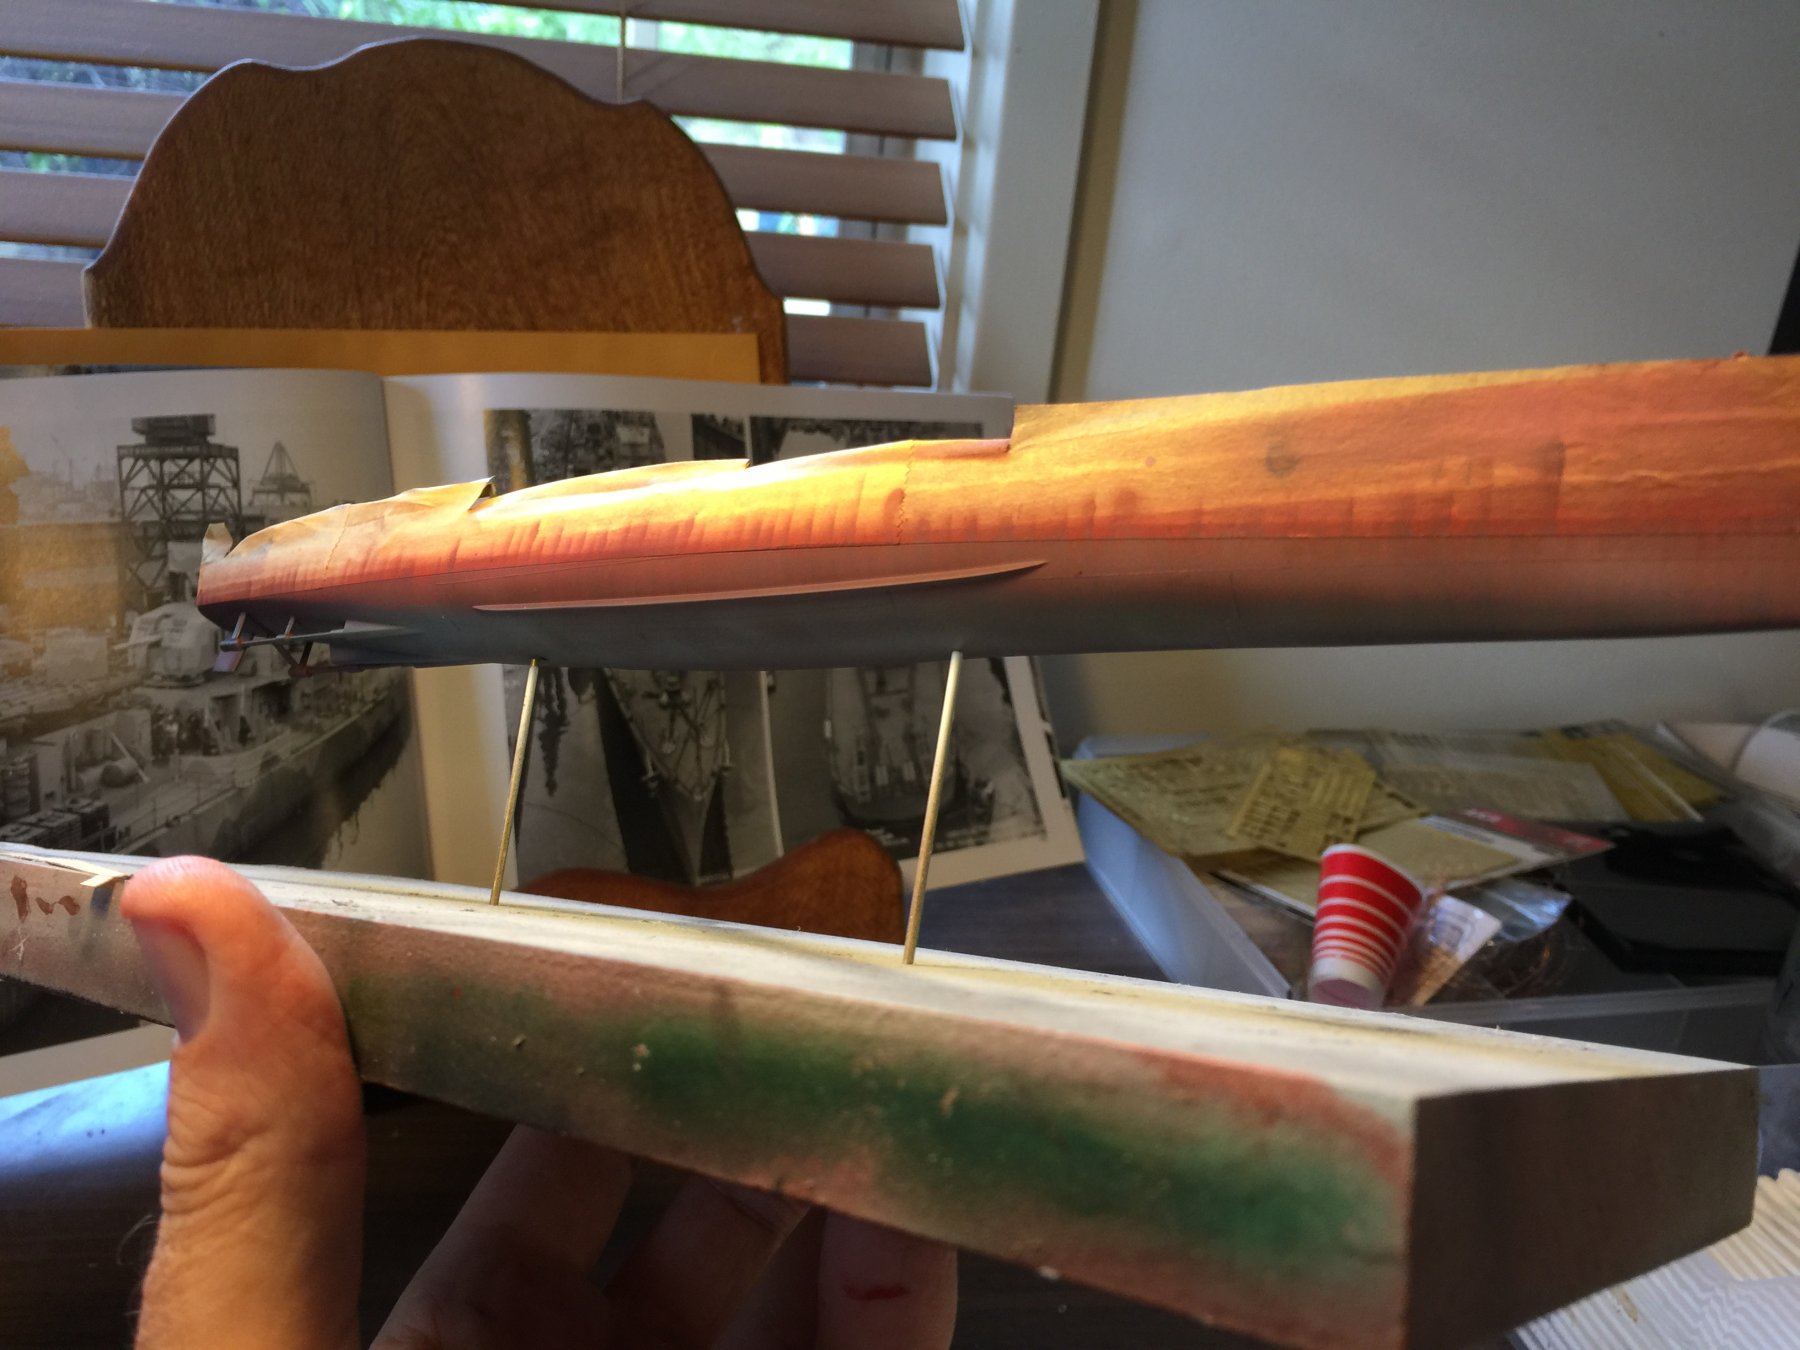
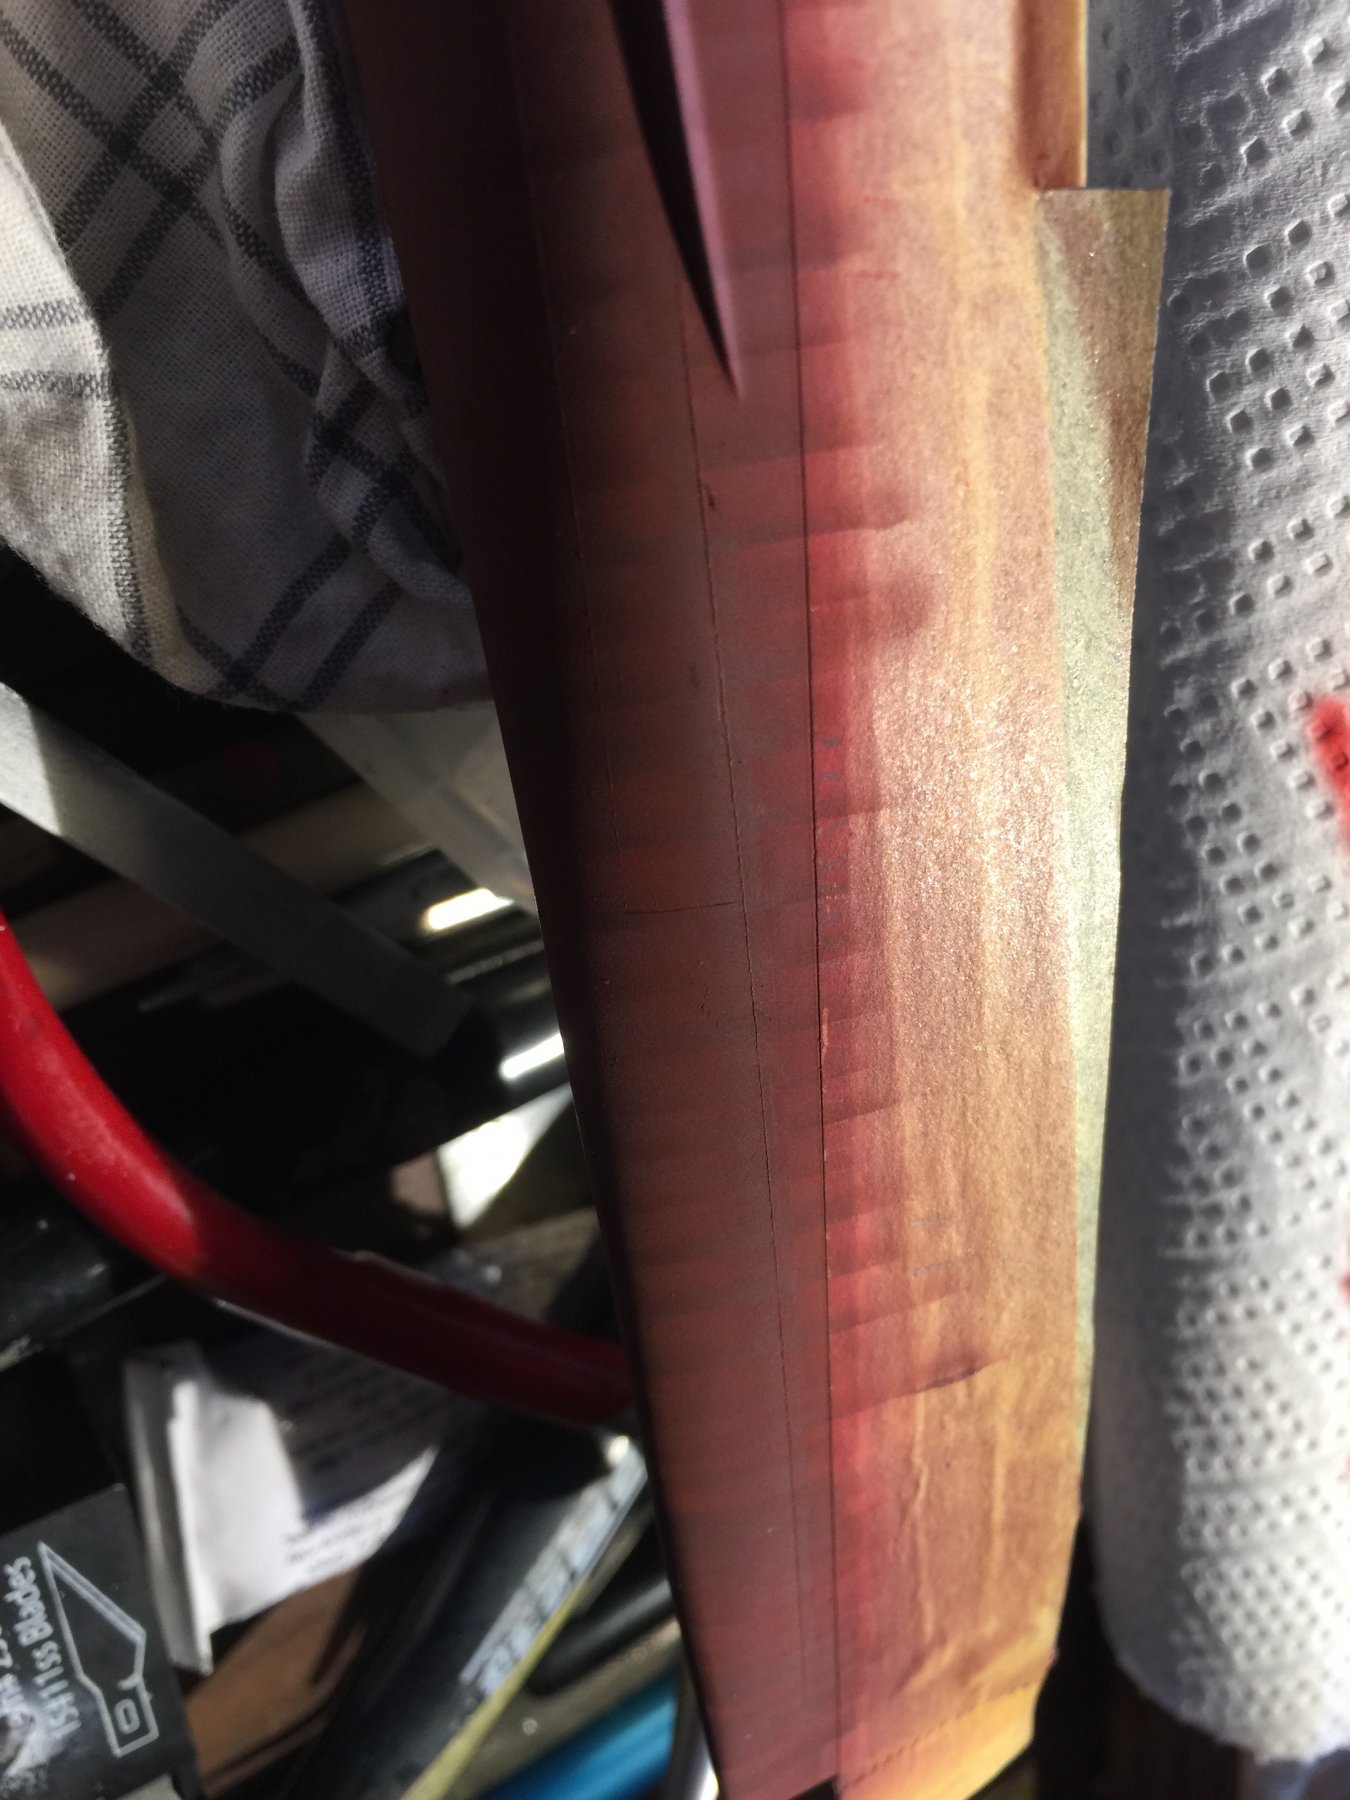
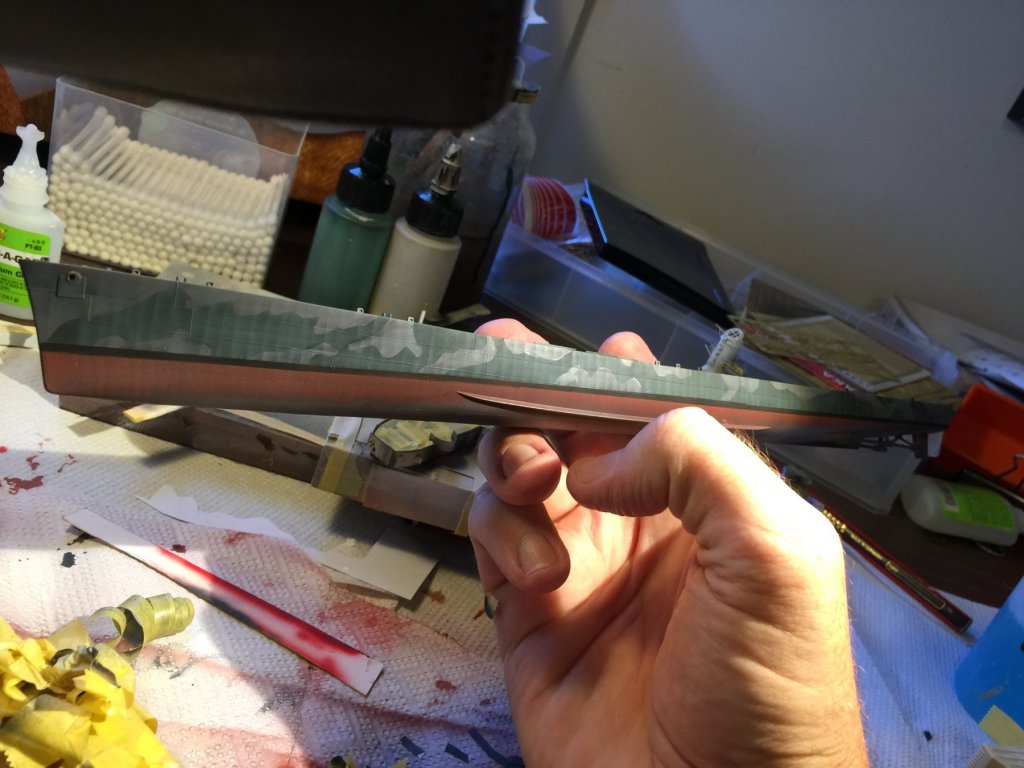
Lower hull, using a piece of card, overspray of red to highlight the ribs, then diluted coco brown to dull it down, the very dilute burnt occre to highlight. Next will be grunge which will make most of this go away, but as this is 1942, the damage and grunge would not be so bad.


- 194 replies
-
- 11
-
-
Pat, XF9 (hull red) and XF50 (blue) at a 1/2 ratio (That’s the Tamiya instructions) I need to lighten and highlight yet as there are non slip walkways. Cog, I’ve done oilcanning on a lot of my builds, in particular the USS Spruance but I’ll break it down when I do it next.
-
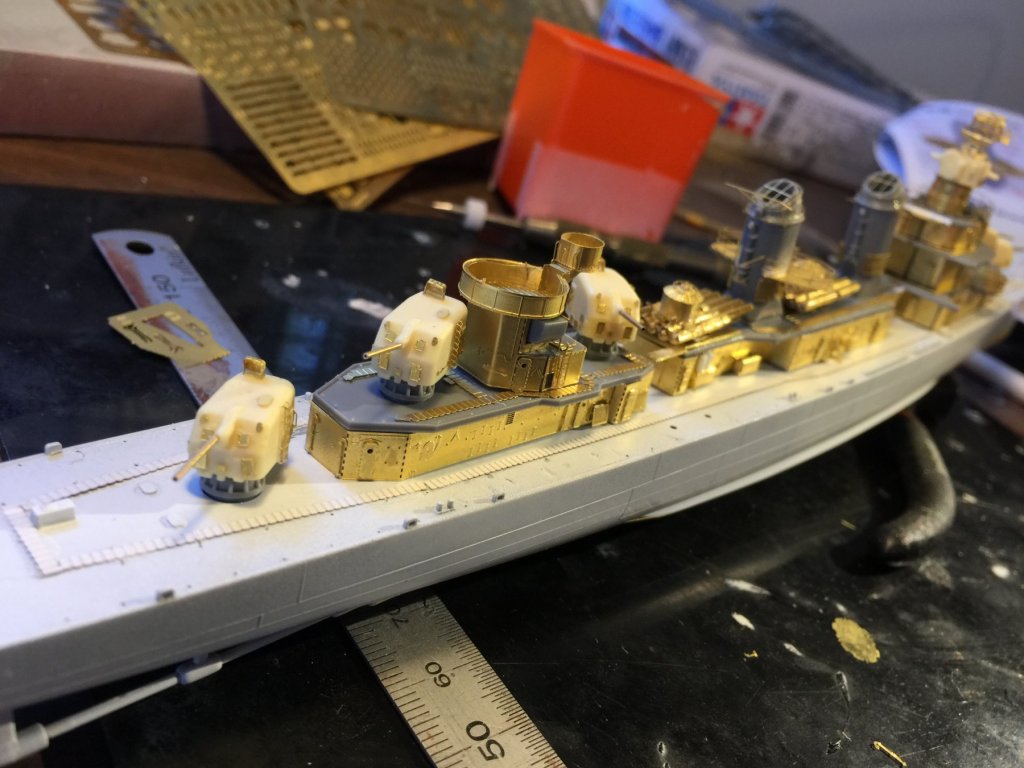
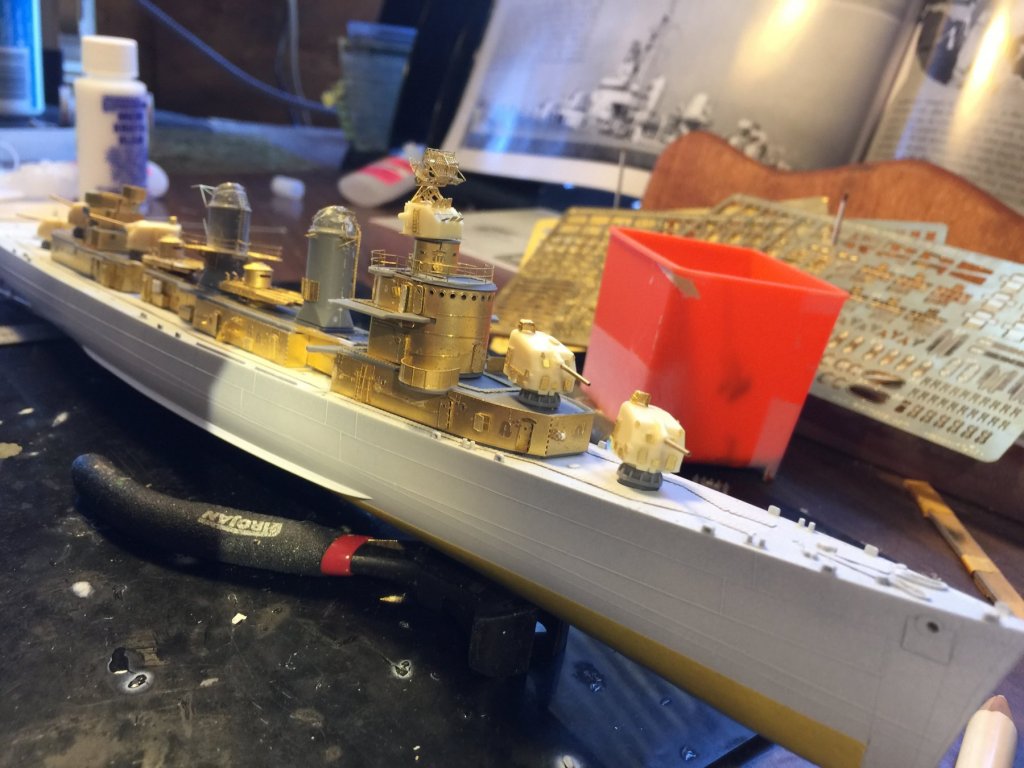
Now to make the brass disappear. Base coats of the lower hull and blue deck done. I’ll give it a day to dry before I start working on them properly to add the oilcanning and highlights.
- 194 replies
-
- 15
-
-
I’ve got 2 Anatomy Of the Ship books on subs, my brain would just explode given the amounts of pipes inside of them and having to replicate it
-
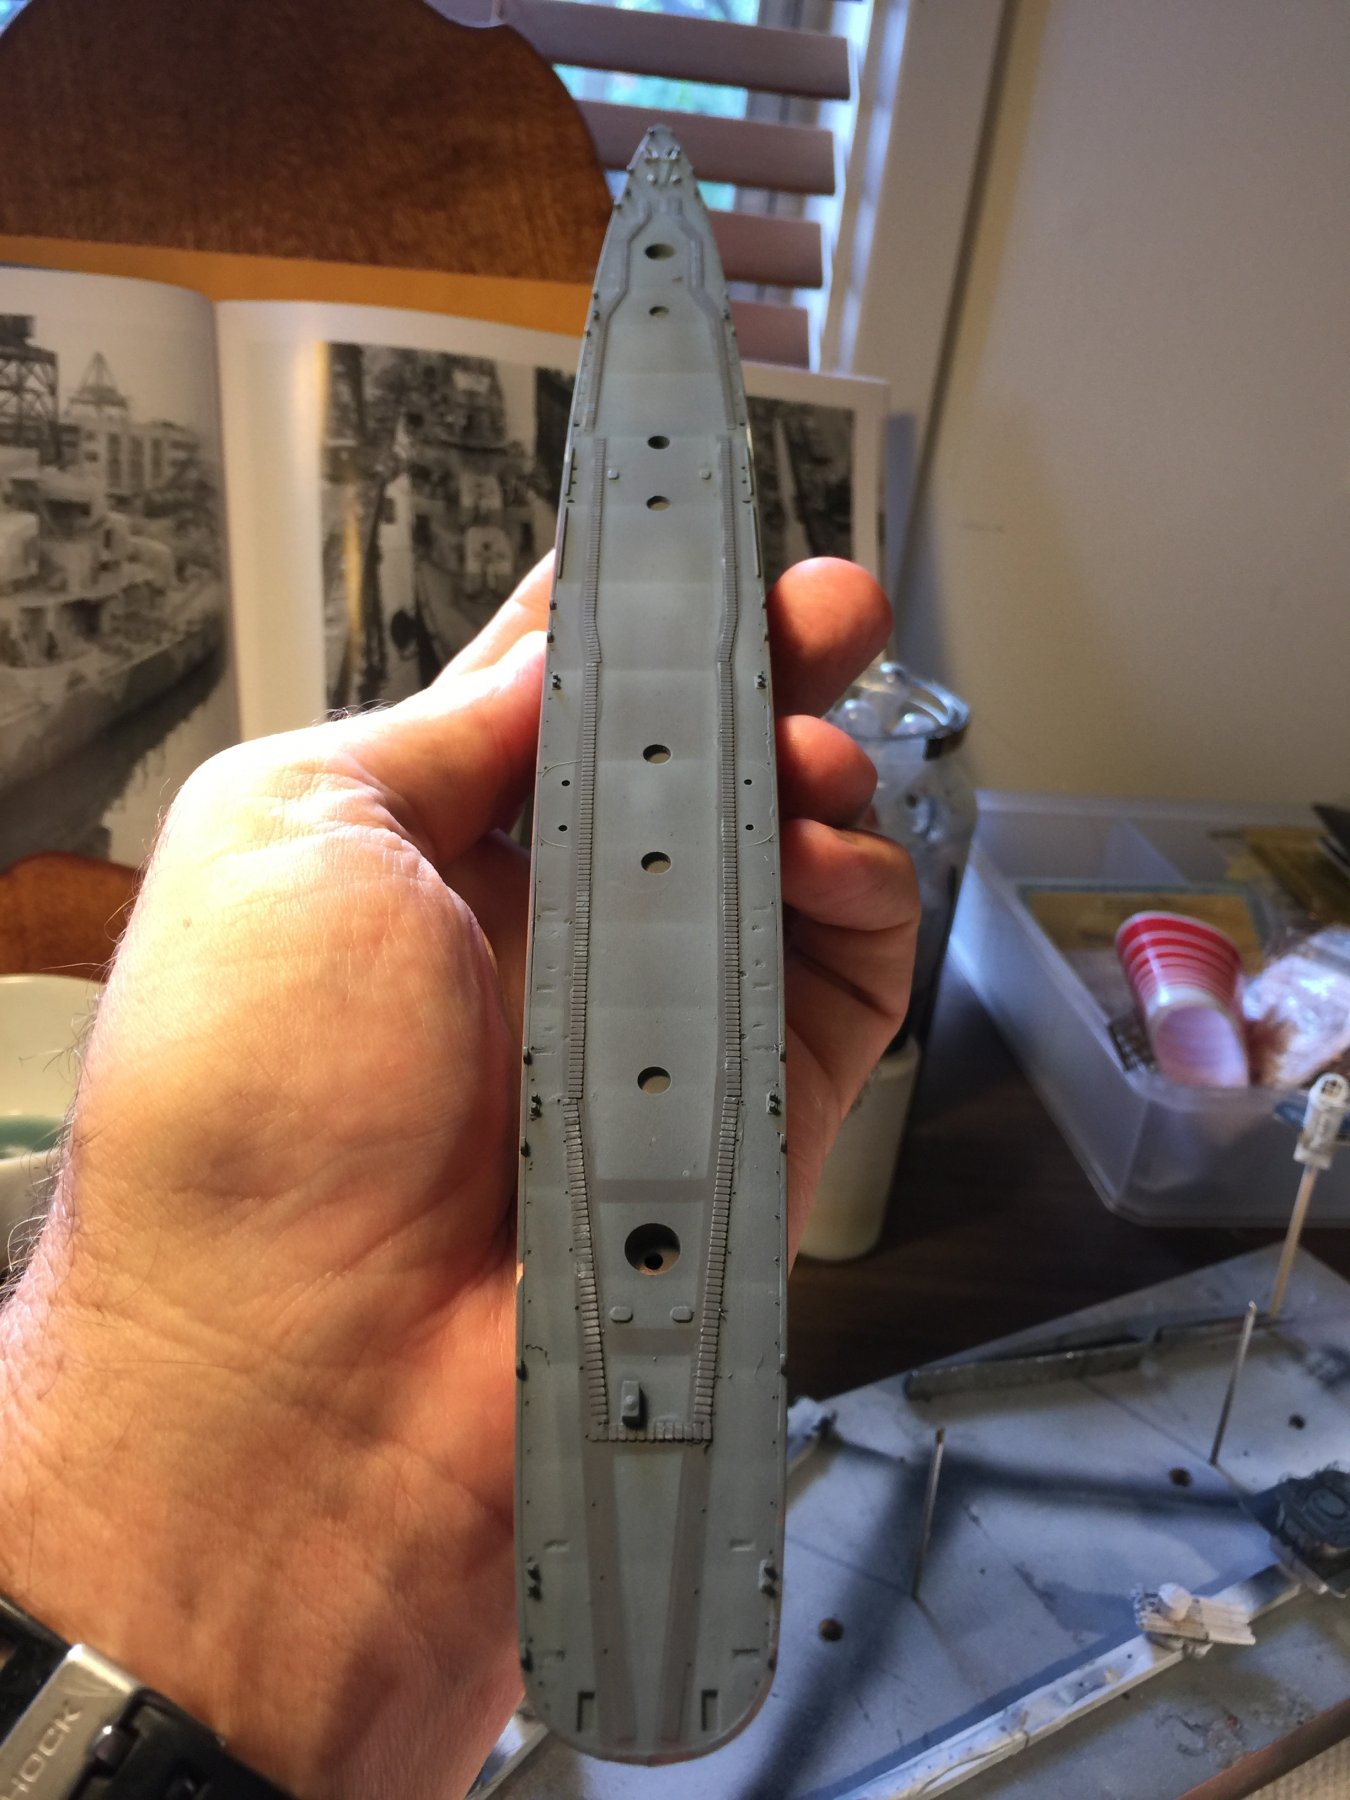
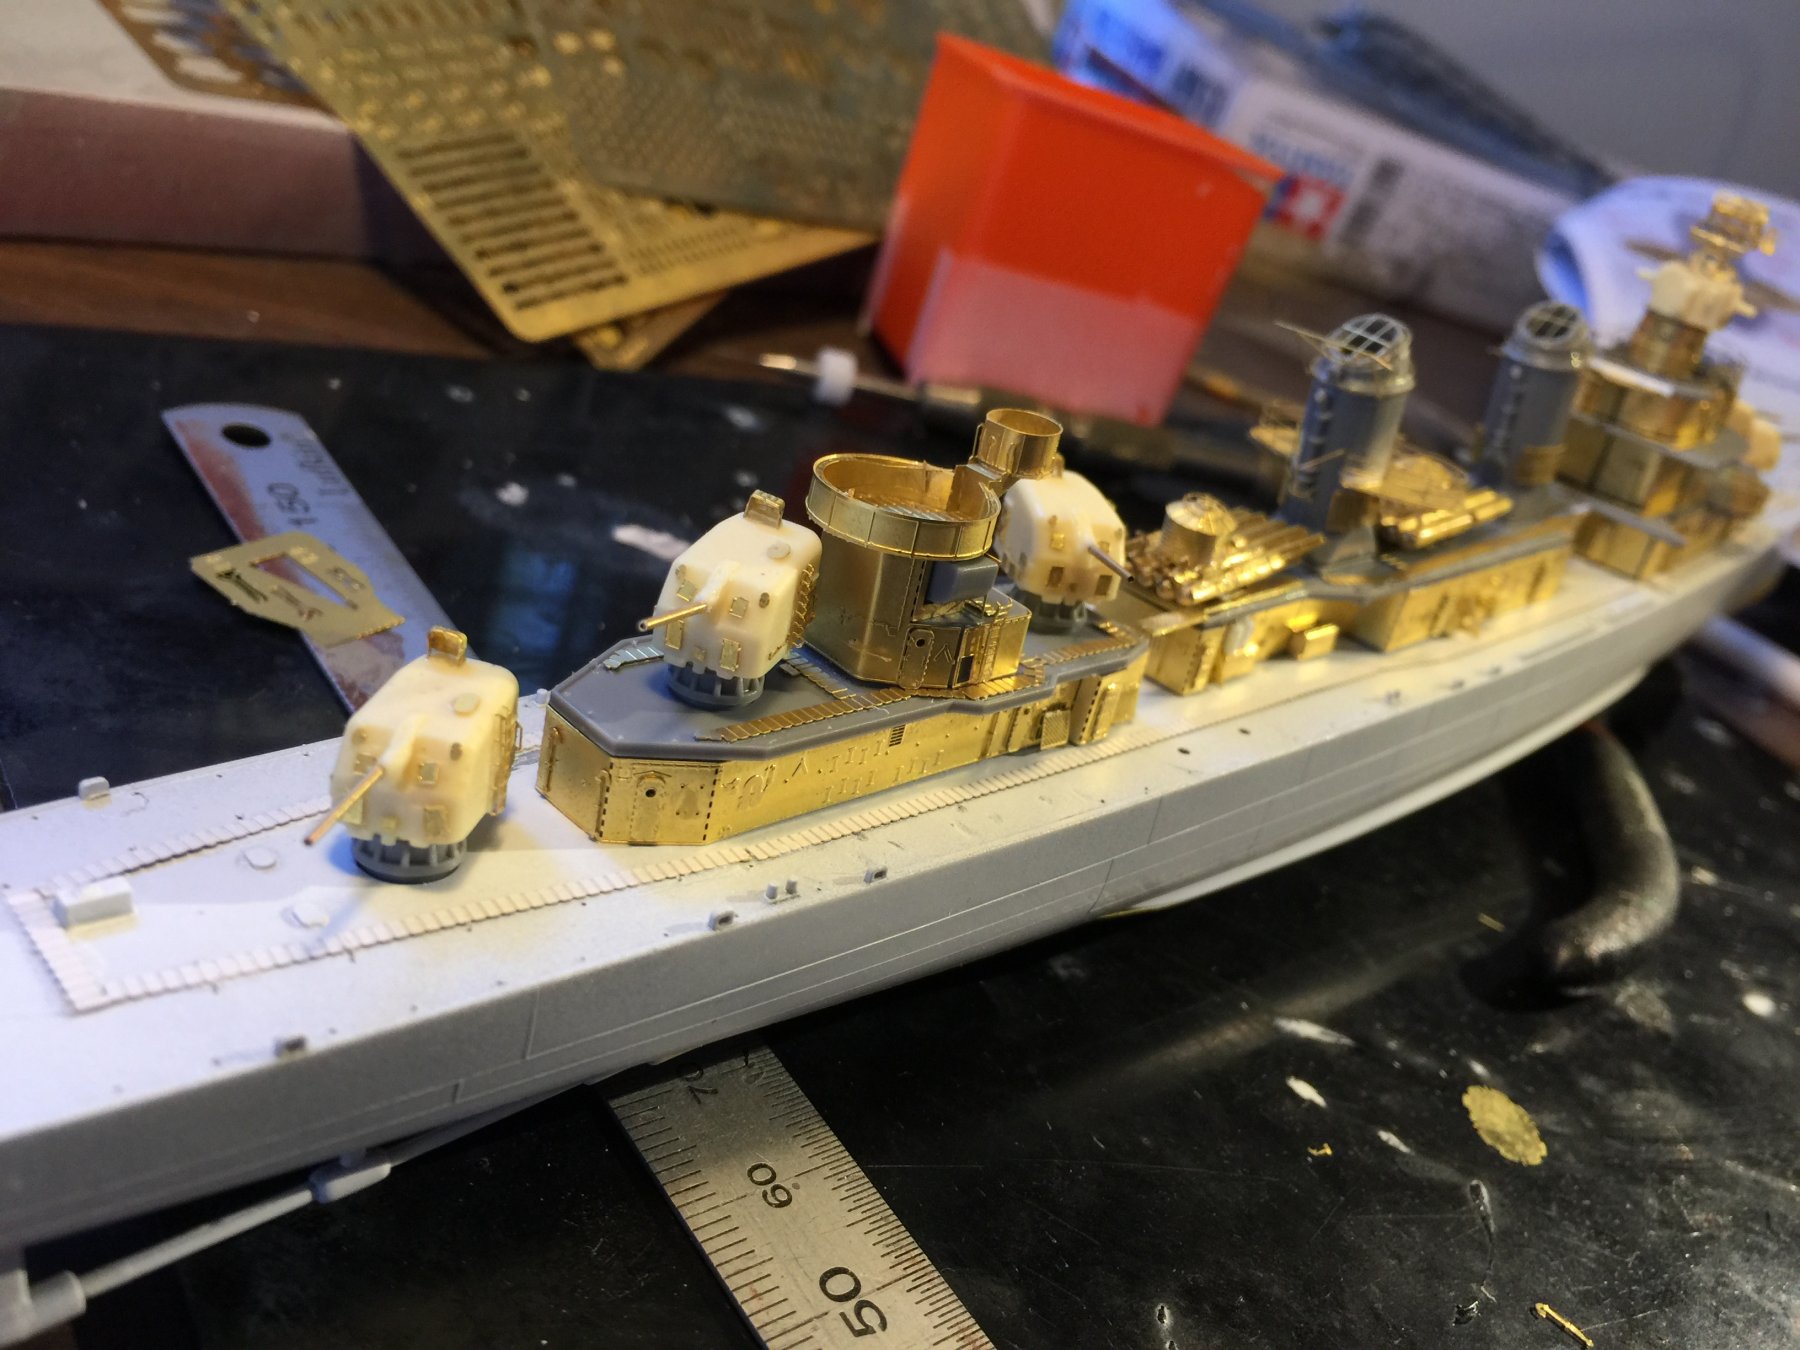
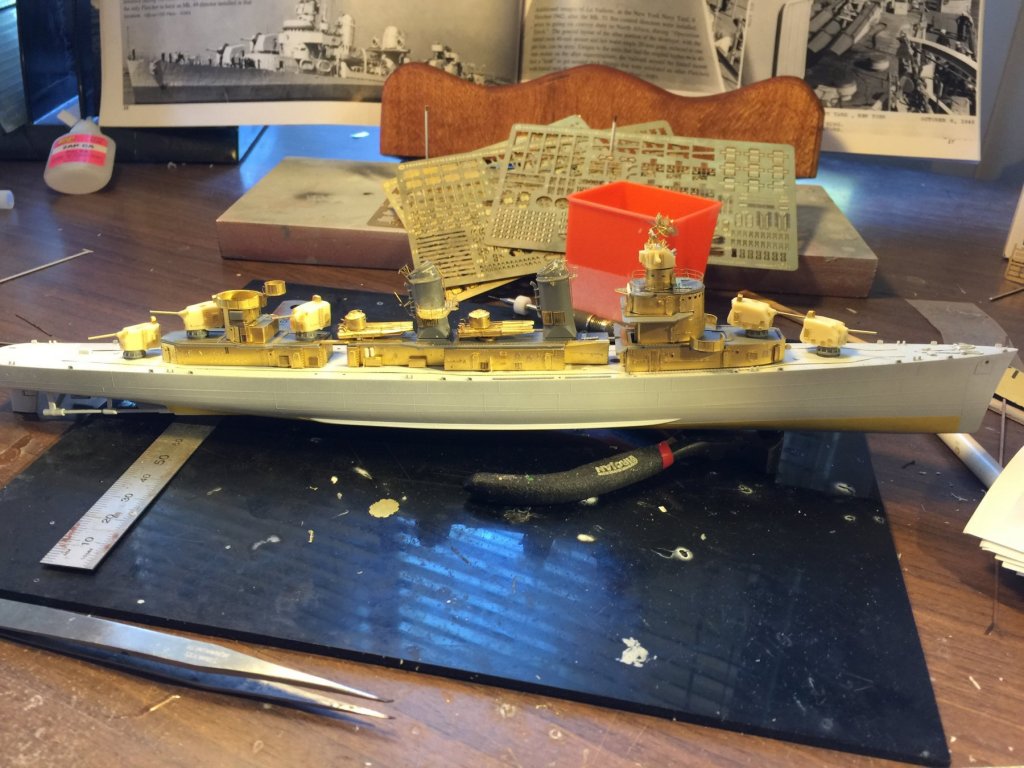
There are some tiny bits off brass which I’m leaving off too as it’s not visible with the naked eye.
-
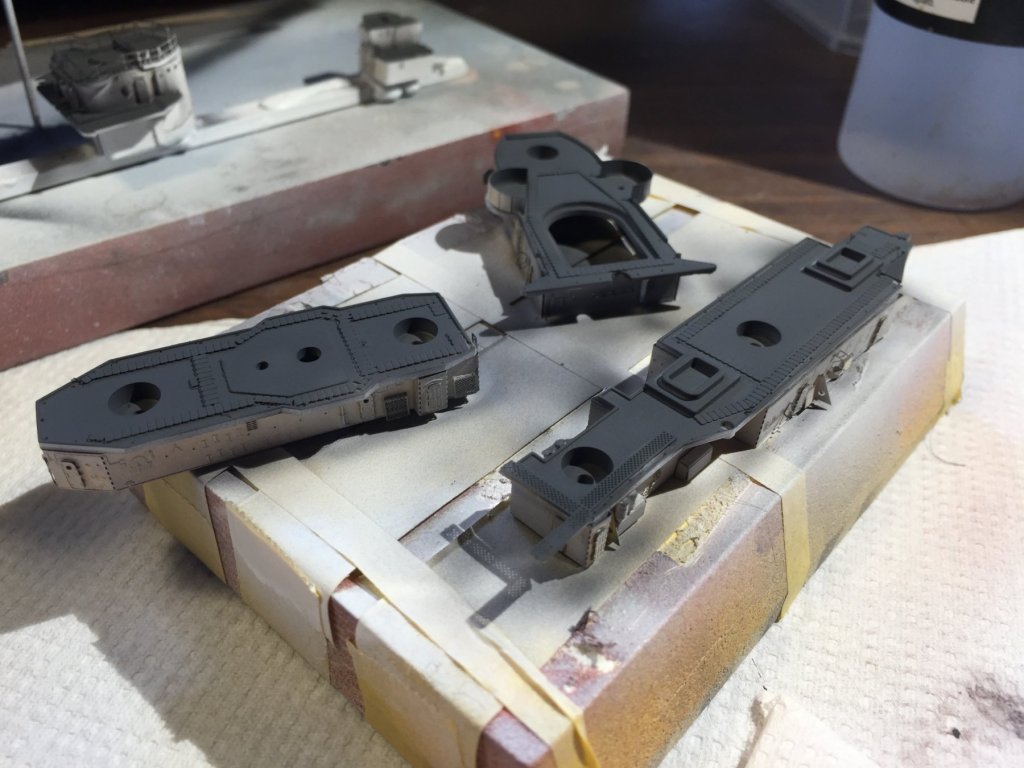
the Base is done, as you can see from the frets behind there is a lot to go, but it’s time to paint
- 194 replies
-
- 16
-
-
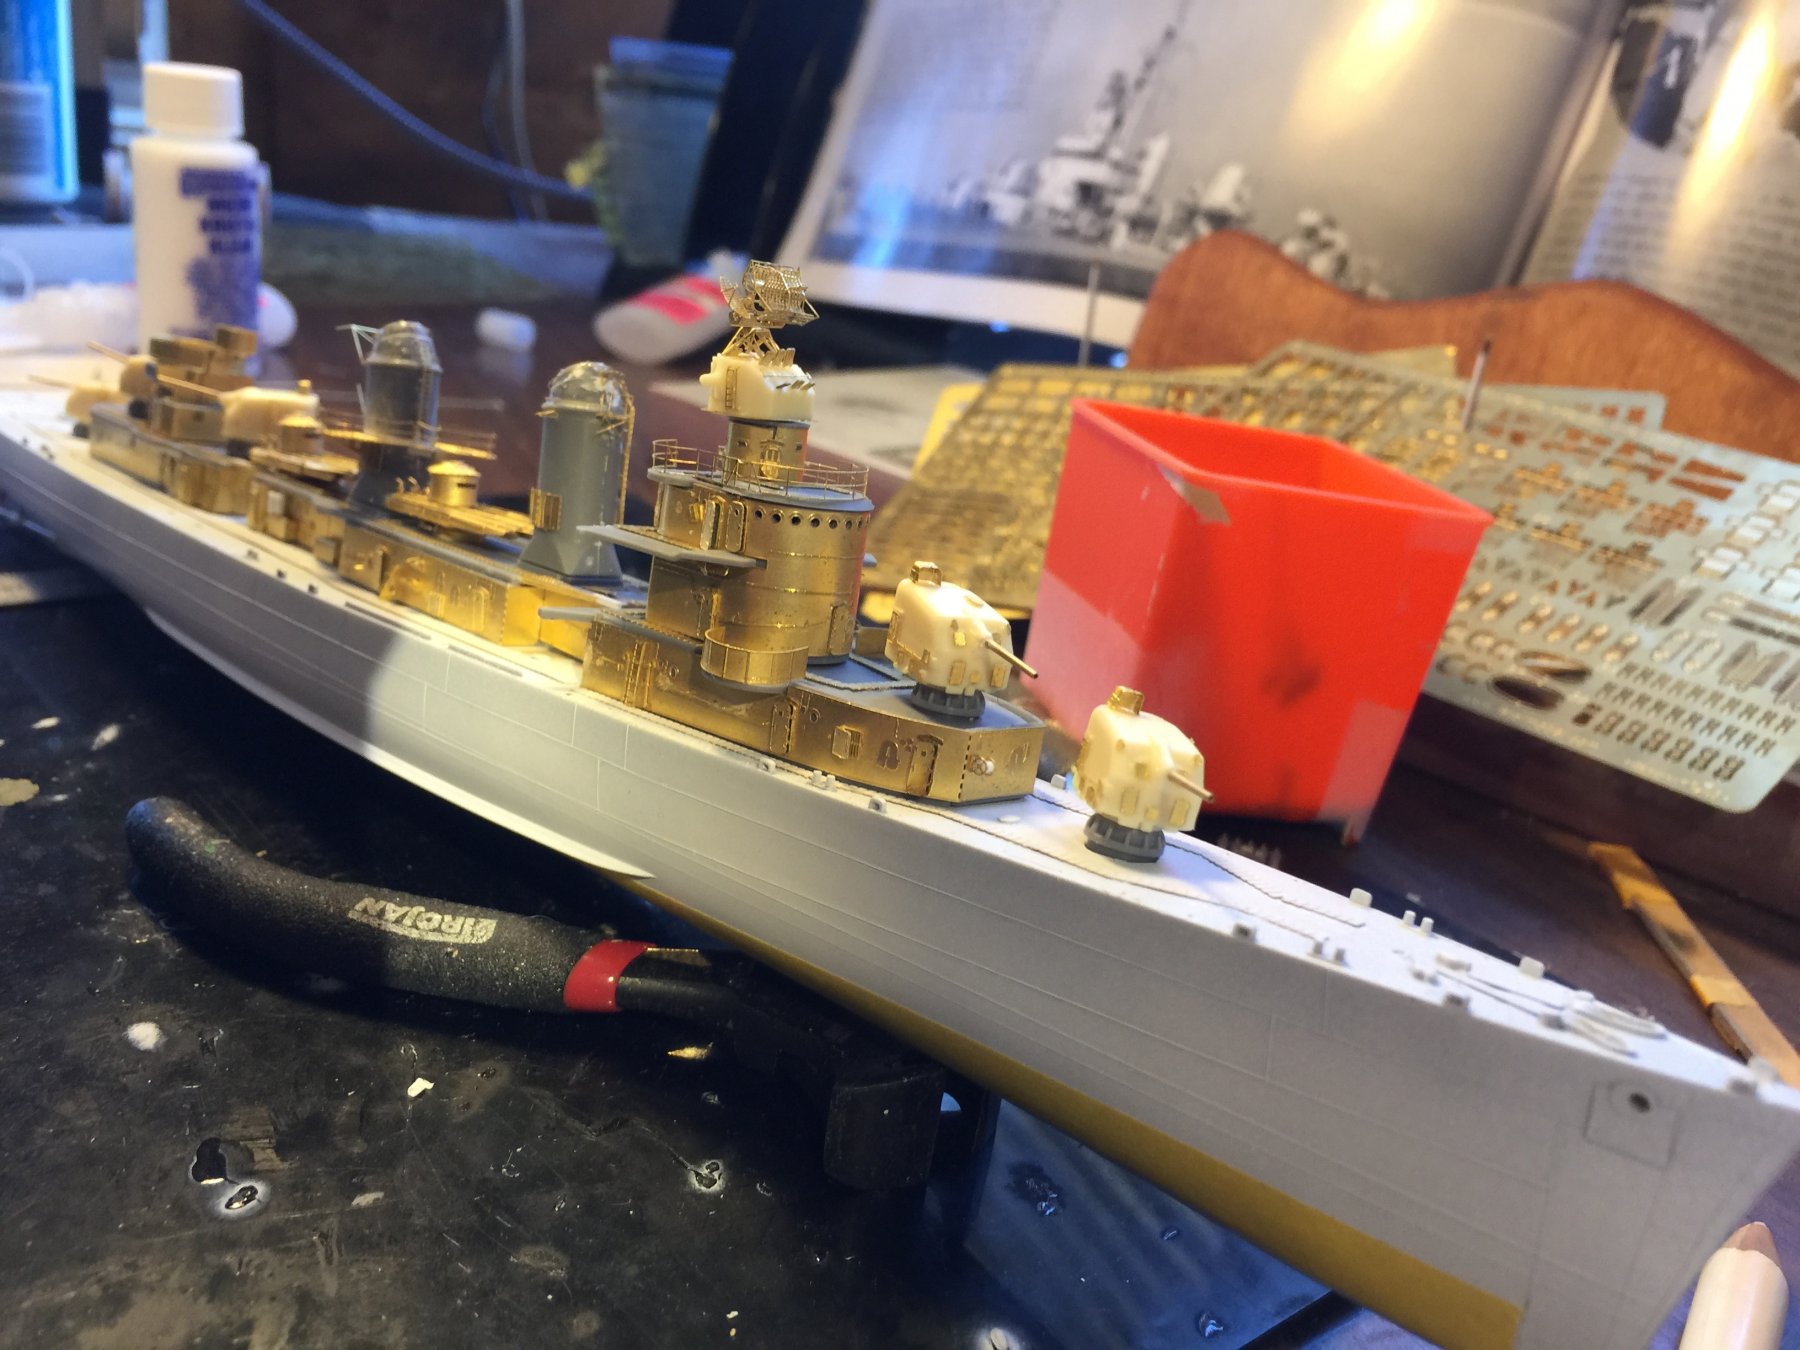
I could probably make this piece 5 times to get it perfect but that’s not going to happen. When painted it will be less noticeable. I only ever ever use a cigarette lighter to burn CA off PE.