RGL
-
Posts
5,558 -
Joined
-
Last visited
Content Type
Profiles
Forums
Gallery
Events
Everything posted by RGL
-
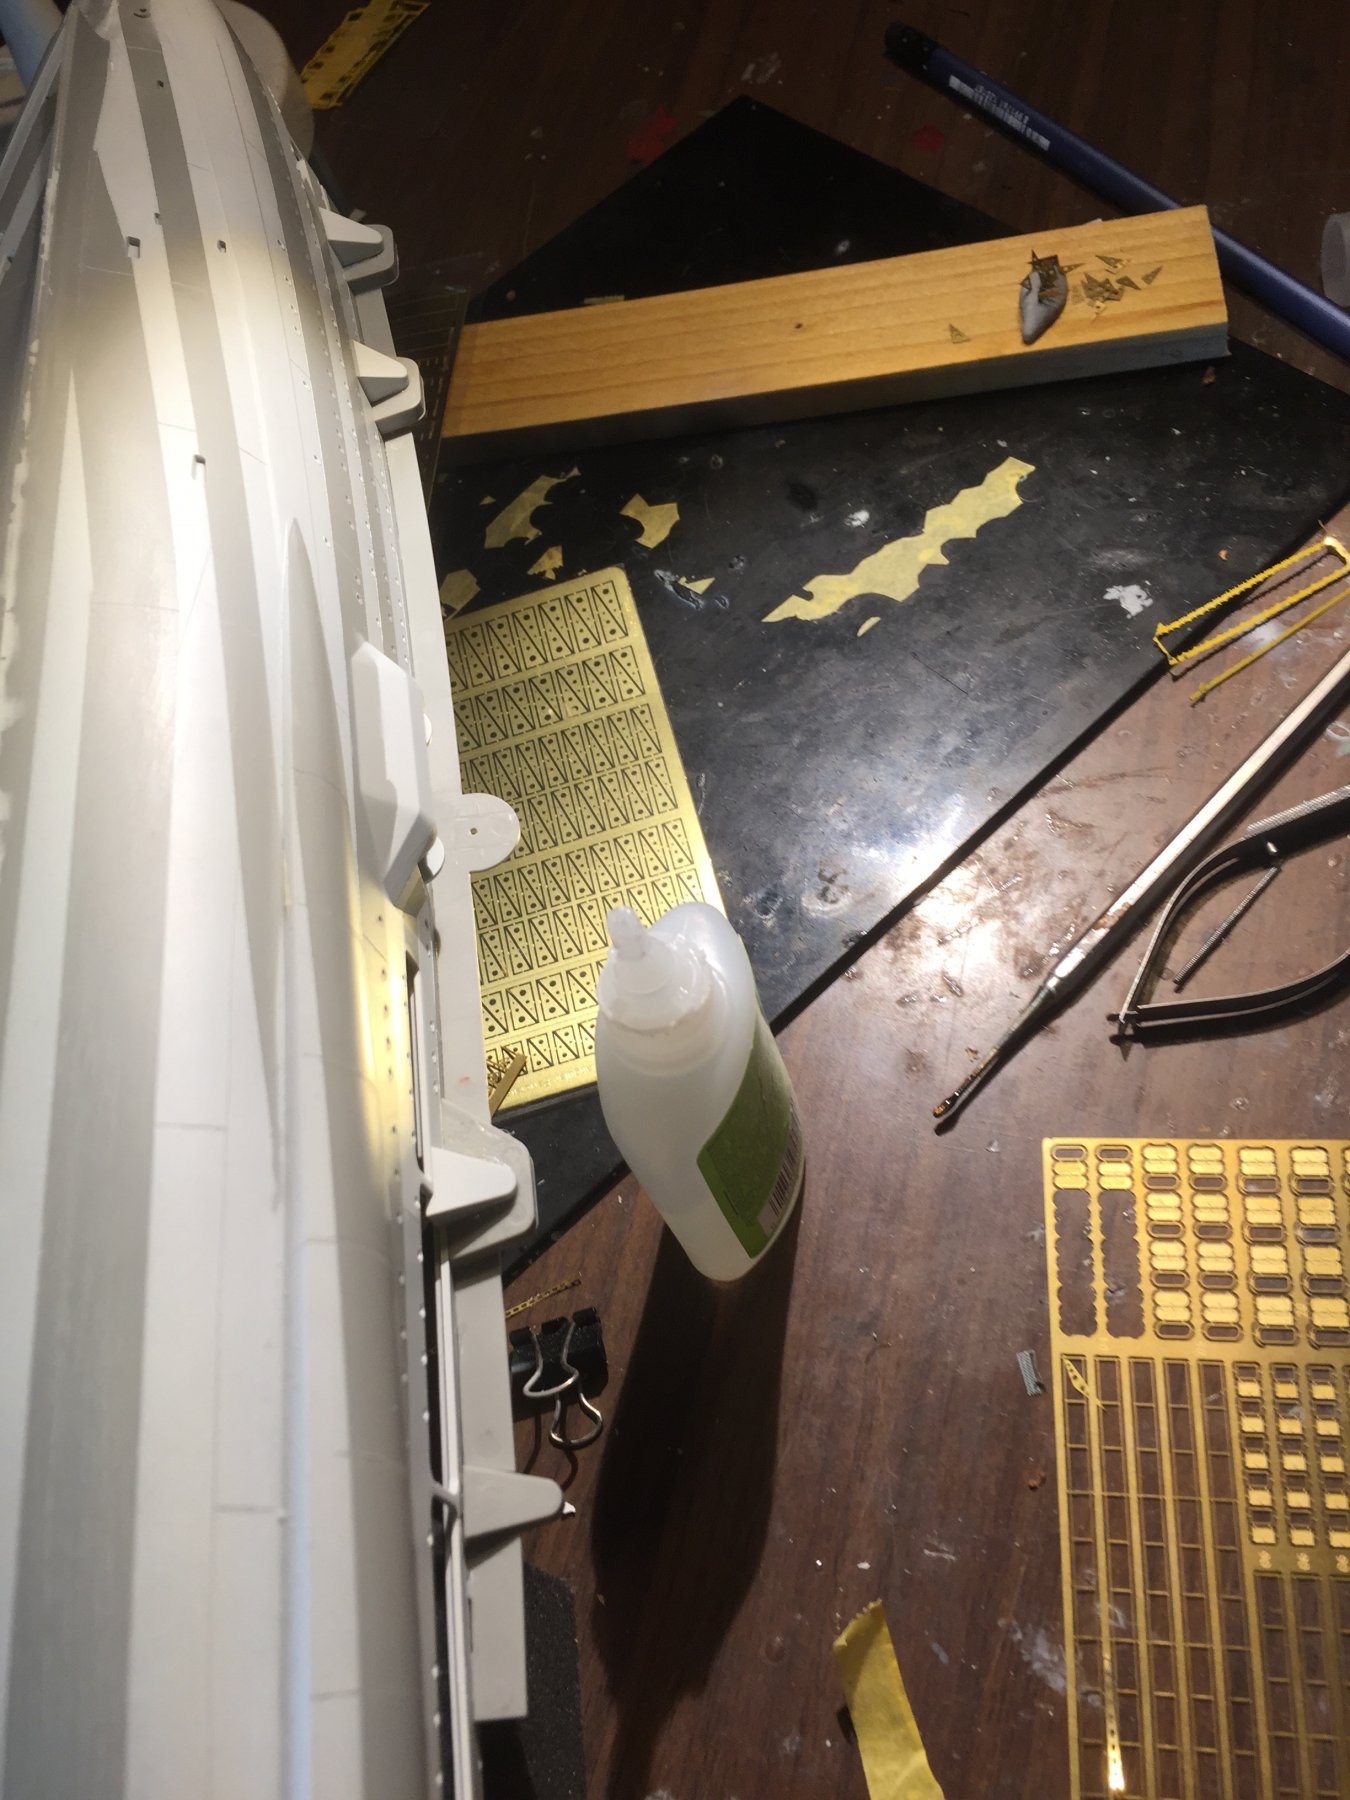
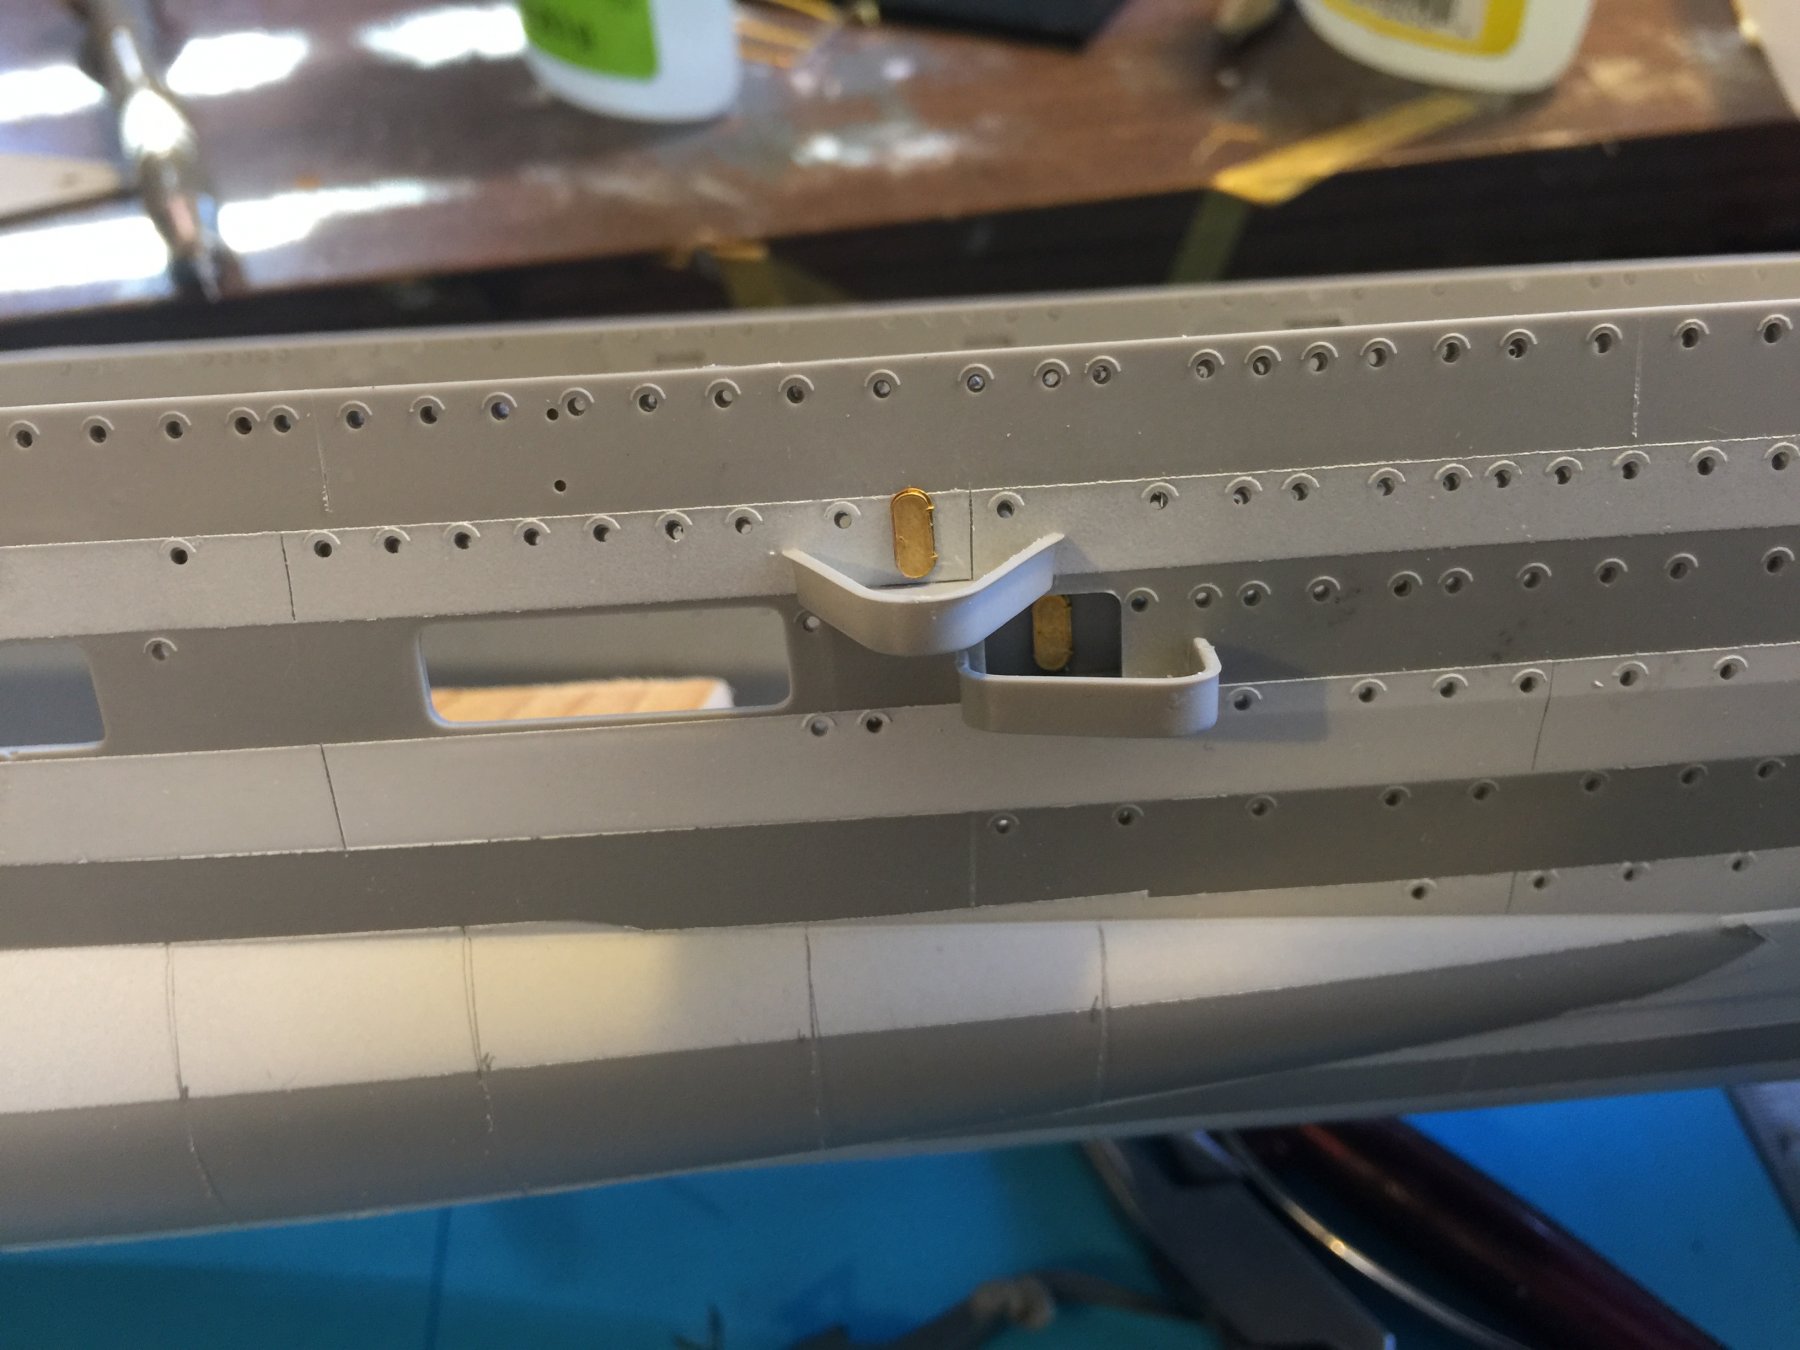
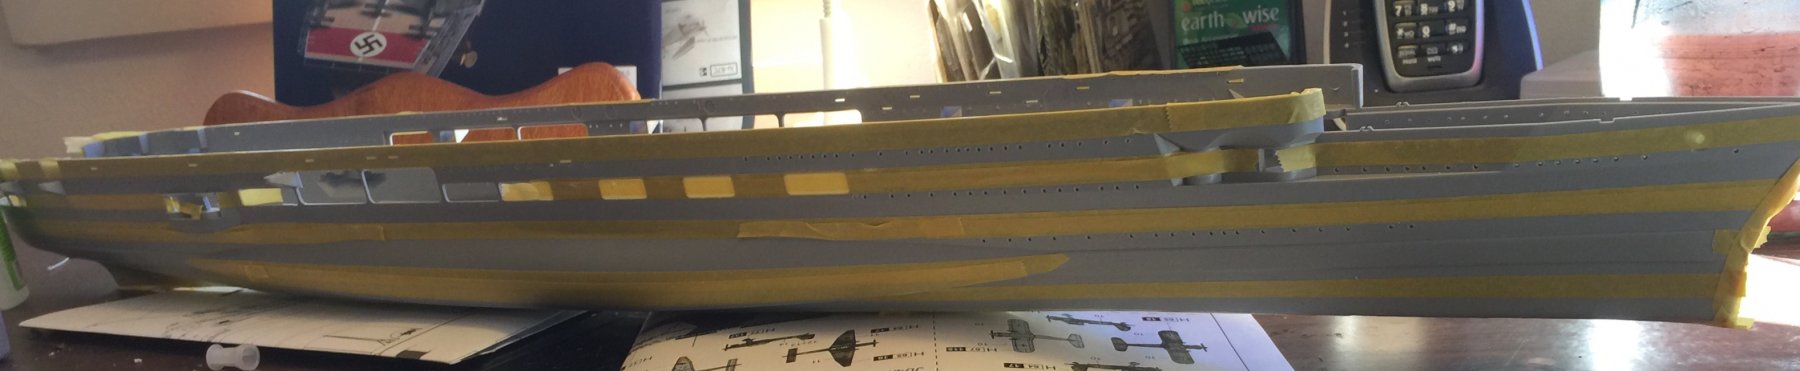
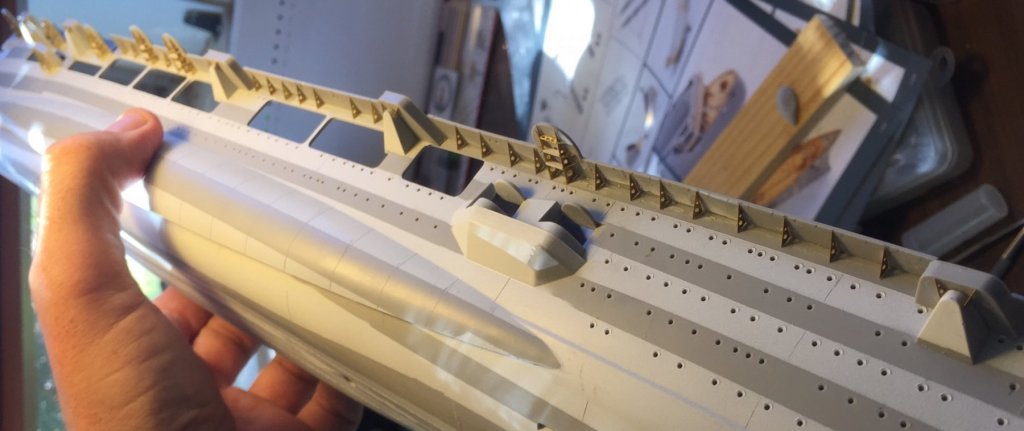
 So, new glue arrived and again I can start. Port side gussets added to the gantries, starboard side to go then I can prime.
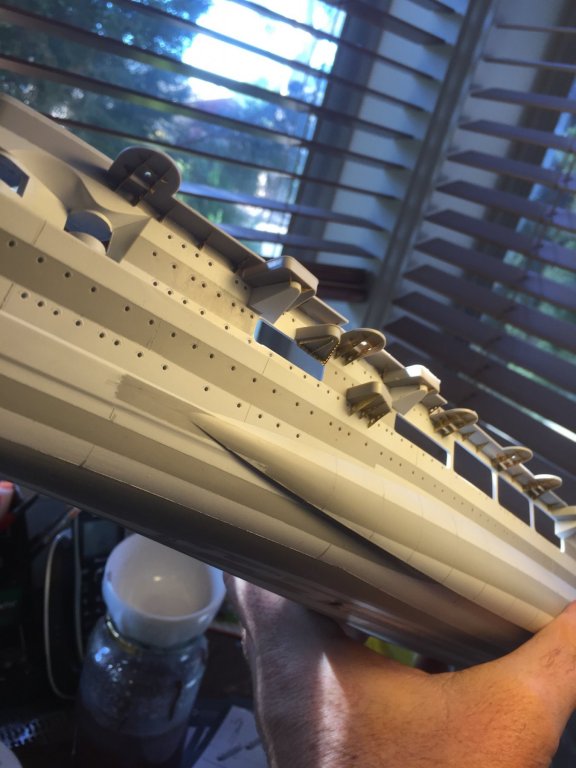
- 345 replies
-
- 15
-

-
- graf zeppelin
- trumpeter
- (and 2 more)
-
I’m Going to use a lot of masking tape as it’s so bloody big!
- 345 replies
-
- 4
-
-
- graf zeppelin
- trumpeter
- (and 2 more)
-
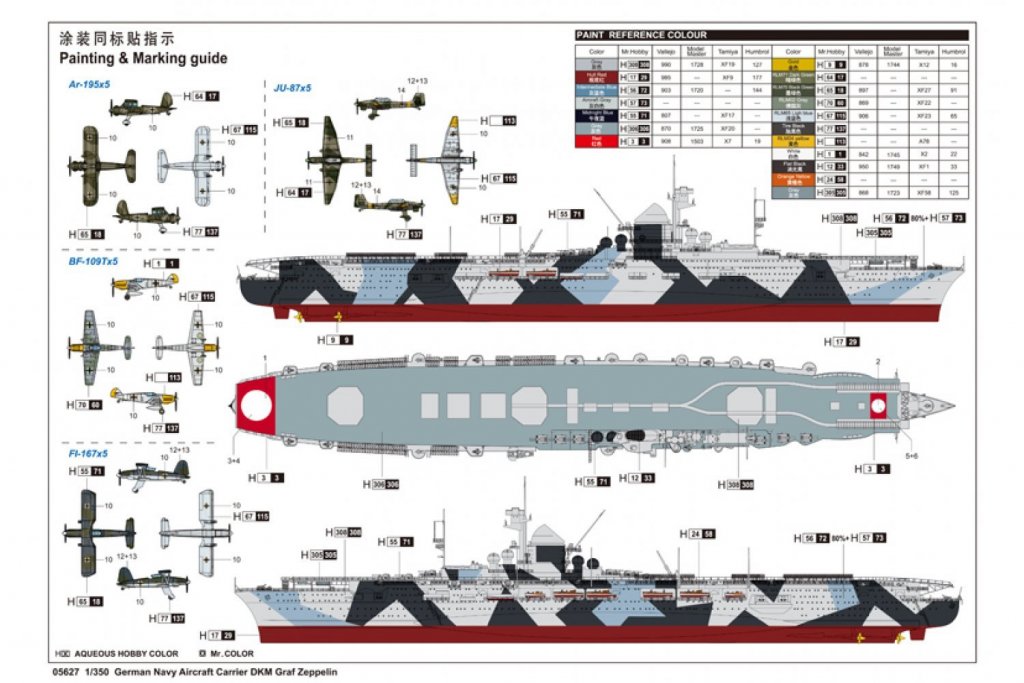
This is the Trumpy painting guide and I quite like it.
- 345 replies
-
- 11
-
-
- graf zeppelin
- trumpeter
- (and 2 more)
-
I see what you mean but I won't bother as the camouflage on the starboard side will be a very dark blue over this section and not really noticeable. More importantly they completely left out the anchor on the bow (Which I only just noticed today). Simple fix to drill a hole though.
- 345 replies
-
- 6
-
-
- graf zeppelin
- trumpeter
- (and 2 more)
-
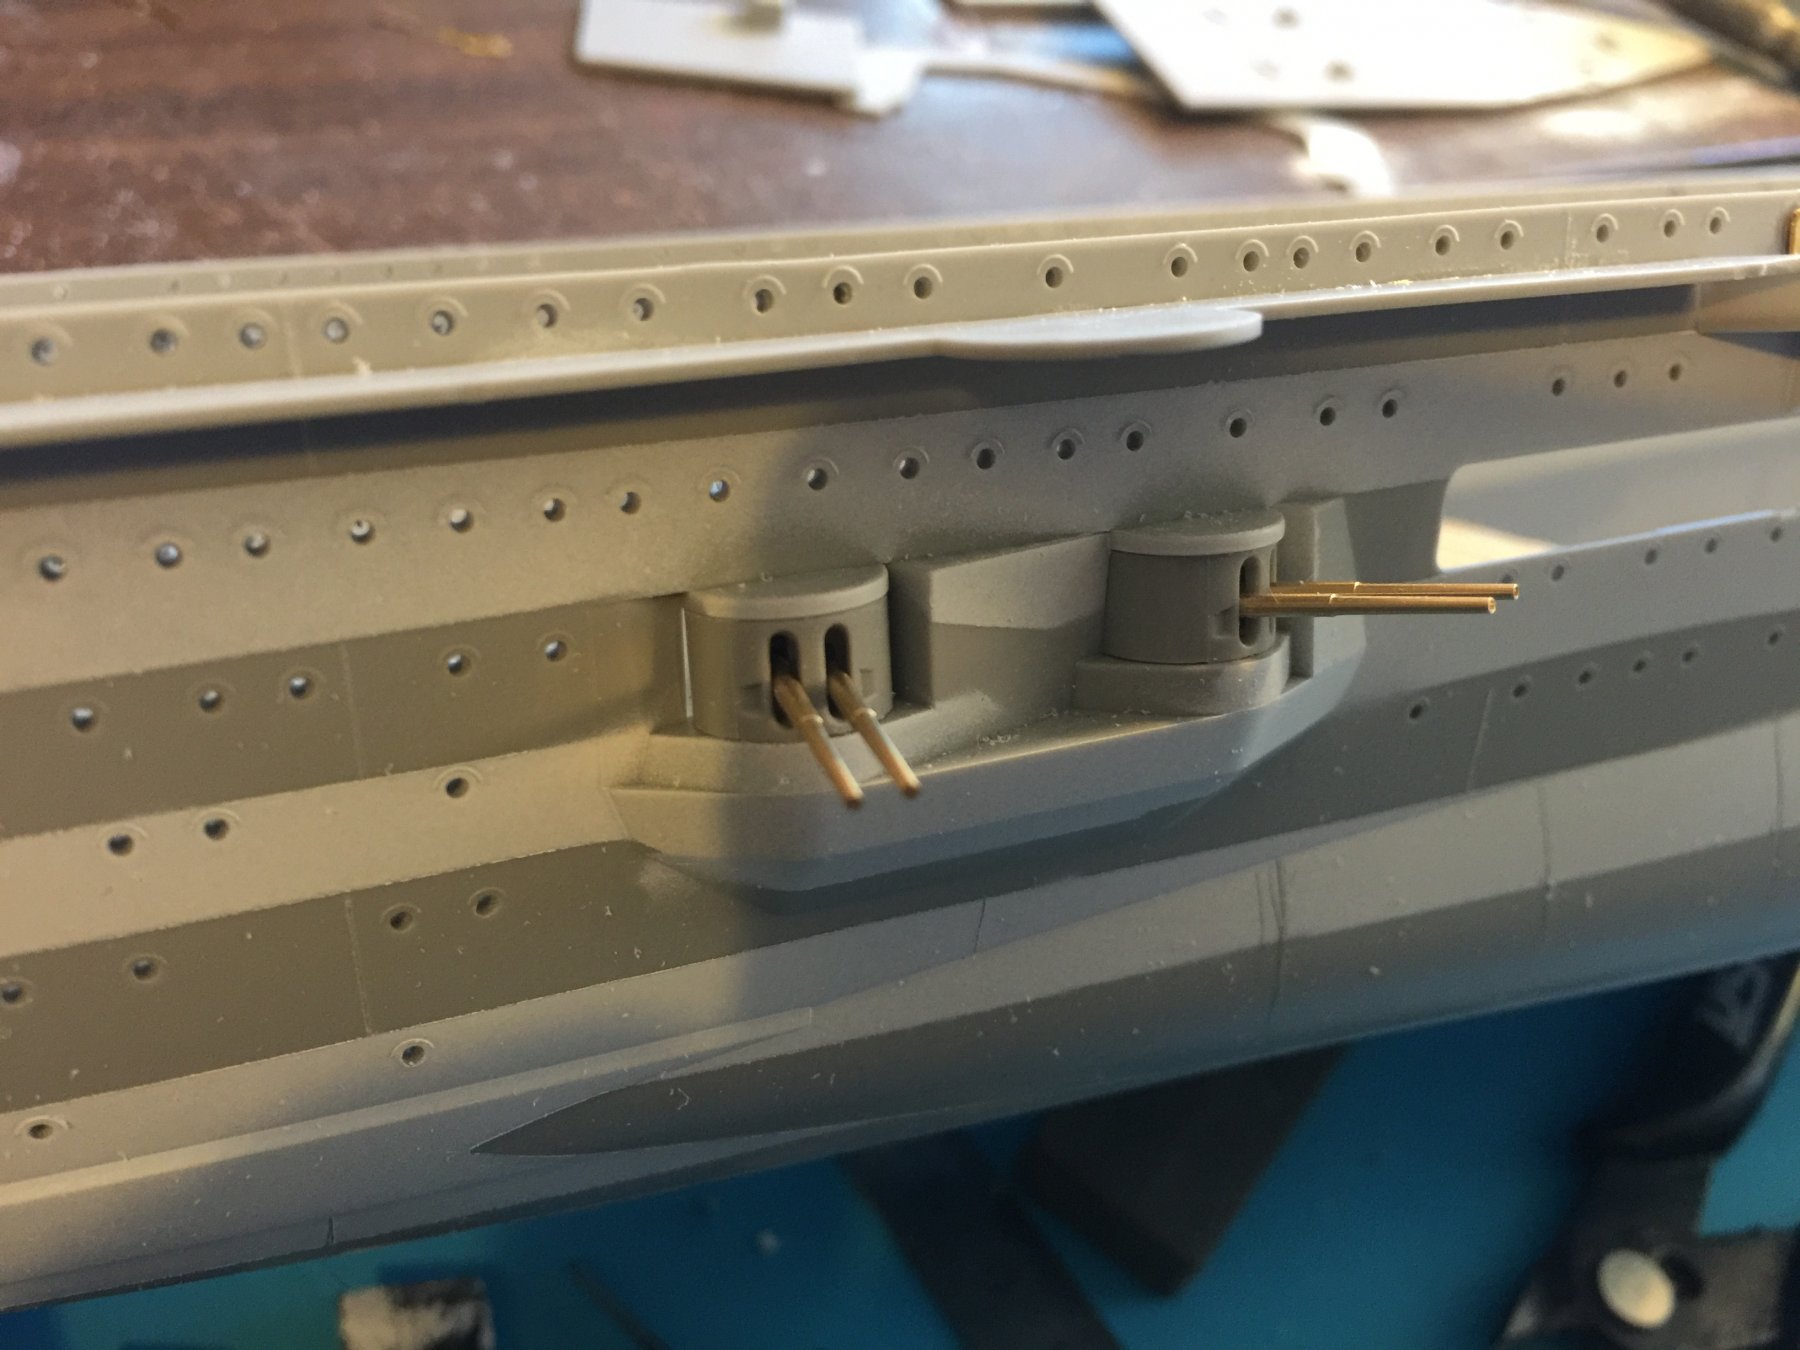
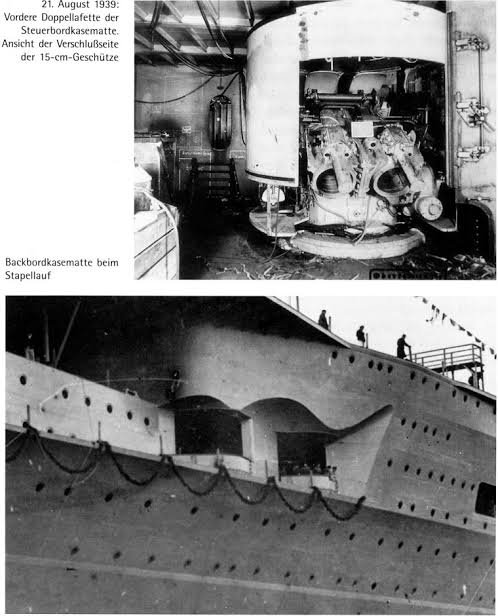
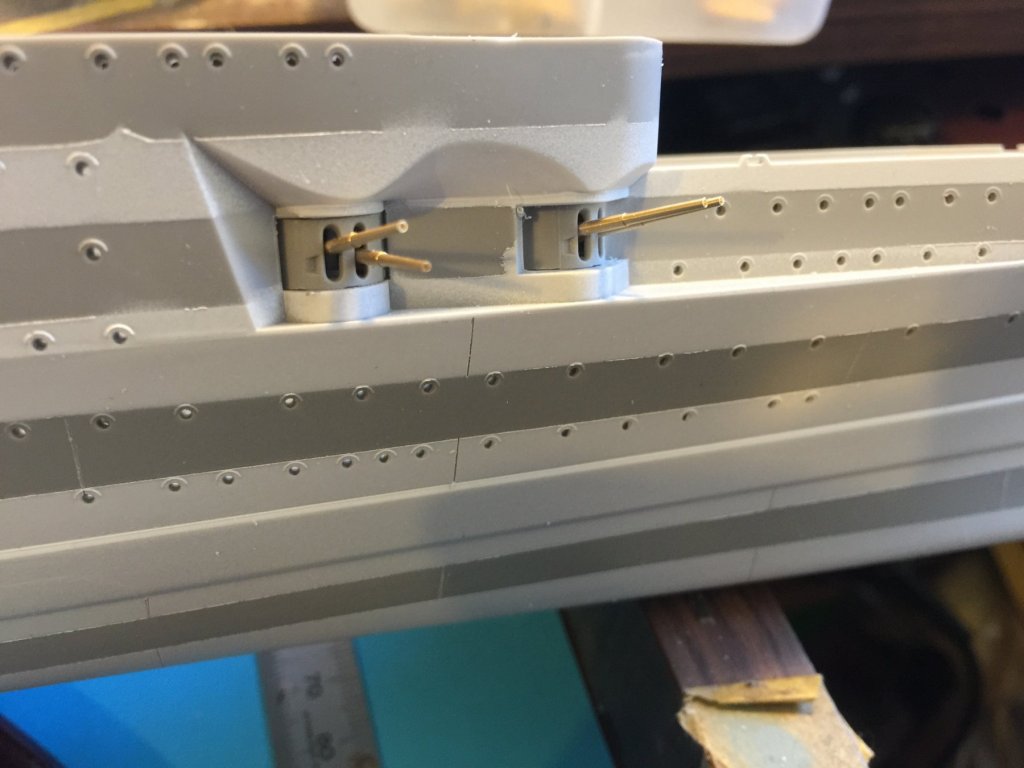
15 cm gun housings. I had to cut the barrels off at the stem and drilled holes into the stem to place the aftermarket barrels. I then had to file the tops so they can actually move / rotate inside the hull. The colour photo shows one of the ship’s real guns in Norway.


- 345 replies
-
- 16
-
-
- graf zeppelin
- trumpeter
- (and 2 more)
-
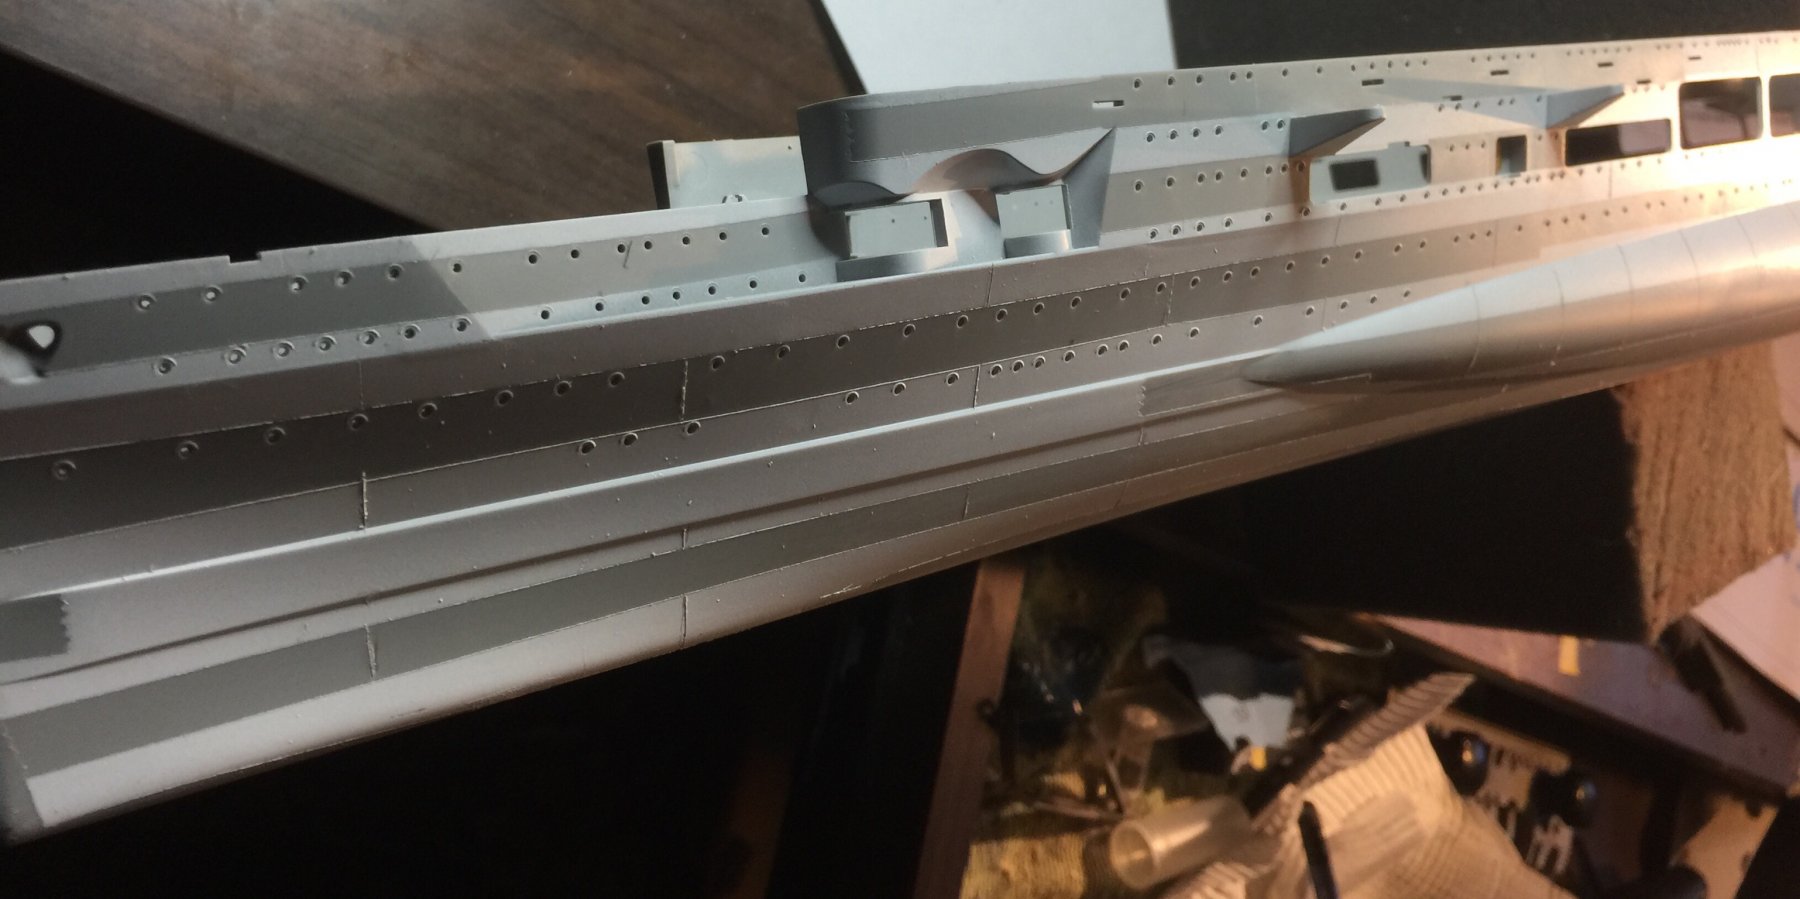
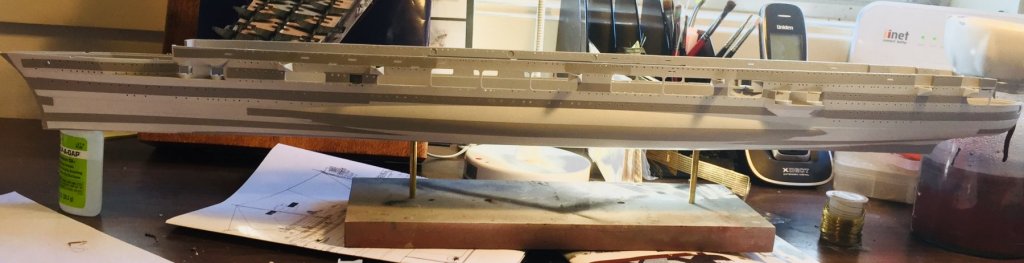
I need new CA. Maybe it’s the turning of the season but it has turned to sludge. I managed to add the gantries and a lot of door that are on the original blueprints but not the model or the upgrade. I’m awaiting new glue before I add 100 or so gussets.


- 345 replies
-
- 11
-
-
- graf zeppelin
- trumpeter
- (and 2 more)
-
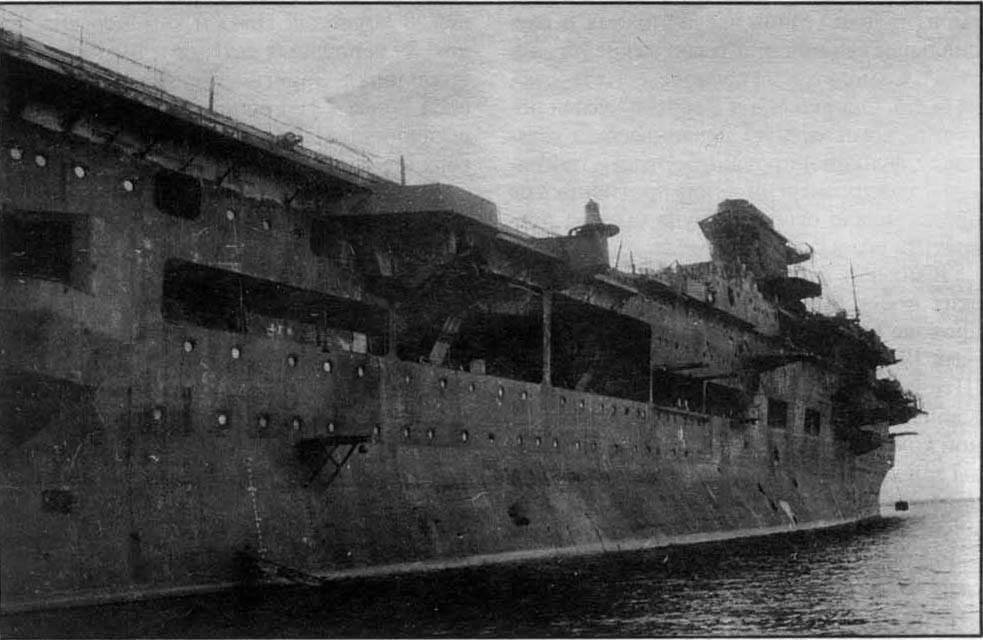
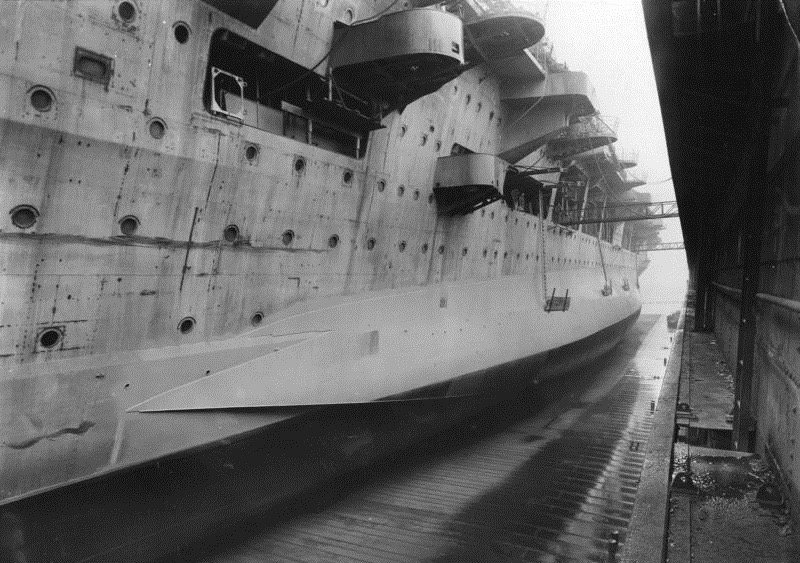
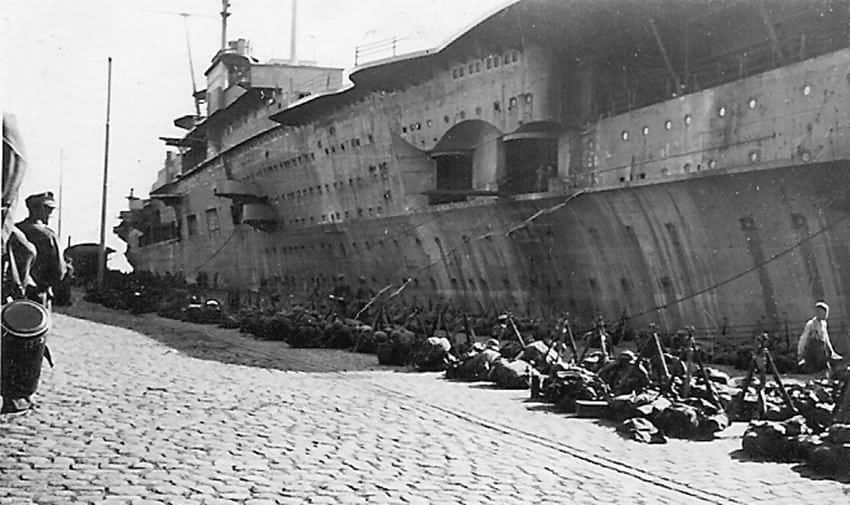
So the real thing looked like this. Remember it rusted a lot and never went to sea. In this timeline ah will be a bit more active.
- 345 replies
-
- 10
-
-
- graf zeppelin
- trumpeter
- (and 2 more)
-
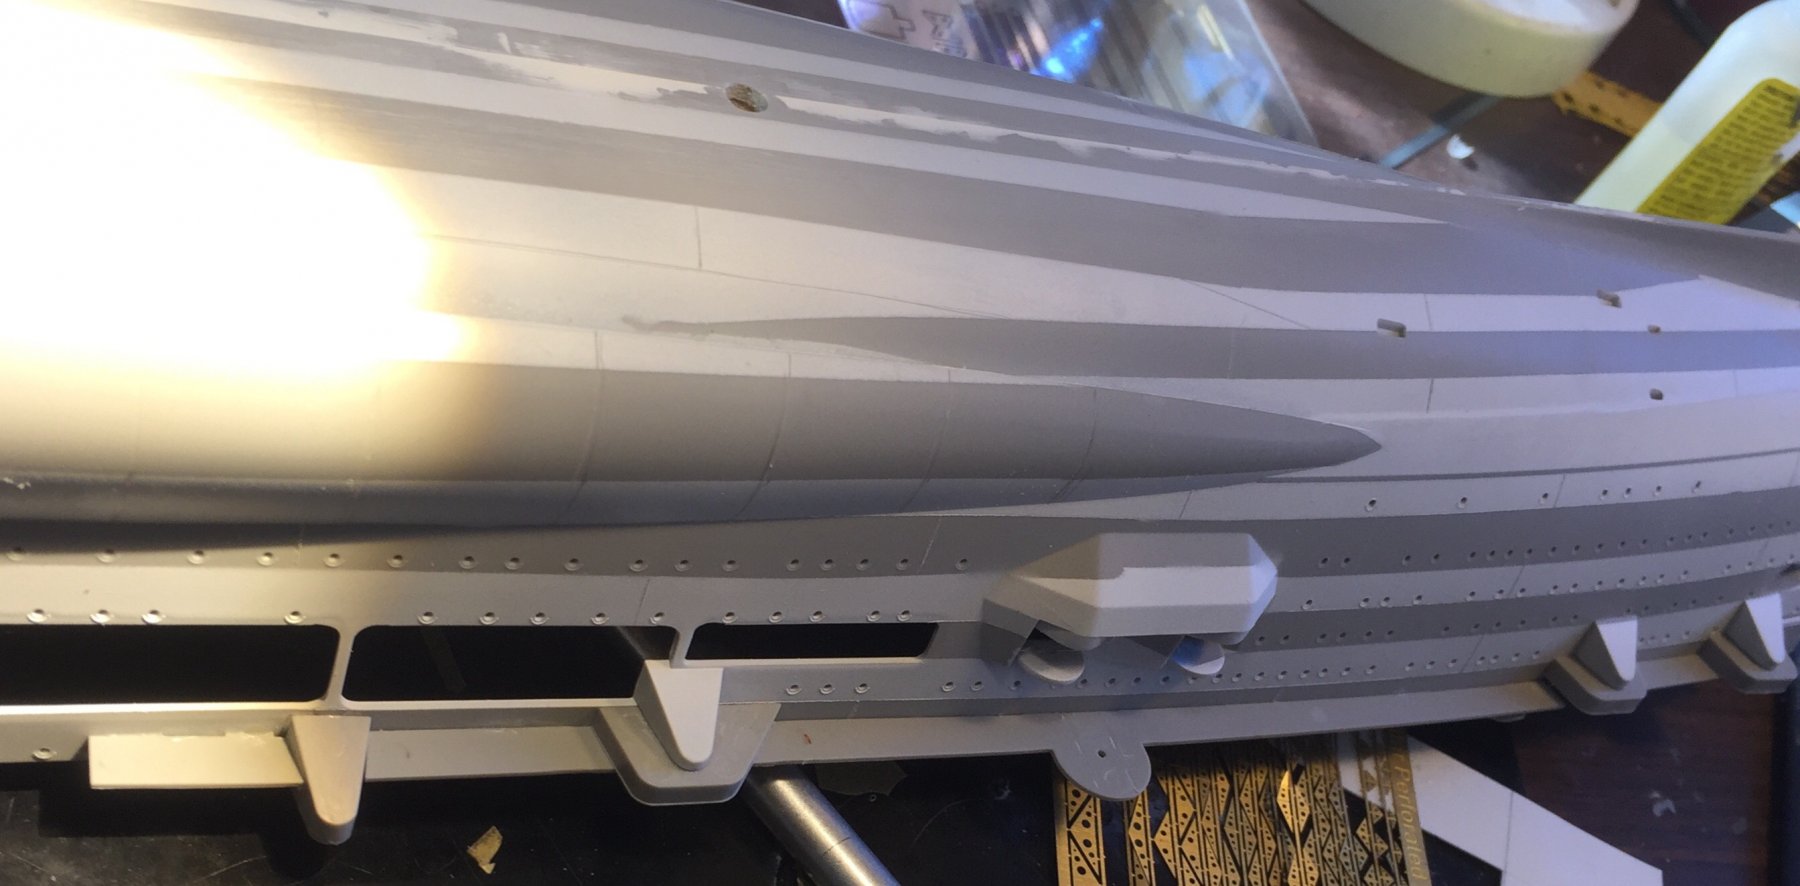
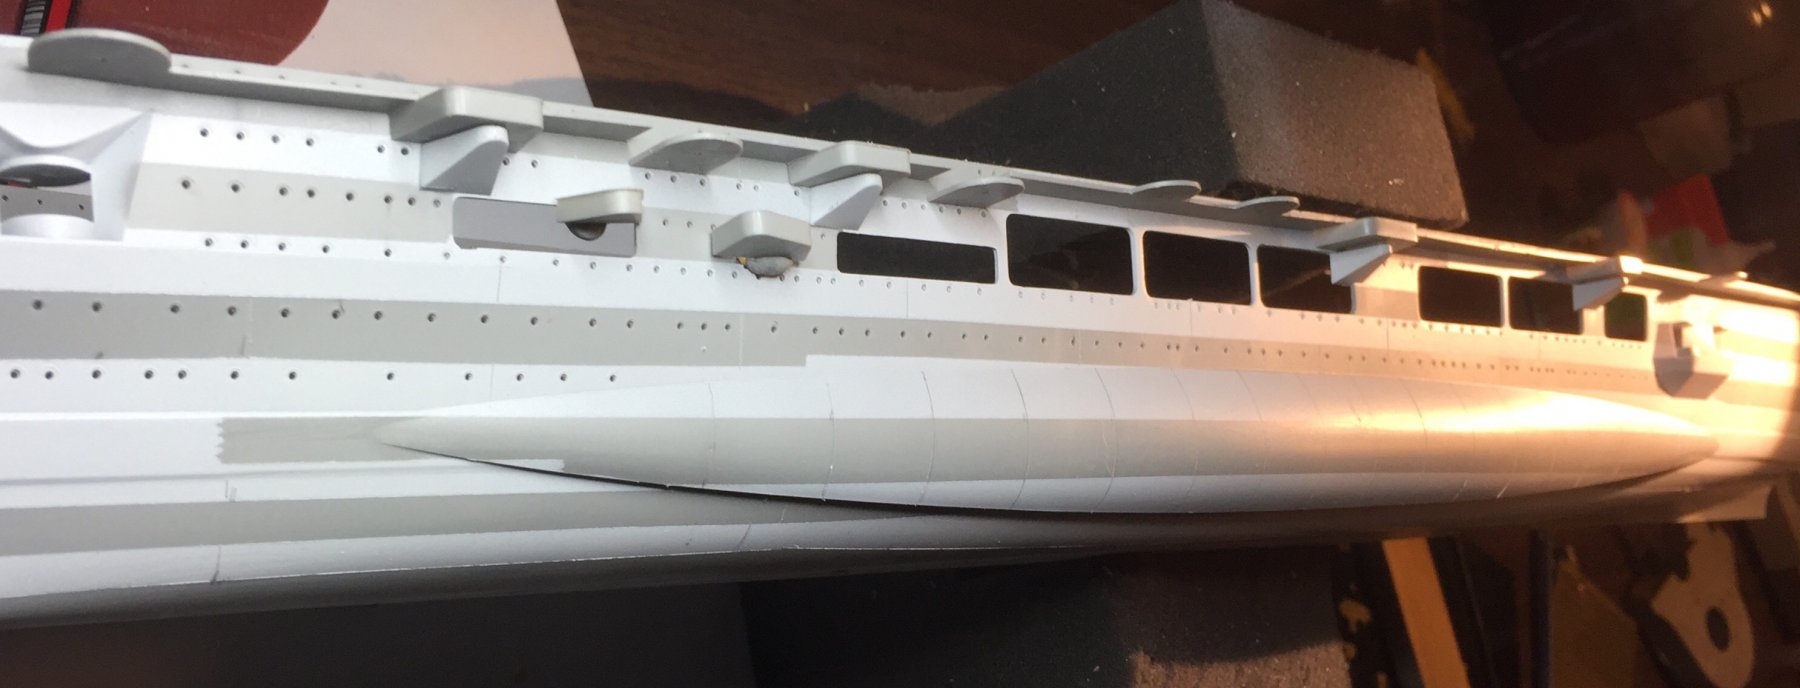
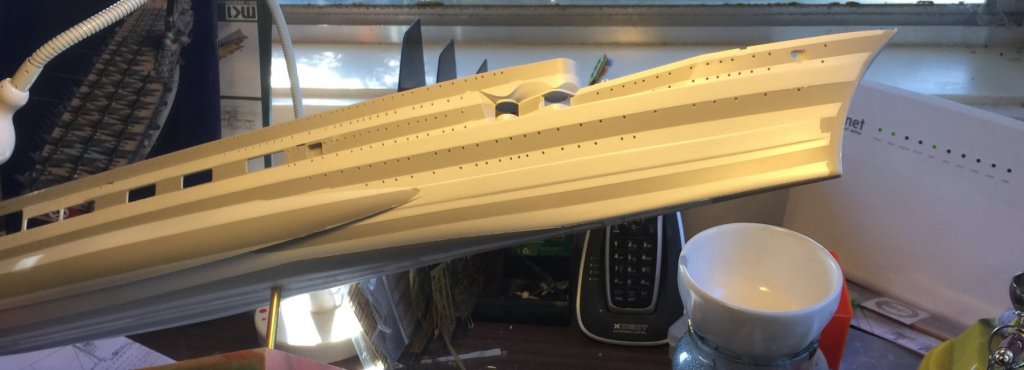
When the GZ was being built, they had to replace the bow as it was rubbish in rough weather and placed a large cap on top of the funnel as the smoke obscured the island. By adding the cap it became top heavy thus the bulges added on the hull for stability. I have etched in the panels which are’nt too obvious on the existing photos, but I think after some time at sea it would beat it up a bit and oilcan it. Next are the gantries that will have spotlights and guns. These will all need gusssets which are after after market.

- 345 replies
-
- 9
-
-
- graf zeppelin
- trumpeter
- (and 2 more)
-
I use Zap which has always been great, just the recent batches haven’t been very medium or thin.
-
I’m of the opinion sone bottles just go off. I just got a ‘new’ bottle of medium CA which is thicker than off cream. I think it has just sat around in the heat for too long so going to get some from a new source as the thin stuff I also bought is just as thick.
-
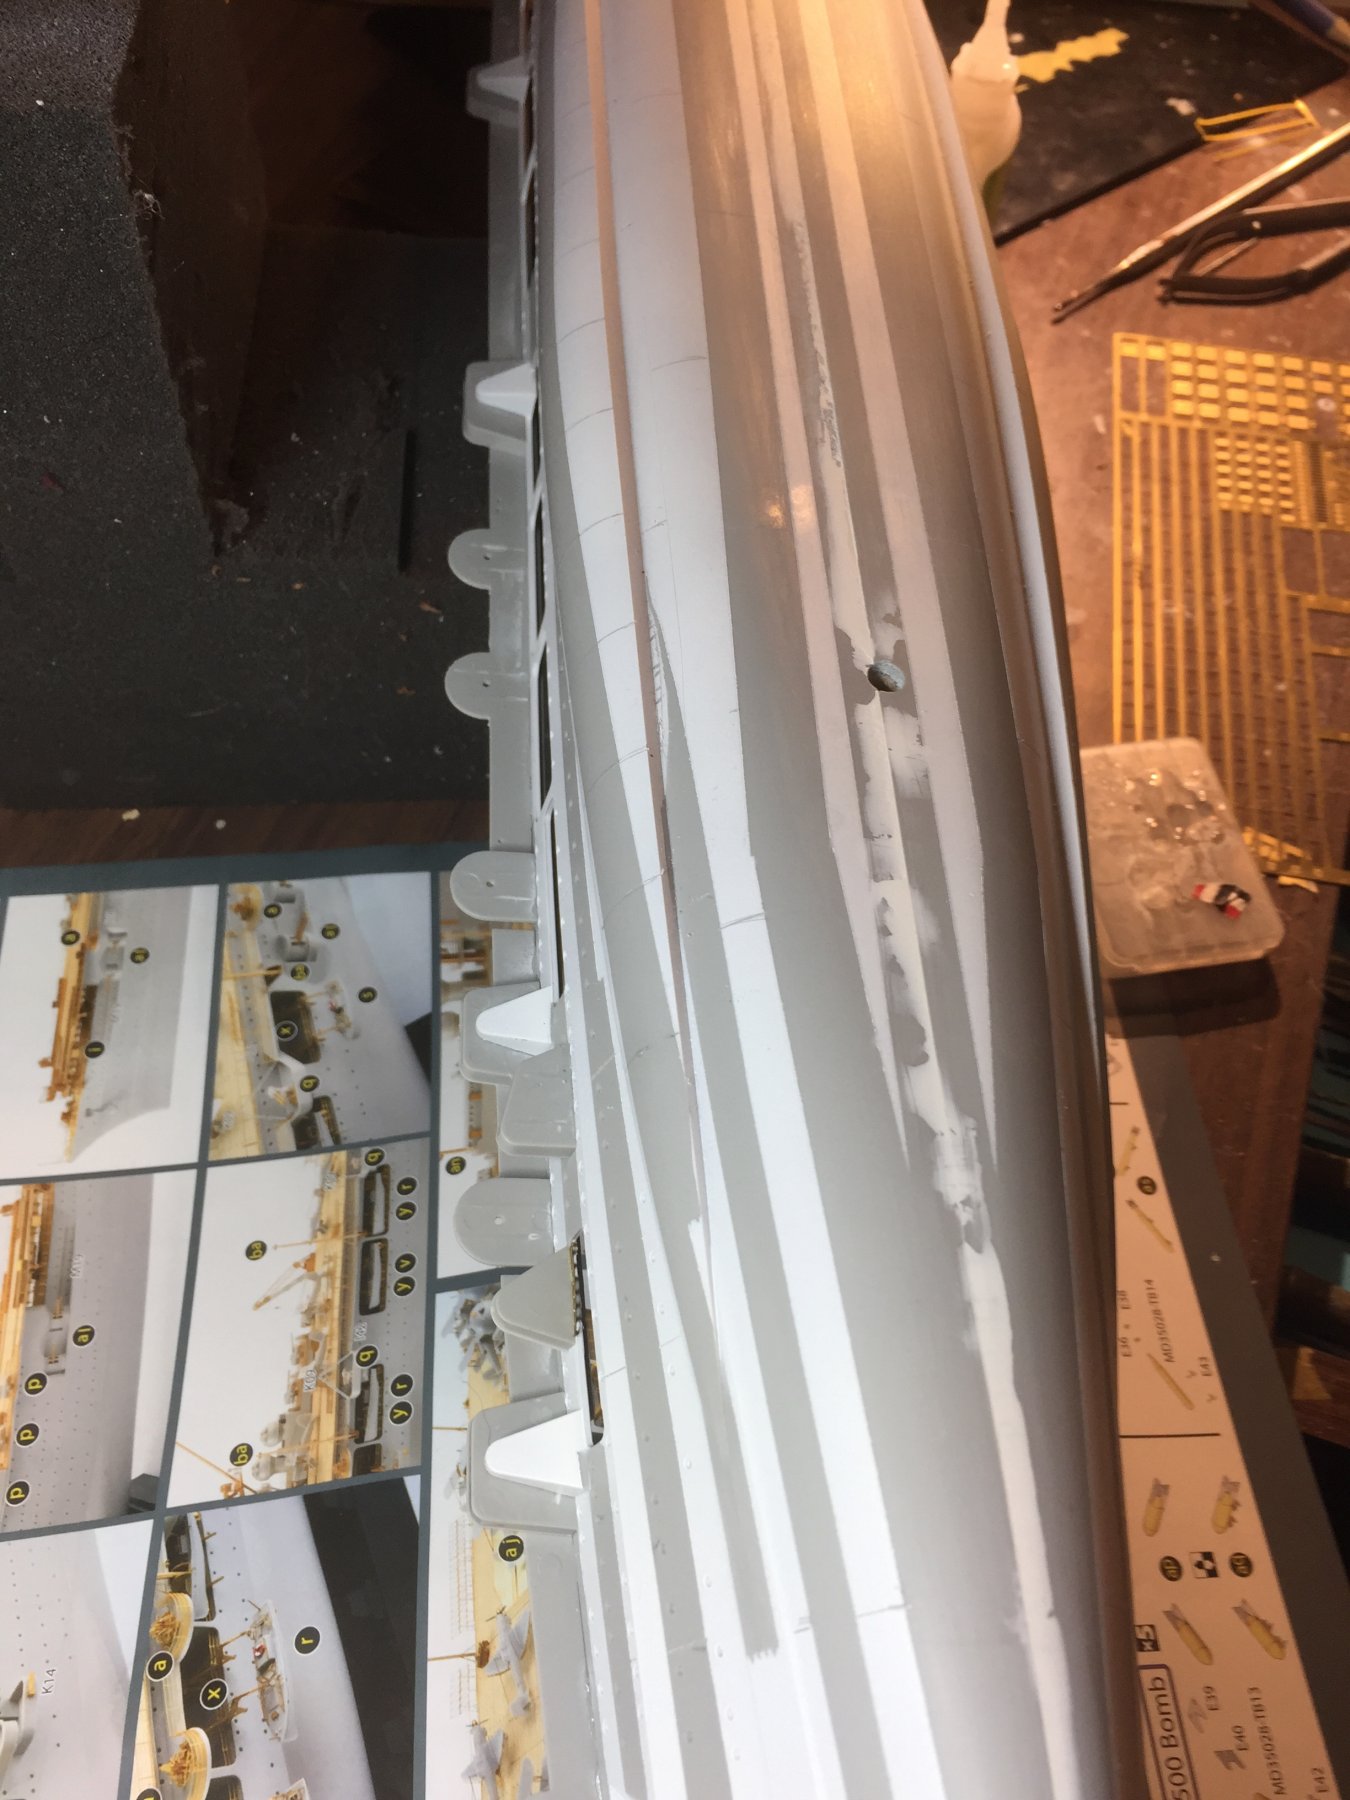
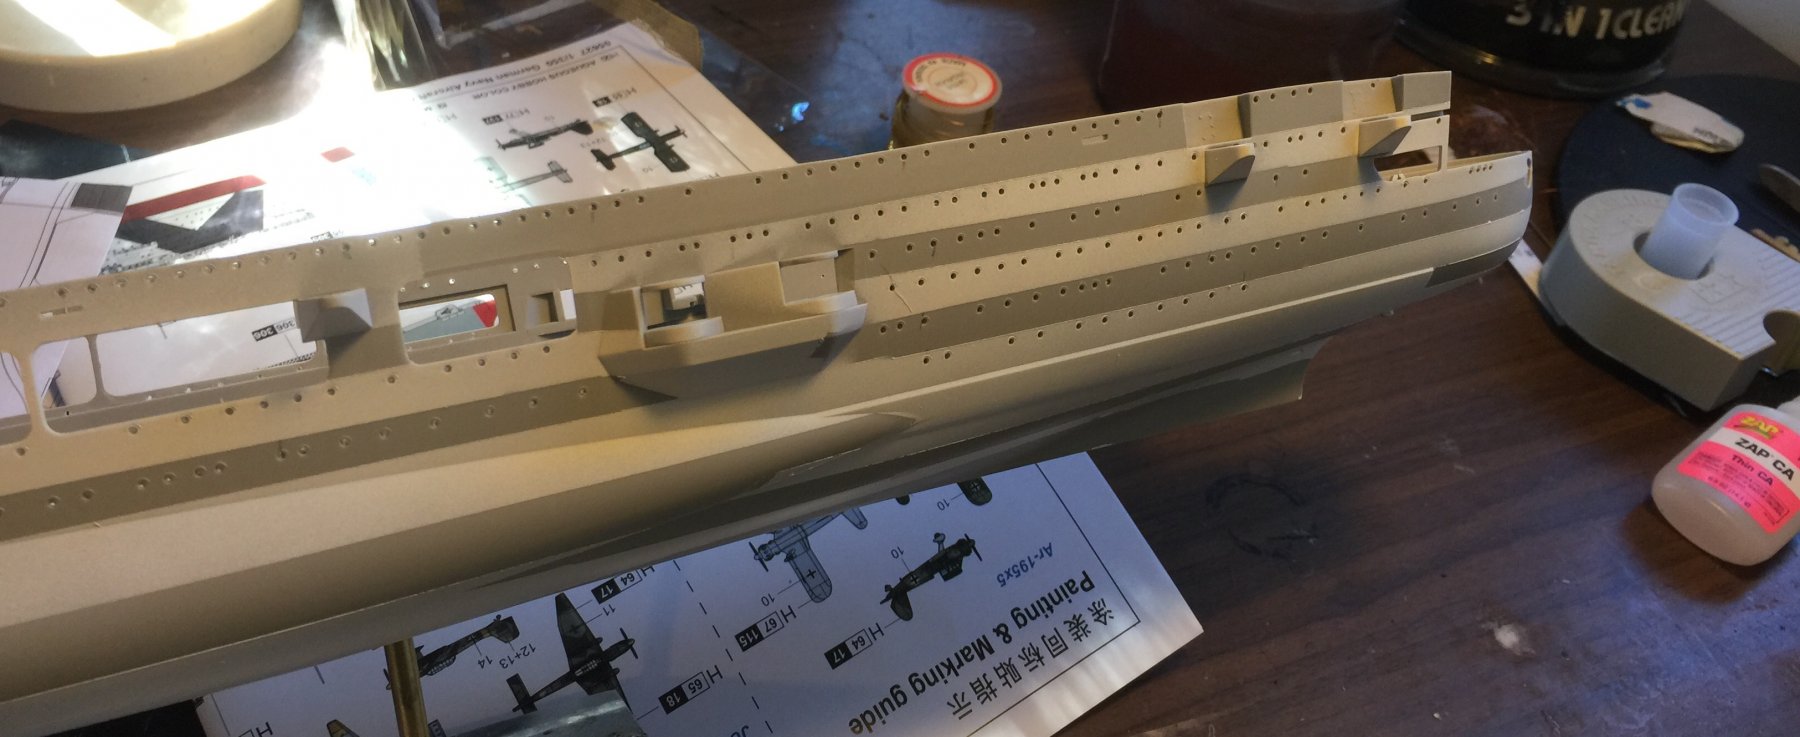
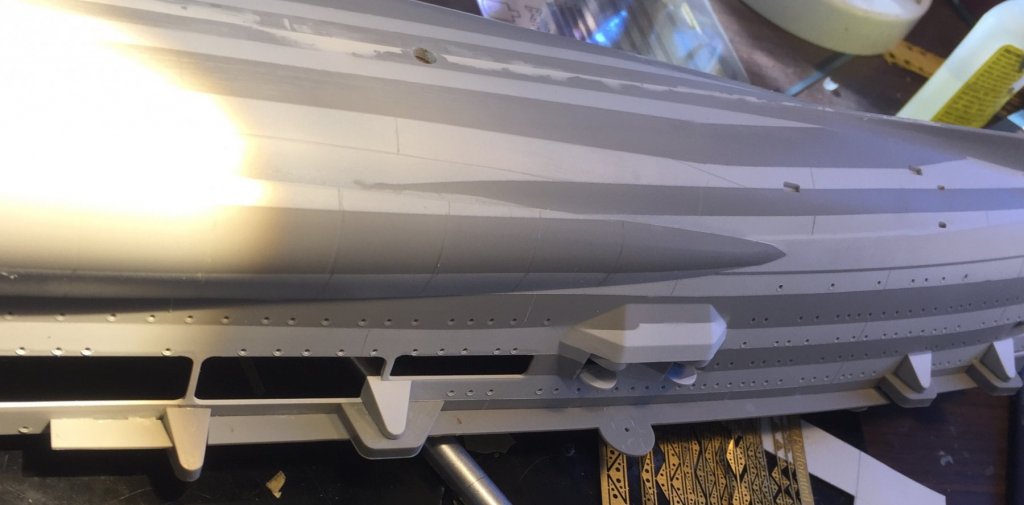
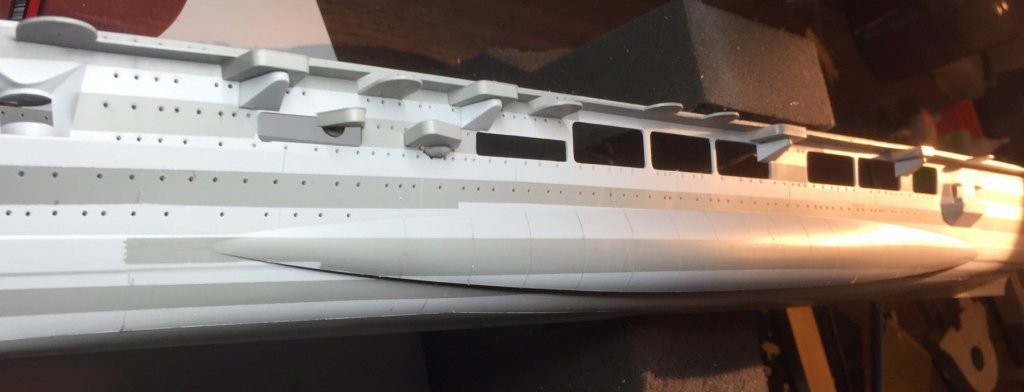
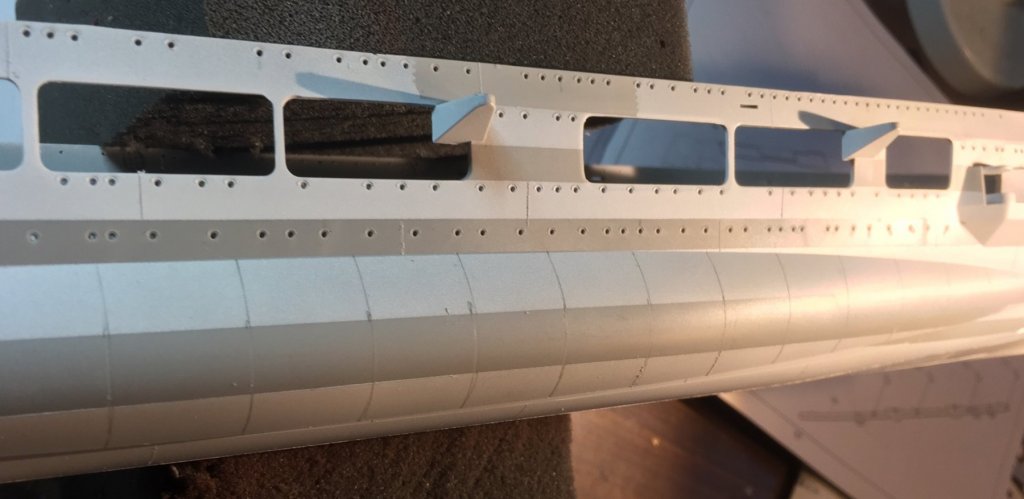
So the panel lines are done. I can now etch in the vertical lines and try and understand the engineering as there are platform that run alongside the deck for guns and spotlights that will need a heap of gussets added. Once I’ve gotten my head around that I can give her another primer coat to cover up all the raw areas.

- 345 replies
-
- 11
-
-
- graf zeppelin
- trumpeter
- (and 2 more)
-
I’m going to do it a bit different this time as I want the hull plates to be a bit more defined. It will more or less just give me a guide when I airbrush and weather.
- 345 replies
-
- 6
-
-
- graf zeppelin
- trumpeter
- (and 2 more)
-
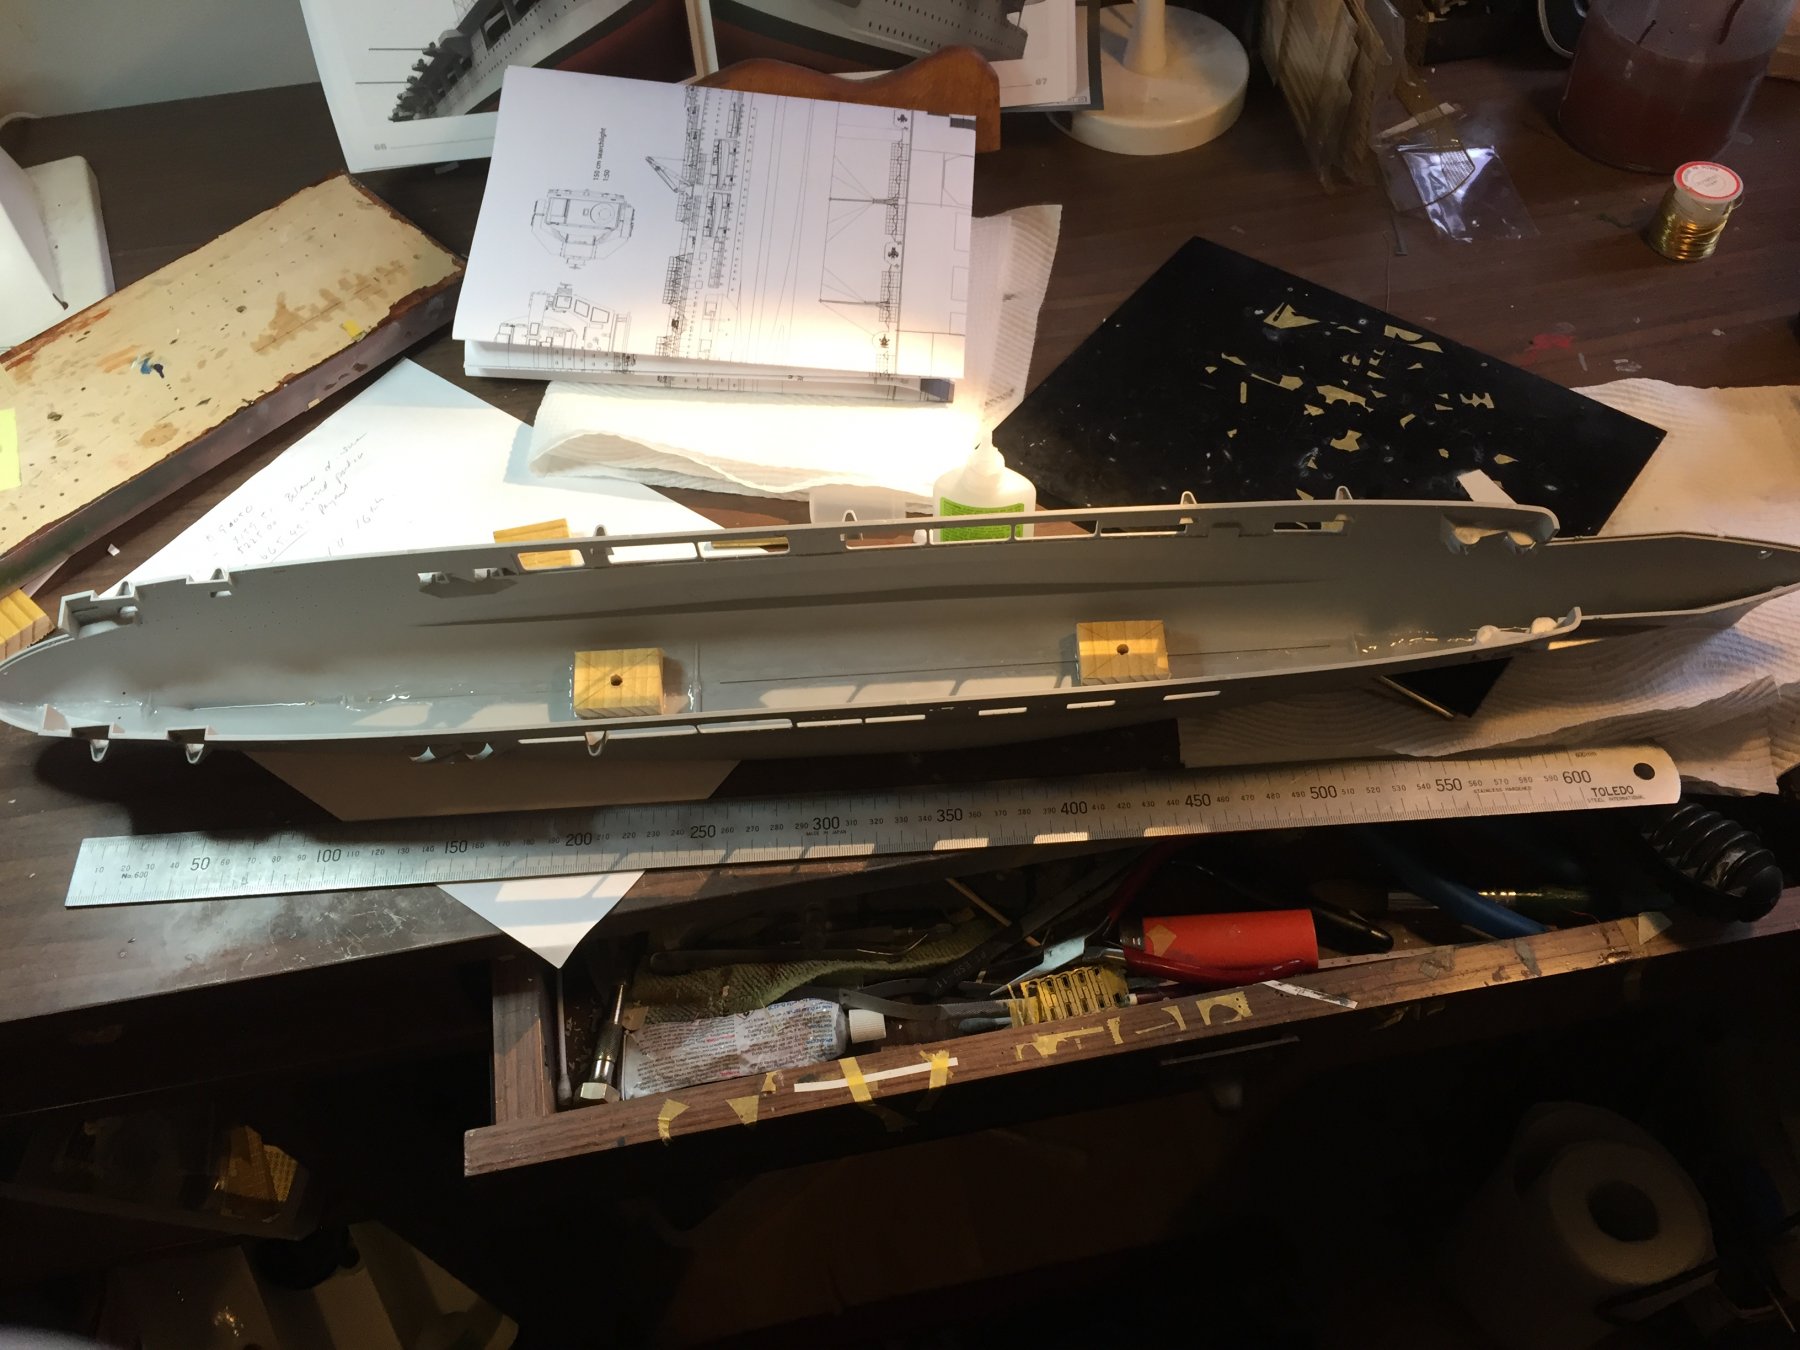
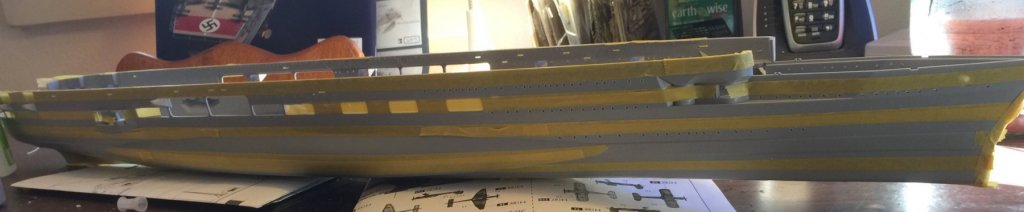
Hull taped up ready for the first layer of primer

- 345 replies
-
- 9
-
-
- graf zeppelin
- trumpeter
- (and 2 more)
-
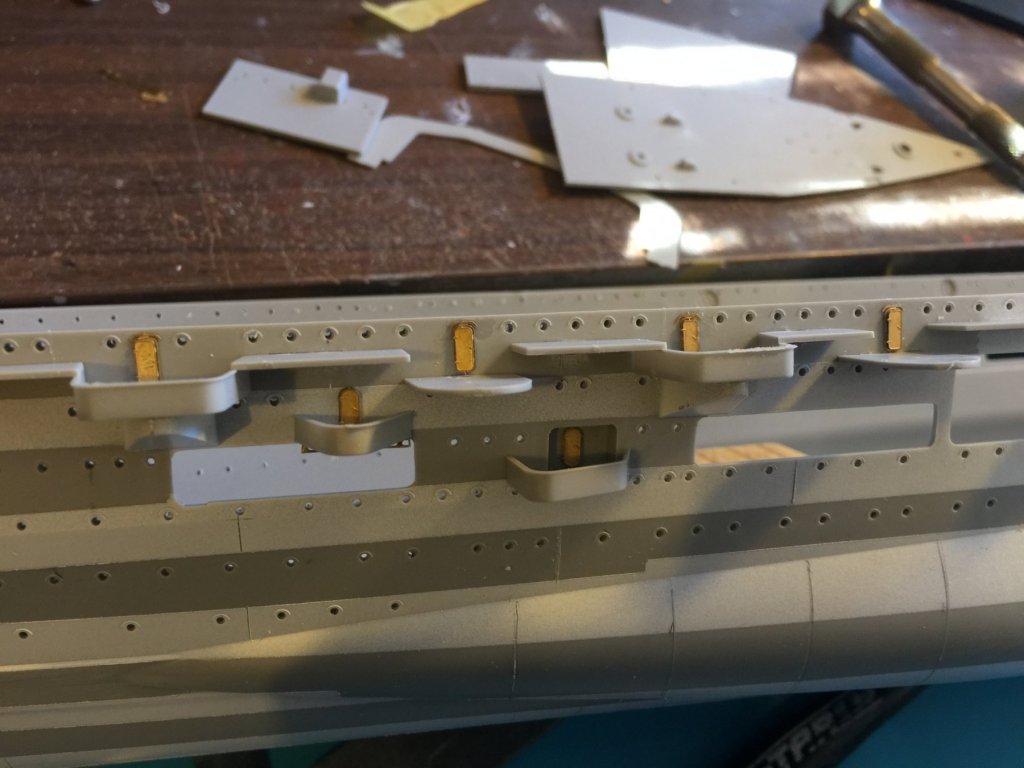
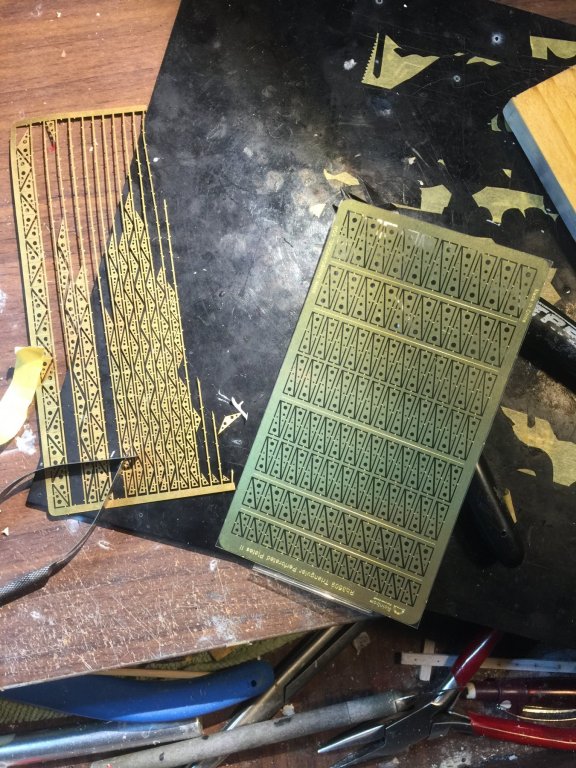
The platforms on the sides need lots of triangular gussets to be added (which are not included) and I think I’ll have to add the deck first as it will never align properly unless I do it then BUT! The lattice support wort under the deck at the bow and stern will have to be pre painted and weathered. So many chickens and so many eggs.
- 345 replies
-
- 4
-
-
- graf zeppelin
- trumpeter
- (and 2 more)
-
I’m not sure yet, I need to consider scribing the plates in first.
- 345 replies
-
- 3
-
-
- graf zeppelin
- trumpeter
- (and 2 more)
-
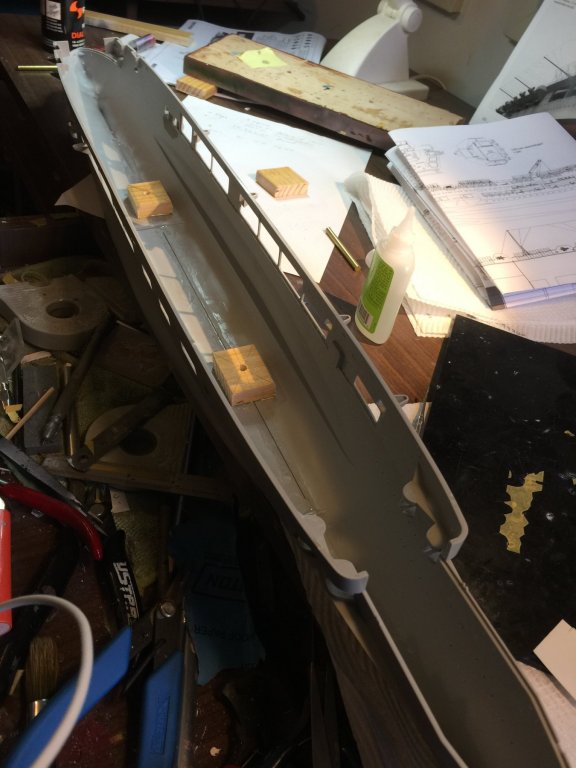
They’d be some around somewhere I imagine. Hull glued and joined up. Wooden blocked bedded down for the stands. I’ll let it sit and harden now.

- 345 replies
-
- 13
-
-
- graf zeppelin
- trumpeter
- (and 2 more)