DONATION DRIVE - SUPPORT MSW - DO YOUR PART TO KEEP THIS GREAT FORUM GOING!
×


RGL
-
Posts
5,539 -
Joined
-
Last visited
Content Type
Profiles
Forums
Gallery
Events
Everything posted by RGL
-
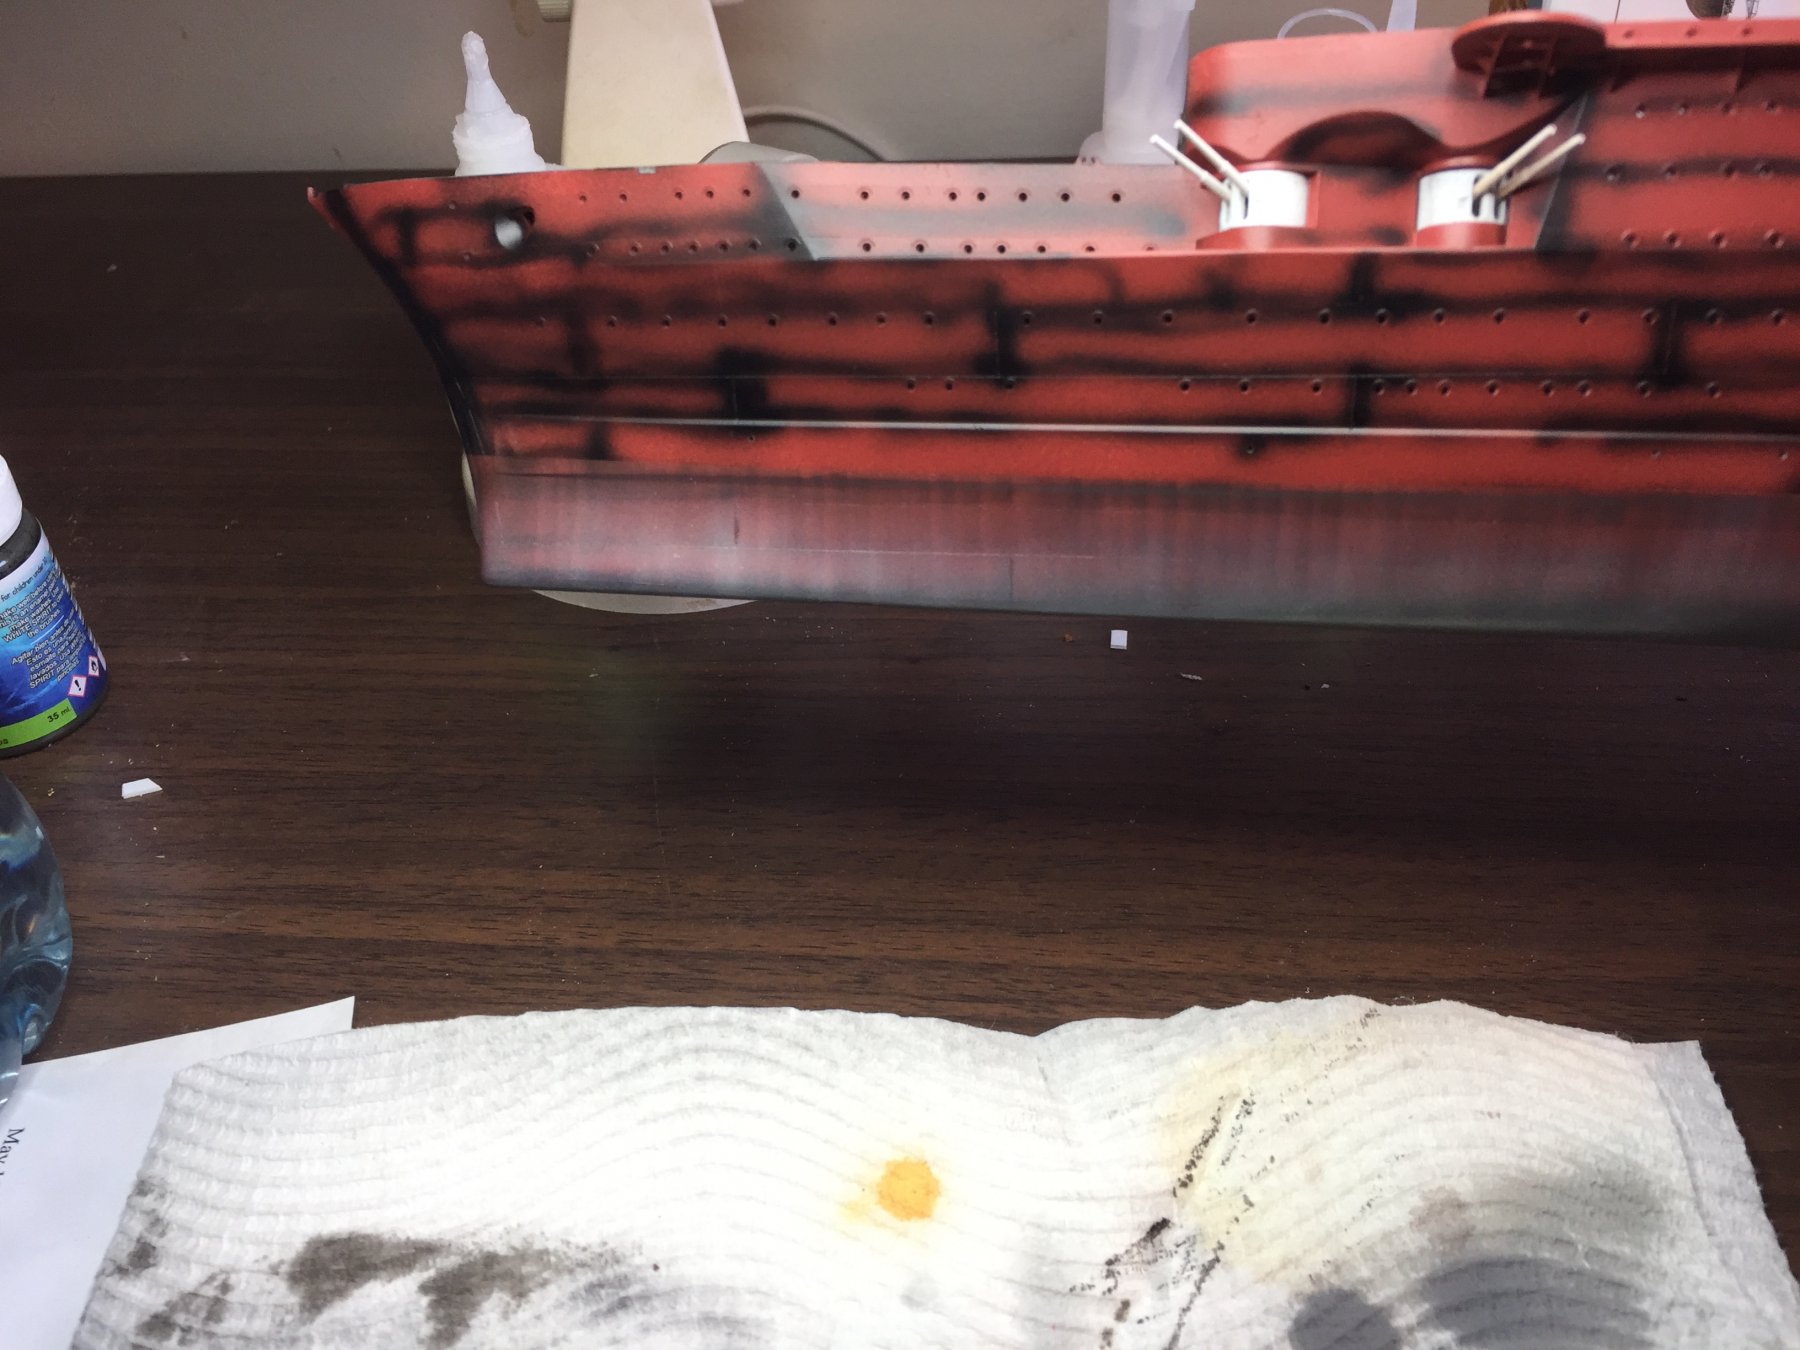
 Basically look at photos of real ships to look for rust points, and see how it flows down the hull. As the side of this hull is so large I can’t imagine upkeep at sea would be easy. Pretty much a process of sponging on some black or using a brush , then dark rust then light rust.
- 345 replies
-
- 4
-

-
- graf zeppelin
- trumpeter
- (and 2 more)
-
I want to rust it. It’s fun. And if I don’t, Cog will pick on me.
- 345 replies
-
- 7
-
-
- graf zeppelin
- trumpeter
- (and 2 more)
-
With thin CA and a toothpick you’d be fine, take longer to drill out the holes.
- 345 replies
-
- 4
-
-
- graf zeppelin
- trumpeter
- (and 2 more)
-
Grunging part 2, streaking grime from every porthole and edge, I used salt from the portholes painted navy. Rust is next 433DB6A7-B6E4-444C-8F40-440EED0A8397.MOV
- 345 replies
-
- 16
-
-
- graf zeppelin
- trumpeter
- (and 2 more)
-
The portholes are included in the PE but they are not needed as the kit ringols are good enough really.
- 345 replies
-
- 4
-
-
- graf zeppelin
- trumpeter
- (and 2 more)
-
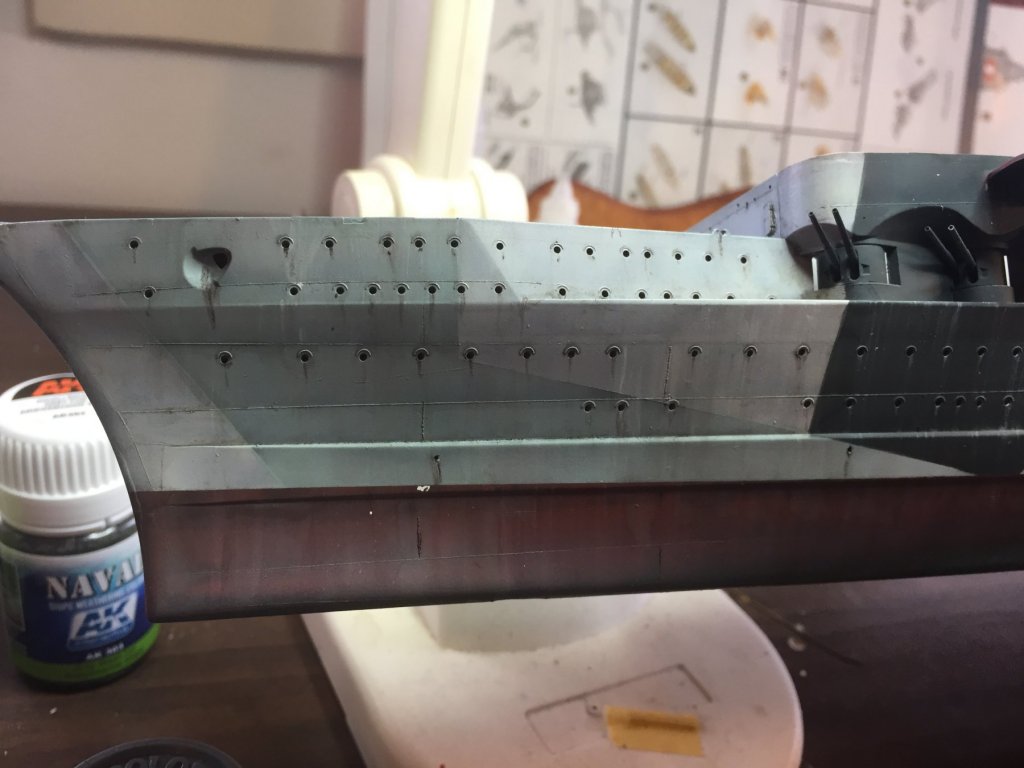
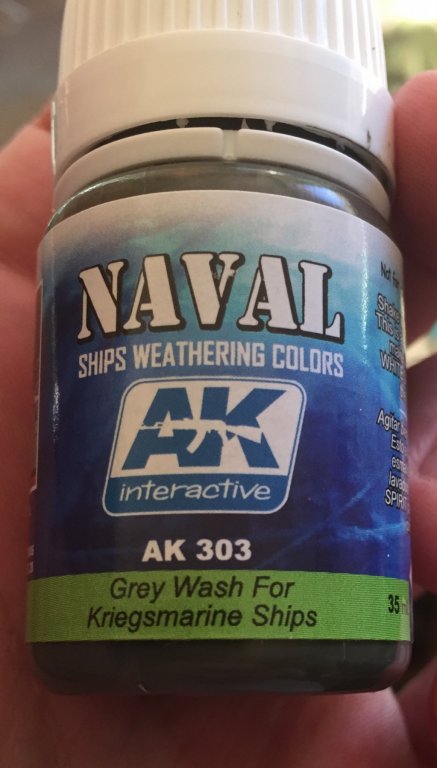
Grunge part 1: using a wash for grey ships to bring out the ringols and panel lines. Streaking grime next. I inserted a video by mistake but it appears to have worked! 9E70AB2A-A8D4-47EB-87A8-9E6AA59B0E4C.MOV


- 345 replies
-
- 18
-
-
- graf zeppelin
- trumpeter
- (and 2 more)
-
The lovely thing about this model is you just can’t hide your mistakes under paint like I do. As a builders model it’s fantastic.
- 34 replies
-
- 7
-
-
- mikasa
- wave models
- (and 2 more)
-
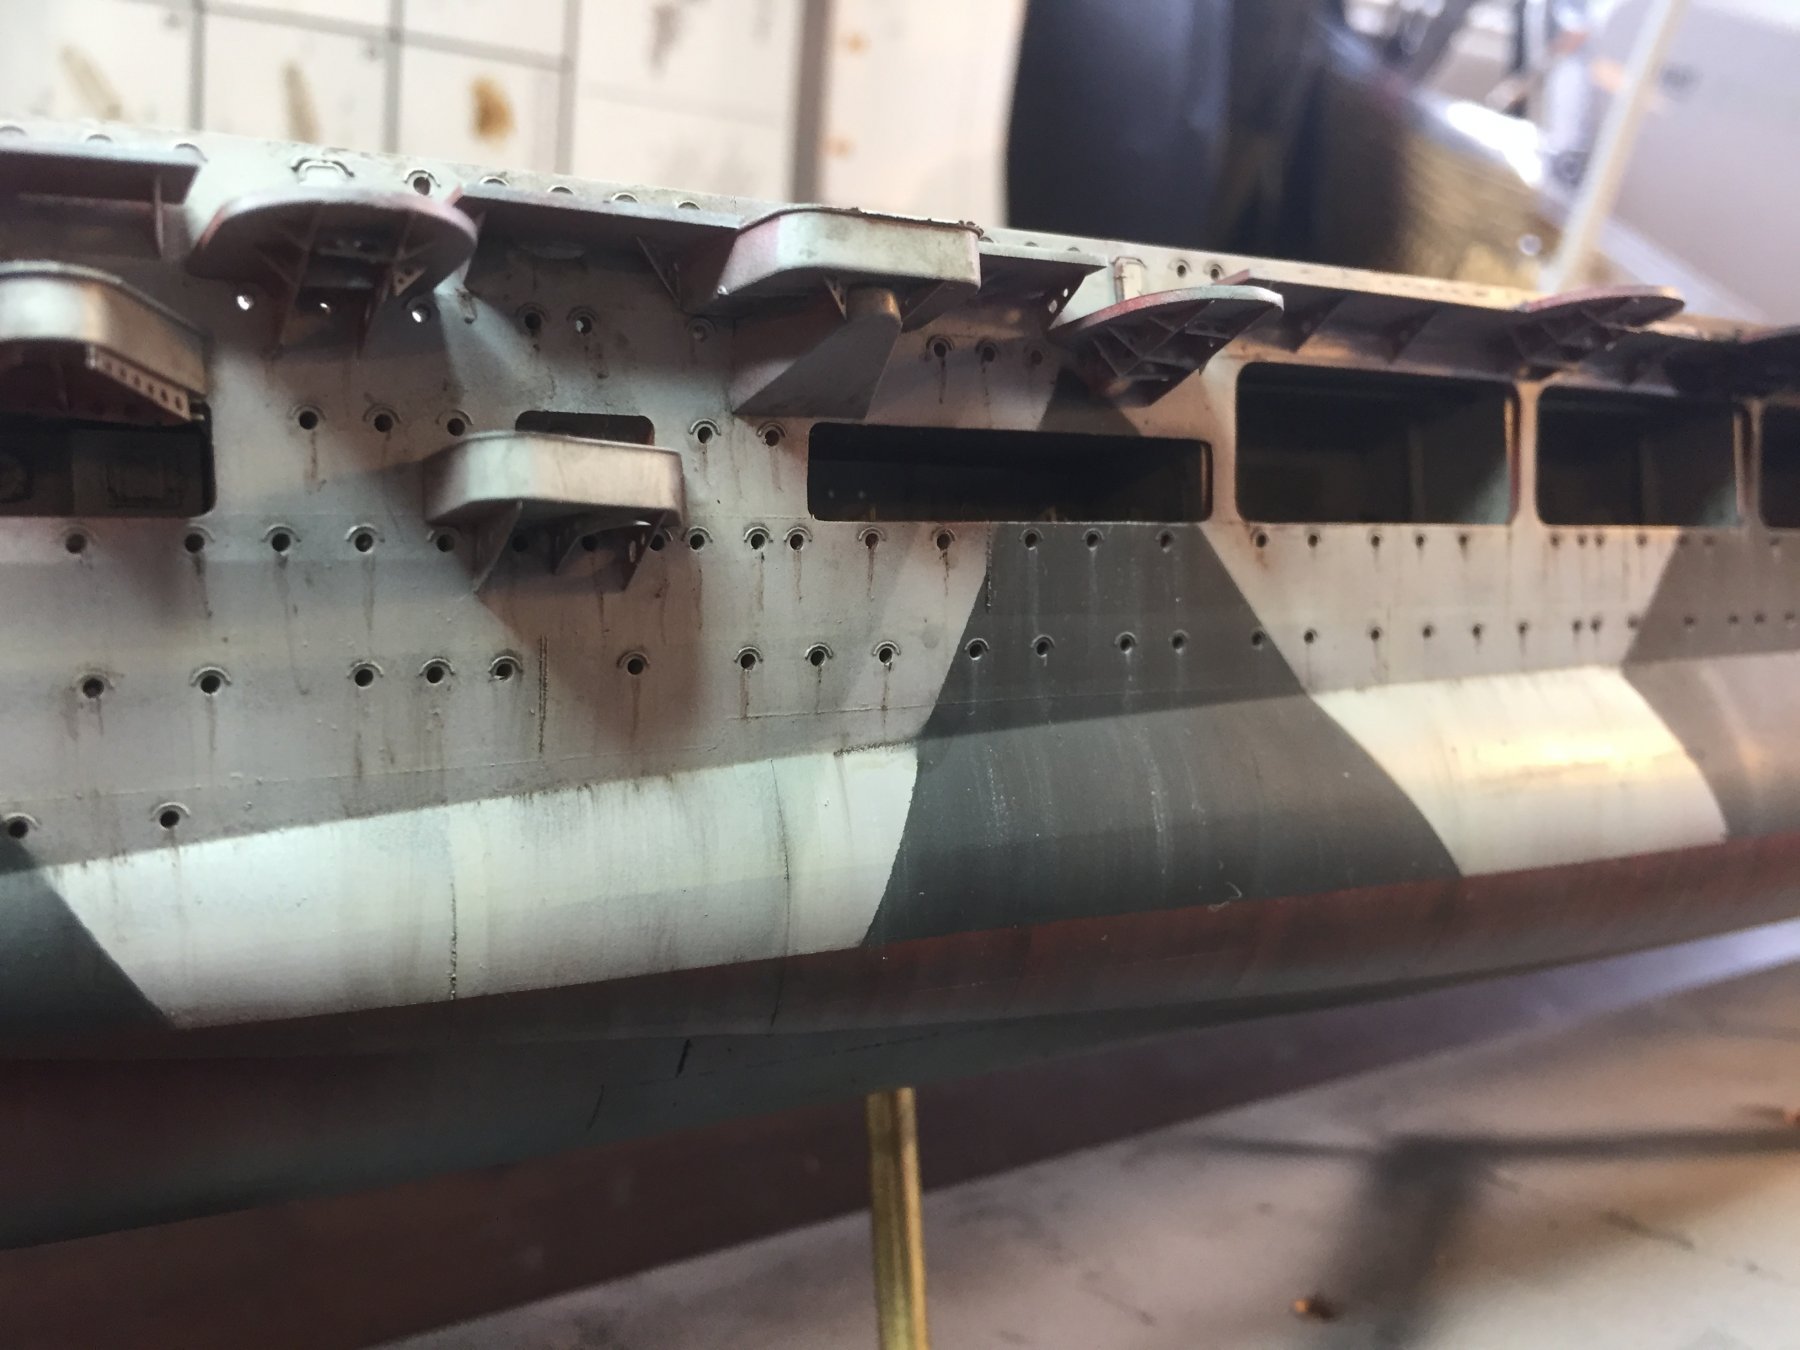
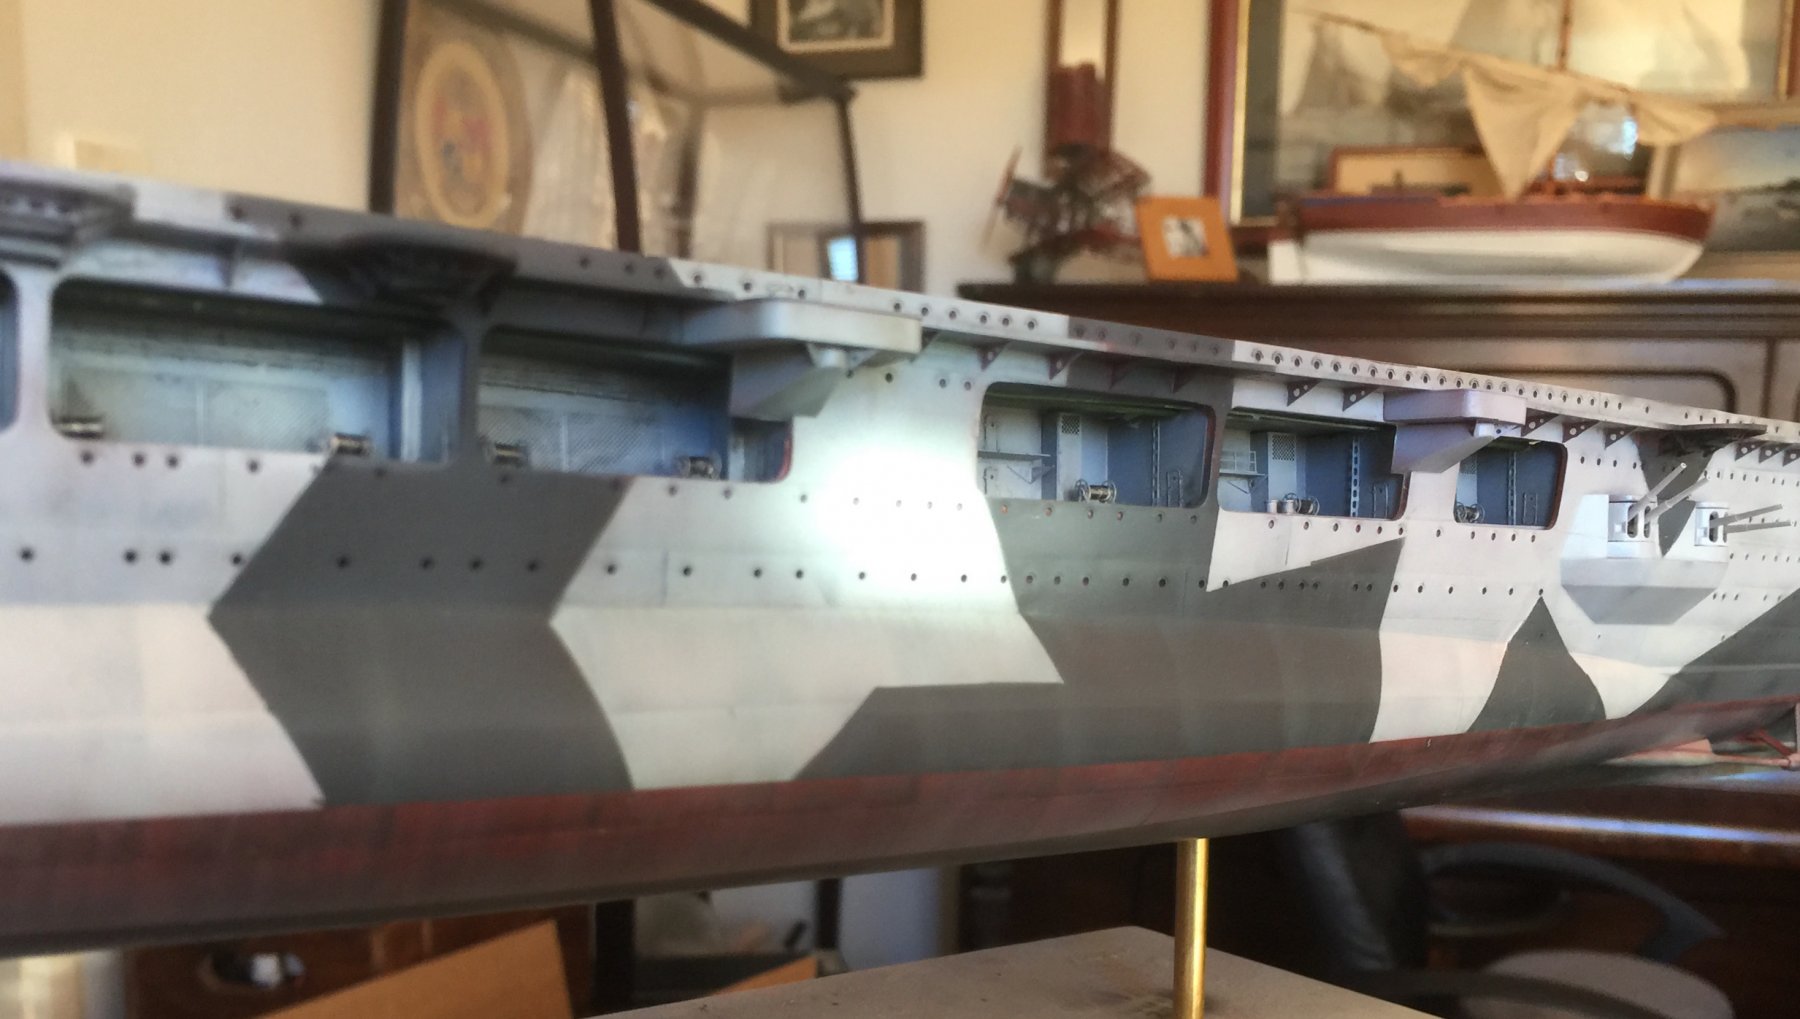
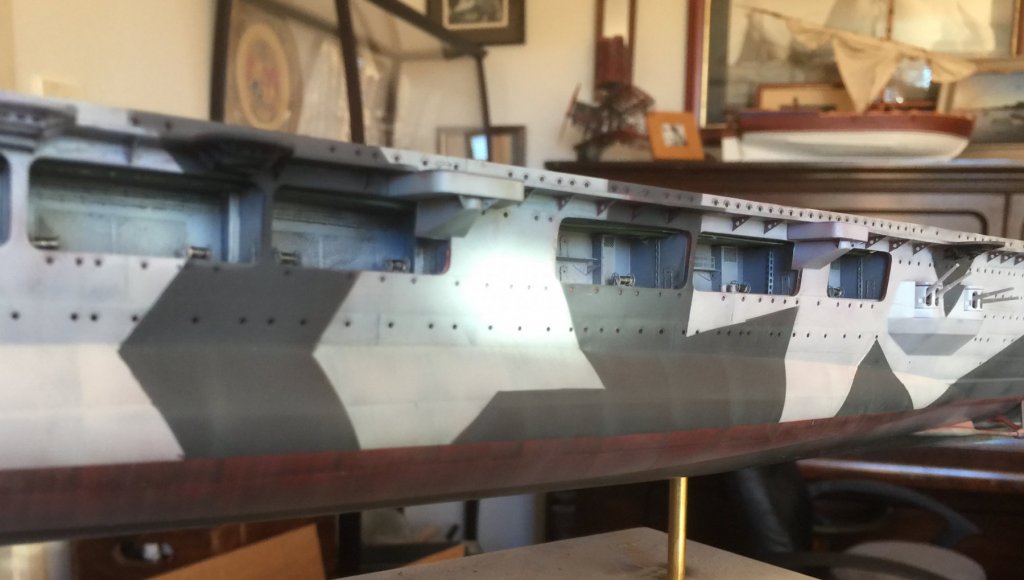
Now to tone and highlight, using AK Kriegsmarine filter. This stuff is incredibly strong so it needs a lot of diluting but it works well bringing out highlights. If you use it strait out of the bottle it splotches. I intend to do some pin washes next then some dry brushing to bring out the panels and ringols.


- 345 replies
-
- 20
-
-
- graf zeppelin
- trumpeter
- (and 2 more)
-
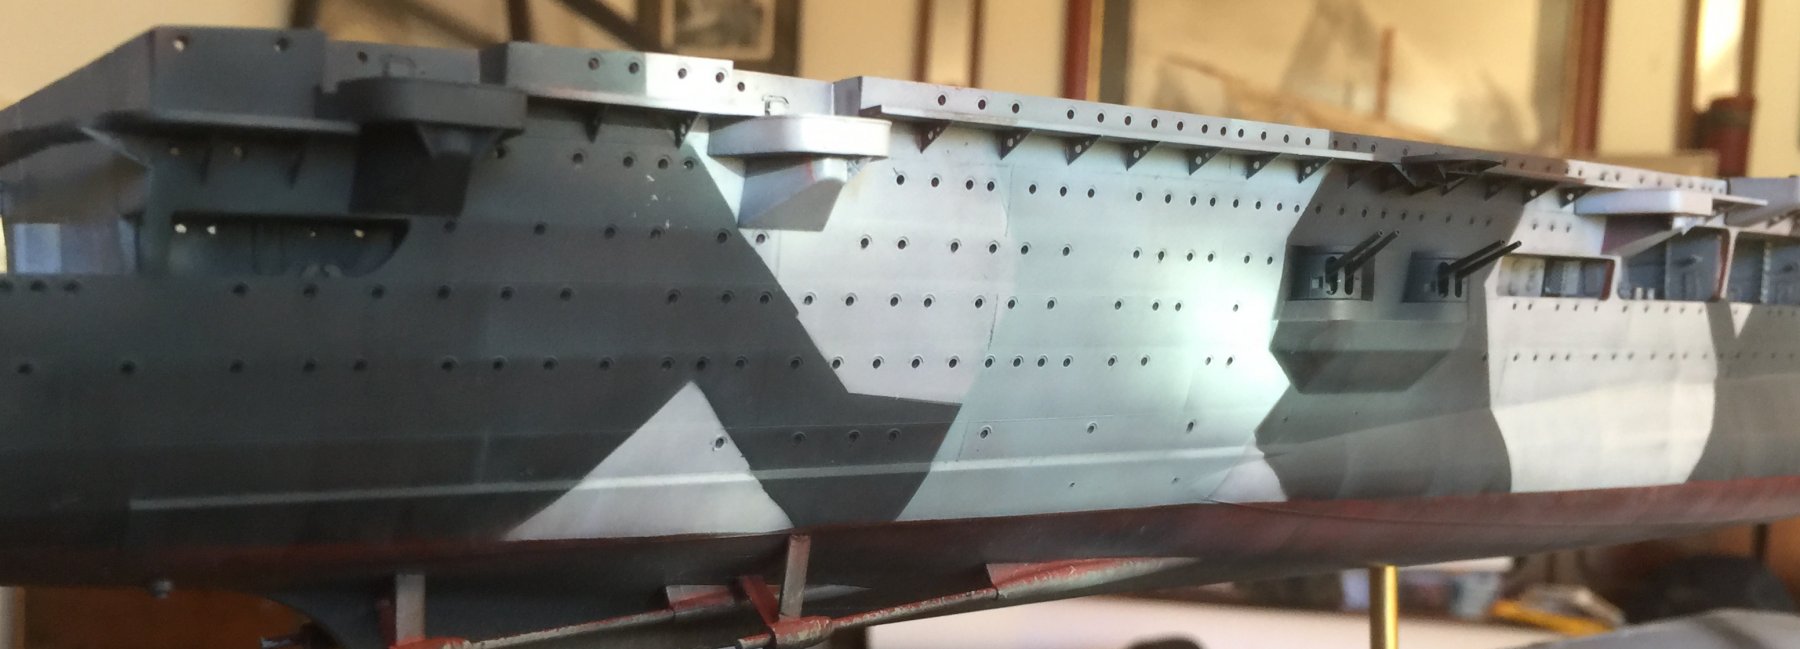
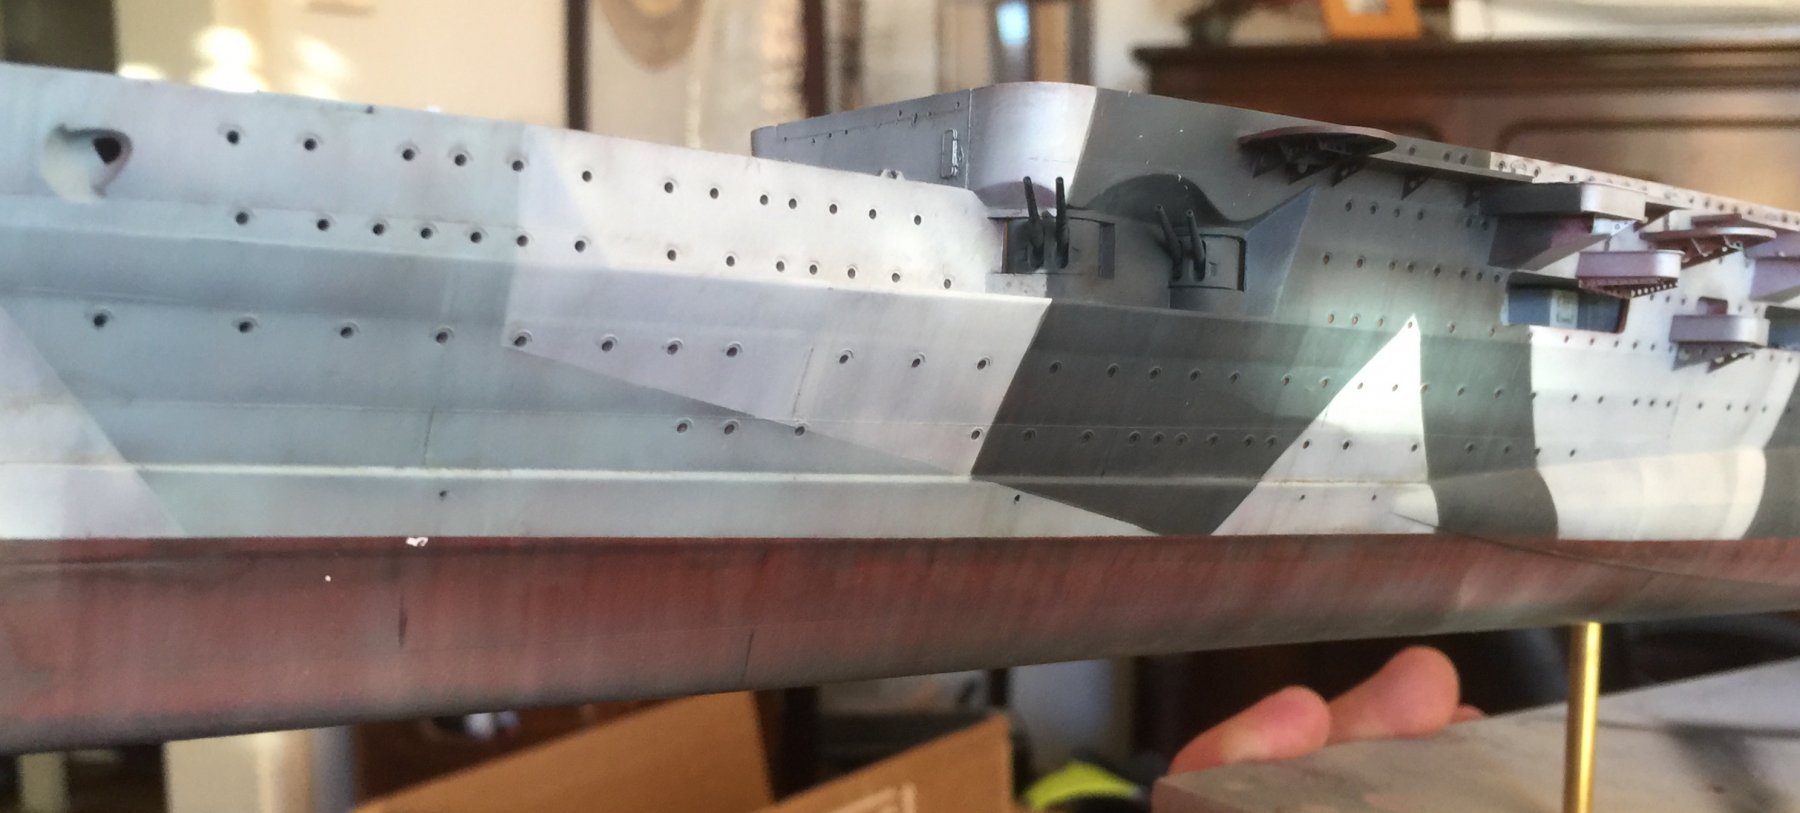
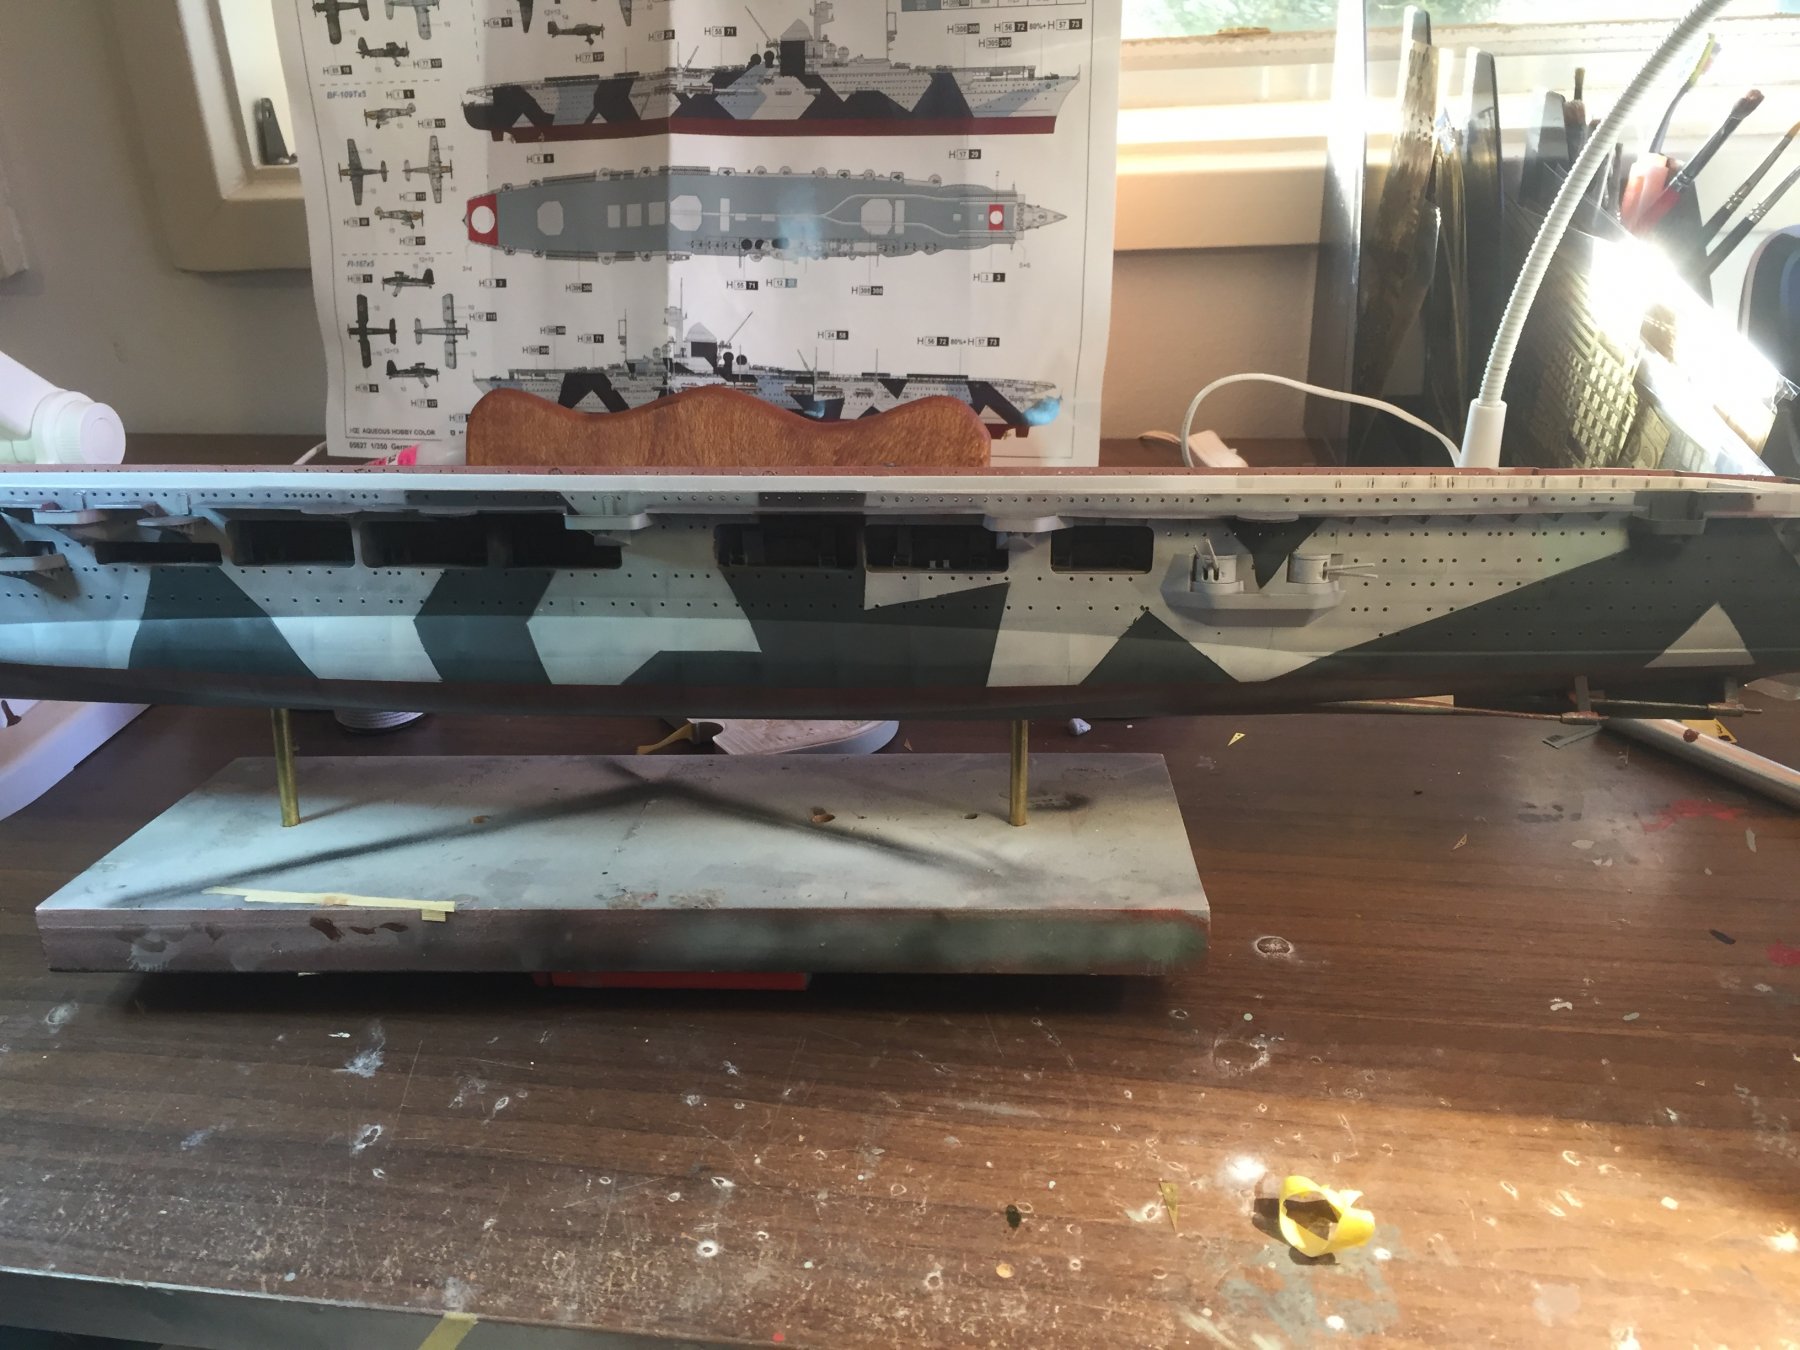
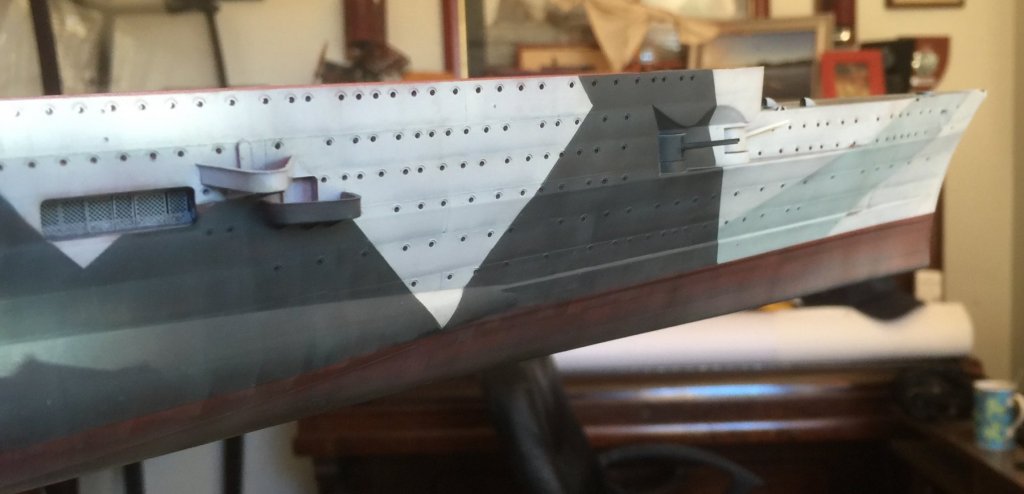
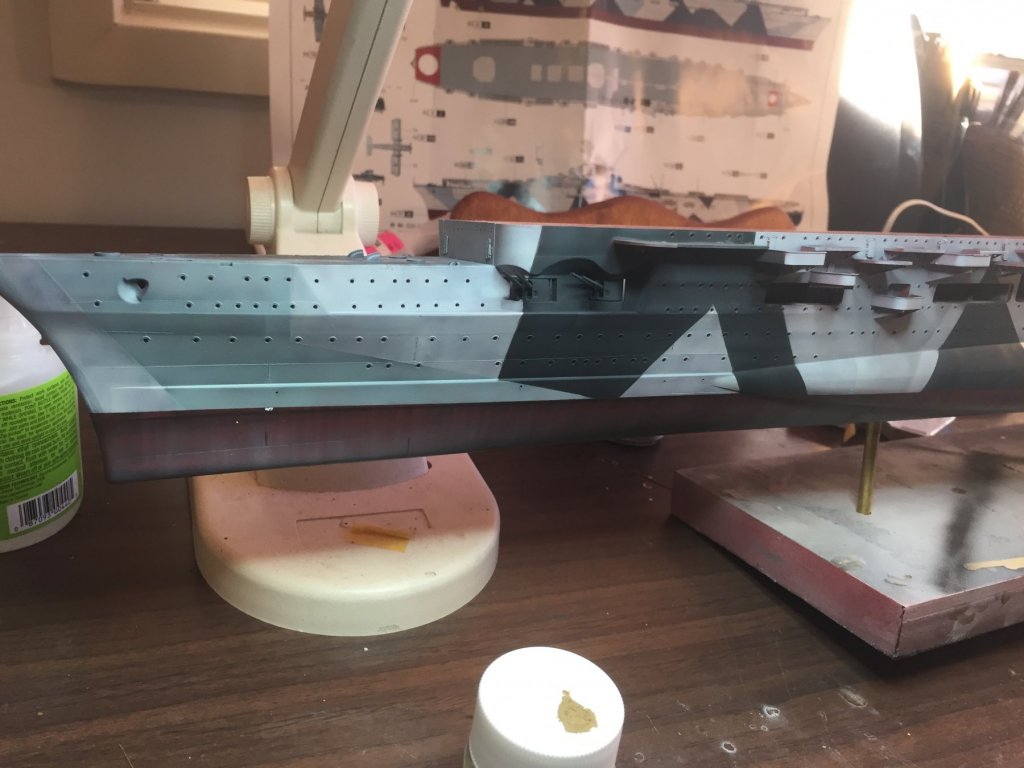
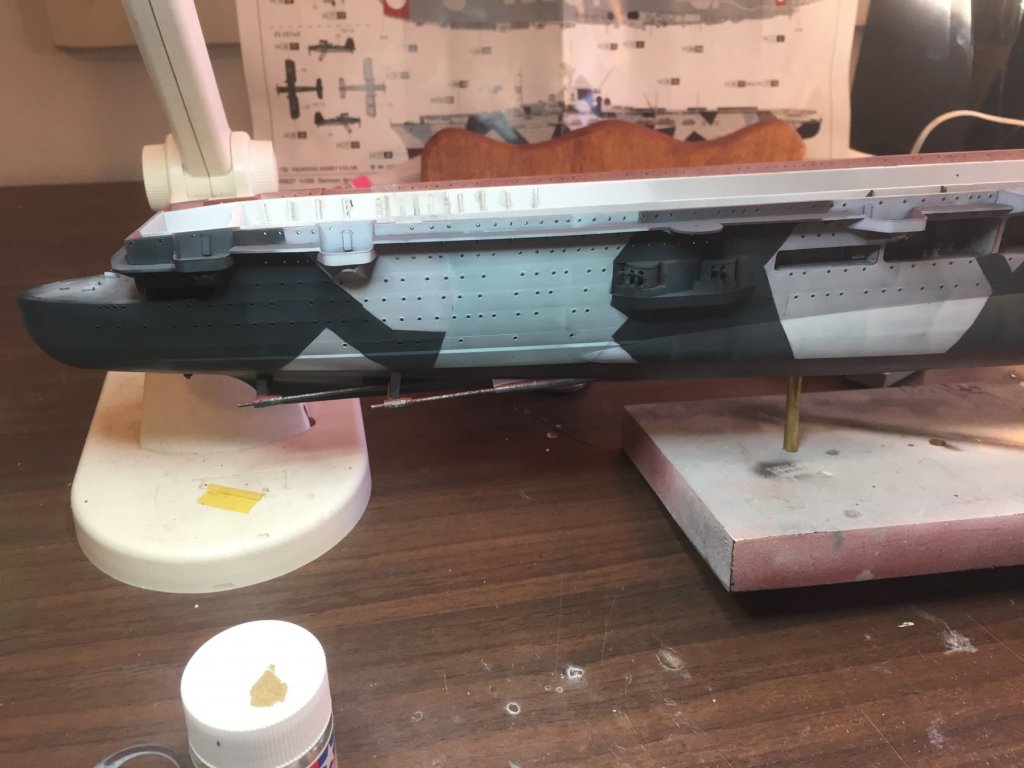
All three colours done. Lots of little touch ups to go then some filters. Not ready for weathering yet. The hull is huge.


- 345 replies
-
- 14
-
-
- graf zeppelin
- trumpeter
- (and 2 more)
-
Roo meat is quite good really; considering we are probably the only nation to eat it’s coat of arms. There are sharks in Sydney Harbour so technically they live in cities.
-
Kangaroos are dangerous up close, they’ll disembowel you. Number 1 cause of accidents outside of capital cities. As for the sharks.......
-
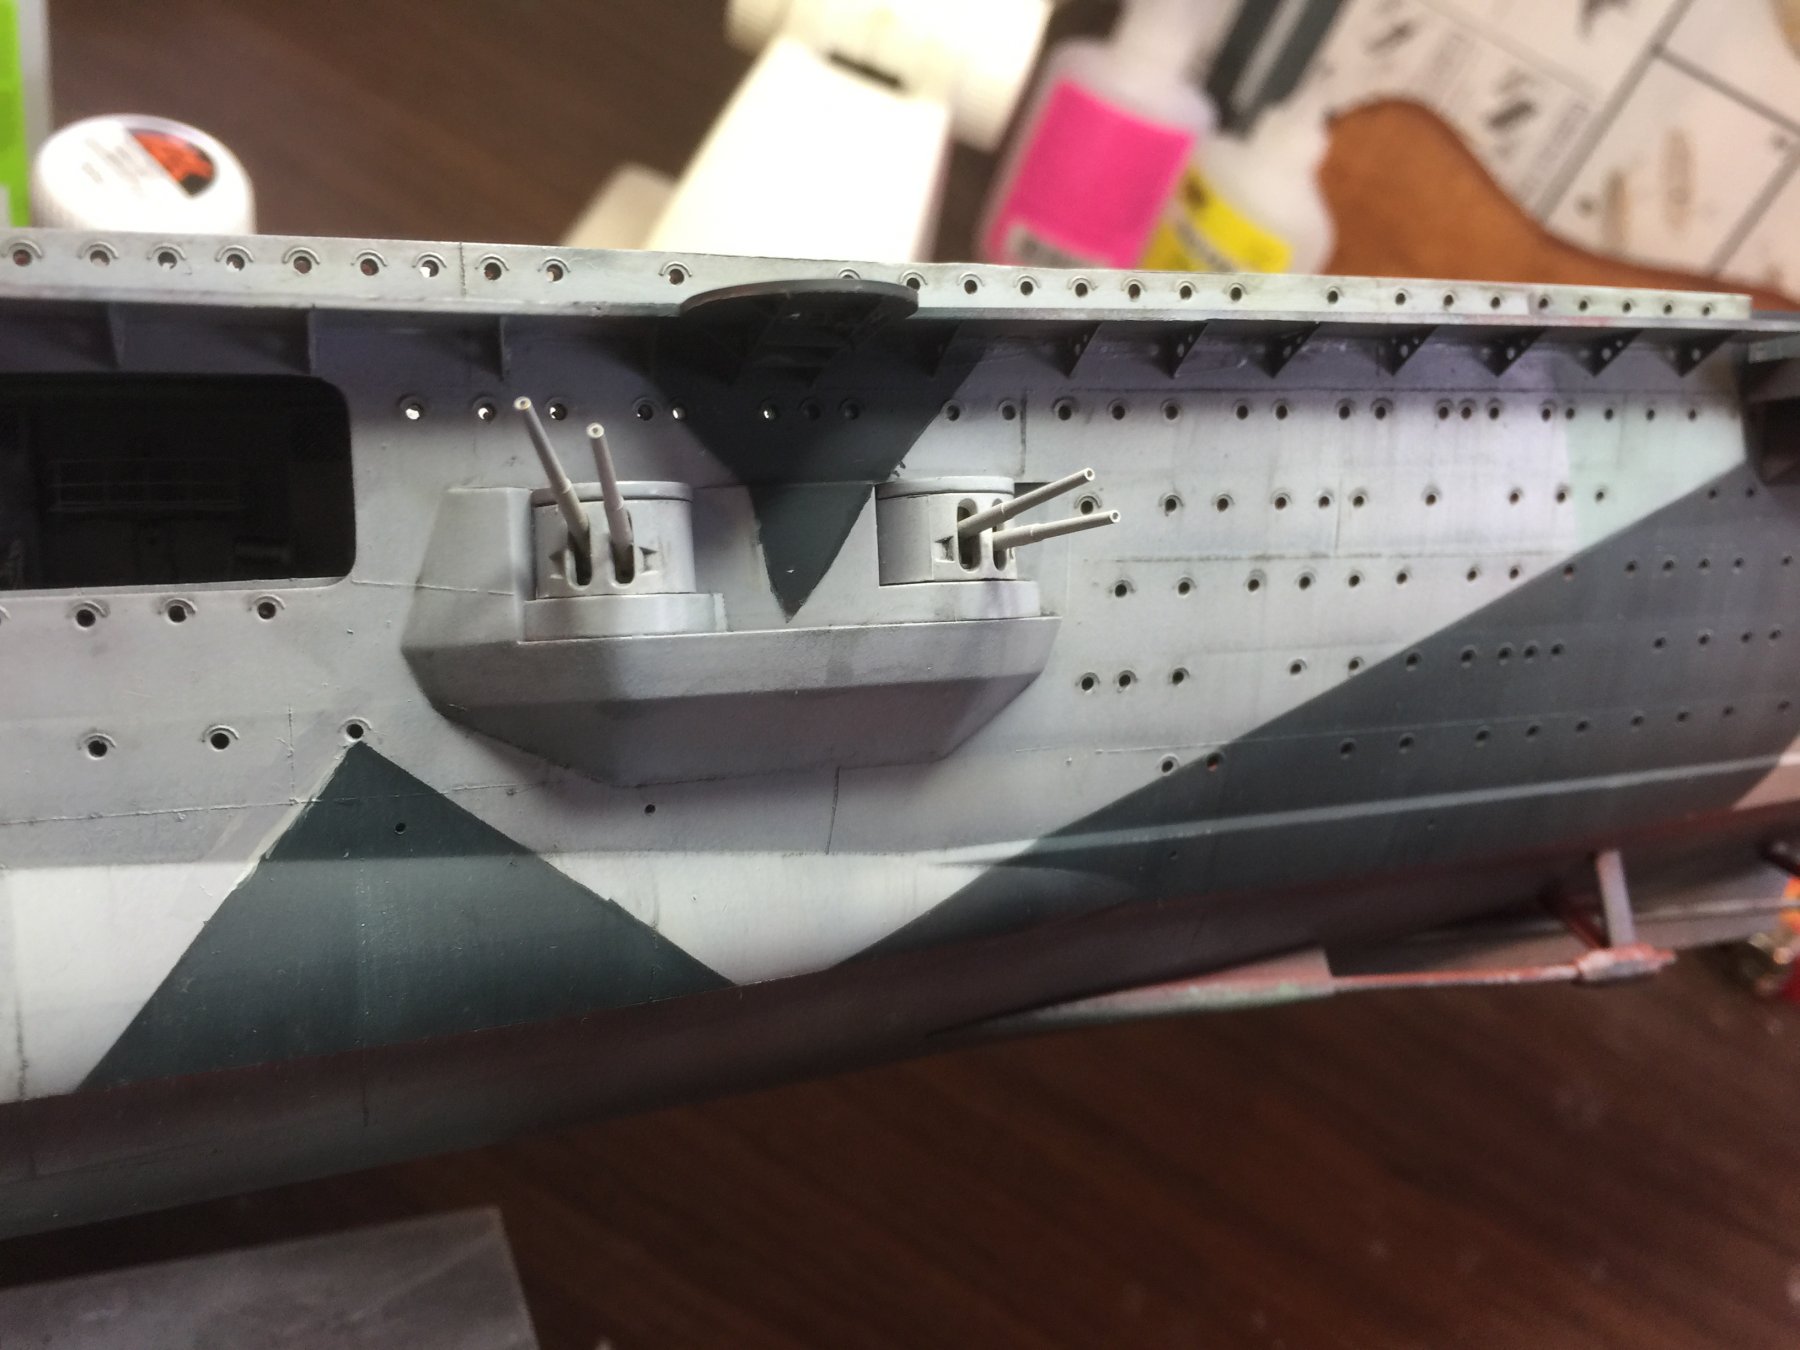
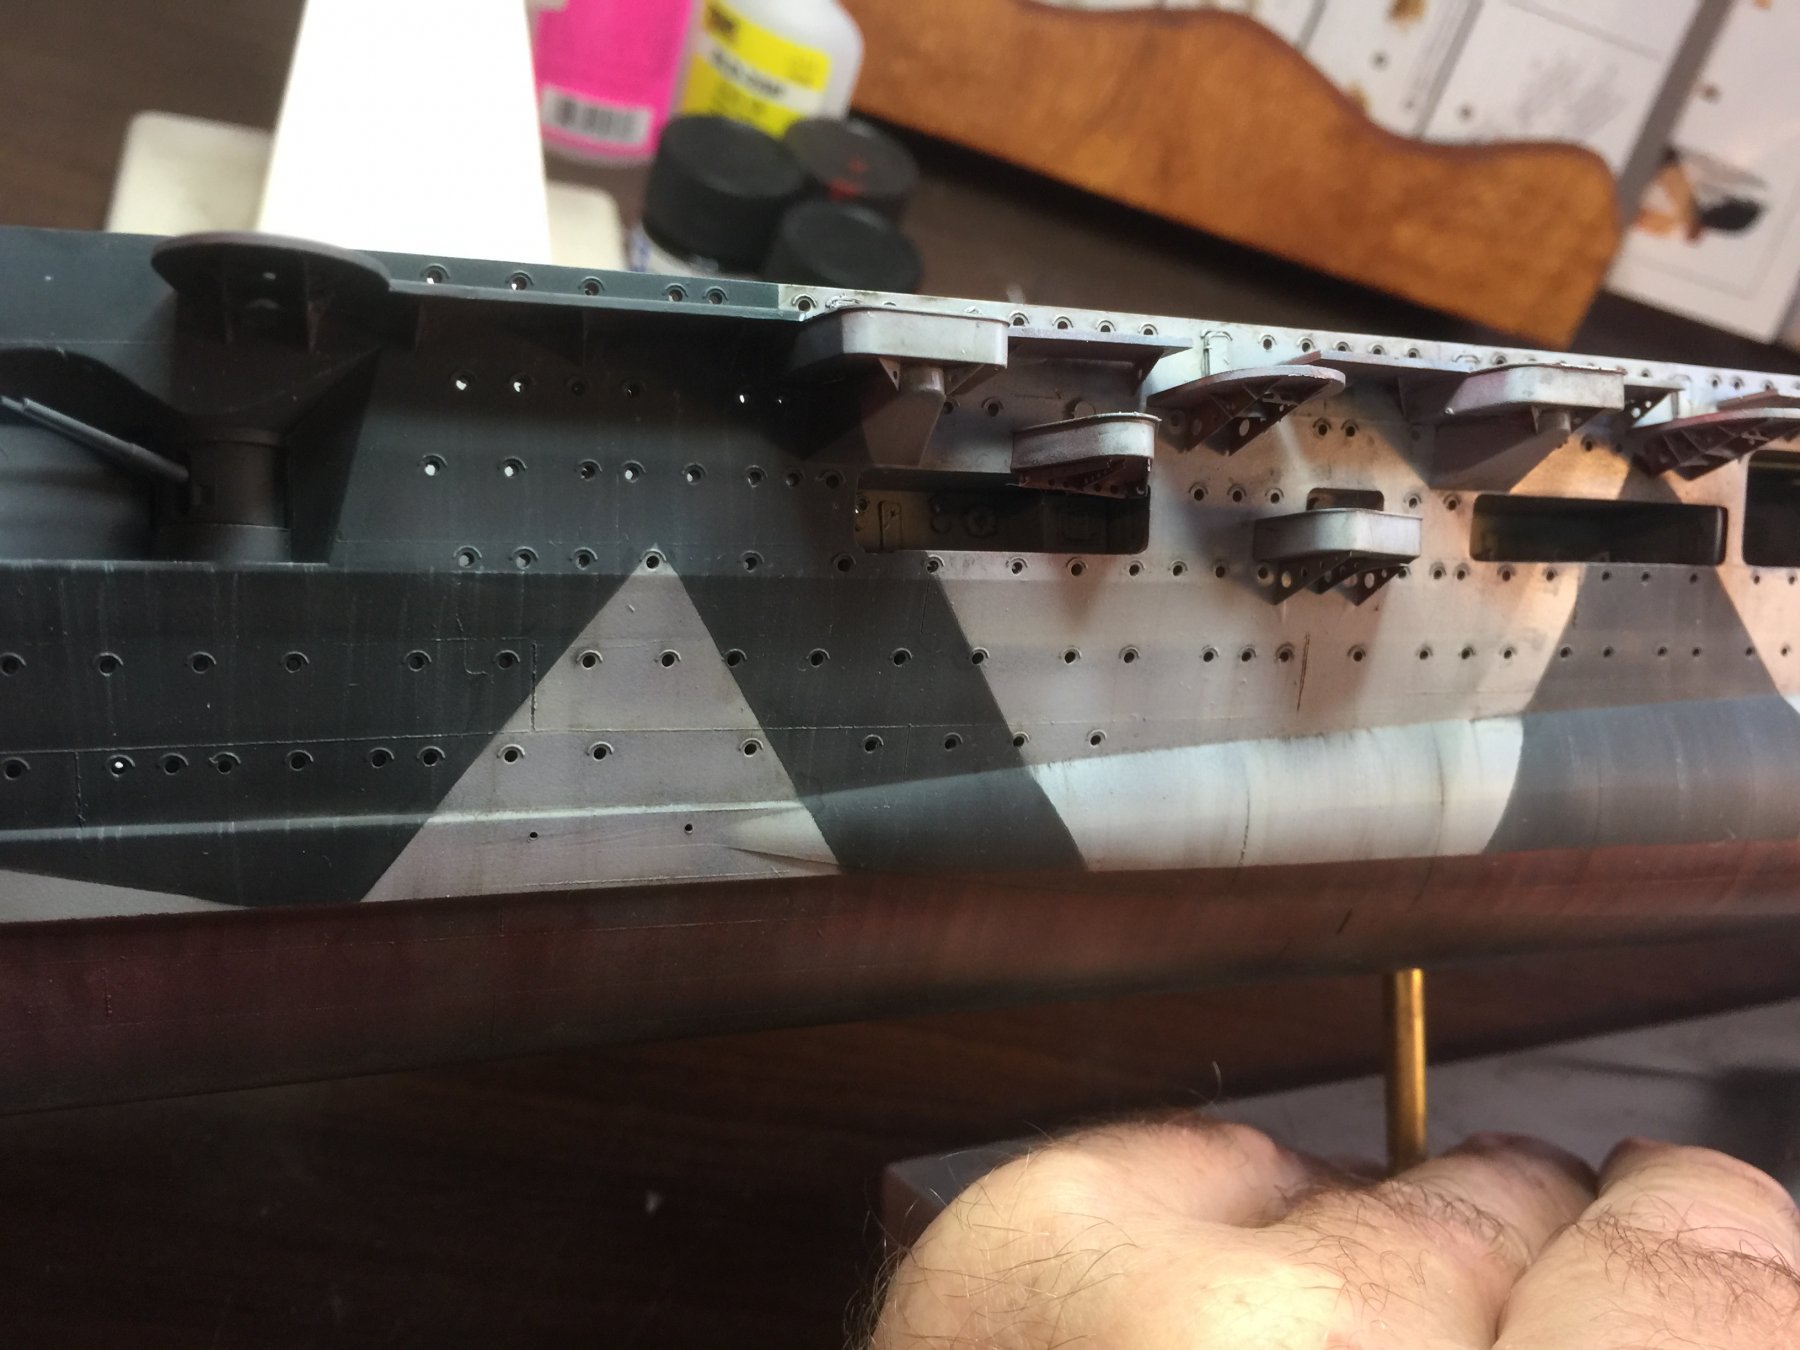
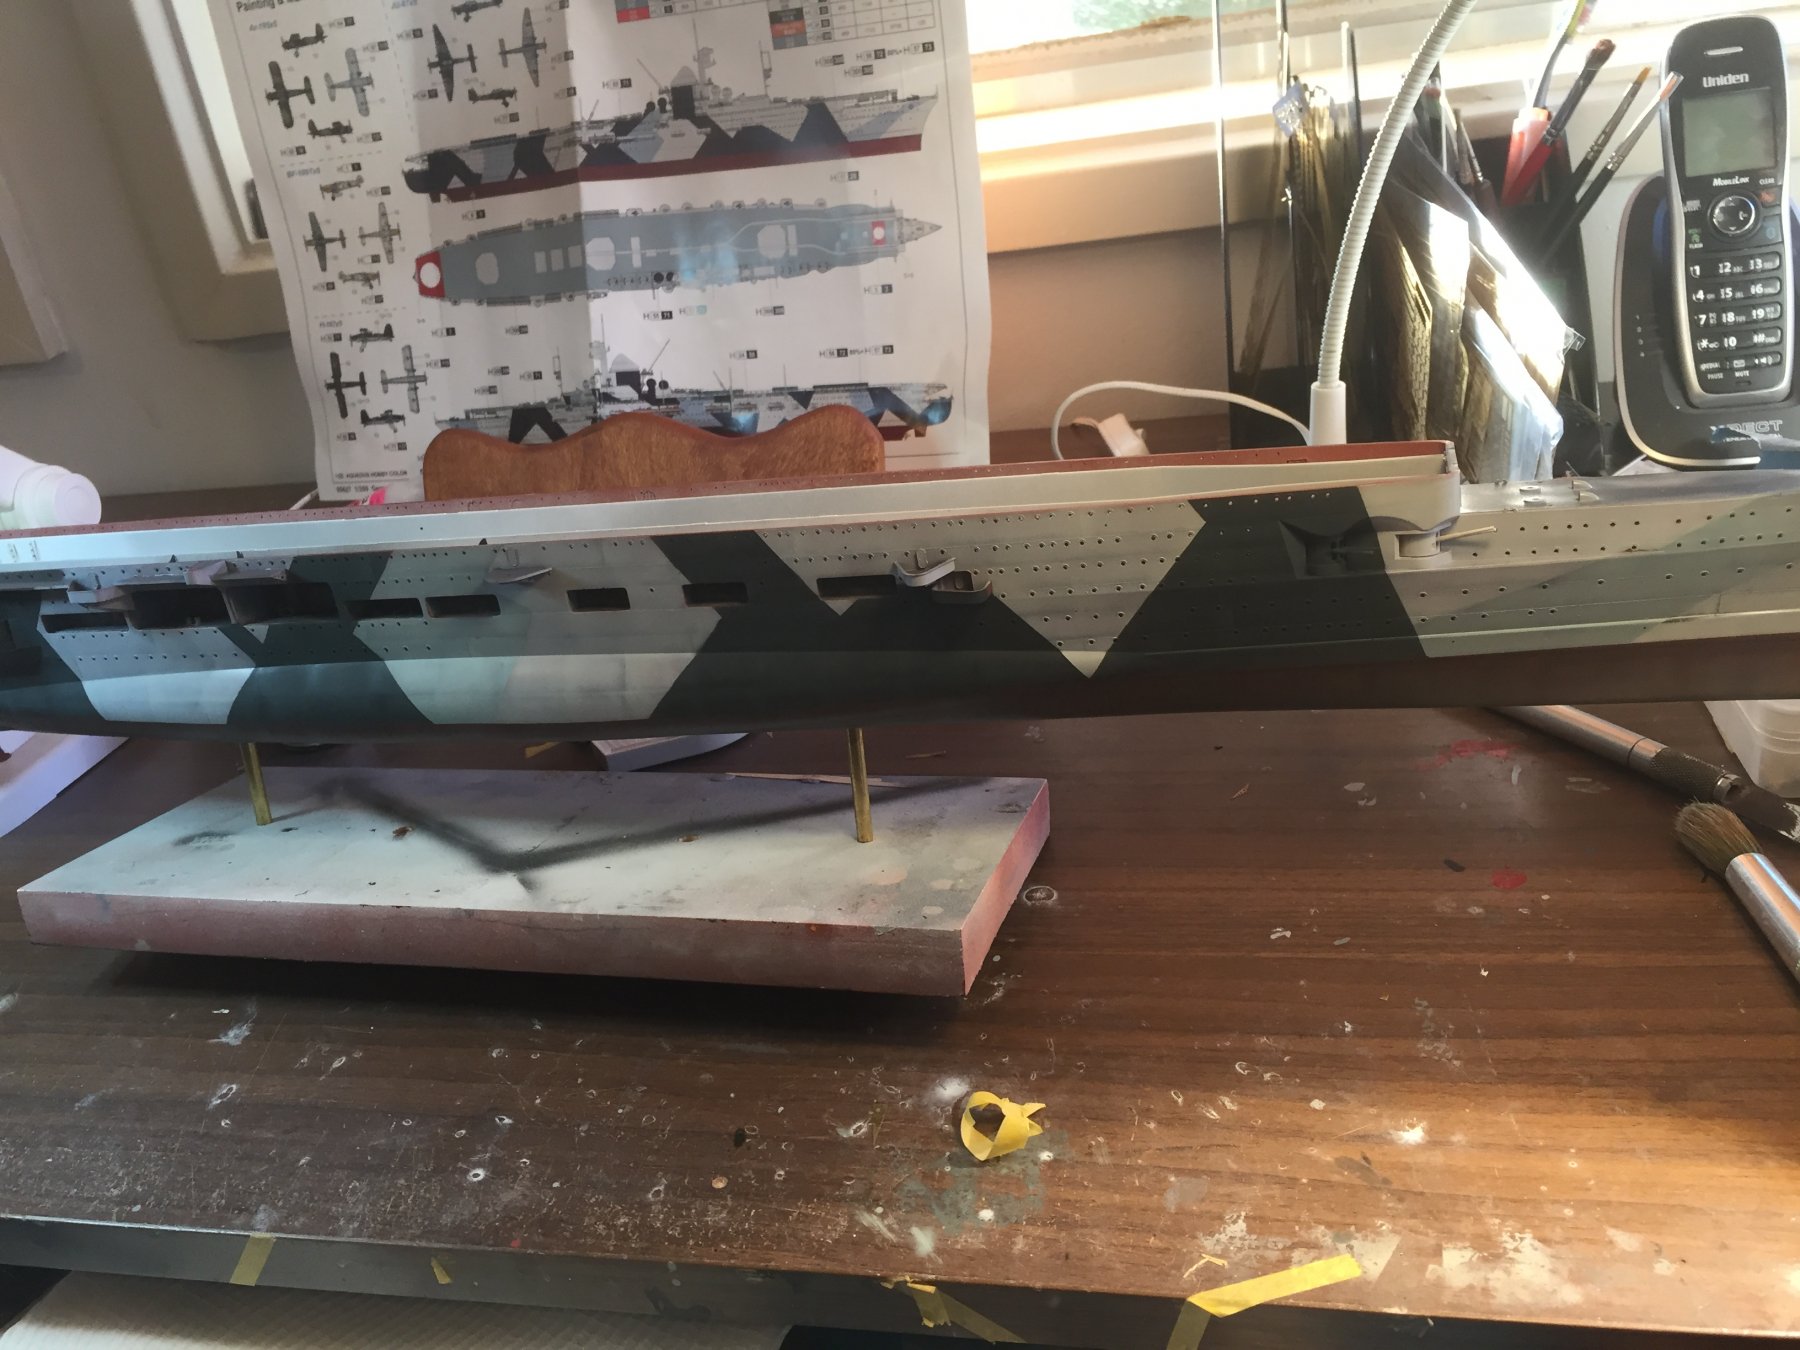
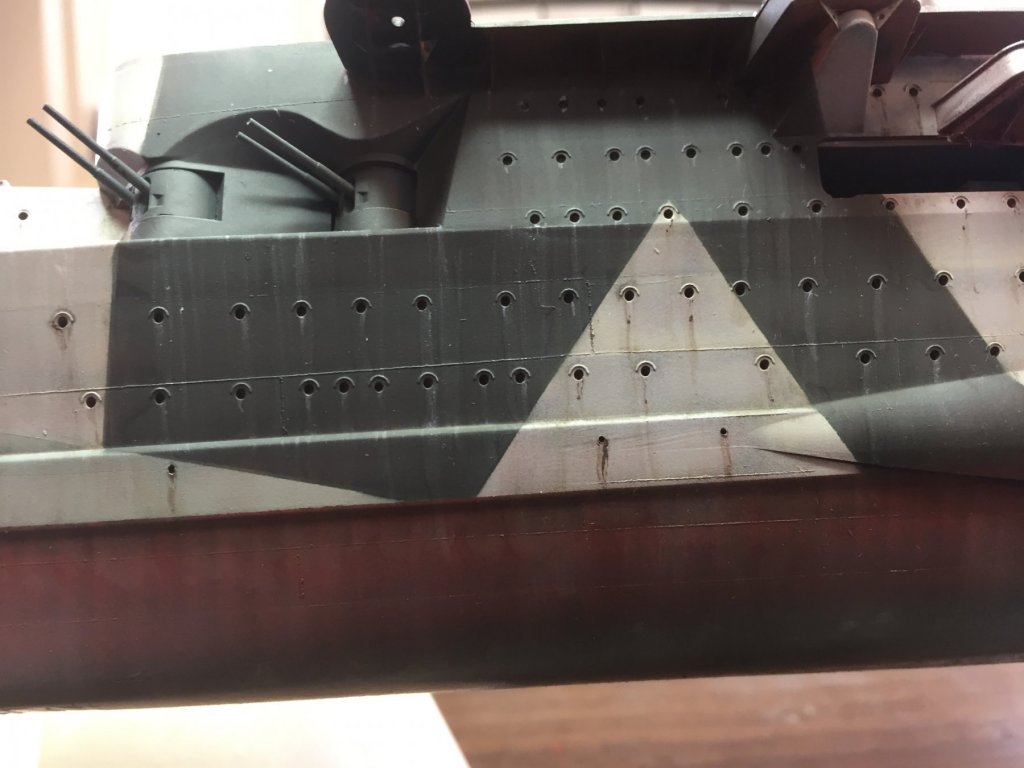
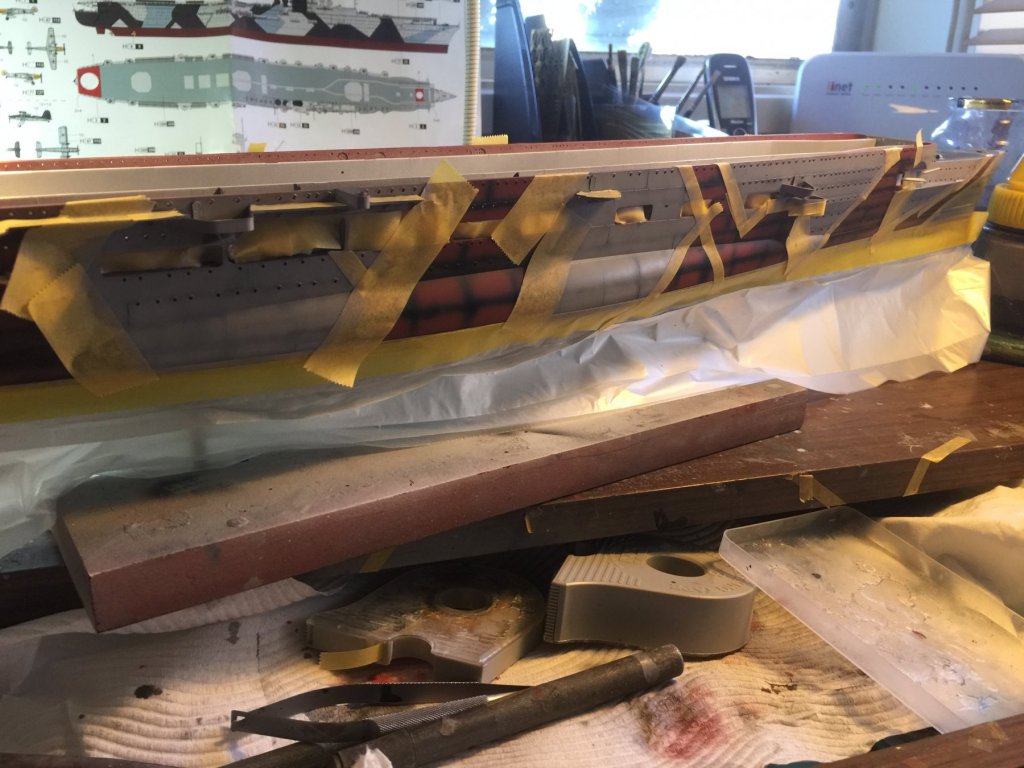
Lots of masking and the first colour, grey in three shades.

- 345 replies
-
- 16
-
-
- graf zeppelin
- trumpeter
- (and 2 more)
-
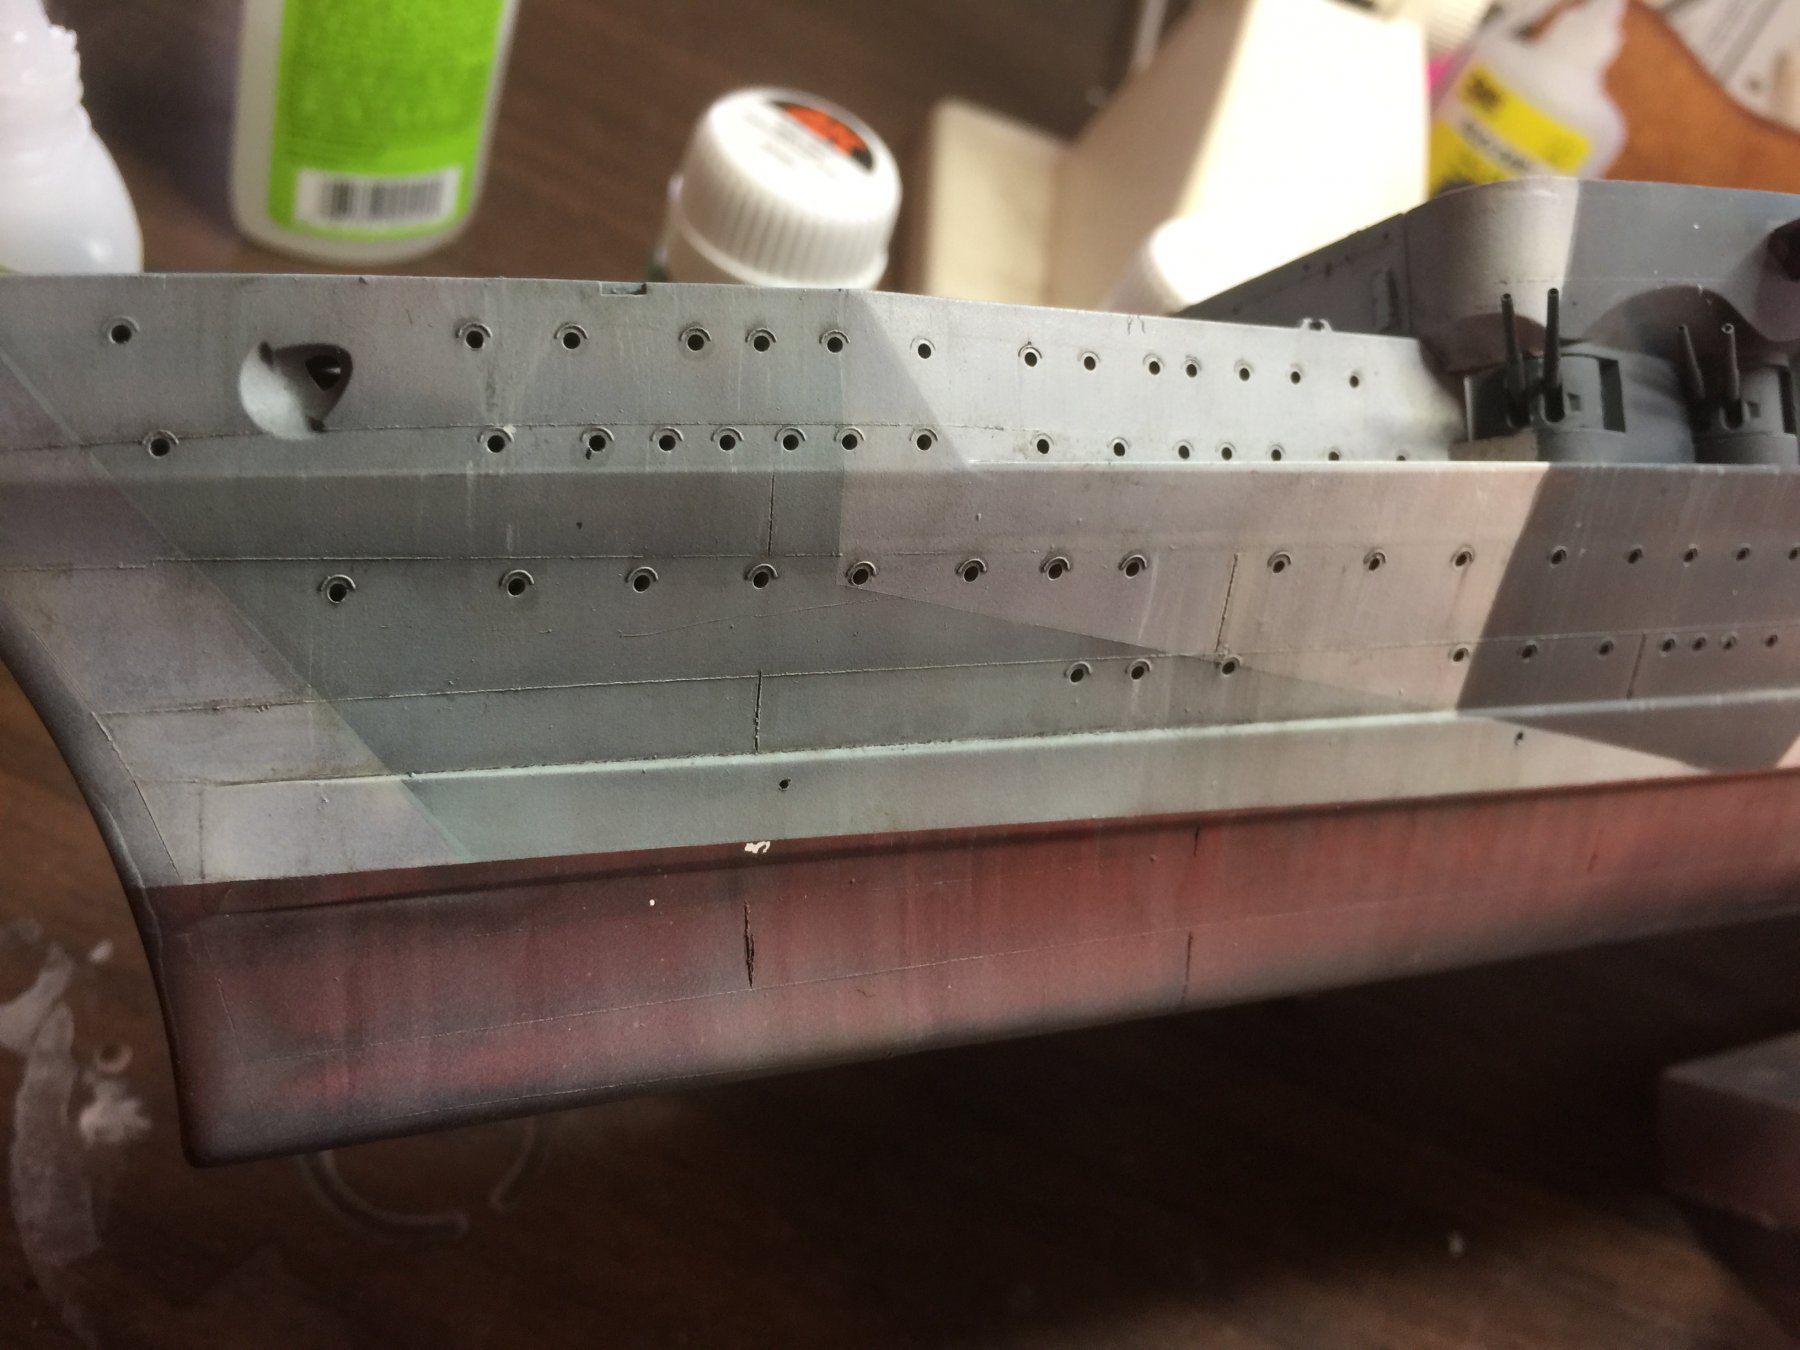
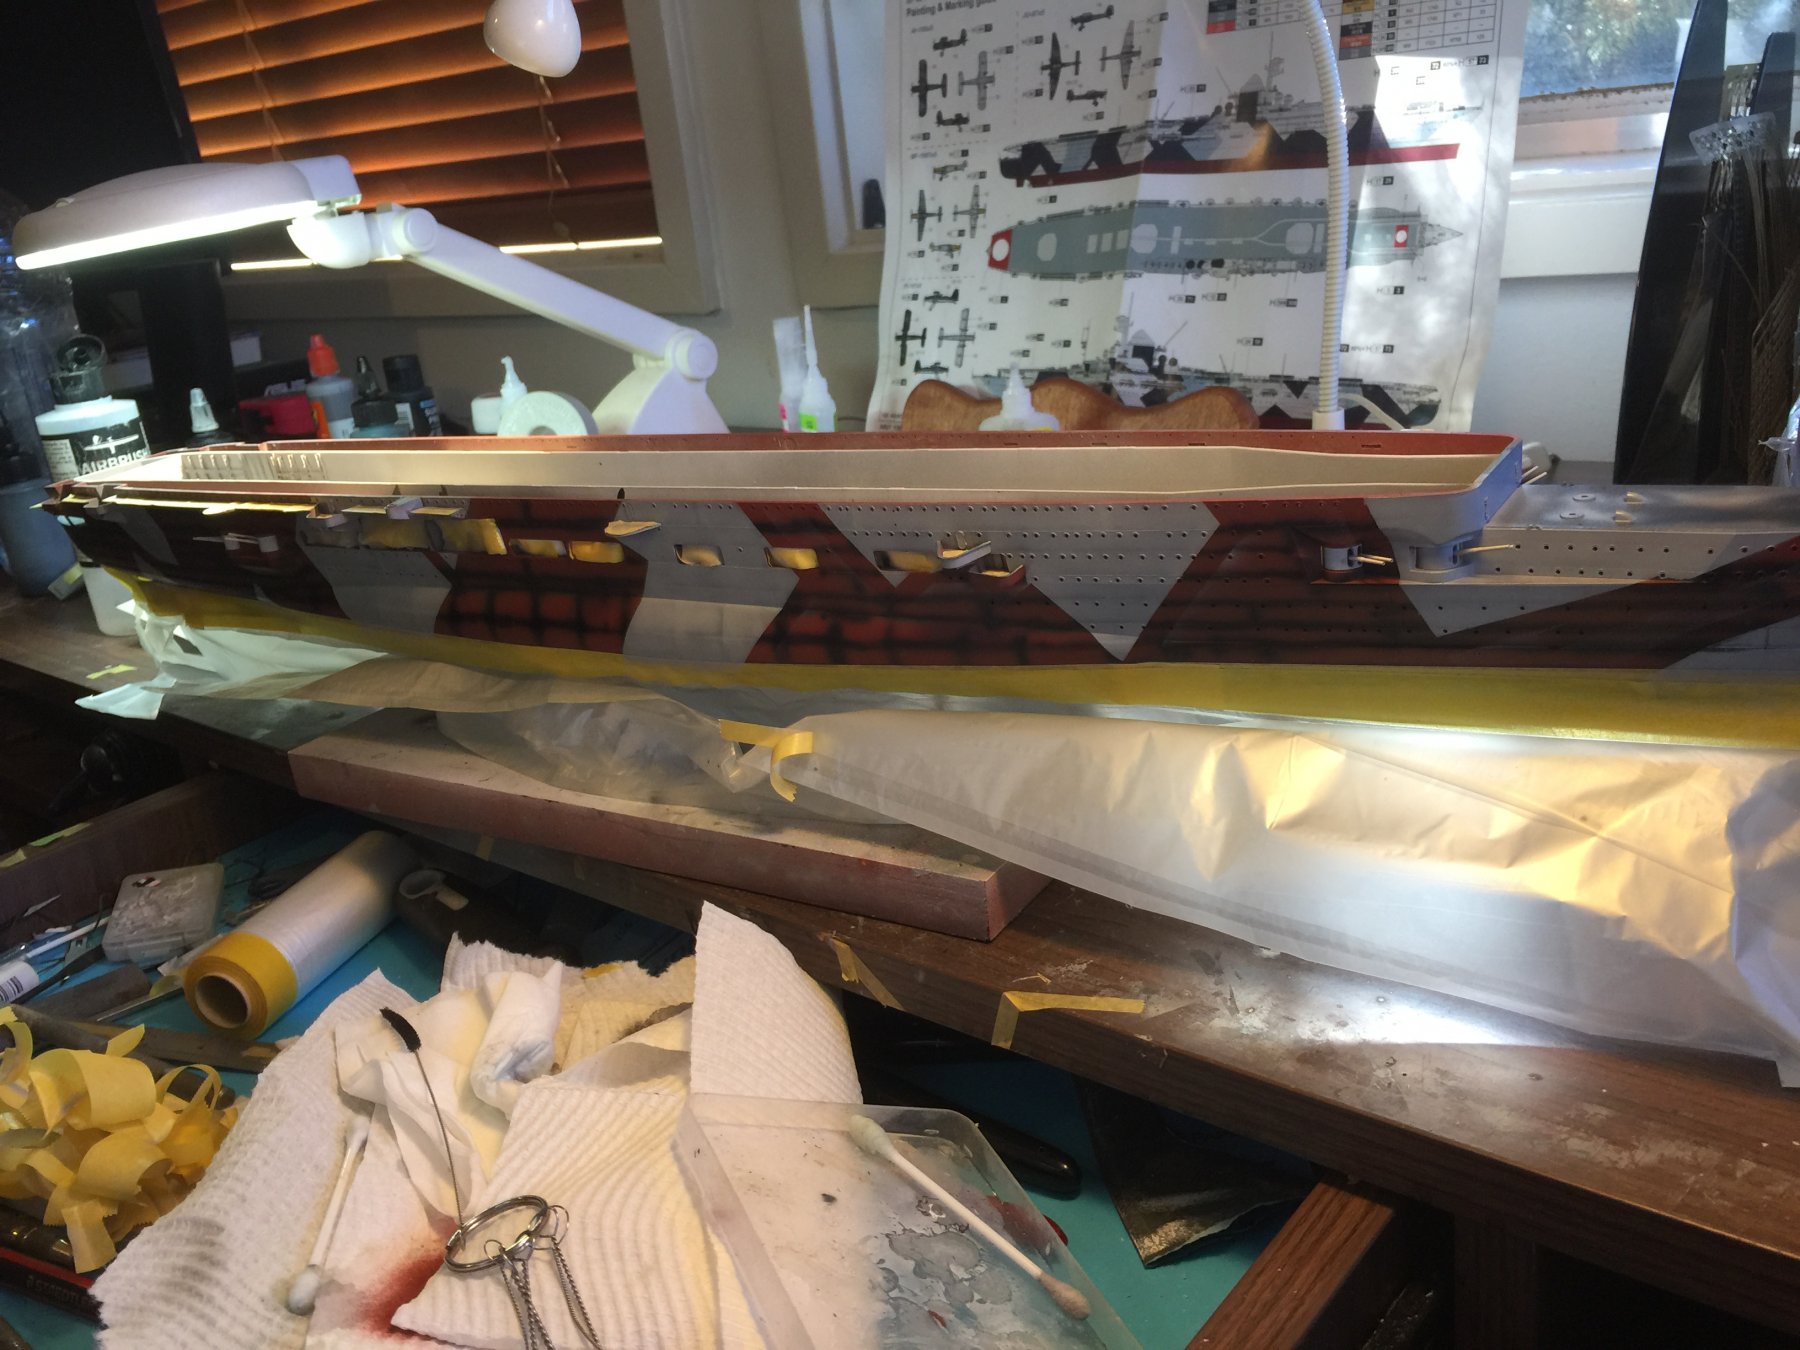
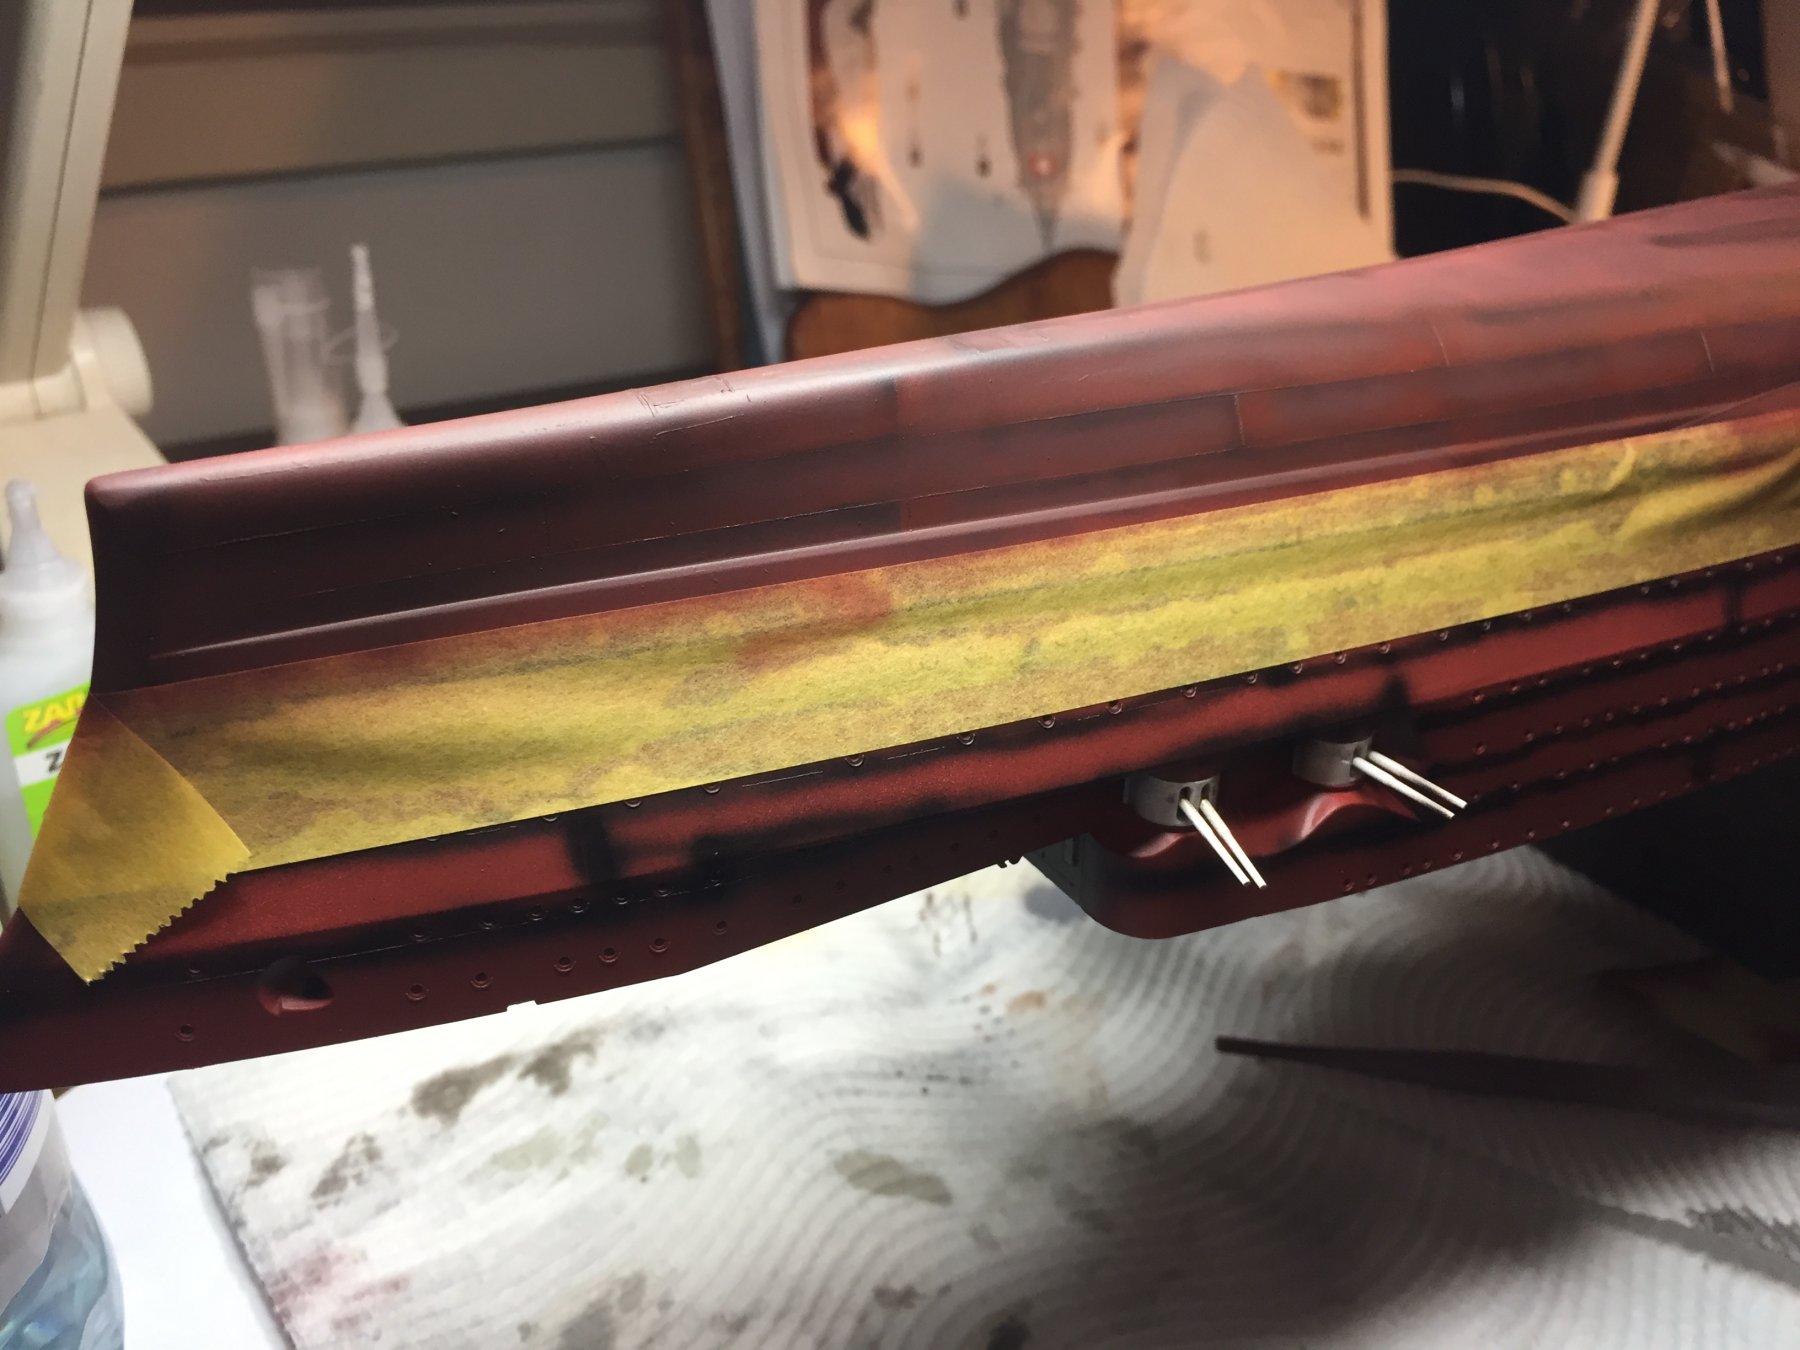
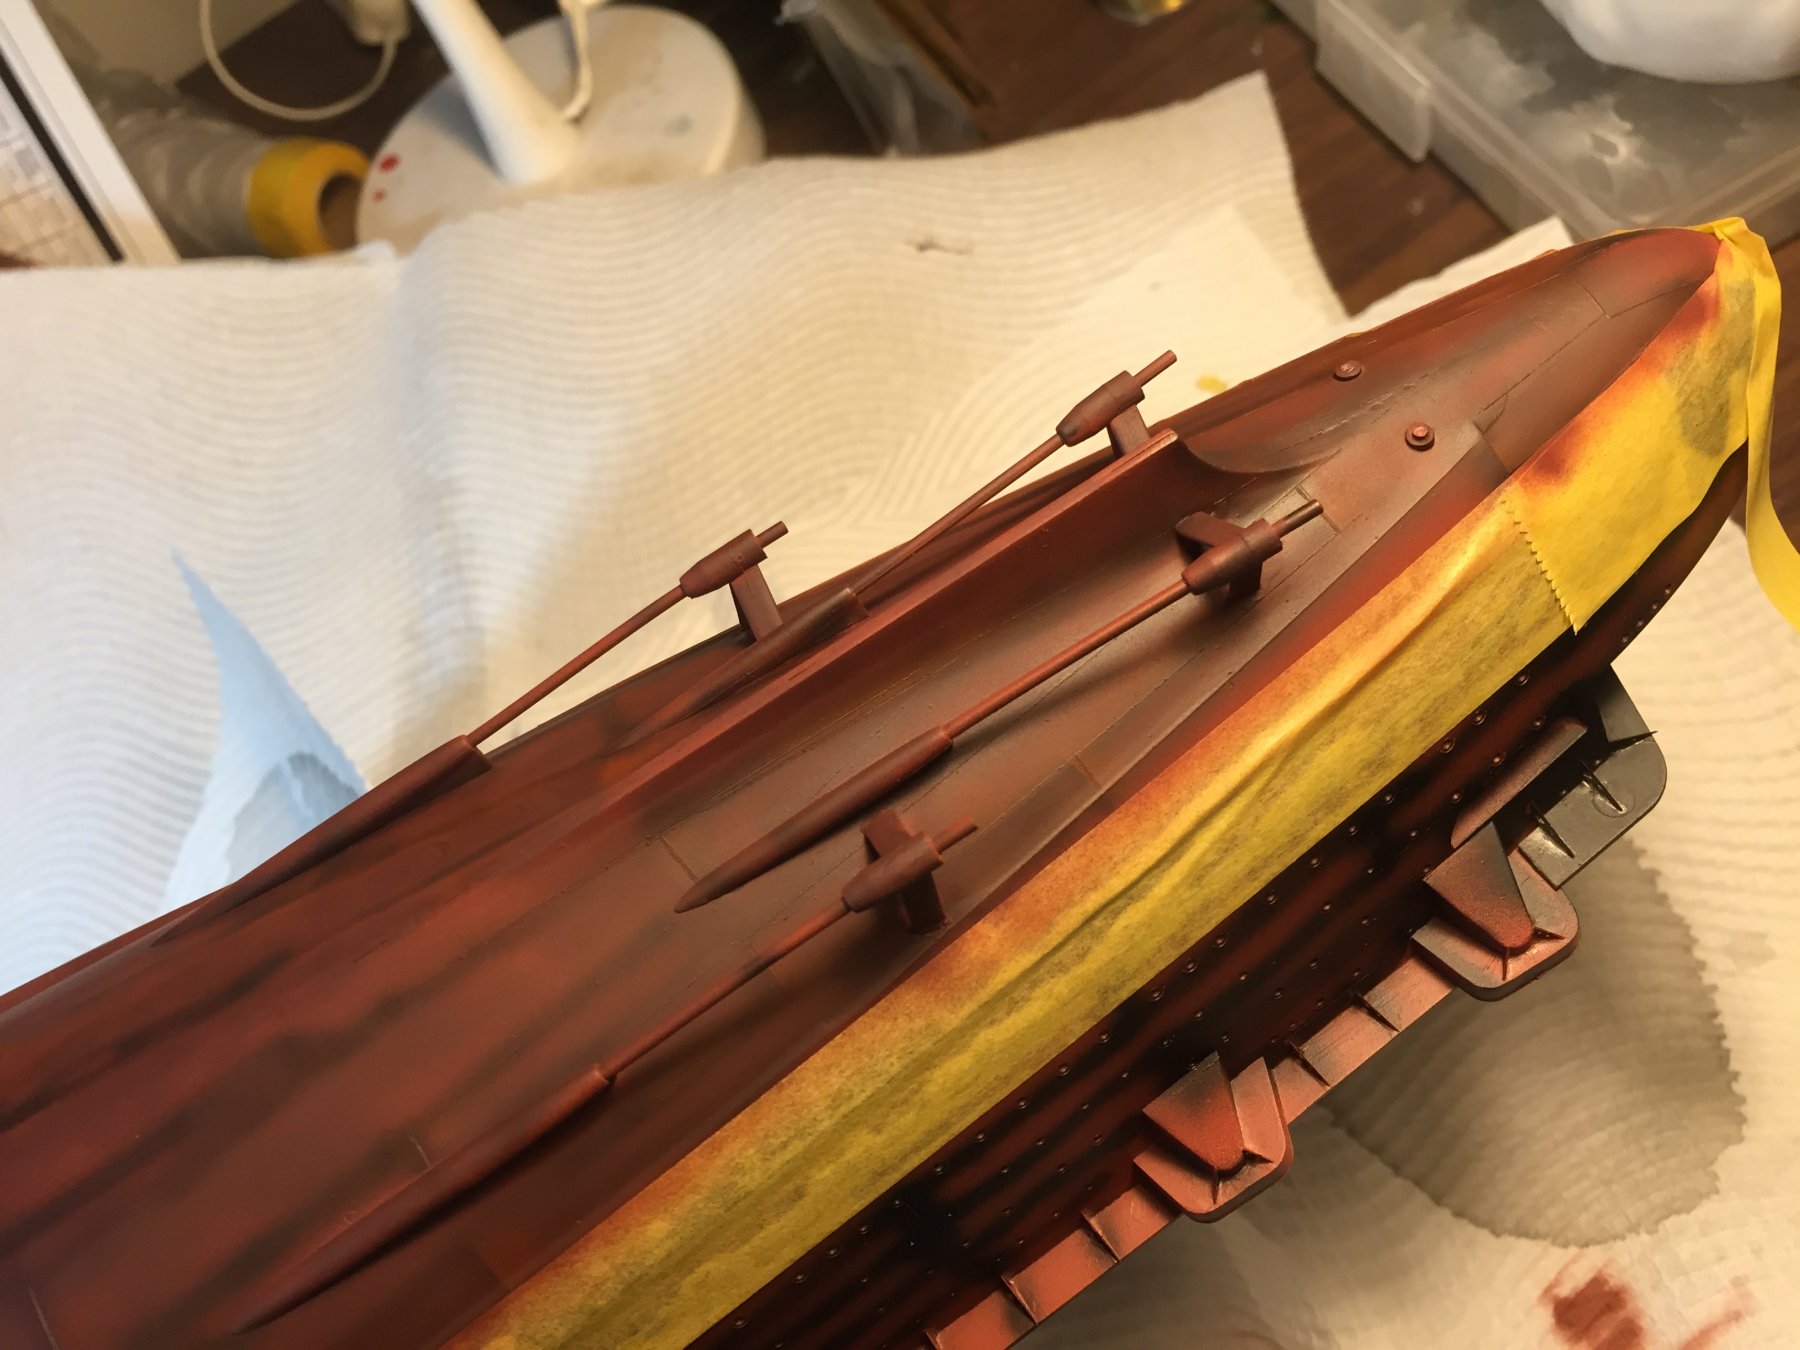
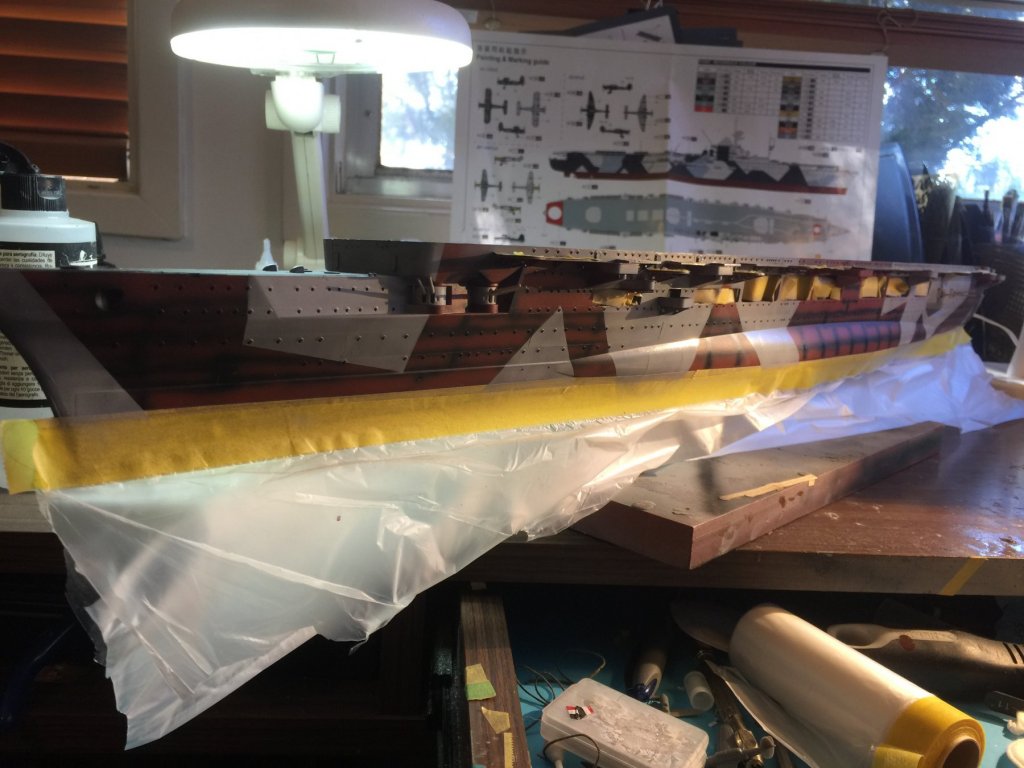
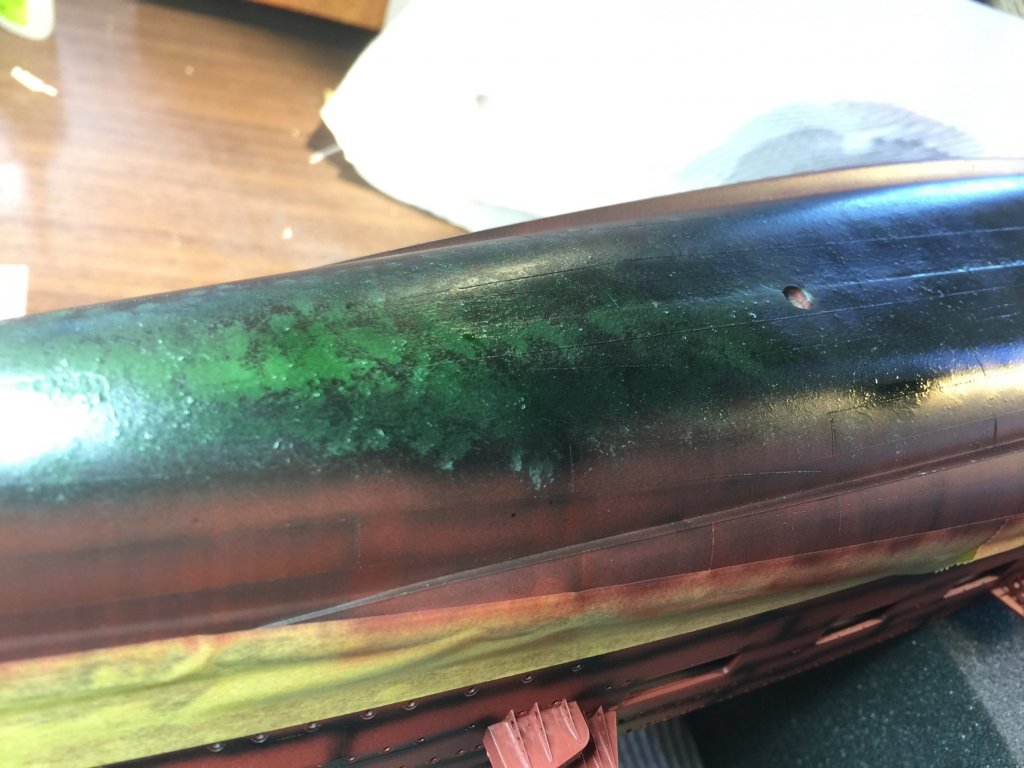
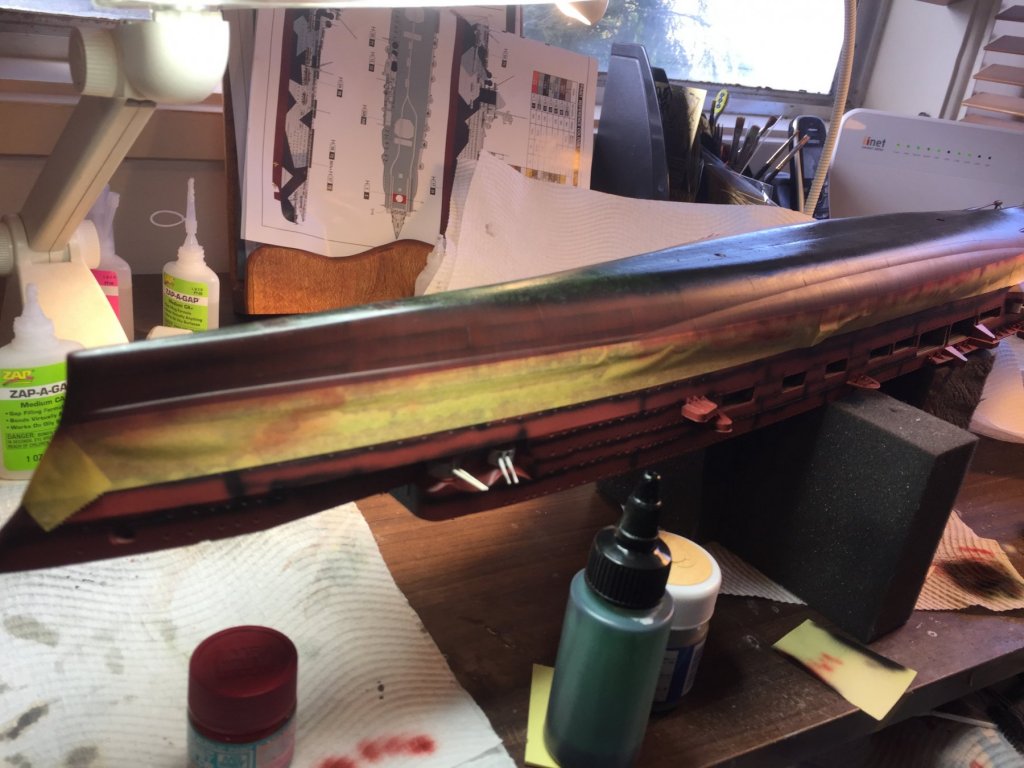
First black to cover up the barnacles then green then grey i can add some more grunge after the upper hull is painted.


- 345 replies
-
- 12
-
-
- graf zeppelin
- trumpeter
- (and 2 more)
-
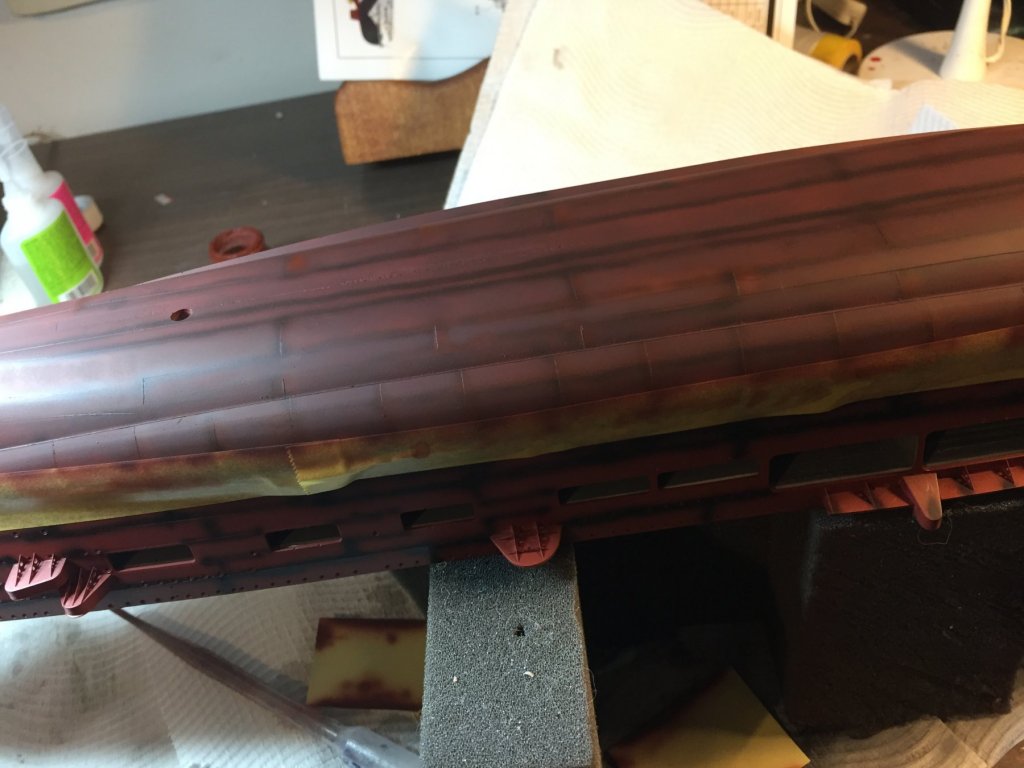
She was somewhat demanding at 4.30am this morning..... anyways, oilcanning done and barnacles added have to let them dry for a while and black grey and green coats

- 345 replies
-
- 11
-
-
- graf zeppelin
- trumpeter
- (and 2 more)
-
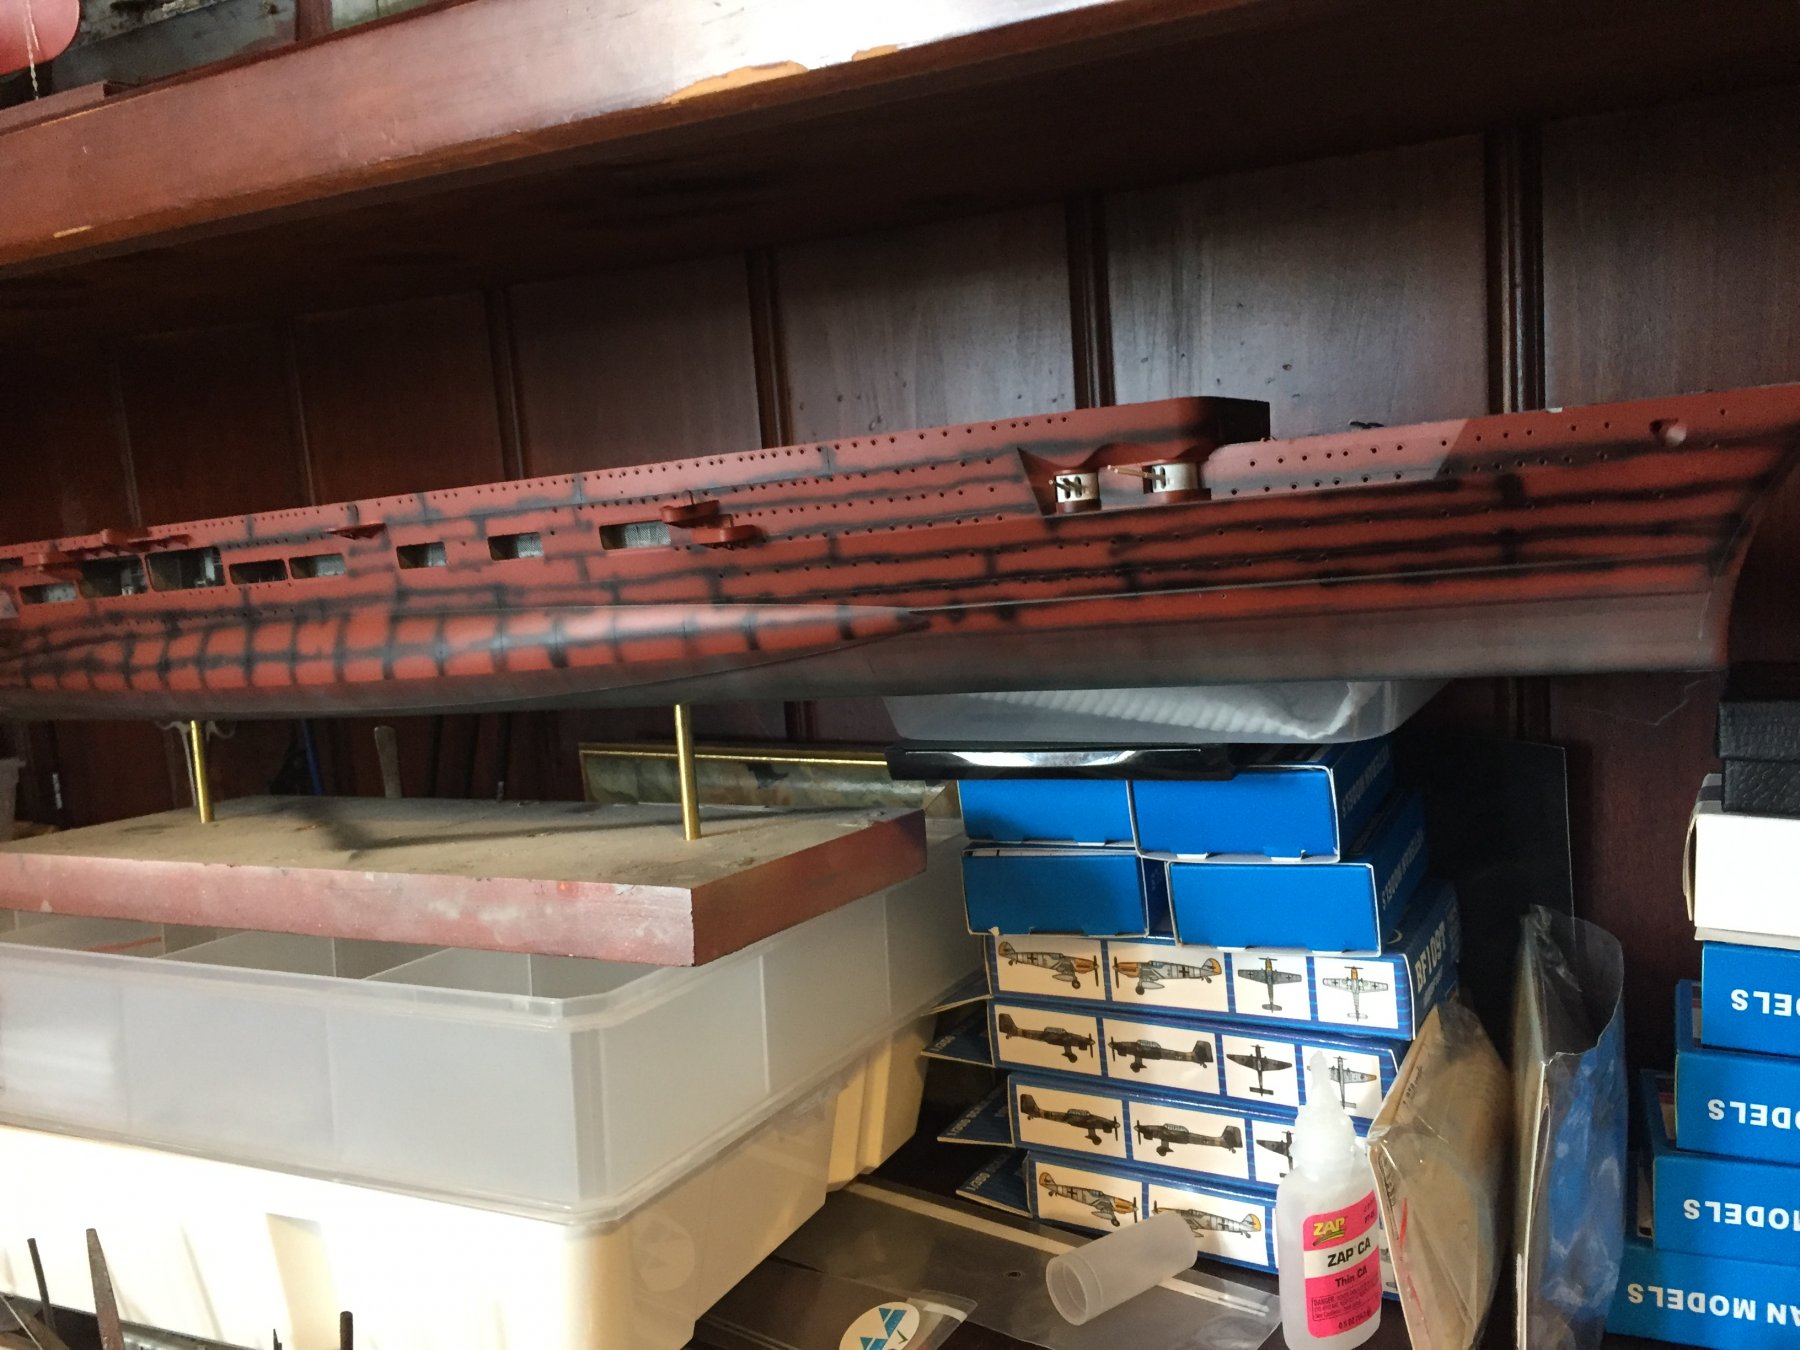
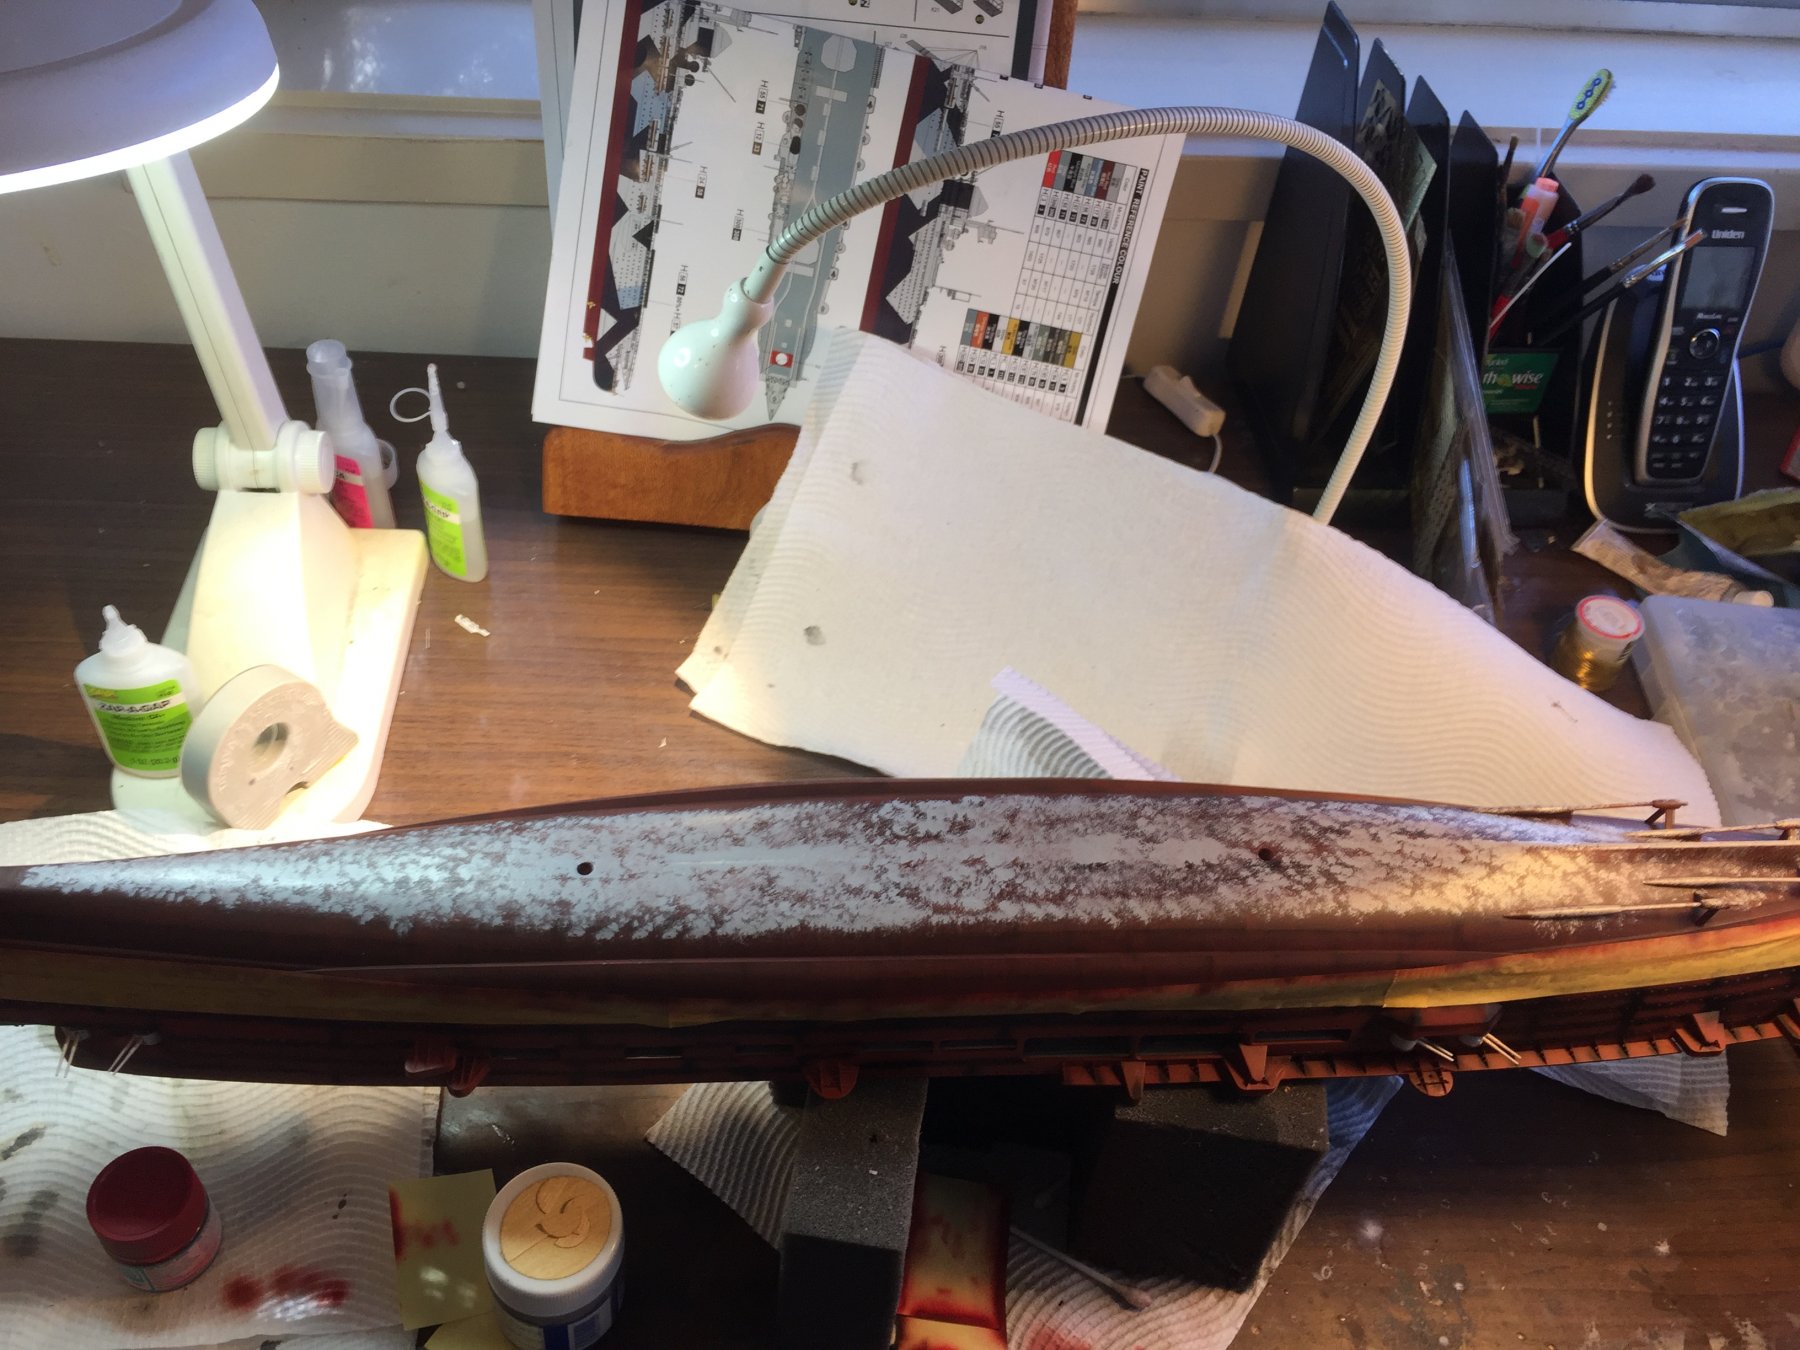
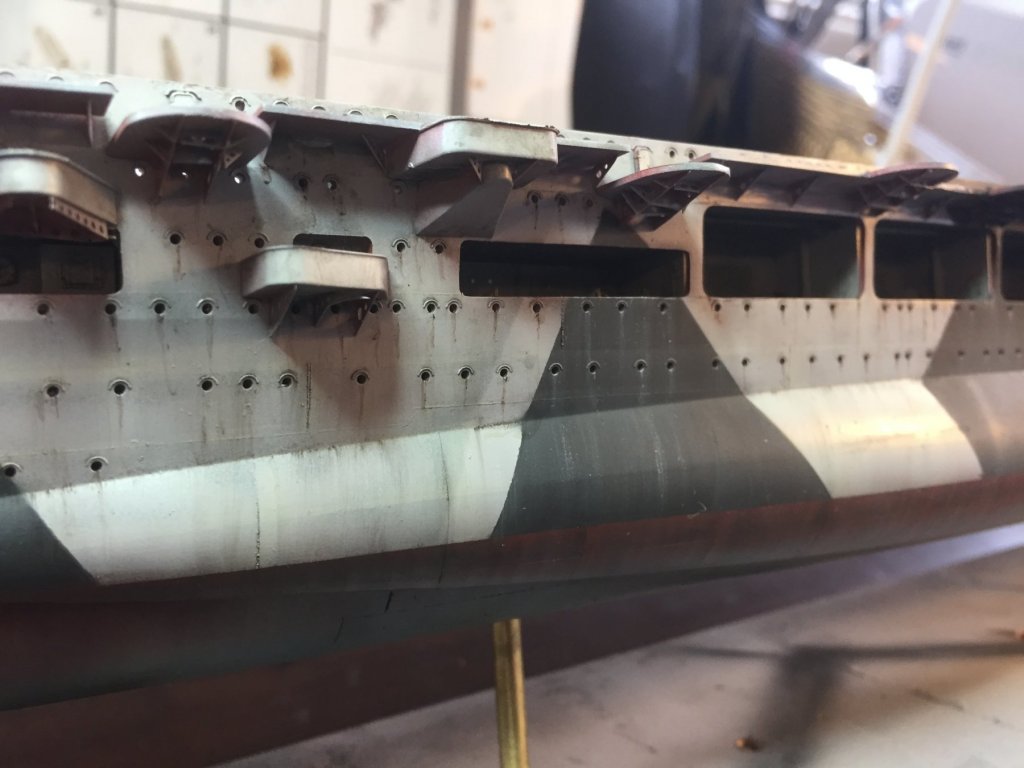
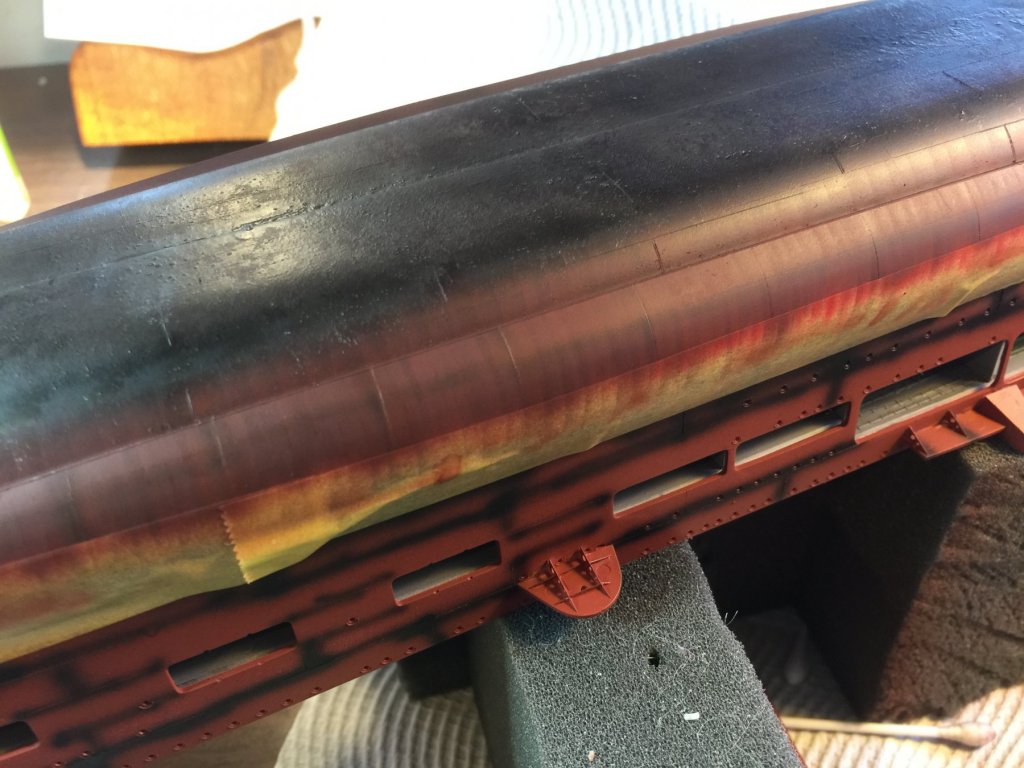
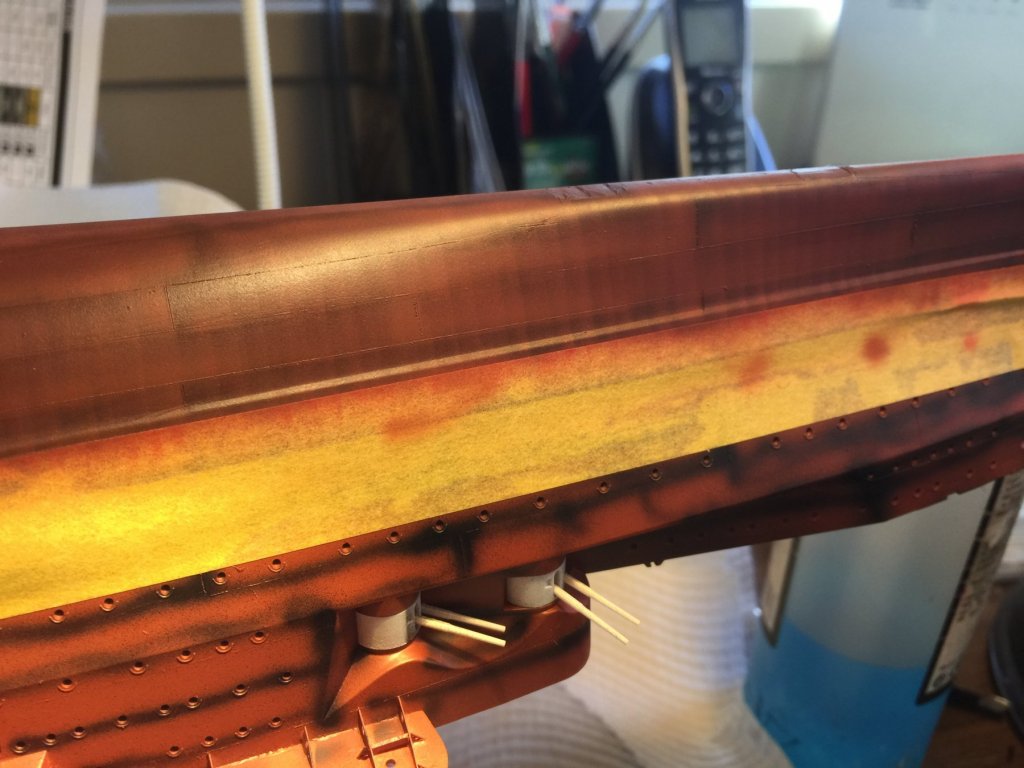
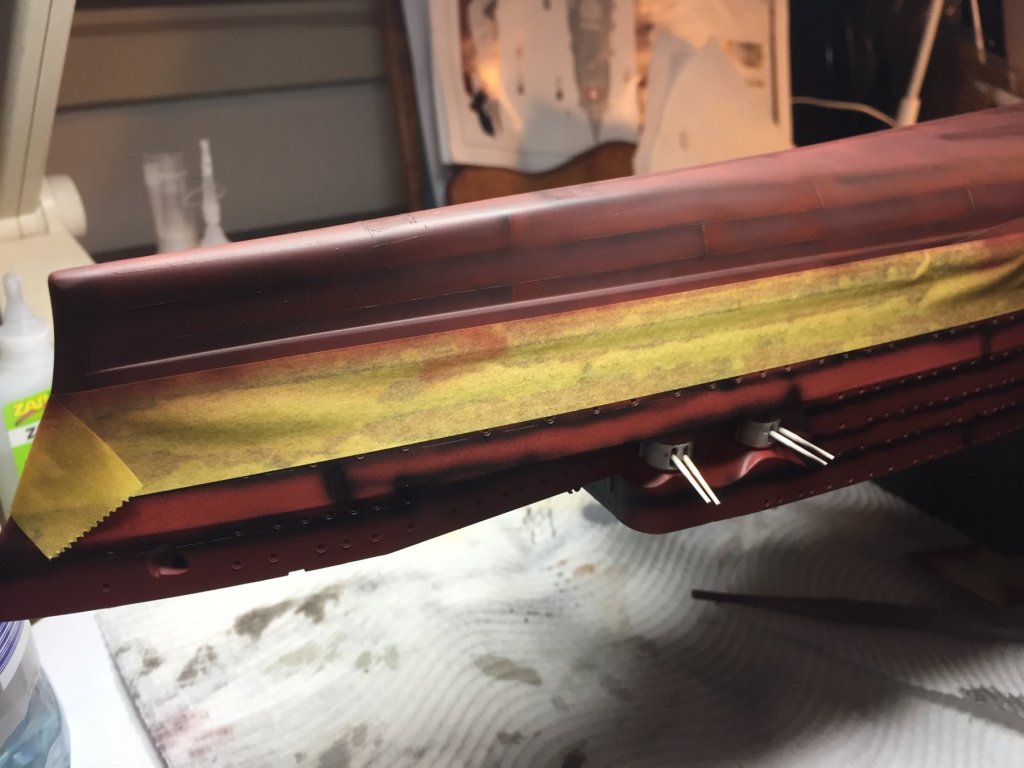
Things are slowing down due to work and a new commitment. A bit done on the lower hull, the panel lines have been preshaded and a couple of shades of hull brown added. Tomorrow I’ll get some oilcanning done. Whilst it looks rough now it will all blend in.


- 345 replies
-
- 16
-
-
- graf zeppelin
- trumpeter
- (and 2 more)