HOLIDAY DONATION DRIVE - SUPPORT MSW - DO YOUR PART TO KEEP THIS GREAT FORUM GOING! (Only 44 donations so far out of 49,000 members - C'mon guys!)
×


RGL
-
Posts
5,531 -
Joined
-
Last visited
Content Type
Profiles
Forums
Gallery
Events
Everything posted by RGL
-
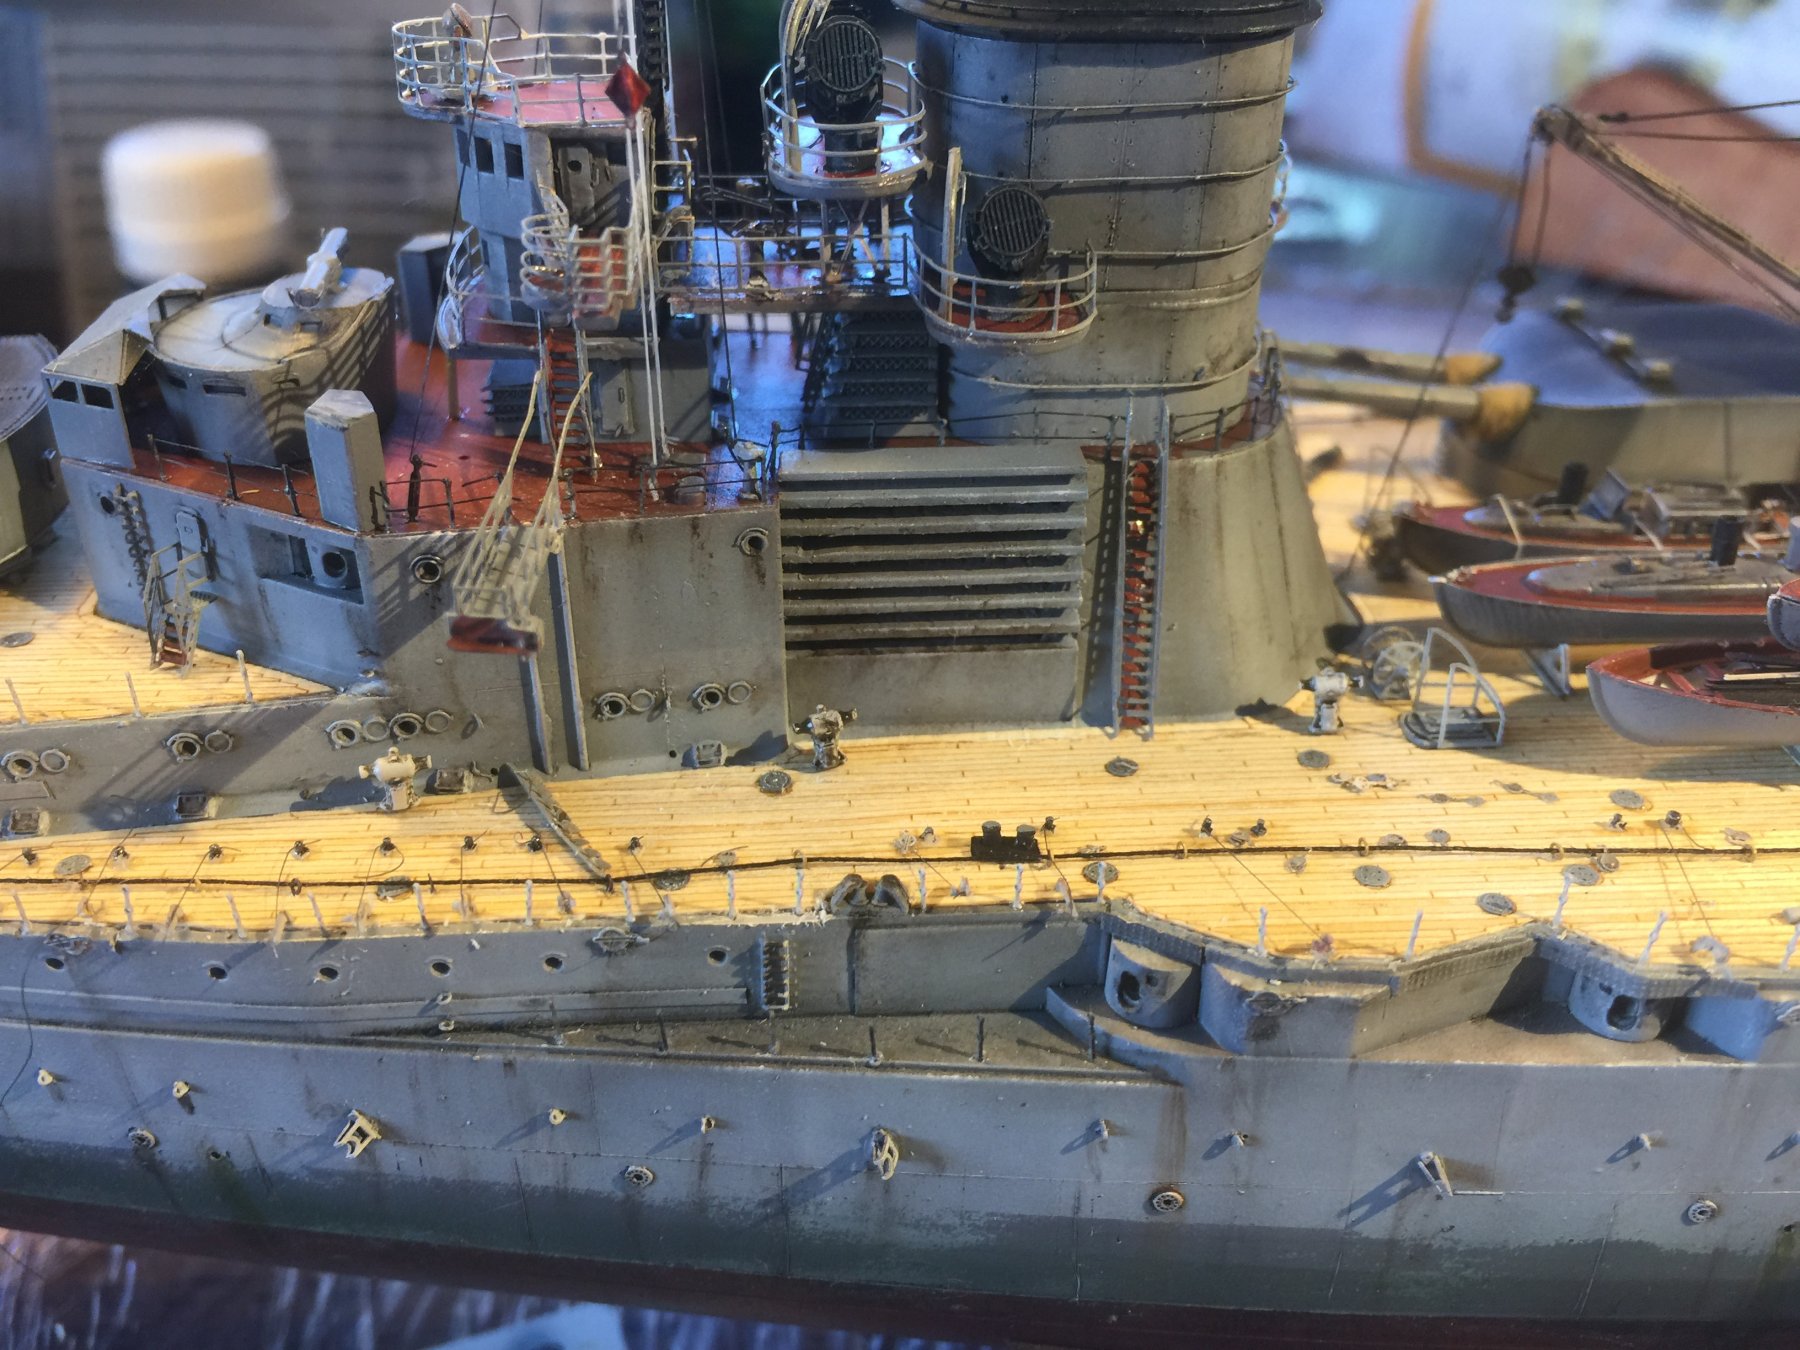
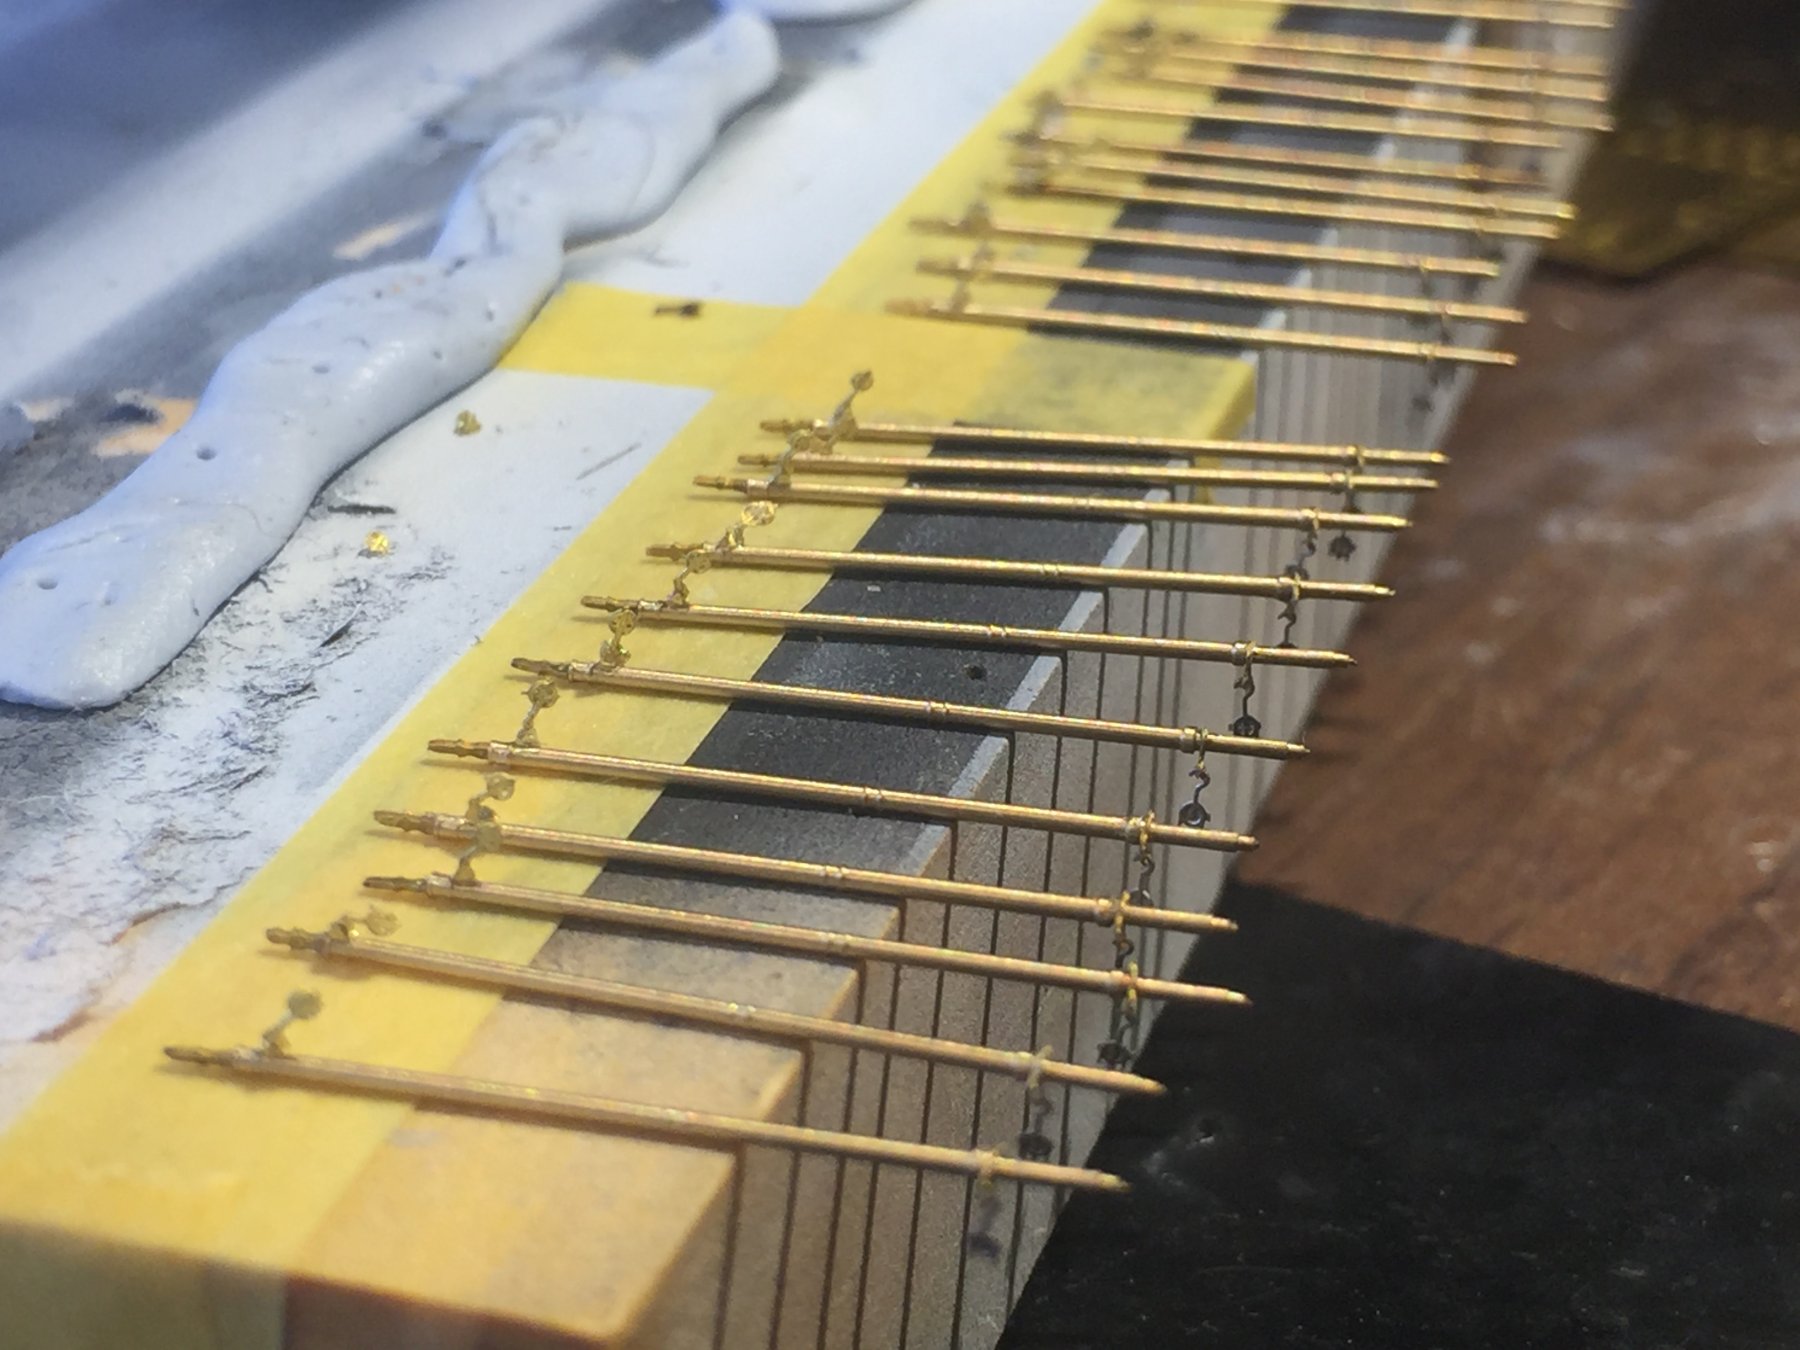
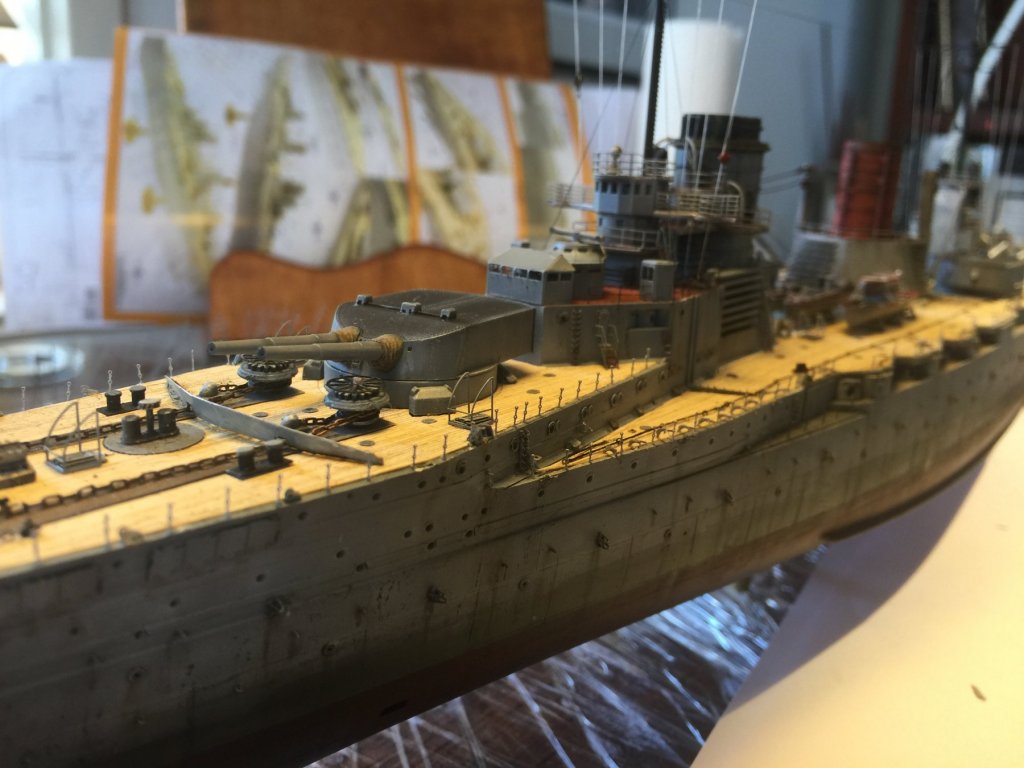
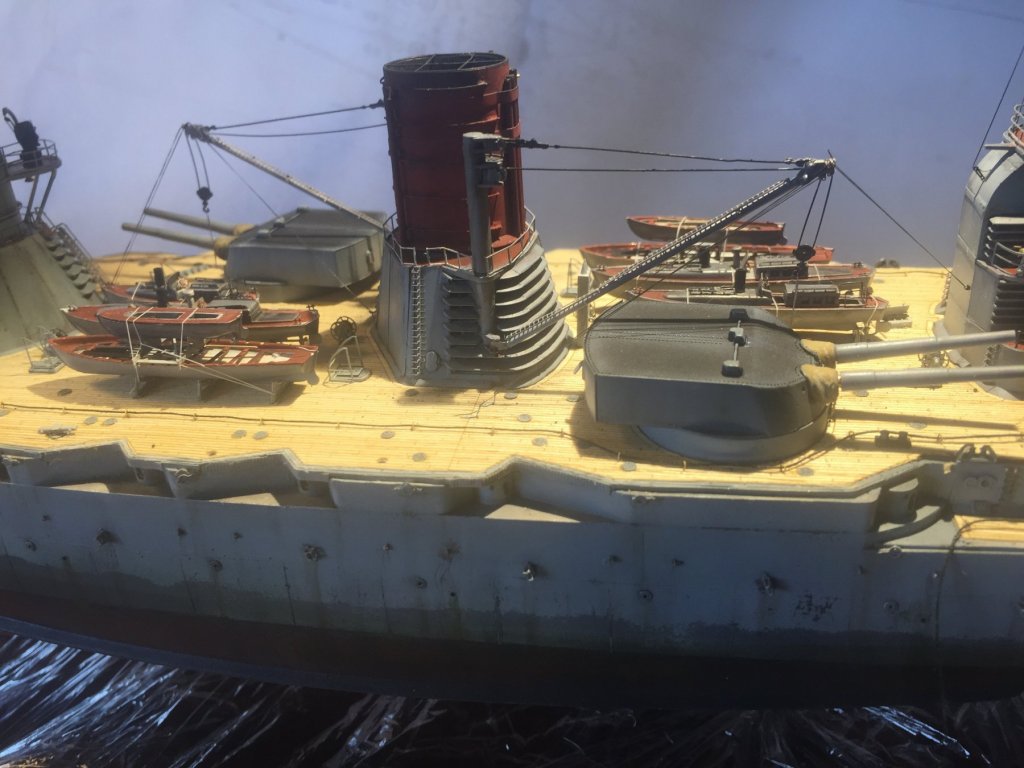
 Thanks. Using 1/700 destroyer bollards I’ve rigged the first half of the brailing davits. I also added 6 German coaling winches to the deck. Starboard side done

- 540 replies
-
- 14
-

-
Now the aftermarket set provides brailing davits with no placement instructions or even folding instructions. I’ve taken a self educated guess as to their placement. I’ve replaced the kit and aftermarket sets railing with individual stanchions.

- 540 replies
-
- 15
-
-
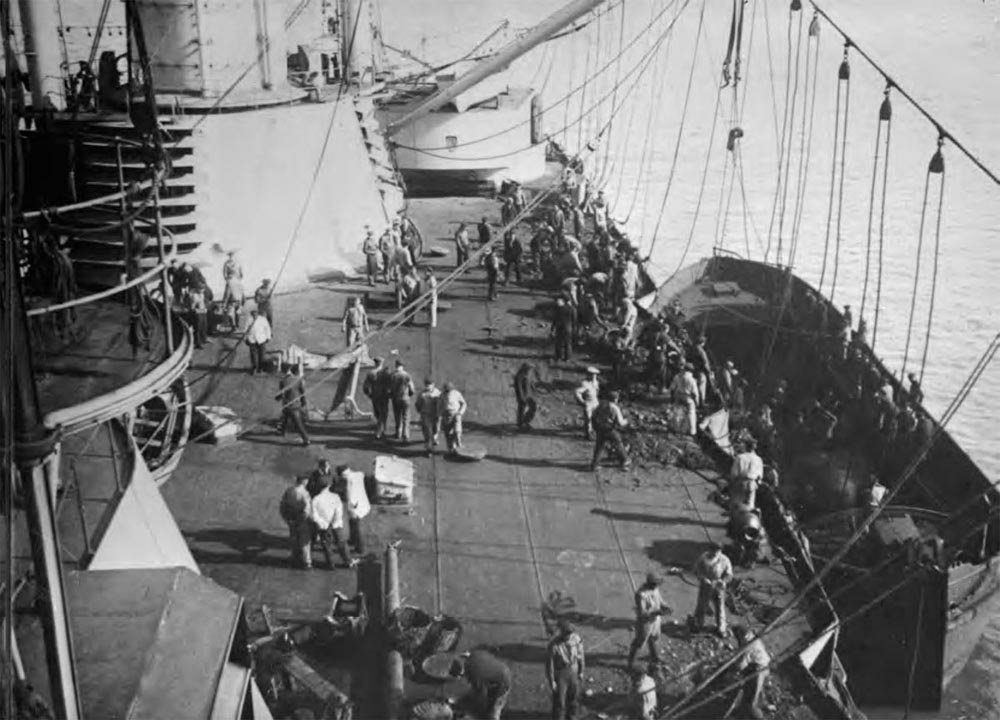
I’m going to go with canvas as coaling was a dirty business and it would be a lot easier to clean up afterwards and cutting it to size would be easy enough. They were coaled frequently so the expense would be worth it. The photos look like canvas and every other photo shows decking amidships
-
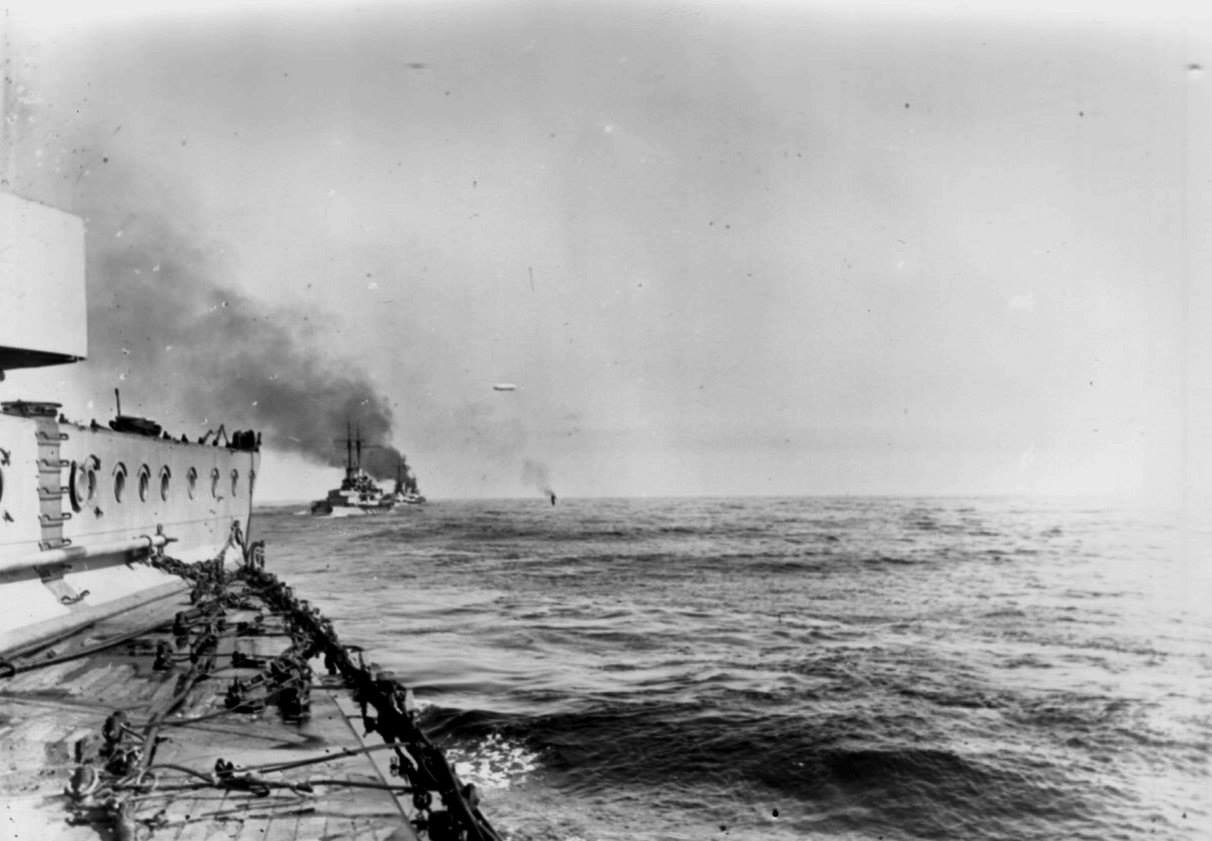
It is said to be Seydlitz but could be any of it’s sisters as it’s over 100 years ago. I Did read they used canvas when coaling and later they used Linoleum but such a large area should be a huge fire risk.
-
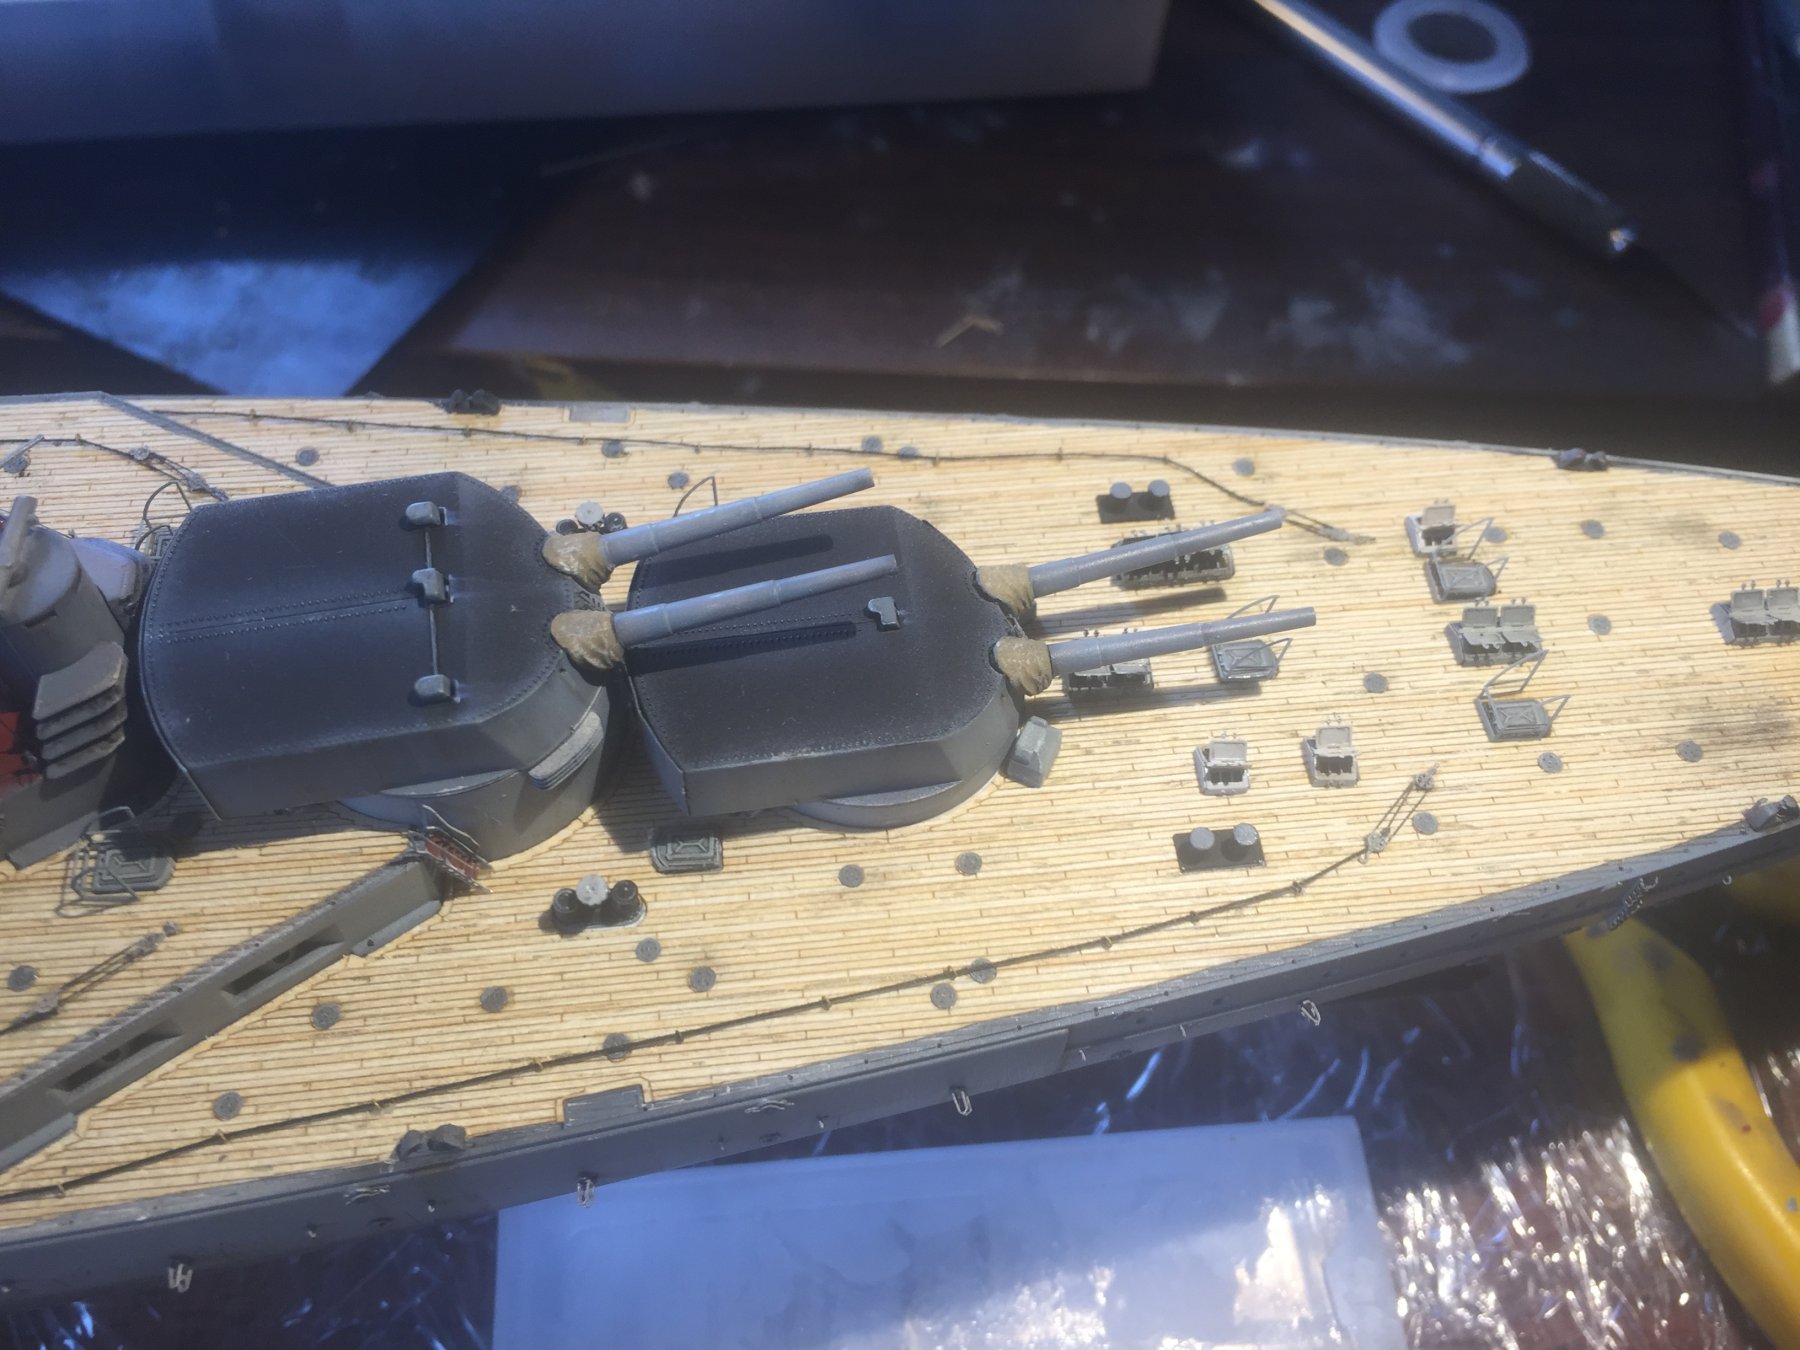
Slowly chipping away at the deck fittings. The ropes down the sides were used for coaling.

- 540 replies
-
- 11
-
-
HMCSS Victoria 1855 by BANYAN - 1:72
RGL replied to BANYAN's topic in - Build logs for subjects built 1851 - 1900
Australia and modelling has lost a master. It’s a shame more have not heard of him.- 1,006 replies
-
- 4
-
-
- gun dispatch vessel
- victoria
- (and 2 more)
-
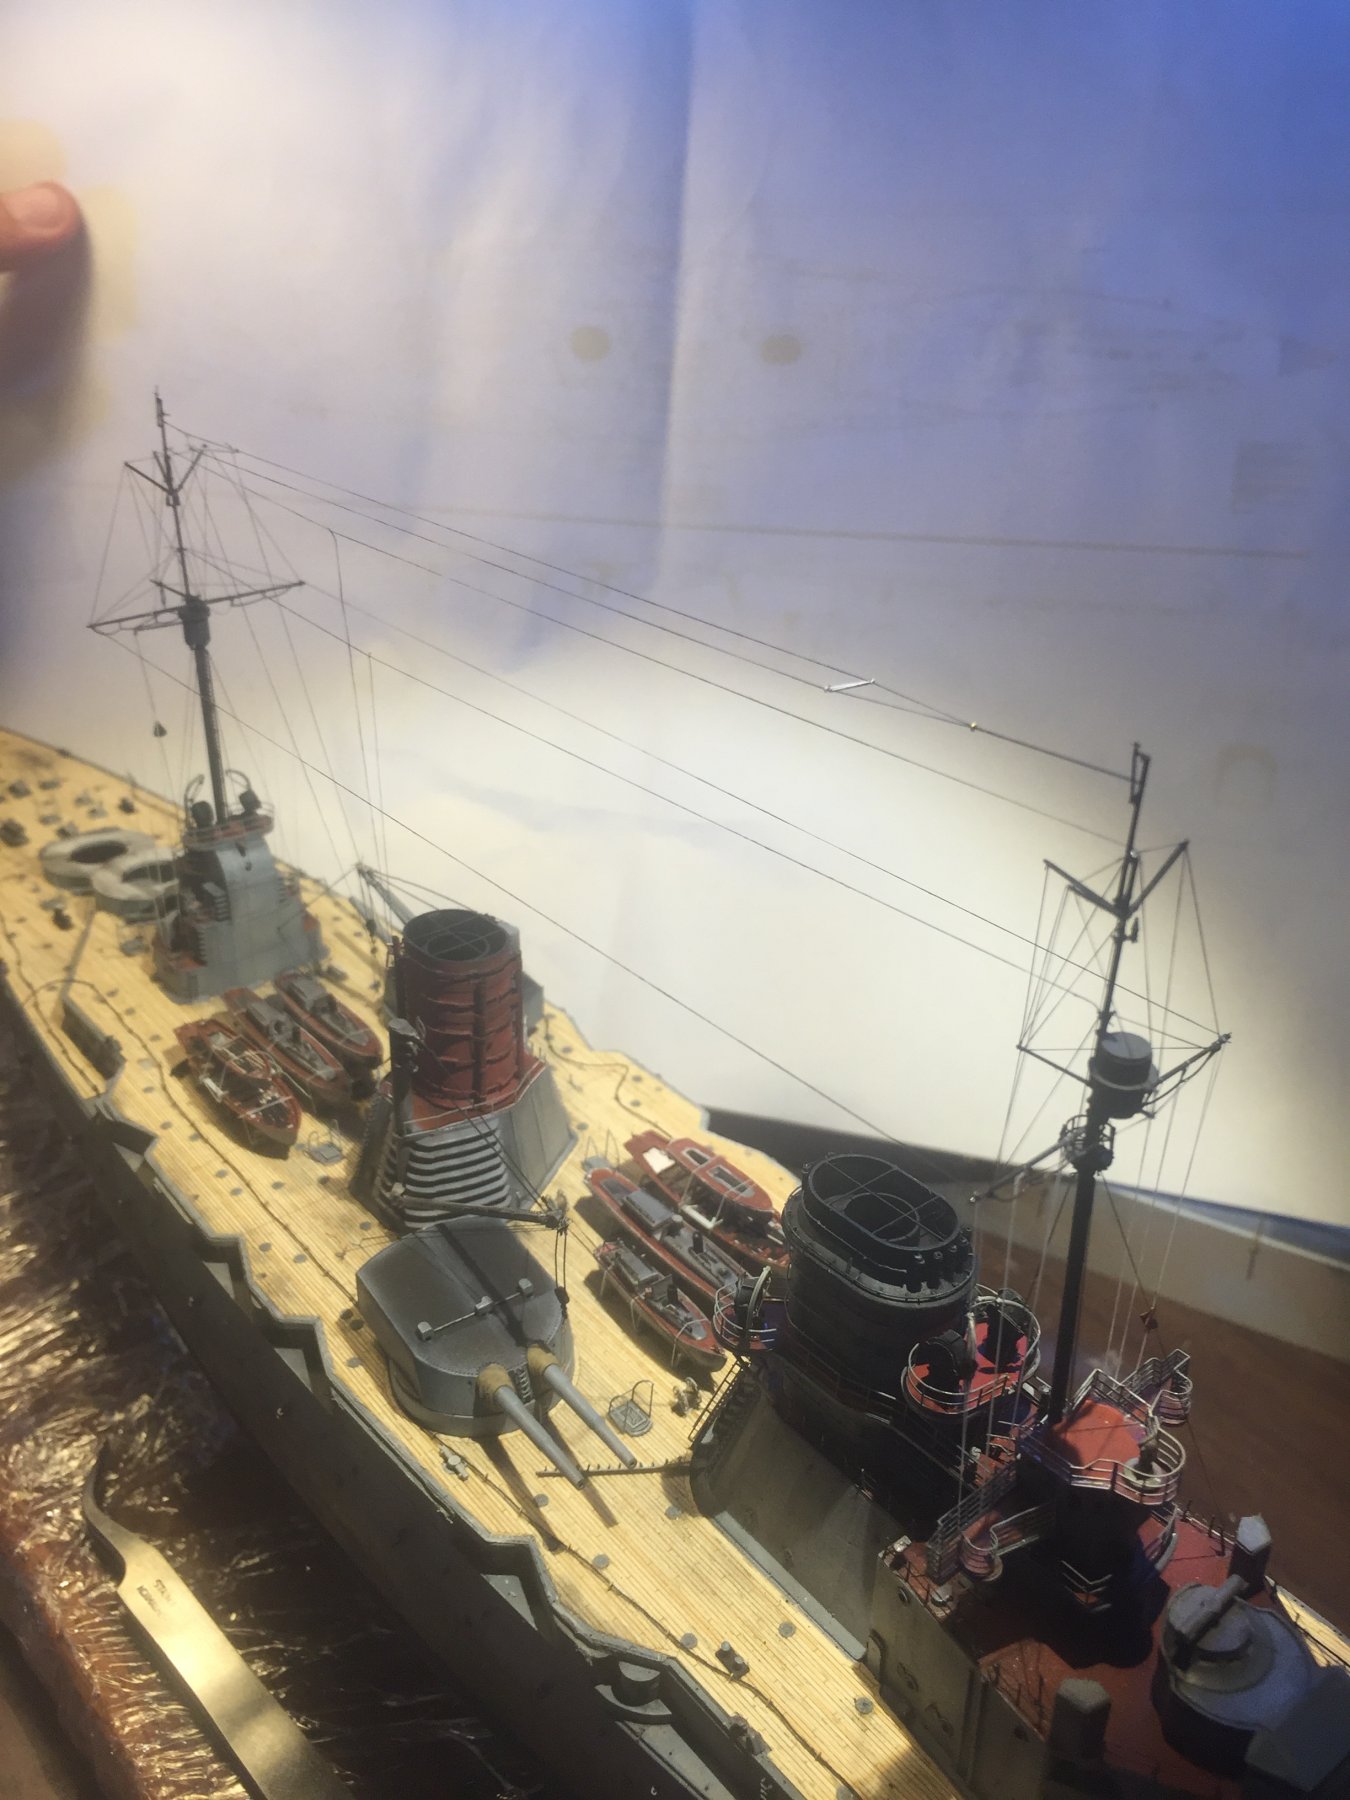
It’s pretty simple really, I made the spreaders using 2 stanchions glued together. I can now start on the innumerable deck pieces and the rigging for the nets.
-
That’s the way they were lashed to the deck, and the plans have it that way. I believe when not in use the arms were lowered to the deck. There is a photo of it in the log somewhere.
-
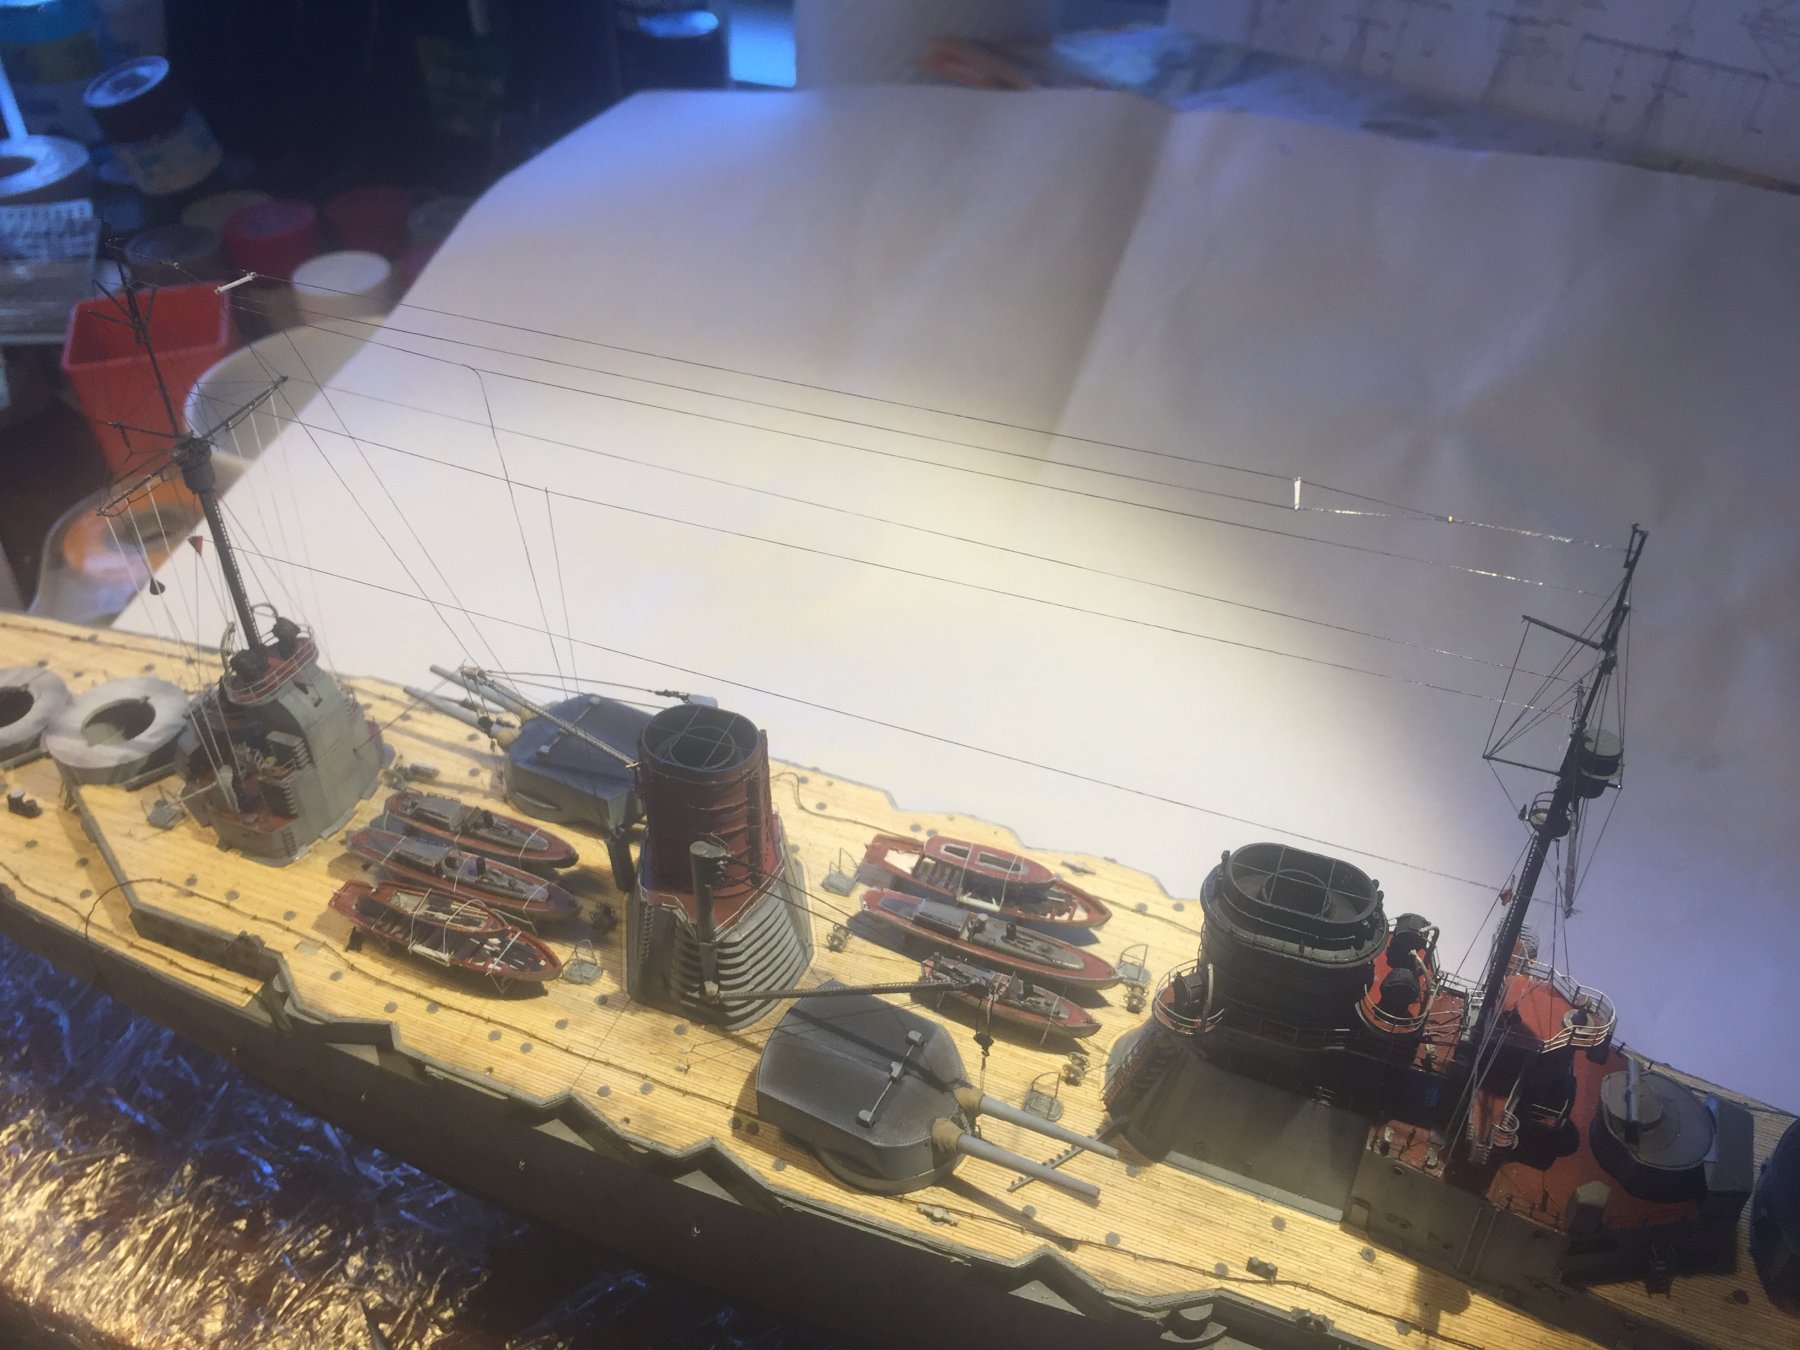
I have now glued down the funnel and main mast, and rigged the lashing for the two cranes. I can now rig the aerials.
- 540 replies
-
- 14
-
-
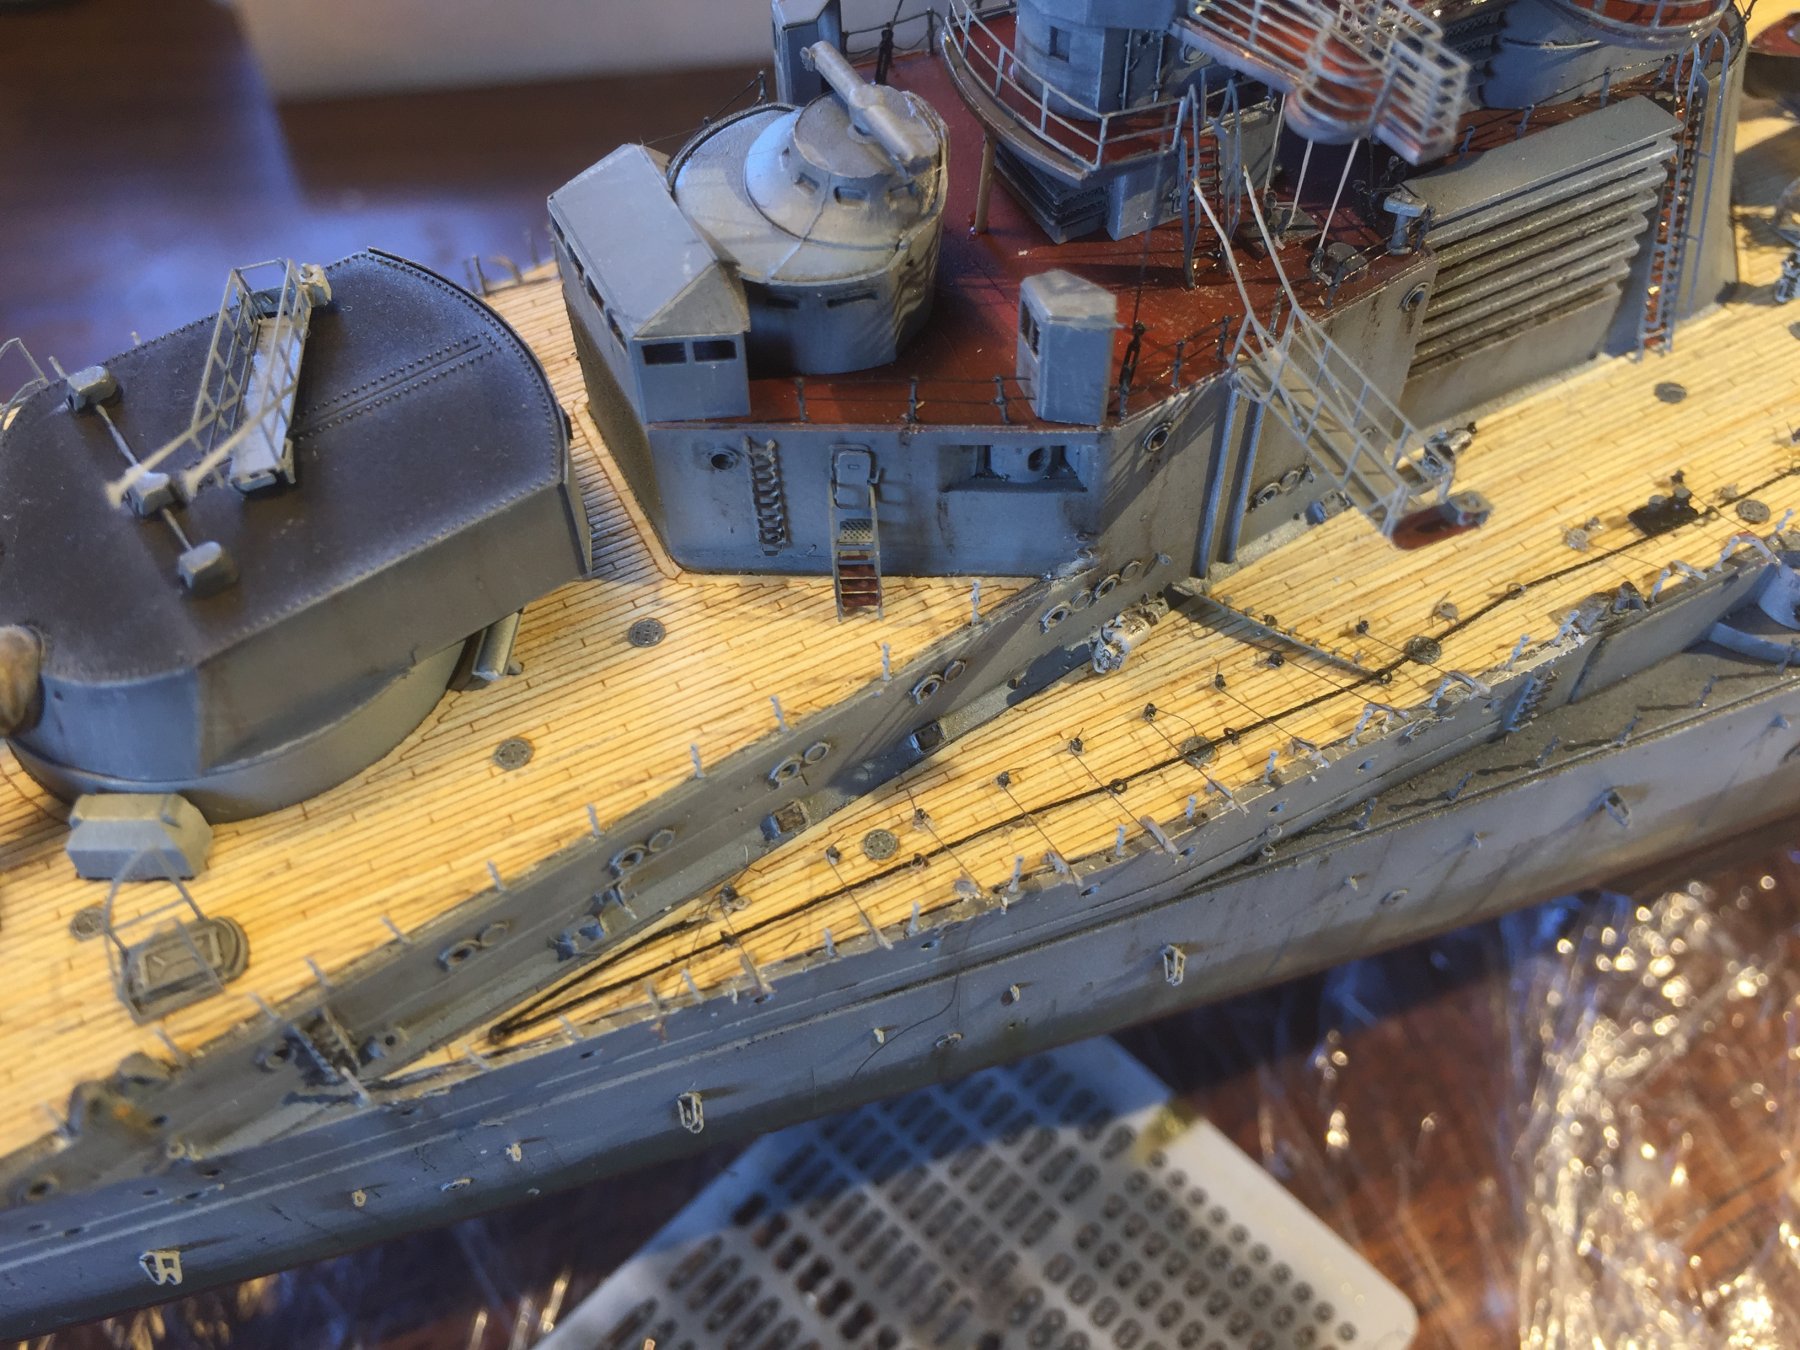
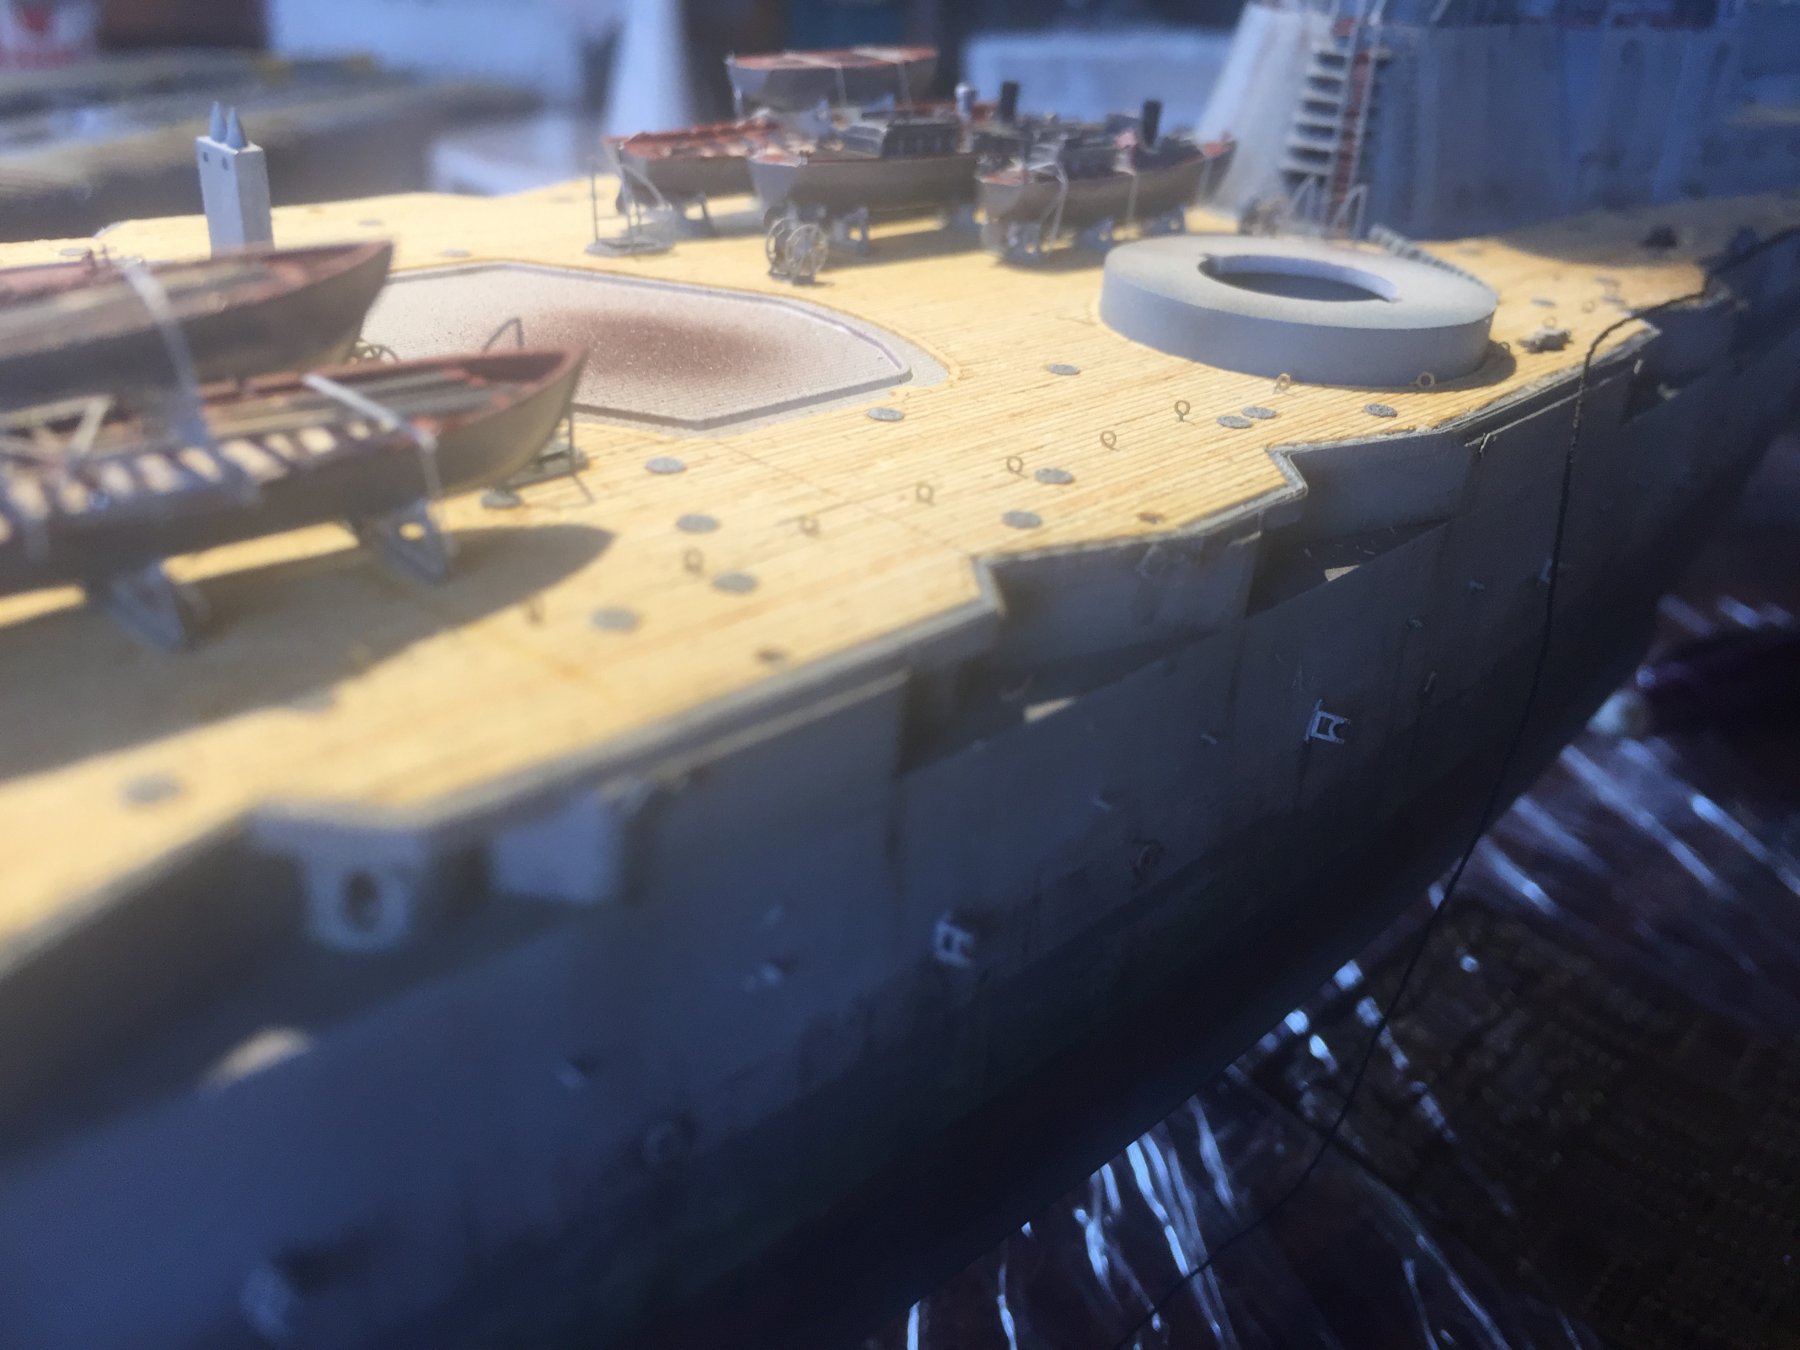
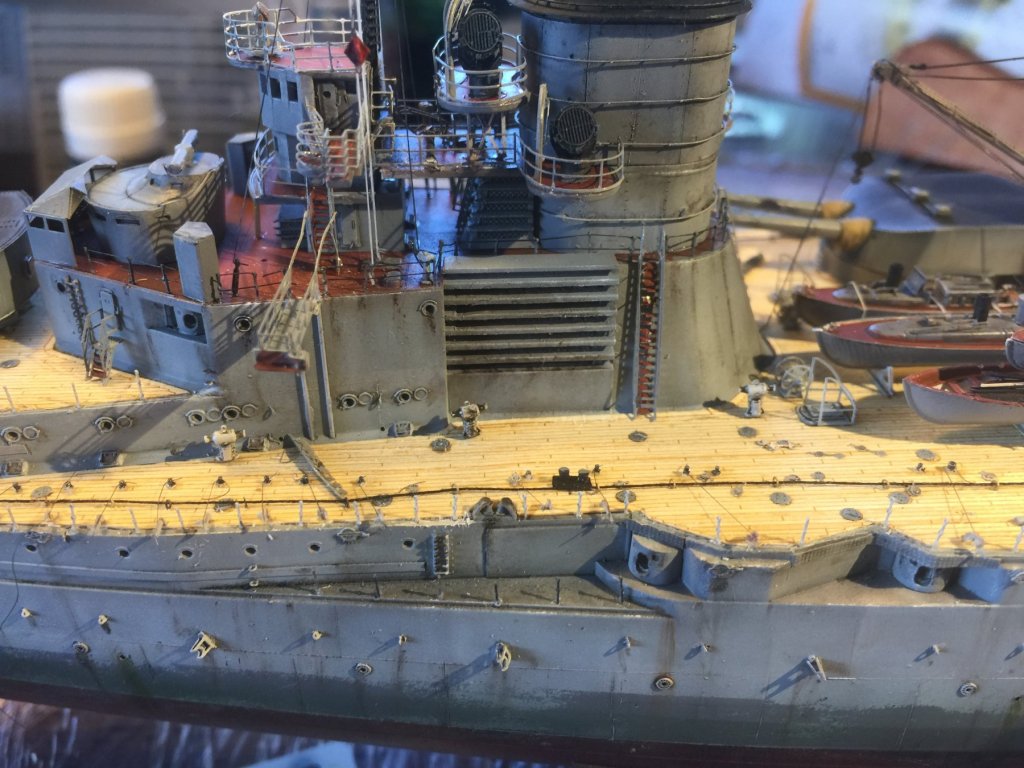
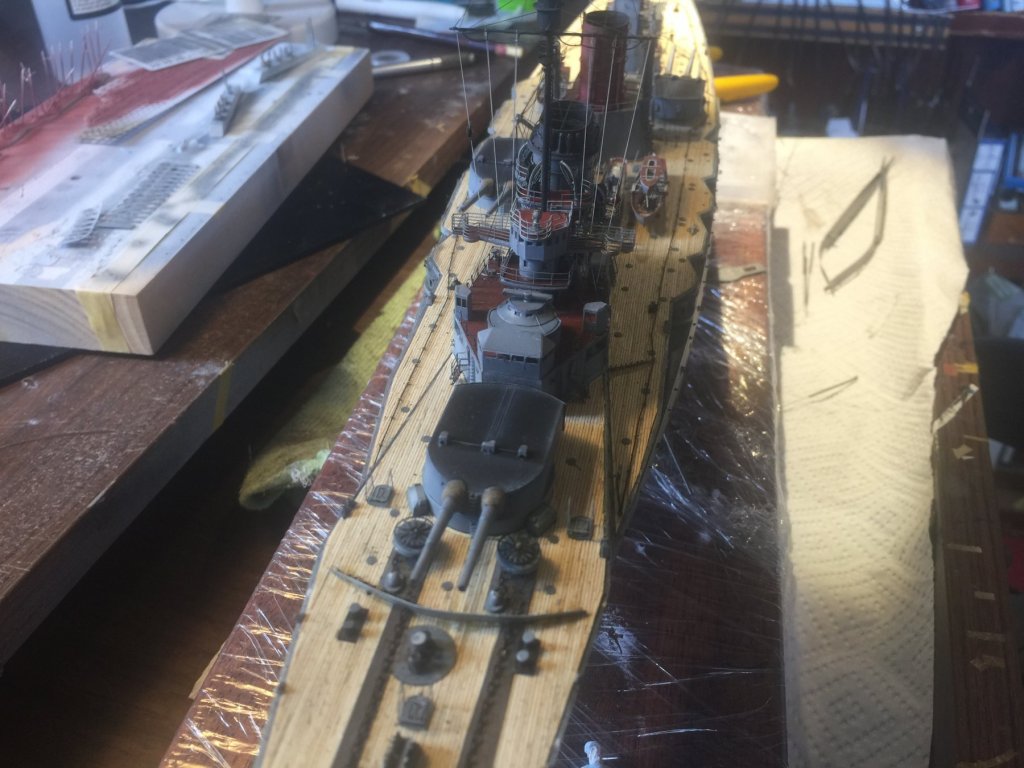
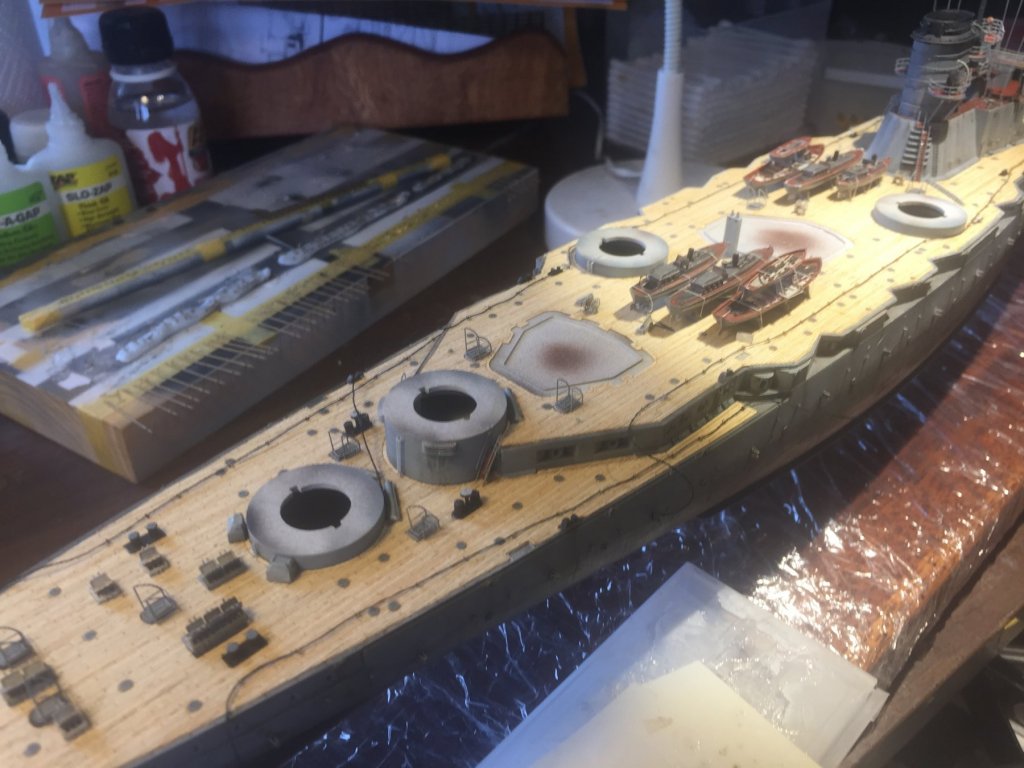
Slow progress. I ran a line of rings along both sides of the deck than ran some waxed rigging line. This line was used (I believe) with lashed pulleys to both draw lines from the brailing davits and also when lifted up for coaling.

- 540 replies
-
- 12
-
-
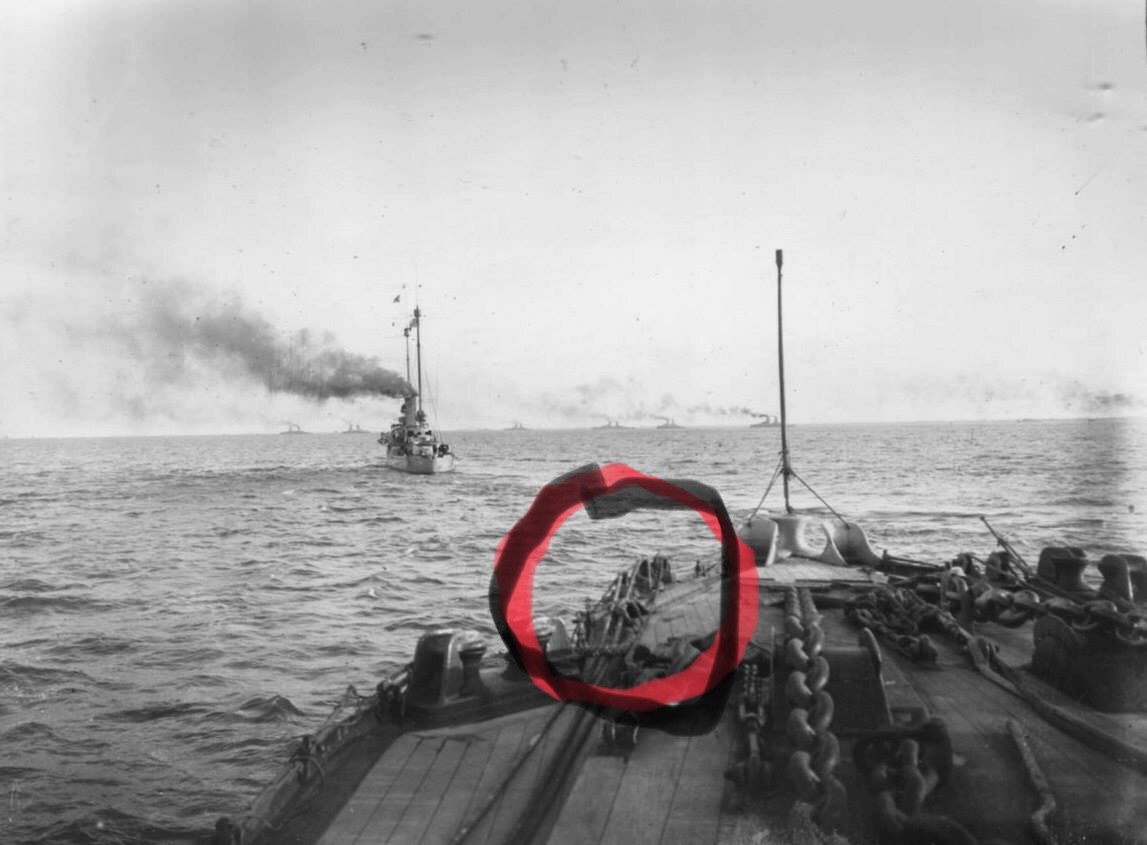
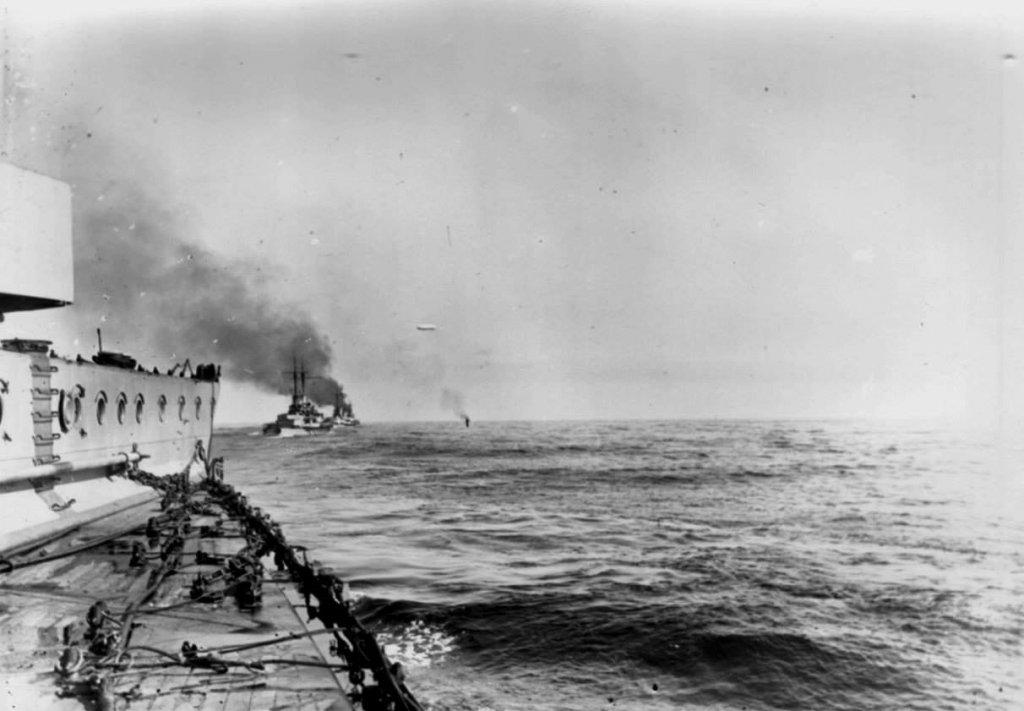
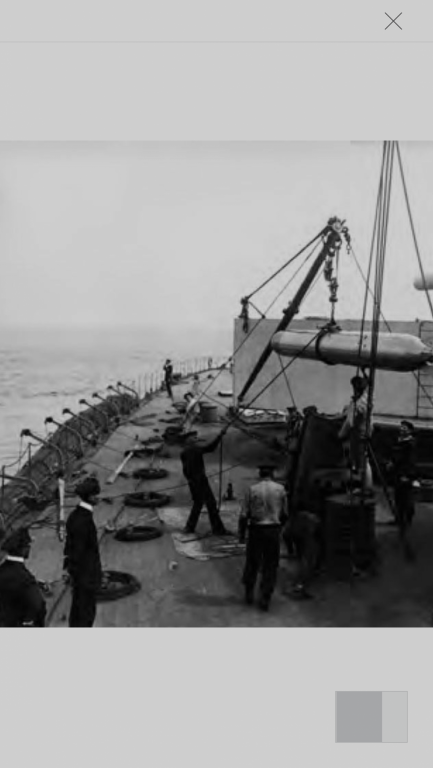
Now, the photo is post 280 is followed by this one that sits on the starboard side, showing how the rails were dropped before battle. The amount of ropes on deck is amazing, being the tackle and lines for the nets. I then added 2 pulleys to each boom apart from the front one which will be rigged slightly differently.

- 540 replies
-
- 11
-
-
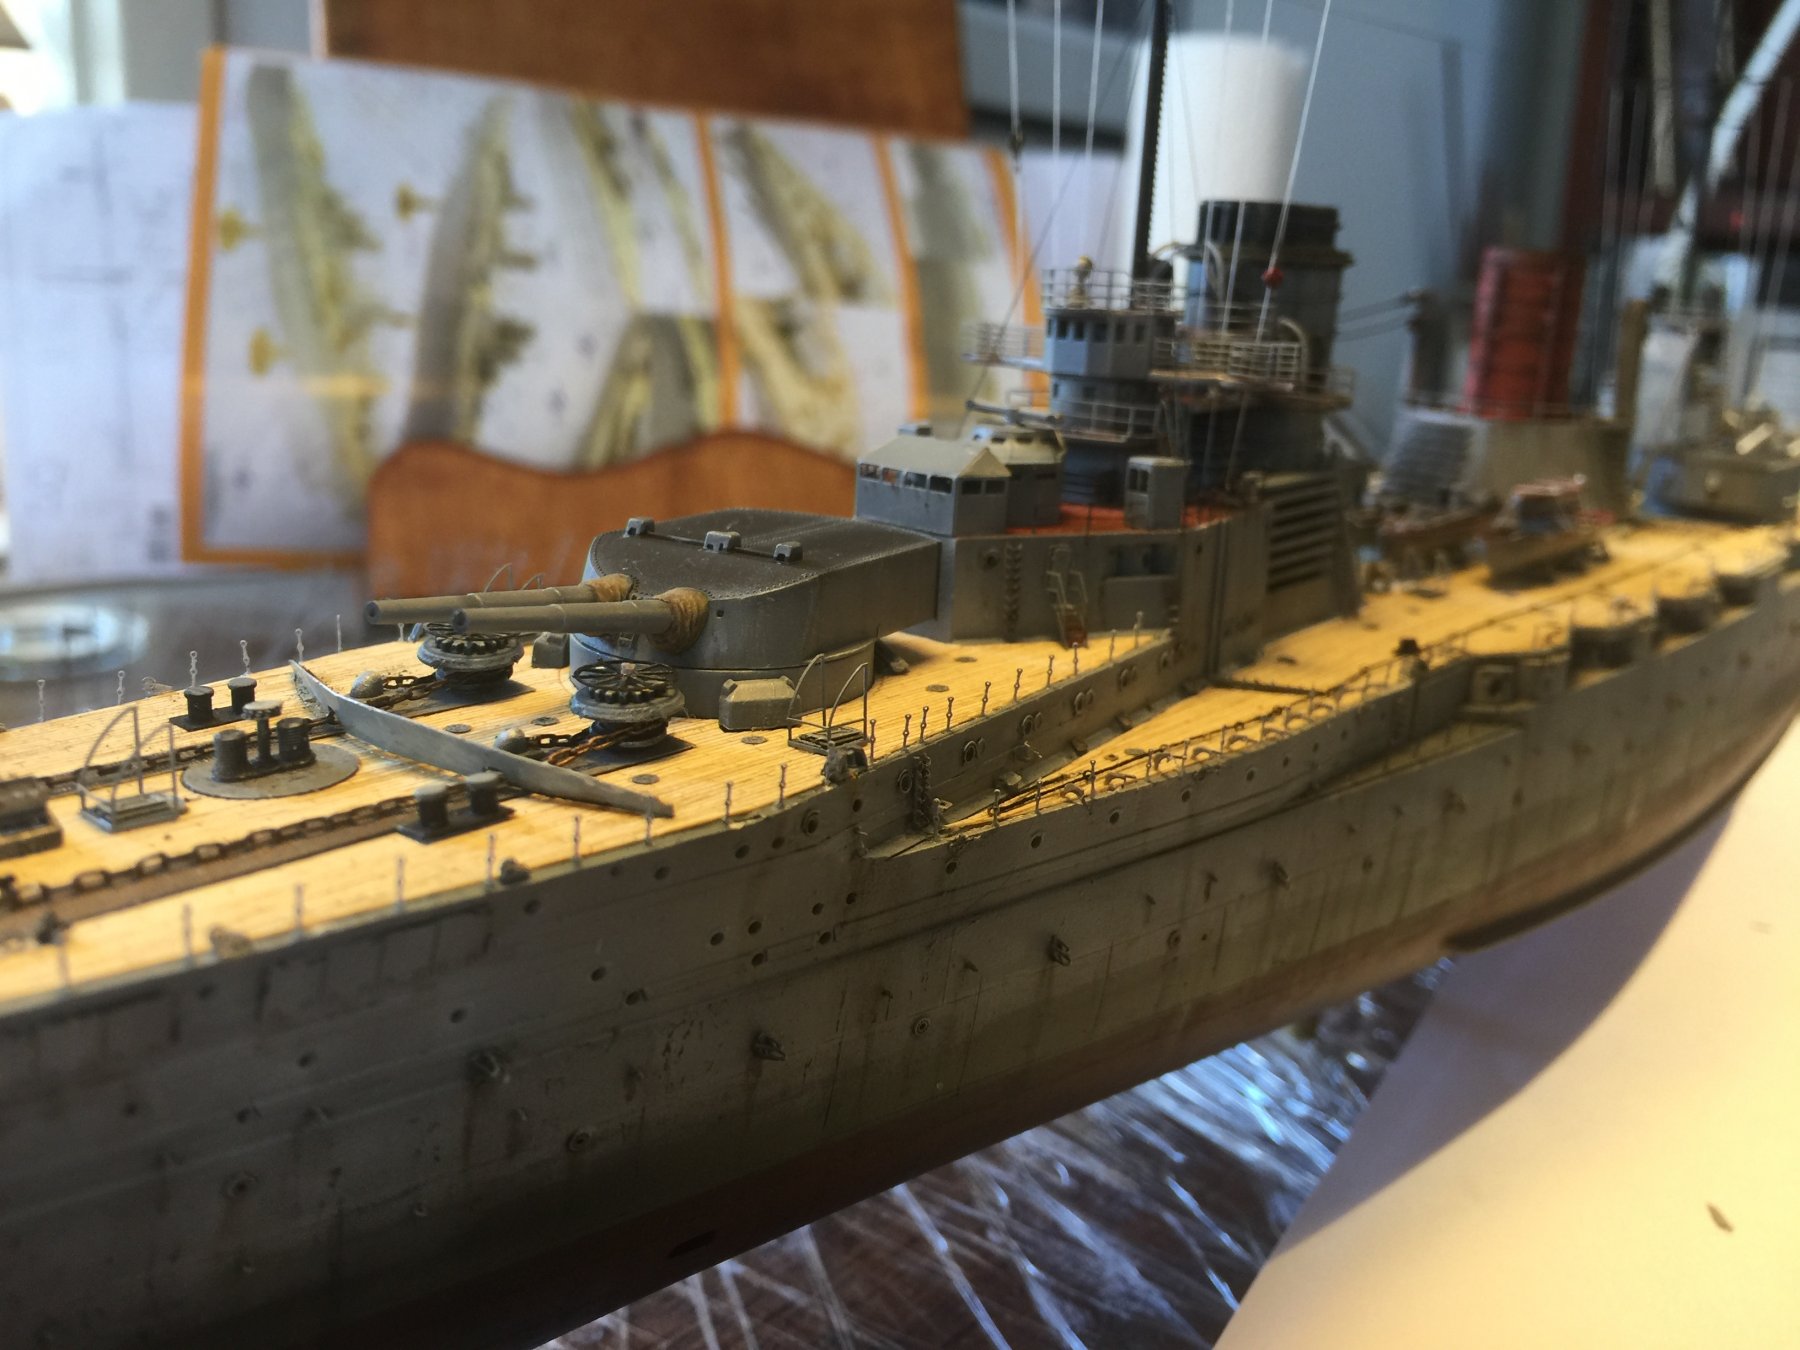
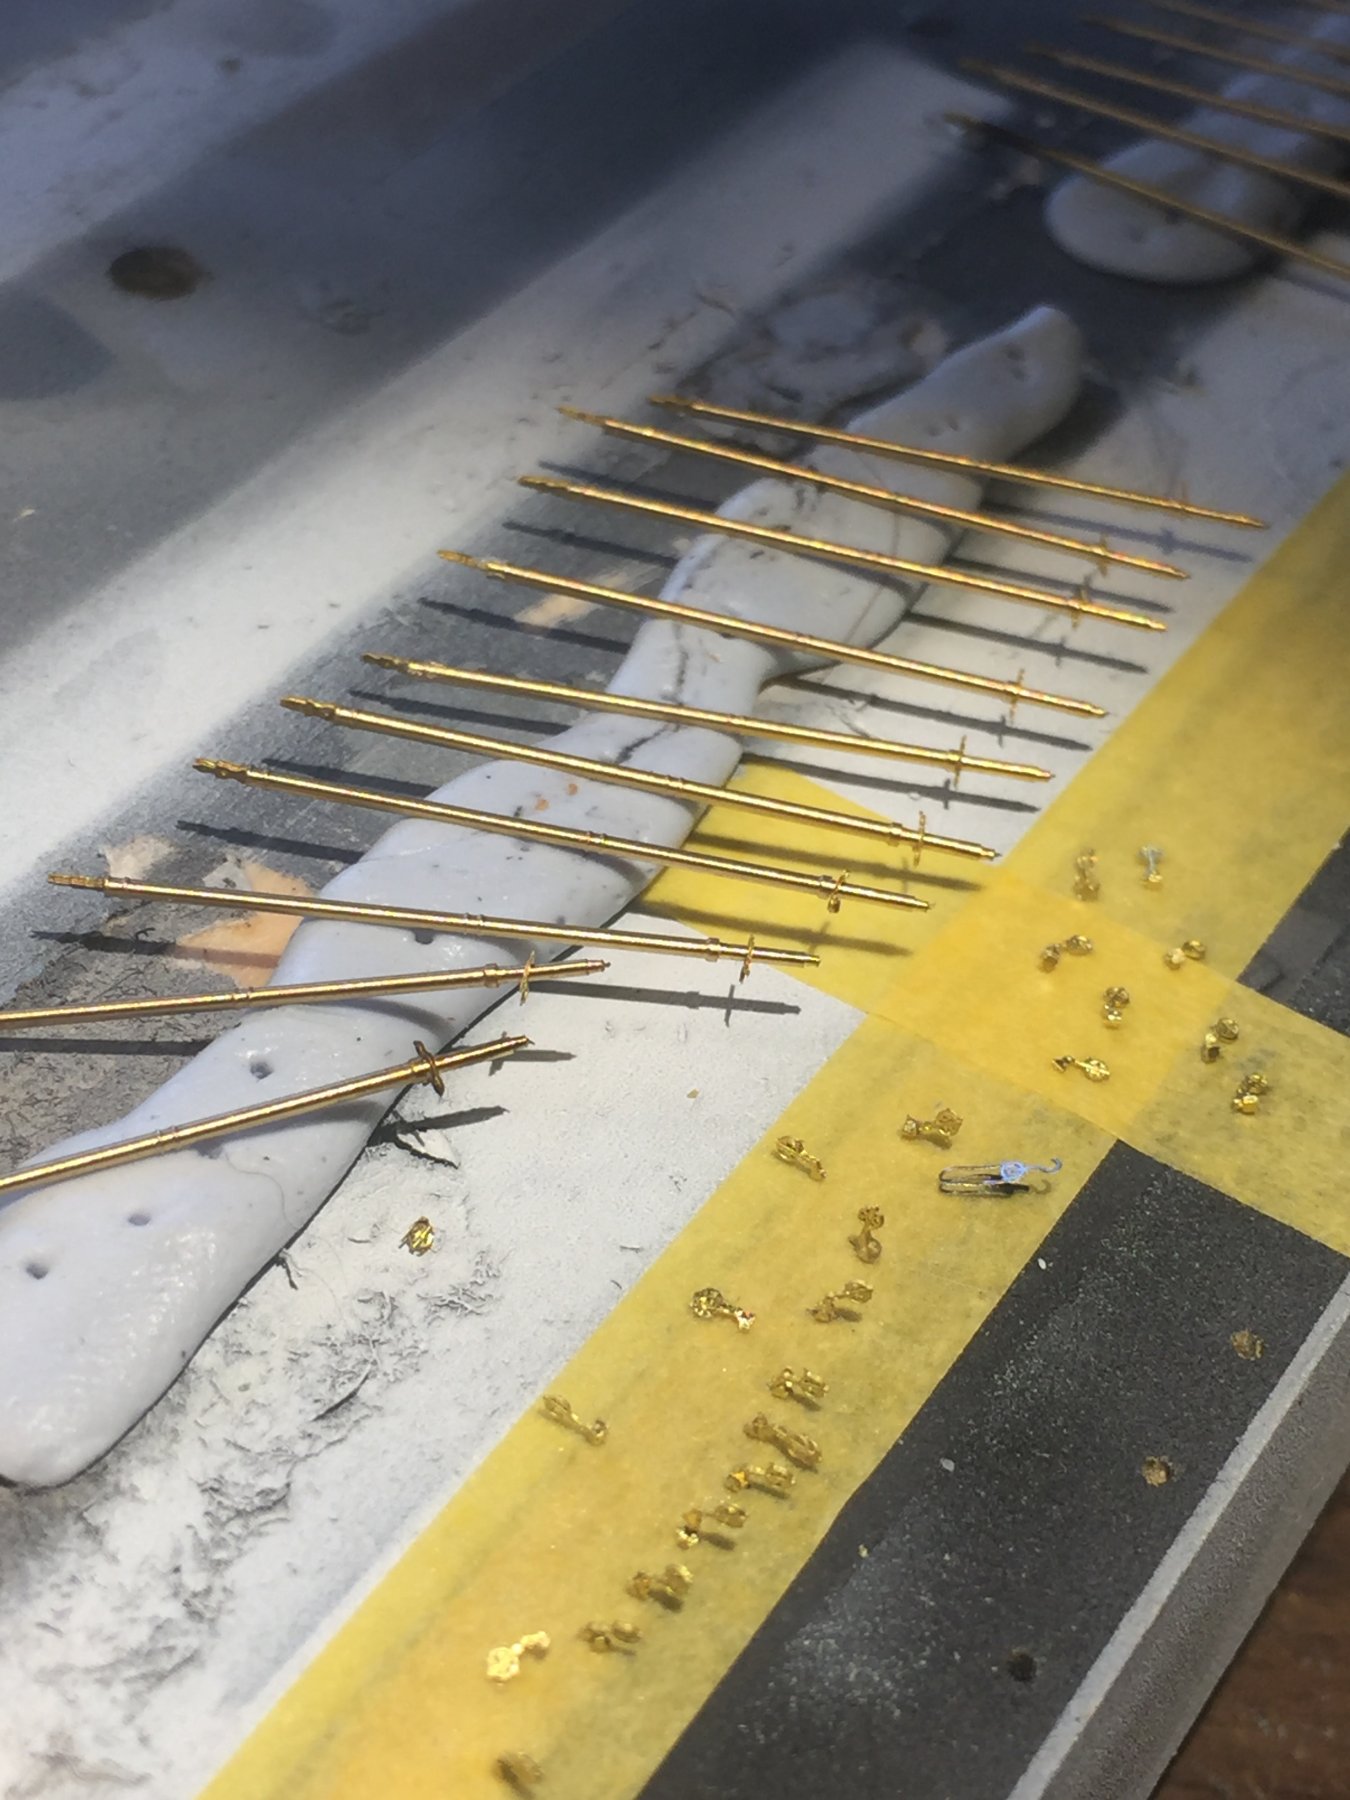
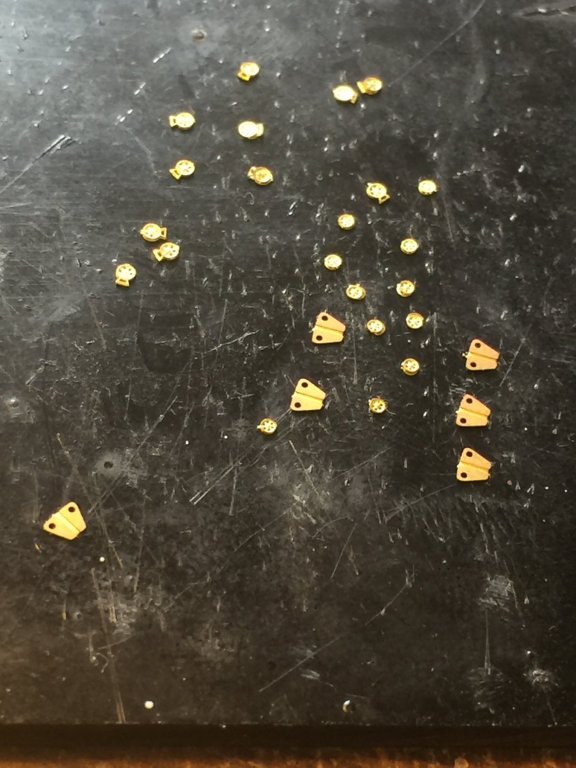
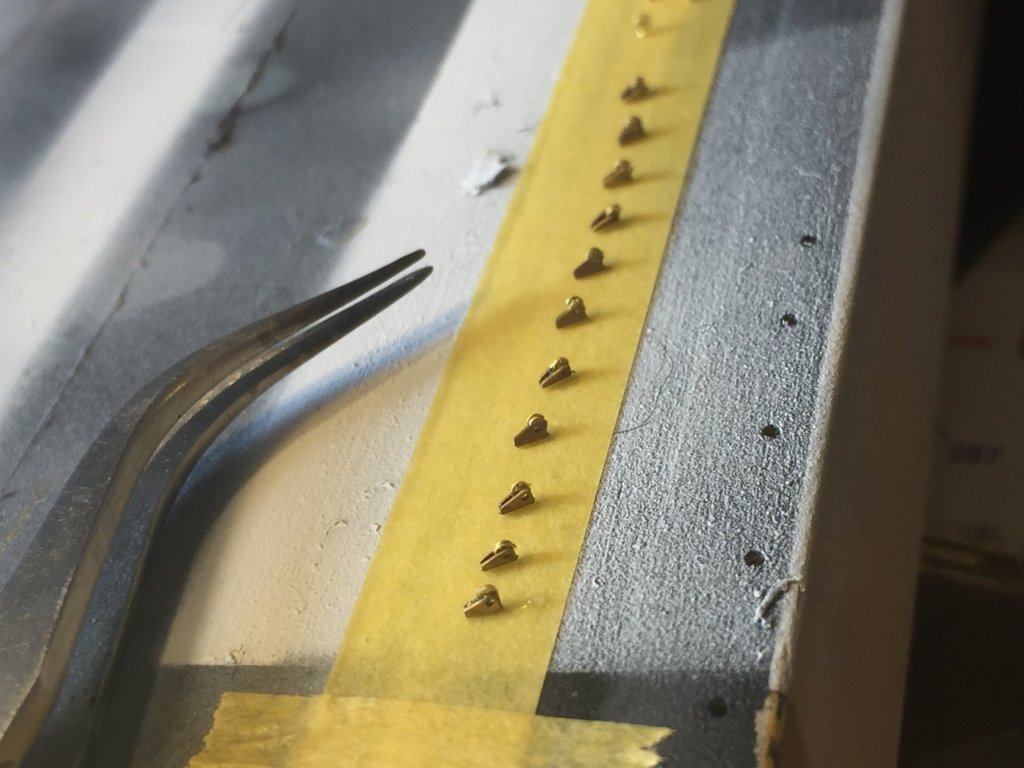
Just to keep you entertained, these little pulleys sit on the gunnels at the bow as in the previous photos that the cables will run to the windlass from the end of the torpedo net booms. I spent a day preparing the booms plus some pulleys to go on the boom

- 540 replies
-
- 16
-
-
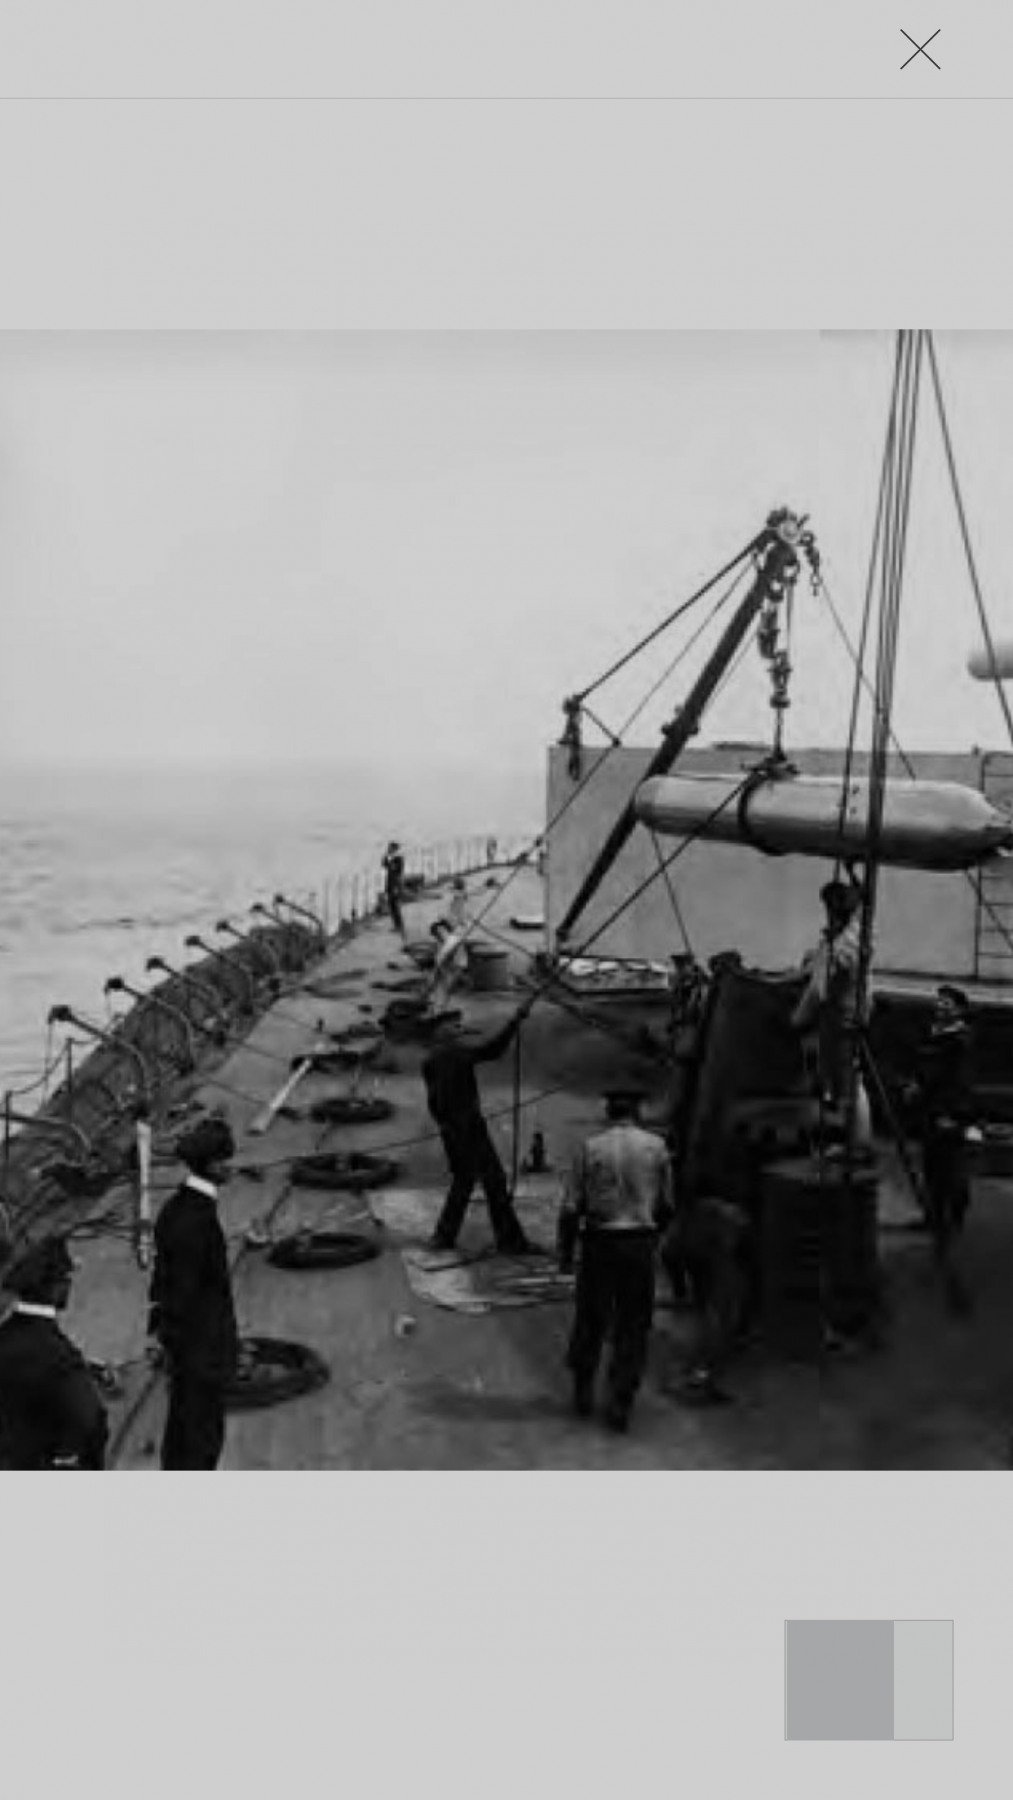
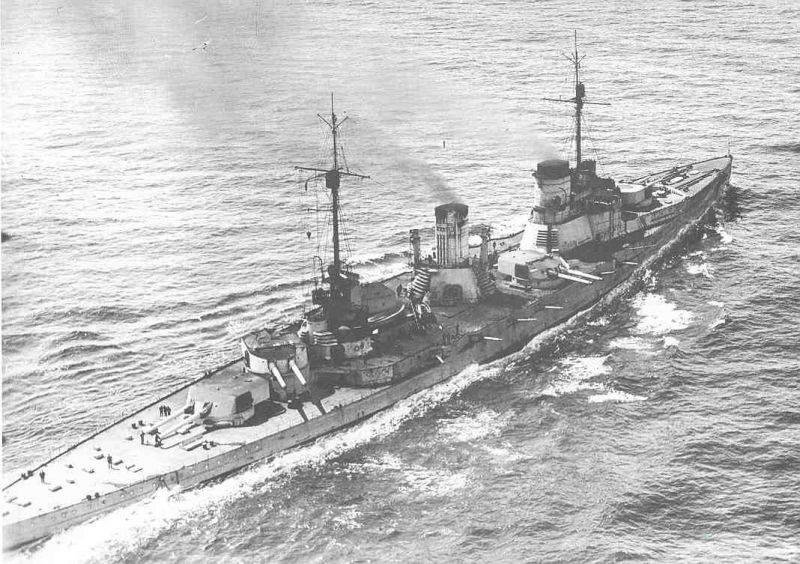
2 photos, one of the Seydlitz without her torpedo net. The next is of Von Der Tann’s forcastle. The reason is to show the pulleys and lines that pull it the torpedo net booms. These need to be added to the kit.

-
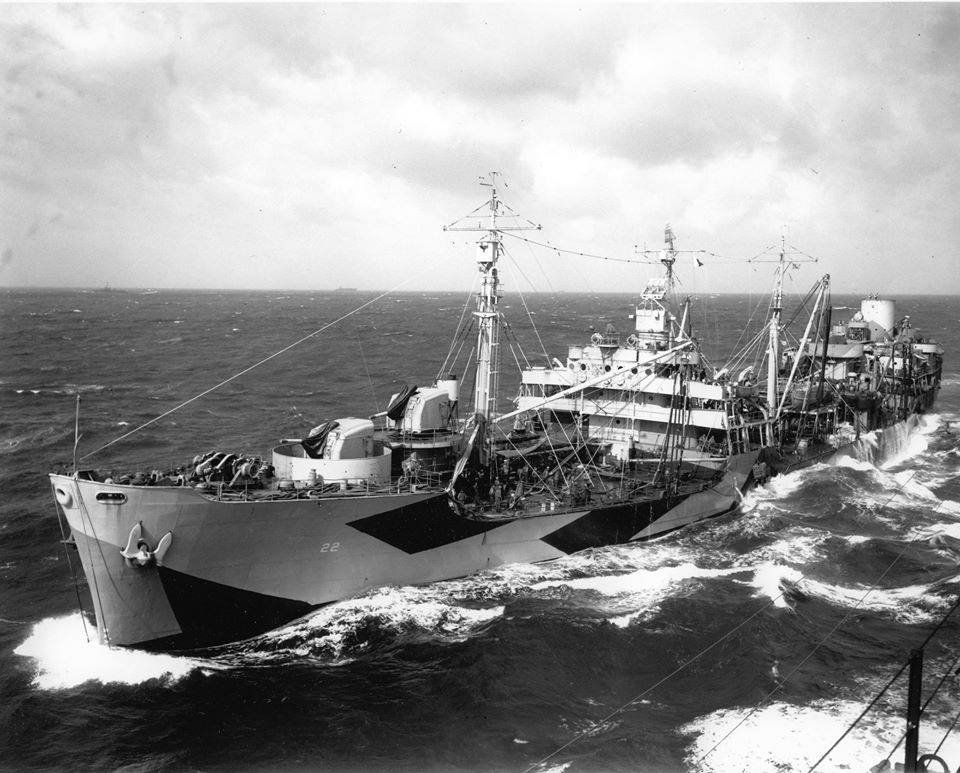
I used lifecolours on my KGV. The colours are nice but nothing that could not have been made up using Grunze or Tamiya which can pretty much be diluted with water. Vajello and I are not friends and numerous people have the same opinion. Grey, as seen in direct sunlight or heavy cloud changes so much. I think it’s probably it worth getting stuck in the weeds with ‘special colours’. Modulation brings out the angles and details so you’ll need several shades of grey anyways. I agree with the very fine Tamiya rattle can primer. I think one one can be a bit of a river counter when it comes to correct colours as wartime paints would have varied by several hues. This is the USS Cimaron in 1945, you can see the deck details are just delicious. I imagine a merchant marine ship would be a weathering dream!

- 106 replies
-
- 11
-
-
- trumpeter
- john brown
- (and 2 more)
-
The red circled one is for the stairs that go down the side of the ship ( I believe) , I have no idea what the blue is for but would suffice.
-
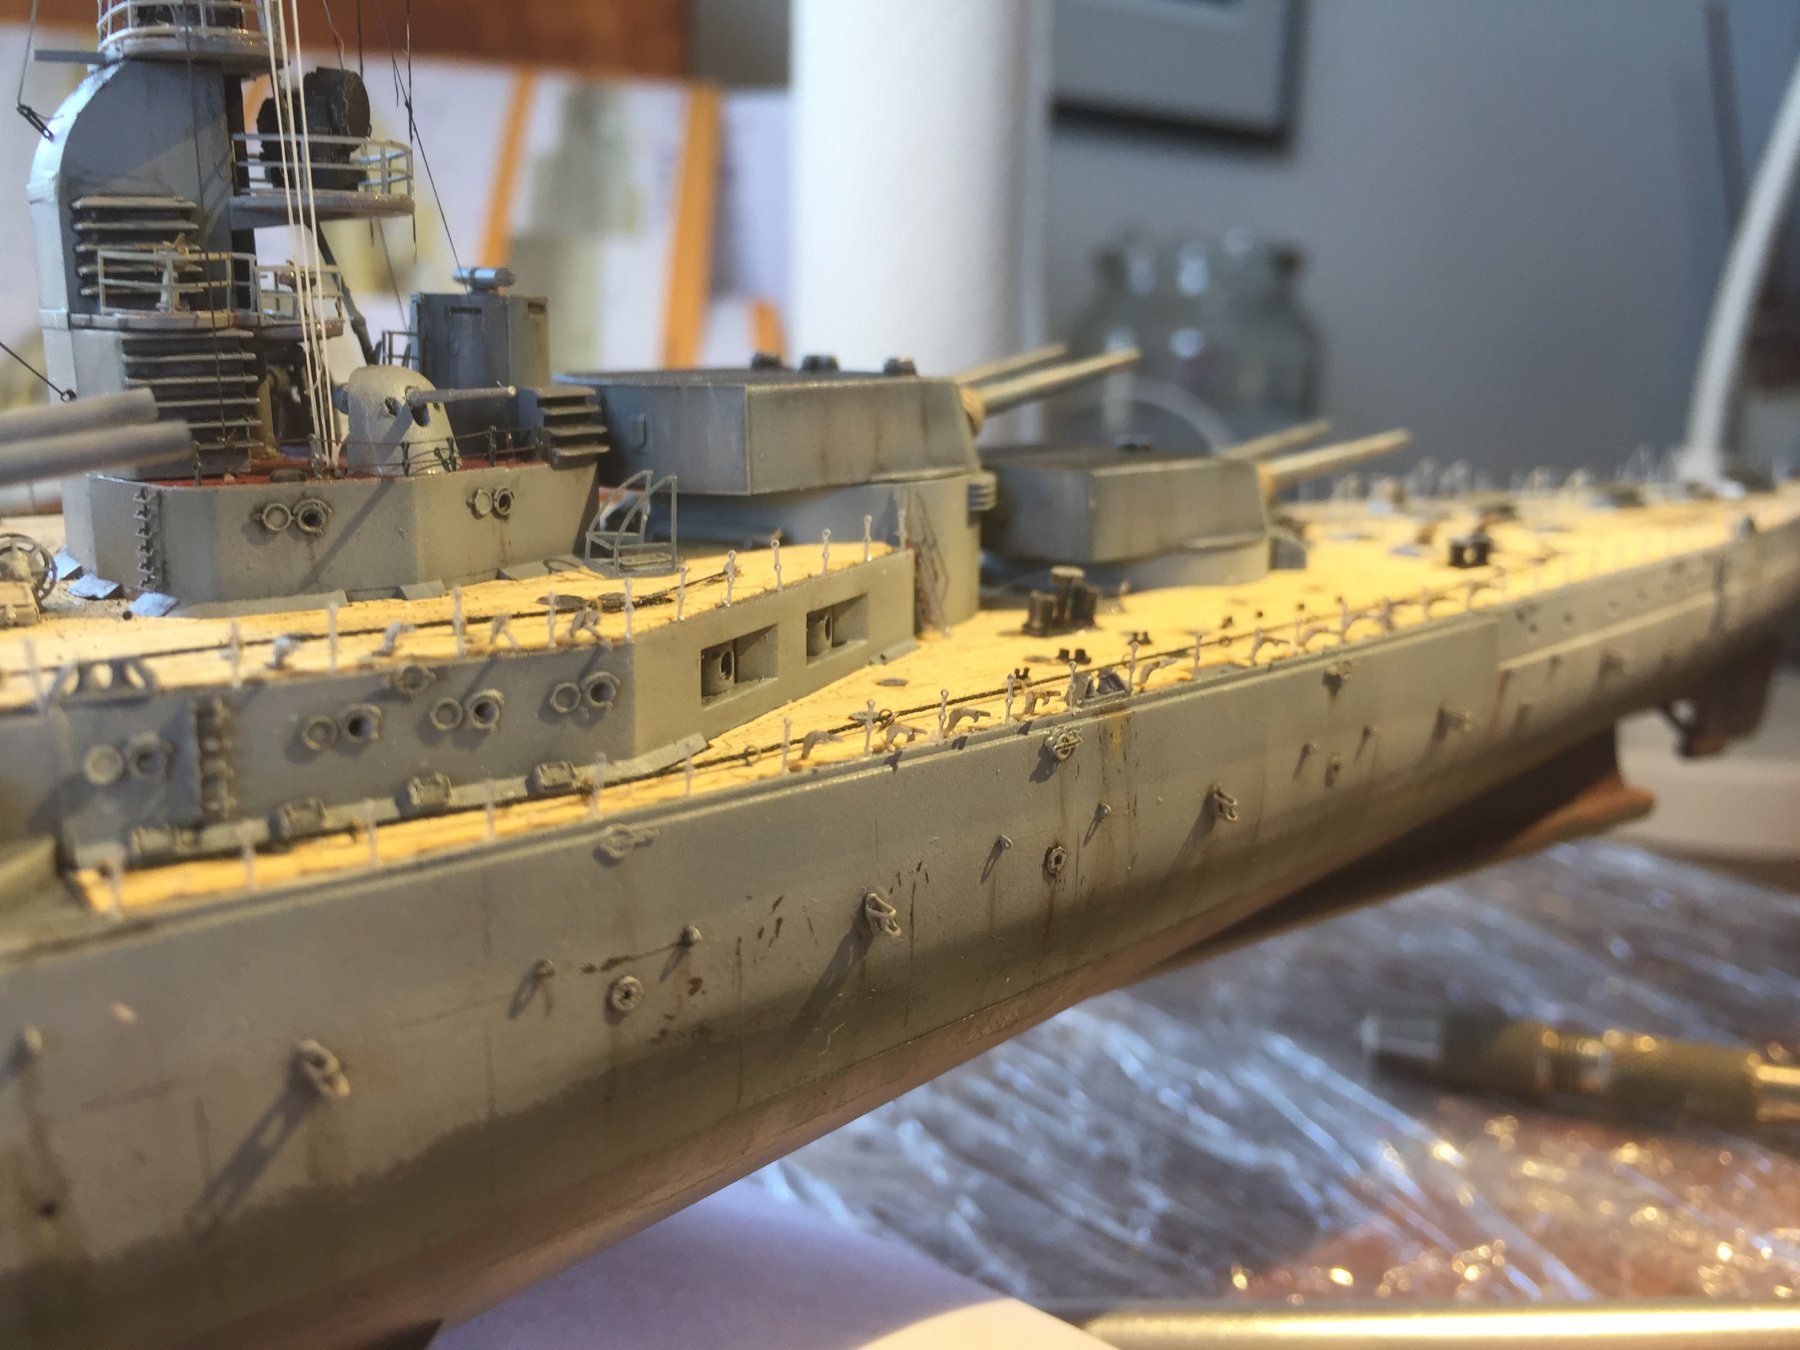
Every boom arm has 2 pulleys where a line runs from the base of the net along the arm up to a pully on the side of the ship, then to a pulley lashed to a rope, then to a cleat on the deck. Then there are about 60 brailing davits where the line runs from the nets to the hull to the same set of pulleys lashed to the cleats. The photo shows these davits.
-
Cog’s right (of course I am! I can just hear him), I have several different diameters of denier rigging in black and in white. A stay or guy line would be thicker than an arias.