

Mindi
-
Posts
96 -
Joined
-
Last visited
Content Type
Profiles
Forums
Gallery
Events
Posts posted by Mindi
-
-
-
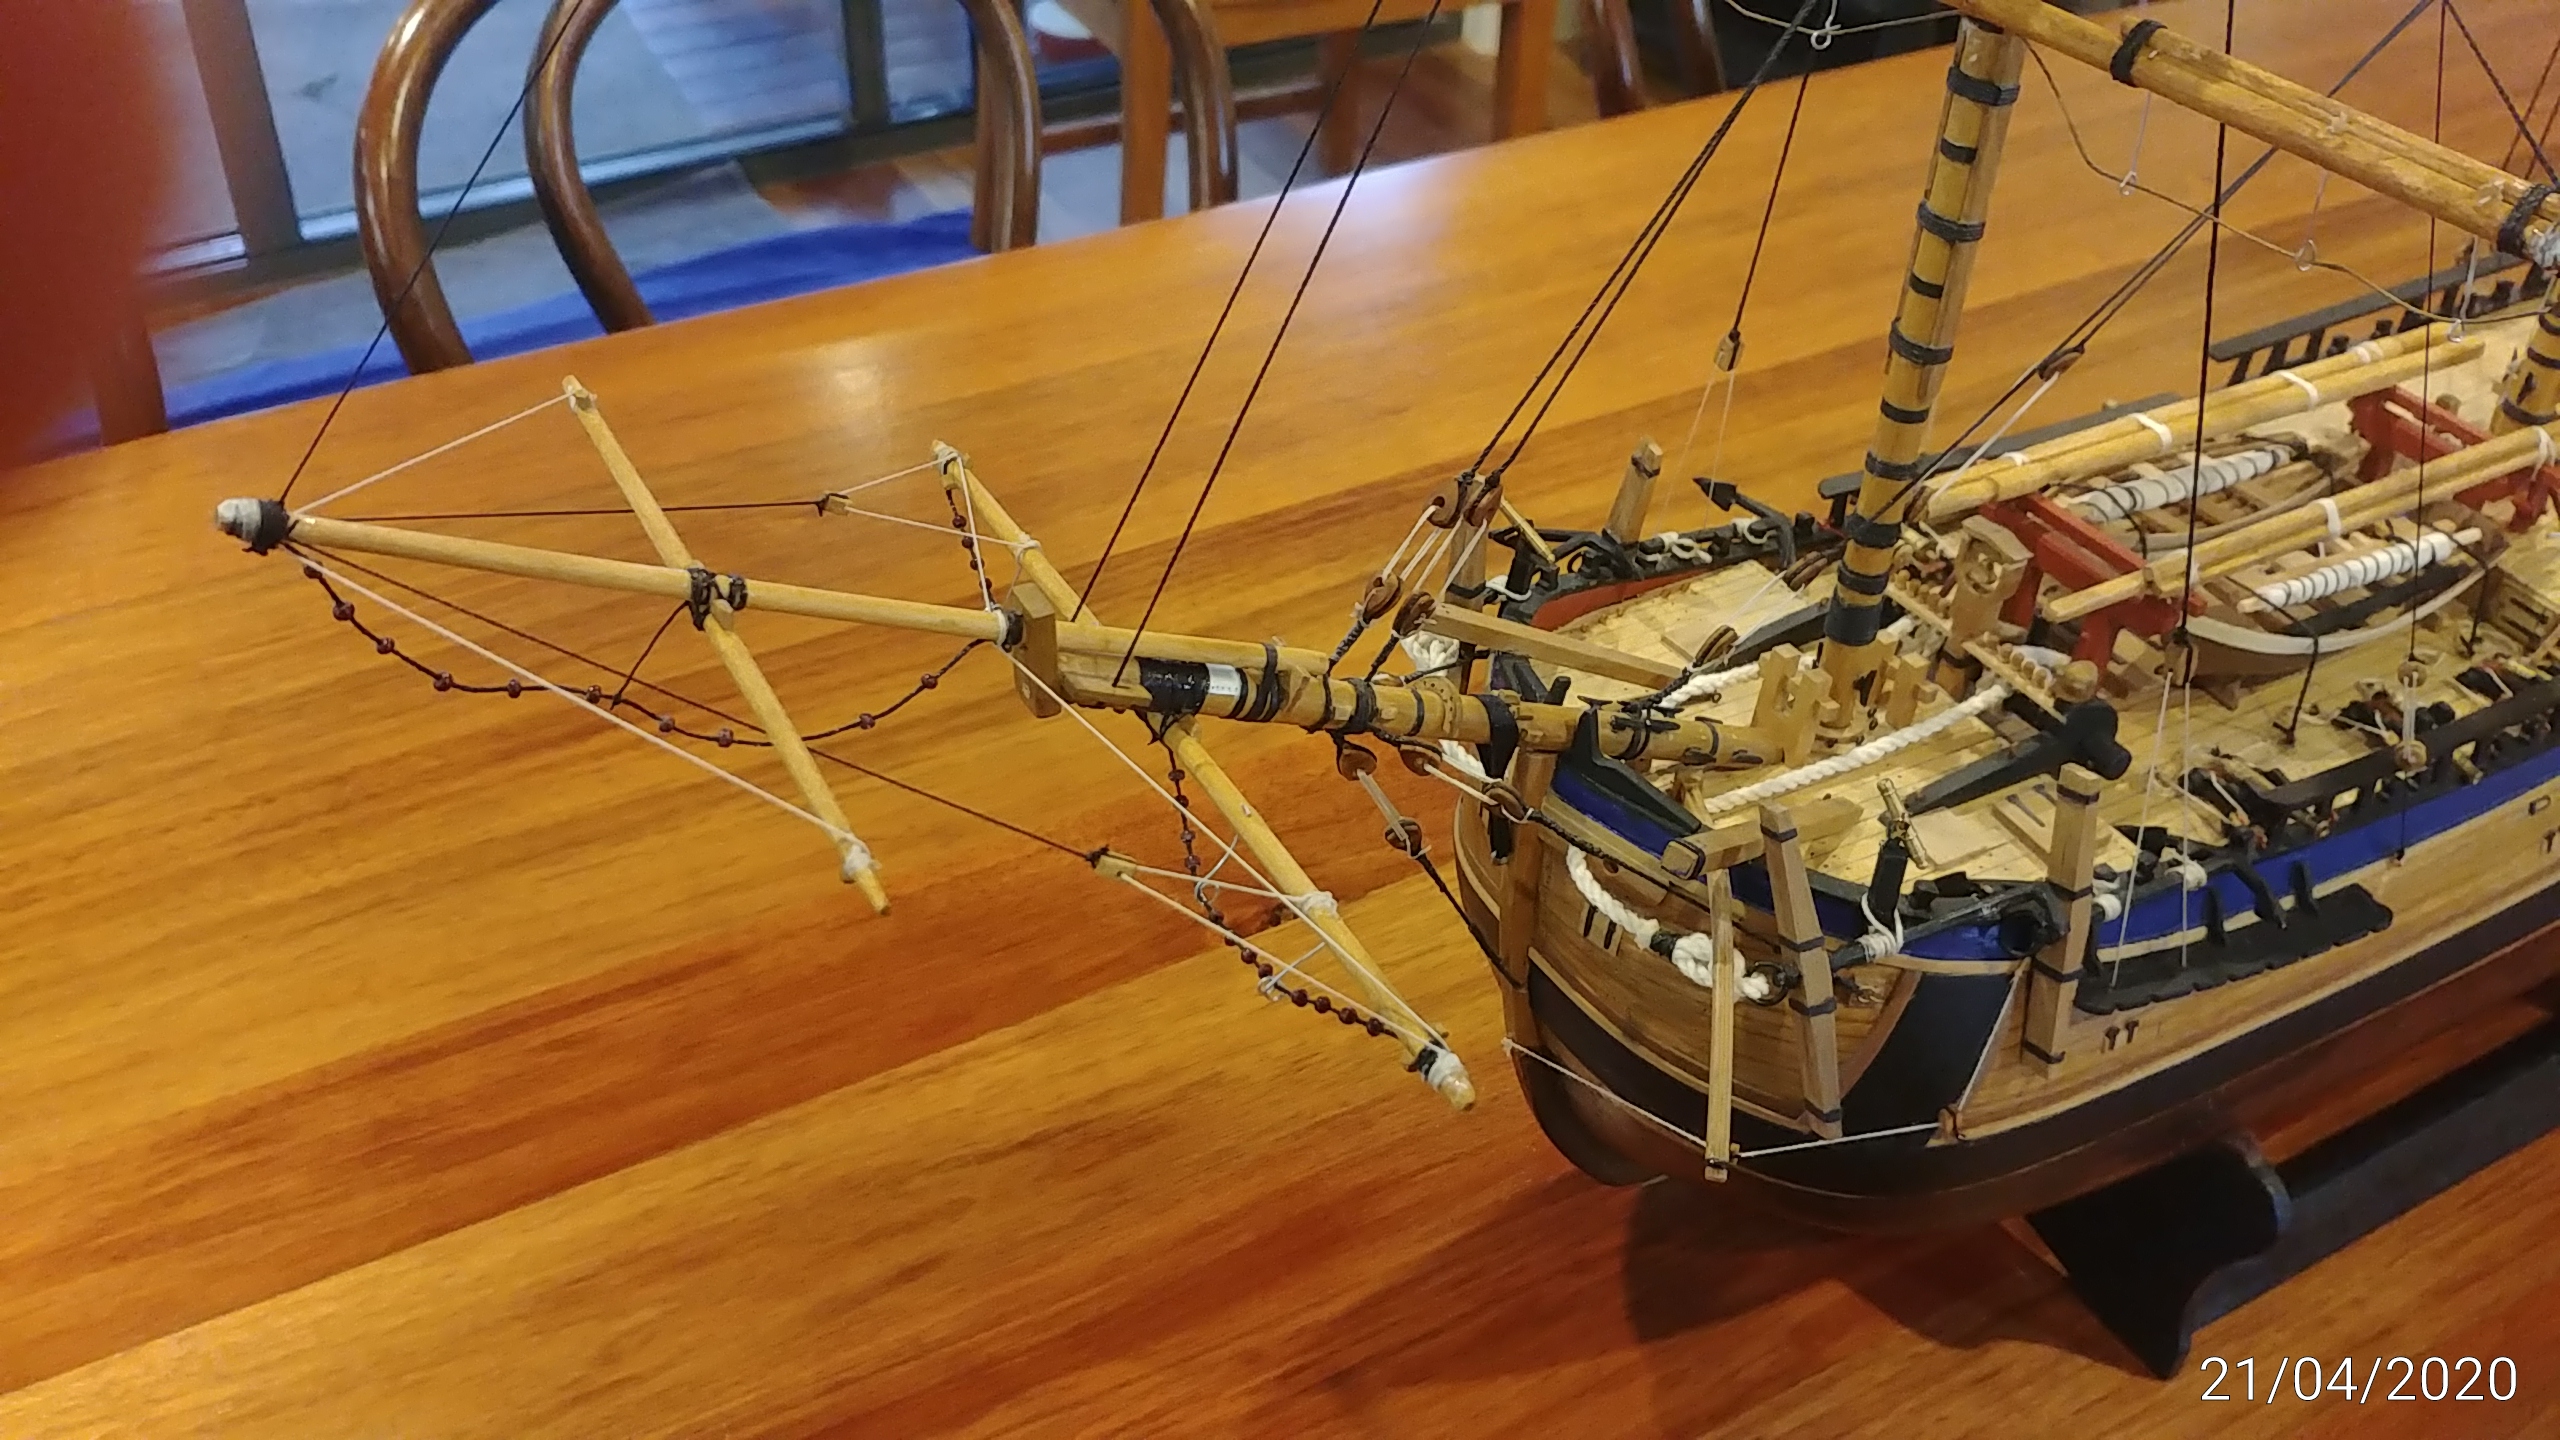
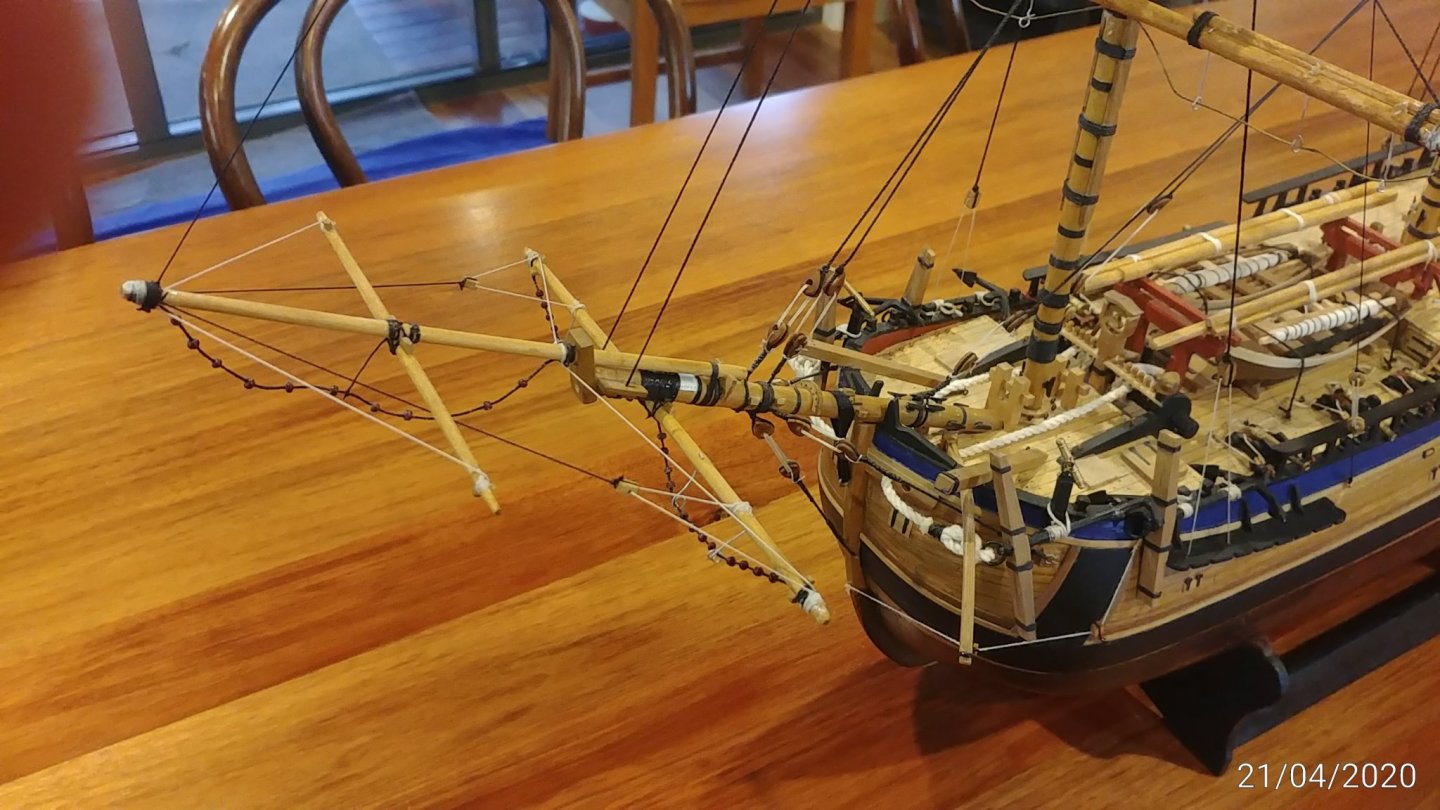
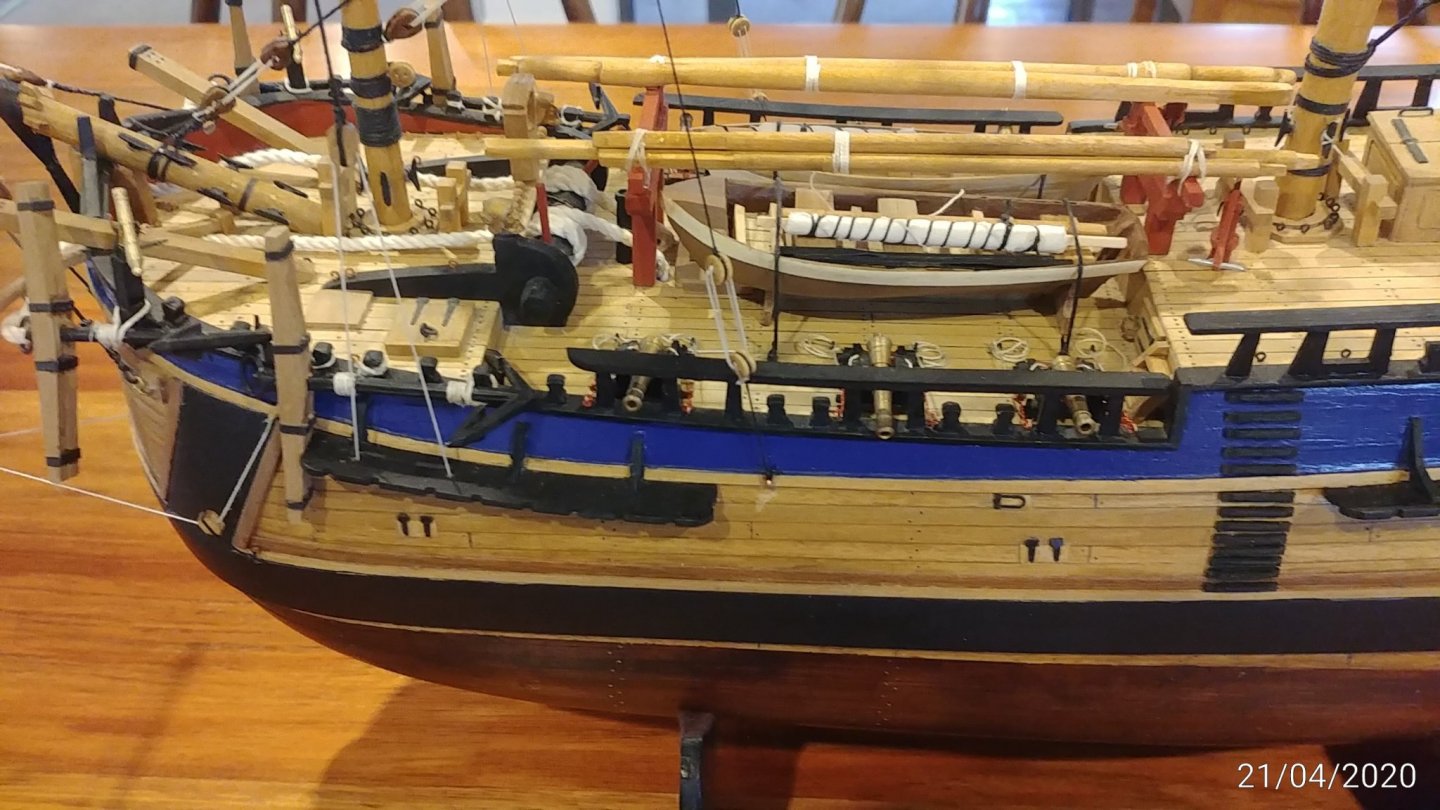
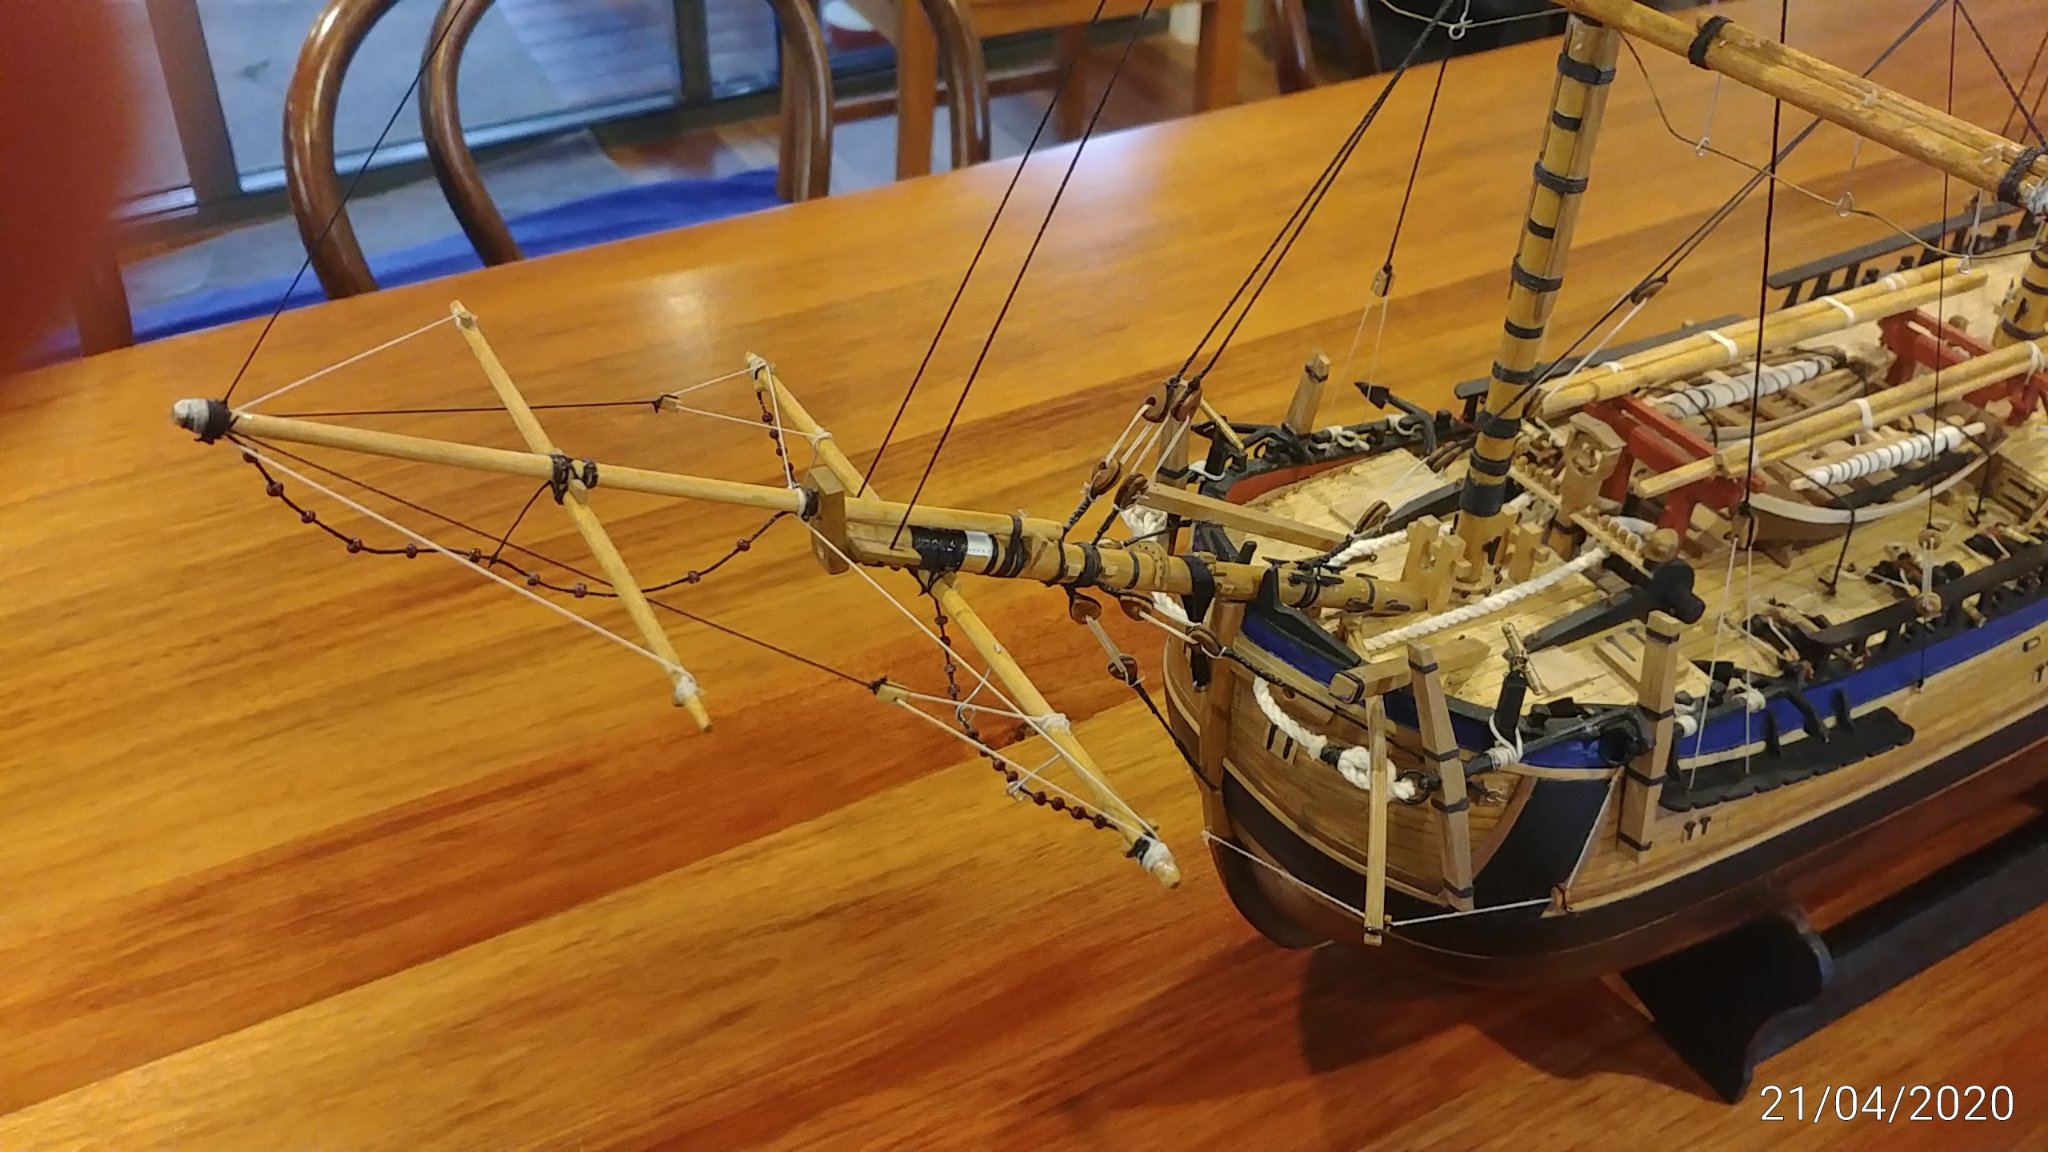
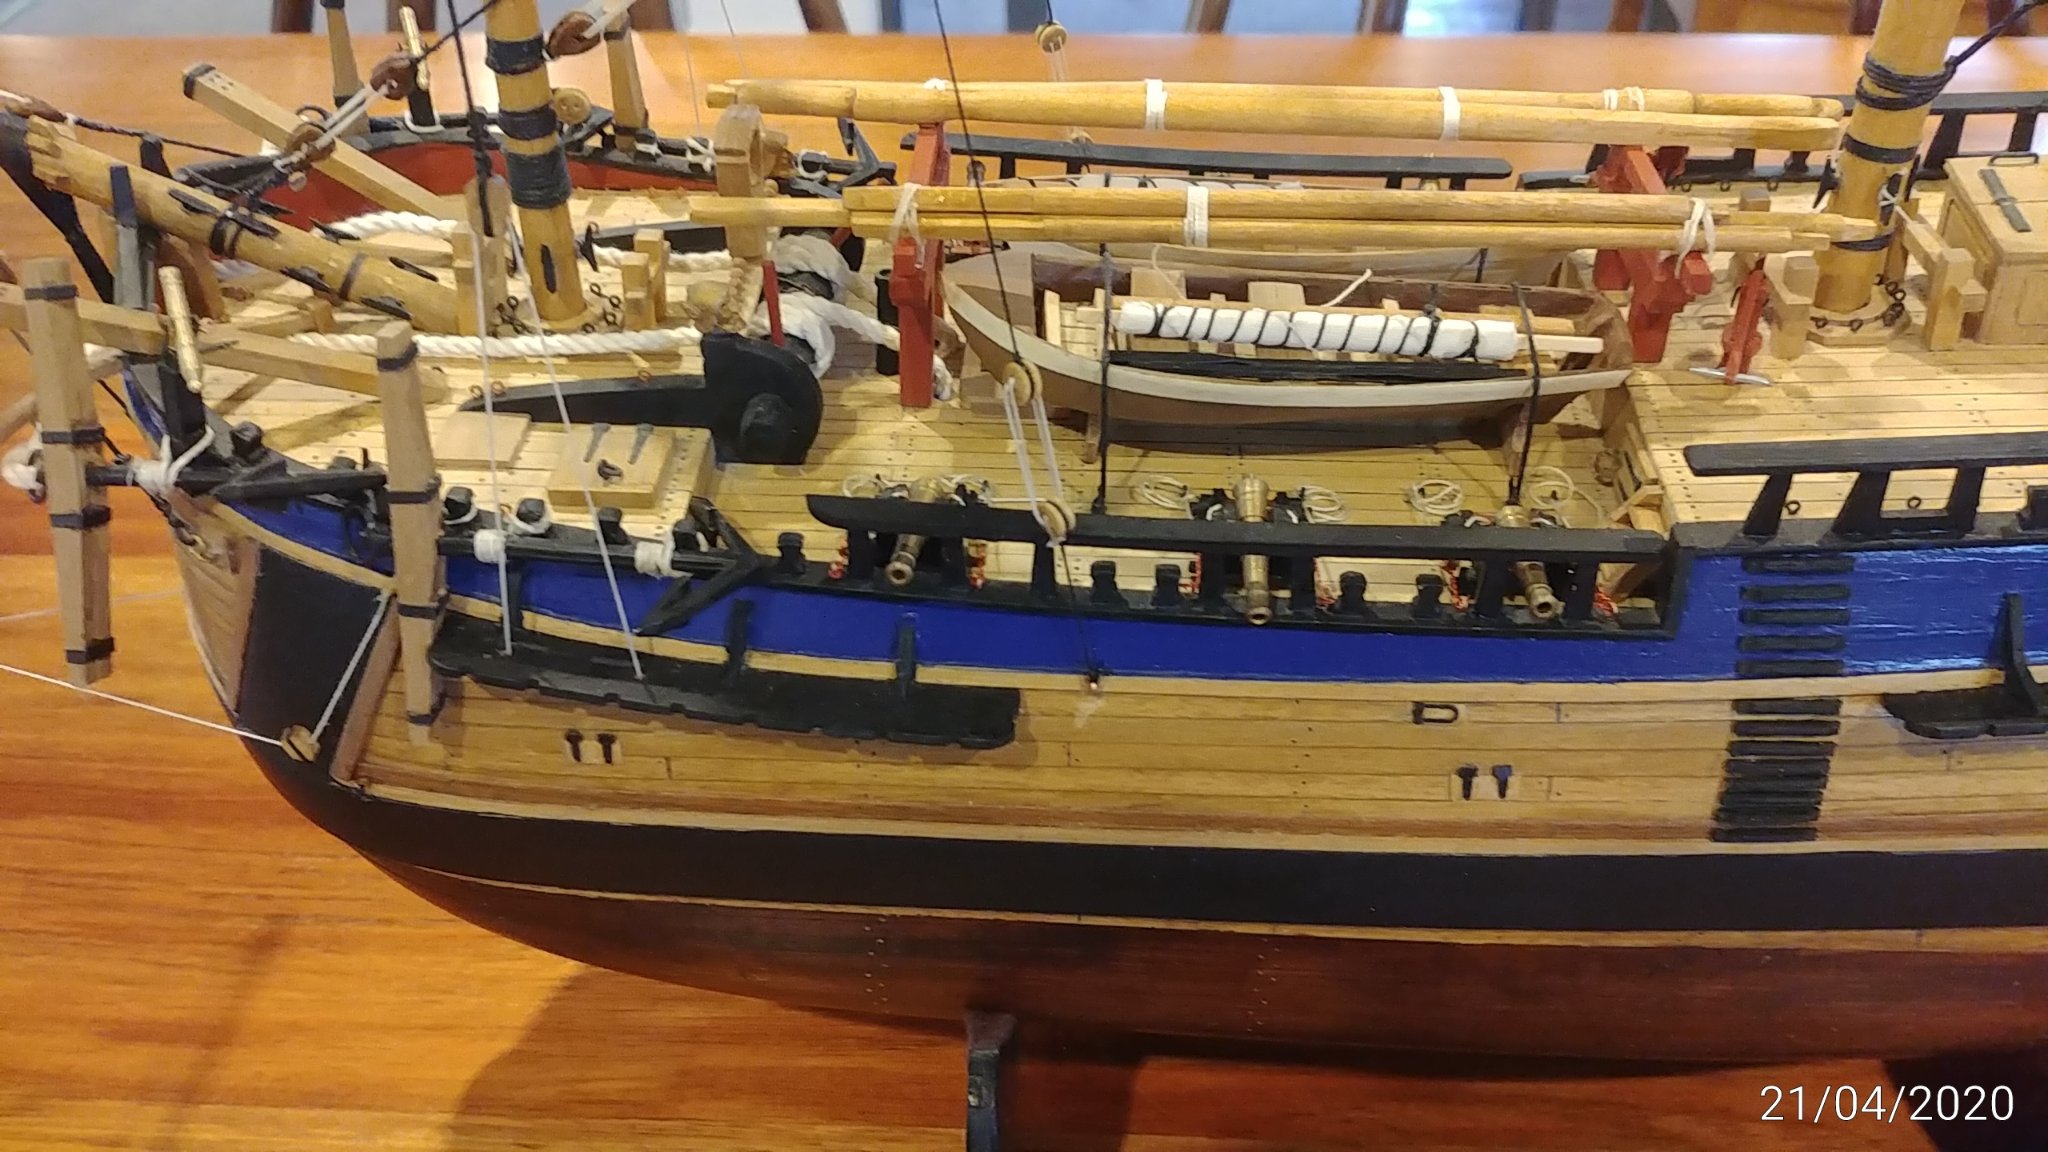
Gary...Thanks your reply.I have just finished reading right through your excellent log and love your build, congratulations. I am about to start Amati Fifie,but looking ahead to a more ambitious build after that and am tempted by the America POF you have built.I am not quite clear from your early log posts how much actual cutting out you had to do,and whether it was from blank wood or predrawn..? You seemed to have to do a fair bit of cutting of rabbets and ribs and carving of stern and bow pieces. So I would really value a better understanding of that.....having planked the Endeavour I am OK with the work after the frame is finished. Not saying I am world's best planker but Endeavour planks do a near right angle turn at the blunt bow so after that experience anything looks possible. I enclose a couple of Endeavour pics.
John
Mornington
Australia
- BobG, GuntherMT, Ryland Craze and 1 other
-
 4
4
-
-
-
I would like to build a model America. I see that a recommenced Mamoli have a kit but the general opinion of Mamoli is so poor that does not appeal. I am way short of scratch build capability with only a Caldercraft Endeavour and an Amati Grand Banks to my name to date. Can anyone direct me to a well regarded kit ..?
Many Thanks....John
ps..hope this is posted in the appropriate place.
-
Hi Tim
There were very few faults in the kit but in my opinion the interface between the cabin roof and windscreen is wrong. I am struggling to recall exactly but I think there is a cutout in the cabin roof leading edge which looks as though the windscreen frame should sit in it but IMHO it will not and I fitted it where it obviously wanted to go. Cut out and prep the cabin sides and trial fit ...this will confirm your windscreen framing position.
I glued the cabin roof/flybridge floor on... found that with my delay in doing this I had lost some curvature and had to tape it down for a while..
Happy to pass on my mistakes anytime......It ends up a very nice boat...best of luck with it. Keep the questions coming and I will do my best.
John
-
Thank you all for your kind comments.
John
- Nunnehi (Don) and cog
-
2
-
13 hours ago, Mindi said:
Thanks Yves.
Thanks very much Yves...John
-
12 minutes ago, cog said:
Well, you have really delivered on this one. She turned out spiffy and very crisp looking. I have thoroughly enjoyed the ride. Very well done! Mayby you should finish the flybridge railing after all ... she does look a bit .. naked
")
Many thanks for the kind words....and the encouragement right throughand yeah I know you are right, I will stay in denial for a while then solder and install....I know that is what will end up happening because when I did my cleanup today I carefully kept the rail bits...LOL
-
5 hours ago, yvesvidal said:
Fantastic model.
Yves
Thanks Yves.
-
6 hours ago, schooner said:
Beautiful job!!!
I'm thinking about this kit for my first RC build. I know that your build is not RC but since you have the only build log on this kit so far do you have any thoughts about the quality of the instructions with regard to installing RC gear?
Once again, great job!
TIM
Thanks very much. The standard kit does not include and RC instructions at all so I am afraid I cant tell you anything helpful..
John
-
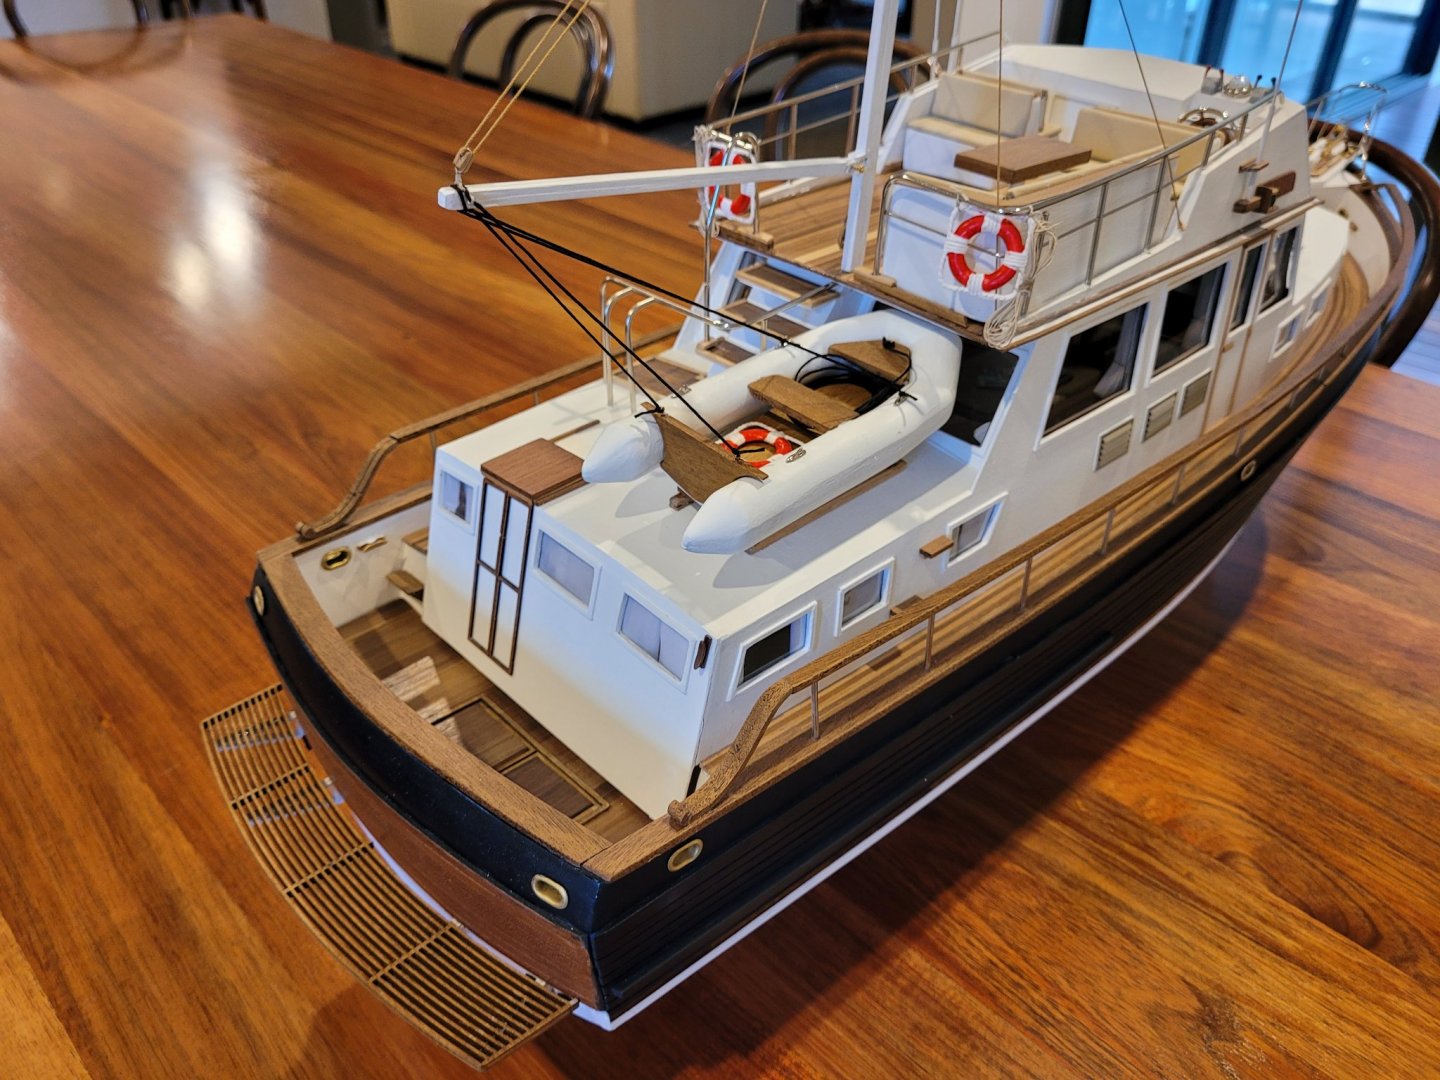
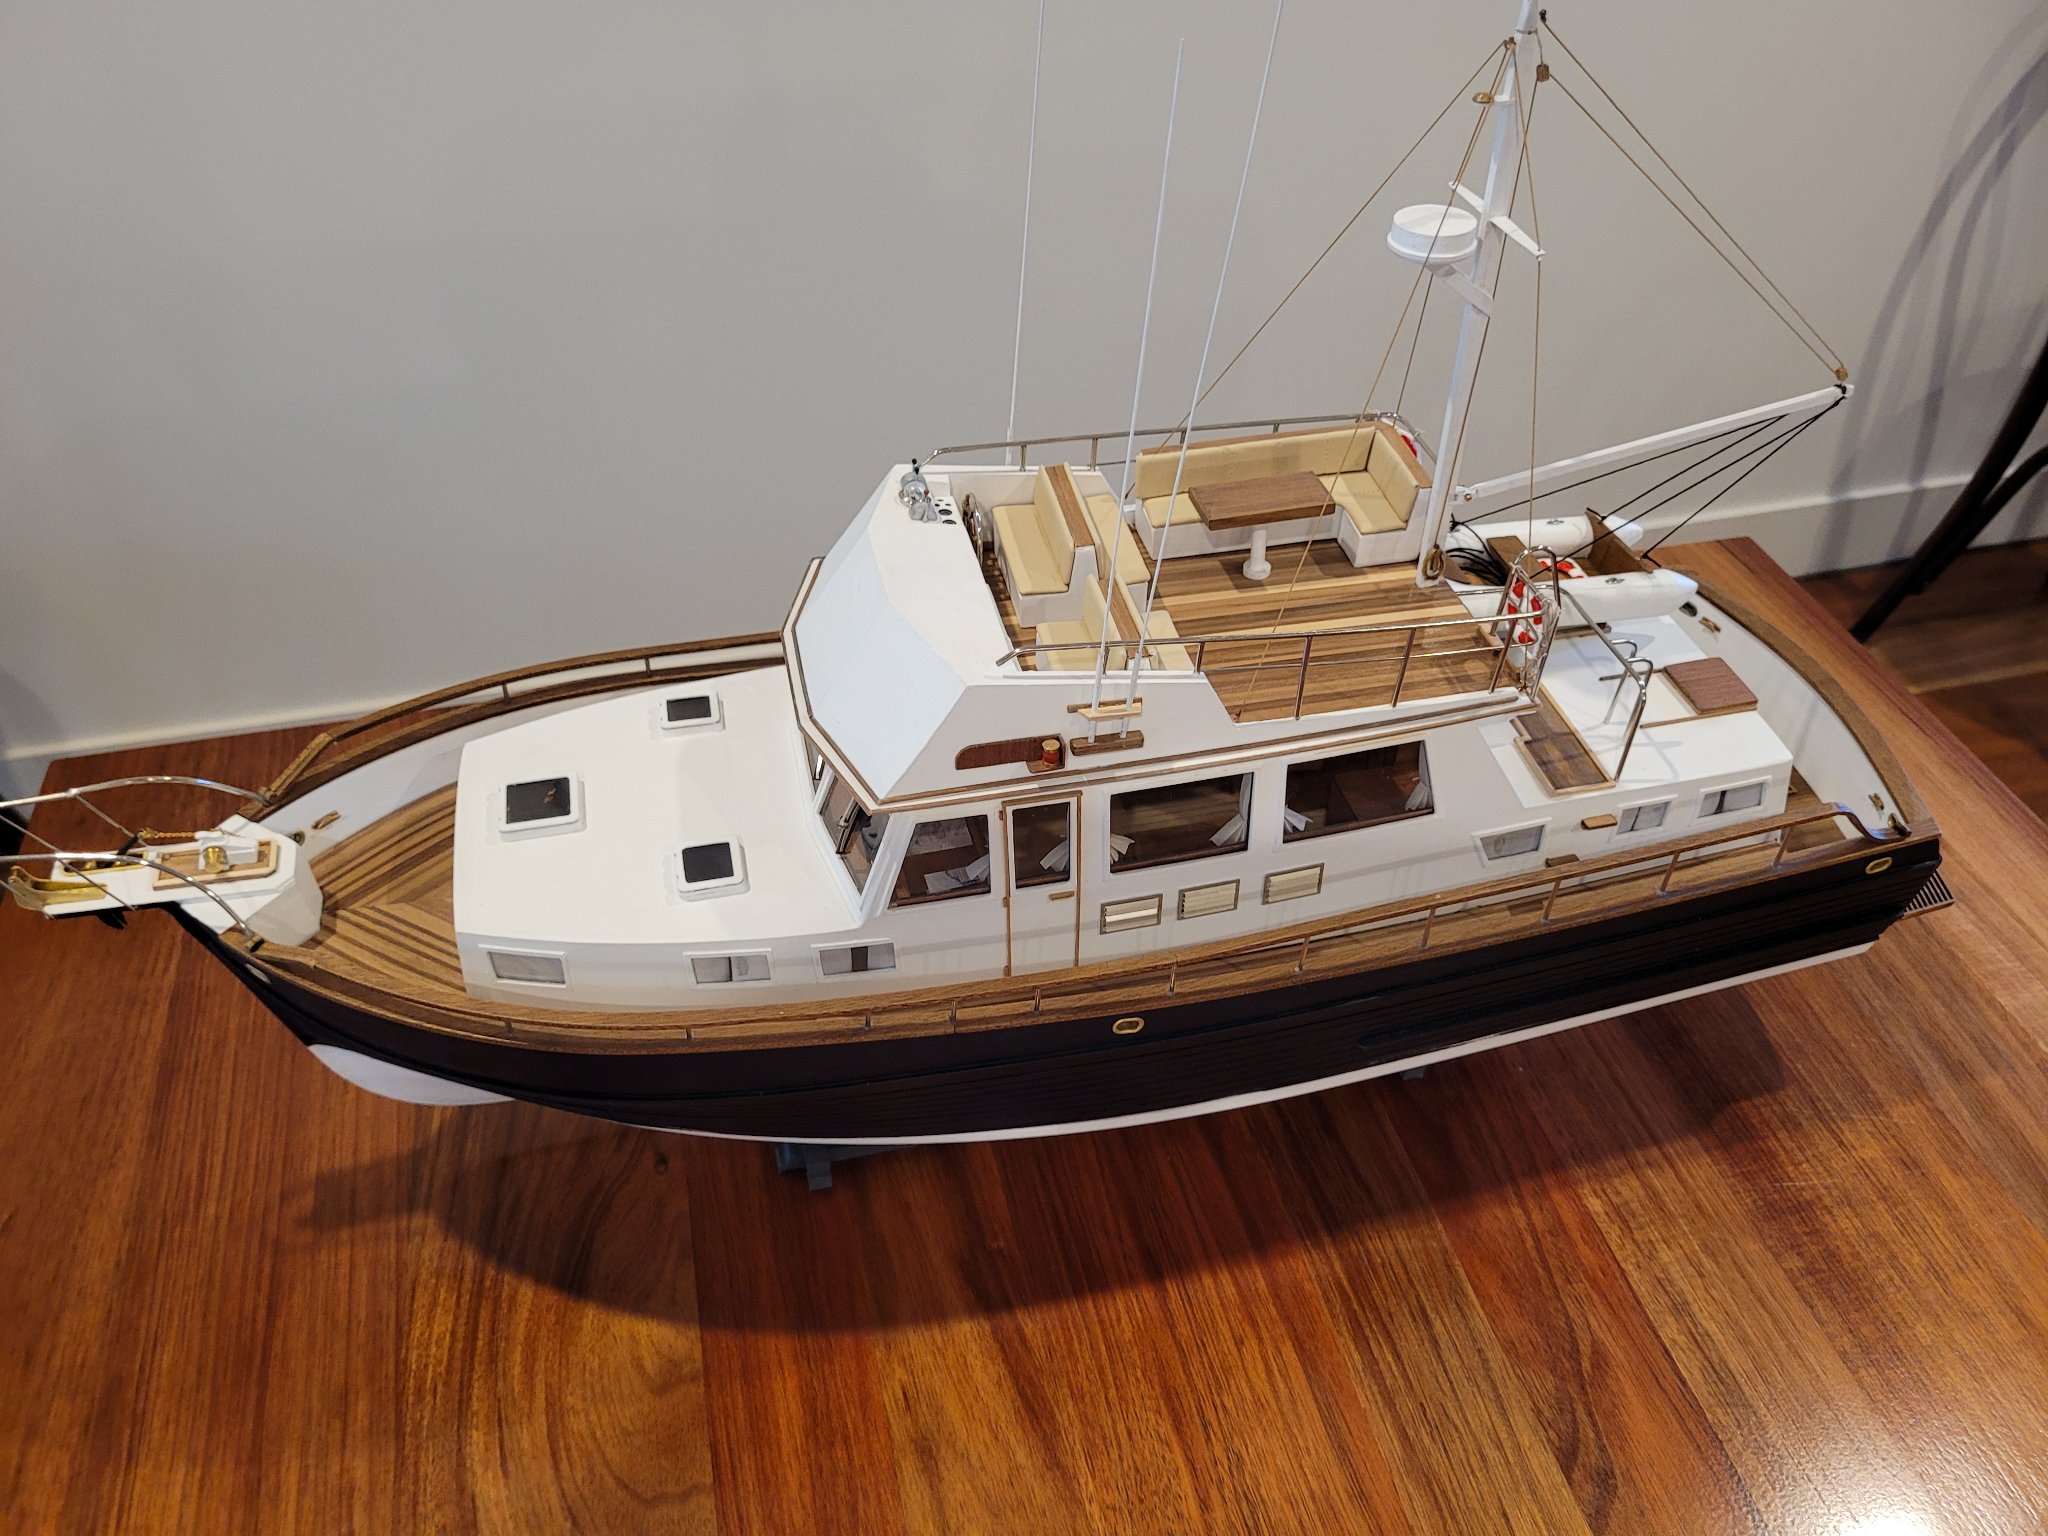
Well I have sort of finished all except for the flybridge screen rail which I broke and have not yet decided whether to solder and install. I should have done it when the flybridge was being constructed offline but I was missing a part which Amati sent me (thanks) and now that I have it I am in two minds about doing it .
Overall a happy camper. Some detail I have changed to suit myself so can't claim absolutely faithful to the kit but not much kit bashing really, changed the colour scheme, made a different support for the radar antenna, enhanced some doors and rear companionways with some more detail.
Good kit....I found the chrome plated brass rails and posts generally the most difficult to manage, need to be bent in most cases but prone to breaking so bending has to be done very carefully so if you are starting out then watch for that.


-
1 hour ago, Bunkerbarge said:
Ah, my apologies, they came as bare brass in my friend's kit. Thanks anyway, lovely looking job by the way, I think the blue hull suits it perfectly. You might find my friend's build an interesting read here:
https://www.modelboatmayhem.co.uk/forum/index.php/topic,63493.0.html
Ah really..? mine are all chromed, and I really dont know what I would do to make them look silver..tough one. Will have a look at the friends build, thanks for that.
-
9 hours ago, Bunkerbarge said:
Hi, could you please tell me how you built and finished the handrails? I have a friend building this exact kit and he has struggled with many painted metallic finishes to try to achieve a chrome look.
Hi Bunkerbarge.. Not sure I understand the question, all the handrails come like that as chrome plated brass so there is no painting or finishing required. Or am I misunderstanding your question..?
John
-
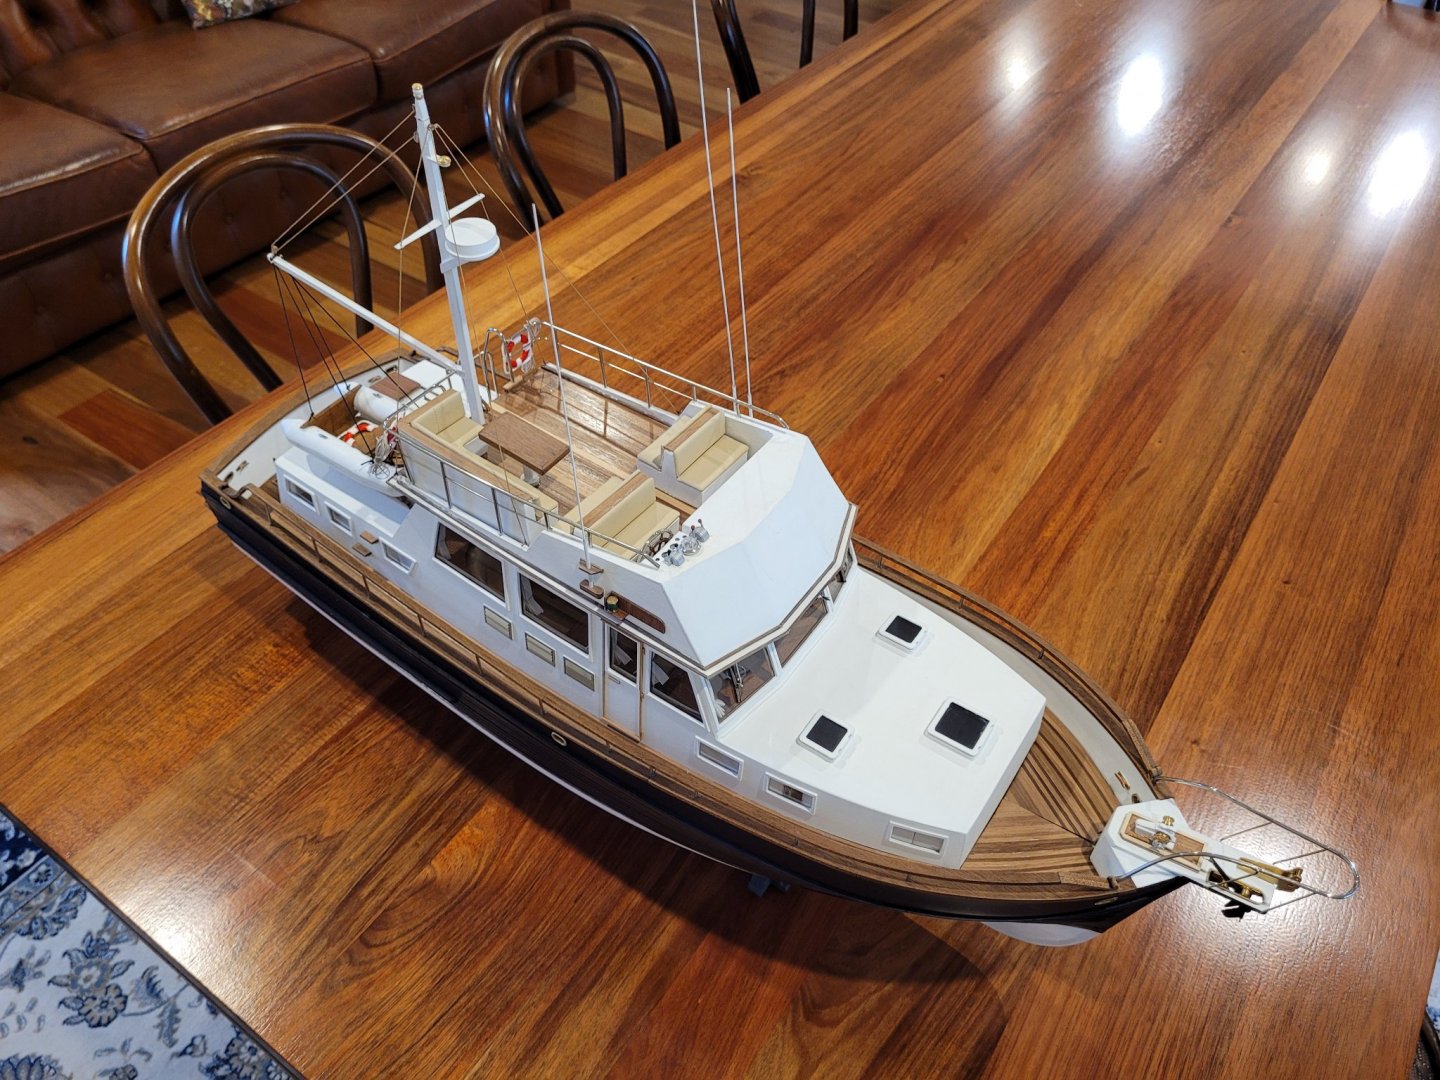
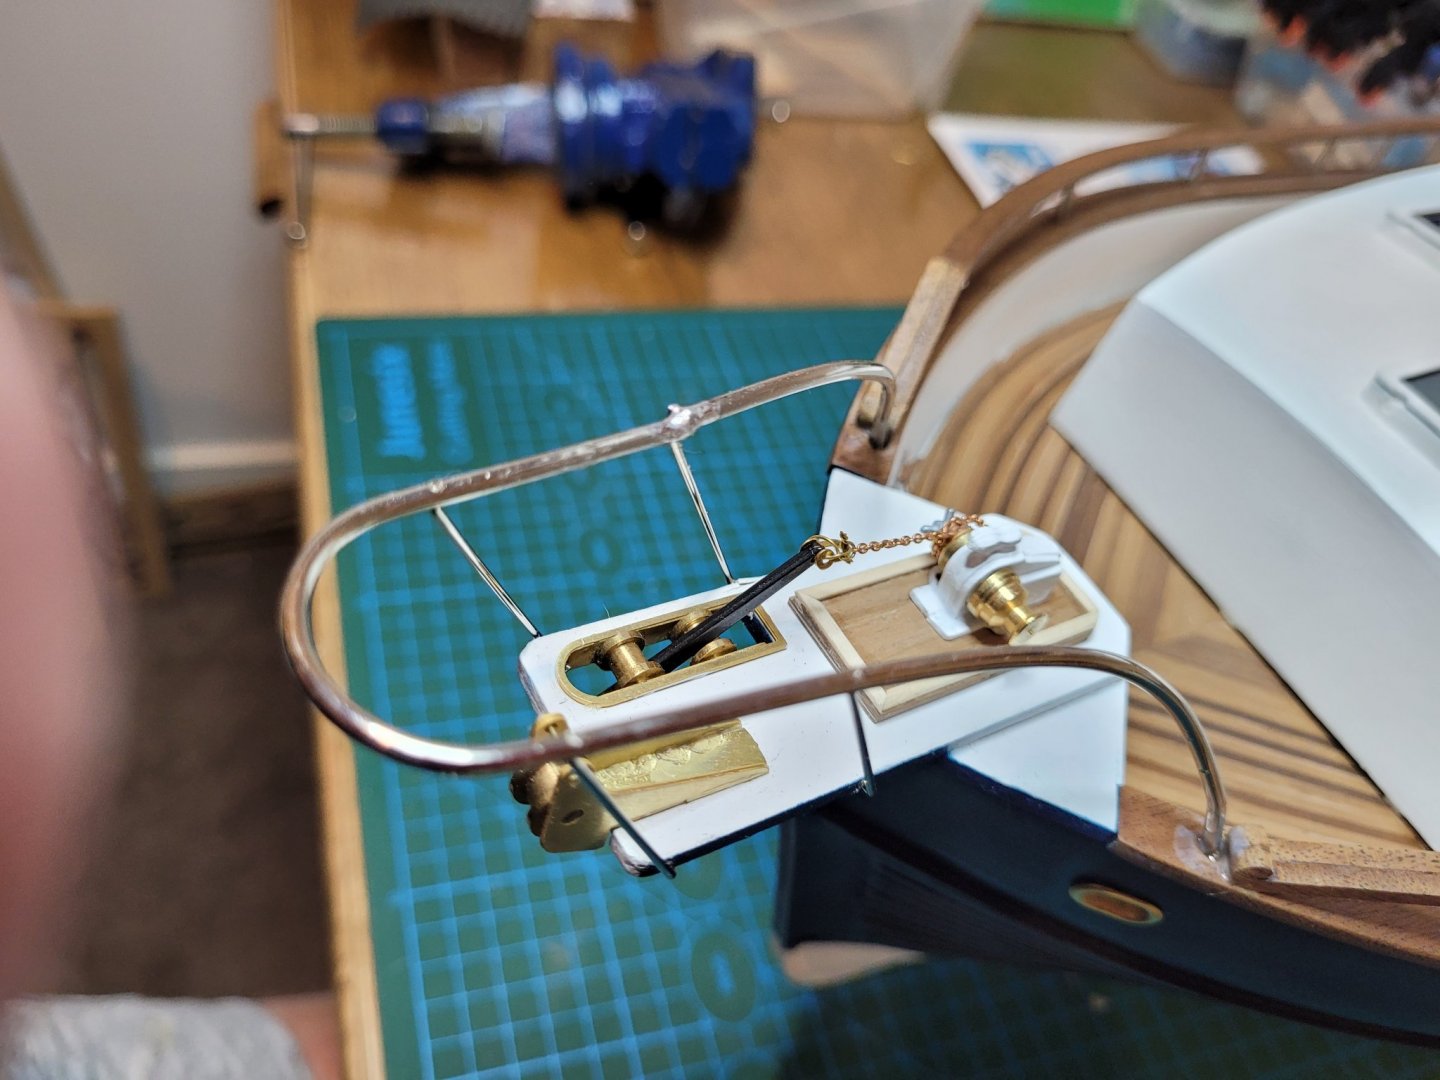
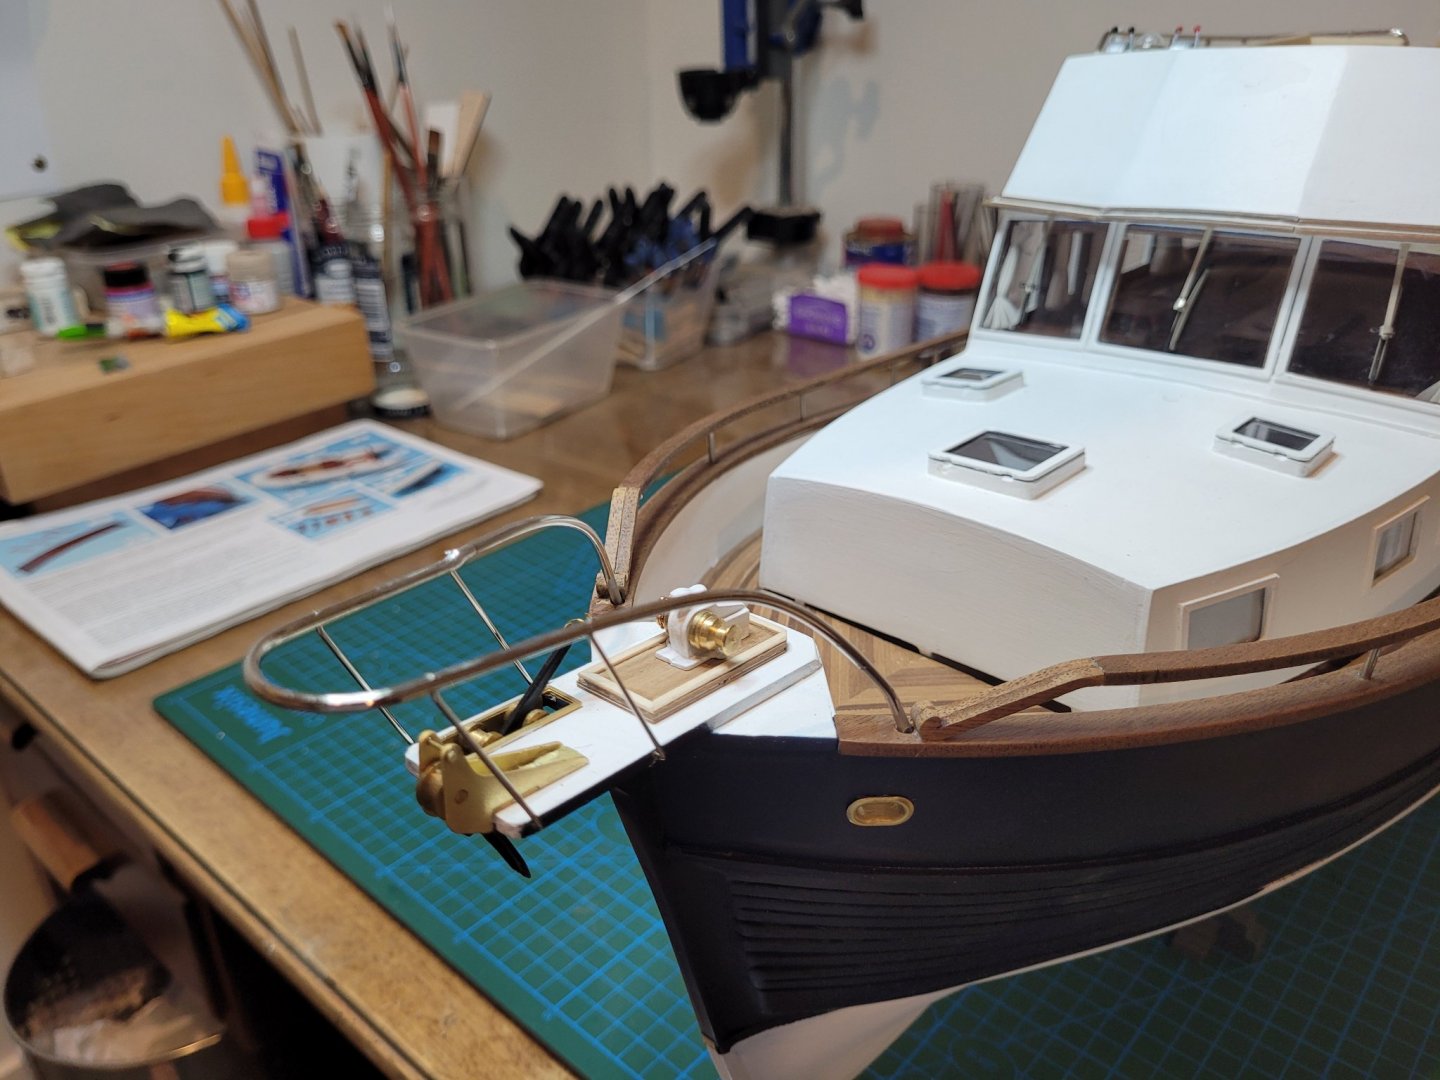
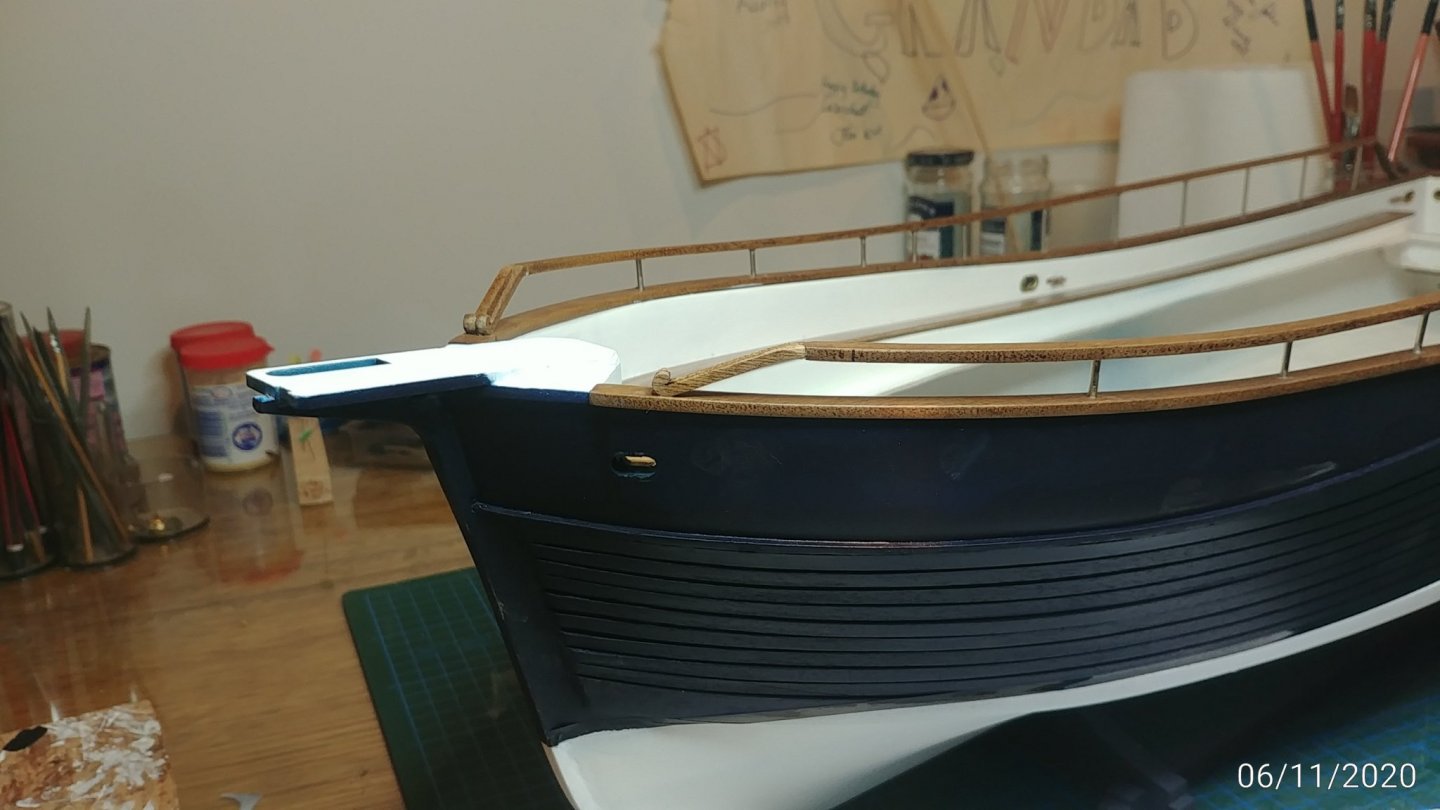
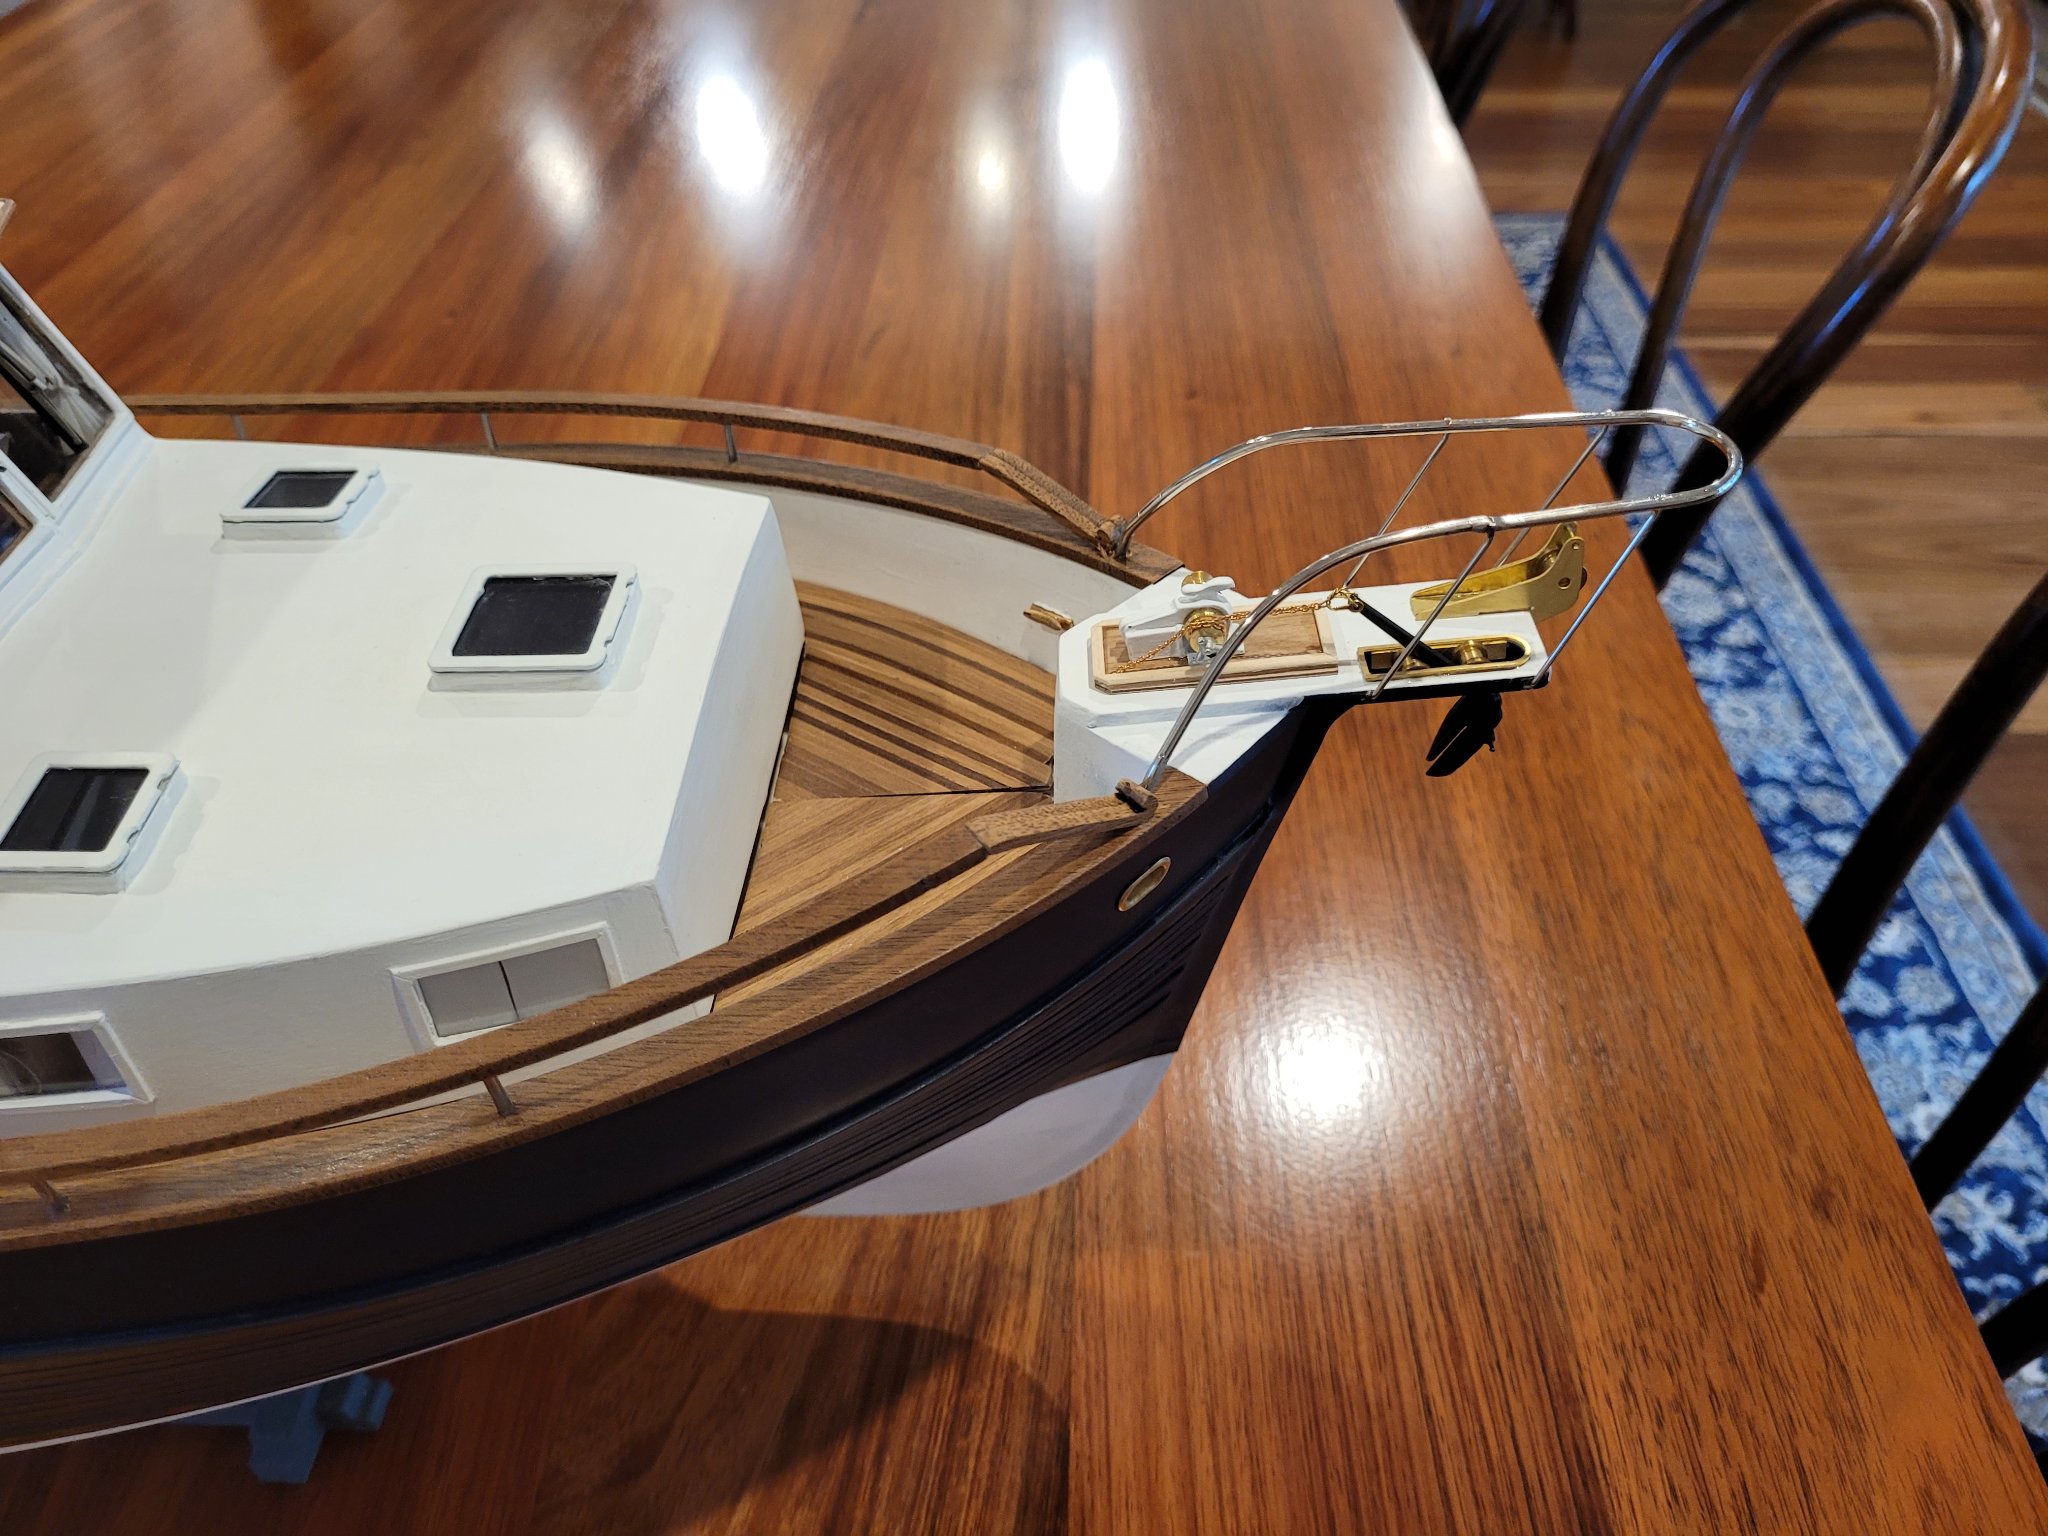
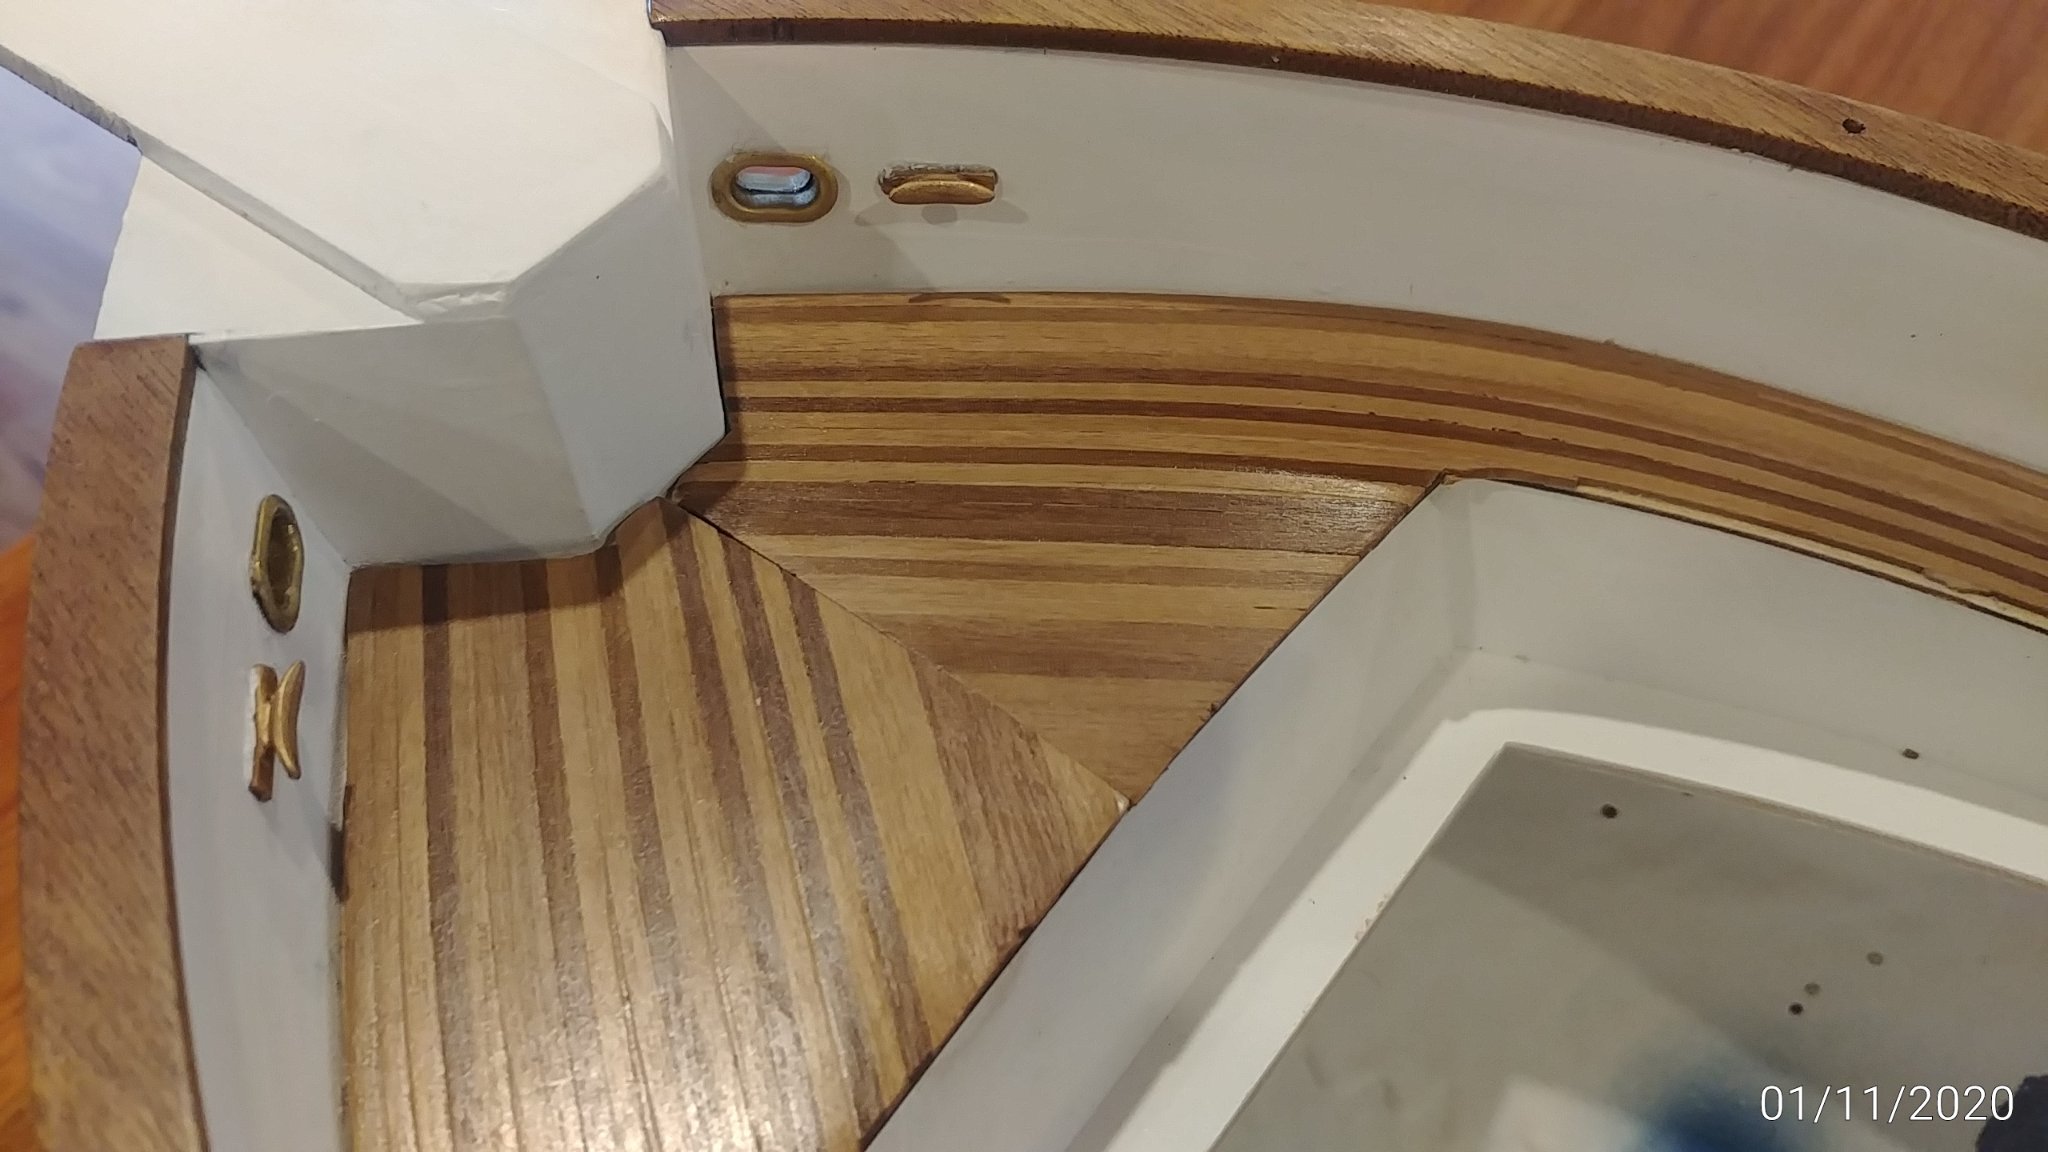
Finished the bow fitout, bit of a disaster along the way when I broke the bow rail off at one of the leg tops ( aft stb.) when bending it to shape. They have to be bent quite a lot and I was careless with my positioning in the vice. I fitted the rail and three legs then soldered the last leg and the missing piece of rail in situ...believe me this was way above my soldering paygrade so in the end I was very happy to take the result shown here without too much whingeing. Still needs a bit of a cleanup with steel wool around the repair area
-
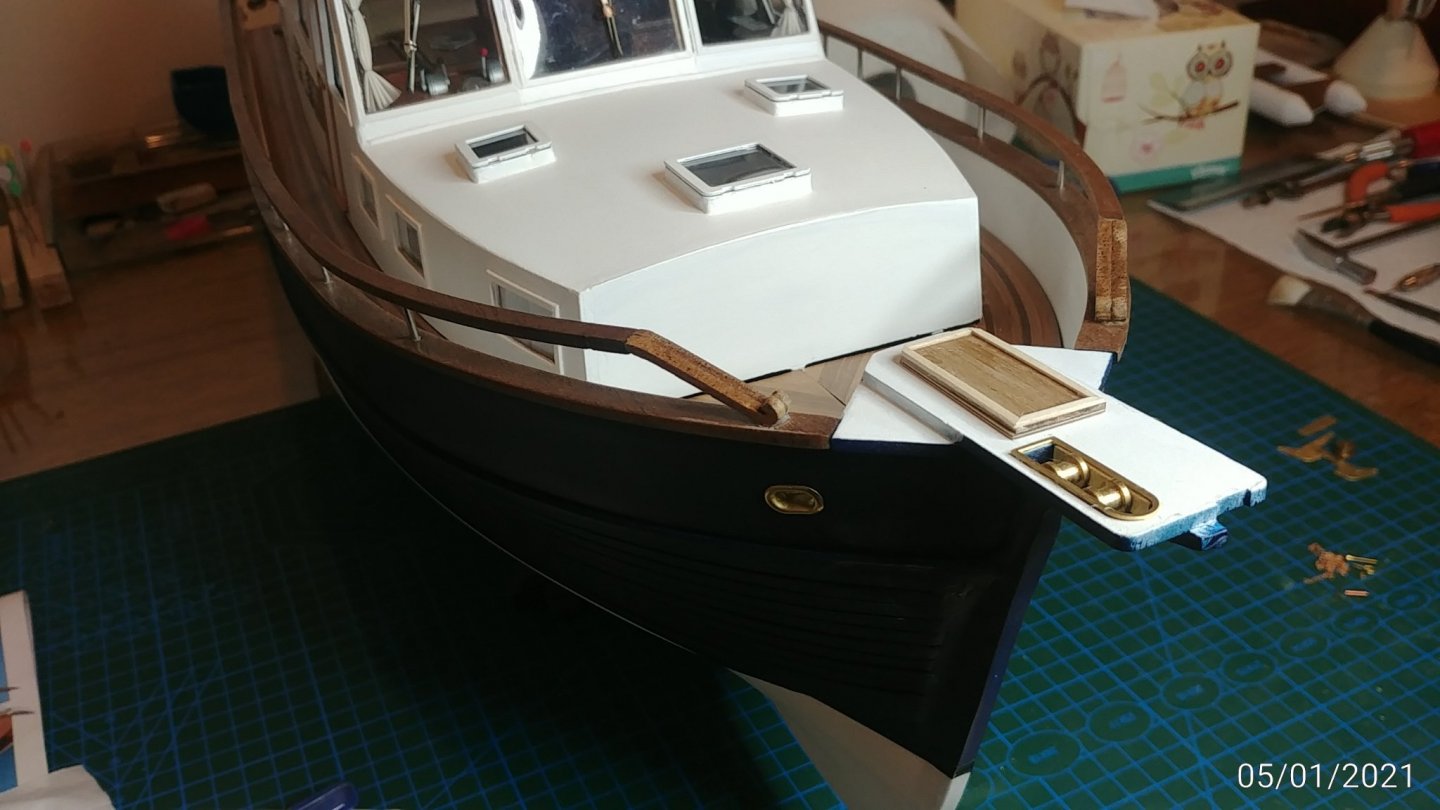
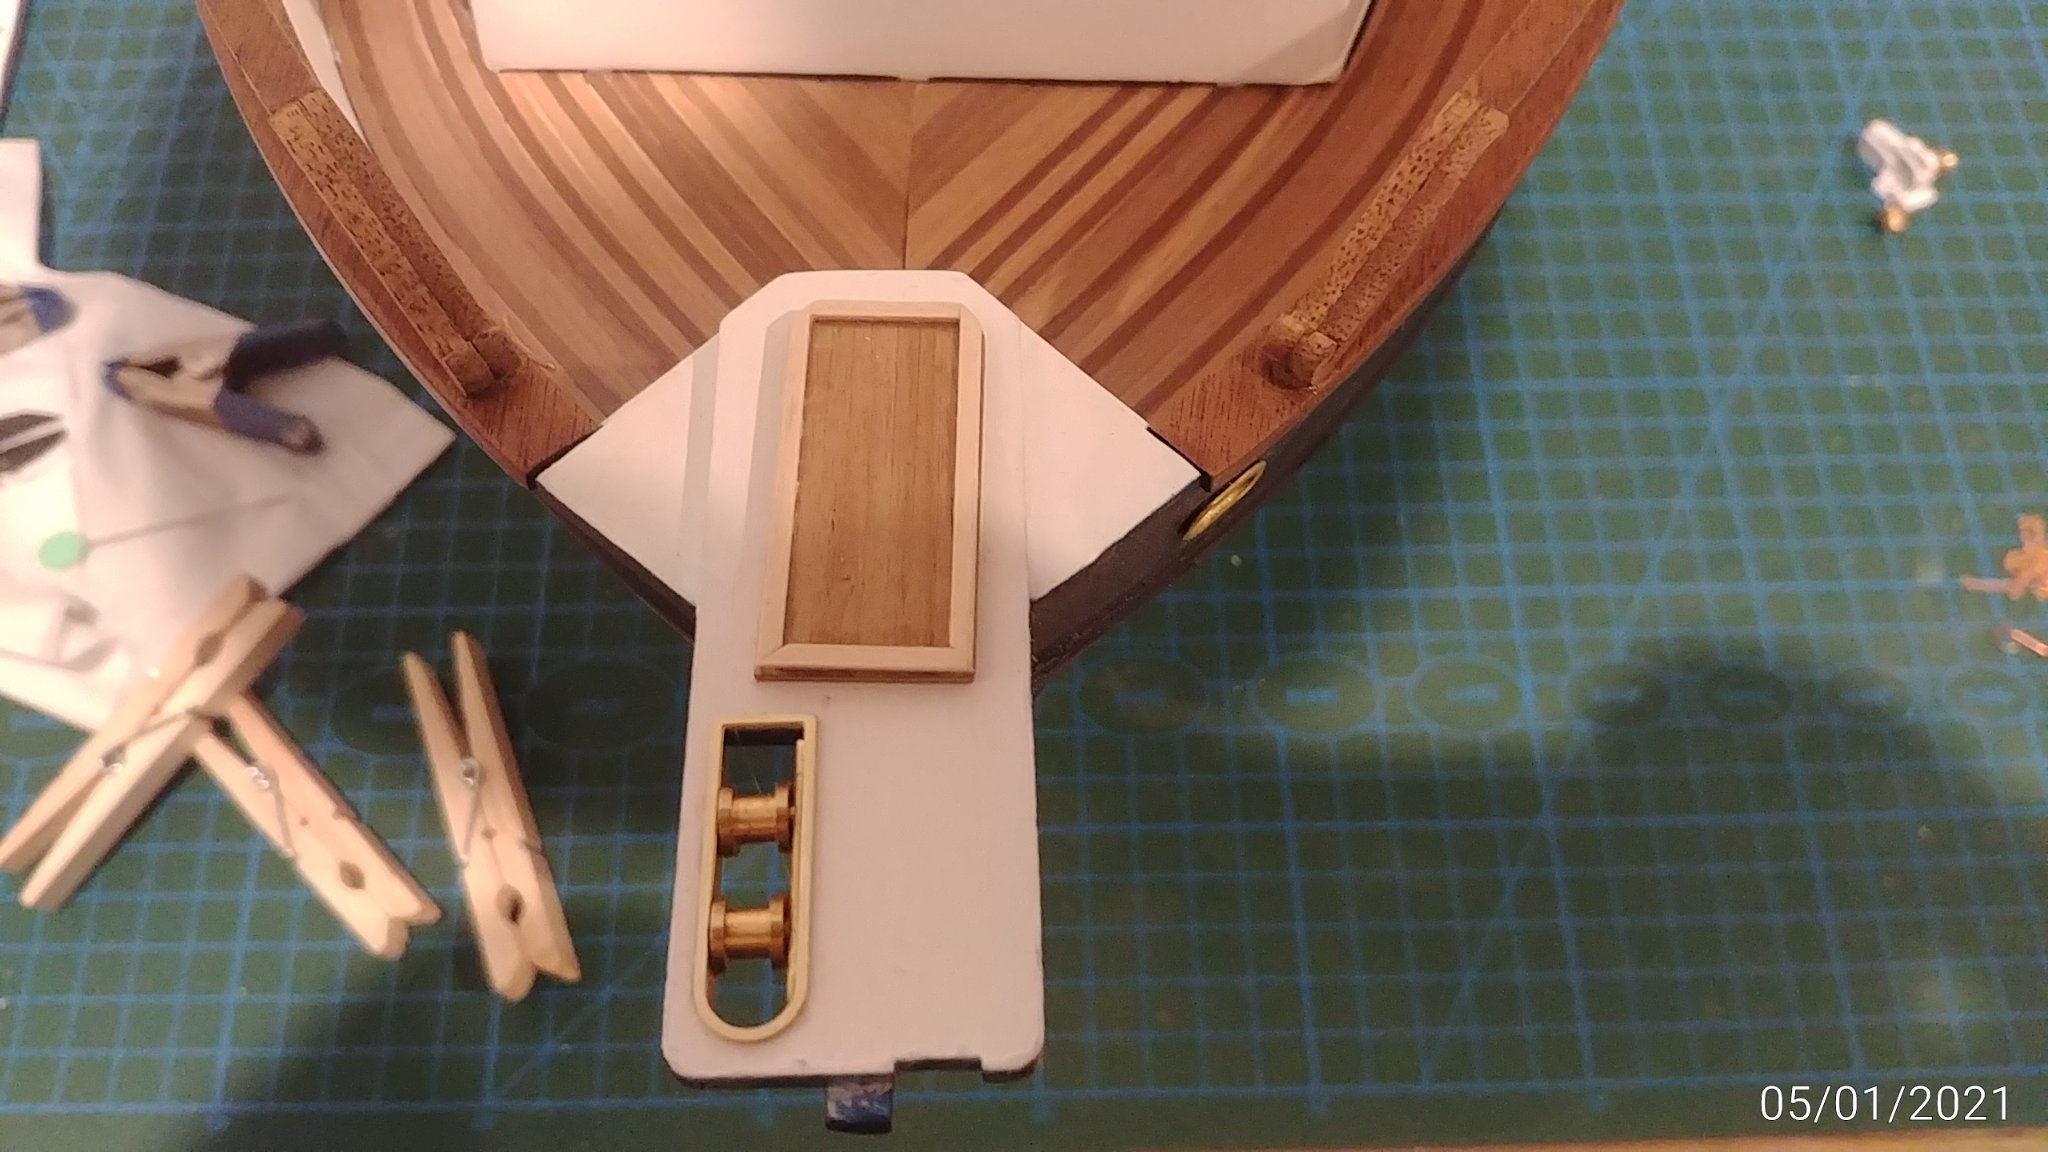
Took me a long time to get the blue I wanted but happy now. Have been distracted by covid lockdowns and fishing trips but now back at the work desk and doing the bow fittings ...which are completely without instructions which would not matter so much if the photos were helpful...NOT, but we are getting there...the winch pad is not glued in that crooked alignment..just sitting there. This shows the brass anchor chain feed and rollers.

-
-
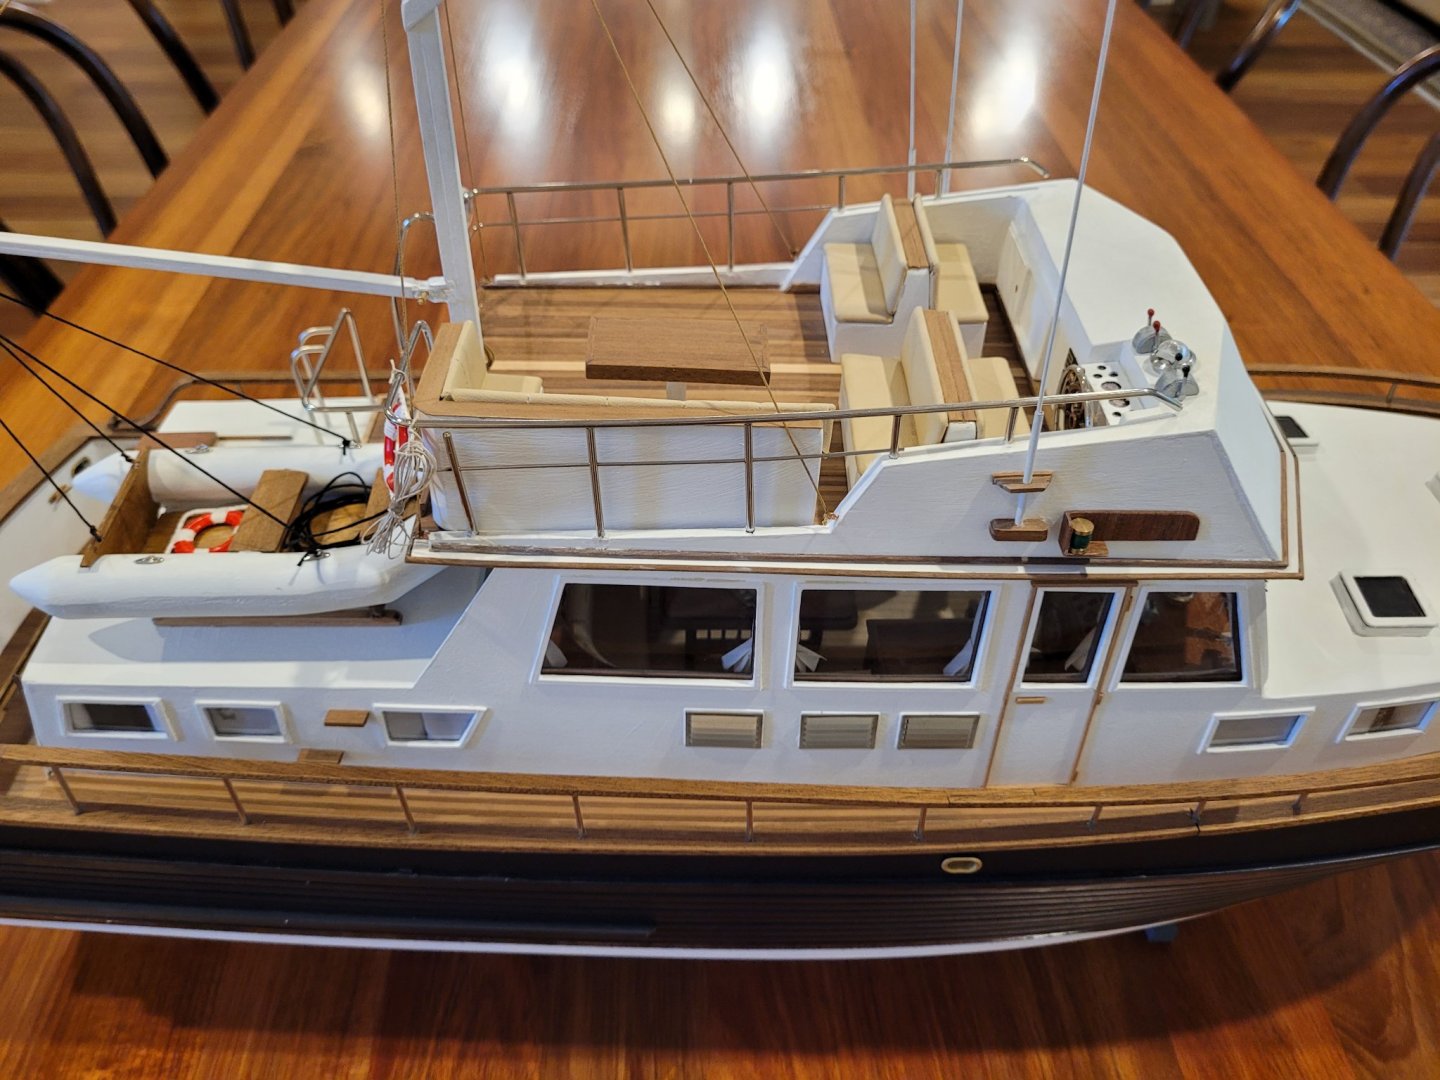
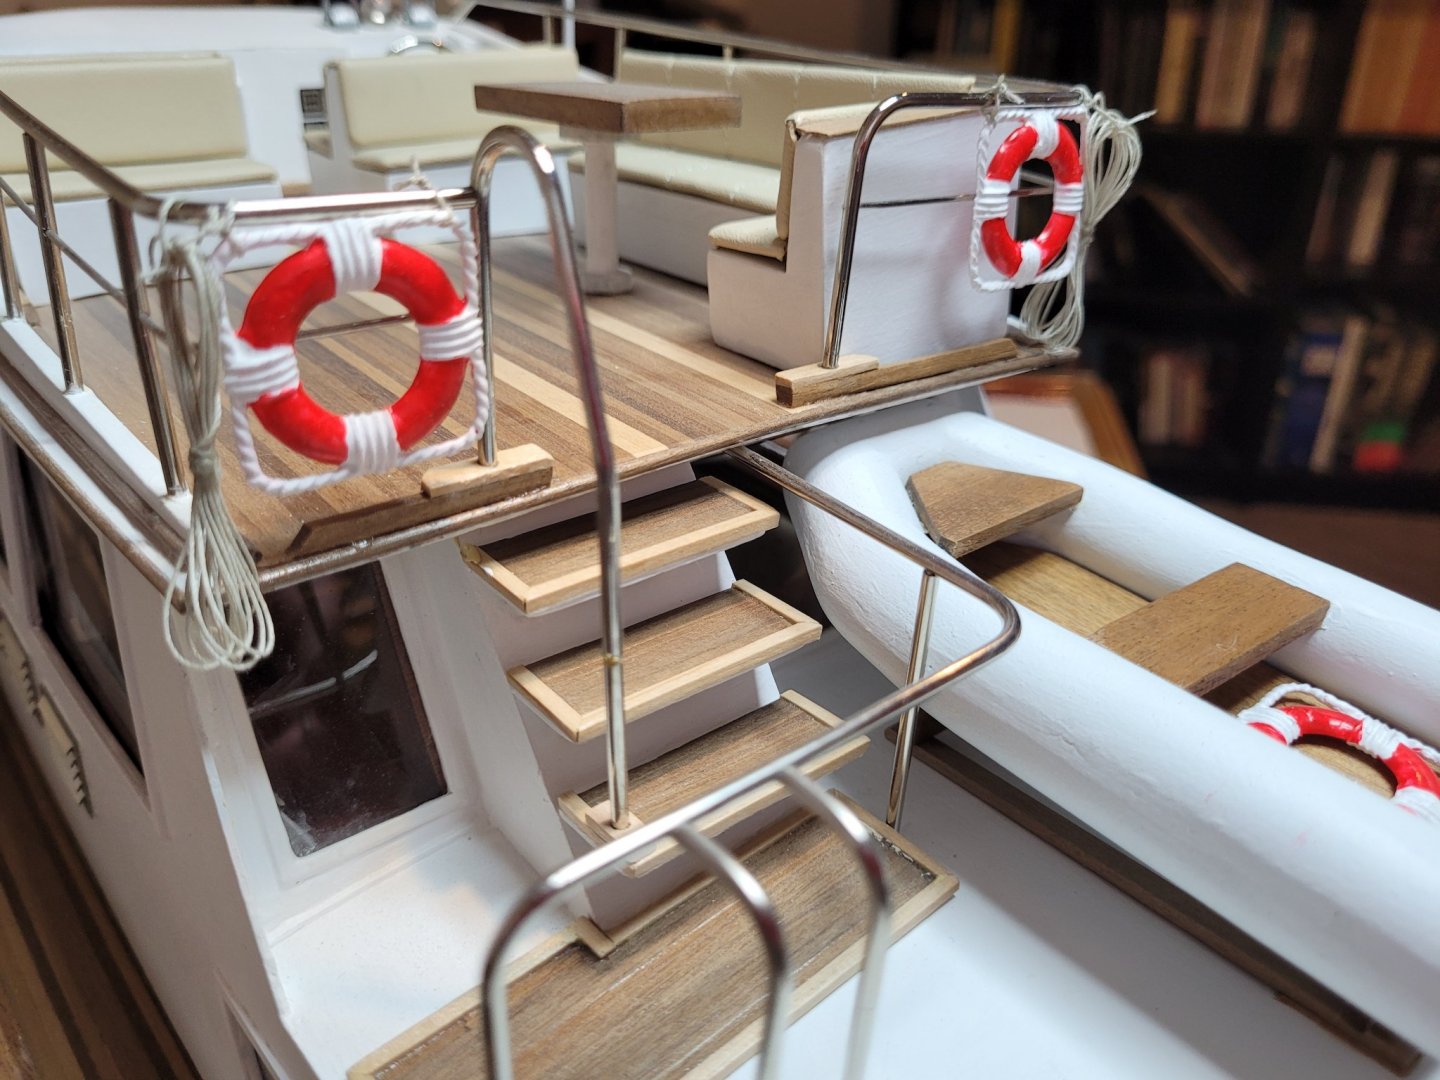
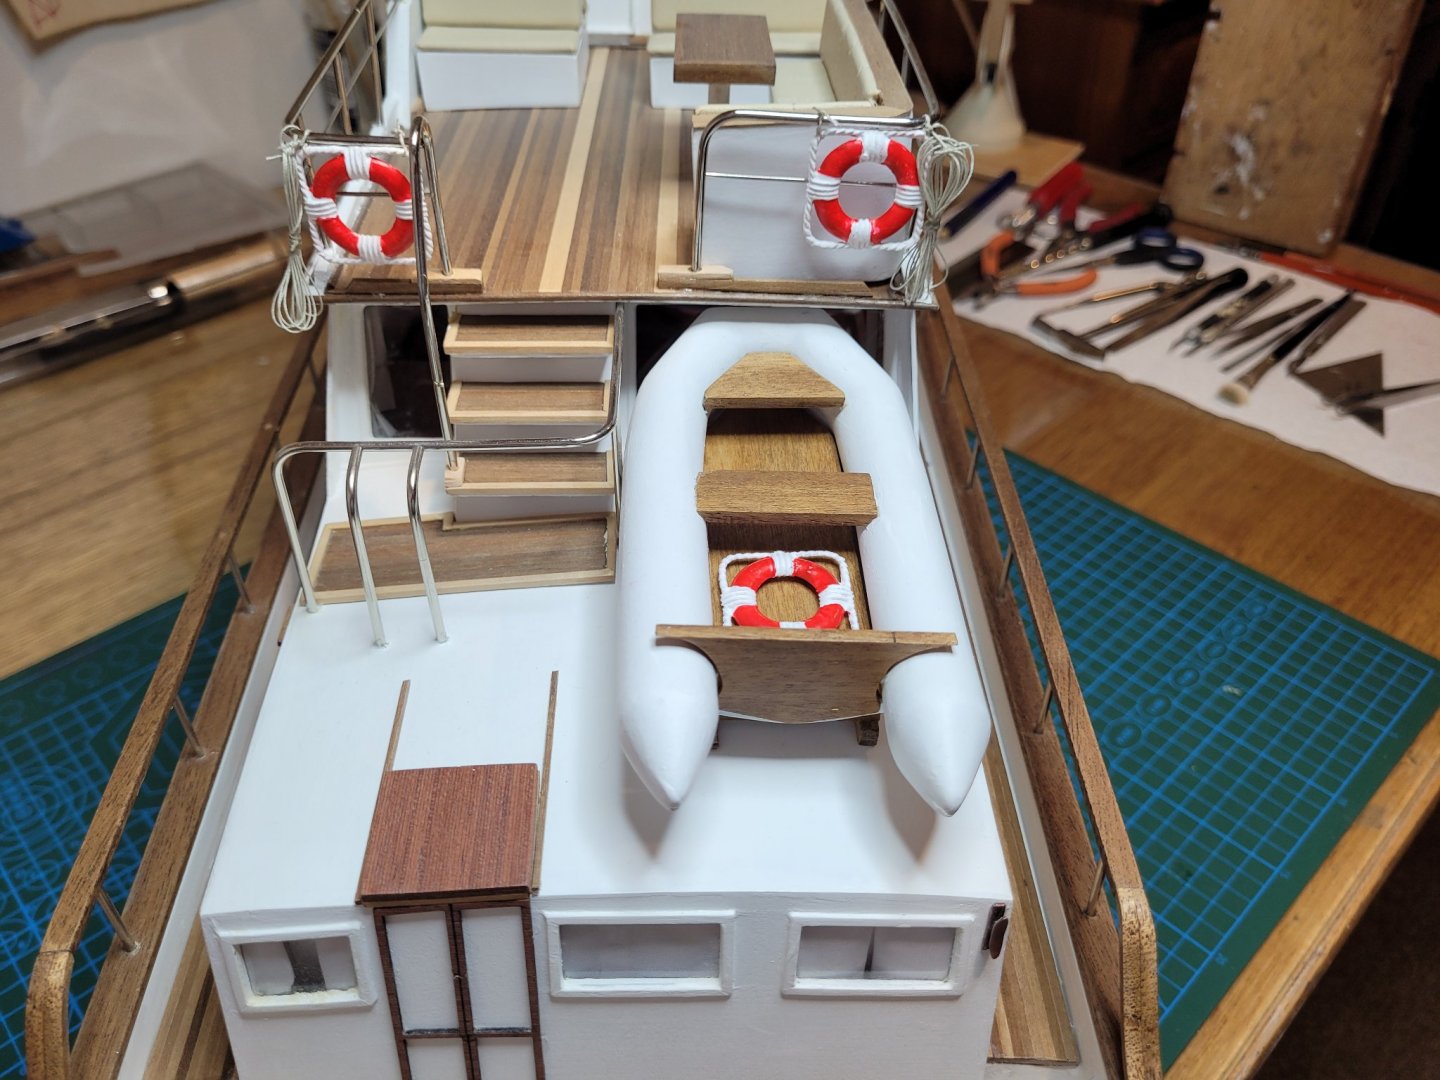
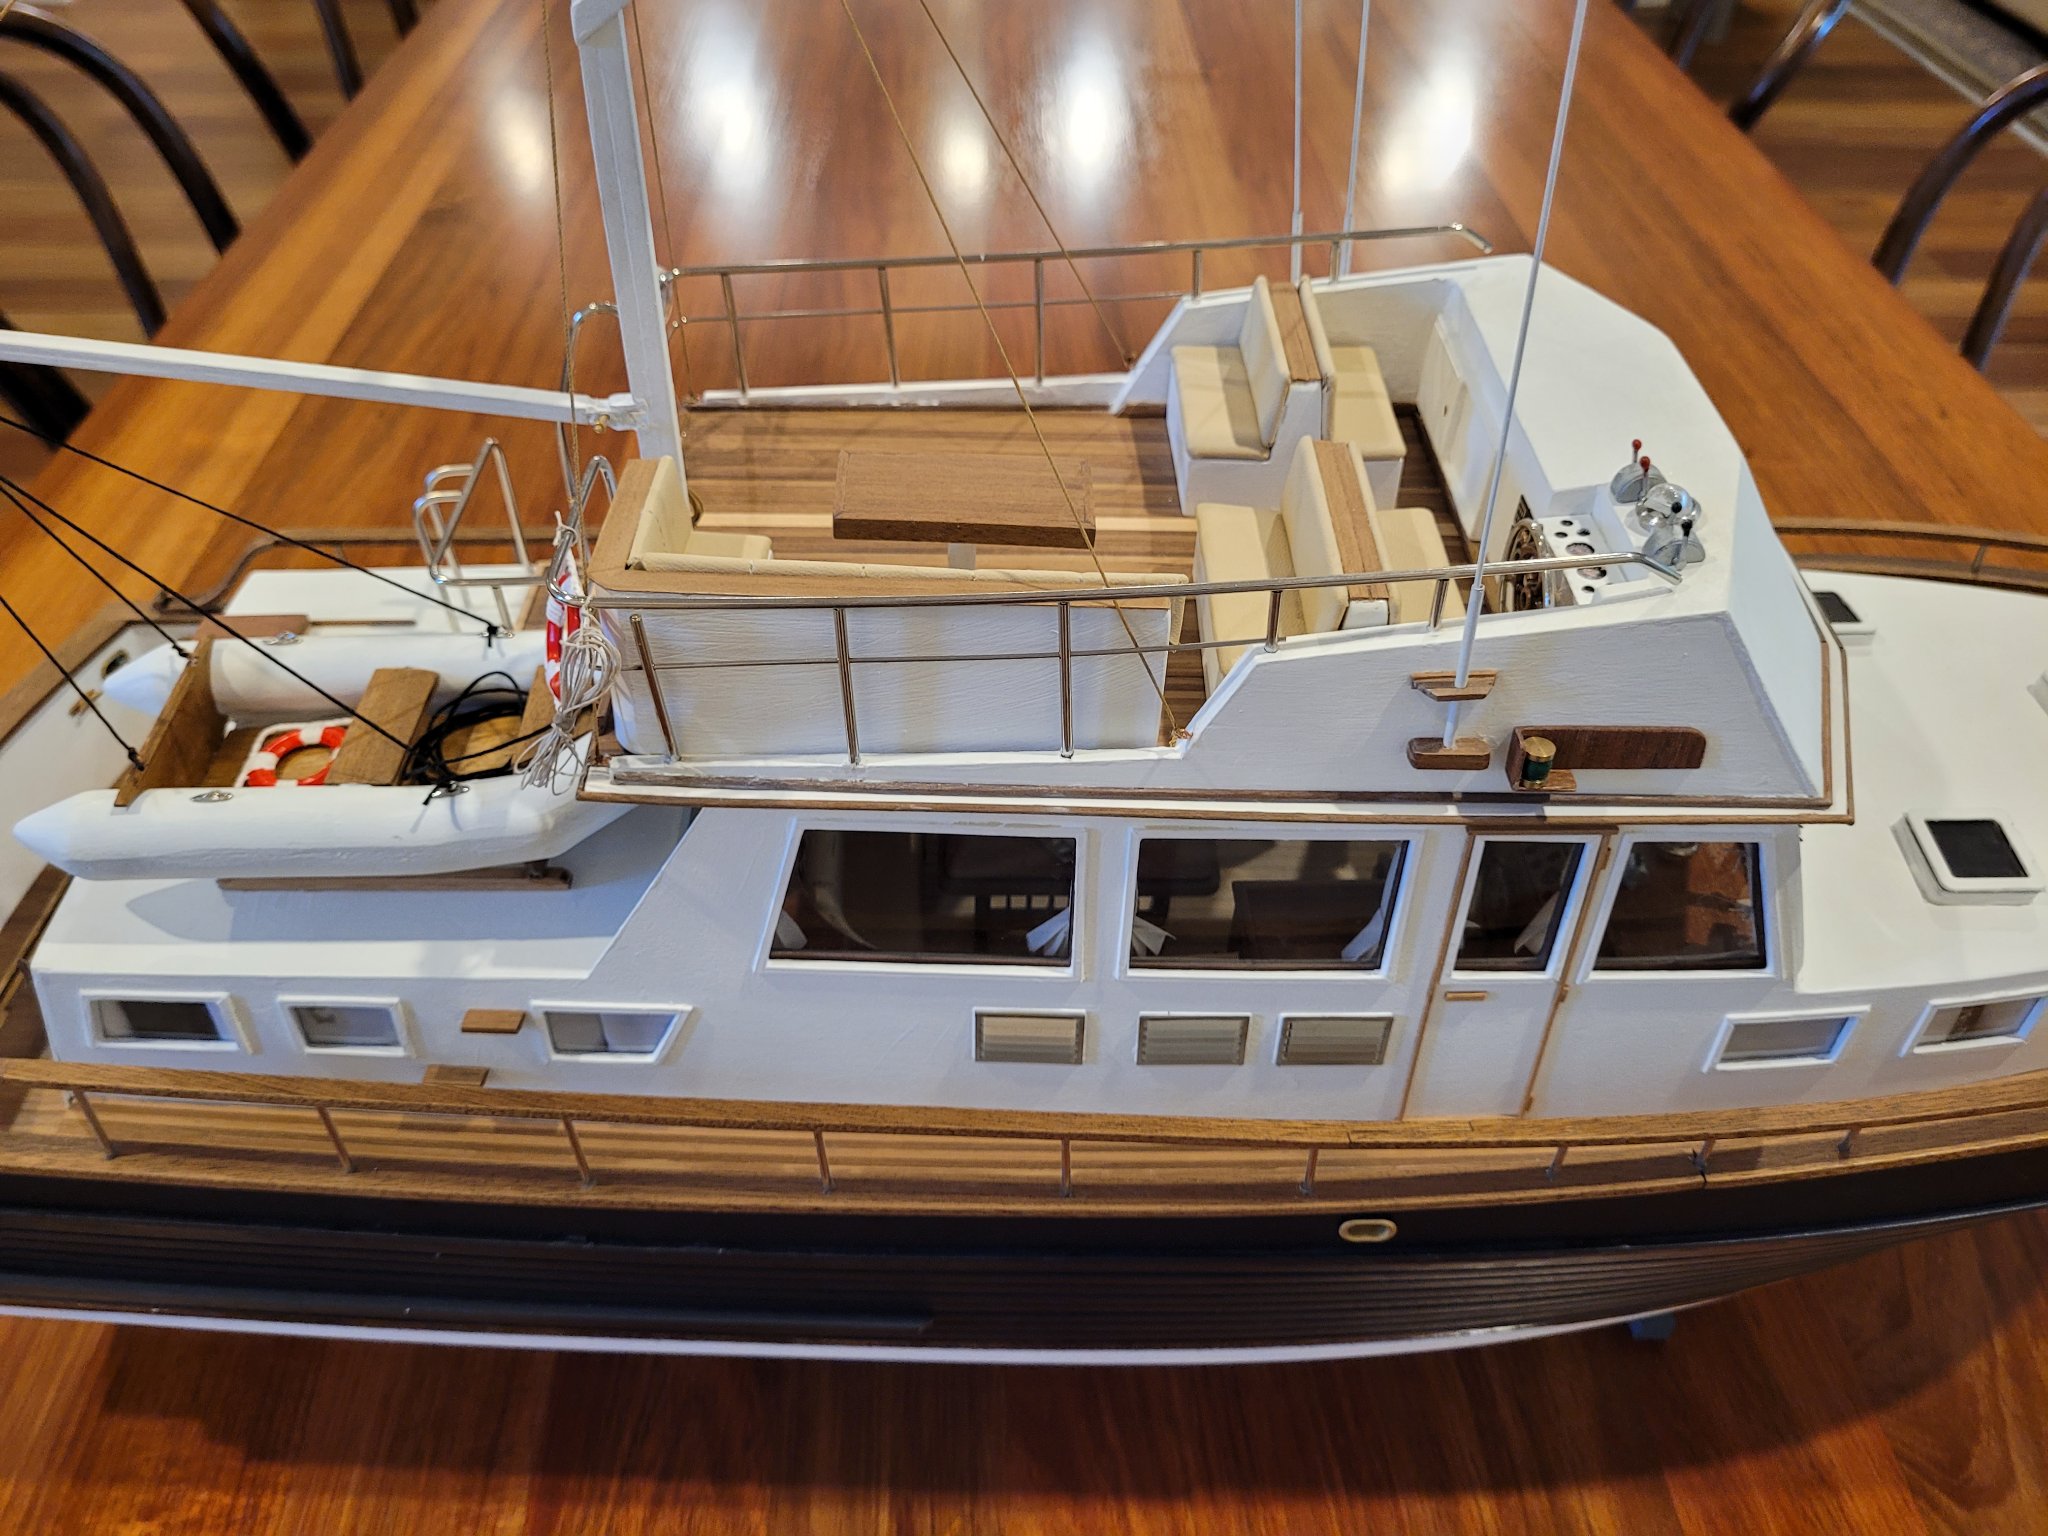
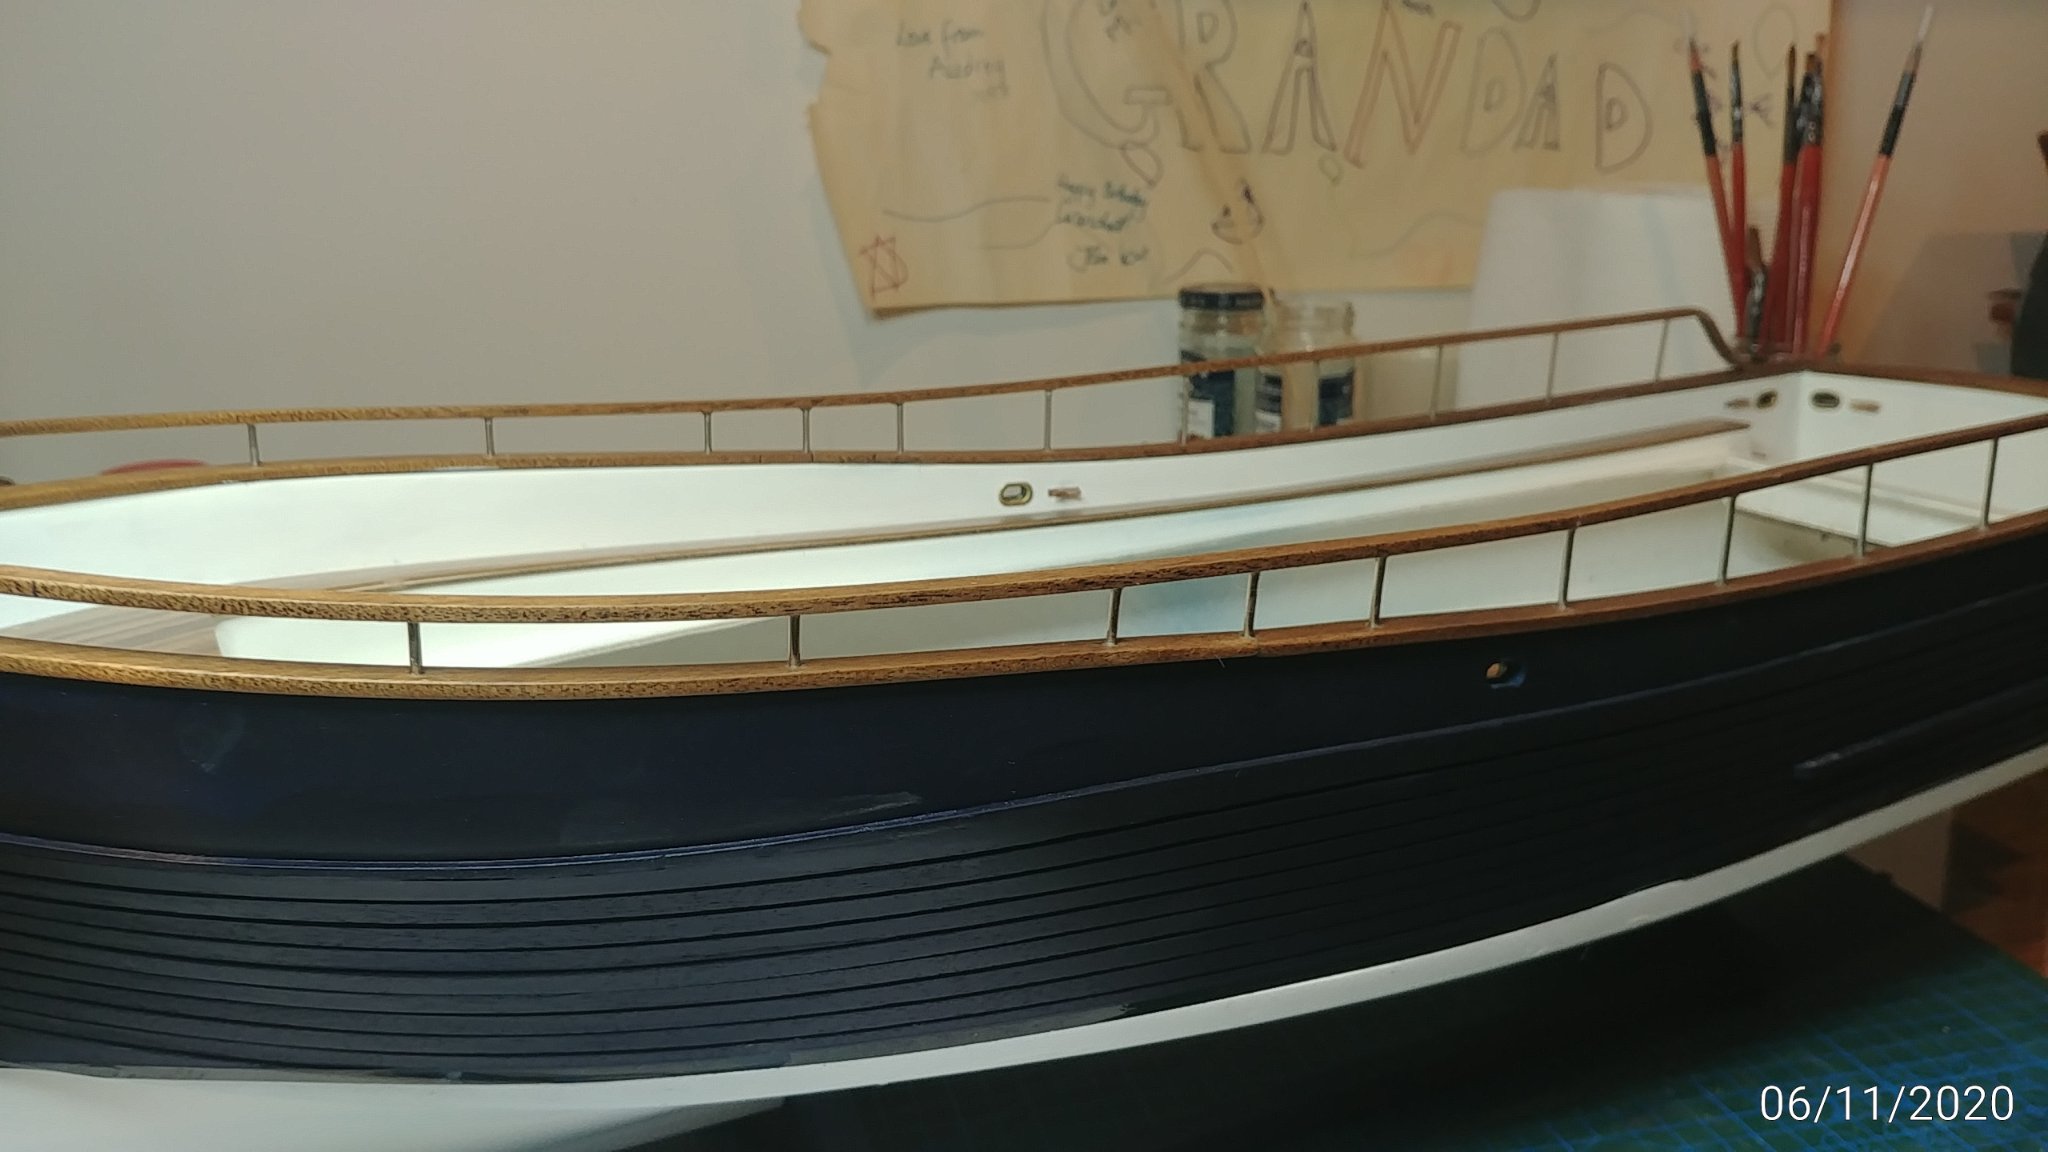
Finished the handrails. Completely missed the point that all the staunchions had to be cut to individual lengths taken off the plans but easy enough to do that then reassemble before installation. Curly endpieces are doubled to match handrail thickness.


- pwog, Fright, Ryland Craze and 9 others
-
12
-
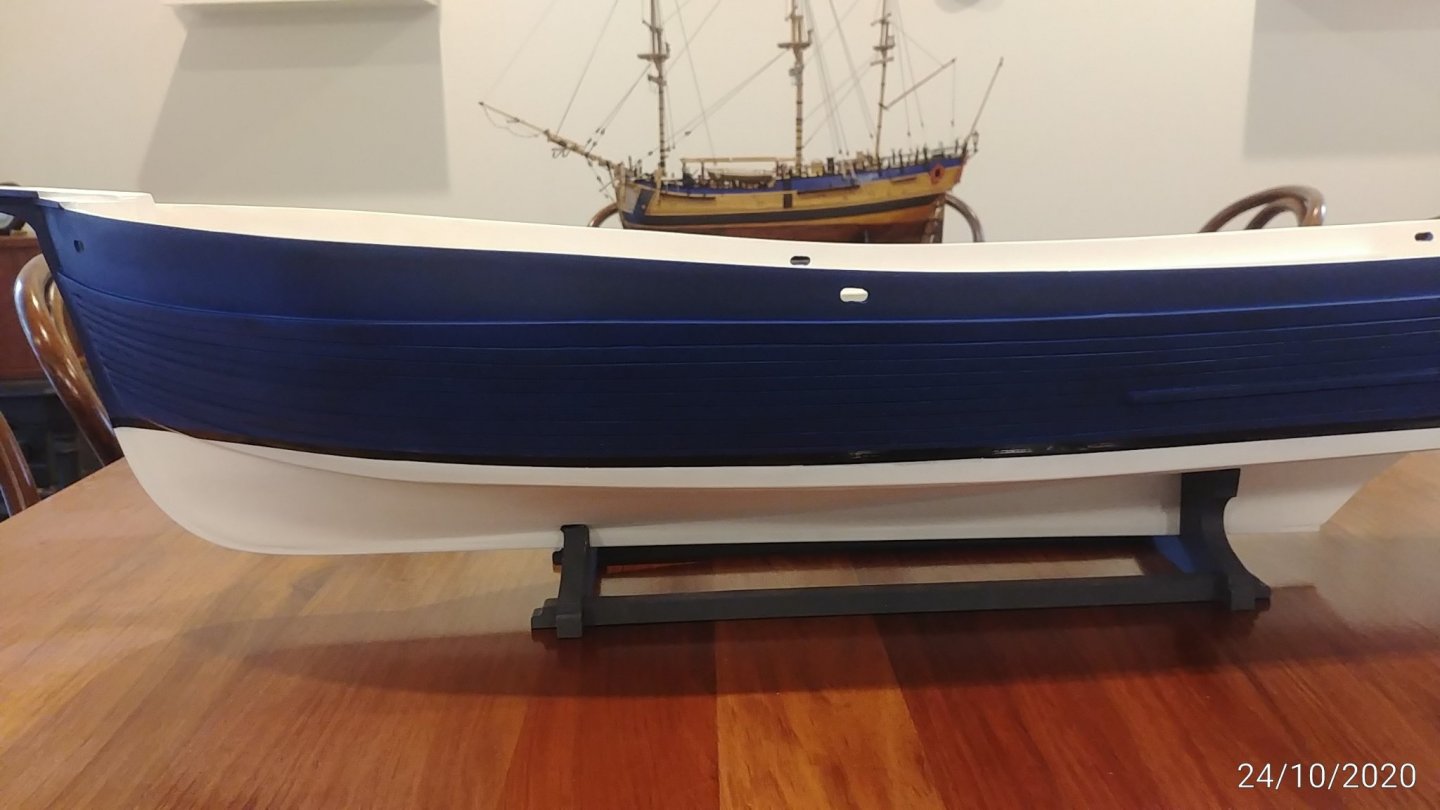
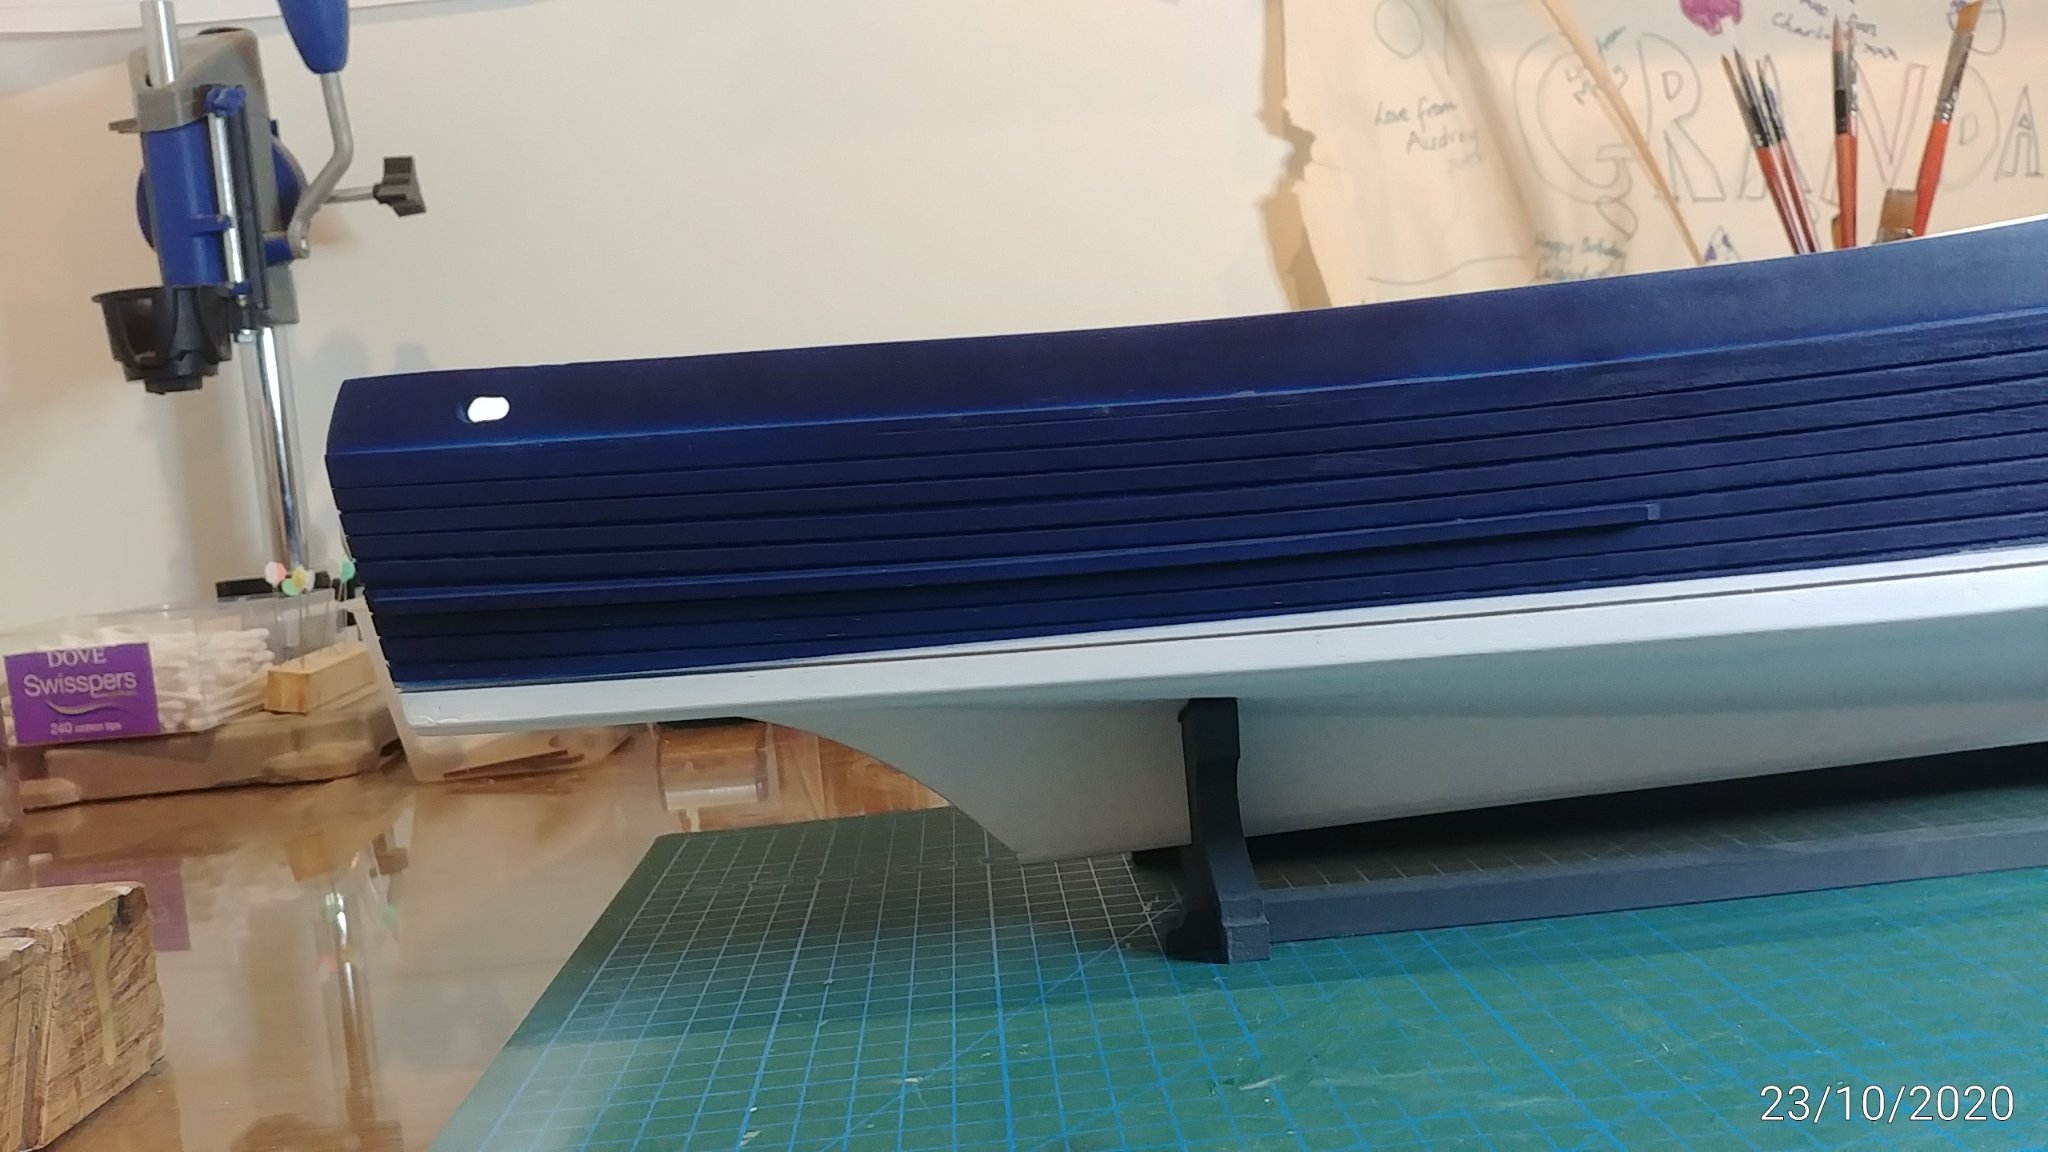
Hull nearly complete. Made a major blunder with finishing the outside of the hull.... caused mainly by my non standard colour scheme. When I applied the plastic rubbing strip which is white it looked rubbish, partly because it wasnt really a fair line, and the colour contrast was too great. Didnt want to paint it silver...if the hull was standard white then the silver painted strip would look OK but the white on blue looked awful to me so I ripped it off. Now have to fully remask hull, remove fairleads, and respray a number of coats to cover the glue damage and necessary sanding.... dumb and dumber..!


- Nunnehi (Don), cog and Moab
-
3
-
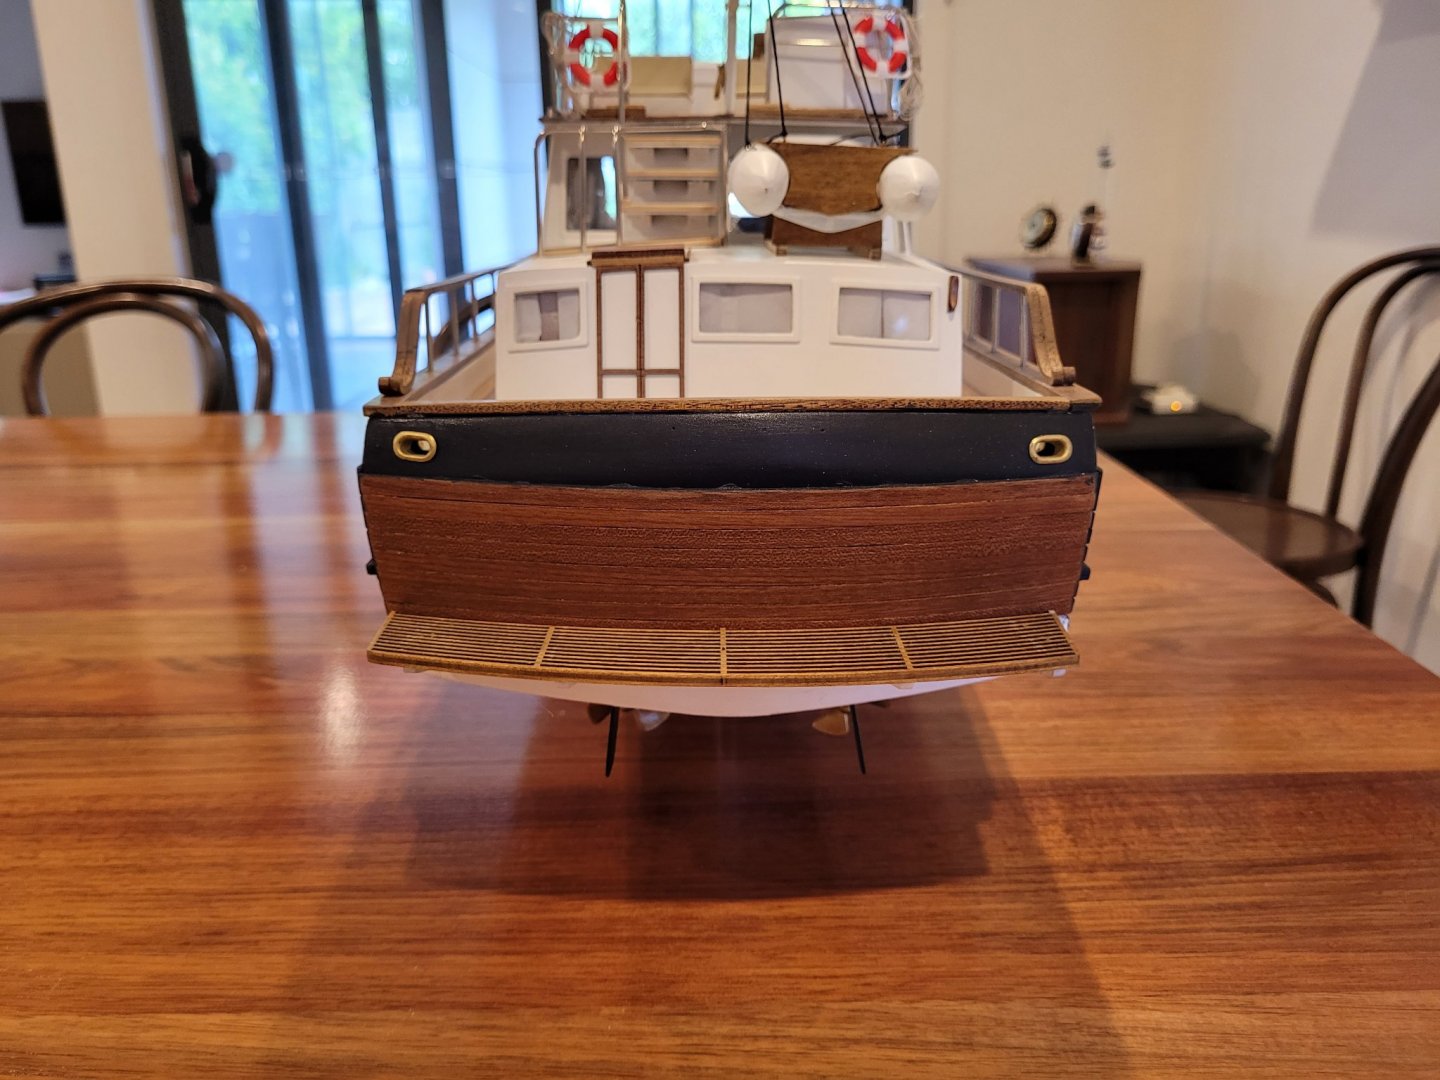
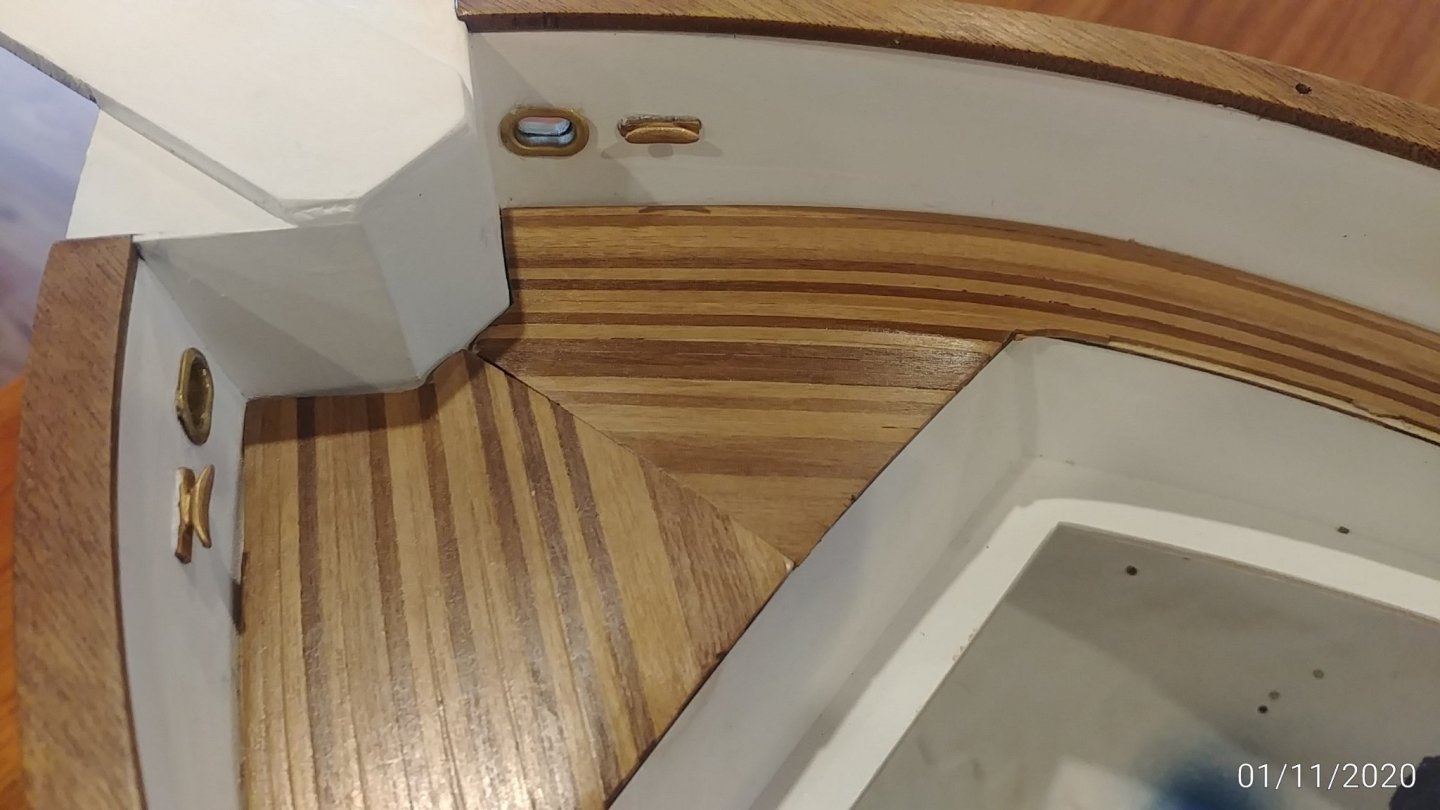
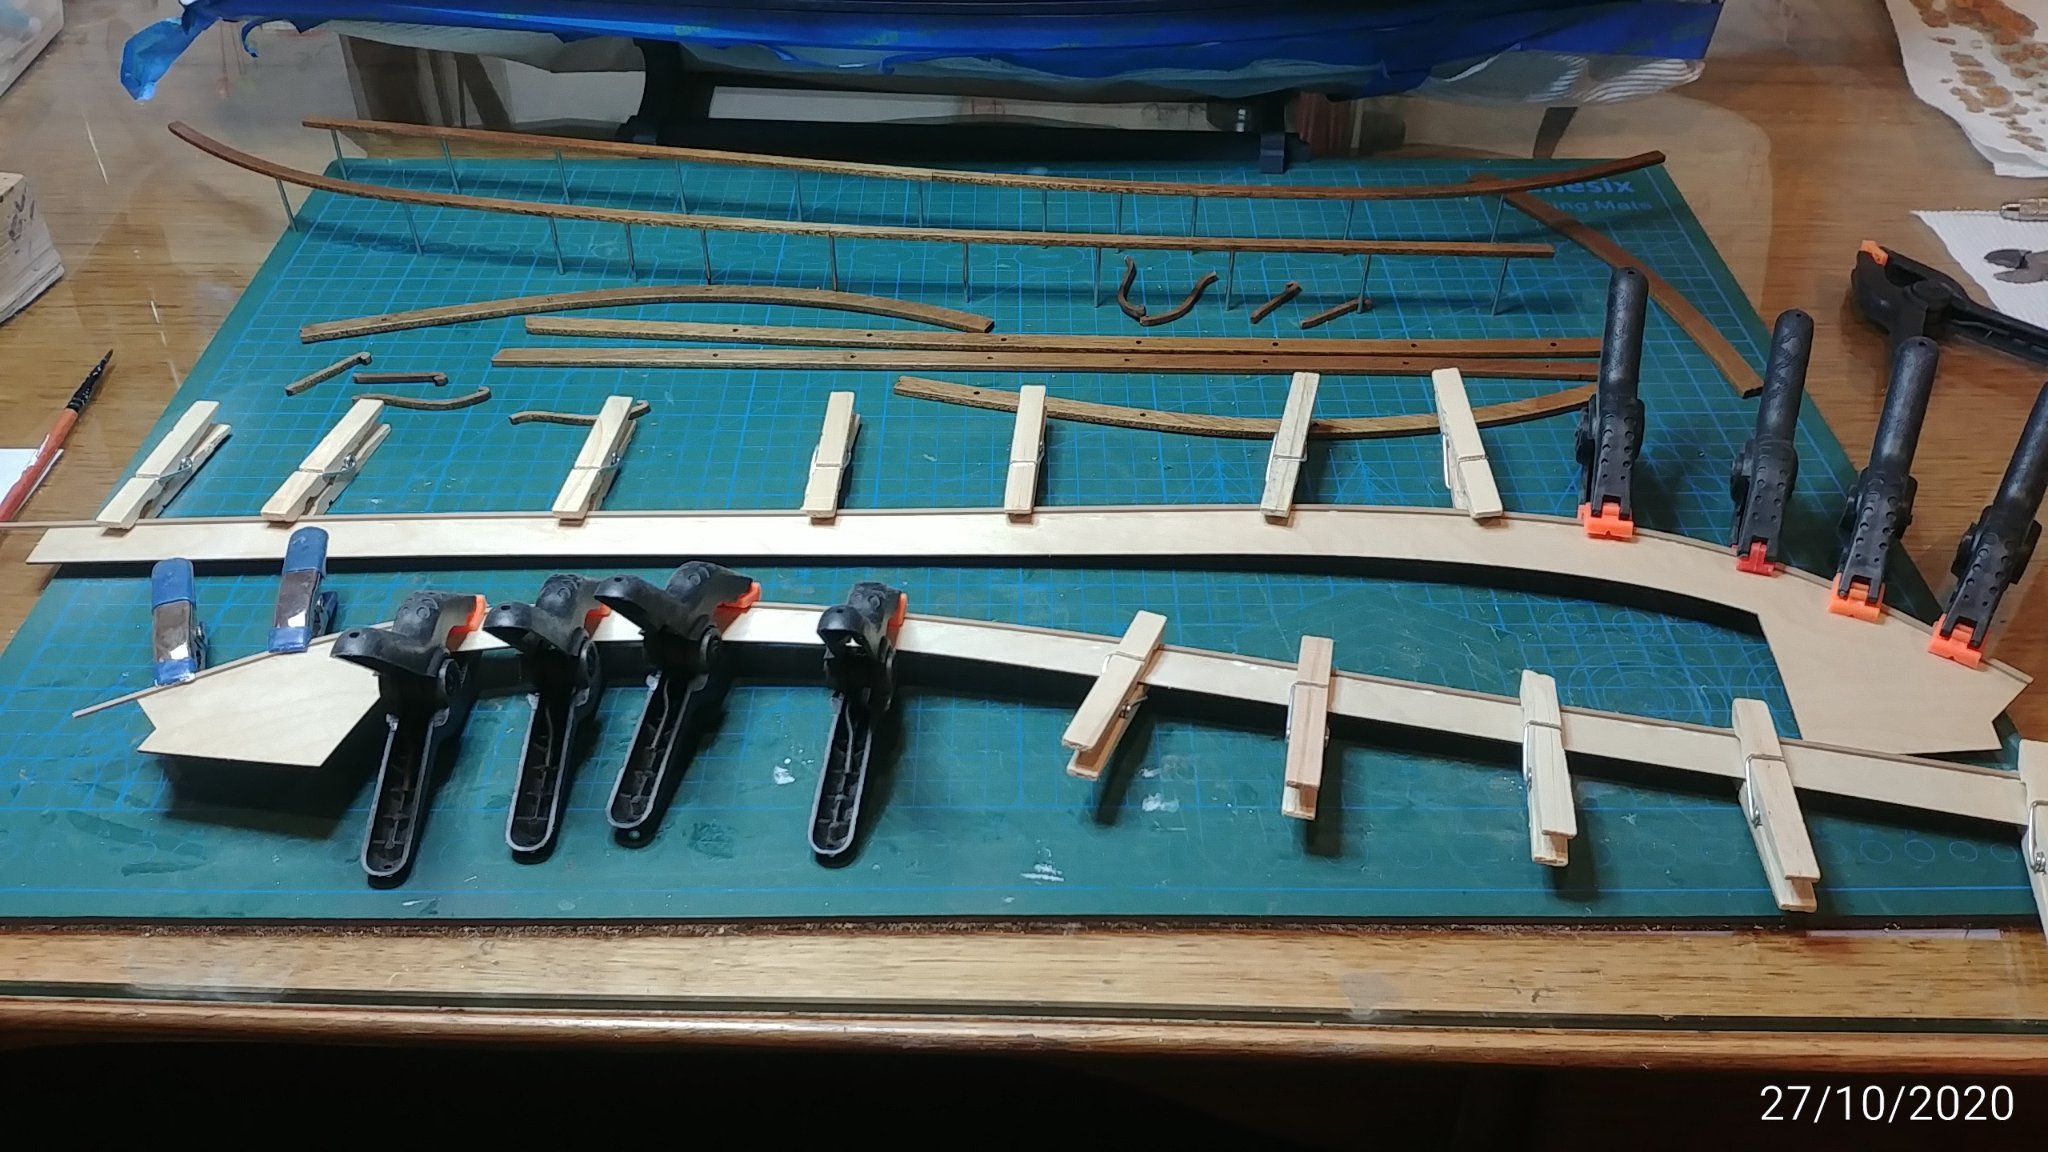
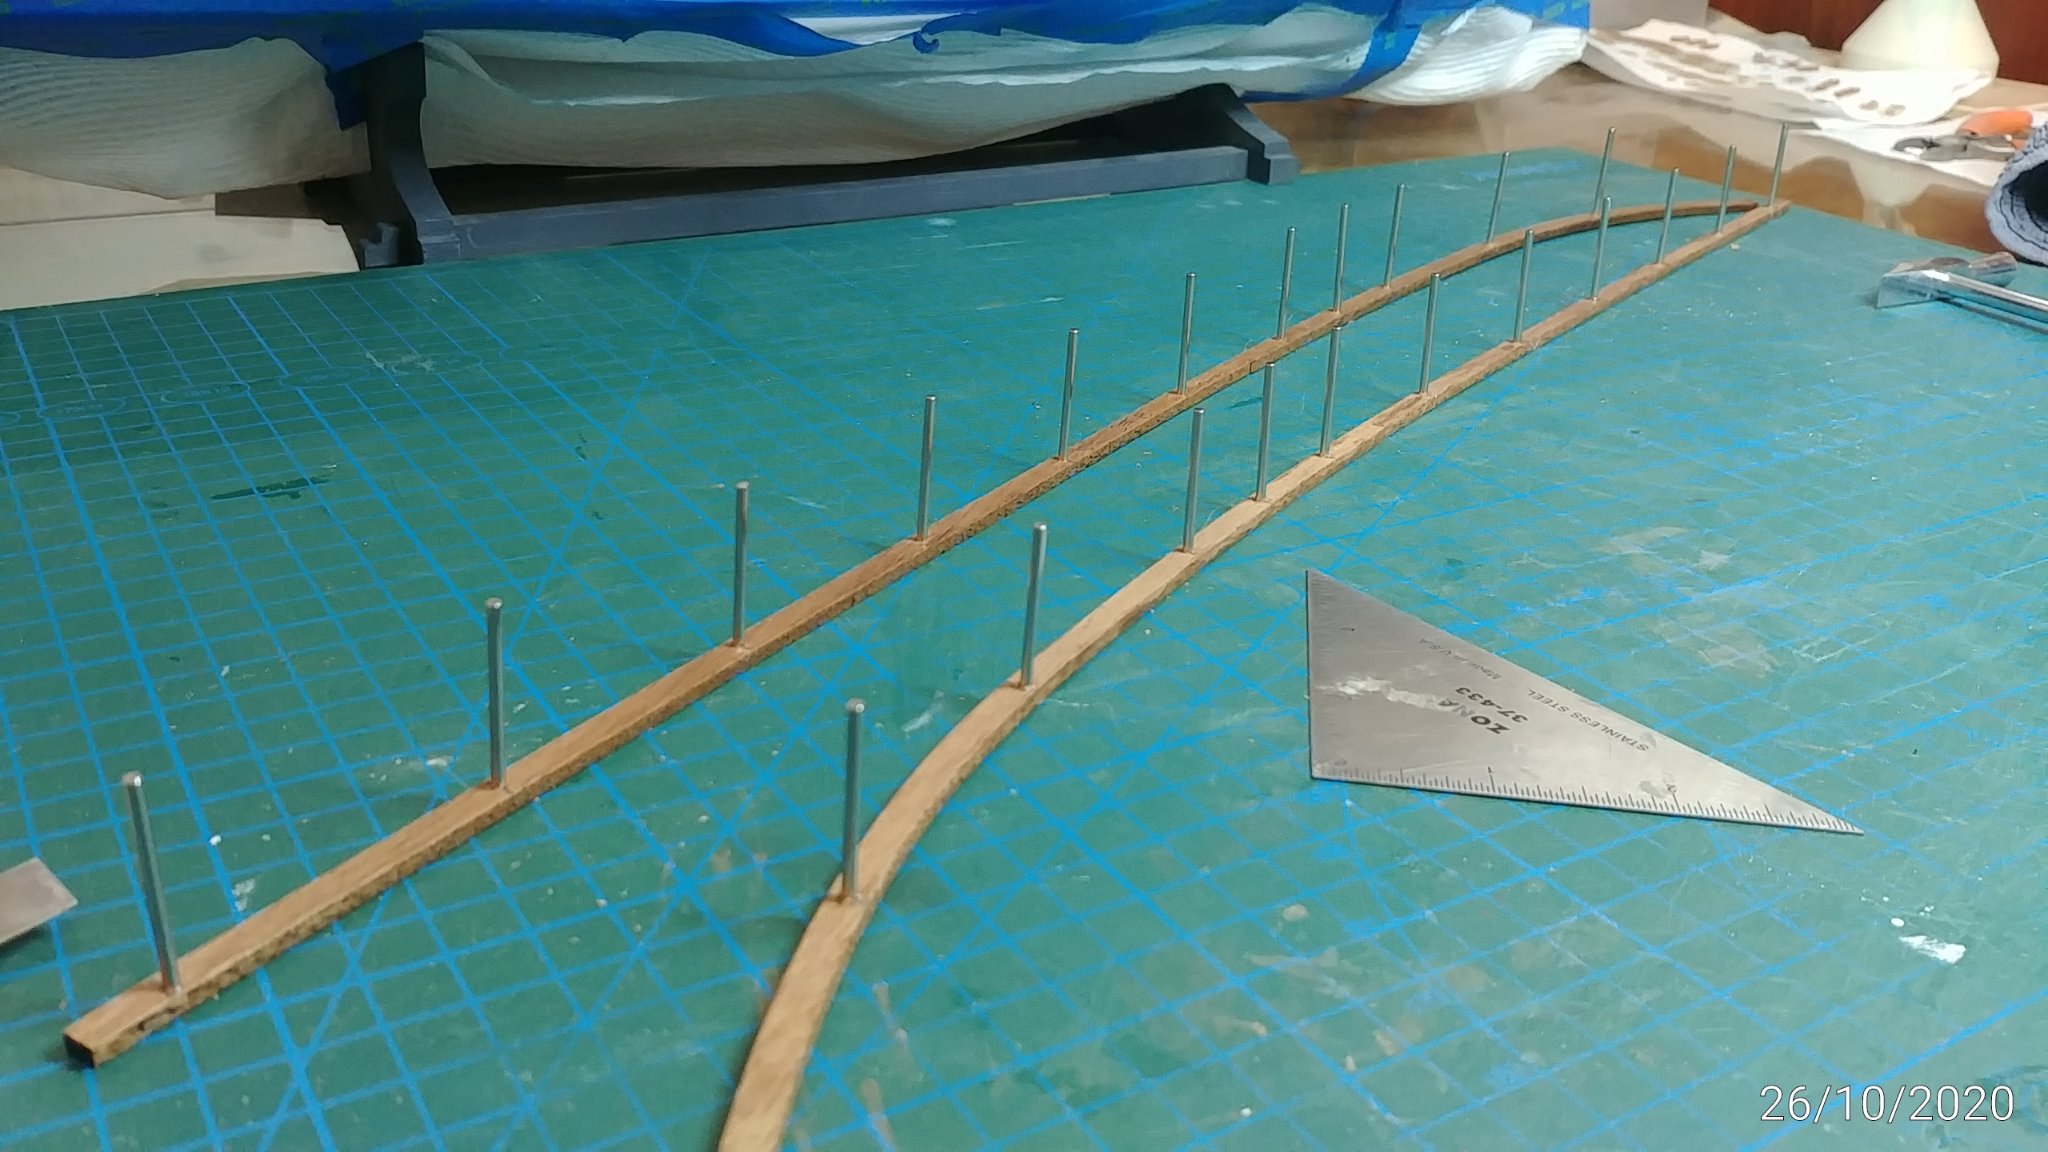
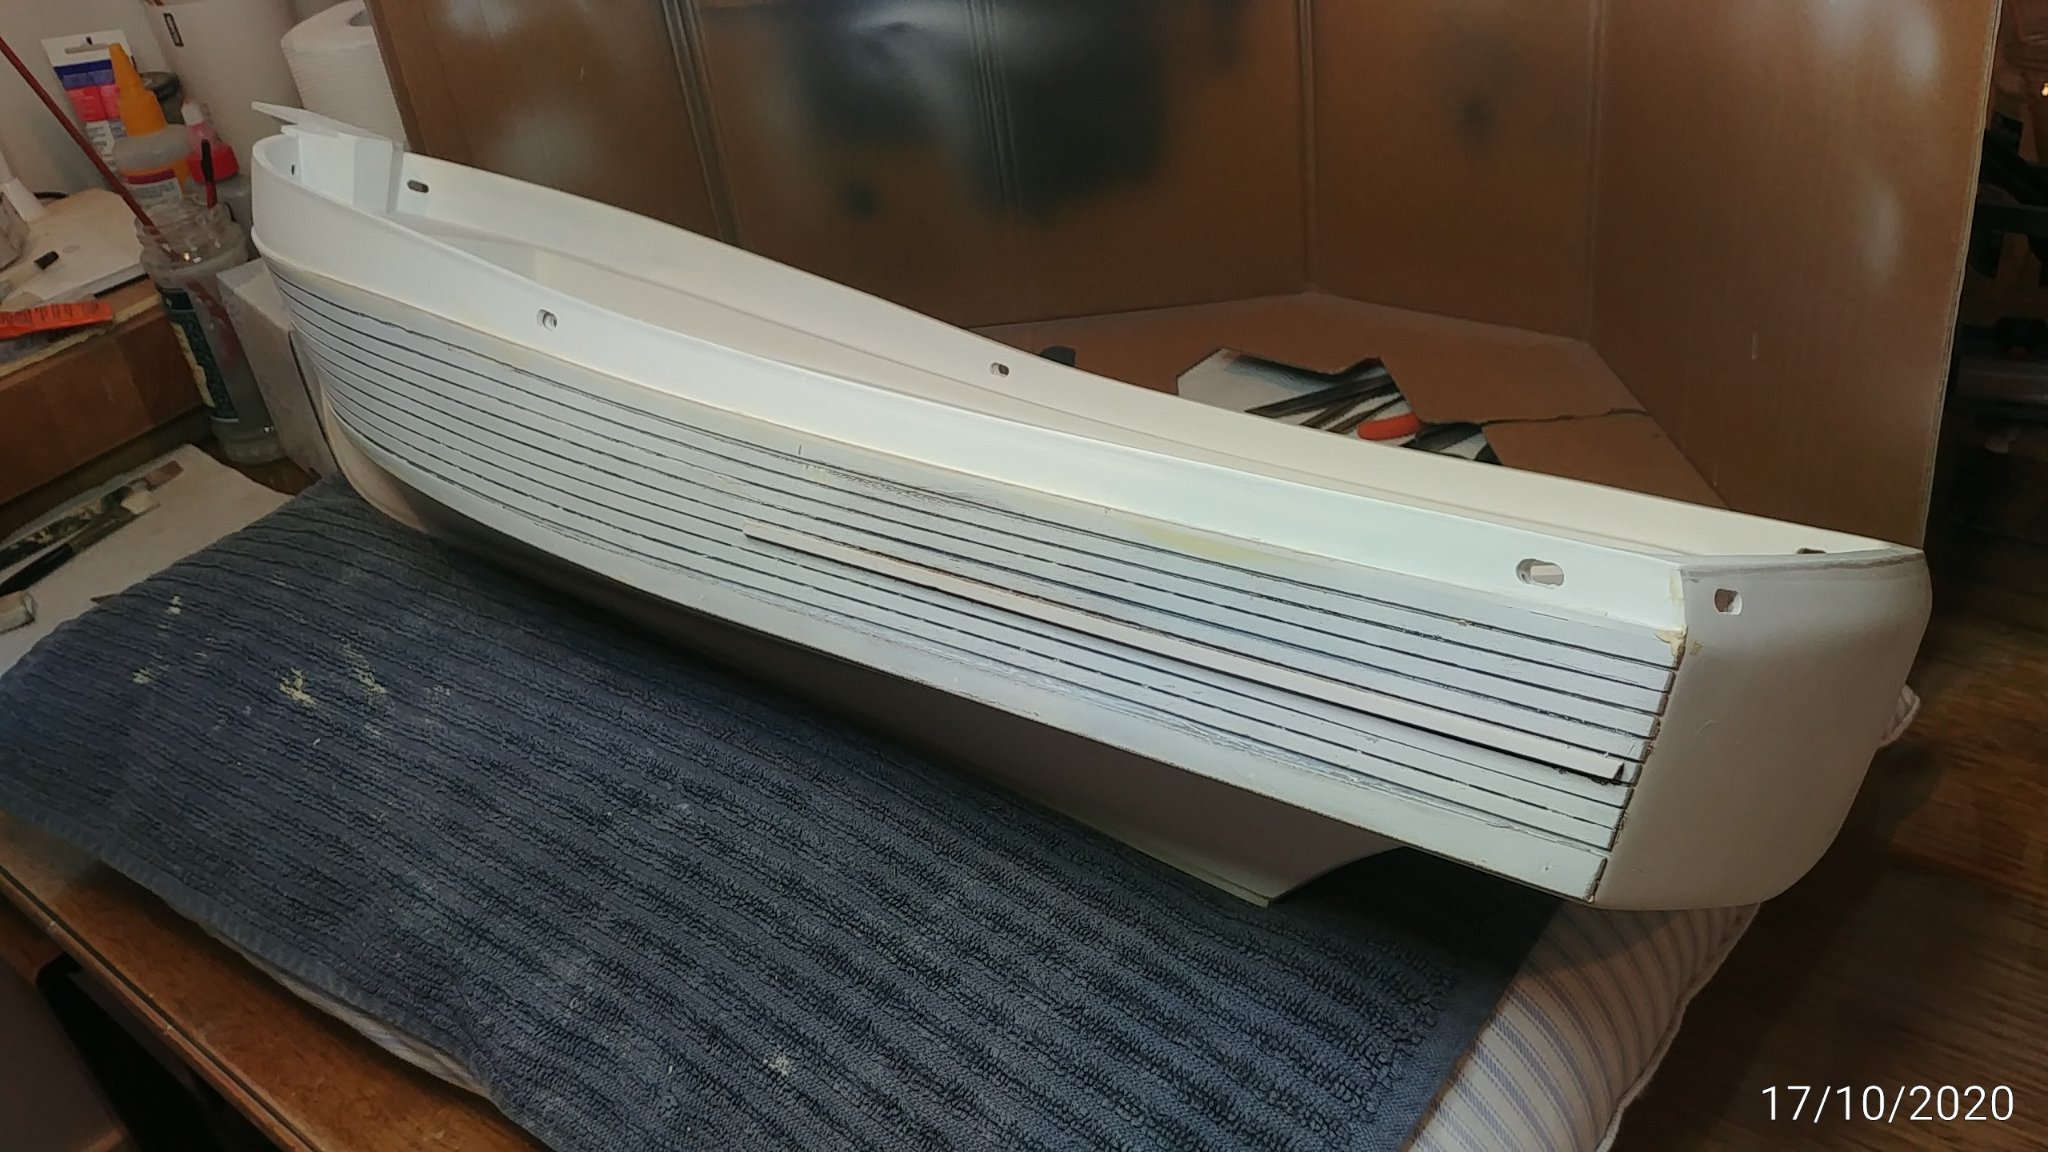
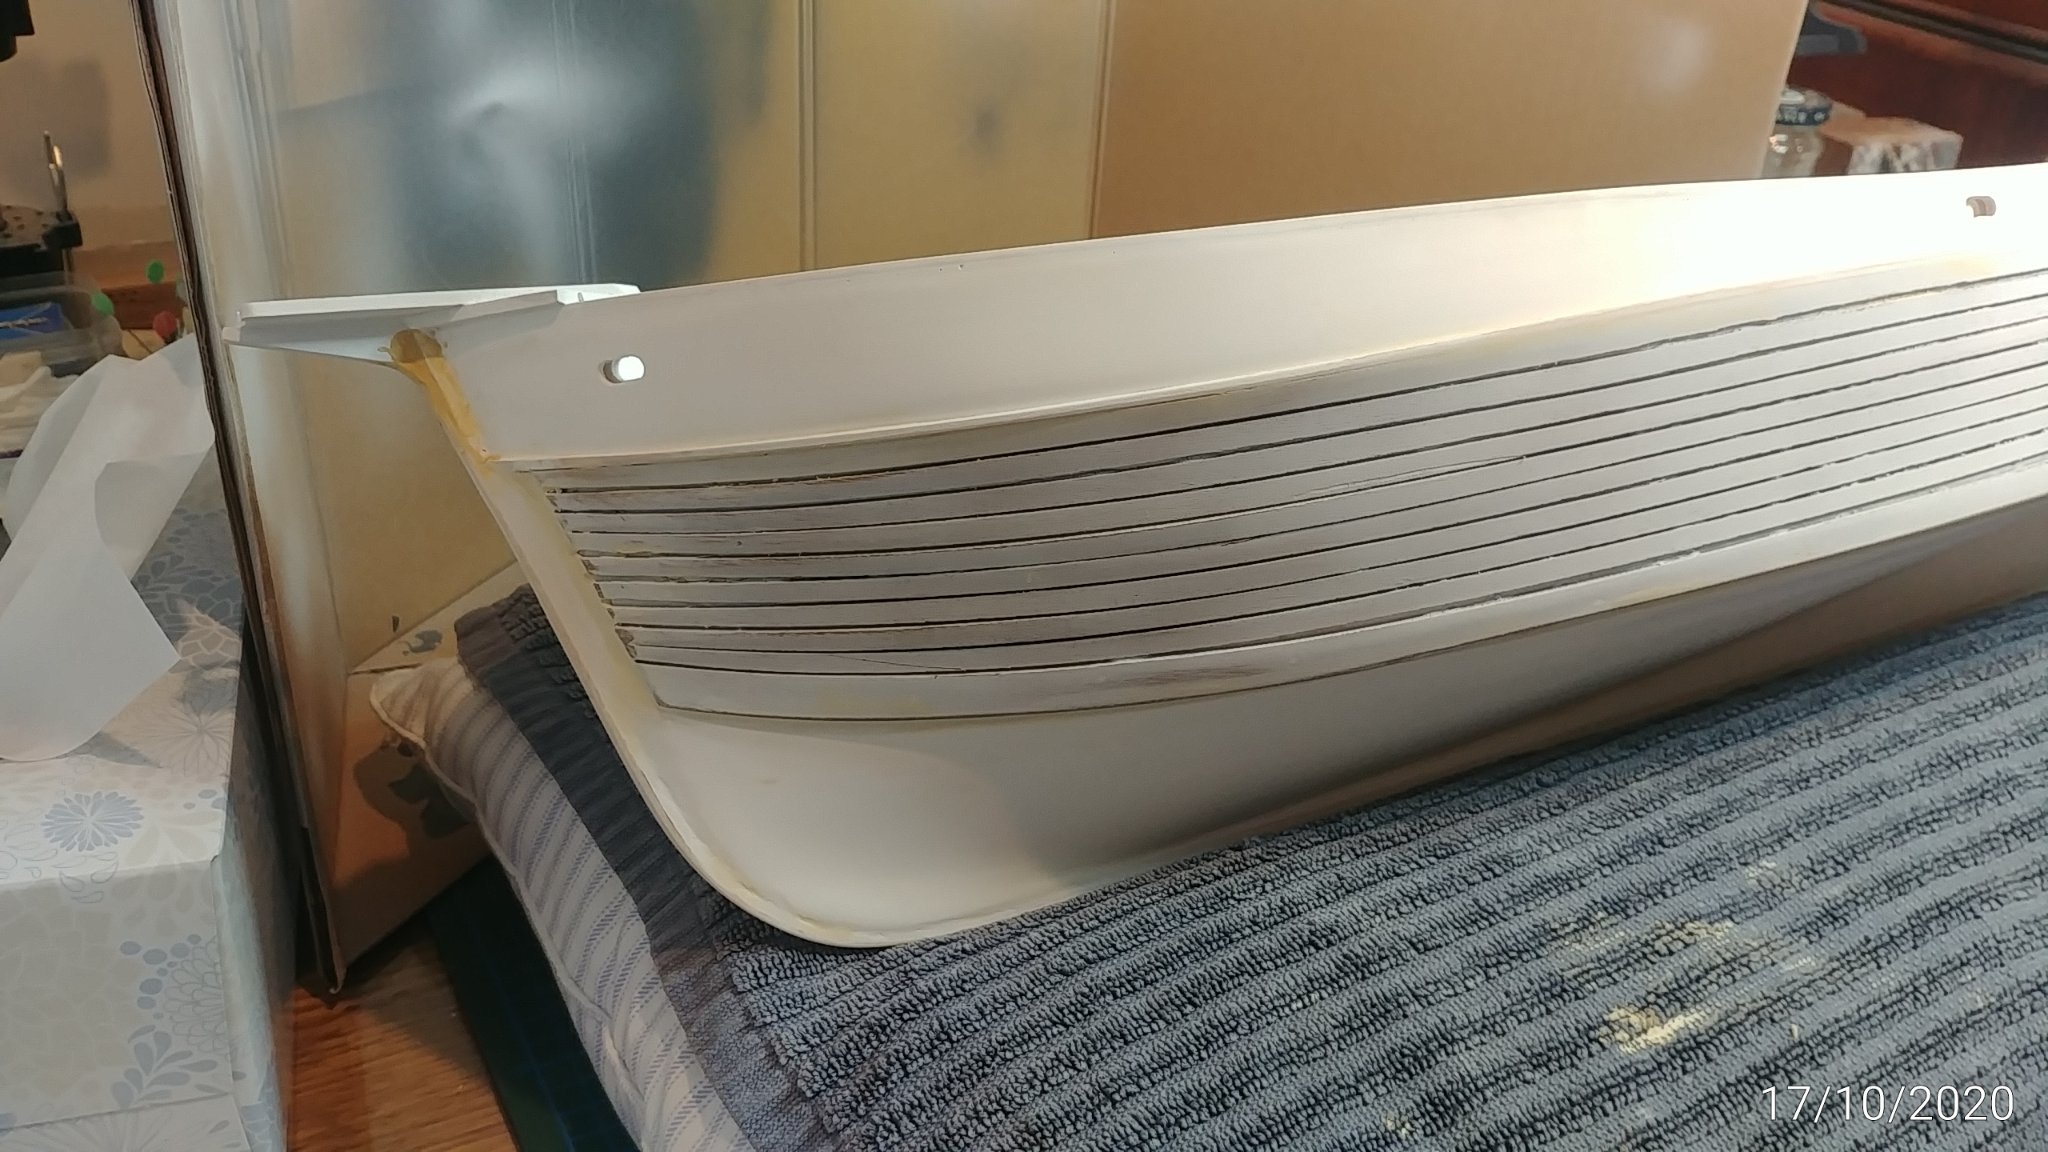
Gluing the deck planks to the underdeck sheet. I much prefer Weldbond (Canadian super PVA) to using superglue in these situations mainly because I really hate using superglue.I did use superglue GEL to attach the transom planks because it was really the only practical option but that is the only time I have used it. The Weldbond planks can be unclamped from those bends in less than 1 hour so planking the deck will take a little while. For any joints that are not wood on wood I have used UHU Hart. Fitted the inner and outer fairleads to the upper topsides.


- Ryland Craze, marktiedens, schooner and 3 others
-
6
-
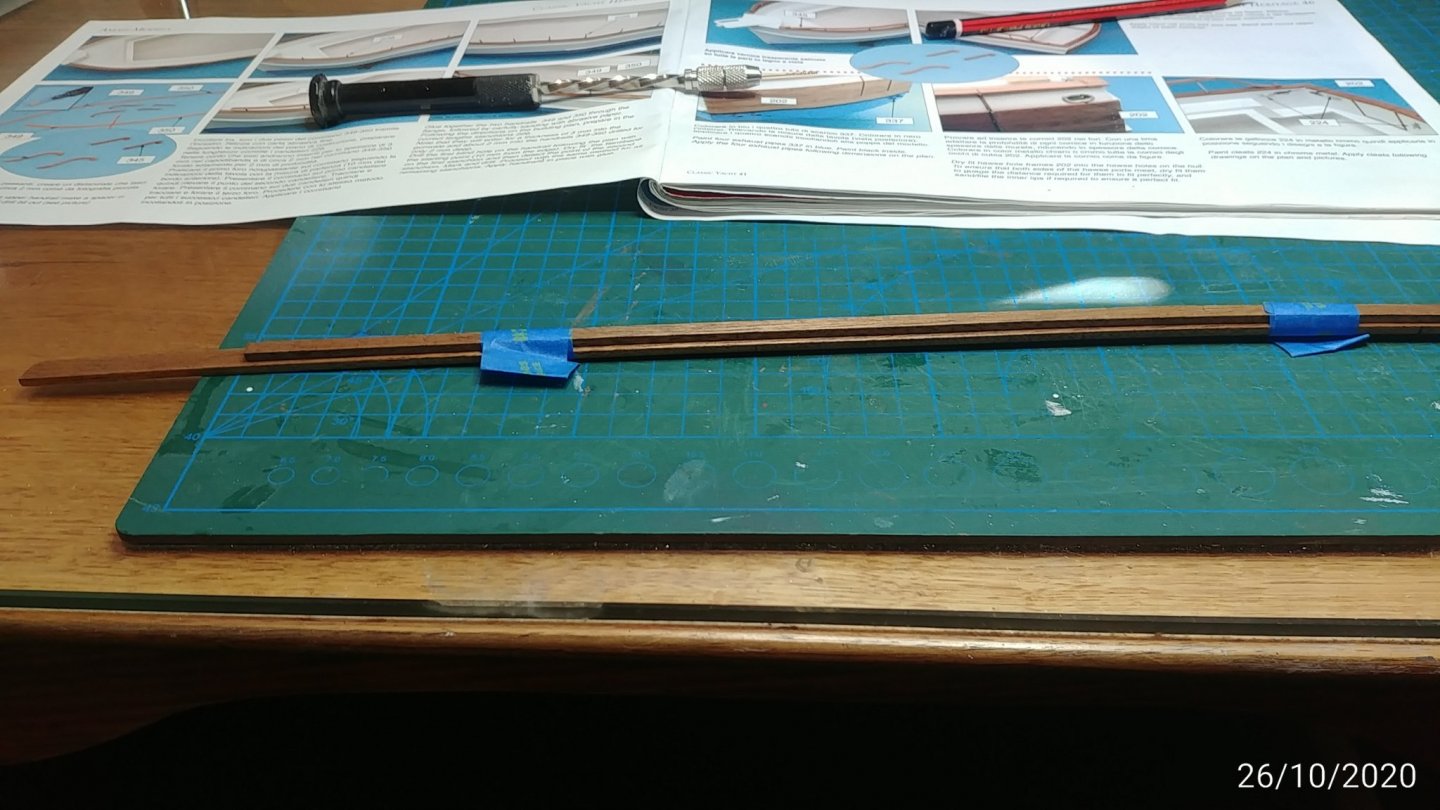
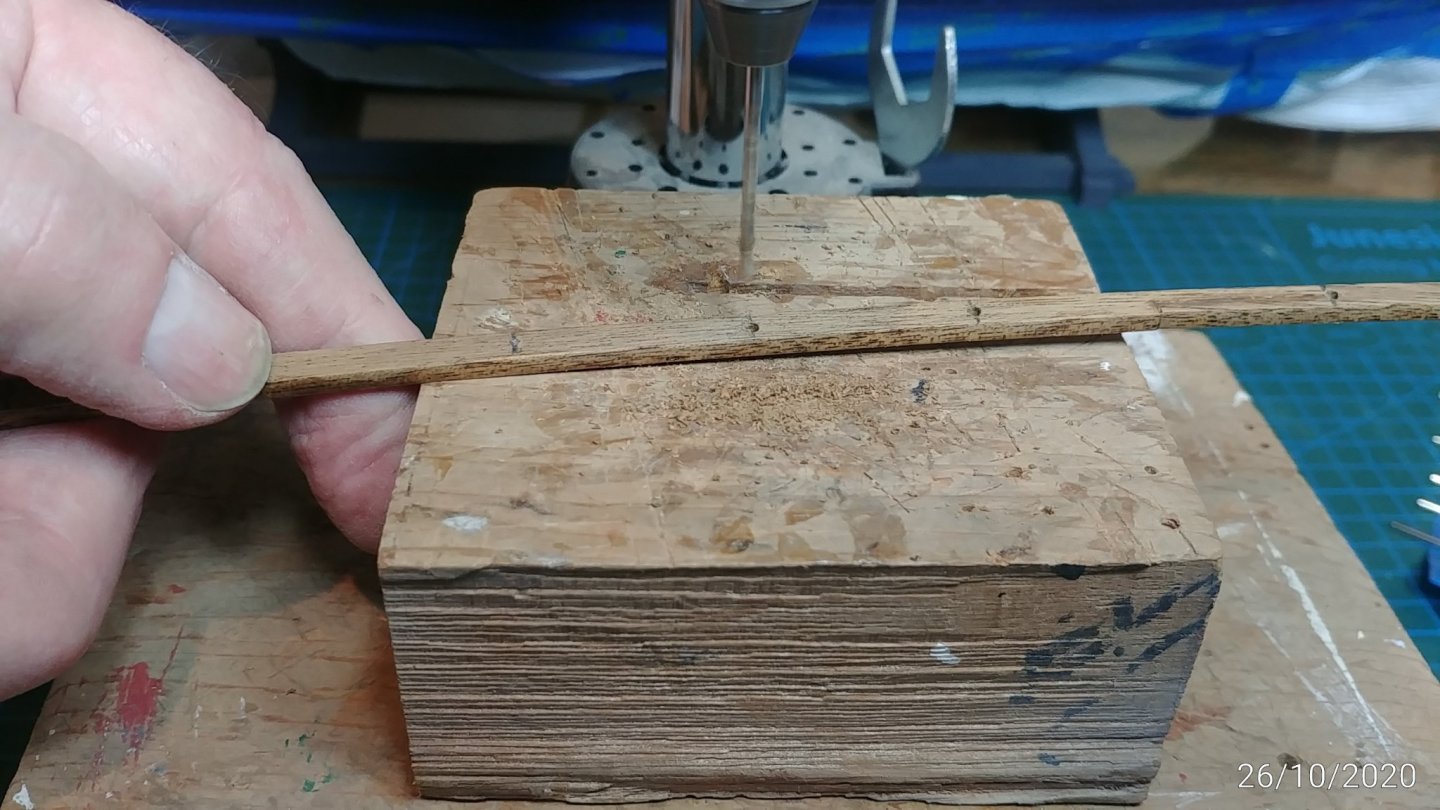
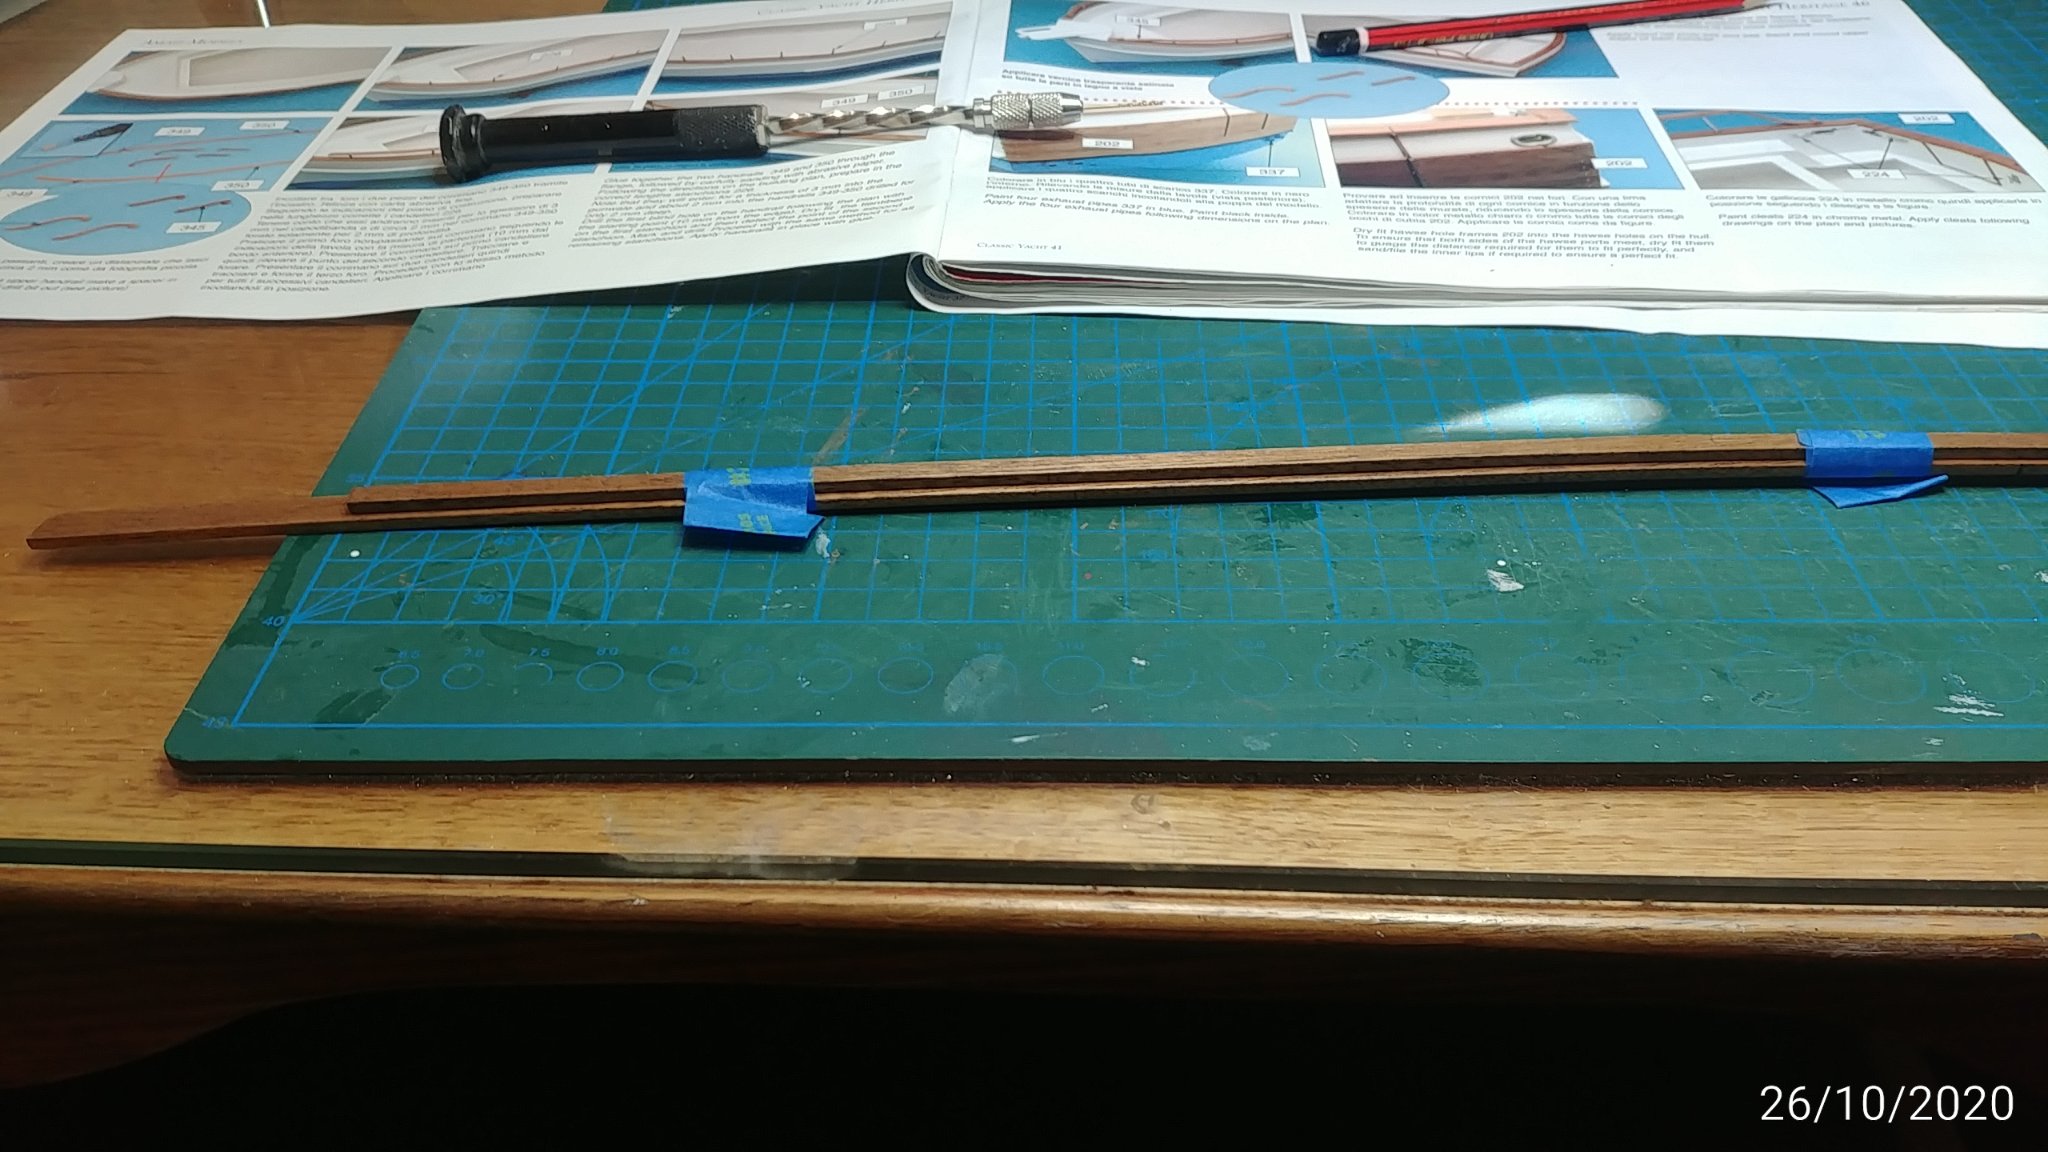
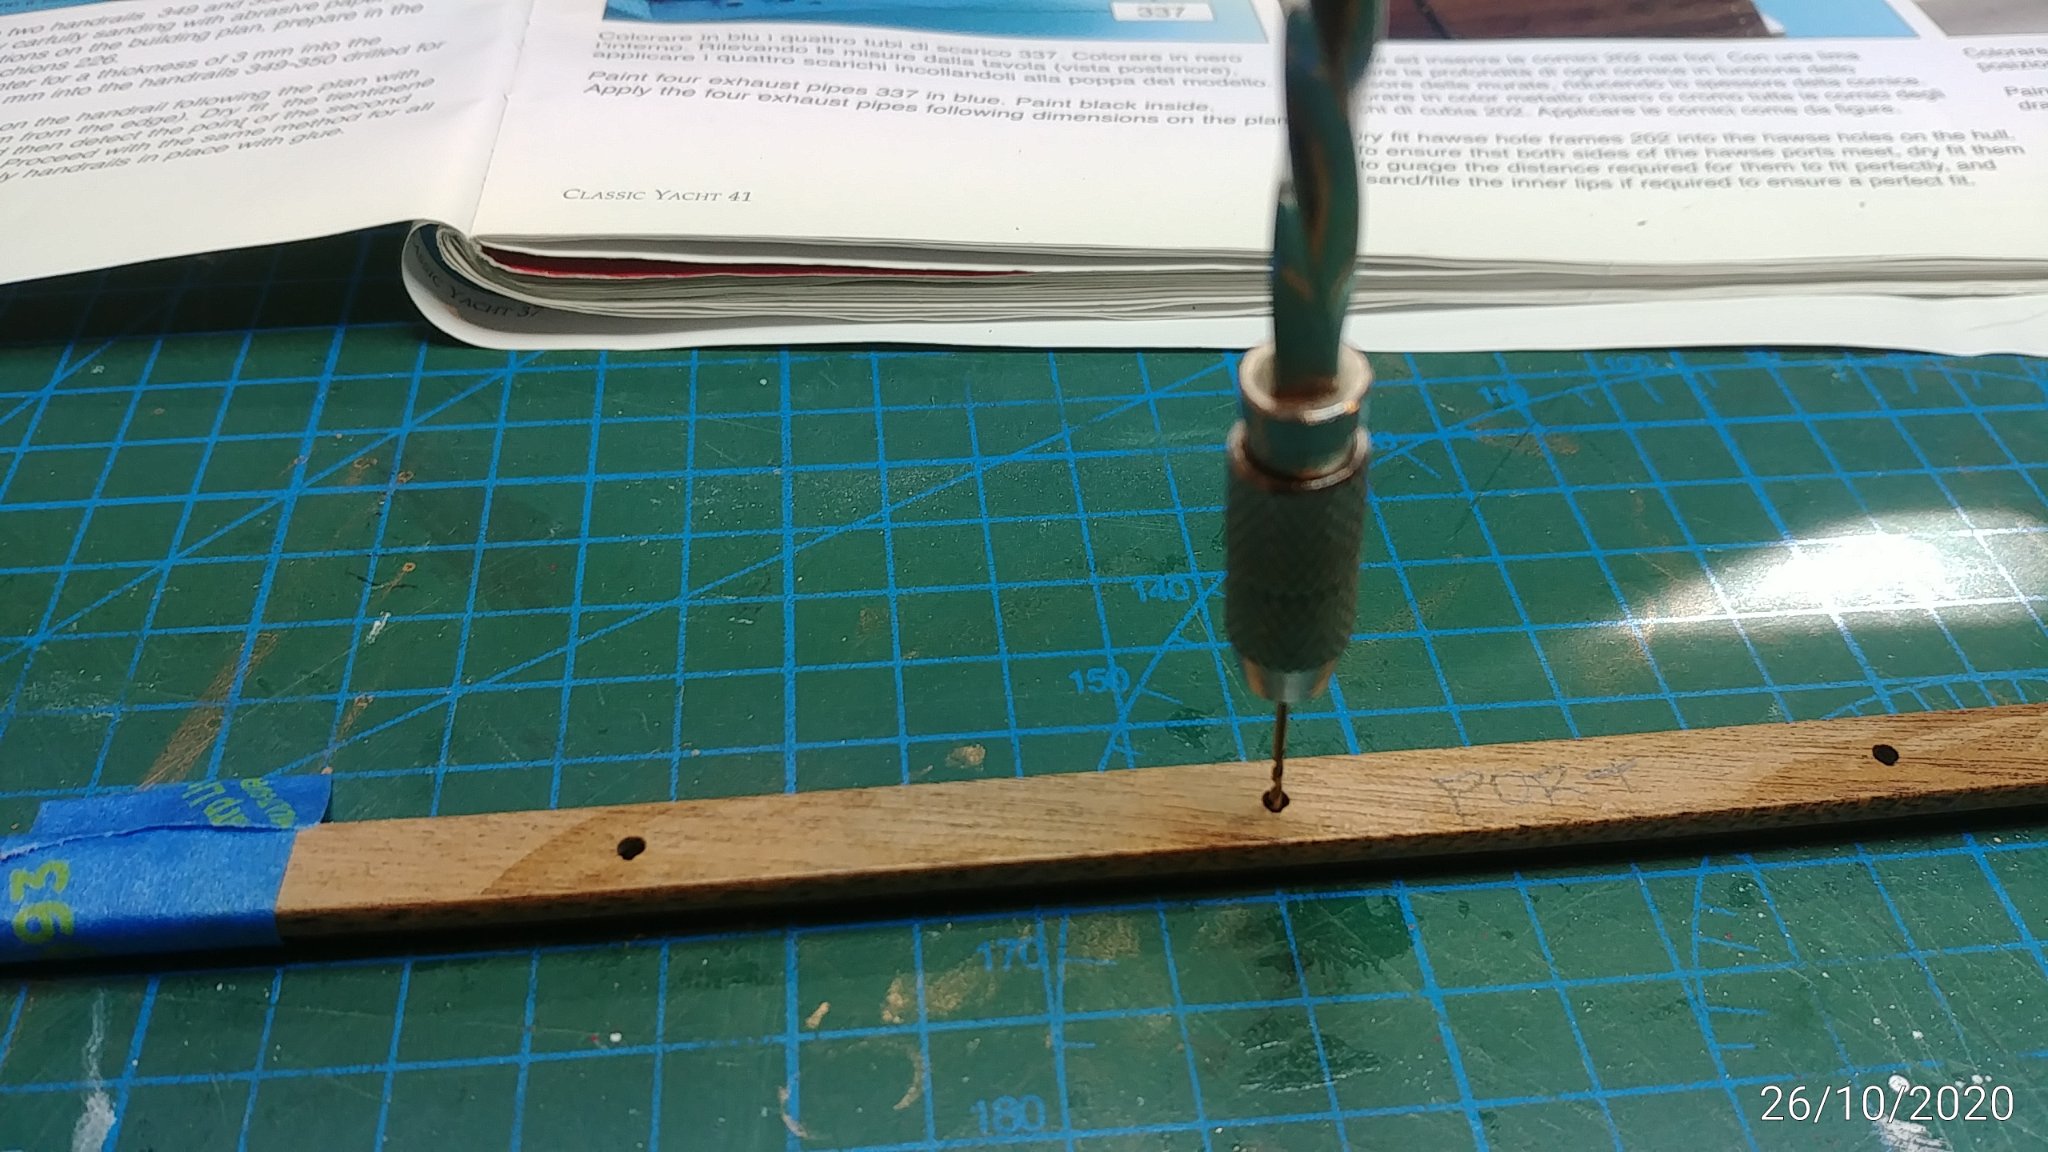
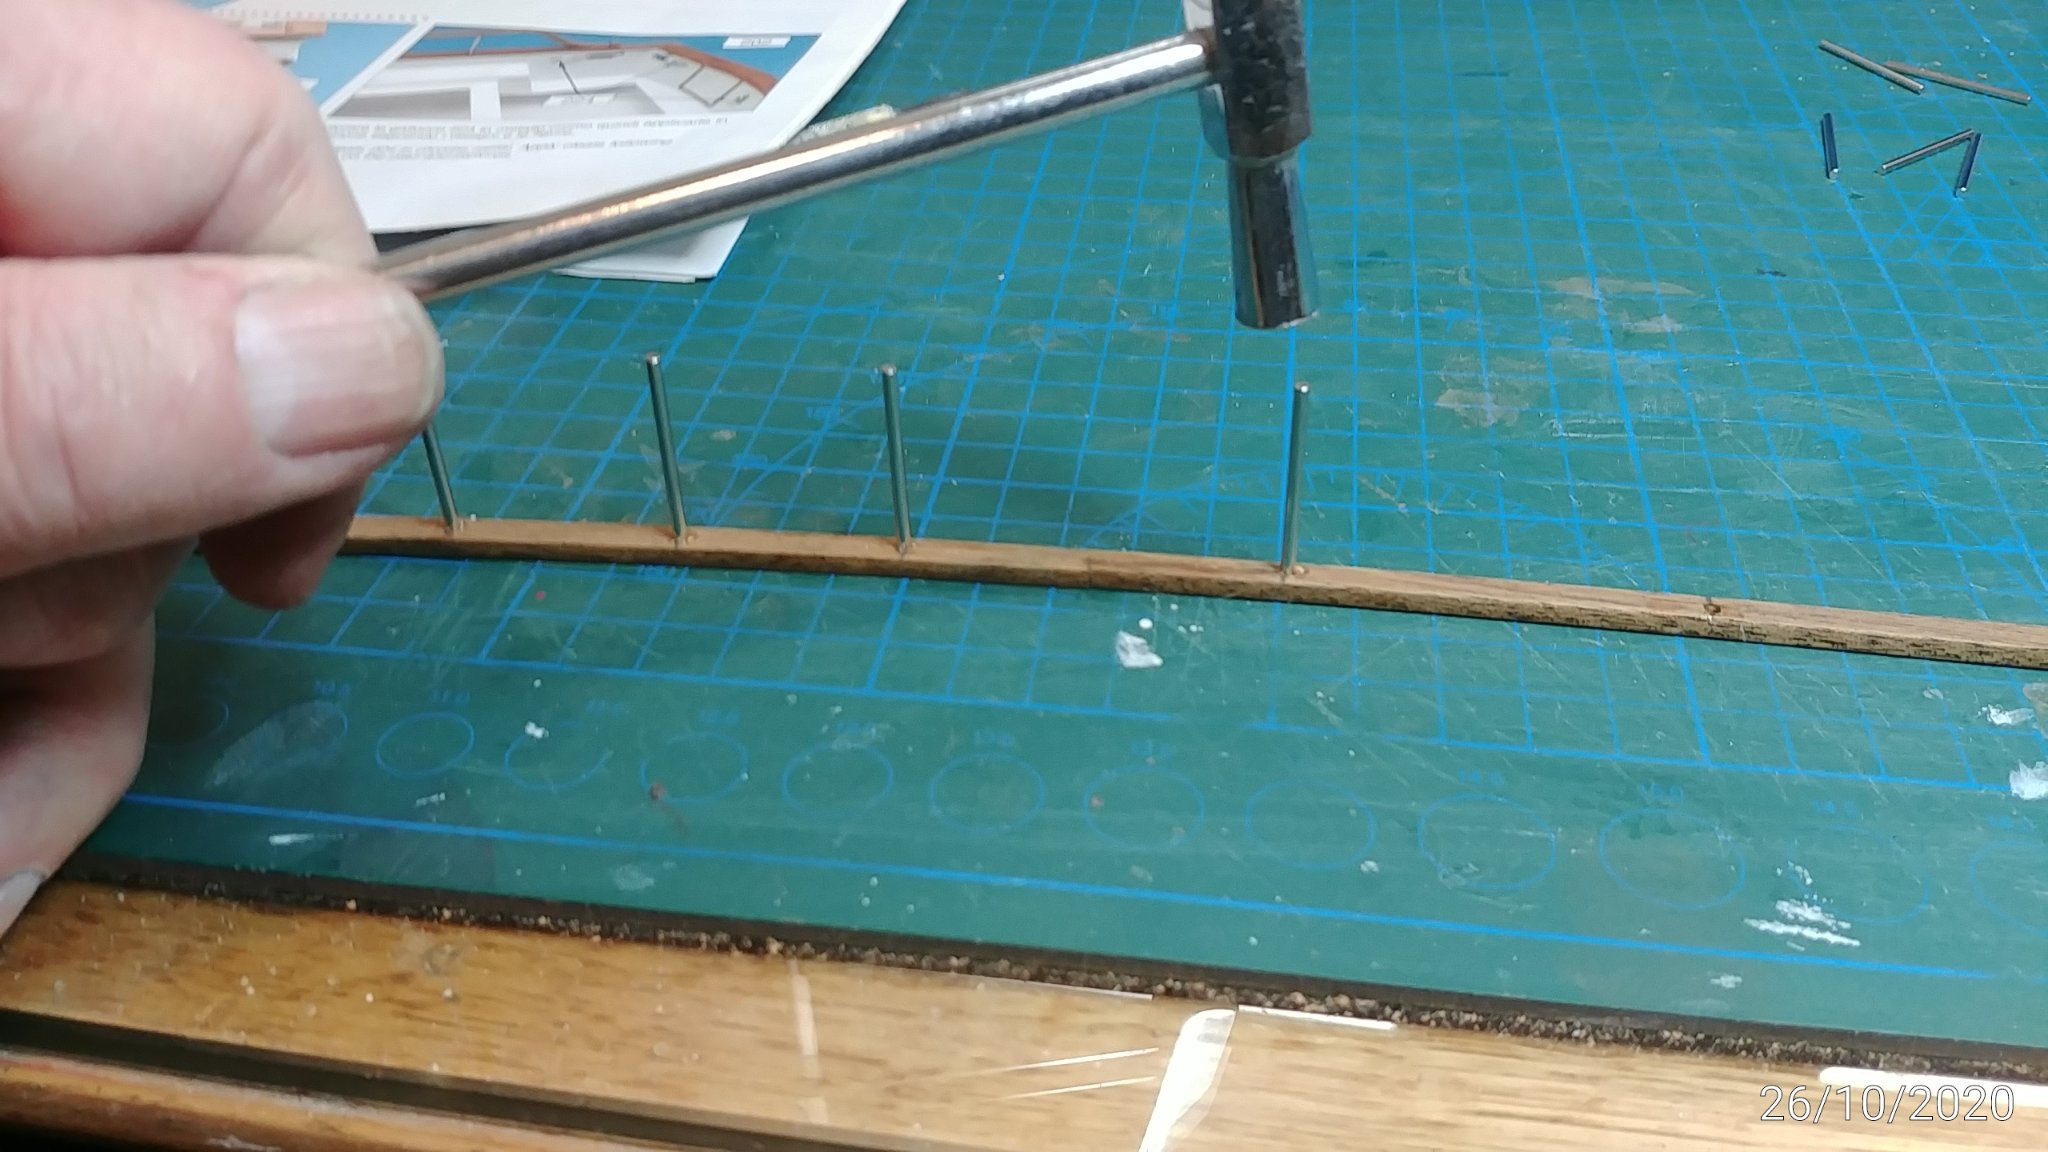
Started to dress the hull by sanding and varnishing the gunwales and the handrails. The handrails come in two pieces which you have to join. The gunwales come predrilled with a 2mm hole wherever a handrail staunchion is to go.This is very helpful and I taped the sanded and varnished handrails to their respective gunwales, marked the position of the straunchions through the gunwale holes, and then drilled blind 2mm deep holes in the 3mm handrail material at the marks. Couldnt have done it without the dremel drill press. Have put a small drop of UHU Hart in each handrail hole while upside down and tapped in the staunchions. Dont plan to install the finished rails until a fair bit later but will put the gunwales on.
The instruction manual says you have 24 stainless staunchions but I could only find 22. Just about wrecked the joint looking for the other 2 and then discovered that you only need 22 not 24. Good one Amati....( but I think they are very good, they sent me two replacement staunchions for the flybridge windscreen frame which came damaged)


-
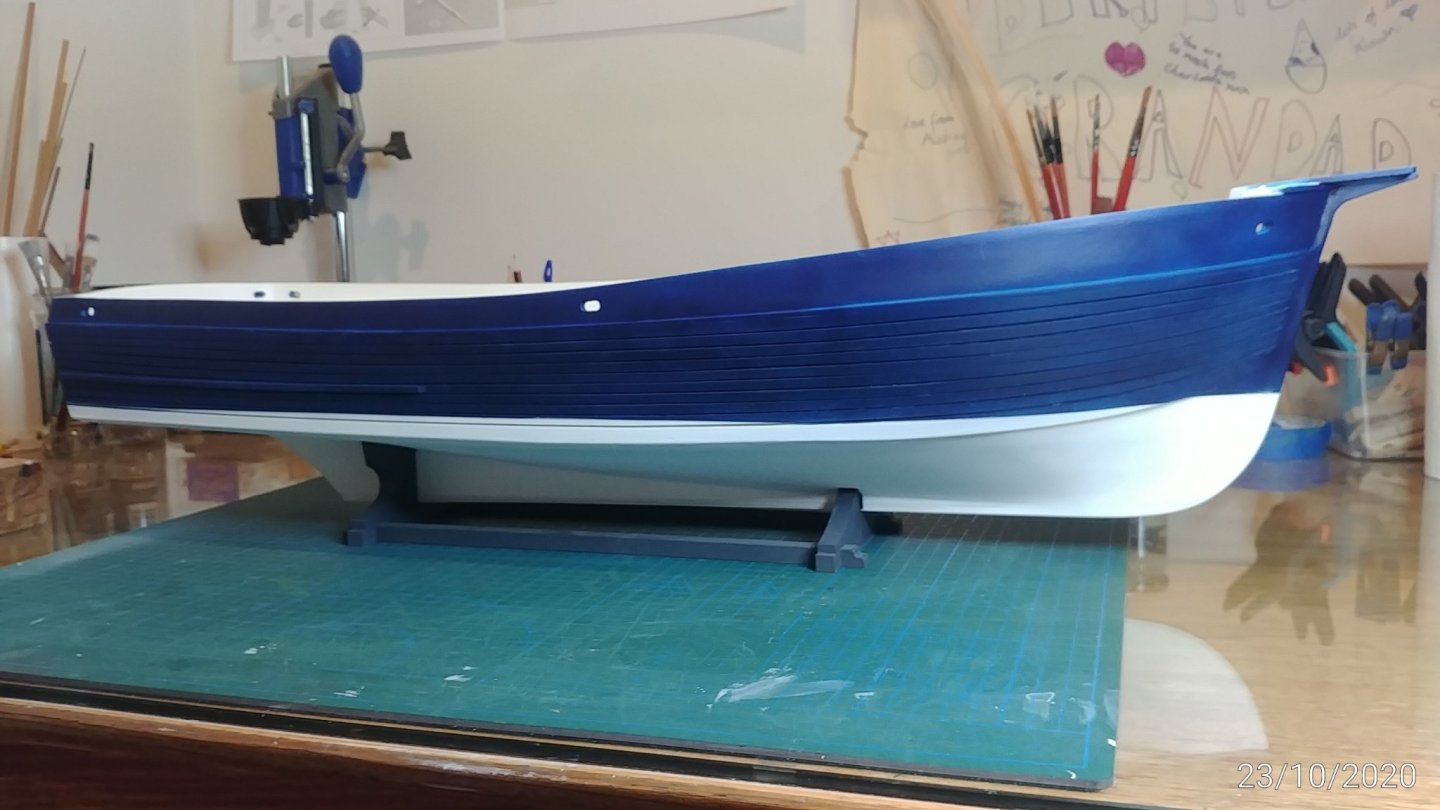
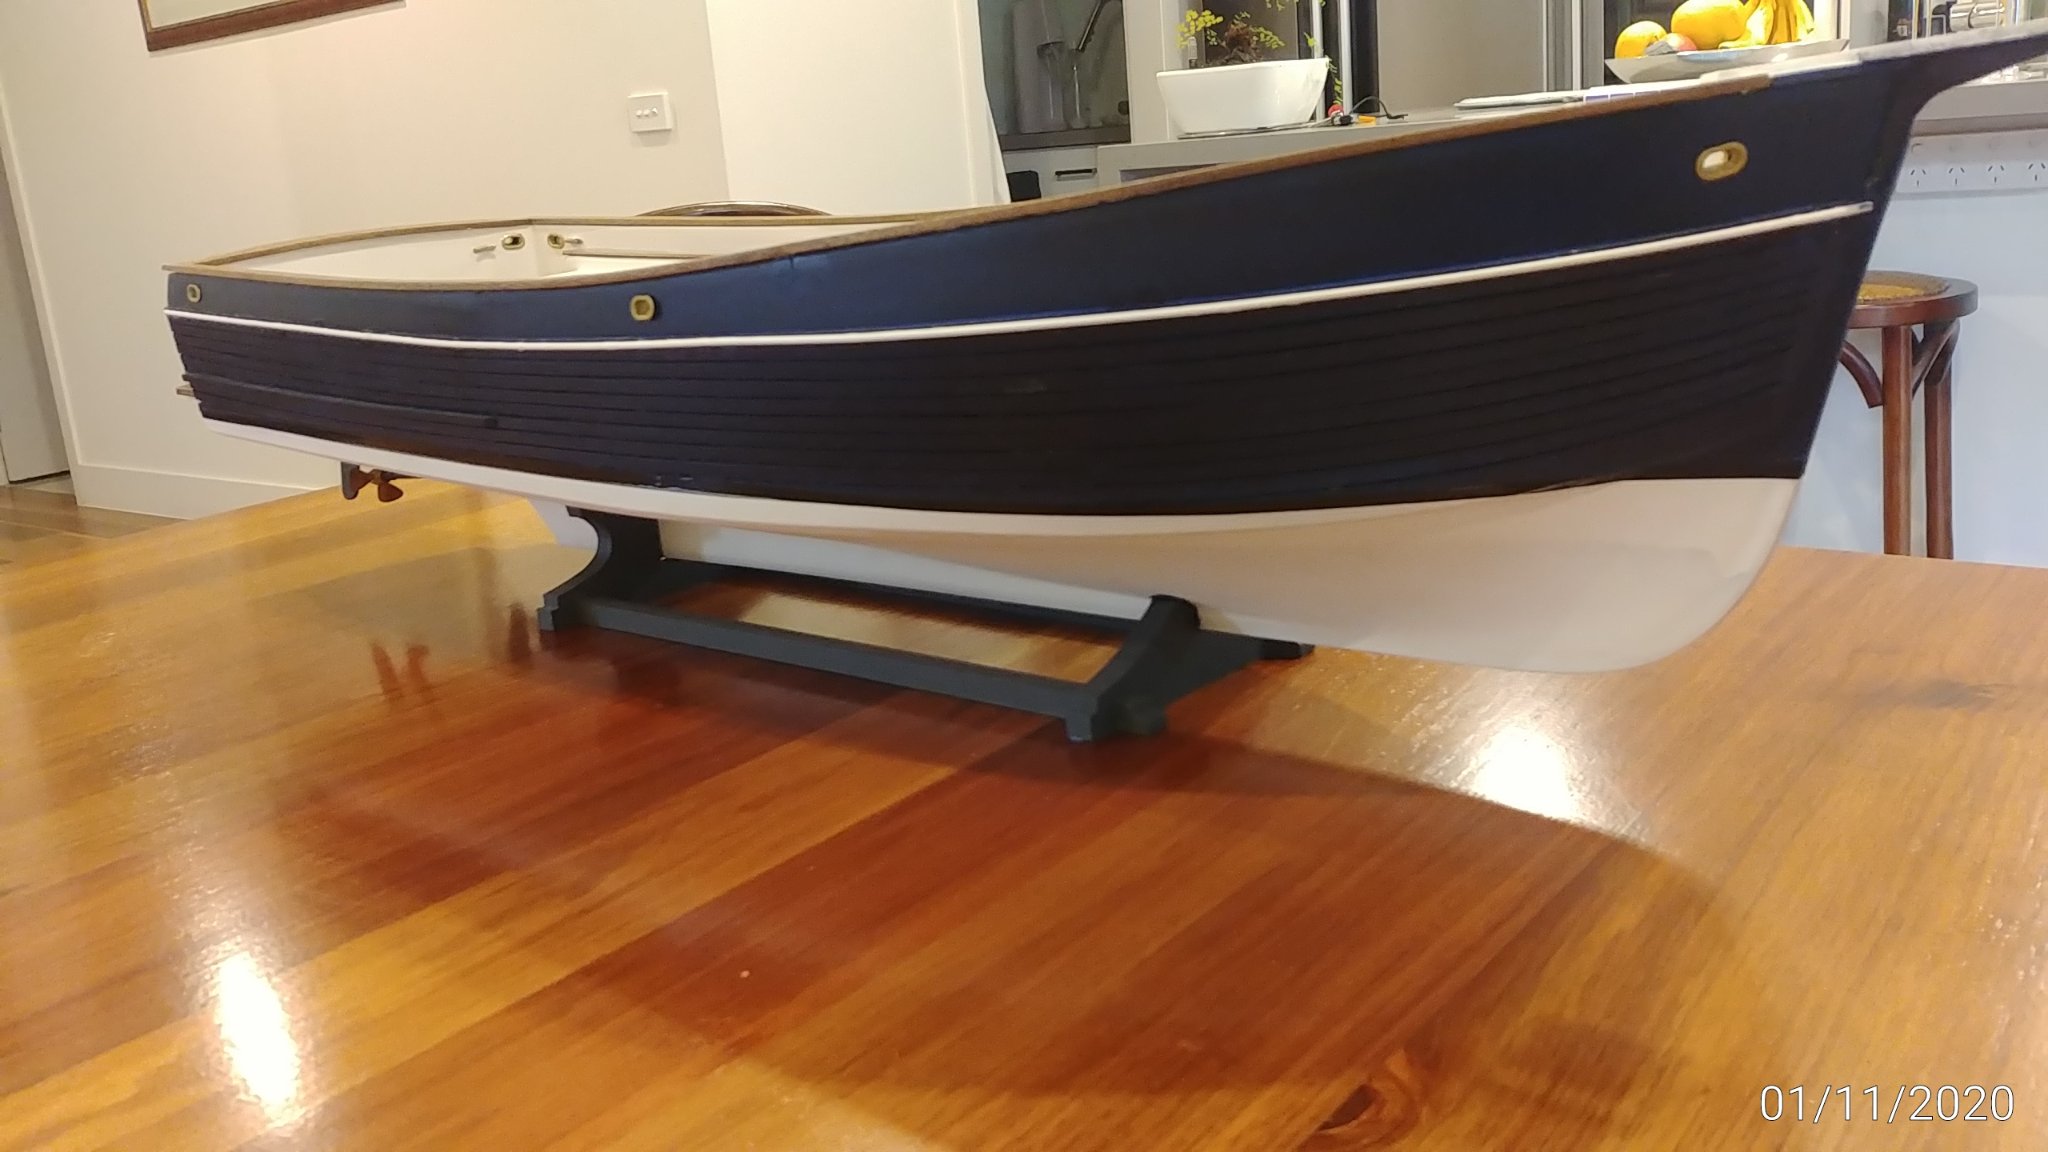
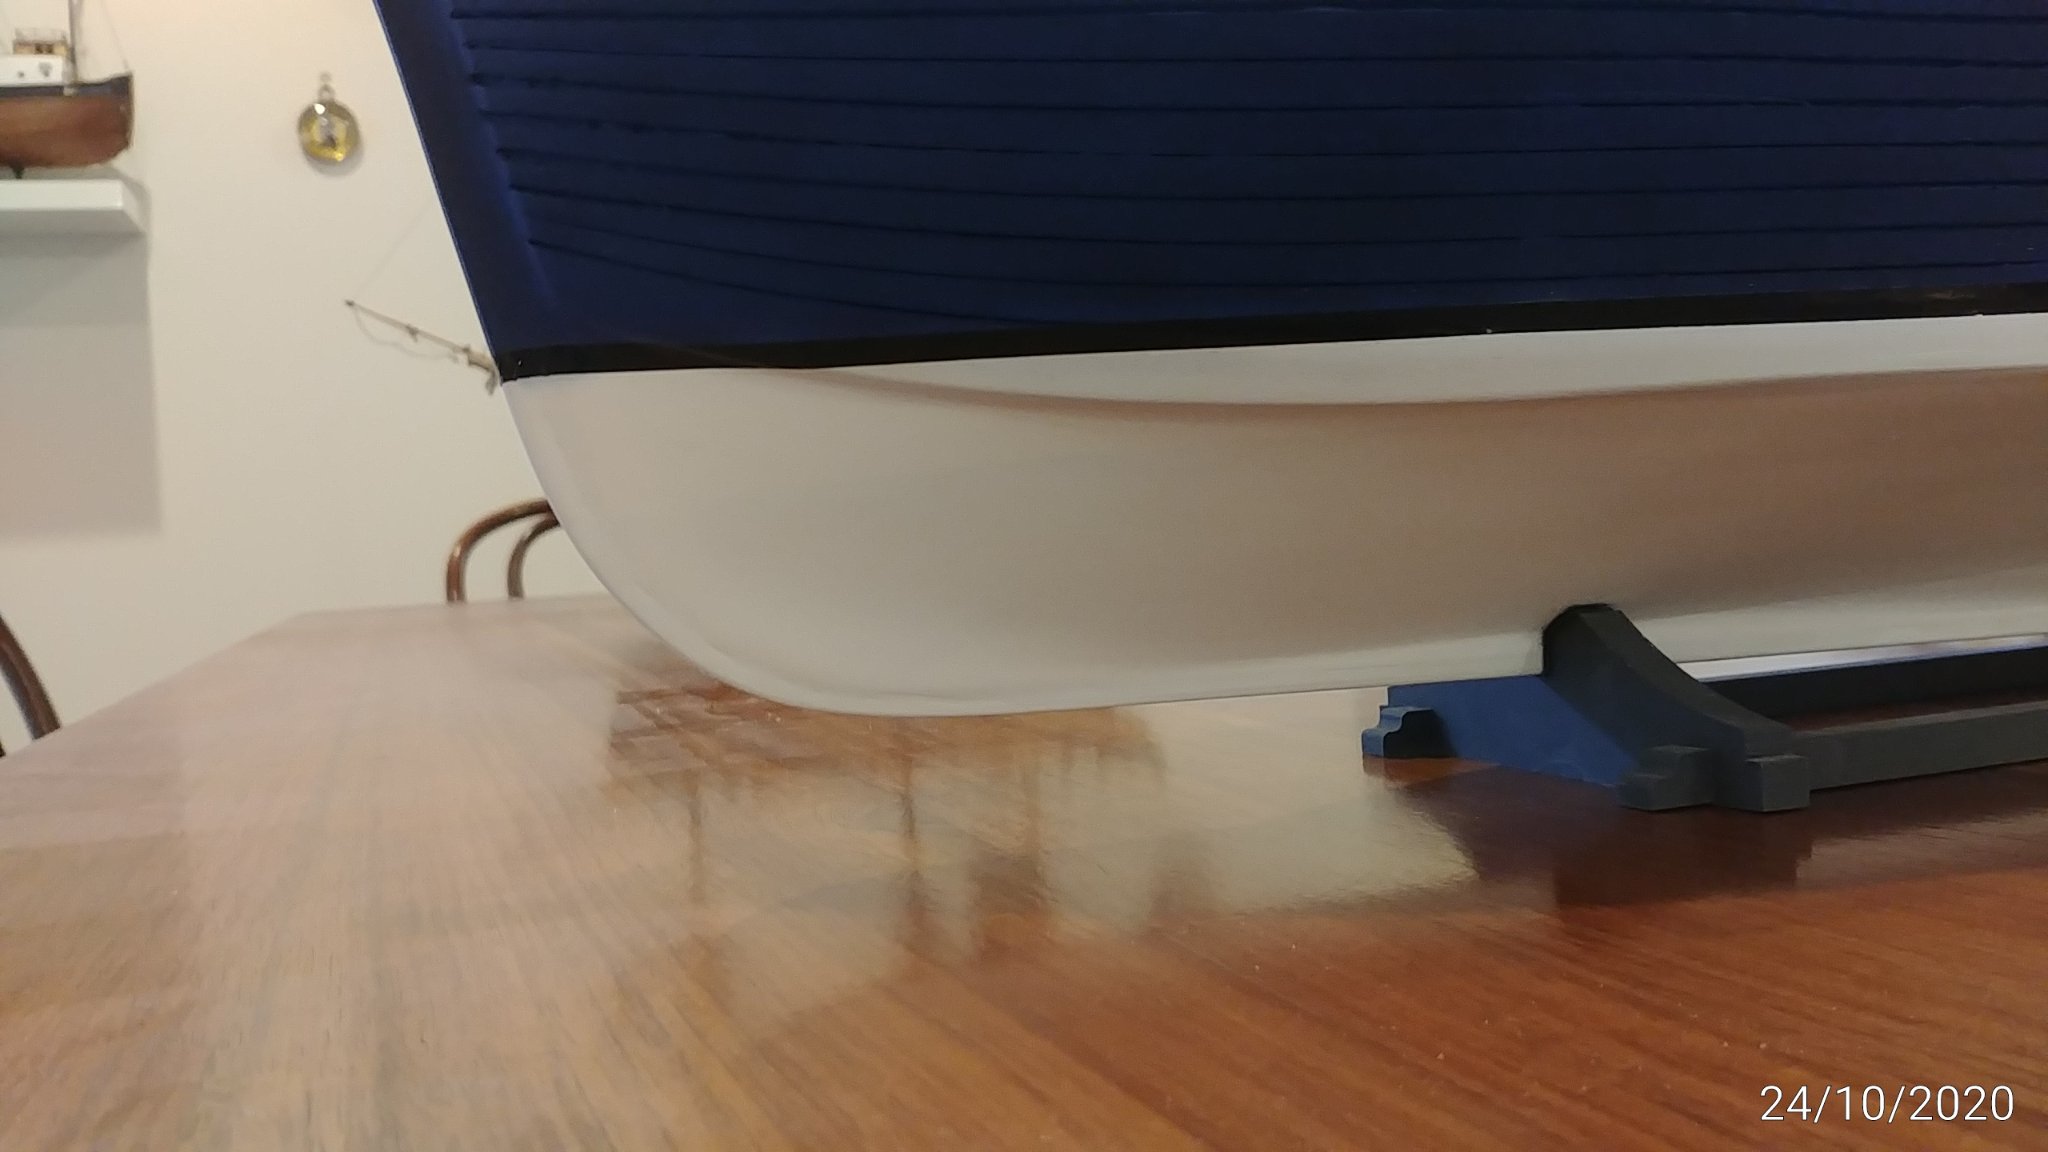
Got the black chine stripe fitted which improves the appearance. Thought it might be difficult but went on pretty easily.

- yvesvidal, Ryland Craze, cog and 1 other
-
4
-
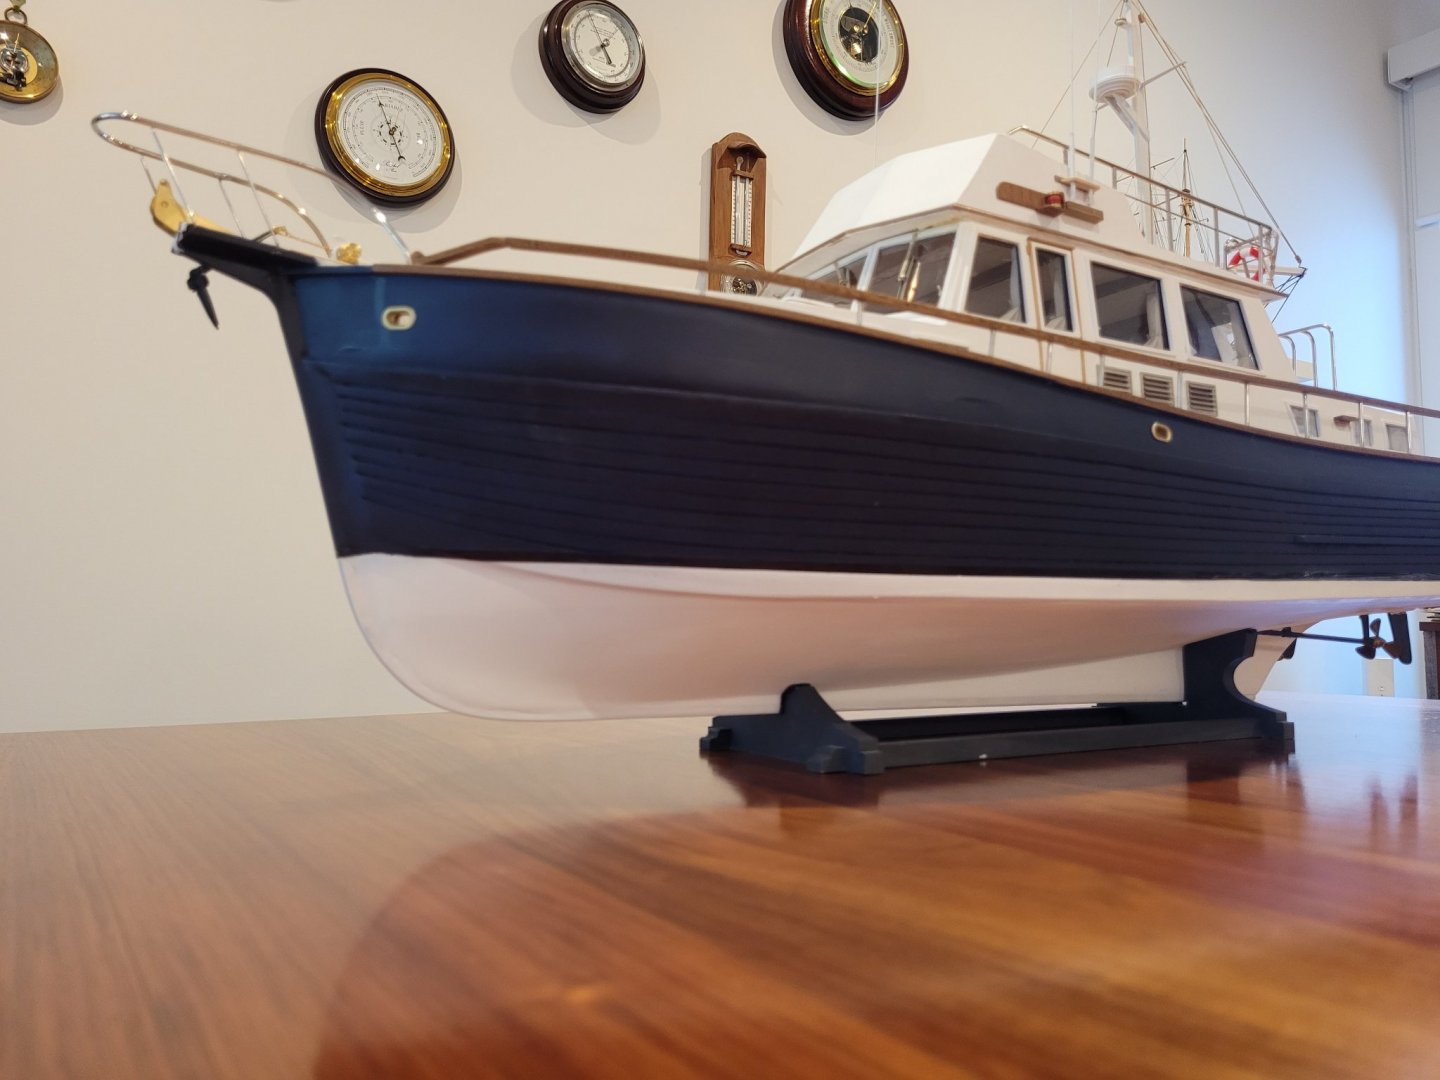
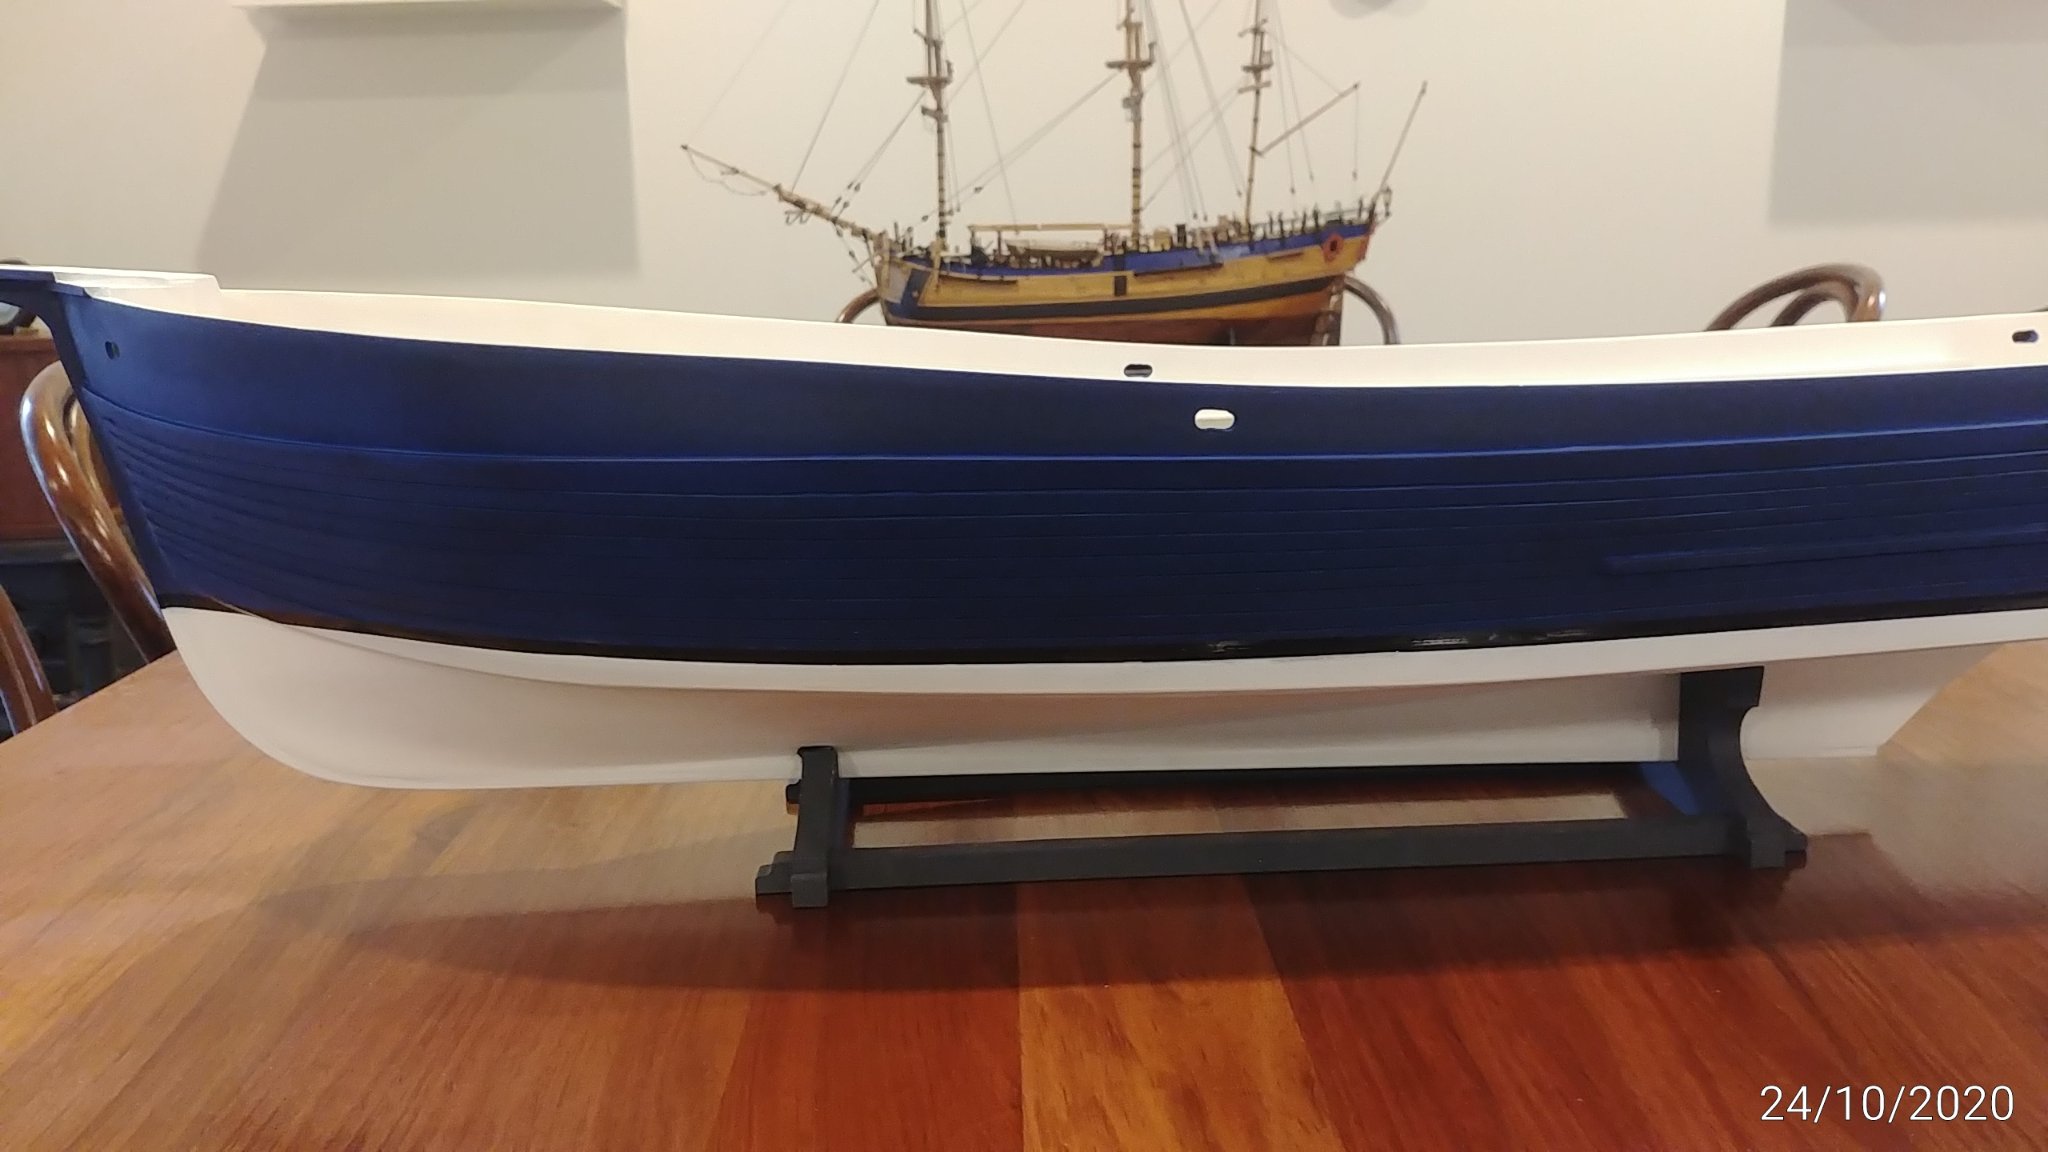
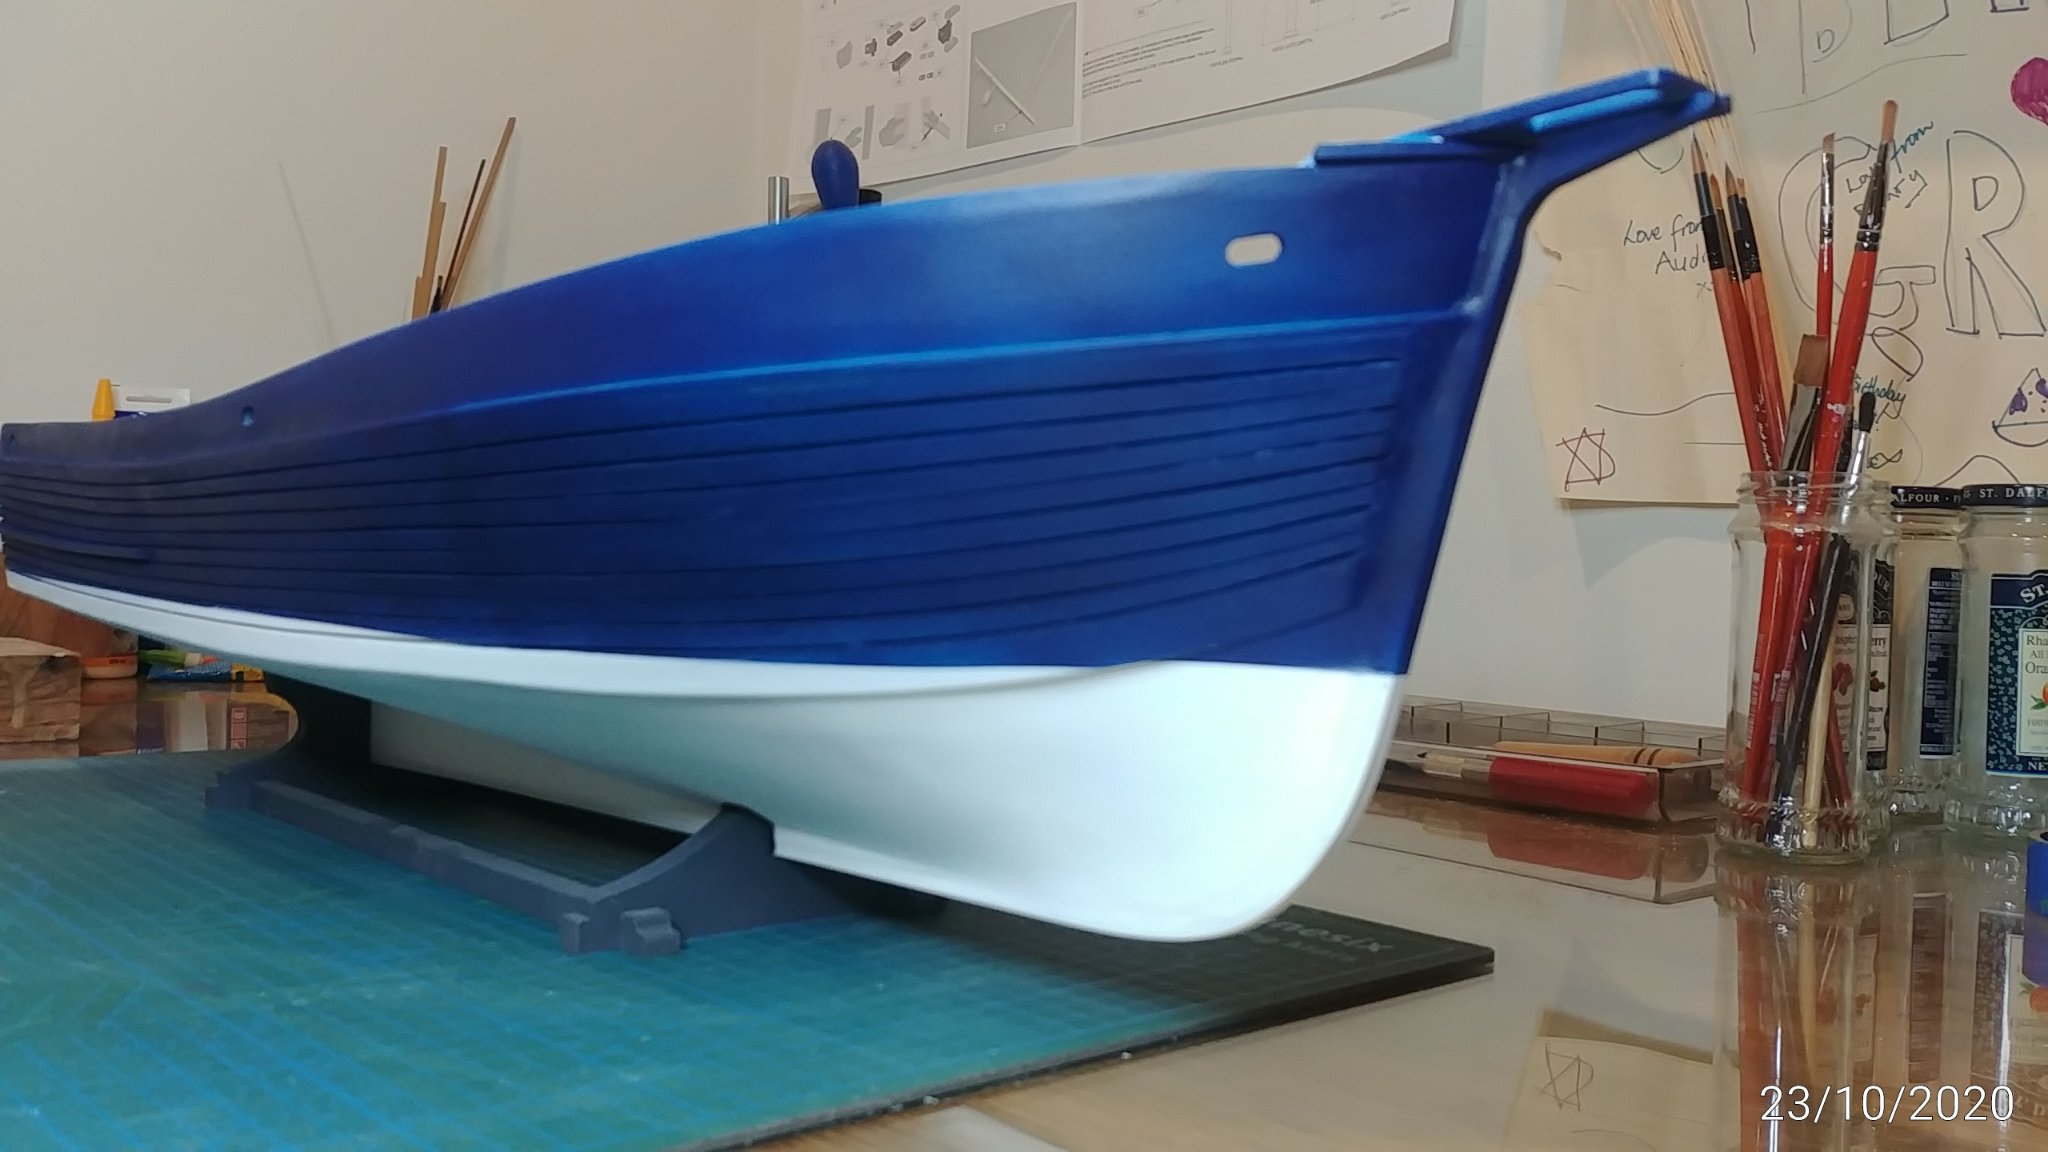
Bit of a breakout from the painting instructions because I always wanted a blue boat. Finished painting the hull....Admiralty Paints Matt White and Tamiya Royal Blue X3 darkened with about 5% matt black. Now for dressing the hull with trim and rails. Why didnt I buy an airbrush 10 years ago..?


- Ryland Craze, Moab, marktiedens and 4 others
-
7
-


Schooner America
in Wood ship model kits
Posted
Thanks Gary thats ecxactly what I wanted to know. Will have a look at hobby sized scrollsaws and tablesaws when I get closer...Cheers