flying_dutchman2
-
Posts
1,735 -
Joined
-
Last visited
Content Type
Profiles
Forums
Gallery
Events
Everything posted by flying_dutchman2
-
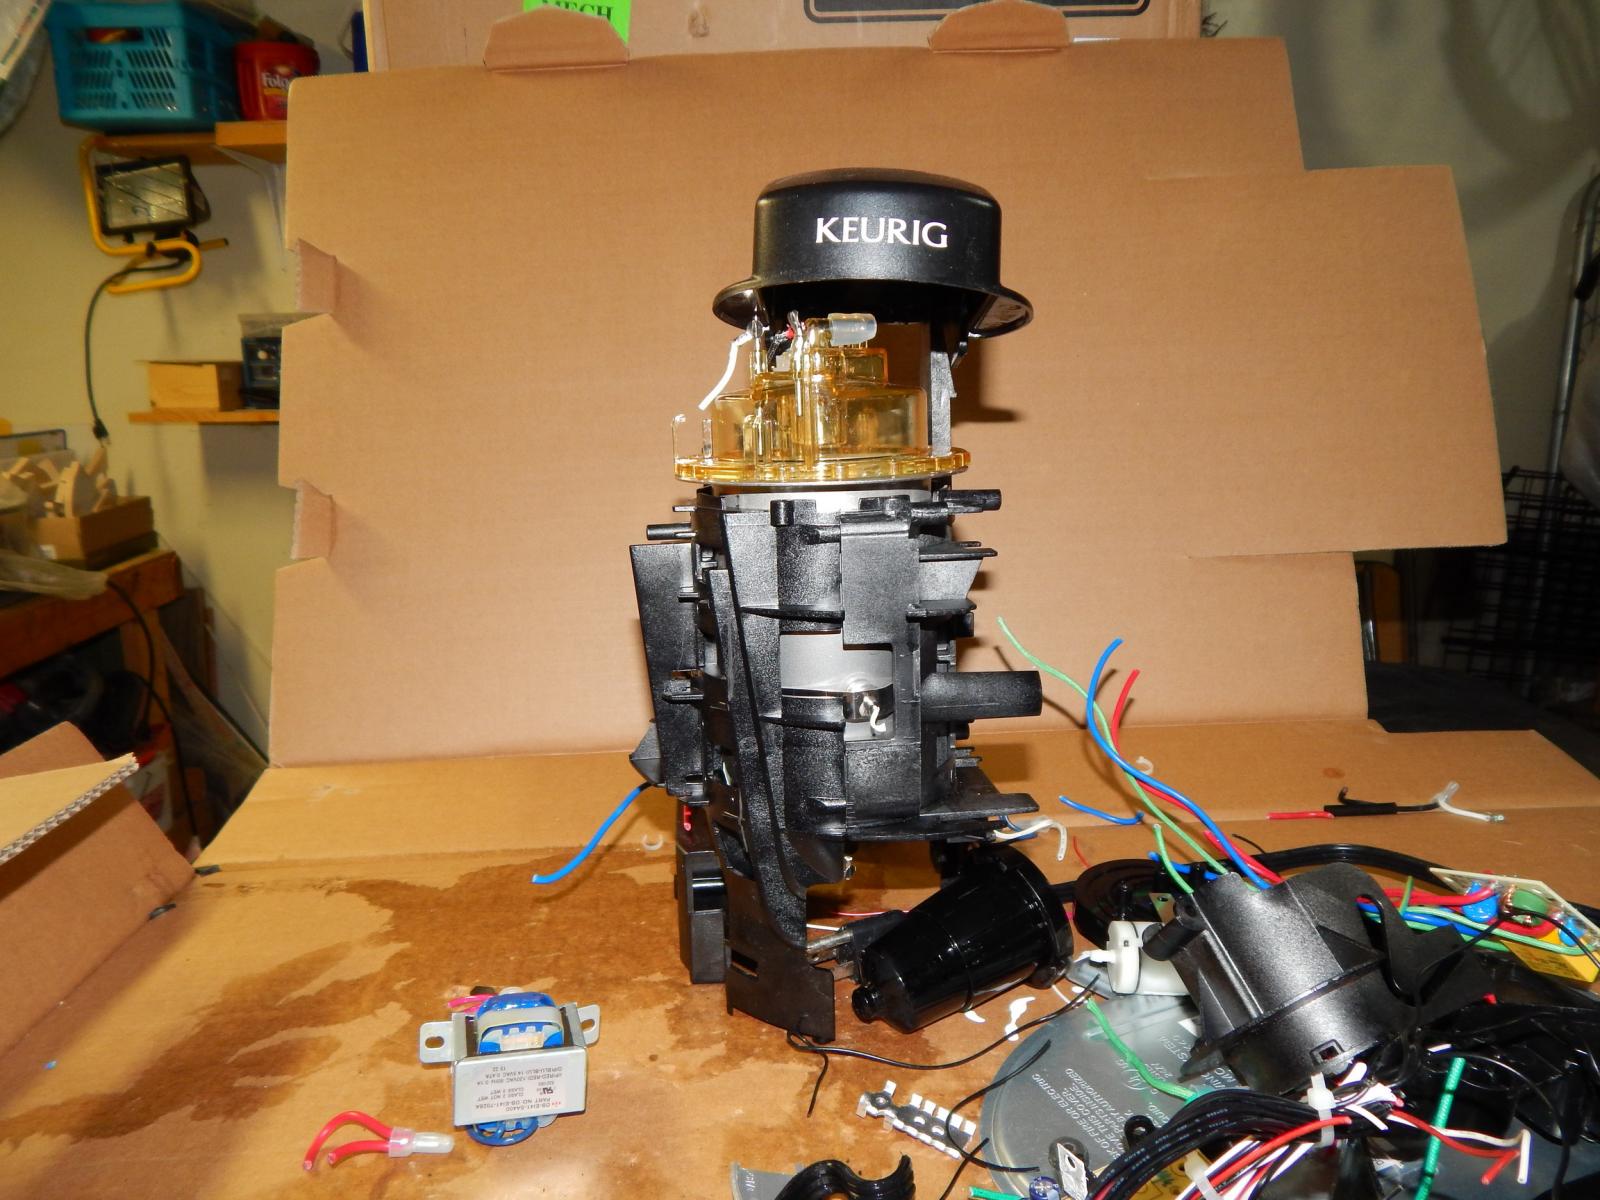
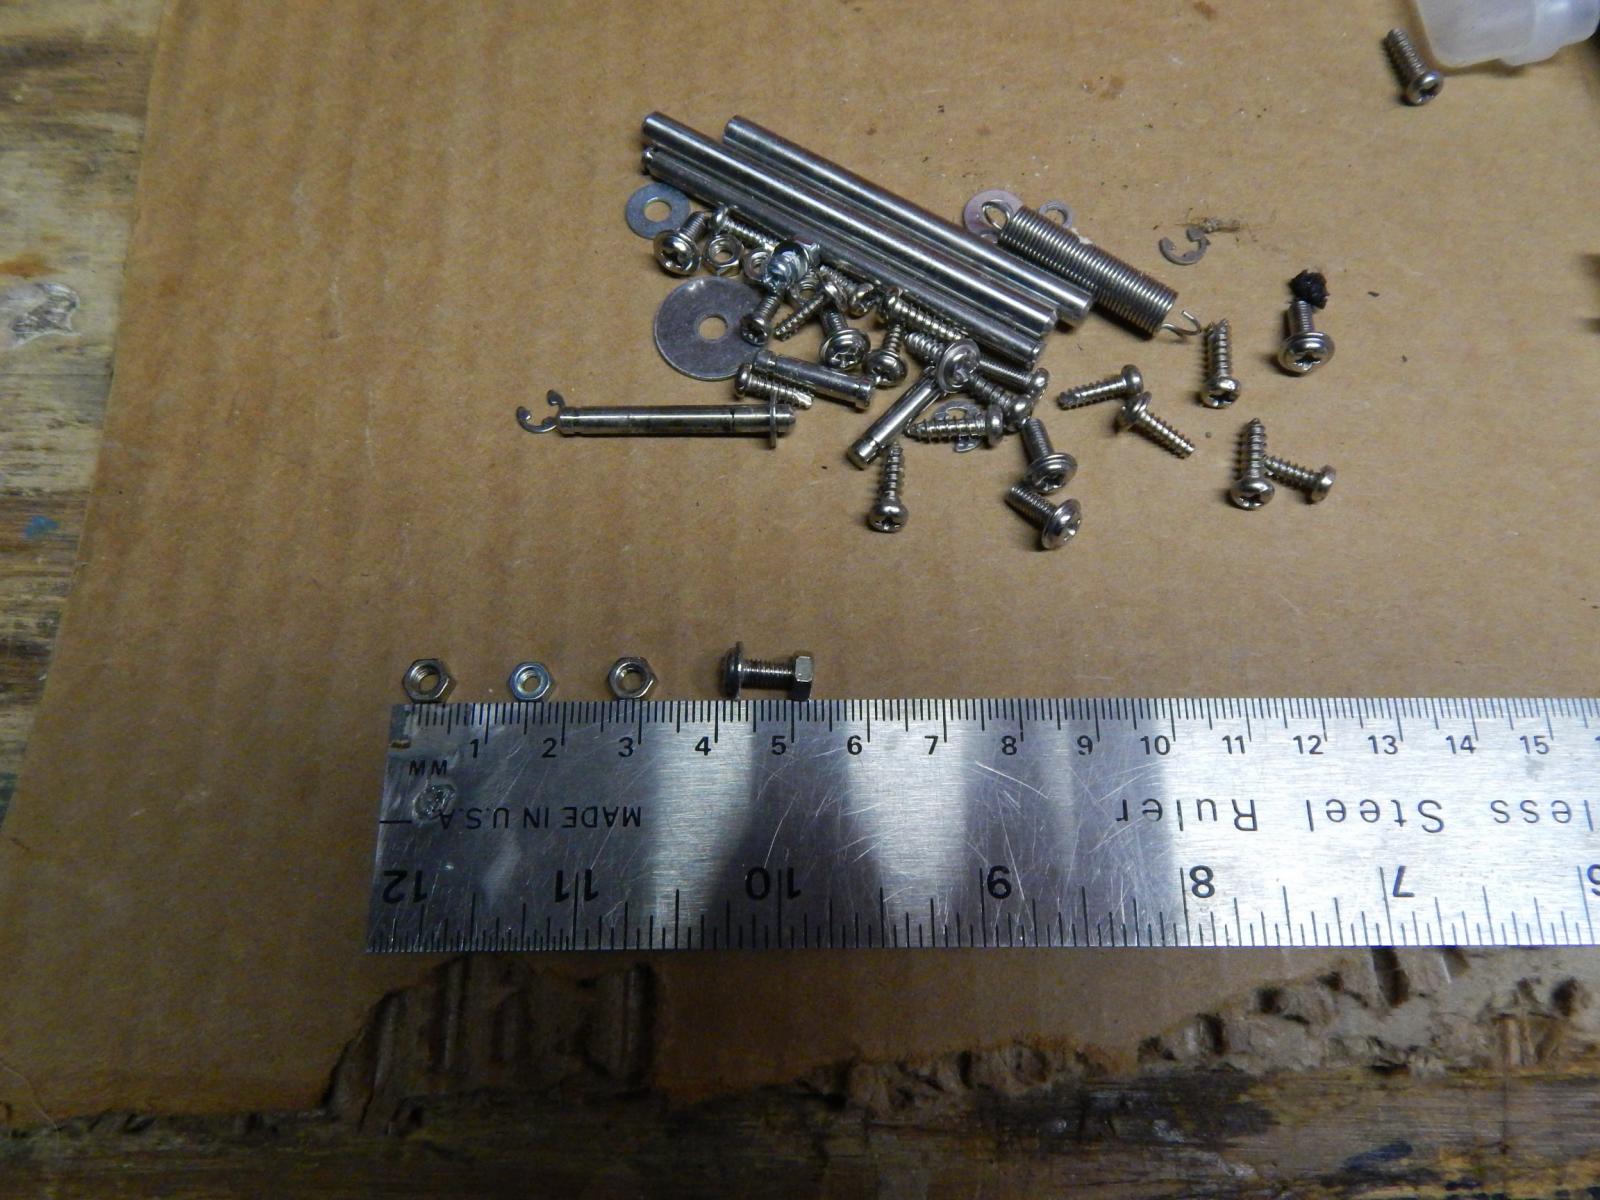
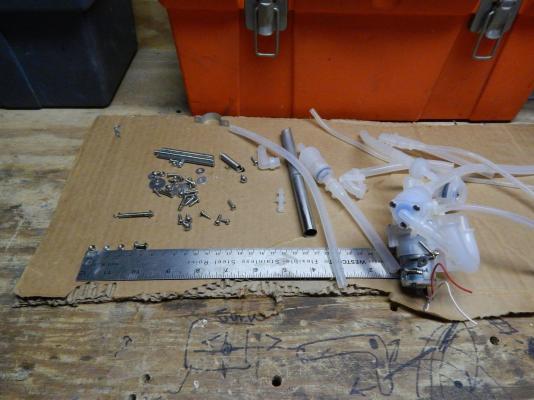
 I am not sure if this belongs here. Our KEURIG (coffee machine) died the other day and I took it completely apart to salvage the tiny bolts and nuts which I will be using on my Soling 1m RC sail boat. These tiny items will come in handy when anchoring the RC material to the hull. No pictures of the example yet but what follows is the completely taken apart coffee machine. Rest in Peace Tubing a tiny screws, nuts and bolts. Here is the tiny items. Marc
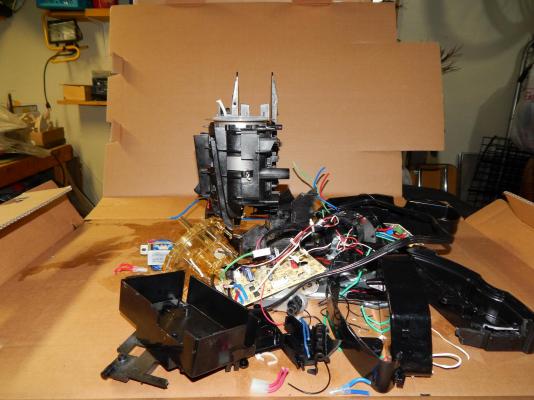


- 396 replies
-
- 7
-

-
- Idea
- Bright Idea
- (and 1 more)
-
That is a great idea and looks good. I wonder if the European Bank is bothered that you took some coins out of circulation. Marc
-
Beautiful, Everything that is on the table makes it look so real. I thoroughly enjoyed this log. Thanks. Marc
-
Salty Sea Dog do you create doll house furniture as well? The extreme miniature work you do, making doll house furniture would be pretty easy with your talents. Marc
- 396 replies
-
- 2
-
-
- Idea
- Bright Idea
- (and 1 more)
-
Scroll Saw Blades
flying_dutchman2 replied to Pete38's topic in Modeling tools and Workshop Equipment
Since 2011 I've had a Skil SSaw from Sears costing me $90.00. My favorite Power tool. I have used it to cut everything from 3/4" oak to 1/16 basswood. I use it for fret work, clocks and my intarsia has some serious colorful hardwood, 1/2" puzzles and so on. My layered bowls are cut on an angle. It is all a matter of how creative you are. I have cut brass tubes, aluminum siding, 1/2" Lexan Plexiglas, and other material. (It all depends on the type of blade you are using). As you can read from the above, I have turned my SSaw into a band saw and a table saw. I use Olson blades of various types and TPI's. Delta blades are so-so. I have also created some jigs so I can cut in a straight line. Important note: when I paste a line tracing on the wood I completely cover the plank with clear packing tape. It lubricates the saw. So there is less breakage and burning. I do this to every piece of wood I cut. Thanks for mentioning additional options to buy blades. Marc -
This is one of the best topic on this forum. Thank you CaptainSteve. The sharing of how we build, what parts we use, where we scour and purchase parts. I am going to scour ebay and visit HobbyLobby and Michael's again - jewelry department. Marc
- 396 replies
-
- 3
-
-
- Idea
- Bright Idea
- (and 1 more)
-
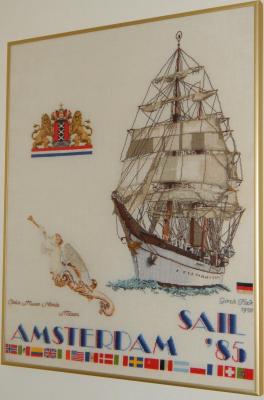
WOW Nils this ship is impressive, the attention to details, the planking. I like the soldering of the brass (Is it brass?) I am drooling all over what you have completed with the masts and lets not forget the attention of details..... again. I am just amazed with all the metal work. I like the way you add a figure in the picture to show the correct scale of the items. In post 103 I like what you did to 2 clothes pins. Glue 2 together and create a larger clamp (I am going to do that as well), thanks for the tip. I enjoy how you slowly fill the deck with the necessary items. On build log part 35 (post #133) what do you use to put the brass railing's together? Are you soldering this? It looks perfect, such even spacing's. I just read post #151 and I think you answered my question. I am glad you added the sails (as I always do myself). It gives a complete look of the ship but some people say that it hides the rigging and parts of the spars and masts. Just view the ship from all angles. Excellent paint job as well. When I lived in Amsterdam in 85, the Tall Ship SAIL show had the Gorch Fock 1 and she was impressive. I actually did a cross stitch from her. (From all the cross stitches I have done in my life this is one I kept and the rest have been given away). Top left - Crest of Amsterdam Middle left - Figure head from a museum in Milan. Bottom - All the flags from countries that participated and rest is the ship itself.
- 222 replies
-
- 3
-
-
- gorch fock
- barque
- (and 2 more)
-
I lie your picture under "Jan B.". The captain from Tin Tin (Kuifje) is known to have a long sentence of words. Oh Yes, the ships hull looks good. Marc
-
Can i live without a BYRNES TABLE SAW
flying_dutchman2 replied to shihawk's topic in Modeling tools and Workshop Equipment
Last club meet there was a member who got a NEW DOUBLE MULTI-CLAMP HOLD IT PLUS from www.vanda-layindustries.com. Beautiful piece, solid and holds the dremel well into the clamps. So my next power tool will be the Acra mill press from vanda-lay. I will be able to do many things with that. Furthermore, as I said before and I have other wood hobbies (building clocks and intarsia) The router table display is similar to what Byrnes is coming out or is already available. Dremel has one as well except for much cheaper, but essentially does the same thing. Solid Aluminum Construction •Large 1/4”X6”X8” Table •Fits All Dremel & Simular Moto Tools •Route, Shape, Sand, Grind •Mount Or Clamp To Any Work Surface $110.00
-
Can i live without a BYRNES TABLE SAW
flying_dutchman2 replied to shihawk's topic in Modeling tools and Workshop Equipment
Is there a lot of waste (saw dust) percentage wise? I am assuming the waste would be as much as the width of the blade. 1/32 x 1/8 - that is amazing. It is accurate all along the plank you are cutting out? Marc -
Can i live without a BYRNES TABLE SAW
flying_dutchman2 replied to shihawk's topic in Modeling tools and Workshop Equipment
LOL....... "Everyone, repeat after me". Conclusion of this thread. Get a Byrnes saw if it is a "table saw" you are looking for and the precision you need for the production work. This topic was discussed in last weekend's club meet and it was agreed by the pro builders. ""GET a Byrnes saw". Marc -
Truly awful question (thread from kits)
flying_dutchman2 replied to achuck49's topic in Masting, rigging and sails
I tried that and my cat became entangled himself and with long hair I had to cut it out. He looked rather ruff. Marc -
I have done something very different for the Jacht Mary and the method comes from a member of a local club and a pro builder by the name of Gus Augustin Equipment needed to make flags. You make them from plain white printing paper Fold the paper to the format you want it to be. Wet the paper to take memory out. Hang or put on towel to dry. Paint the paper with acrylic. Fold the paper and you have a flag. Add 1 coat of Dullcoat to dull the paint colors. It keeps its form whereas the cloth type lose it even if I starch it or use other methods. Post 51 http://modelshipworld.com/index.php/topic/4294-the-first-royal-dutch-yacht-mary-by-marcus-botanicus-mamoli-1646/page-4 Marc
-
Razor saw handle/miter box
flying_dutchman2 replied to qwerty2008's topic in Modeling tools and Workshop Equipment
Cool looking handle. I have razor saws as well and love them. Since you made the miter box from wood, isn't that going to wear out quickly and then you have to make a new one. I took the little miter box that came with the X-Acto kit and made the groves 1mm wider with a dremel and a carbide saw blade. Works great. Marc -
Can i live without a BYRNES TABLE SAW
flying_dutchman2 replied to shihawk's topic in Modeling tools and Workshop Equipment
I went to the Vaughan and purchased three Bear Hand saws (Japanese saws). Fine, Med & Coarse TPI. I am sold. Have used it one various projects. You get a straight cut downwards, no getting stuck in the wood. I let the saw blade do the sawing, all I do is move the saw forward and backwards. [in forestry - graduate school - when I taught the timber harvesting classes, first rule of the first day: Hold the chainsaw on the angle you want a cut and let the chain do the job. You have to have a sharp chain to do this] I want to thank you for the suggestion. I am very happy with them Marc -
Michael; I'll check out this book. Furthermore, depending on what period of Dutch ships you build, I may be able to steer you in the right direction. I have a book and plans from A. Tasman, There is the new Dutch freighter of the 17th century book with 24 sets of plans for 14 ships, There are some other books in Dutch, I can translate for you. Let me know. Marc
- 1 reply
-
- 2
-
-
Can i live without a BYRNES TABLE SAW
flying_dutchman2 replied to shihawk's topic in Modeling tools and Workshop Equipment
I just looked at it again and I like it and yes, the X-Y attachment is a must, will read up on it more. What I like about it that it is made of Aluminum as well (just like the Byrnes tools). This is more in my price range and I can use it for other hobbies as well. Marc -
Can i live without a BYRNES TABLE SAW
flying_dutchman2 replied to shihawk's topic in Modeling tools and Workshop Equipment
This is a tool I will get as there are so many things I can do with. Some may say that the dremel motor does not have enough HP, but for my that is Ok. I like all the milling attachments for it. Last night I bought the drill press stand from Dremel on ebay. I wonder if there are any milling accessories available. I researched this but cannot find anything. It is also possible I am looking in the wrong place. But if it isn't available I will get this tool. Marc -
Can i live without a BYRNES TABLE SAW
flying_dutchman2 replied to shihawk's topic in Modeling tools and Workshop Equipment
Here is a website that sells a drill press with all types of accessories and the material is made of aluminum and is reasonably priced. Would love to have this. It accepts any dremel. http://www.vanda-layindustries.com/ Marc -
Can i live without a BYRNES TABLE SAW
flying_dutchman2 replied to shihawk's topic in Modeling tools and Workshop Equipment
What I meant to say is that these modelers have power tools but not Byrnes power tools. I have power tools as well. Drill, dremel, router and scroll saw. Besides Ship modeling I also do fret work, making bowls, wooden clocks made from all wood and intarsia. I am always looking for power tools that I can use for all of the above hobbies. Marc -
Can i live without a BYRNES TABLE SAW
flying_dutchman2 replied to shihawk's topic in Modeling tools and Workshop Equipment
I like this. We moved from Byrnes tools to shop vacs. This thread would be better titled..... "Can I live without power tools, including high-end power tools." I have a cheap, light shop vac and have been looking for something more quiet. I like the ones that both Mark and Gorge have. Further research is needed. Like rtropp, I have also rigged my power tools to fit the hose of the vac. Something else. Without my knowledge, at the NRG conference this year, my wife talked to several wives of modelers and asked about the Byrnes tools. (she likes the quality and would use them as well). They told her that most of there husbands used hand tools and some power tools. The power tools were also rigged to perform different results. Meaning one power tool could do the same job as 2 or 3 different power tools. None of them had any Byrnes tools. Mostly tools from Lowes, Home Depot and the like. Conclusion....... I can do without them. Marc -
Can i live without a BYRNES TABLE SAW
flying_dutchman2 replied to shihawk's topic in Modeling tools and Workshop Equipment
I am doing my first scratch build. Dremel and a scroll saw are the only power tools I built with and the rest is all hand tools. Today I built a fence for my SSaw and I cut out the keel which is 4mm x 4mm x 347mm. After the third try it looks good and straight. A table saw would do this job in less steps, but it did work. Also the SSaw has so many options when it comes to types of blades. What I like about the SSaw is that it is very versatile and have gotton great results with that for all types of projects. I did order 3 Japanese saws. After reading the comments and researching these tools I was sold. Will get those after Christmas. You can buy sanding strips for the SSaw but I just fold a 1" x 5" piece of sand paper and put it in the clamps of my SSaw and sand on a slow speed. It is a slow process but there is much more control. The drill press can be used for accurate drilling but add a sanding drum and you have a sander. Like someone said. There are many power tools but which one will you "really" use and which one stays in the box. With my SSaw I create bowls which is really cutting the wood on an angle. Then glue the pieces together, sand, stain/oil and voila you have a bowl. Buy a lath and you can do the same thing. With one block of wood. Same results and no seems as it is one piece of wood. The seems give it character. Marc -
Can i live without a BYRNES TABLE SAW
flying_dutchman2 replied to shihawk's topic in Modeling tools and Workshop Equipment
I just did a quick search on eBay on band saws. Starting around $80.00 to a JET band saw for $1600. I am selling my entire vintage model railroad collection (Marklin-German) and with that profit I will invest in some of the above. If some one does pay more than what I ask, a Byrnes tool will be ordered. Those portable band saws look funky. I wonder how you would get the same results as the regular one. No need to explain. Marc -
Can i live without a BYRNES TABLE SAW
flying_dutchman2 replied to shihawk's topic in Modeling tools and Workshop Equipment
I should have been more clear at what I said. Table-Band saw would be a band saw that I could screw into my work bench or put on top of a table that has wheels. I would be using this to rip wood (the amount of wood I come across is amazing). I would use it mainly for ship building and what I can't do on a scroll saw. Thanks for the links Marc -
Can i live without a BYRNES TABLE SAW
flying_dutchman2 replied to shihawk's topic in Modeling tools and Workshop Equipment
Japanese saws. Any recommendations for cutting hard and soft wood. Like any blade I am assuming it has to do with TPI (teeth per inch), the more there are the finer the cut. Brand name. What is good and decent? I understand that "you get what you pay for". I usually spend more towards the top notch than the cheap stuff. Band saws: Last club meeting there is a member who has a table band saw. He likes it and does everything with it. Told me that of I have the money invest in one. Anyone on this thread have one? Recommend a brand? Any advice is appreciated. Marc