flying_dutchman2
-
Posts
1,735 -
Joined
-
Last visited
Content Type
Profiles
Forums
Gallery
Events
Everything posted by flying_dutchman2
-
 Slick paint job and I love the way you did the painting towards the bow. How did you do this? The way you are building these boats.... you may want to start selling these as kits. Marc
 -
Gripen 1591 by NAZGÛL (Matti)
flying_dutchman2 replied to NAZGÛL's topic in - Build logs for subjects built 1501 - 1750
Jan, Thank you very much for this information. I am immersing myself with the ships from that era. (I Google'd it and couldn't find anything. MSW is better than Google when it comes to ships. Marc -
Gripen 1591 by NAZGÛL (Matti)
flying_dutchman2 replied to NAZGÛL's topic in - Build logs for subjects built 1501 - 1750
Matti; Looking very good. Especially because you do this from your own drawings. Different question. Were the Duyfken and the Eendracht the same type of ship? Thanks Marc -
Naval History On This Day, Any Nation
flying_dutchman2 replied to Kevin's topic in Nautical/Naval History
1502 - Columbus begins 4th & last trip to "Indies" 1560 - Djerba - Turkish galleys defeat Christian force near Djerba, Tunisia 1678 - French admiral Jean d'Estrees' fleet runs aground on Aves-islands, Curacao 1689 - Battle of Bantry Bay, French & English naval battle 1749 - British parliament accepts Consolidation Act: fleet reorganization 1792 - Columbia River discovered & named by US Capt Robert Gray 1820 - Launch of HMS Beagle, the ship that took young Charles Darwin on his scientific voyage. 1833 - "Lady-of-the-Lake" strikes iceberg & sinks in N Atlantic; kills 215 1862 - Confederates scuttle CSS Virginia off Norfolk, VA -
Awesome work, WOW and I cannot even tell if it is card or wood. Beautifully detailed as well. Marc
- 883 replies
-
- 1
-

-
- royal caroline
- ship of the line
- (and 1 more)
-
Bit off topic. Your website looks very impressive. I like the box that the Batavia kit is delivered in with the maps. Also glad that you are doing the Duyfken. Marc
-
Shop-made filing-machine
flying_dutchman2 replied to wefalck's topic in Modeling tools and Workshop Equipment
I am new to this technology & find it fascinating, so I am taking this in slowly and when I don't understand it I Google it. Marc -
Hi, Beautiful work and will be following this built with much interest. I see you are building her with the plans from Dr. Gilbert McArdle. I am using Emke's plans and will be a hybrid POB. I am an intermediate builder so for me frames would be more difficult. I will do frames on one of Tasman's ships. Marc
-
You are just cranking these out. I will be enjoying this built as well. Looking good so far. Marc
-
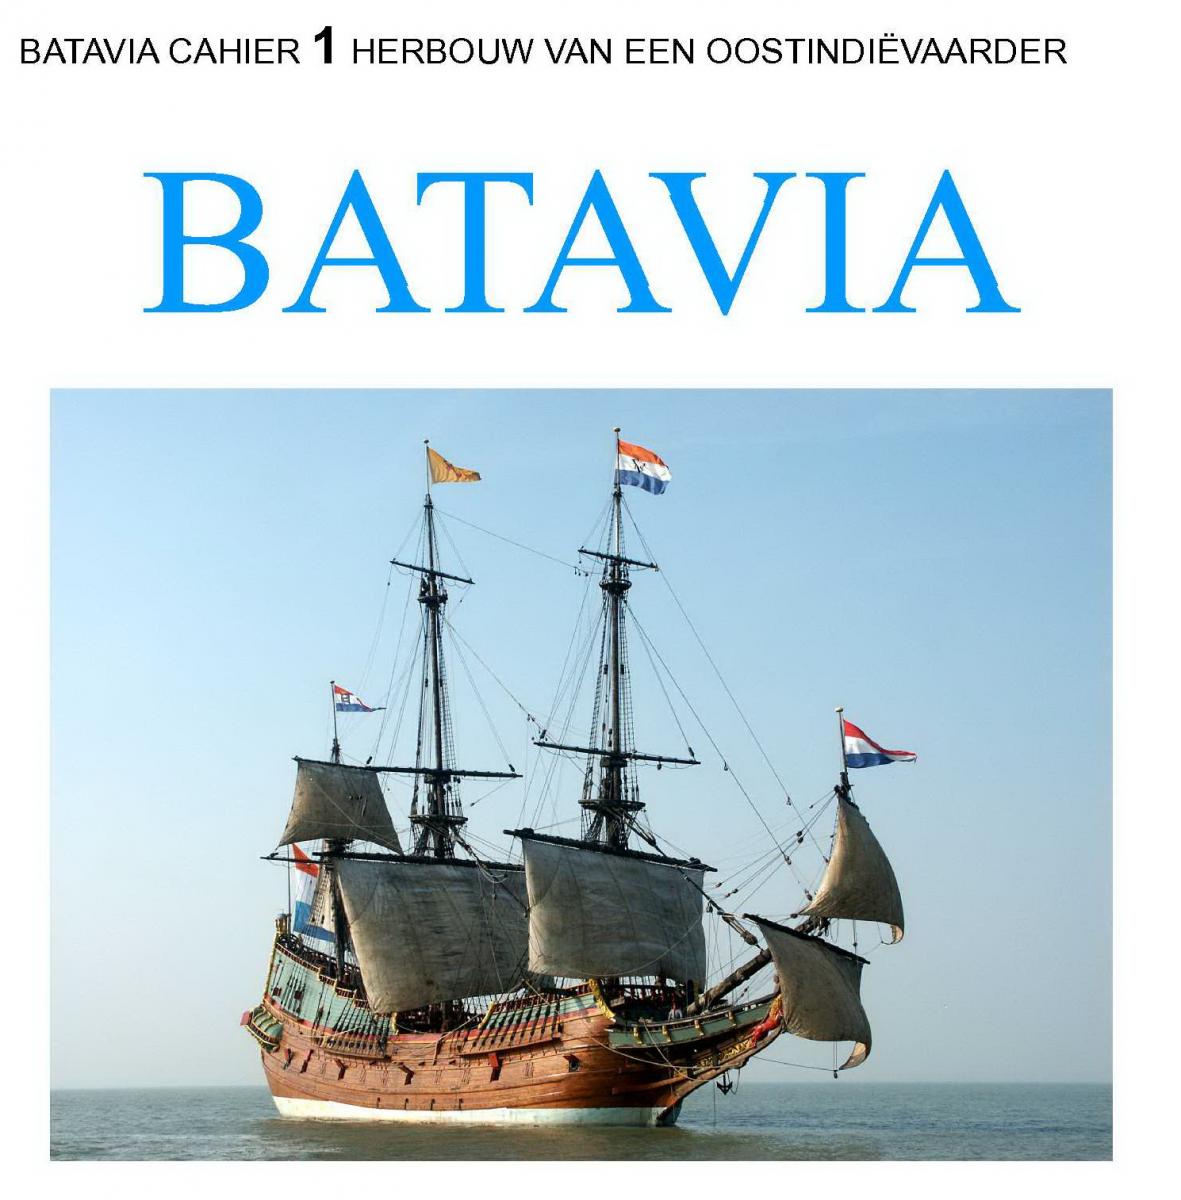
There were/are so many merchant ships/boats in and around The Netherlands. Every town on the water had one. One similar to the other. I do have a list and descriptions but it is all in Dutch. As you can see from my signature all ships will be from Hoving/Emke. btw, Hans, a member here' has started a kit company with Dutch ships. Batavia is one and the Dordrecht that looks very similar like the Batavia. They were both in the same convoy. Once his kits become available I will purchase one or more. Marc
-
Wayne; That is one extensive list of valuable information. Thank you. I am working on something like it on just Dutch Naval History (when there is time) and the resources are in Dutch, German and English. I created this in MS Access. Marc
-
Both the bow and the stern look good. I especially like the roundness of the stern. Marc
-
Excellent job and as someone already said, the paint job is gorgeous. I've downloaded some plans of the ABN AMRO and will be making her a larger scale. This is still a year or 2 away. I want her large enough to make her R/C. There are some build logs on Dutch sites that show her sailing in the water. Marc
- 220 replies
-
- 3
-
-
- finished
- volvo open 70
- (and 1 more)
-
Gripen 1591 by NAZGÛL (Matti)
flying_dutchman2 replied to NAZGÛL's topic in - Build logs for subjects built 1501 - 1750
I like your choice of ship and your design of the ship itself. Were your fore-fathers shipwrights by any chance? Will be following your built as it is part of my heritage, (Dutch). Marc -
Jim Byrnes Model Machines
flying_dutchman2 replied to Mahuna's topic in Modeling tools and Workshop Equipment
I am the intermediate builder and have the beginner's tools, Skil scroll saw, Alwin belt and disc sander from MicroMark and used drill press from Dremel. I does what I need to do. I never thought I would say this, but the more I read about it and look at other table saws, I like the Byrnes the best. You get what you pay for and that is excellence. I know what I wrote in other threads about the price of these machines, but a person changes his mind. http://www.vanda-layindustries.com/has several nice tools as well. One of the club members brought one to the meeting and it is quality. So I need to make more $$ on eBay and will buy the table saw. I feel it is the one item I will use the most. I like the scroll saw and use it as a table saw with many improvised jigs and fences. Gotta go to work. Marc -
Instead of mentioning this, I would say that it is an advance book on the topic. This negativity when doing book reviews does not do any good. It doesn't tell the writer what he can improve. Example. In grad school you couldn't just take soil biochemistry - there are pre-requisites such as soil science, soil taxonomy, soil chemistry. So on that note, this book reviewer should have said something like. This is an "advanced" book where the reader has some "general" knowledge on the subject. Just my 2 cents. Marc
-
There are many books, dairies of both slaves and sailors on slavers, Types of ships on archive.org and gutenburg. I have read many and there is some interesting stuff that was written in those days. Marc
- 1 reply
-
- 1
-
-
Allemachtig, that is a good looking model. Every detail is there and all perfect 9maybe too perfect. Marc
-
Beautiful. I have that book as well you mentioned in the beginning of the log. Always wanted to build one. I will put that boat on my list and with that book I should not have many problems. Marc
- 339 replies
-
- 2
-
-
- dumas
- Chris-Craft
- (and 3 more)
-
Anton, I am on the list of the Dordrecht. The kit is about 400-450 Euro. Package to the USA will cost 26 Euro up to 2 kg and 36 Euro up to 5 kg, all insured. Possibly some import duties as well. I am selling my complete Vintage Marklin (German) train on eBay. I just sent a 4 lbs 4-3-4 tender locomotive from Marklin to someone in NZ and the shipping by the post was $56.00. Sold the loc. for $100.00. To AU I sent another loc at 2 lbs and cost $30.00 shipping. Hans is waiting for the rights to create the kit of the Batavia. Other kits are Duyfken, the Walcheren which was a warship from the same period as the Zeven Provinciën and almost the same as the 7P. Some more as well. Marc
-
The book by Hoving on the 17th Century Dutch Merchant Ships is very good. His son Emile did all the graphics in Photoshop and they are so realistic. The 24 sets of plans are very accurate and I plan to make several small boats. The one thing I was disappointed in is that the plans are not on CD. But then again it could be for copyright reason. The ships of Abel Tasman has a CD of both ships and both in the scale of 1:50, 1:87.5, 1:100, 1:150 and the paper plans are 1:75. This is all in cm. Marc
-
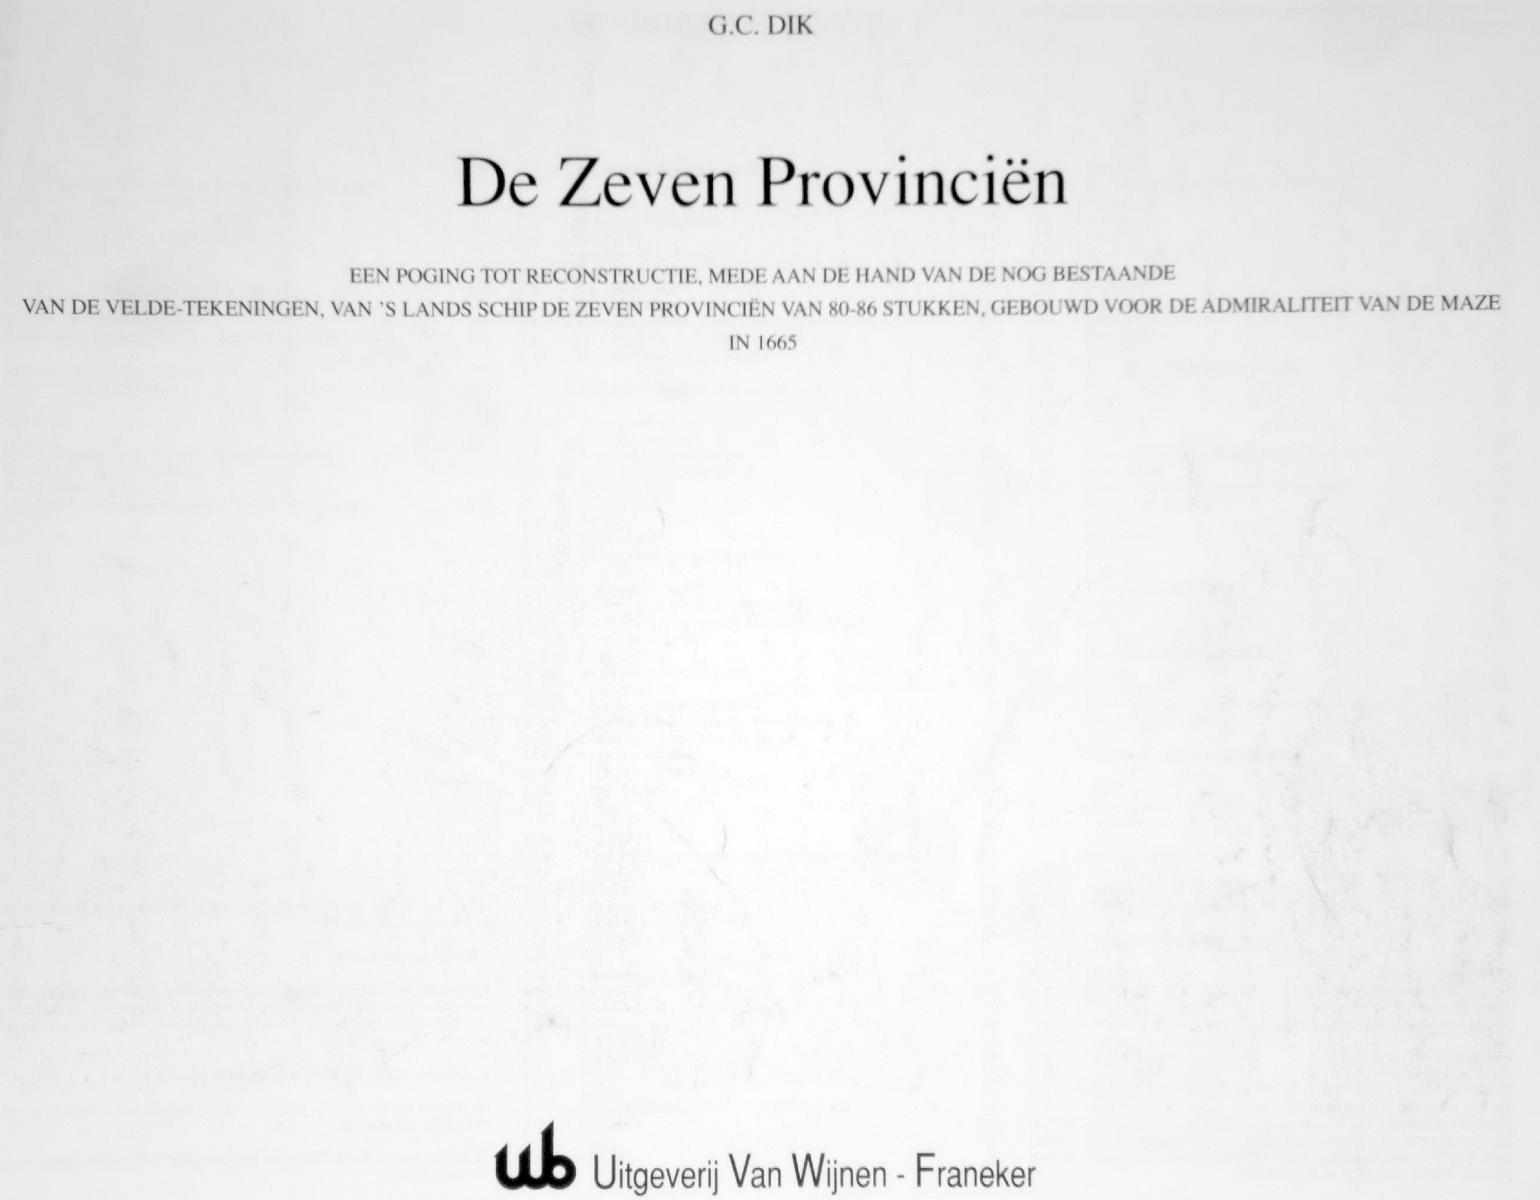
Anton, I see in your signature that you built the Friesland. How is that model? Accurate? Also There is a Dutch member on MSW that built the Batavia from scratch. He and other people started a company producing only Dutch ships as kits. There is a lack of "accurate" Dutch ships and he is going to fill that void. He mentioned there is lots of interest in this. He has some nice kits going into production and priced competitively. He mentioned the first one is the Dordrecht which was in the same convoy as the Batavia. There are others he is working on. I do not know if you read any Dutch but for both of these ships (Batavia and De Zeven Provinciën) there are some very accurate books on each of them. For the Batavia there is. For the 7 Provinciën there is the Reconstructie vd Zeven Provinciën, G.C. Dik This one is extremely detailed with lots of plans, CAD drawings, pictures and numerous measurements of many parts of the ship Marc

-
Thank you for the correction. There is so much Dutch history related to Australia and New Zealand I am always interested in that. Marc
-
Little history where the name Leeuwin comes from. It is Dutch and it means "lioness". Leeuwin ("Lioness", also spelt "Leeuwine" in some Dutch East India Company (VOC) documents) was a Dutch galleon that discovered and mapped some of the southwest corner of Australia in March 1622. The south-west corner of Australia was subsequently referred to by the Dutch as 't Landt van de Leeuwin ("The Land of the Leeuwin") for a time, subsequently shortened to "Leeuwin's Land" by the English. This name Leeuwin still survives in the name of Cape Leeuwin, the most south-westerly point of the Australian mainland, so named by Matthew Flinders in December 1801. The sail training ship STS Leeuwin II, based in Fremantle, Western Australia, is named in honour of the Leeuwin, although the II refers not to the original Leeuwin but to a yacht that was already entered in Australia's ship's register under the name. Marc