flying_dutchman2
-
Posts
1,735 -
Joined
-
Last visited
Content Type
Profiles
Forums
Gallery
Events
Everything posted by flying_dutchman2
-
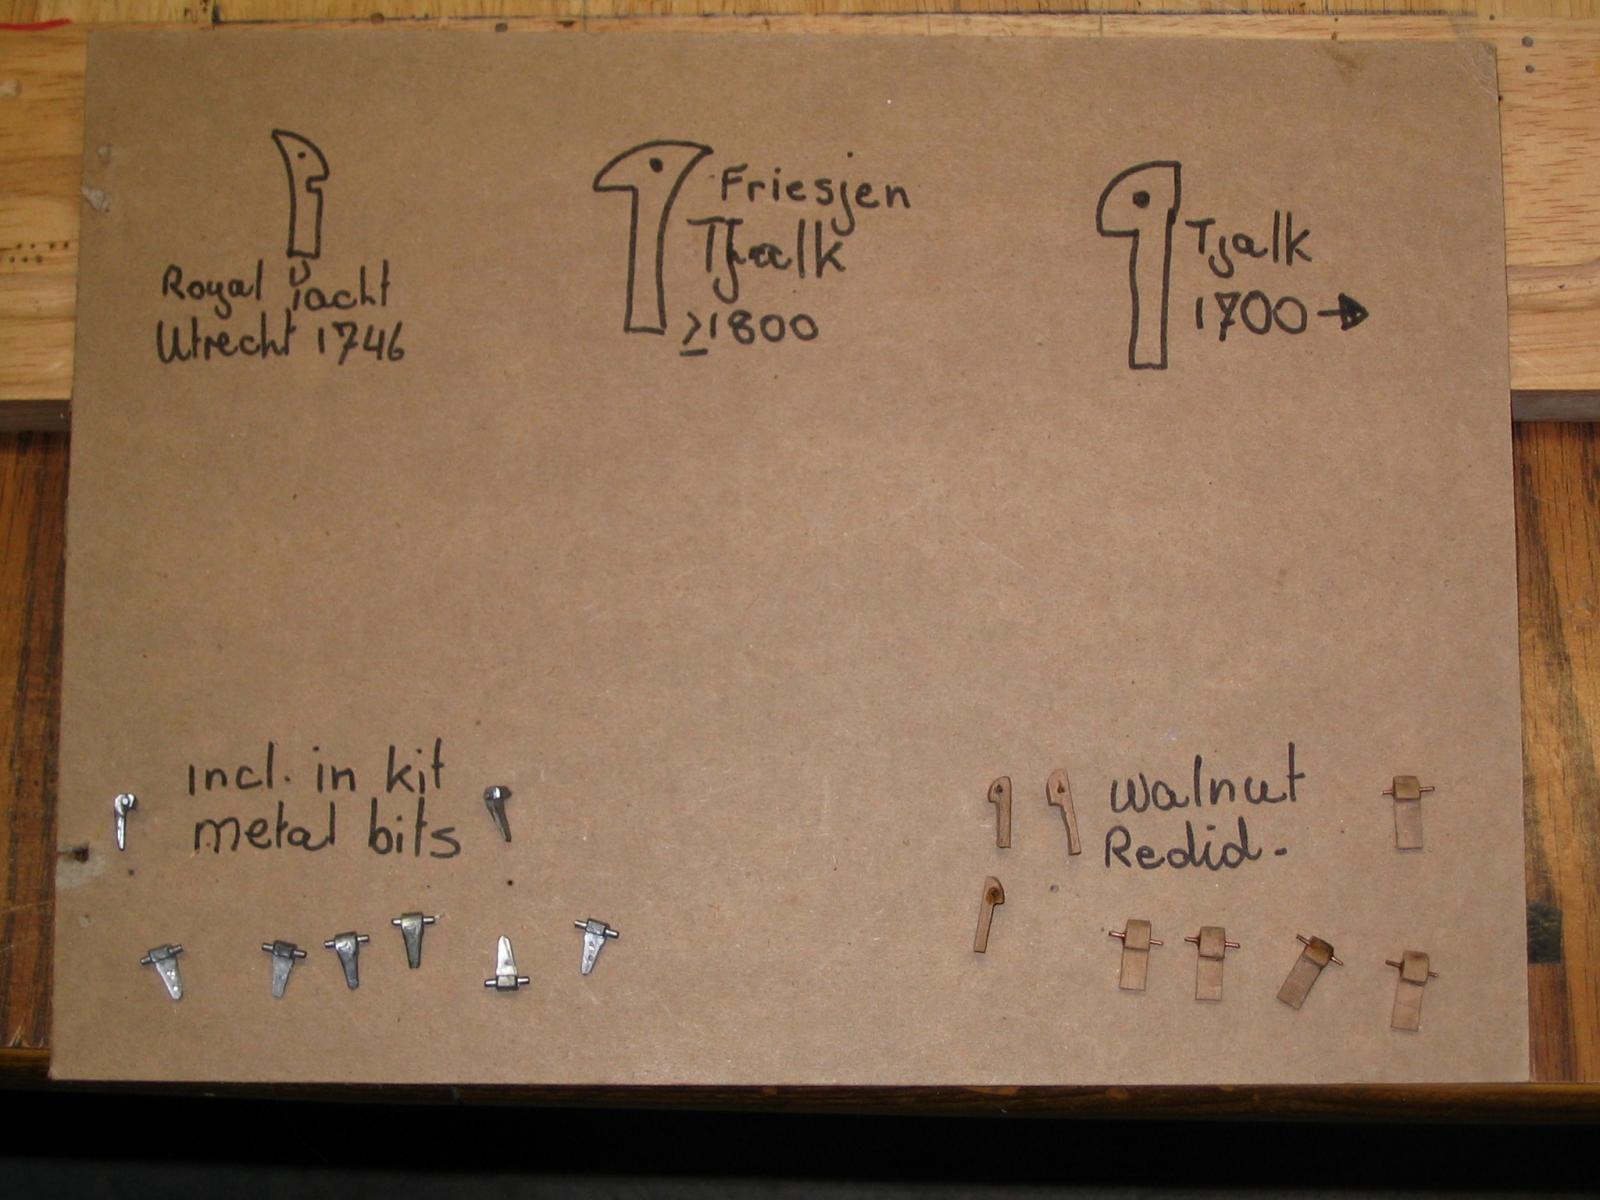
 I did not like the bits so I redid then in walnut. Did some comparing of different yachts of different era's.
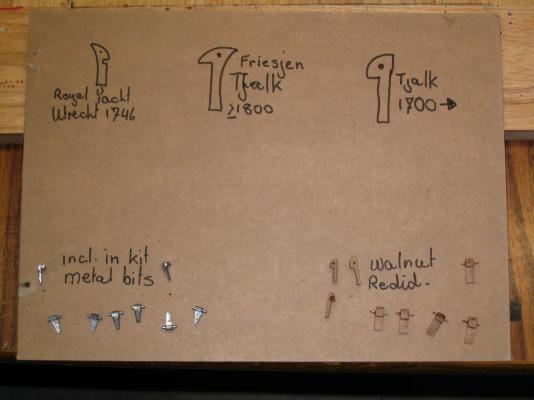
-
Creating the leeboards. For the modelers that do not what a leeboard is, the following is an explanation. A leeboard is a lifting foil used by a sailboat, much like a centerboard, but located on the leeward side of the boat. The leeward side is used so that the leeboard is not lifted from the water when the boat heels, or leans under the force of the wind.


- 85 replies
-
- 3
-

-
- yacht mary
- mamoli
- (and 1 more)
-
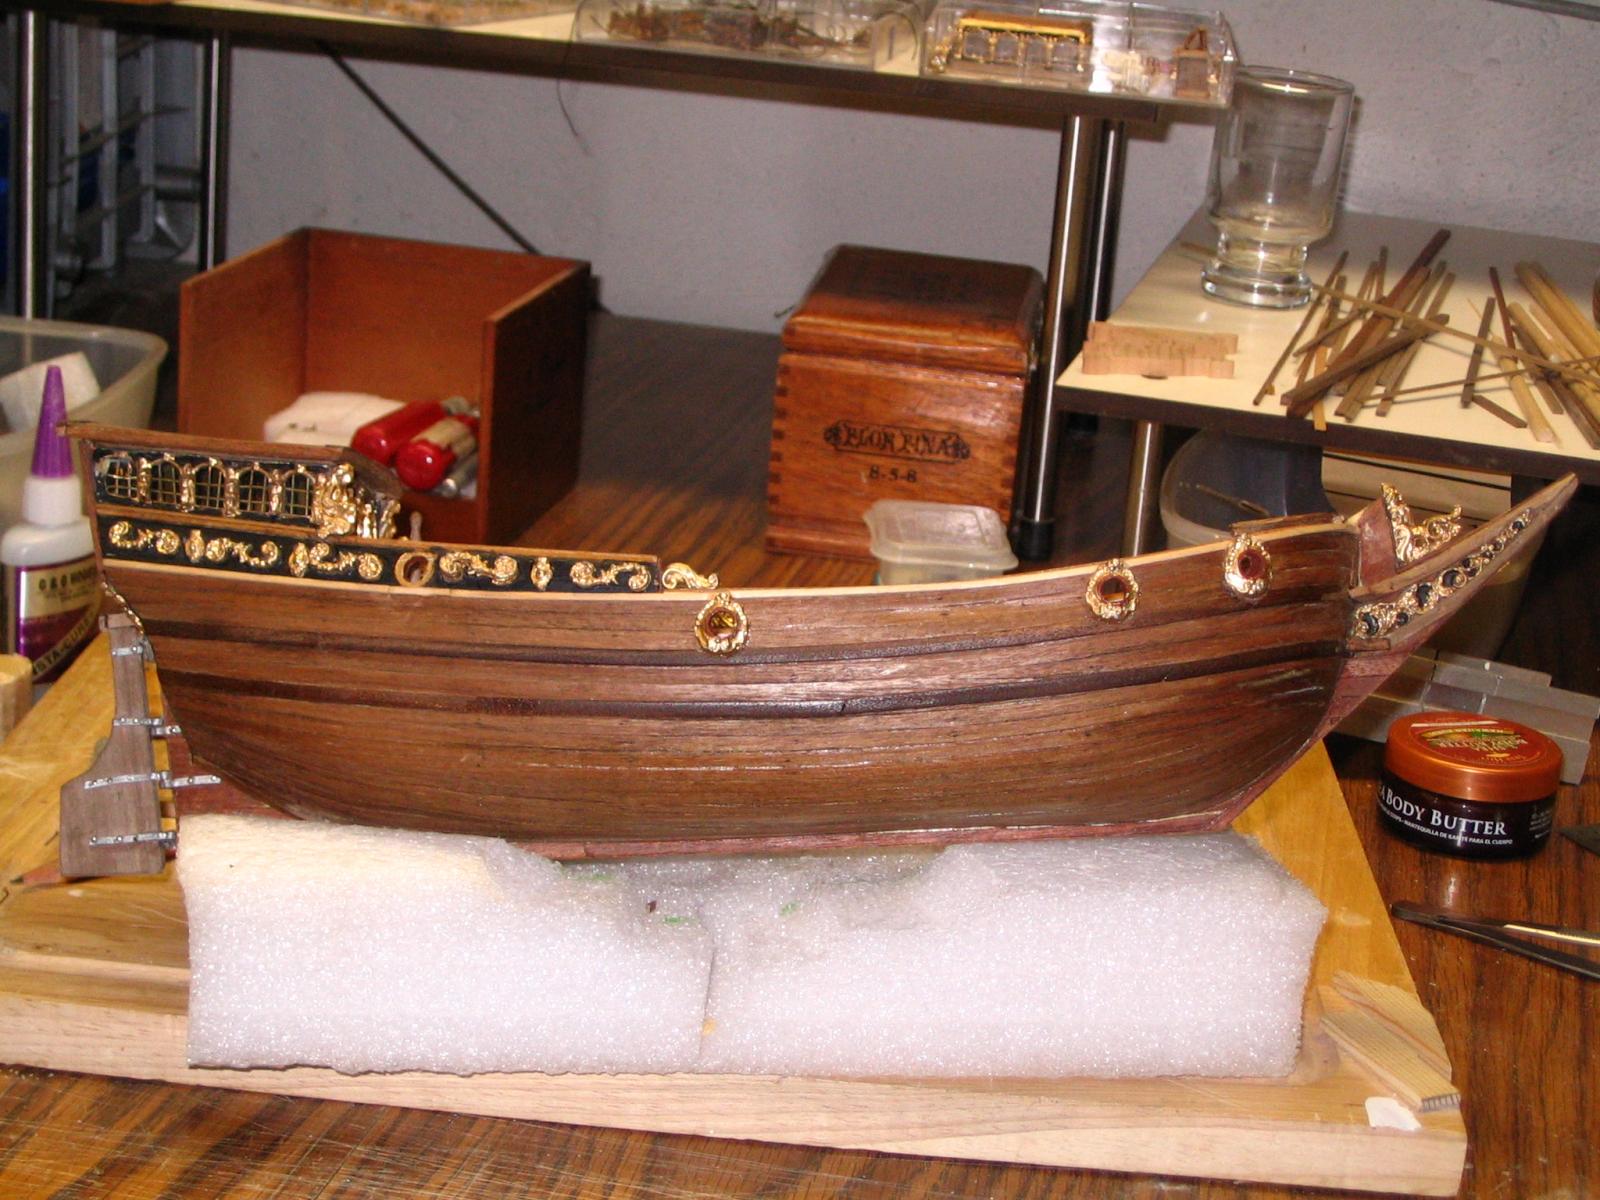
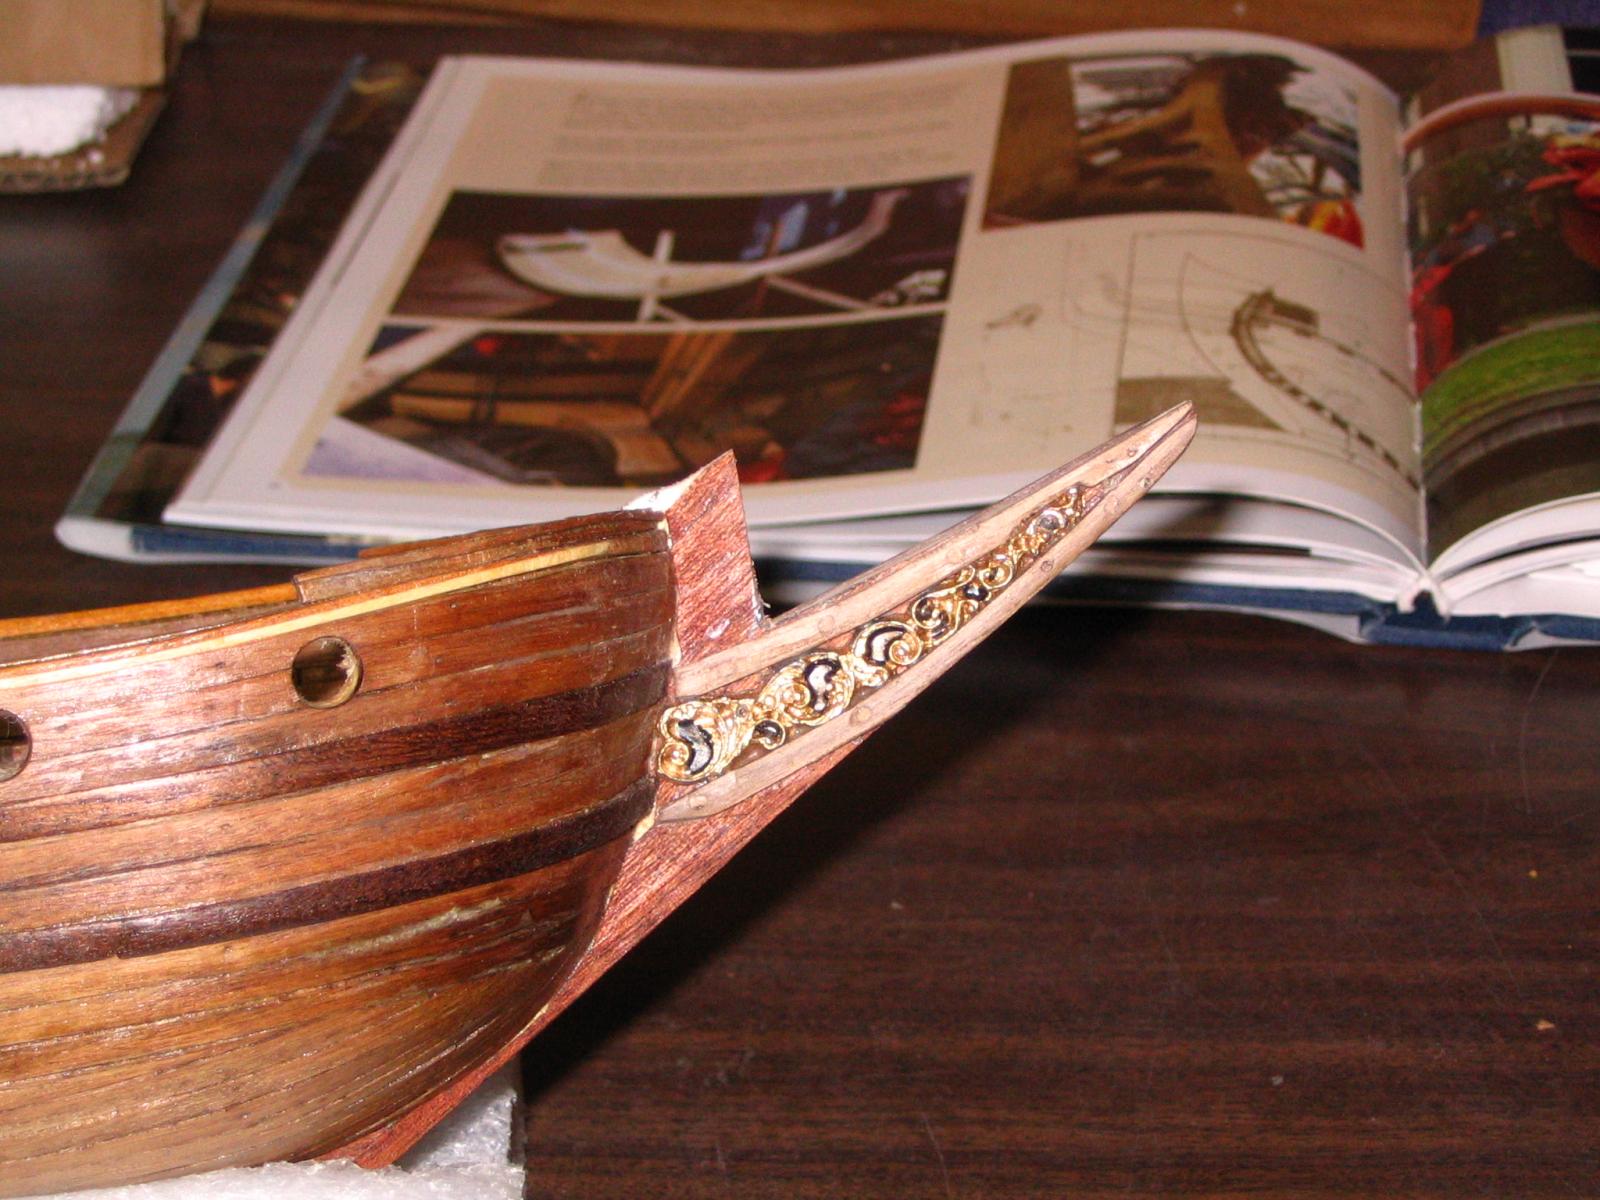
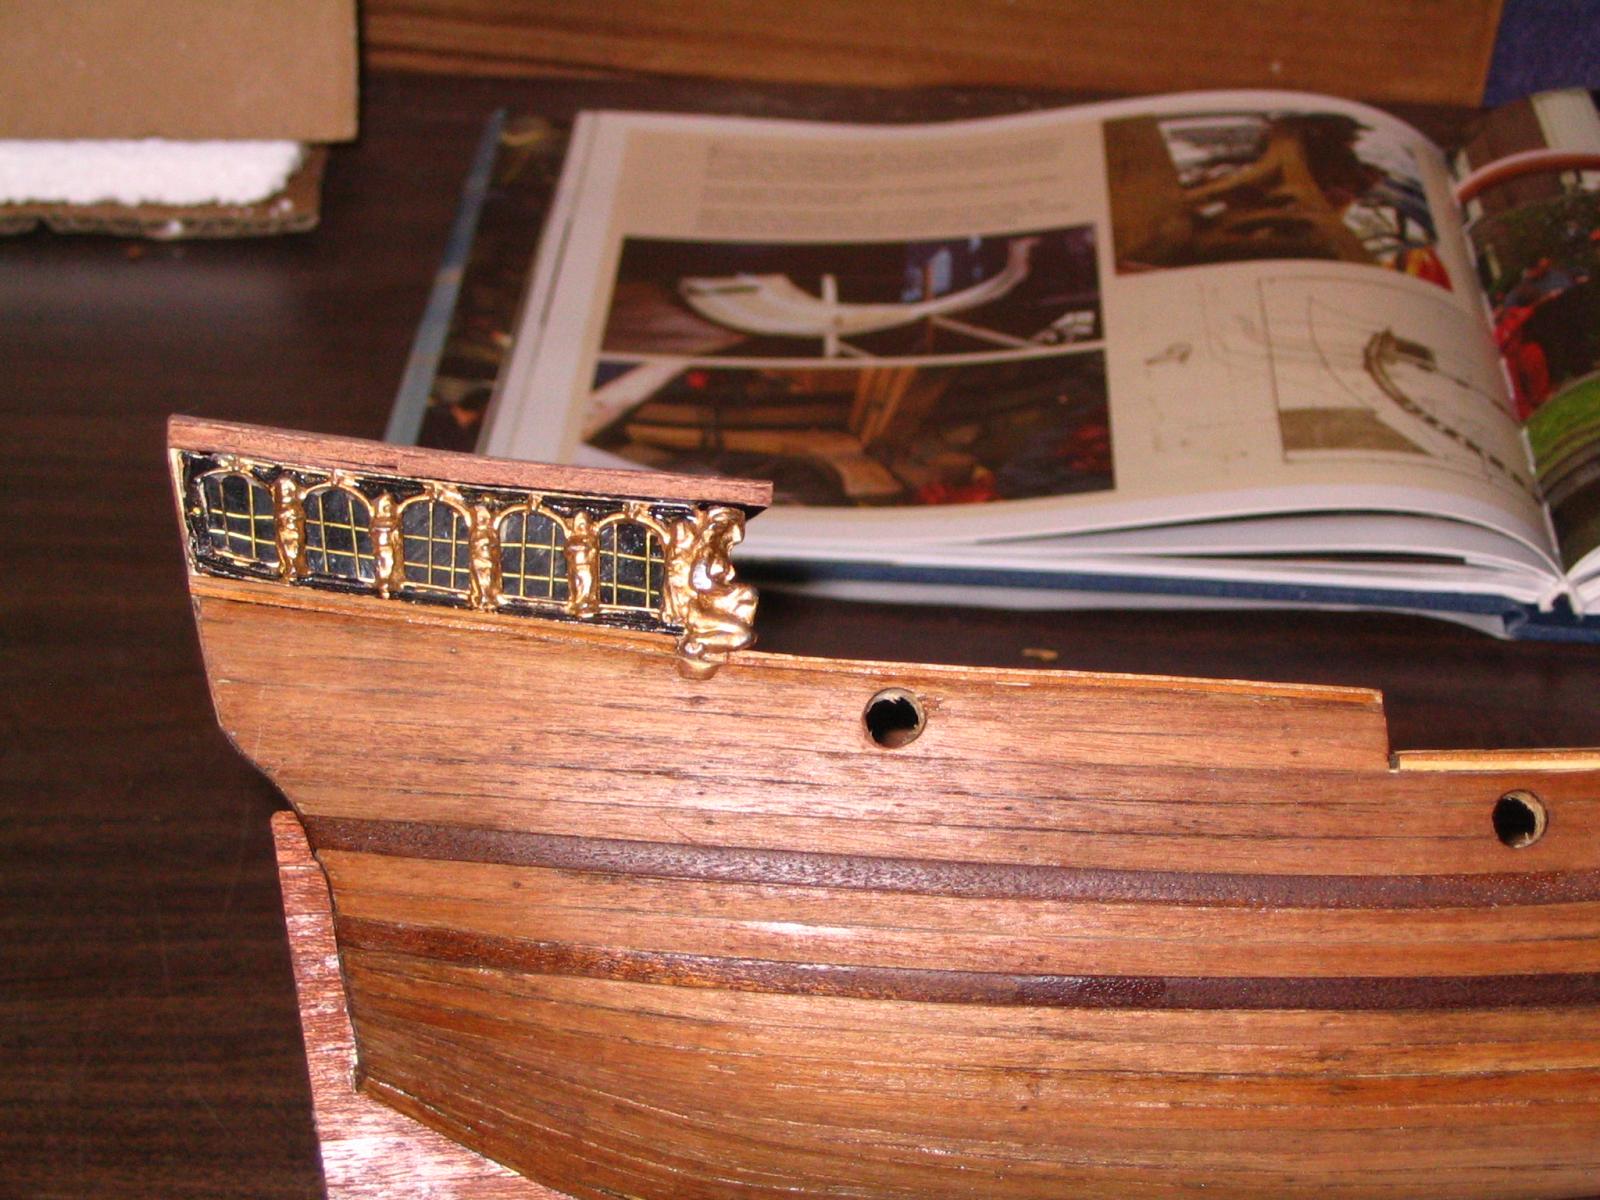
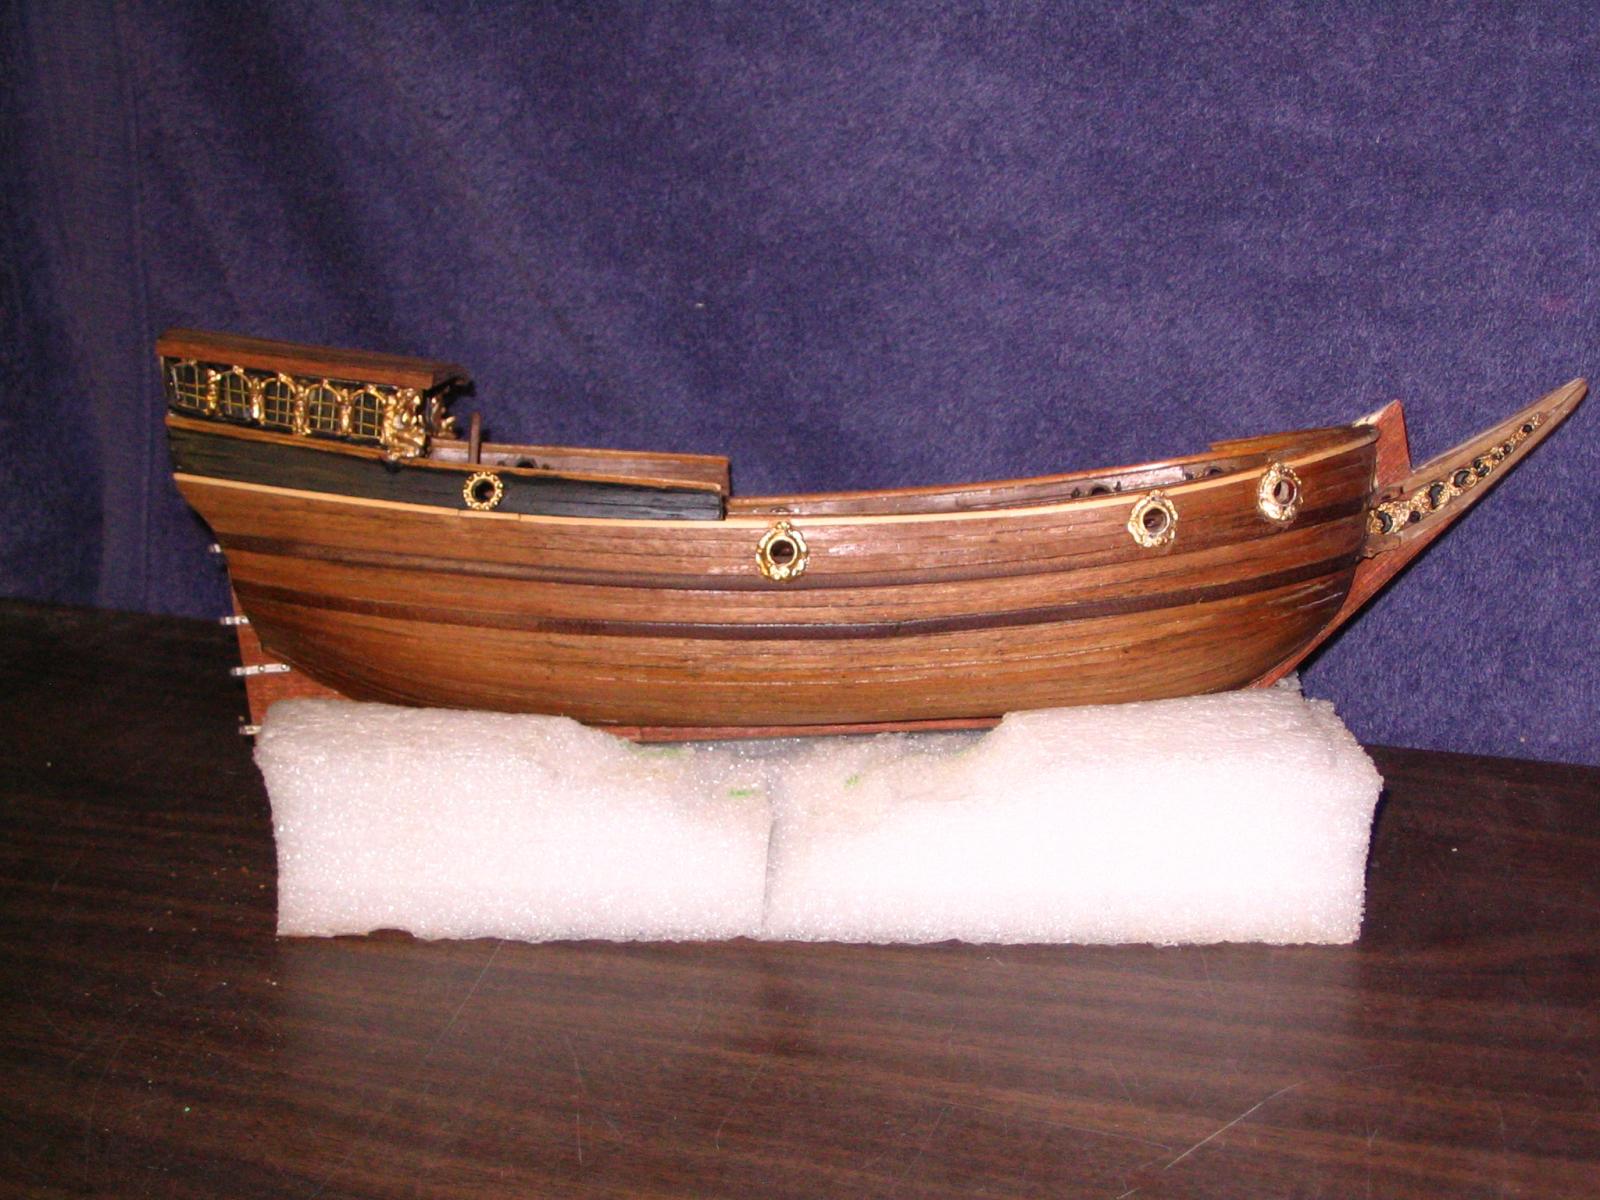
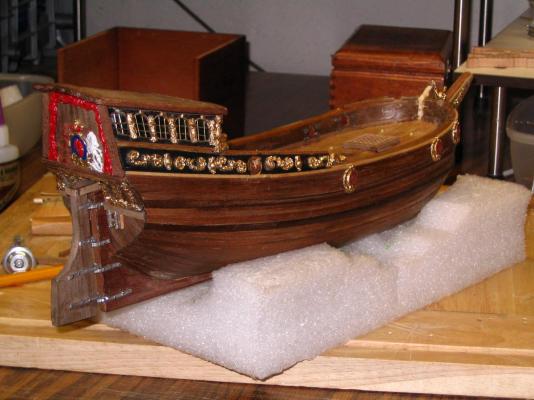
Most of the gold painted ornaments are glued and nailed on the Mary.

- 85 replies
-
- 3
-
-
- yacht mary
- mamoli
- (and 1 more)
-
Railing completed as well as the hull, deck and started on the cabin. The parts on that is soft metal.


- 85 replies
-
- 2
-
-
- yacht mary
- mamoli
- (and 1 more)
-
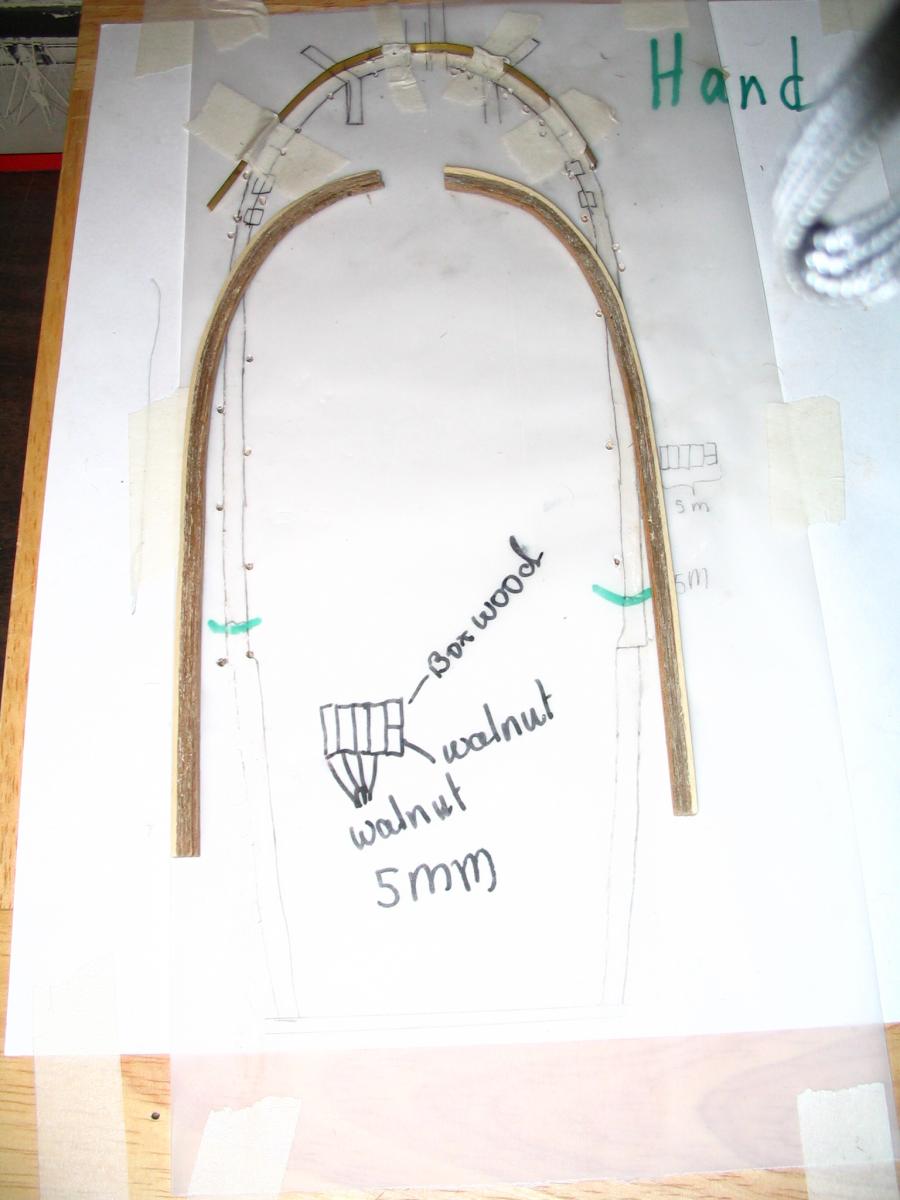
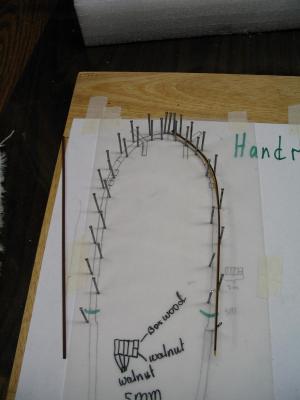
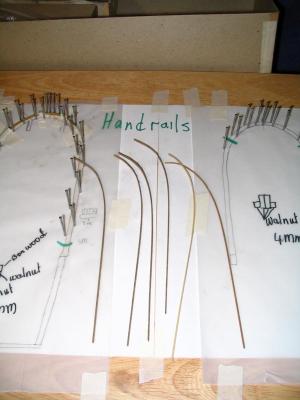
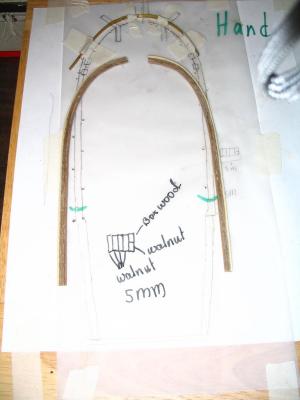
Here I am creating the railing consisting of 1mm x 1mm x 10mm bass wood and walnut. It was soaked and then with my finger nails I bend it in place, added nails on the traced drawing and let it dry for a couple of days.
- 85 replies
-
- 2
-
-
- yacht mary
- mamoli
- (and 1 more)
-
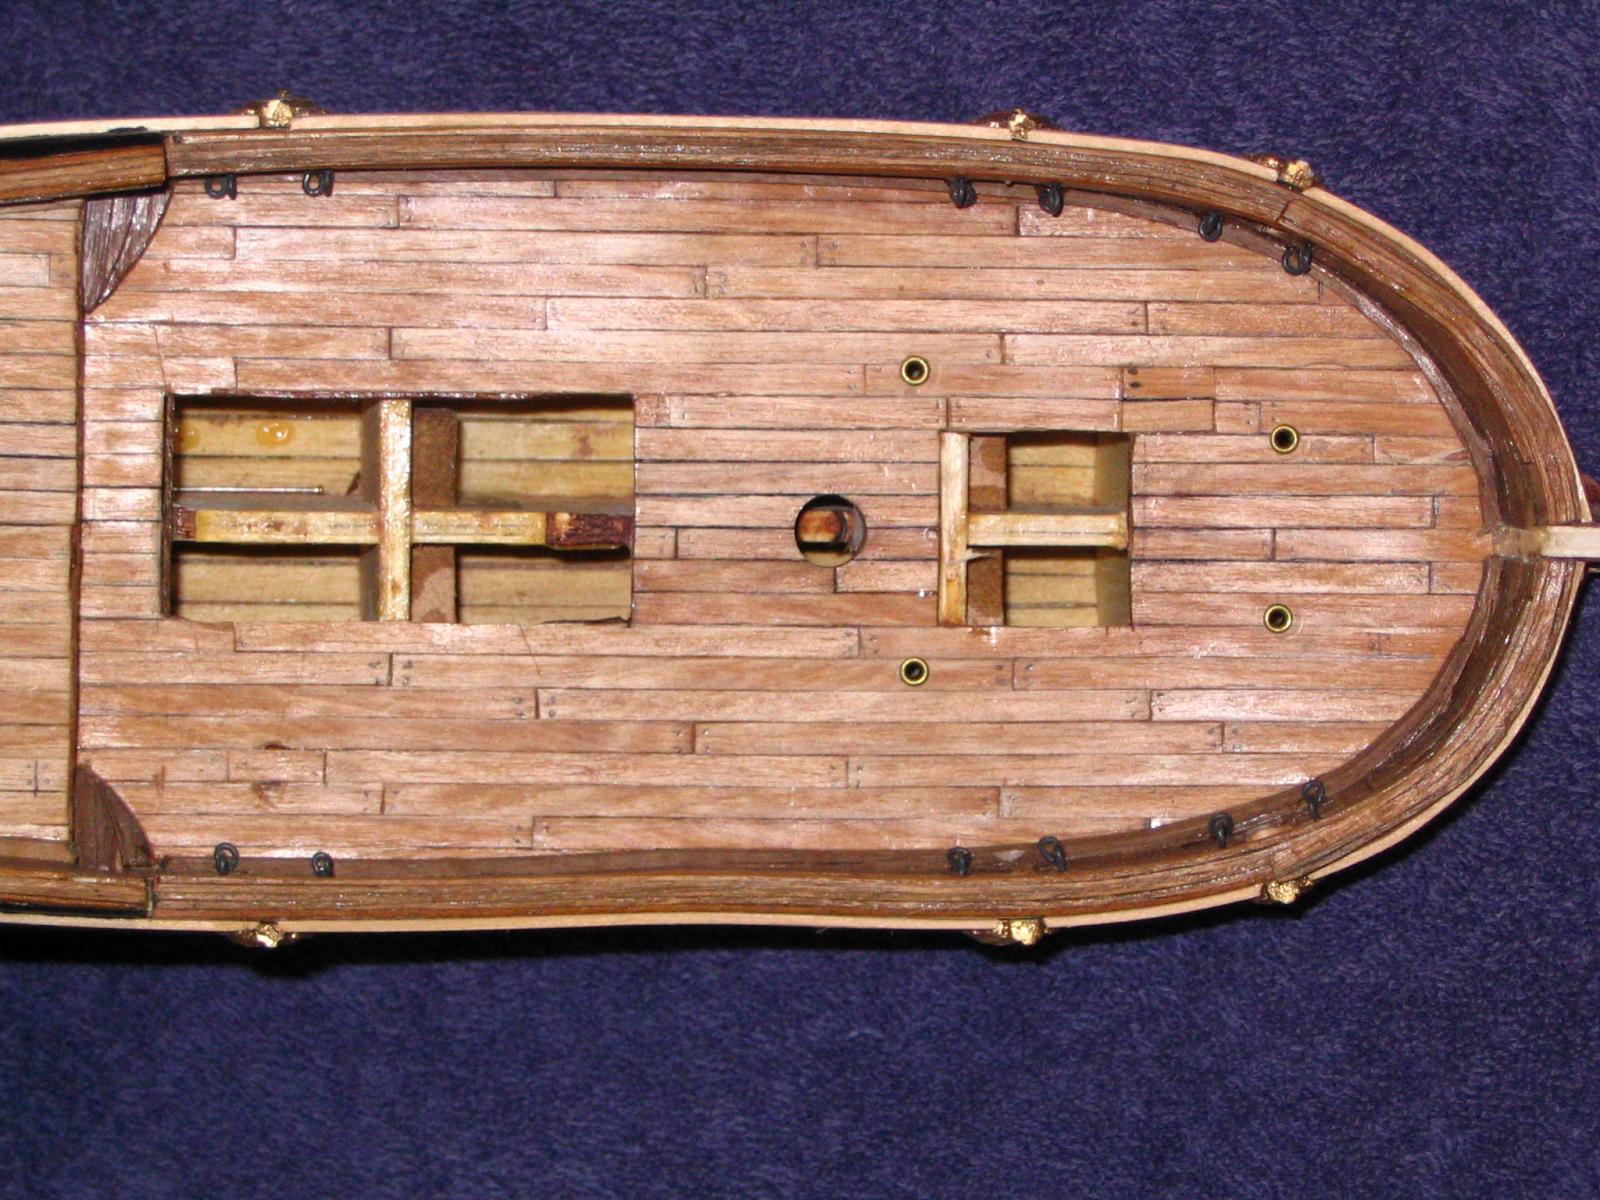
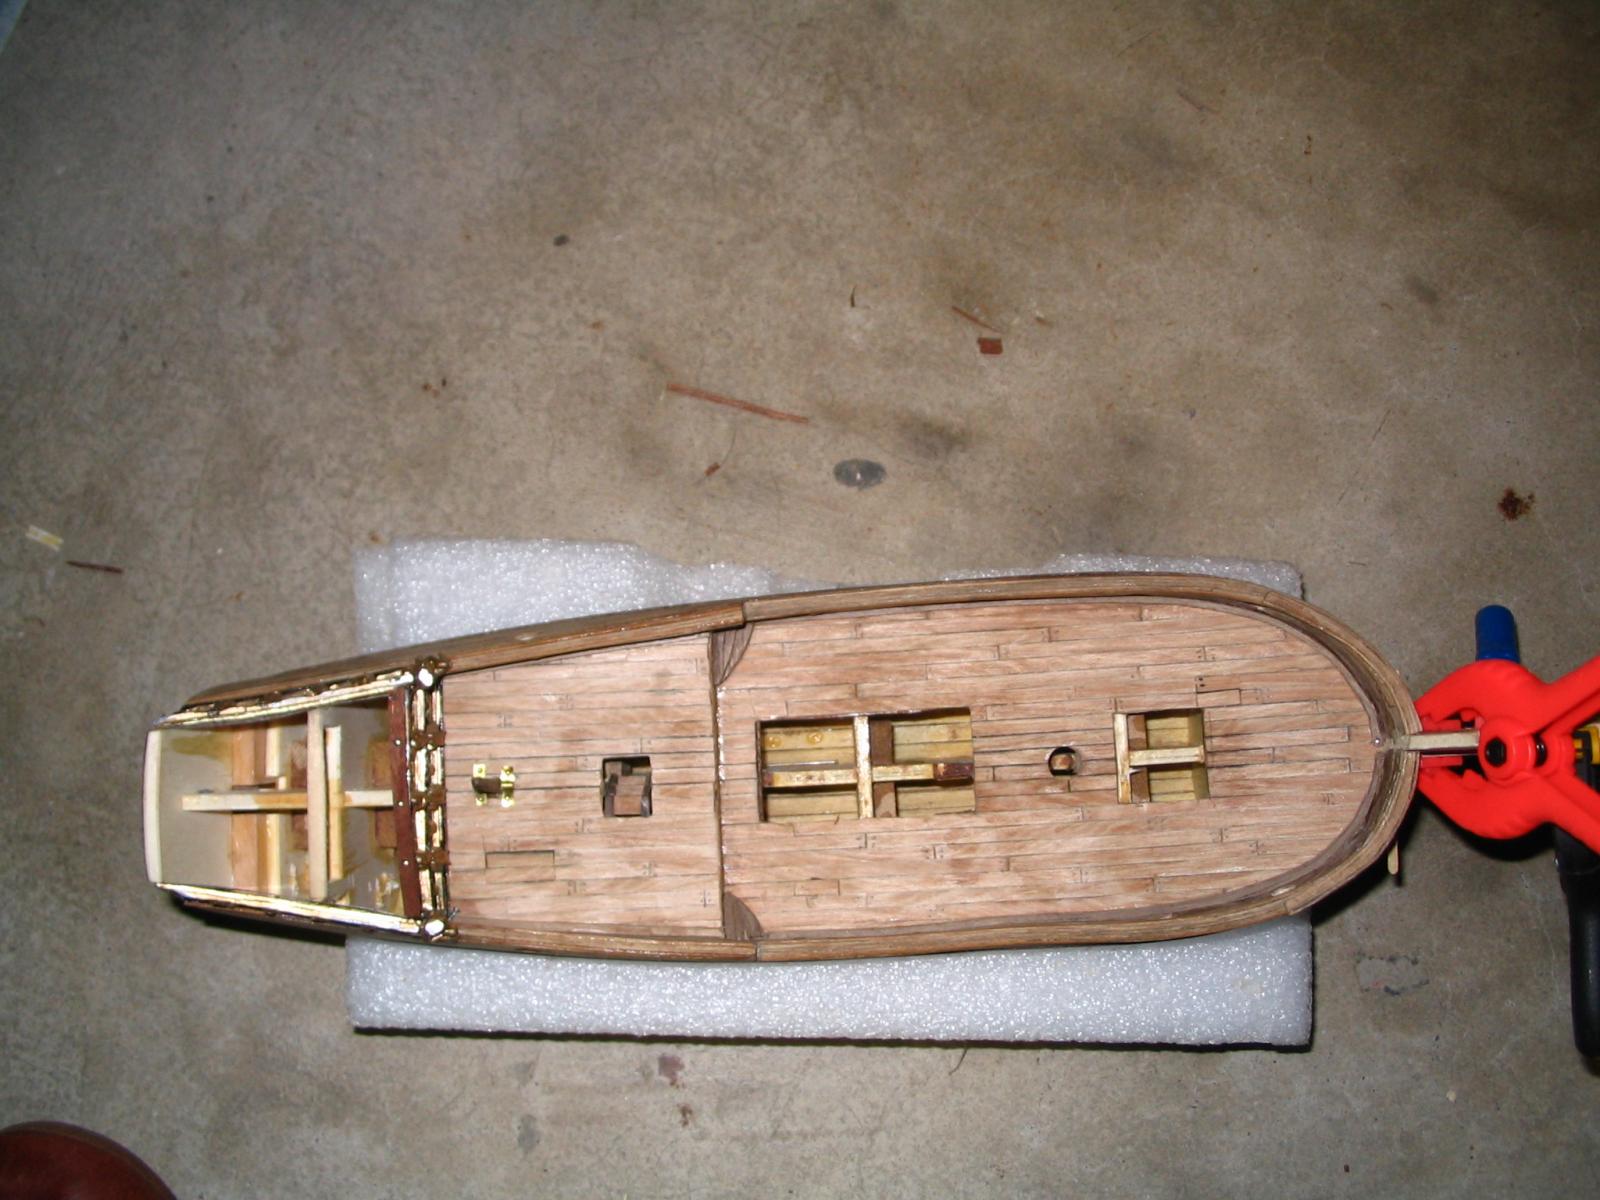
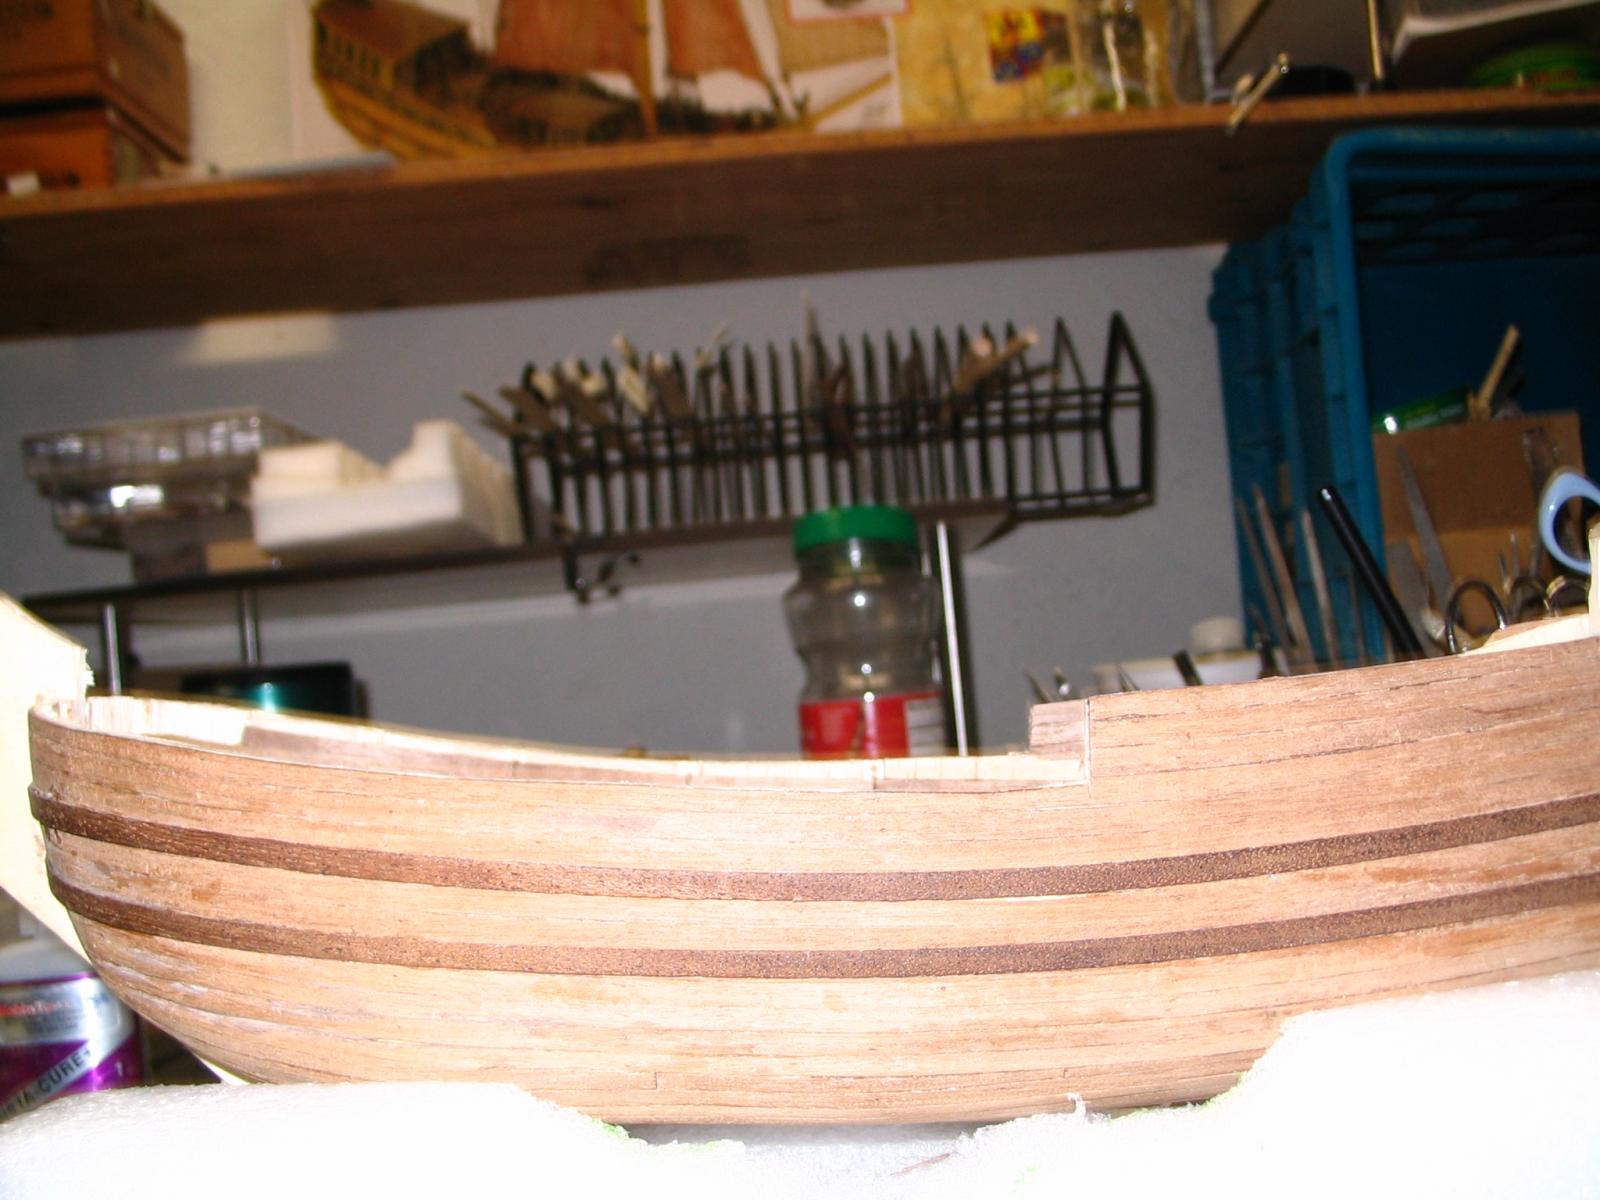
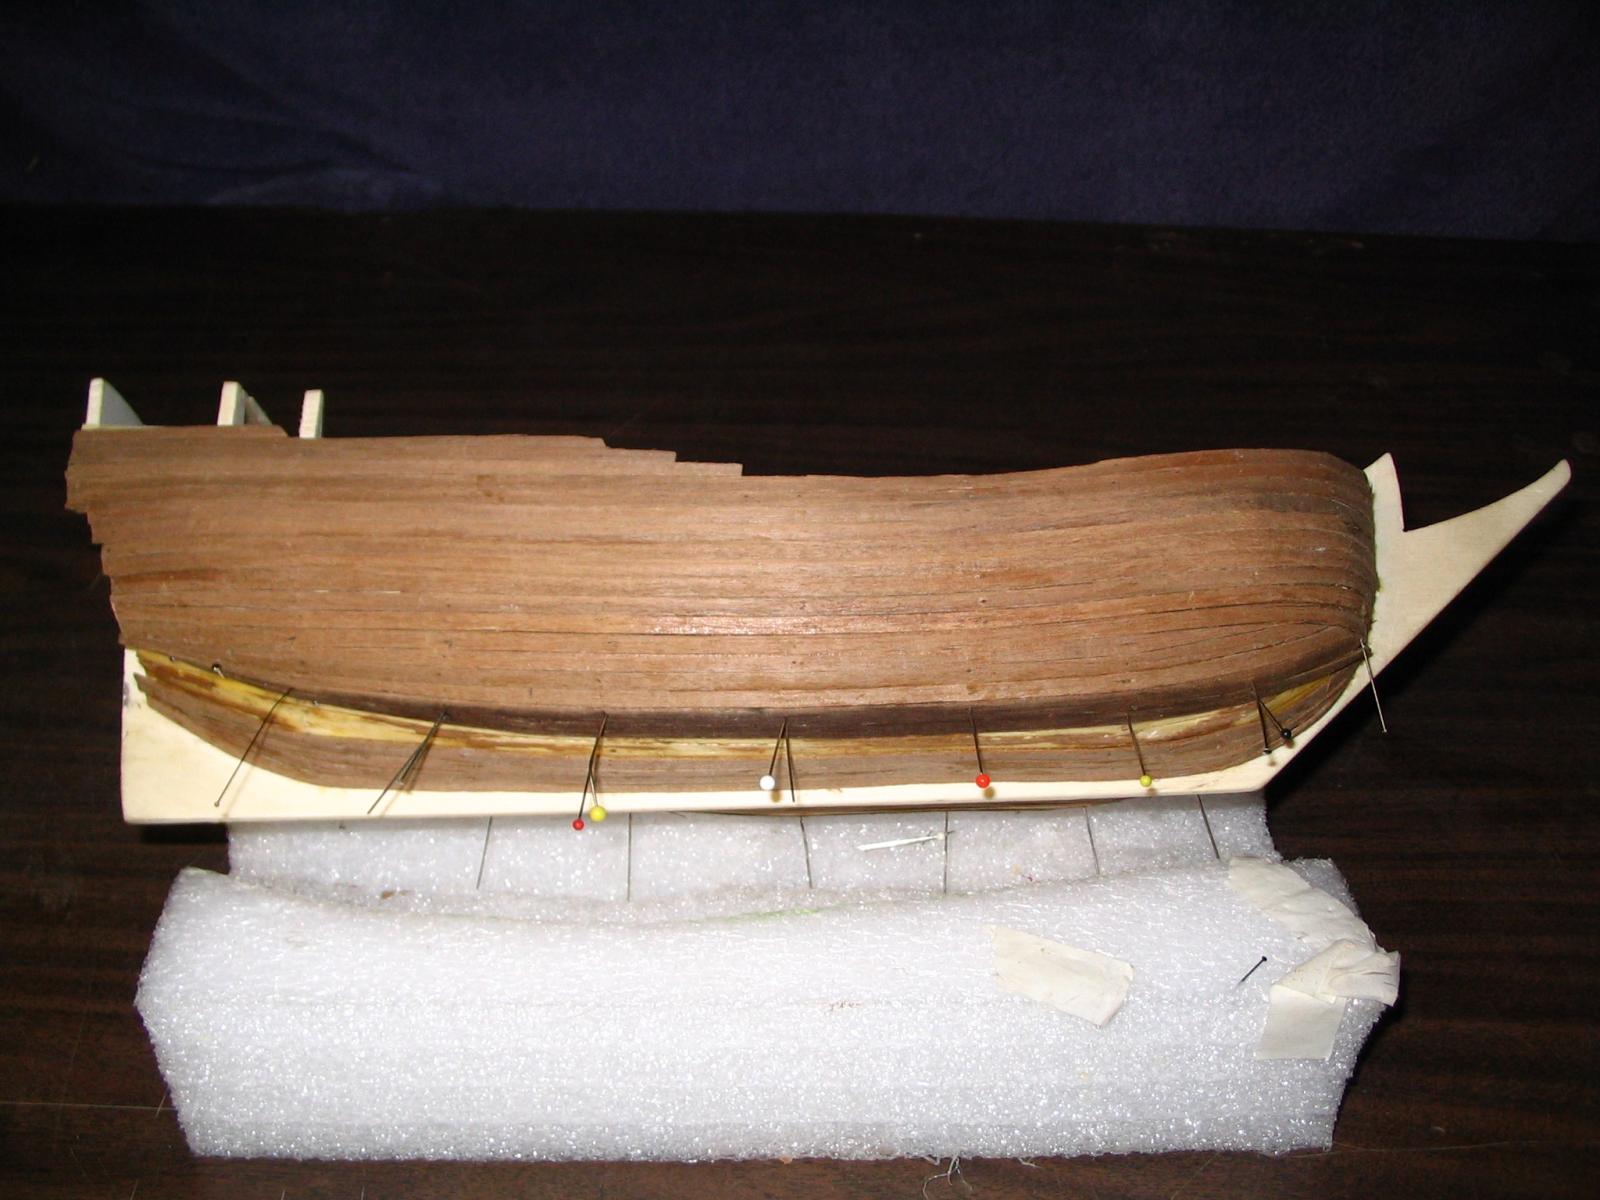
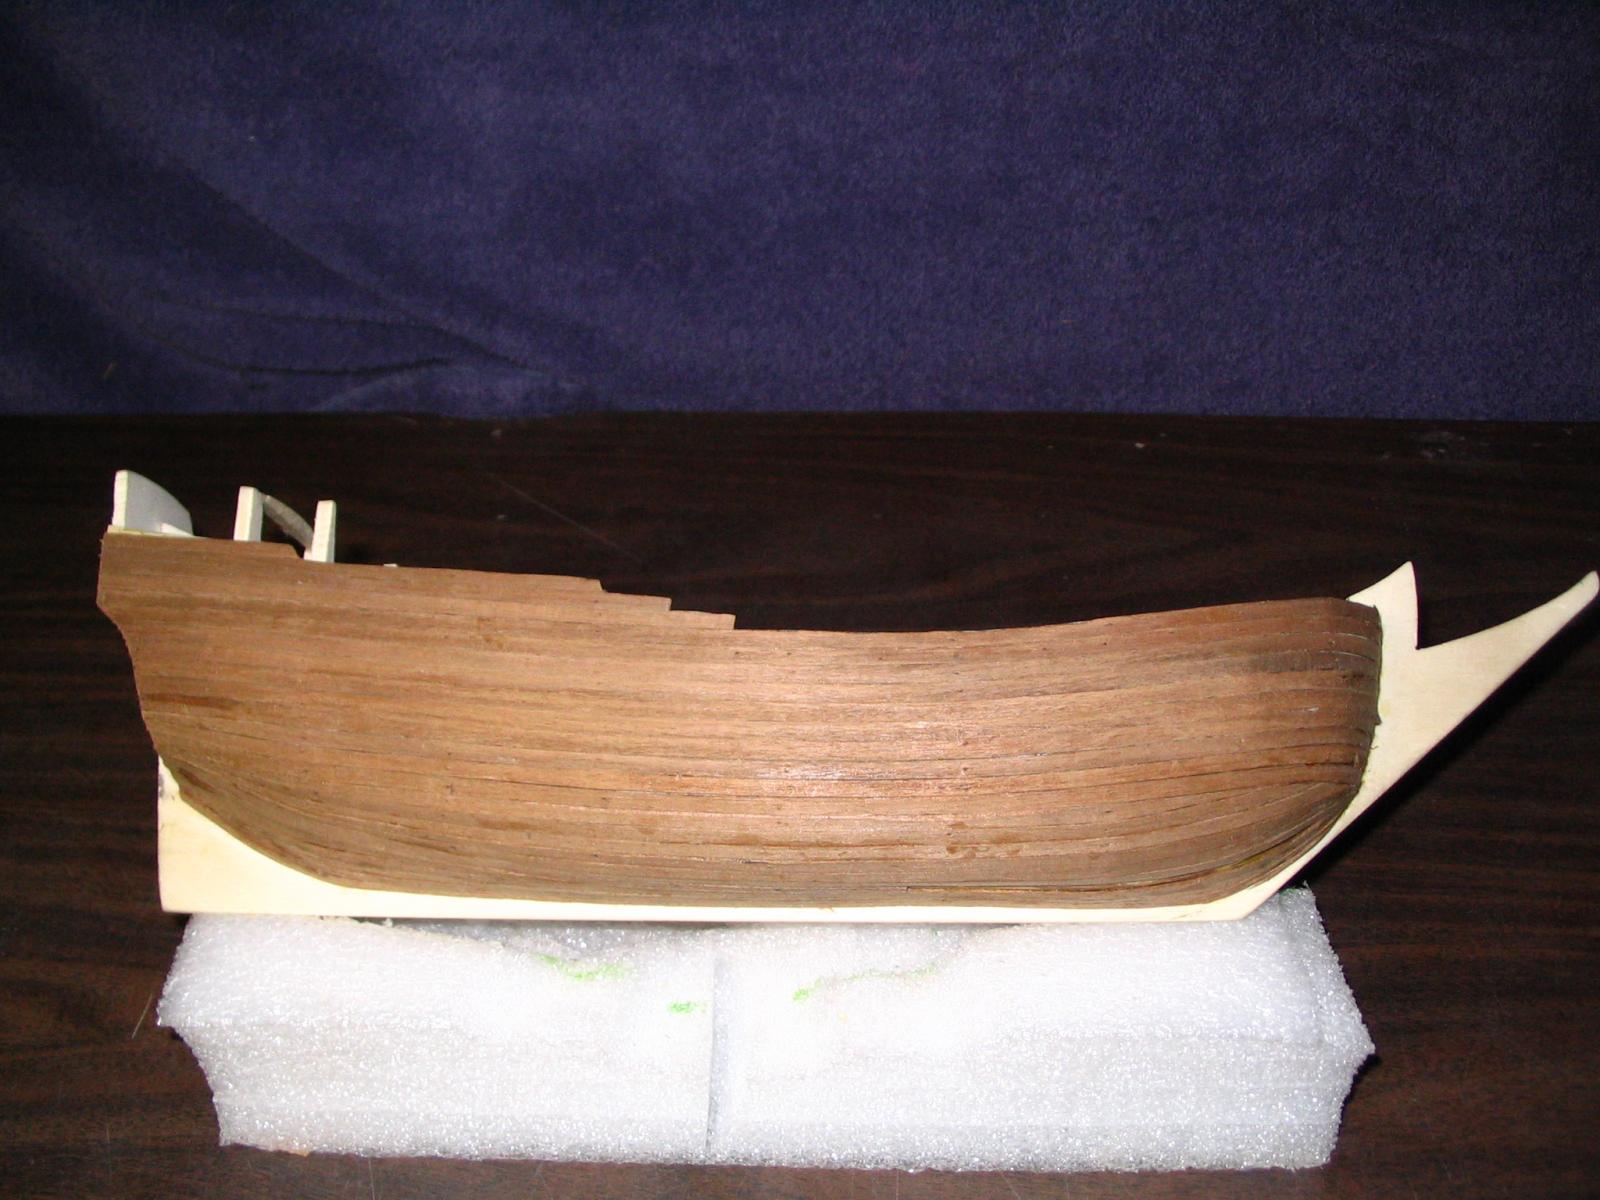
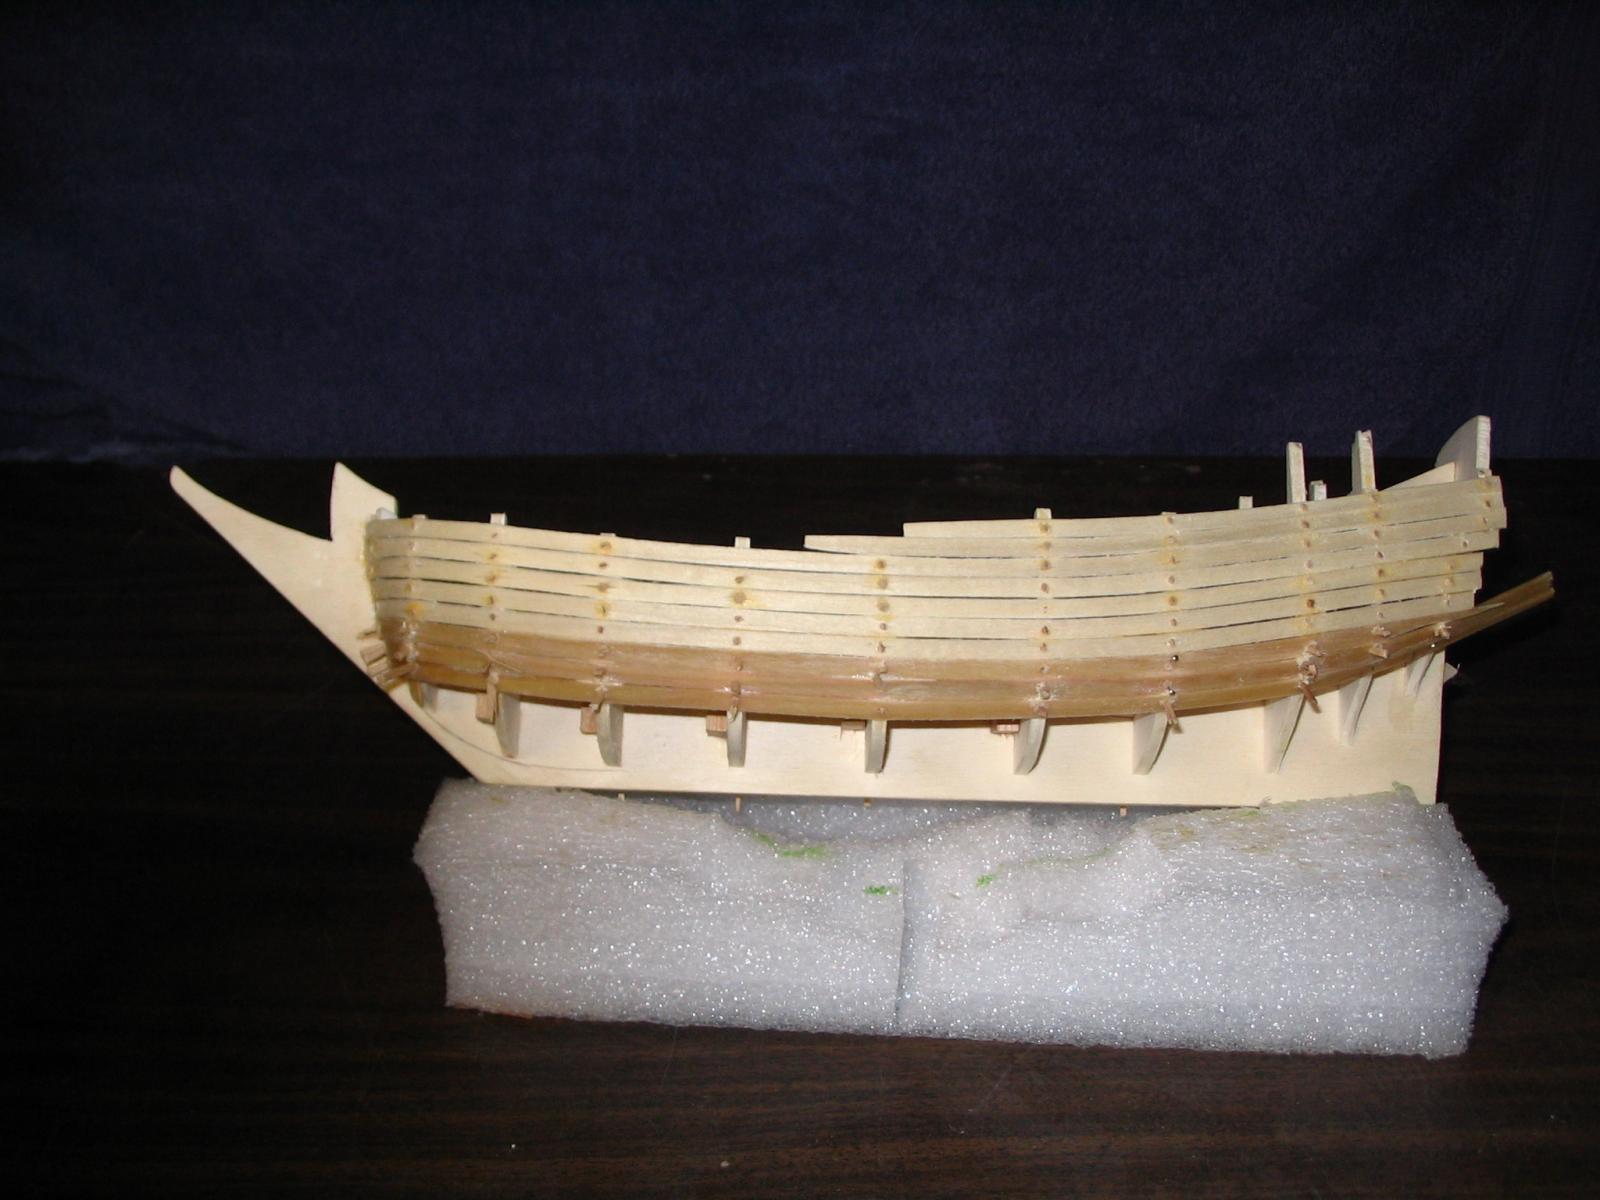
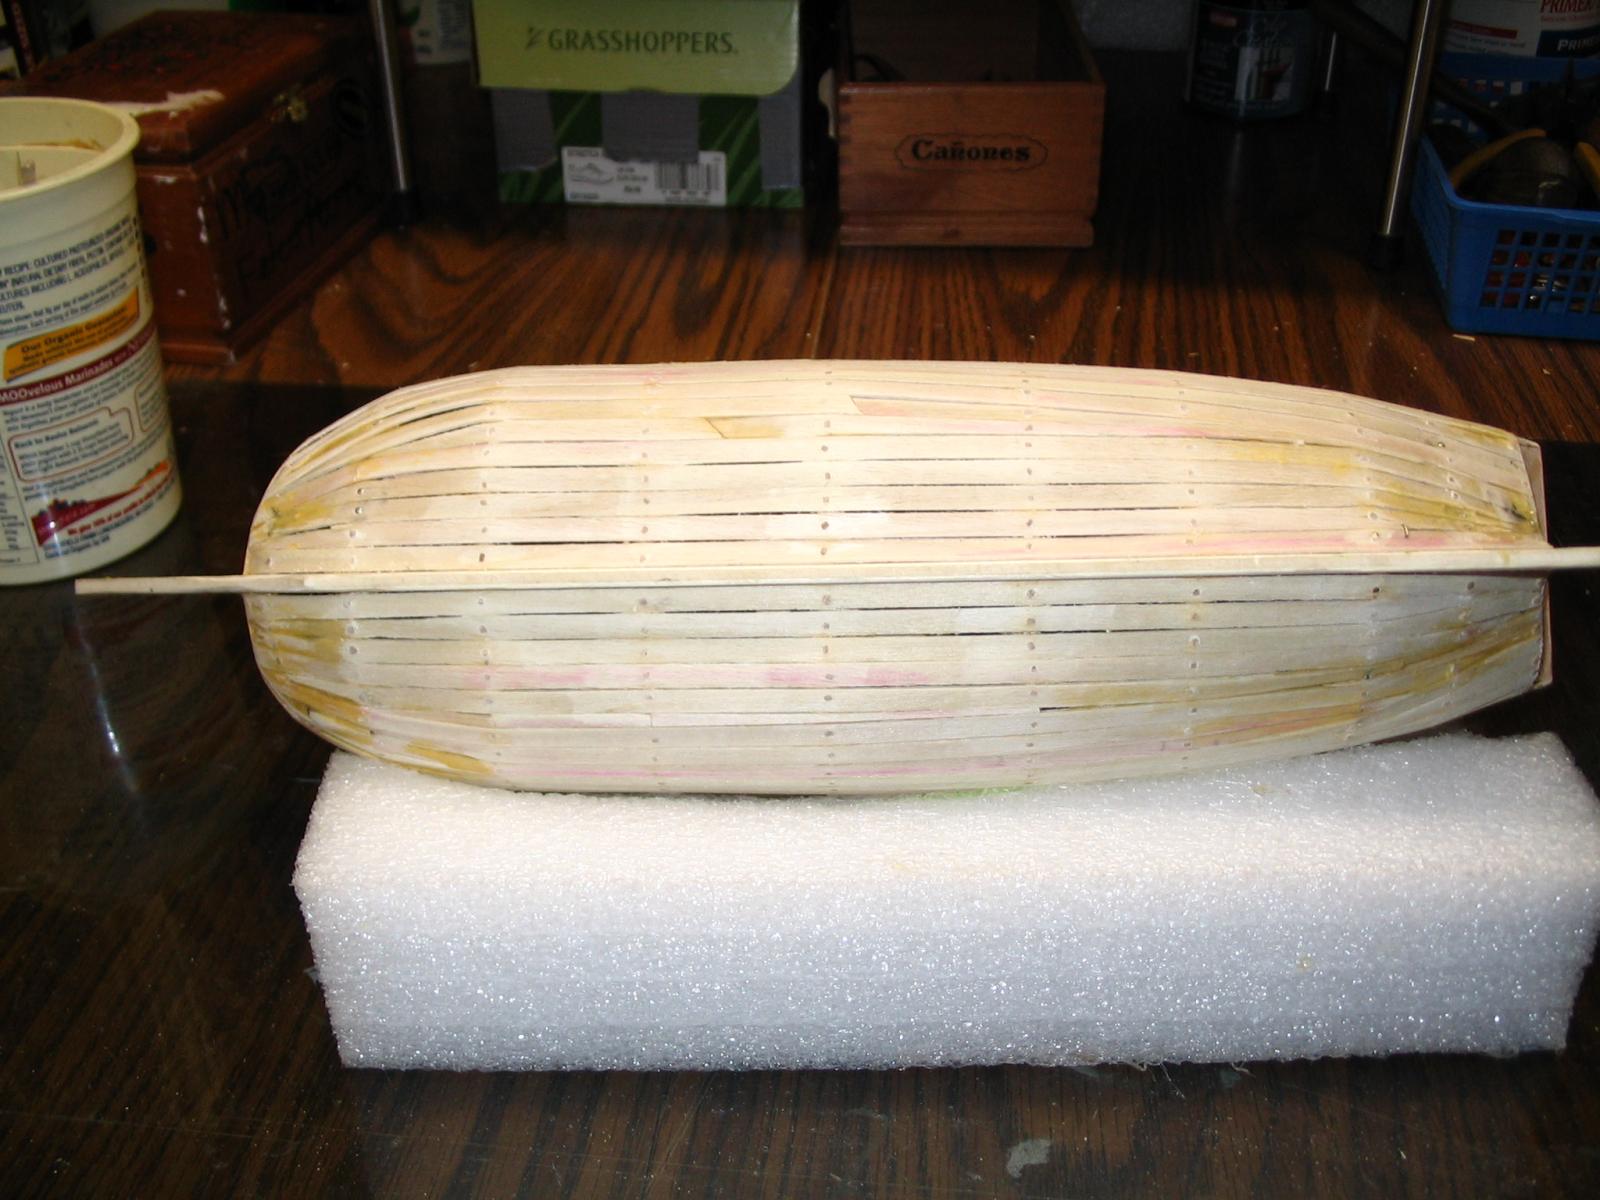
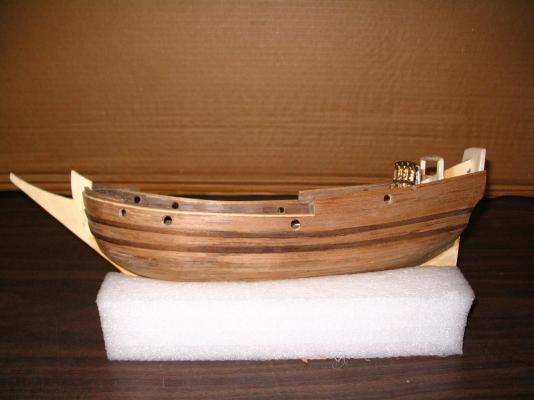
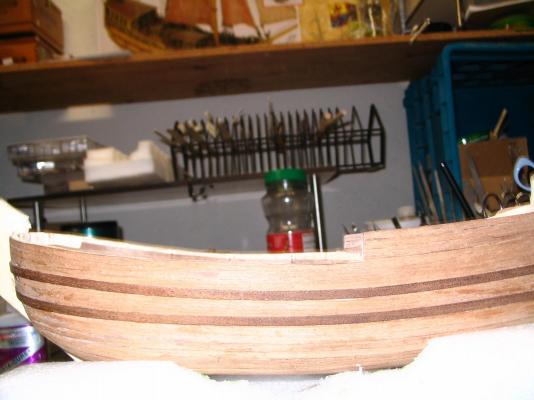
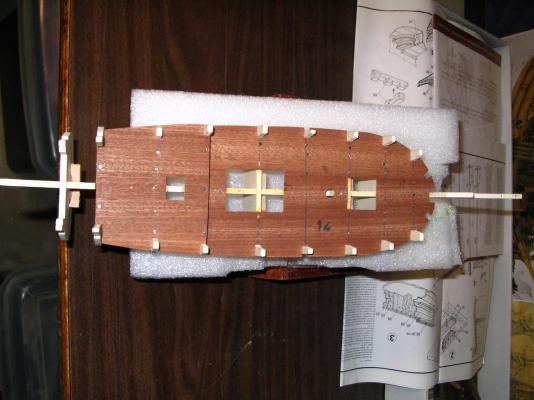
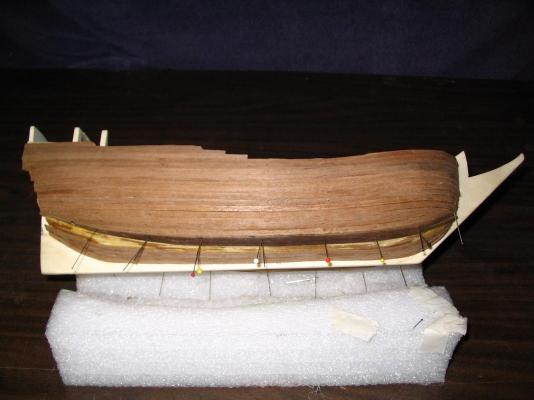
deck planking and second planking layer.

-
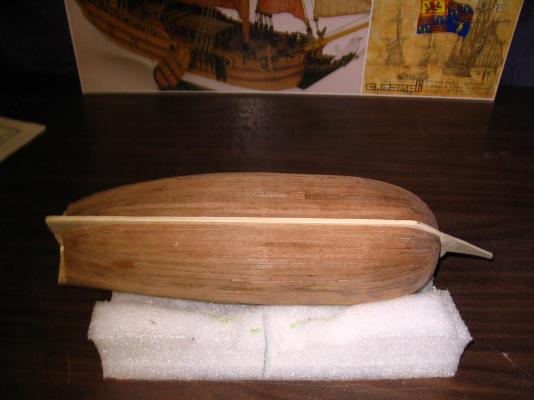
Looks like sometimes the pictures are posted not in order even though when I look in the thumbnail view they are. Here is the second layer of hull planking.

-
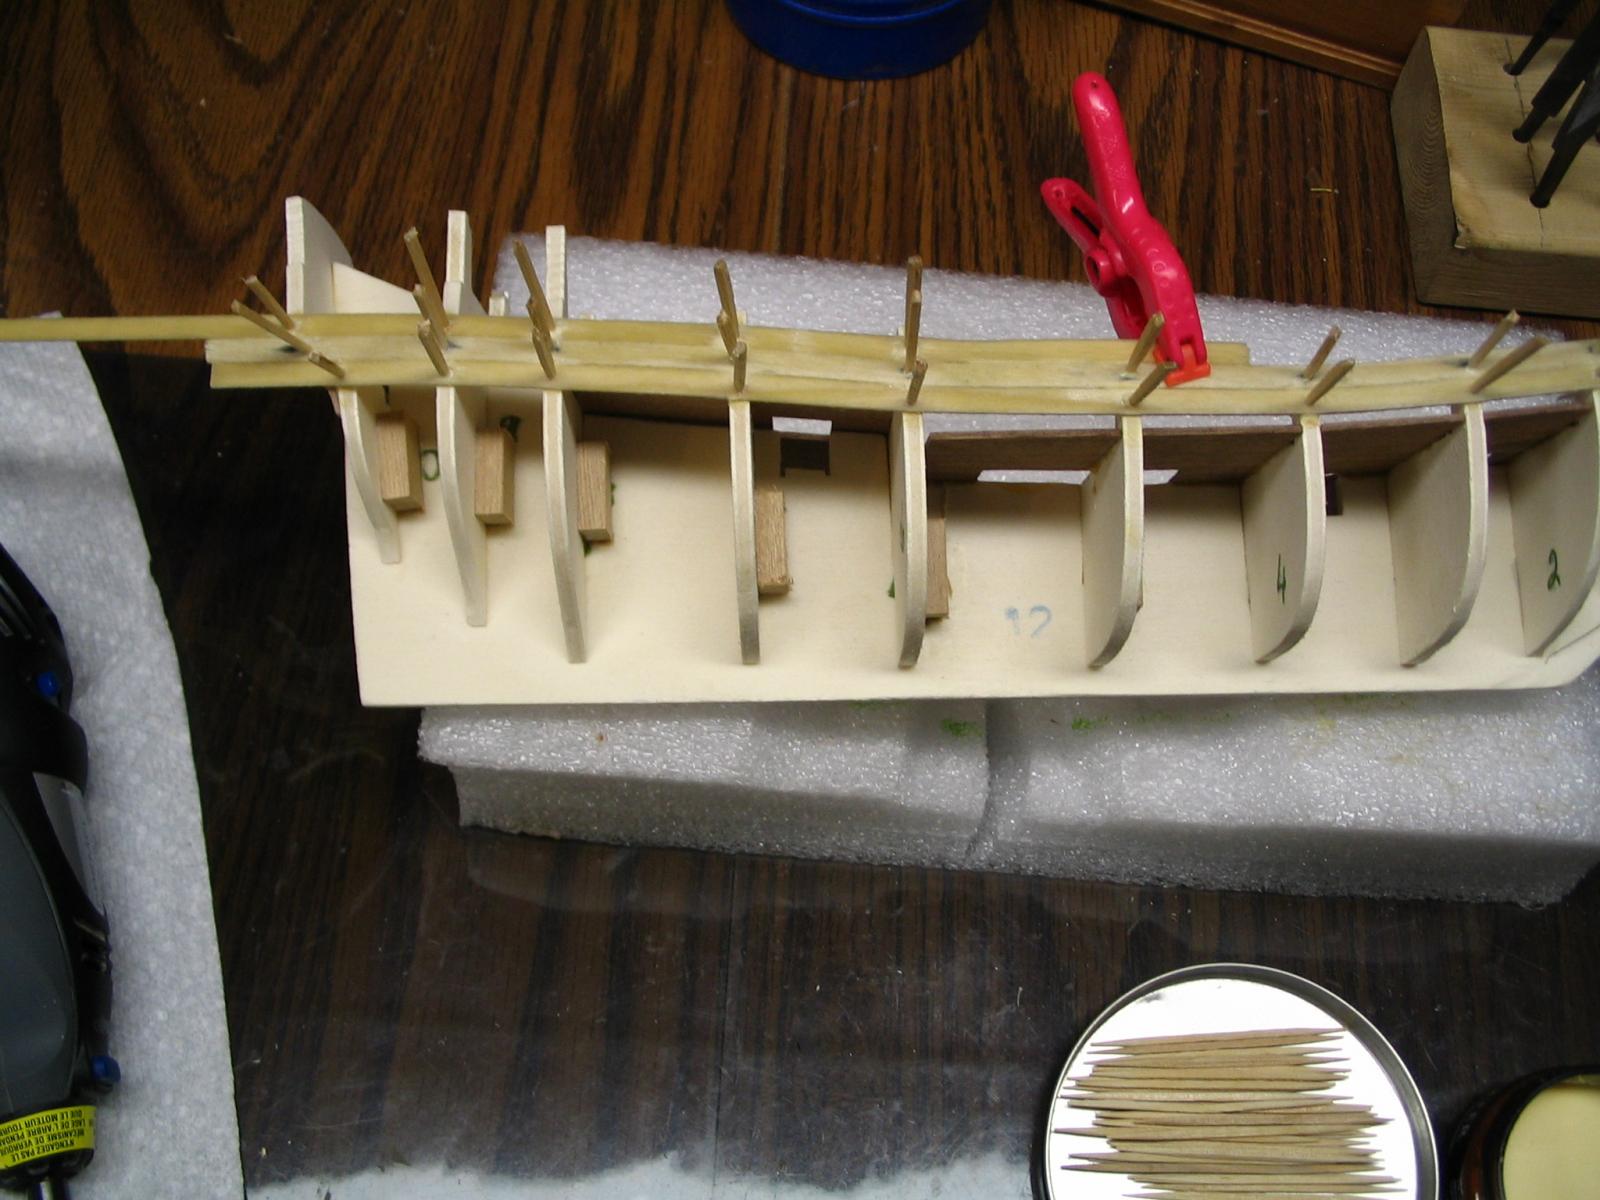
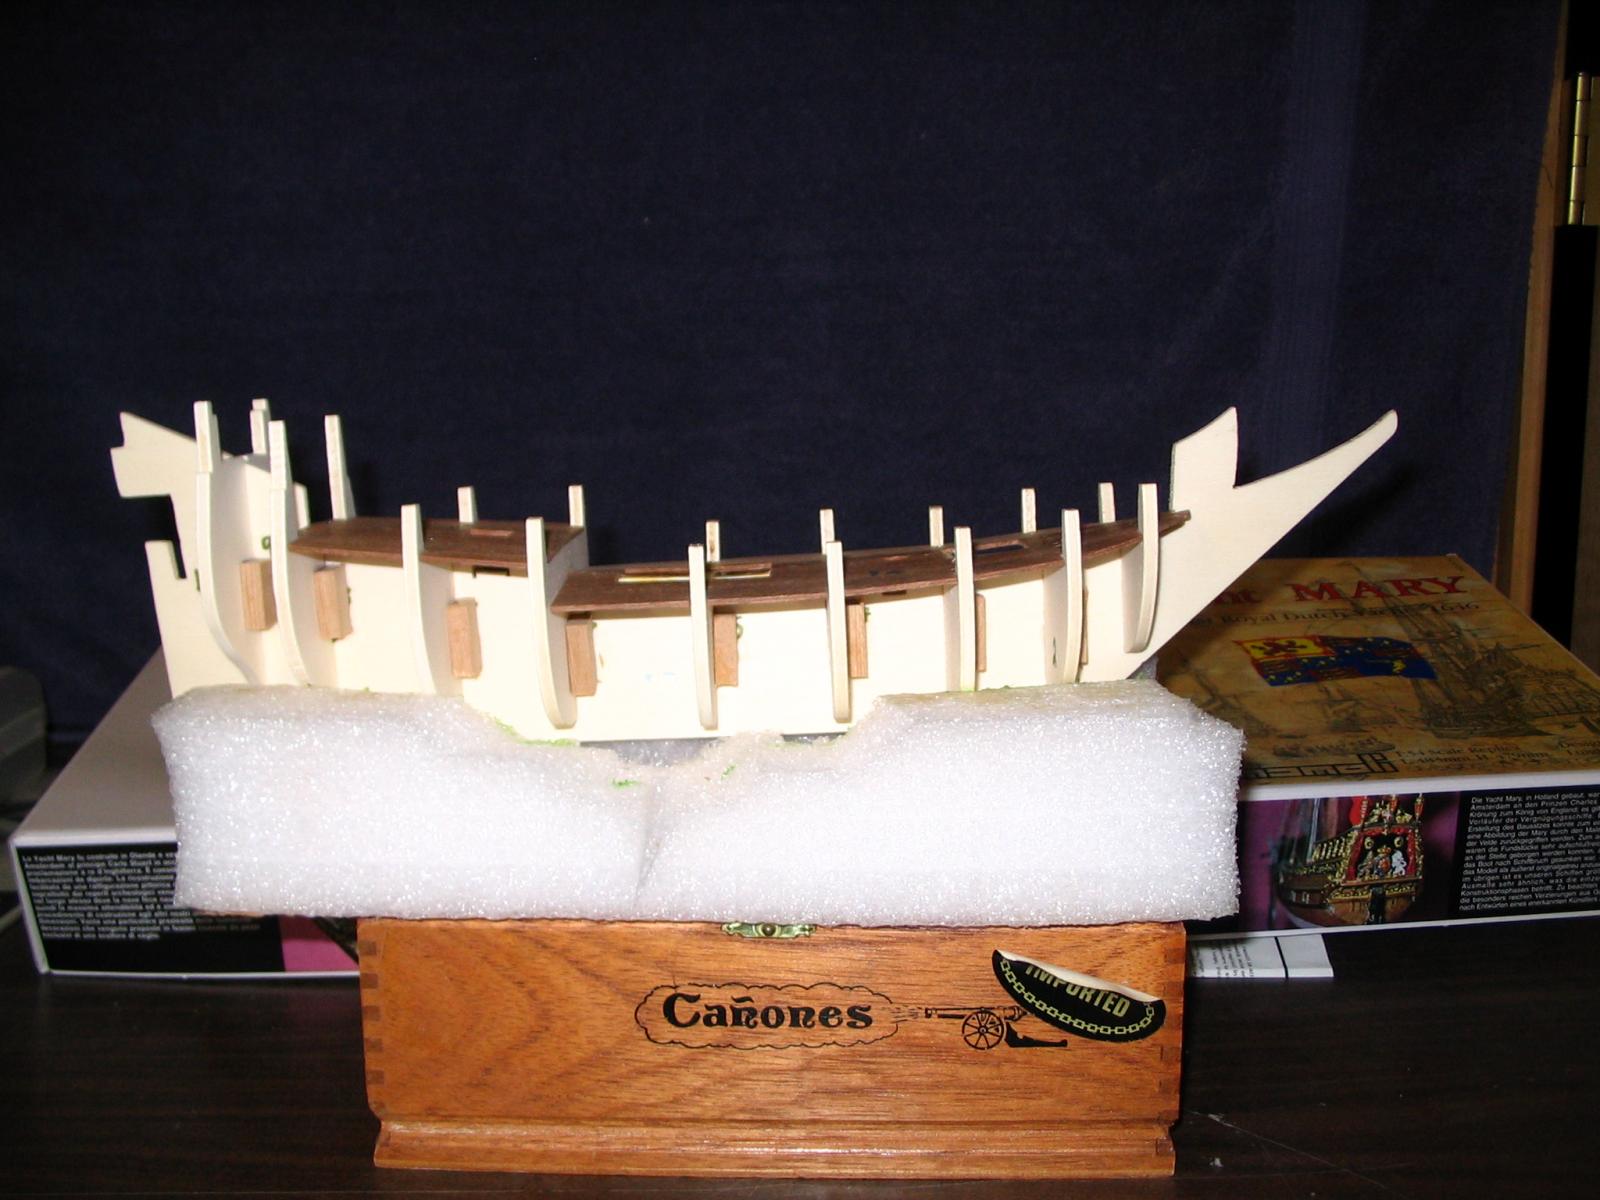
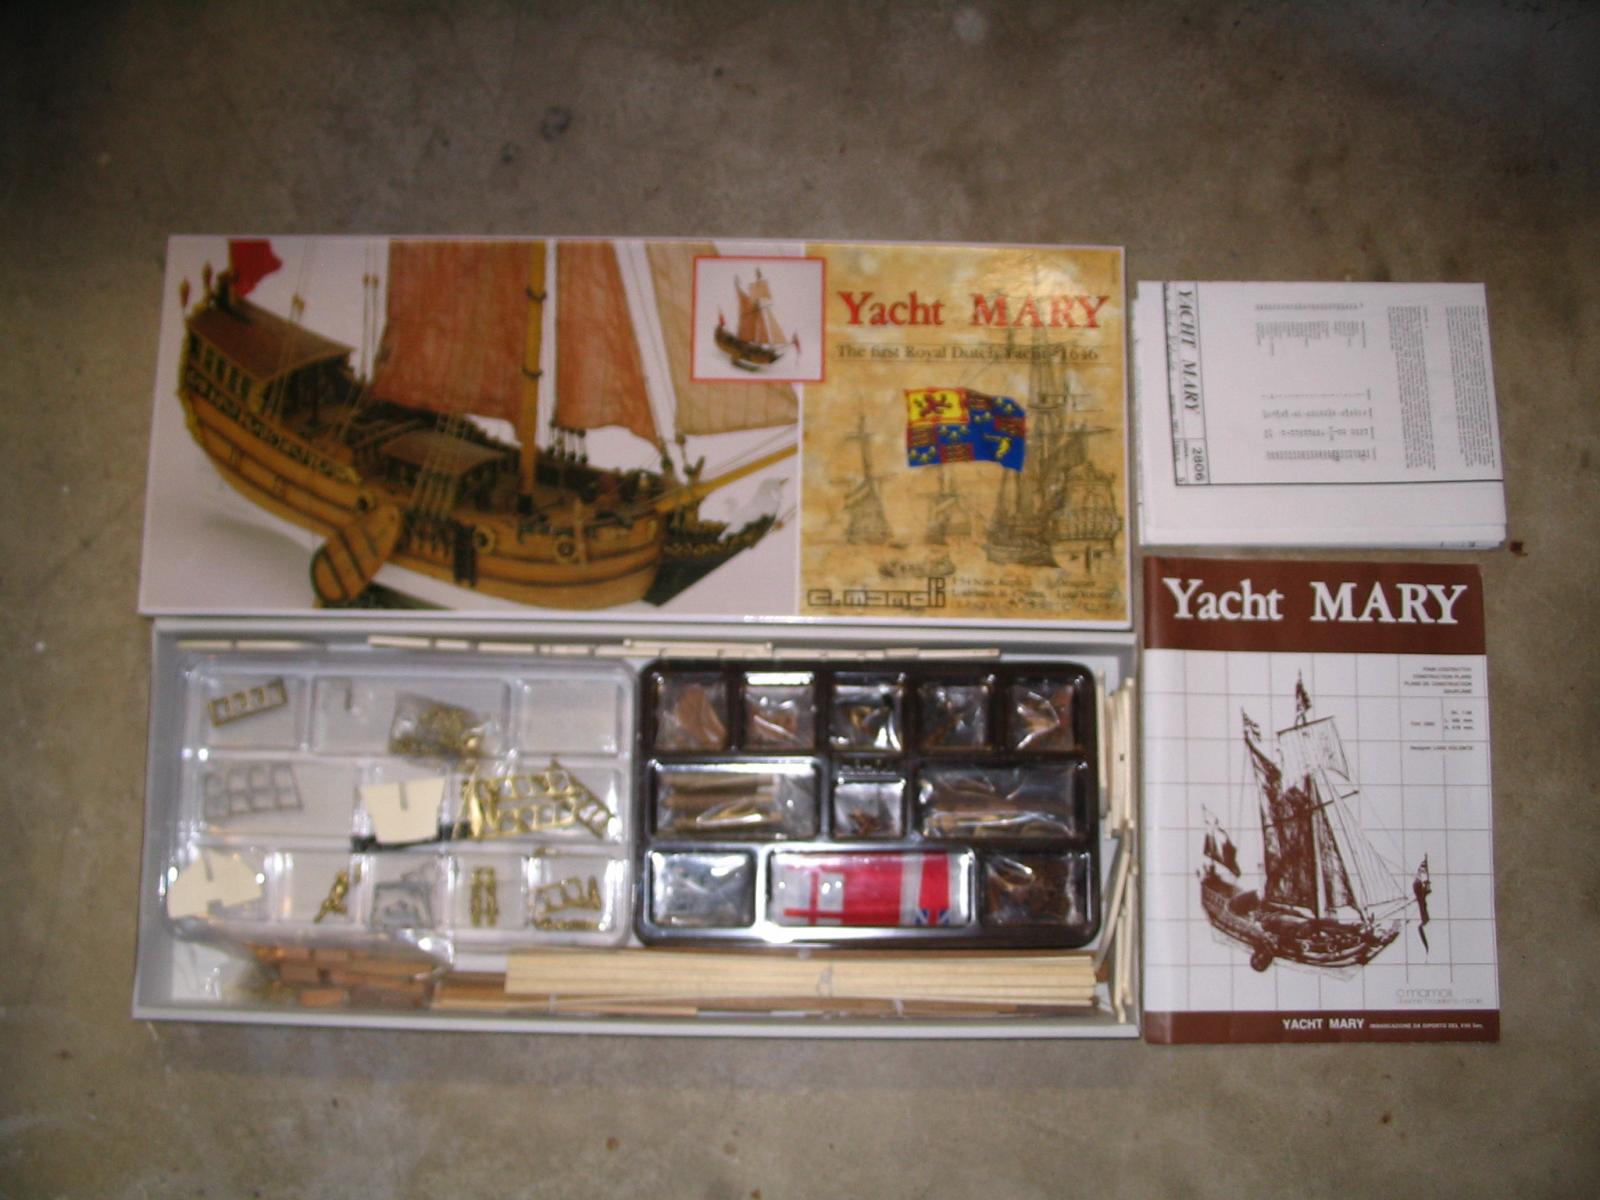
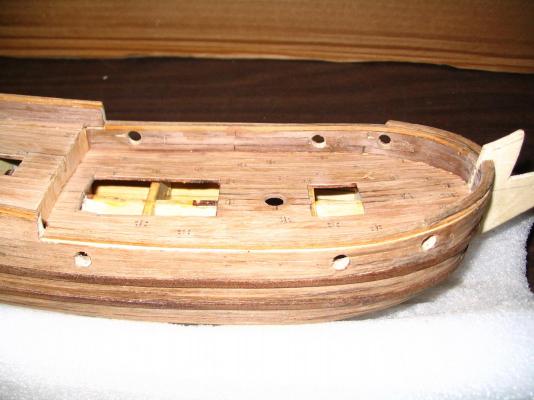
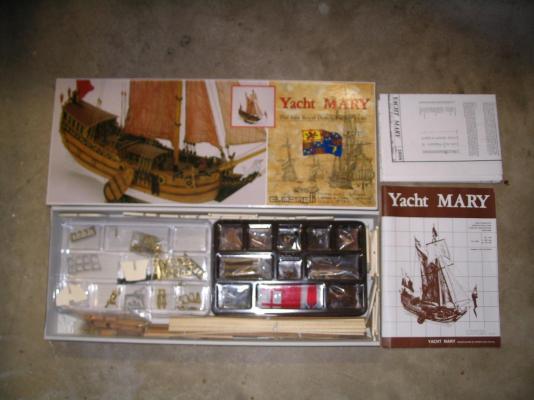
The following pictures are the contents of the box. Drawing of the boat itself. Several pictures of the 1st planking layer of basswood and the second layer of walnut planking.
-
HMS Mary was the first Royal Yacht of the Royal Navy. She was built in 1660 by the Dutch East India Company. Then she was purchased by the City of Amsterdam and given to King Charles II, on the restoration of the monarchy, as part of the Dutch Gift. She struck rocks off Anglesey in thick fog on 25 March 1675 while en route from Dublin to Chester. Although 39 of 74 crew and passengers managed to get to safety, the wreck quickly broke up. Guns and other artefacts were taken to the Merseyside Museums for conservation and display. She was the first of some 27 yachts which the king owned between 1660 and 1685. The word yacht derives from a Dutch word jagen, meaning to hunt. She was 52 feet long, with a beam of 19ft (15.8 by 5.8m) and displaced 100 tons. Her hull was copper clad. The Dutch yacht is the fore-runner of the Thames sailing barge. They had a large sail area, but a shallow draught that enabled them to navigate shallow waters. As with a sailing barge, sailing was achieved by means of a leeboard instead of having a deep keel. The shallow draught meant that she needed to carry additional ballast when sailing deeper waters. She was built for luxury with a decorated counter. I started building, The First Royal Dutch Yacht ”Mary”, 1646 from Mamoli in 2010. After the planking of the hull I put her away as there was little time for any boat building. I started working on her last year. Presently I am working on the masts. I like this boat but the instructions are horrible and the drawings are all done in freehand. No CAD was used like my Bounty from Constructo. Furthermore, translation was done by an Italian and a dictionary because it seemed like he did not speak English. But all is not lost. The drawings are similar to the Statenjacht Utrecht drawings. So I have been working with those as well.
-
Excellent book. Lots of interesting tid-bits and surprises. Marc
-
You may know about this but there is a blog on the Anglo-Dutch Wars (h$$p://anglo-dutch-wars.blogspot.com/)
-
I followed that built. Amazing work Marc
-
Jan; Thank you for all the information and I know about the kit-manufacturer. I will hunt down Hoving's book. Marc
-
Piet I enjoy reading anything VOC. I've done some kits from botter's, tjalk, and boeier's. There is a Dutch wood kits manufacturer at the Maritime museum in Amsterdam. Finishing up the Royal Mary (from Mamoli) and starting to work on the Utrecht. Have both books from that one from Seawatch books. So the Utrect comes first to get a taste of scratch building. For me doing something like your boat would be very advanced, but I will get to that. The Valkenisse is something I need to study and I like to add masts, rigging and sails. So I need to do further research on similar boats from that era for that. Seems the book from Hoving on the boats from Abel Tasman (Heemskerck and Zeehahn) have similar rigging. As far as I can search the Net, this book is not available. So next year when I go visit my mother in Amsterdam I will purchase the Dutch version among the many other things boat wise I will be getting. Yes, the Dutch ruled the naval world and it was all about "business", that is why we were welcome in Japan and several other Asian nations, because we were not trying to convert the locals to a religion, like the Portugeese and the Spanish. Regards, Marc
-
Awesome, beautiful lines, I always enjoy seeing a model from a VOC ship. I am probably going to look into this plan and will put it on my future built list. Thank you for making my DAY. mARC
-
I so agree with this statement. I created the frames both in 1:48 and 1:50 in paper templates and one of each on top of each other. Very little difference. Marc
-
That I must have otherwise I would not be building any boats. Marc
-
I ordered this book after I saw it from Bob Filipowski. Next year when I go visit my mother in Amsterdam, I am planning to visit the Rijksmuseum as well as the Maritime museum in Amsterdam. Last time I was there naval areas were both closed and being renovated. Marc
-
I have the book by A. Hoving and C. Emke and ordered the book by Gib as well. The book by Gib takes a long time to be delivered. So far it has been 2 weeks. Furthermore, I find it rediculous that I have to pay double shipping as I have ordered the book 'Message in a model" as well. So if I purchase 3 books one has to pay triple shipping. Once I have the book by Gib M. I will be making this model as my first scratch build. Will not show the insides of the boat, but will add sails. Marc
-
Keeping Standing Rigging Tight
flying_dutchman2 replied to capnharv2's topic in Masting, rigging and sails
I do this as well. Yes, lots of lines all over the place but I can adjust accordingly. Also once I have all the shrouds in place I add a drop of clear nail polish. Once dry you won't even see it. Marc -
CAD software
flying_dutchman2 replied to cog's topic in CAD and 3D Modelling/Drafting Plans with Software
I use progeCad 2013 ($400.00) Pro which is powered by the IntelliCAD 7 Engine. I used AutoCAD in the past at work but for personal use I wasn't going to pay an arm and a leg for that. progeCAD is a great replacement for AutoCAD and AutoCAD LT. Bentley-Microstation is a bit overkill and at around $5000.00