HOLIDAY DONATION DRIVE - SUPPORT MSW - DO YOUR PART TO KEEP THIS GREAT FORUM GOING! (Only 24 donations so far out of 49,000 members - C'mon guys!)
×


Richvee
-
Posts
385 -
Joined
-
Last visited
Content Type
Profiles
Forums
Gallery
Events
Everything posted by Richvee
-
 Bob, like Chuck says start a log. There’s a lot to learn here. Sounds like you’re at pretty much the same level as me. Many steps in this project were firsts for me. I’ve learned a lot. And there’s plenty more to learn.
- 152 replies
-
- 2
-

-
- medway longboat
- Syren Ship Model Company
- (and 1 more)
-
I used the Jax pewter for blackening. It was my first attempt working with metal blackening, so I have nothing to judge it against, but I was satisfied with the results. Just make sure the metal is super clean, and BRUSH the Jax on, do not submerge it. The stuff can be a bit pricey, but I found a little glass/jewelry store on line that sells 4 ounces for $6.00. That';s a pretty good price. https://glasssupplies41.com/product/4-oz-118-ml-pewter-black-patina/
- 263 replies
-
- 3
-
-
- Medway Longboat
- Syren Ship Model Company
- (and 1 more)
-
Not hard to find at all. A quick search for black monofilament will yield multiple options. https://www.amazon.com/Magreel-Monofilament-Fishing-Nylon-Strong/dp/B07SQ1VX3P/ref=asc_df_B07SPLB6FQ/?tag=&linkCode=df0&hvadid=385569651350&hvpos=1o1&hvnetw=g&hvrand=3204704411157101334&hvpone=&hvptwo=&hvqmt=&hvdev=m&hvdvcmdl=&hvlocint=&hvlocphy=9003576&hvtargid=aud-802037562948%3Apla-824255271971&psc=1&ref=&adgrpid=78921460776&th=1
- 263 replies
-
- 1
-
-
- Medway Longboat
- Syren Ship Model Company
- (and 1 more)
-
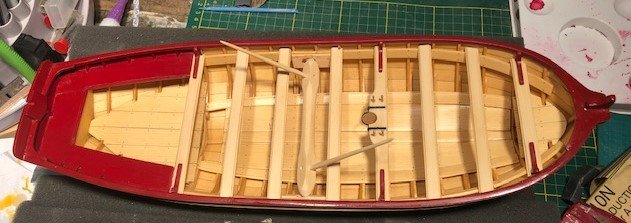
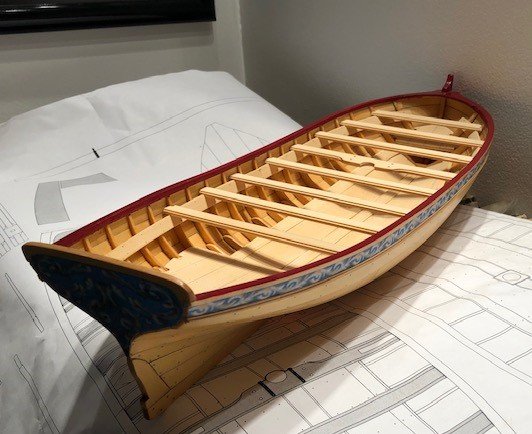
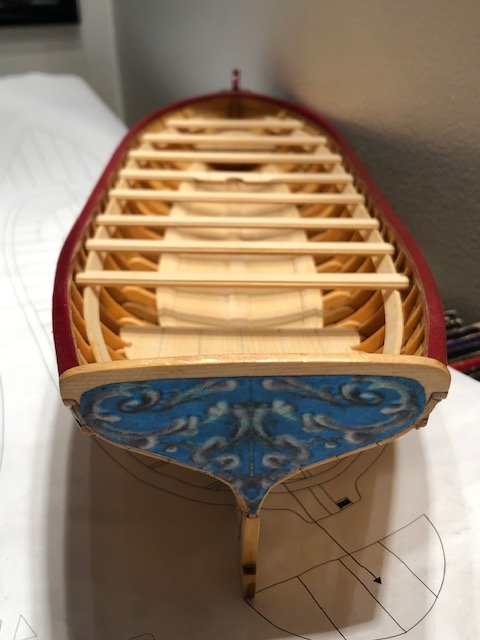
The interior is coming along. A lot of new techniques for me.. Carving the windlass.. I wish I could have gotten some sharper, more pronounced angles. Blackening and working with brass. Used the Jax Pewter black. No major issues. Just make sure the brass is super clean, and brush it on. Turning belaying pins in a Dremel. This went a lot better than I thought it would. I was happy with the appearance of the pins. Just a few more things to add...Block and roller at the stern, rudder, thole pins, grapnel and oars. Wile I do plan on rigging this, I think that's going to wait while I get back to the Kate Cory. I've been itching to get back to that.
.jpg.d0b438408419d5912ed2d9828b803349.jpg)

-
Thanks Dave. I enjoyed following along. Nicely done!
-
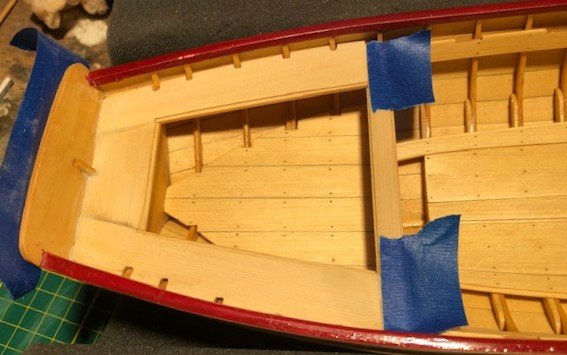
Thanks Chuck. And thanks for the likes. Got a few coats of wipe on poly on the floors and platforms, and added the cockpit benches, filled the gaps and sanded smooth. a few coats of paint on the seats will be next up.
-
Yep. Very light. But it's surprisingly sturdy. I had no issues faring the frames pretty aggressively.
- 263 replies
-
- 1
-
-
- Medway Longboat
- Syren Ship Model Company
- (and 1 more)
-
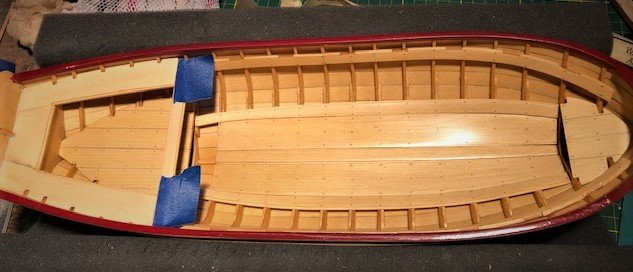
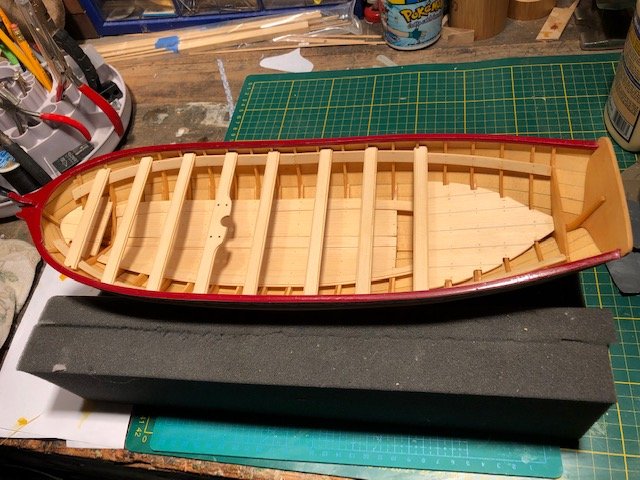
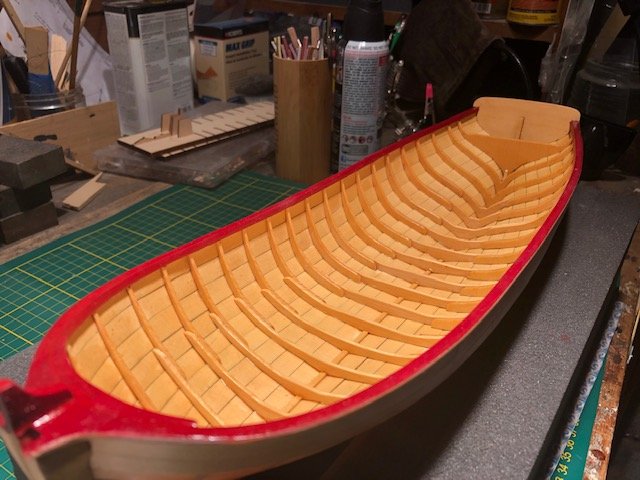
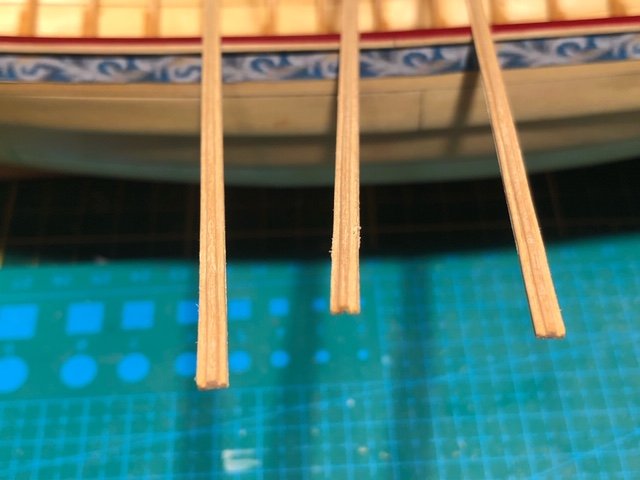
Haven't updated the log in a while, but work continues. Molding installed and nails done. Again, if I had it to do over, I'd add the nails after installing each plank. Floorboards were up next. Bending these boards was fairly easy. Even the thicker ones. The tougher part was shaving the nylon line flush with a razor on the bent boards without shaving pieces of the floorboards with the edge of the razor blade. The platforms were next up. The aft platform is easy compared to the little platform at the bow. The angles are tricky, and I cut a few cardstock platforms before I liked one and then transferred it to the wooden platform. I still had filing and shaping to do until I was happy with the fit around the inside edge, and making sure it sat fairly level. Next were the risers and thwarts. I marked the distance from the top of the rail to the top of the risers on each frame as Chuck suggested. Then measured again to make sure. I took a lot of time getting the height right on both sides. Last thing I wanted was to get to this point and then have a noticeable slant to the thwarts!! The risers were then bent to fit, clamped to the sides, and marked of for nails. I applied the nails off the model. Much easier than it would be after installing the risers. Then they were glued up, with a clothespin "clamp" on each frame. Next up was gluing the 2 layers of each thwart together, then fitting them into the slots. The first thwart at the bow was the trickiest. Again, a cardstock thwart was made and cut too fit before trimming the real thwart.. I still managed to mess up the "real" thwart. Luckily there's plenty room around the edges of the laser sheets to cut a replacement thwart! So here it is as of today. I think I'll add a coat of wipe on poly to the floor and platforms before proceeding the the cockpit bench.
-
Beautiful work. I’m at the point where I’ll be assembling the platforms and floor boards real soon. Did you pre- bend and assemble the 5 pieces of floor boards, and after they were done glue the finished floor in place? I think Chucks instructions suggests pre bending and and installing each piece of floor board one at a time. Any advantages/ disadvantages in either method?
-
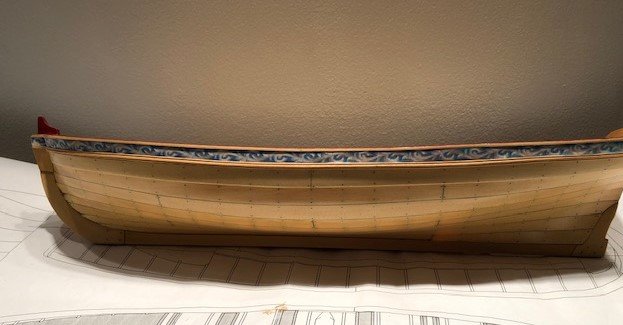
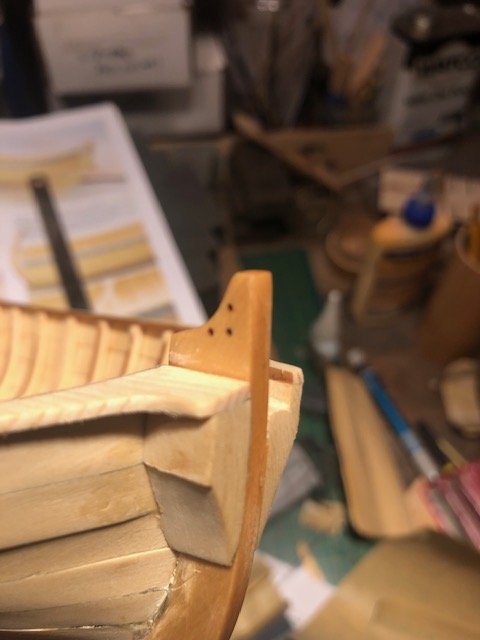
Some progress to report Sanding of the cap rail is done, and my horrible paint talents are on display. had some fun with the frieze. Turns out the sheets Chuck included with the club's packages were a bit small. Led to a little angst wondering if I've done something terribly wrong. Downloaded to PDF from here, and there was no issue with the length. next up, moldings. This is my first time scraping a molding, so I'm keeping the design very basic. About have a dozen razor blades later, I was able to come up with a shape I can live with. Next up will be adding the moldings, then it's time to start the nails.
.JPG.38e0bb9112d2dd3040578a2f51685f4d.JPG)
.JPG.1f1b875abcaa650025f06fafcd054a60.JPG)
-
Just a quick post to say this build is not abandoned. I know it's been nearly 1/2 a year since I've updated this log. I still have every intention of finishing this ship. Focus has turned to the Medway Longboat group project the past few months. I'm having a fun time with Chuck's wonderful kit. I will get back to the KC soon. I'm getting an itch to get going on the yards, boom and gaff.
-
Looks great! As for the sheet blocks, EdT had to make a bunch of these for his Young America. I have one I need to make for my KC. Being that I don't have a fitting to fall back on, I was considering trying Ed's method...Well, at least a facsimile there of...
- 145 replies
-
- 1
-
-
- model shipways
- charles w. morgan
- (and 1 more)
-
Great work and great innovative ideas for all the pieces involved in the boat stations. During yhe the civil war it was very common to paint the sides to look like gun ports. I guess it worked to some extent from greater distances, but once the pirates or rebels hit close enough to see five whale boats hanging off the ship, the cover was certainly blown. 🙂
- 145 replies
-
- 1
-
-
- model shipways
- charles w. morgan
- (and 1 more)
-
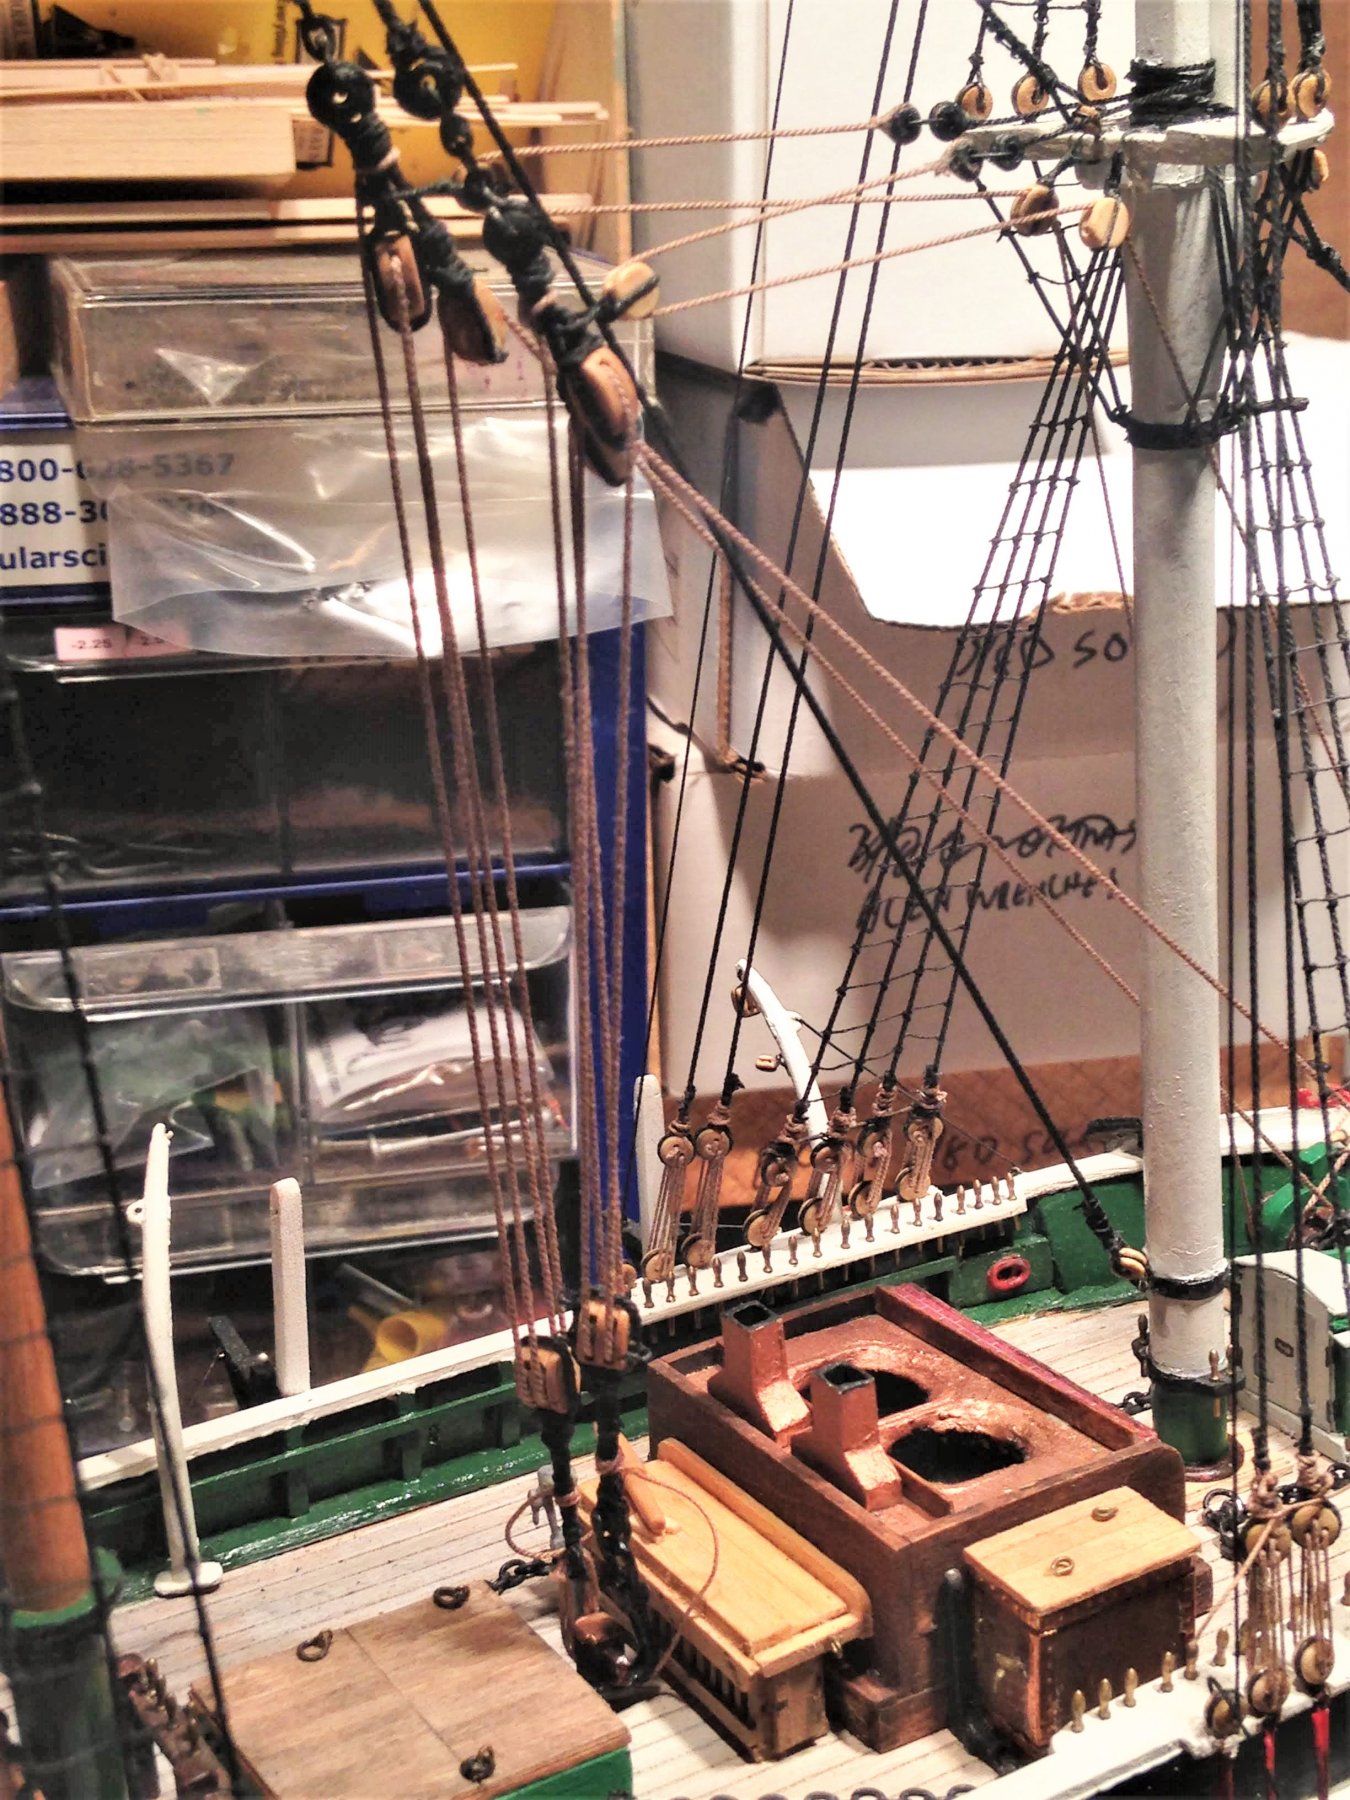
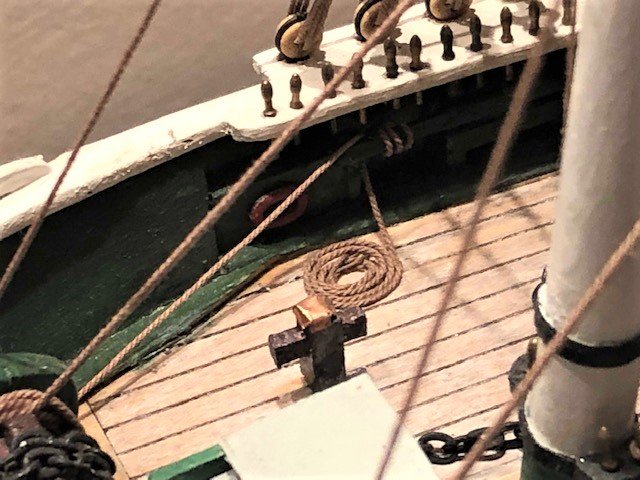
Looks amazing!! Great work!! On the Kate Cory, Ronnberg's rigging specs has the cutting tackle falls wrapped around the windlass. I imagine they stayed there as they were used to raise and lower the carcass. For the tackle guy falls, Ronnberg says "The guy falls ran down to the windlass heads when used to adjust the positions of the cutting tackle. Once cutting tackles were properly adjusted, the guys belayed to cavels in the bulwarks." I took a little artistic liberty and ran the guys around the windlass heads and then to the cavels.
- 145 replies
-
- 2
-
-
- model shipways
- charles w. morgan
- (and 1 more)
-
I’ll be using the light method. Wish me luck!
-
I like the idea of adding the nails as you go. Wish I would have thought of that. It's going to be tough to drill every hole without missing a frame.
- 87 replies
-
- 1
-
-
- medway longboat
- Syren Ship Model Company
- (and 1 more)
-
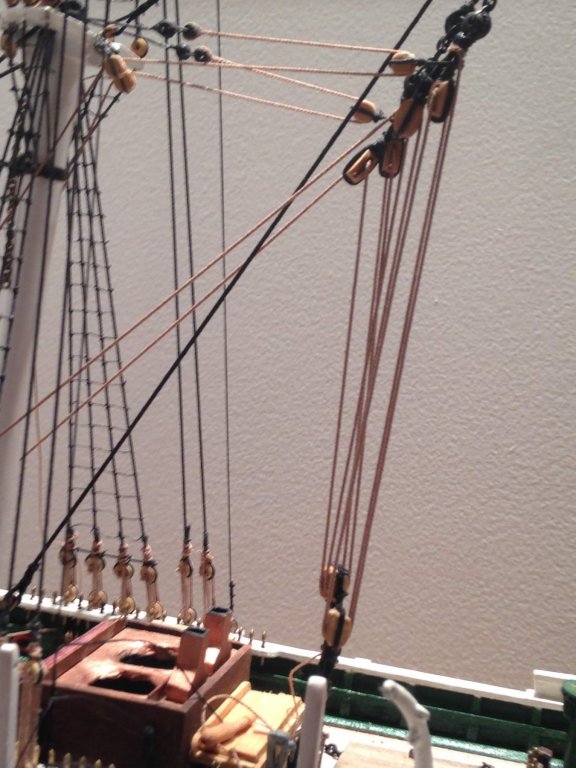
Excellent advice. There's a lot going on in there, especially if you plan on rigging both tackles. Get it early while there's room. It is a centerpiece. It's such a different looking rig, and it's front and center. I chose the brand new rigging look with unpainted blocks. Not sure I wouldn't have liked the white blocks better.

- 145 replies
-
- 3
-
-
- model shipways
- charles w. morgan
- (and 1 more)
-
The bolsters are in place. Started sanding a little of the outside of the caprails. Lots of sanding inboard ahead.


-
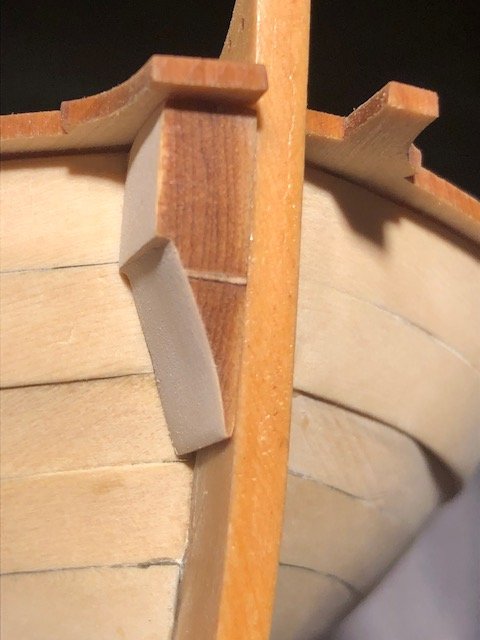
Frame centers removed, cap rail installed, and the task of making the bolsters has begun. I've got one I'm satisfied with. I'm thinking the tough part is going to be making a matching set.
-
Outstanding. Everything is so crisp and clean. Really enjoying following this build.
-
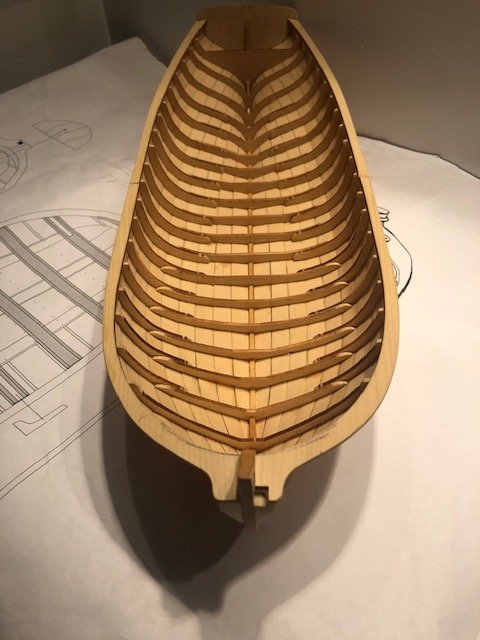
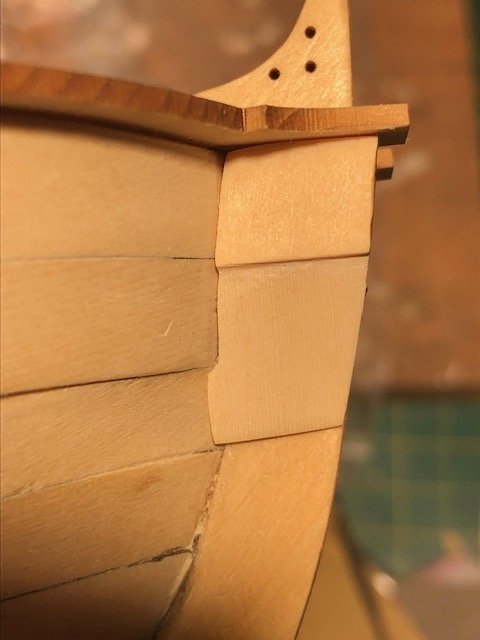
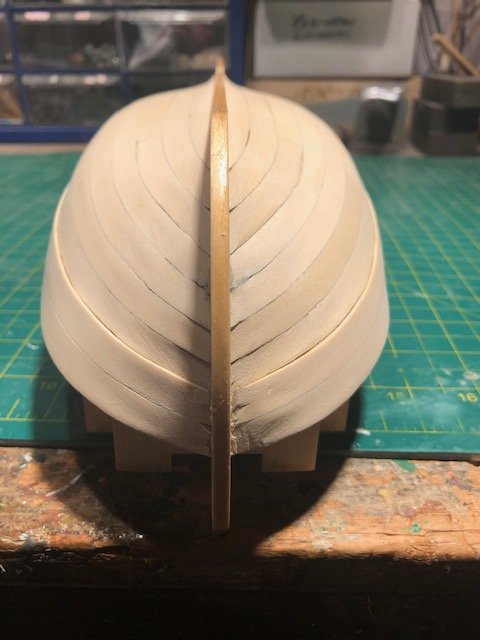
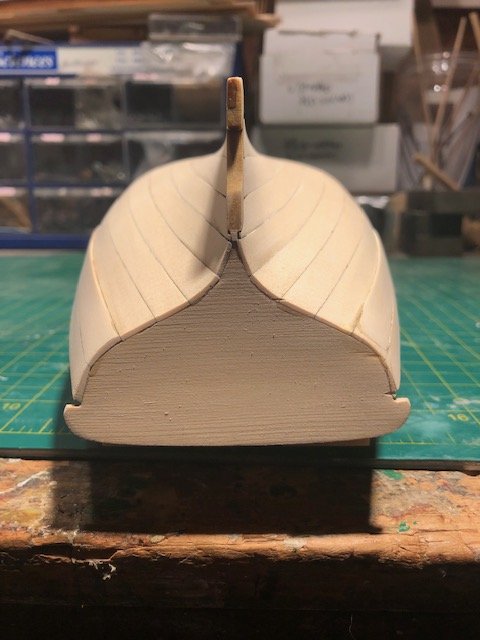
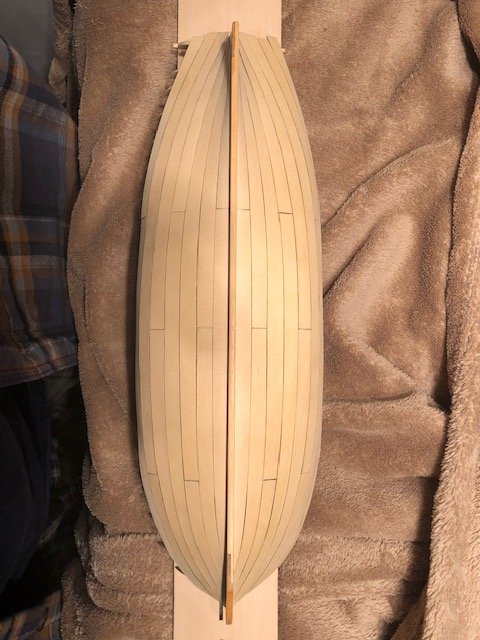
Well, here it is. My first planked hull. Sanded and ready to remove the frames. I made a lot of mistakes. Not thrilled with the seam at the bow on a few planks, got a little over zealous thinning the wales near the stern on the port side. But for a first attempt, I'll take at as a learning experience. I know if I did it over starting tomorrow it would come out better. That's the important thing. Keep getting better. I'm pretty happy with the overall symmetry. A little sanding at the sheer and I think it will be OK. Some more sanding at the bow is also in order.
-
The boats look great Dave! And only a month?? It took me a month to do the first one on my Kate Cory...Now I’m thinking about stealing your idea for the card stock stripe. So maybe I don’t even have one finished yet!
- 145 replies
-
- 1
-
-
- model shipways
- charles w. morgan
- (and 1 more)
-
Thanks Chuck. And thanks for the likes from all. I have a question. When I get to that final strake, should the top of each frame sit flush with the top of the last strake? I'm guessing if the frame protrudes over a little we simply sand it down? What if a frame doesnt reach the top?
-
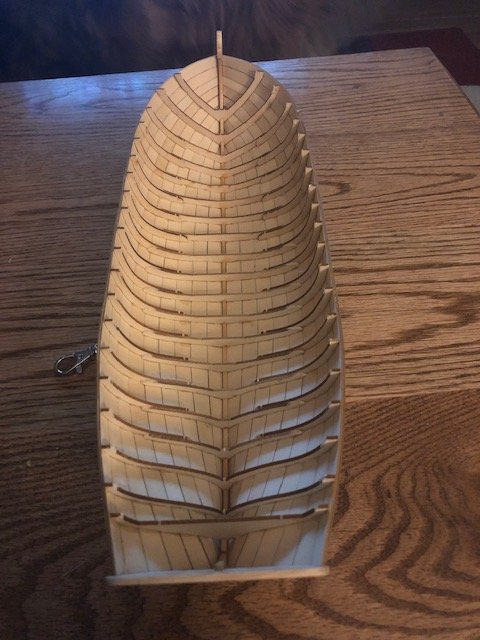
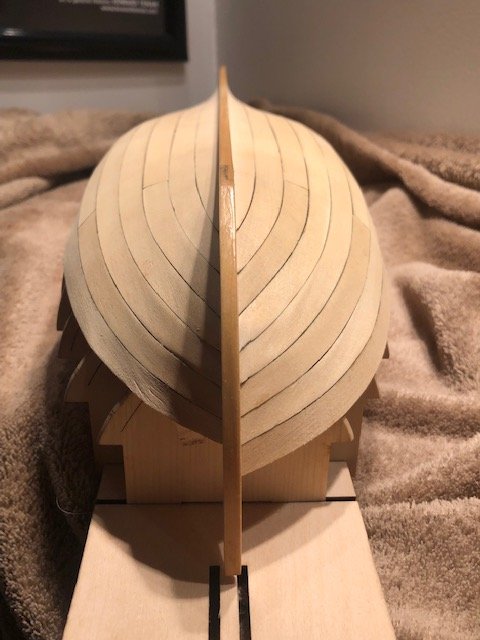
Hard to believe it's over a month since my last update. Planking continues. I've broken more than my fair share of planks, so I got a lot of practice cutting planks. Also had to cut one a bit wider to get each side back in alignment. I cut so many planks, I actually ran out of extra space and I had to get another sheet of wood from Chuck to continue. (Thanks Chuck!) I'm having better results soaking the planks in water a bit and then bending with heat. There's some bumps at the bow I'm not real happy with. I'll need to do some work there, and touch up and sand other areas to get a smooth shape, but all in all, for my first attempt at planking anything, I guess it could have gone worse. 3 more strakes to go...
-
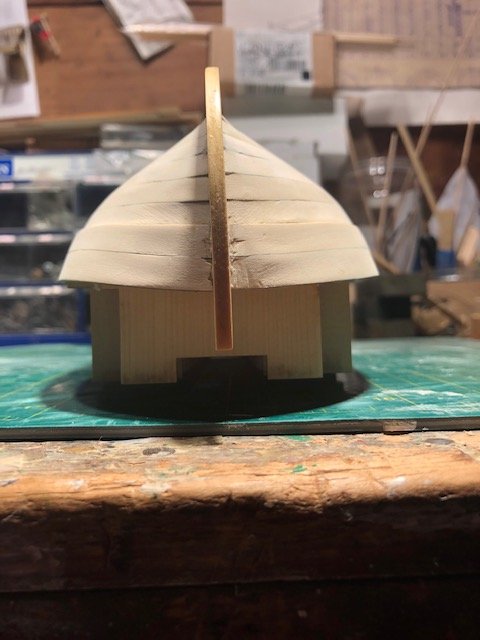
Awesome. Great work. A bright light shining through the hull and not a hint of any light shining through a seam in any plank. Ive got a long way to go to reach such a level of craftsmanship.