-
Posts
6,476 -
Joined
-
Last visited
Content Type
Profiles
Forums
Gallery
Events
Everything posted by Keith Black
-
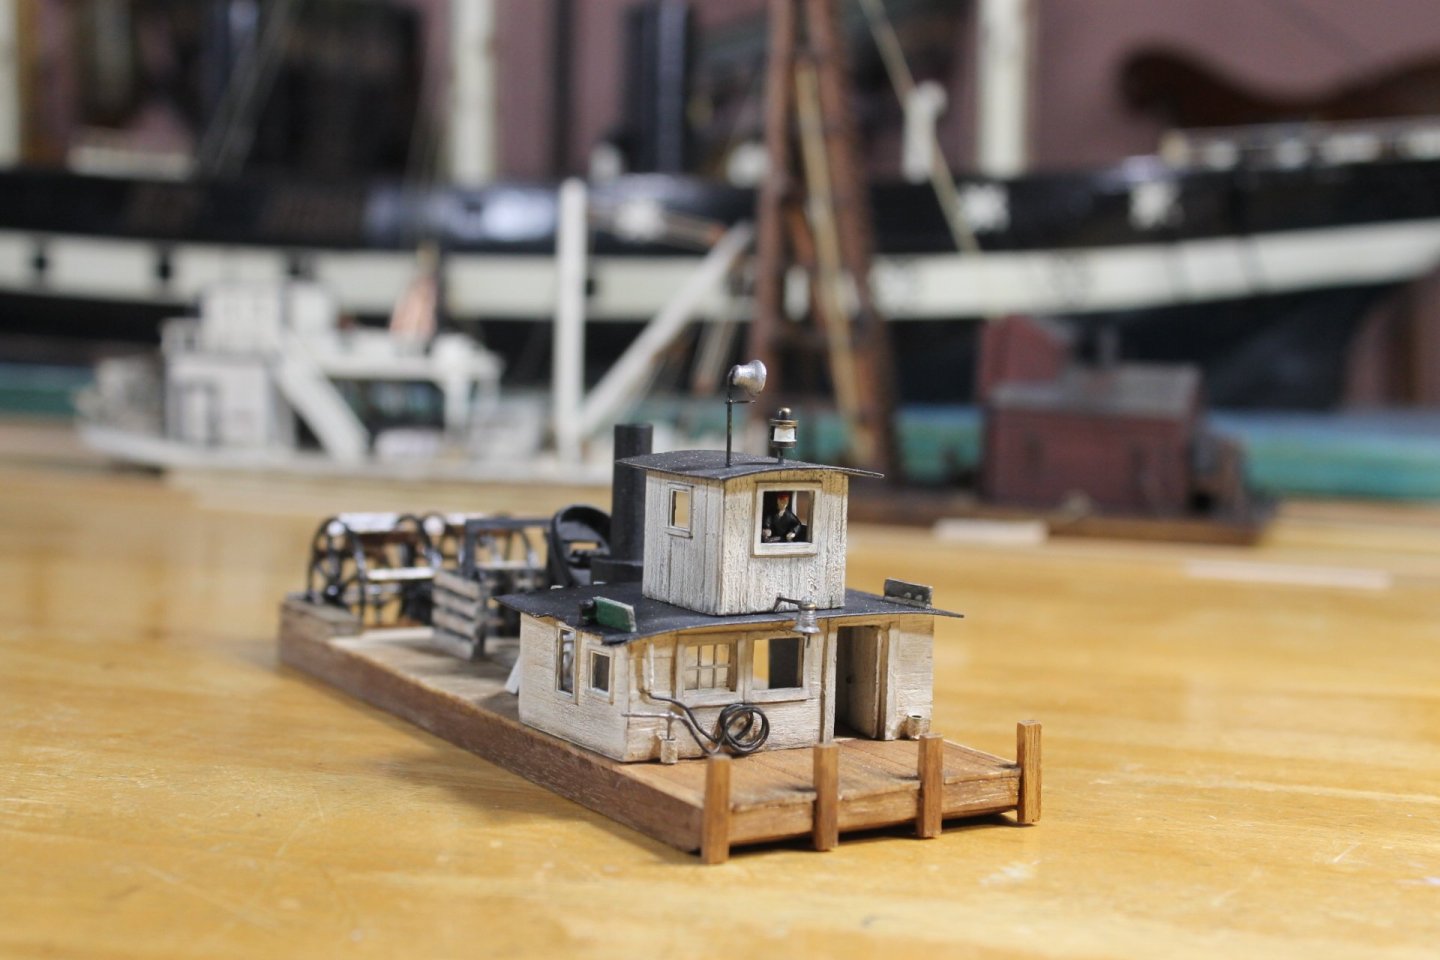
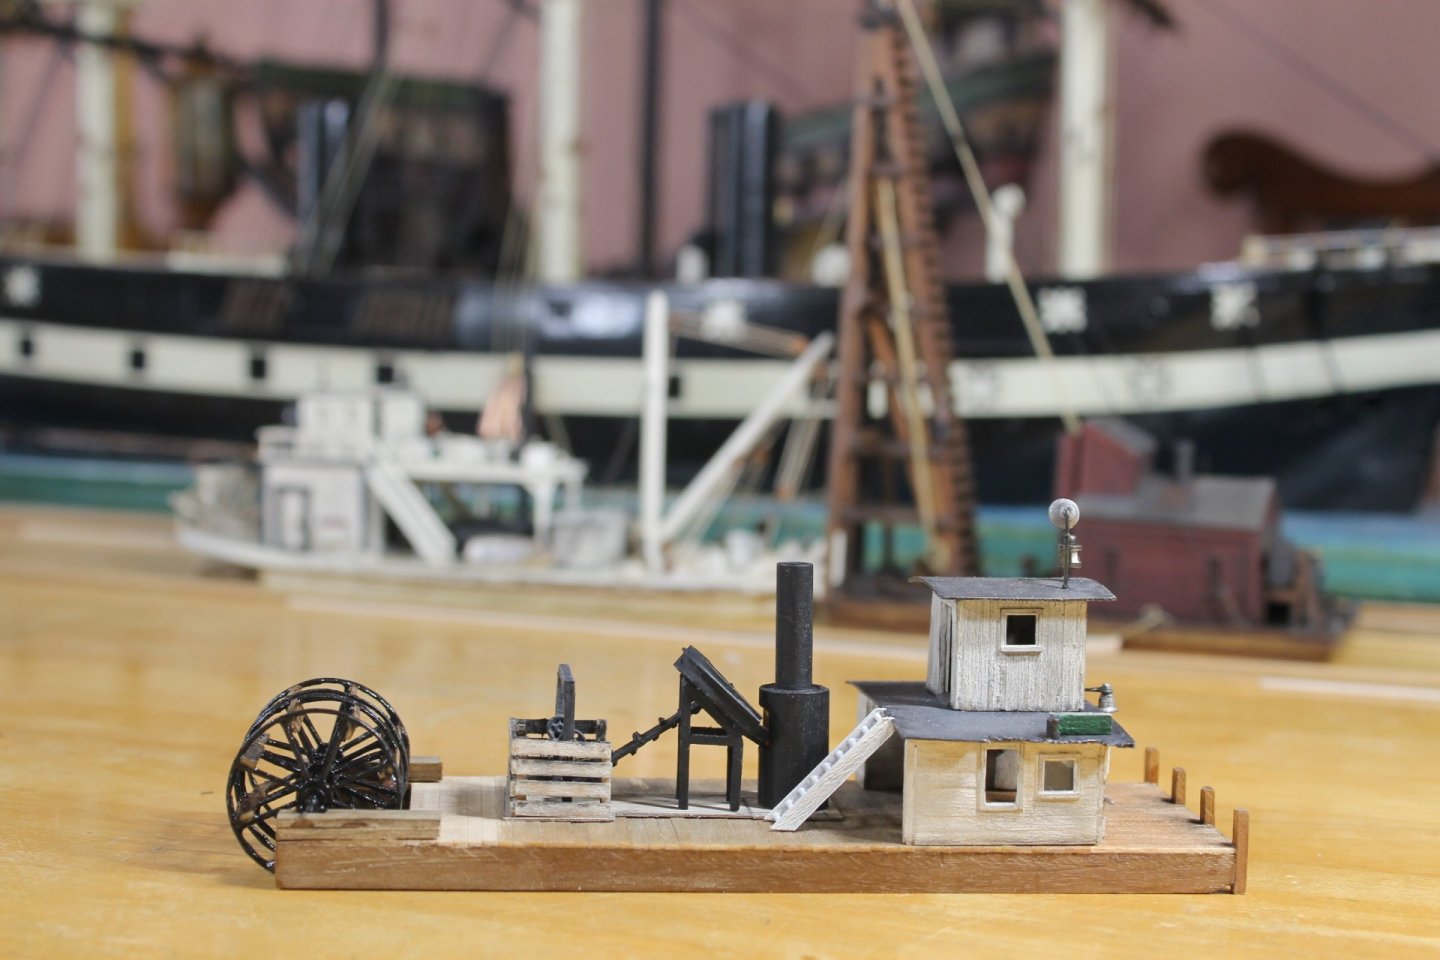
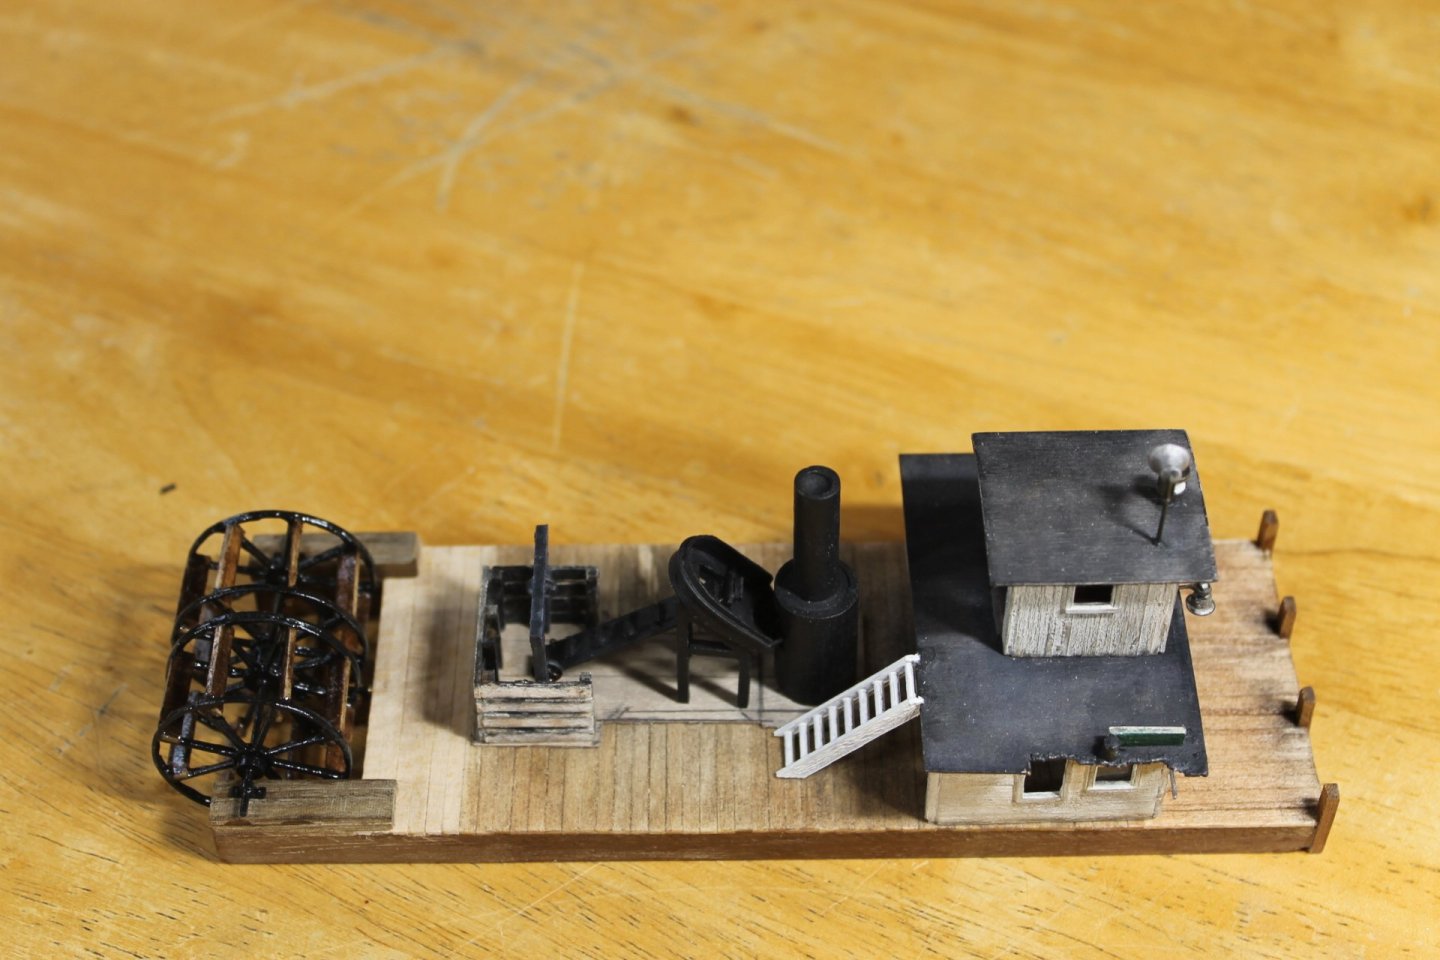
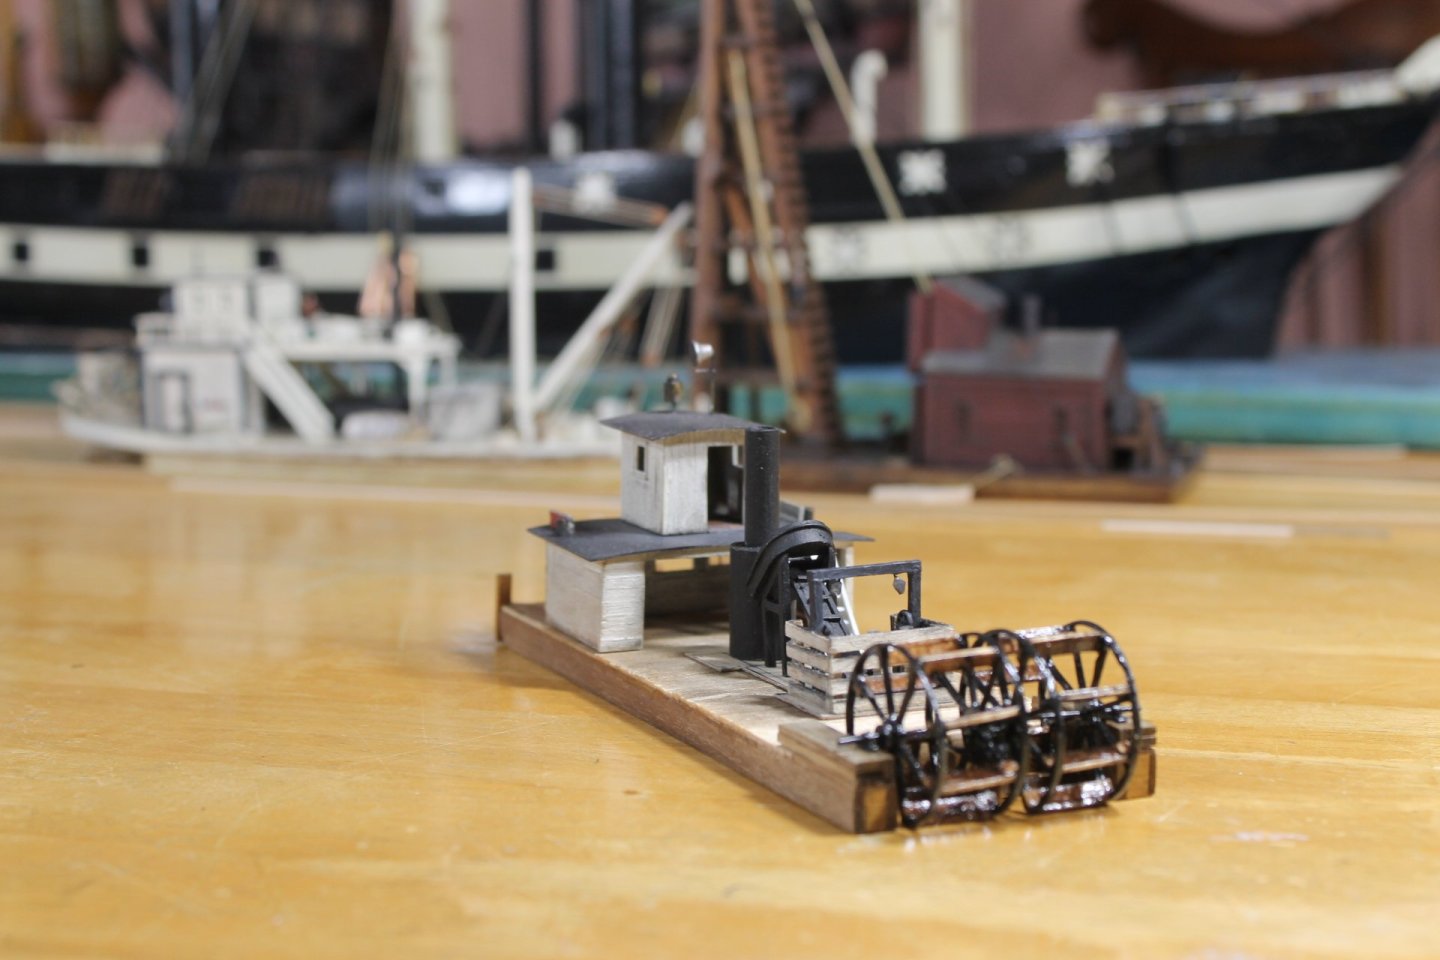
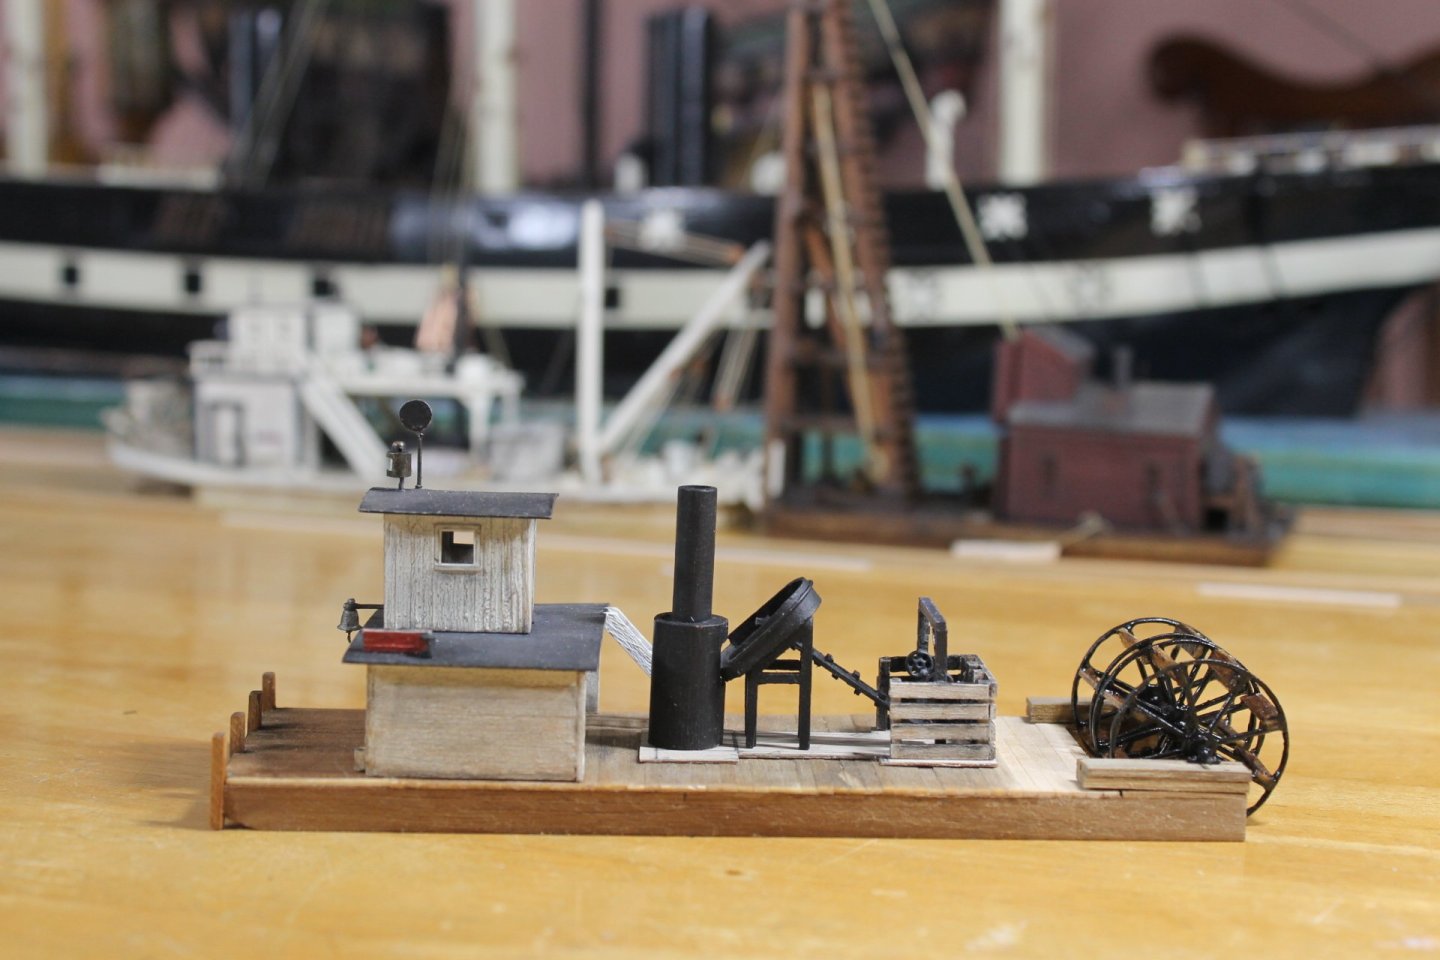
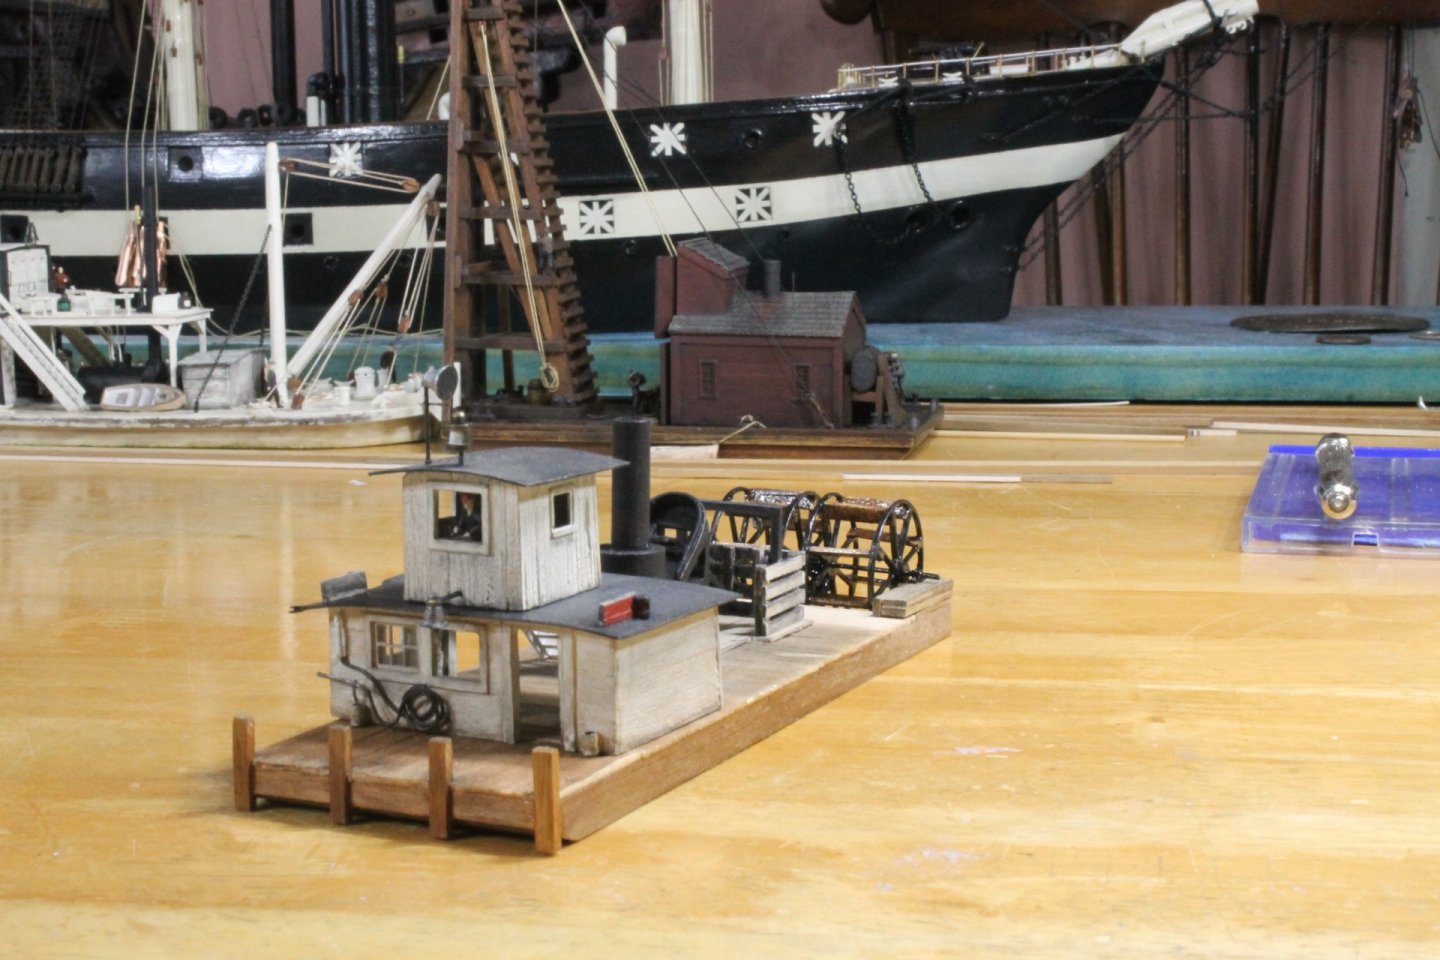
Thank you to everyone for the comments and likes. Page #3, post #68 helps to clarify my work in the below photos. The wheels are now permanently attached. What tedious work it was trying to replicate the piping used to keep the wheel shaft from moving side to side. I used 24 GA annealed wire to imitate the piping. The white thingies on top of the post are both working lights and stern lights. They're supposed to represent bare lightbulbs. Being fresh out of 1:120 scale lightbulbs I had to use belaying pins and paint accordingly. They are not glued in so I can change them out if I can come up with something that better resembles lightbulbs. It may require a trip to the basement and dig through Maggie's tubs of beads. Work can now start moving forward in earnest. They used a design to try and prevent hogging. It took me looking at the photos another hundred times () to realize what I was seeing. More on this in the next post. Thank you so much to everyone for your support. Keith
- 457 replies
-
- sternwheeler
- Hard Coal Navy
-
(and 1 more)
Tagged with:
-
I can only sleep in four hour segments. I went to sleep at 8:30 last night and woke up at 12:30 AM. I went upstairs and worked till 3:30 AM, went back to sleep and was up at 7:30 so it was all good. The problem is if I stay up and work until those early morning hours I sleep in late and then I'm unable to take care of Maggie.
- 457 replies
-
- sternwheeler
- Hard Coal Navy
-
(and 1 more)
Tagged with:
-
Thanks, Keith Thank you very much, Paul. Thank you, Bob. Guess who was working on their project at three this morning? Thank you, Rick. Thank you, Glen. Bless Rosanna's heart, I need to send her a big ole bag of Michigan corn silage. Thank you, John. I thought I did well on Lula's wheel so I was disappointed that the ugly duck's wheels didn't turn out better than they did. But they're now glued in place so all of that is in the rearview mirror.
- 457 replies
-
- sternwheeler
- Hard Coal Navy
-
(and 1 more)
Tagged with:
-
It runs in the family as I'm in the same boat, Tom. I gave up and went with some off the wall knot hoping no one would notice. The Sophie is looking great! 👍
- 341 replies
-
- Sophie
- Vanguard Models
-
(and 1 more)
Tagged with:
-
Thank you to everyone for your kind comments and likes. What a taffy pull it was getting the wheels built. For as long as it took I should be dancing a jig but alas, that's not the case. The wheels are loosely placed as more work in the stern is required before they are glued into place but this little ugly duck now looks the part. I poly coated the wheels to represent being wet. The buckets are 14 inches to scale but could have been a tad bit wider. I did a poor job pairing the Amati ships wheels used for the framework as evidenced by the port side wheels canted bucket. Not all Amati ships wheels are created equal. I'm not staying up until the wee hours of the morning working anymore so the pace it's going to be a little slower going. Thank you guys for your support by following along and being part of the journey. Keith
- 457 replies
-
- sternwheeler
- Hard Coal Navy
-
(and 1 more)
Tagged with:
-
Welcome to MSW. Nice photos, beautiful work. Glad to have you aboard.
-
Dan, create a build log and post your photos. We share because that's how we learn.
-
The rigging is more than likely cotton thread/line, it will only continue to deteriorate. I daresay in another 20 years most of the rigging will be in shambles. The only "fix" is to replace the rotten cotton thread with polyester. If the model is important to you, you or someone needs to see to a proper restoration of the rigging, IMHO.
-
And this is how one becomes a ship modeler. It's a deep rabbit hole but cozy if you like creating and working with your hands.
-
Welcome to MSW. Glad to have you aboard.
-
Sean, welcome to MSW. Glad to have you aboard.
-
Phil, I also thought it was an auger system but that didn't square with the blocks and spreader bar above the coal crib. The drive shaft to the wheels runs directly beneath the boiler, stoker, and coal crib. It could have taken power off the shaft with a levered gear system that was operated by the skipper as need required?
- 457 replies
-
- sternwheeler
- Hard Coal Navy
-
(and 1 more)
Tagged with:
-
Dan, welcome to MSW. Glad to have you aboard. For no ship models you can post photos to the below. https://modelshipworld.com/forum/174-completed-non-ship-models/
About us
Modelshipworld - Advancing Ship Modeling through Research
SSL Secured
Your security is important for us so this Website is SSL-Secured
NRG Mailing Address
Nautical Research Guild
237 South Lincoln Street
Westmont IL, 60559-1917
Model Ship World ® and the MSW logo are Registered Trademarks, and belong to the Nautical Research Guild (United States Patent and Trademark Office: No. 6,929,264 & No. 6,929,274, registered Dec. 20, 2022)
Helpful Links
About the NRG
If you enjoy building ship models that are historically accurate as well as beautiful, then The Nautical Research Guild (NRG) is just right for you.
The Guild is a non-profit educational organization whose mission is to “Advance Ship Modeling Through Research”. We provide support to our members in their efforts to raise the quality of their model ships.
The Nautical Research Guild has published our world-renowned quarterly magazine, The Nautical Research Journal, since 1955. The pages of the Journal are full of articles by accomplished ship modelers who show you how they create those exquisite details on their models, and by maritime historians who show you the correct details to build. The Journal is available in both print and digital editions. Go to the NRG web site (www.thenrg.org) to download a complimentary digital copy of the Journal. The NRG also publishes plan sets, books and compilations of back issues of the Journal and the former Ships in Scale and Model Ship Builder magazines.

