Keith Black
-
Posts
6,718 -
Joined
-
Last visited
Content Type
Profiles
Forums
Gallery
Events
Everything posted by Keith Black
-
 Thank you very much for the suggestion, Pat. It's as good (if not better) an idea of what it is in comparison to the line I was thinking. In fact, it's such a great idea that I'm going to run with it being a cold box unless someone comes forward with a definitive answer. Please don't worry about trying to find your source, we're set. Thank you again.
 -
Thank you to all for the kind comments and likes. My camera didn't wanna take good pictures tonight for whatever reason, stupid camera. But that's okay because it's just photos of the barge with it's first layer of pastels. I don't want to add aymore color till the barge is filled. Hopefully tomorrow I can do material testing. Thank you for your support and for following along. Keith
- 457 replies
-
- 14
-

-
- sternwheeler
- Hard Coal Navy
- (and 1 more)
-
This is a cruel tale to tell but.........Seagulls are indeed rats with wings. If you throw food scraps in the air they will normally catch it on the way up, if not their buddies will get it on the way down. In Alaska we'd take our unwanted leftovers out on the dock and throw the scraps out for the gulls. Every now and then one of the meaner lads would throw an Alka-Seltzer tablet into the air and of course it would get caught and promptly swallowed. A couple of minutes later and poof, lots of feathers and a dead seagull. It was a horrible thing for someone to do but during the seemingly endless days of the salmon season, for some, life could get too boring. Julie, regarding your post..........'they paved paradise and put up a parking lot' Greed never changes its stripes. Unfortunately it's a part of our flawed human nature. Much akin to throwing Alka-Seltzer to seagulls.
-
Thank you. i had too many links up and copied and pasted the wrong one. Thank you again for posting the correct link.
-
I'm onboard for another great project, Roel. Plus it's your first commission which makes even more exciting. Just one thing, I wanna ride the carousel!
-
Much better vid, thank you for posting.
-
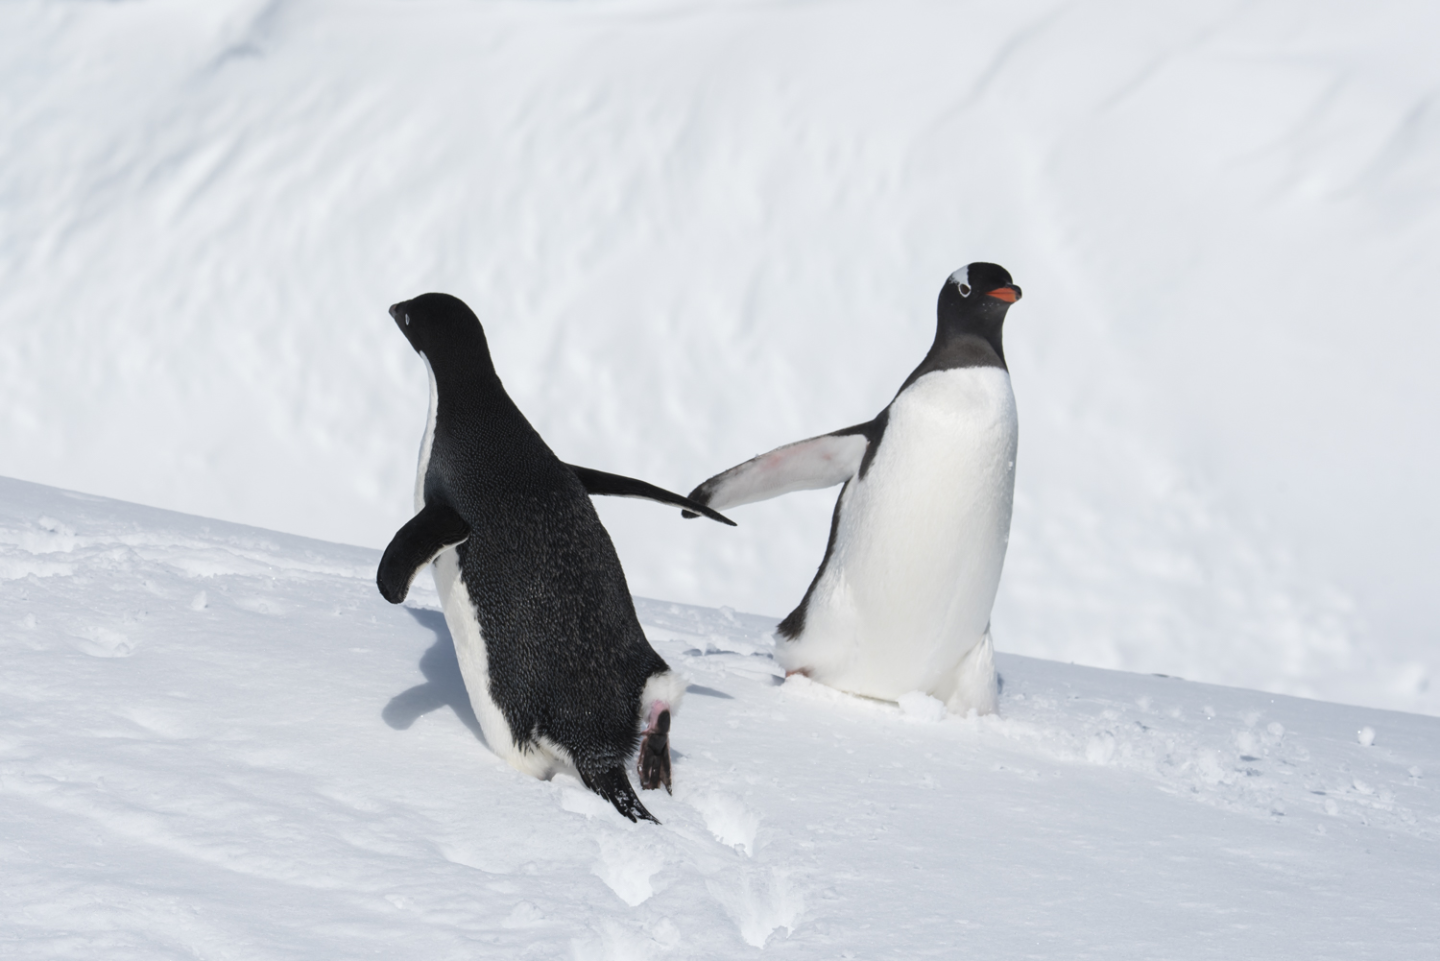
I'm envious of you getting the time to spend with your niece, that right there is very special. The penguins turned out great! And they danced the night away with new members of the colony.
-
Great seeing a post from you, Bob. Thankful to hear you're feeling a tad better, praying for your full recovery.
- 261 replies
-
- 3
-

-
-
- Victory Models
- Pegasus
- (and 3 more)
-
Seattle Coal and Transportation Company history. https://www.historylink.org/File/5412 https://www.pacificng.com/w/index.php?title=Seattle_Coal_%26_Transportation_Company https://en.wikipedia.org/wiki/Seattle_and_Walla_Walla_Railroad https://historylink.tours/stop/transporting-coal/
-
Thank you, Rick. I don't have years of technical know how to share with you guys, each build is very much a learn as i go effort. Consequently, I don't take myself too seriously and i try very hard to make my builds a fun experience for everyone who follows along.
-
Thank you for the comment, Tony. Research is our middle name.
-
Eric, I dunno? It's either that I'm not too bright or i love to mentally torture myself and everyone else.
-
Hear, hear.
-
Deleted due to the wrong link being posted.
-
Because of the below I would feel comfortable moving the mystery sternwheeler's location from Puget Sound to Lake Washington. https://mynorthwest.com/history/solving-the-1870s-photo-mystery-of-lake-washington-coal-shipping/3901509 From the above. "It was back in the 1870s when coal was being mined in what’s now the Eastside suburbs east of Lake Washington near what’s now Newport and Newcastle. Many of the mines were located in what’s now King County’s Cougar Mountain Regional Wildland Park near Newcastle. Extracting coal was one of the first large-scale industrial undertakings in this area, ahead of even large-scale timber extraction in many ways. The outfit doing the work was called the Seattle Coal and Transportation Company. The coal they were extracting from Newcastle was being sold as far away as San Francisco – but it took a complex system just to get the coal to the waterfront to be loaded on ships in Elliott Bay at the foot of Pike Street. In those long-ago days before the Montlake Cut, the transportation effort required barges on Lake Washington; a short “portage railroad” from Union Bay on Lake Washington to Portage Bay on Lake Union; barges on Lake Union from Portage Bay to roughly where MOHAI now stands; and then the city’s first railroad along what’s now Westlake Avenue."
-
I highly recommend any off model mast work. Bruce. The more one can do off model the better.
-
Thank you, Paul. When I line them up on my worktable they look as if they would display well together.
- 457 replies
-
- 3
-
-
- sternwheeler
- Hard Coal Navy
- (and 1 more)
-
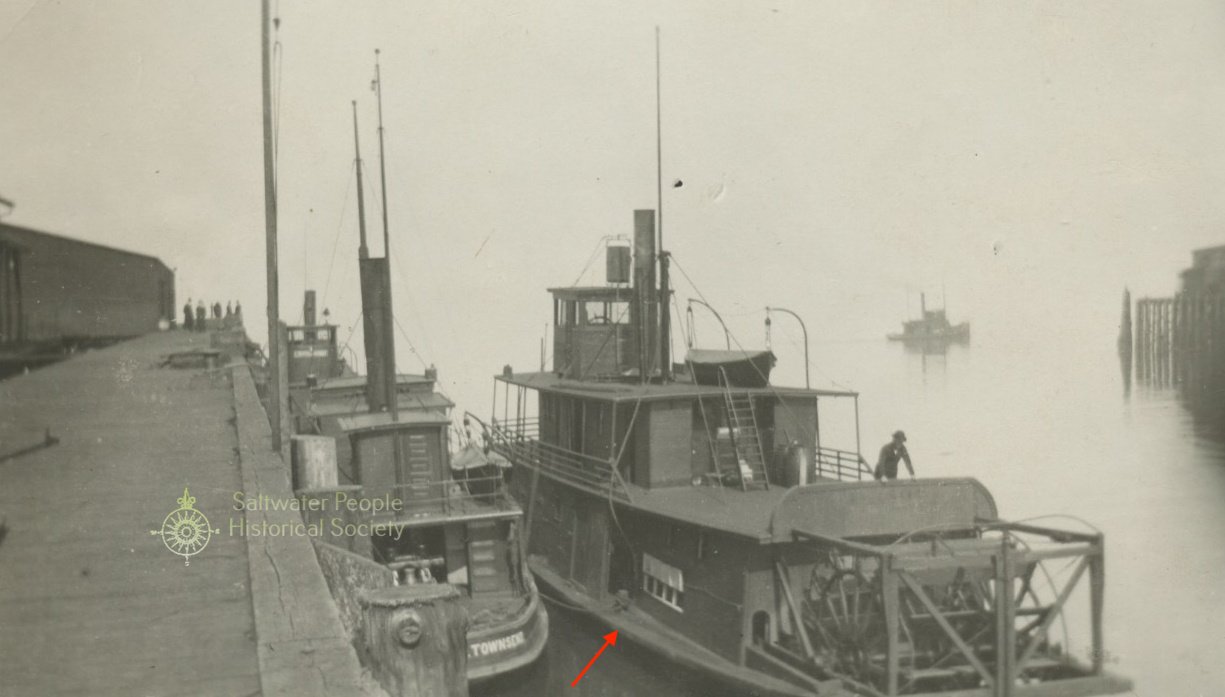
Because the Mosquito Fleet operated in Puget Sound I maybe changing the mystery sternwheeler's area of operations to Lake Washington. https://en.wikipedia.org/wiki/Lake_Washington_steamboats_and_ferries The sternwheeler towboat Lena C. Gray was built in the 1870's and operated on Lake Washington towing barges. In my mind I see the Gray as being the type of sternwheeler towboat I'm most familiar with both in design (including knees) and operations. To my eye it appears the main deck is like those found on sternwheelers operating on rivers and harbors in the East. I took a shine to this particular sternwheeler because of it's quirkiness and it's boxcar red color. I'm also captivated trying to figure out what the heck the mystery object is on the mystery sternwheeler's pilothouse roof. The mystery object sits on legs, it's not sitting flush on the roof suggesting it's not very heavy. A ladder leads up the back of the pilothouse to the roof which suggest servicing. There appears to be a burner type mechanism atop the mystery object. I thought it might be some type of carbide lamp but there's no reflector and the history time frame of carbide doesn't coincide plus there appear to be running lights on the hurricane deck. In my research of the Mosquito Fleet and past research of ships in the East i've not seen another object like this. Keith
-
Thank you very much, John. Thank you kindly, John. Thank you, Jacques.
- 457 replies
-
- 3
-
-
- sternwheeler
- Hard Coal Navy
- (and 1 more)
-
Congratulations on completing the wheels, John. 👍
-
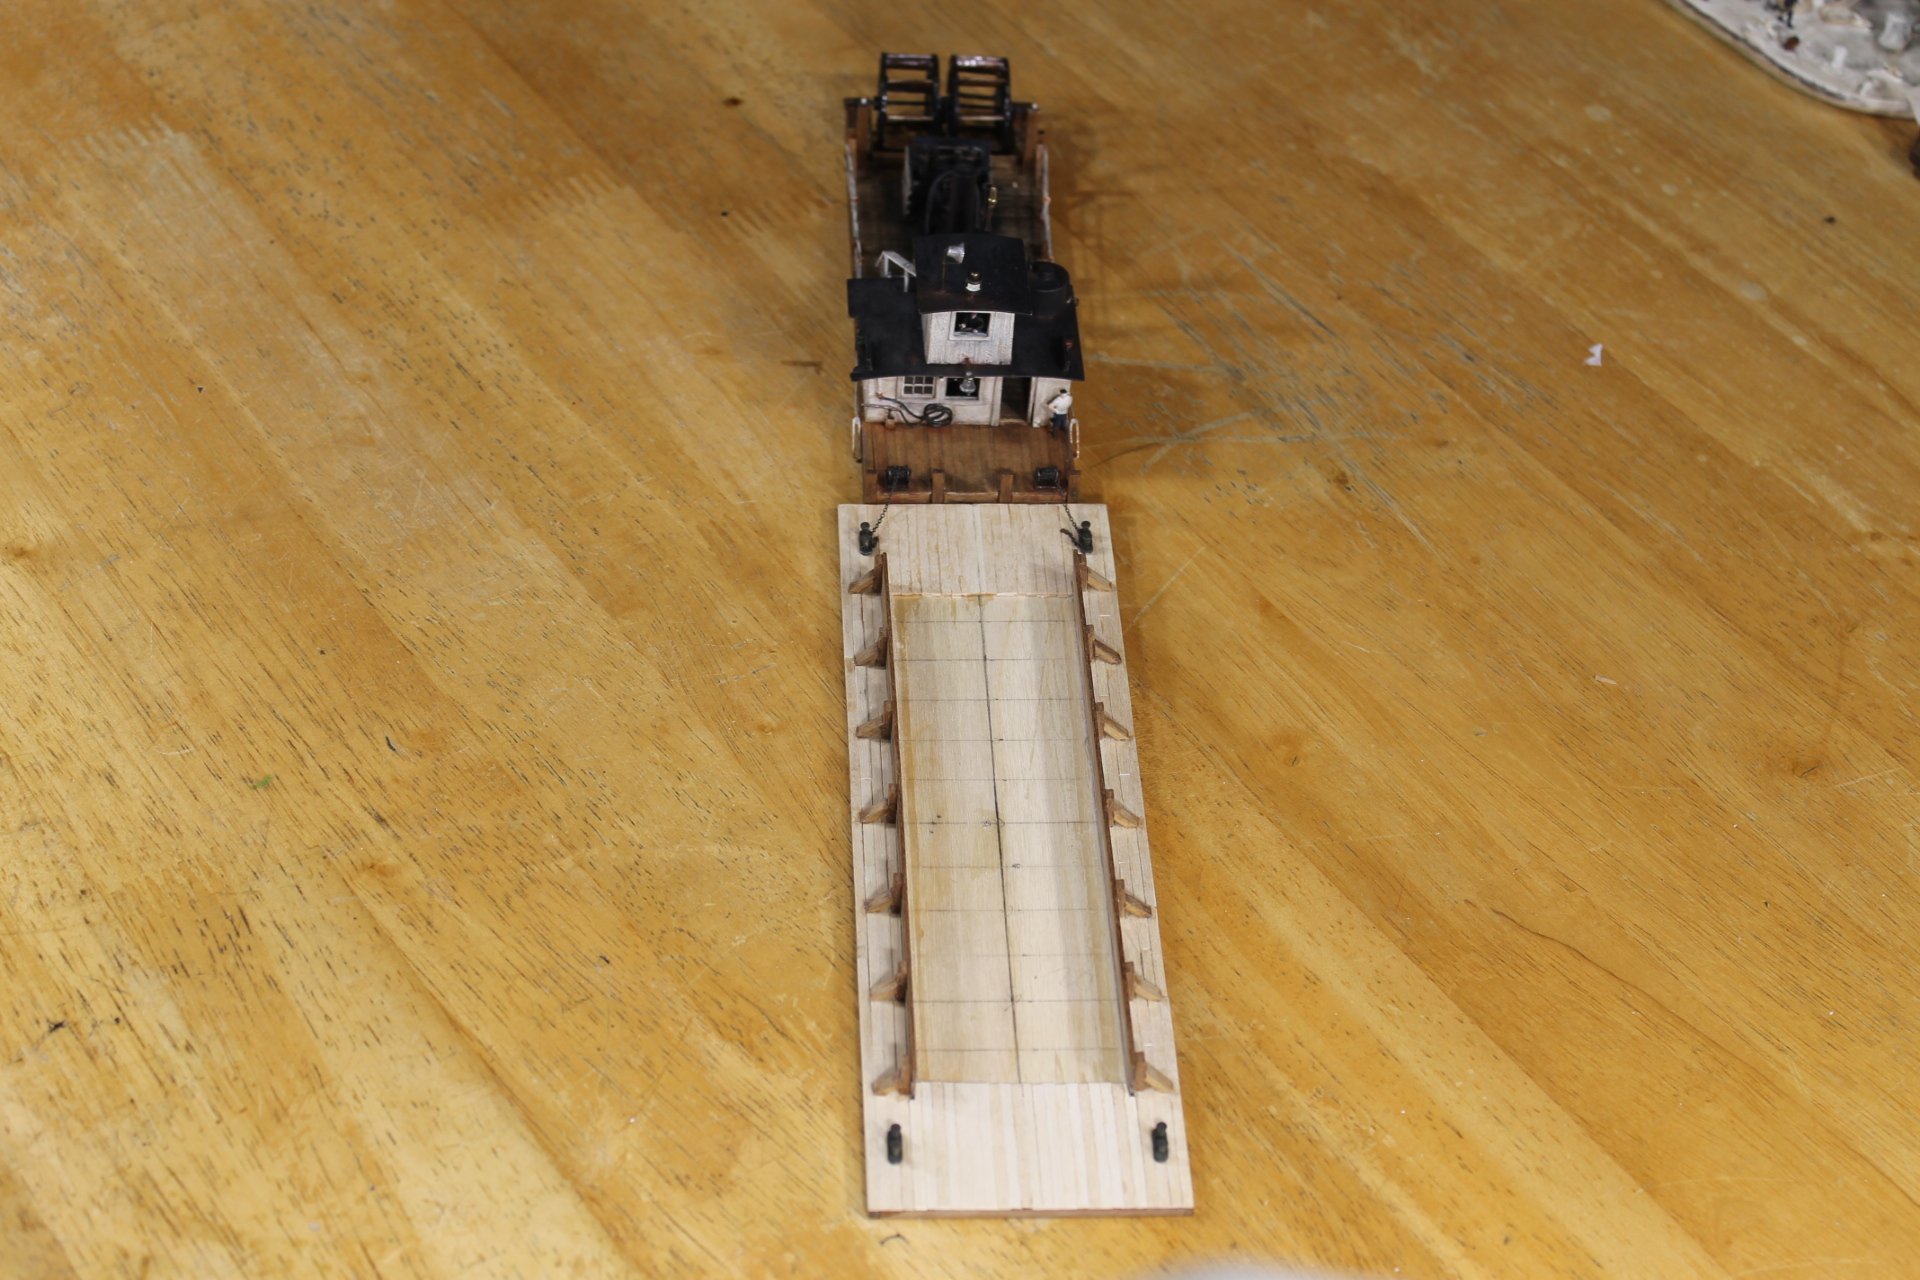
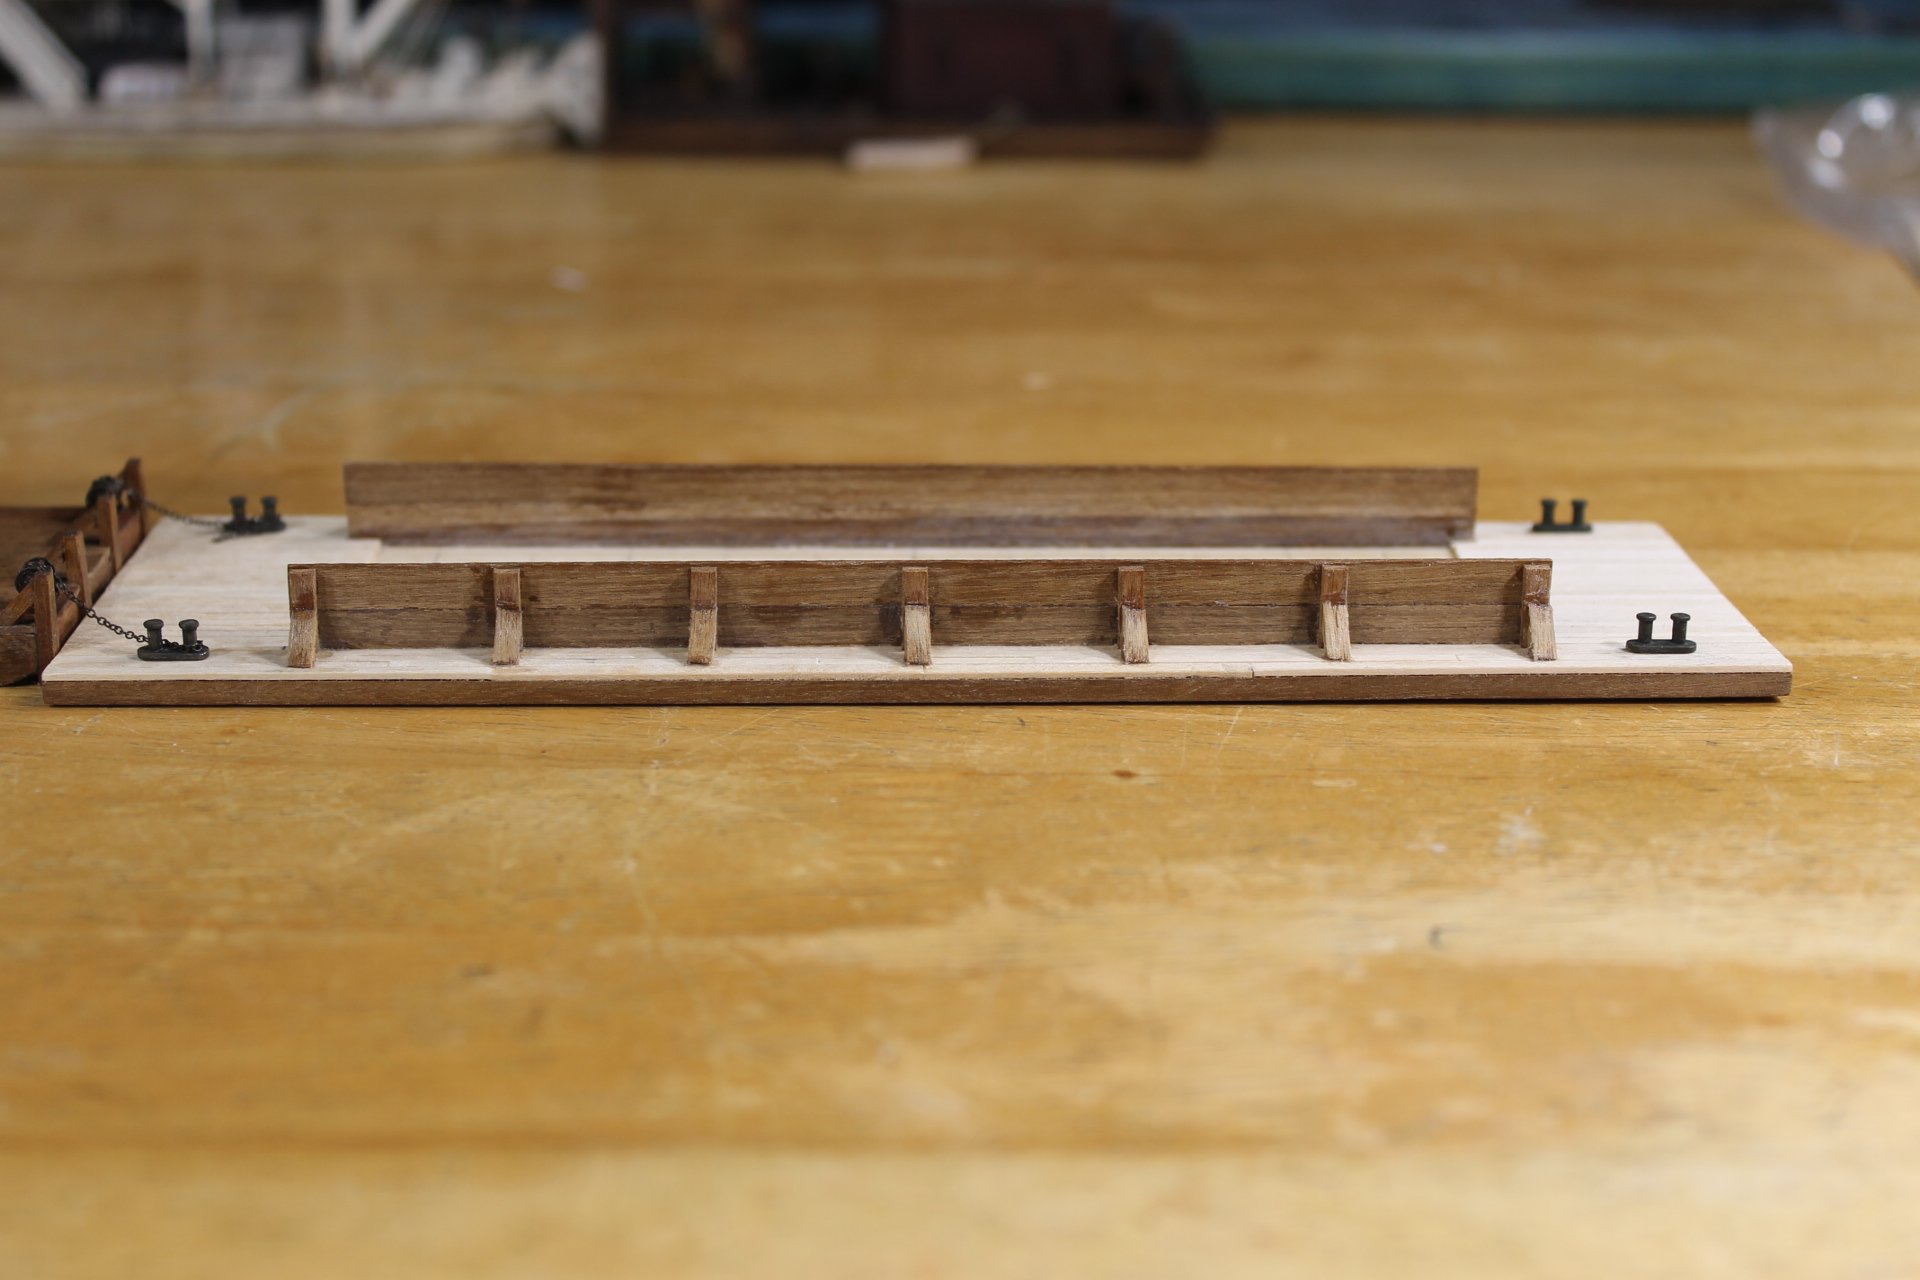
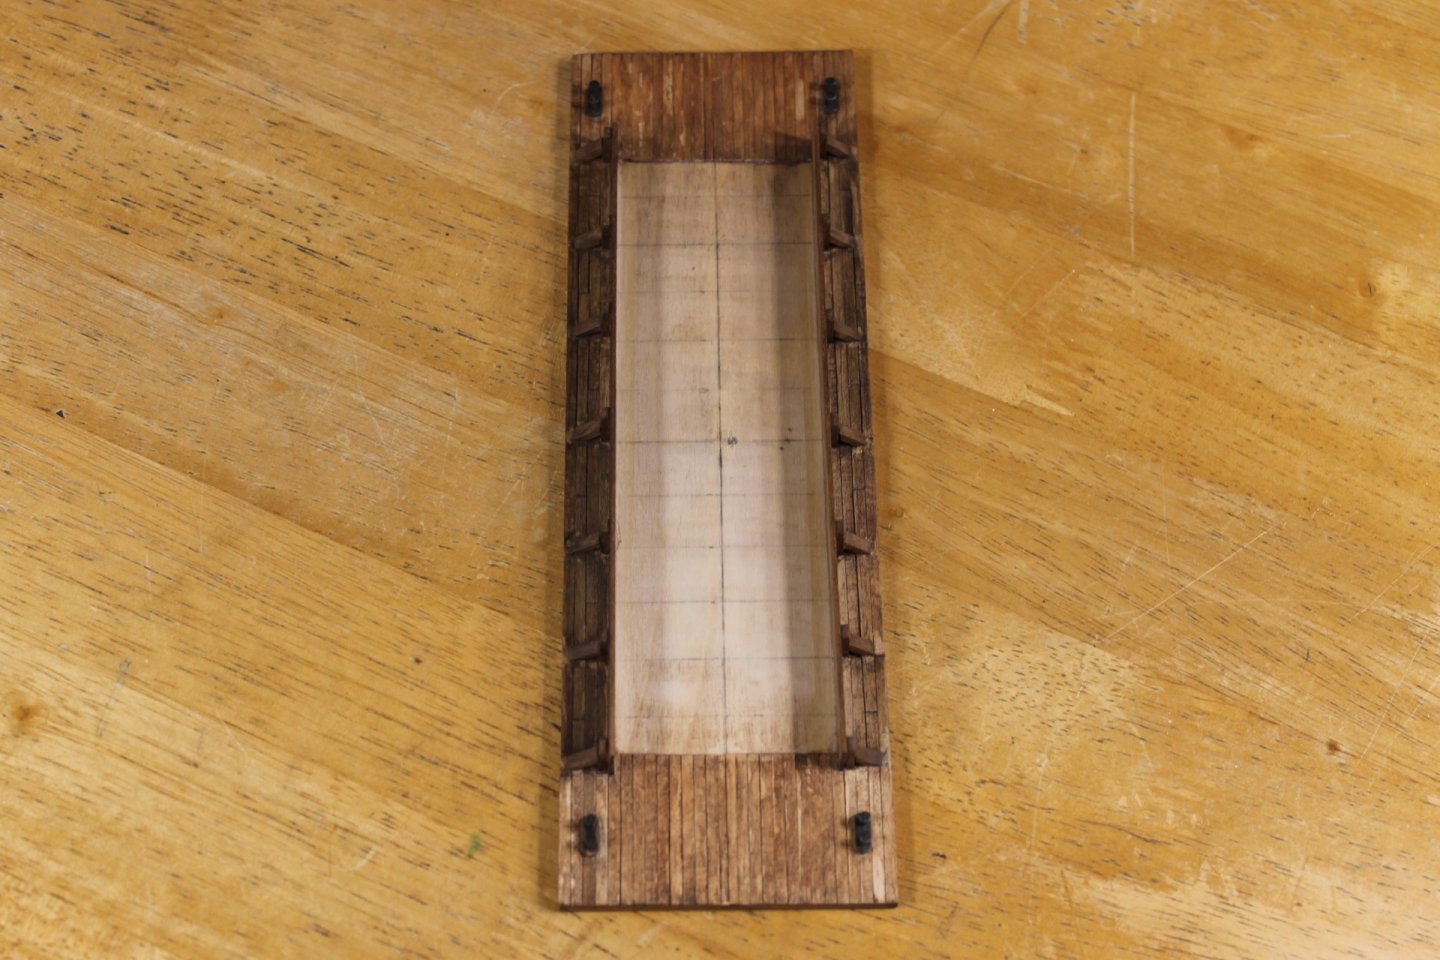
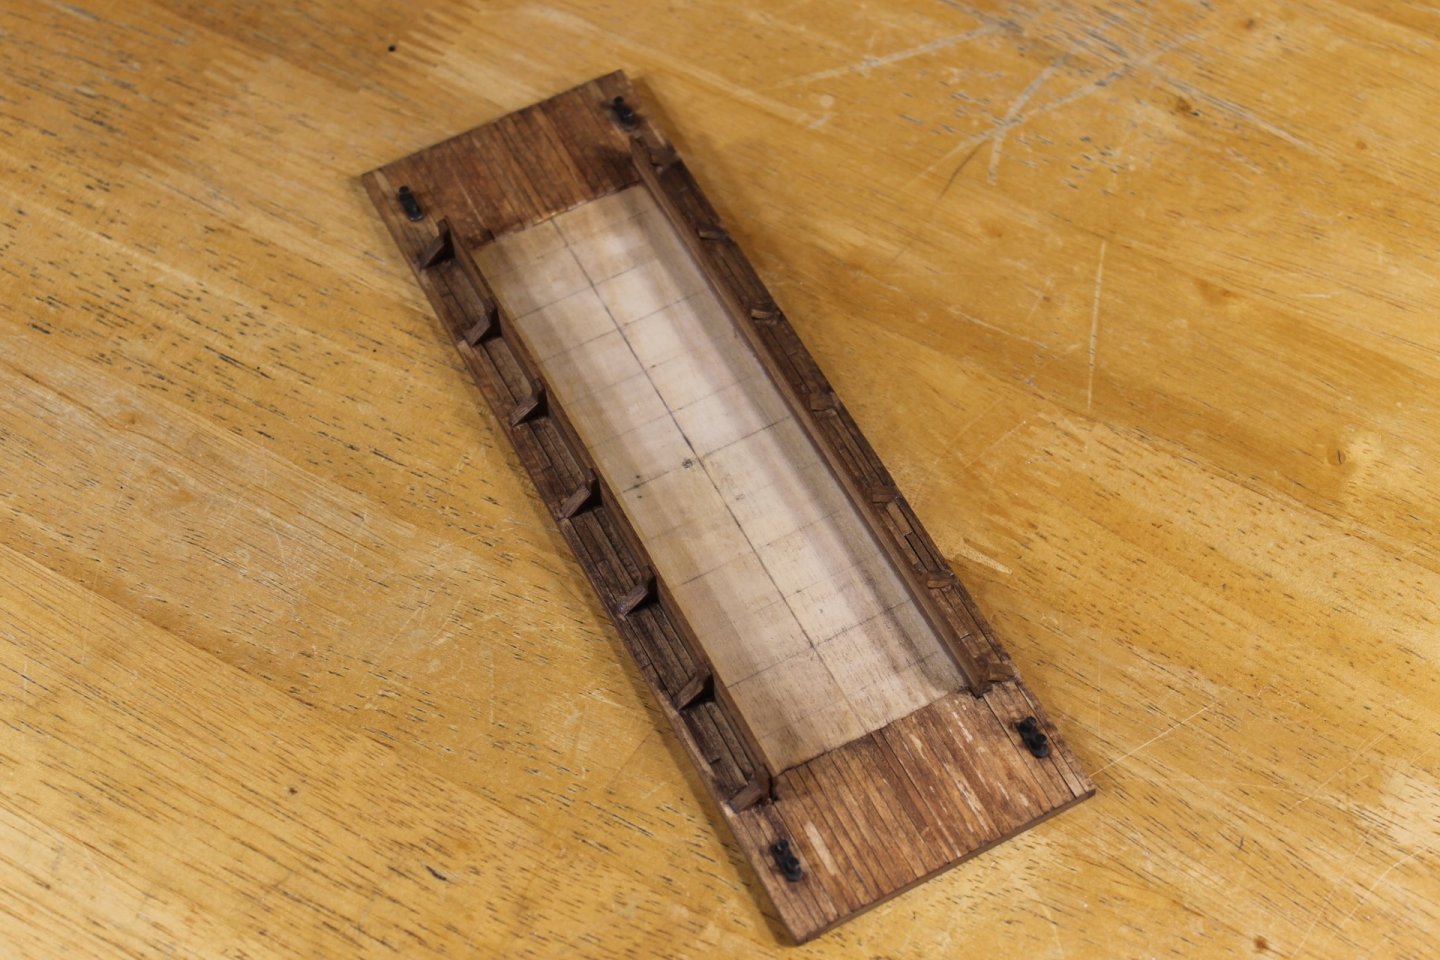
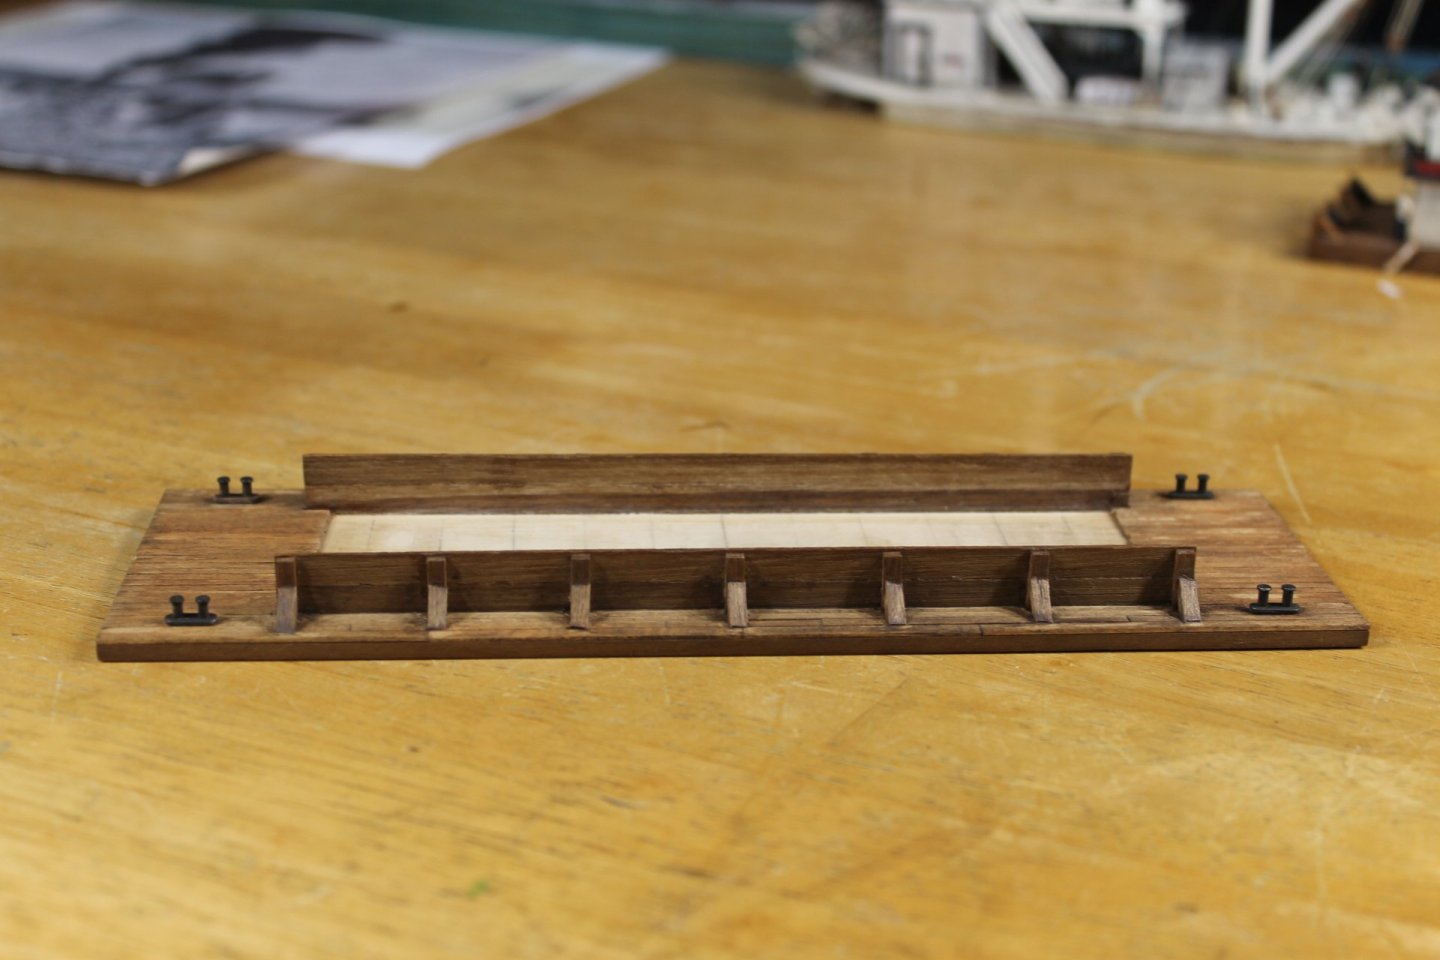
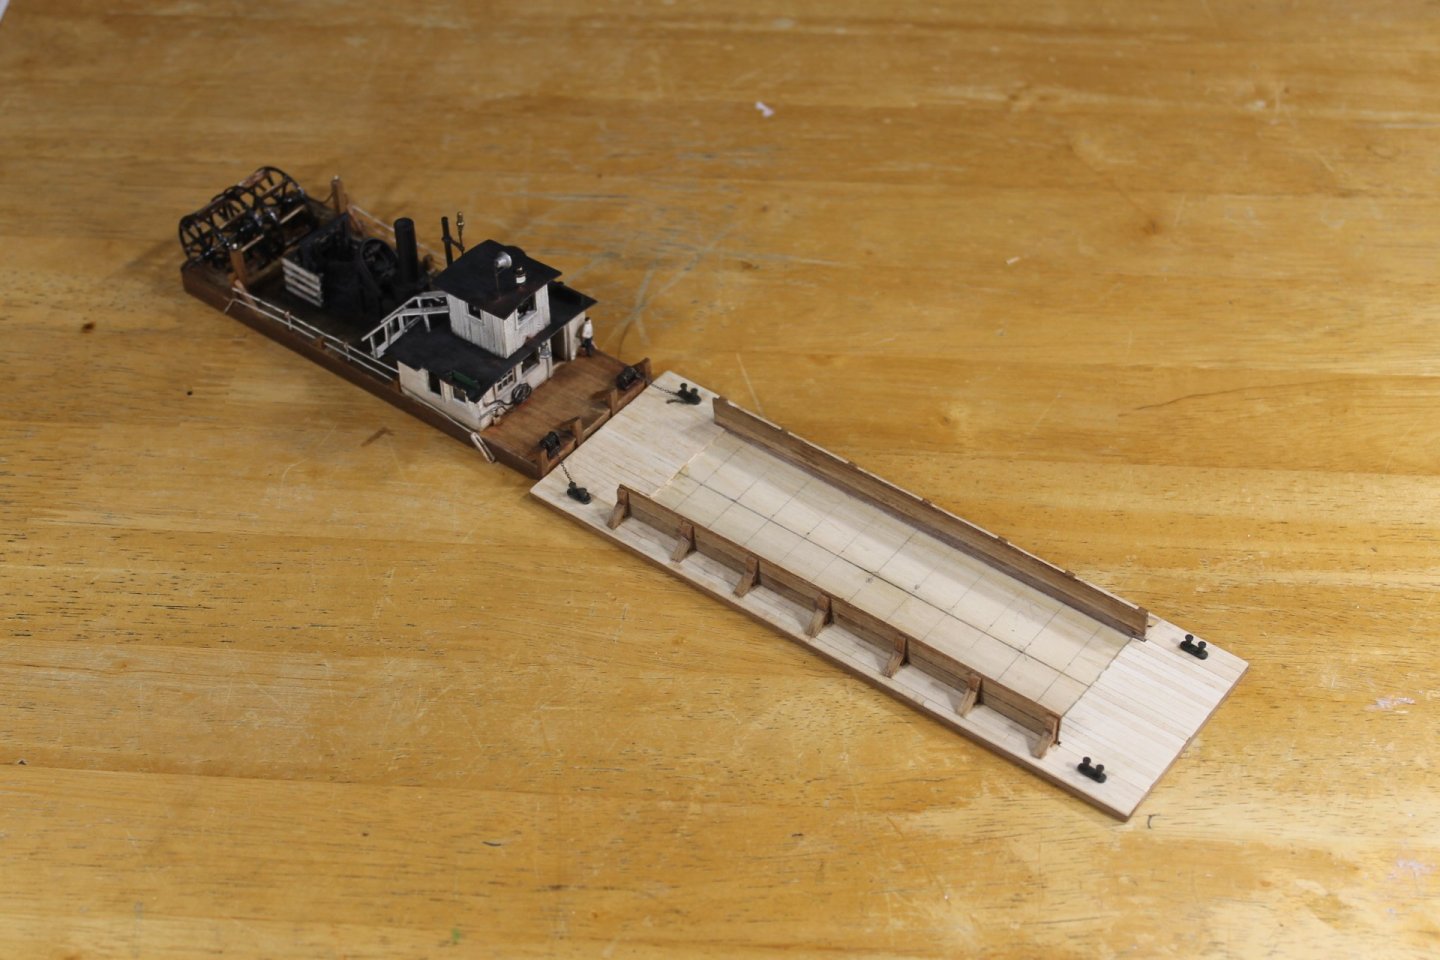
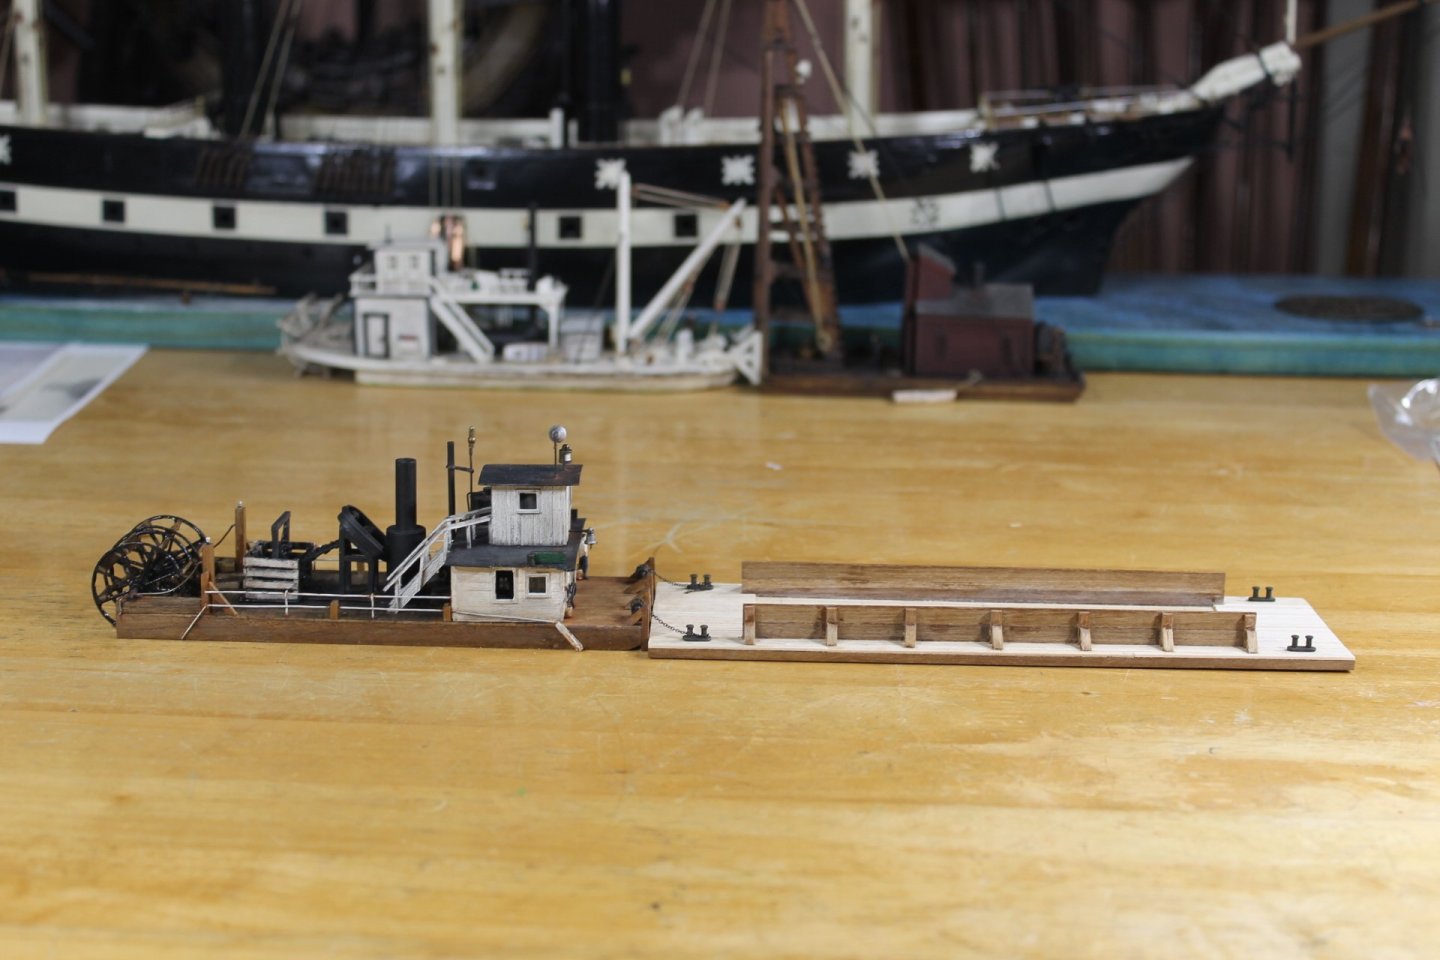
Thank you to everyone for the comments and the likes. The wood portion of barge is basically done. I still need to add layers of weathering. I didn't plank the deck where the dredge material is going to be as it didn't make sense to use wood supplies needlessly. I made the barge smaller, 26 ft x 80 ft rather than the 30 ft x 100 ft i had originally considered for two reasons. 1) the feel of the 30 x 100 footprint seemed to overpower the towboat and 2) this is the same length as Lula and the pile driver and would make displaying the two side by side much easier. I'm leaning towards leaving the ends of the barge open. Thank you to all for following along. Keith


- 457 replies
-
- 20
-

-
-
- sternwheeler
- Hard Coal Navy
- (and 1 more)
-
Yes they are, Keith. They were a passion that burned bright till I retired and the money dried up. That old passion bubbles to the surface when I watch episodes of Bangers and Cash. There's nothing like heating with wood, the smell and the warmth produced feels much better than gas or electric heat. I'm having a difficult time finding information on this subject as it relates to the Mosquito Fleet. Coal being more efficient and cheaper in the long run makes me wonder why coal wasn't embraced particularly considering it was mined right there. I can't find anything on coal tenders in the Puget Sound during that time period. Tis a mystery to me.
-
Amazing results thus far, Glen. I'm starting to clinch.
- 156 replies
-
- 4
-

-
-
- Queen Annes Revenge
- bottle
- (and 1 more)
-
Those chainplates turned out super, Steve. 👍