rwiederrich
-
Posts
5,520 -
Joined
-
Last visited
Content Type
Profiles
Forums
Gallery
Events
Everything posted by rwiederrich
-
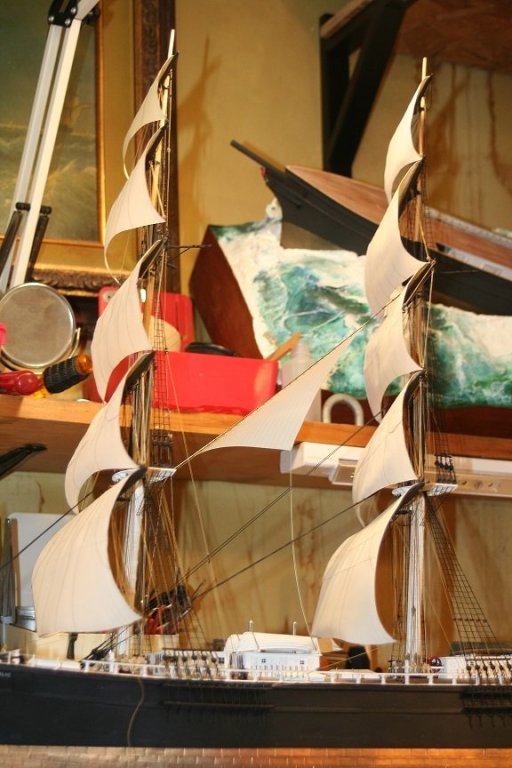
What a fine miniature collection Patrick...and with finished interiors to boot....man. What skill to create such tiny nautical wonders....well done. Rob
-
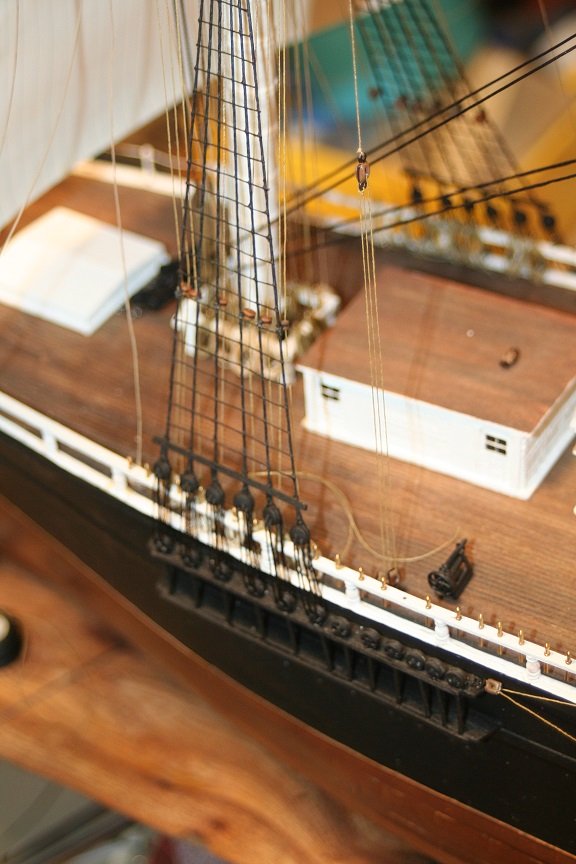
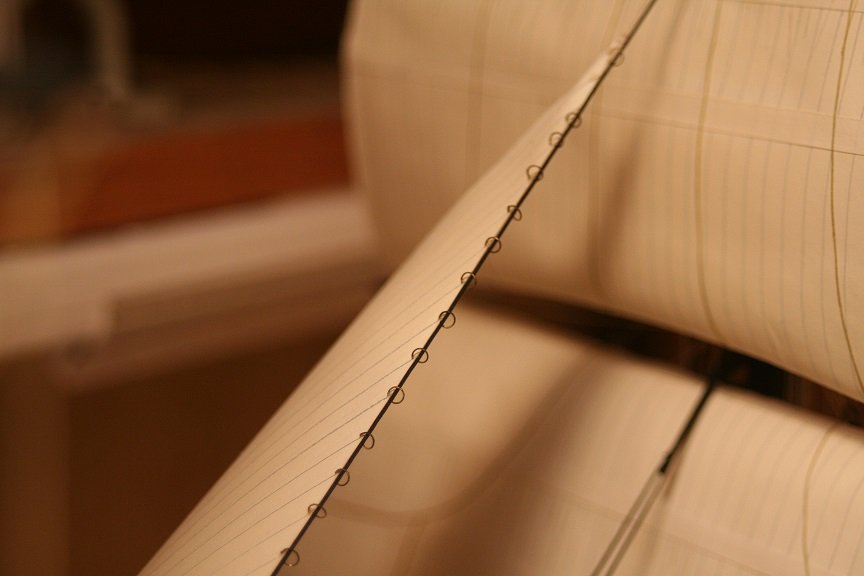
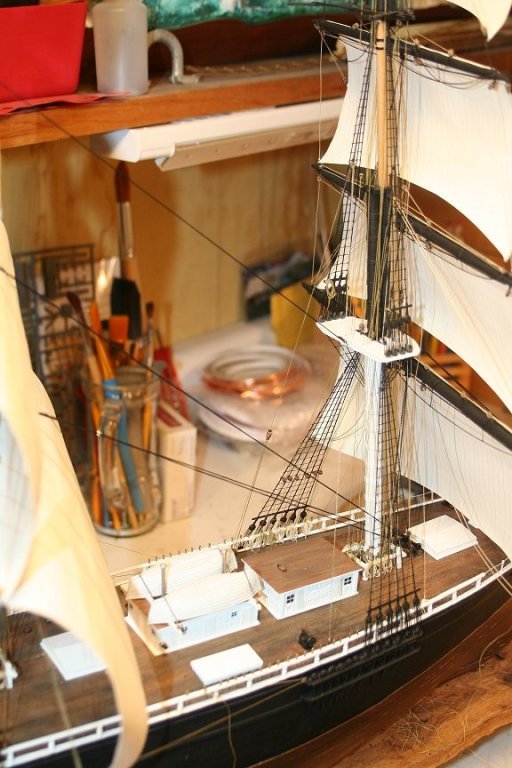
Now I'm going to focus on rigging (alternately) the fore stays and fore backstays along with the final foremast remaining yard halyards. As I get higher up the masts the issue of bending and sagging of stays becomes the real problem. So much pre-thought has to go into the next phase of rigging. Stay sail and jibs sails will need their halyard and downhaul blocks rigged as well...and not too early or late..as to block myself in or out of a situation. Belaying the topgallant downhaul line to its lin aft on the rail between the rail and house was the thing of total frustration. Rob
- 1,208 replies
-
- 6
-

-
- great republic
- clipper
- (and 1 more)
-
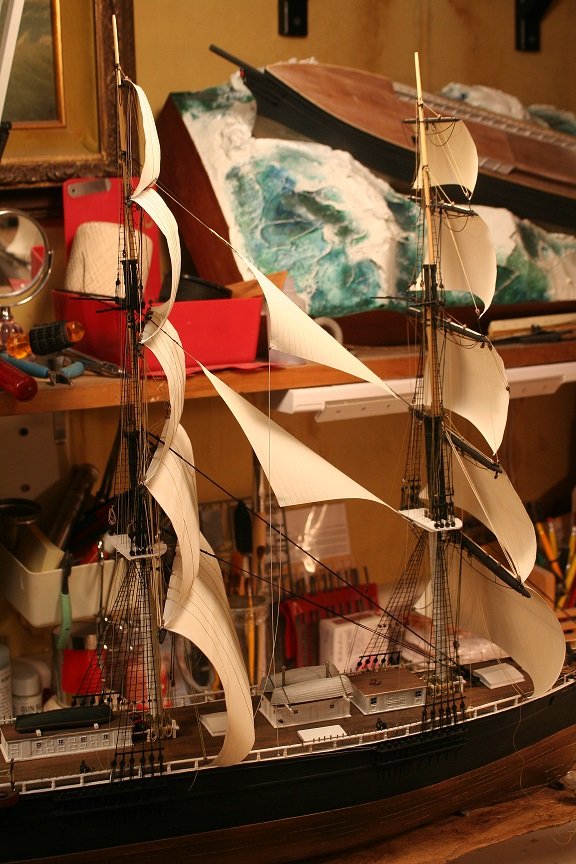
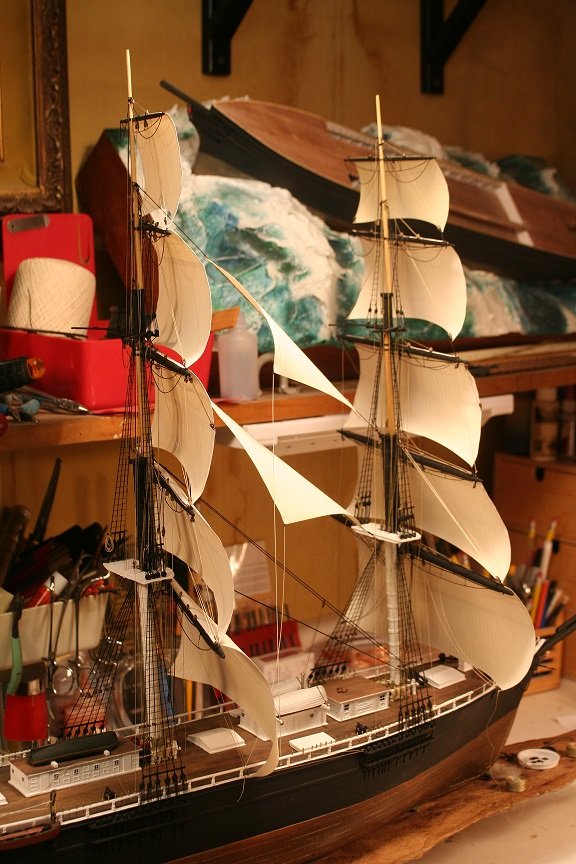
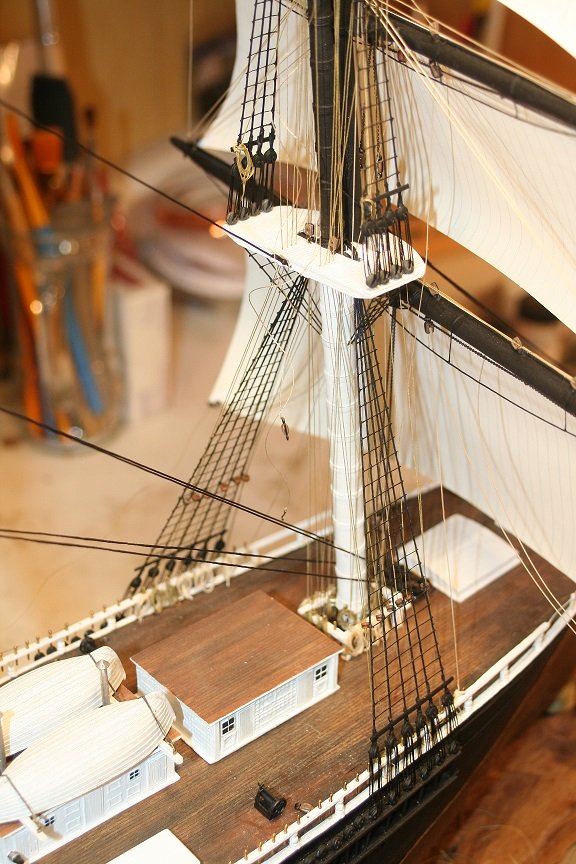
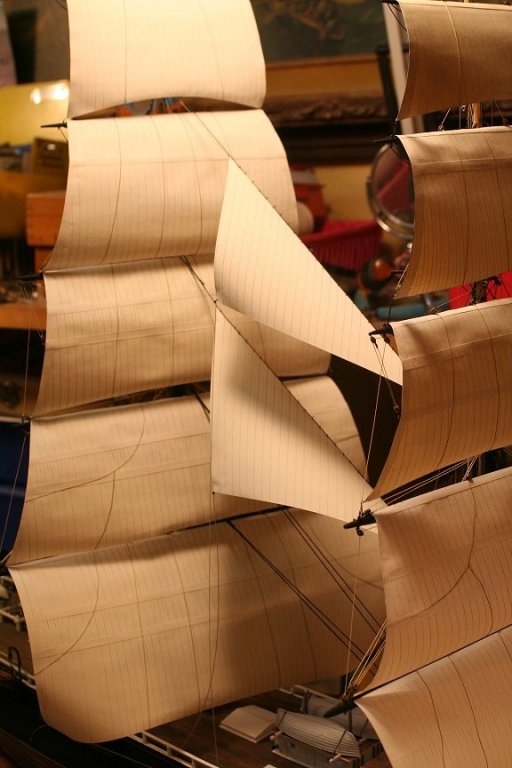
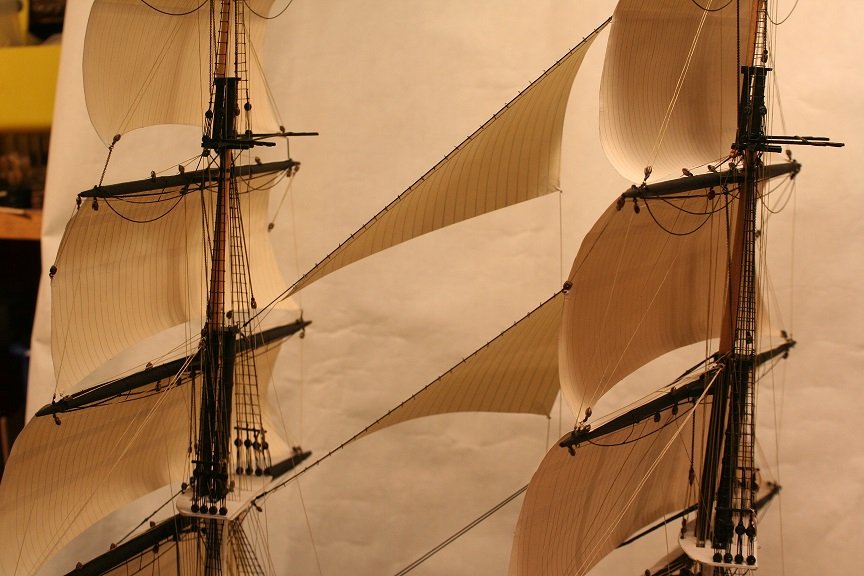
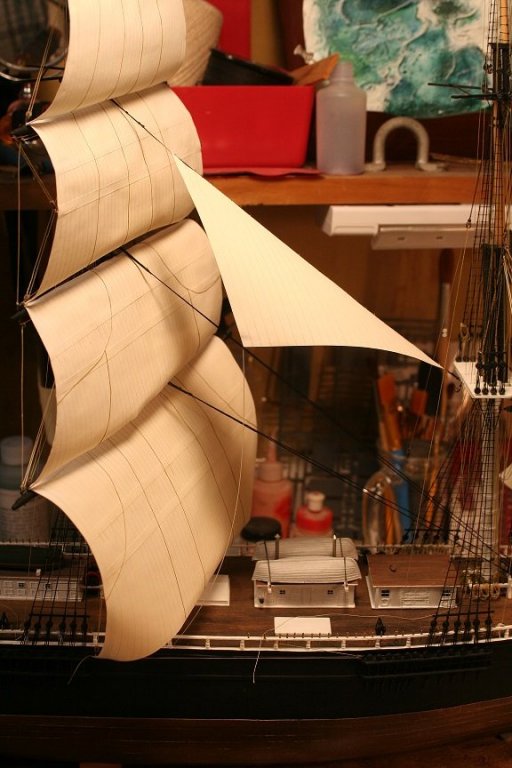
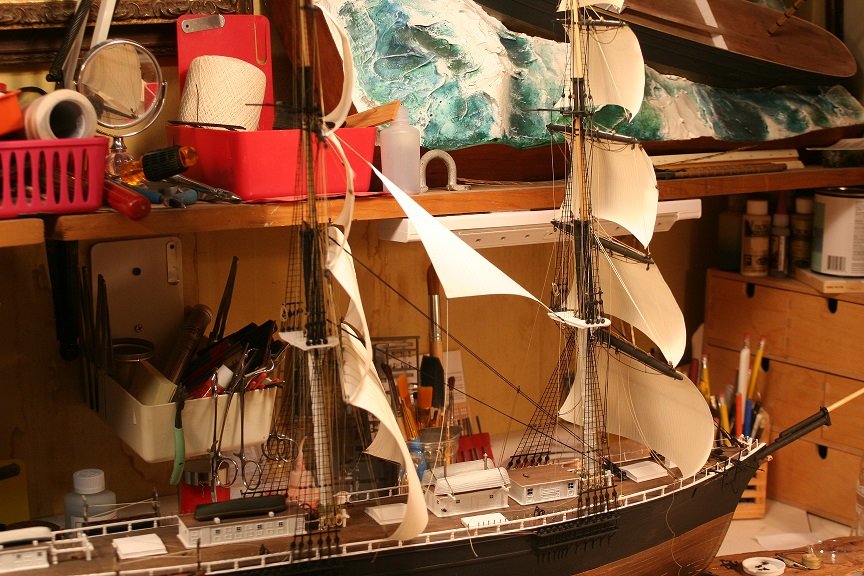
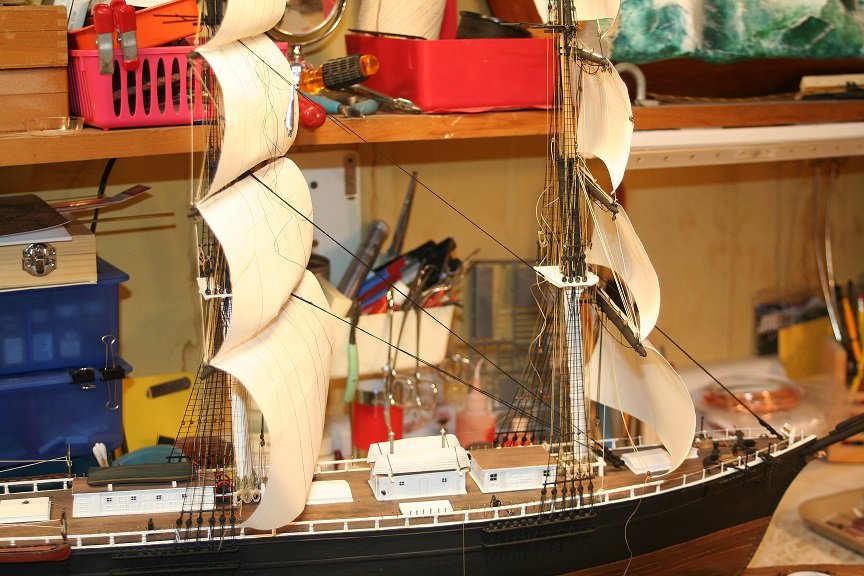
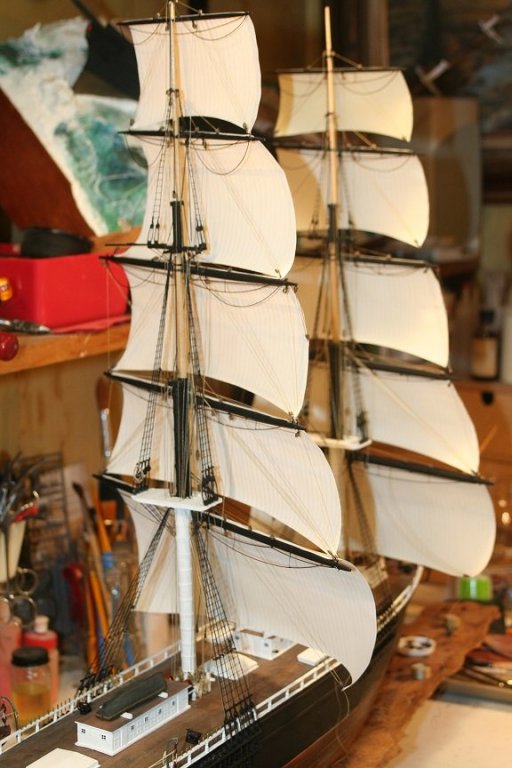
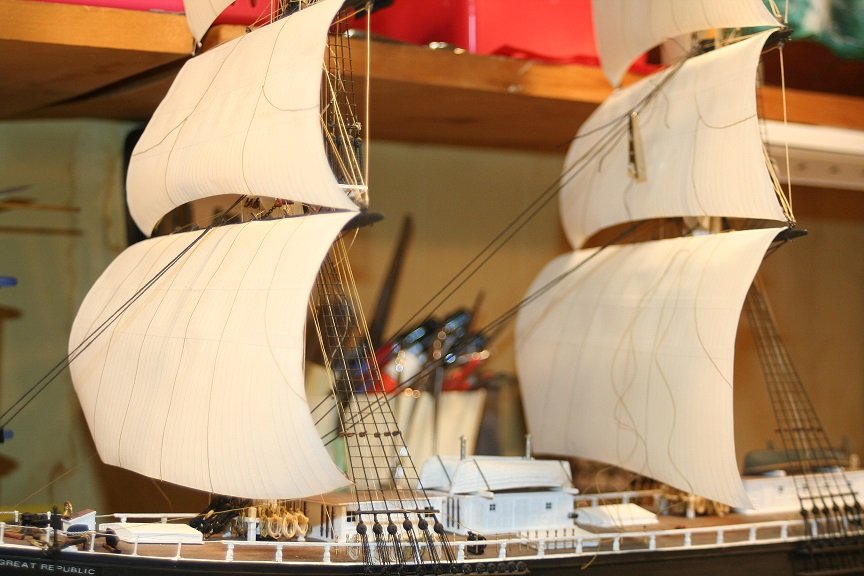
Worked a bit today on the topgallant stay sail. Here are some pics. Rob


- 1,208 replies
-
- 15
-
-
- great republic
- clipper
- (and 1 more)
-
Thanks.....I'm wrestling with the details...and trying to keep things shipshape. I'm making stuff up as I go....construction details that is... Rob
- 1,208 replies
-
- 1
-
-
- great republic
- clipper
- (and 1 more)
-
In many instances the sky sail wasn't even set and the yard in its lowered position could be gotten to more easily. Once the sail was bent, the boys on the deck hauled the yard skyward....raising the sail with it. I've seen where the access to these lofty yards was gained by ratlines incorporated into the last two backstays as they capped out. Sailors simply scurried over to them and continued up. Riiiight. IRON MEN...for sure. Rob
- 3,618 replies
-
- 4
-
-
- young america
- clipper
- (and 1 more)
-
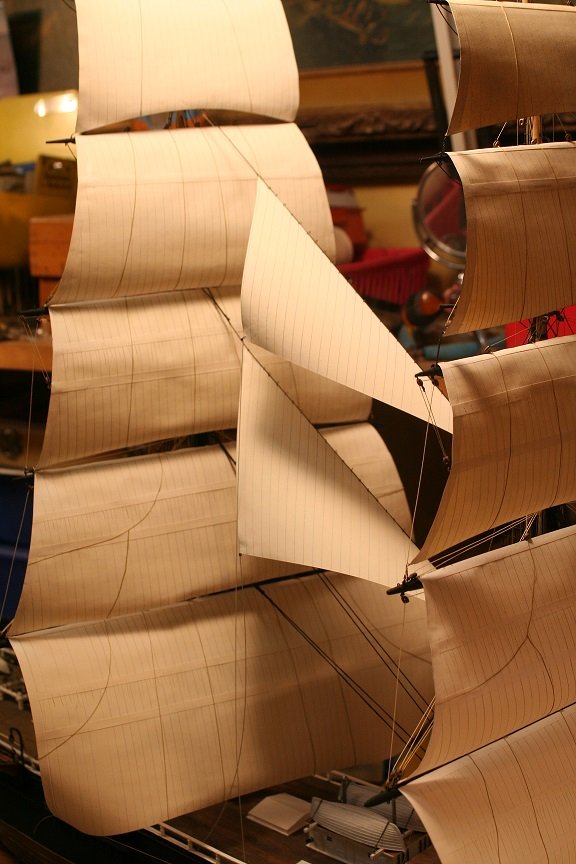
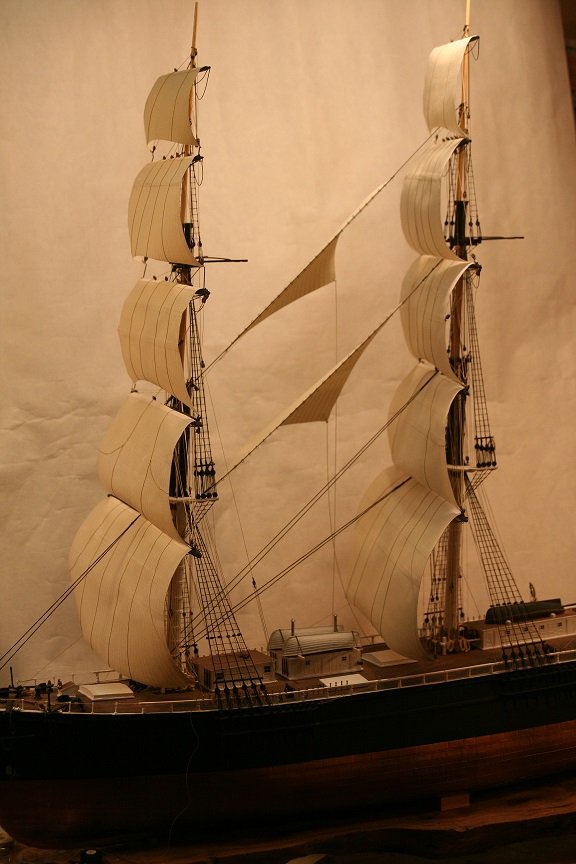
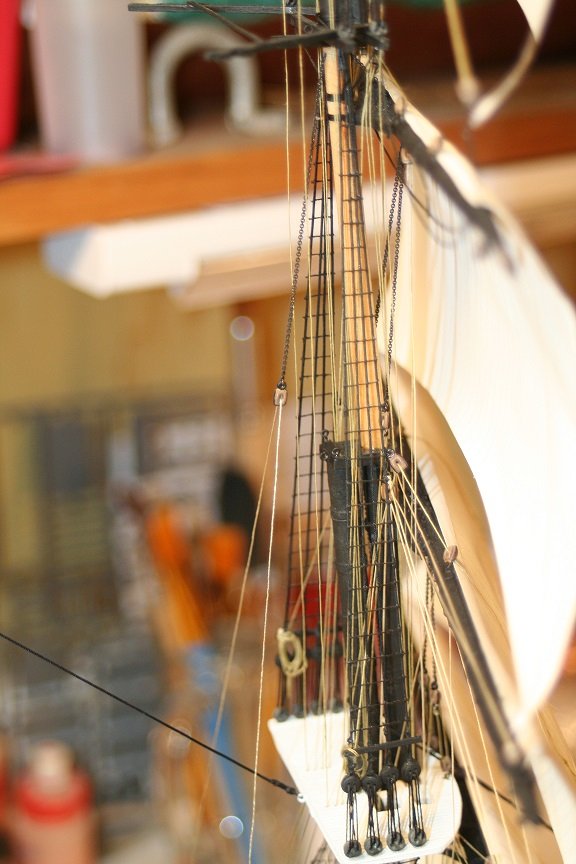
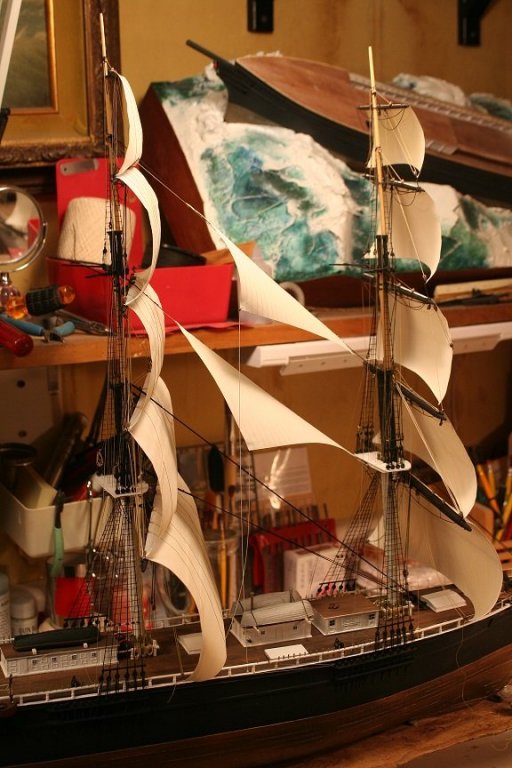
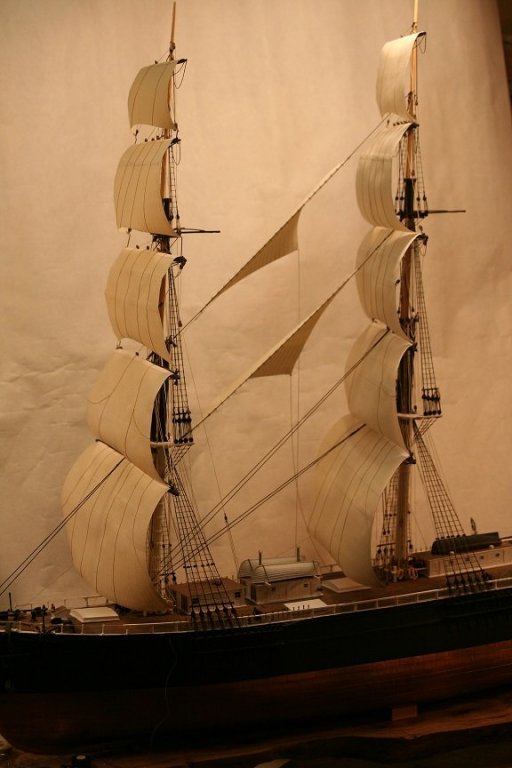
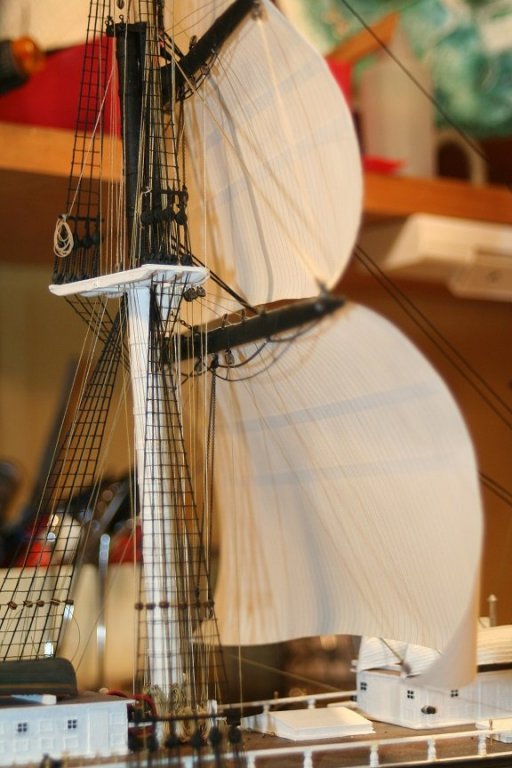
Thanks everyone for the concern and encouragements. I spent some time this morning working on the top stay sail. I made it as close to realistic as possible in this scale. Here are some pics of the addition. Rob


- 1,208 replies
-
- 10
-
-
- great republic
- clipper
- (and 1 more)
-
Ed...it appears the downhaul for the stay sail is actually distorting the stay itself....causing it to unduly pull against the main mast and in essence shorten the stay. This could cause mast warping I gather. Rob
- 3,618 replies
-
- 2
-
-
- young america
- clipper
- (and 1 more)
-
Fantastic work Ed...really. I'm at adding some main stays myself. How you doing keeping balanced tension between stays and backstays? I was also wondering are you going to add some Jacob's ladders to access the skysails? Rob
- 3,618 replies
-
- 3
-
-
- young america
- clipper
- (and 1 more)
-
I have a 6000watt generator so I powered up the freezers and the fridge and also the TV. I was able to get power to the coffee maker and microwave...but nothing else. I also have lots of oil lamps which lit the house and gas stoves. No internet...no hot water...and worse...no exiting the hill drive to/from the house. I'm back to work today after shoveling my way out of the drive. I have a Jeep, but my sweetheart is still stuck and can't get her car out. I do hope to get back to the GR on Saturday....I'll have a few hours then...I hope. We had 18~20 inches....my wife has lived hear her entire life and has never seen this much snow...and it lingering so long. Good day everyone. Rob
- 1,208 replies
-
- 4
-
-
- great republic
- clipper
- (and 1 more)
-
I’v Been without power since Monday, so I haven’t been able to work on the G/R Lots of snow
- 1,208 replies
-
- 1
-
-
- great republic
- clipper
- (and 1 more)
-
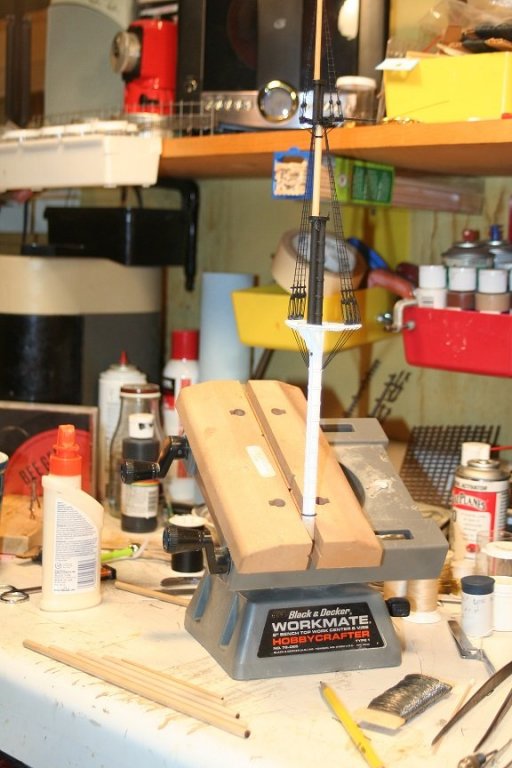
Unlike the Dremel version the B/D is fully articulated...meaning it can rotate and be adjusted in a vast array of different angles and latitudes. It rolls around on a ball at the base and you can adjust the level and angle. One real reason I prefer it over the Dremel vice. Rob
- 1,208 replies
-
- 2
-
-
- great republic
- clipper
- (and 1 more)
-
I love it...it is very articulate. They haven't made them for years from what I gather. I use mine in all my model building. Rob
- 1,208 replies
-
- 1
-
-
- great republic
- clipper
- (and 1 more)
-
Thanks everyone. Yes...I got that table vice over 35 years ago...and it's been a great aid. 28 degrees outside and 18 inches of snow..... Everyone be safe. Rob
- 1,208 replies
-
- 3
-
-
- great republic
- clipper
- (and 1 more)
-
With the addition of the blocks this yard will be complete. I have 8 inches of snow outside and I have to go get my wife from work....hope to be at it later. Rob


- 1,208 replies
-
- 12
-
-
- great republic
- clipper
- (and 1 more)
-
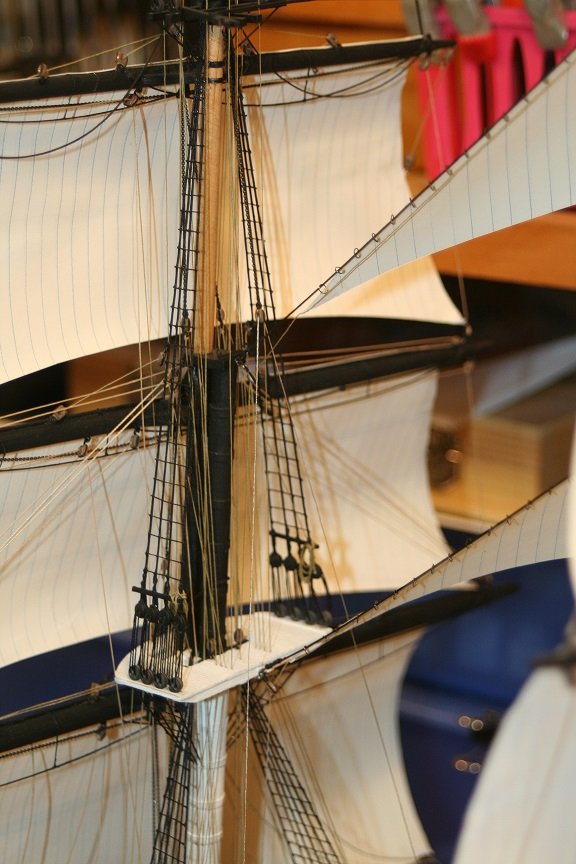
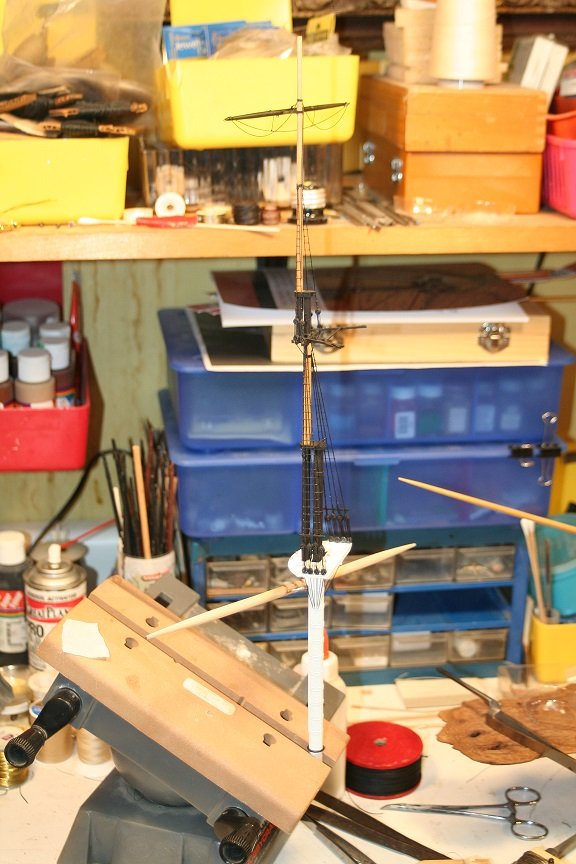
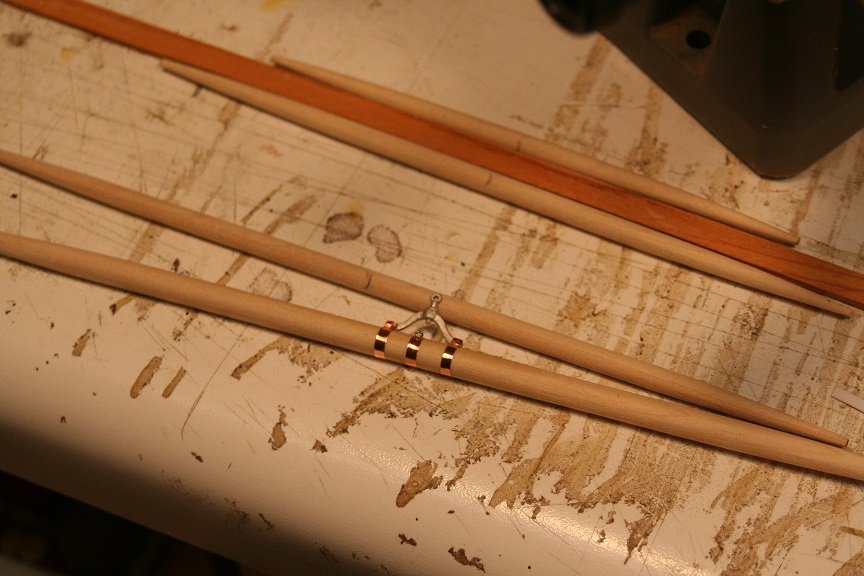
With the mast set in the work vice...I added many new eye bolts for lifts, halyard blocks and other blocks connection points. Next, I'll begin adding the yard parrels and straps as I finish up the first yard to be added to the mast, the royal yard. Rob
- 1,208 replies
-
- 9
-
-
- great republic
- clipper
- (and 1 more)
-
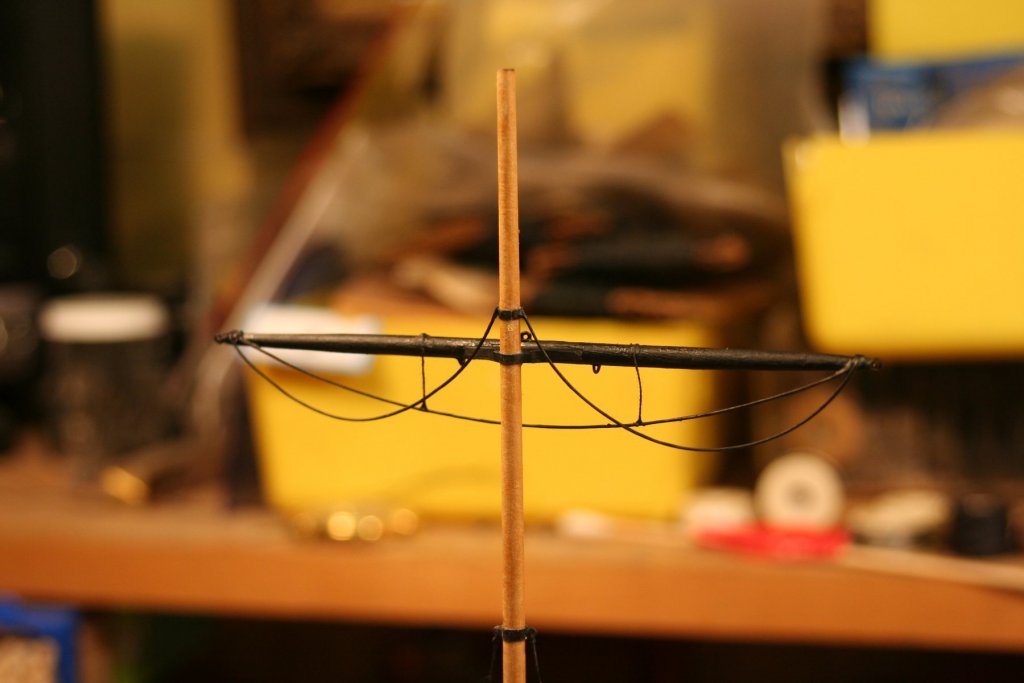
Moving back to the mizzen yards...I finished forming them and prepping them for addition of eye bolts and trusses. Rob

- 1,208 replies
-
- 10
-
-
- great republic
- clipper
- (and 1 more)
-
While I was planning out the yard details and making more eye bolts...I also finished up the rigging for the top sail yard halyard and its blocks and purchase. Here they are installed and just belayed. Rob

- 1,208 replies
-
- 8
-
-
- great republic
- clipper
- (and 1 more)
-
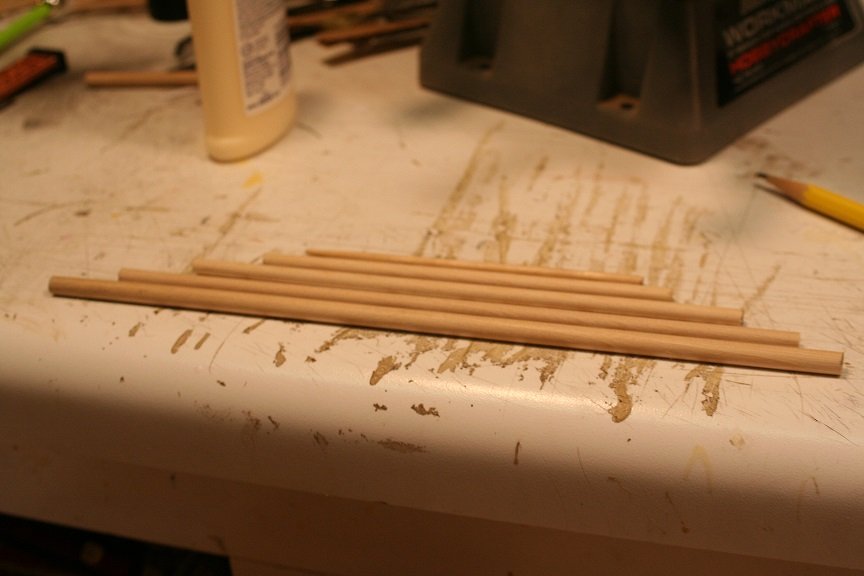
I began the work session by first cutting to length the 5 yards for the mizzen mast.
- 1,208 replies
-
- 5
-
-
- great republic
- clipper
- (and 1 more)
-
I've enjoyed immensely your application of electroforming and fine soldering of your metal joinery on your builds. I think it is amazing that you are not electro plating on another metal..but Forming new copper on electro conductive paint. Makes so much sense in the building of your finely curved and molded parts. Wonderful work indeed. Rob
-
Beautiful work Michael...just fine. Question: Are you making leather seats or leather cushions? Wouldn't salt water be rough on them? Rob
-
Yes...one could say I'm *Clipping* along. I'll probably add the royal stay before I proceed onto the mizzen mast. Thanks a lot Pat..and thanks a lot to all the likes everyone... Rob
- 1,208 replies
-
- 3
-
-
- great republic
- clipper
- (and 1 more)
-
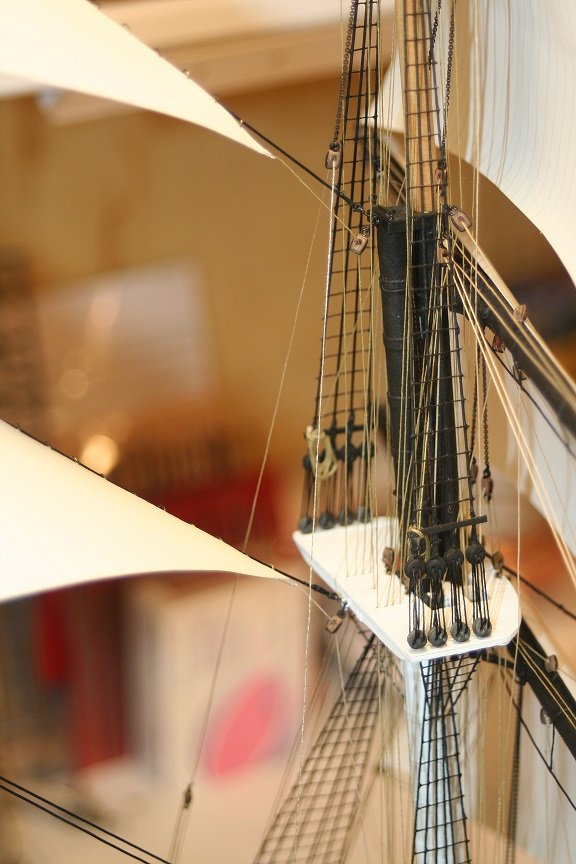
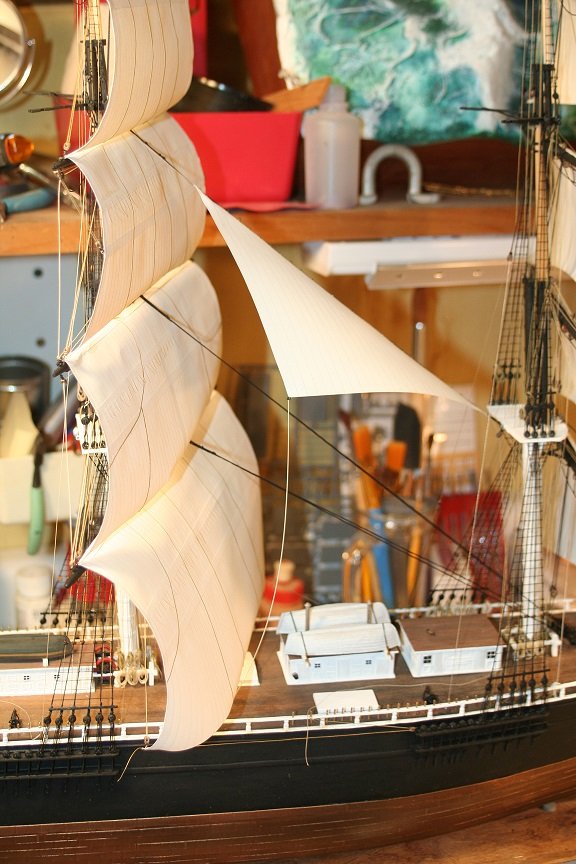
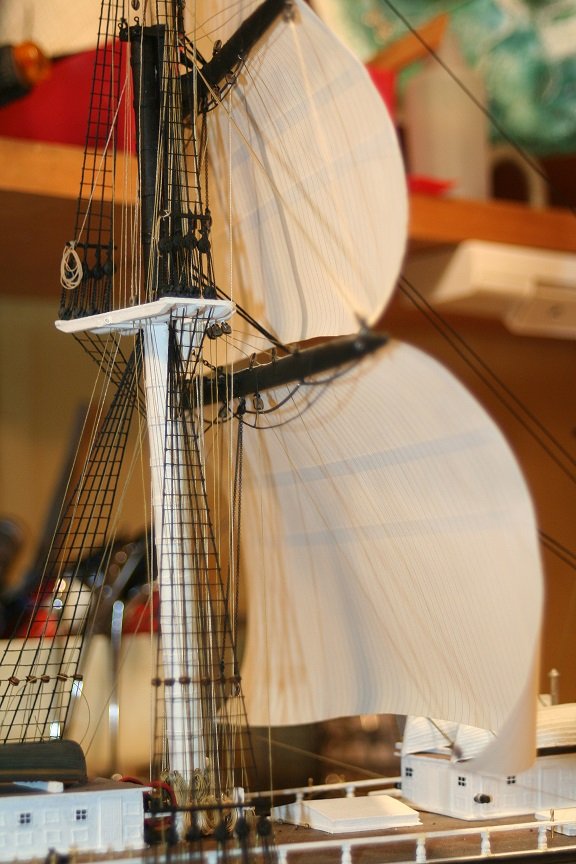
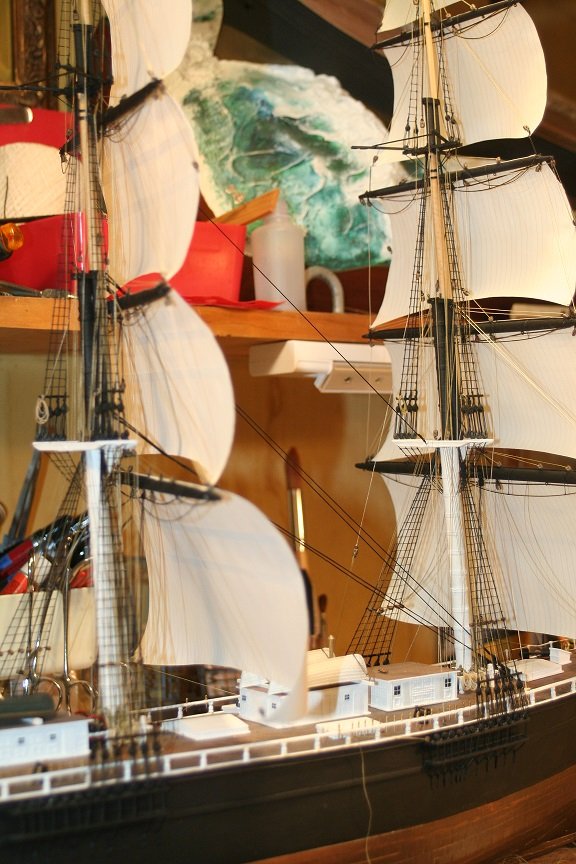
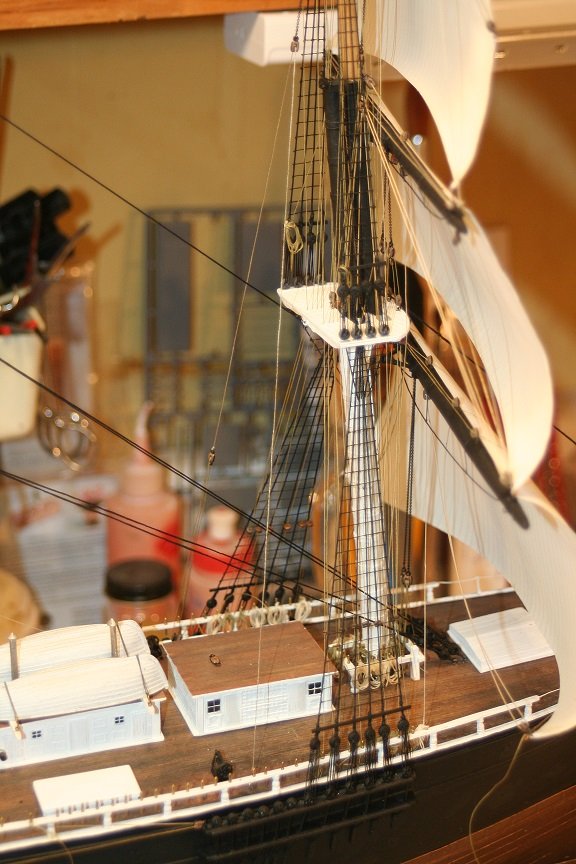
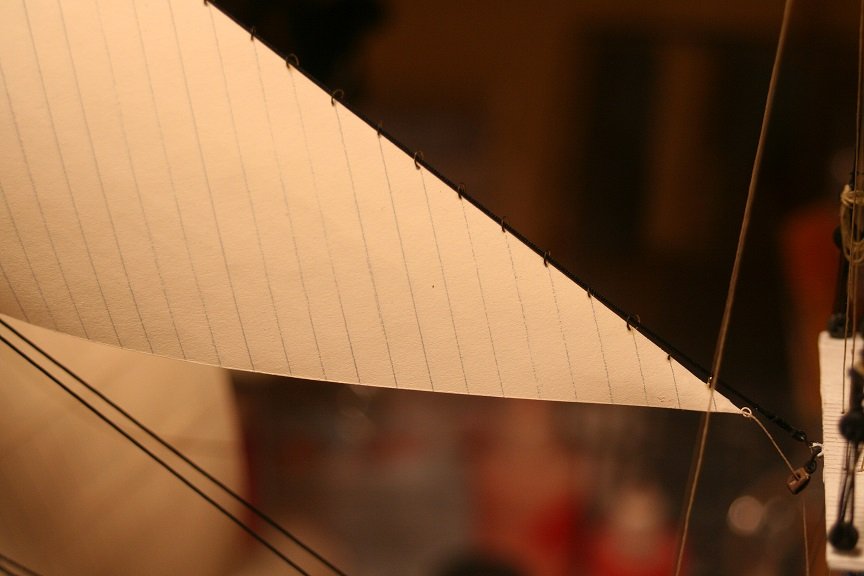
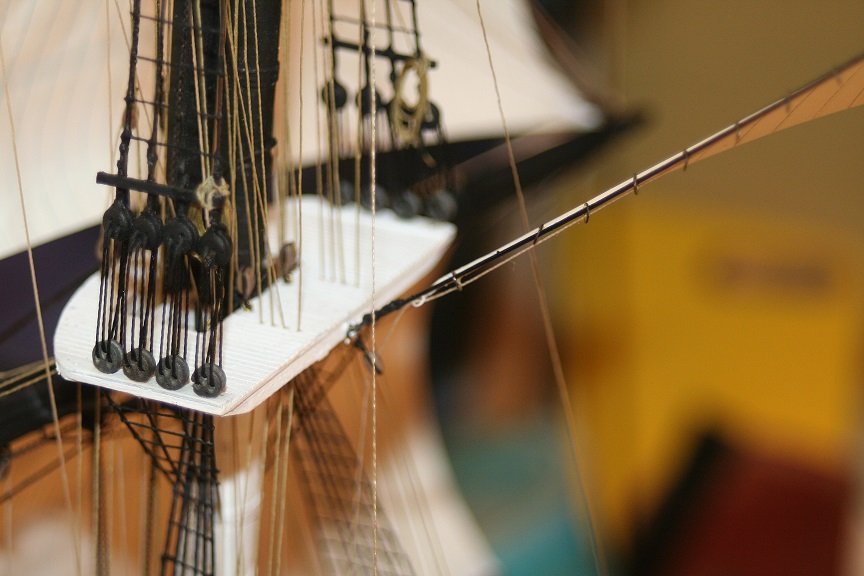
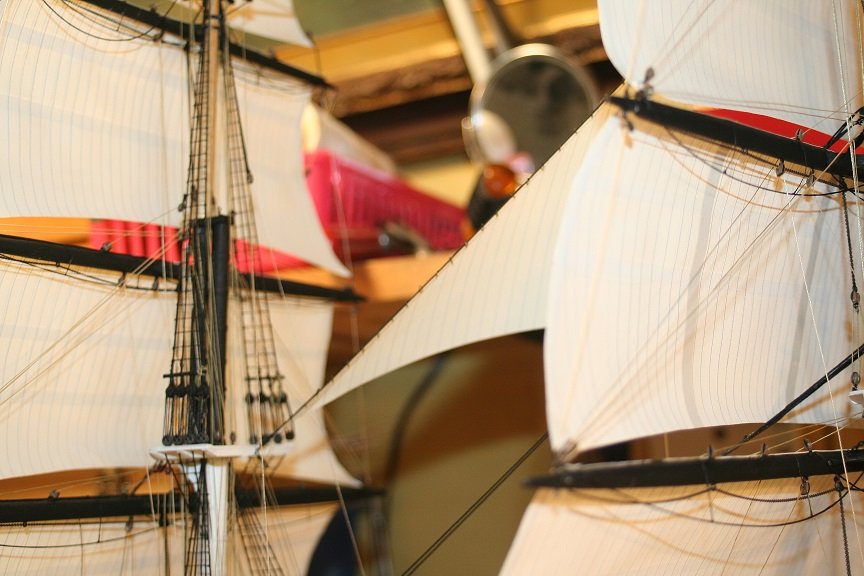
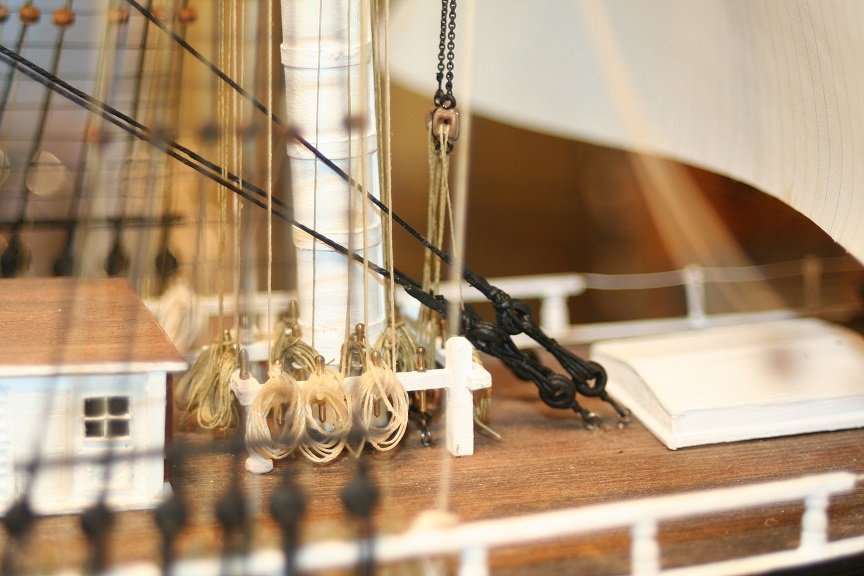
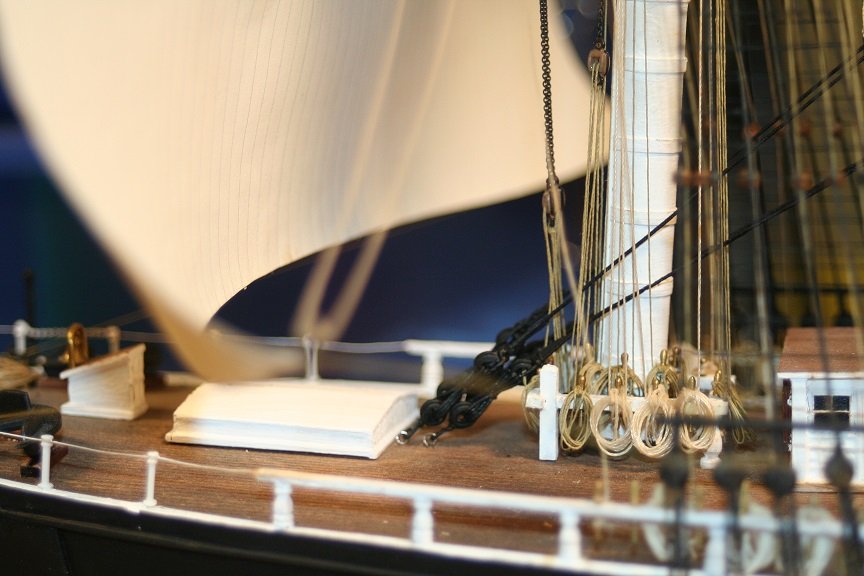
Finishing up the day in the yard......I finished the top and topgallant stays..worked a bit on the topgallant haulyard and its purchase. I had to make lots of blocks and iron hooks and seizing stuff.... The detail at this scale is excruciating....I spend most of my time keeping from bumping or ripping somthing out I previously put on....Oh well...the burden of fun. Here is a bunch of pics from the day. Rob


- 1,208 replies
-
- 15
-
-
- great republic
- clipper
- (and 1 more)
-
In 1853 they were still hemp from what I gather...when she caught fire she burned up nearly completely above the waterline.
- 1,208 replies
-
- 4
-
-
- great republic
- clipper
- (and 1 more)
-
After lunch, I'll finish up the port buntlines and blocks ...run them through the faileads and to their pins and finish up the port leach lines and blocks. I''l return to the stays once this is all done.
- 1,208 replies
-
- 4
-
-
- great republic
- clipper
- (and 1 more)
-
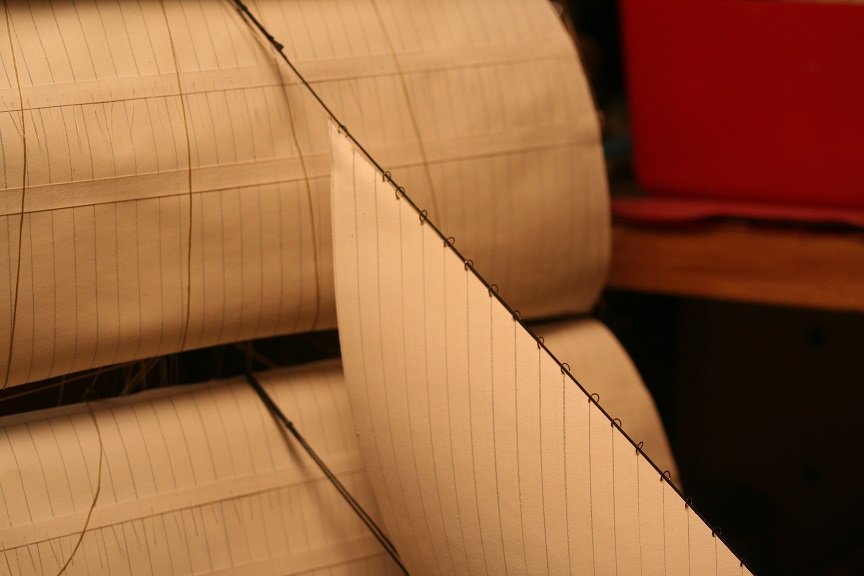
The real work came with the addition of the main topstays both sides.....still need to finale secure the port side.
- 1,208 replies
-
- 14
-
-
- great republic
- clipper
- (and 1 more)