rwiederrich
-
Posts
5,520 -
Joined
-
Last visited
Content Type
Profiles
Forums
Gallery
Events
Everything posted by rwiederrich
-
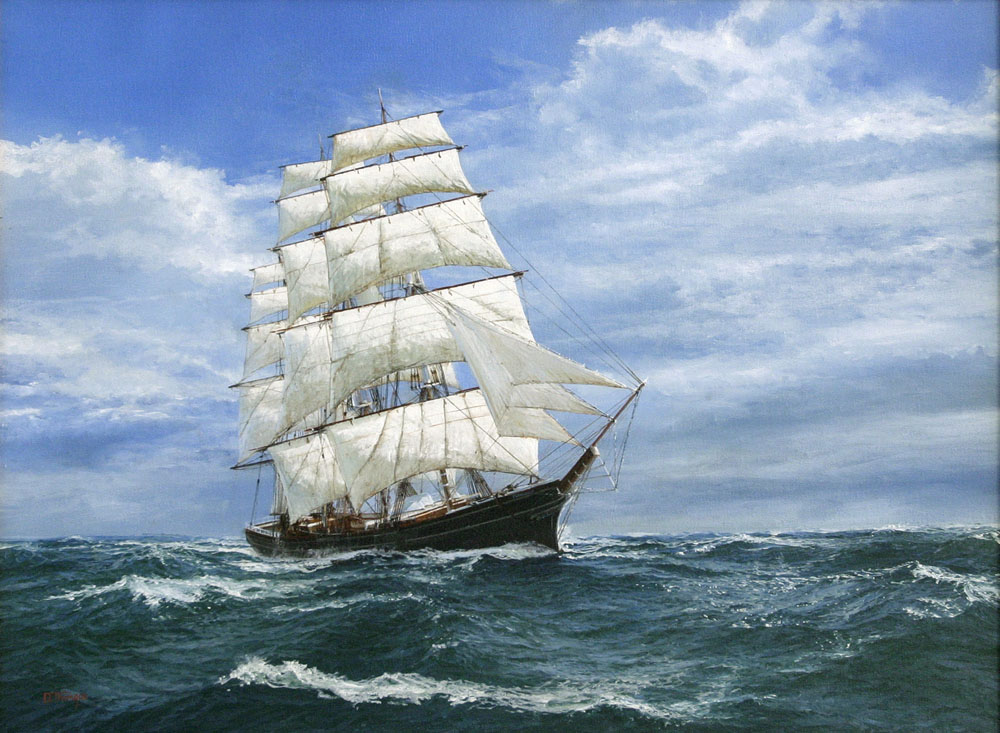
Hi Bill. I have that model in my stash….just for memorabilia purposes. I’m glad the images(painting)help. Sometimes they’re all we have. Rob
-
I agree. It appears to be more of a British thing anyway. Vlad is coming up with some nice drawings....it seams easier to correct others drawings....then to create them from scratch. I think if it is OK with Vlad....I'll just get my laser cut bulkheads from him....if he approves. Rob
-
Rich...are my eye playing tricks on me....is that an anchor billboard I see just aft of the cathead and capstan? I was unaware McKay installed them on his clippers...or is this another error?

-
Thanks everyone. Does anyone know how to move this thread to its proper location in vessels built in 1850? I was premature…… probably because Glory of the seas was so long in the 1851-1900 section. Rob
-
I’m so sorry for putting this log in the wrong year section. I had a lapse of memory. Rob
-
Poor Donald McKay. She gets to be set aside. 😢
-
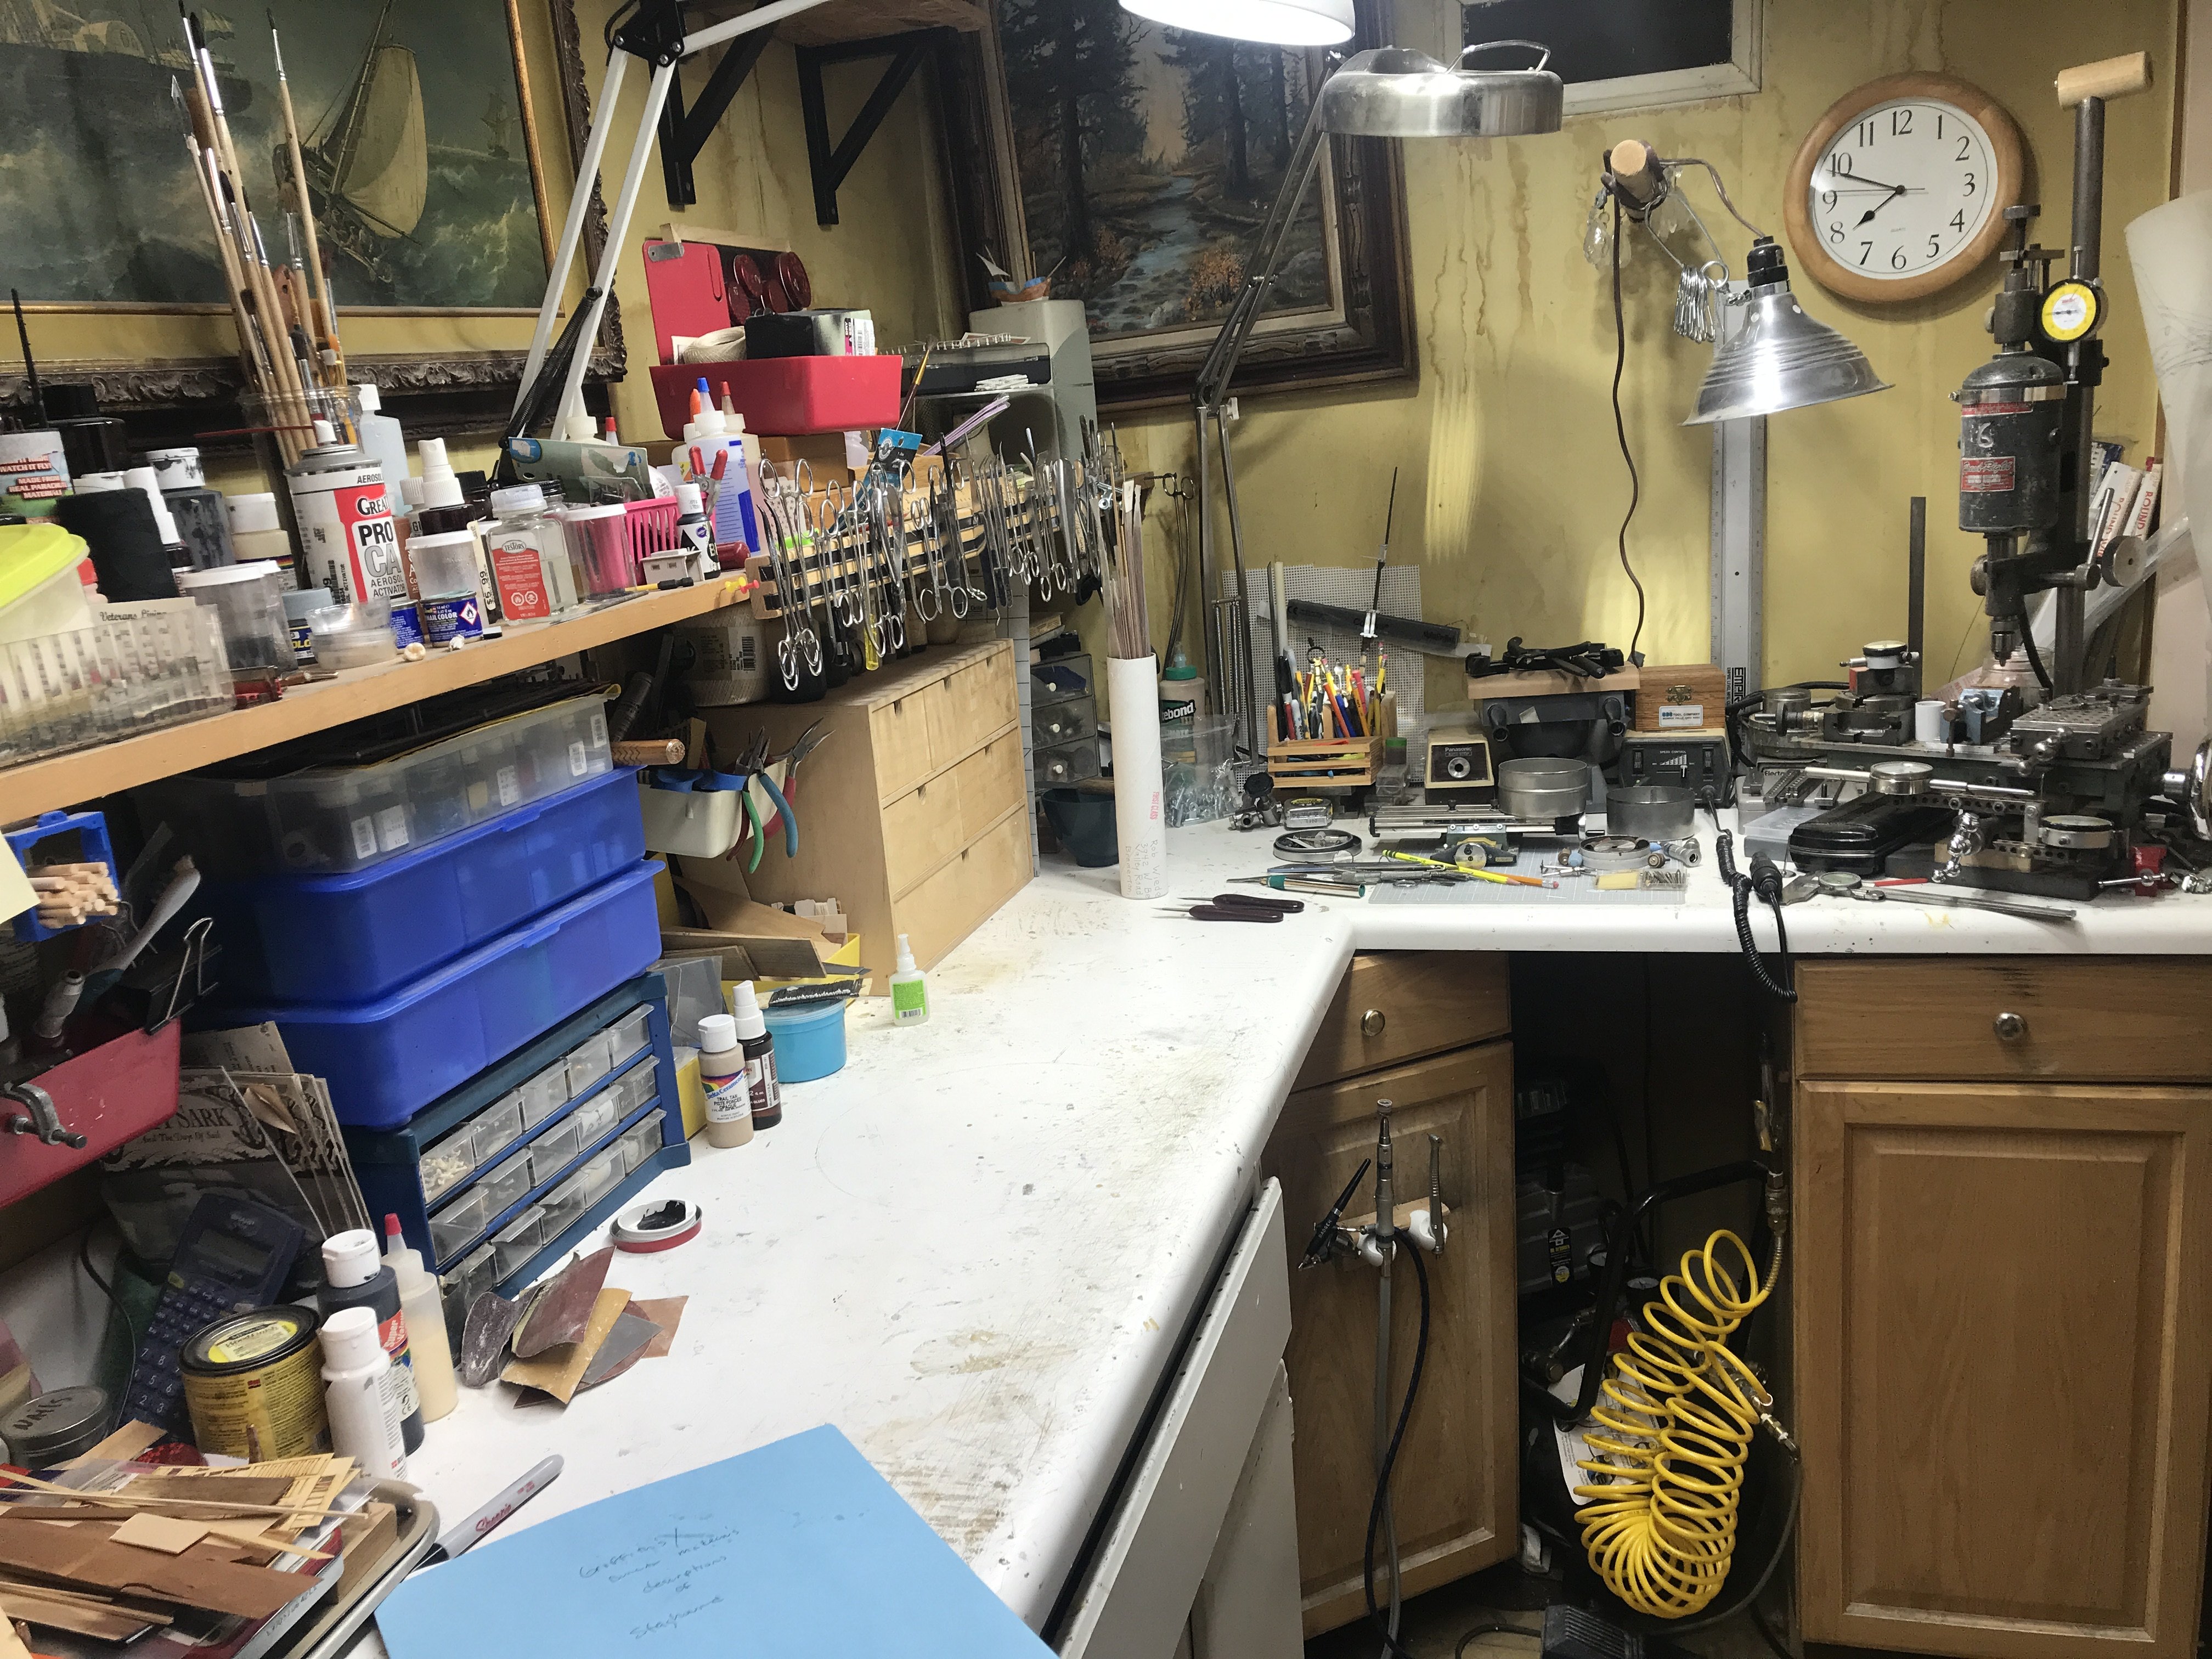
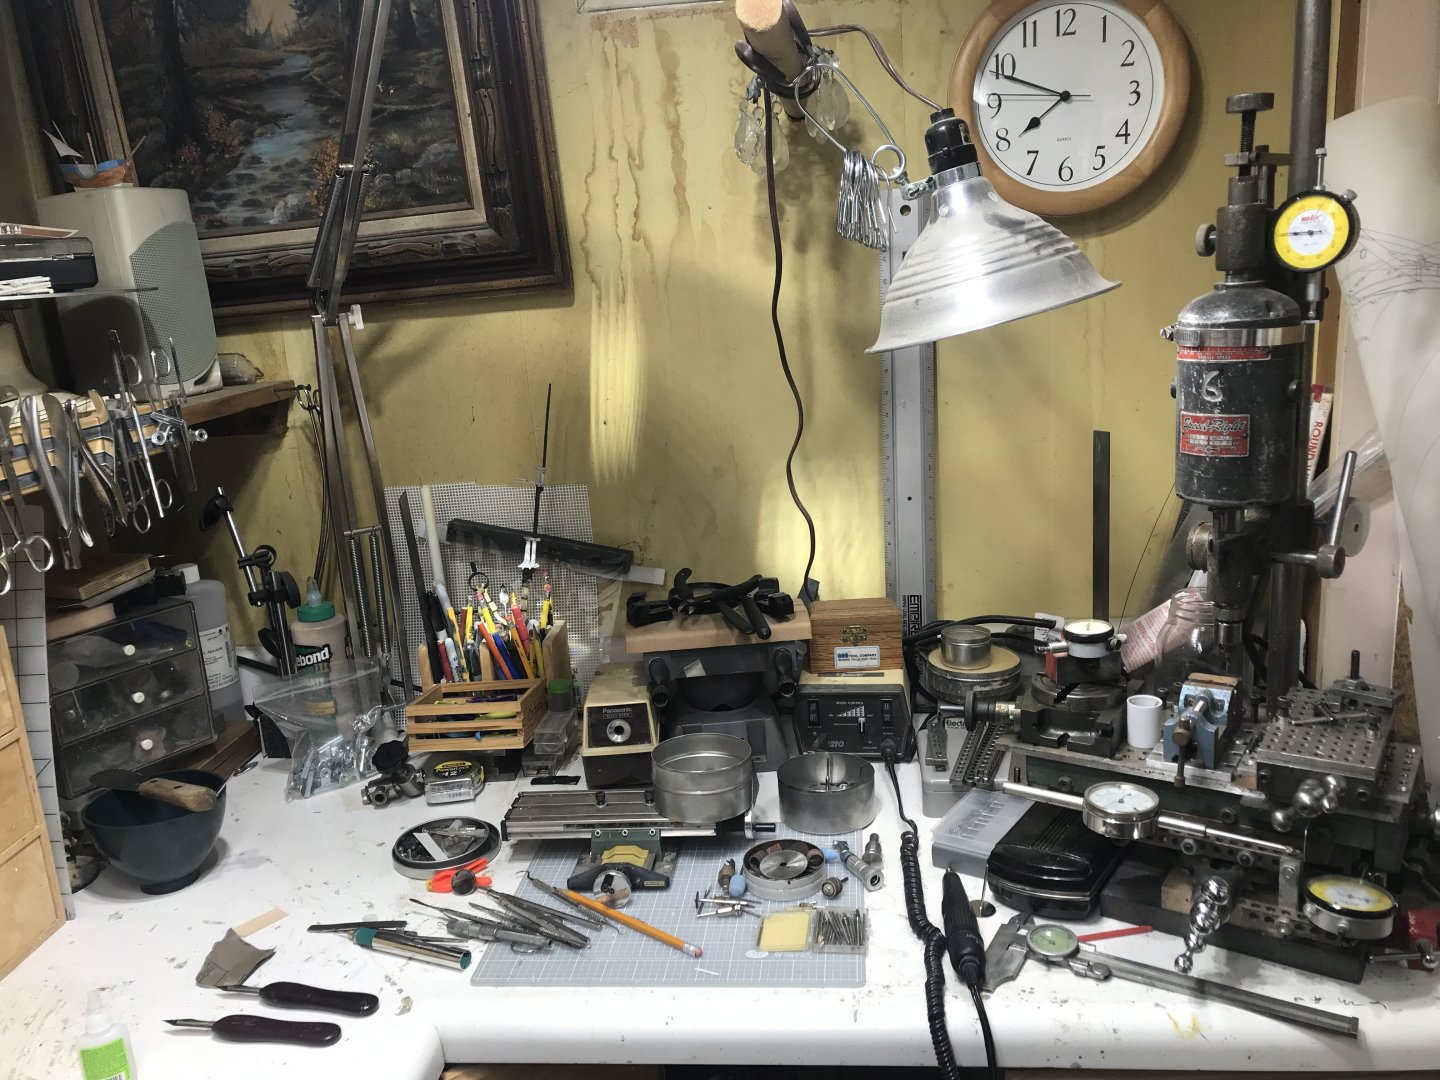
I know both men will jump in with their contributions. For me it meant cleaning and preparing the shop for a new build.

-
To begin we need some drawing. We begin with Cappelle’s and we will correct any issues we discover as we research other material, such as writings of historical reporter. Duncan McLean. Vlad has already lent his expertise with CAD.

-
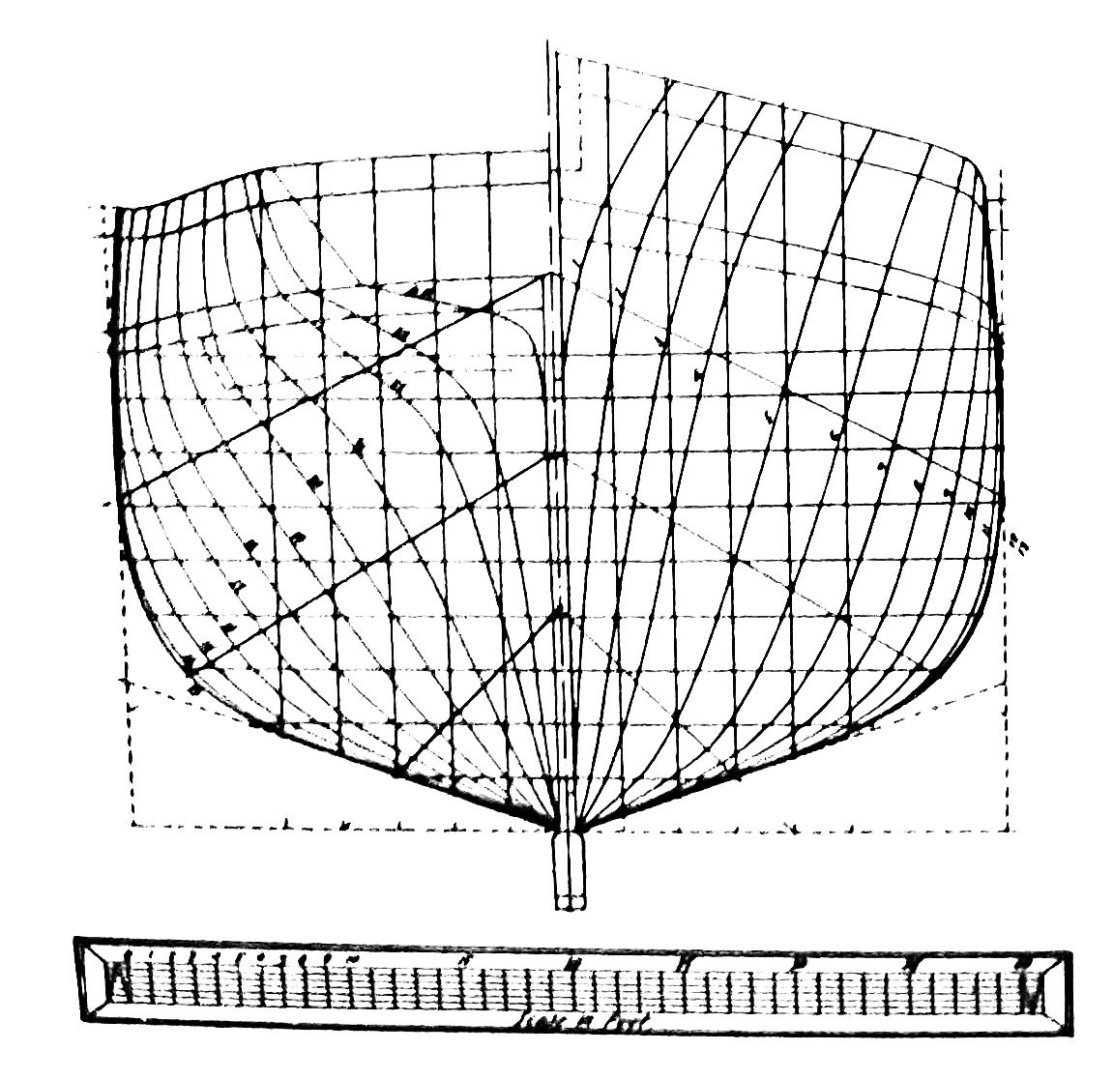
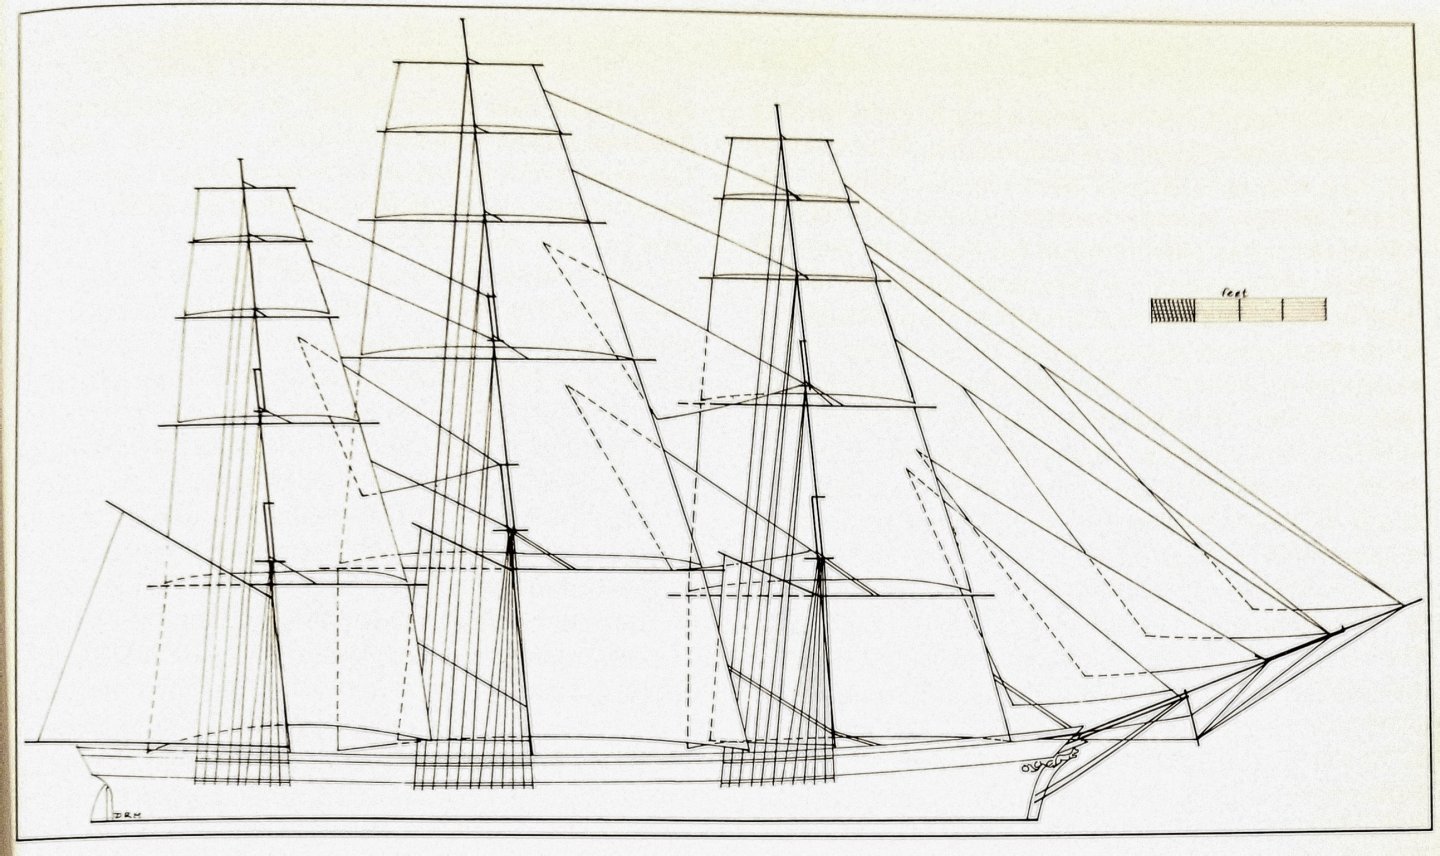
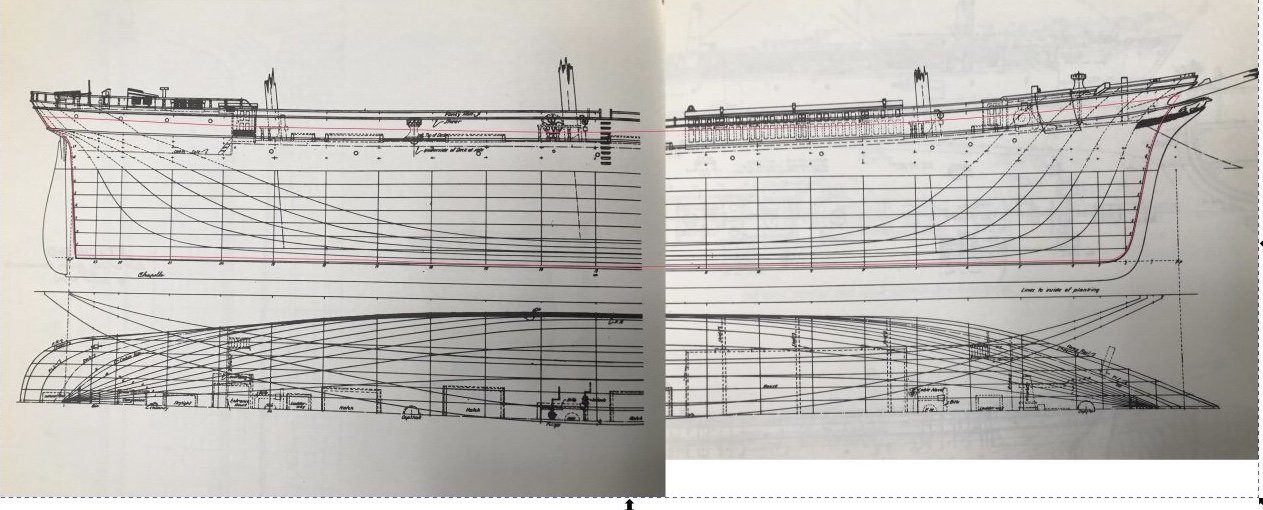
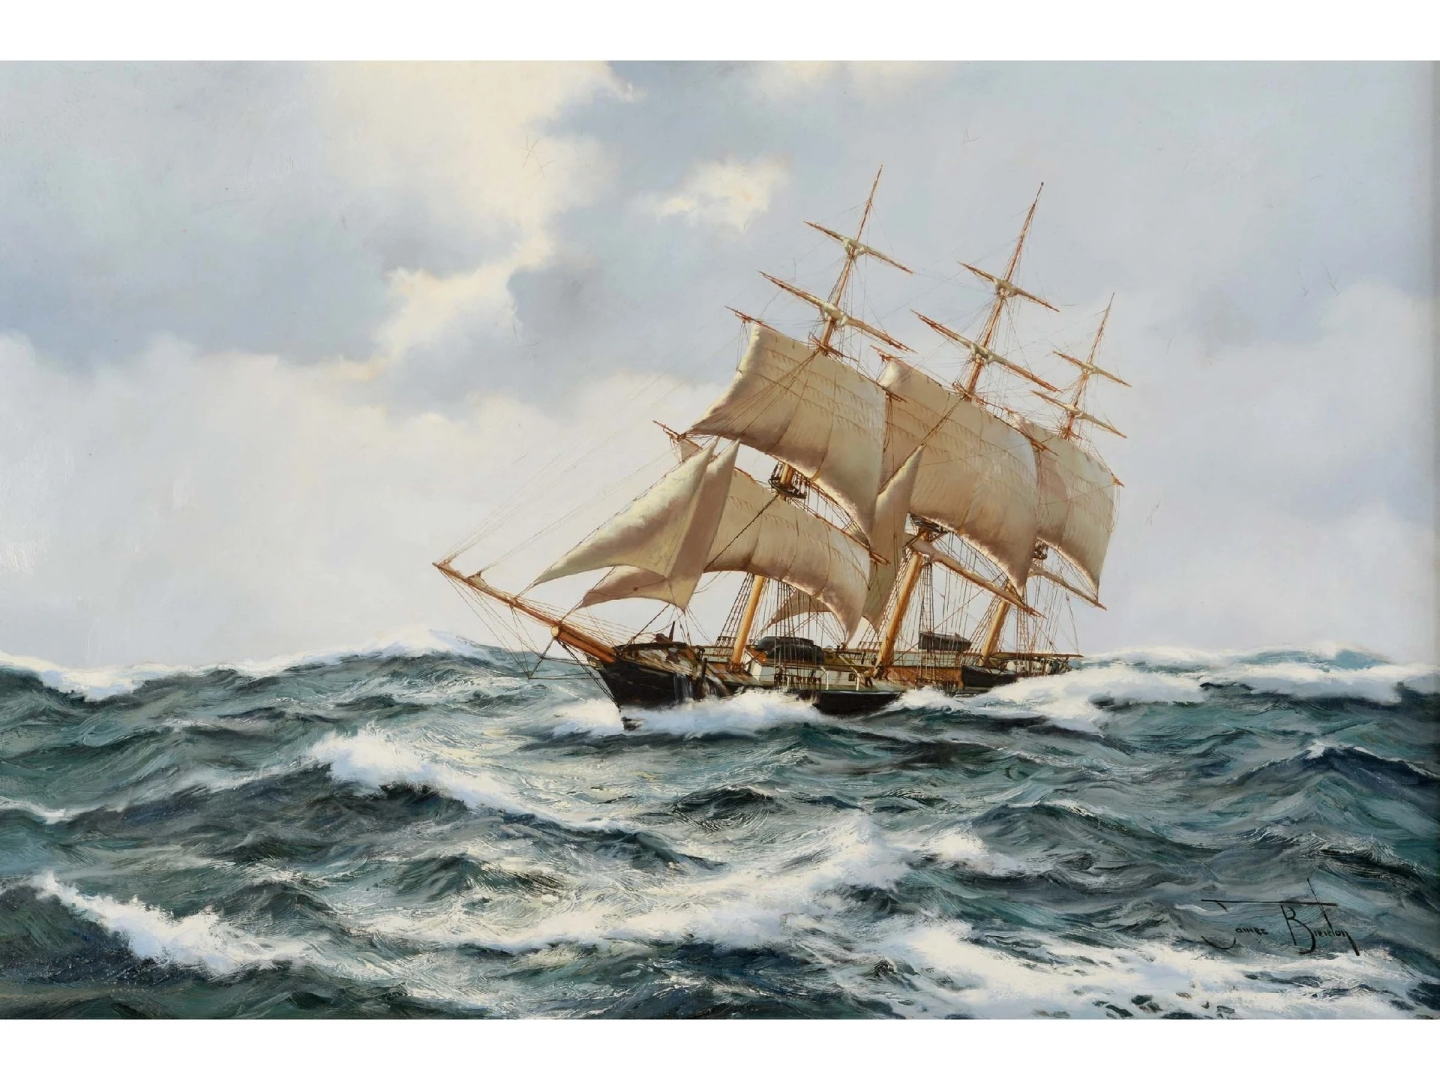
Here we go again. After doing some re-evaluating, I opted to put aside the clipper Donald McKay for now because the reused CS hull from Revell, just isn’t cutting it and the hull curves are just all wrong. Like the Glory of the Seas, I am going for full authenticity, even to the magnitude of correcting previously held and modeled errors, namely the lack of one of Donald McKay’s ingenious contributions to naval architecture….the Naval Hood. As before with Glory of the Seas, I will be employing the aid of my friends, Clipperfan, and Vladimir. Both have aid so much even up to this point. Behind the scenes, they and I have hashed out many issue. Much more is needed, but I’m not waiting to gain full understanding , So I’m beginning now with introductions and plans, so our MSW friends can benefit from our journey. We begin with some paintings and line drawings.
-
Looks good......real good. Rob
-
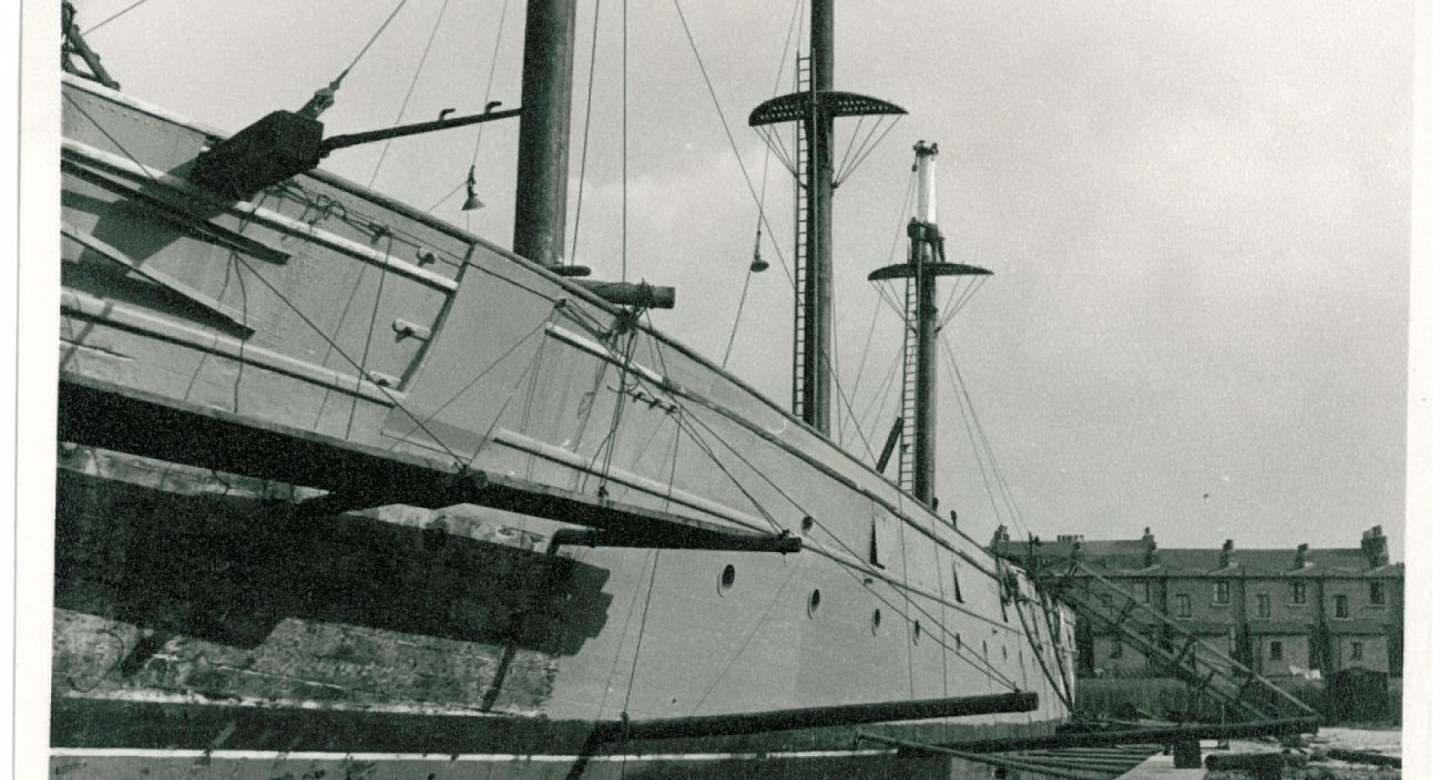
I’m sorry , I got it wrong. This image was taken after she was employed as a cadet training vessel. The port holes were added at the time she served as a cadet training ship. So this puts her a bit later then her barquentine time. You can see the addition and refurbishment of the main and mizzen masts. Rob
- 101 replies
-
- 1
-

-
- Cutty Sark
- Sergal
- (and 1 more)
-
I agree completely. Why is it escaping so many that McKay openly and admittedly claimed he kept secret, several structural features. The Naval hood is one known significant one. But it’s like pulling teeth to get folks on board. Sometimes you have to read between the lines to get to the truth. Rob
- 200 replies
-
- 1
-
-
- Flying Cloud
- Mamoli
- (and 1 more)
-
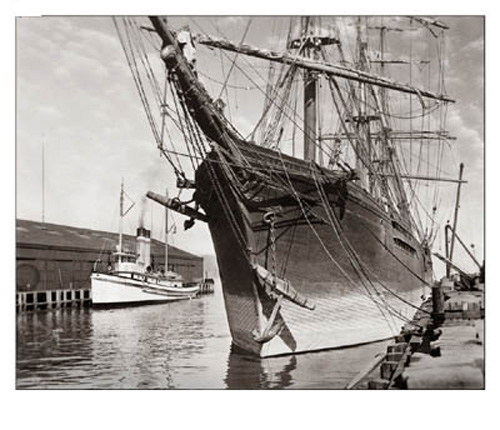
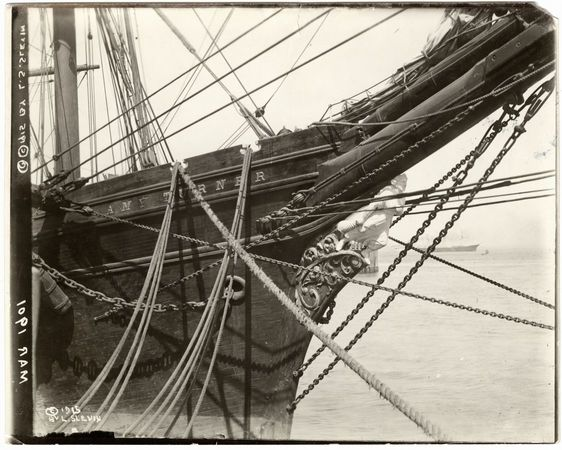
Good job. I just happened to find this image of Cutty being refurbished the first time after her Aquisition from the Portugues. billboard closeup.
-
I always assumed, that after McKay revealed his first *Hood* design on.....say the Staghound....it would have become evident of this novel, ingenious, structure. And hence, encouraging others to *mimic8 McKay's design. Who truly knows the *INTERNAL* secrets...unseen by prying eyes. This clipper appears to have a *cheek*....not really a *hood* though. This clipper just has stem scrolling. Which I found typical.
- 200 replies
-
- 1
-
-
- Flying Cloud
- Mamoli
- (and 1 more)
-
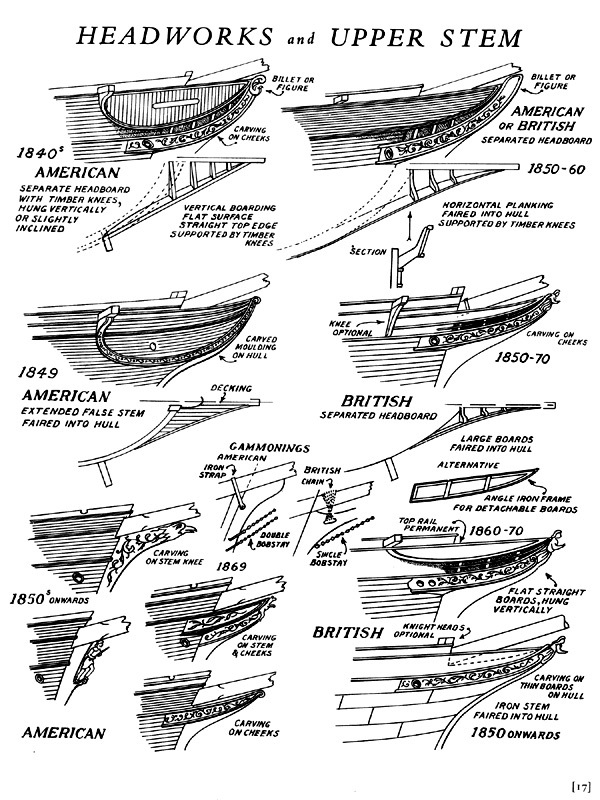
You know....I've looked to see if any other clipper during that time had anything suggesting a *Naval Hood*....and I generally found nothing. The stem of American clippers had ornamentation....but rarely Have I seen an ornamental *cheeks*....or *Hoods* Notice the examples presented here. It appears in 1869 a *Hood* might be represented........other that the McKay clippers...I'm not sure what other vessels were identified to make this drawing significant....other than , Like I said.....McKay clippers.
-
Good Job........man that IS a big model. Rob
-
It would sure be refreshing to see a builder actually follow through and add the Naval Hoods to bolster the cutwater and make the stem factual. You've done an exhaustive study, coupled with much research...to verify the validity of these McKay structural marvels. They truly separate his ships from all the rest. He made sure of it. Duncan Mclean recorded it. Rob
- 200 replies
-
- 2
-
-

-
- Flying Cloud
- Mamoli
- (and 1 more)
-
Picking up where you left off will be fun. I'm wondering, will you be adding all the Portuguese additions...when she was the Ferriera? The fore deck access and the aft access at the poop cabin rear? Facing changes and railing changes to the forecastle? All the portholes added when she was a cadet training ship.......? Or are you looking to keep to her original configuration. I talked to you about all the differences one can encounter in a vessel's life span, when modeling her. Deciding what era you are focusing on will be definitive in her appearance. Rob
-
Sorry Keith for confusing you. I have to admit that an explanation is in order if the model I posted is correct.
-
True, it could have been used for a number of heavy load tasks……..but, I’m trying to use deduction to answer some questions addressing the forecastle of the antique model I presented. Rob
-
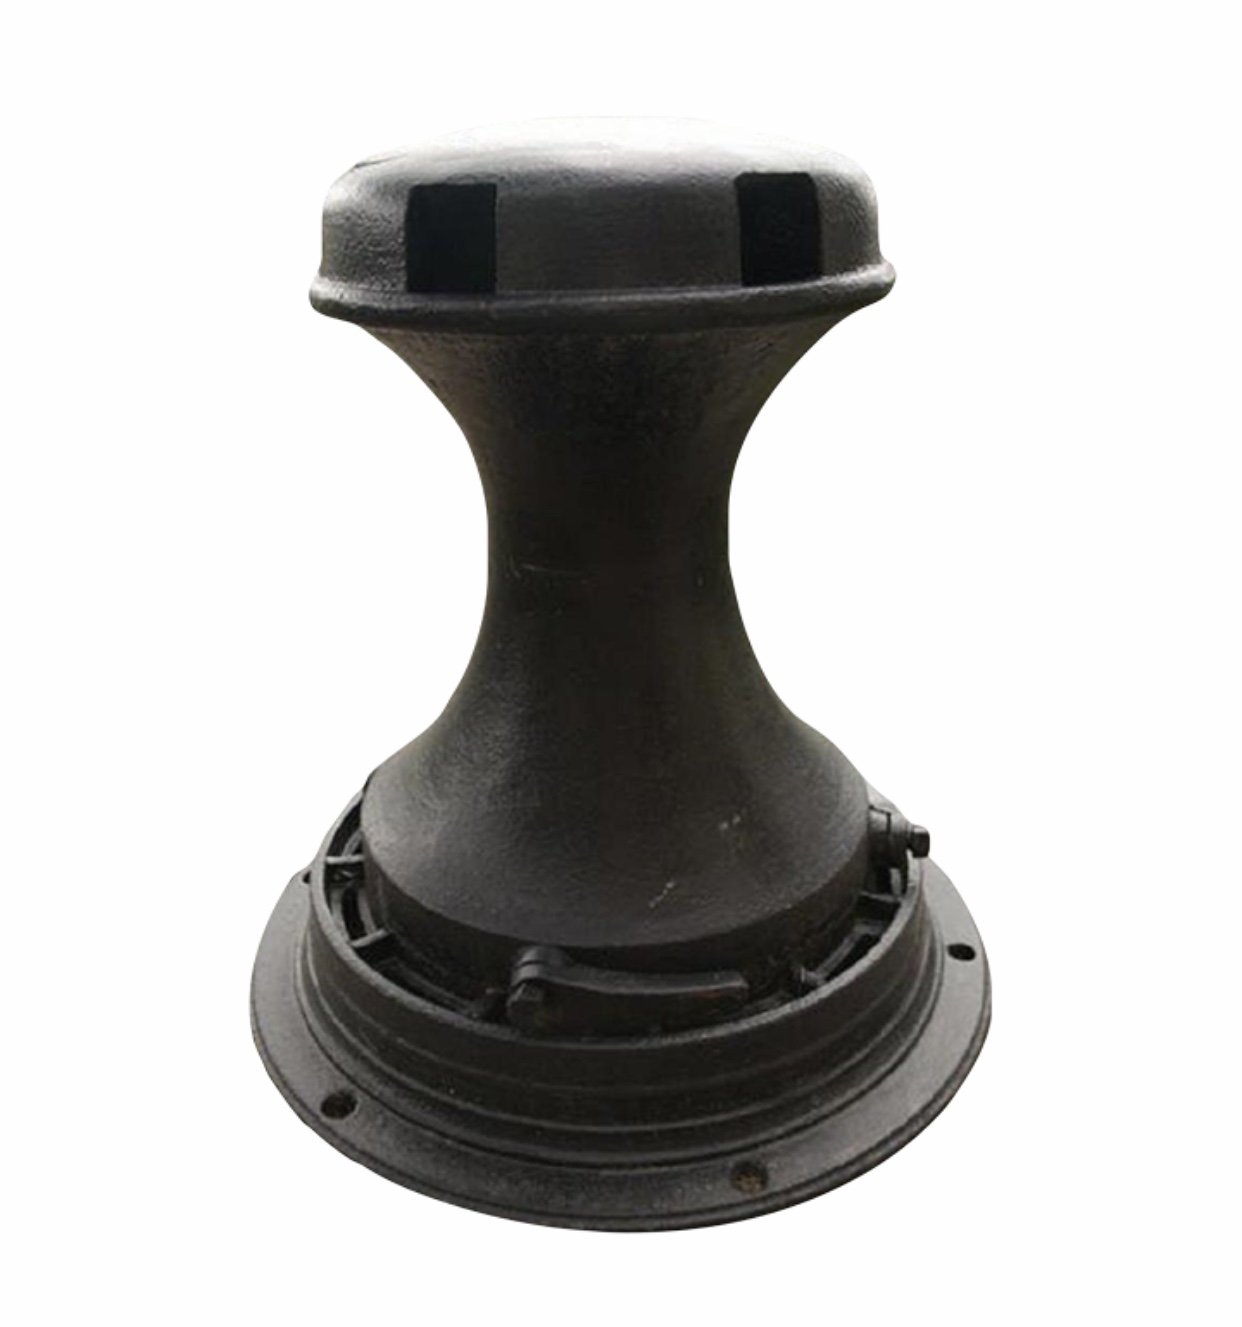
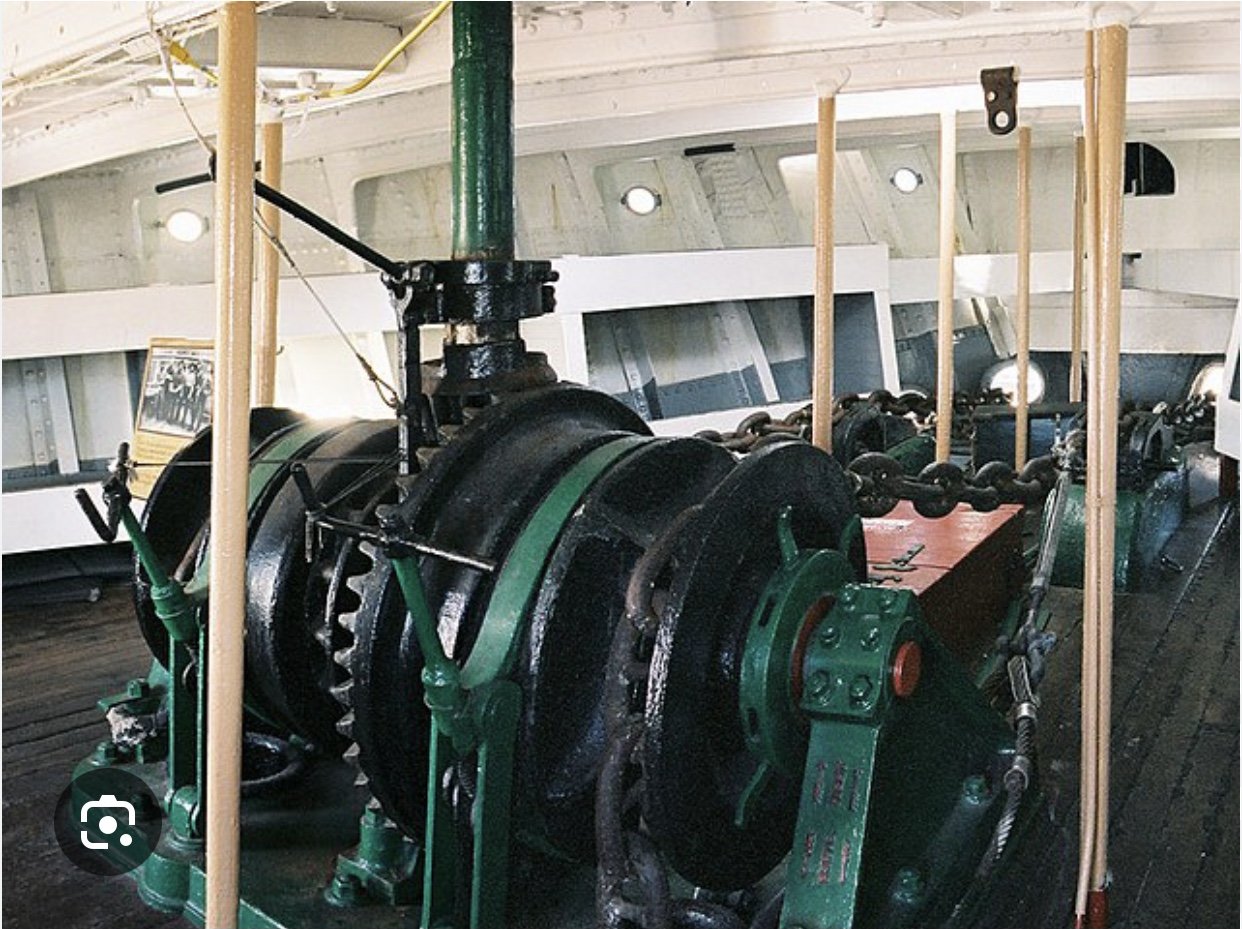
In your view what do you suppose the forward capstone does in the forecastle? I suspect its part of the anchor chain retention mechanism. The chain was then lowered down into the hold from there. The forecastle also acted as crews quarters. During this period , windlasses were being replaced by capstans in general use. Since both T and CS were composite ships, and iron and new technologies were replacing older wooden constructed older designs…… it is not a stretch to assume these upgrades were added to T. This is where good deduction comes into play. To paraphrase Spock; “When all impossible things have been eliminated whatever is left, however improbable, must be the truth”. Here are some examples of capstans driving below decks winches for anchor use. Rob

-
Indeed. When you see 2 or 3 different representations of the same vessel....this is your clew to prepare to dig into your research mode. I wouldn't completely disregard the first images of the antique model. It was evidently done by an extremely skilled model shipwright. This suggests he was probably also skilled at his research. His attention to detail, suggests this skill overflows into his maritime research skill as well. Remember, just because you see 1 or 2 different renderings of a model...doesn't mean the vessel didn't go through some up...or down grades itself...thus being represented in the model depicted. My own Glory of the Seas is the perfect example. Both mine and Vlad's models faithfully represent Glory of the Seas....though they are nearly unidentical. He, modeled her as built....mine models her over 8 years later, after some major additional construction. This being said..... means you need to dig.....validate what is verifiable and reject what is not. And DO NOT mix time period details. I found this error being made as a regular practice, when I researched my Great Republic. Good luck and keep searching for the truth. Rob
-
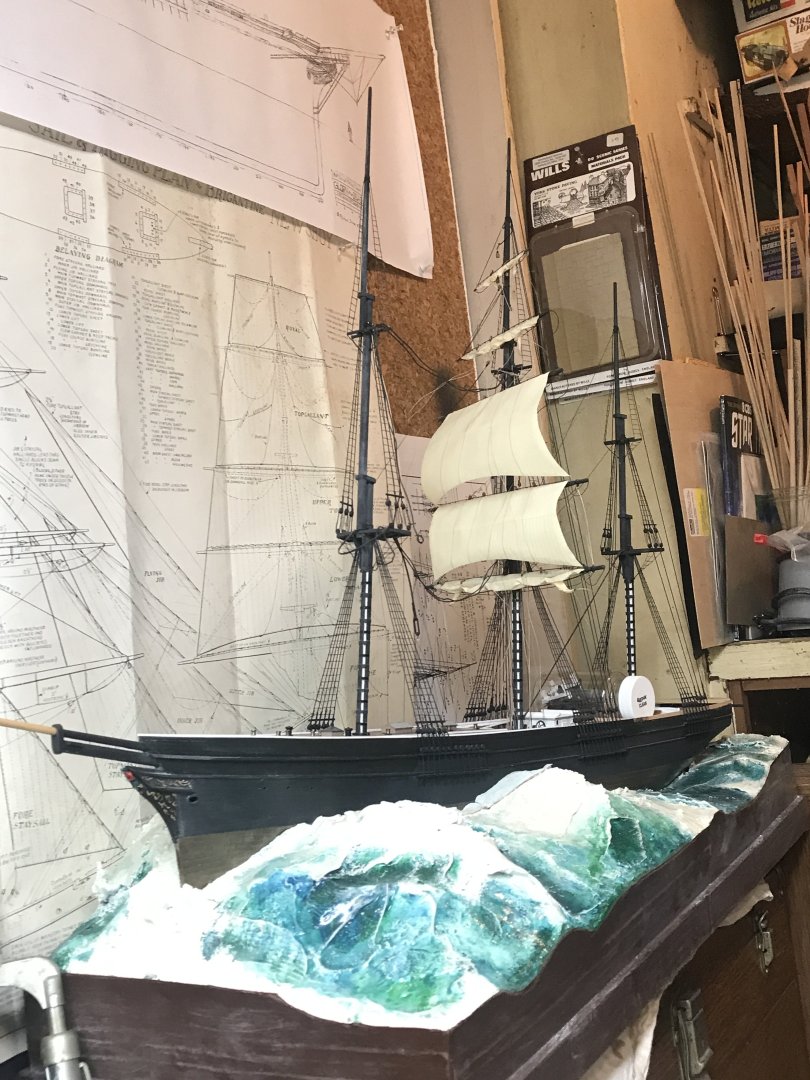
She’s looking real smart. I’m assuming the shrouds will be string so they can flex back when you collapse the masts? Rob
- 235 replies
-
- 5
-
-
-
- Banshee II
- Bottle
- (and 1 more)
-
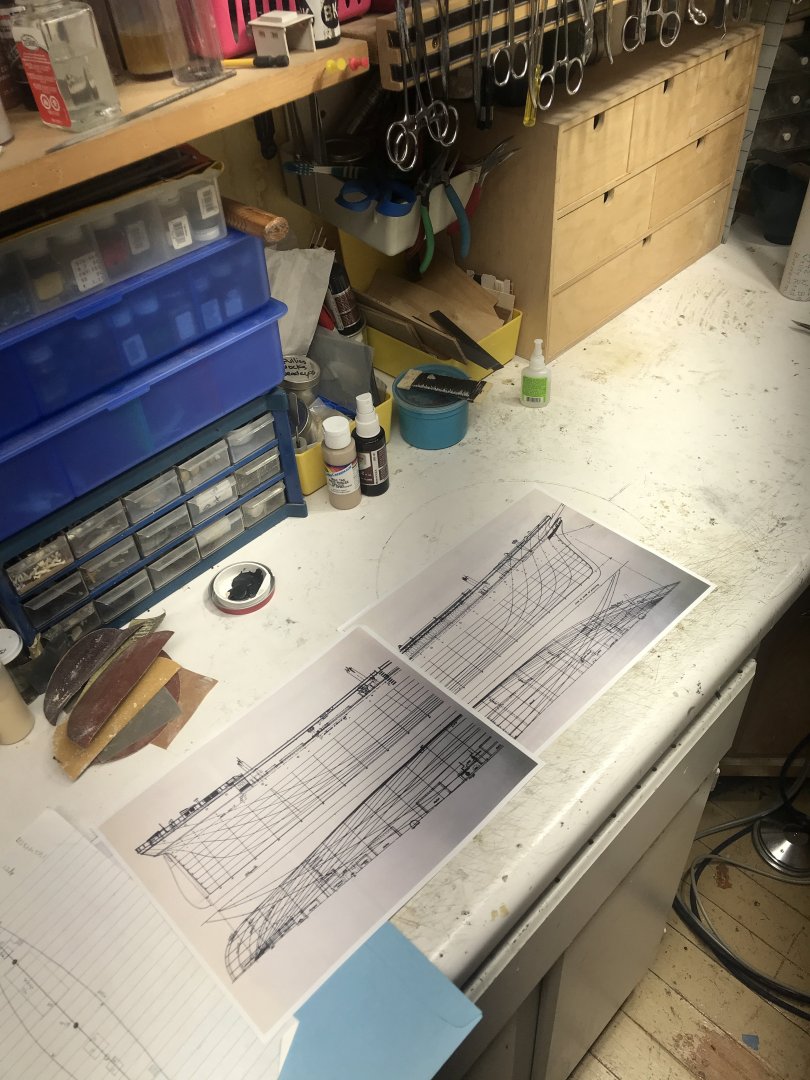
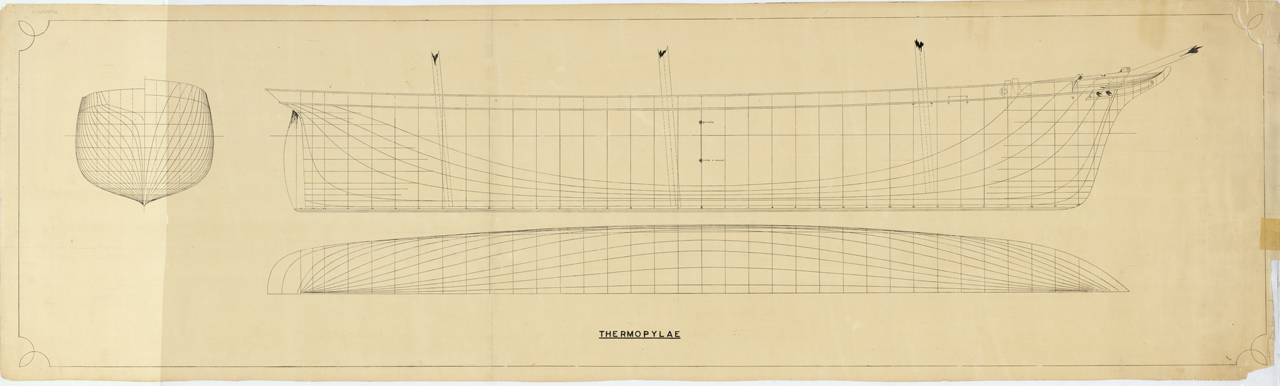
I'm sure you have a good set of hull drawings.
-
Notice the difference between Cyril Hume's forecastle. She has Wiskers on her catheads......sail locker, head houses...... You have your homework ahead of you. To filter out the inaccuracies. Rob